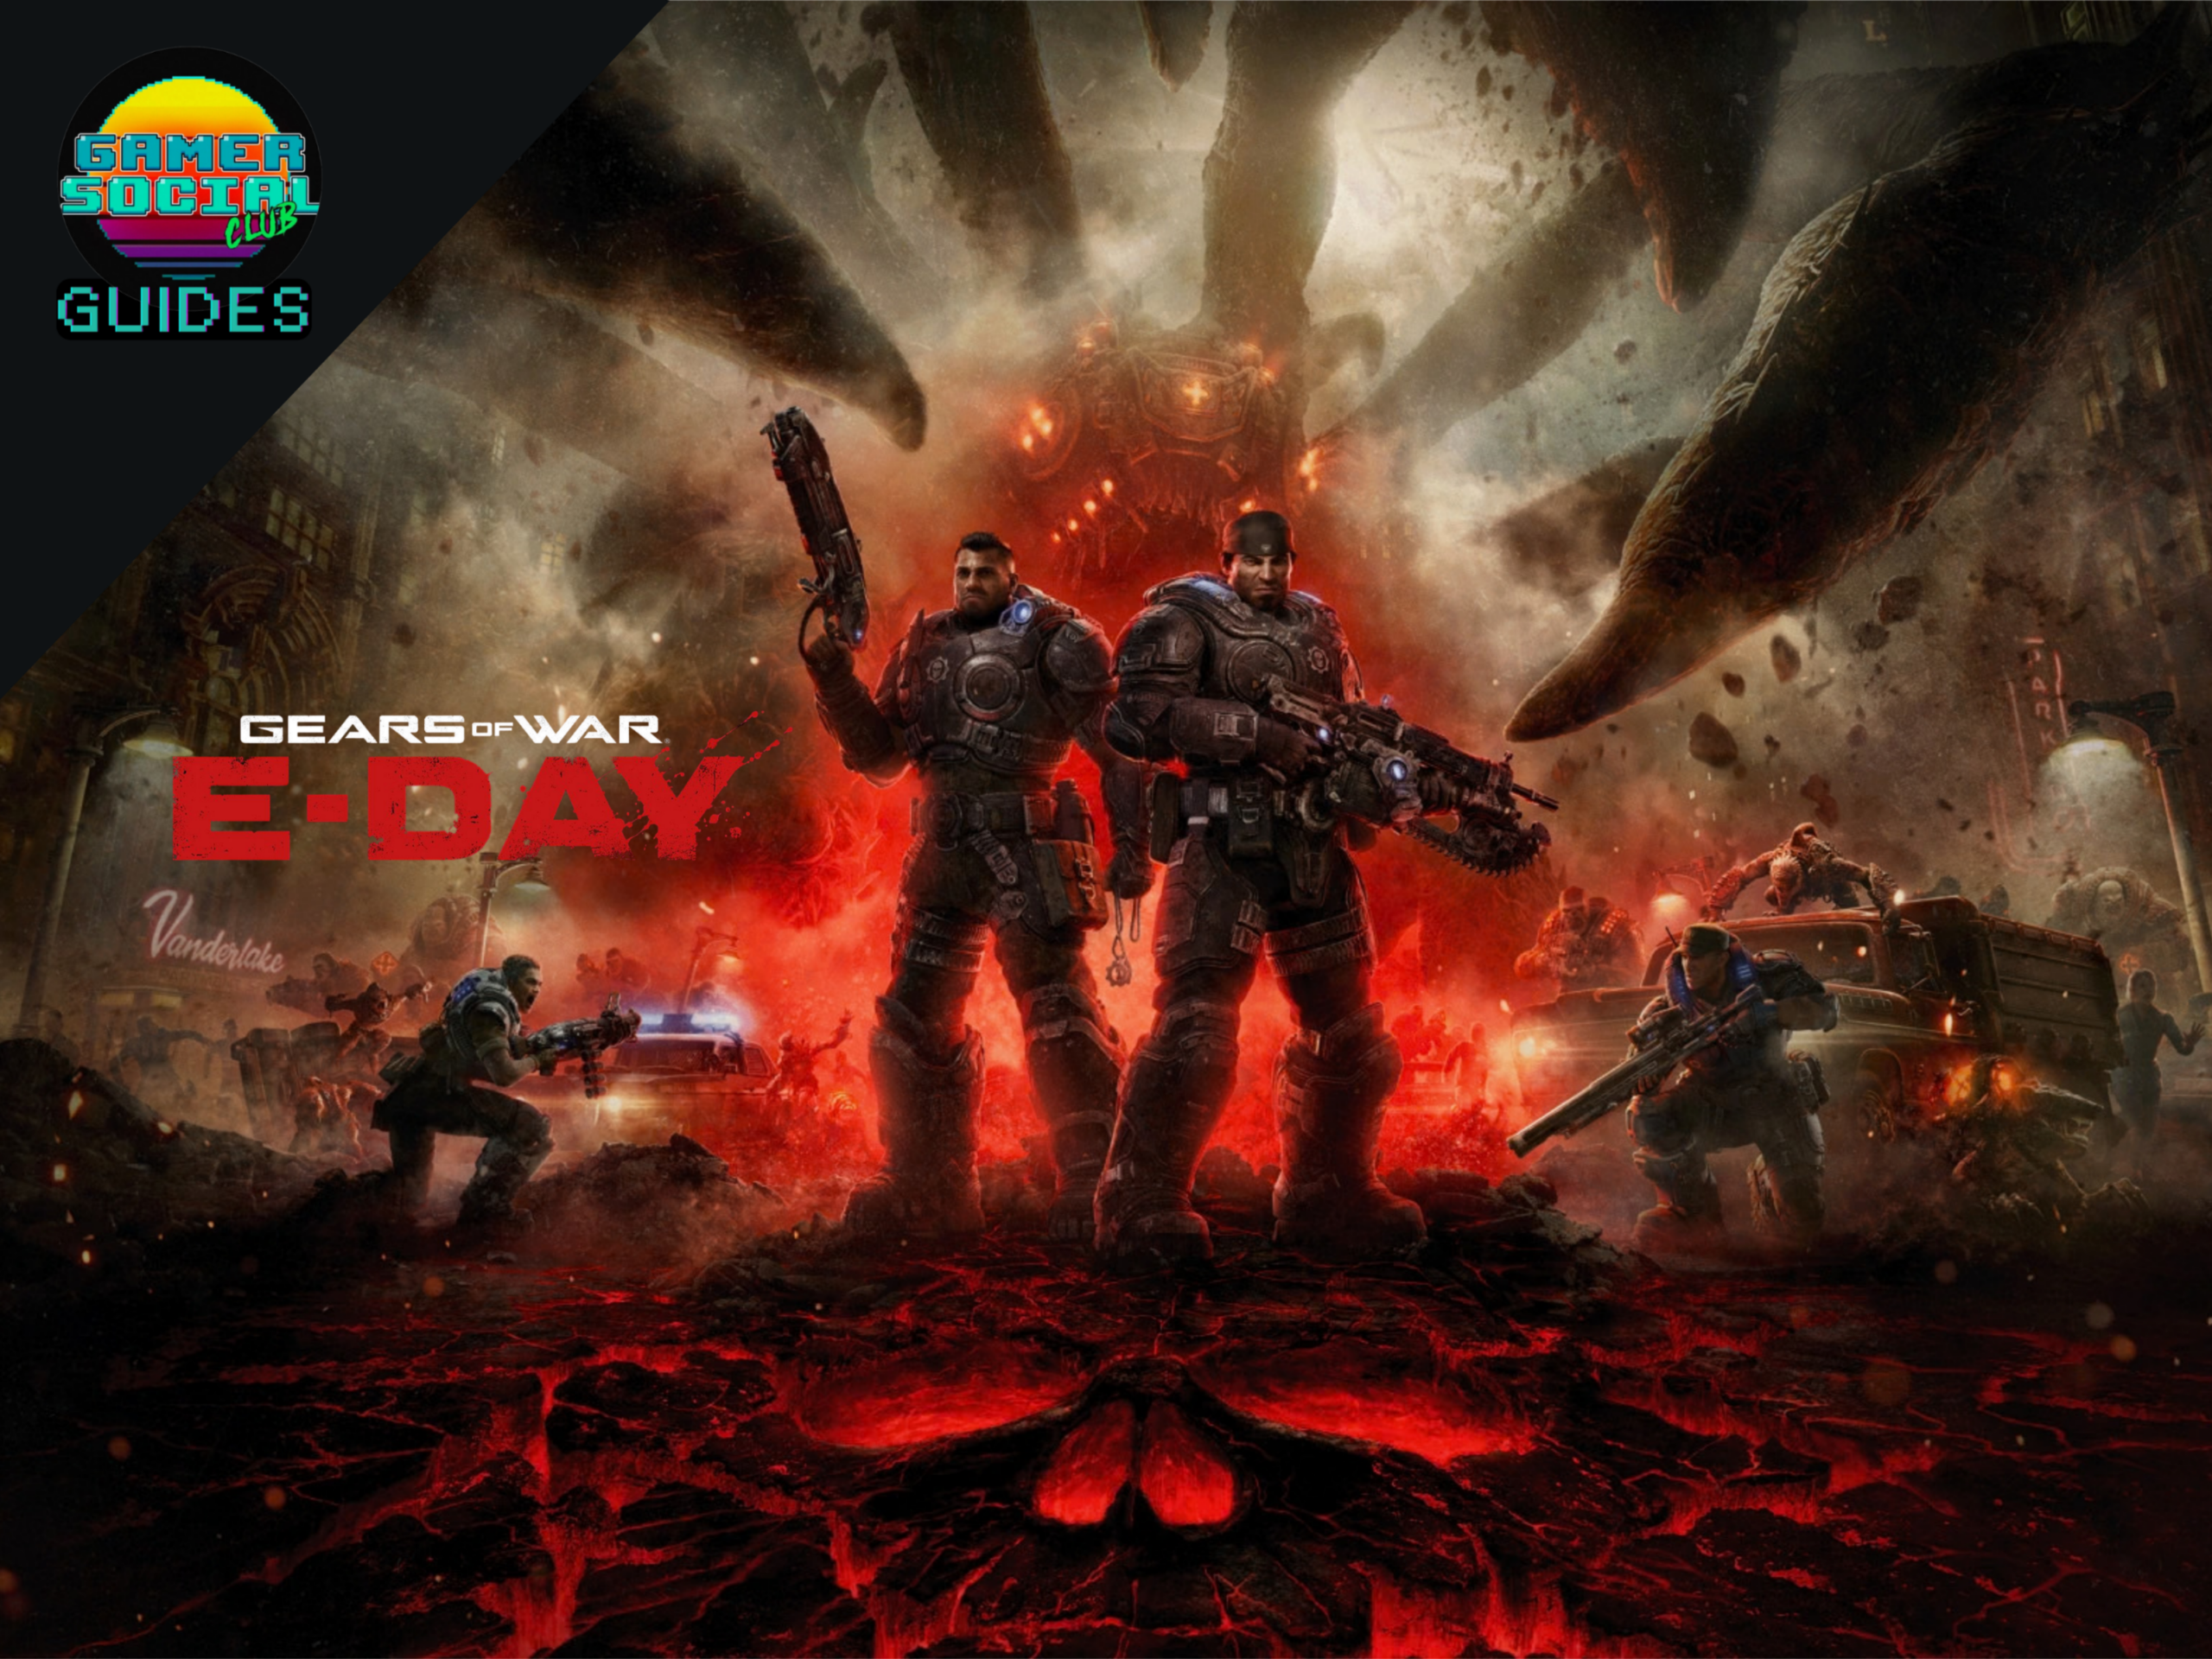
Gears is back baby! The Coalition have returned with Gears of War: E-Day the latest entry in the iconic XBOX franchise. A prequel that tells the story of Emergence Day, the day when the Locust army reveal themselves. Marcus, Dom and other Gears band together to take on this new threat in the city of Kalona as the world of Sera changes forever!
Gears of War: E-Day Collectibles, Hard Cases, and Secondary Objectives
There’s plenty to find through the campaign of Gears of War: E-Day:
- Collectibles: Items scattered across the game’s five Acts of the campaign. These tell a grizzly tale of E-Day and add additional lore from the team. When you are near a collectible you will hear the familiar COG Omen musical sting. There are levels where you have access to a map, in those, the collectible gets added to the map. Get all the collectibles to unlock the “Memories from E-Day” achievement.
- Hard Cases: These provides upgrades for your weapons and tactical abilities. There’s plenty to find. You get alerted when you are near one with a message on screen. You can use your Tac-Com (LB on Xbox controller) to see them. In levels where there are maps, you will also get these pinged on your map. Finding all Hard Cases will get you the “Relax. I’m the Map” achievement.
- Secondary Objectives: you’ll encounter secondary objectives to help people out around Kalona. You might be pointed to it by the game (sometimes with a visual ‘Hold X to View’ on screen), others you might happen upon as you drawn to firefighting or conversation in the game. You will have to accept a secondary objective when it prompts you to begin it. Complete the objective to receive unlocks as your reward and work towards the “Side Piece” achievement.
Gears of War: E-Day Act 4 Collectibles Guide
You can use a video guide below or read on for a text and image guide:
Use the links below to jump to the chapter you need.
Act 4
- Act 4, Chapter 1 – Hope & Ruin
- Act 4, Chapter 2 – Technical Difficulties
- Act 4, Chapter 3 – Tough as Nails
- Act 4, Chapter 4 – Signals
- Act 4, Chapter 5 – Paths Diverge
- Act 4, Chapter 6 – Critical Failure
Act 4, Chapter 1 – Hope & Ruin
- 13 Collectibles
- 14 Hard Cases
- 3 Secondary Objective
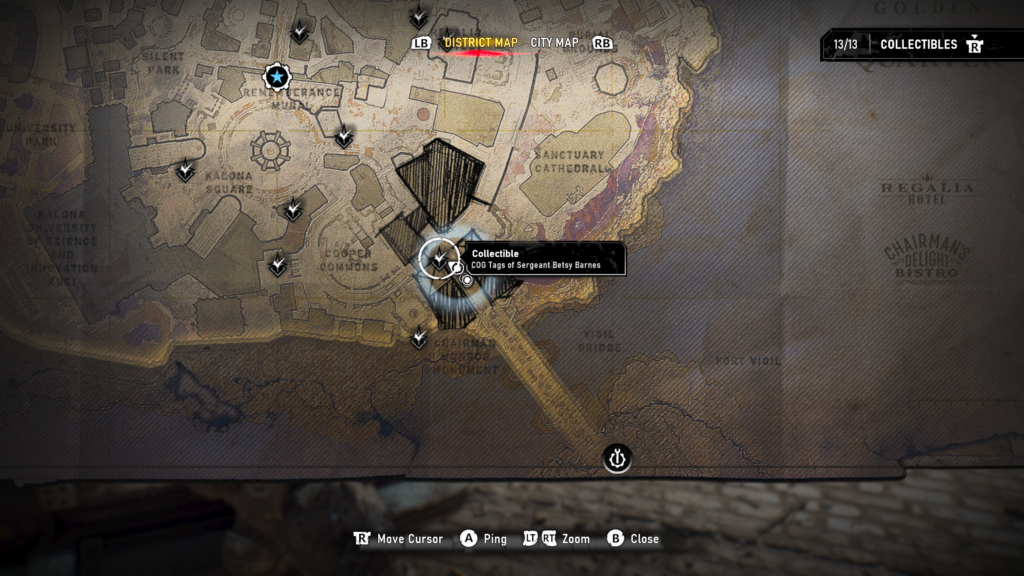
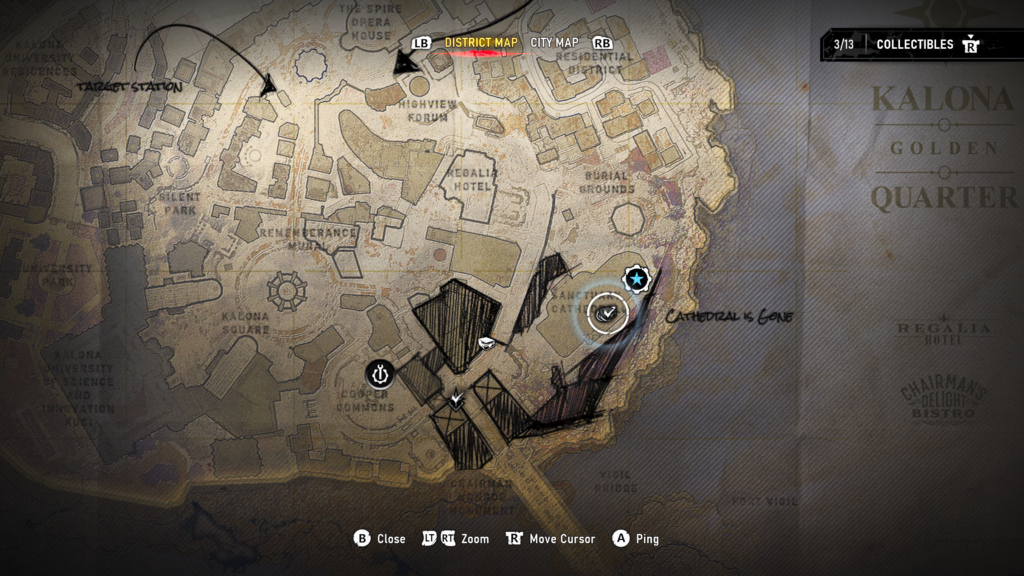
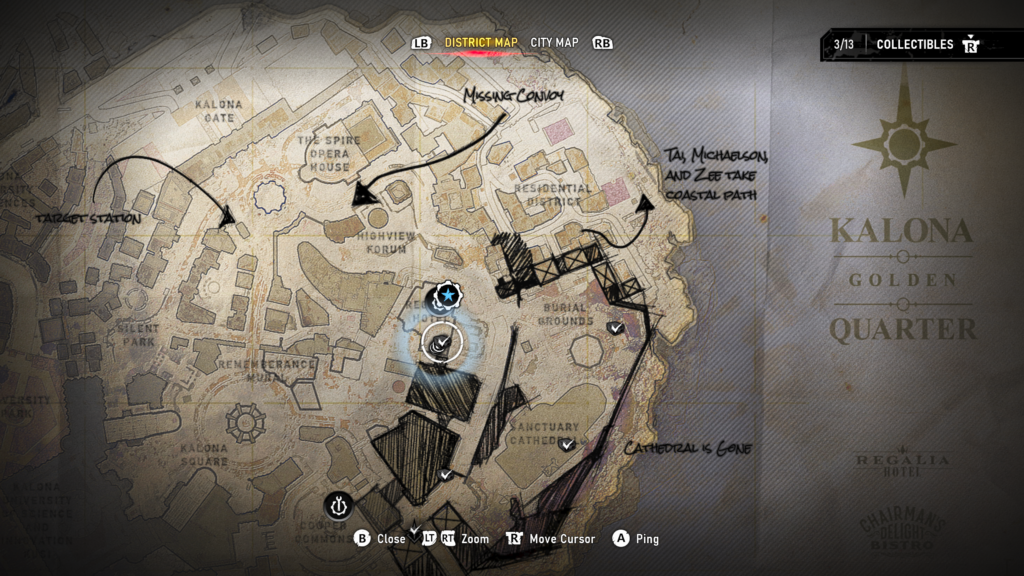
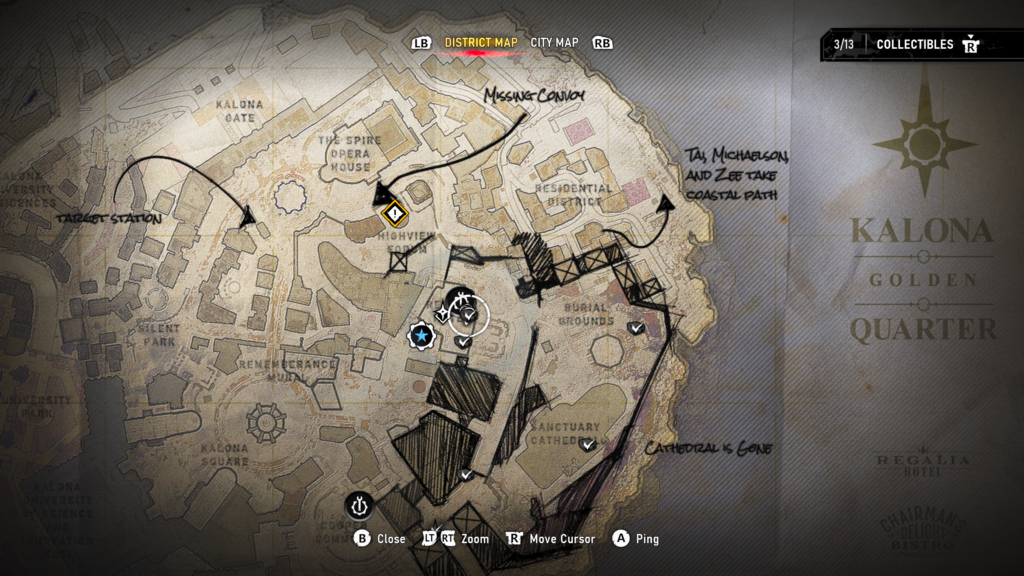
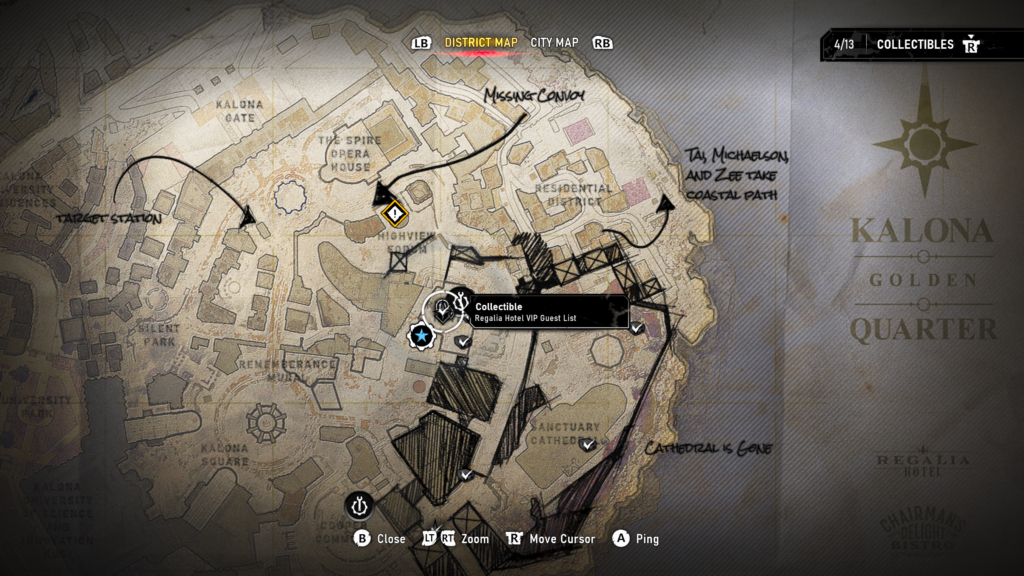
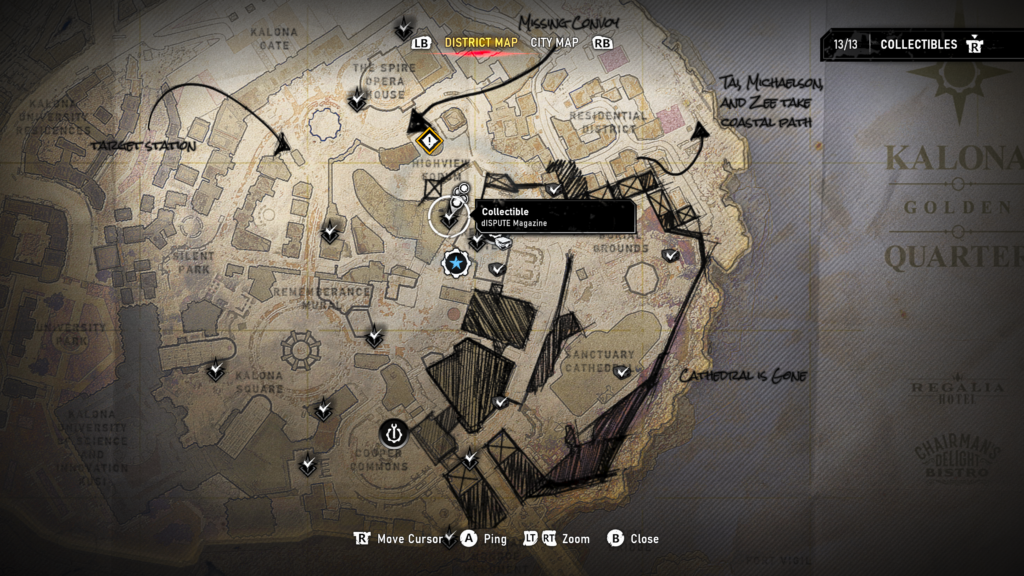
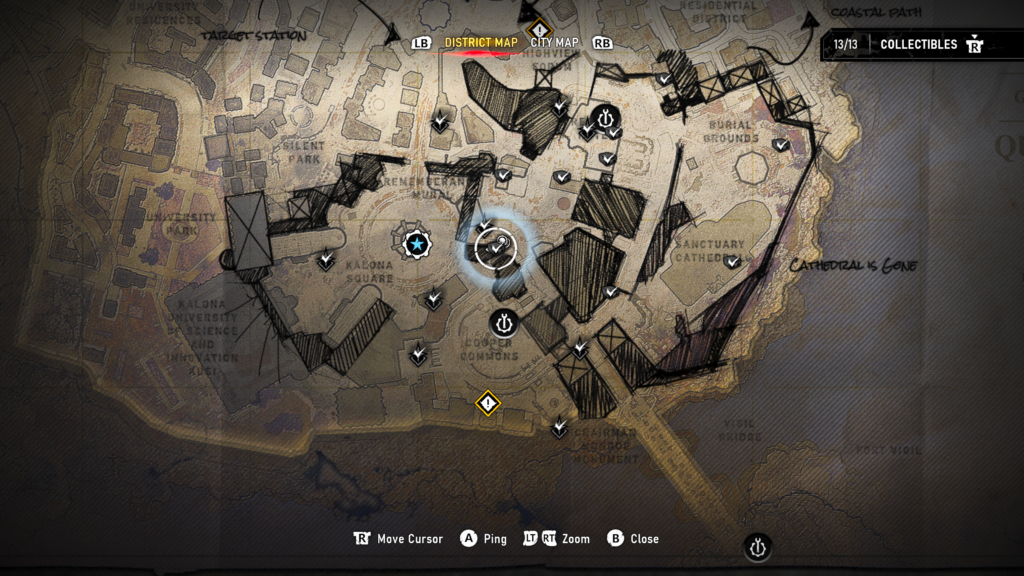
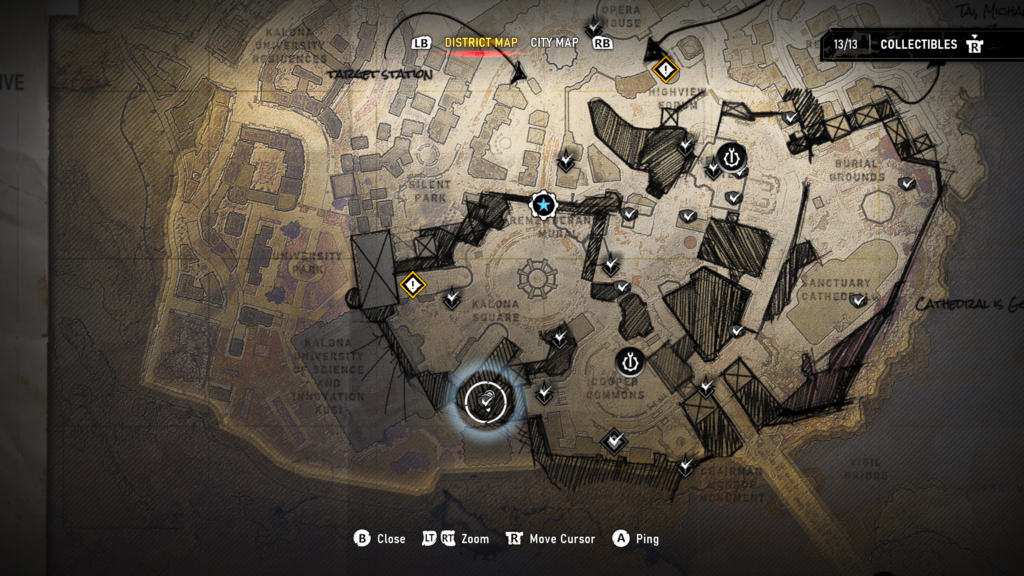
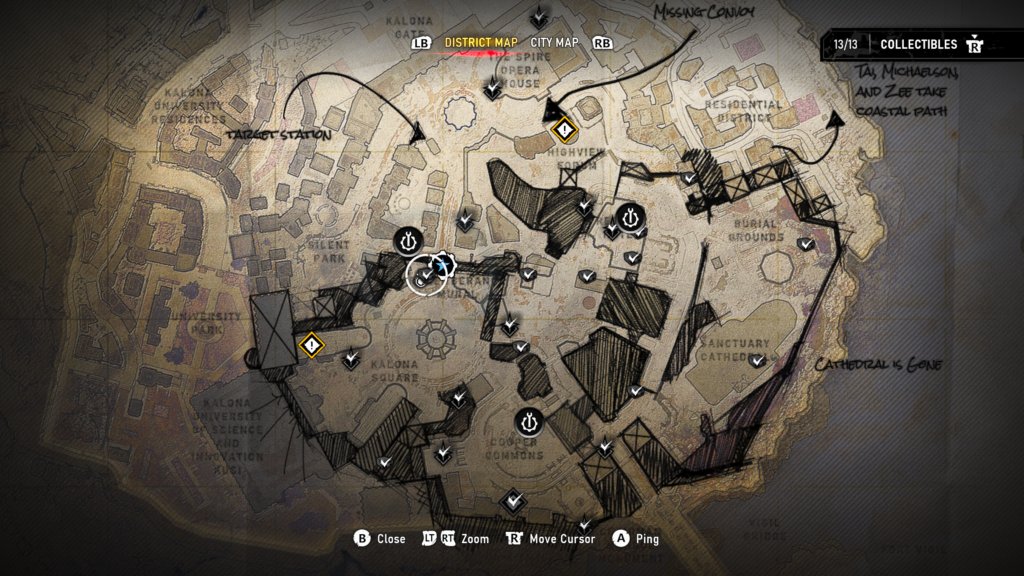
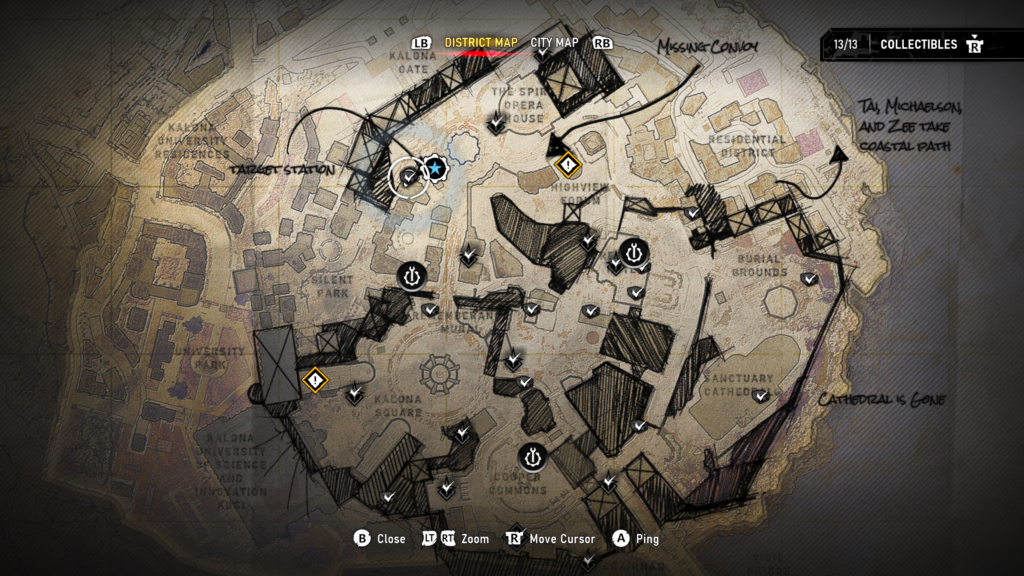
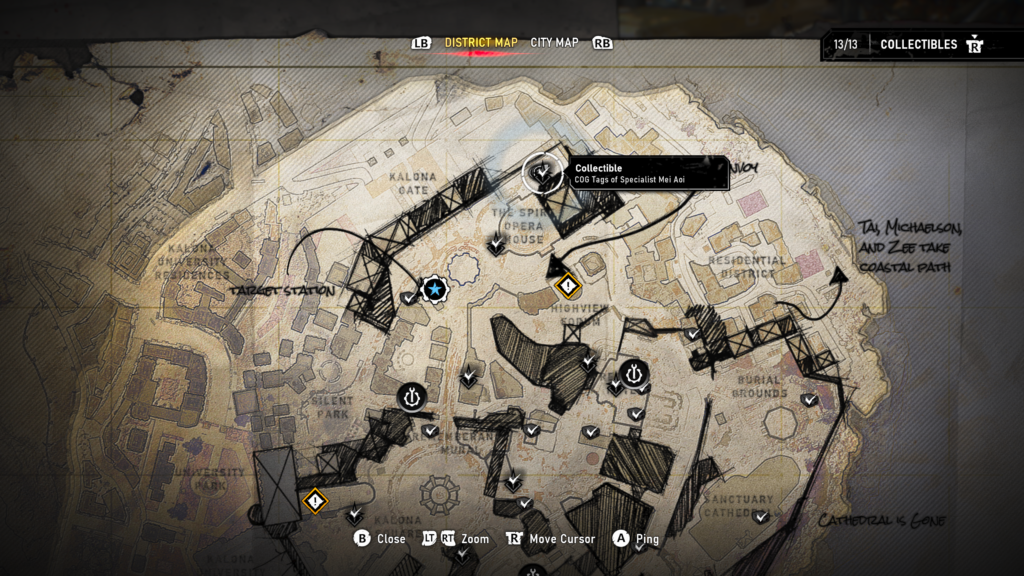
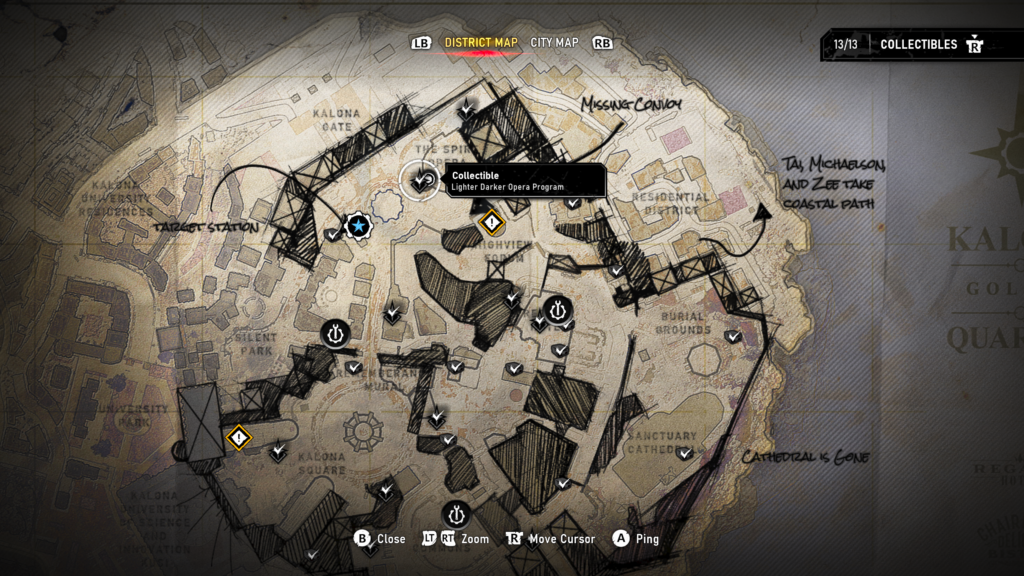
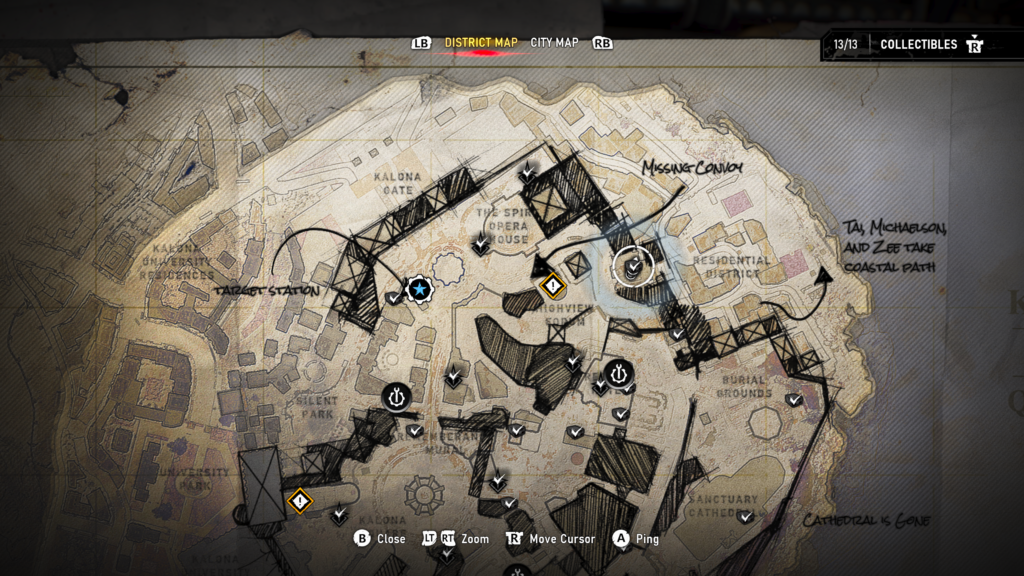
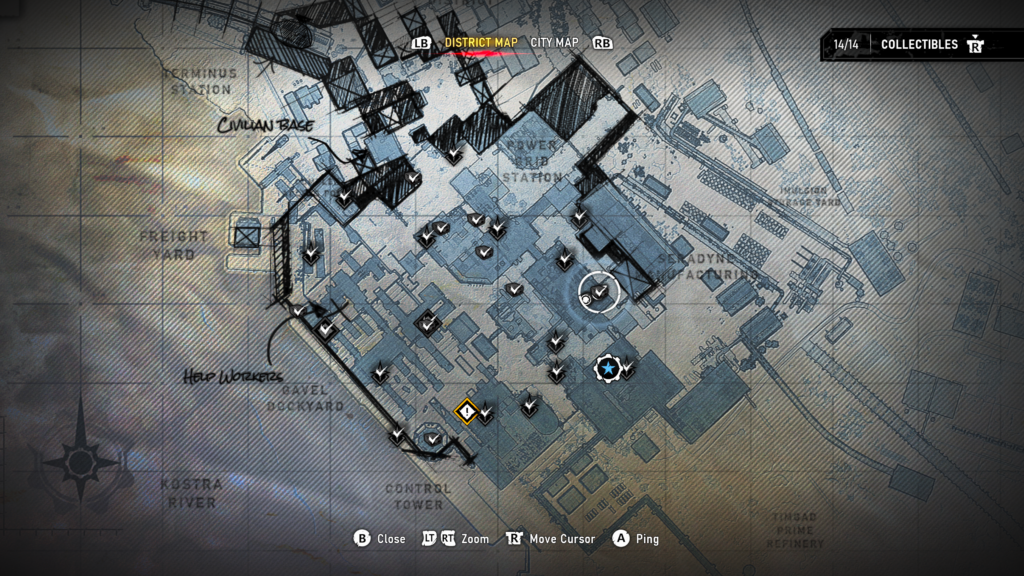
You will have access to a map in this chapter. I have included the map location for each object where possible.
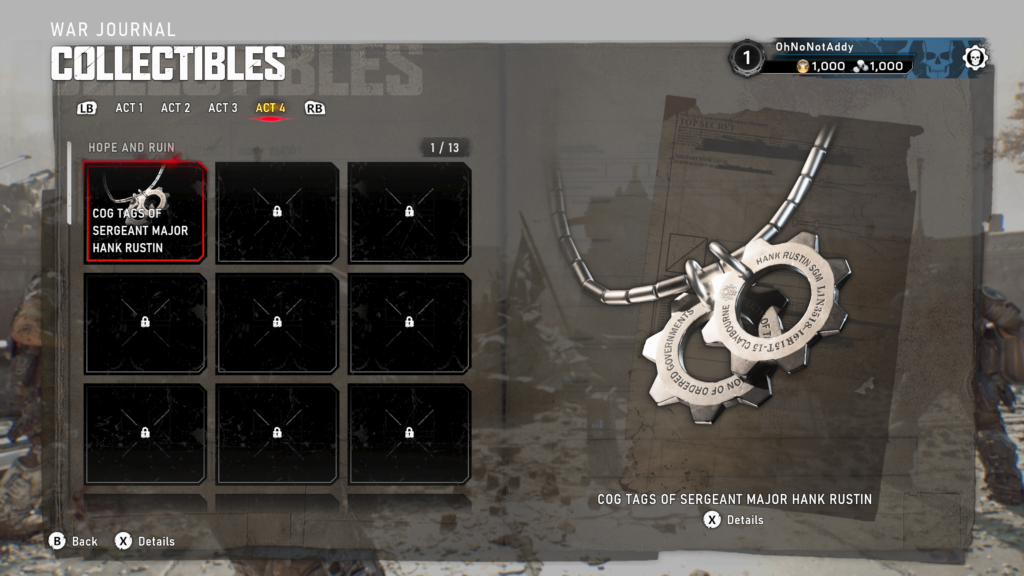
Collectible – COG Tags of Sergeant Major Hank Rustin (1 / 13)
After the start of Chapter 1’s opening cutscene, you’ll receive these automatically.
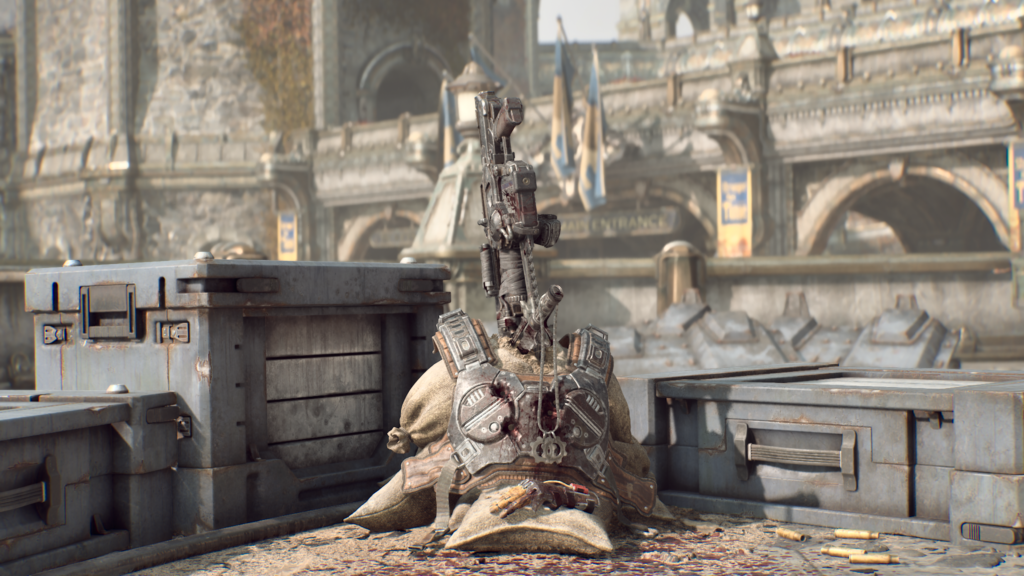
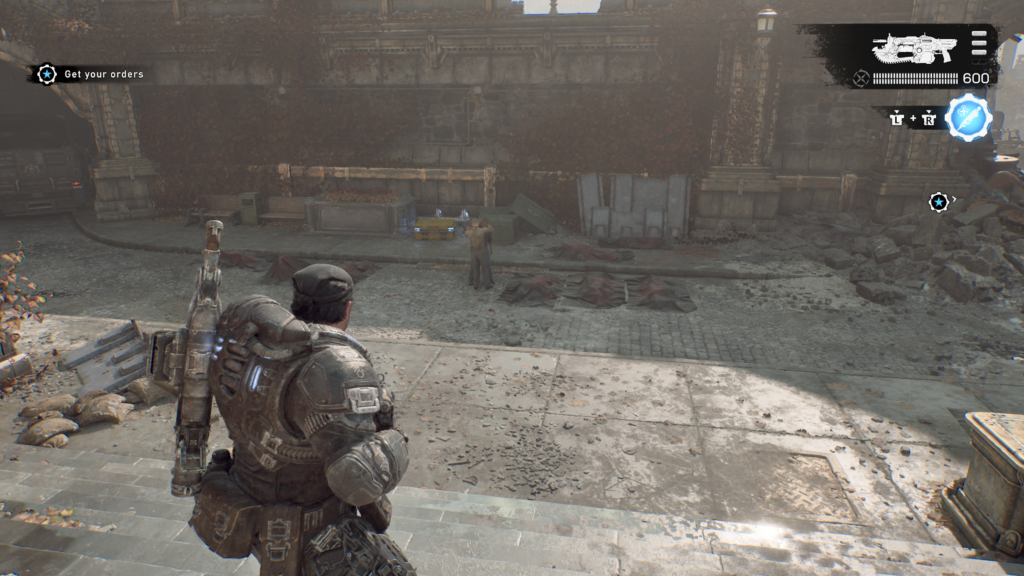
Hard Case (1 / 14)
From the beginning of the chapter, head down the steps on the left side, the hard case is at the bottom against a wall.
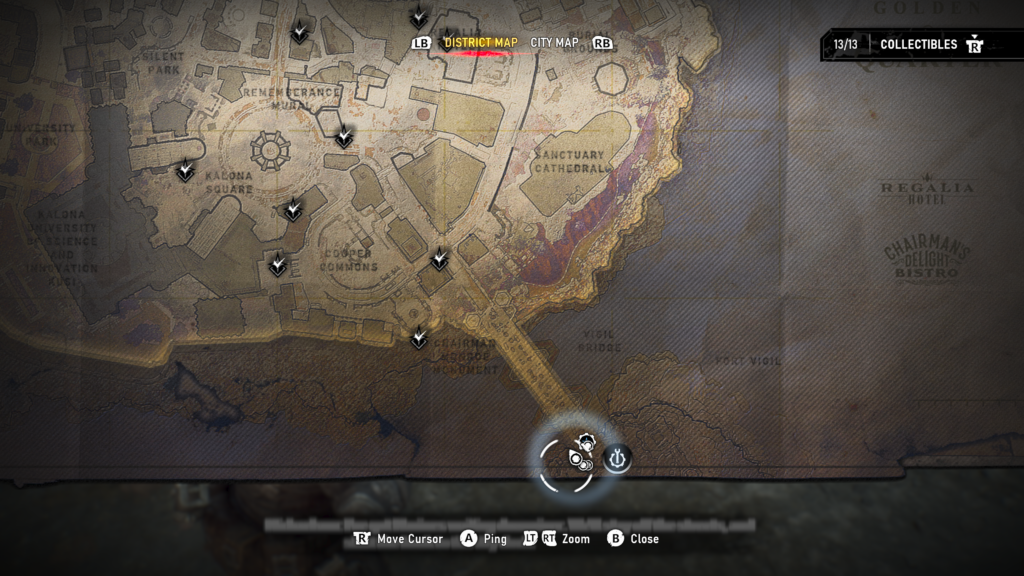
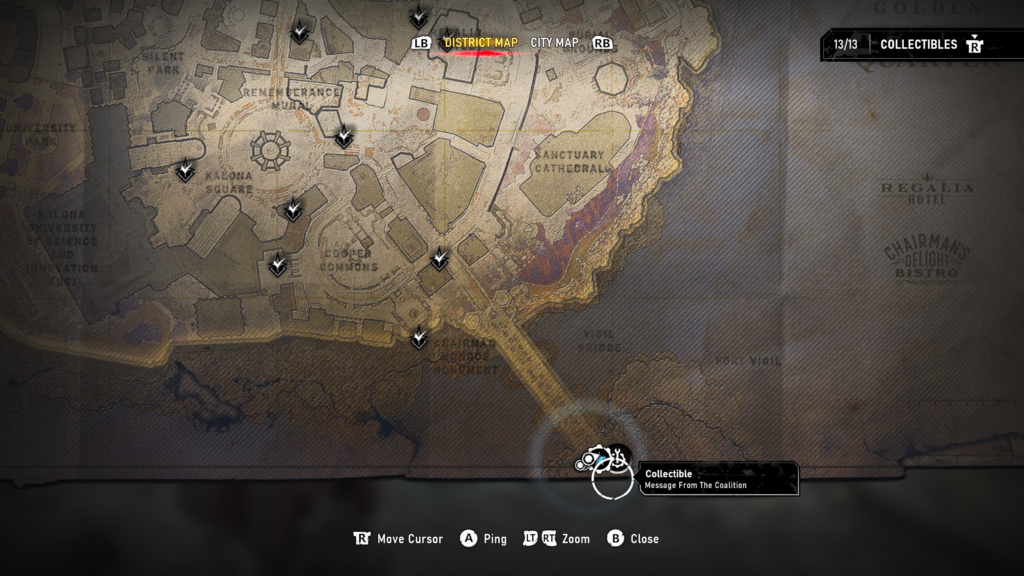
Collectible – Message from The Coalition (2 / 13)
Before you leave the fort through the big hole in the wall, look to your right to see a memorial.
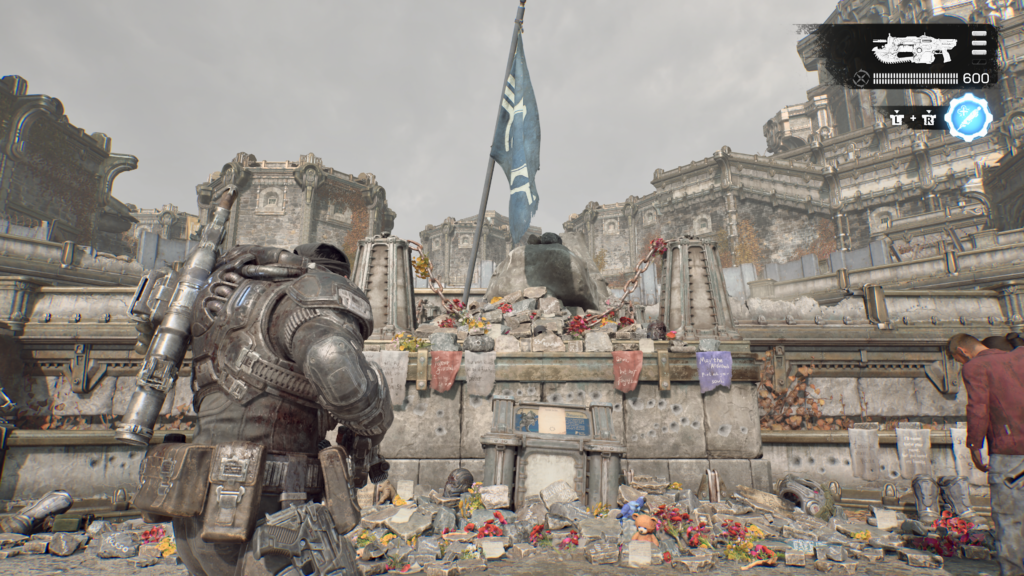
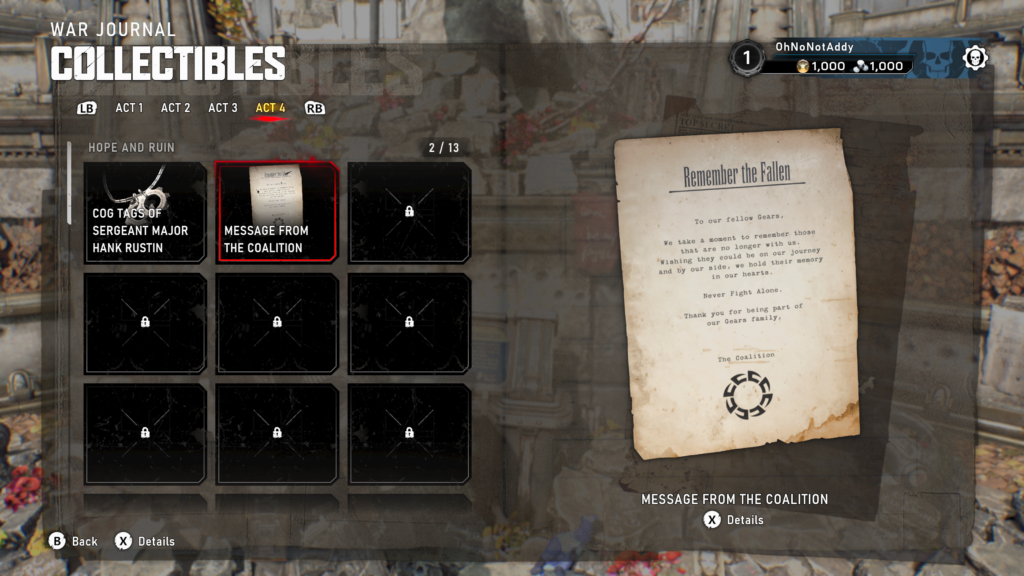
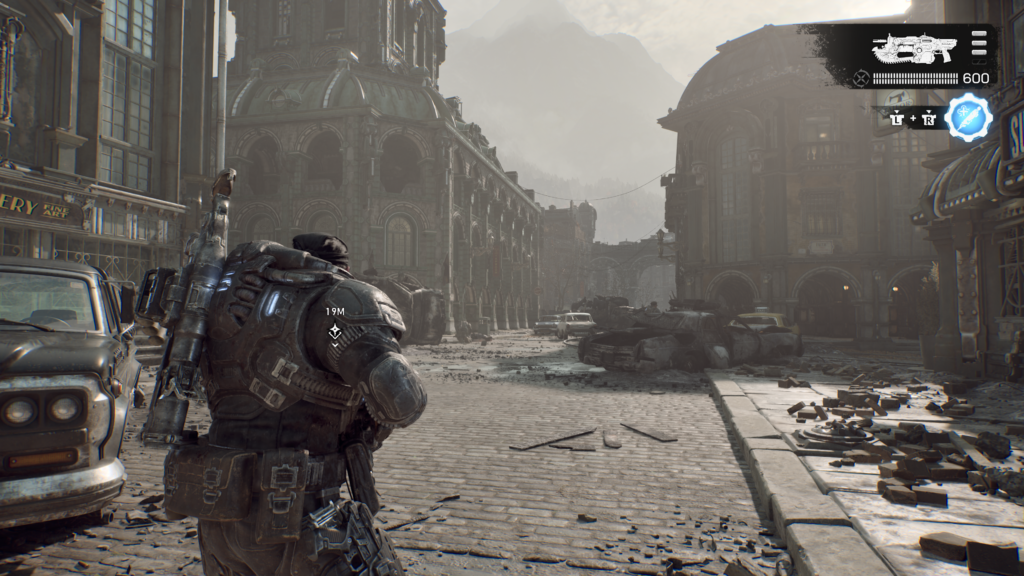
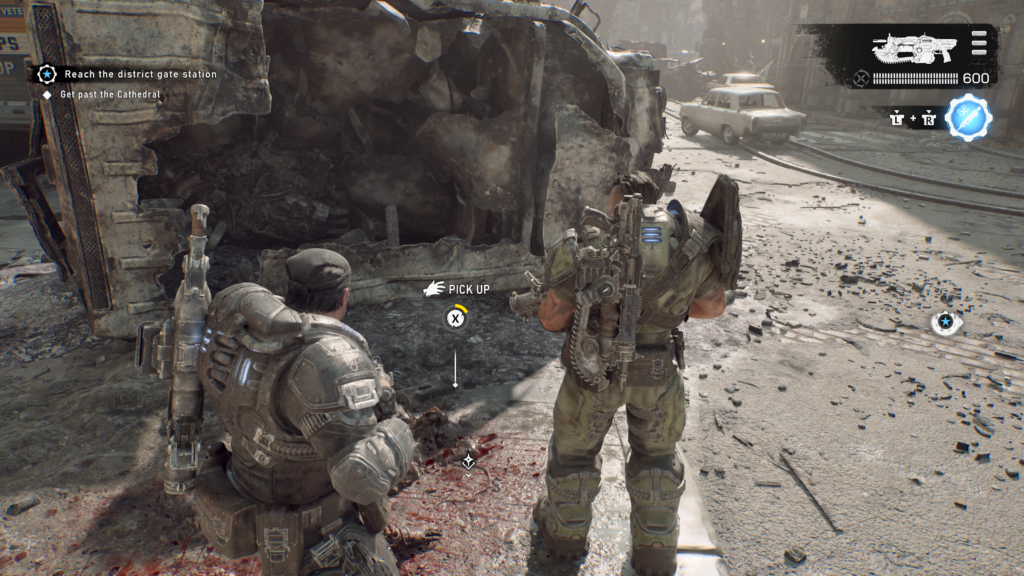
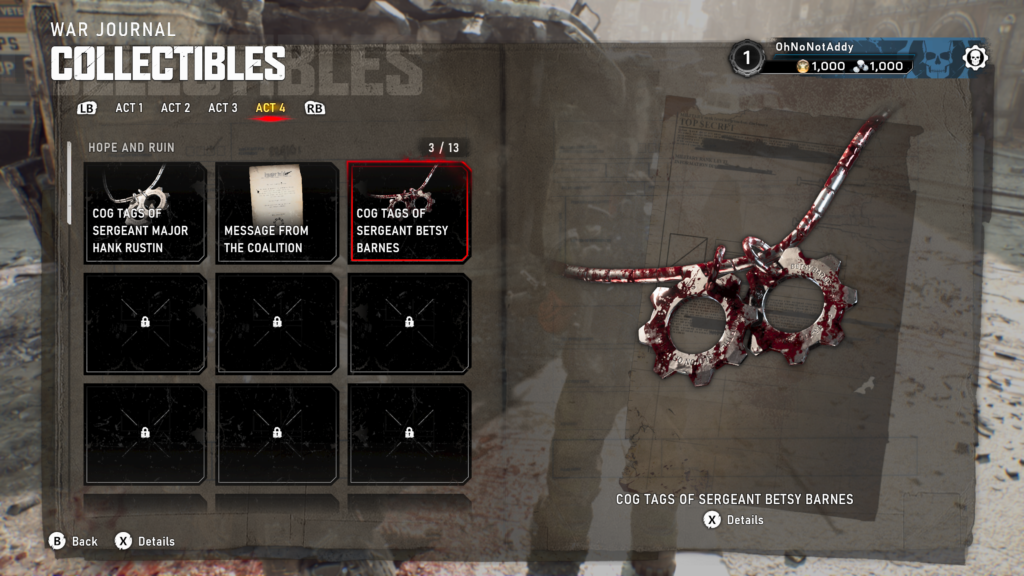
Collectible – COG Tags of Specialist Betsy Barnes (3 / 13)
Head across the bridge from the fort and to the left, at the first intersection. The collectible is on the floor by lots of blood by a crashed truck.
Hard Case (2 / 14)
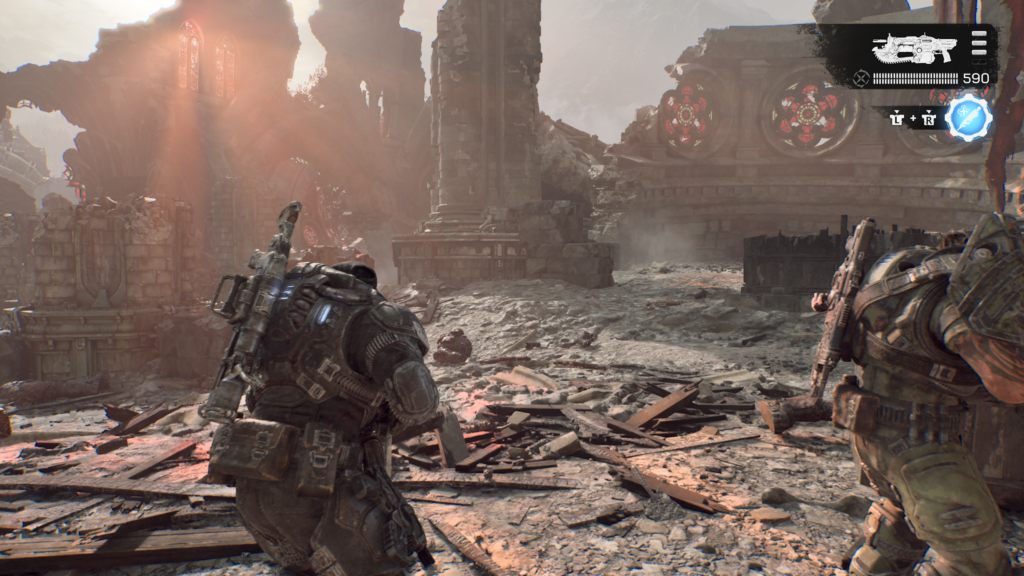
In the ruins of the cathedral, to the right of the remaining red stained glass windows.
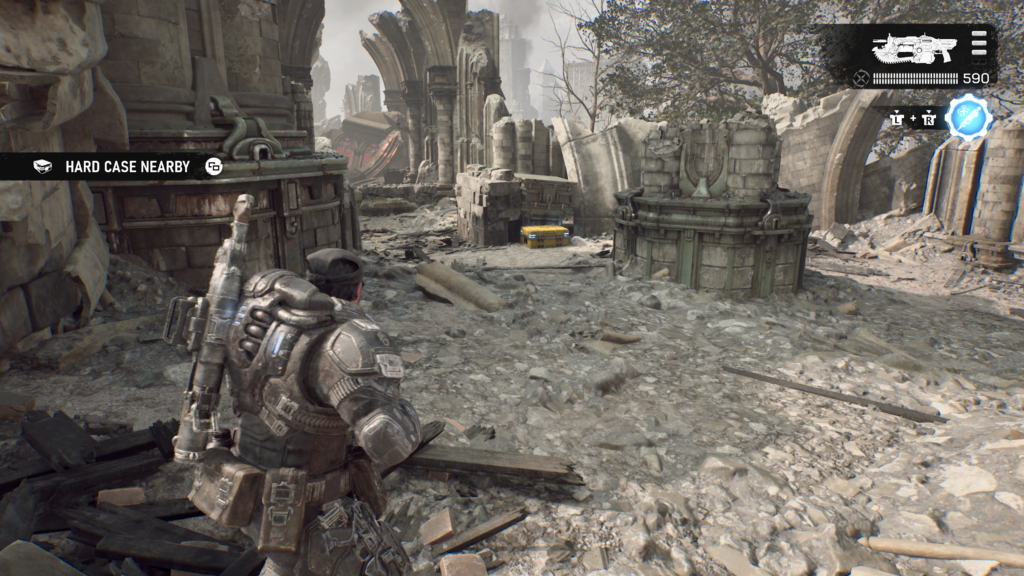
Hard Case (3 / 14)
To the back right of the cemetery area, when come out the back of the cathedral. Before you exit through a gate when you split up from Commander Zee and Michaelson.
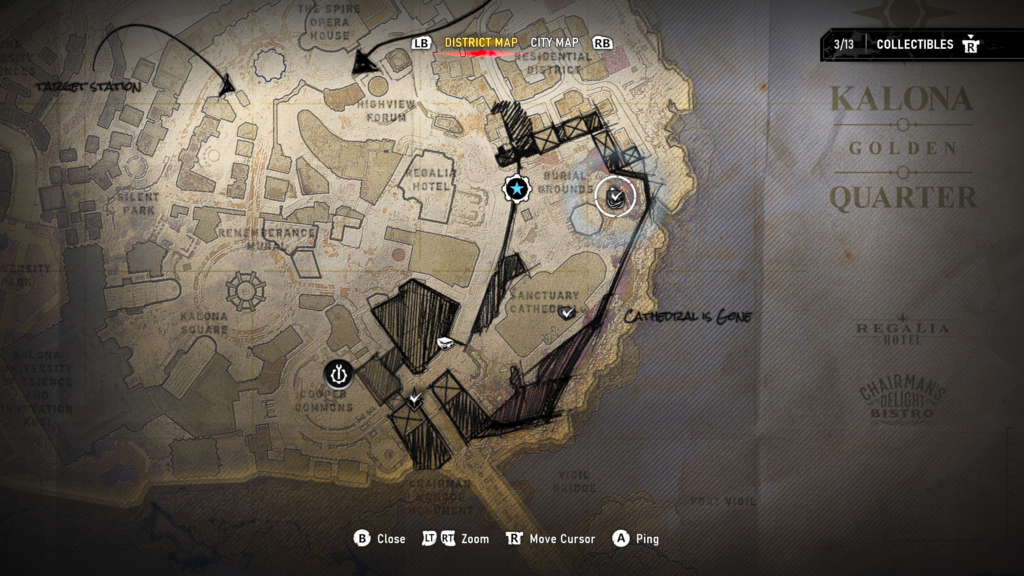
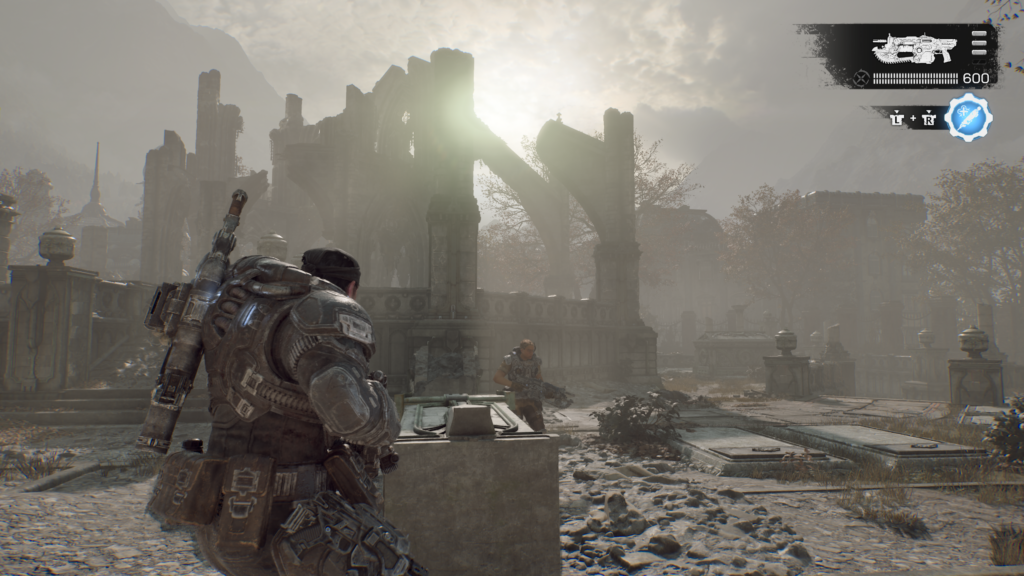
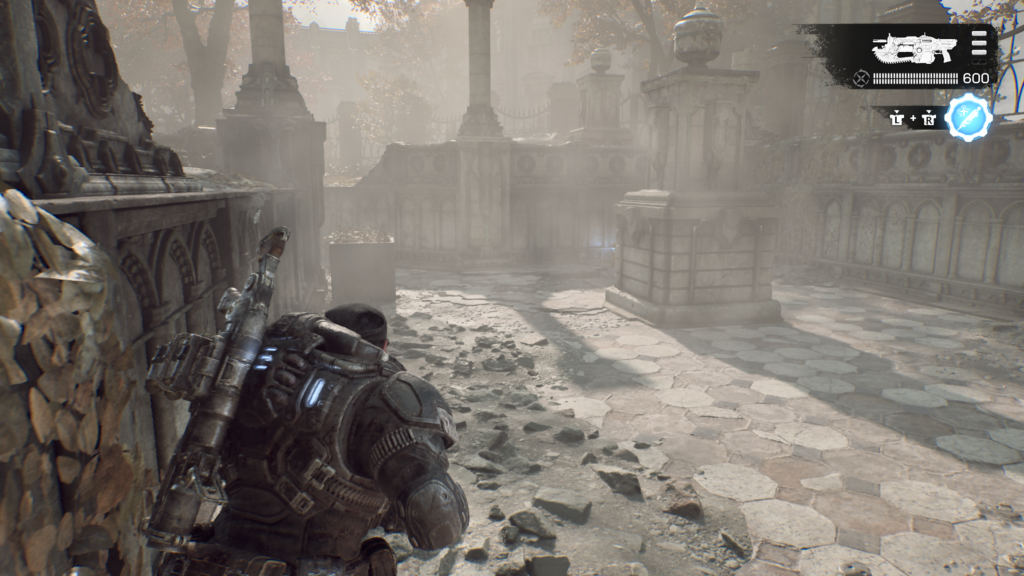
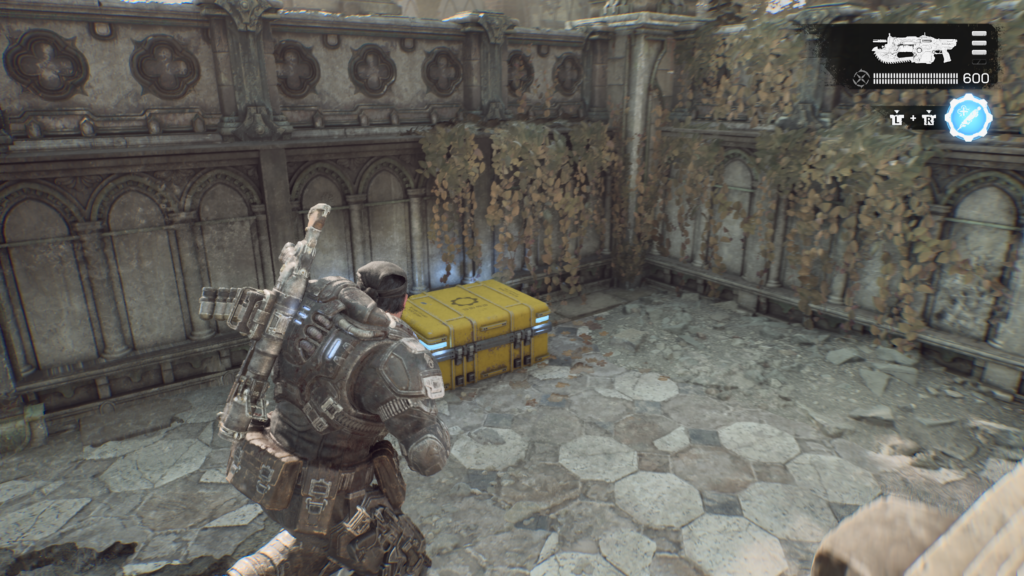
Hard Case (4 / 14)
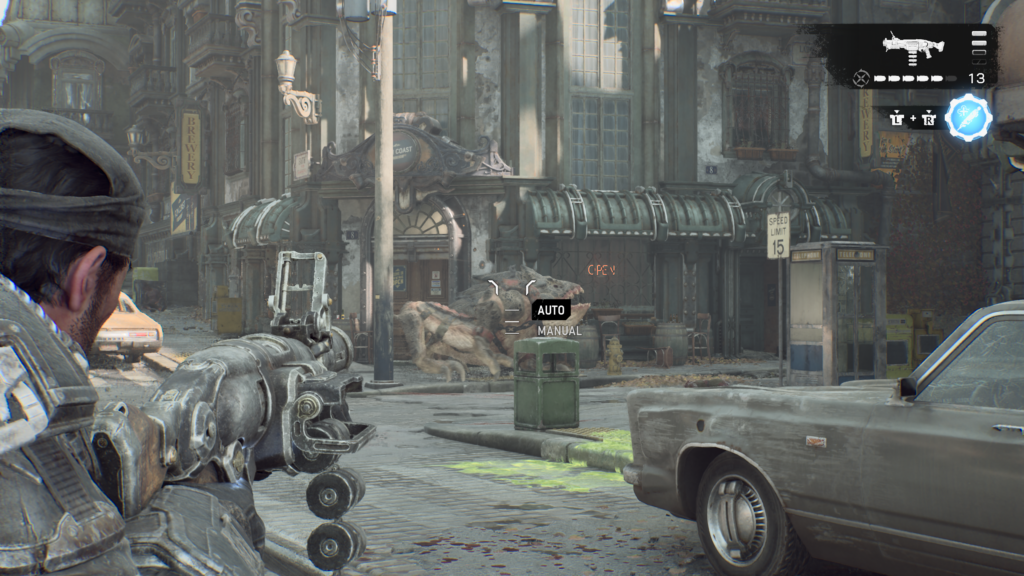
Once you’ve left the church / graveyard section, head to the left and up the long road. There’ll likely be a Bile Frog and some wretches. At the top of the road, next to a locked gate is the hard case. You might have seen this one from the other side as you entered the church area.
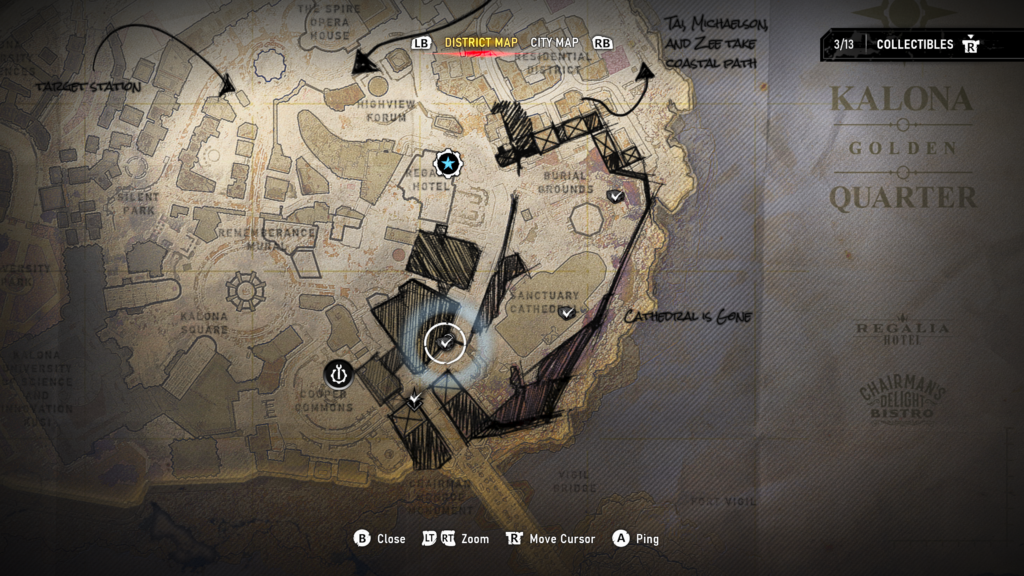
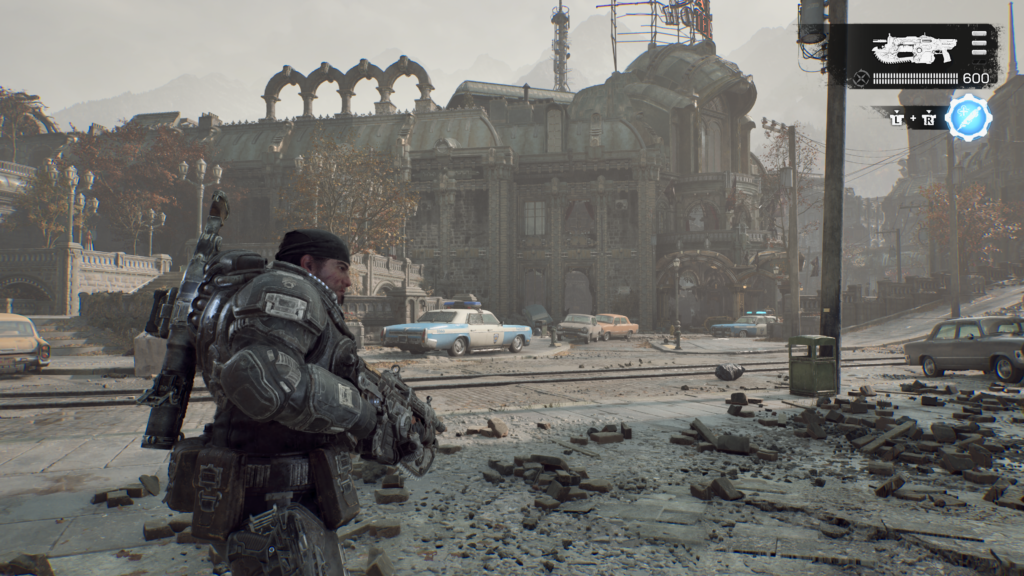
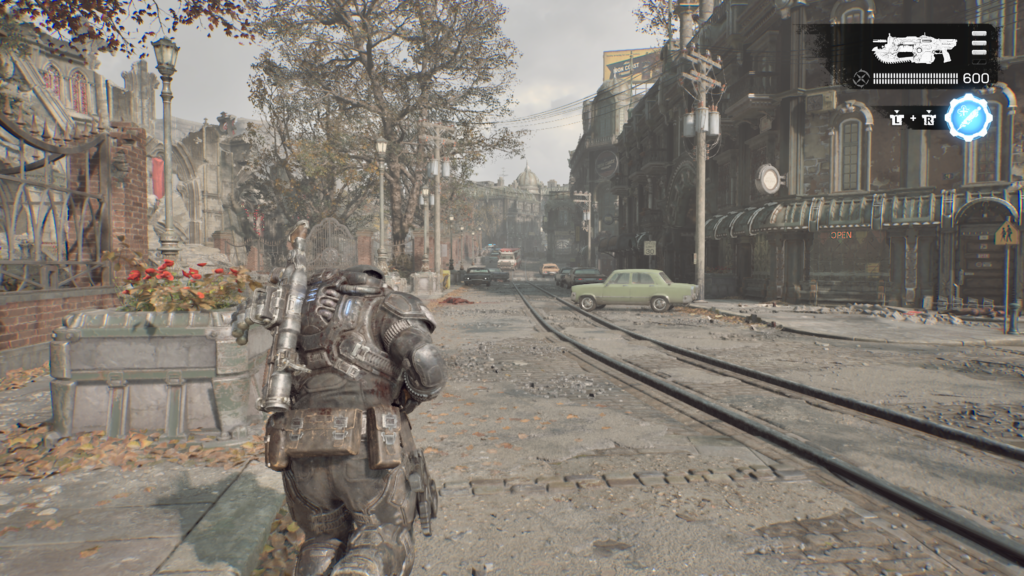
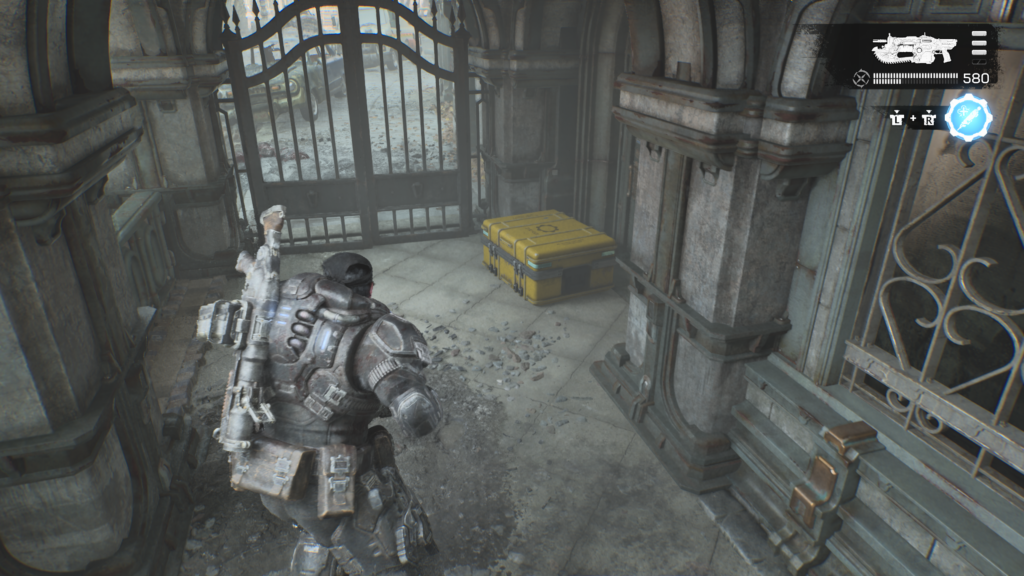
Hard Case (5 / 14)
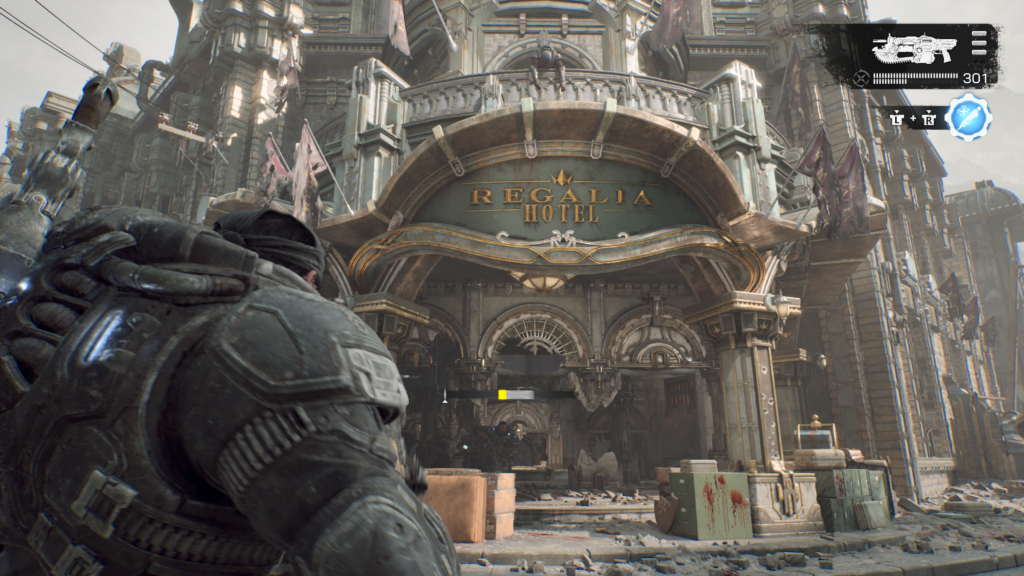
Go up the street that is behind the Regalia Hotel and enter through the entrance on the right side. There is a hard case in a small foyer area.
Hard Case (6 / 14)
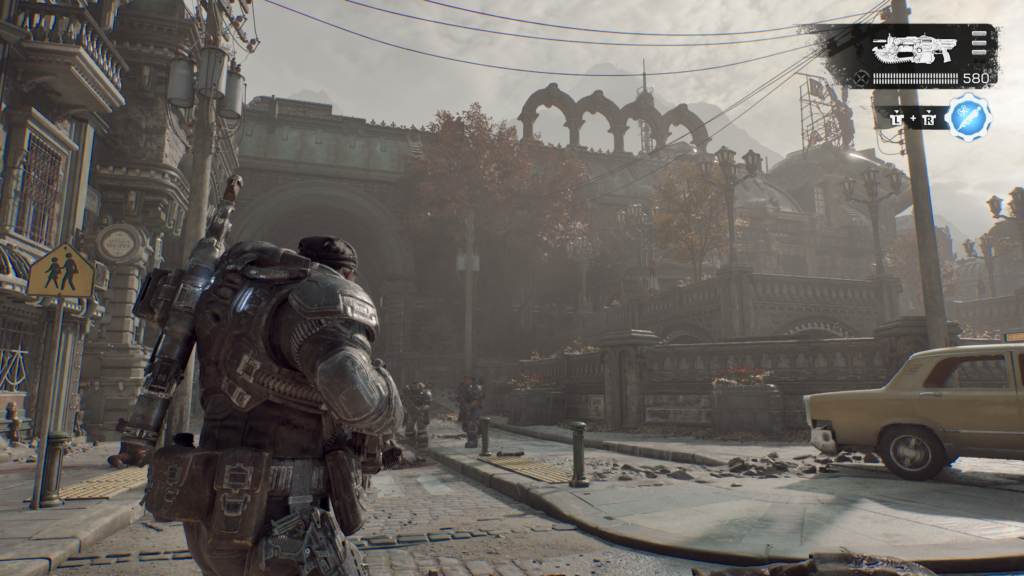
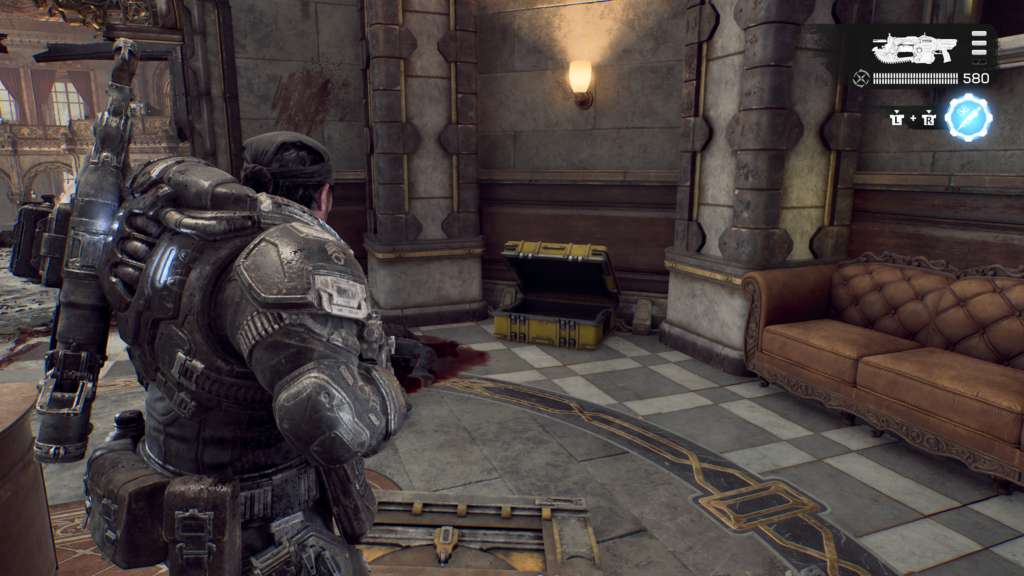
From the entrance to the Regalia Hotel, head in and take an immediate left, the hard case is on the floor there.
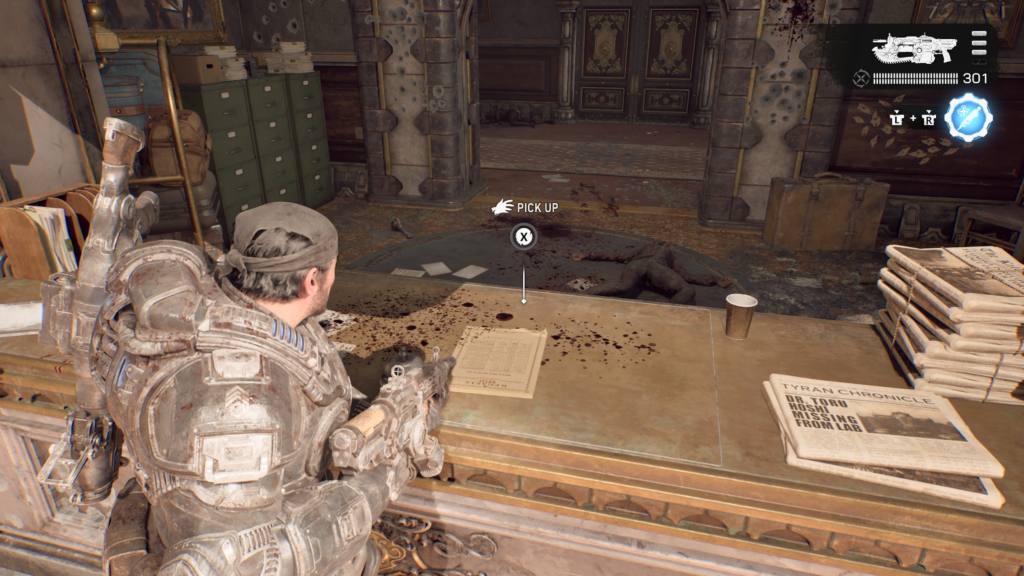
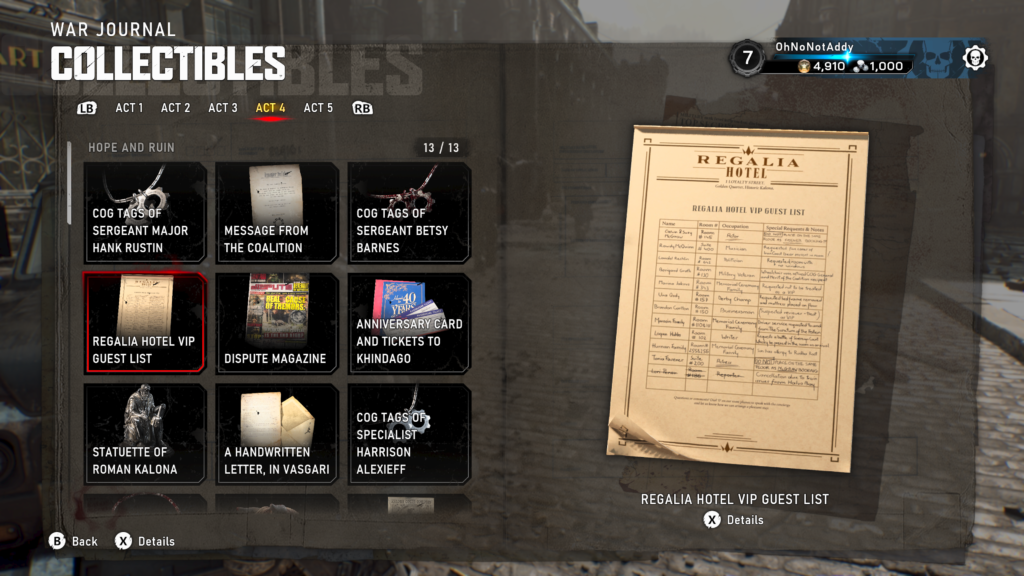
Collectible – Regalia Hotel Guest VIP List (4 / 13)
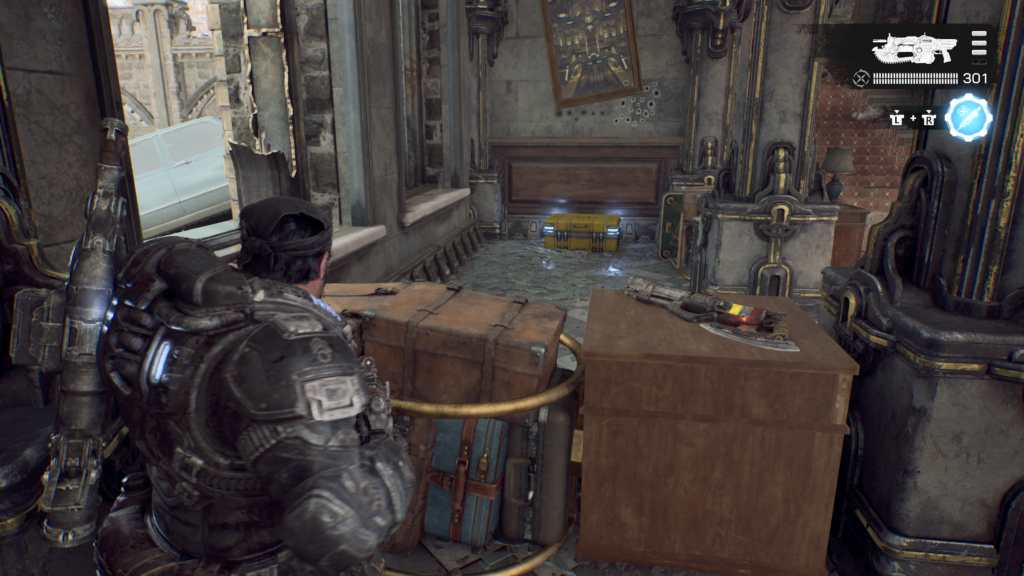
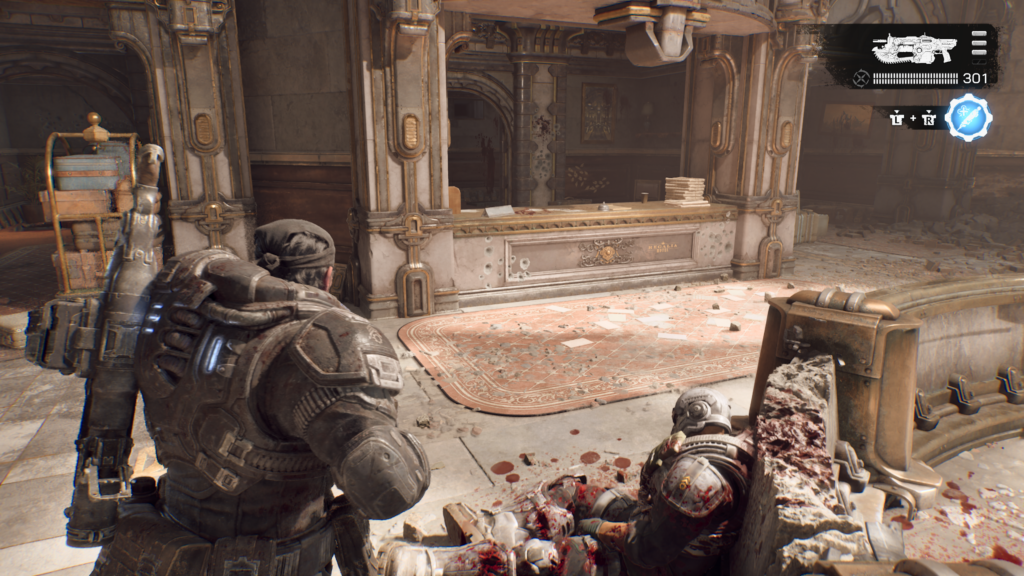
From the entrance to the Regalia Hotel, head inside and across to the reception desk. You’ll find the collectible on there.
Hard Case (7 / 14)
From the front of the Regalia Hotel, look to the right and go up the road that goes higher. To the right are some steps to a back alley, the hard case is on the far left, on the floor.
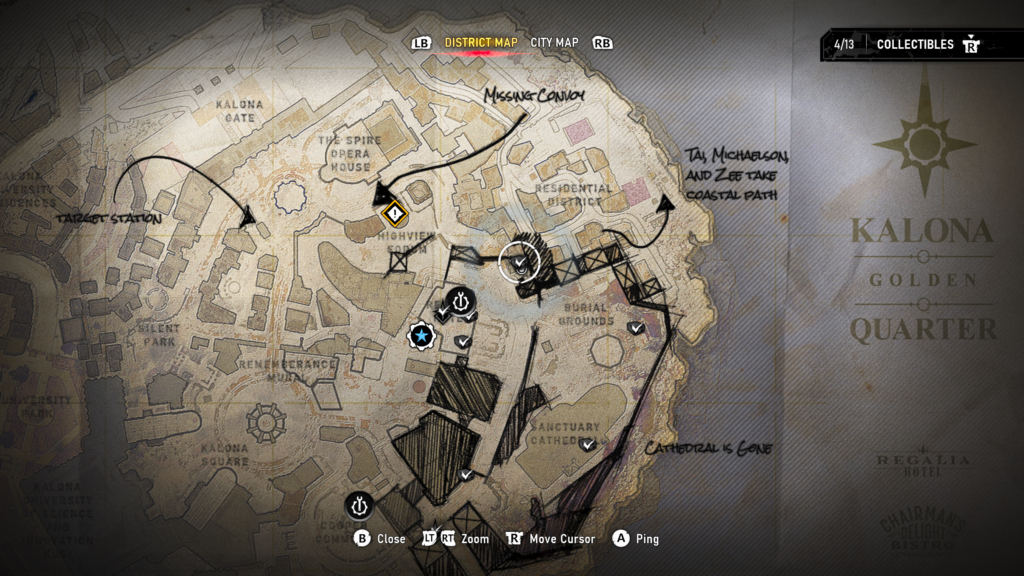
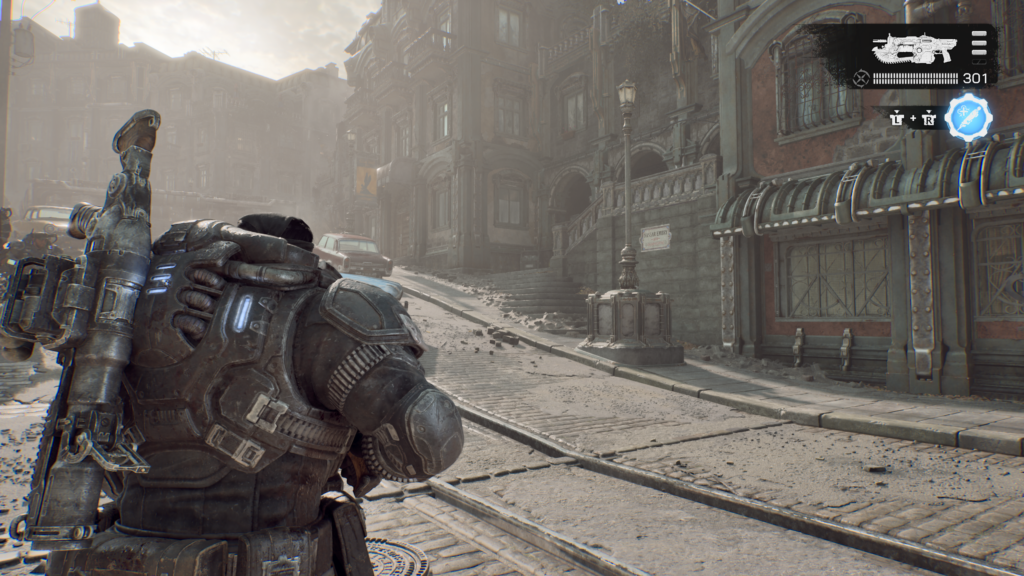
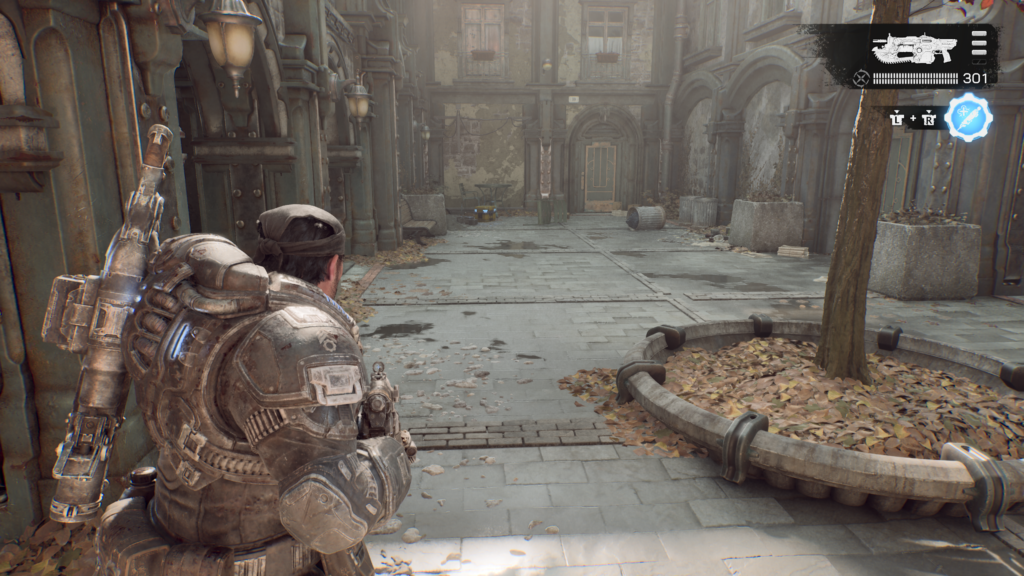
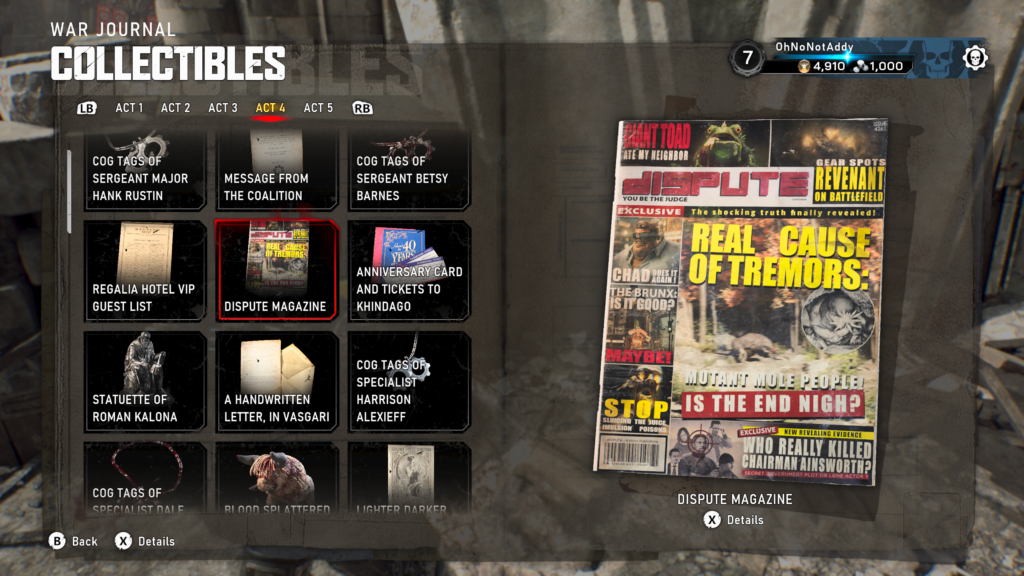
Collectible – Dispute Magazine (5 / 13)
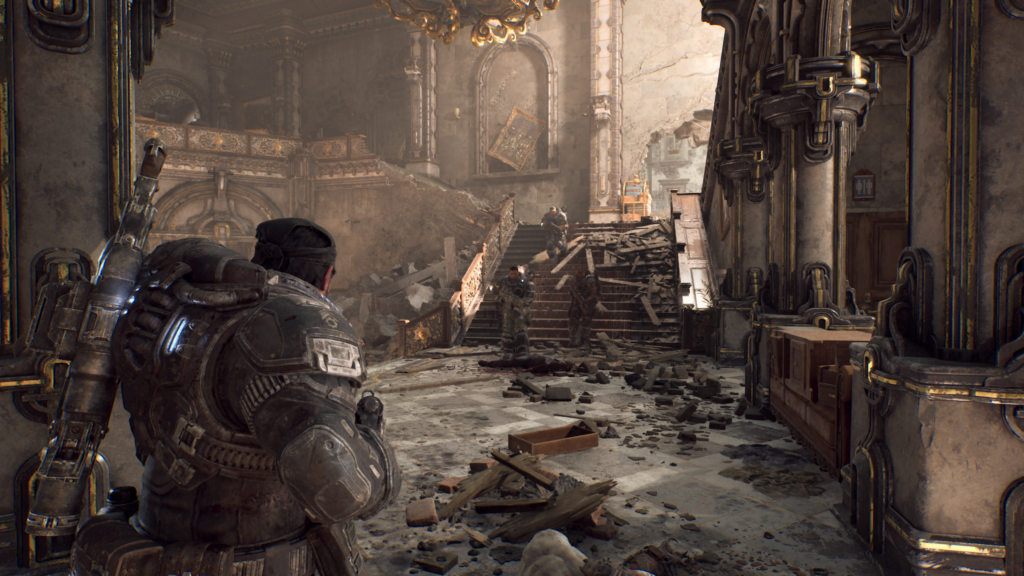
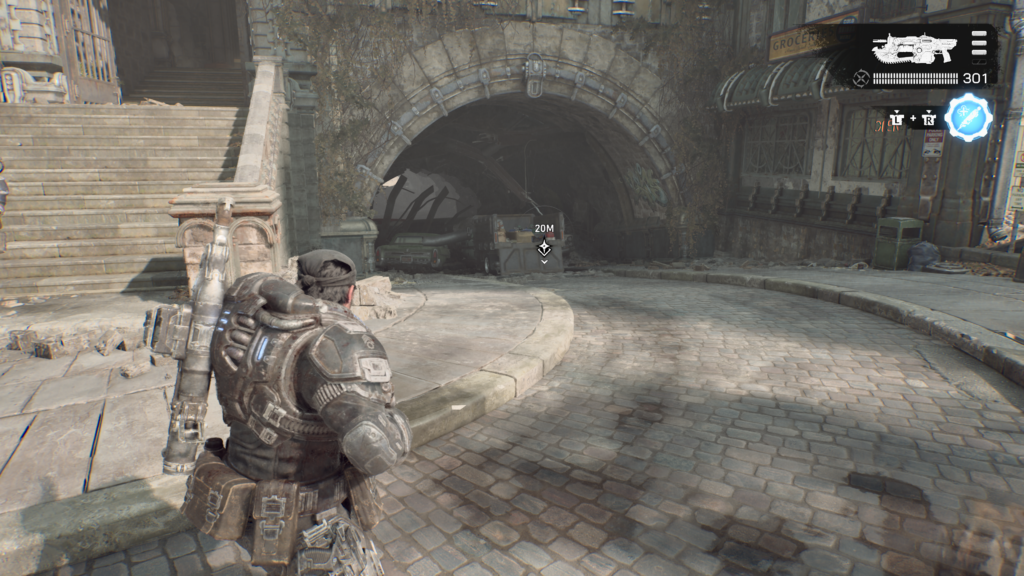
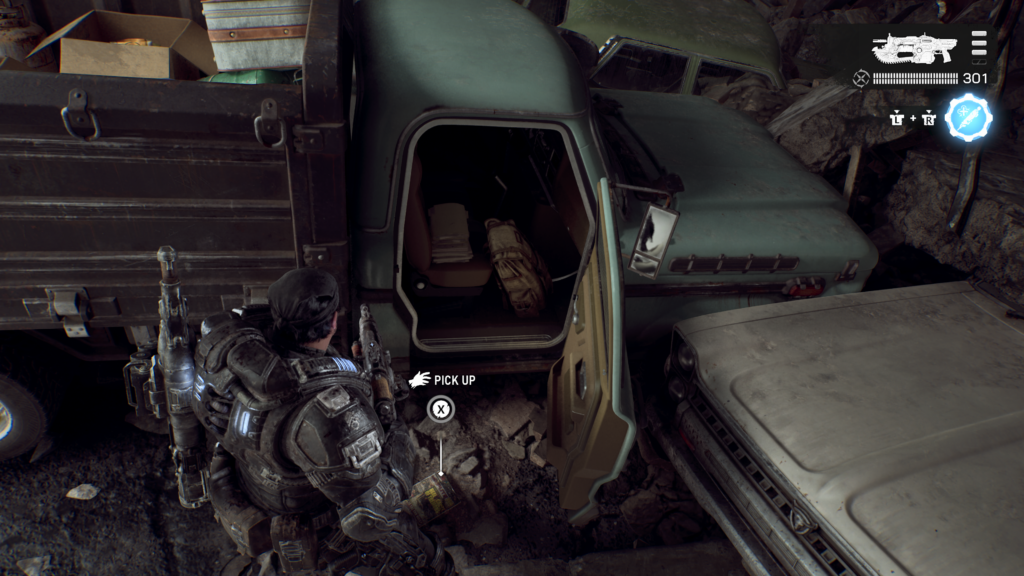
From the entrance of the hotel, head to the right and go out the back of through a hole in the wall. There is a street that goes to go under a tunnel on the left as you exit, but it’s blocked. There is a crashed van with the collectible on the floor by its open door.
Hard Case (8 / 14)
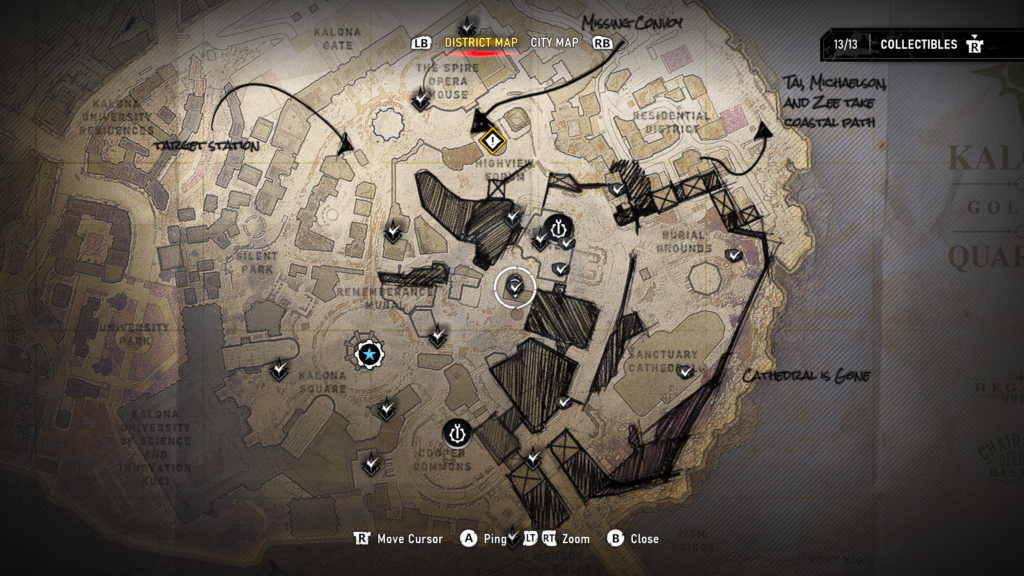
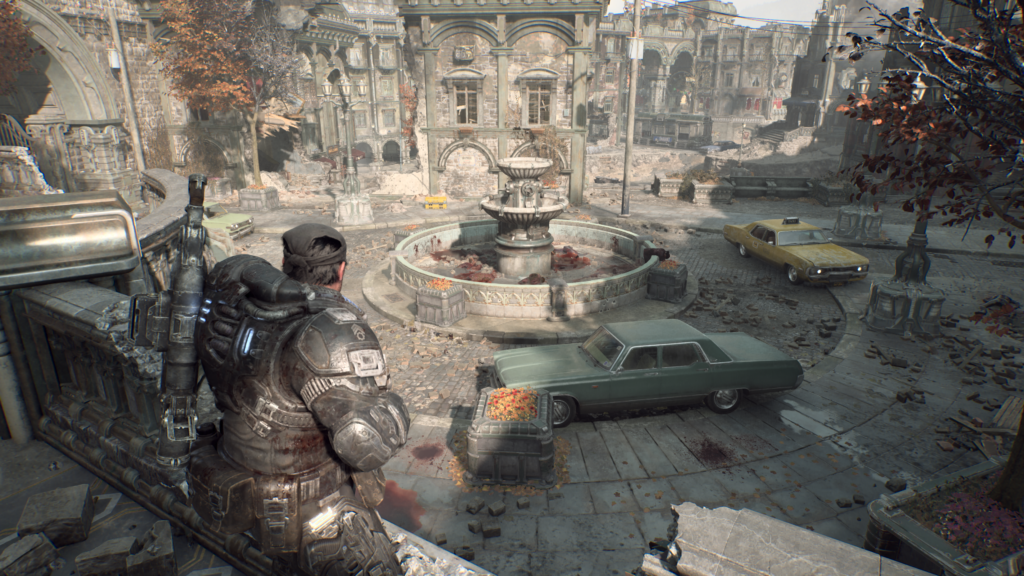
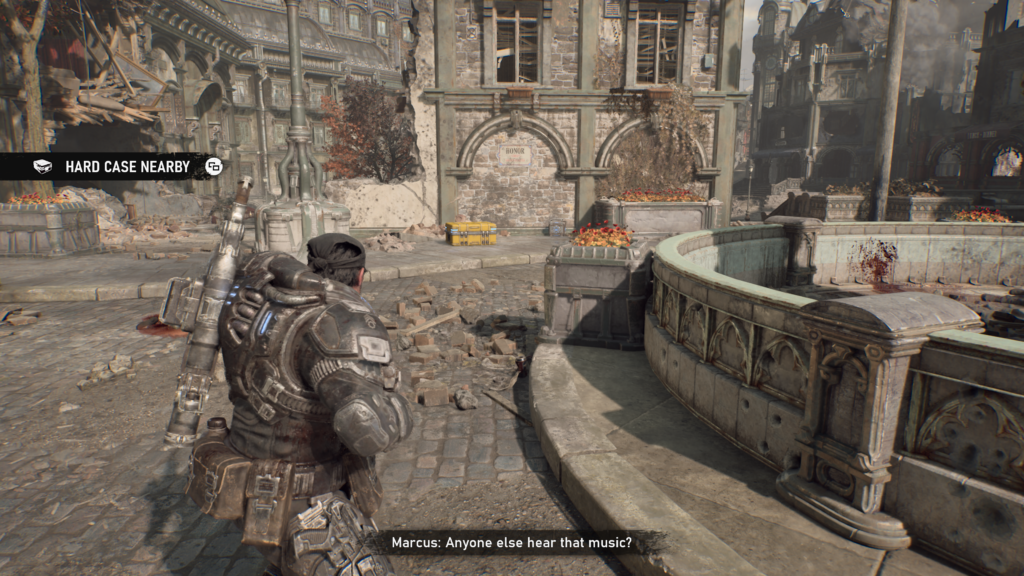
When you leave the hotel out of the back stair case, you’ll enter a courtyard. The hard case is to the left and at the back, on the other side of the fountain in the centre.
Hard Case (9 / 14)
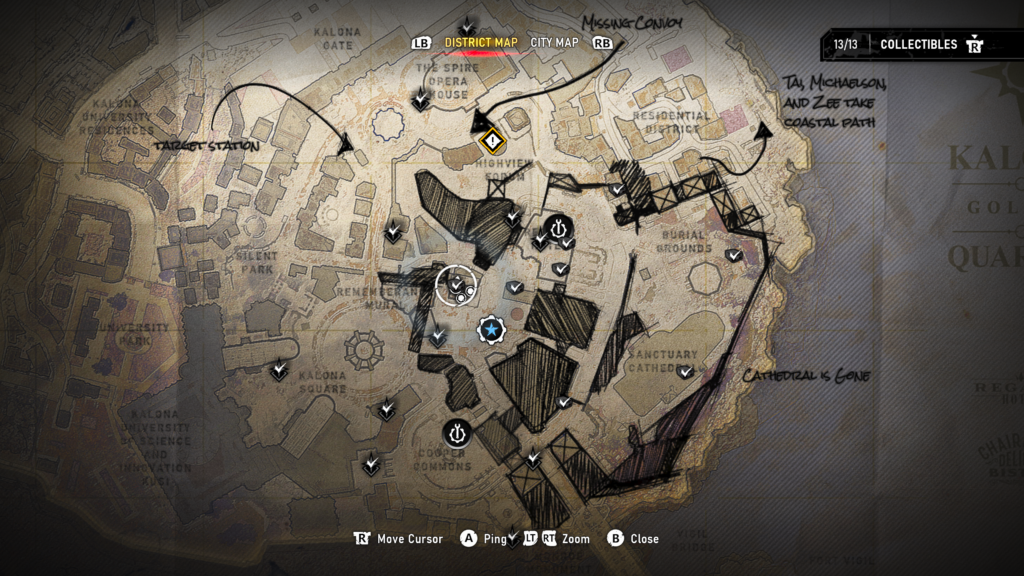
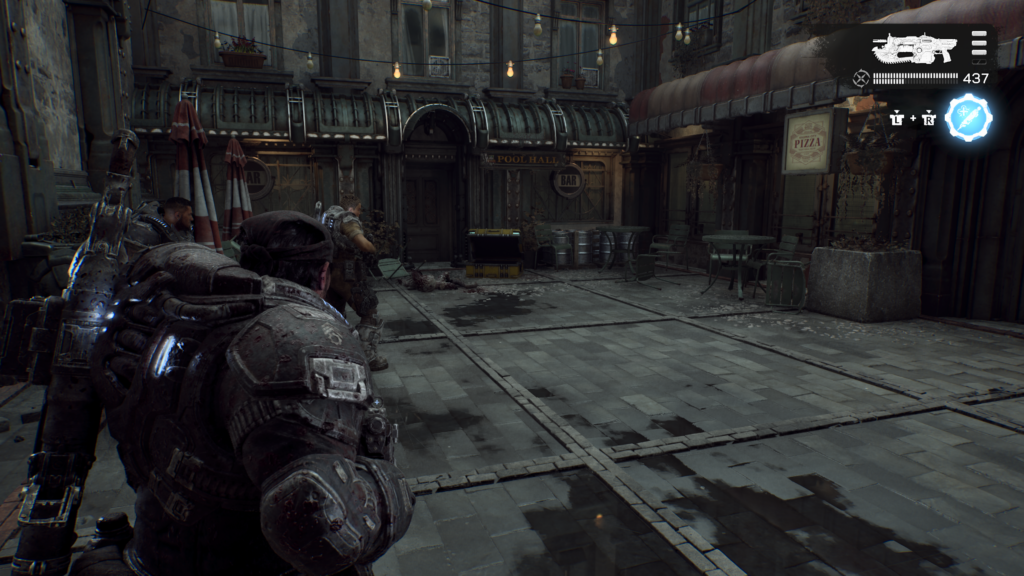
Move into the big crater area, where you’ll be attacked by Locust. To the right is a restaurant with red-wooden signs. Head inside and to the right, in a back room is the hard case.
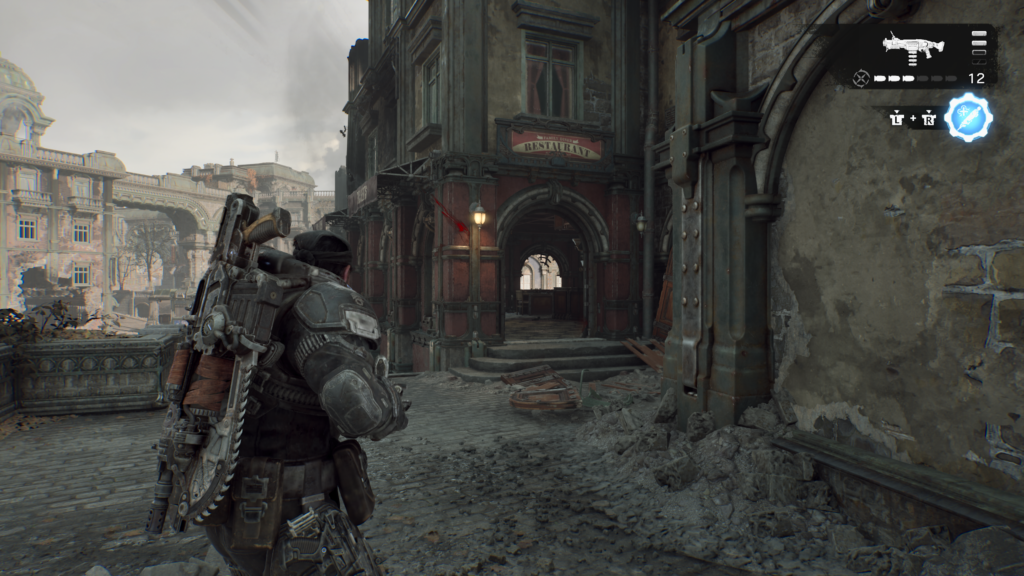
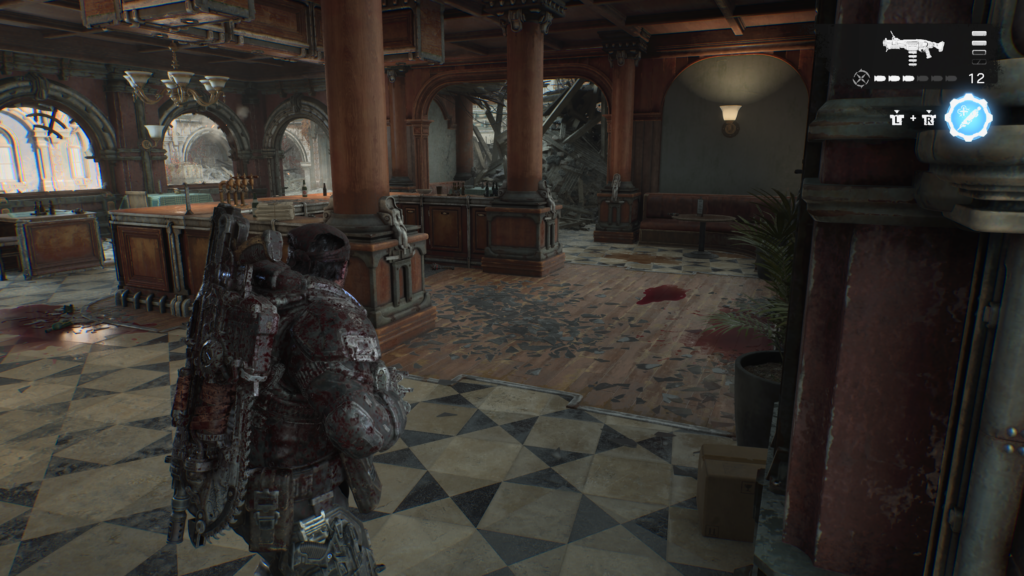
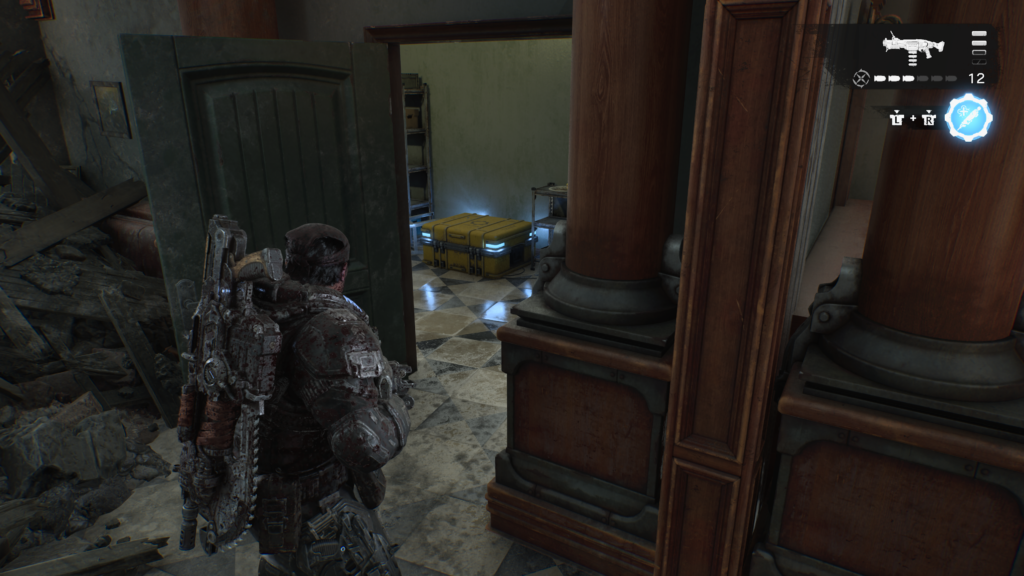
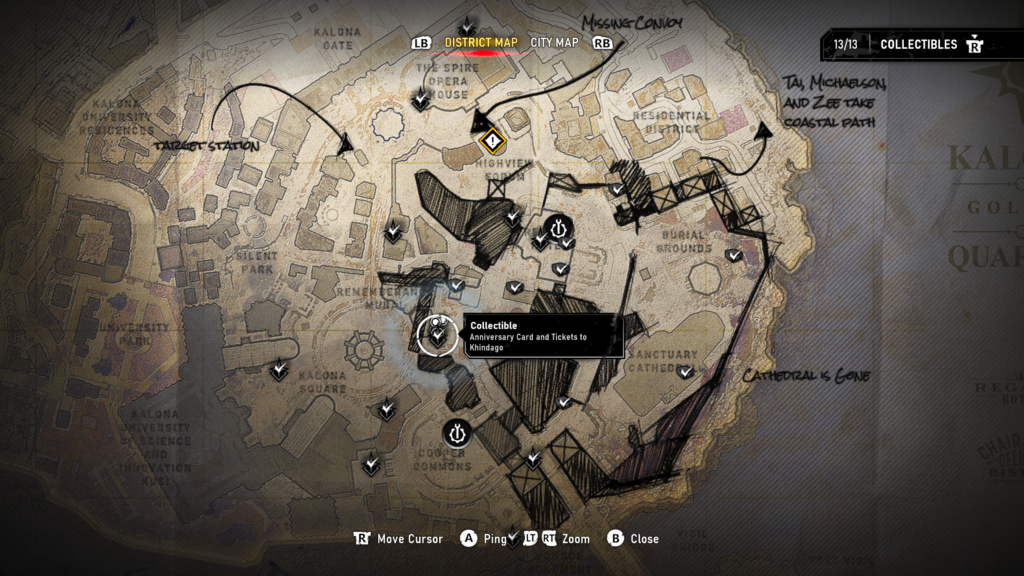
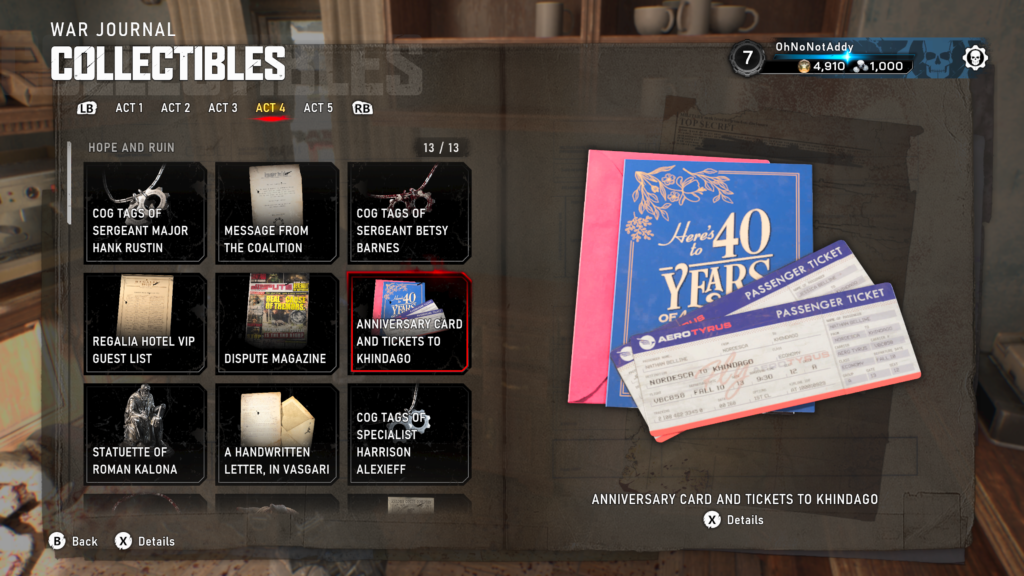
Collectible – Anniversary Card and Tickets to Khindago (6 / 13)
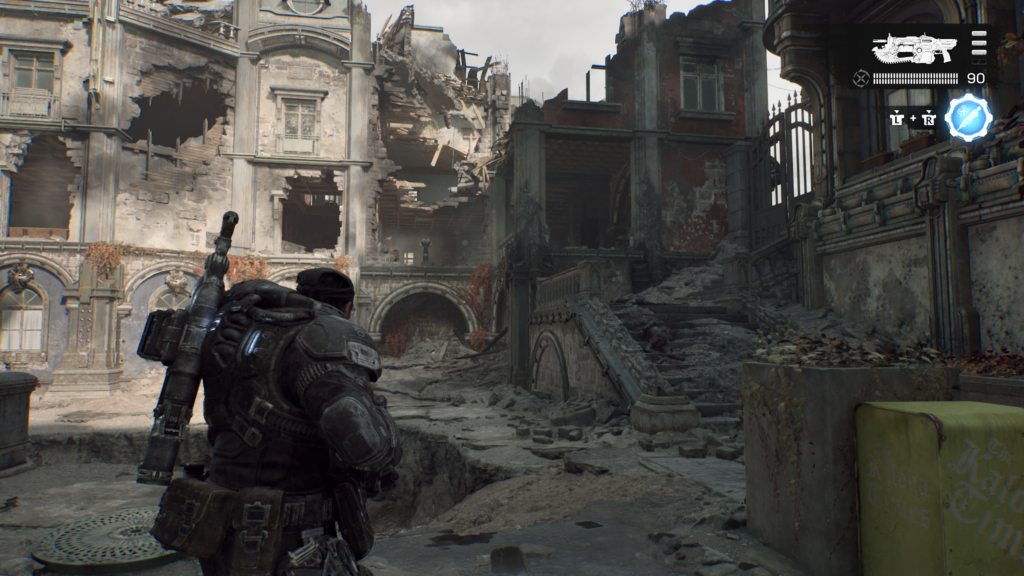
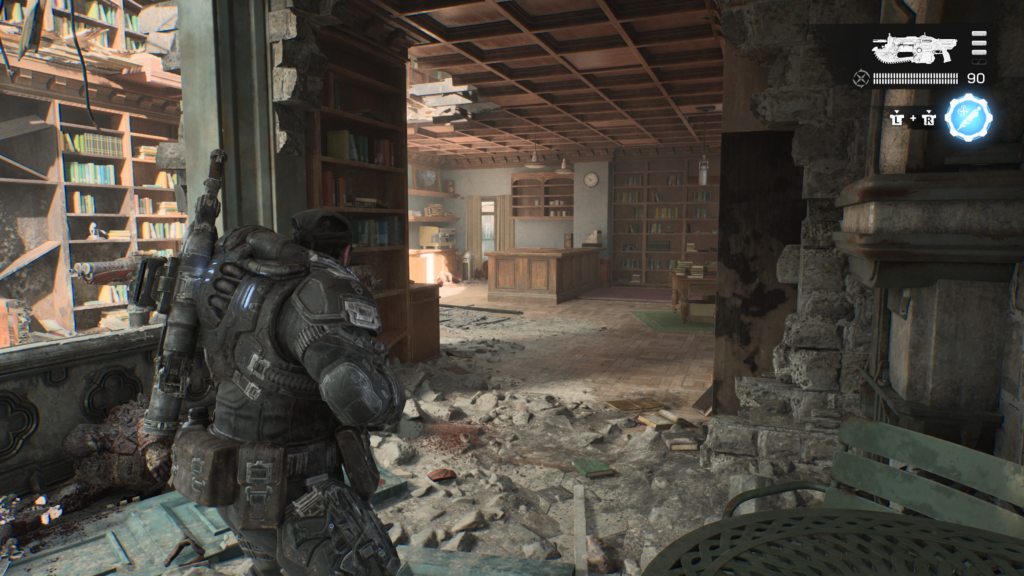
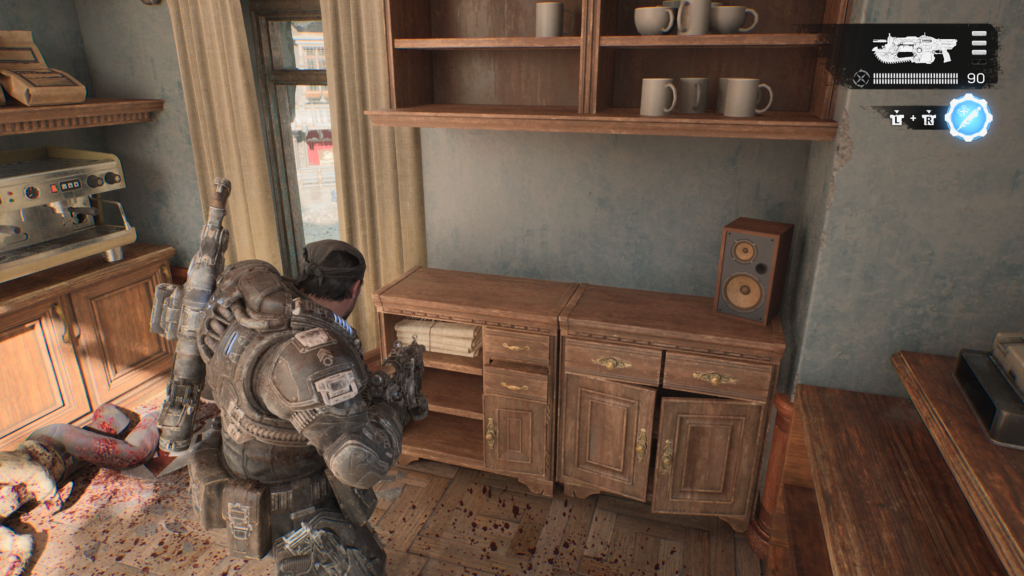
Leave out the back of the restaurant, where the last hard case was. On your left you’ll s see a partially destroyed apartment building. Climb up the ledges on the right side and into the apartment above. The collectible is straight forward, on a cabinet.
Hard Case (10 / 14)
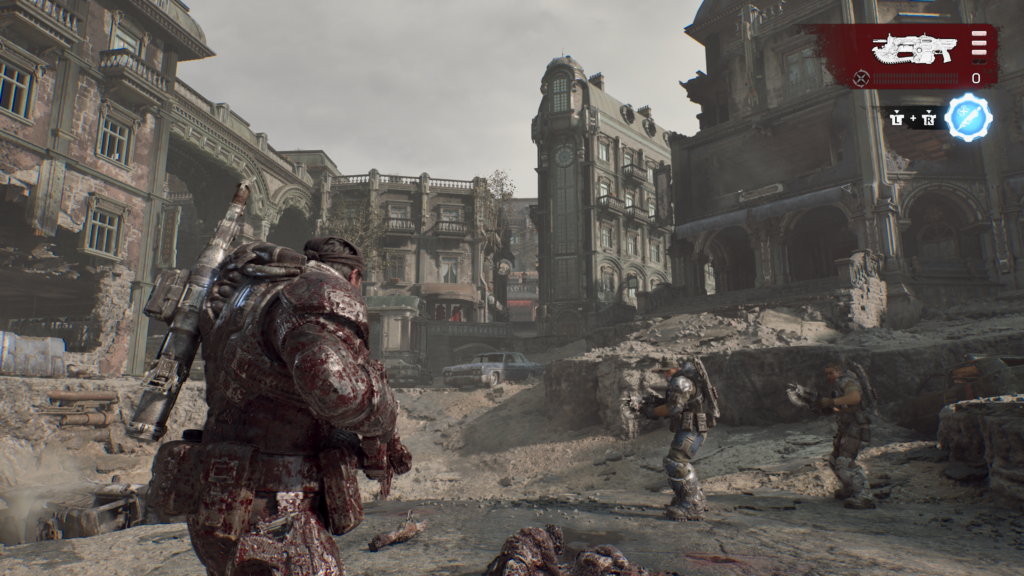
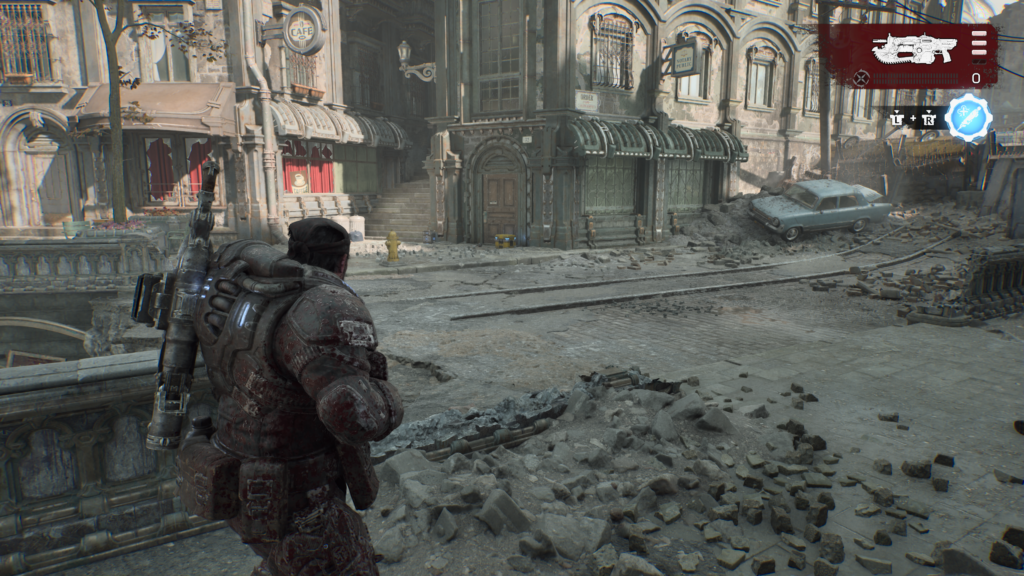
If you were in the centre of the large crater, head to the north-east, towards upper back right of the area. There is a building on a corner with clock face in its narrow front. Marcus will comment that you can see Kalona Statue to the right. There is a hard case on the floor to the left of where you can see the statue.
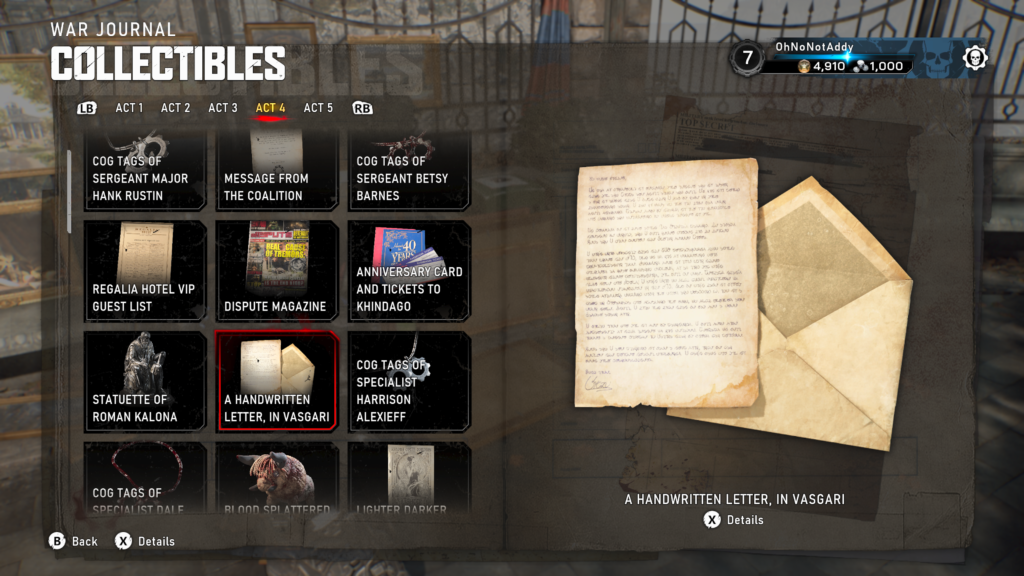
Collectible – A Hand Written Letter, in Vasgari (7 / 13)
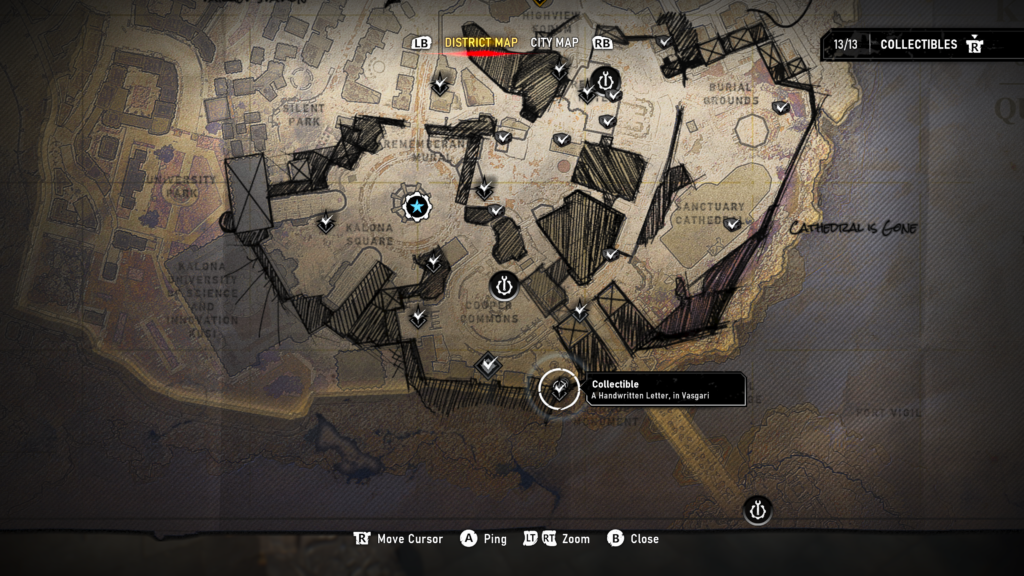
Head to the very bottom of the map, you’re route will take you this way to the main objective. The map is labelled “Cooper Commons”. At the bottom, when looking at the map, there is a courtyard a green metal statue and some market stalls. Go through and up the steps at the back to the see some artwork on your right. The collectible is on the floor, to the right of these, on an overturned canvas.
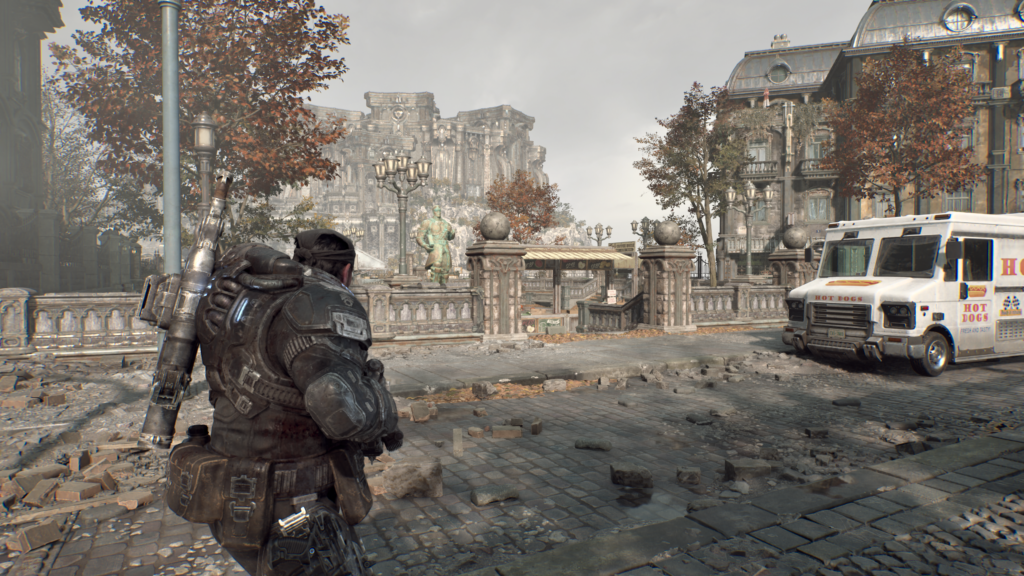
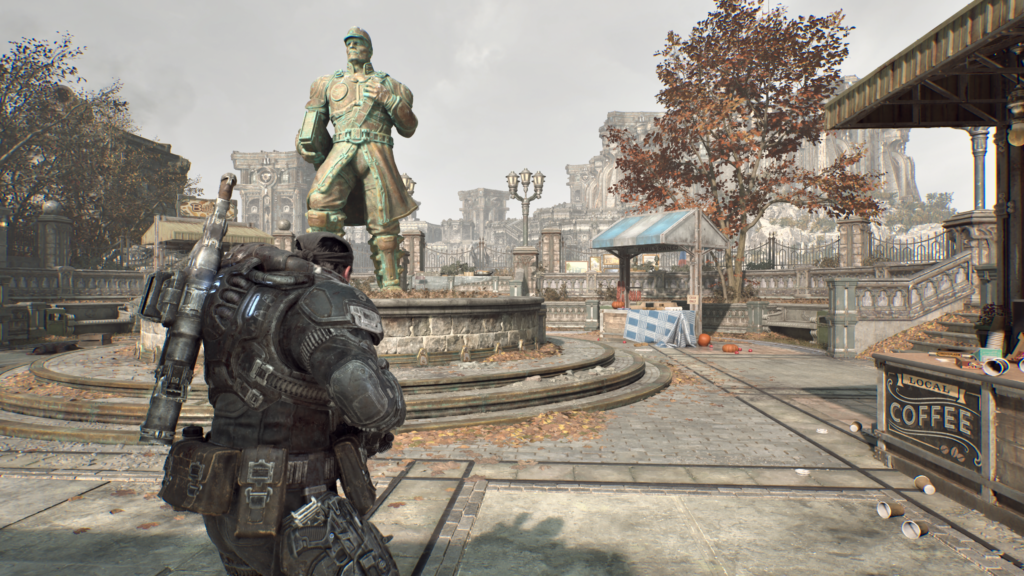
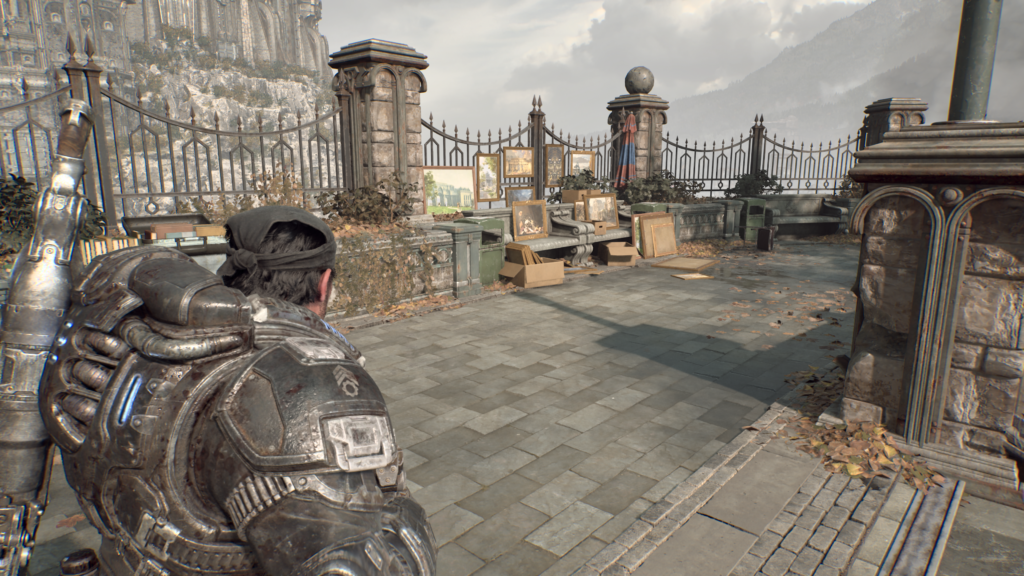
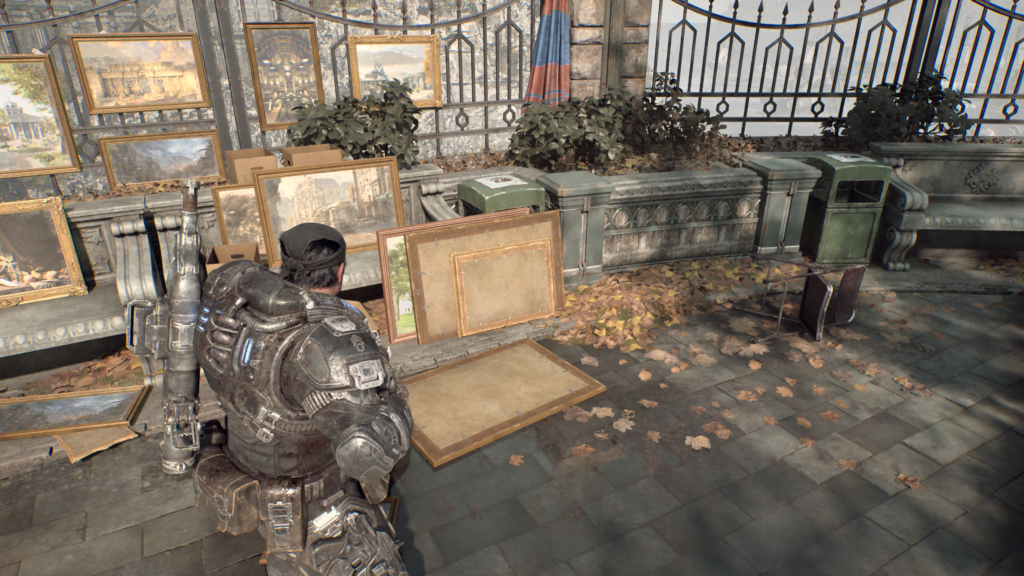
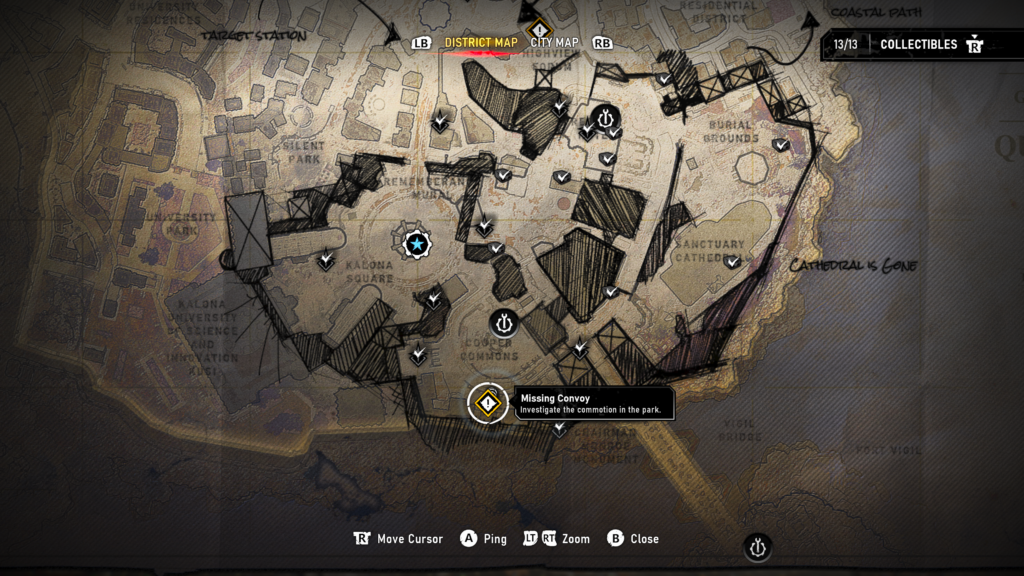
Secondary Objective (1 / 3) – Missing Convoy
Head to the right from the last collectible, to see some arches on the ground floor. The secondary objective is front of these. You’ll need to defeat the Spore Matrons and any other Locust to succeed.
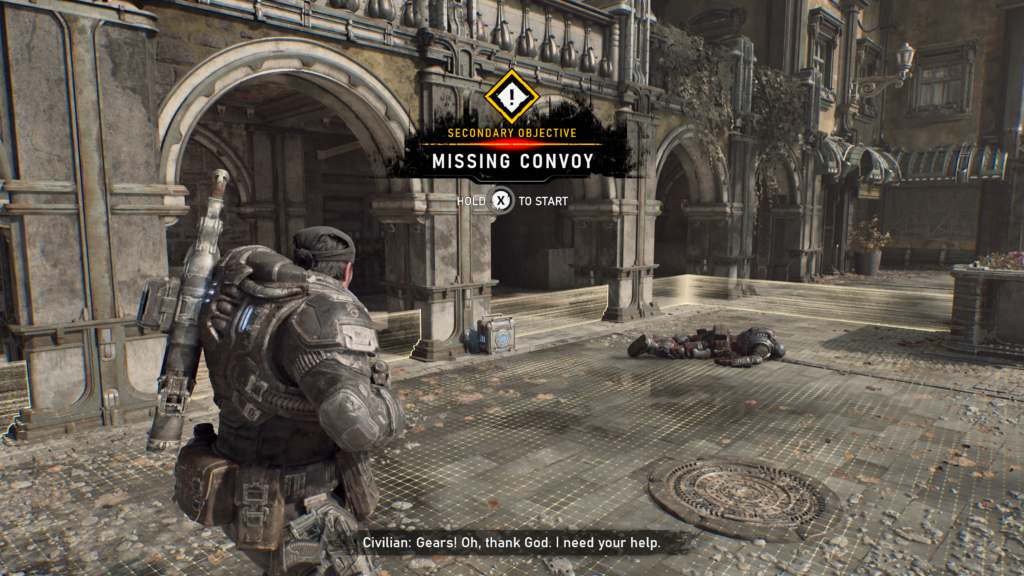
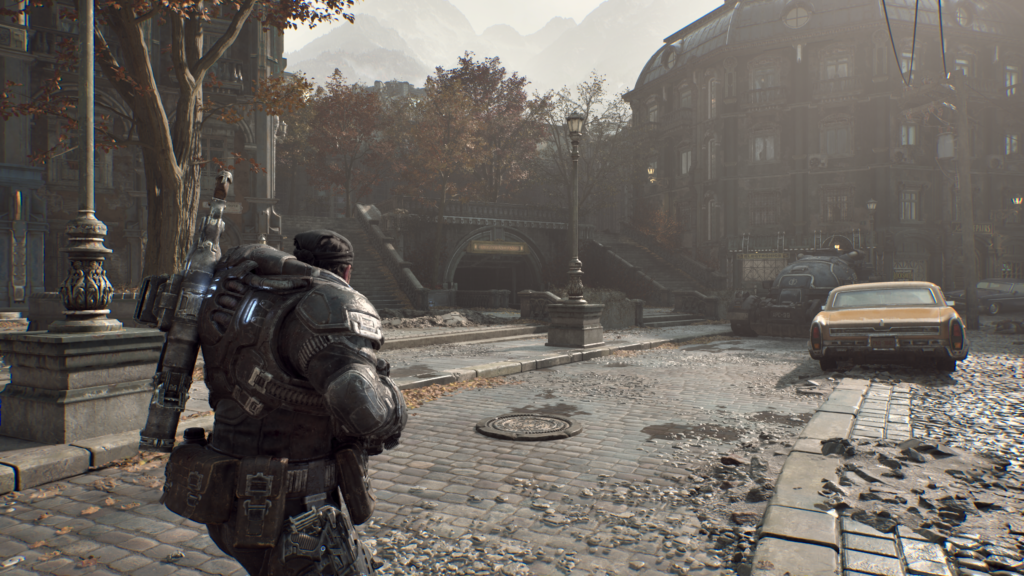
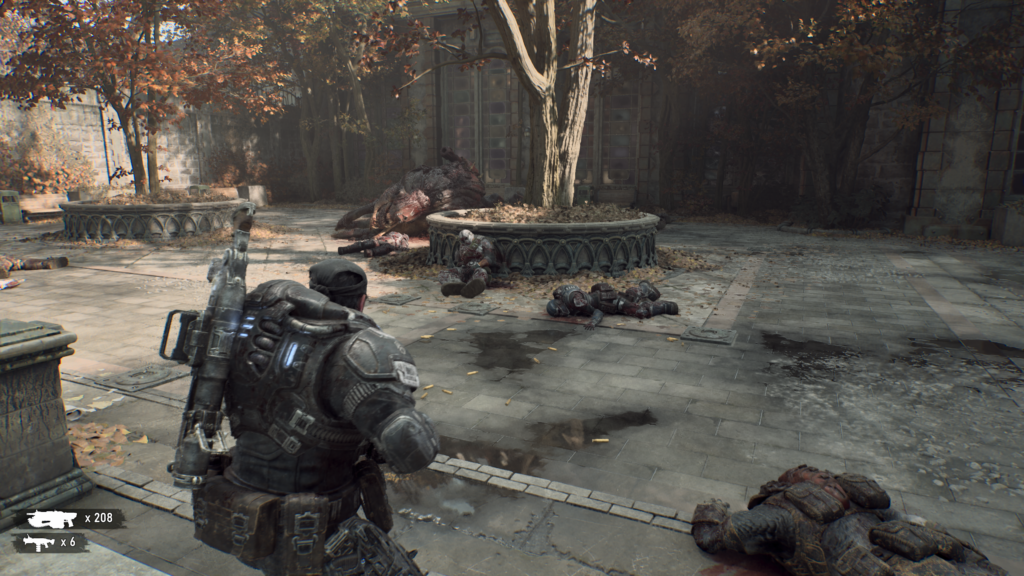
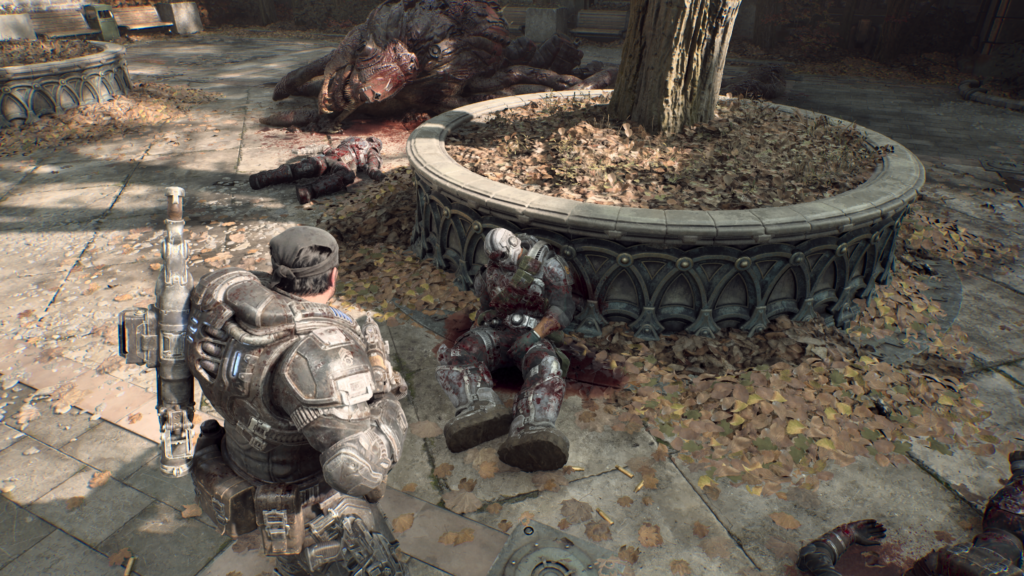
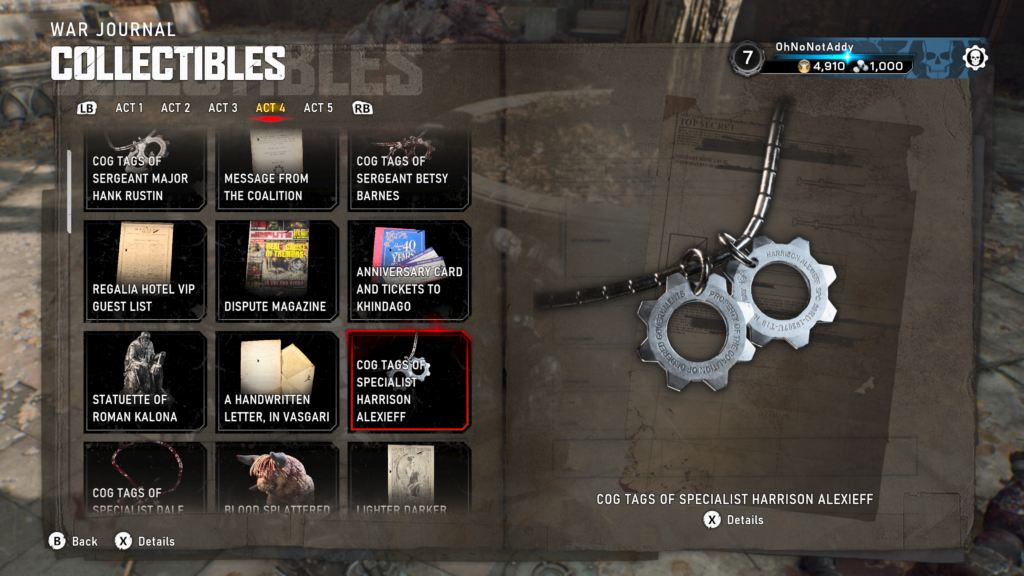
Collectible – COG Tags of Specialist Harrison Alexieff (8 / 13)
From the secondary objective, head to the left of the area until you find two sets of steps running to a higher area. Run up the right hand steps to find the collectible on the floor just to the left as you get to the top.
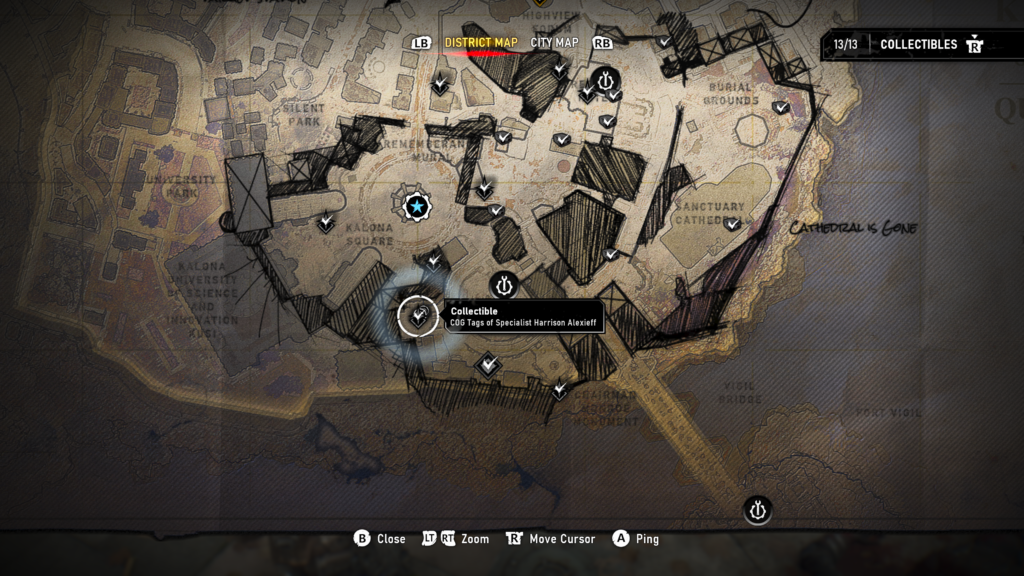
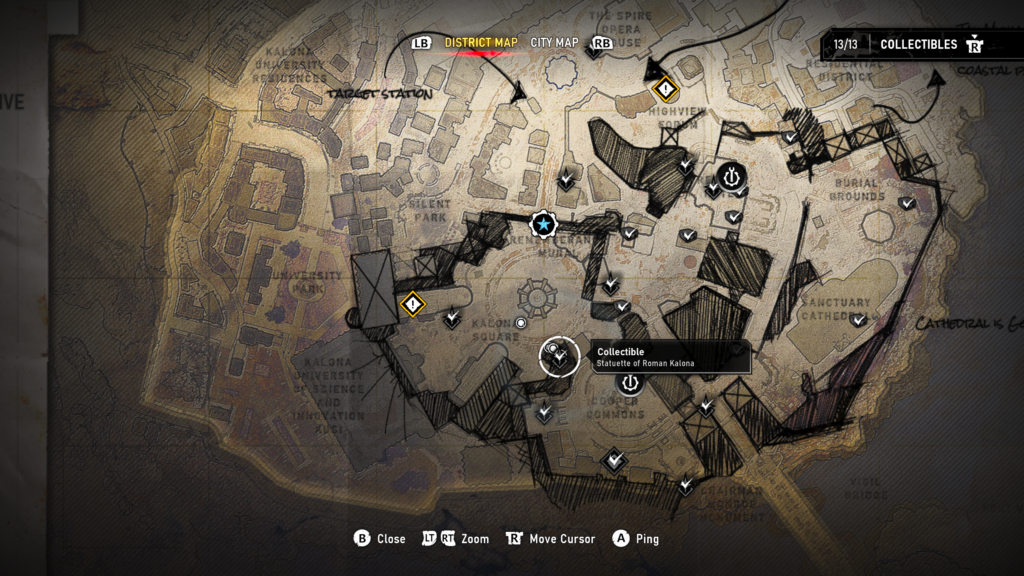
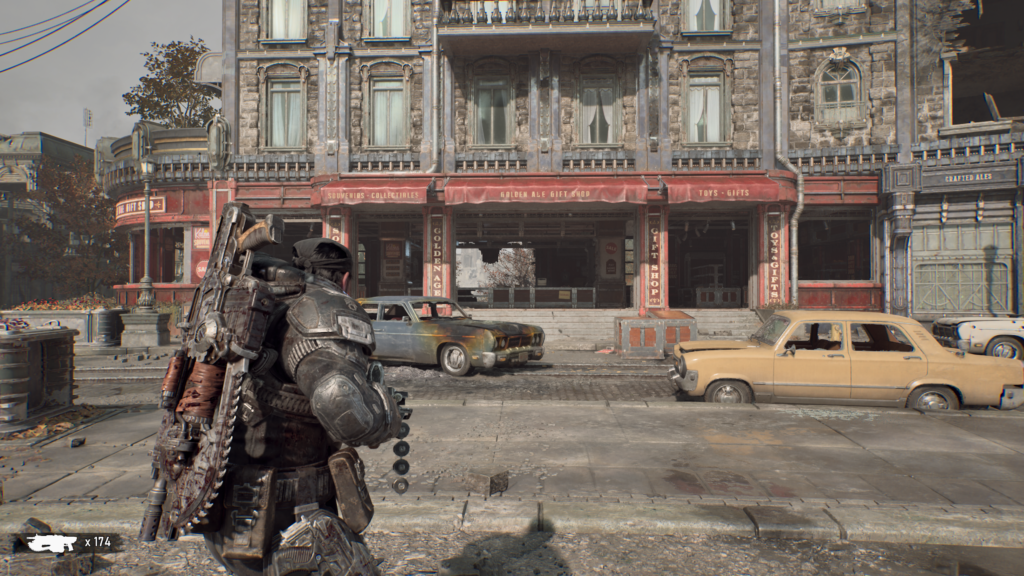
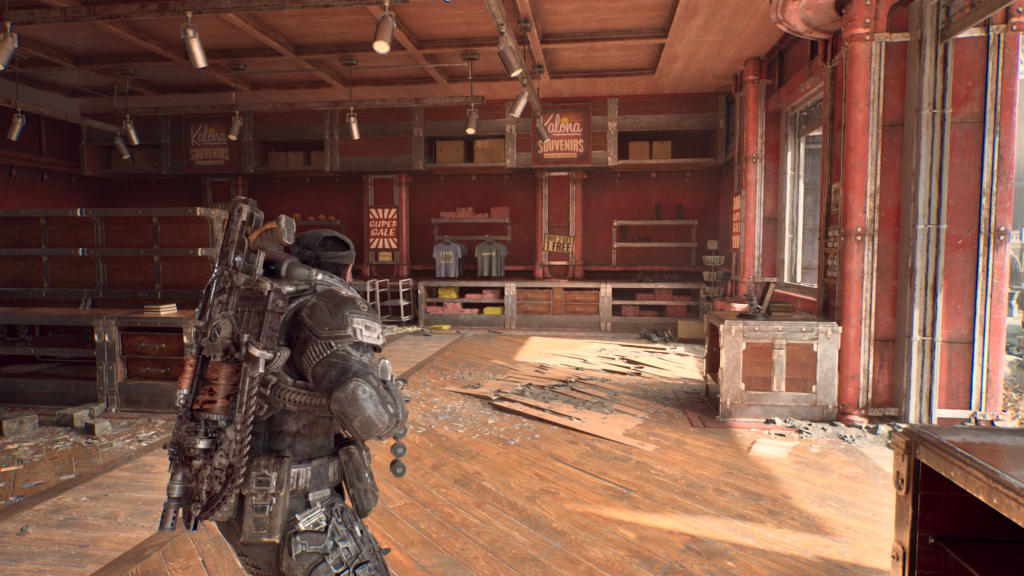
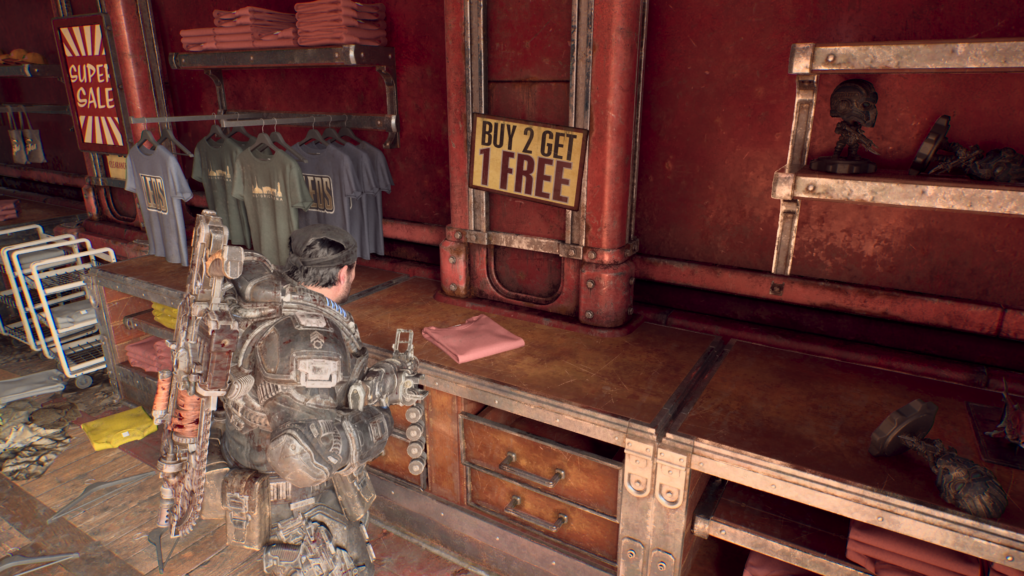
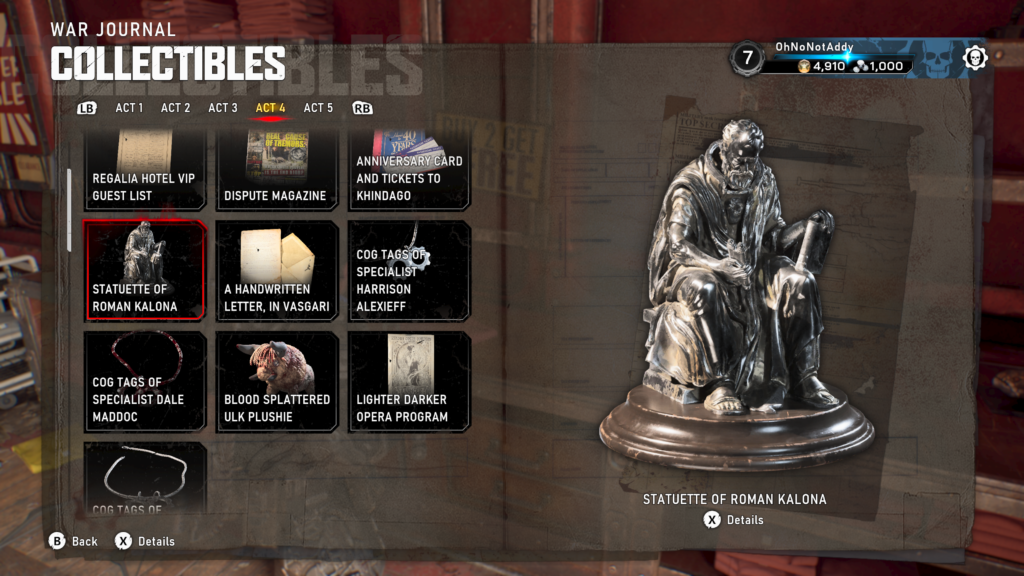
Collectible – Statuette of Roman Kalona (9 / 13)
Once you arrive in Kalona Square, fight off any Locust that are there. Once clear, go to the bottom of the square and jump into what’s left of the gift shop. On the back wall on the right is the collectible, on a stand.
Hard Case (11 / 14)
Go to the bottom left area of Kalona Square, you can go inside the ruins of the building there. To the back left, is the hard case.
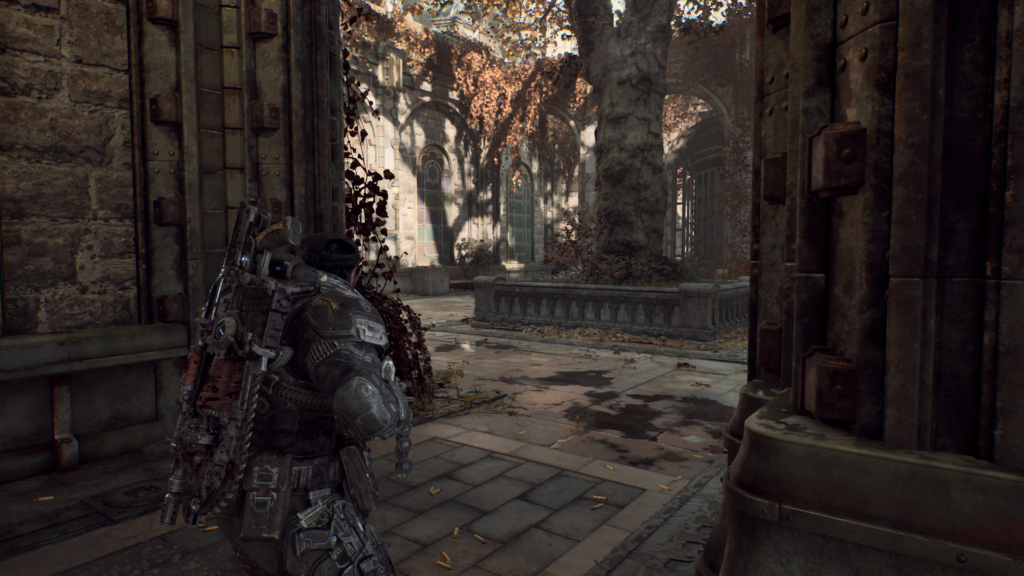
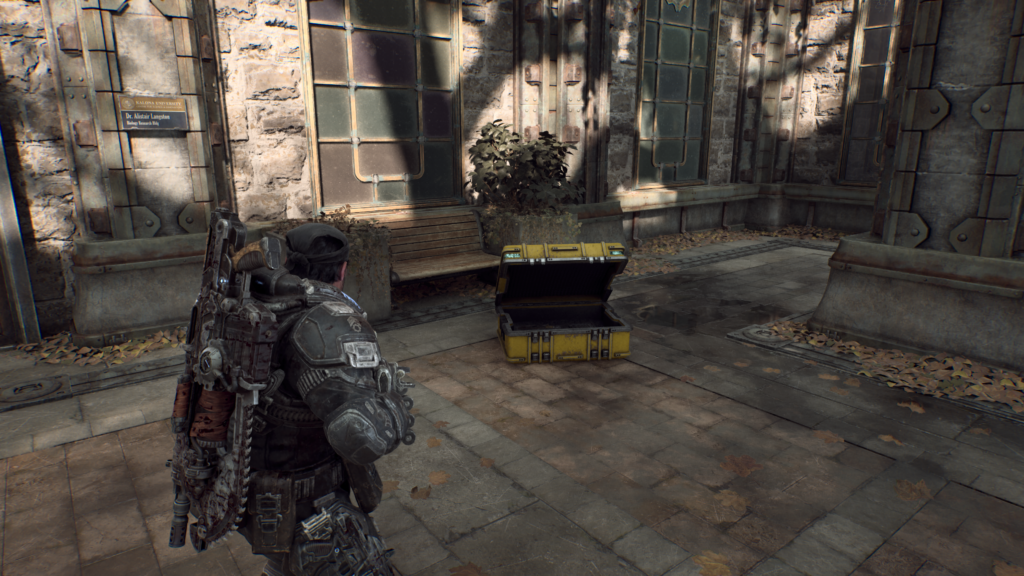
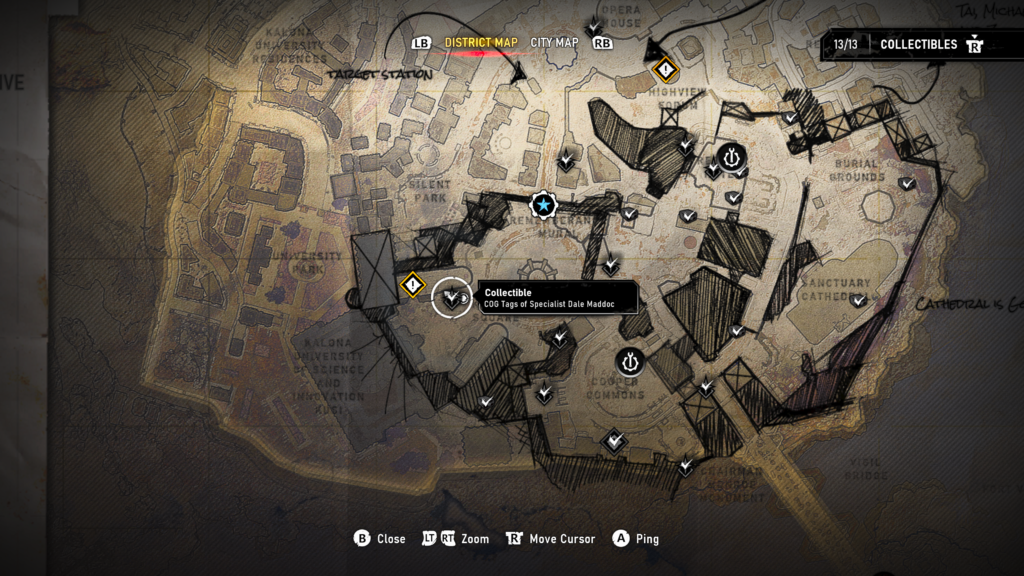
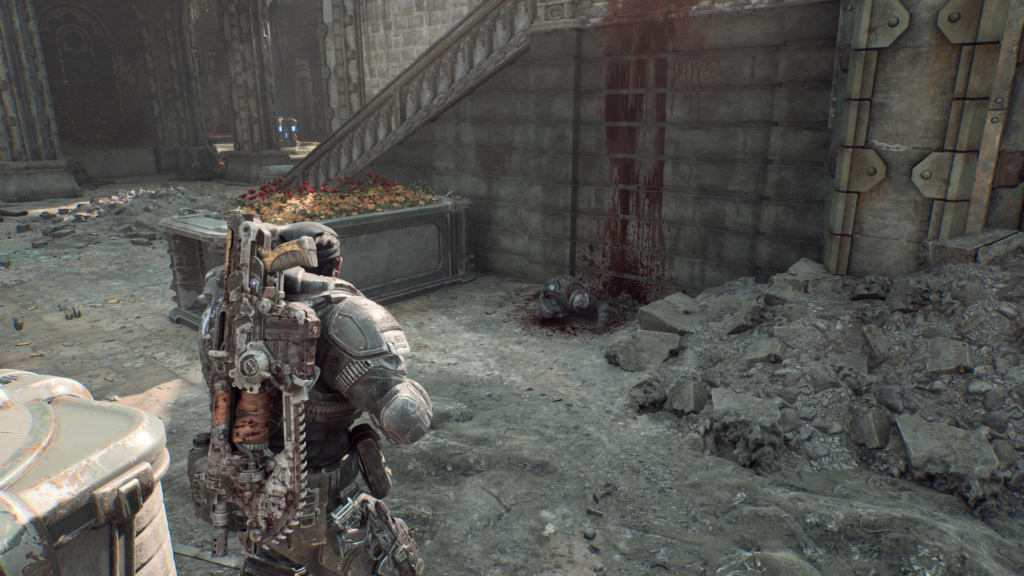
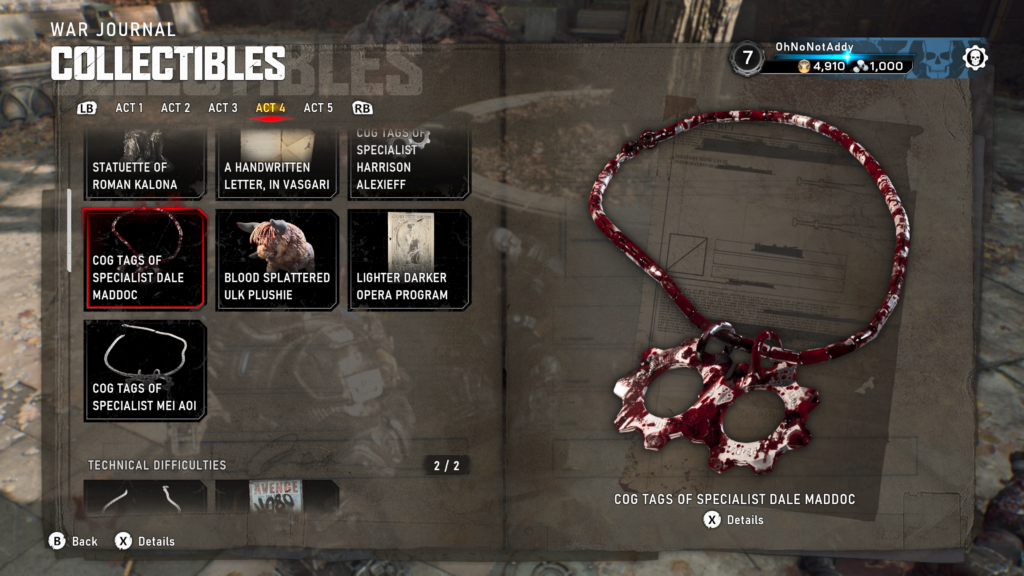
Collectible – COG Tags of Specialist Dale Maddoc (10 / 13)
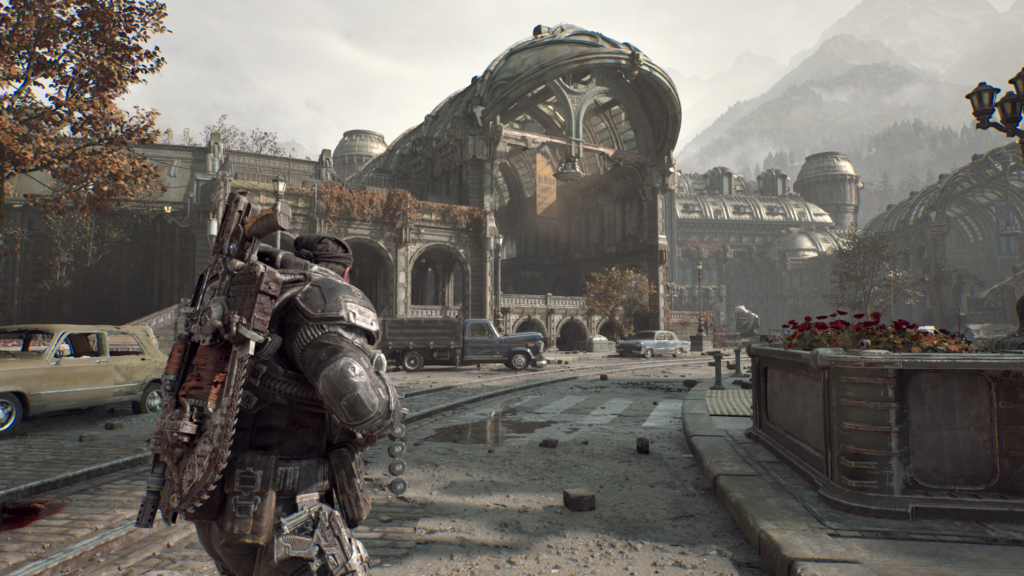
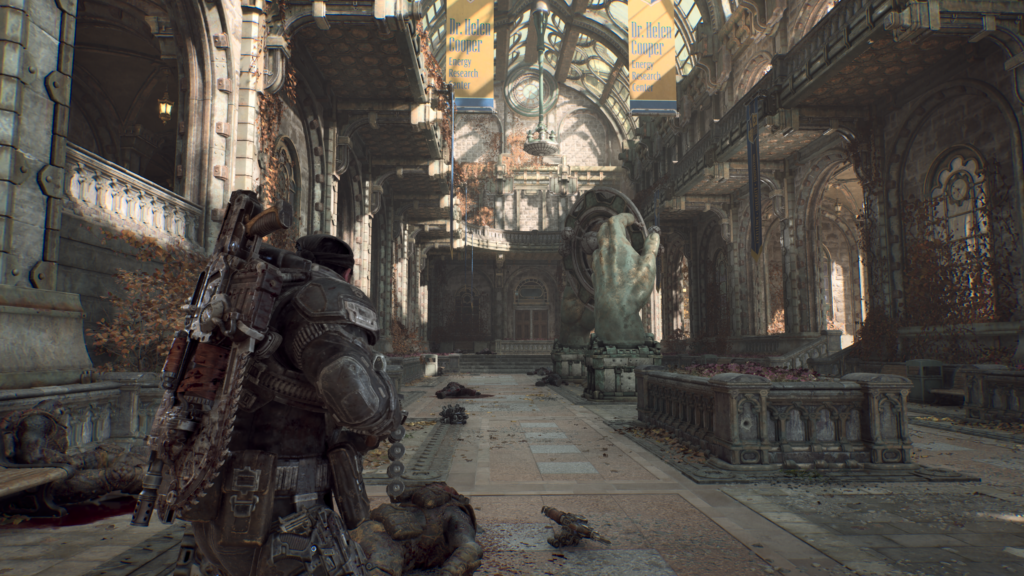
In the courtyard to the left of Kalona Square, there is a dead COG soldier against a wall.
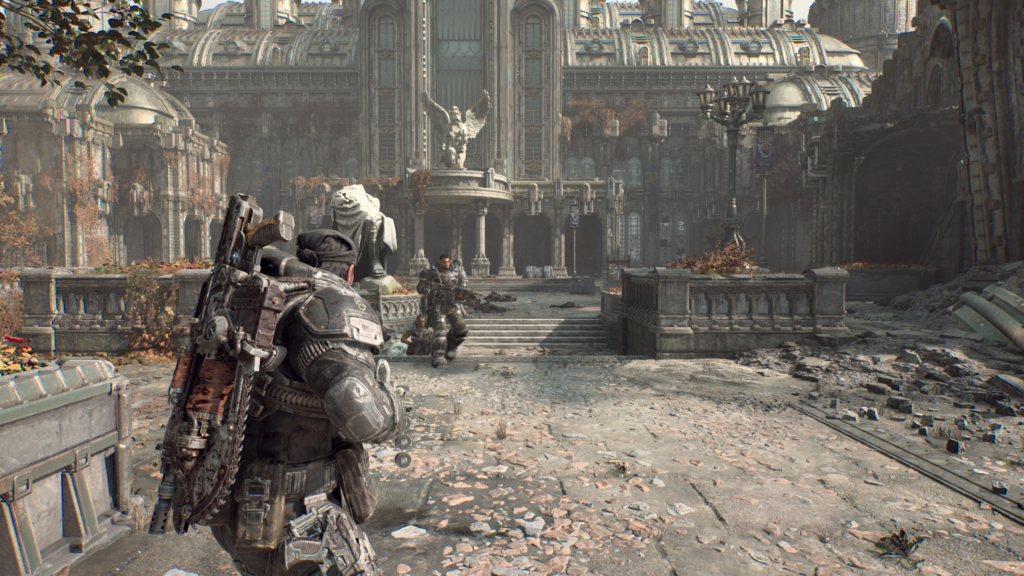
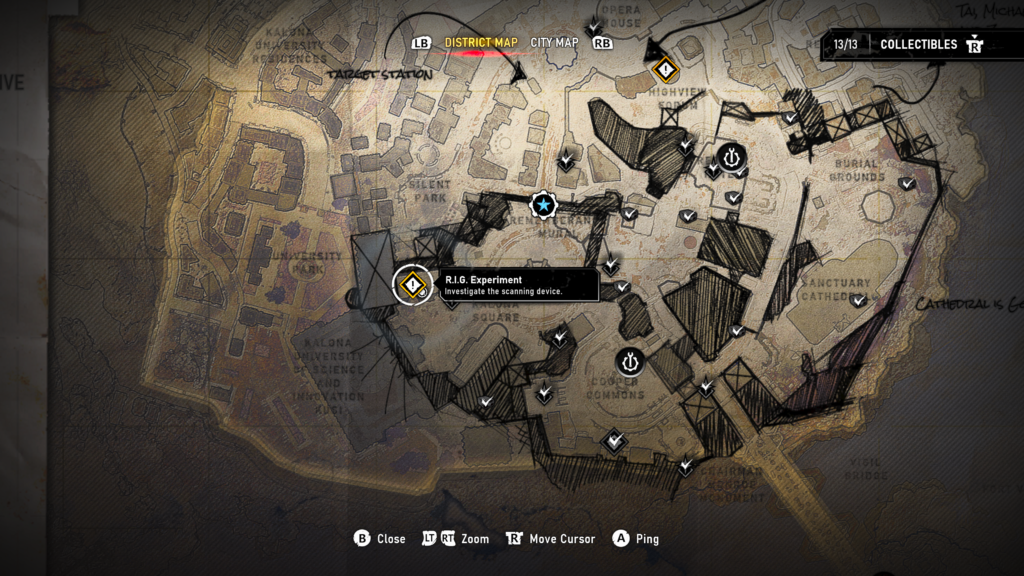
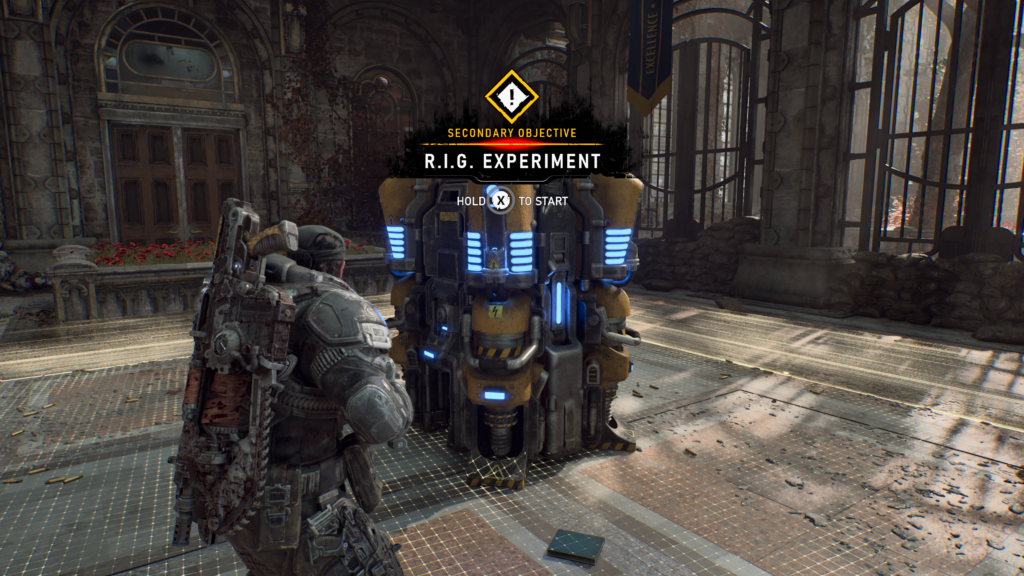
Secondary Objective (2 / 3) – R.I.G.S. Experiment
To the left and in the building behind where the last collectible was. Activate the machine and fight off the Locust.
Hard Case (12 / 14)
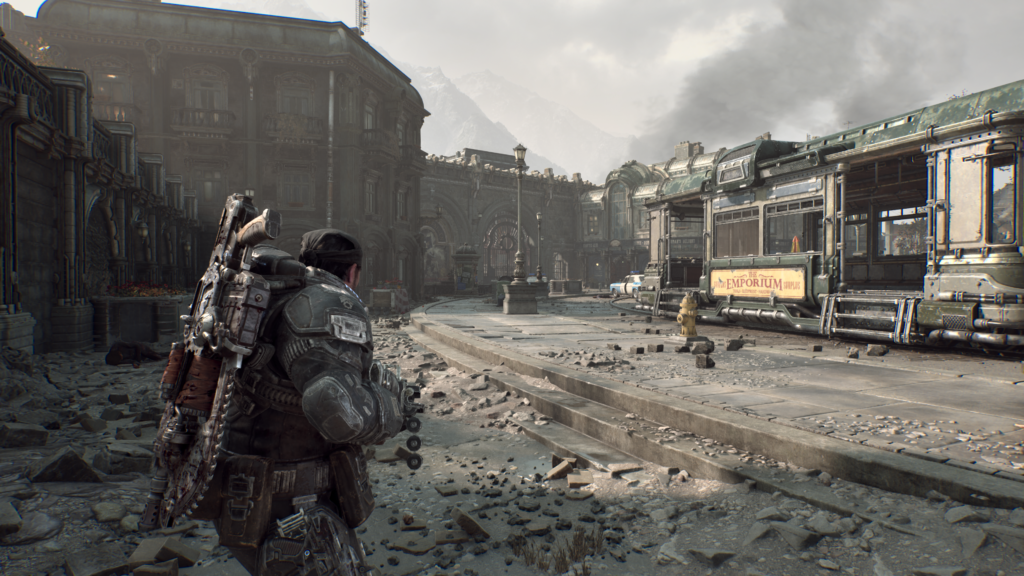
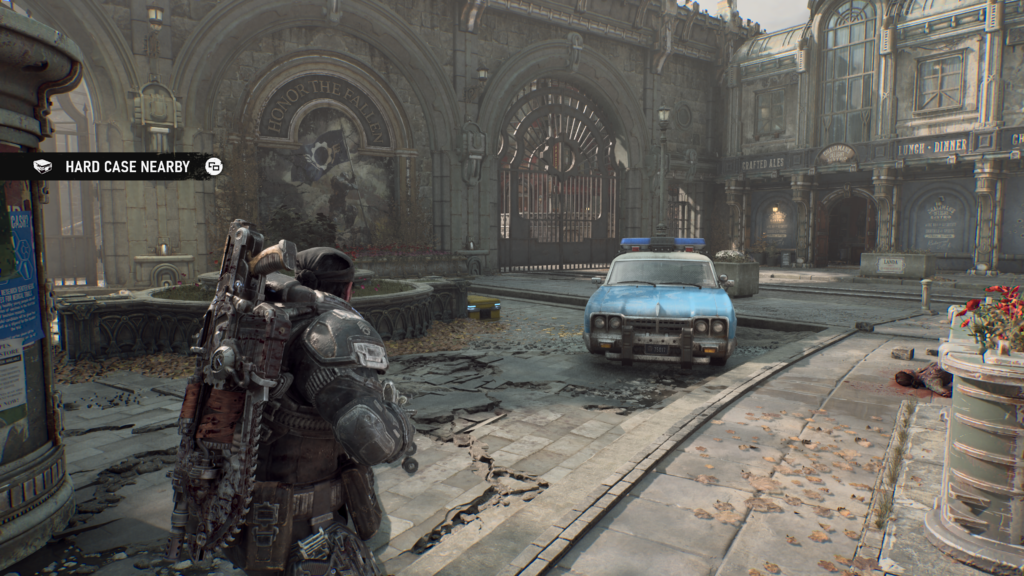
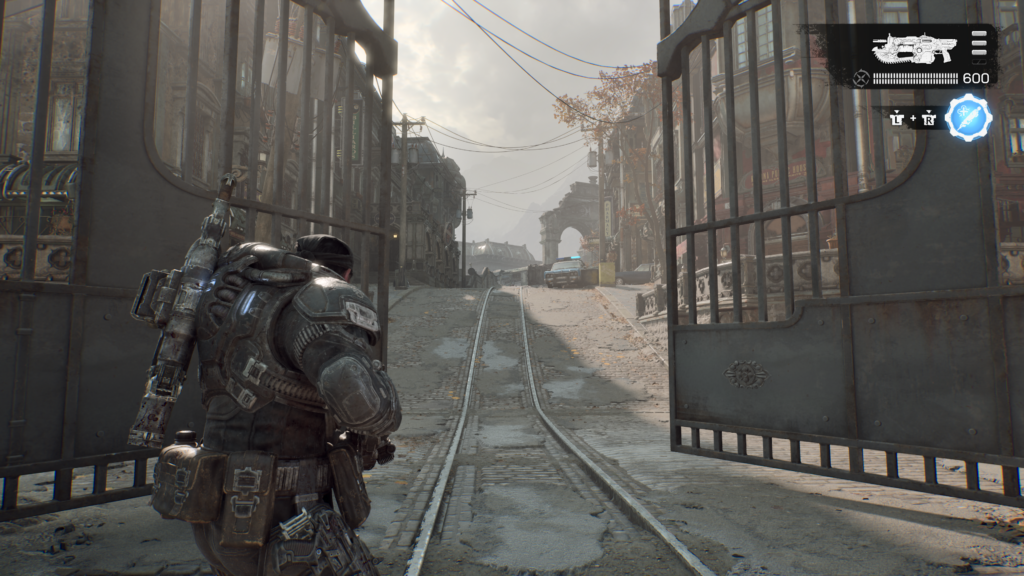
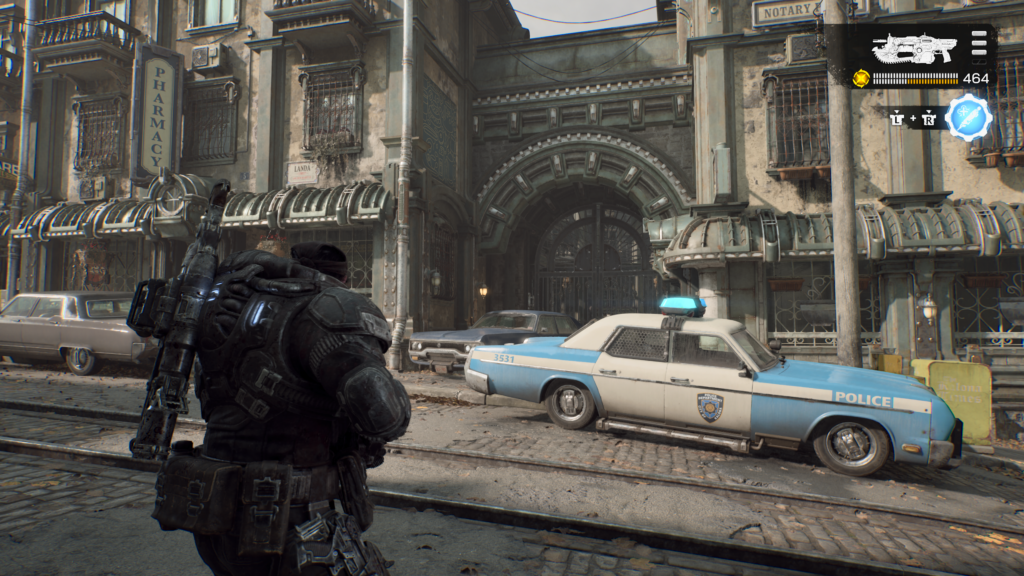
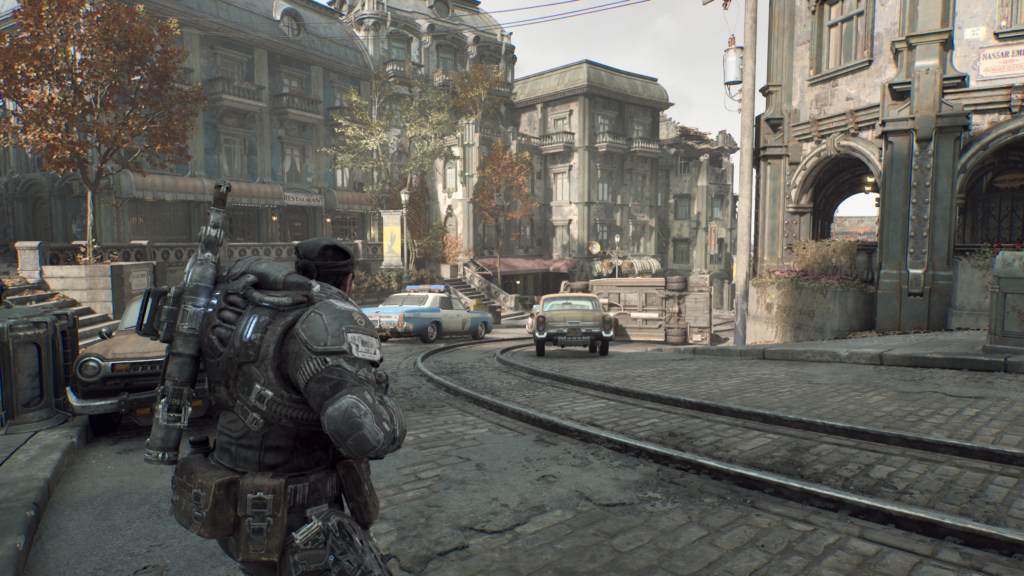
To leave Kalona Square, you’ll need to got to the top of the area on the map and through a gate. To the left of that, before going through, by two police cars is a hard case.
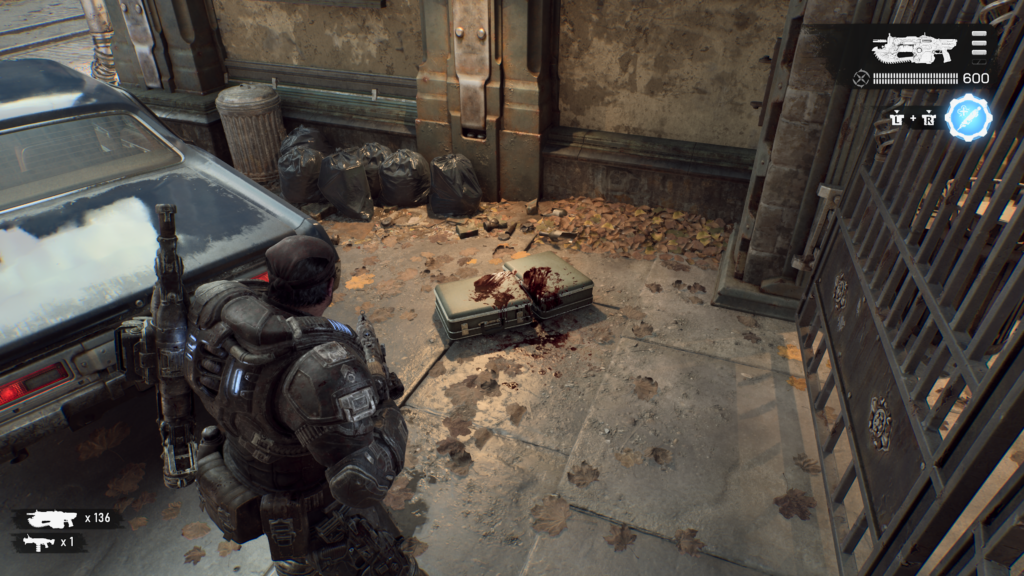
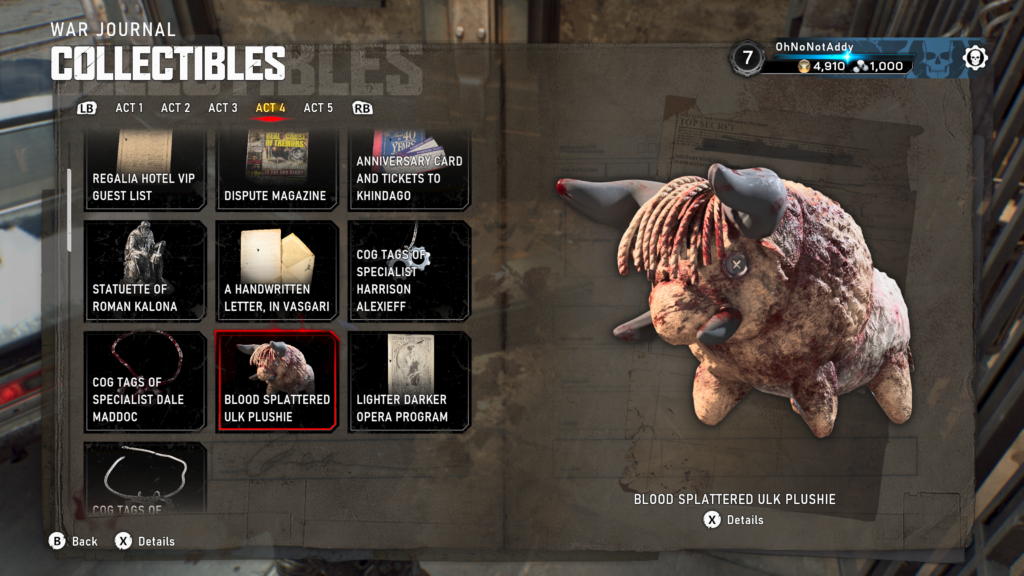
Collectible – Blood Splattered Ulk Plushie (11 / 13)
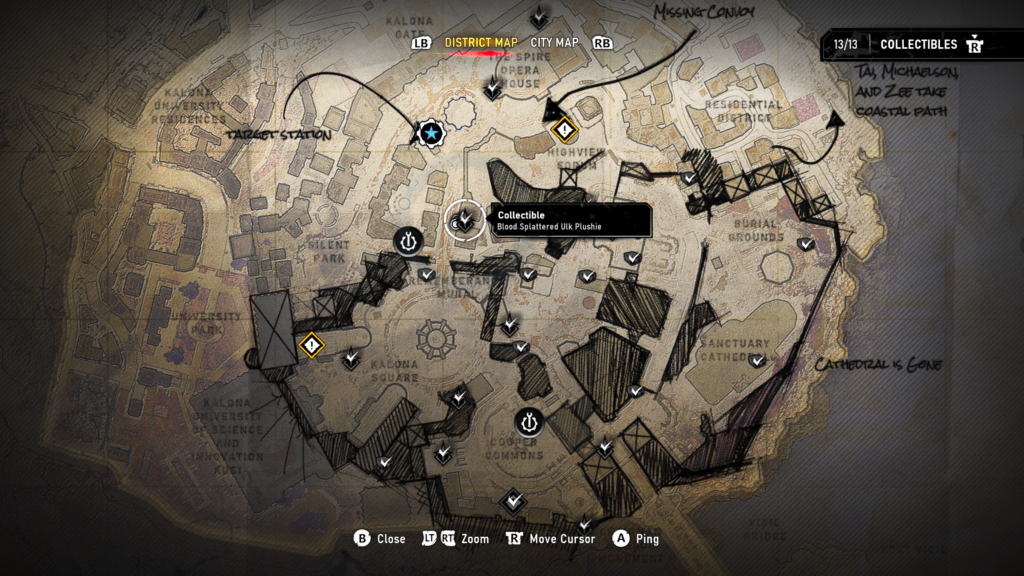
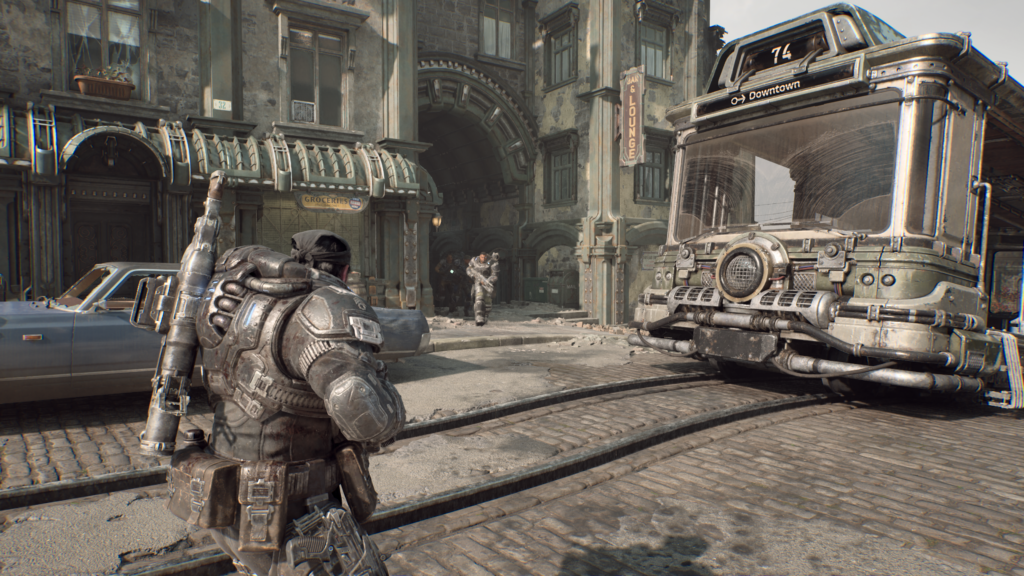
As you go through the gate towards the next area, you’ll have to go up a road. On the right is a police car and an alleyway behind it on the right. Go down that little alley and you’ll see the collectible at the back of a car.
Hard Case (13 / 14)
You’ll arrive at a plaza at the top of the slope and have to take our a load of Locusts and Reavers. Once clear, return to the top of the slope where you entered. Go to the left and in back left corner, just before a roadblock, is a hard case.
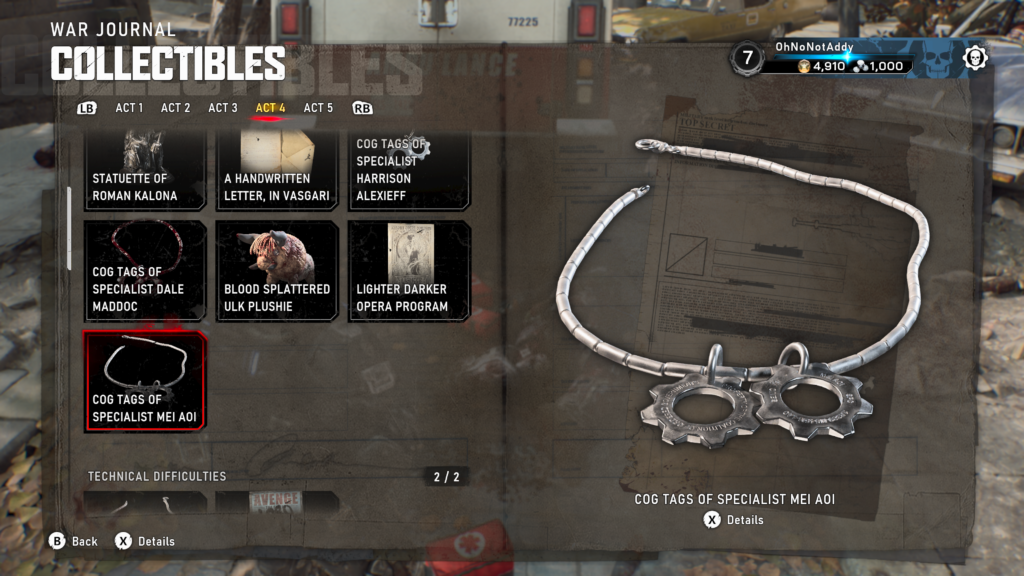
Collectible – COG Tags of Specialist Mei Aoi (12 / 13)
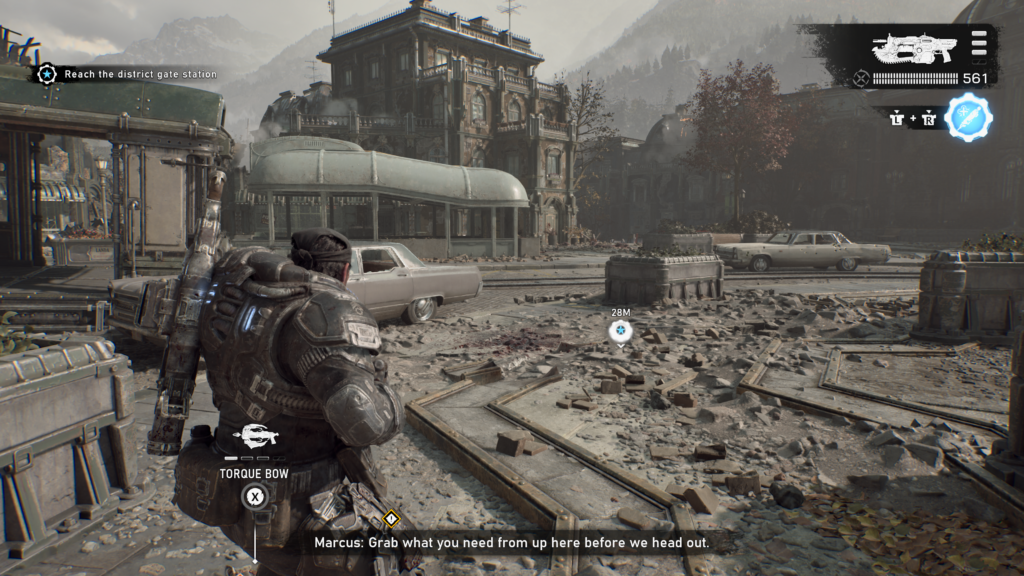
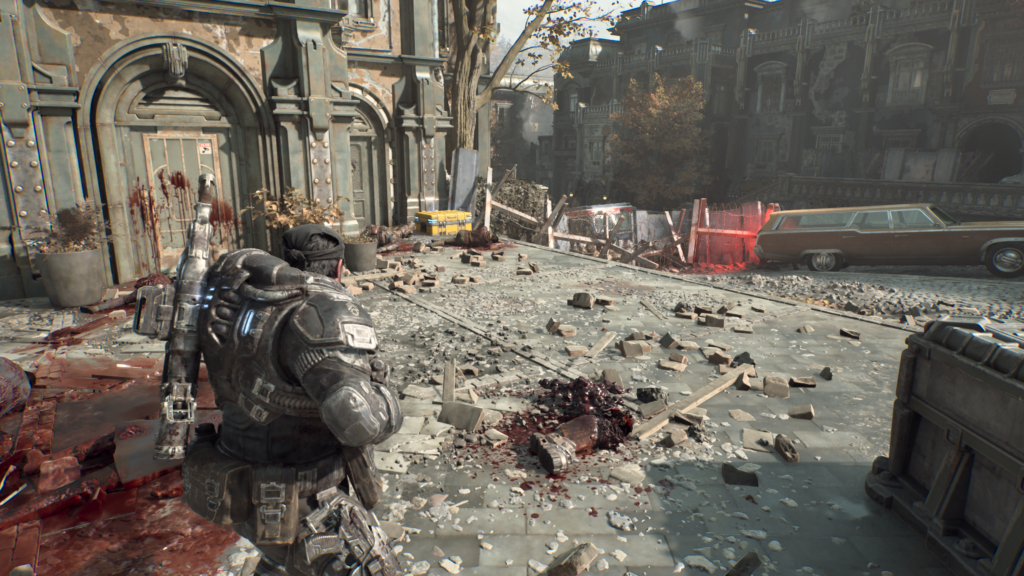
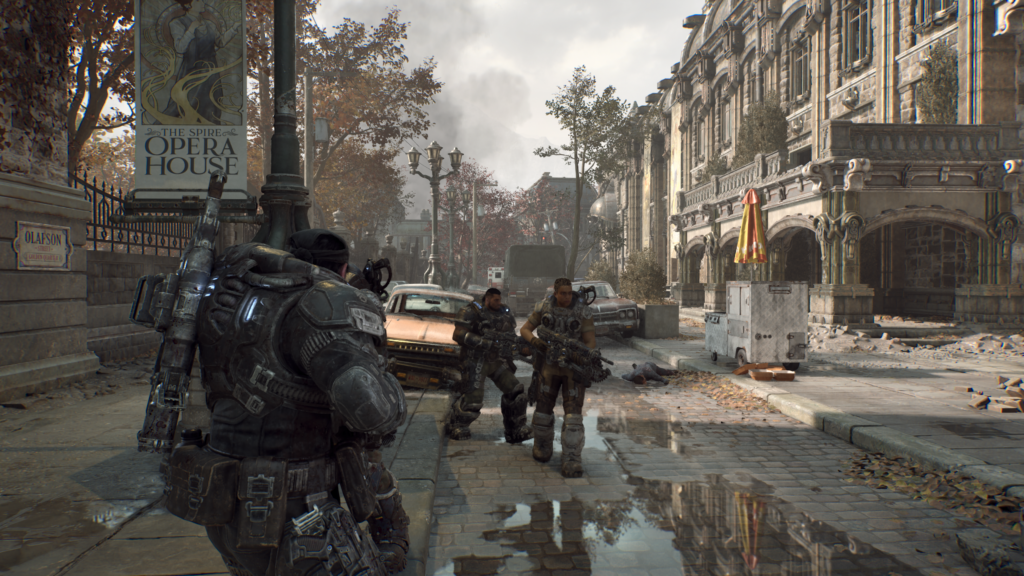
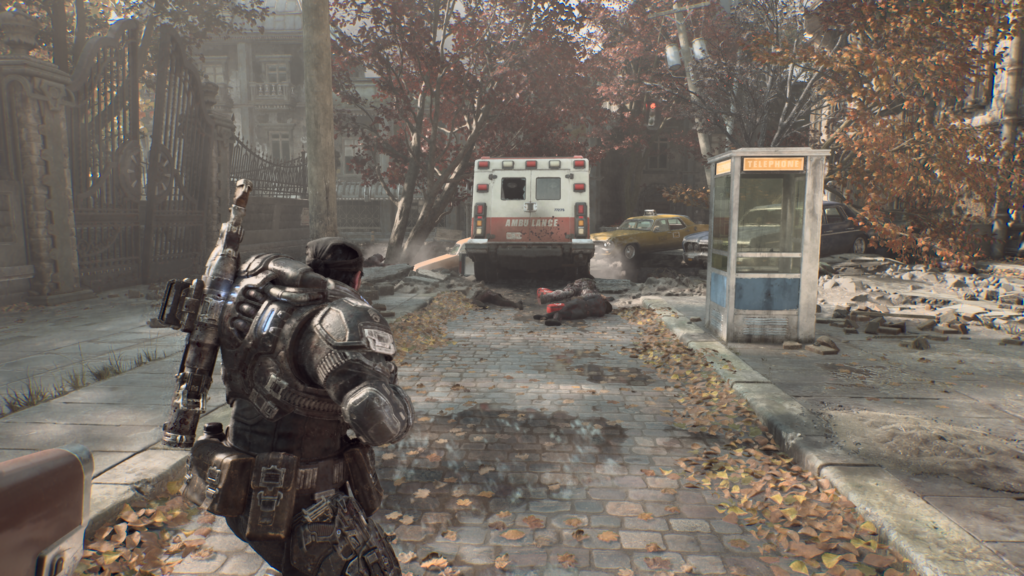
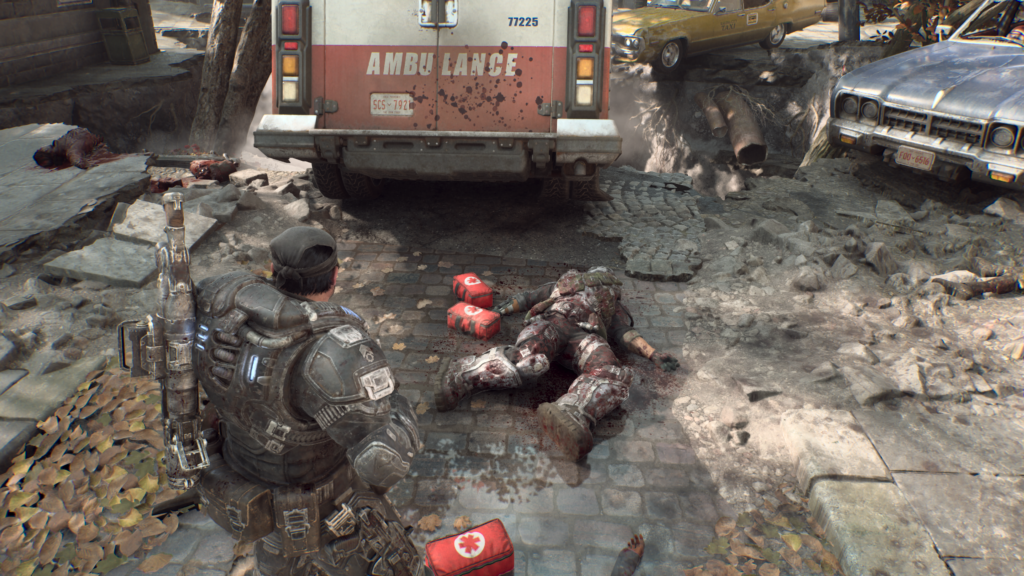
Go to the left handside of the opera house building and go all the way down the path. At the deadend there is an ambulance crashed into a sinkhole. At the back of it is the collectible.
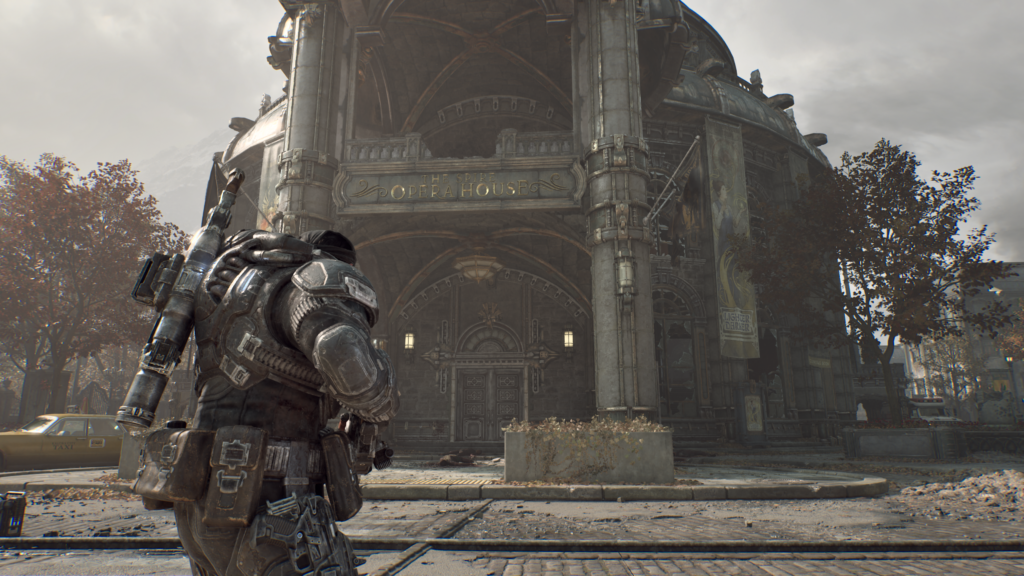
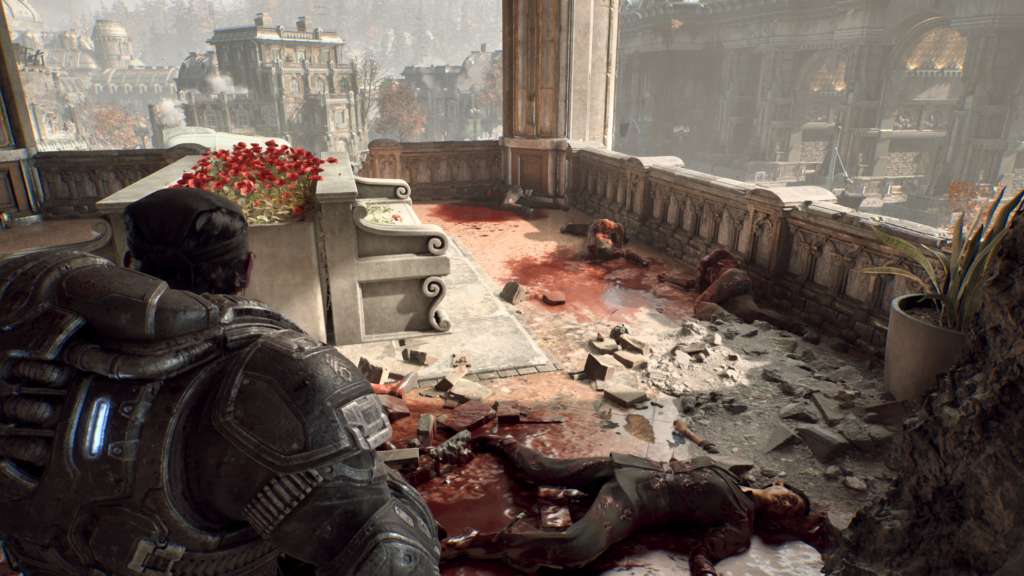
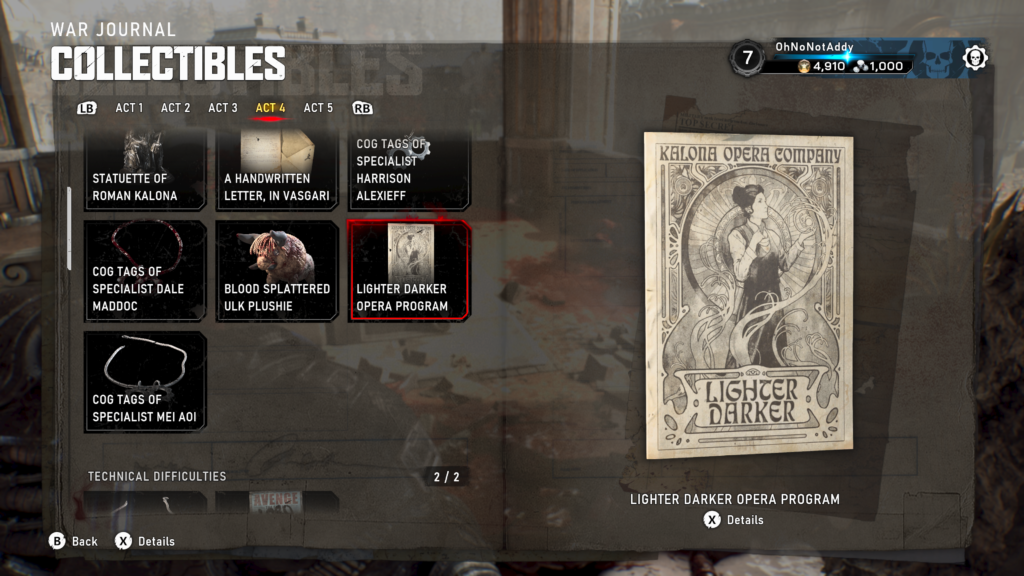
Collectible – Lighter, Darker Opera Program (13 / 13)
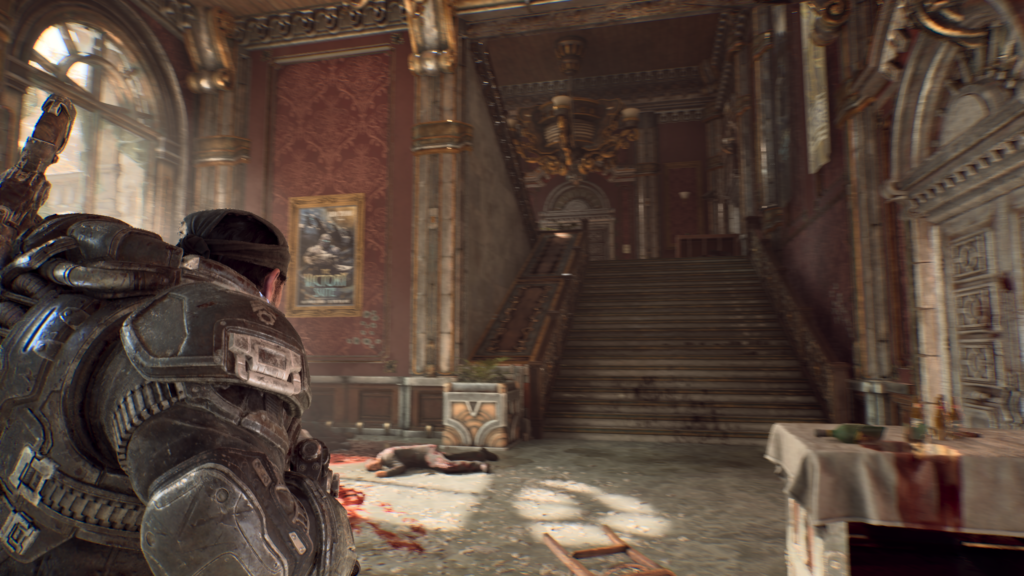
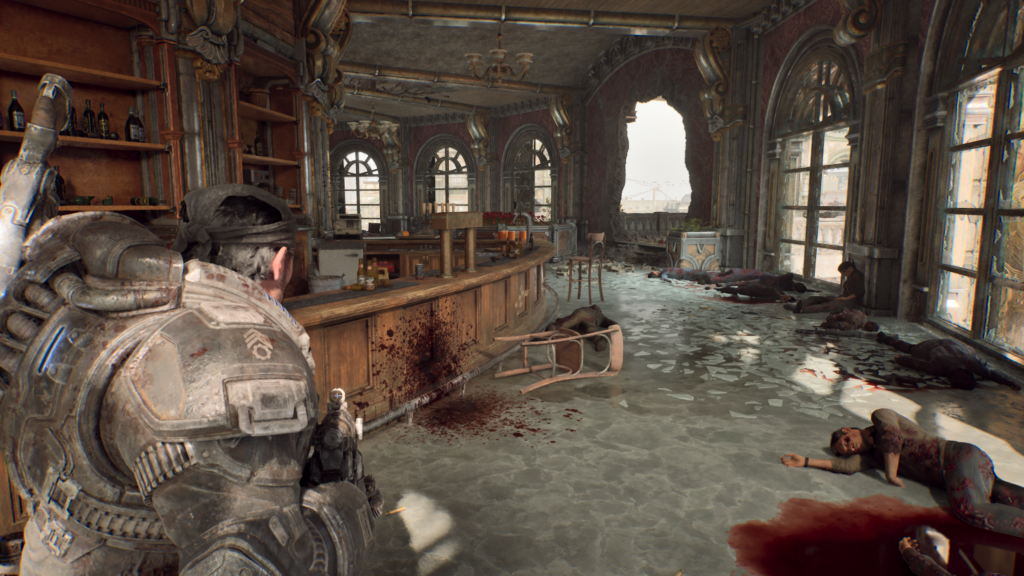
Head inside the opera house, the entrance is to the right when looking at the front. Go to the left and go up two sets of stairs to the next floor. On the right, there is a hole in the wall. Head out and on the right of the balcony is the collectible.
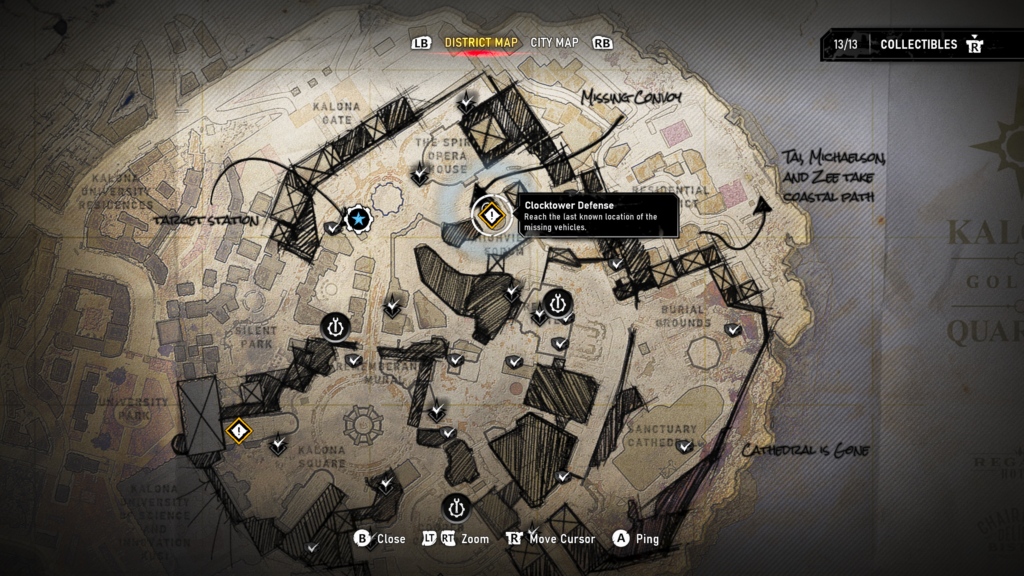
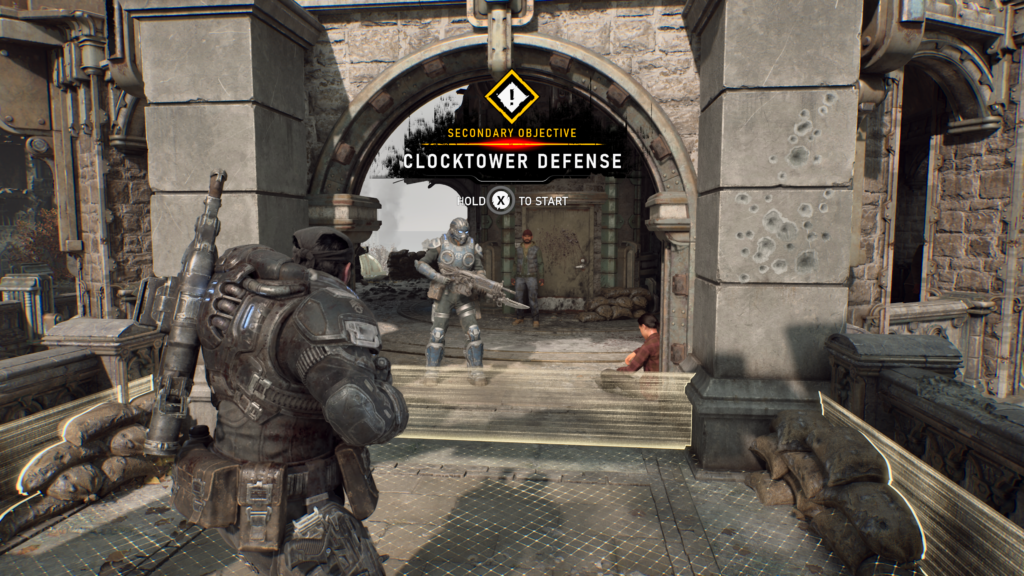
Secondary Objective (3 / 3) – Clocktower Defense
If looking at the entrance of the opera house, head to the right and down the road to the right side of the building. On your right is the clocktower with the secondary objective. Fight off the waves of Locust to succeed.
Hard Case (14 / 14)
To the left of where you get the clocktower defense secondary objective. Head down the road and to your left is an alleyway. Follow it to see a hard case to the back left.
Act 4, Chapter 2 – Technical Difficulties
- 2 Collectibles
- 3 Hard Cases
Hard Case (1 / 3)
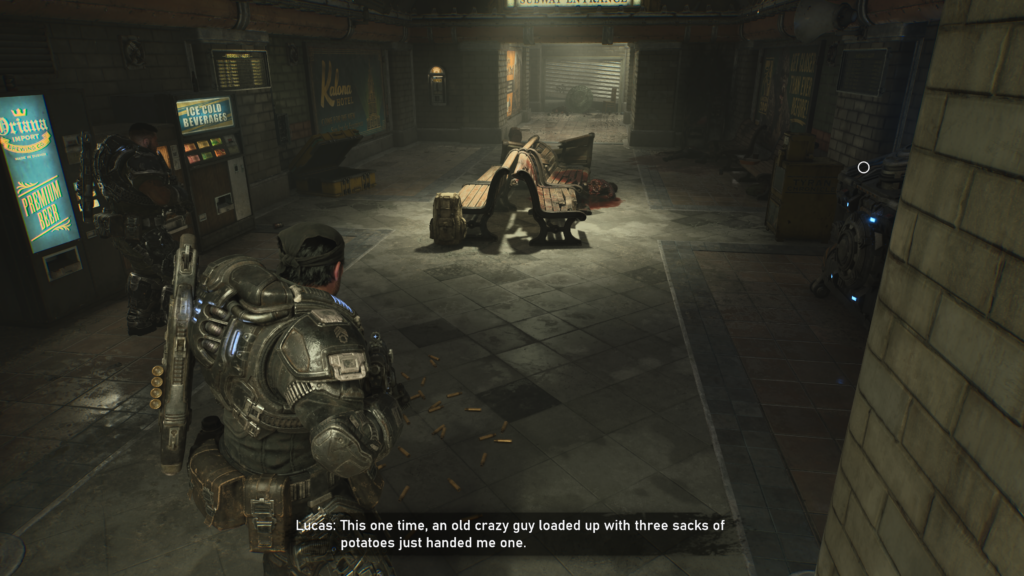
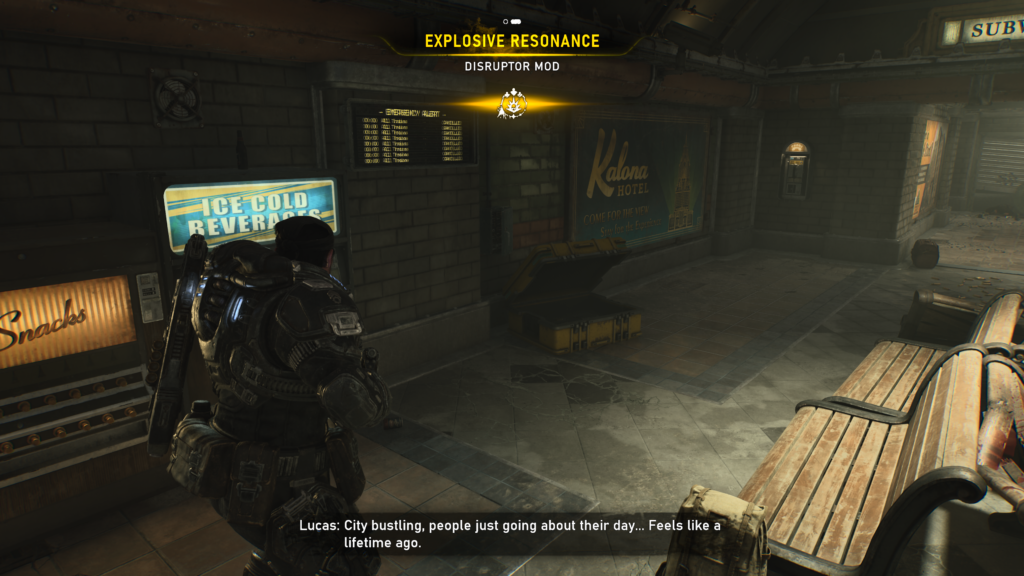
From the start of the chapter, follow the path until you reach a slightly wider room, with a bench in the centre. On the left of the bench is the hard case.
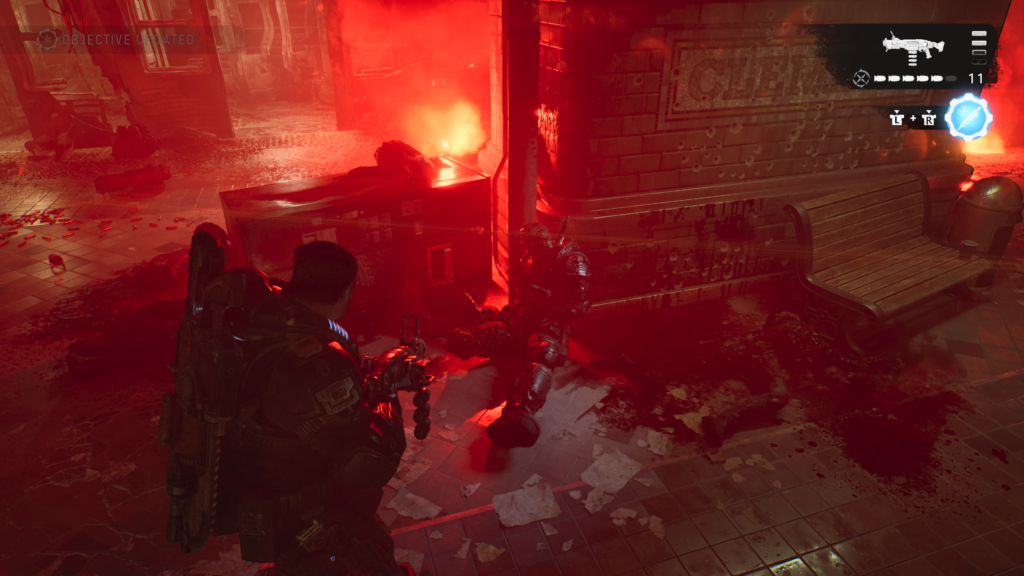
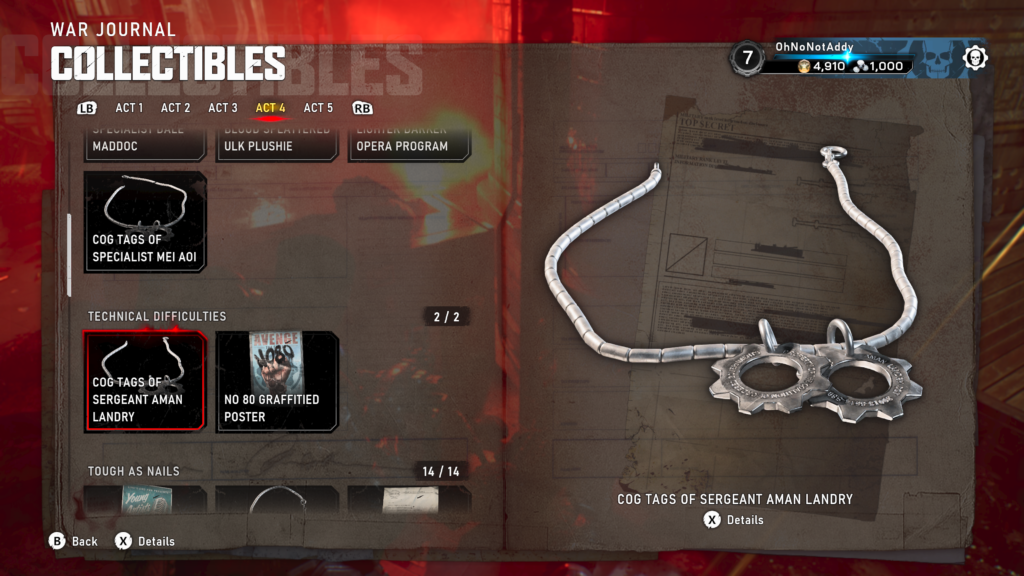
Collectible – COG Tags of Sergeant Aman Landry (1 / 2)
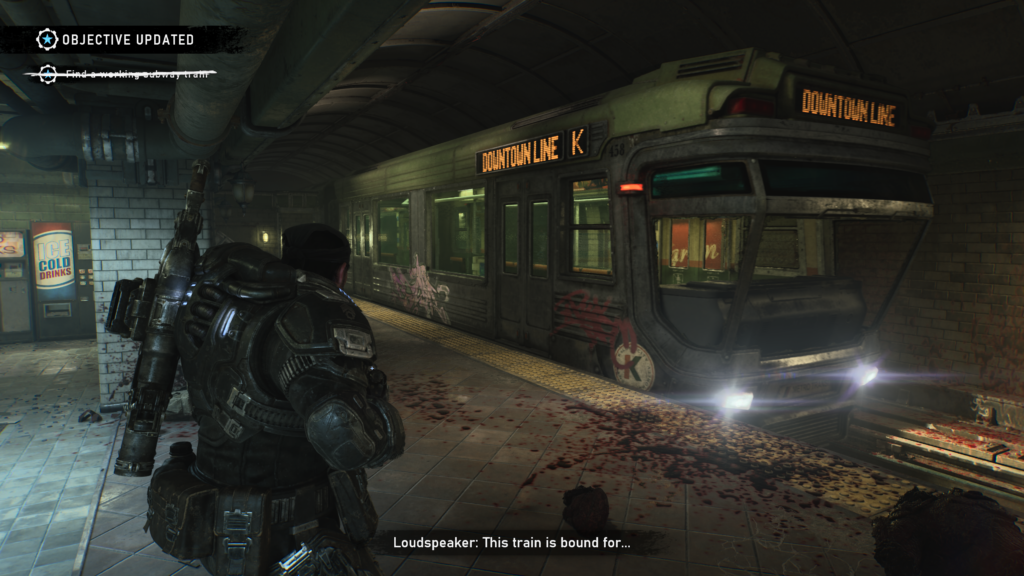
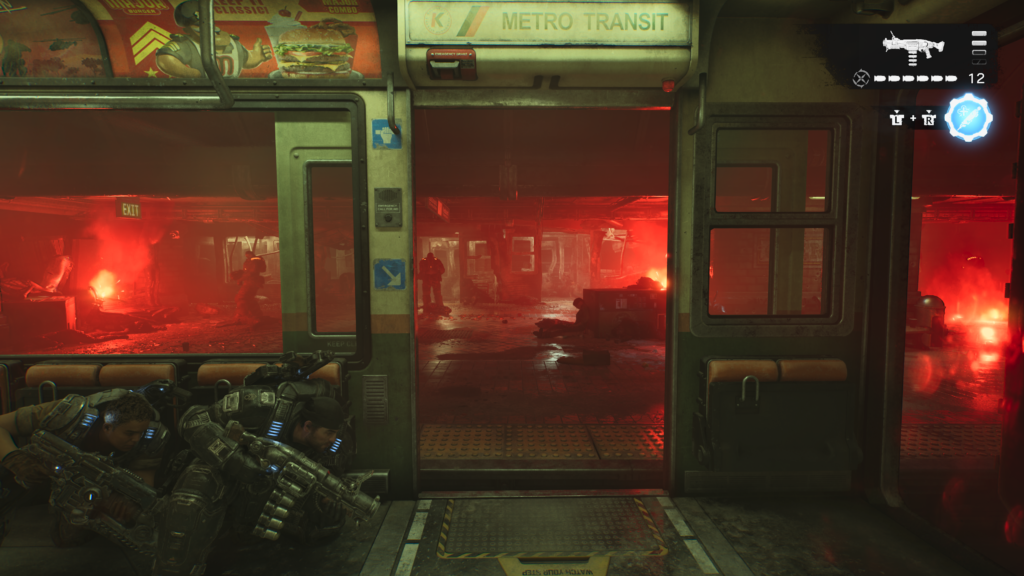
You’ll reach a station where there are loads of Locust on a railway track. Once they’re all gone, wait for the next train and get on. There’ll be a bit of chatter, and then the train will arrive in a station, lit by lots of red light. You will have to go onto the platform and grab the collectible from the dead body in front of you, and get back on the train before it departs. You might not have time to kill everyone and then grab the collectible. I’d recommend grabbing it and rushing back to the train to fight.
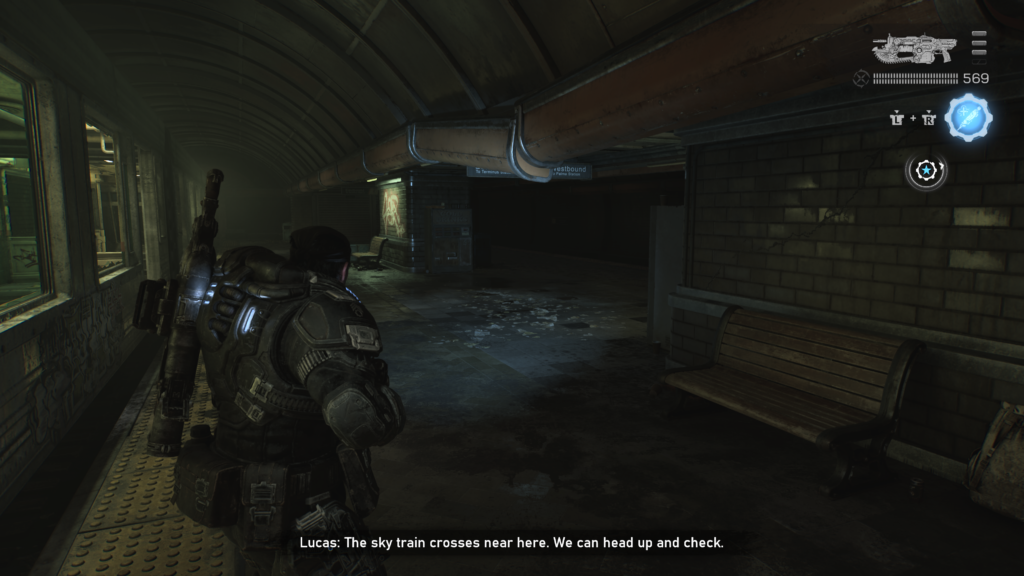
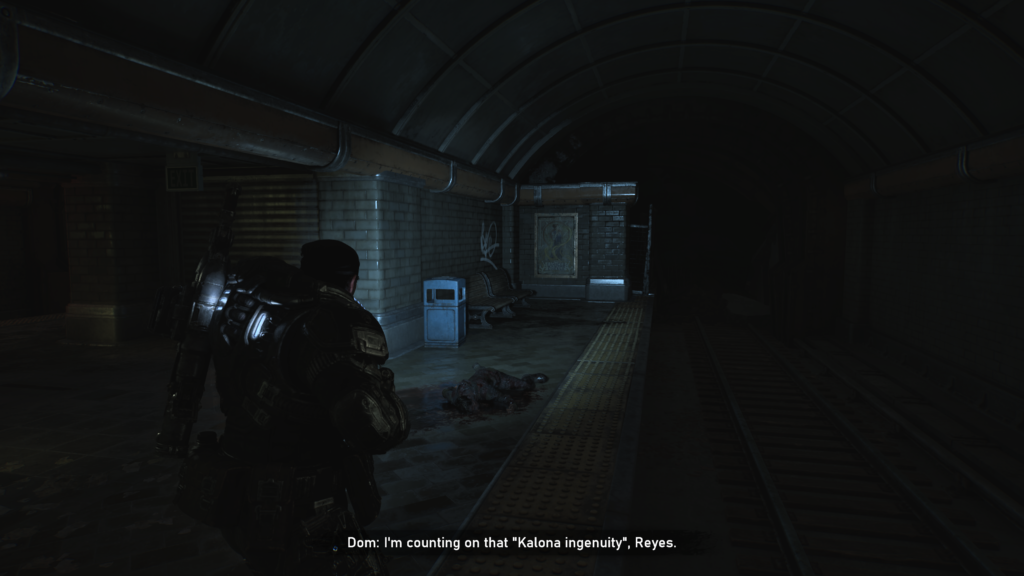
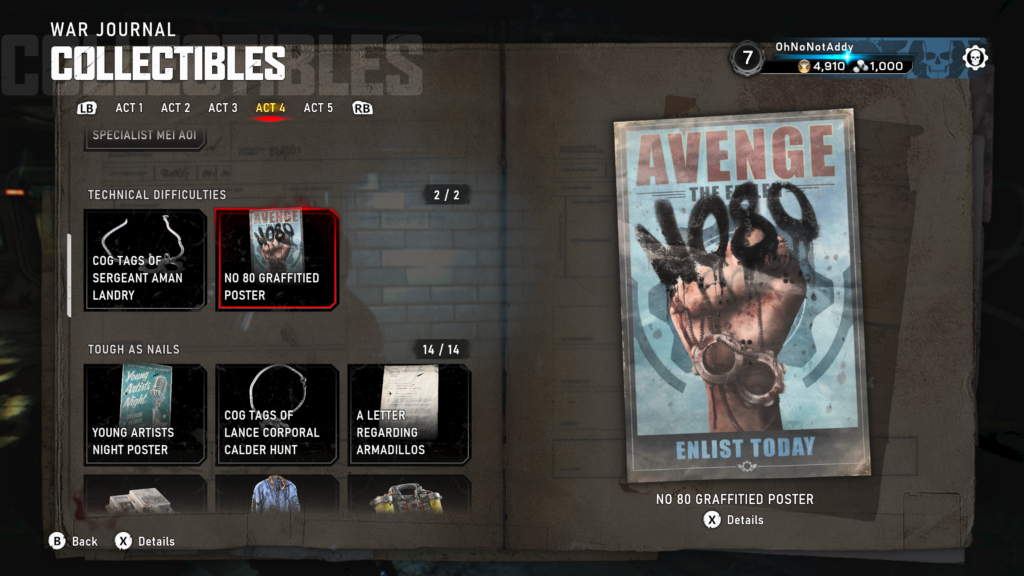
Collectible – NO 80 Graffitied Poster (2 / 2)
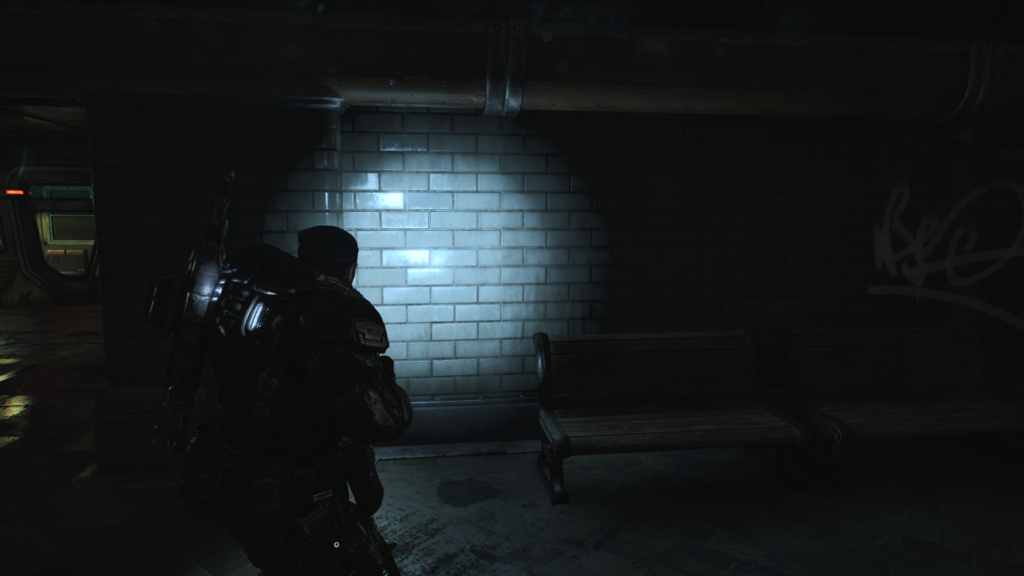
Once you get off the train, you will need to leave through the exit on your right. Head to the left instead and go to the right side of the platform. Against a wall will be the poster.
Hard Case (2 / 3)
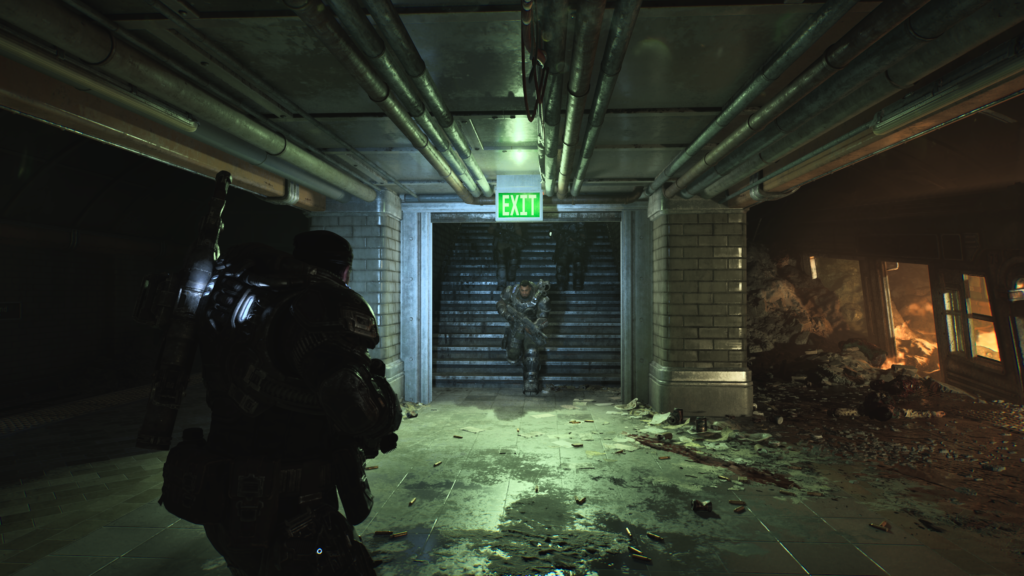
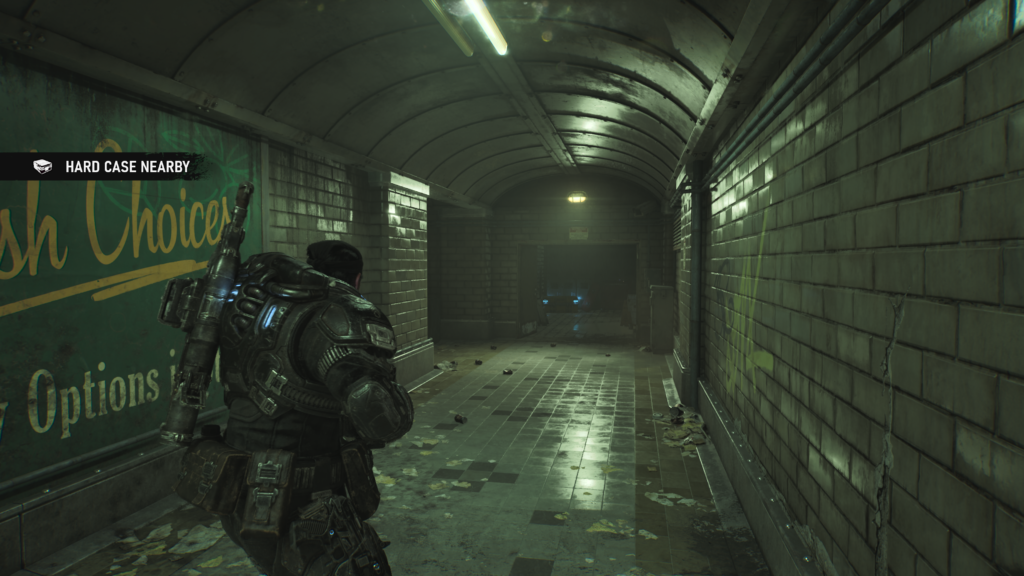
When you need to leave the train platform through the ‘Exit’, head up and follow the corridor round, and you should take a corridor to your left. Before you do head forward into the room and grab the hard case.
Hard Case (3 / 3)
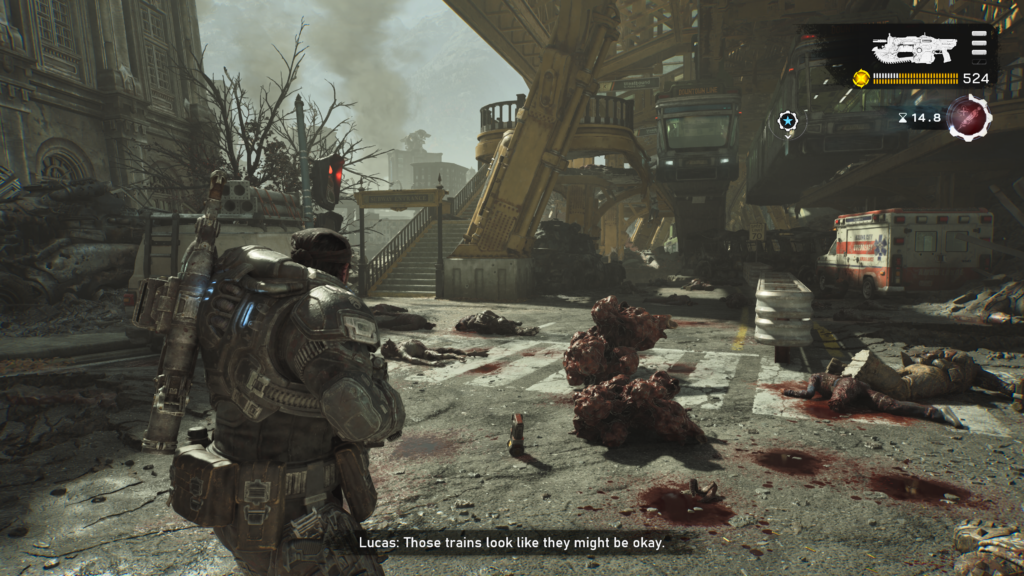
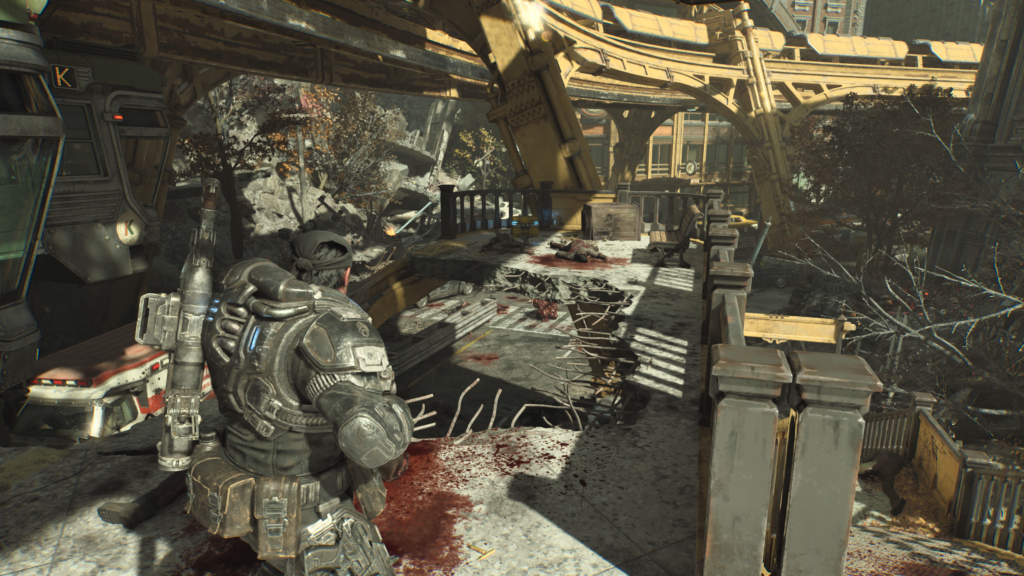
Once you emerge from the subway, you’ll have to fight off some Locust. Once you’re done, you’ll need to head up to the skytrain platform (yellow metal). Once you go up the steps turn to the right and spot the hard case across a gap on the edge of the platform.
Act 4, Chapter 3 – Tough as Nails
- 14 Collectibles
- 12 Hard Cases
- 4 Secondary Objective
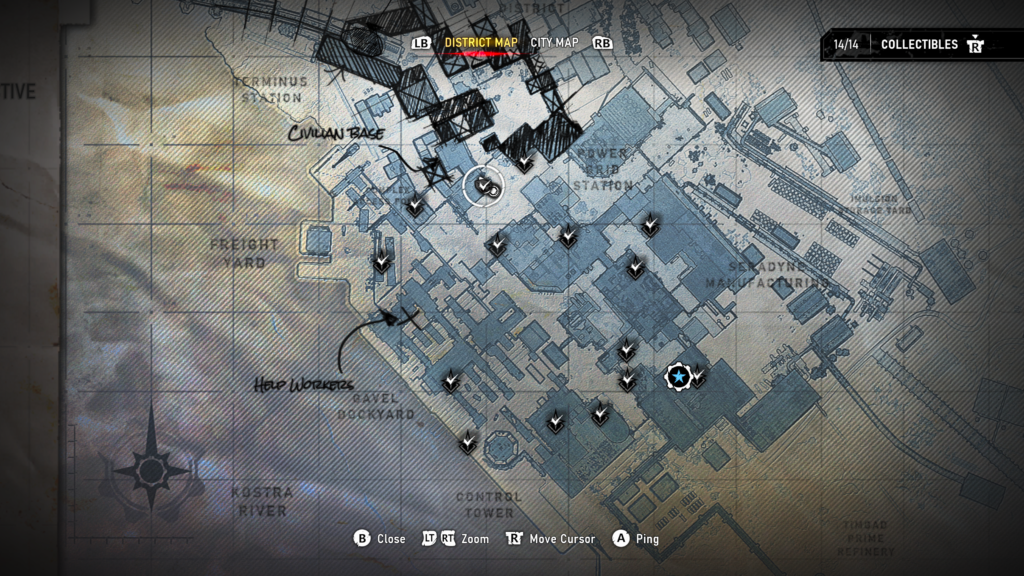
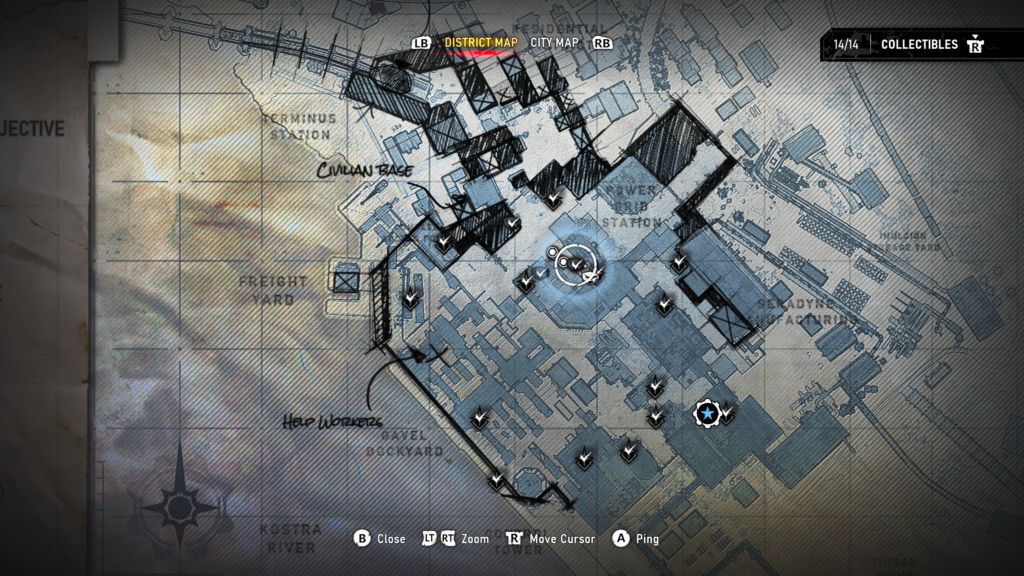
You will have access to a map in this chapter. I have included the map location for each object where possible.
Hard Case (1 / 12)
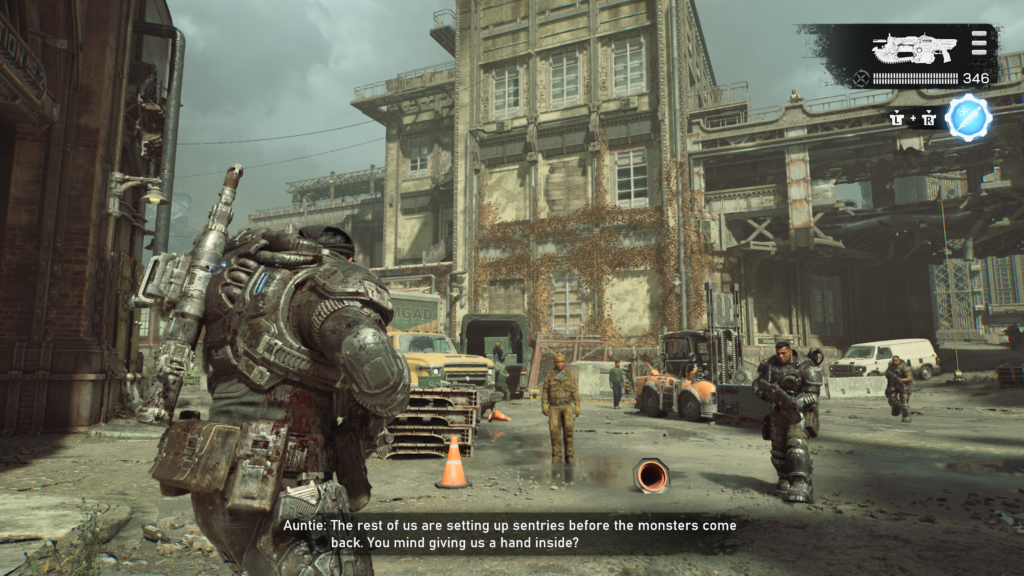
After you have spoken to Auntie in the bar, you’ll leave and head through a set of gates to enter the main area of the chapter. Walk forward a bit and go to the right, over the low wall is a hard case.
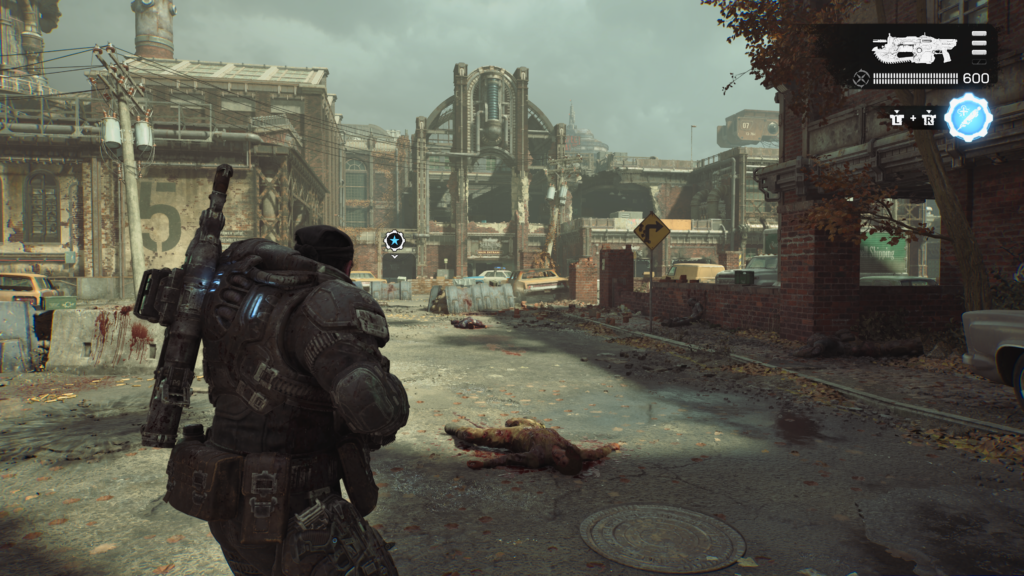
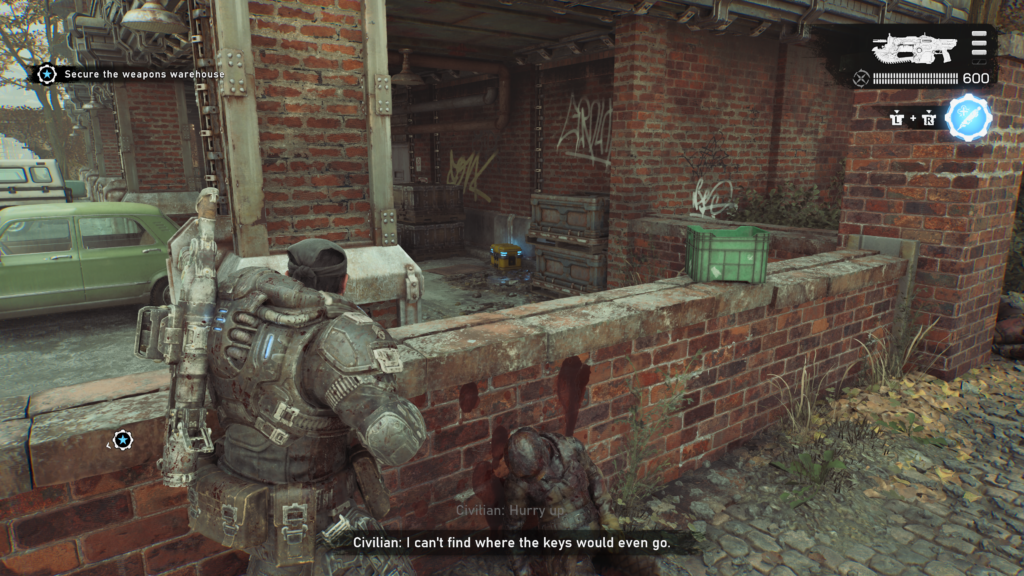
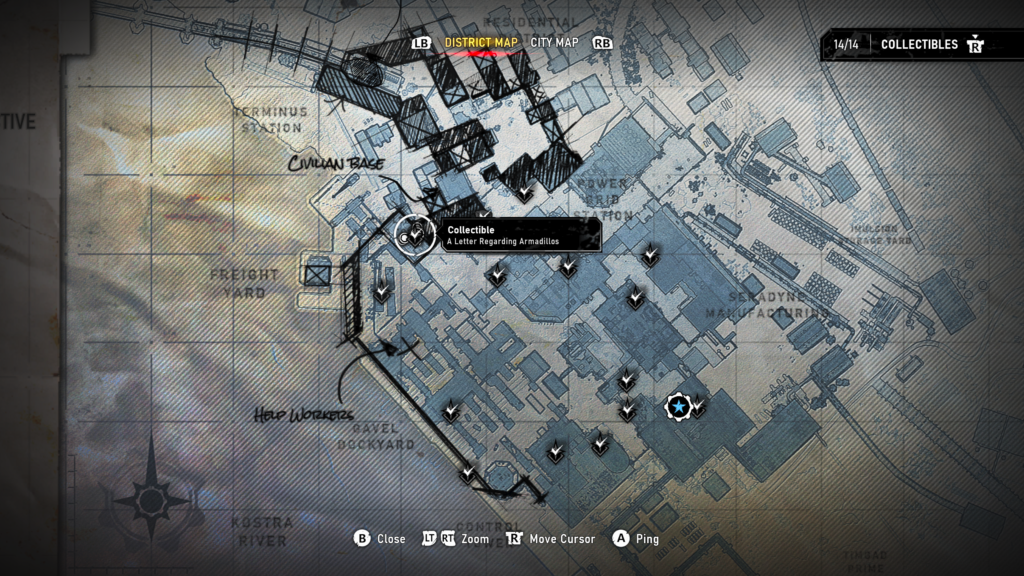
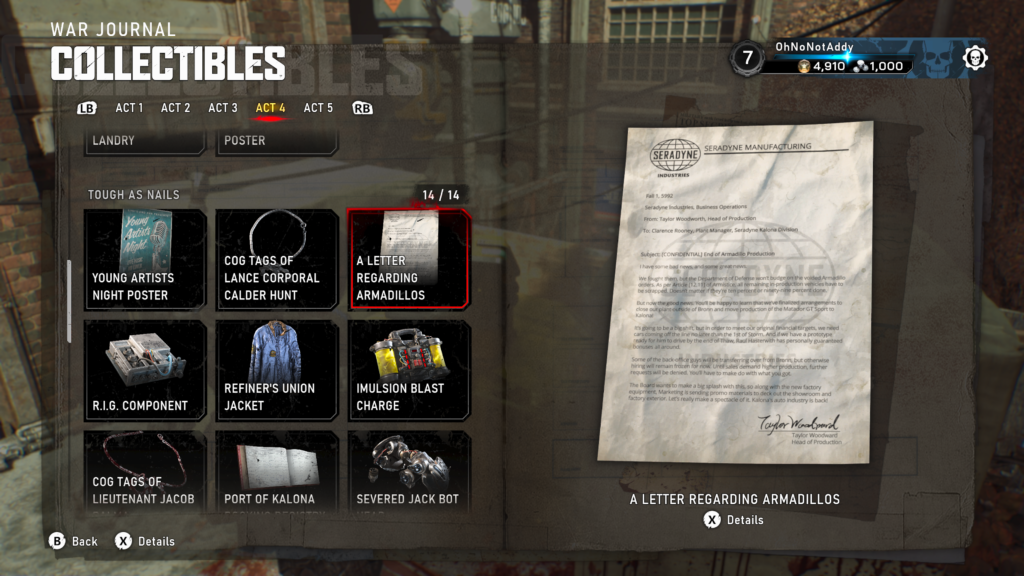
Collectible – A Letter Regarding Armadillos (1 / 14)
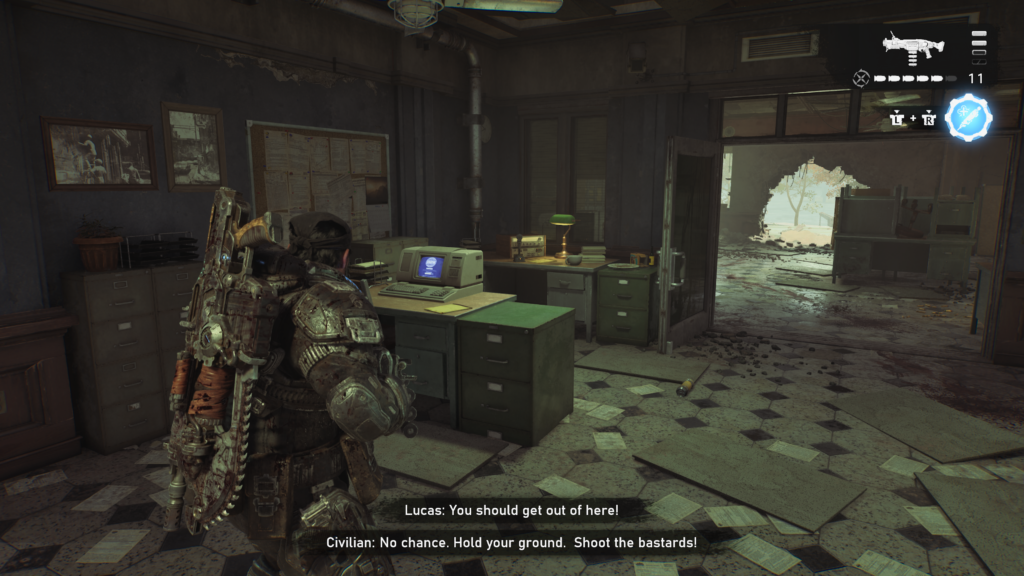
To the left of the previous hard case, there is a hole in a wall. Drop down, through the hole to see a large building on your right. There will be some civilians shooting at Locust. Head inside the building and in the back room, on a desk is the collectible.
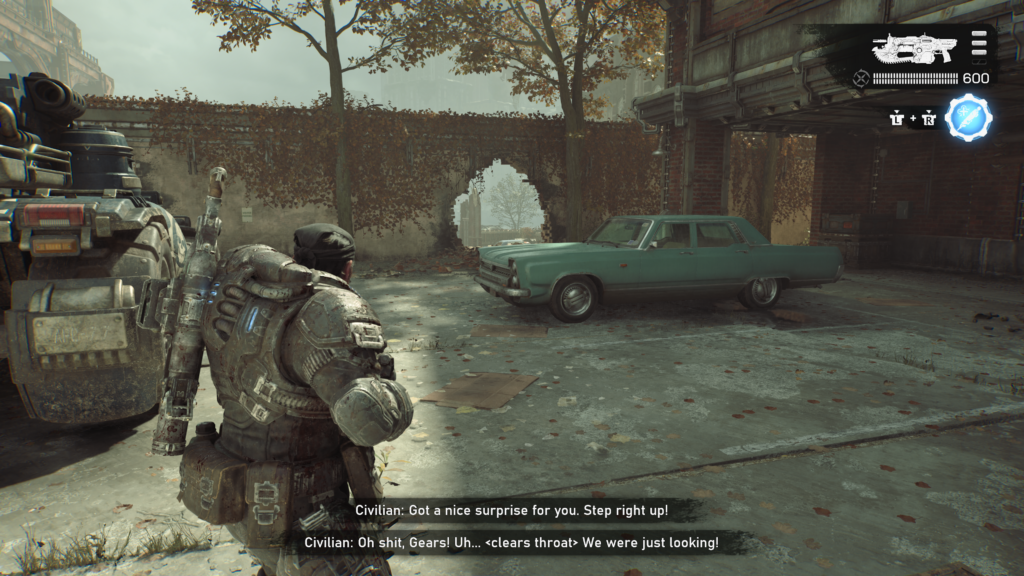
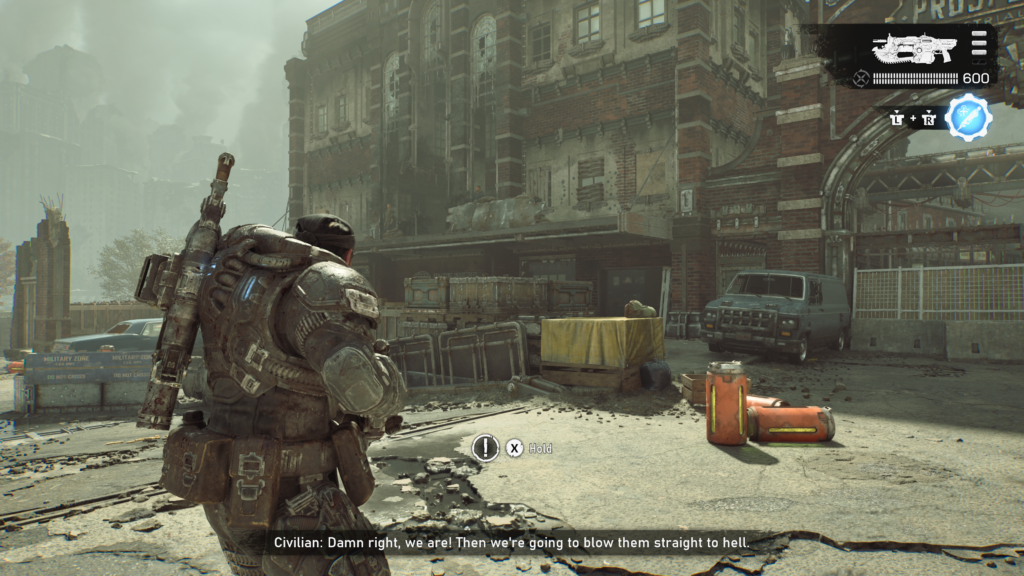
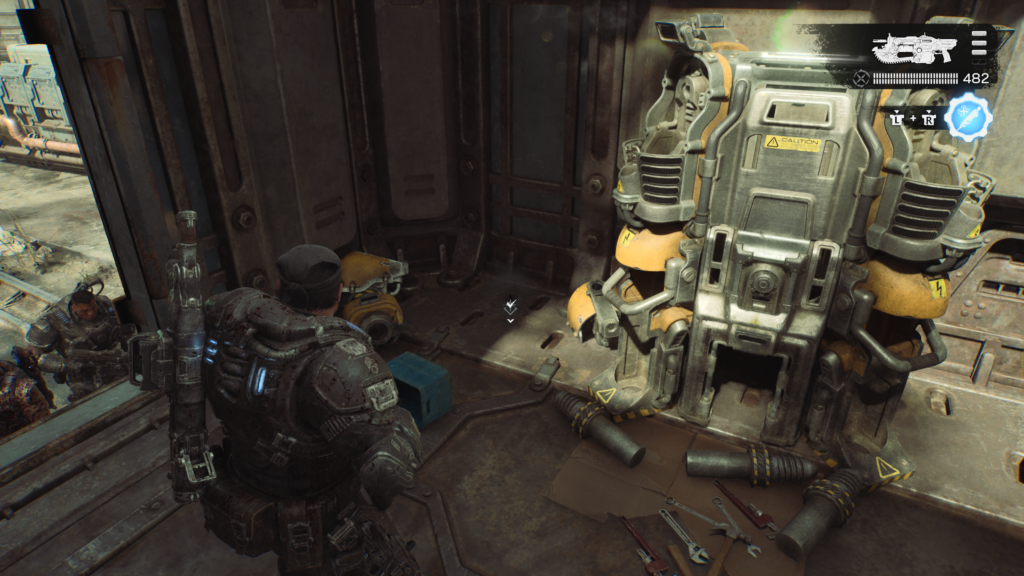
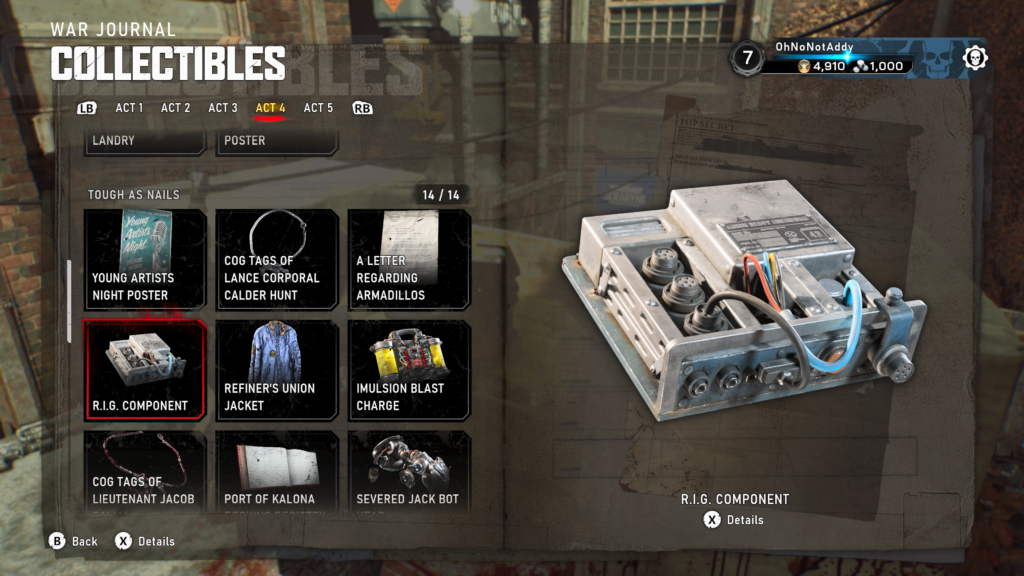
Collectible – R.I.G. Component (2 / 14)
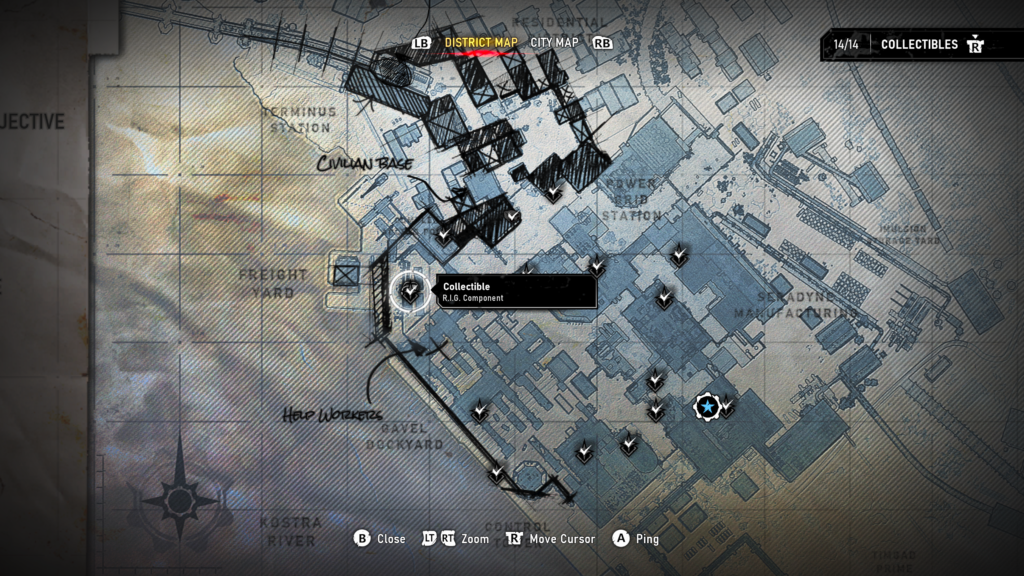
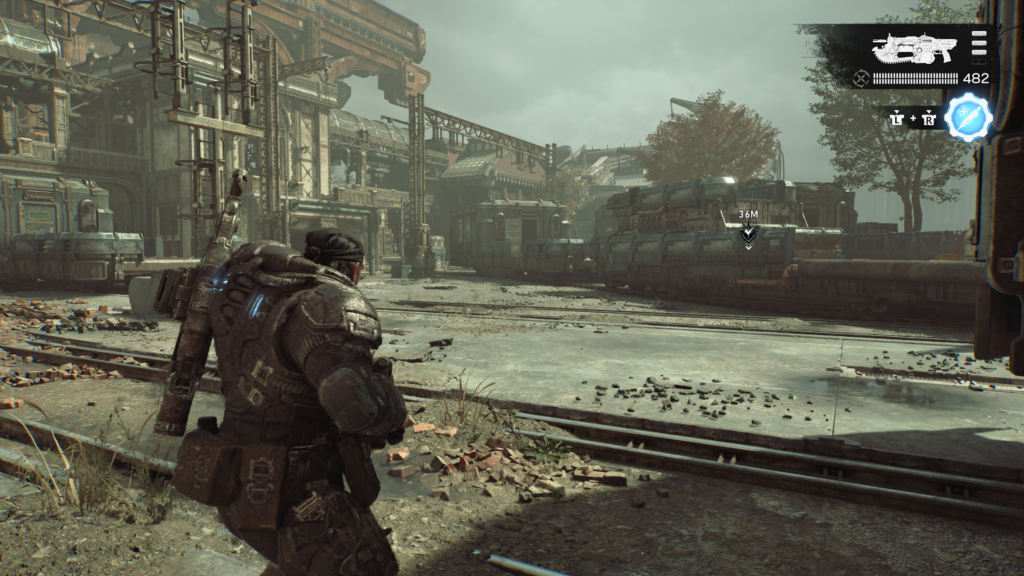
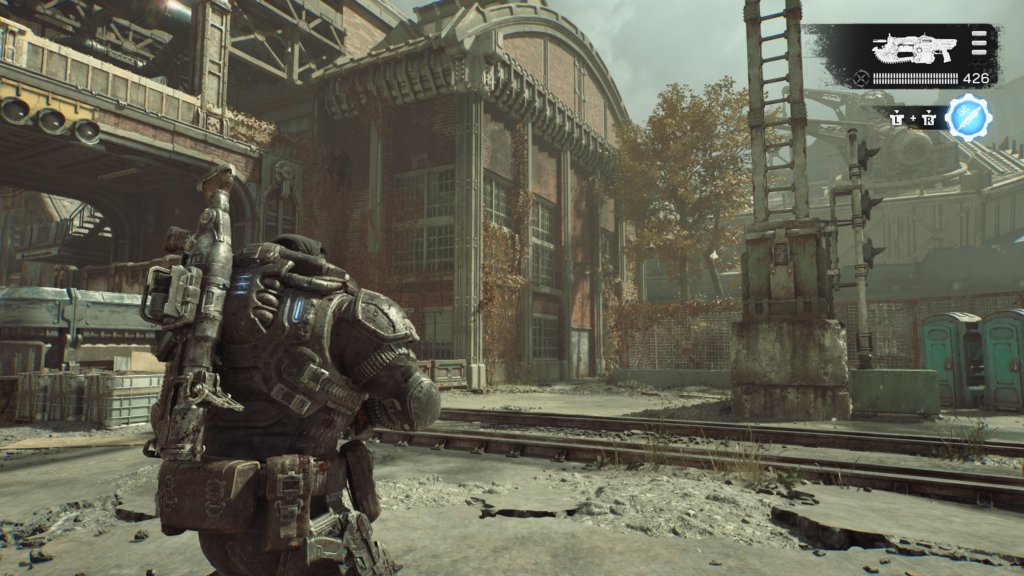
From the previous collectible move forward and drop down to street level. You will see some train cars here. Head to the one near the fence next to the portable toilet. Inside the train car on the ground to your left is the collectible.
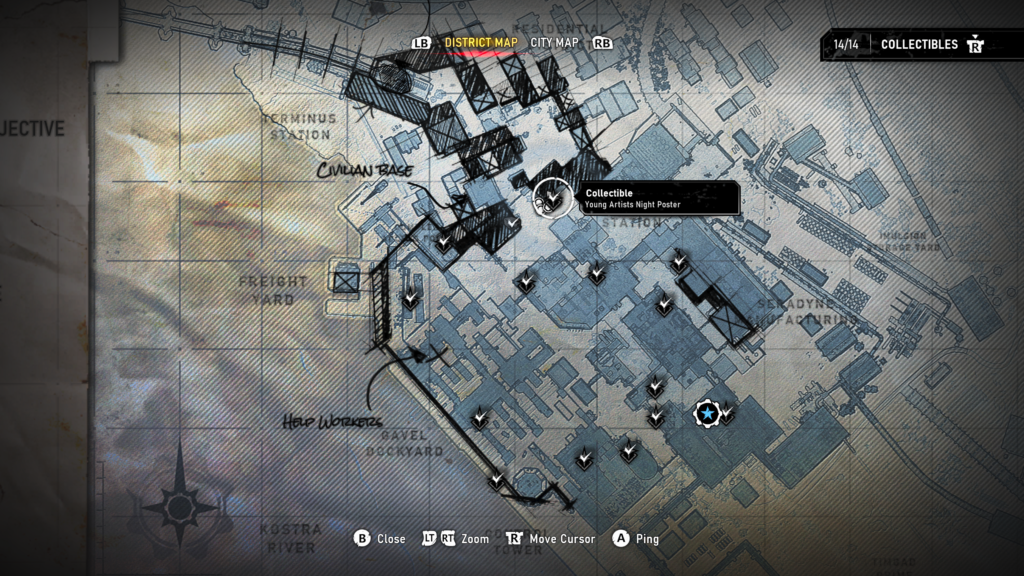
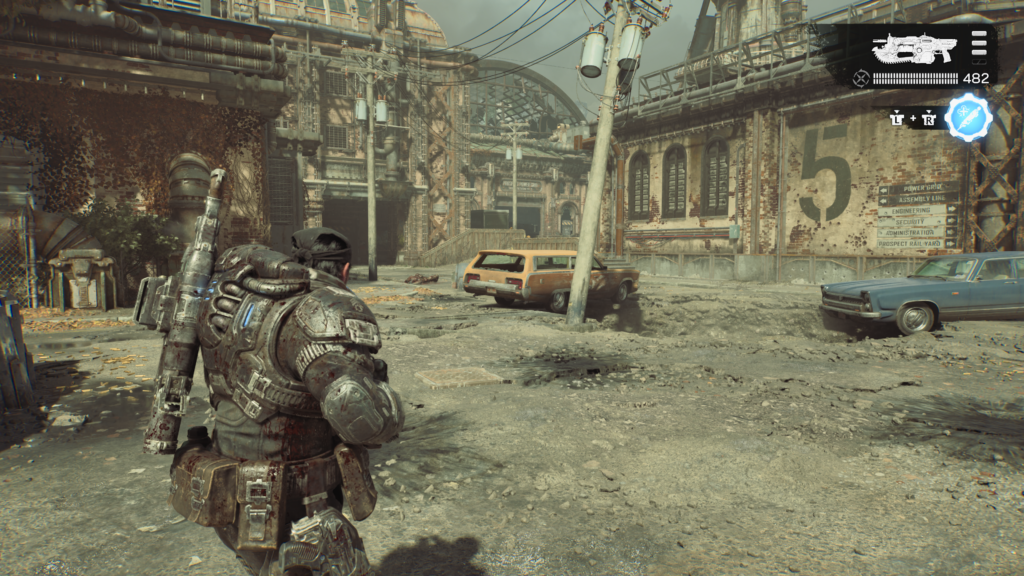
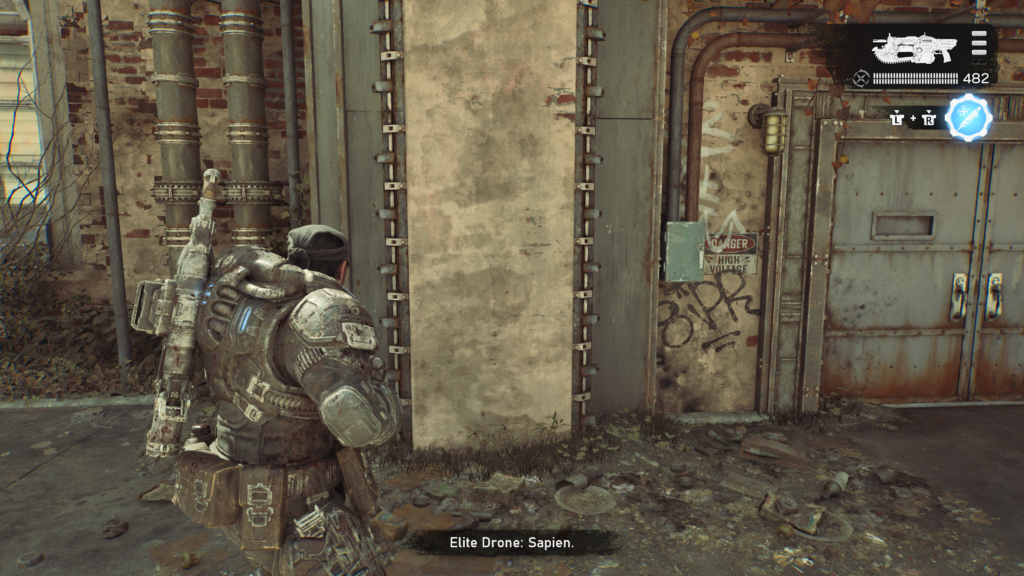
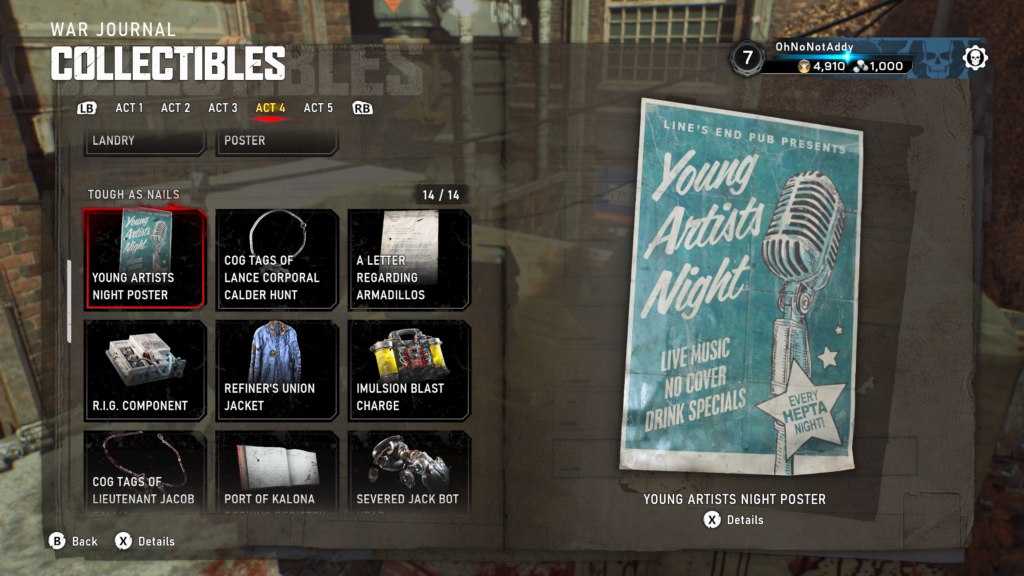
Collectible – Young Artists Night Poster (3 / 14)
Return to the entrance to the area, and take a left. Head forwards and you’ll spot the collectible poster on the wall.
Hard Case (2 / 12)
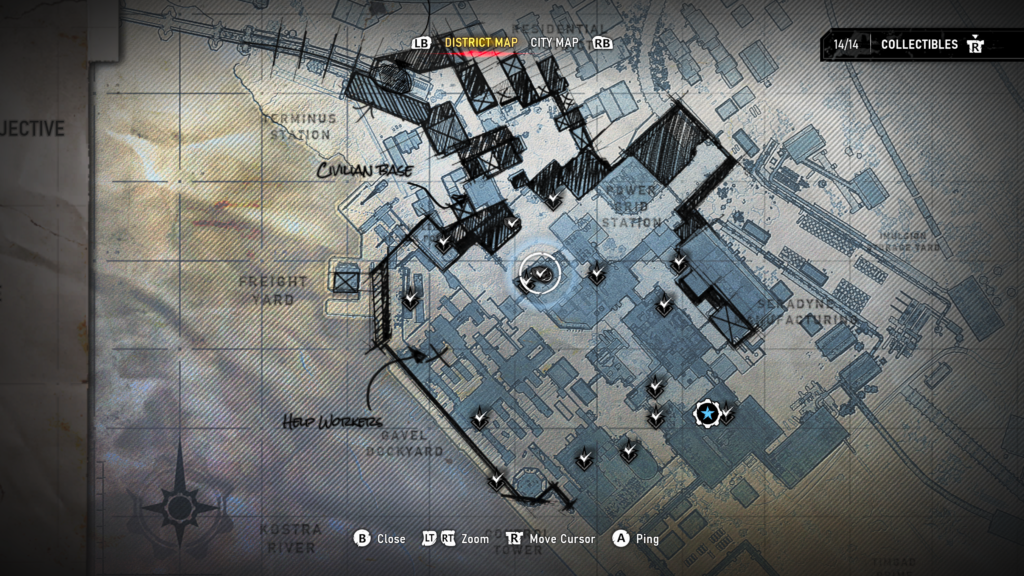
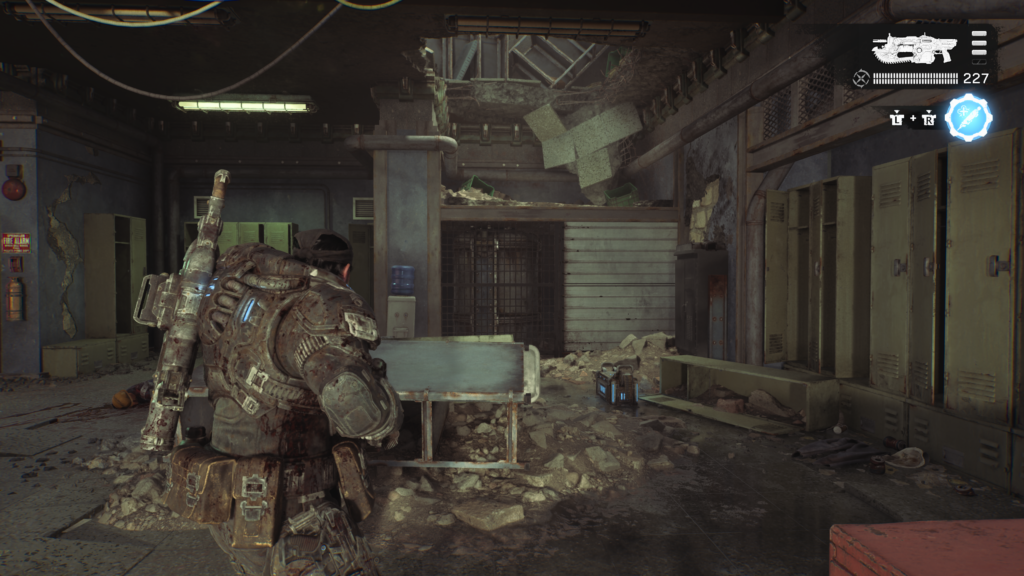
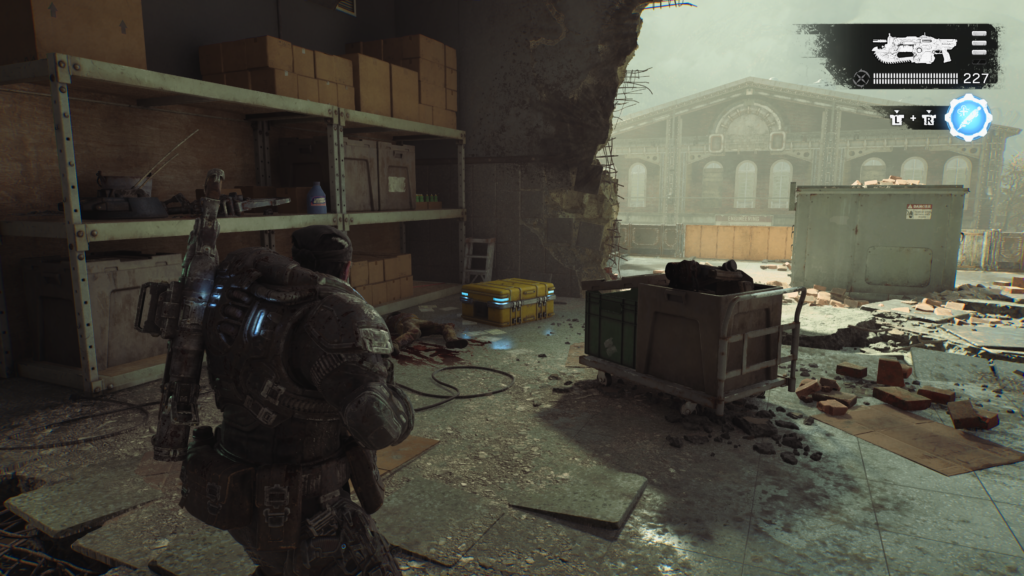
Go to the right more central, in line with the entrance to the open-world area. Head forward and slightly to the right towards the warehouse in front of you. Head into the right hand entrance and go to the back of the room, climb up the ledges to the next floor. As you arrive on the next floor, you’ll see the hard case.
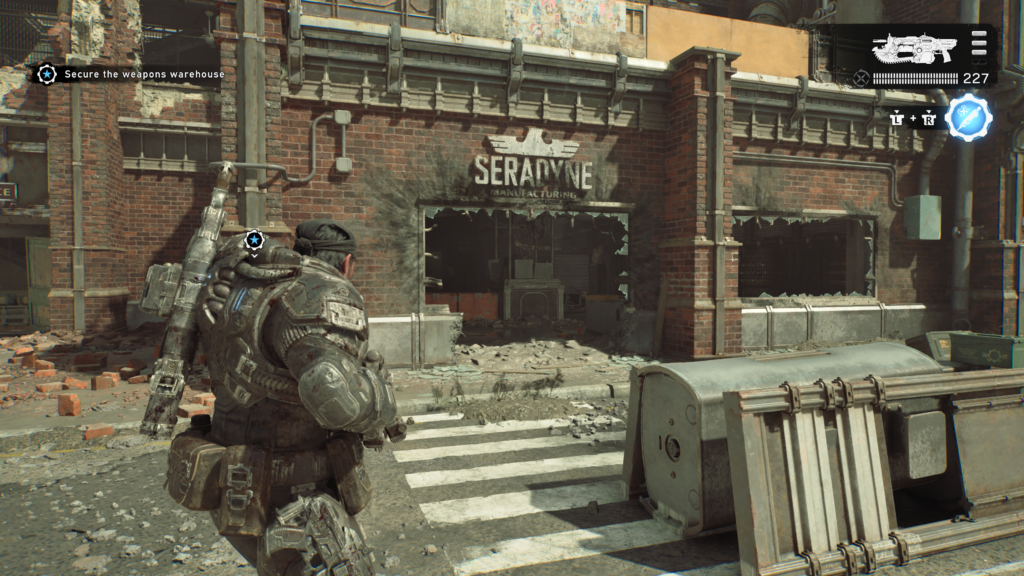
Hard Case (3 / 12)
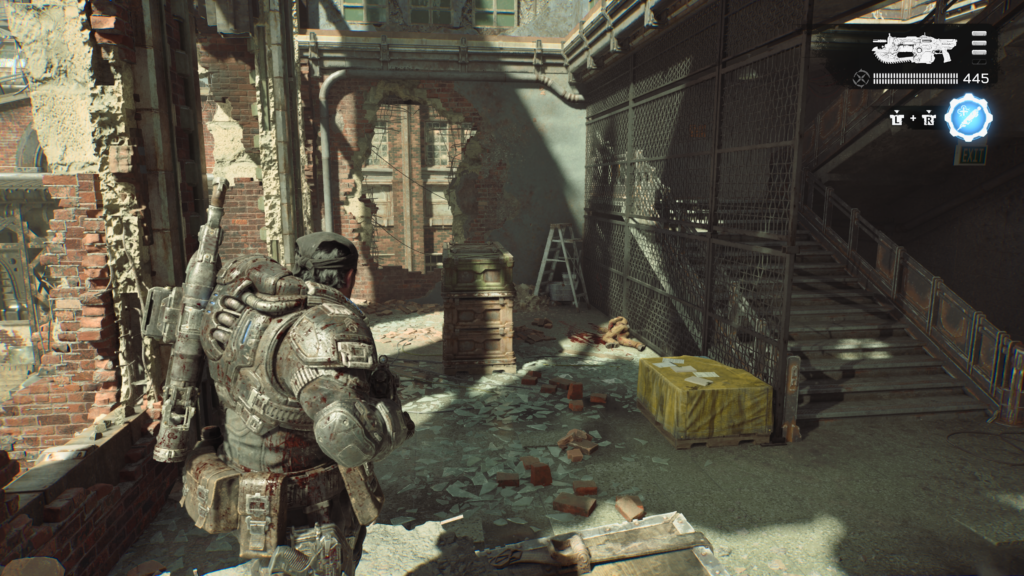
From the last hard case, head to the right and go out the hole in the wall. You’ll likely fall to the floor below. Climb up the crates and wall to the upper path. Follow it round to the hard case sat on a ledge.
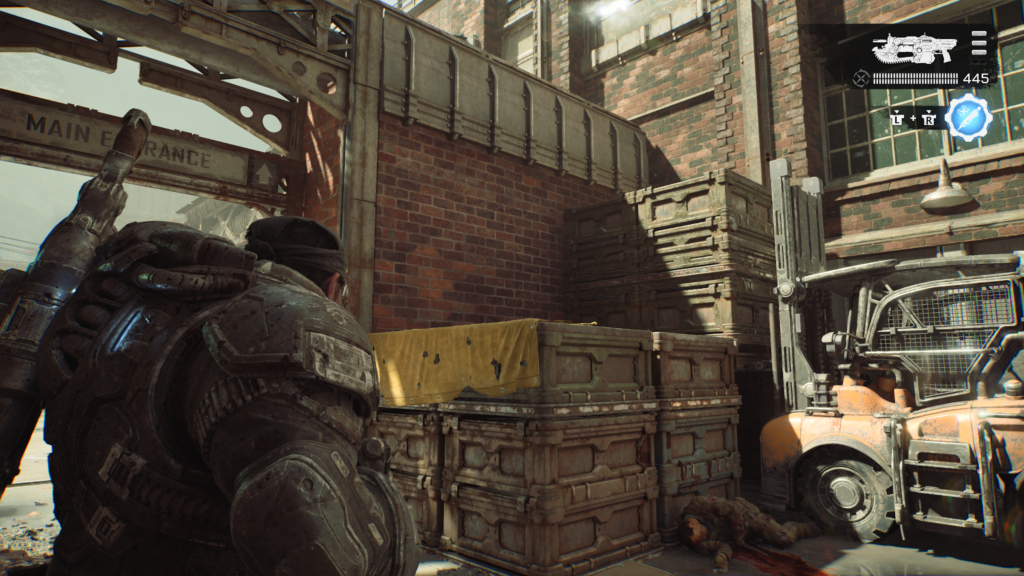
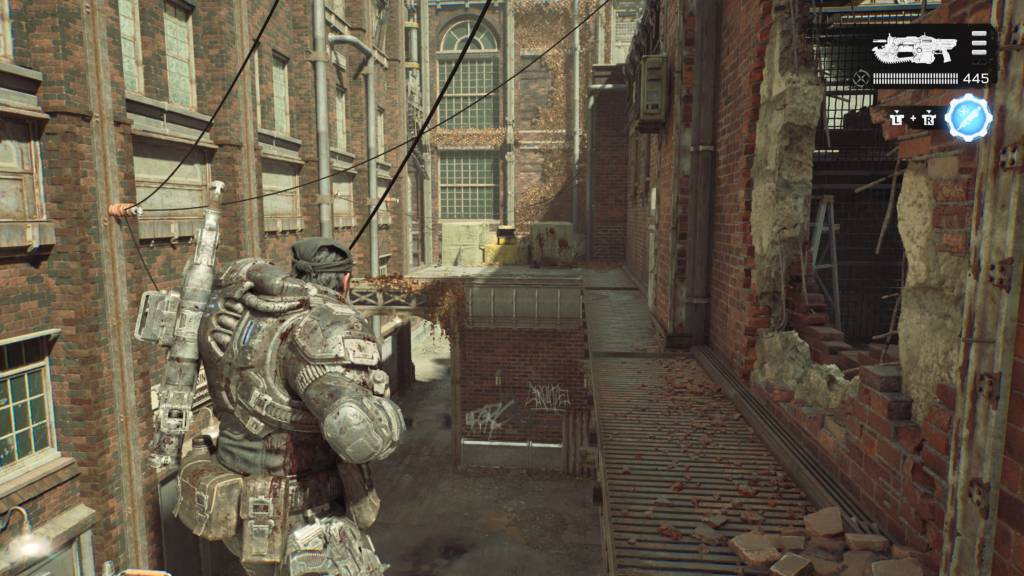
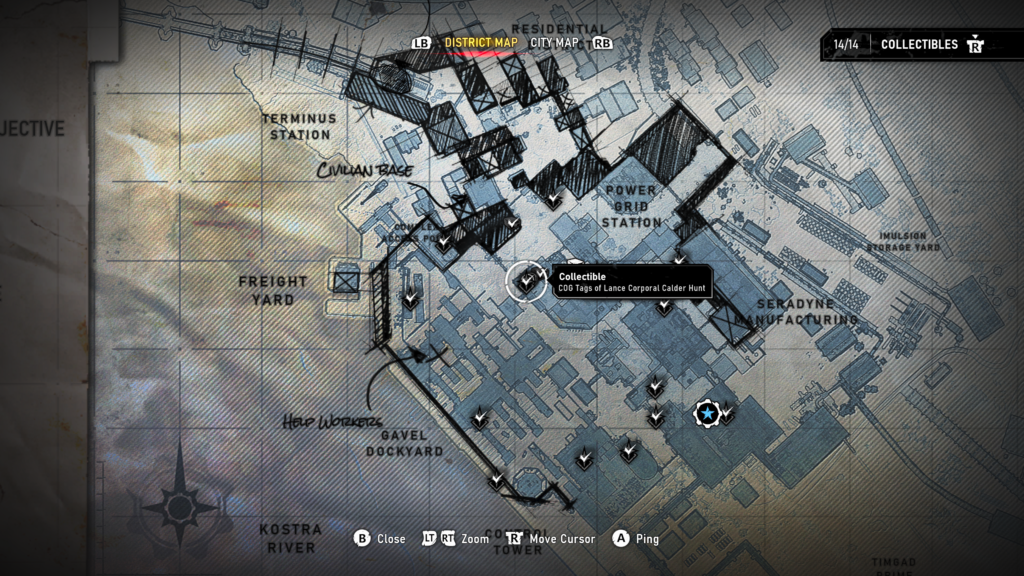
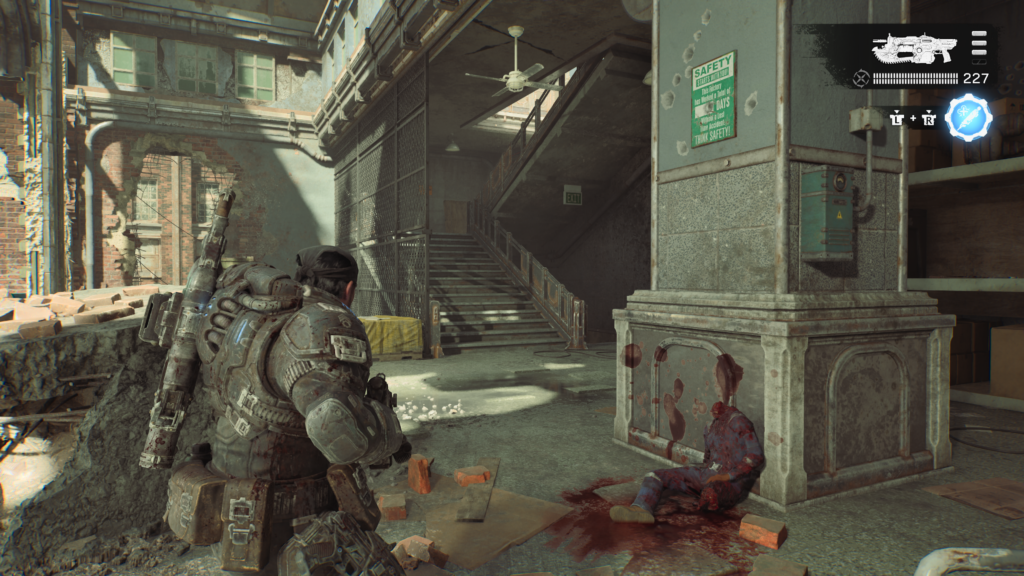
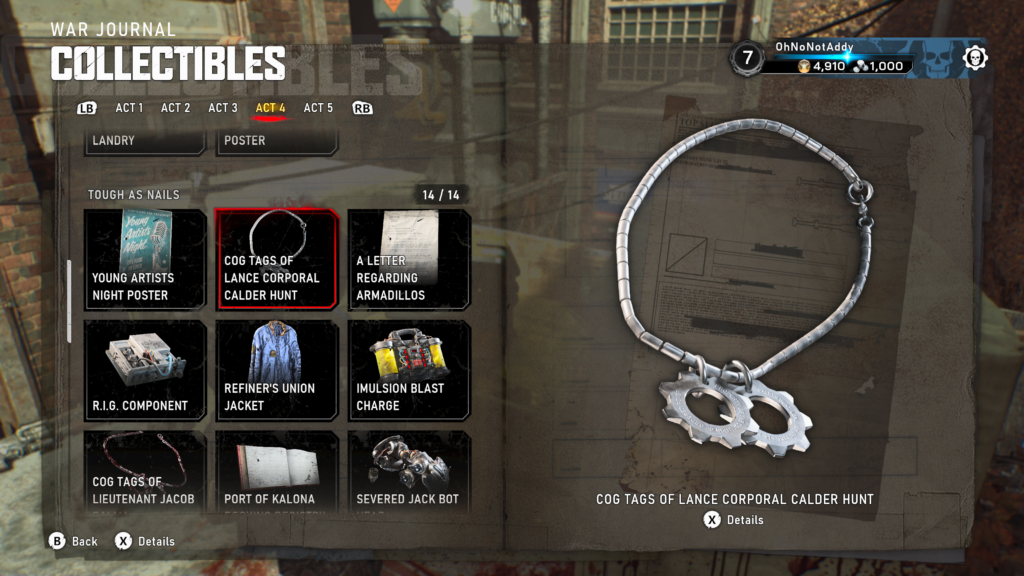
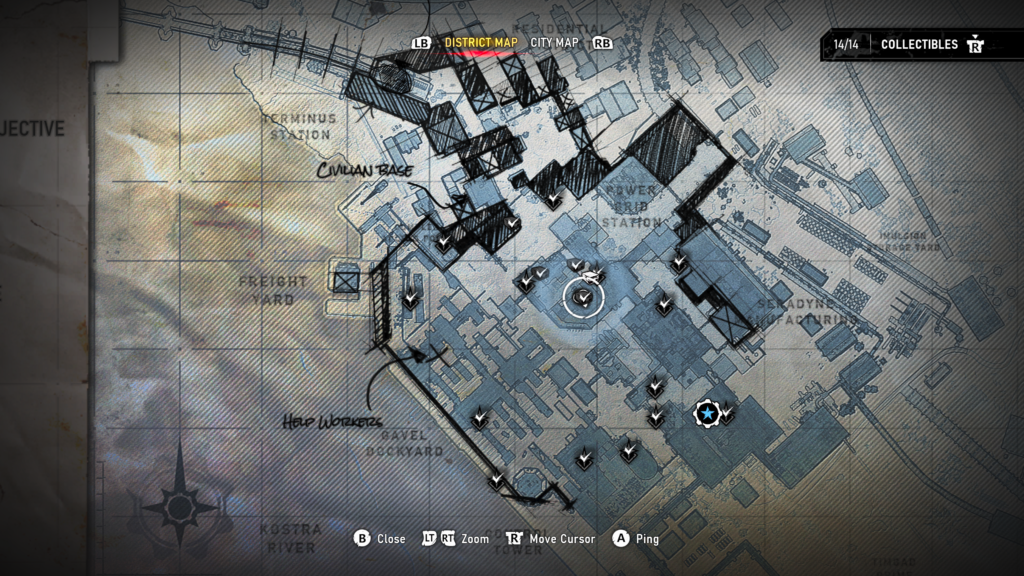
Collectible – COG Tags of Lance Corporal Calder Hunt (4 / 14)
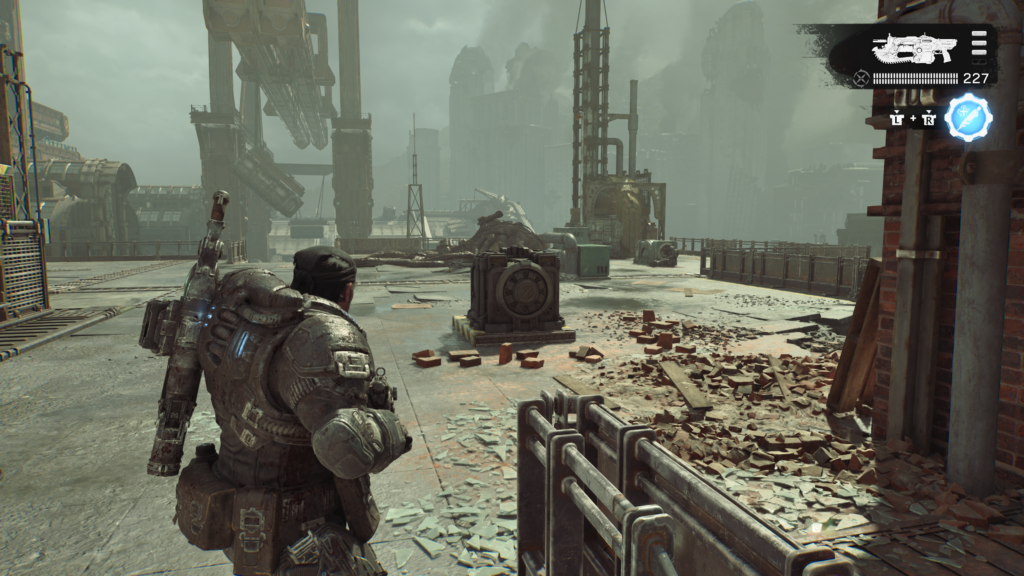
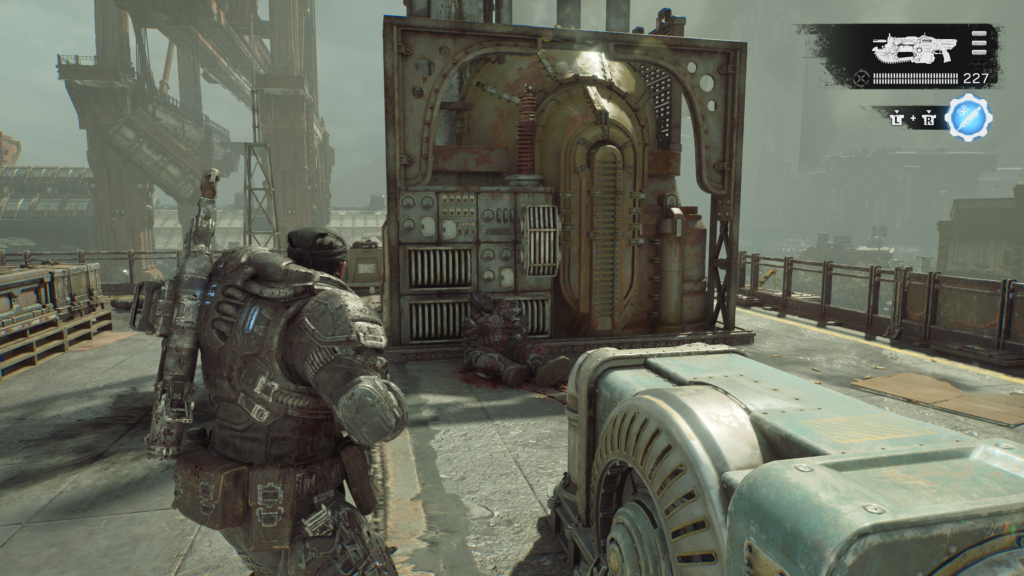
Go back into the warehouse and go all the way up to the roof. At the top of the stairs, head forward and to the right. You’ll find the collectible next to a dead body, resting against a big generator looking structure.
Hard Case (4 / 12)
Still on the roof, head to the back of the roof, left of where the last collectible was. You’ll climb a small ledge, and the hard case in a small loading dock.
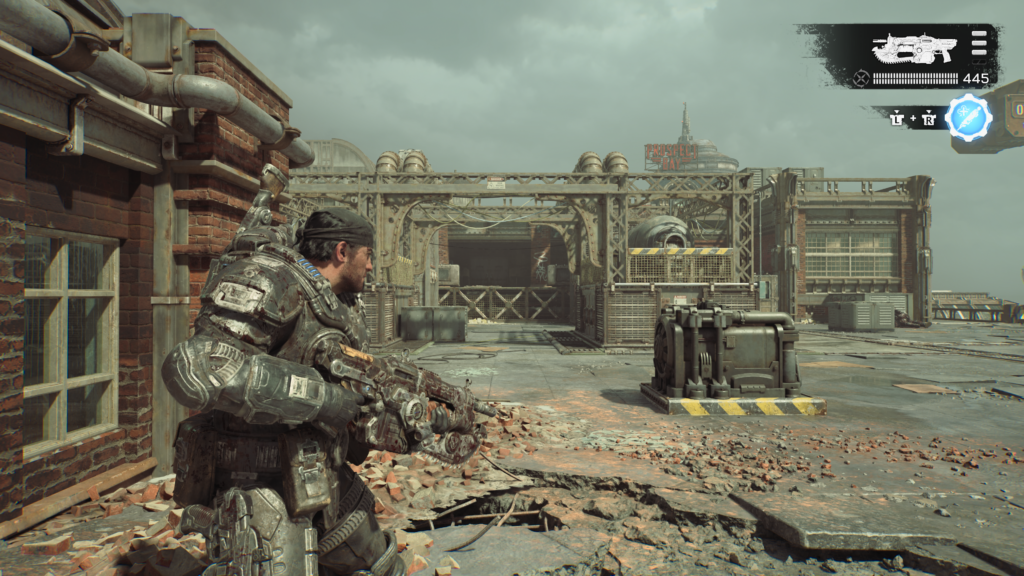
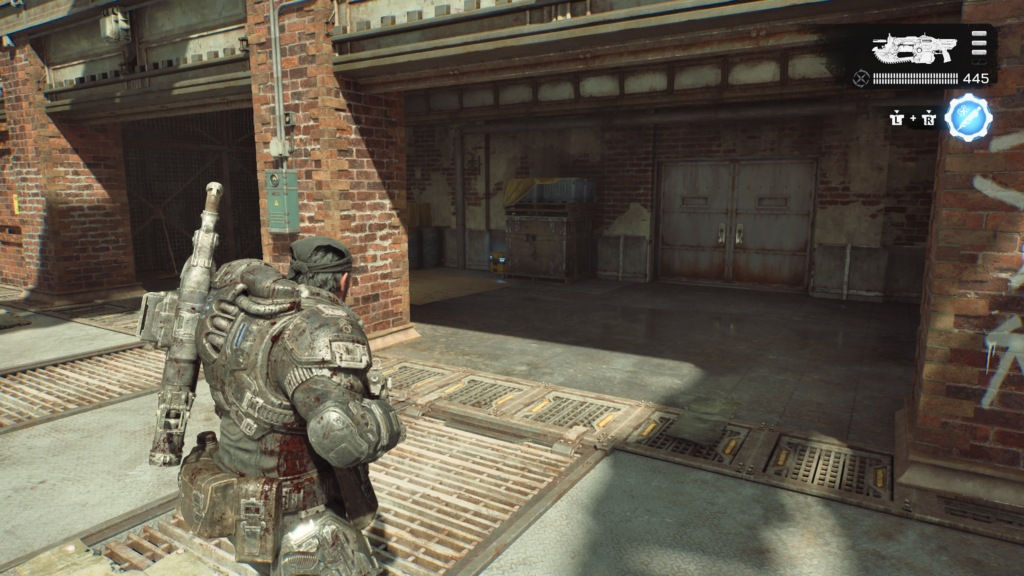
Hard Case (5 / 12)
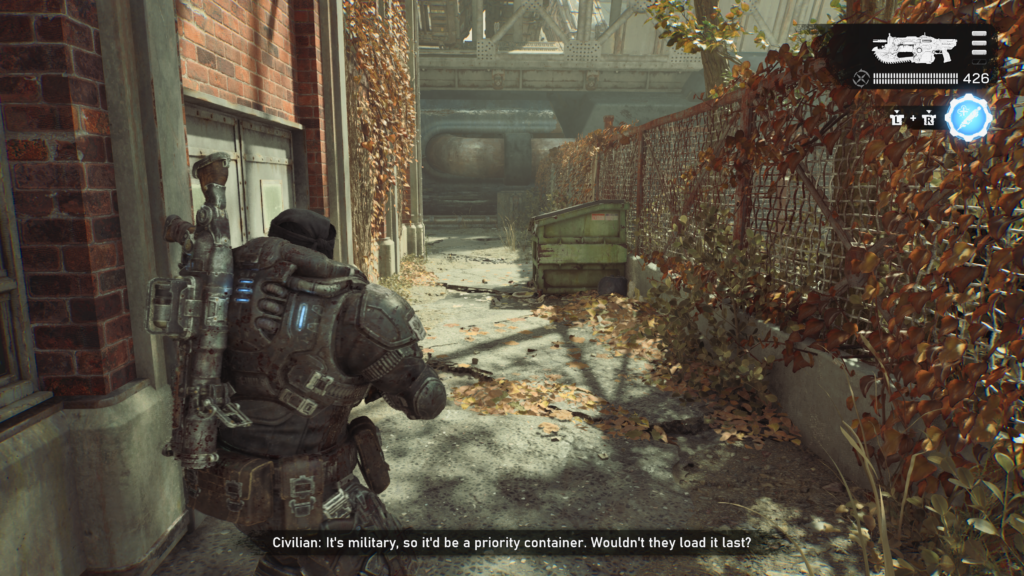
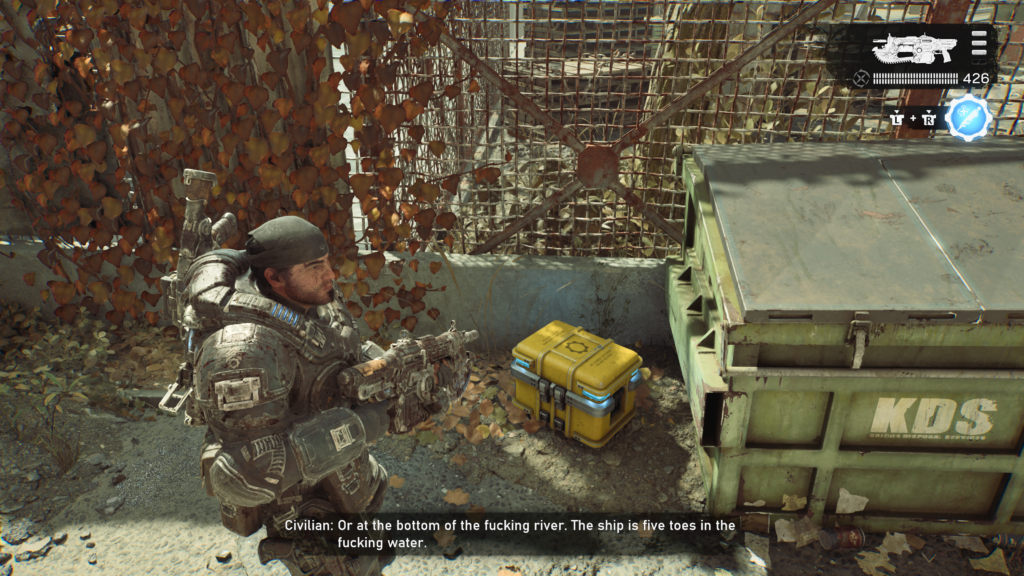
Head back to the far right of the area. Past where the R.I.G. Component collectible was, head down the path at the top right of the railway track area. Behind a dumpster is a hard case.
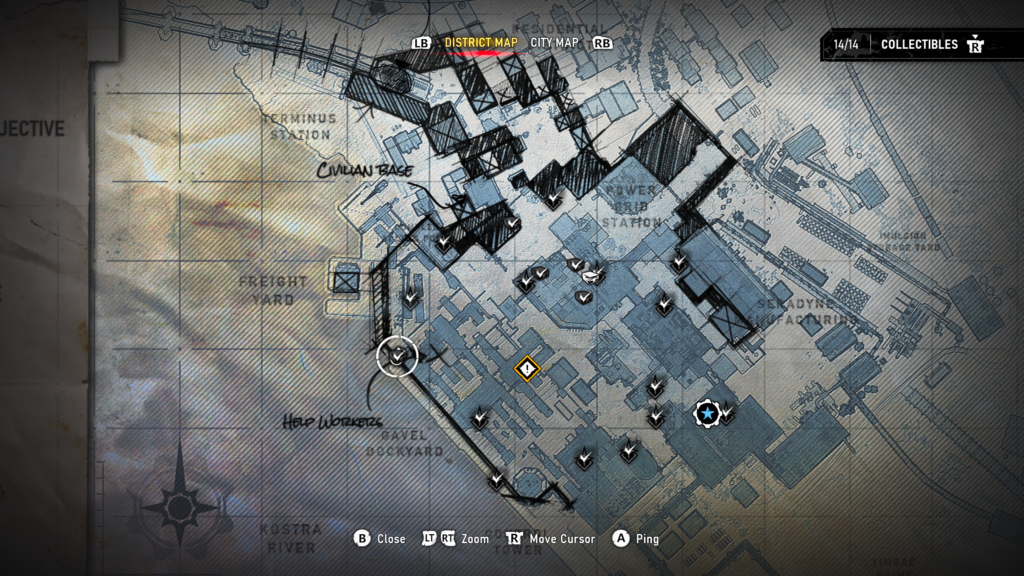
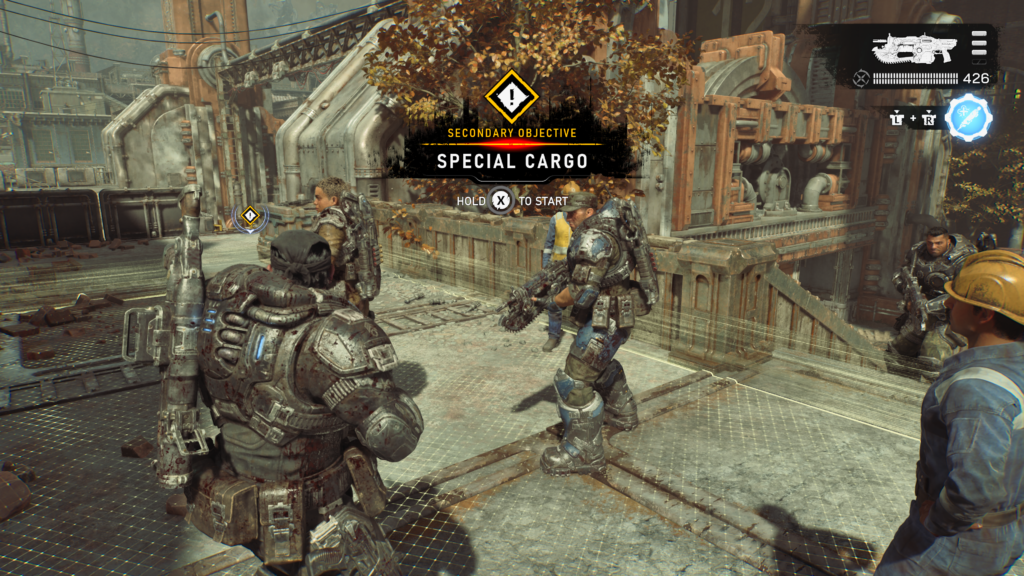
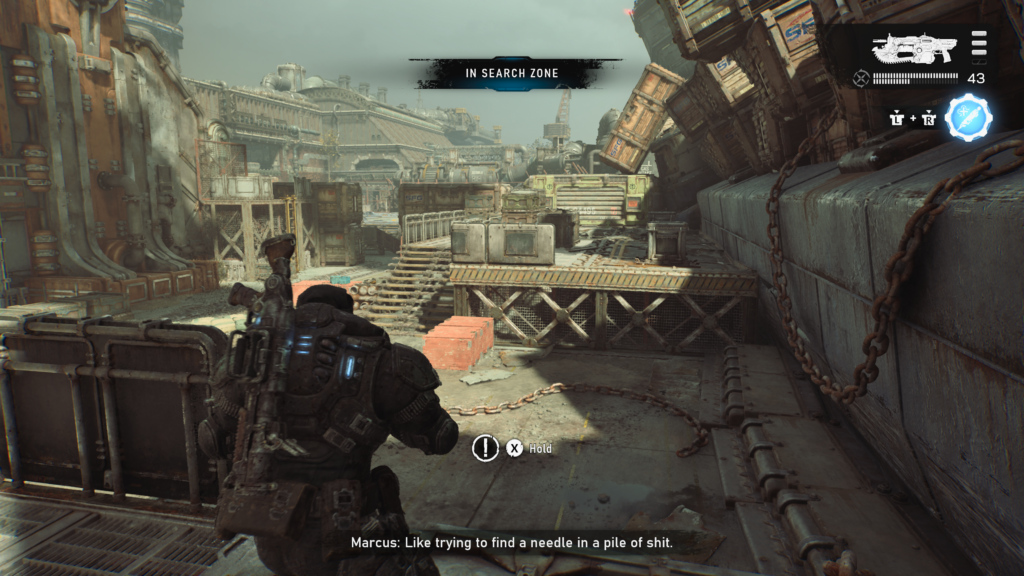
Secondary Objective (1 / 4) – Special Cargo
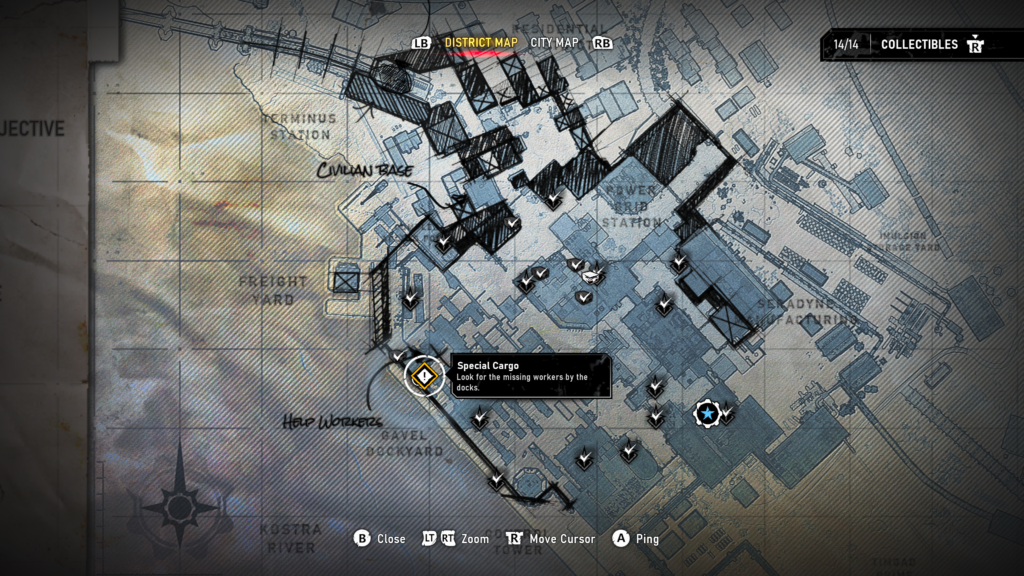
To the right side of the map, moving upwards from the last hard case, is the secondary objective. Take out all the locust and make your way to the special shipping container that you need to open.
Be sure to grab the two collectibles, mentioned below, during this secondary objective.
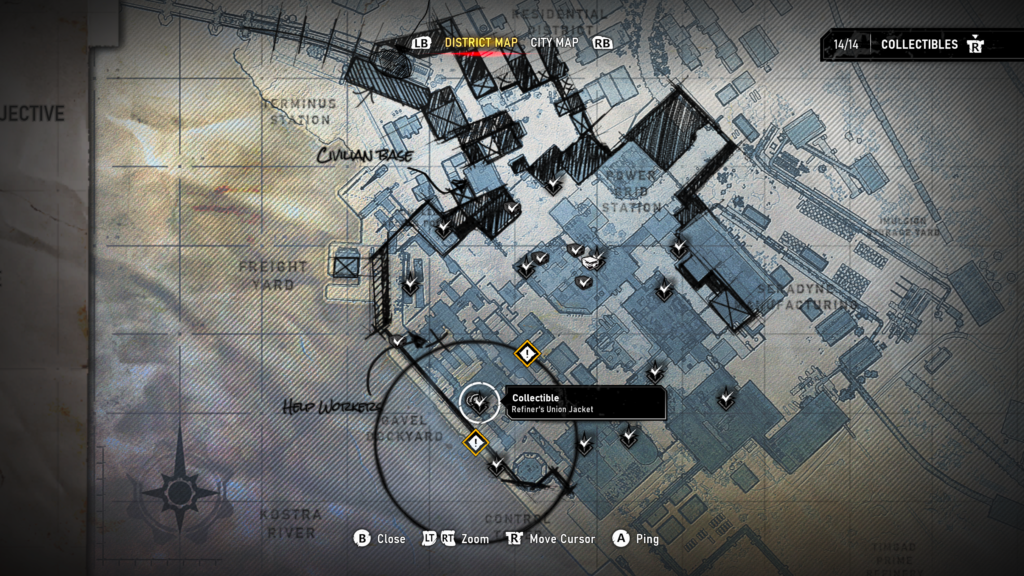
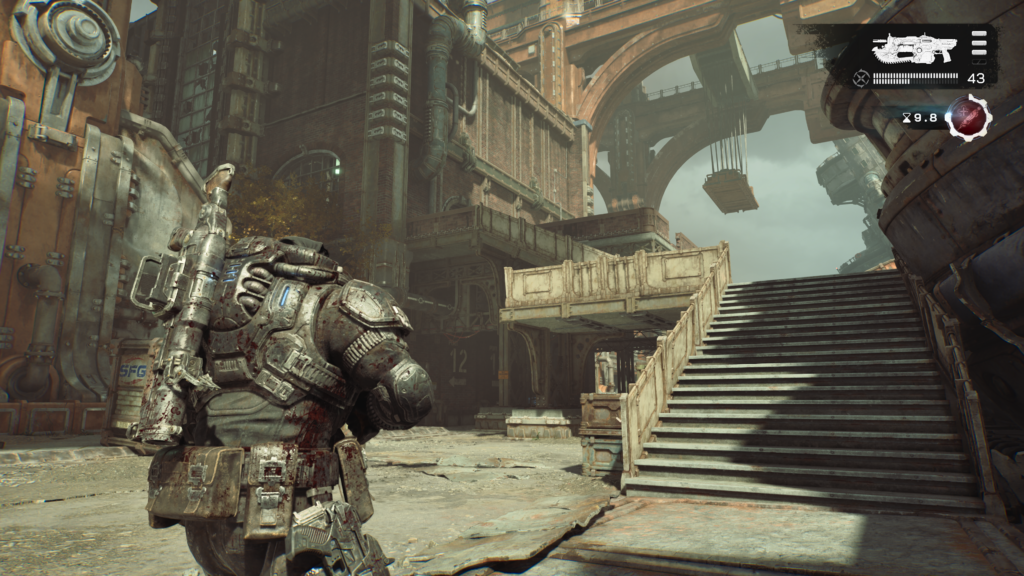
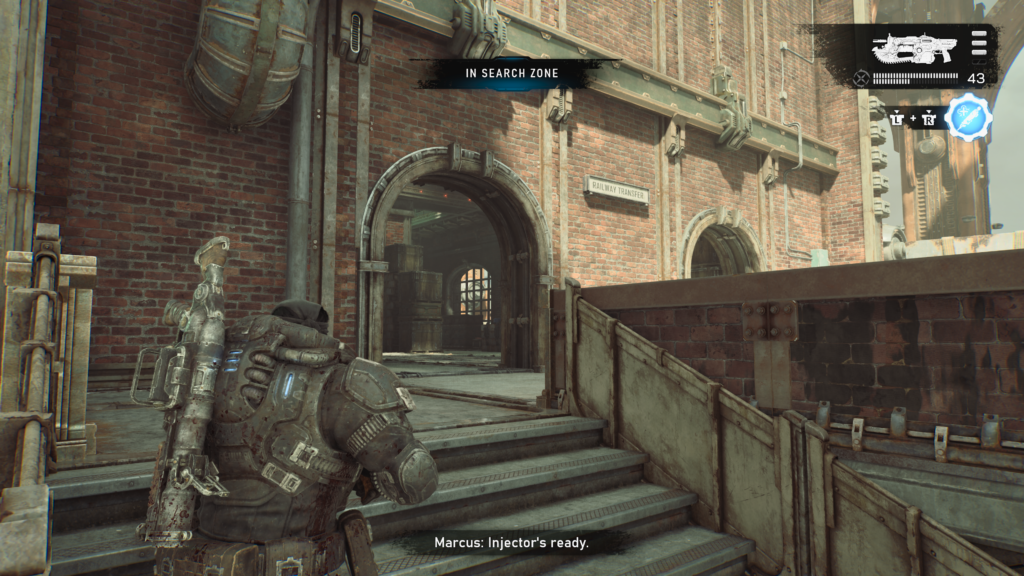
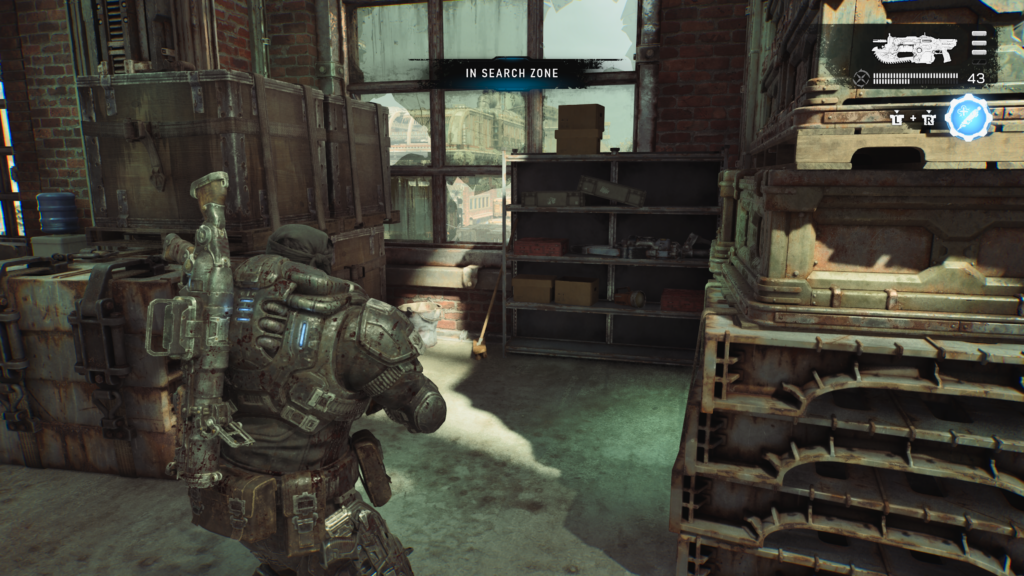
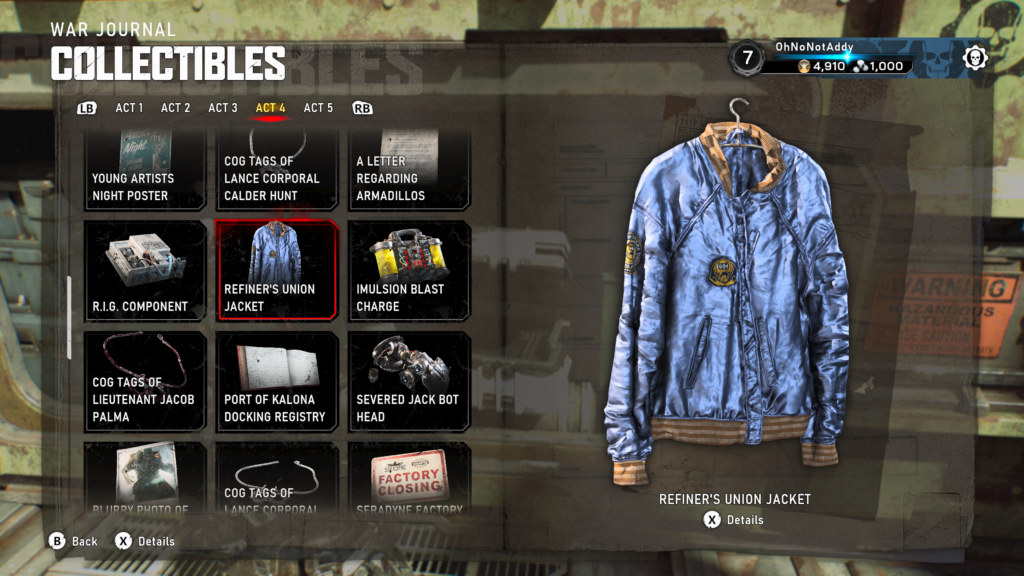
Collectible – Refiner’s Union Jacket (5 / 14)
During the Special Cargo secondary objective (or afterwards), you’ll see some stairs up to a building. Head up and into the building, you’ll see the collectible on the right side between two crates.
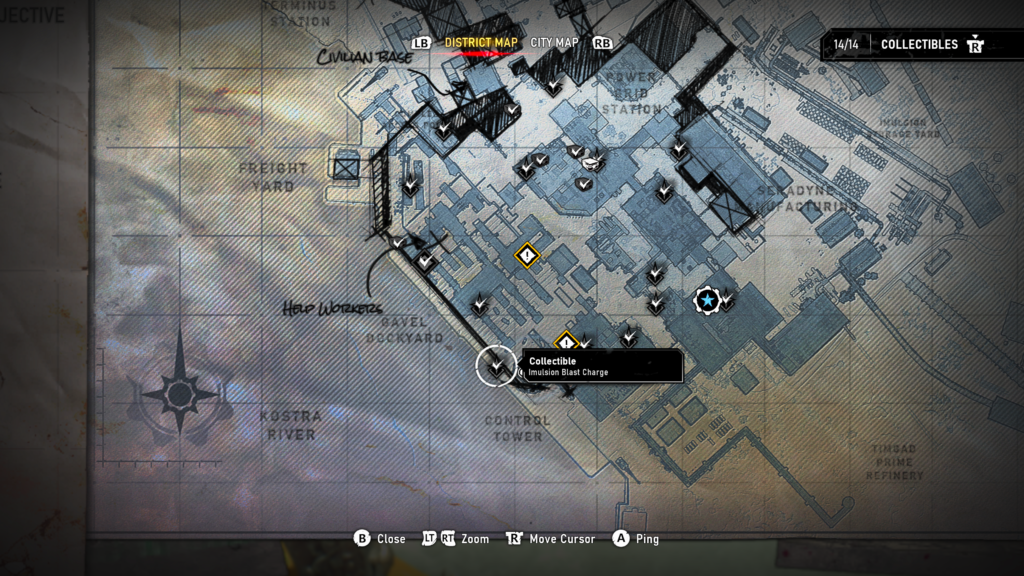
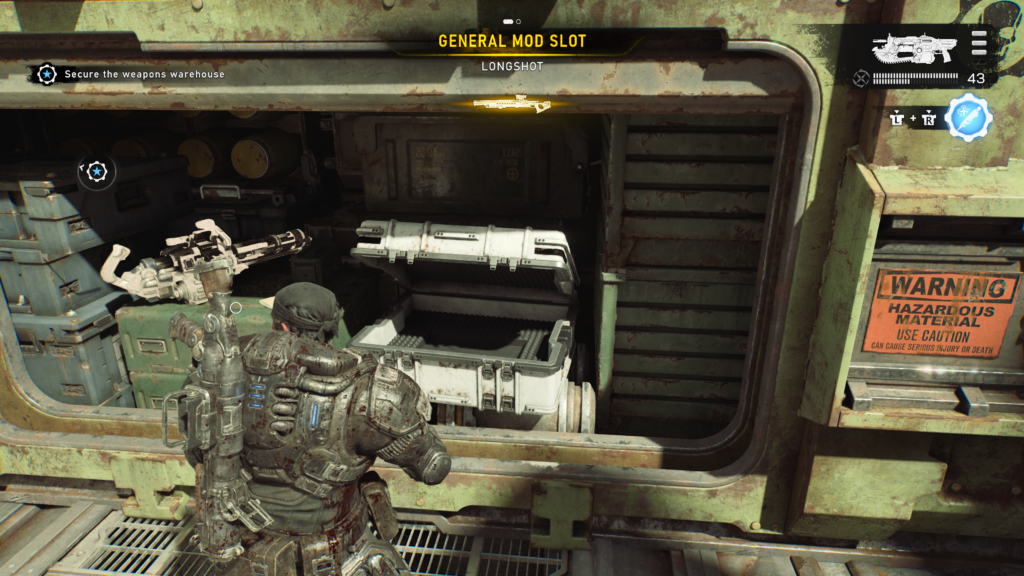
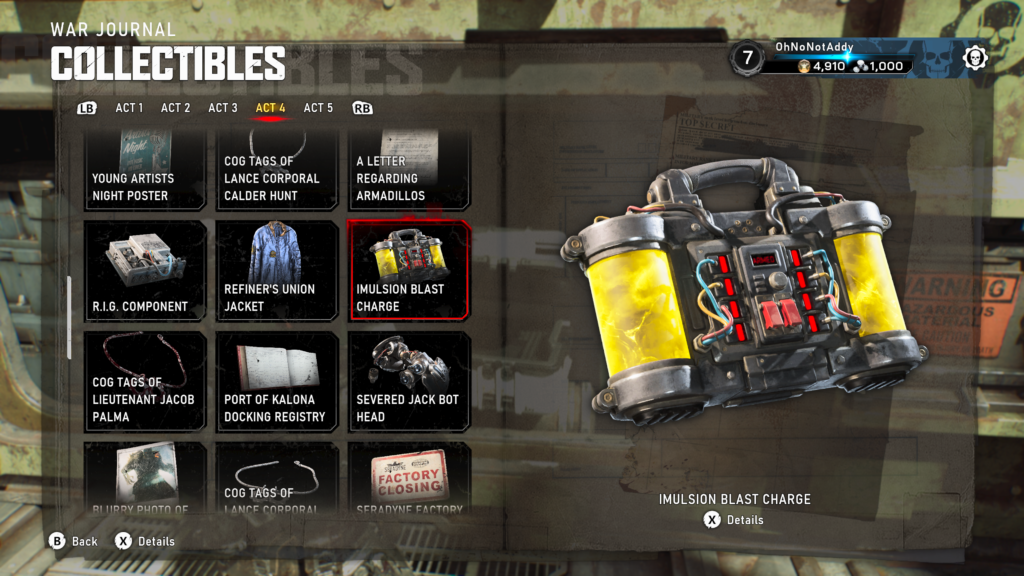
Collectible – Imulsion Blast Charge (6 / 14)
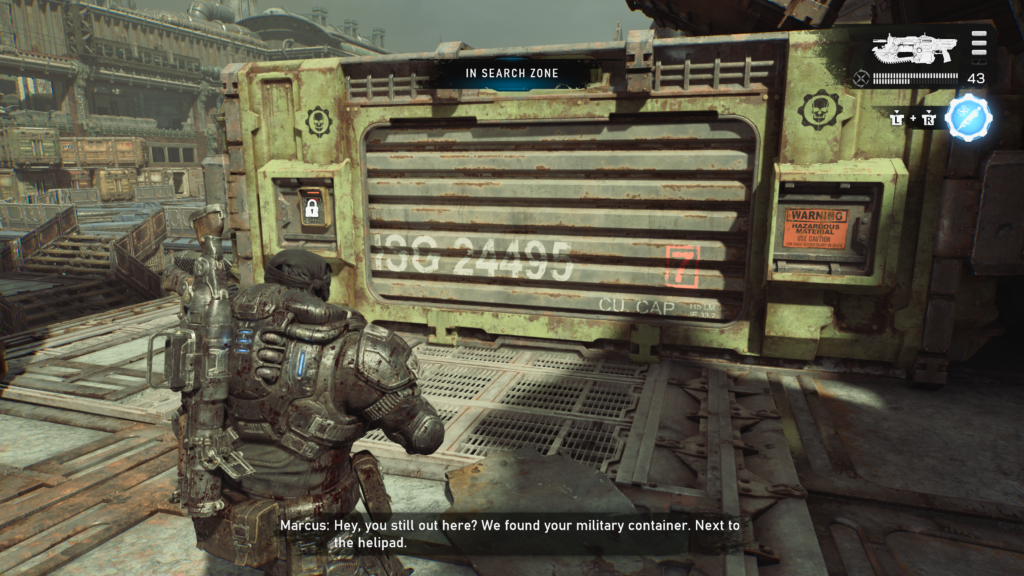
At the end of the secondary objective, special cargo, you will have to open up the shipping container. In there is a collectible.
Hard Case (6 / 12)
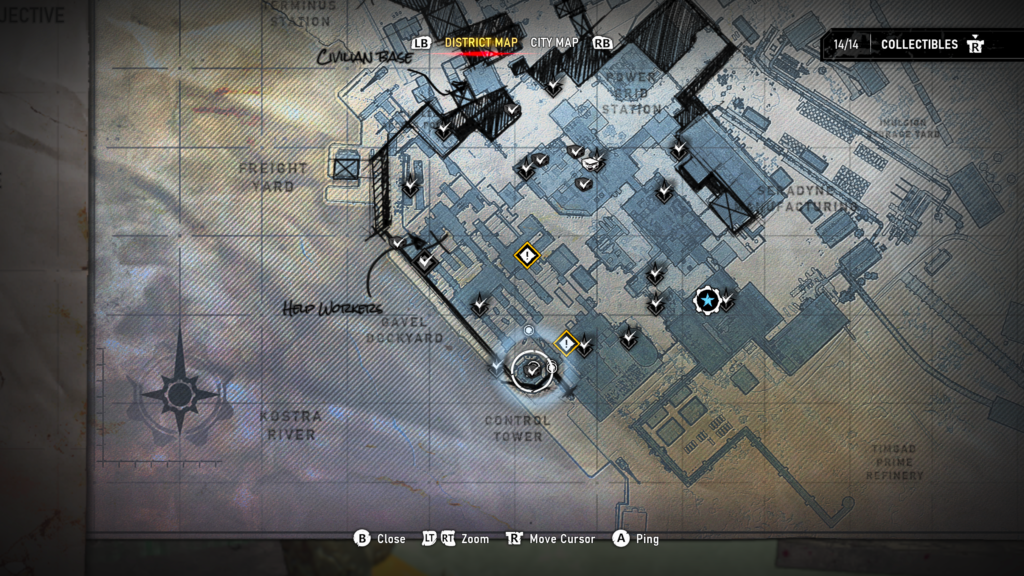
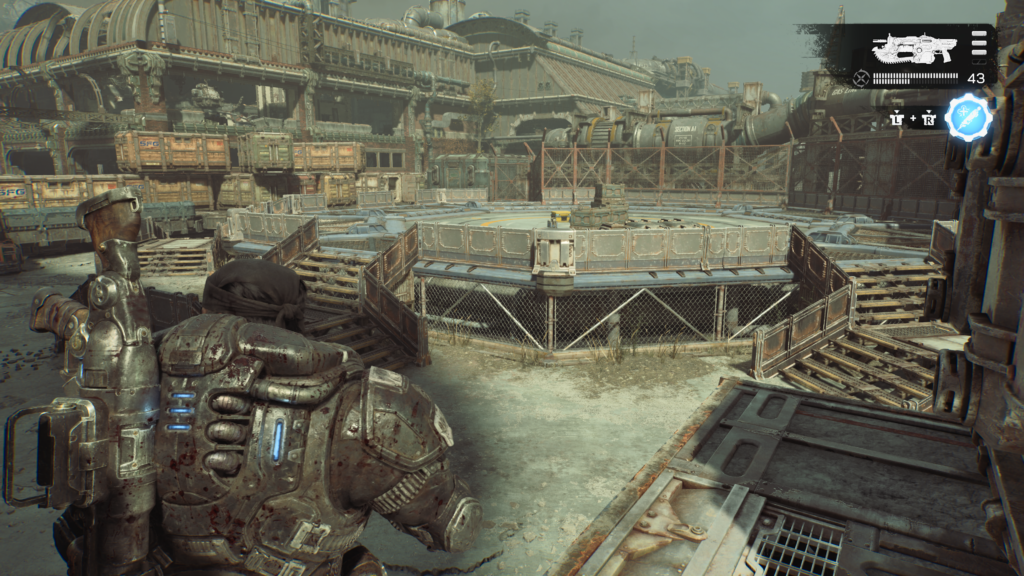
Behind the shipping container at the end of the secondary objective, Special Cargo, there is a helipad. On the helipad is a hard case.
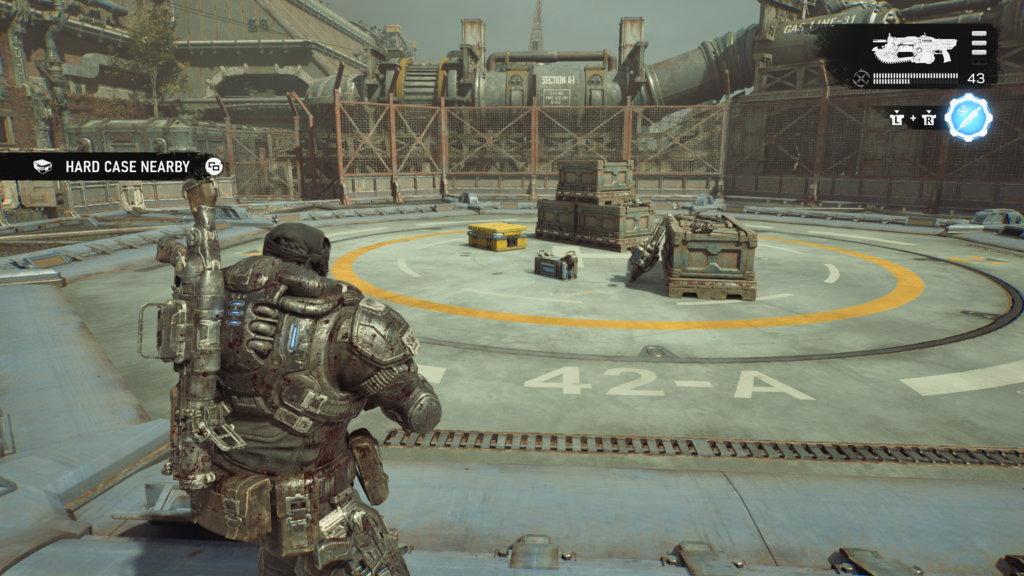
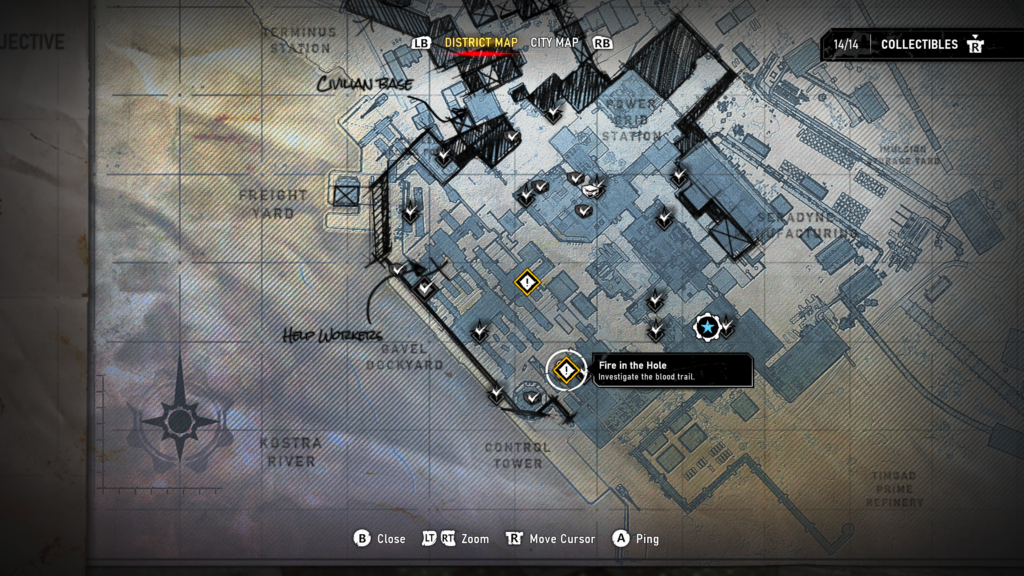
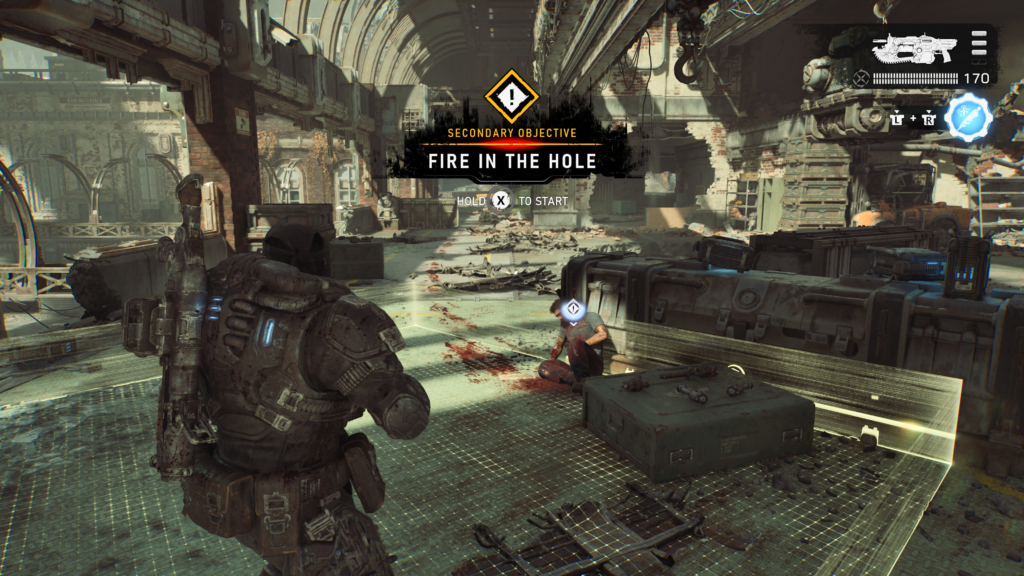
Secondary Objective (2 / 4) – Fire in the Hole
Look to the left and up from the helipad and climb the crates to enter the building above (there’s also some stairs up to that floor too). For this secondary objective, take out the Locust that spawn below.
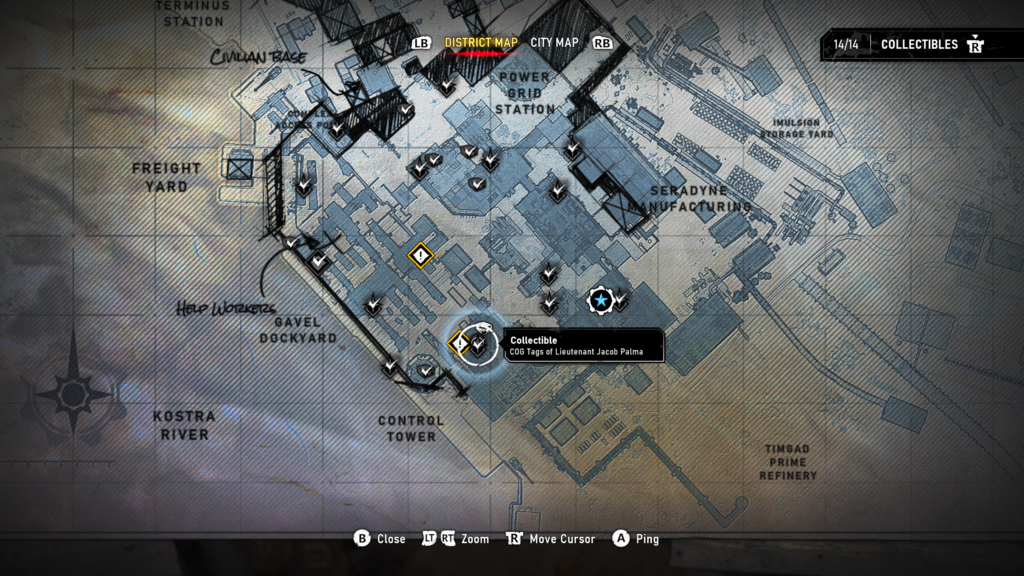
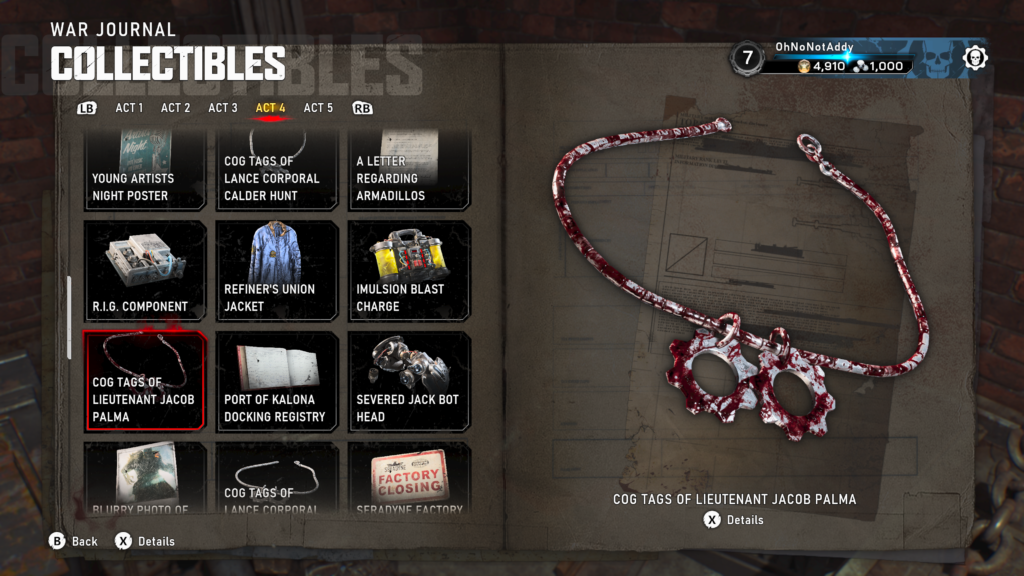
Collectible – COG Tags of Lieutenant Jacob Palma (7 / 14)
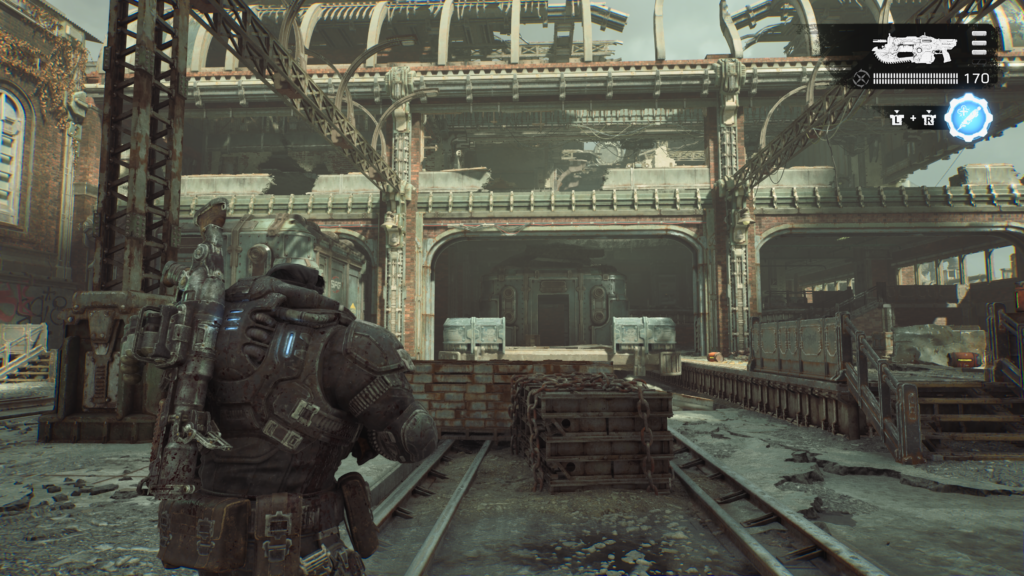
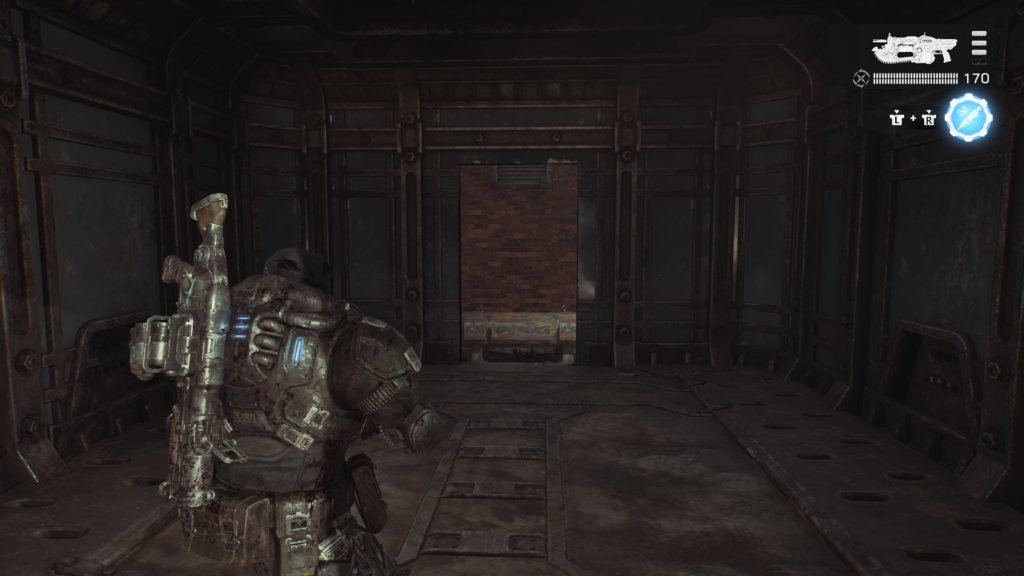
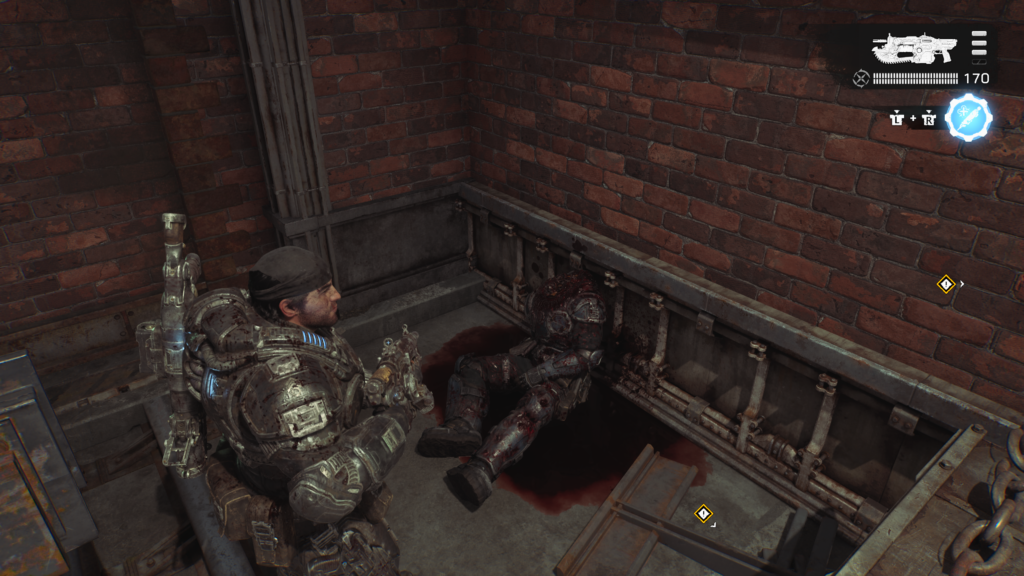
Drop down to the train yard, and look back at the building you were just in. Go through the train carriage that’s in the centre to the back. To the right, in the corner, is a dead Gear soldier with a collectible on the ground.
Secondary Objective (3 / 4) – Trapped Locust
Turn around and head to the building in the centre of the trainyard. You can use a wooden walkway to get up to the first floor where the secondary objective starts. You’ll press a button on a console to bring a train carriage toward you. You’ll have time to setup a killzone for when you release the Locust from the train car. Once you’ve done that and killed them all, you’ll complete the secondary objective. Don’t forget to grab the hard case below.
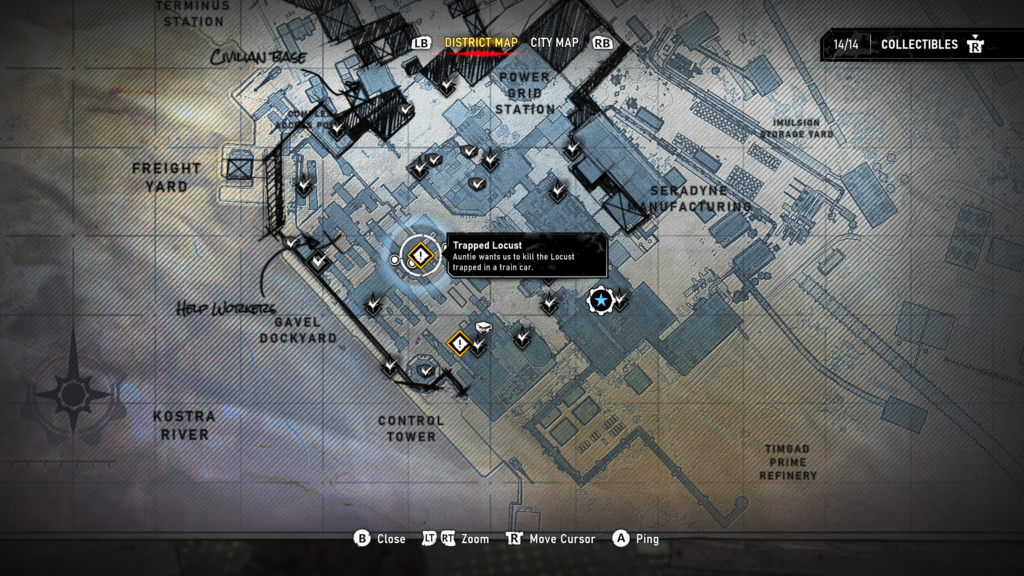
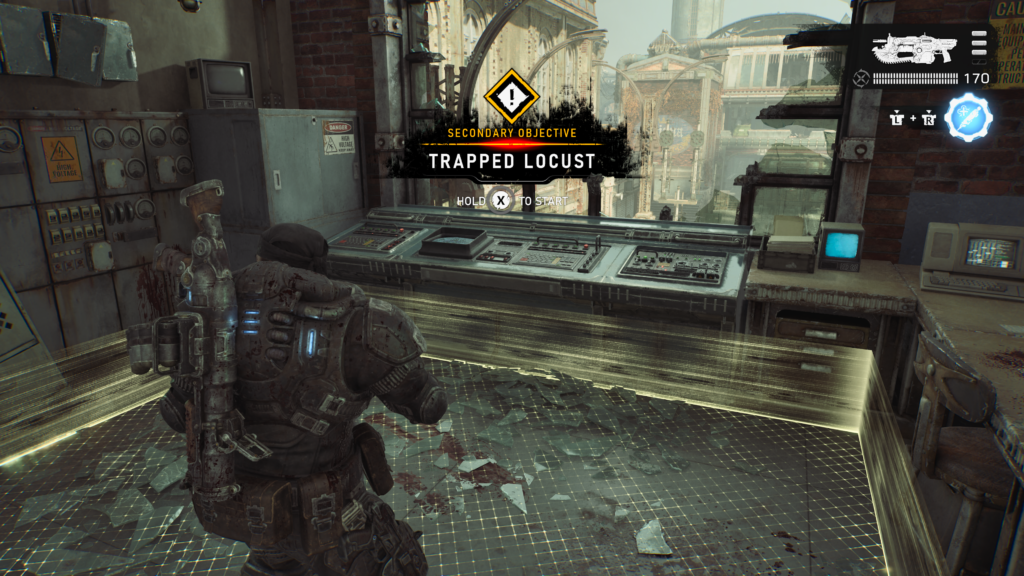
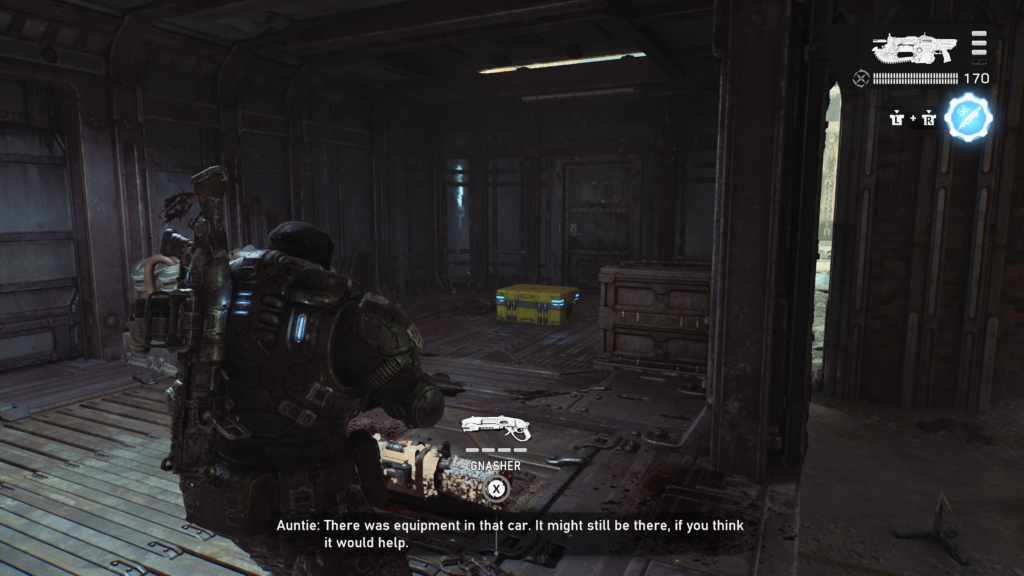
Hard Case (7 / 12)
In the train carriage that you need to clear during the ‘Trapped Locust’ secondary objective.
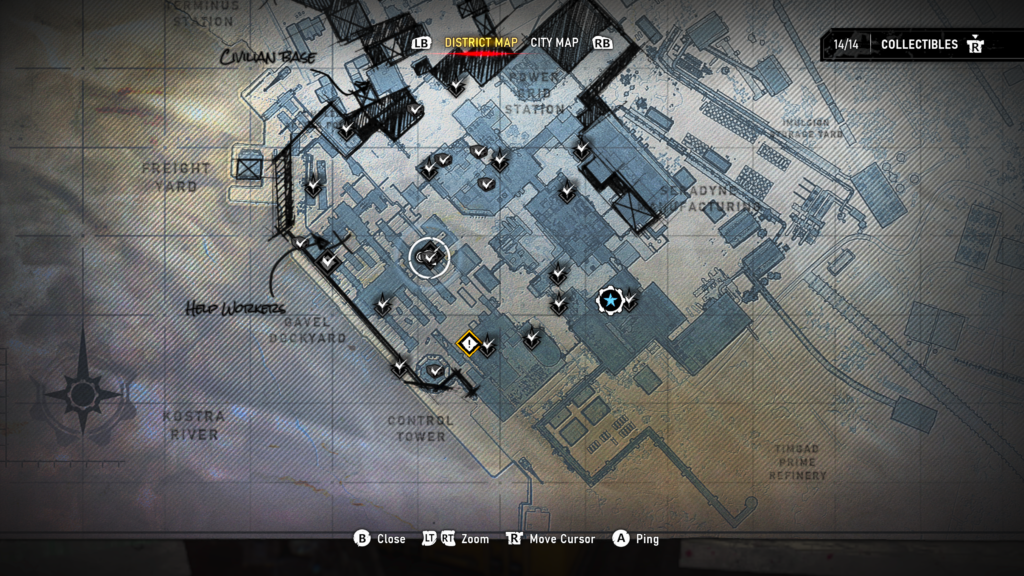
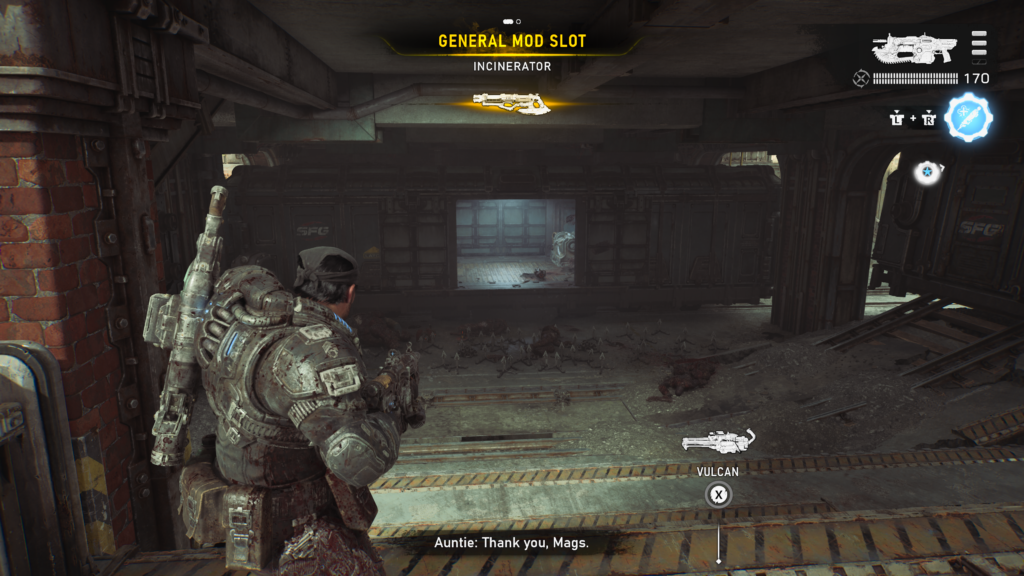
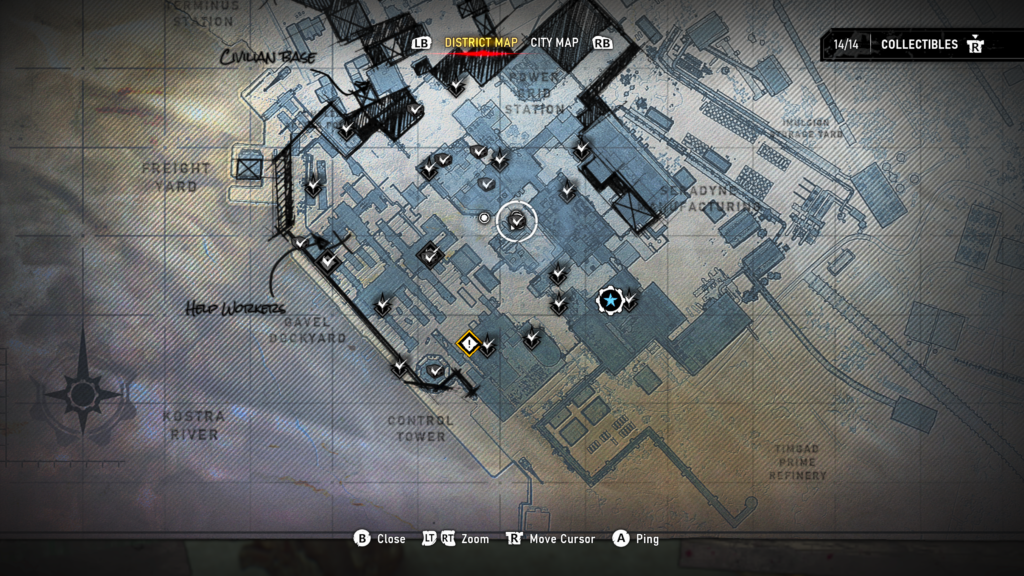
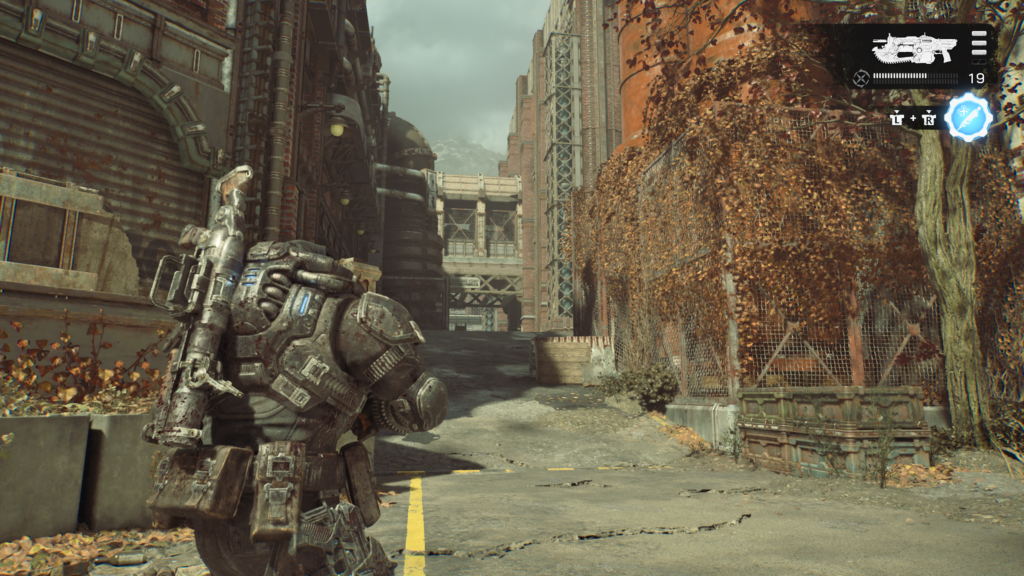
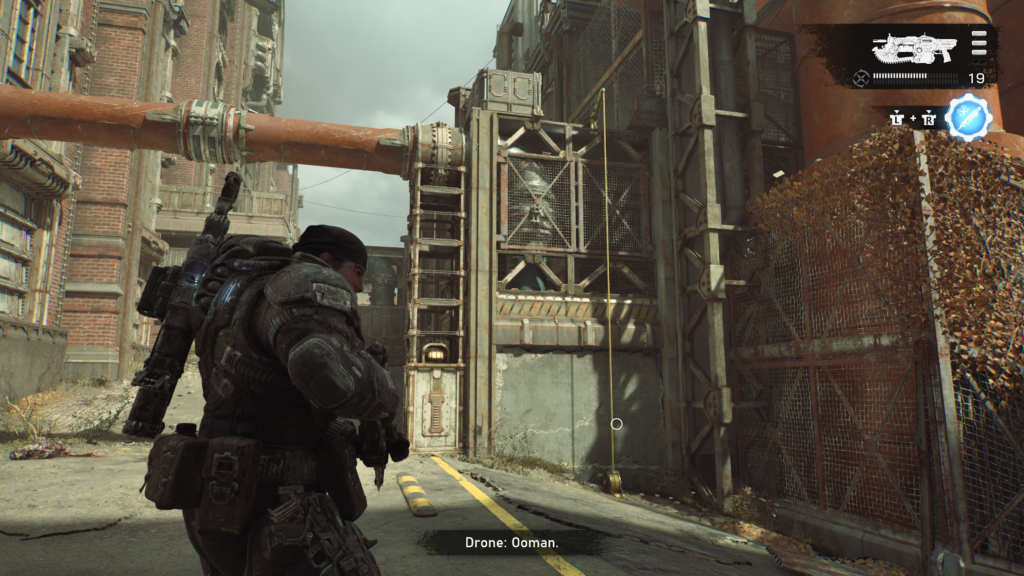
Hard Case (8 / 12)
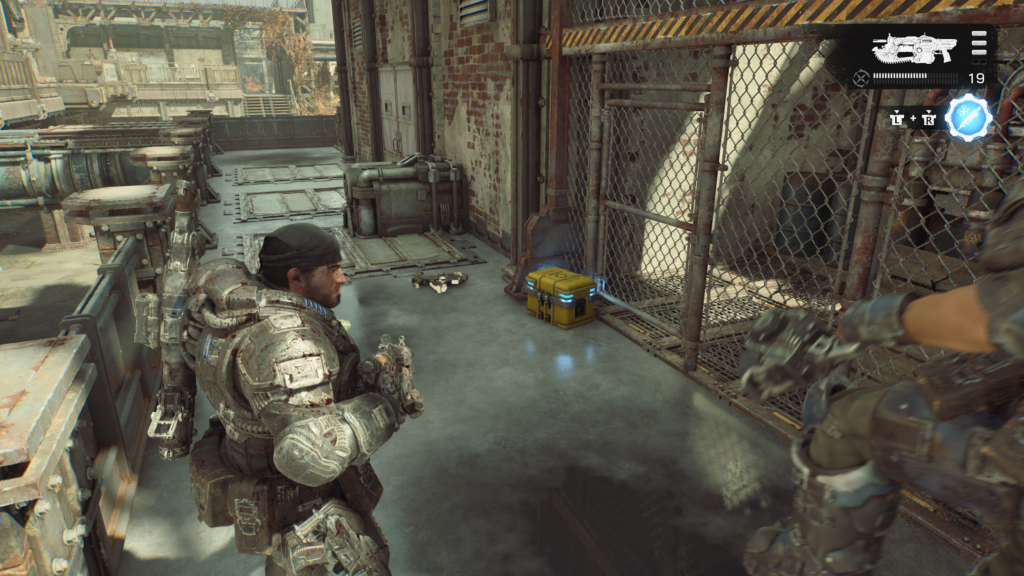
Up a rope, on a platform above, near the Seradyne factory.
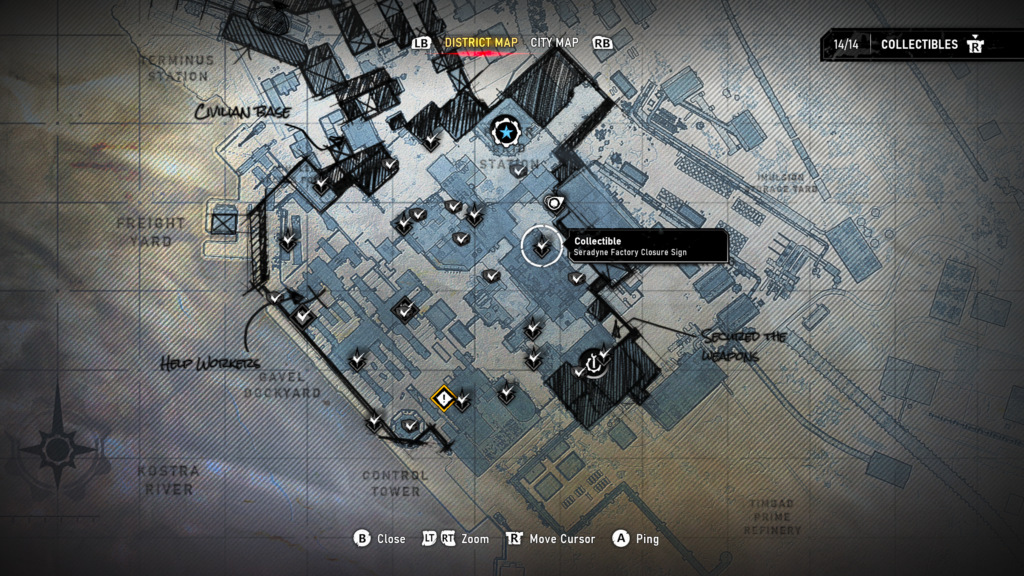
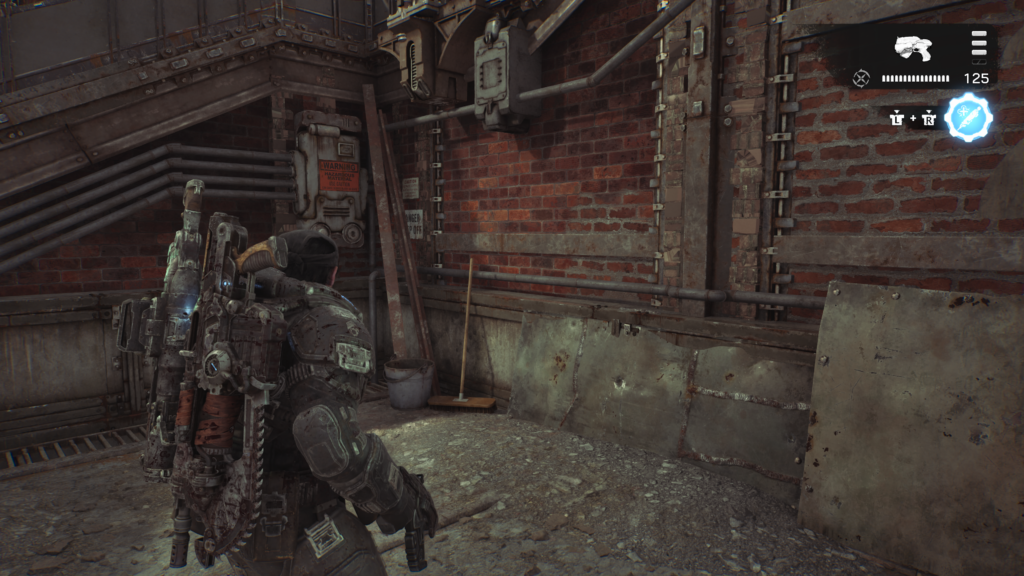
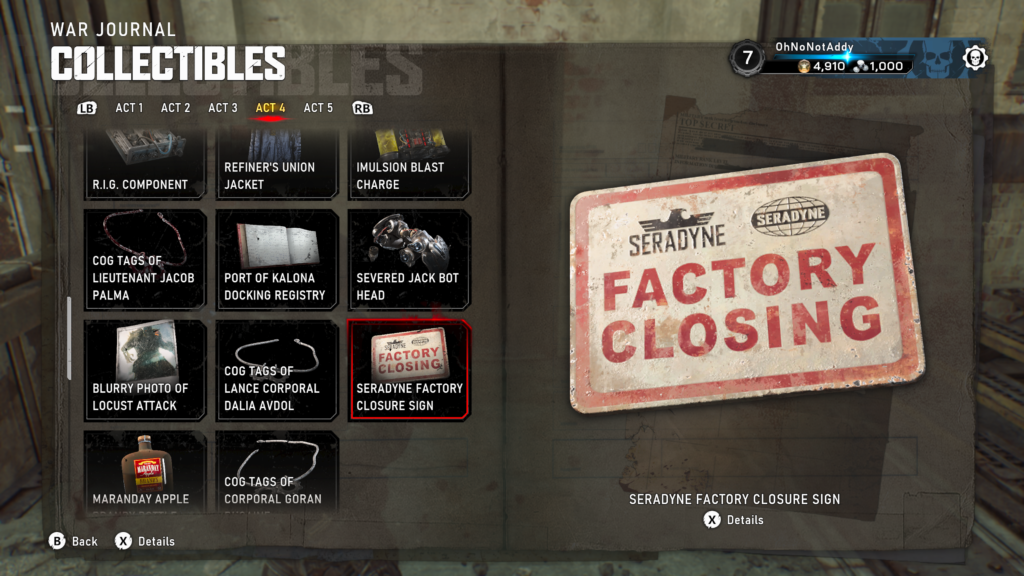
Collectible – Seradyne Factory Closure Sign (8 / 14)
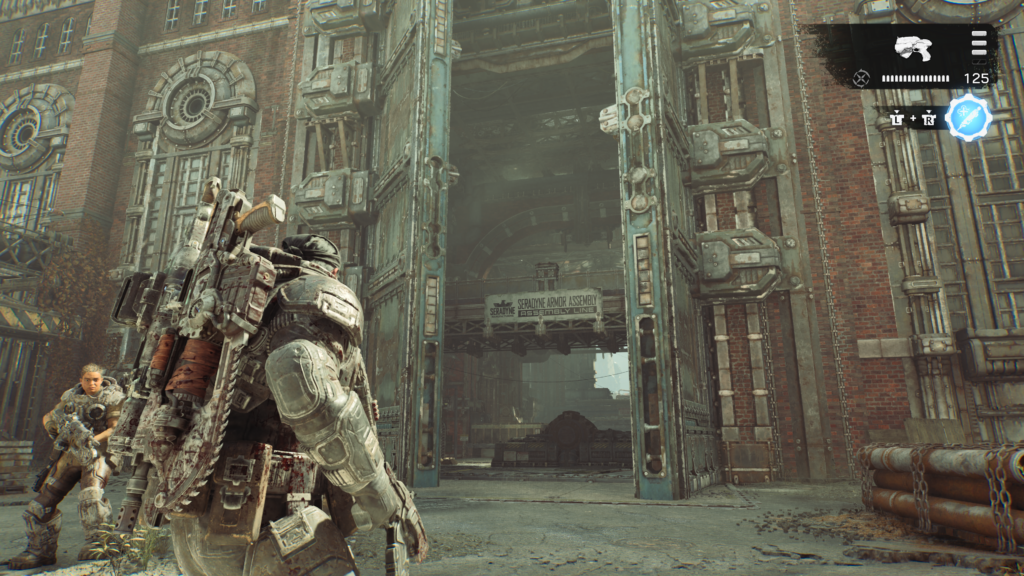
Head to the back of the Seradyne factory, and go in the entrance. Turn to the right and grab the collectible off the wall.
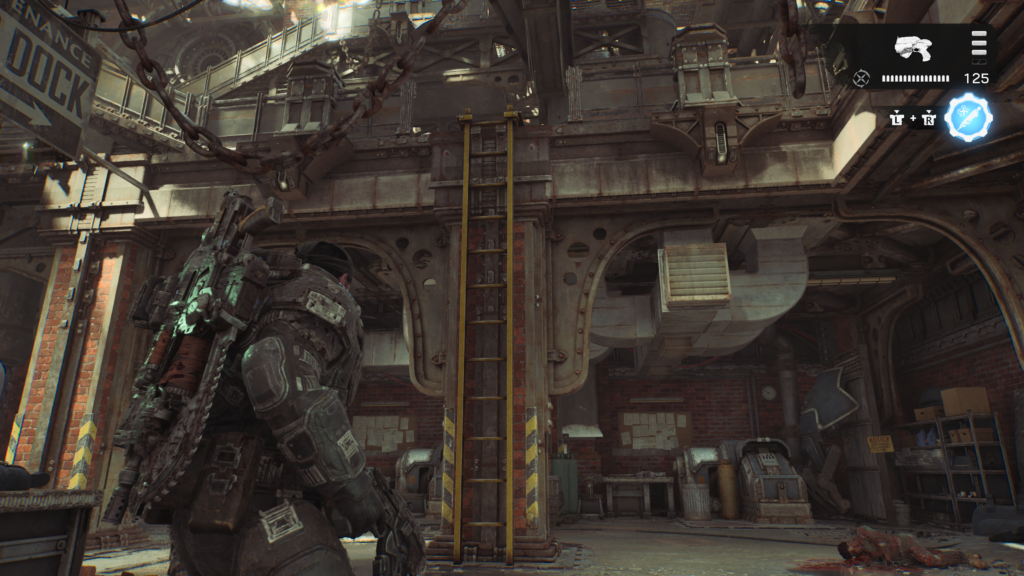
Hard Case (9 / 12)
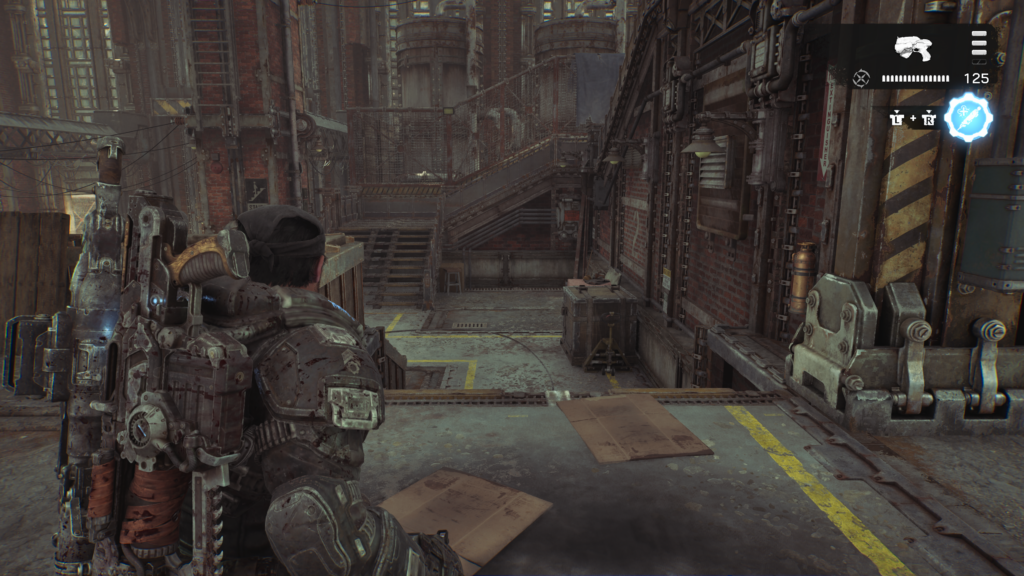
Return back to the entrance and turn left, head forward and go up the ladder. At the top of the ladder you should see the hard case.
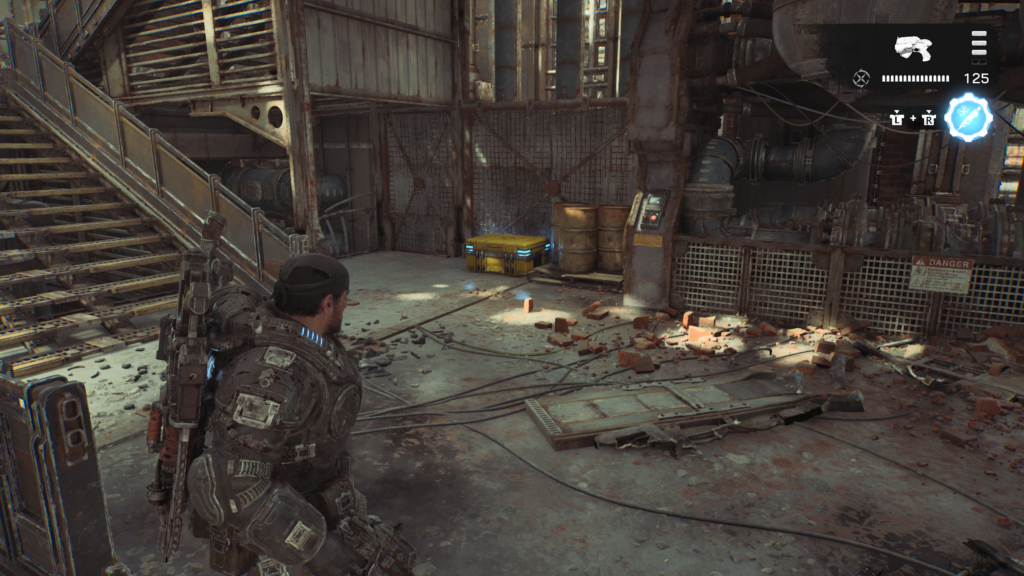
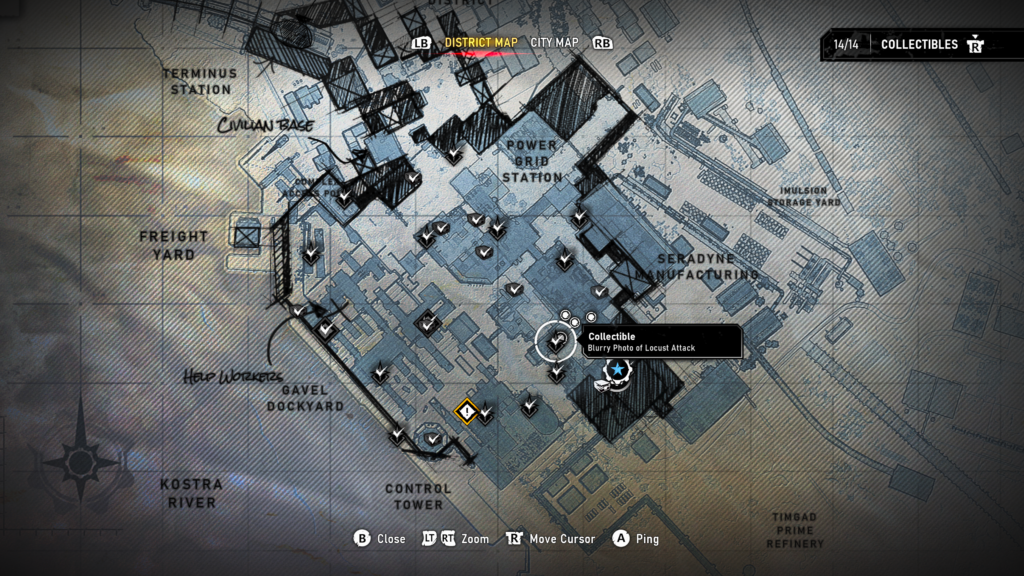
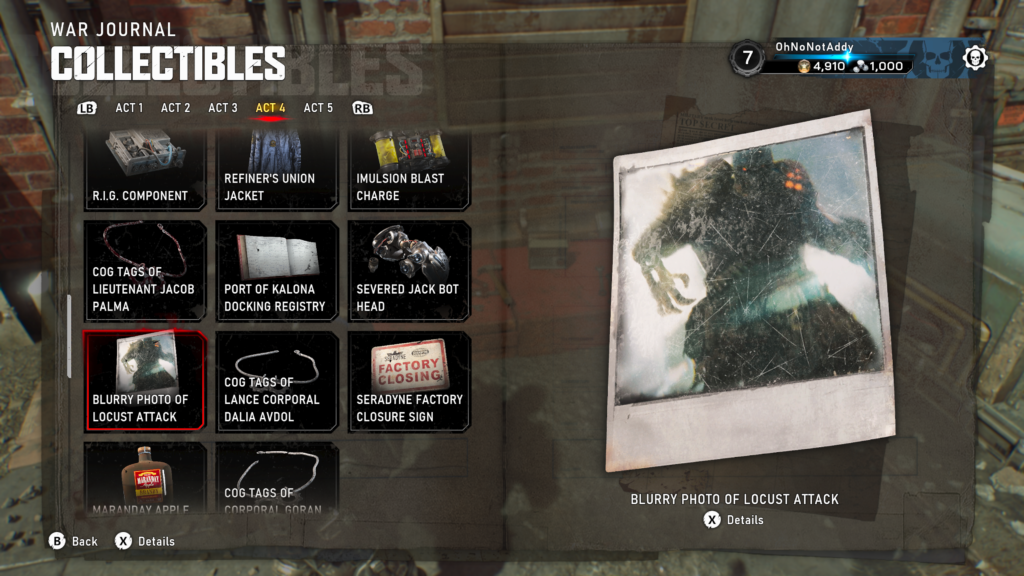
Collectible – Blurry Photo of Locust Attack (9 / 14)
Near where you need to clear the loading bay of Locusts. There’s a blue van you climb up. In a small room on the left is the collectible.
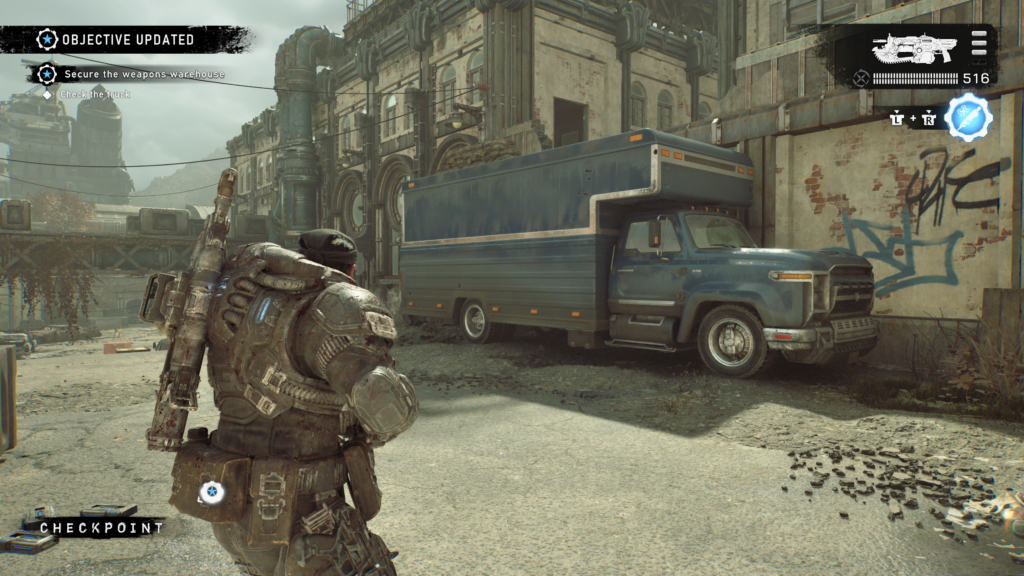
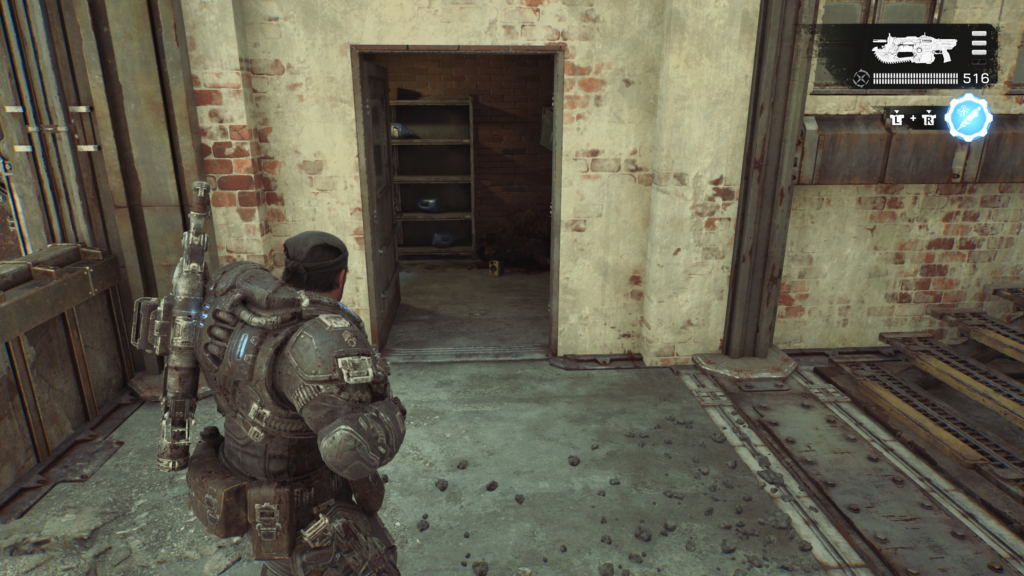
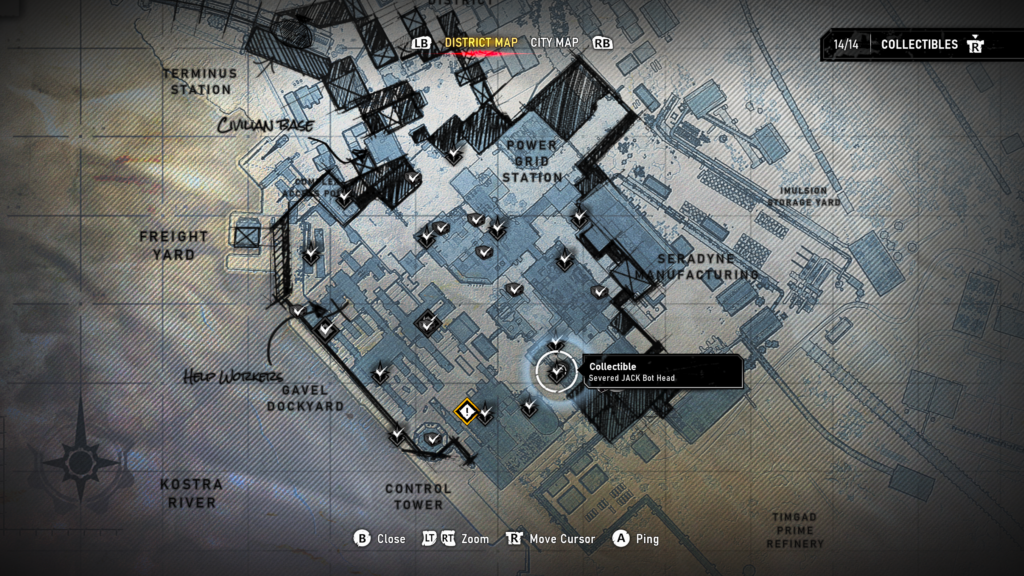
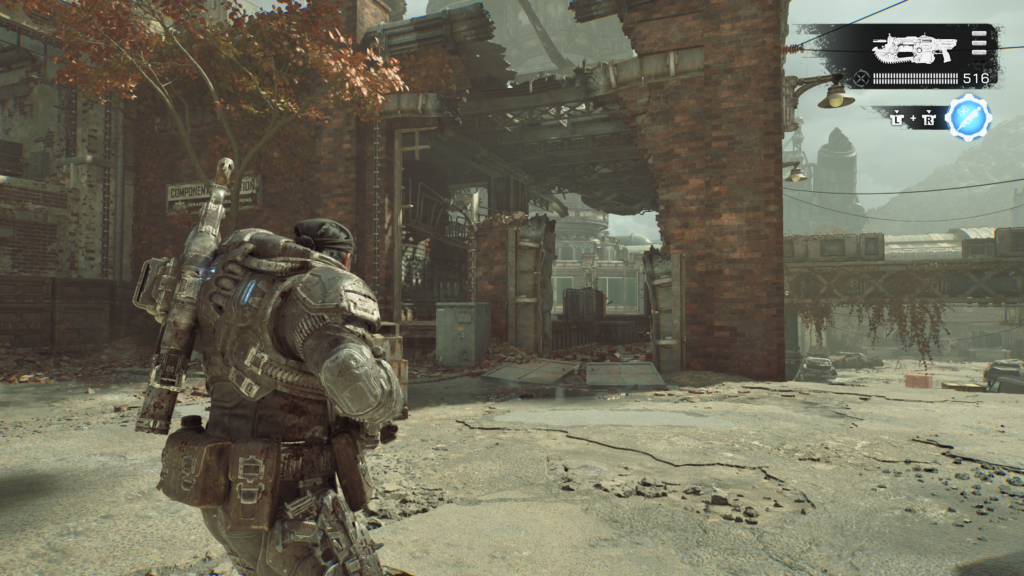
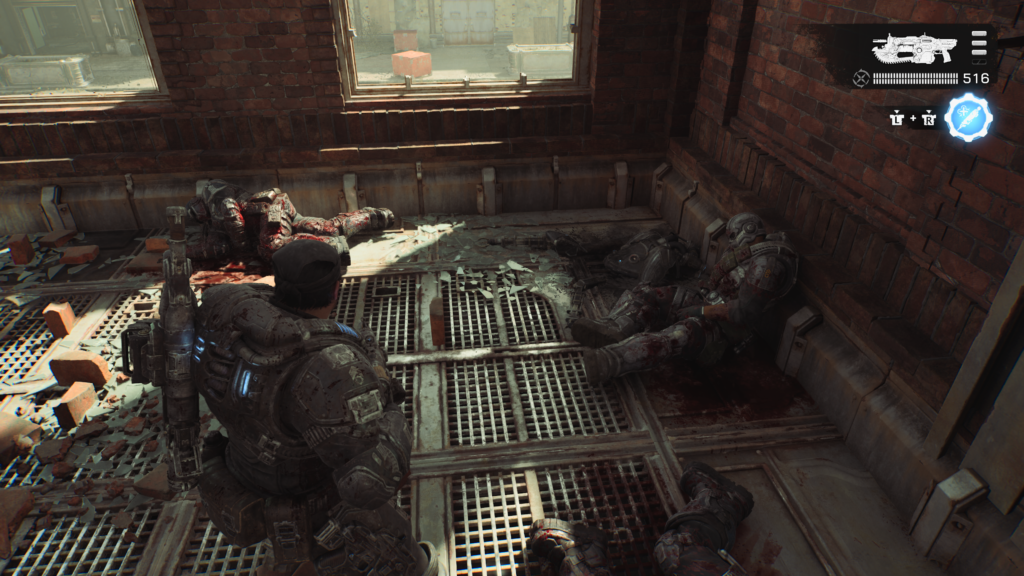
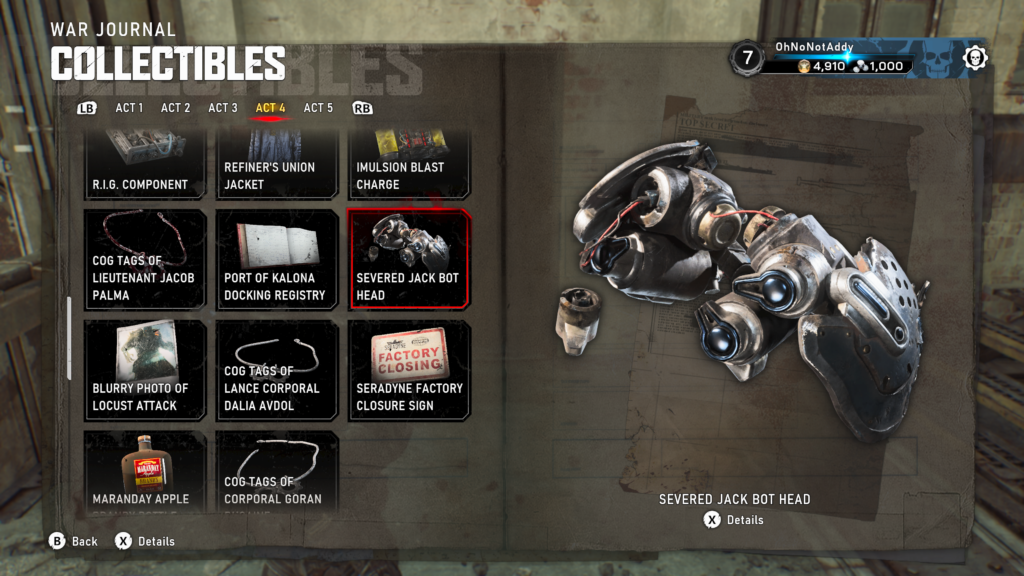
Collectible – Severed Jack Bot Head (10 / 14)
Drop down from the last collectible and look to the red brick warehouse on the right from where the main objective is taking you. Head in and grab the collectible by the back wall from where you entered.
Hard Case (10 / 12)
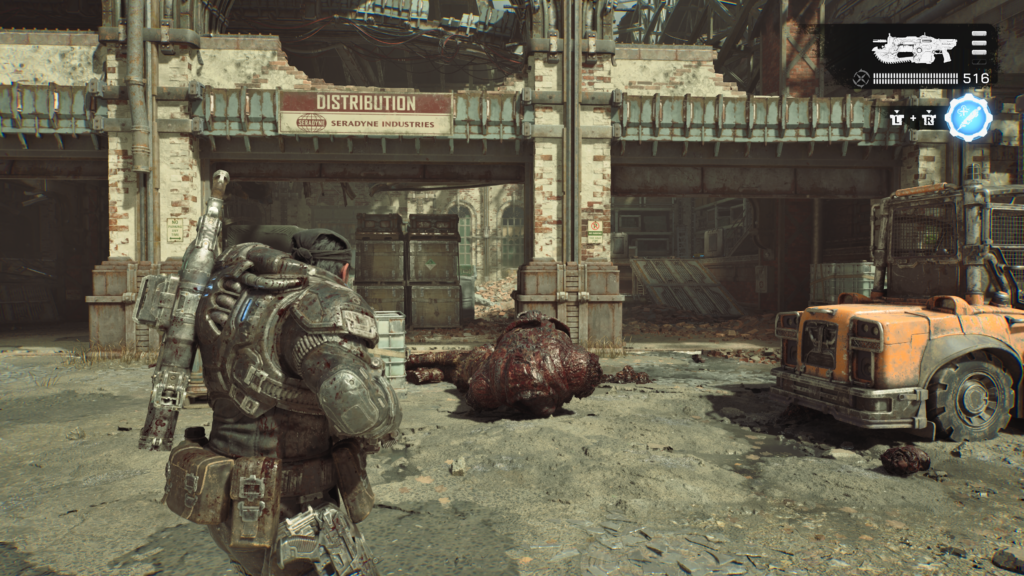
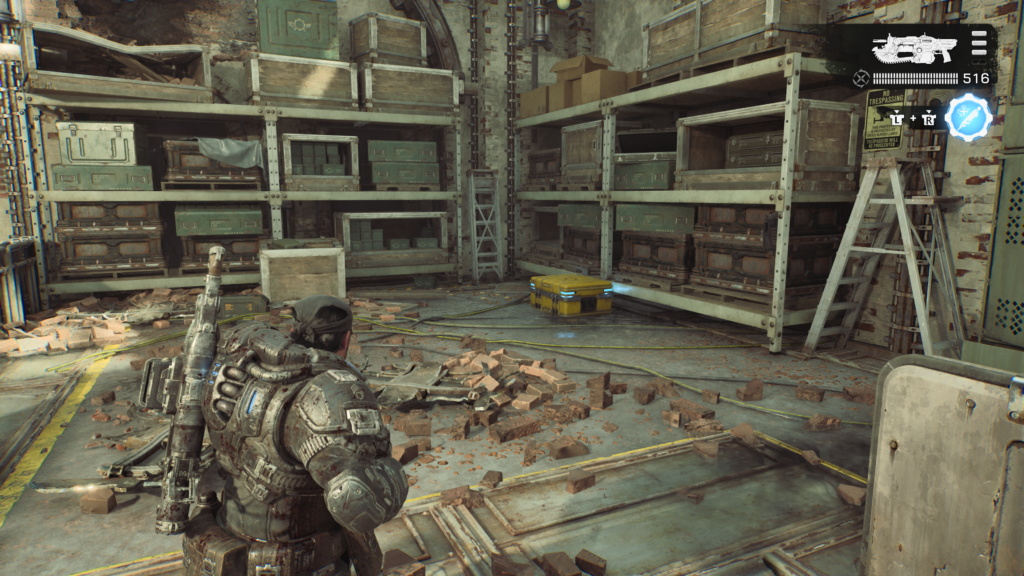
Head back out from where you got the last collectible and head into the seradyne loading bay. Up the slope on the right is a hard case.
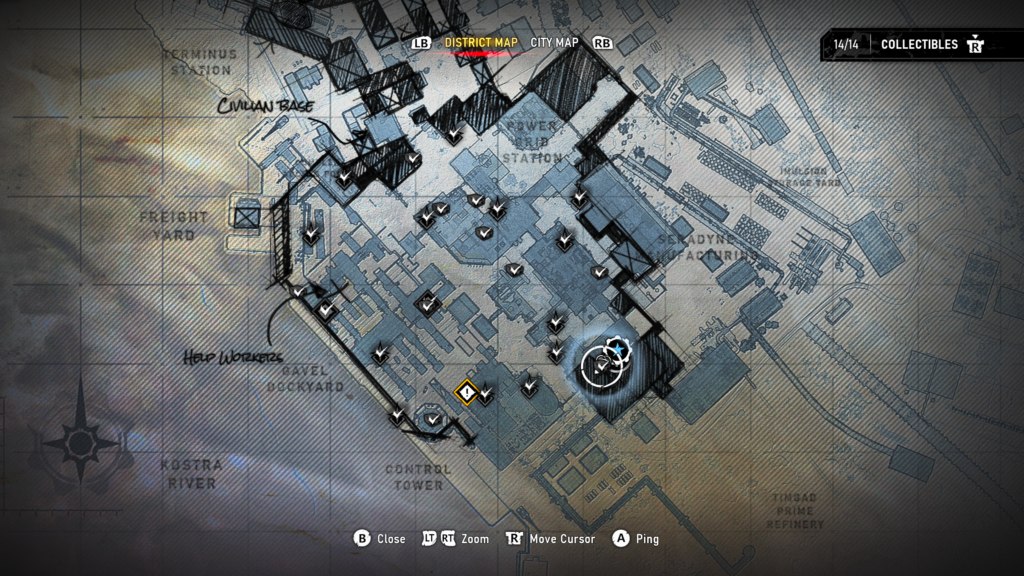
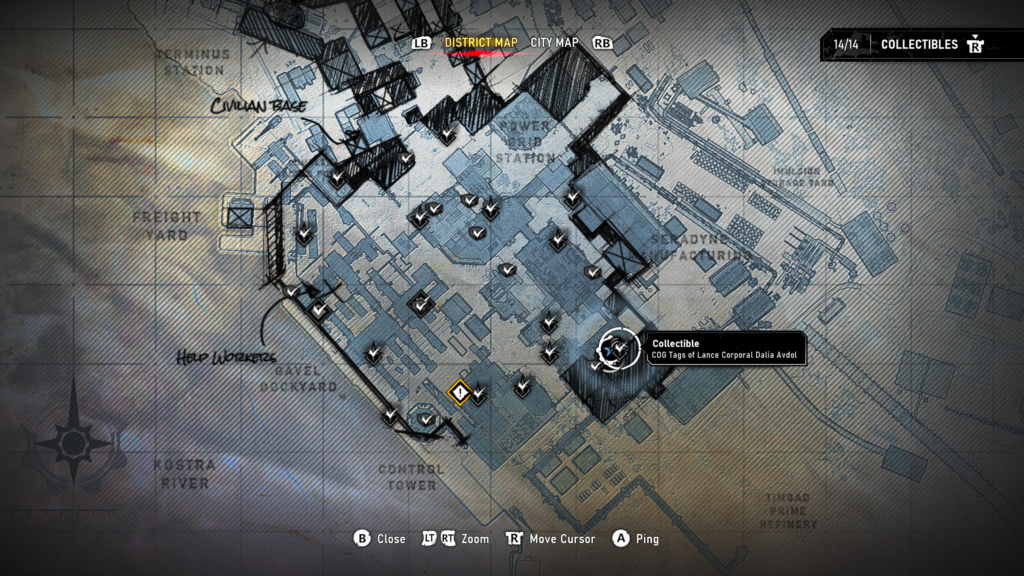
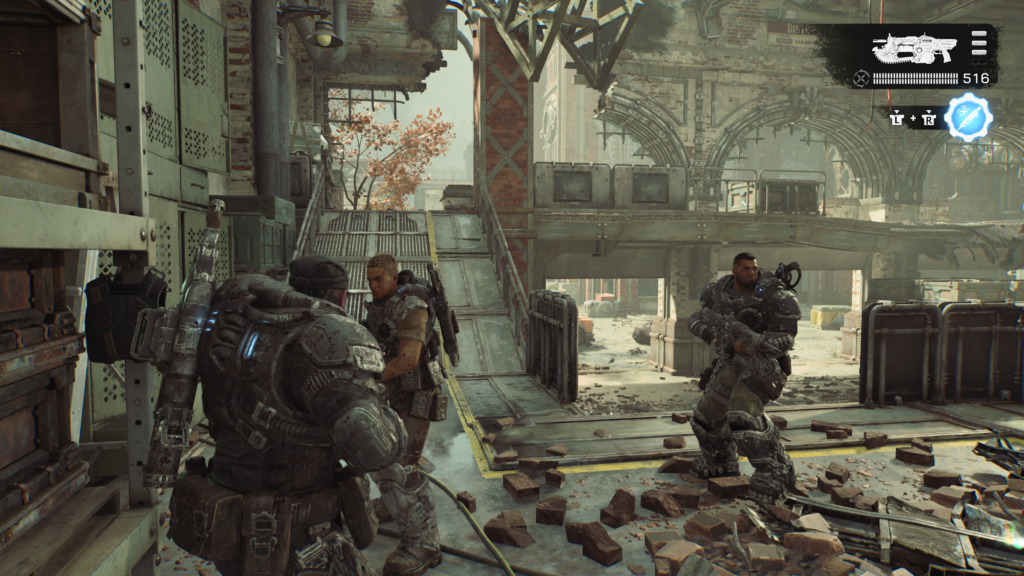
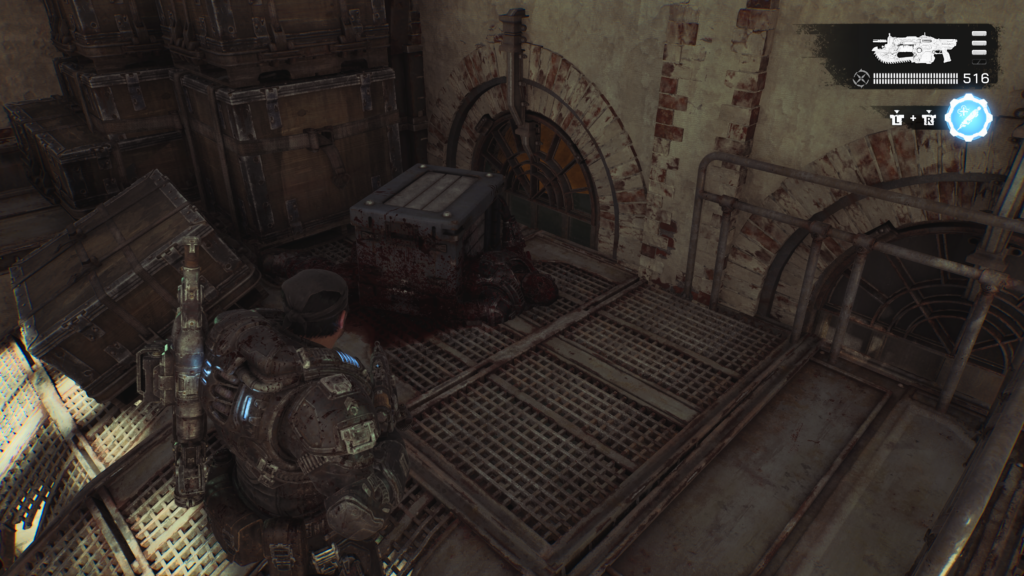
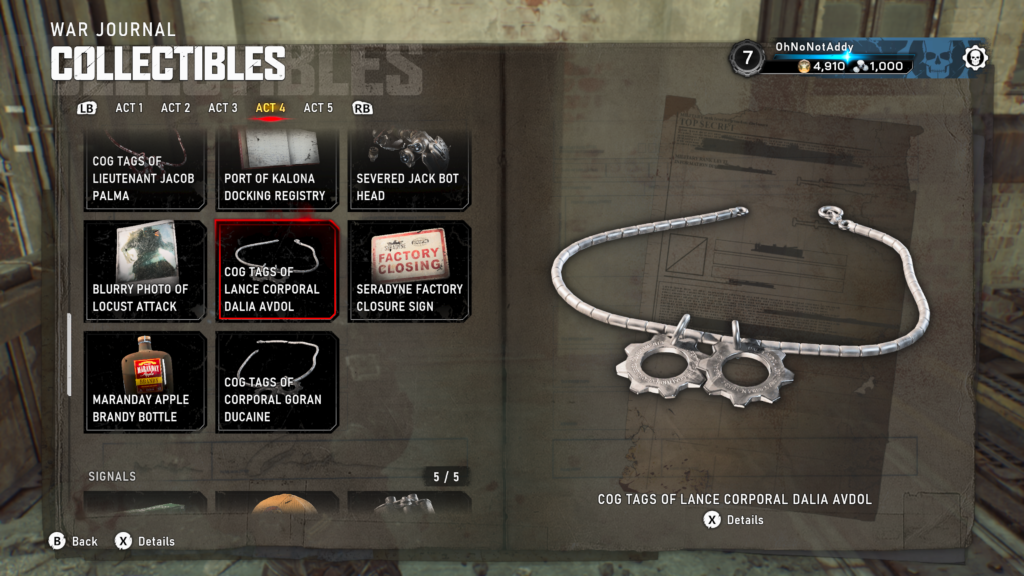
Collectible – COG Tags of Lance Corporal Dalia Avdol (11 / 14)
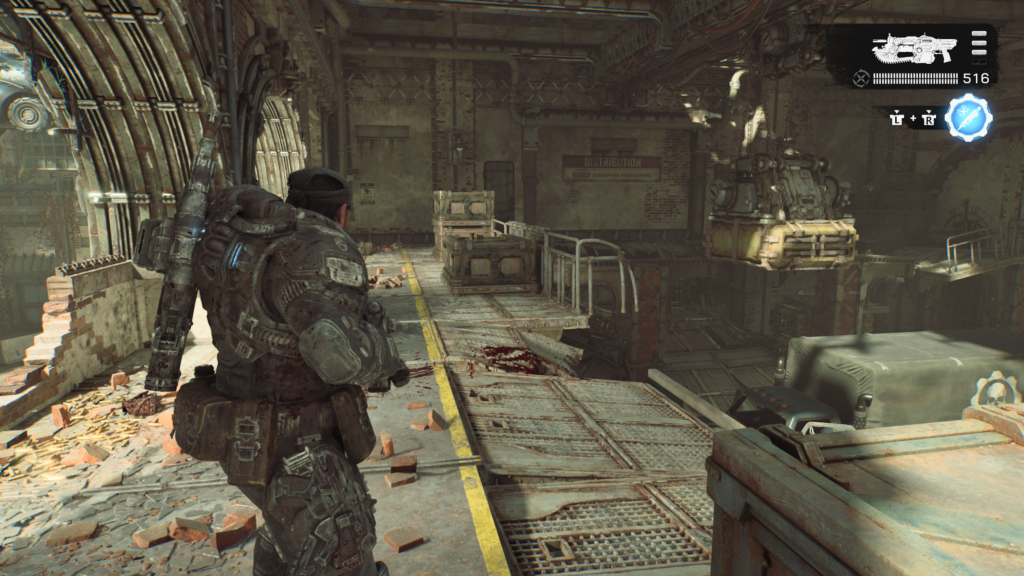
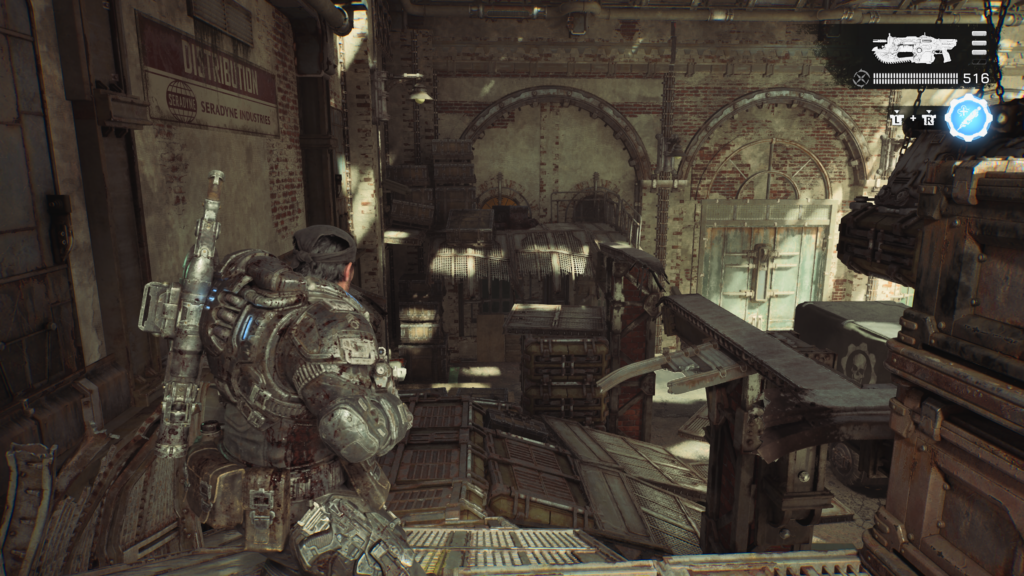
Turn to the right from the last hard case and follow the slope up and to the right, following the path round. Cross the collapsed walk way to grab the collectible from the separated section at the back left of the loading bay area.
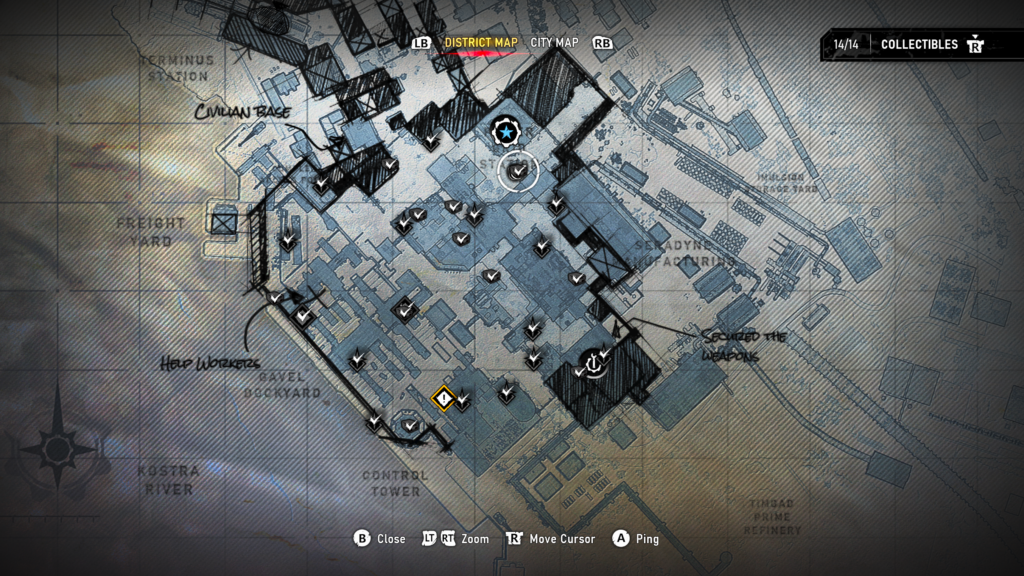
Hard Case (11 / 12)
If you go to the power station to restore power, take out all the enemies. Once it’s clear, look to a truck to the left of the power station. There’s a hard case sat by the driver’s cab.
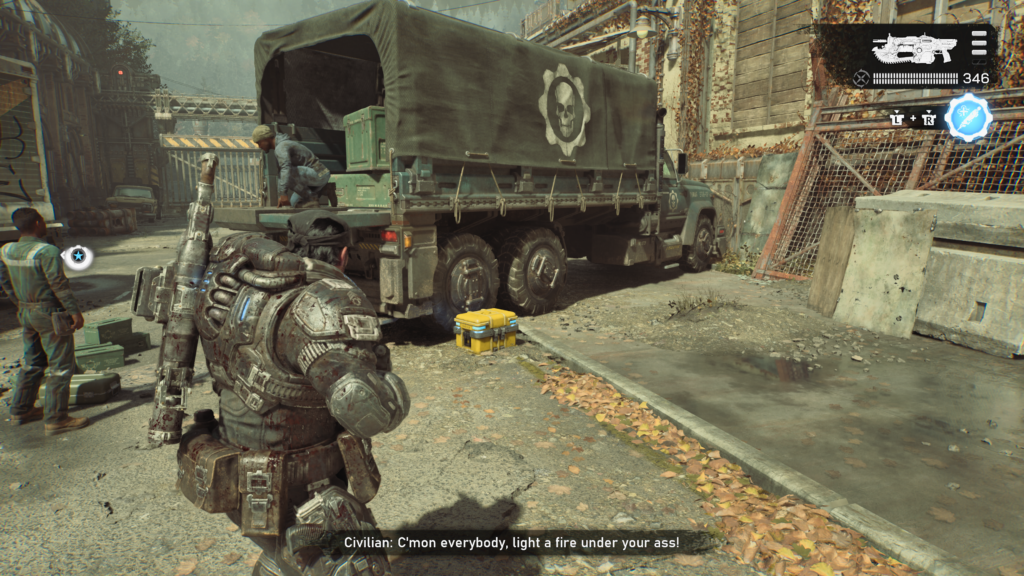
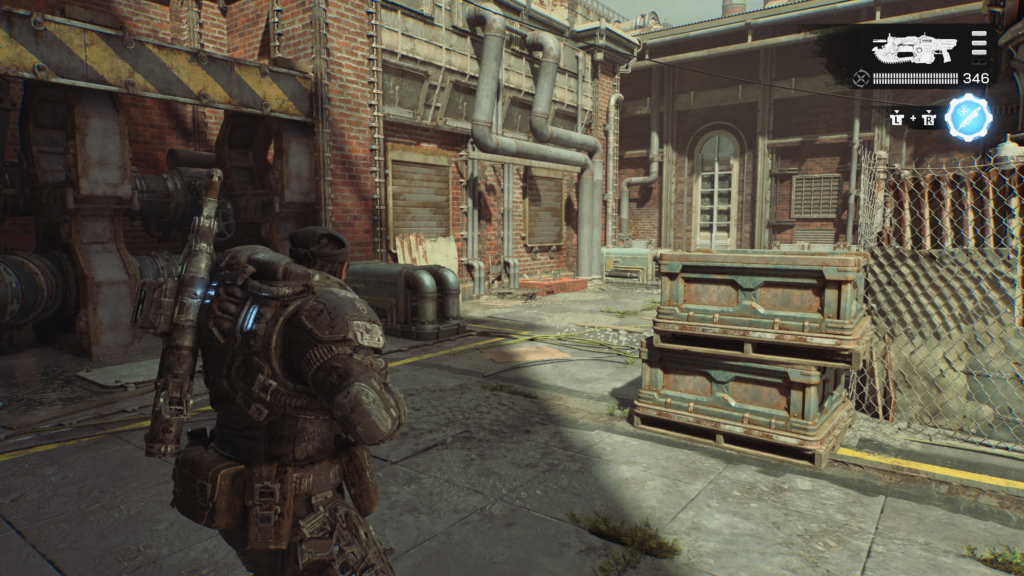
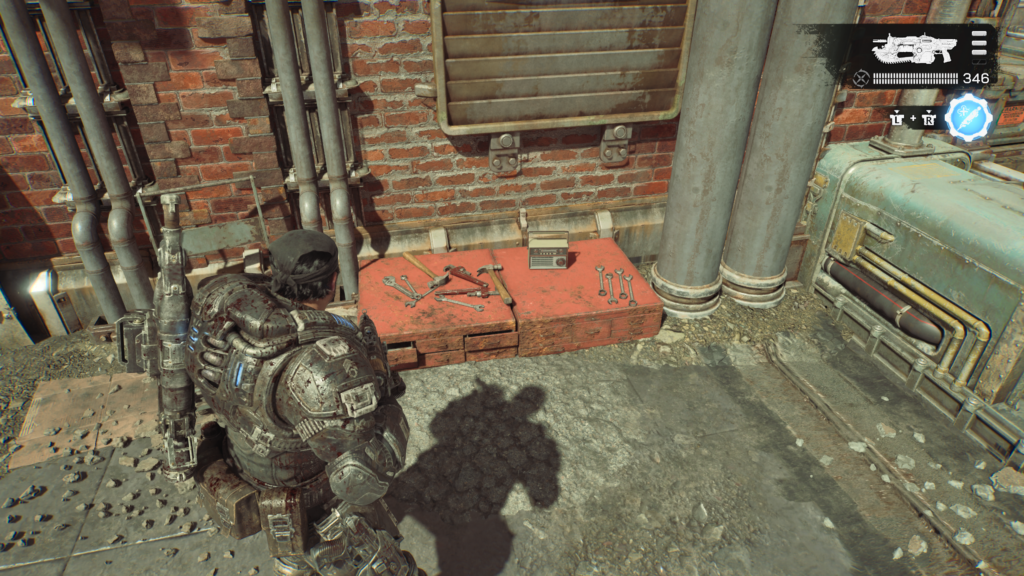
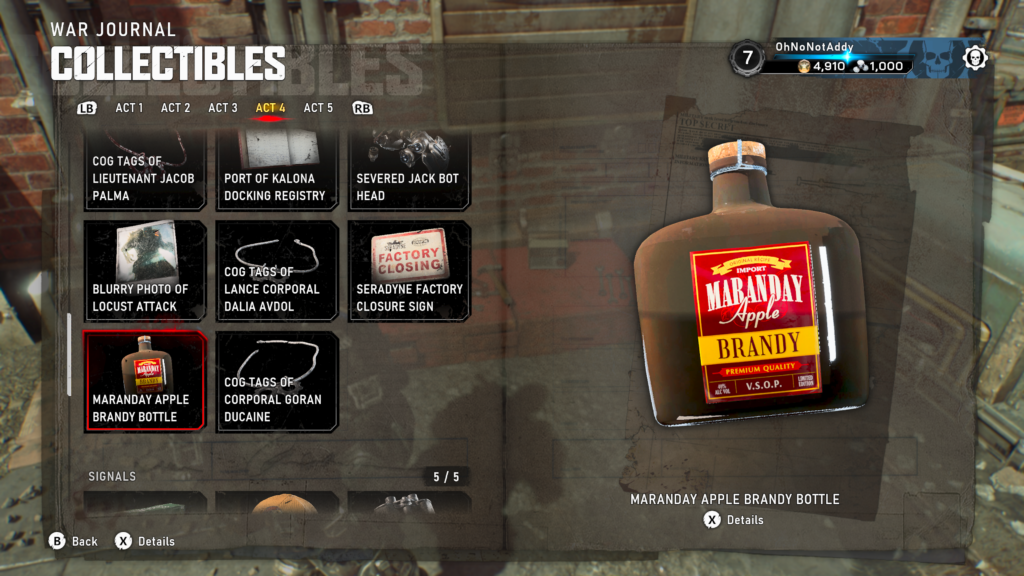
Collectible – Maranday Apple Brandy Bottle (12 / 14)
Across from the power station, as if heading towards the seradyne factory, you should be able to spot a rope you can ascend. Head up take a left, and then take right to go to an open air rooftop section. On the left, against the wall, you should see the collectible on the floor.
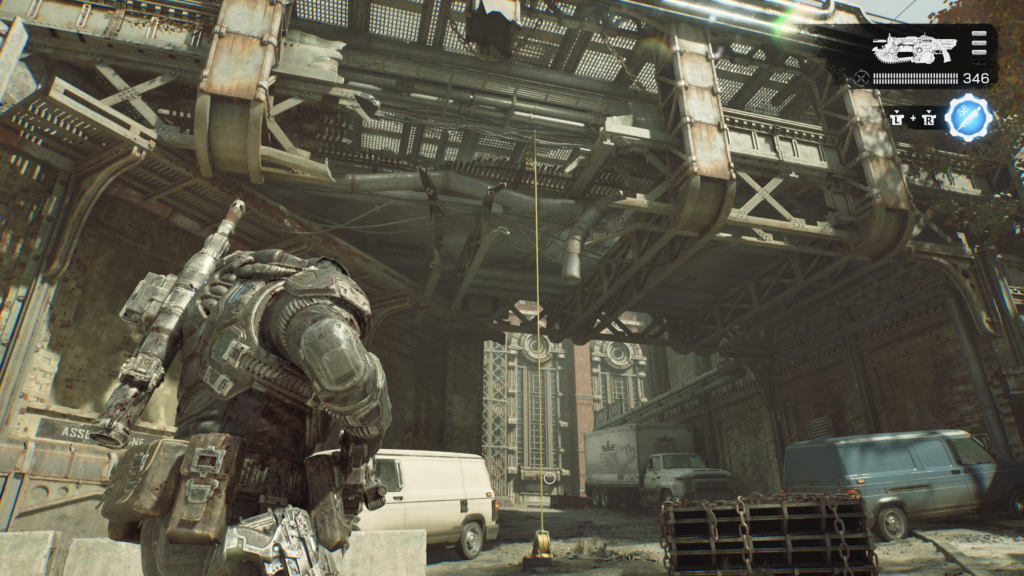
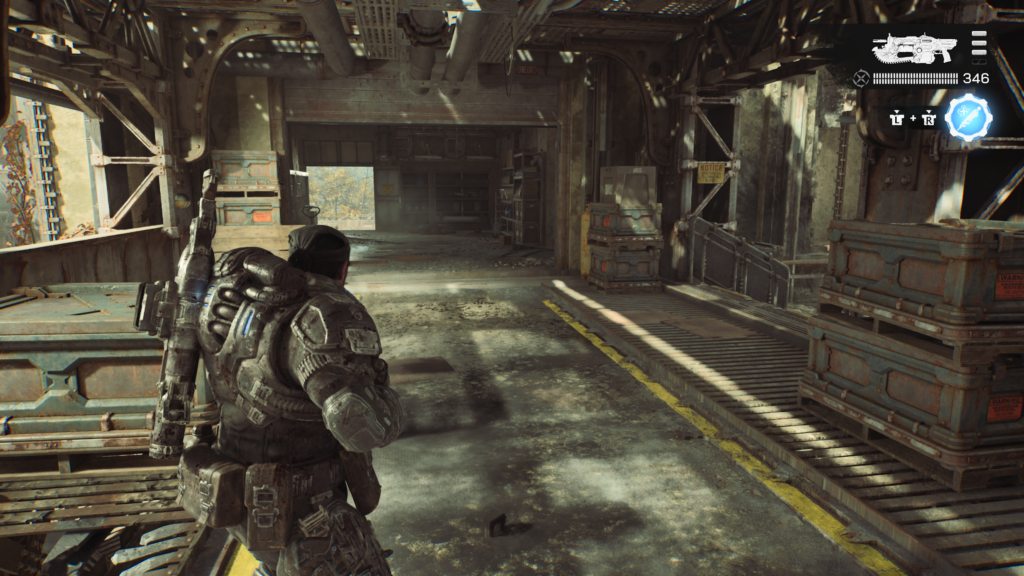
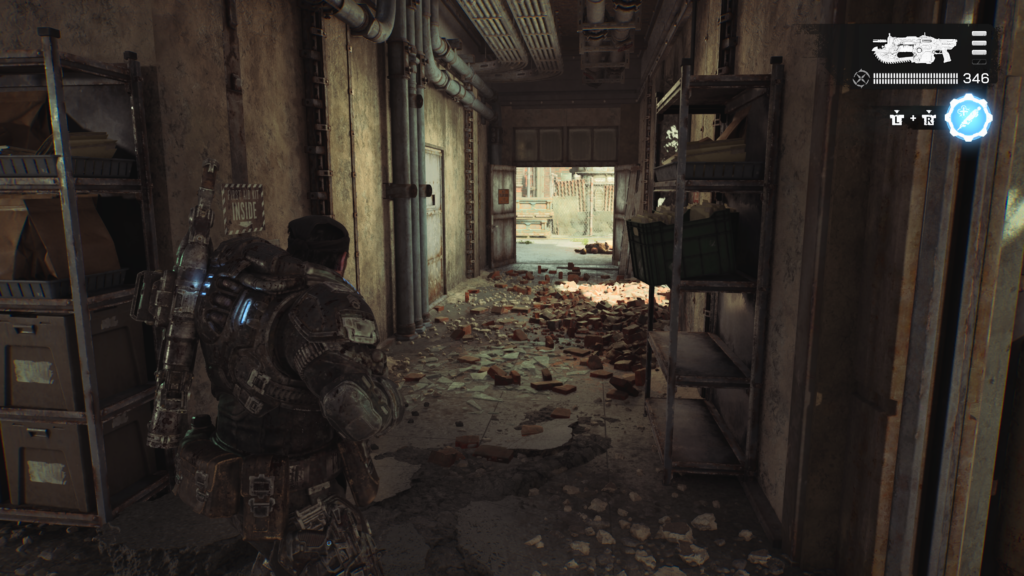
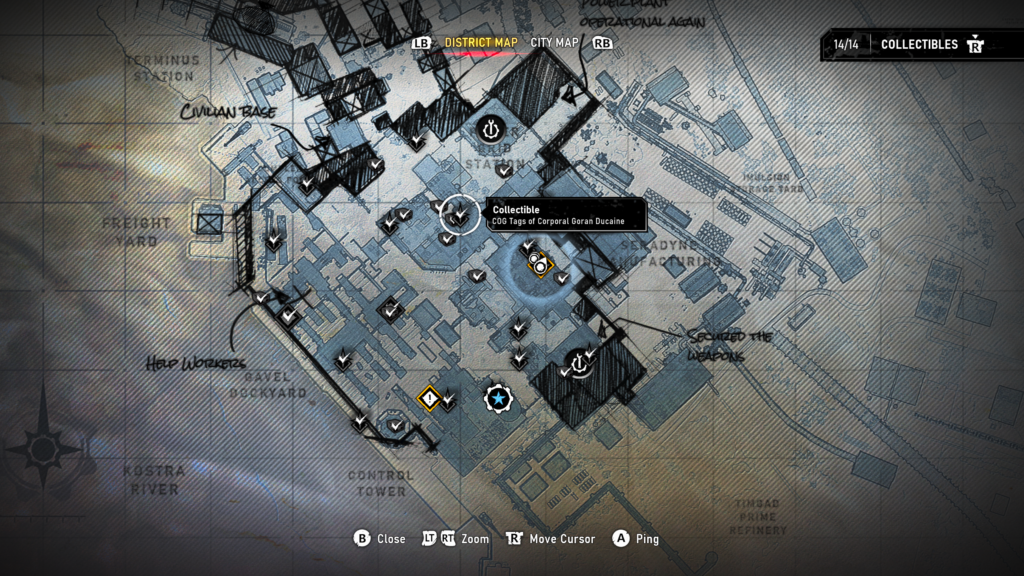
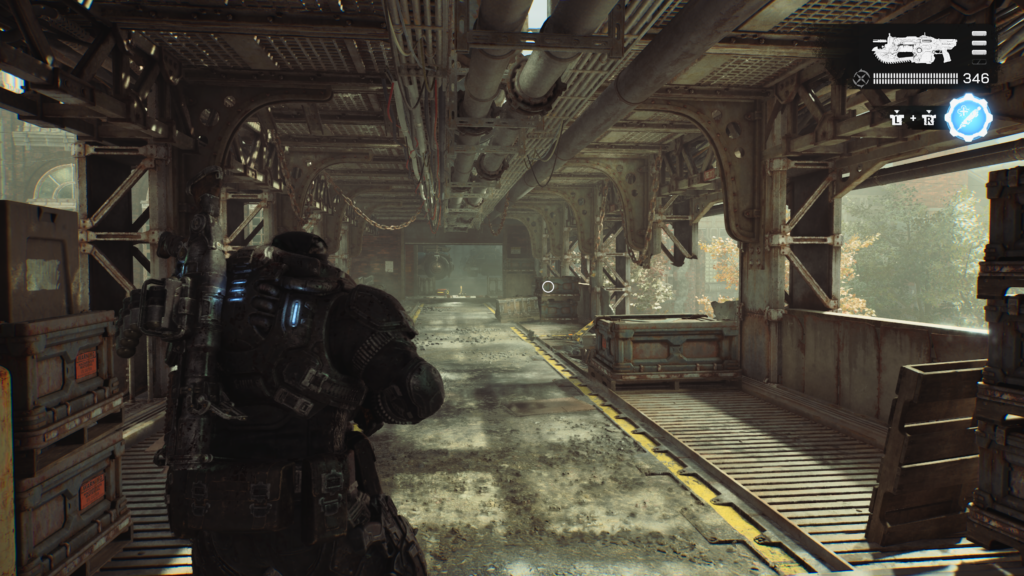
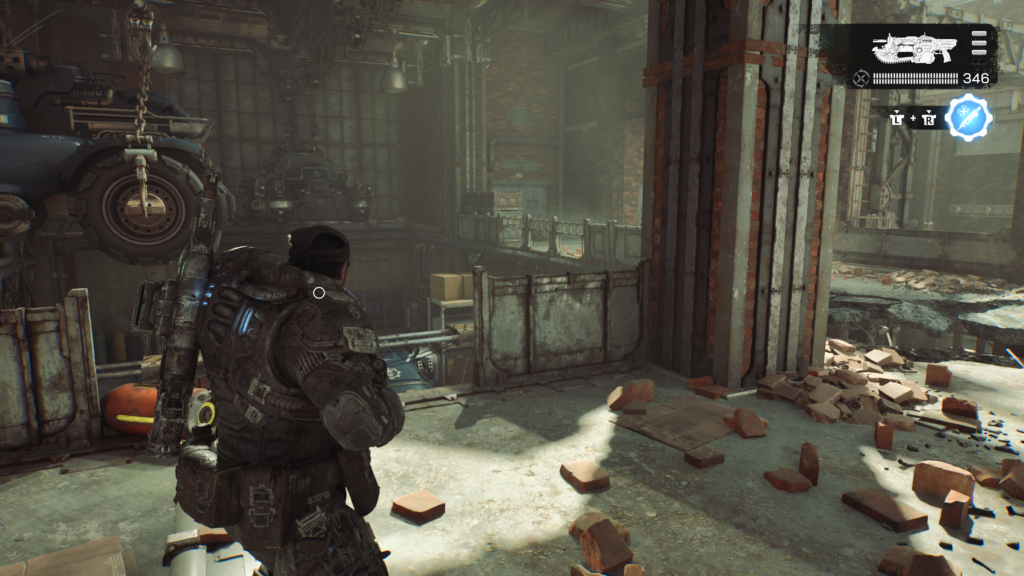
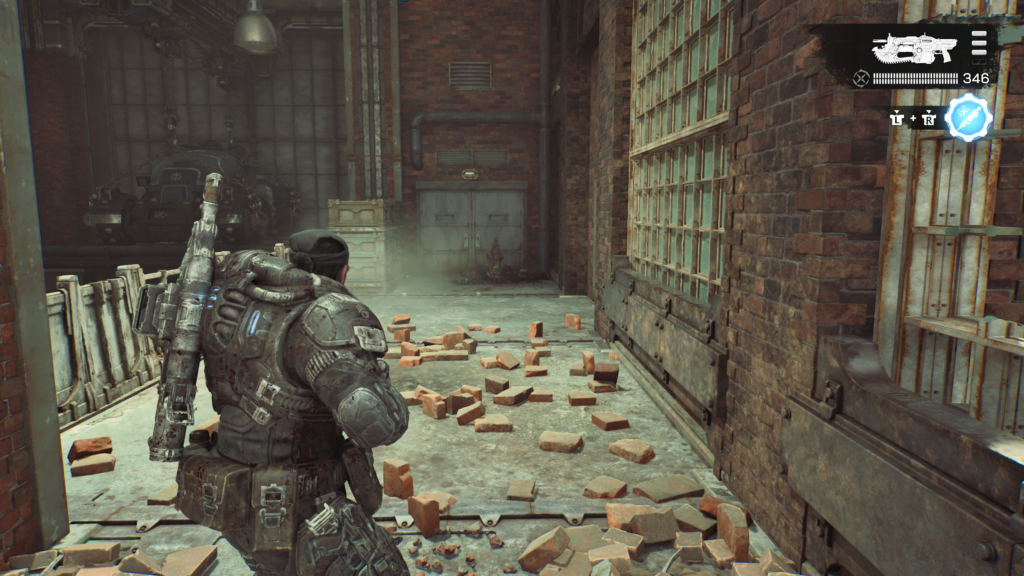
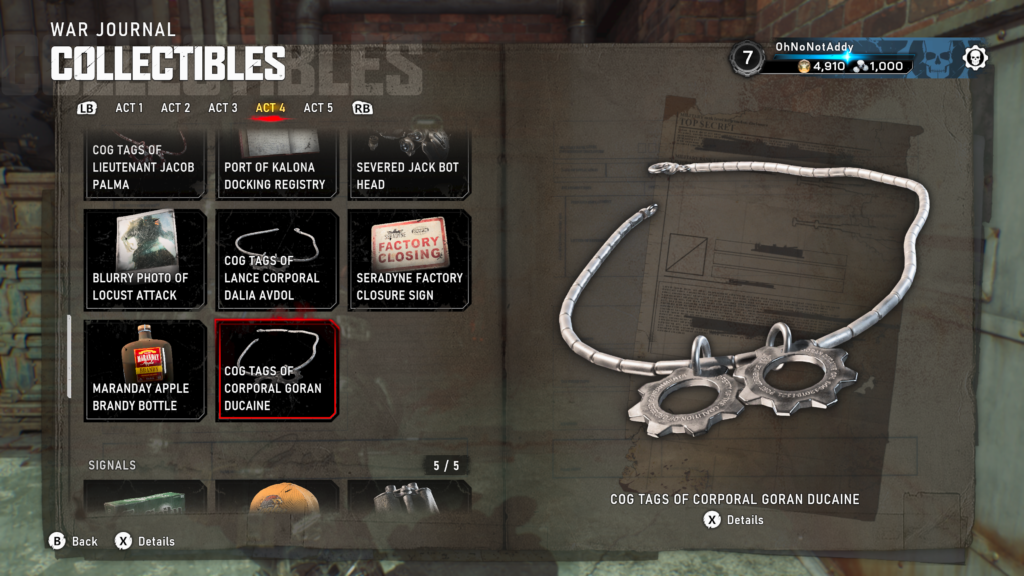
Collectible – COG Tags of Corporal Goran Ducaine (13 / 14)
Go back inside from the last collectible and across the bridge to the building on the other side. You’ll be in a garage area. Stay on the top floor, and follow the path round to the right to see the collectible on the floor next to a dead Boomer.
Hard Case (12 / 12)
Drop down from the last collectible and go to the back of the garage. On the right is a door you can open. This will trigger a load of wretches attacking. Kill them then head inside to grab the hard case.
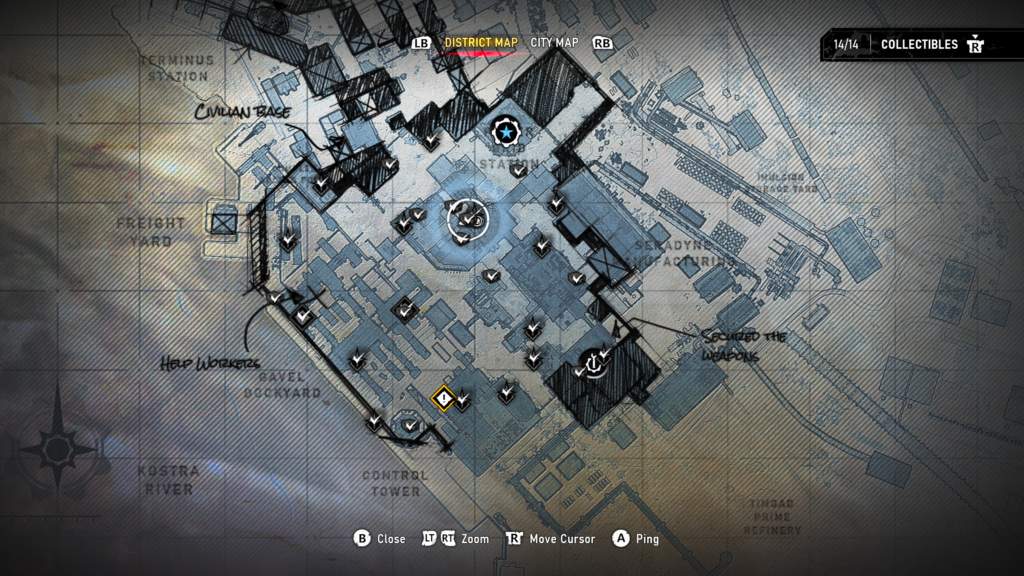
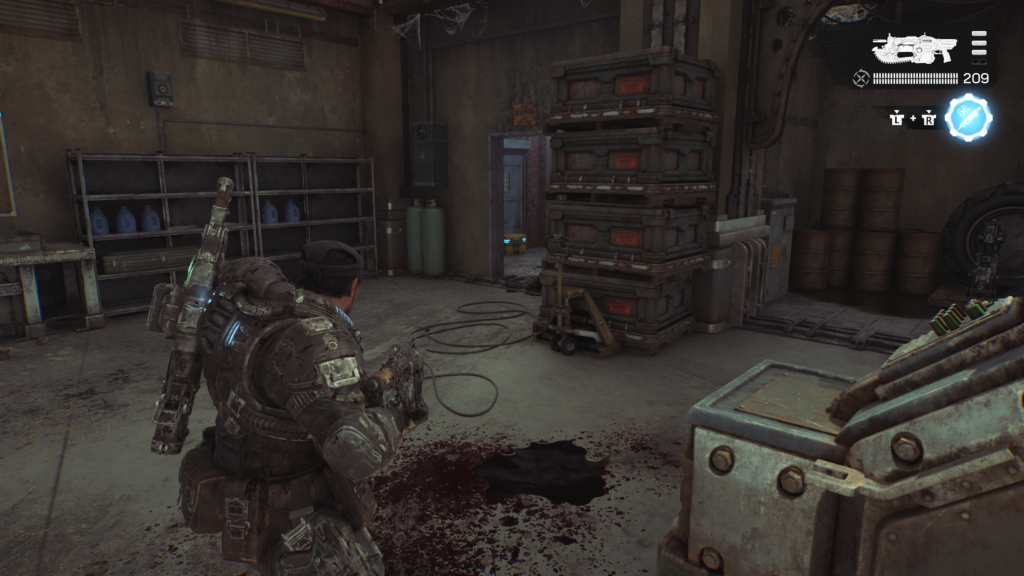
Secondary Objective (4 / 4) – Death from Above
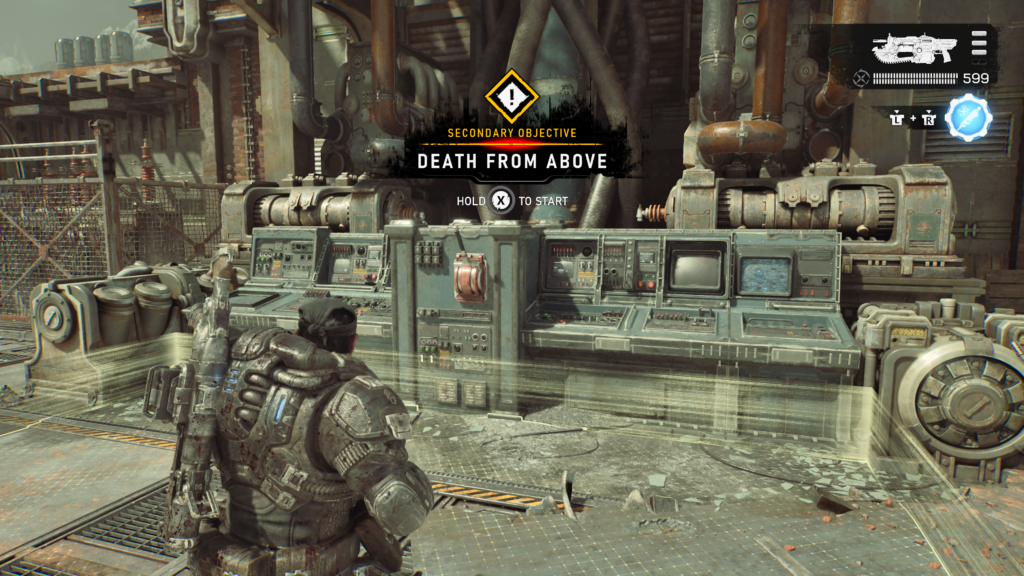
After you have completed the main objective mission at the power plant, you will be able to head to the Seradyne armadillo factory. Get to the roof for this secondary objective. Take out all the enemies and you’ll succeed.
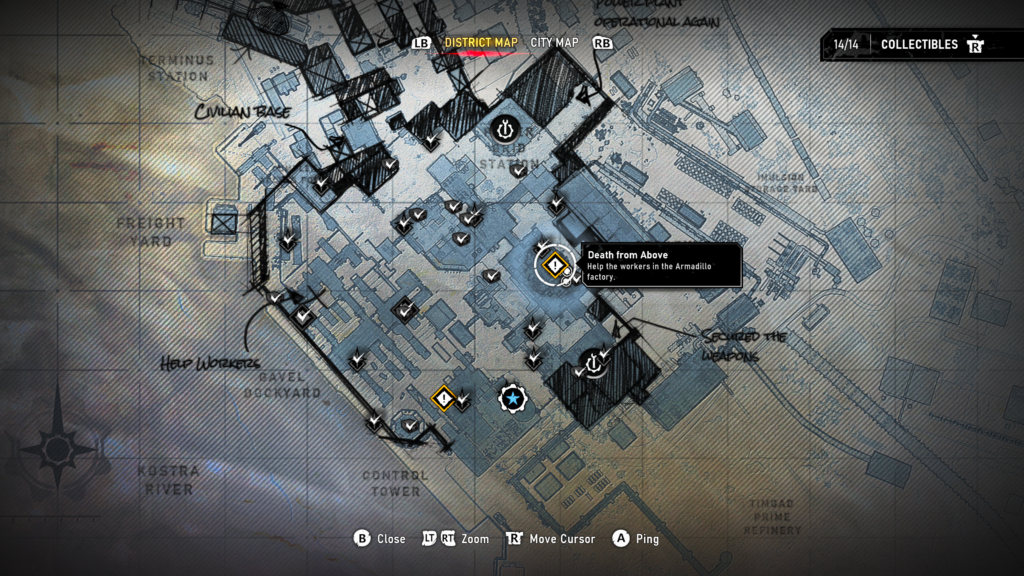
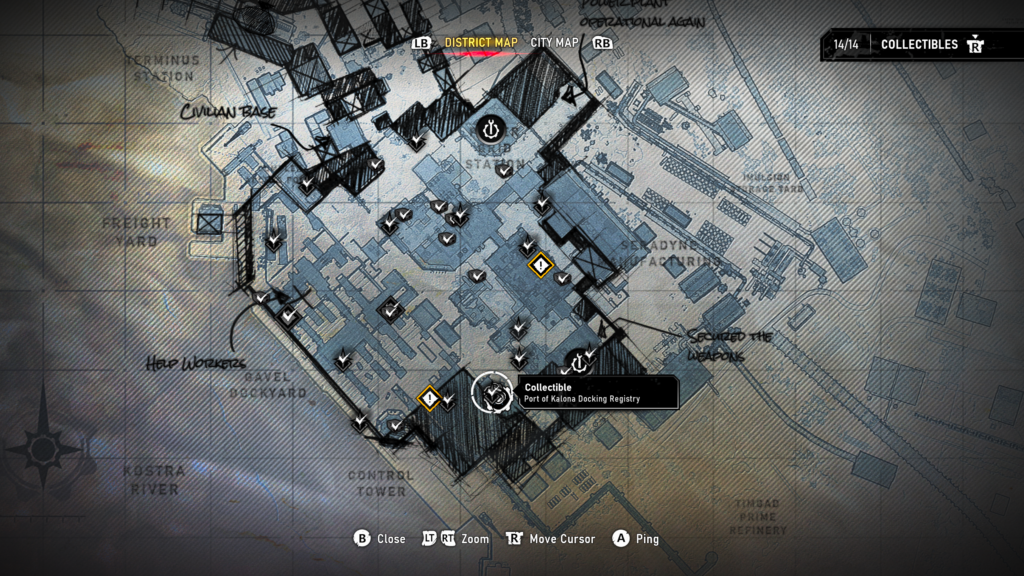
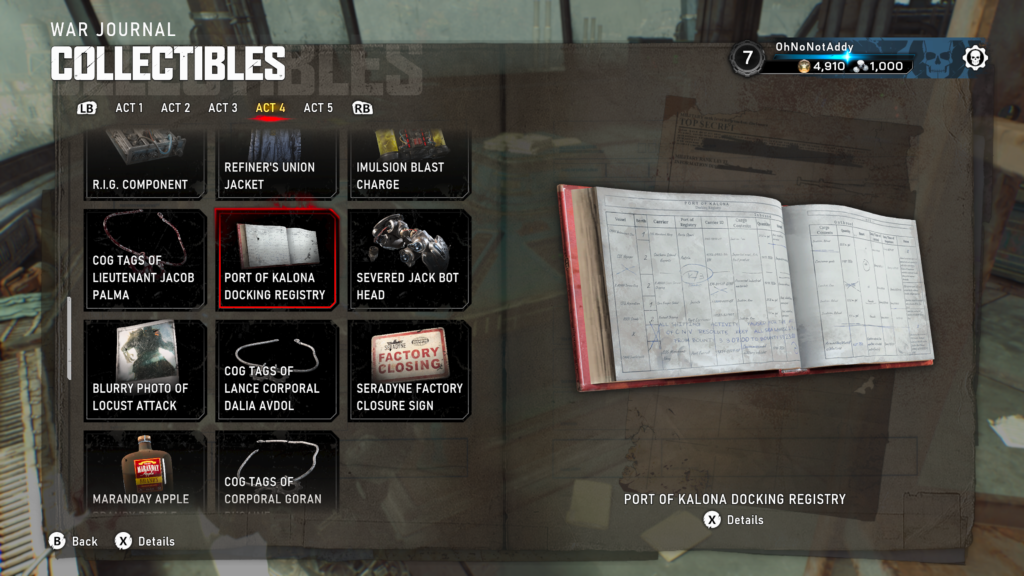
Collectible – Port of Kalona Docking Registry (14 / 14)
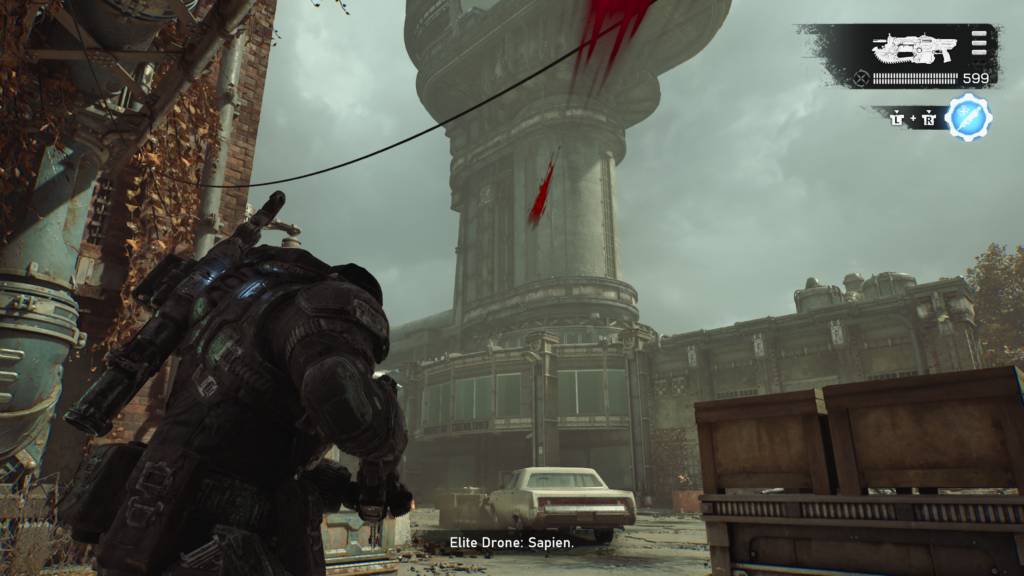
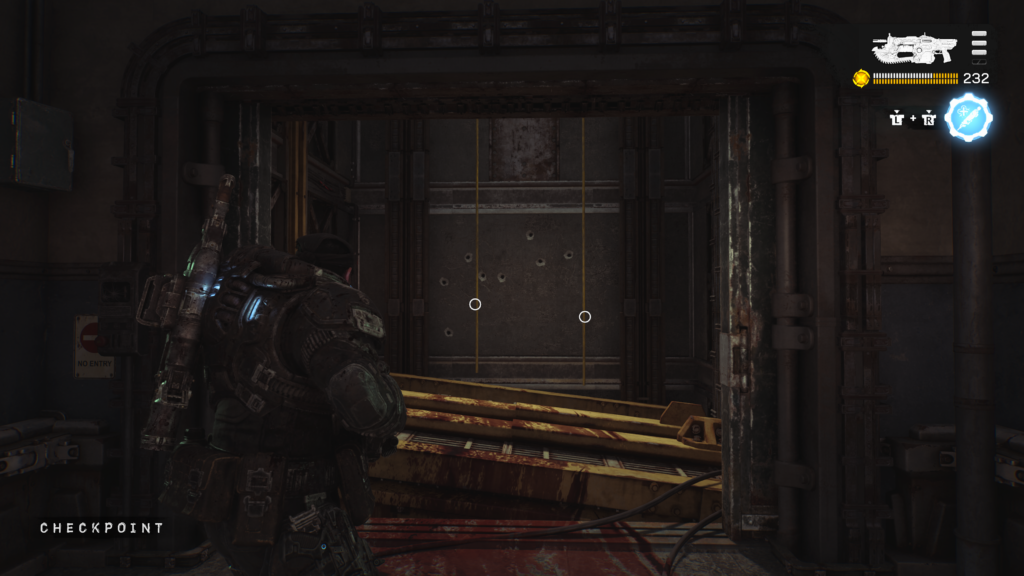
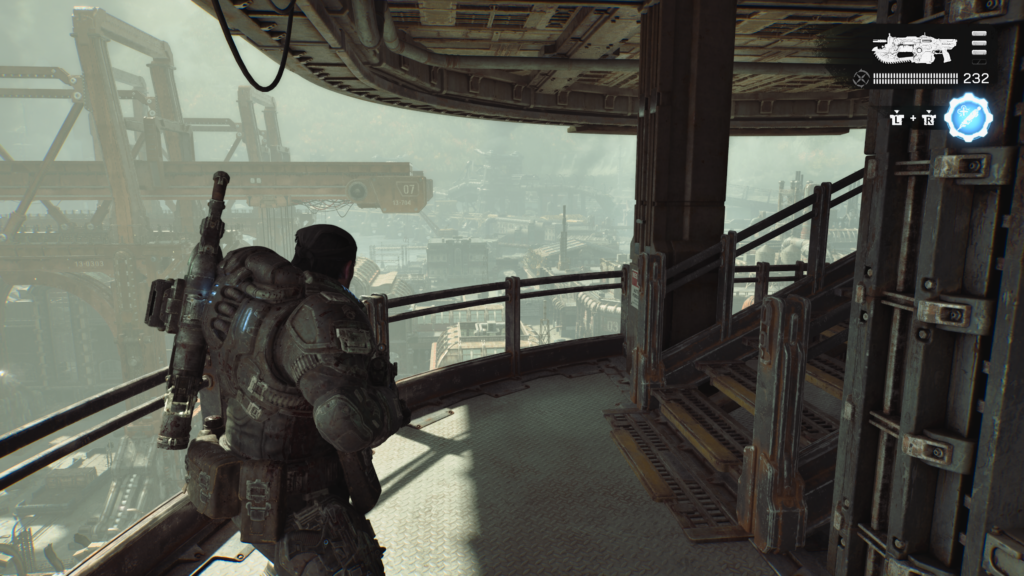
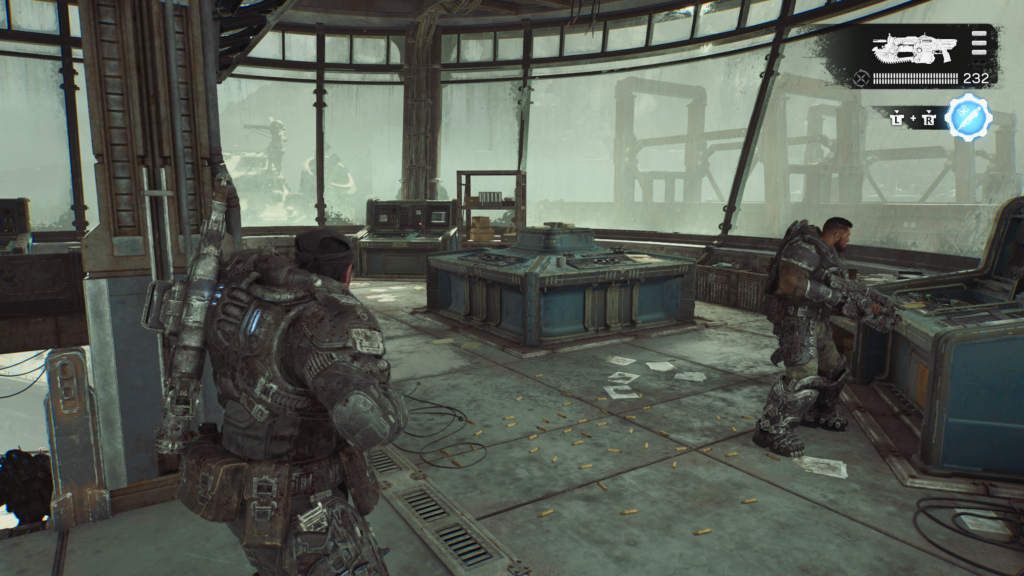
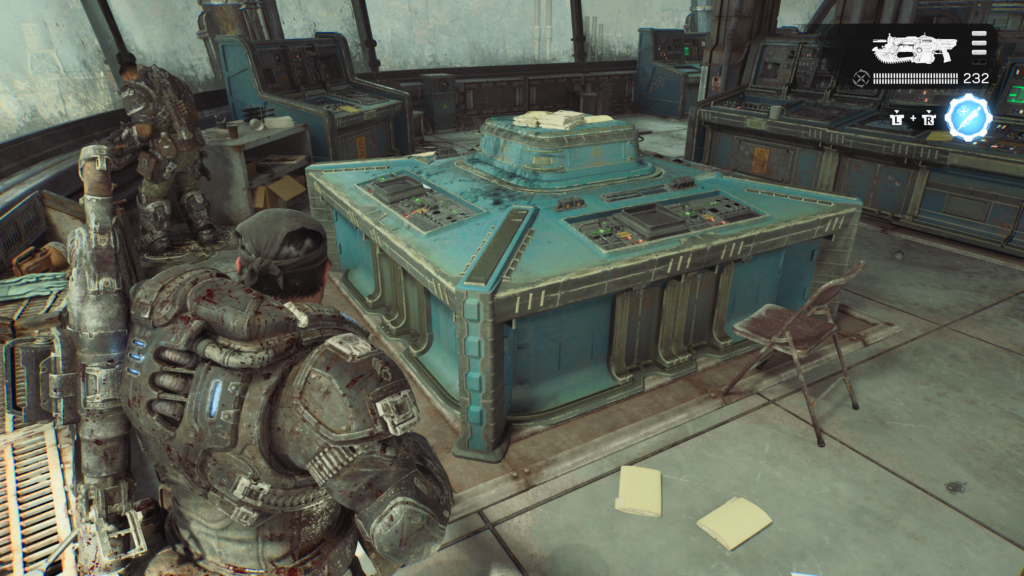
When you go up the communications tower as part of the main objective, take a left at the top of the stairs and go back on yourself. On a console in the centre, near the window, is the collectible.
Act 4, Chapter 4 – Signals
- 5 Collectibles
- 5 Hard Cases
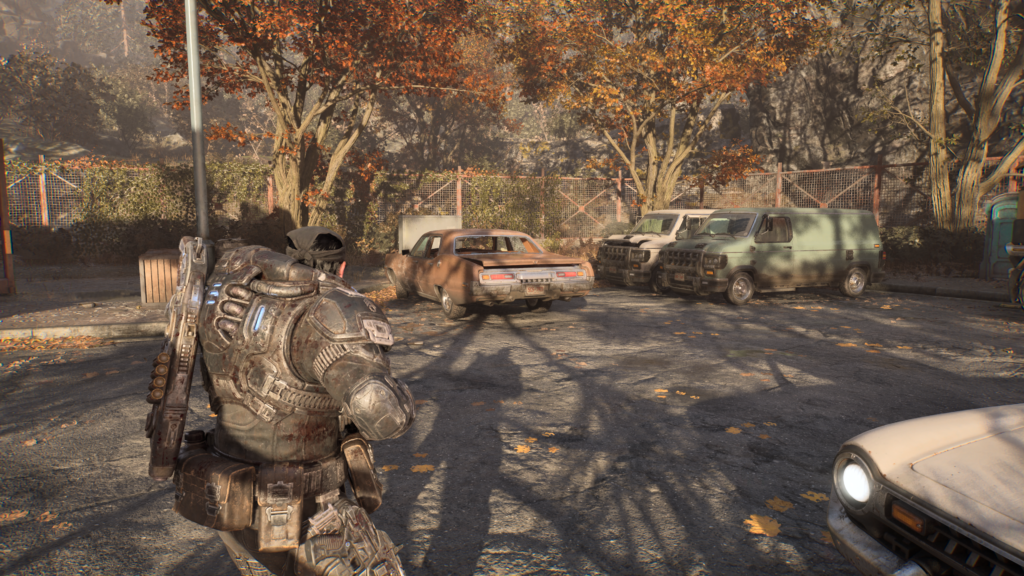
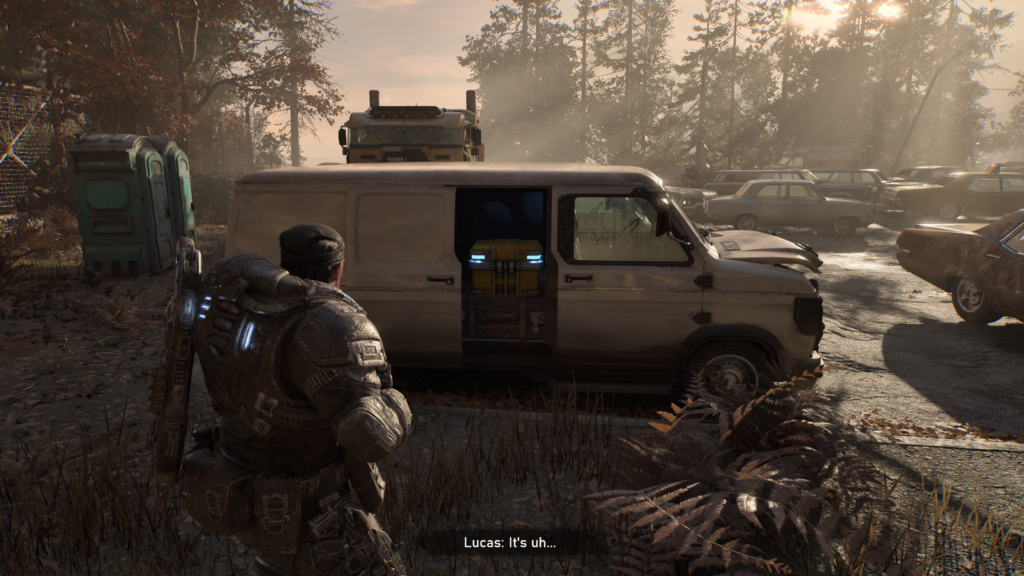
Hard Case (1 / 5)
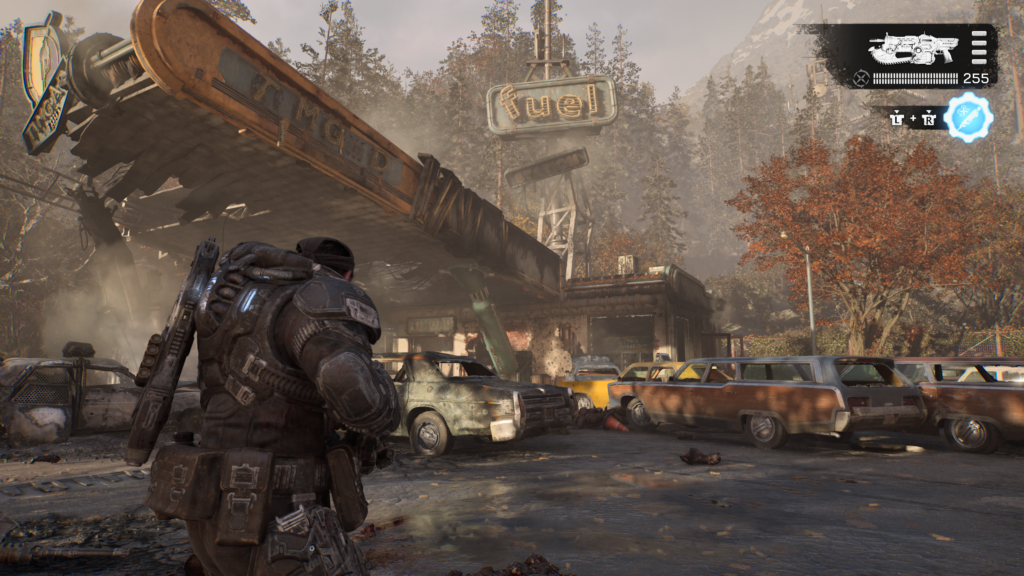
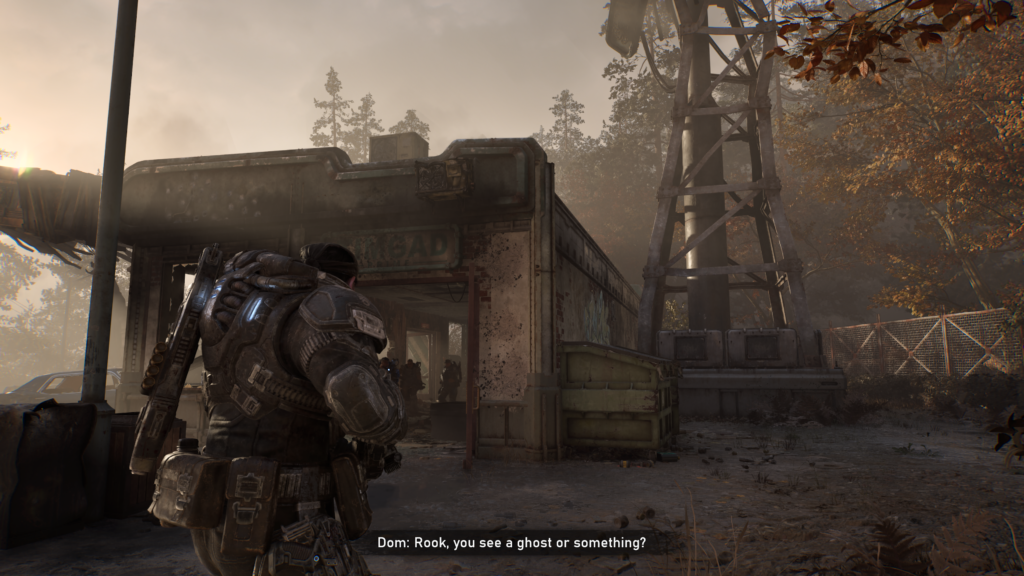
Near the start you will arrive at a fuel station. Once you’ve cleared out the enemies, head to the right of the car park area. Look for a white van, go round to the back to grab the hard case from the side opening.
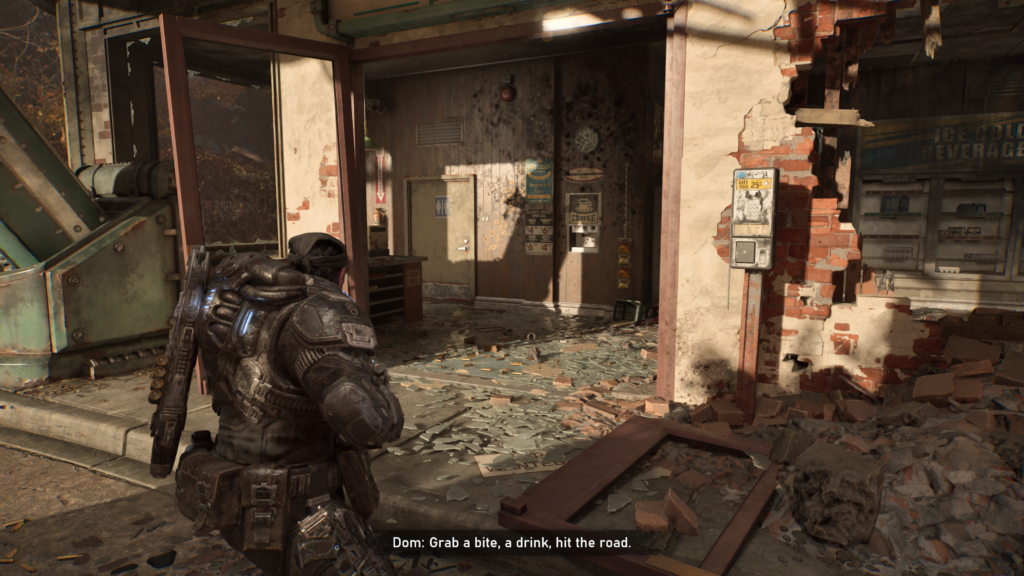
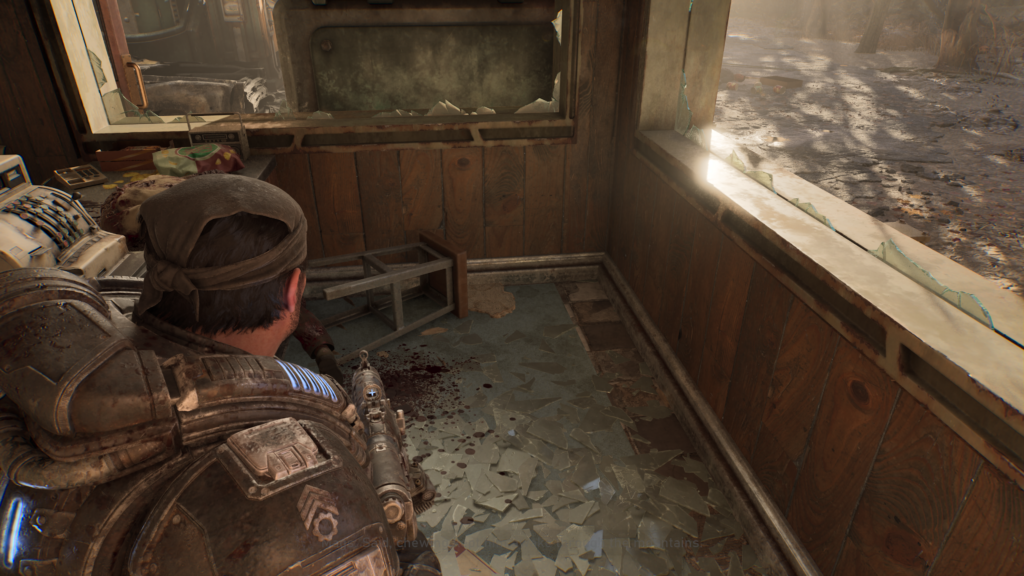
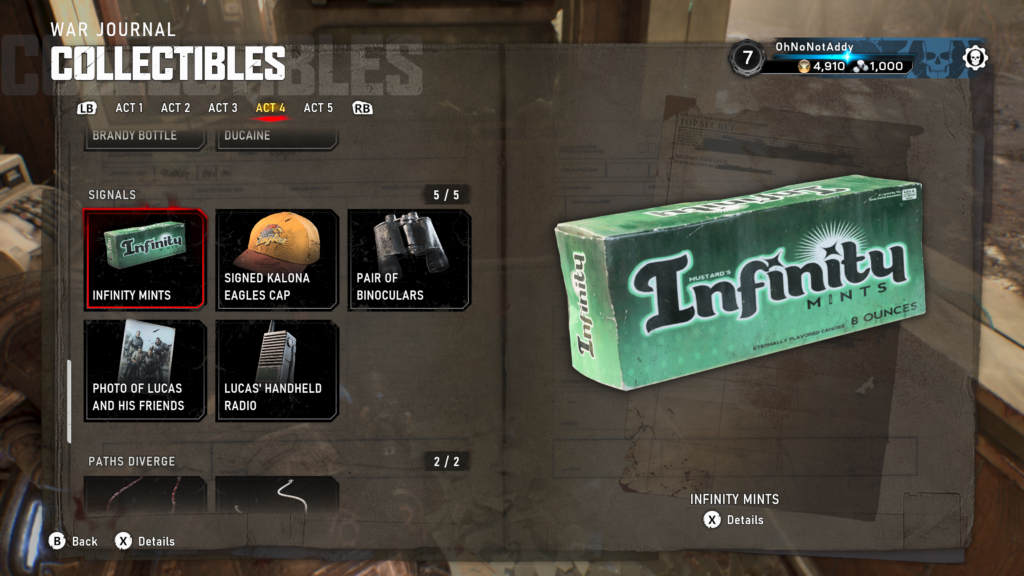
Collectible – Infinity Mints (1 / 5)
Go into the front door of the kiosk of the fuel station, and round the counter on the left. The collectible is on the floor in the corner.
Hard Case (2 / 5)
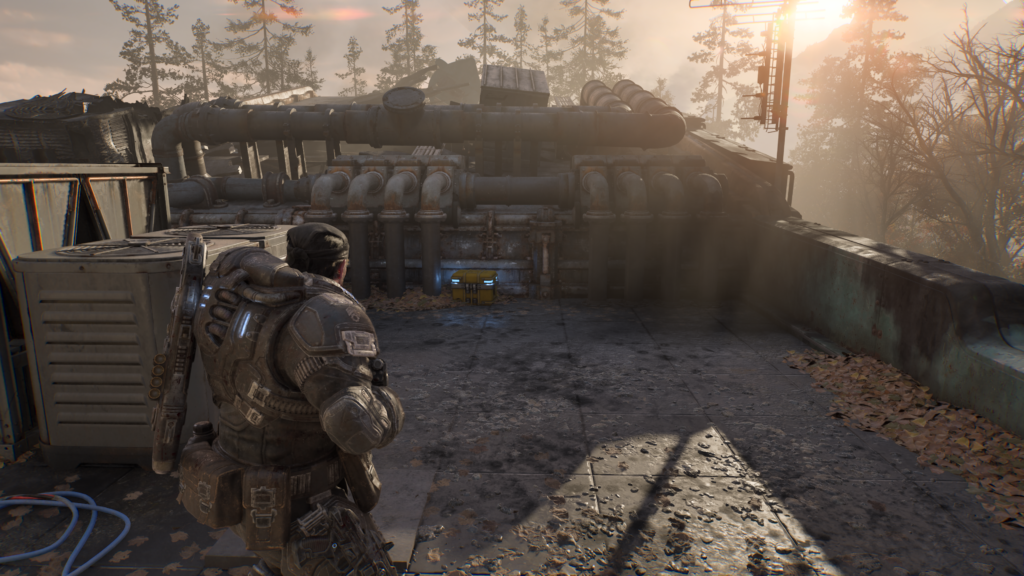
Go to the back of the shop of the fuel station and climb up to the roof using the dumpster. Go around to the right to find the hard case.
Hard Case (3 / 5)
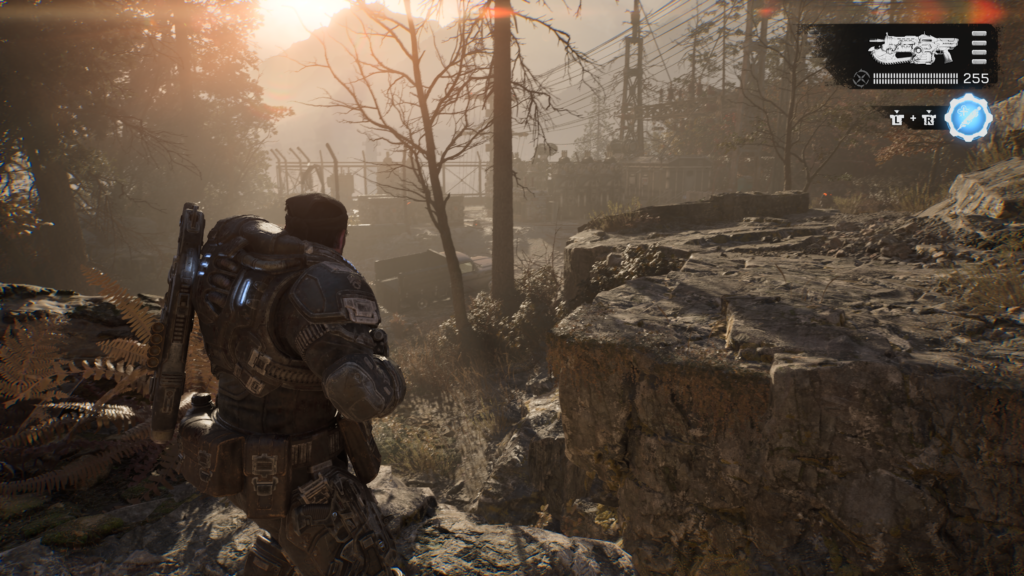
You’ll continue forward after the fuel station. You’ll arrive at a power substation guarded by Locust. Take them out and then head to the right of the substation area to see a hard case.
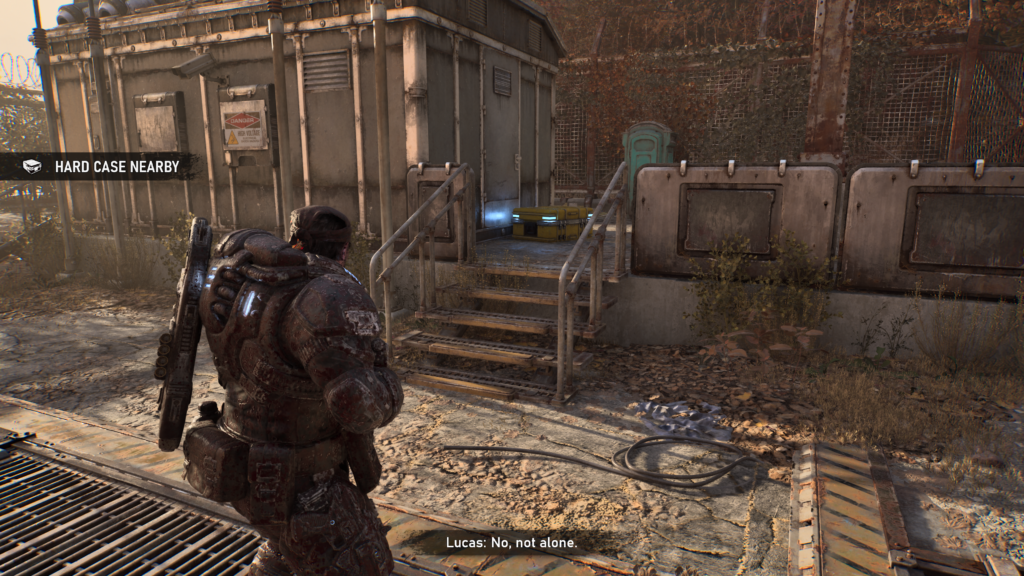
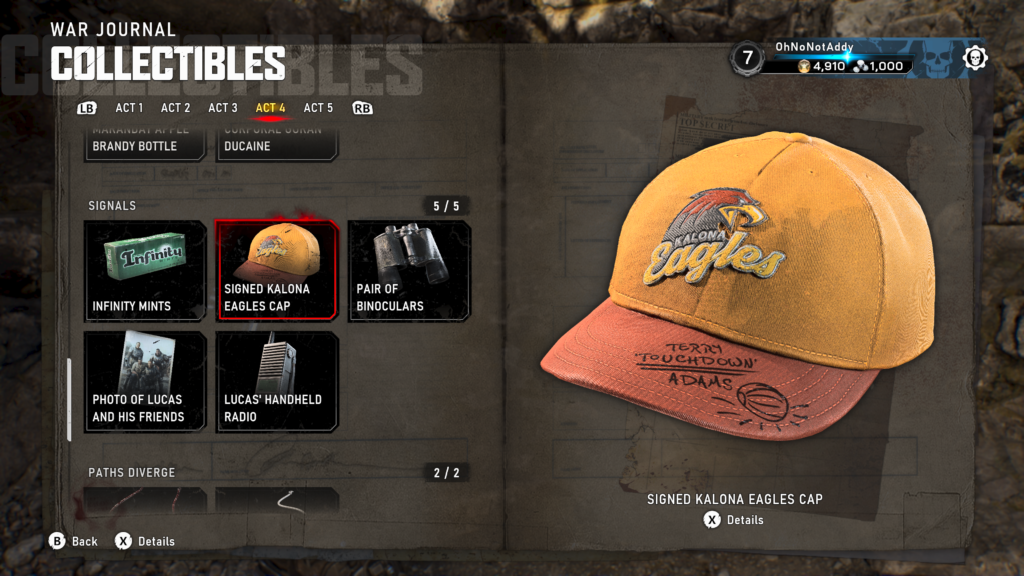
Collectible – Signed Kalona Eagles Cap (2 / 5)
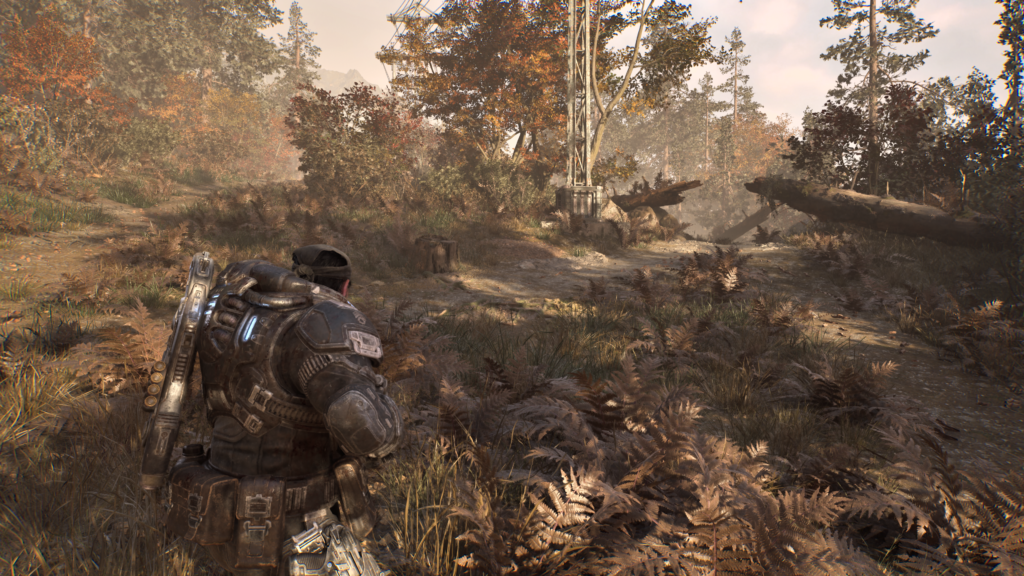
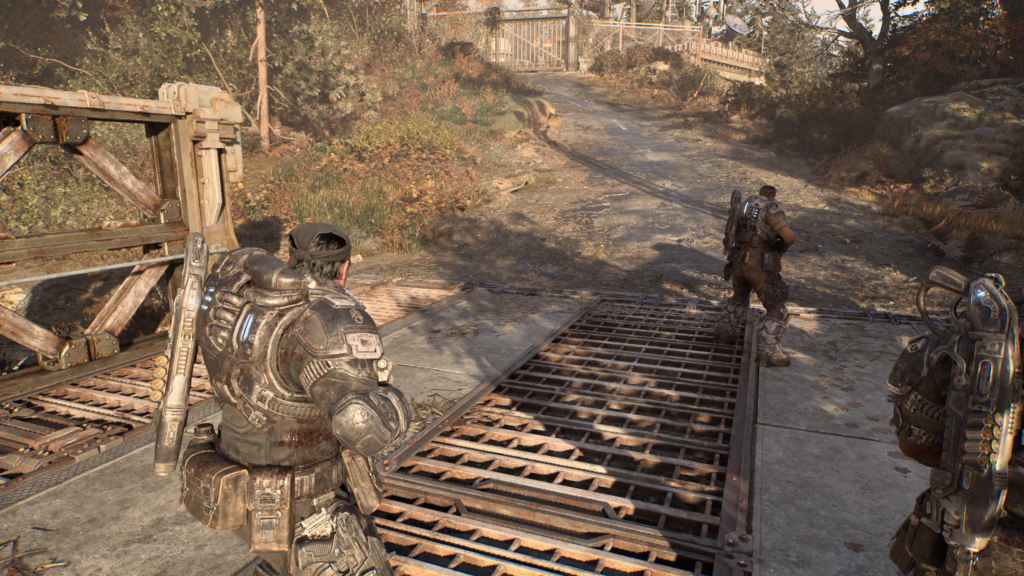
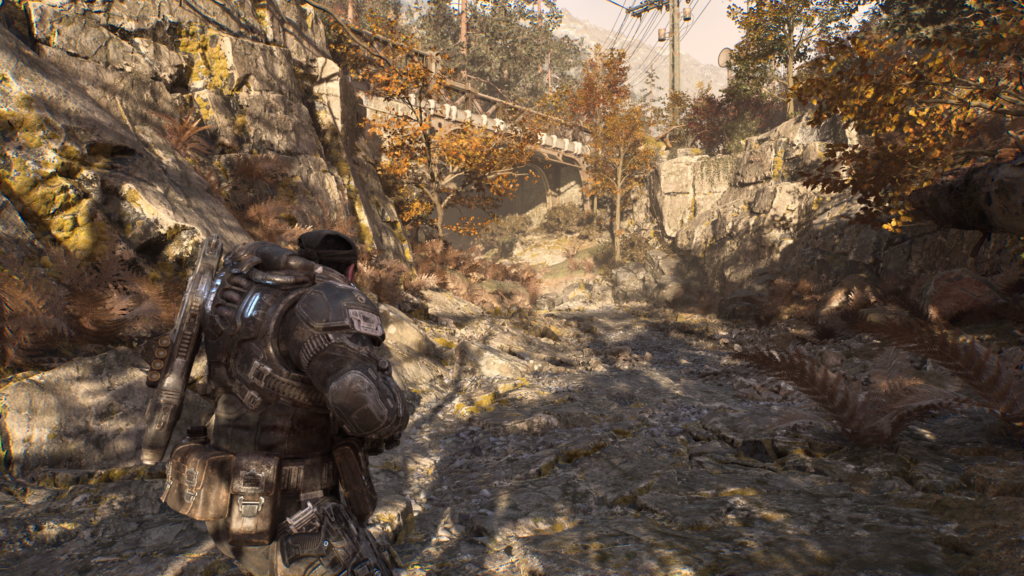
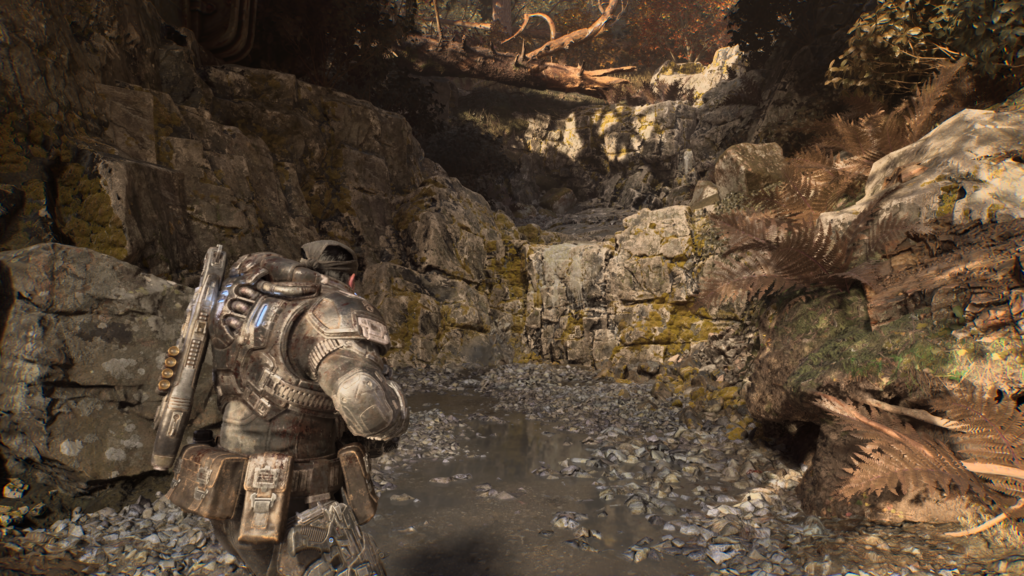
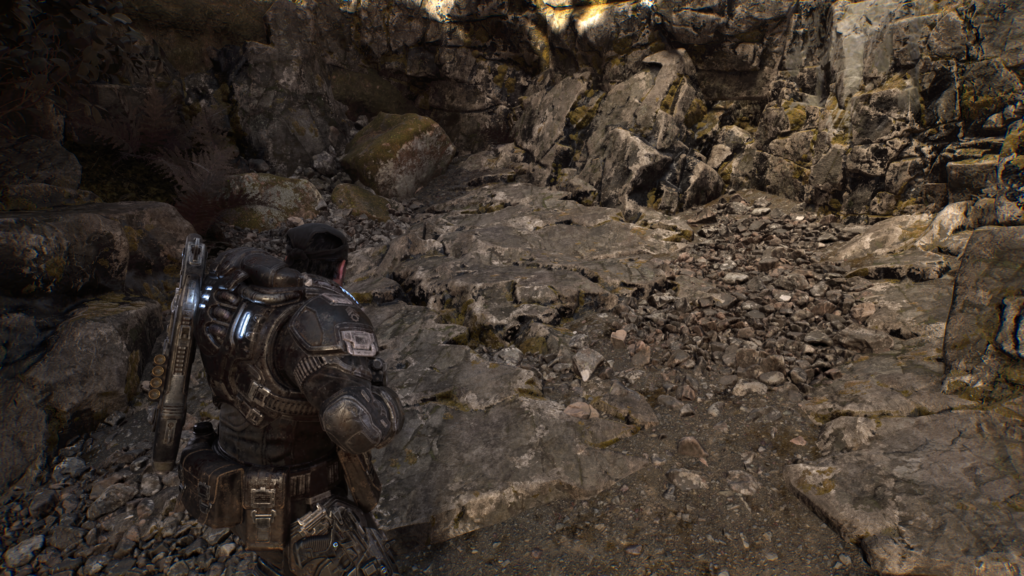
You’ll carry on through the woods, you’ll reach a point where you can cross a fallen tree to progress, or go underneath it. Soon you’ll see two routes, one to the left that goes across a bridge, the other to the right that goes below and under the bridge. You can take either route, either cross the bridge and then go to the left and drop down, or head under the bridge and climb up the ledge to reach the collectible.
Hard Case (4 / 5)
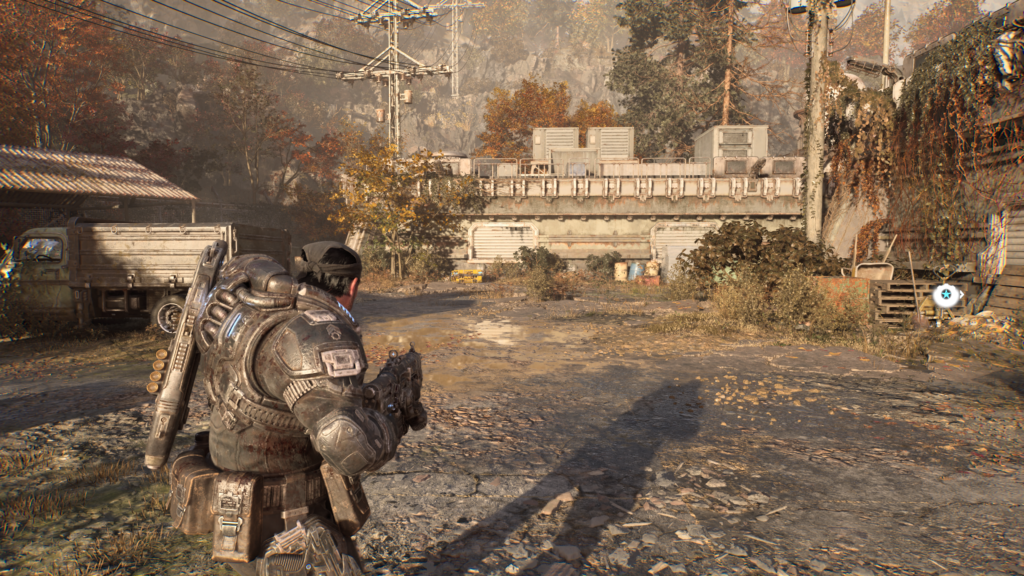
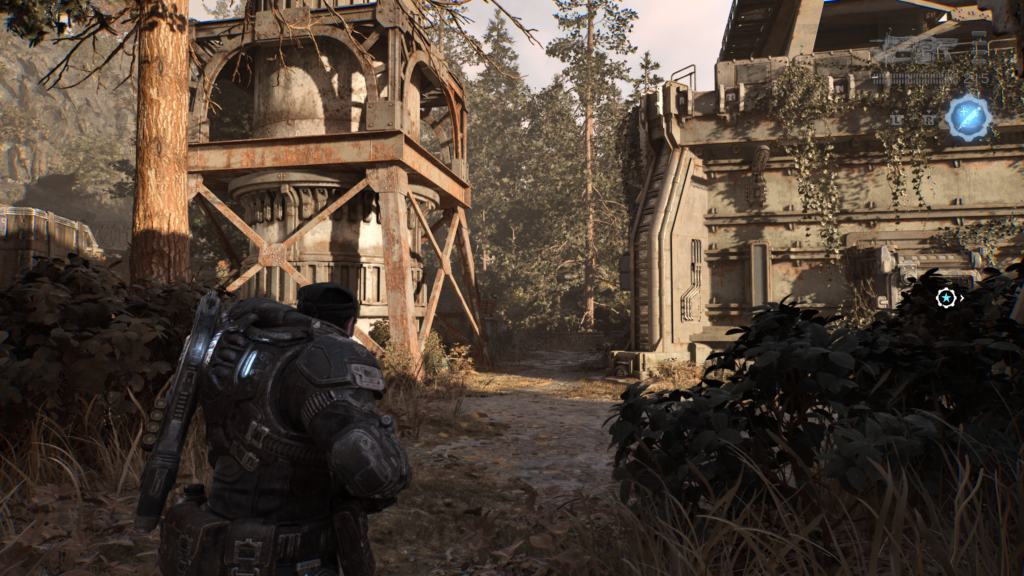
After the cutscene at the comms tower, when you regain control, you’re meant to go inside the comms station. Turn left to see a hard case against the wall of another building.
Hard Case (5 / 5)
Take a right from the last hard case and then a left. You should see a shooting range in front of you and a tower to the right. To the right of that tower is a hard case.
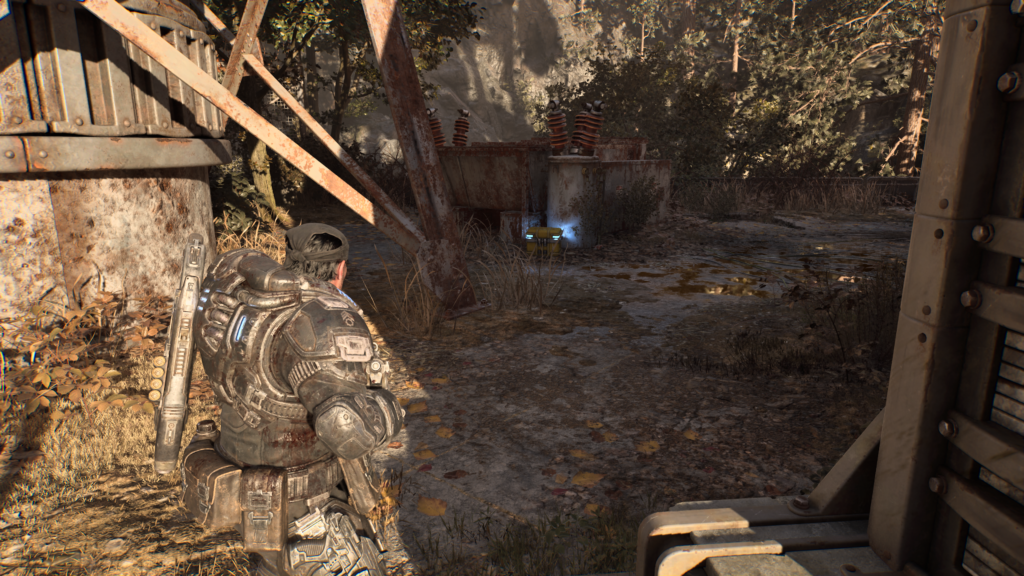
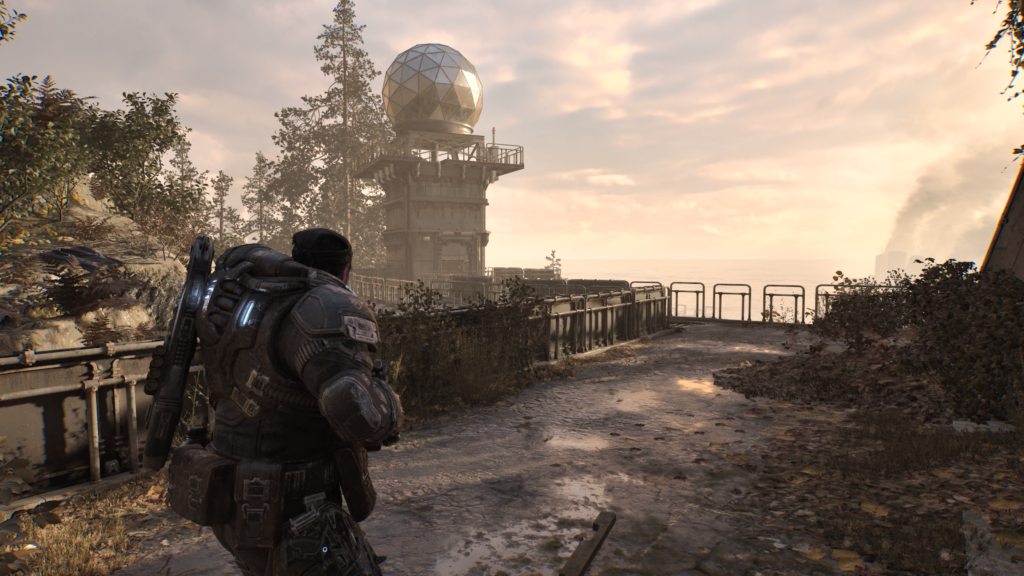
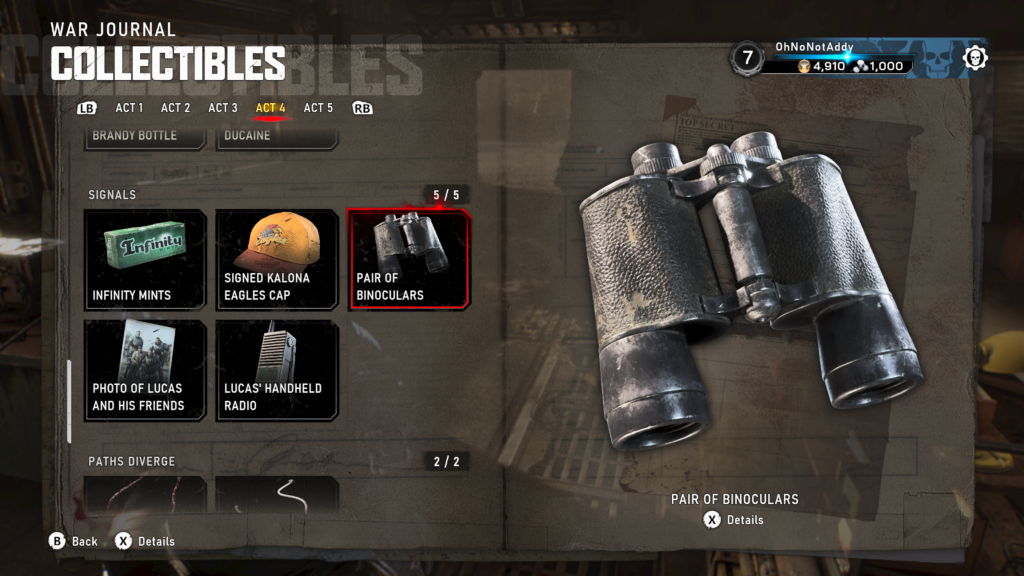
Collectible – Pair of Binoculars (3 / 5)
Go to the right after the last hard case and look to the top left corner of the area. There should be a round tower of sorts overlooking the wider scene, with Kalona in the distance. The collectible is at the end of the walkway, resting against the central tower.
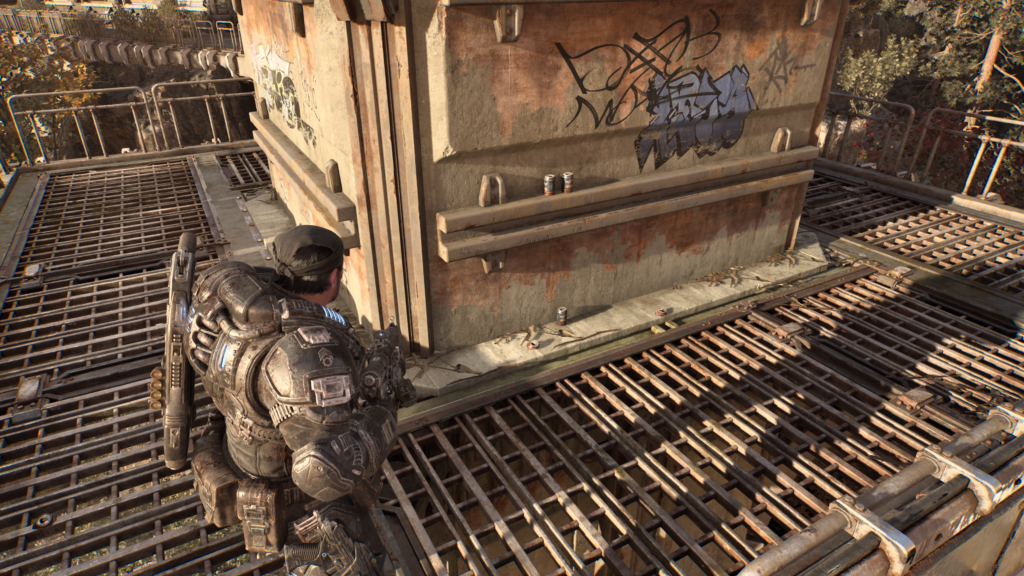
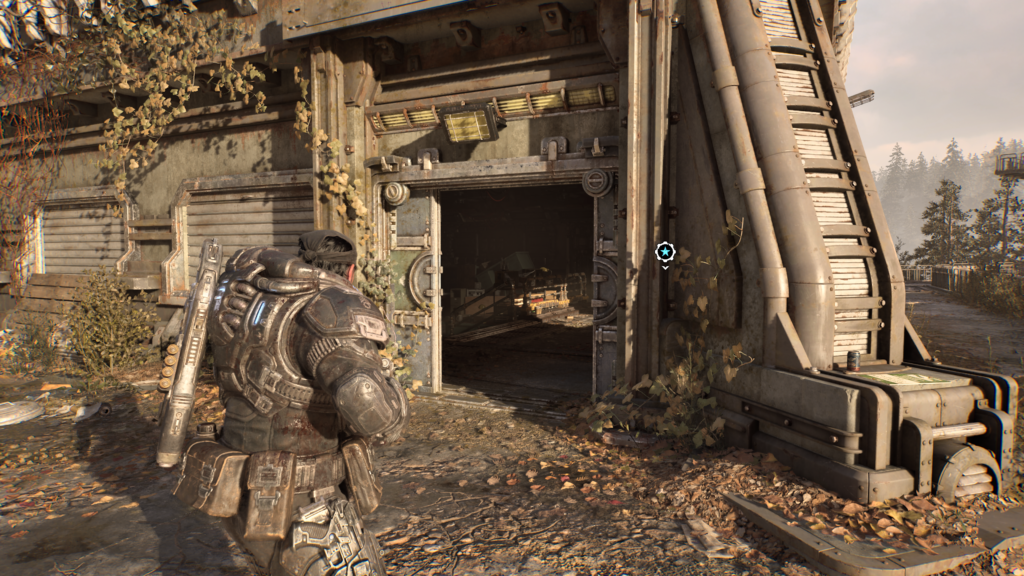
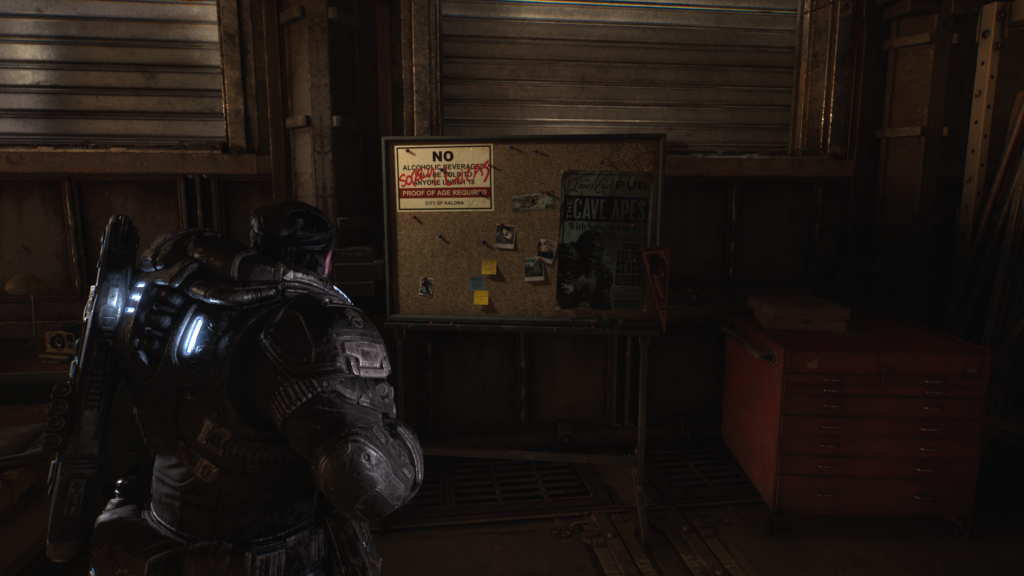
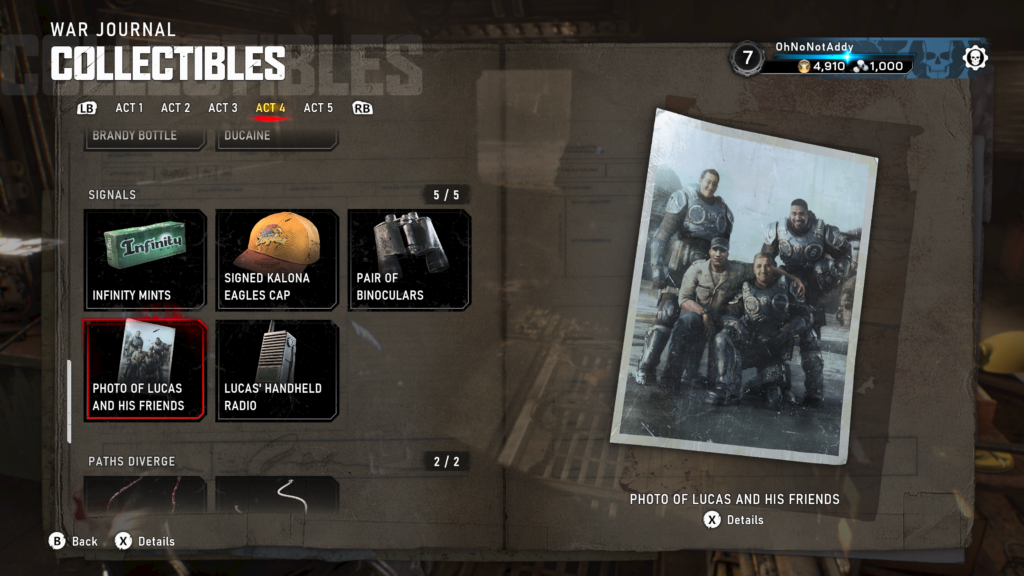
Collectible – Photo of Lucas with his Friends (4 / 5)
Head inside the station where you need to progress the main objective. Take an immediate left and down the steps. There is a noticeboard on your left, with the collectible pinned to it.
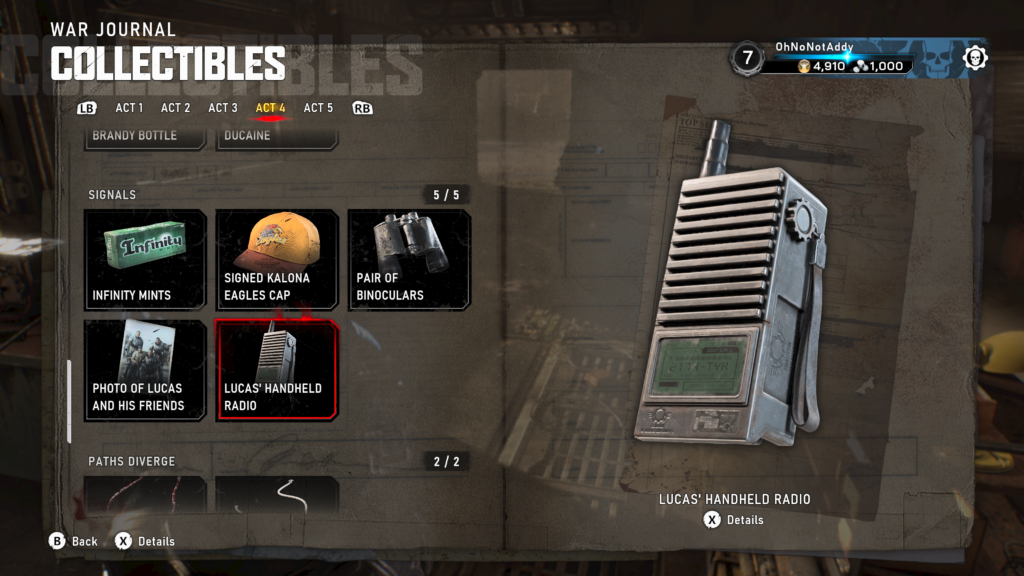
Collectible – Lucas’ Handheld Radio (5 / 5)
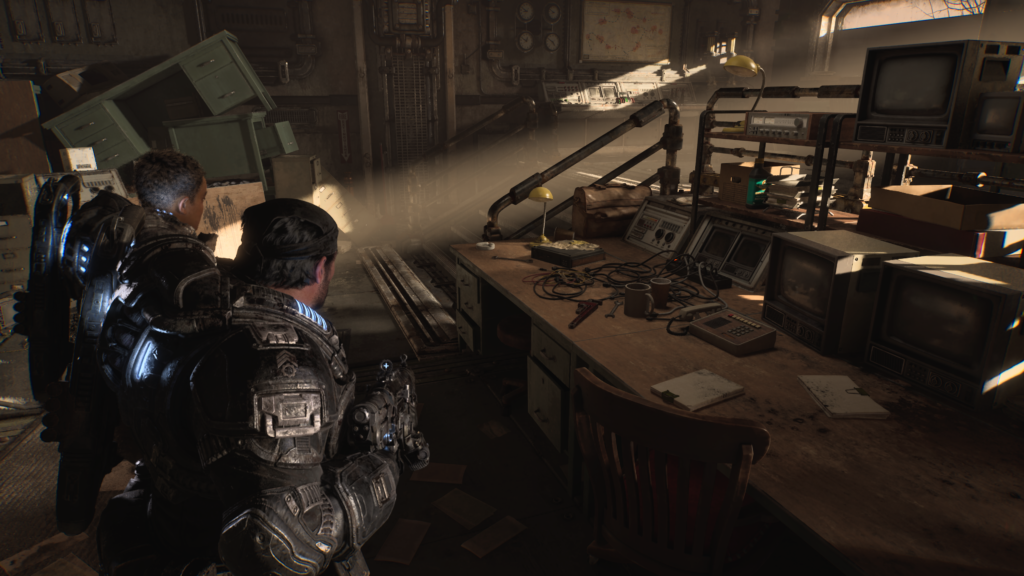
Turn around from the last collectible and move forward to the central console, just on your right. The collectible is on the end of there.
Act 4, Chapter 5 – Paths Diverge
- 2 Collectibles
- 4 Hard Cases
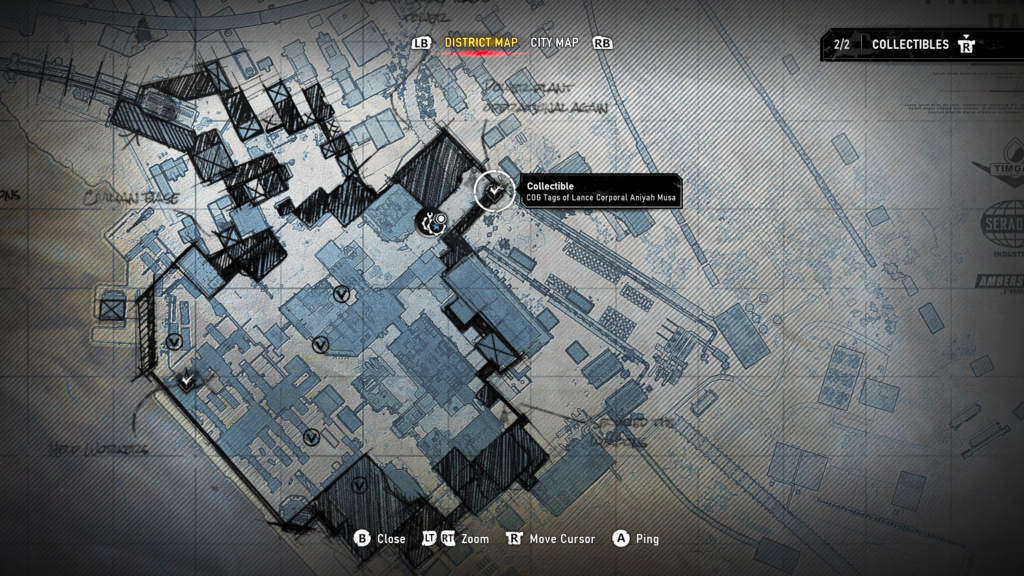
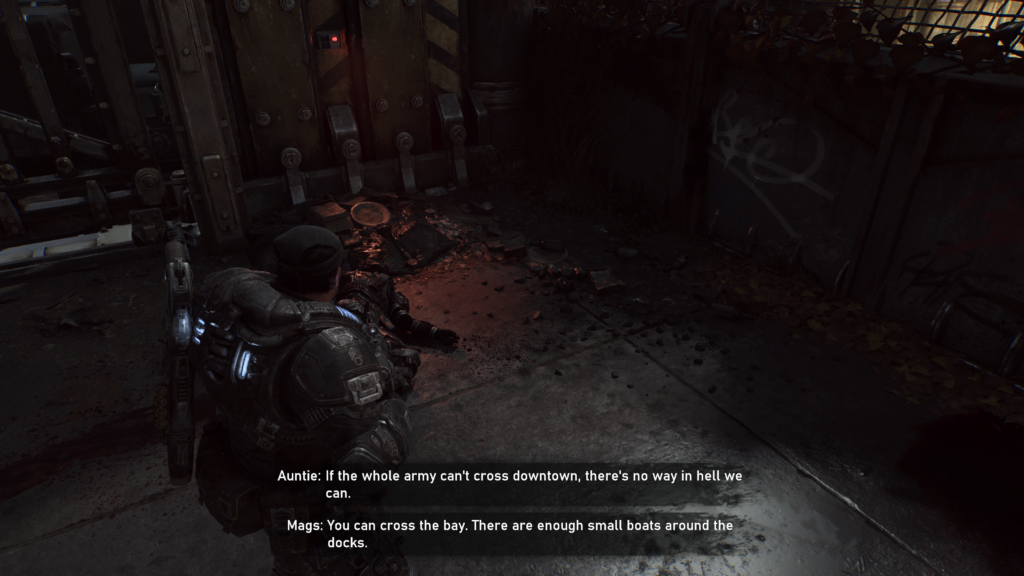
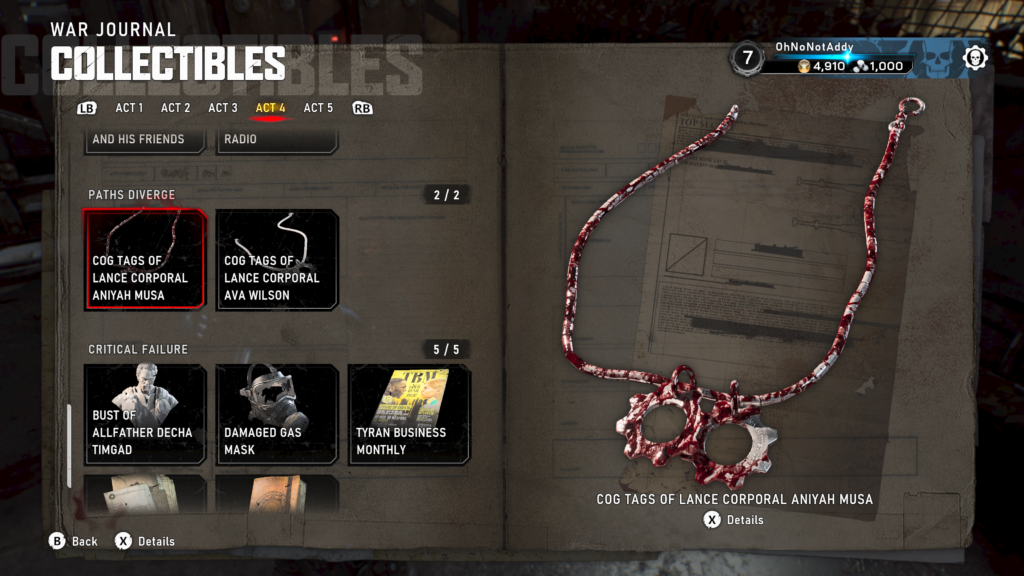
Collectible – COG Tags of Lance Corporal Aniyah Musa (1 / 2)
At the very beginning of the chapter, turn around 180 degrees and walk to the right hand corner to find this collectible on the ground.
Hard Case (1 / 4)
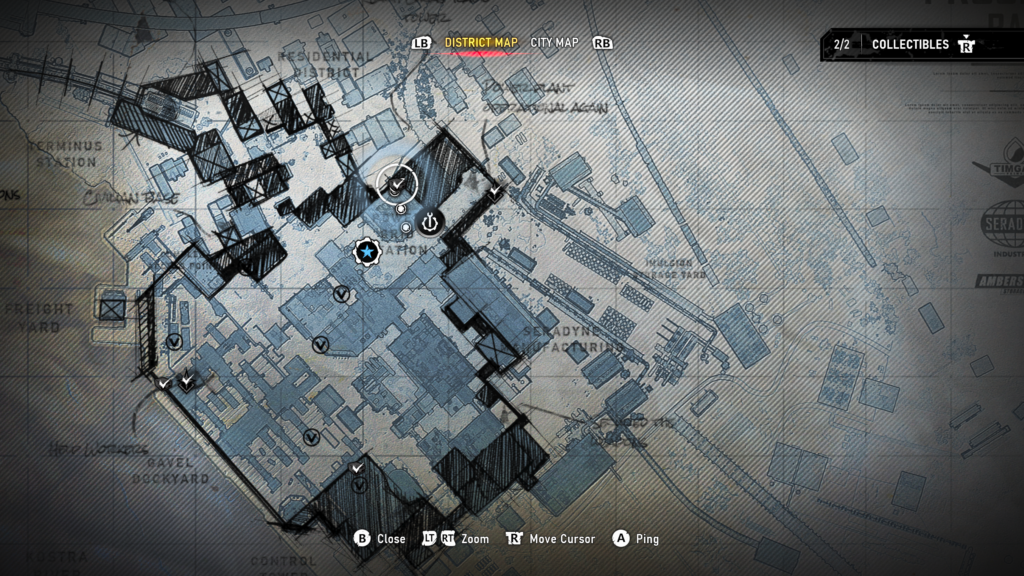
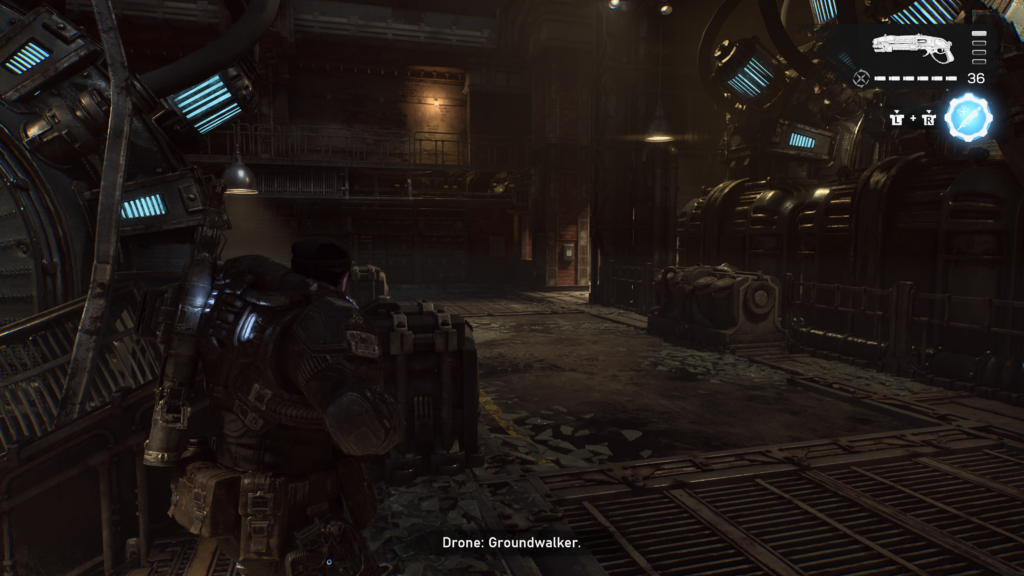
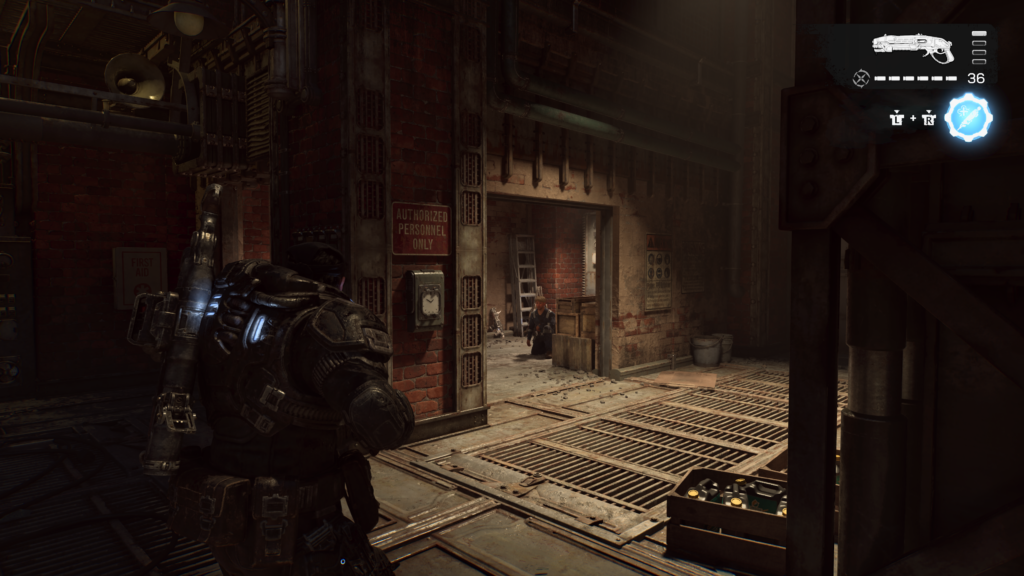
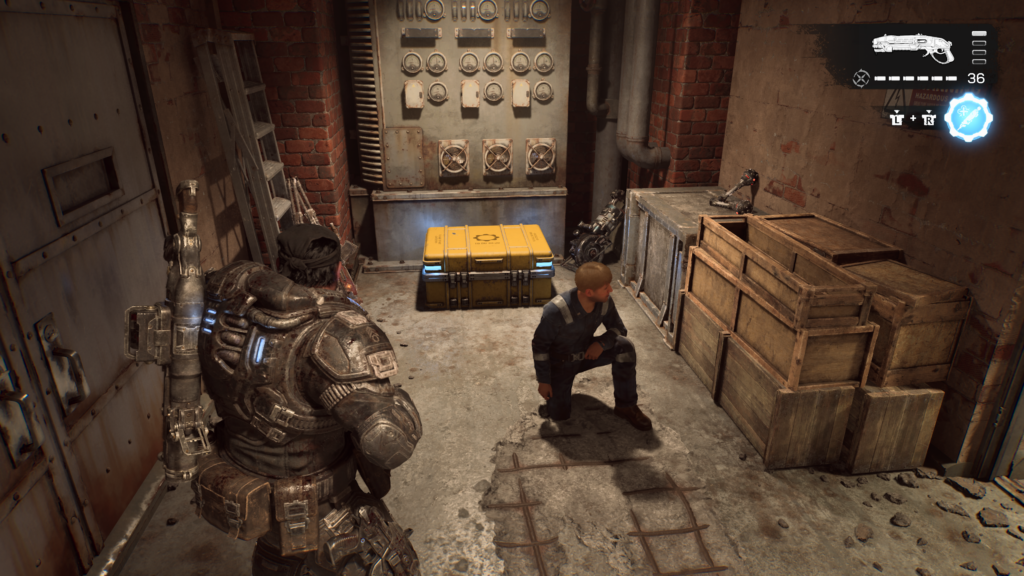
At the end of the street on which you start, you’ll have to go into a warehouse to progress. Inside the warehouse, from where you enter, go to the back right room to find a hard case.
Hard Case (2 / 4)
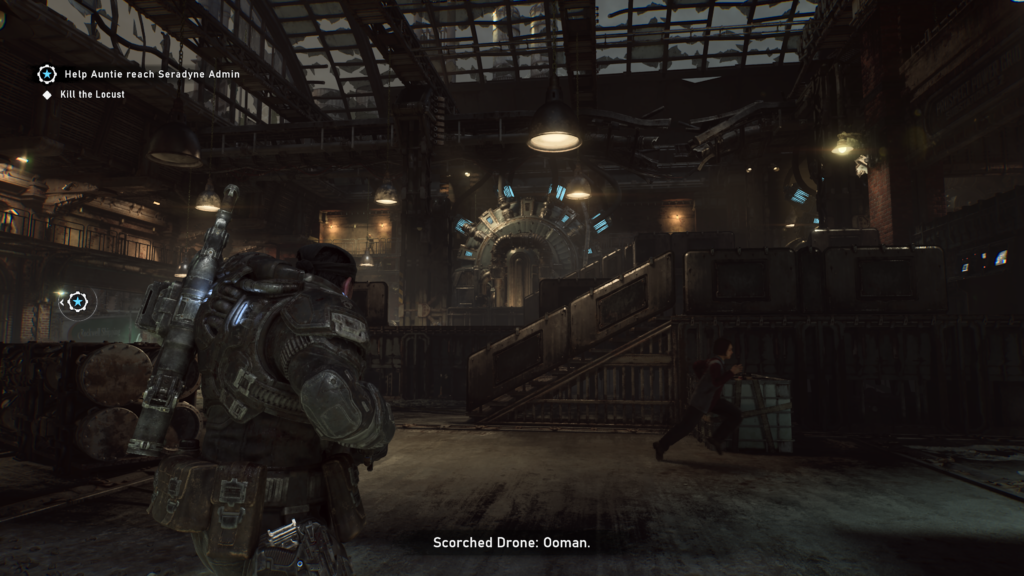
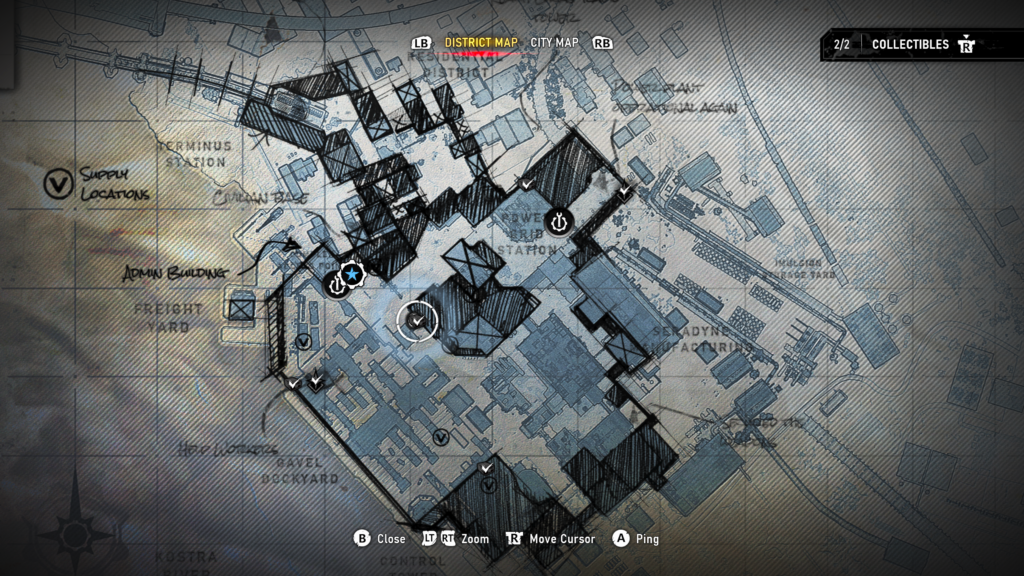
You’ll enter the bottom of the trainyard. The main objective will want you to go in the building on the right to get around the barricade. Take an immediate left all the way up to the top left corner. The hard case is there.
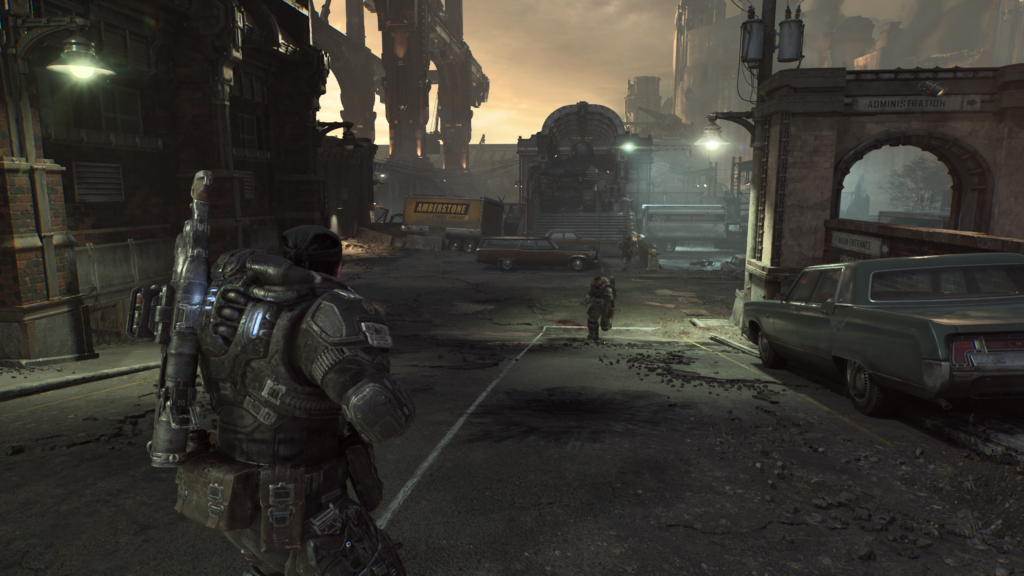
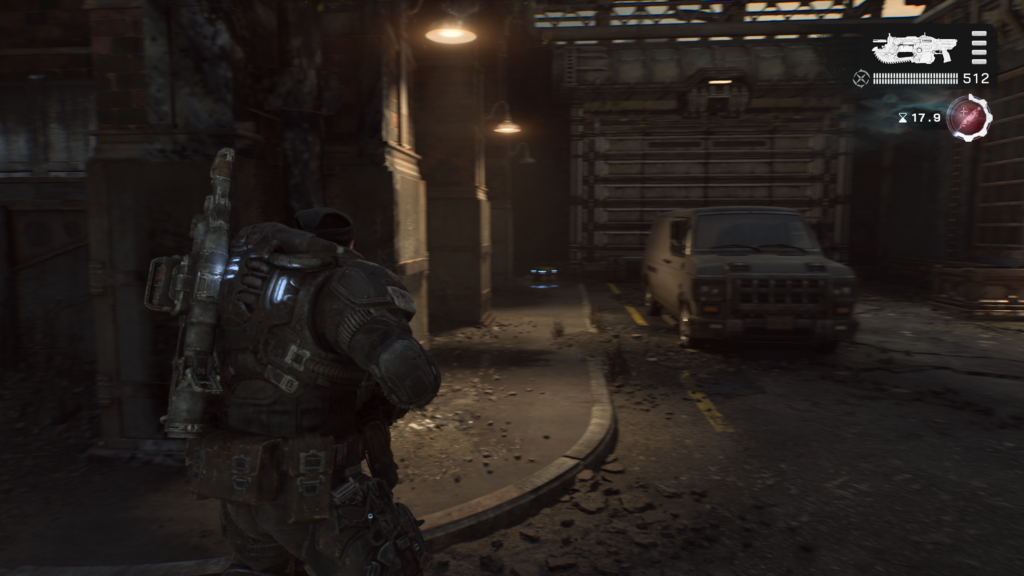
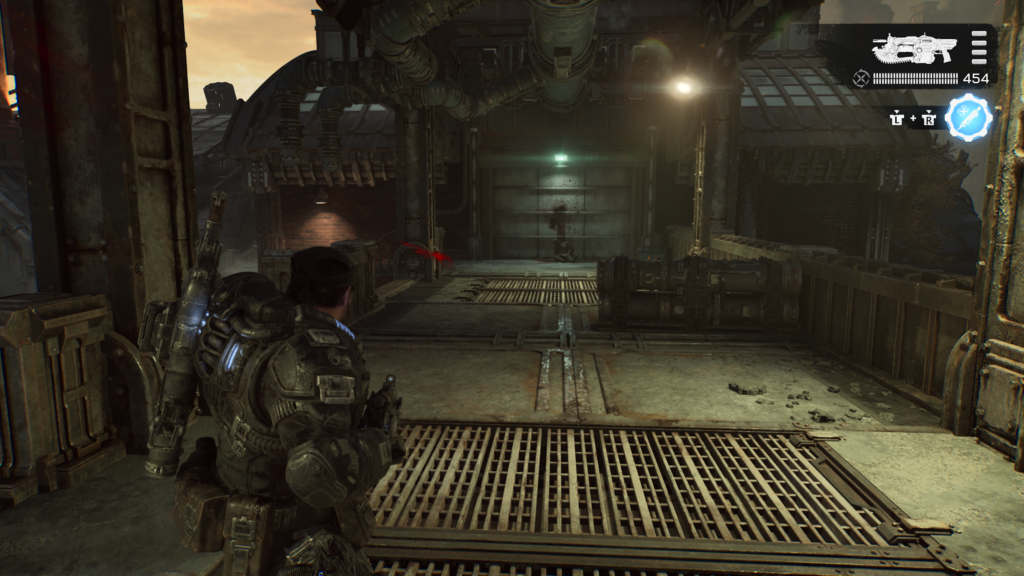
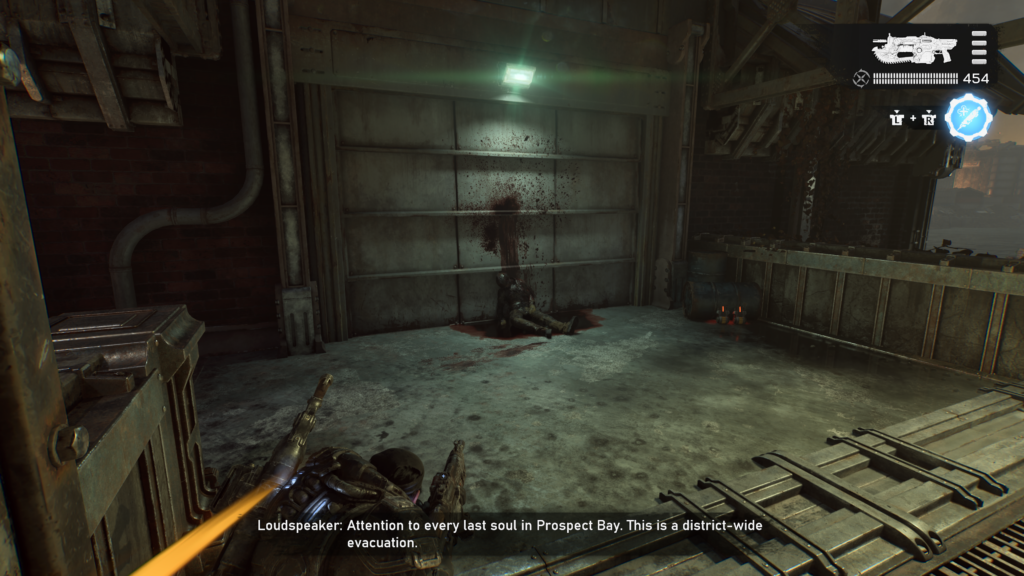
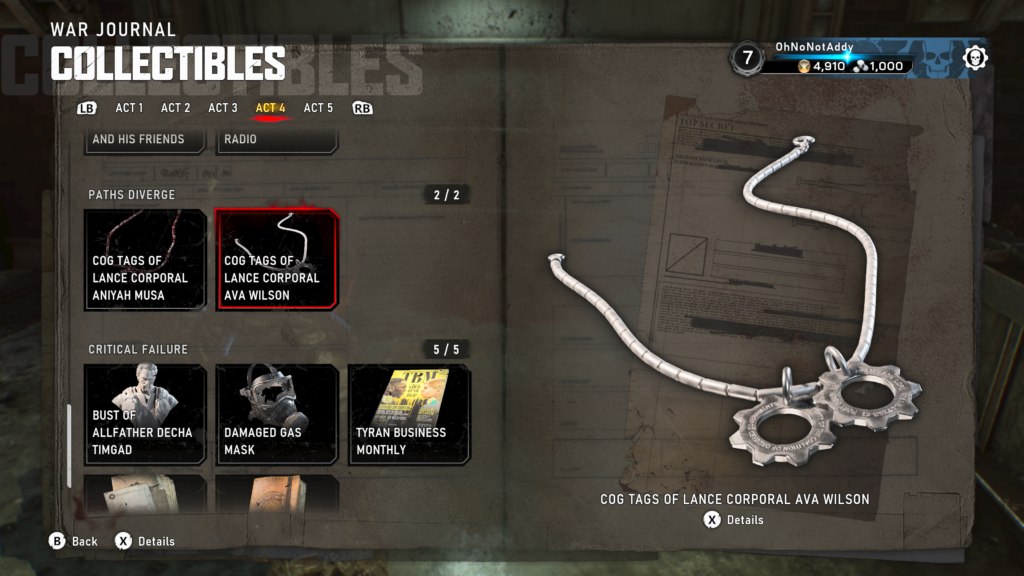
Collectible – COG Tags of Lance Corporal Ava Wilson (2 / 2)
When you’ve been through the building to progress, go to the upper right of the first train yard section. Climb up the crates to get to the bridge above. The collectible is at the very end on the right, against a door.
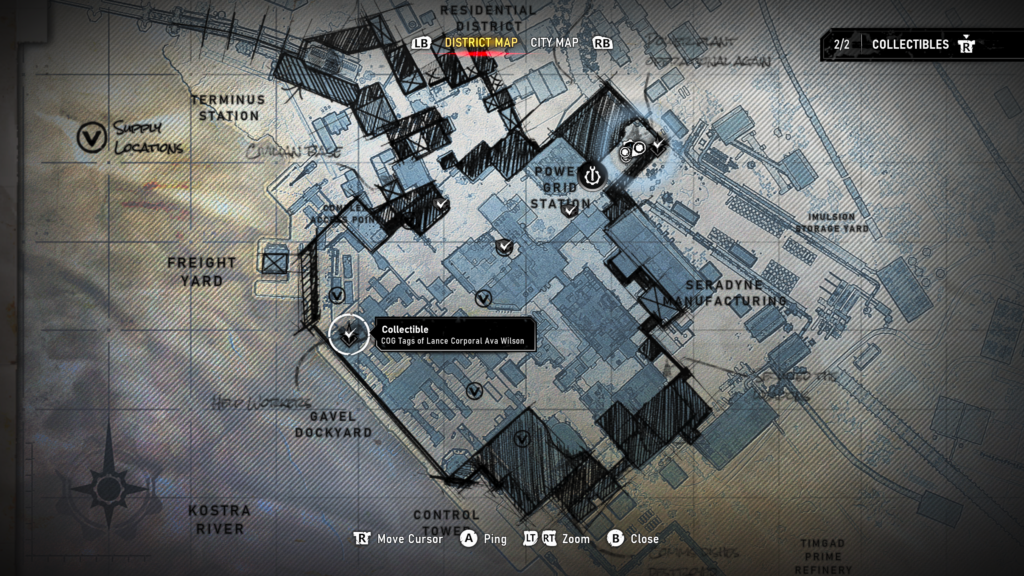
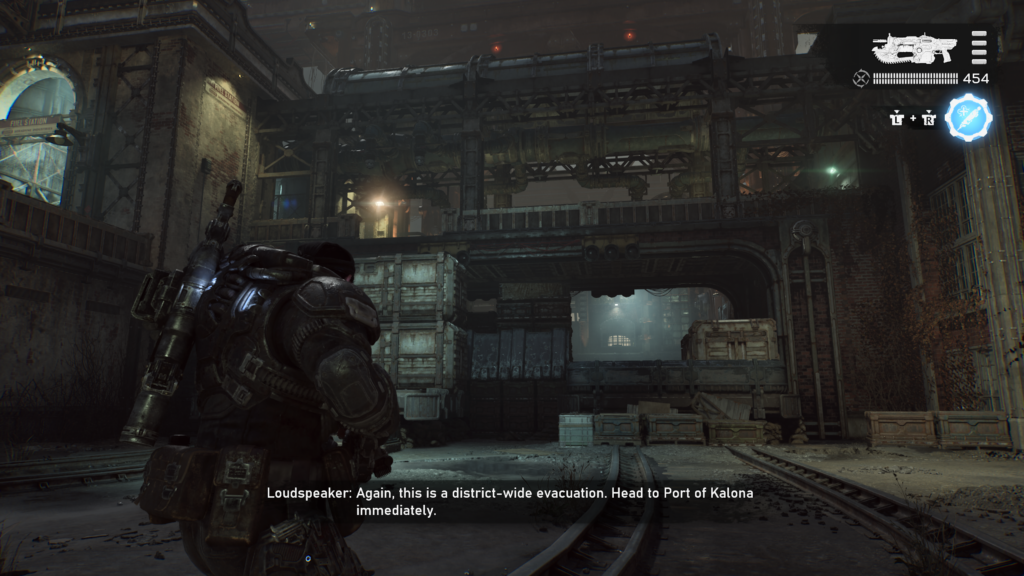
Hard Case (3 / 4)
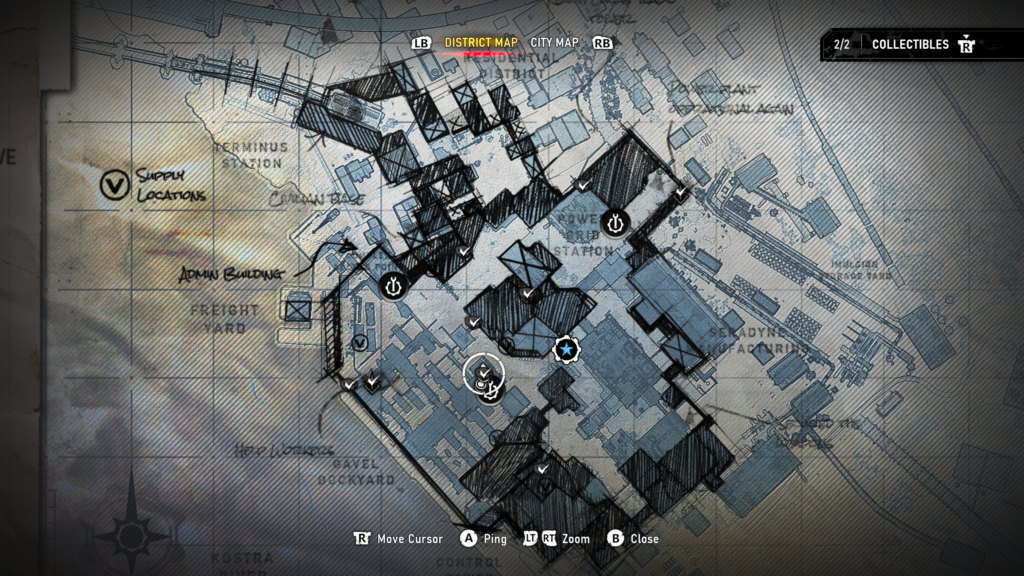
You’ll need to enter the room at the upper back left of the trainyard factory buildings. As you enter, on your left is a hard case.
Hard Case (4 / 4)
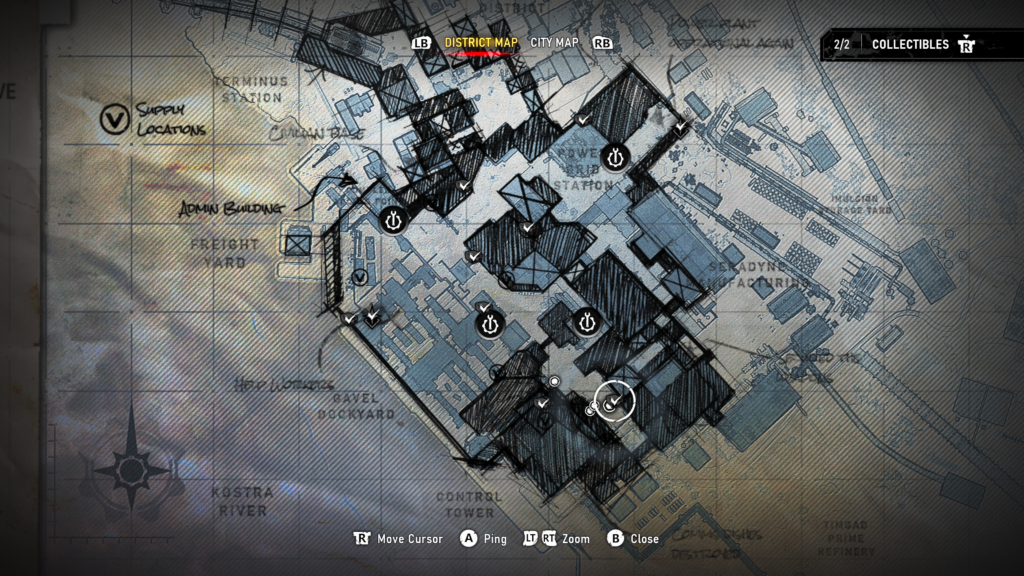
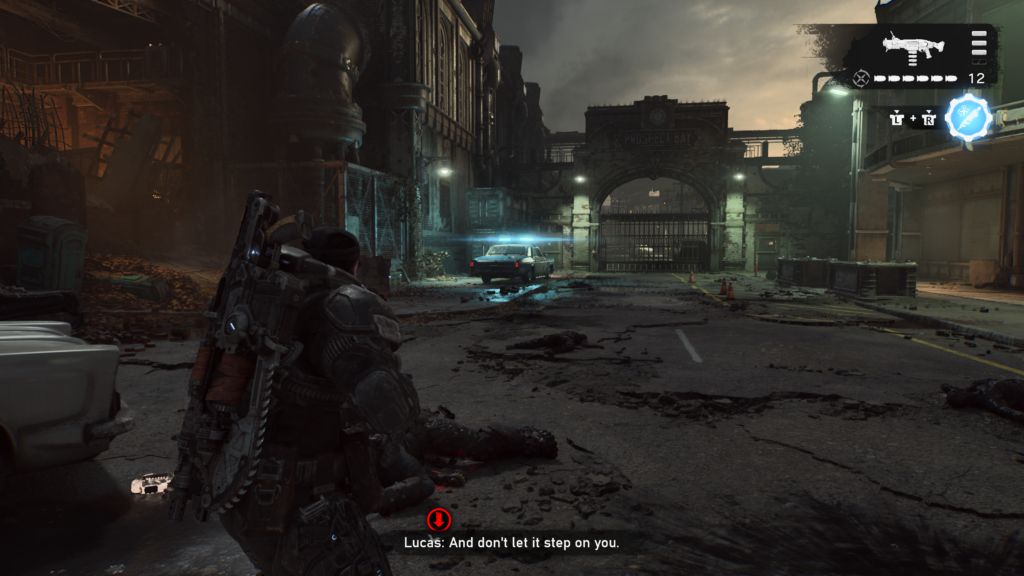
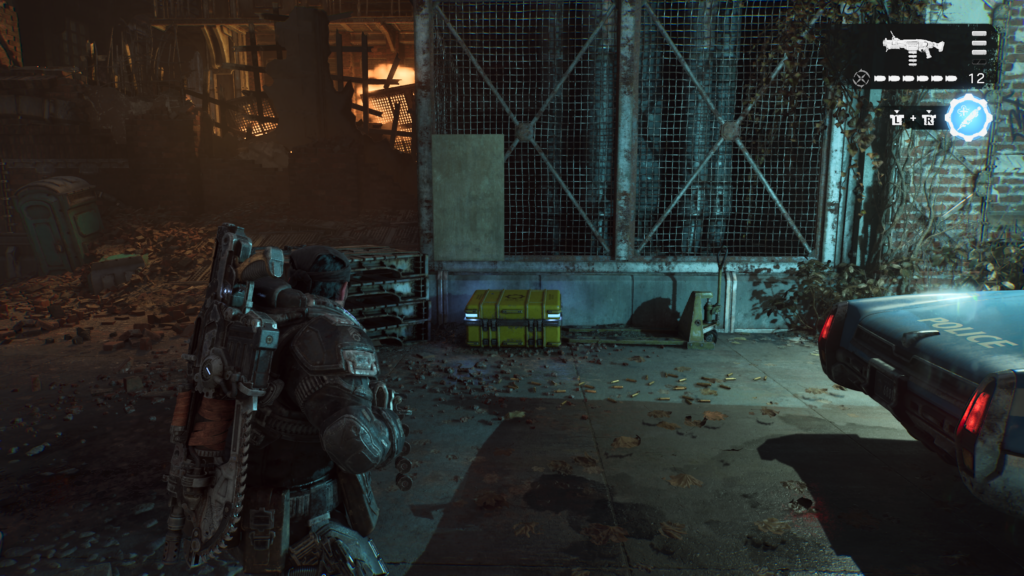
Where you fight the Brumak and the Spore Matrons. You can get this hard case during, or after the combat section.
Act 4, Chapter 6 – Critical Failure
- 5 Collectibles
- 8 Hard Cases
Hard Case (1 / 8)
At the beginning of the chapter, the first building you enter. The hard case is on the left.
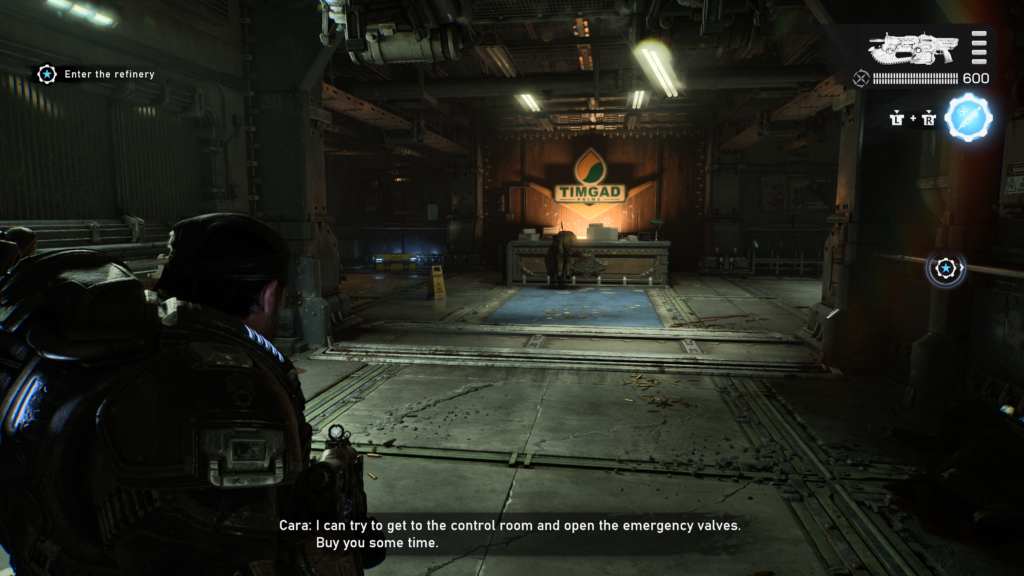
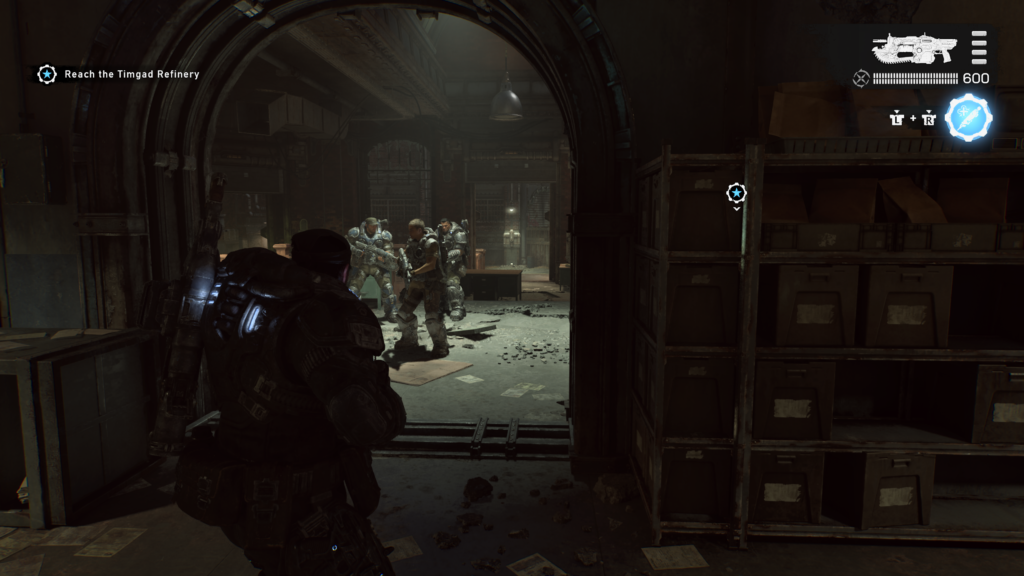
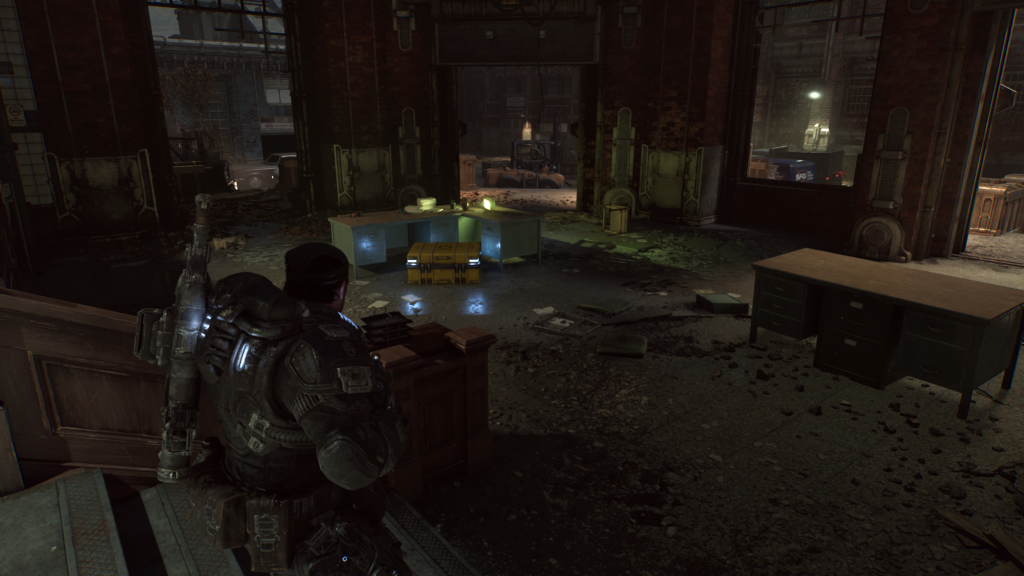
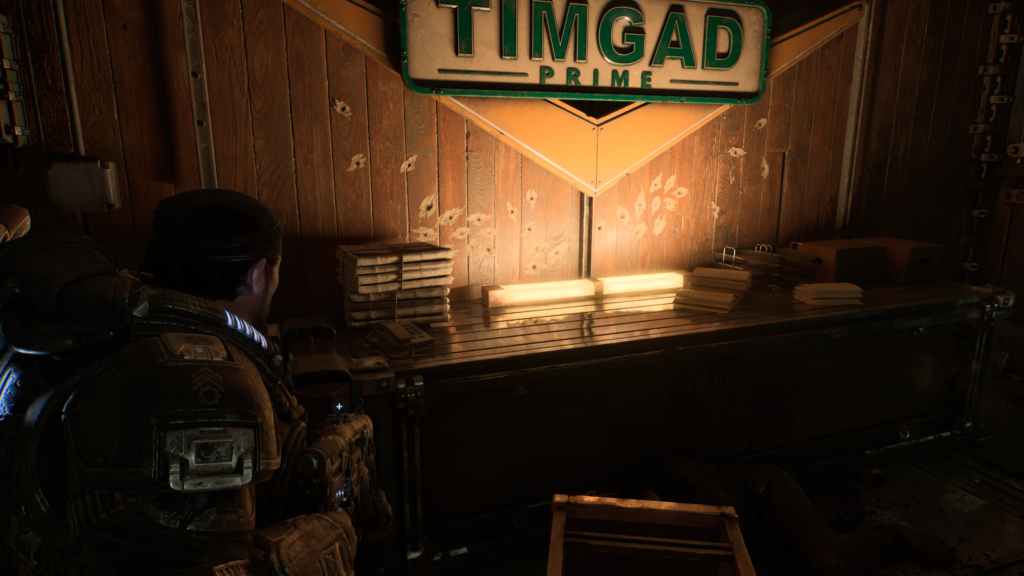
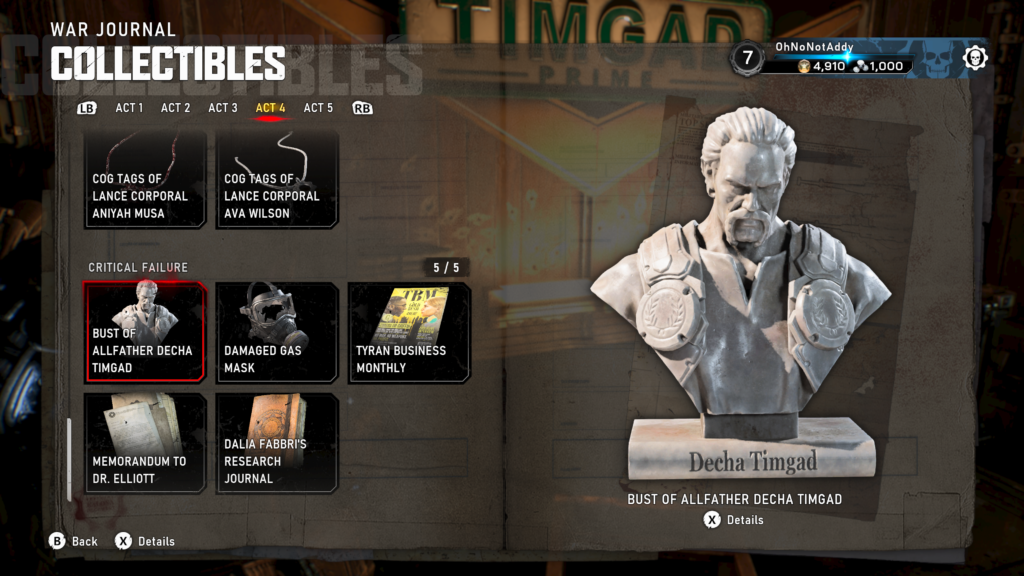
Collectible – Bust of Allfather Decha Timgad (1 / 5)
On the back desk, to the right of the last hard case.
Hard Case (2 / 8)
After you go up the long elevator, turn right on exiting the lift, turn right again to see a ladder on the wall on your right. Go up the ladder and grab the hard case.
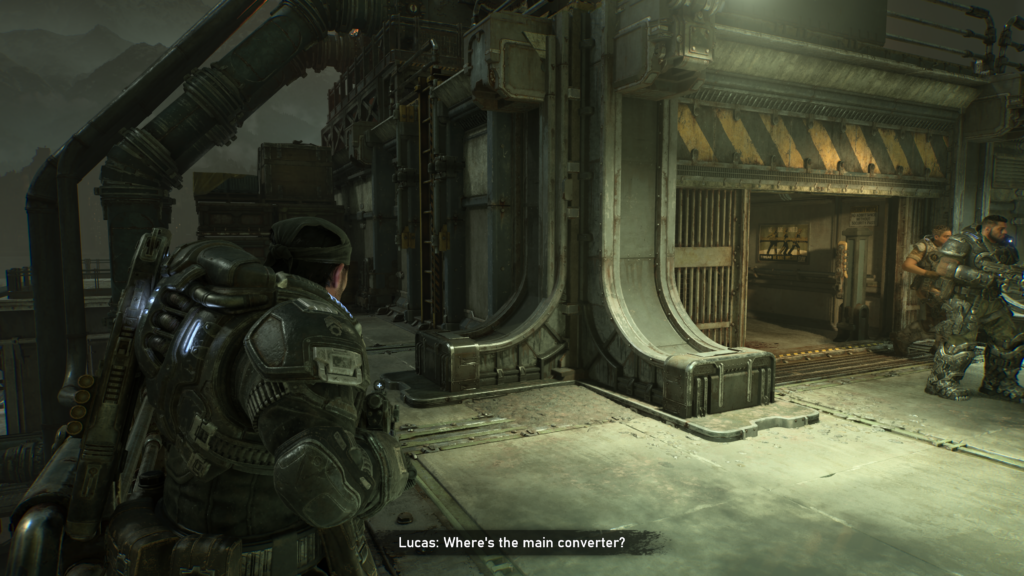
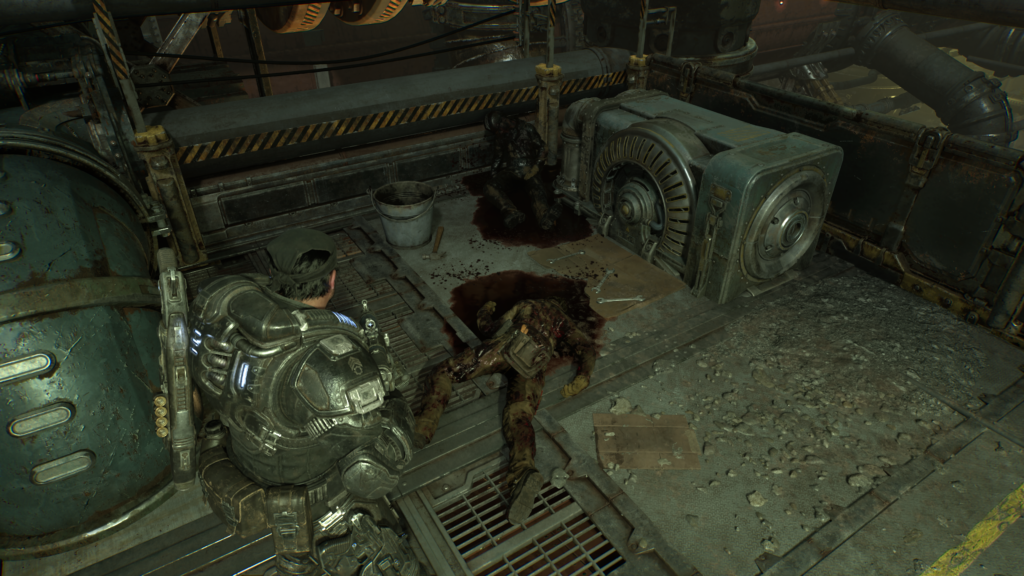
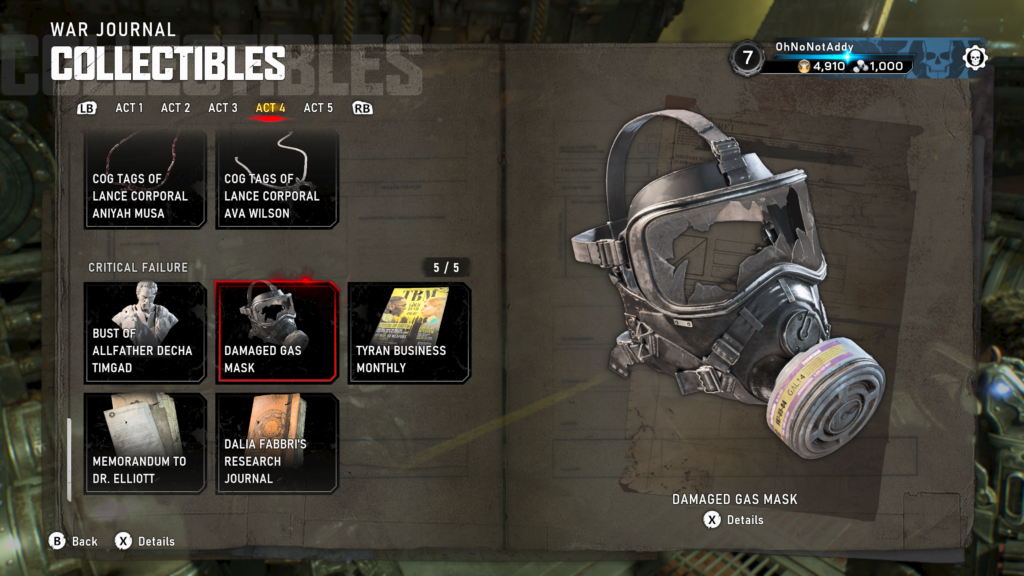
Collectible – Damaged Gas Mask (2 / 5)
Go left of the elevator, you’ll see a pipe you’re going to crawl into. First, turn to the right and go to the body on the ground to grab the collectible.
Hard Case (3 / 8)
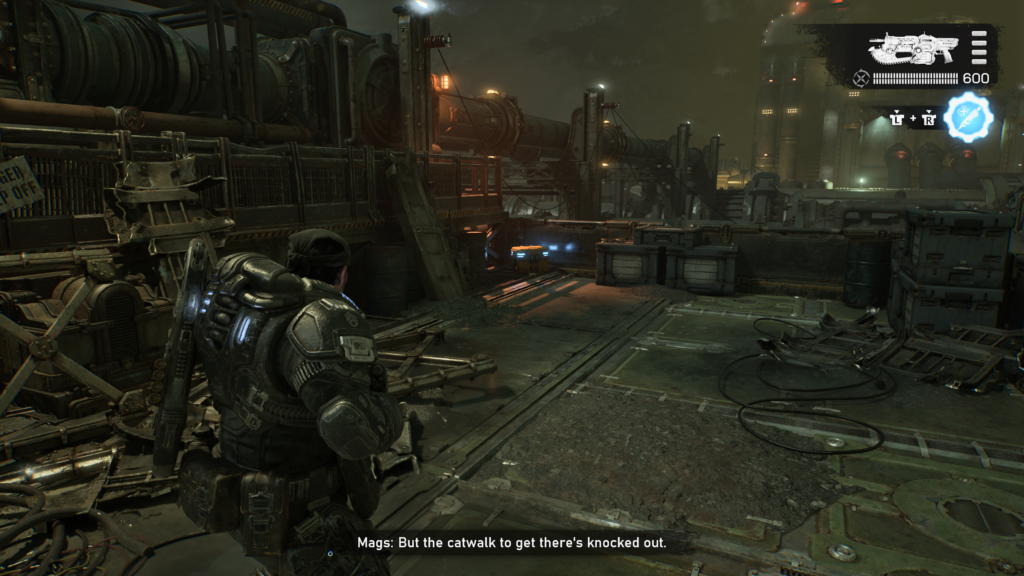
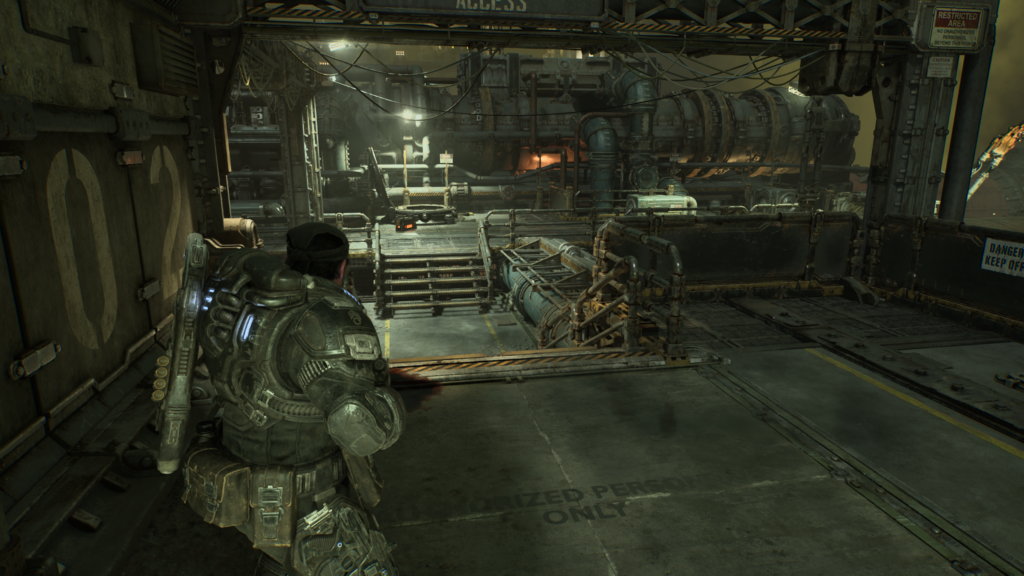
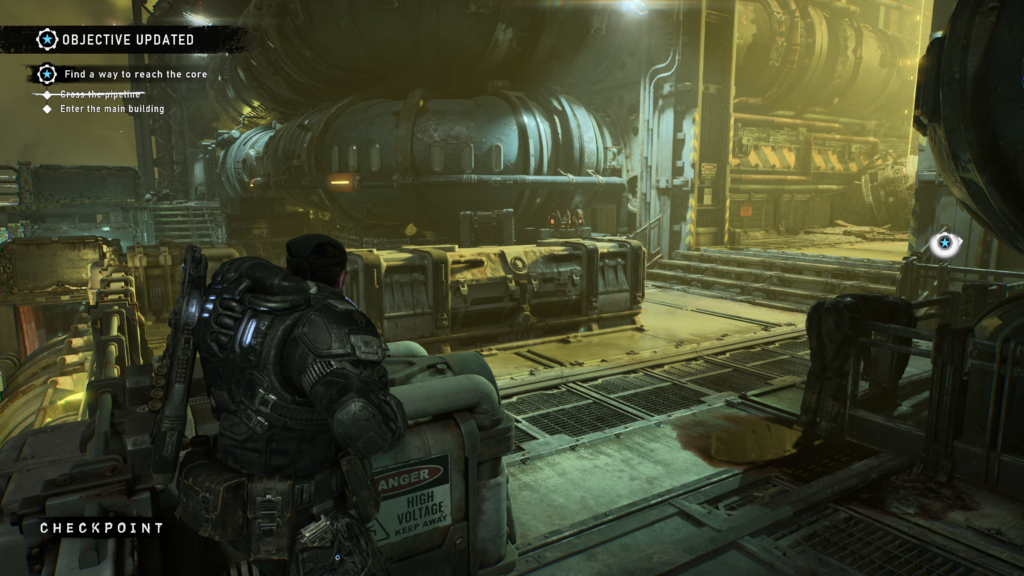
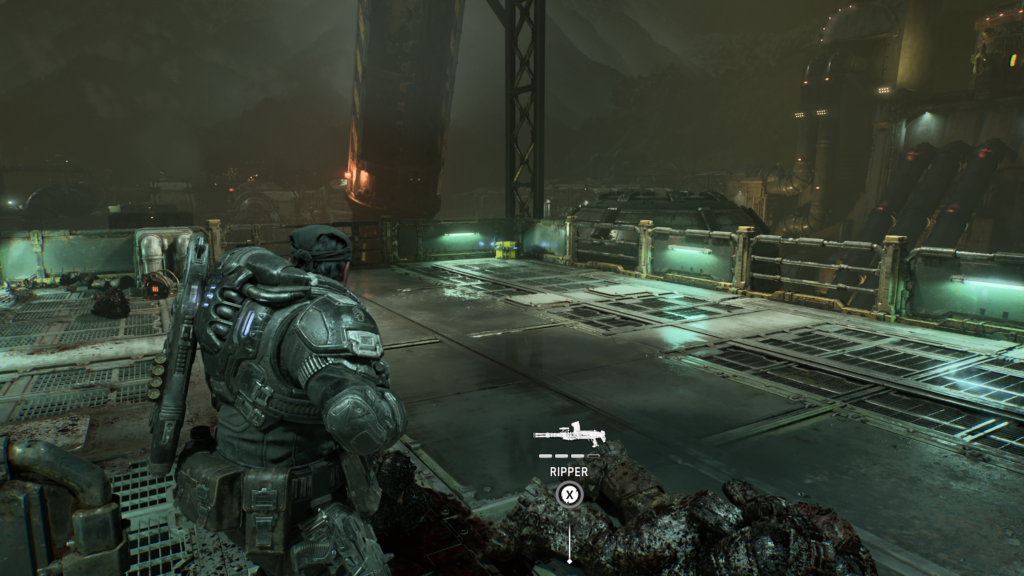
You’ll end up back outside, and have to make your way across towards the refinery. When you’re objective is to ‘enter the main building’ you can head straight forward to progress. Take a left onto the platform past that entrance to see the hard case at the edge.
Hard Case (4 / 8)
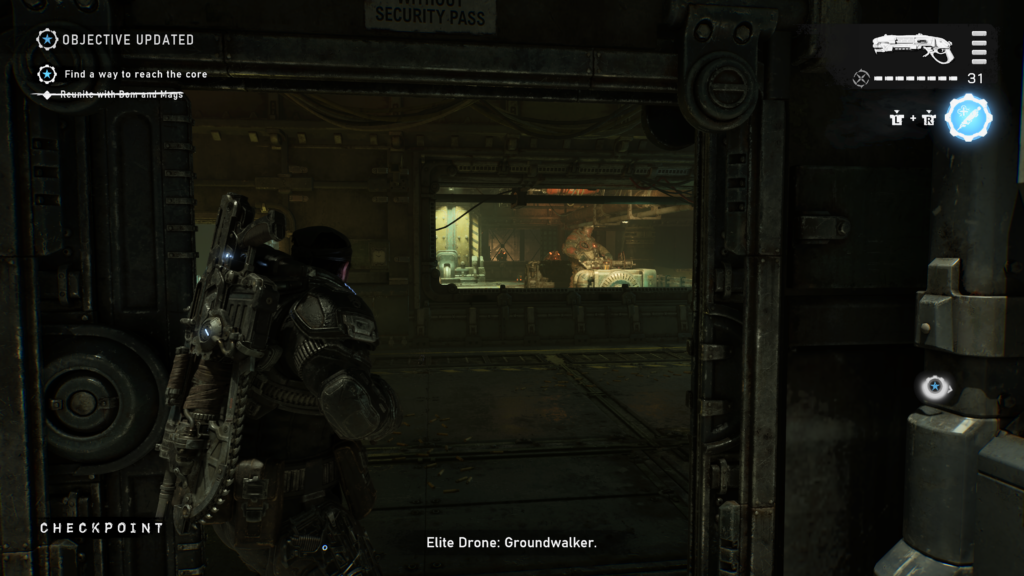
You will split up, Marcus will be with Reyes. After you have joined back up, Marcus and Reyes will be in an upper room and leave a double door to see a Boomer and over Locusts. Once safe to do take a right at the first opportunity to do so and you’ll see a hard case.
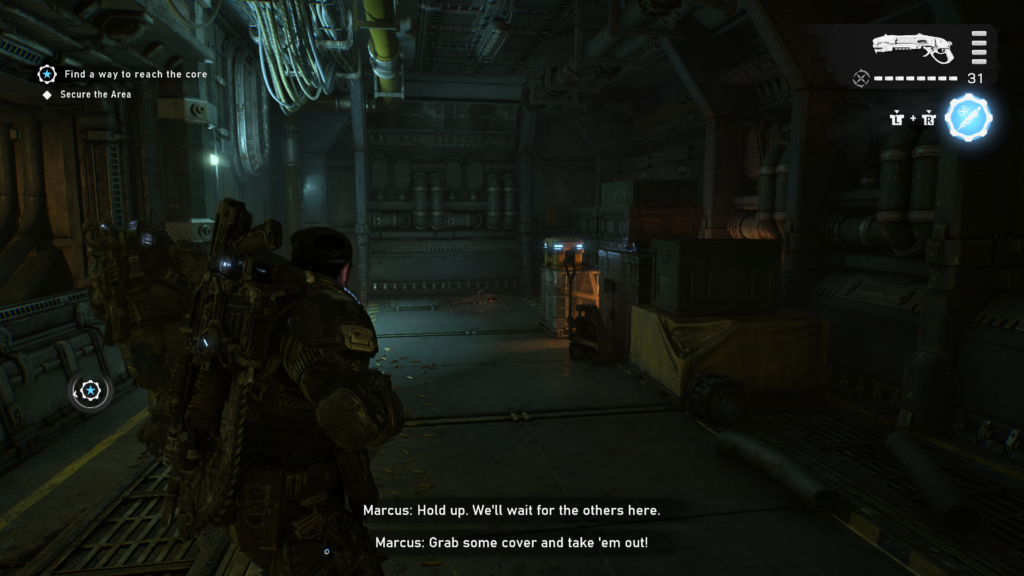
Hard Case (5 / 8)
Go across the walkway, where the Locust were, into the room across the way. At the end of the room, if you take a right, is a hole in the floor. Head to the left side to grab the hard case.
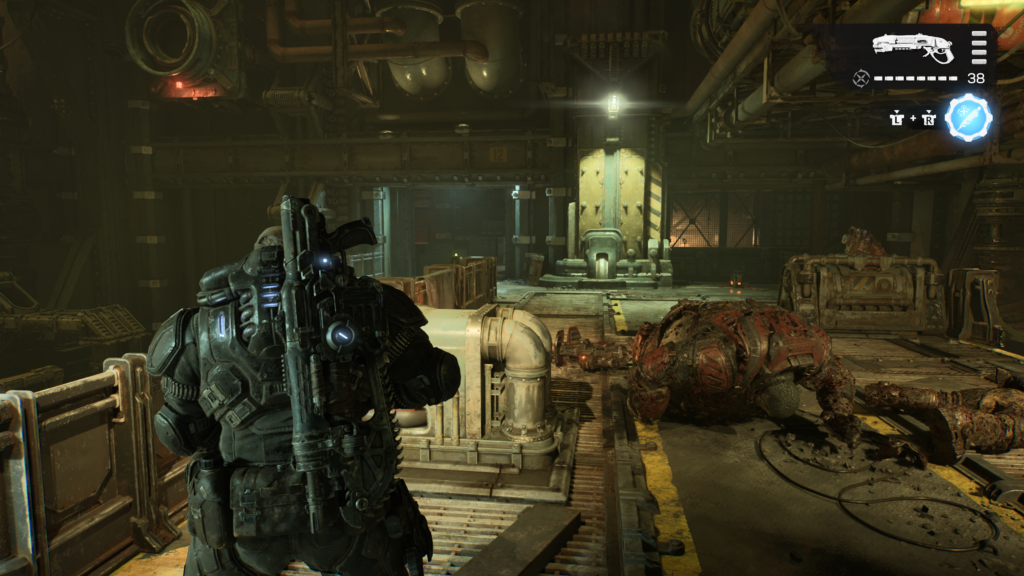
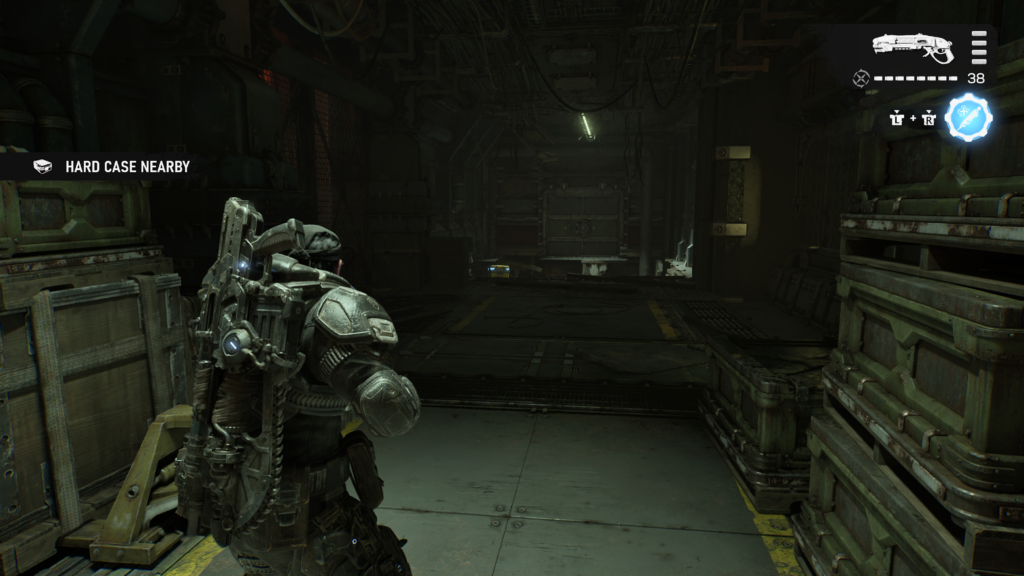
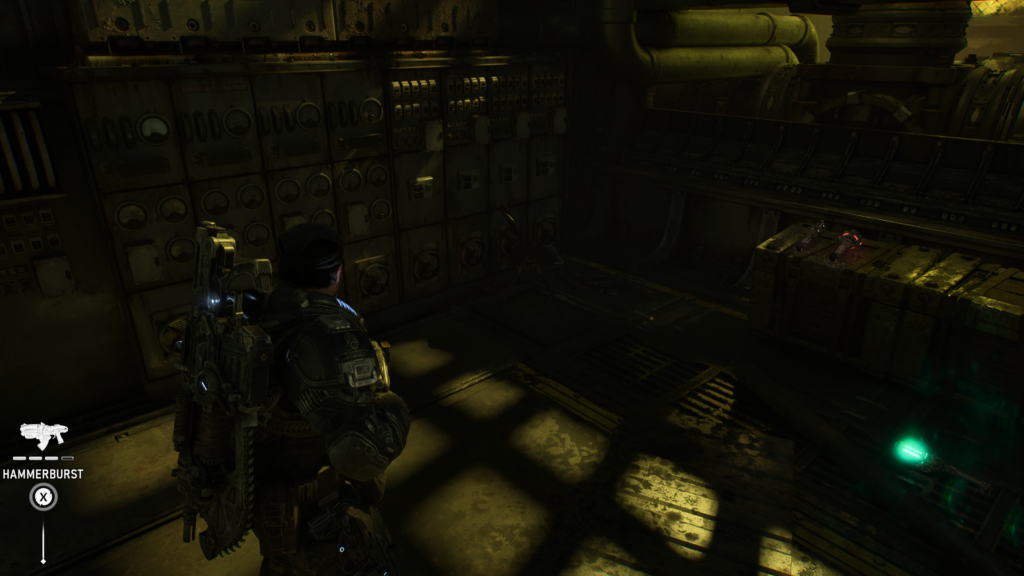
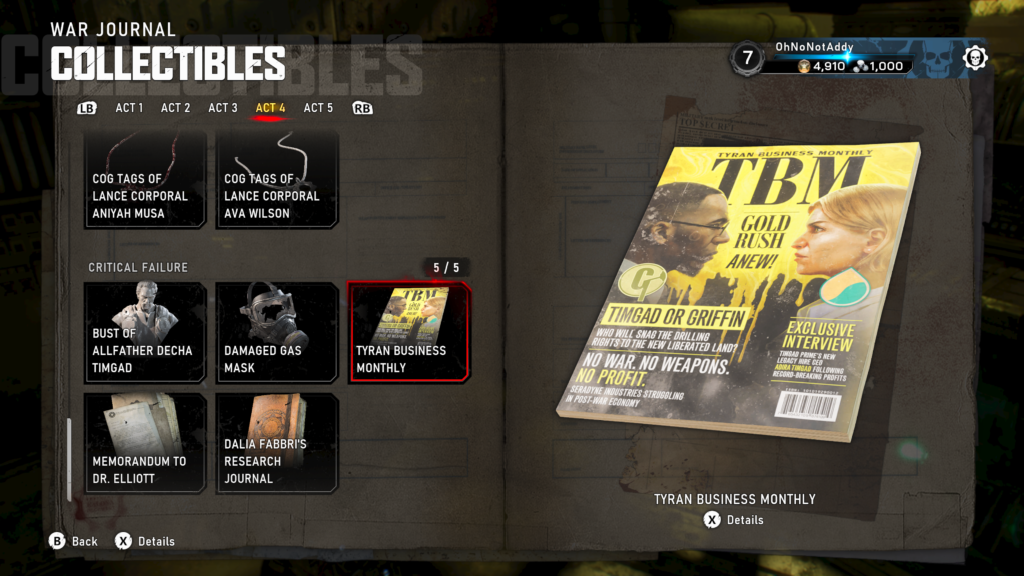
Collectible – Tyran Business Monthly (3 / 5)
Head to the floor below, by going down the steps. There is a room on the back left (if you’re looking forward to where you should be going). In the dark room, the collectible is on the floor.
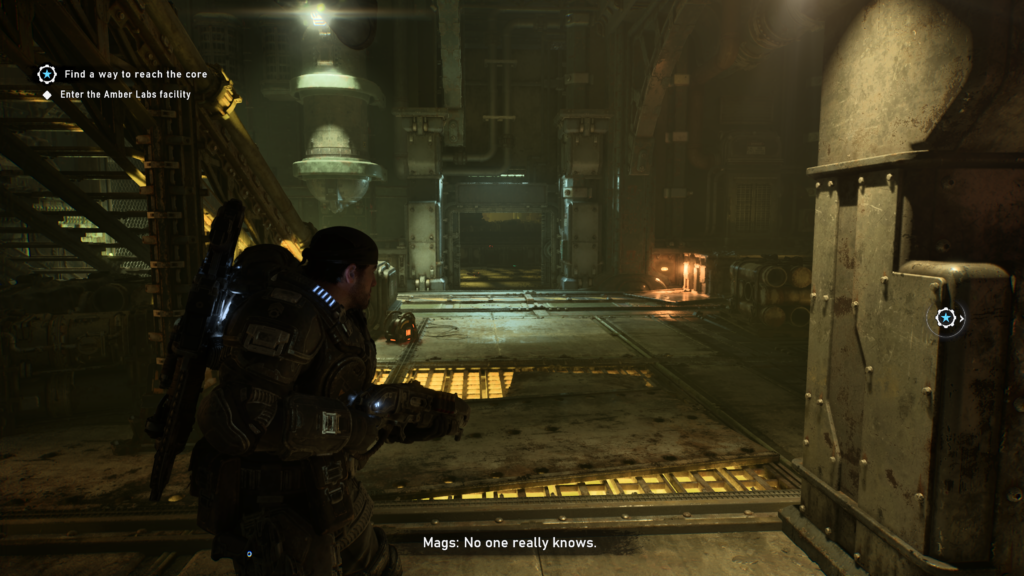
Collectible – Memorandum to Dr. Elliott (4 / 5)
You’ll eventually enter a little office. You’ll need to go through the door on the right to continue. Before that, head to the back wall and grab the collectible off the noticeboard.
Hard Case (6 / 8)
After leaving the room, you will head down a corridor that goes to the right. It then goes to the left, but before you do, go forward into the small room directly in front of you, and grab the hard case to your right.
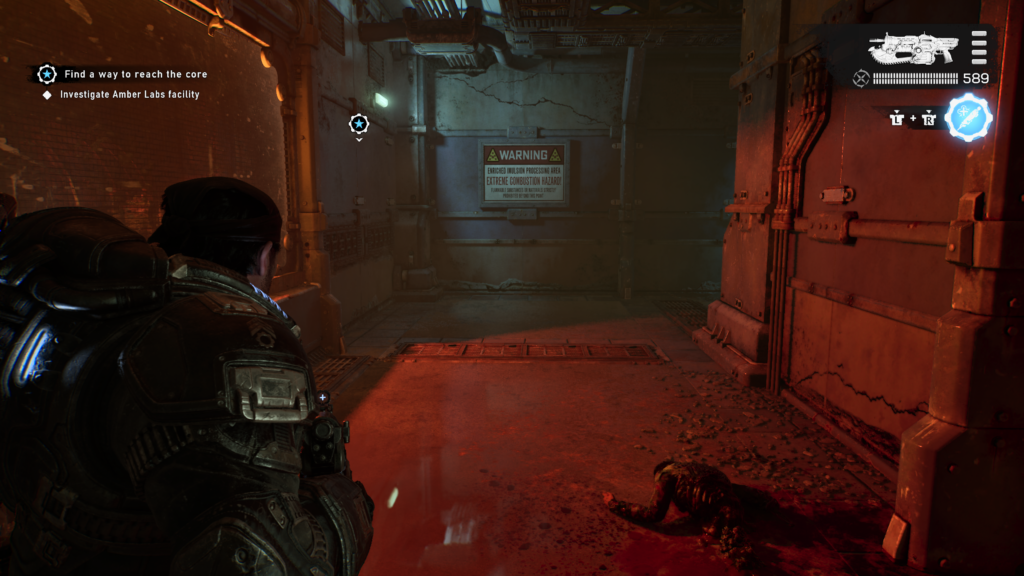
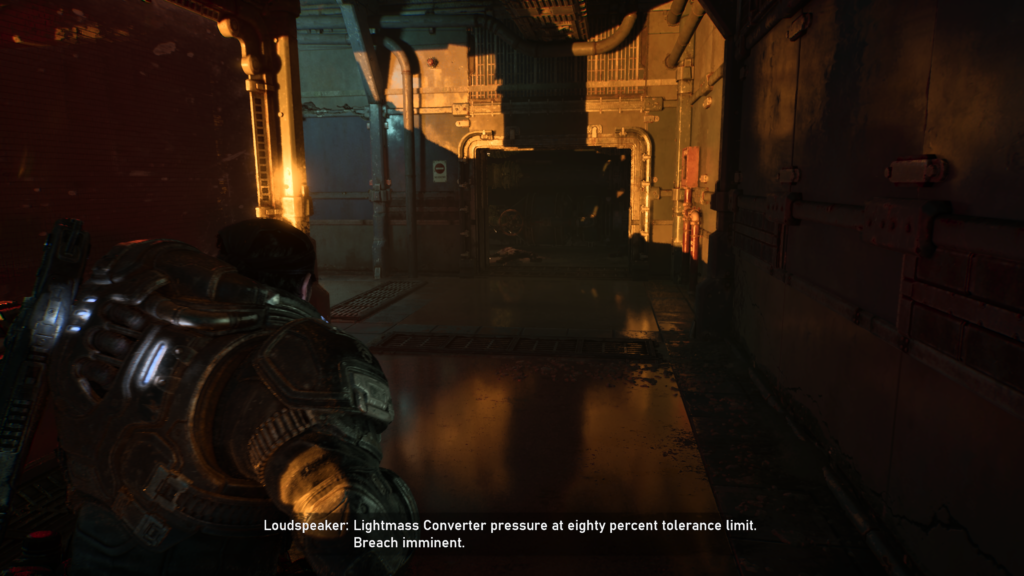
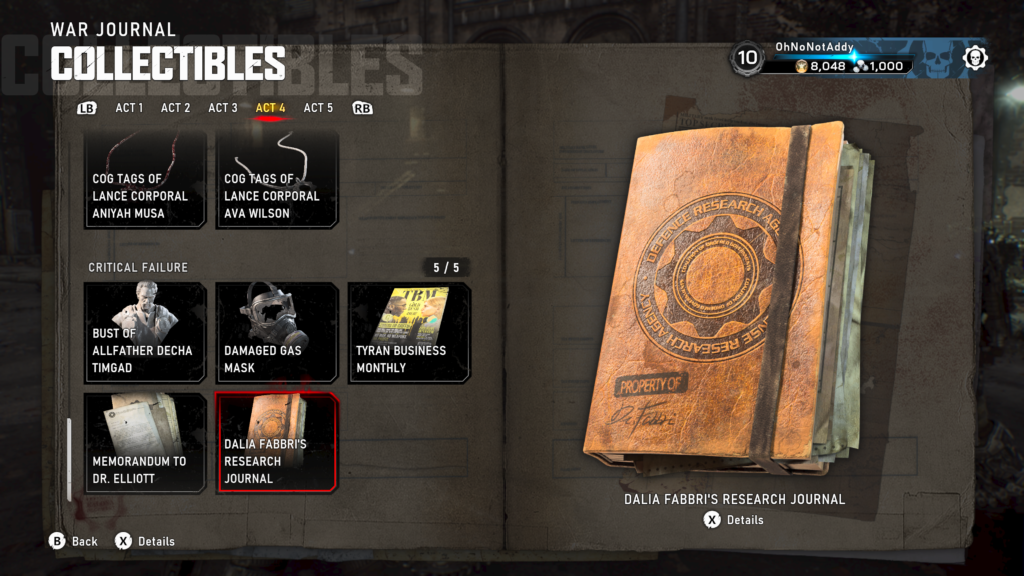
Collectible – Dalia Fabbri’s Research Journal (5 / 5)
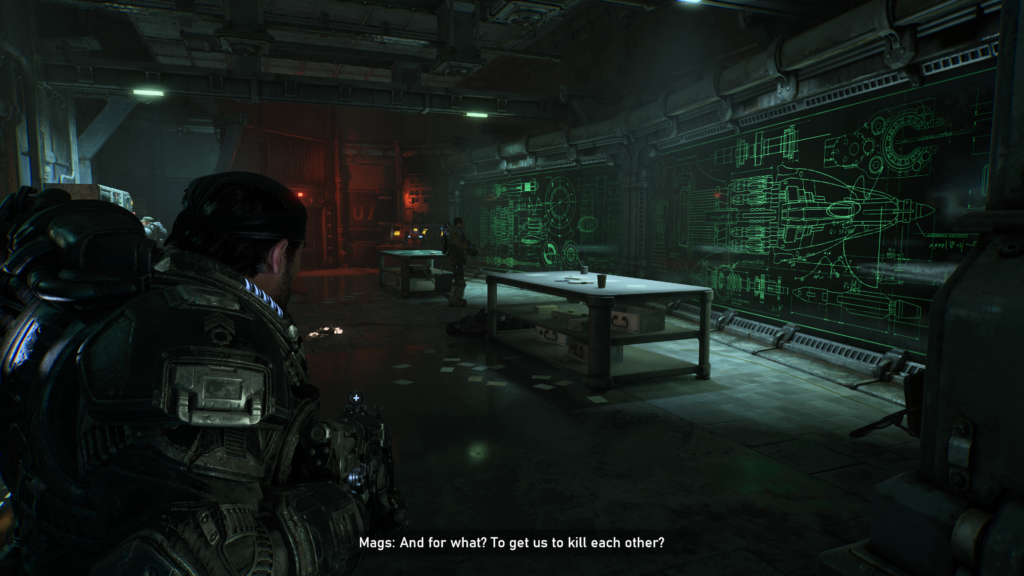
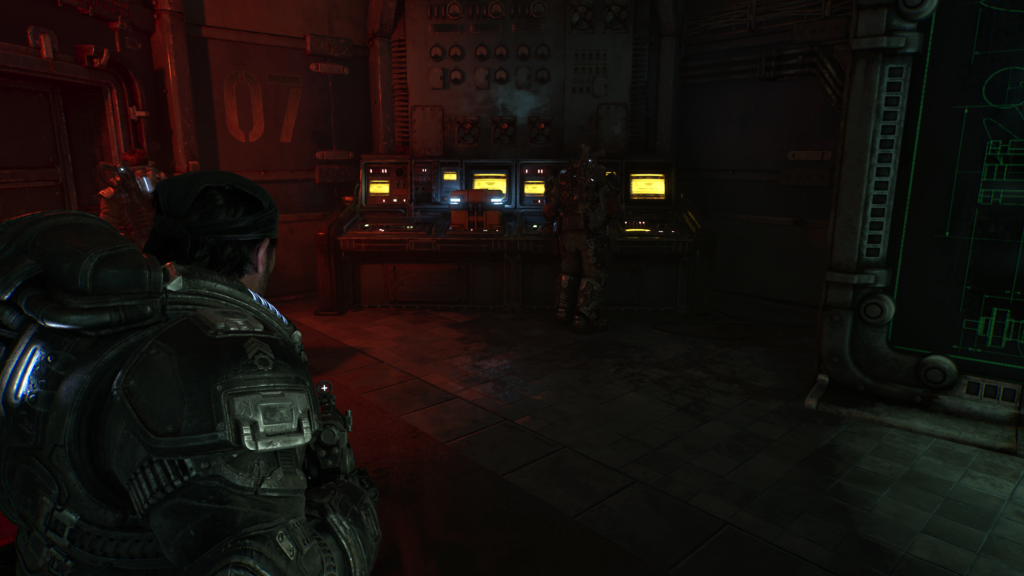
You’ll enter a room with large green schematics on your right. To the back left is the collectible on a desk.
Hard Case (7 / 8)
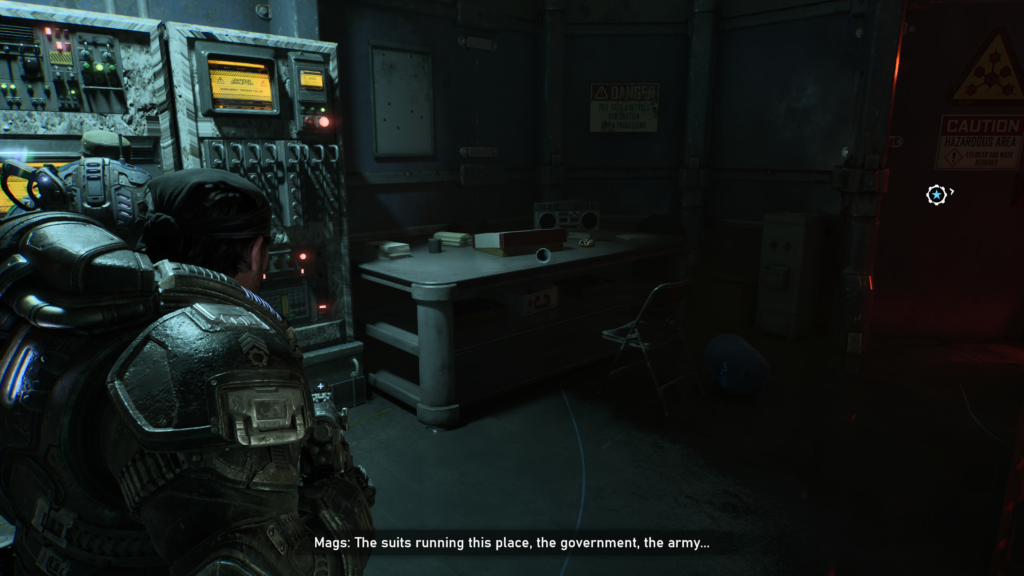
In the same room as the last collectible. Look to the right, past the door you’re meant to go through to see a hard case on a computer console.
Hard Case (8 / 8)
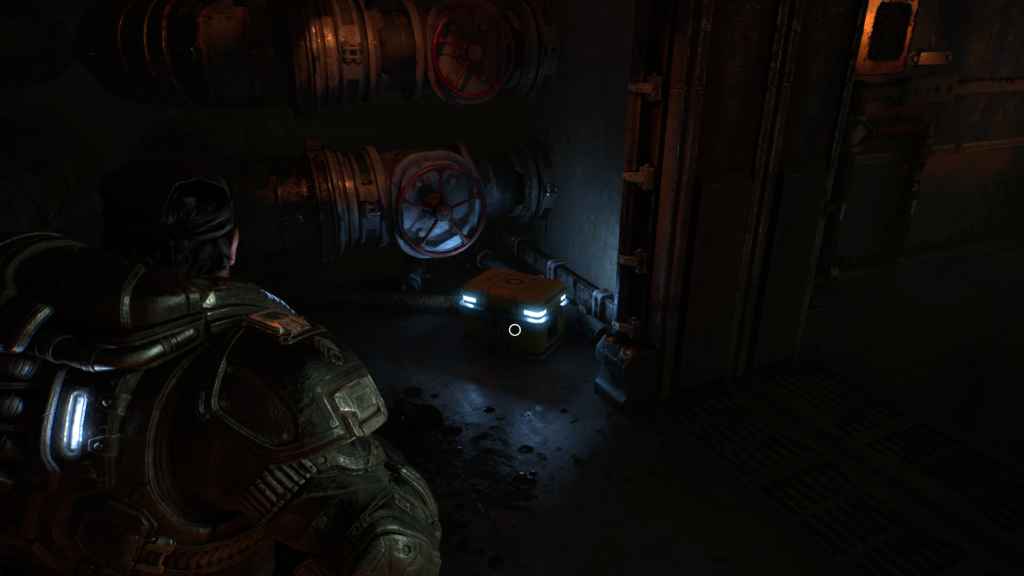
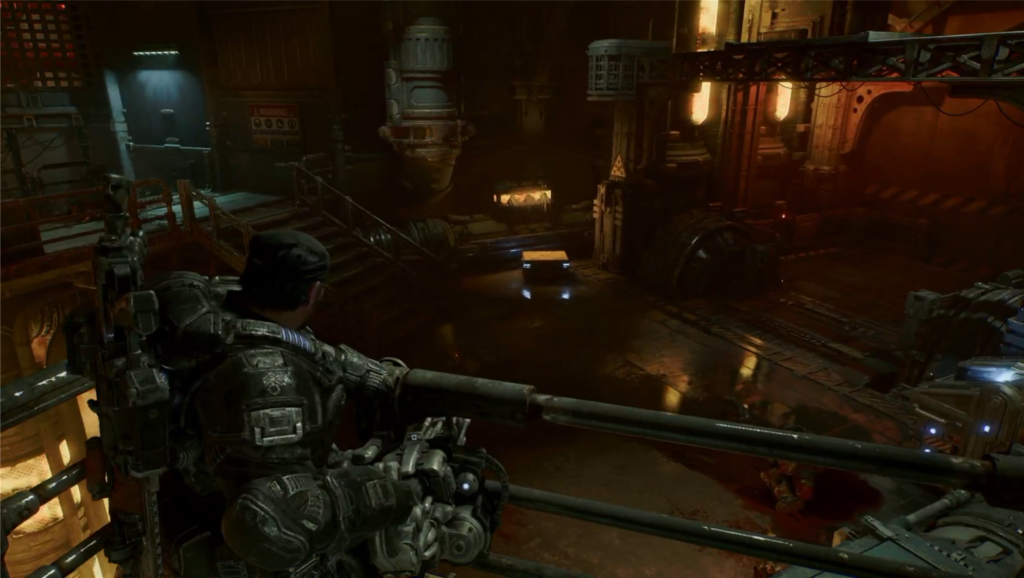
In the next room, after the one with the large green schematics, you’ll have to go round some imulsion in the floor, as you come to exit this room there will be a supply cache on the right. The hard case is opposite it. You can see it on the right as you enter this room.
That’s everything from Act 4, finally, we reach Act 5.
Gears of War: E-Day Campaign Review
Gears of War: E-Day Guides
We hope you found this guide useful. Check out more of our guides below:
- Achievement List
- Defeat the Brumak in Act 1, Chapter 4
- Defeat the Corpser in Act 3, Chapter 2
- Unlock the “Two Grubs, One Gut-Punch” Achievement
- Unlock the “Explosive Indigestion” Achievement
- Unlock the “Payback’s a Pitch” Achievement
- Unlock the “I Am Heavy Weapons Guy” Achievement
- Unlock the “Okay, Boomer” Achievement