Gears is back baby! The Coalition have returned with Gears of War: E-Day the latest entry in the iconic XBOX franchise. A prequel that tells the story of Emergence Day, the day when the Locust army reveal themselves. Marcus, Dom and other Gears band together to take on this new threat in the city of Kalona as the world of Sera changes forever!
Gears of War: E-Day Collectibles, Hard Cases, and Secondary Objectives
There’s plenty to find through the campaign of Gears of War: E-Day:
- Collectibles: Items scattered across the game’s five Acts of the campaign. These tell a grizzly tale of E-Day and add additional lore from the team. When you are near a collectible you will hear the familiar COG Omen musical sting. There are levels where you have access to a map, in those, the collectible gets added to the map. Get all the collectibles to unlock the “Memories from E-Day” achievement.
- Hard Cases: These provides upgrades for your weapons and tactical abilities. There’s plenty to find. You get alerted when you are near one with a message on screen. You can use your Tac-Com (LB on Xbox controller) to see them. In levels where there are maps, you will also get these pinged on your map. Finding all Hard Cases will get you the “Relax. I’m the Map” achievement.
- Secondary Objectives: you’ll encounter secondary objectives to help people out around Kalona. You might be pointed to it by the game (sometimes with a visual ‘Hold X to View’ on screen), others you might happen upon as you drawn to firefighting or conversation in the game. You will have to accept a secondary objective when it prompts you to begin it. Complete the objective to receive unlocks as your reward and work towards the “Side Piece” achievement.
Gears of War: E-Day Act 3 Collectibles, Hard Cases, and Secondary Objectives Guide
You can use a video guide below or read on for a text and image guide:
Use the links below to jump to the chapter you need.
Act 3
- Act 3, Chapter 1 – Stranded
- Act 3, Chapter 2 – Enemy Lines
- Act 3, Chapter 3 – Last Foothold
- Act 3, Chapter 4 – The Convoy
- Act 3, Chapter 5 – Desperate Times
- Act 3, Chapter 6 – Desperate Measures
Act 3, Chapter 1 – Stranded
- 5 Collectibles
- 3 Hard Cases
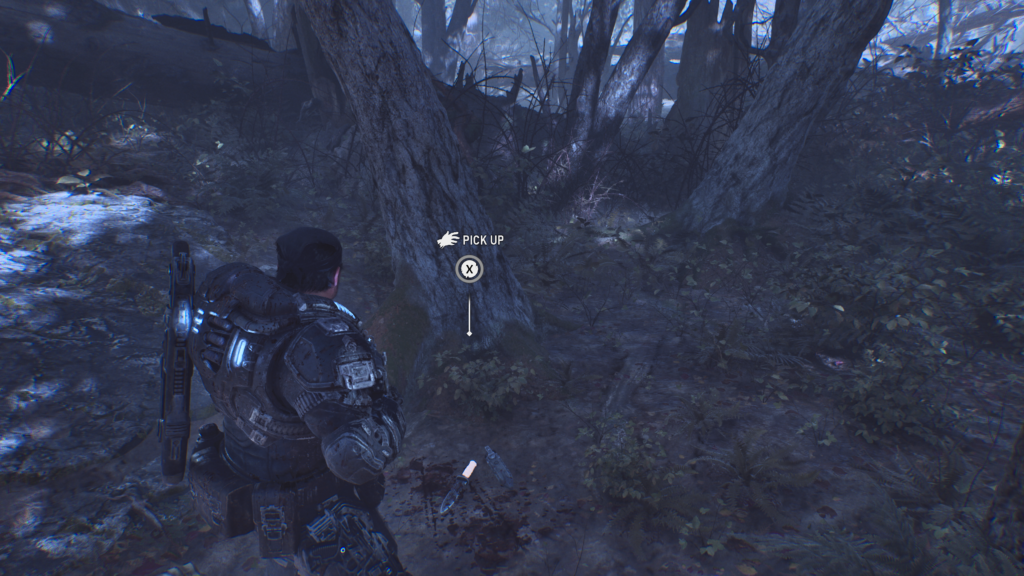
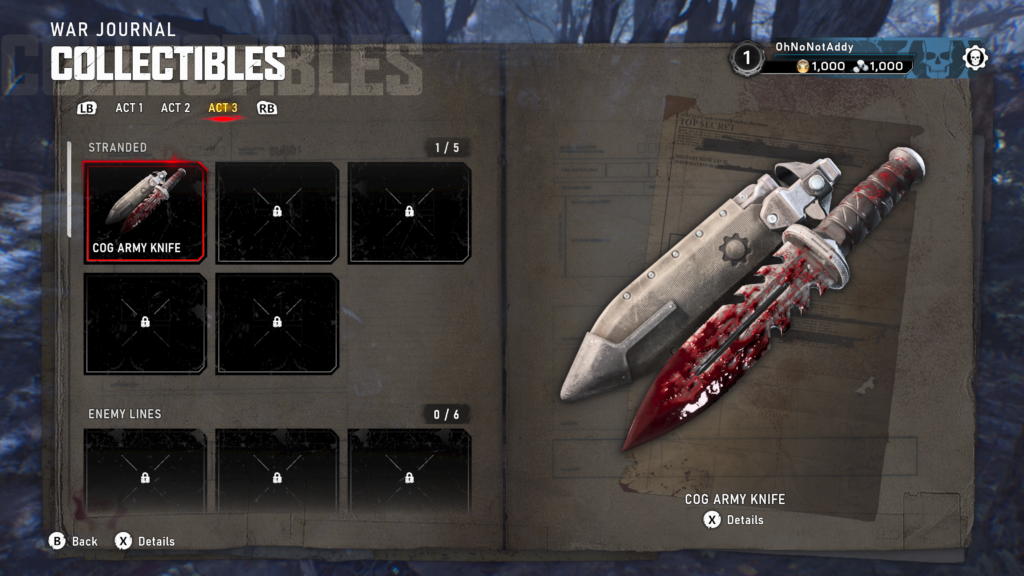
Collectible – COG Army Knife (1 / 5)
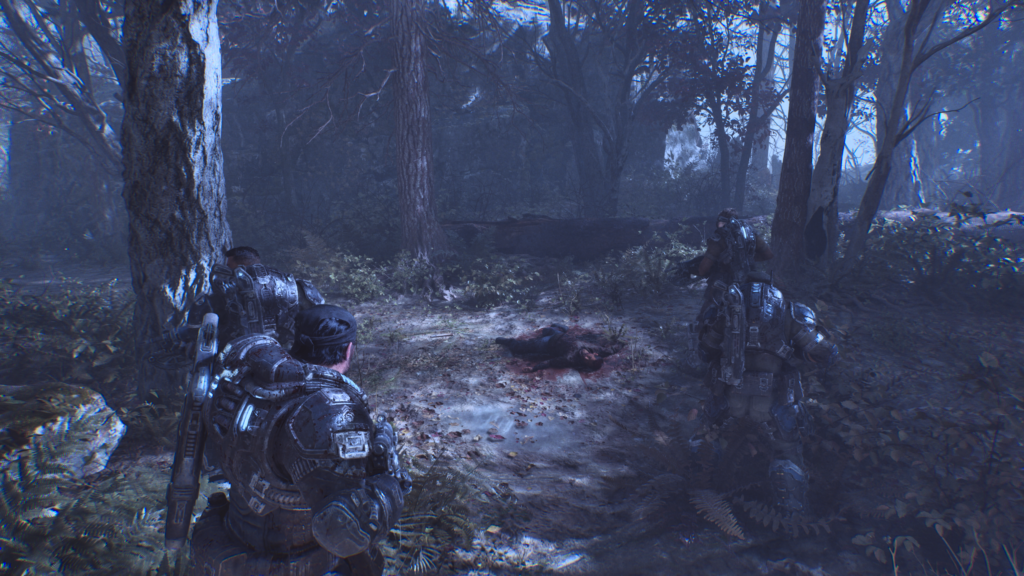
You’ll be making your way through some woods to reach Fairlight Outpost. At one point you’ll come down a rope and reach a fork in the road, with a body on the floor that you can investigate. To progress with your objective, head right. To find the collectible take a short detour to the left, to find it on the floor.
Hard Case (1 / 3)
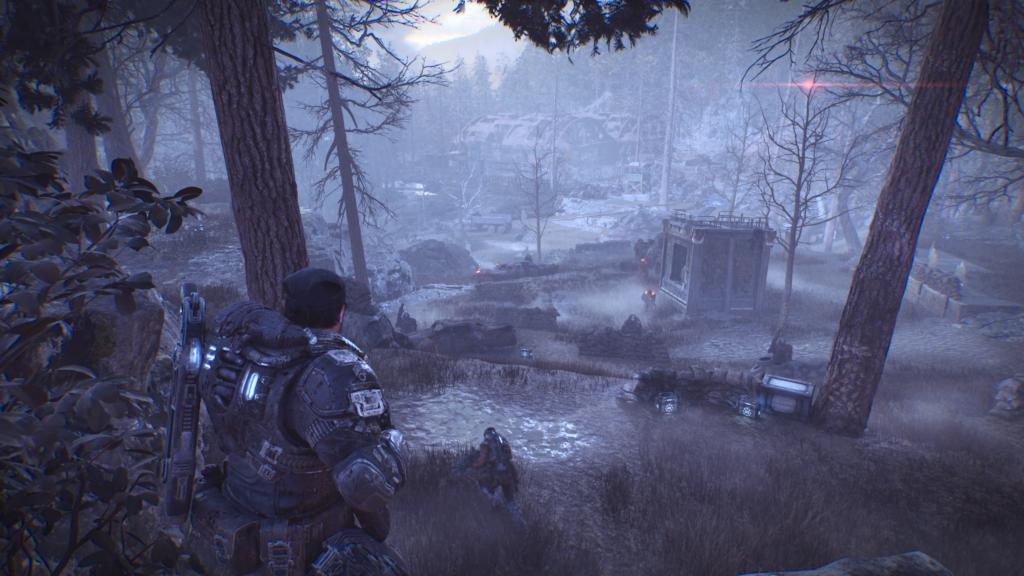
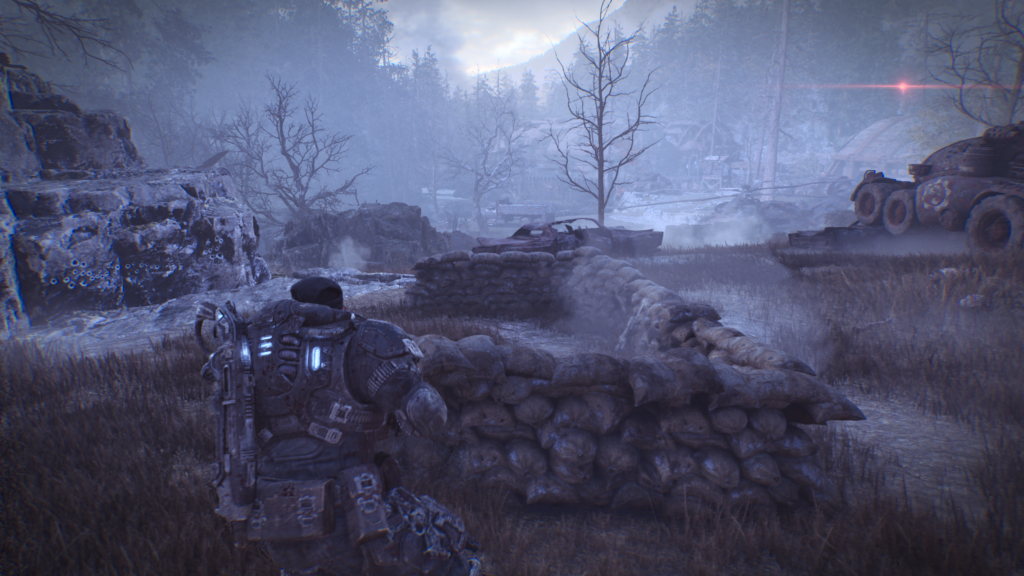
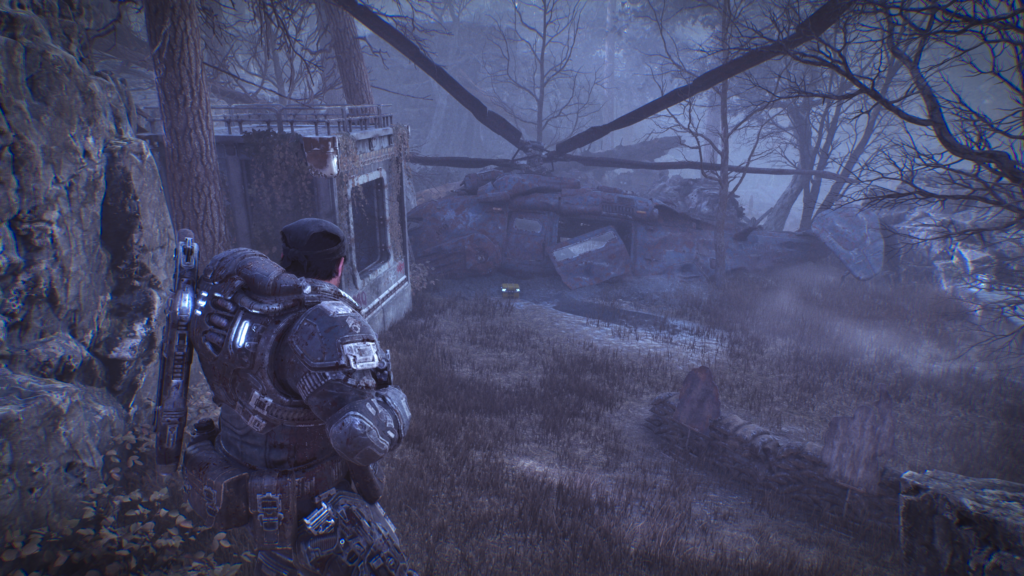
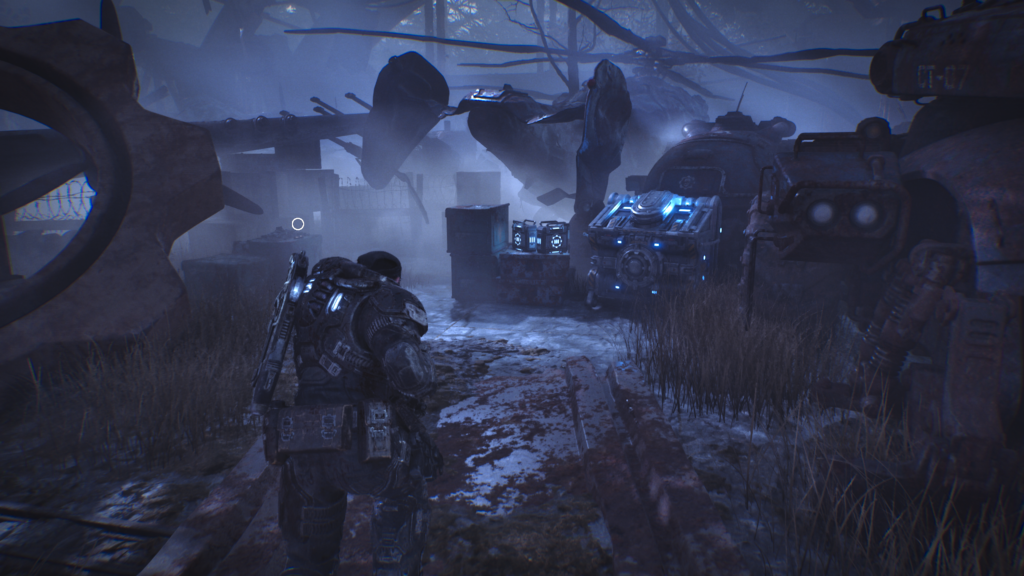
You’ll cut your way through a locked gate and can see Fairlight Outpost in the near-distance. You’ll take on Locust enemies. Once safe, keep to the left of where the closest enemies were and look for a downed helicopter. The hard case is sat in front of it.
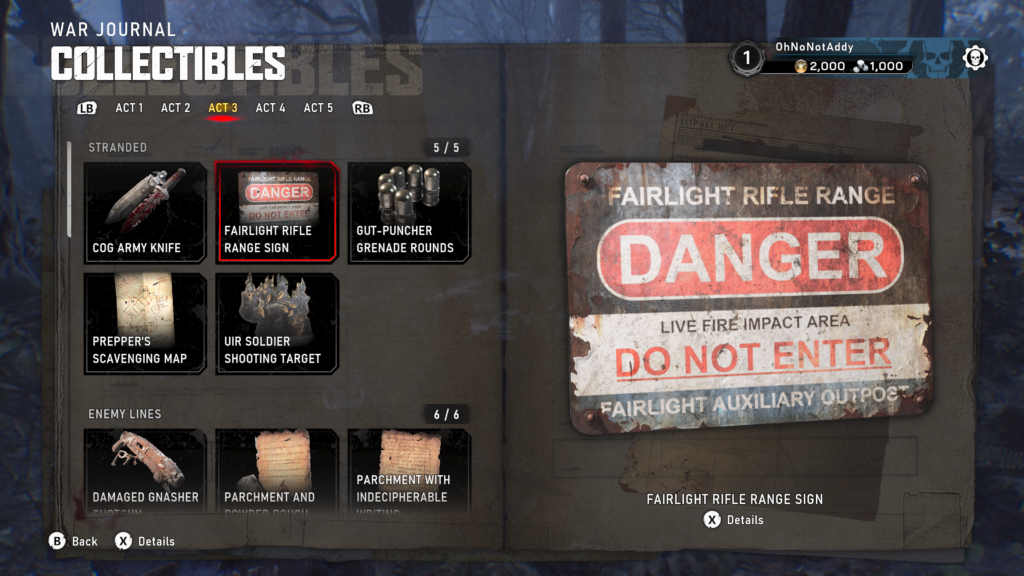
Collectible – Fairlight Rifle Range Sign (2 / 5)
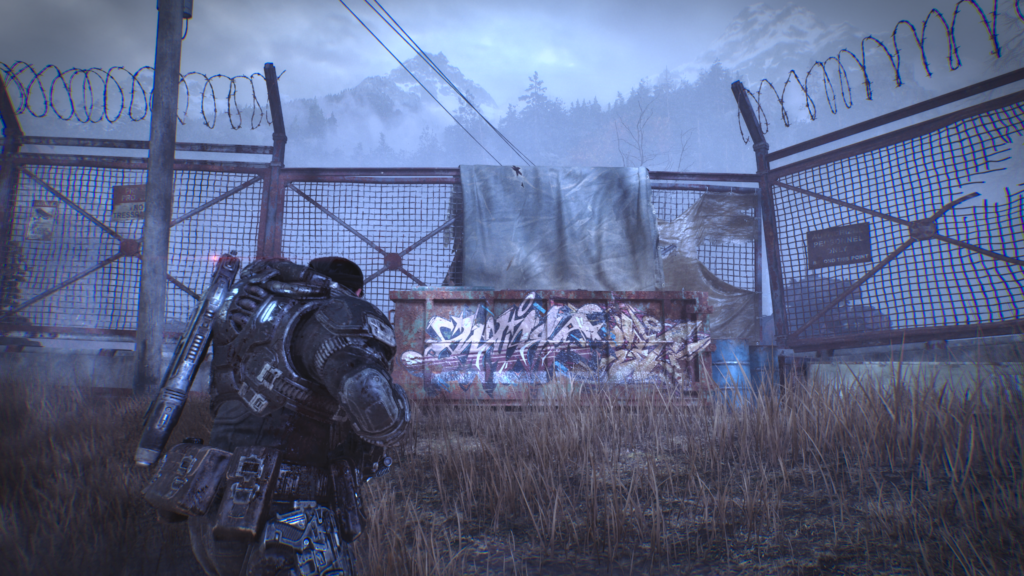
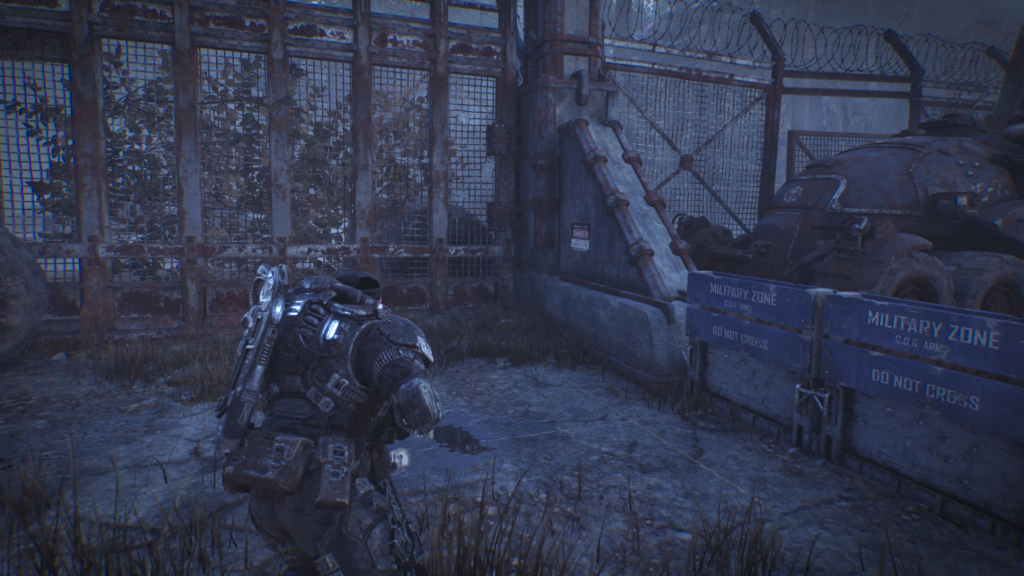
You’ll need to enter the Fairlight Outpost by climbing up a shipping container to get over a fence. Once you do, and land on the other side, head to your right and upwards towards the top of the area. Next to the fence gate, that was blocked on the other side, you’ll see the collectible on the wall.
Hard Case (2 / 3)
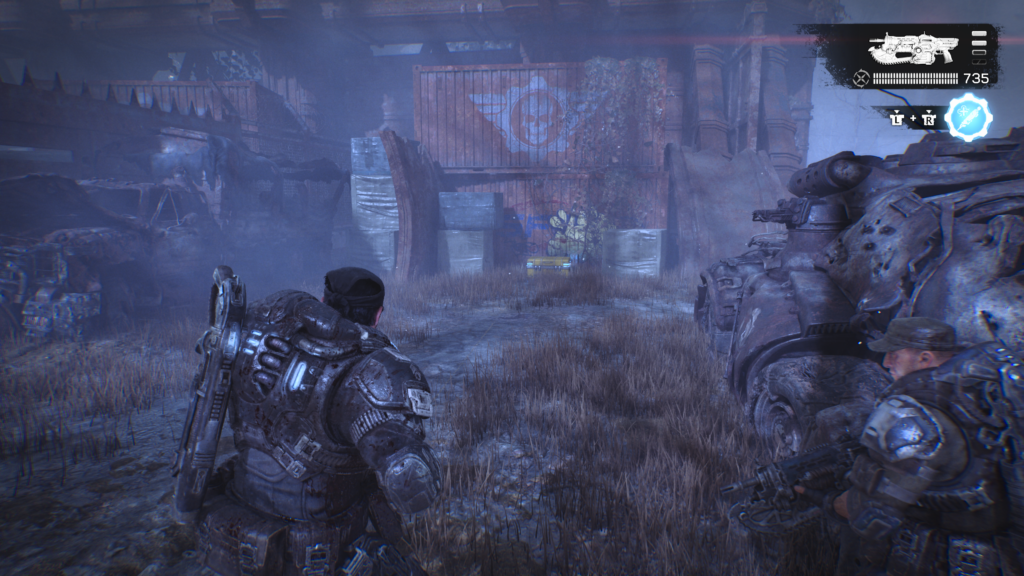
From where you dropped into the Fairlight Outpost (over the shipping container), take a left and look for two red shipping containers stacked on top of each other. The hard case is sat in front of them.
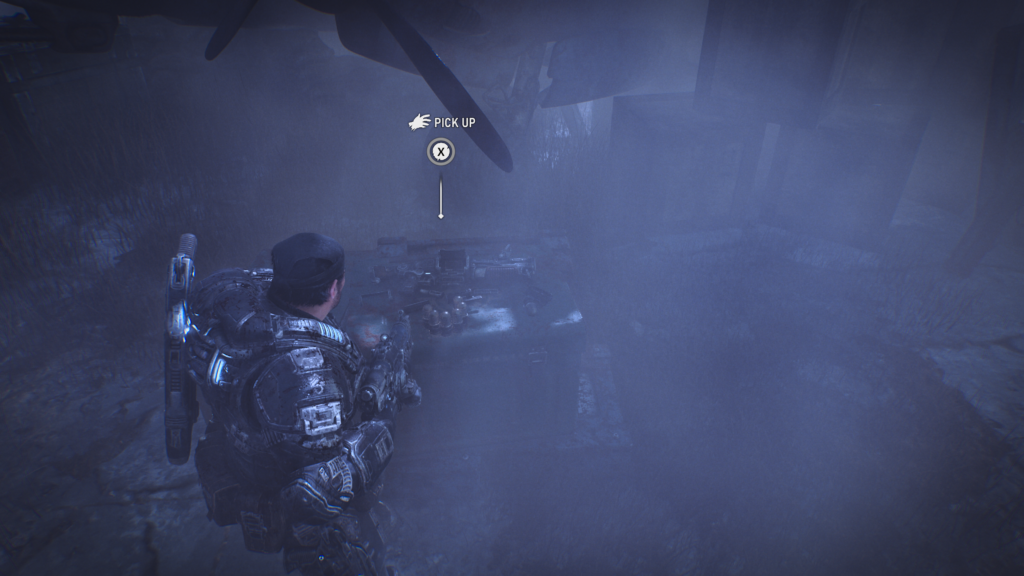
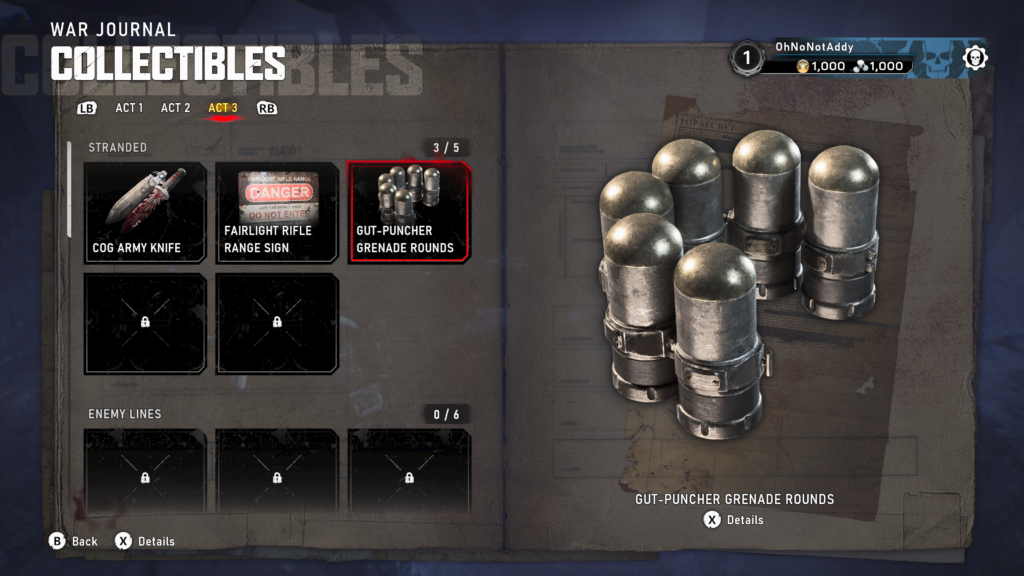
Collectible – Gut-Puncher Grenade Rounds (3 / 5)
Carry on from the previous hard case, moving forward. You’ll walk past a large warehouse on your left. You’ll spot a supply cache there. To the left of the supply cache, on some crates, is the collectible.
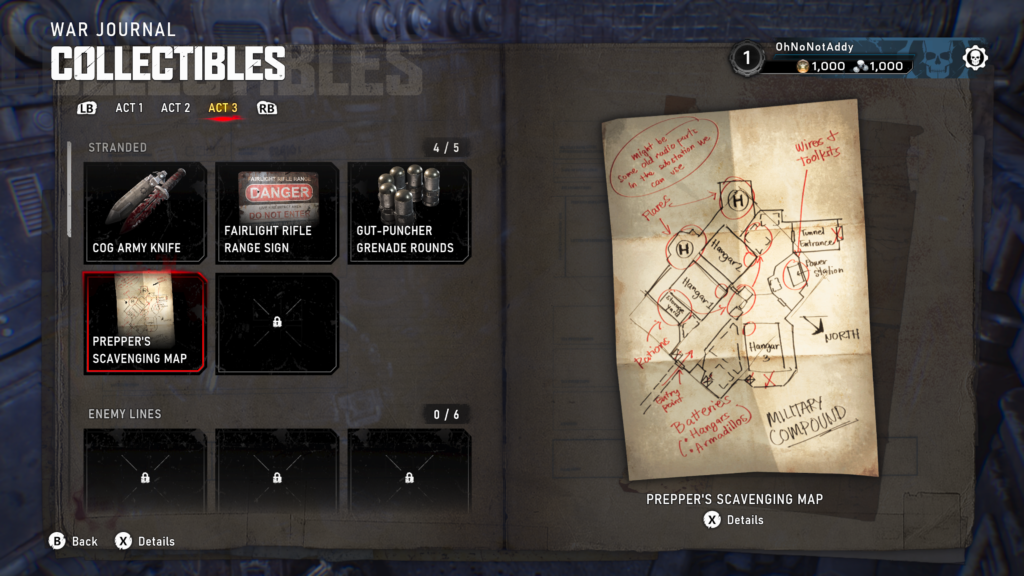
Collectible – Prepper’s Scavenging Map (4 / 5)
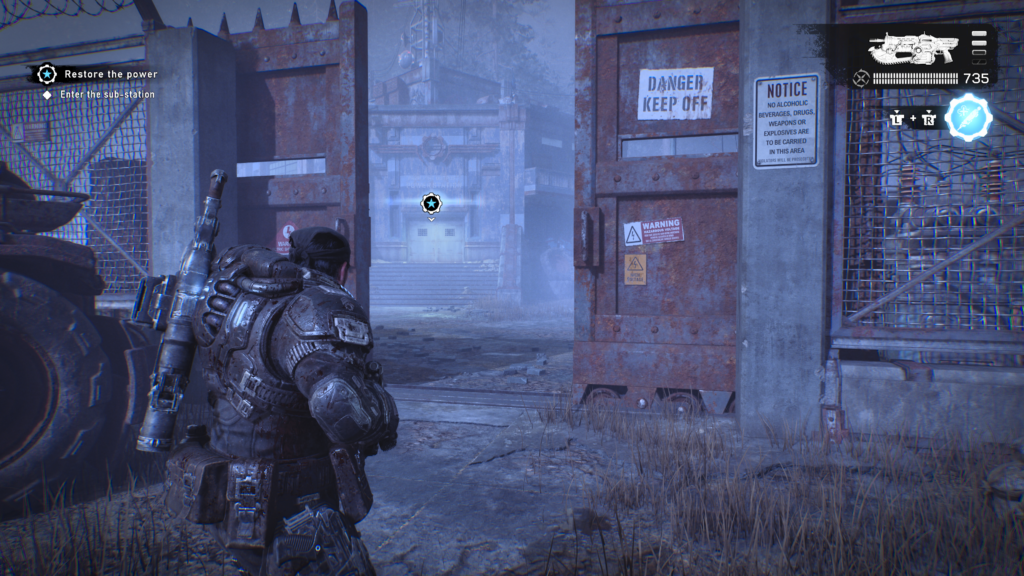
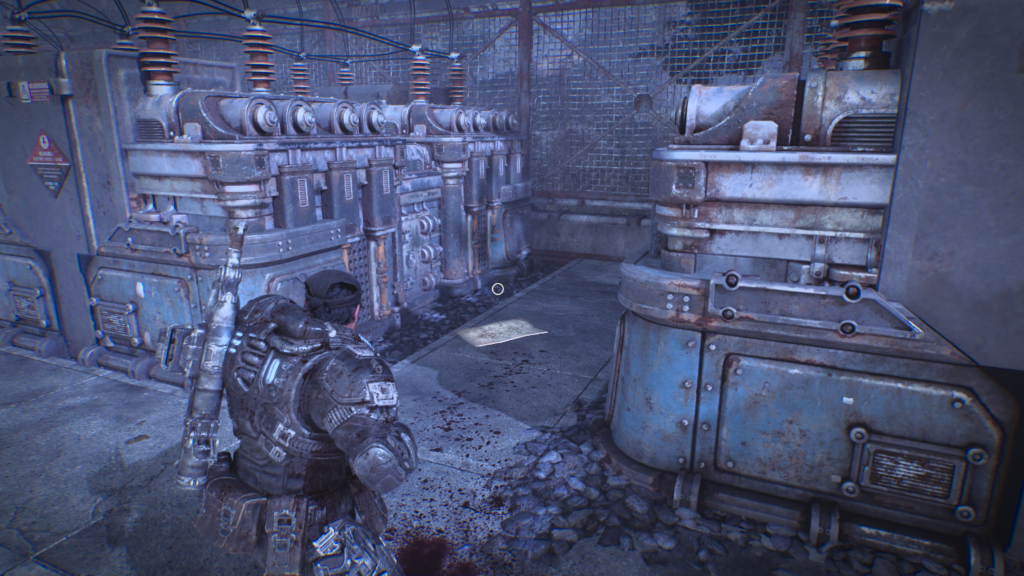
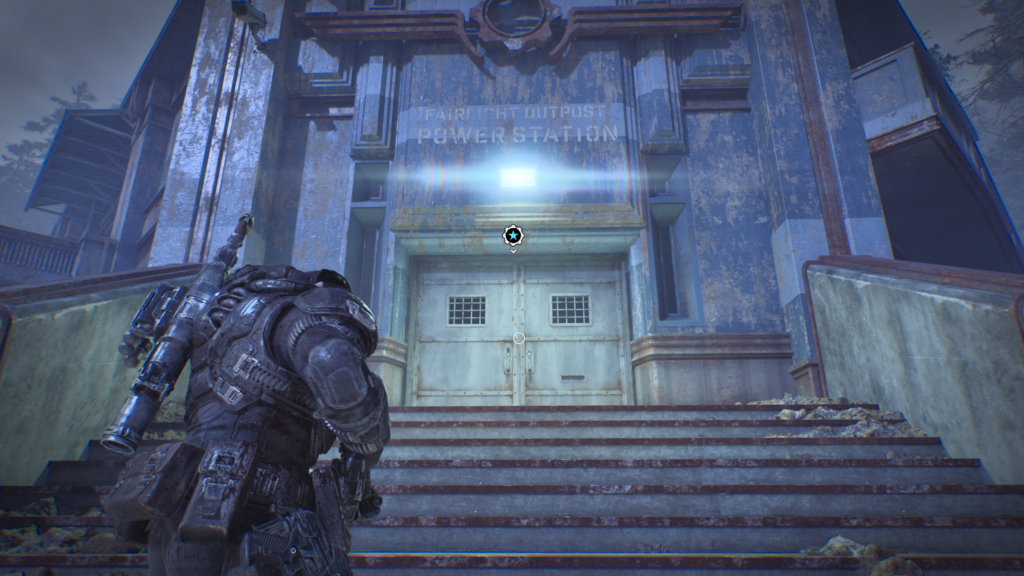
You’ll get an objective to enter the sub-station in order to restore the power. You’ll pass through a doorway in a fence, to your right are some generators. In between two of them, is the collectible.
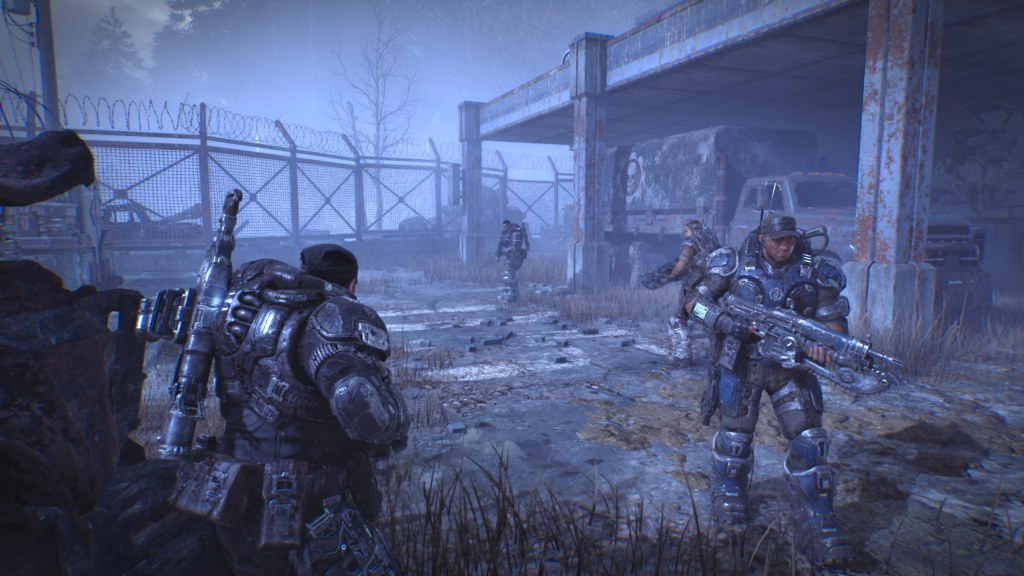
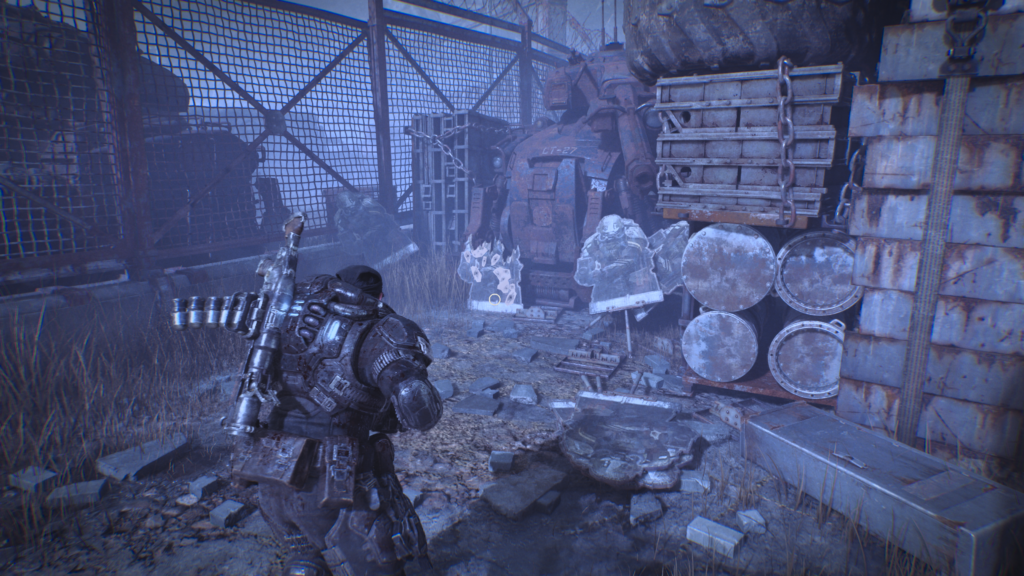
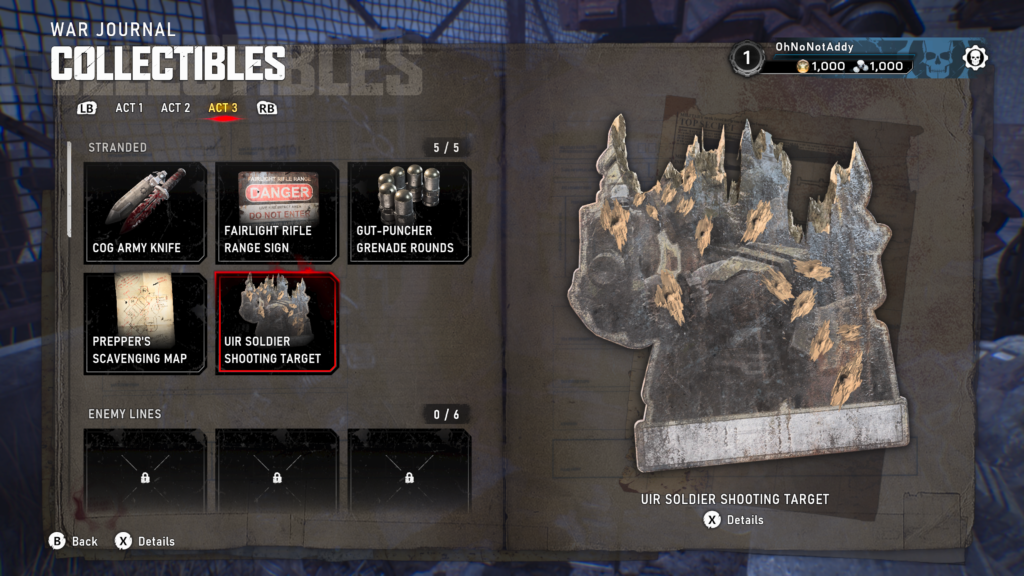
Collectible – UIR Soldier Shooting Target (5 / 5)
Take a left from the entrance to the sub-station, before you go in. At the back, down the side of the building is the collectible, propped up against a fence.
Hard Case (3 / 3)
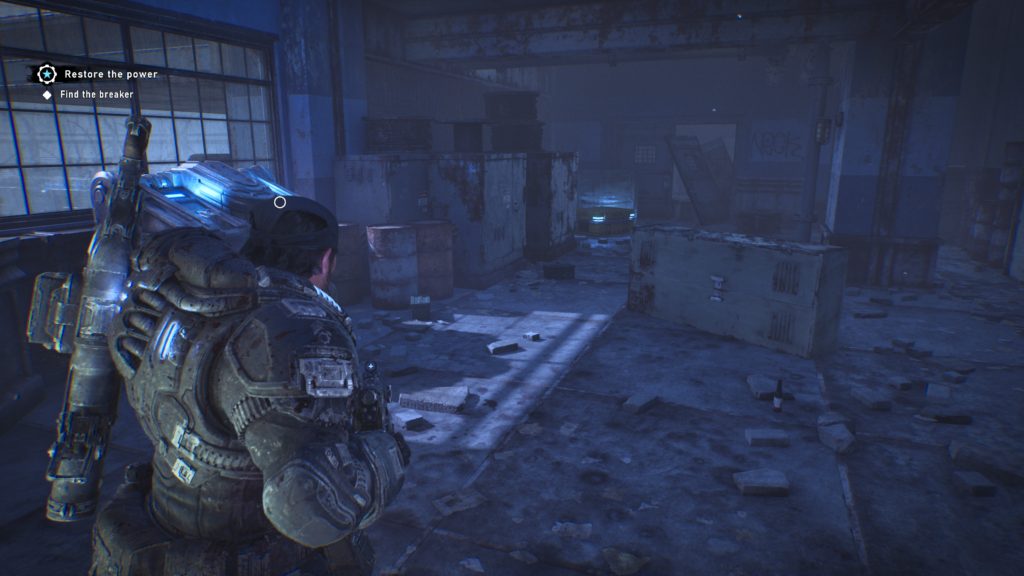
As soon as you enter the sub-station, look to your left. In the corner is the hard case.
Act 3, Chapter 2 – Enemy Lines
- 6 Collectibles
- 8 Hard Cases
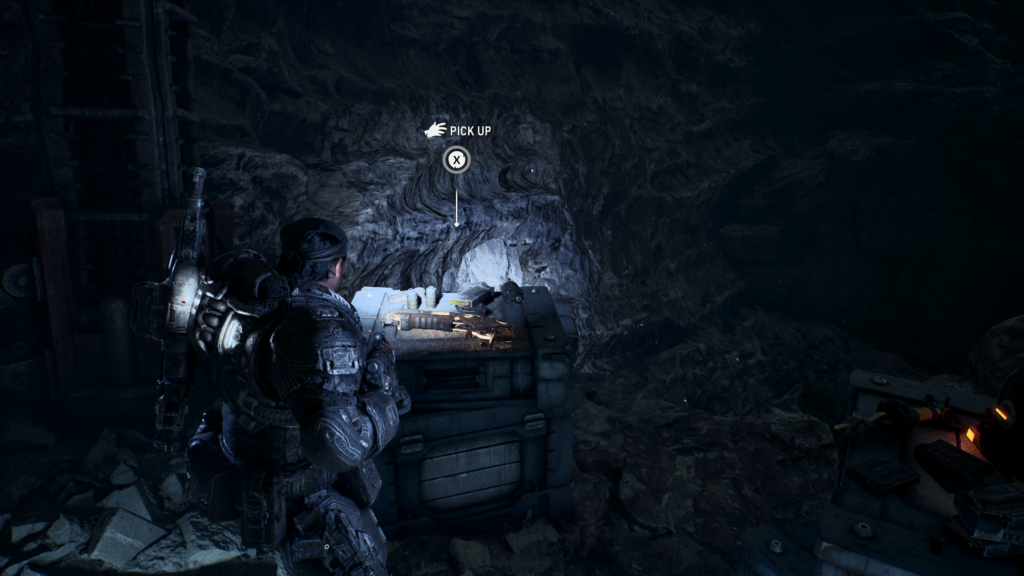
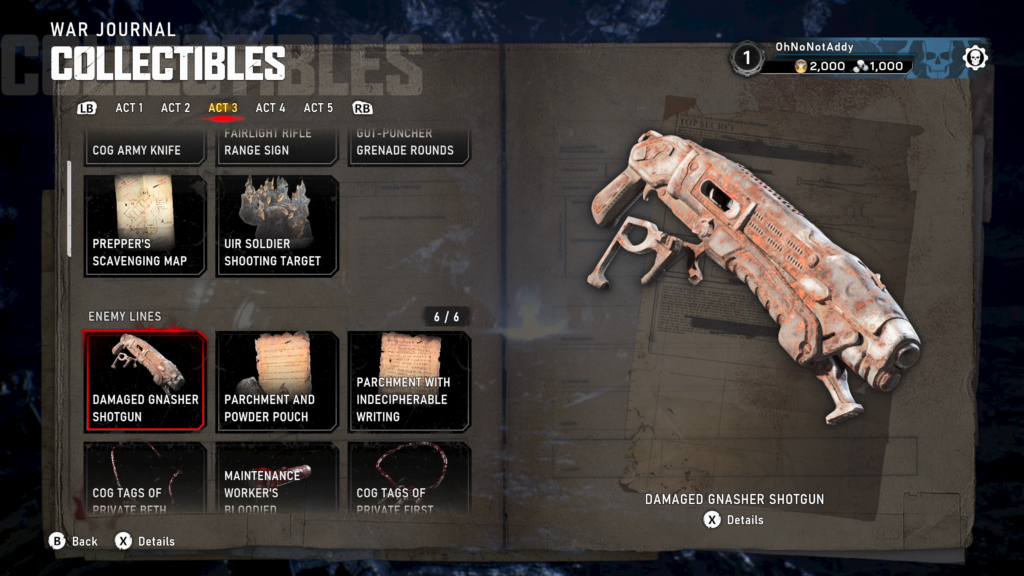
Collectible – Damaged Gnasher Shotgun (1 / 6)
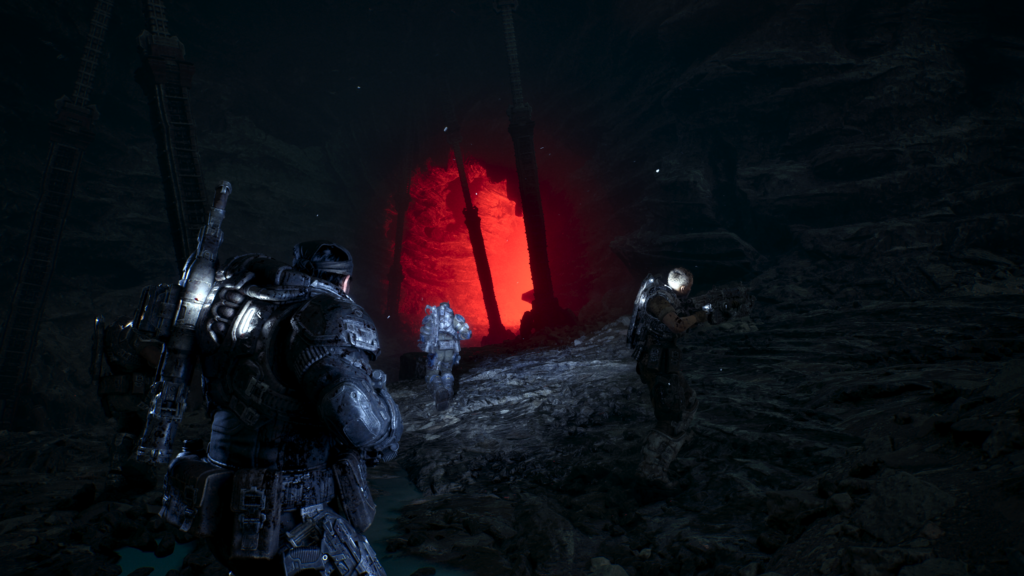
As you work your way through the tunnels, you’ll reach a large, red-lit room with tall metal poles. To the right up a small slope are some supplies and the collectible.
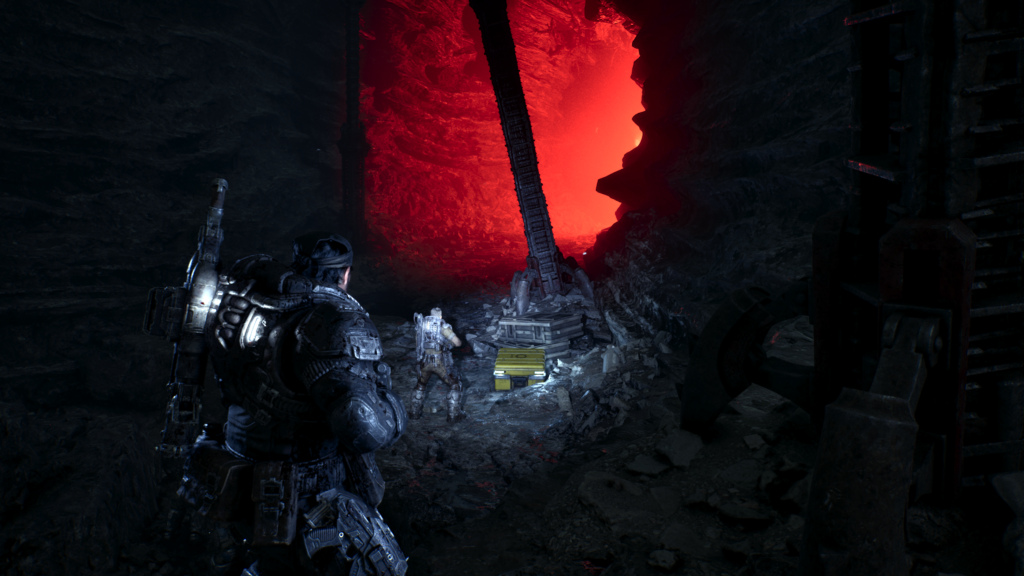
Hard Case (1 / 8)
From the last collectible, carry on forward down the main path. The hard case is slightly to the right of centre, should be pretty hard to miss.
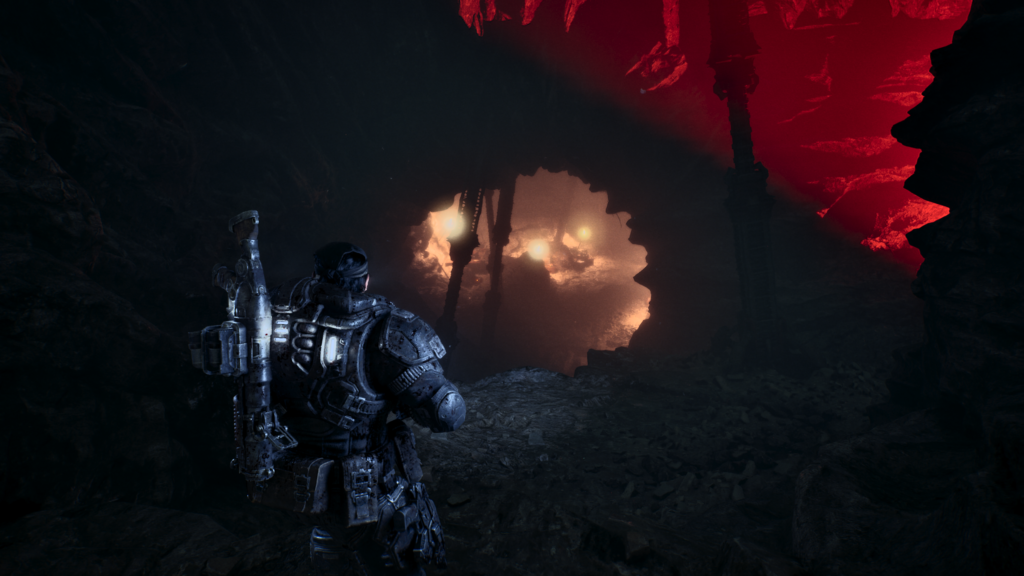
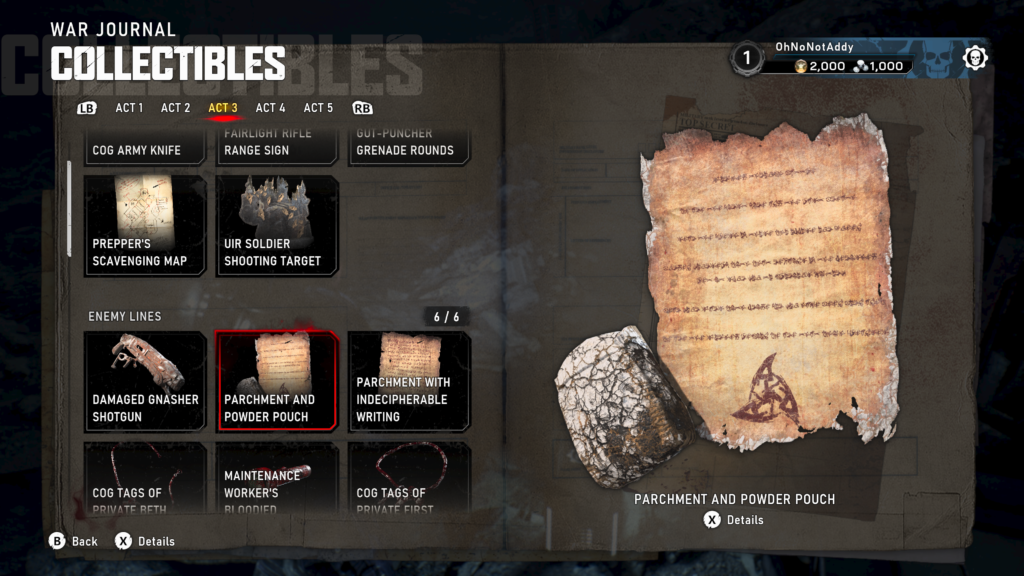
Collectible – Parchment and Powder Pouch (2 / 6)
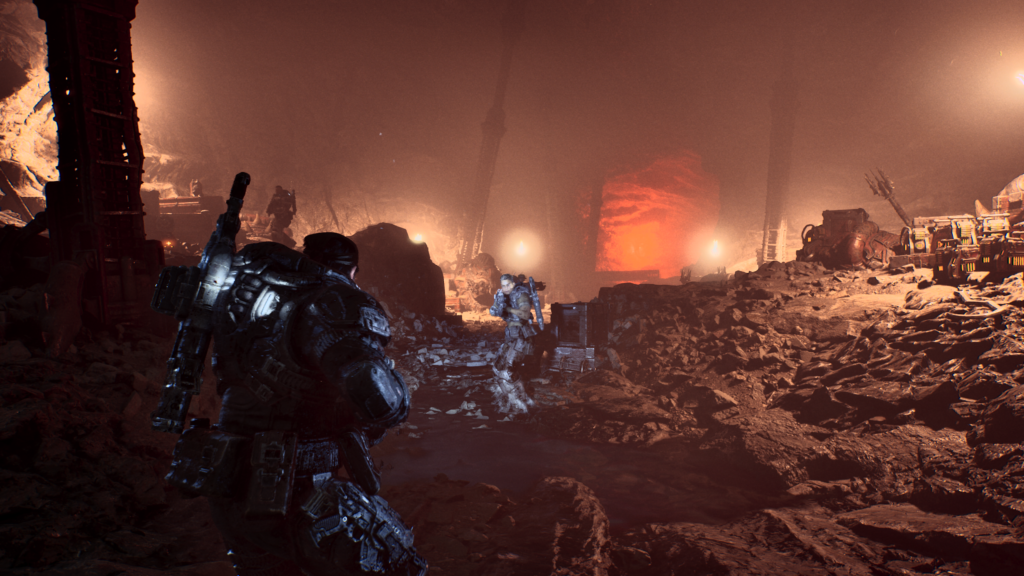
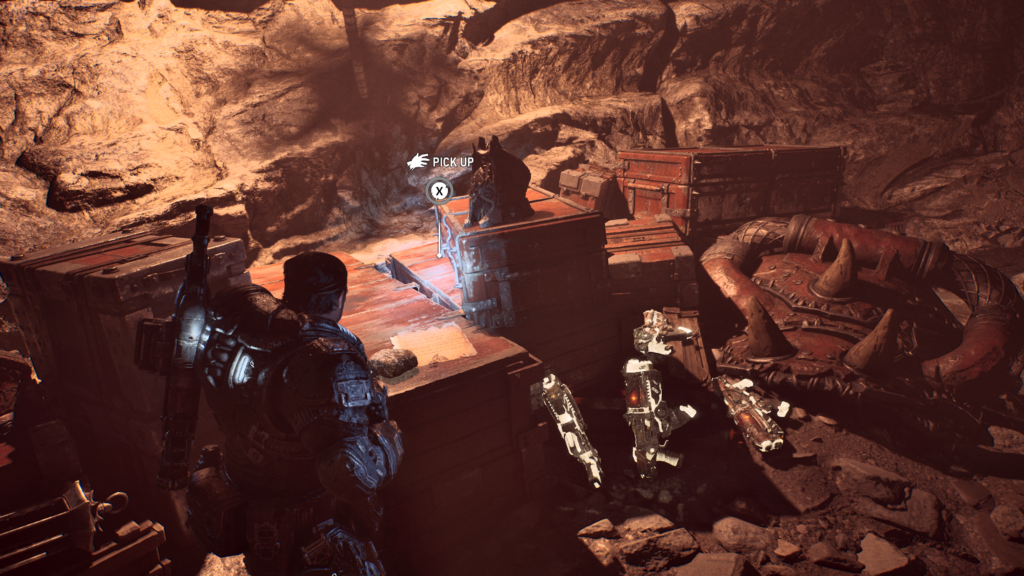
You’ll enter a wide room with lots of supplies. It’s got more lighting than the previous rooms. Dom will comment about ‘supply lines’. To the left, up a slope, on some crates, is the collectible.
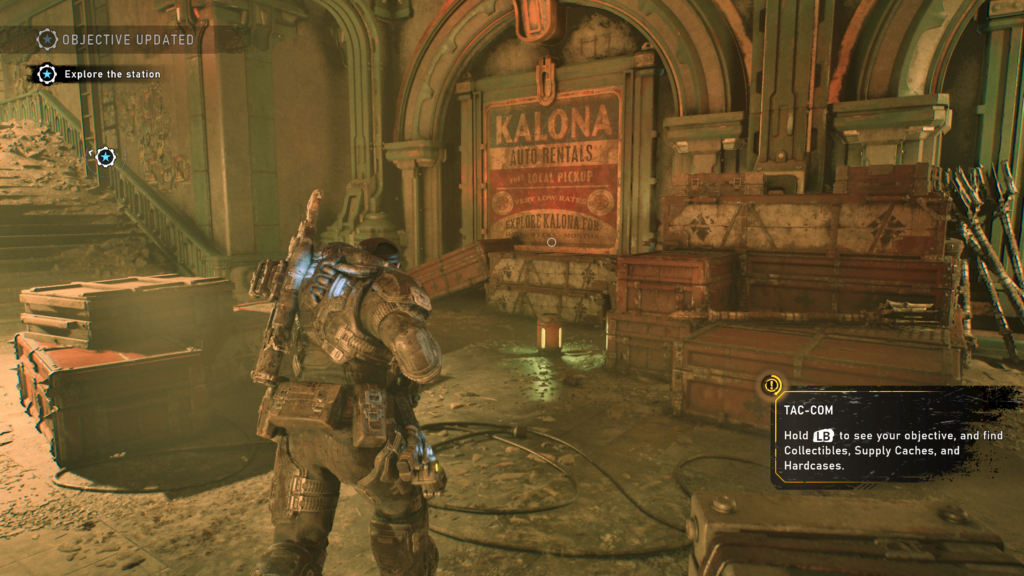
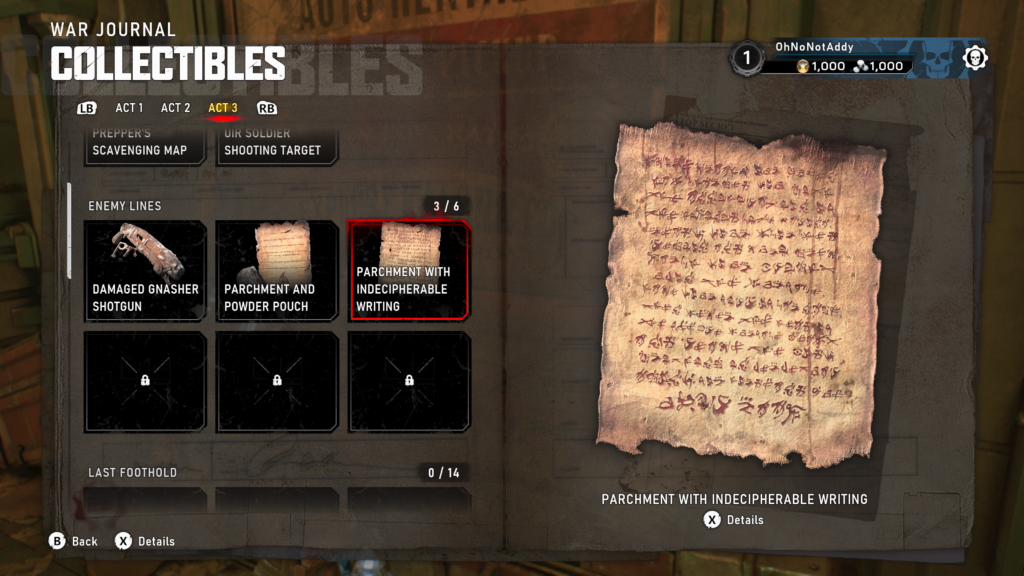
Collectible – Parchment with Indecipherable Writing (3 / 6)
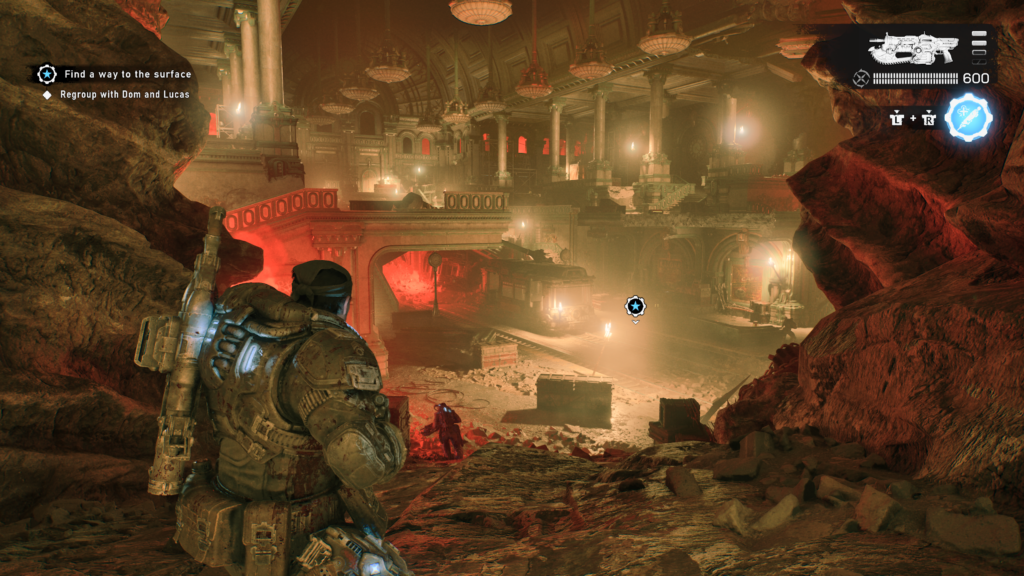
You’ll reach an underground subway station. Head to the right of the tracks and subway car to find the collectible on a set of crates.
Hard Case (2 / 8)
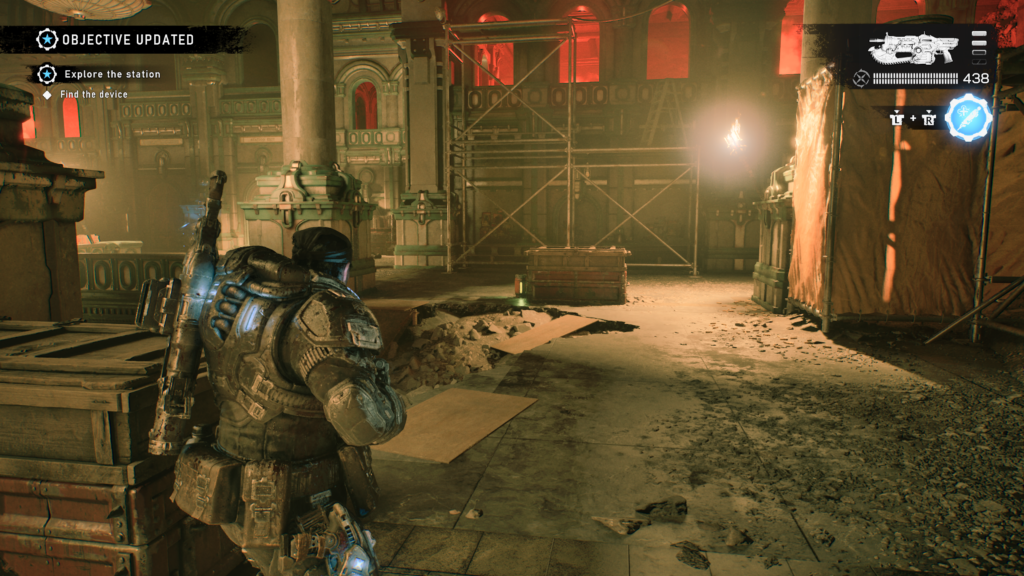
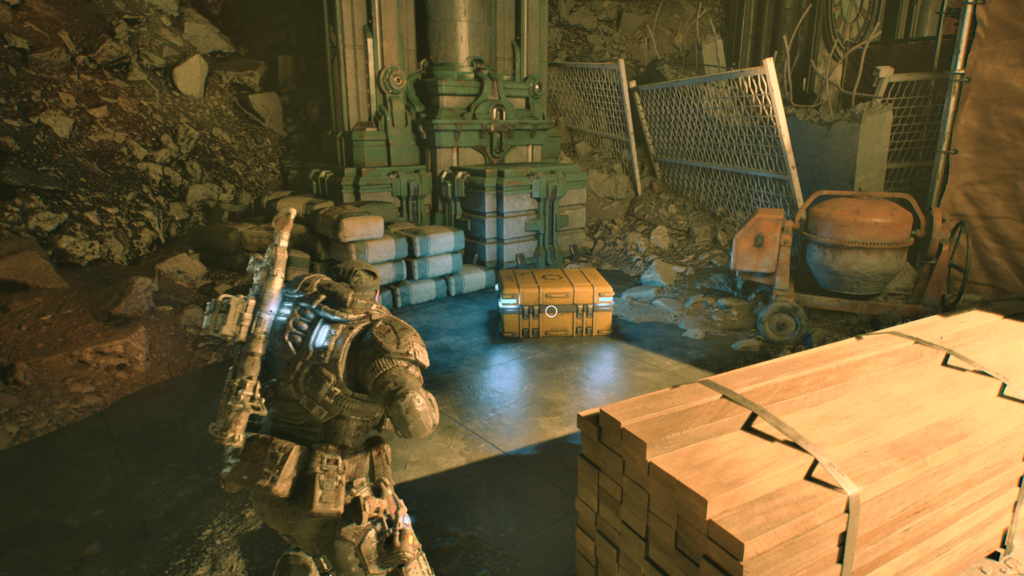
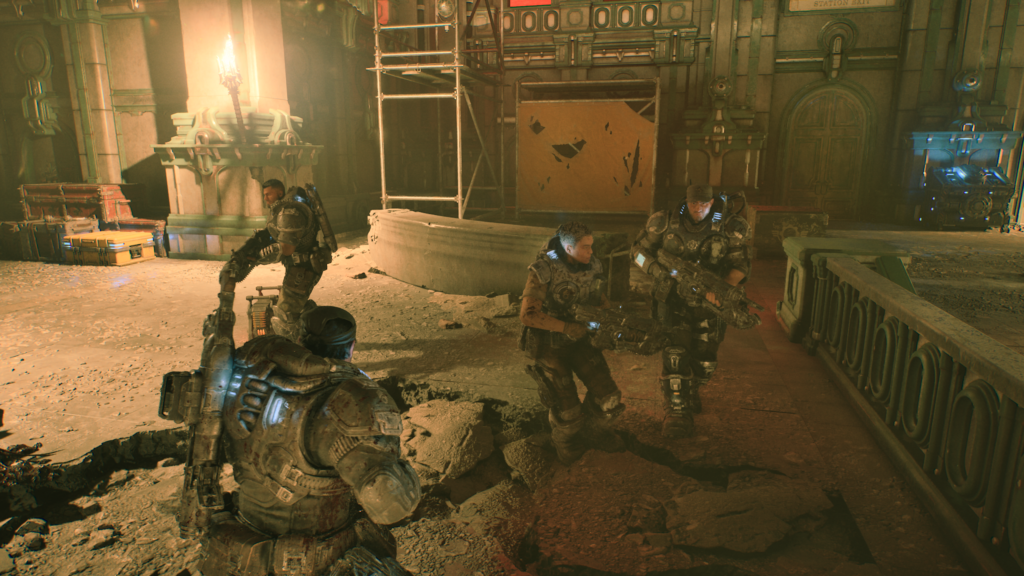
In the underground subway station, head to the floor above and next to some construction materials, behind some planks is a hard case. It is on the right side of the area.
Hard Case (3 / 8)
On the upper floor in the underground subway station area. Look for the supply cache in the centre. To the left of that is the hard case.
Hard Case (4 / 8)
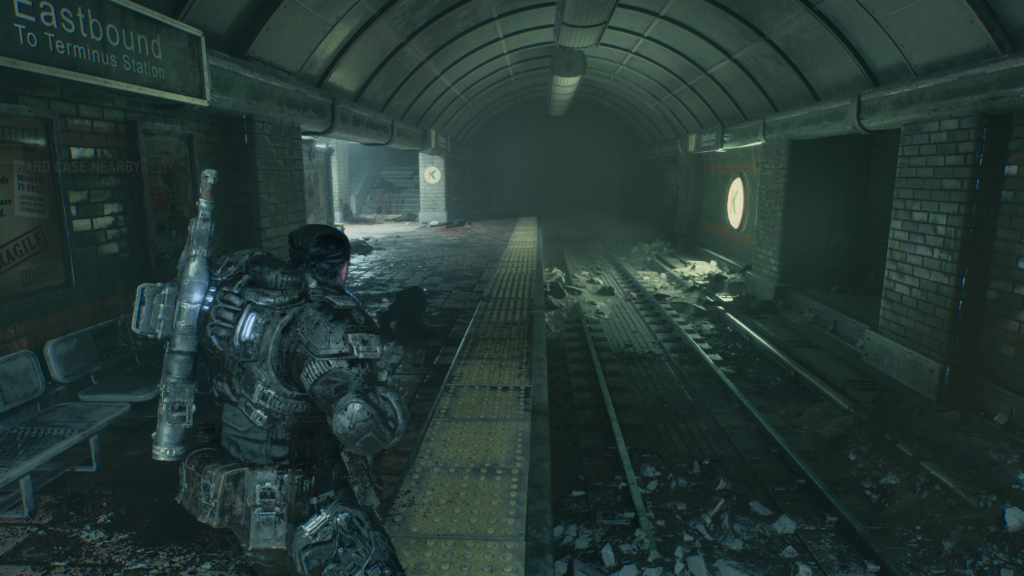
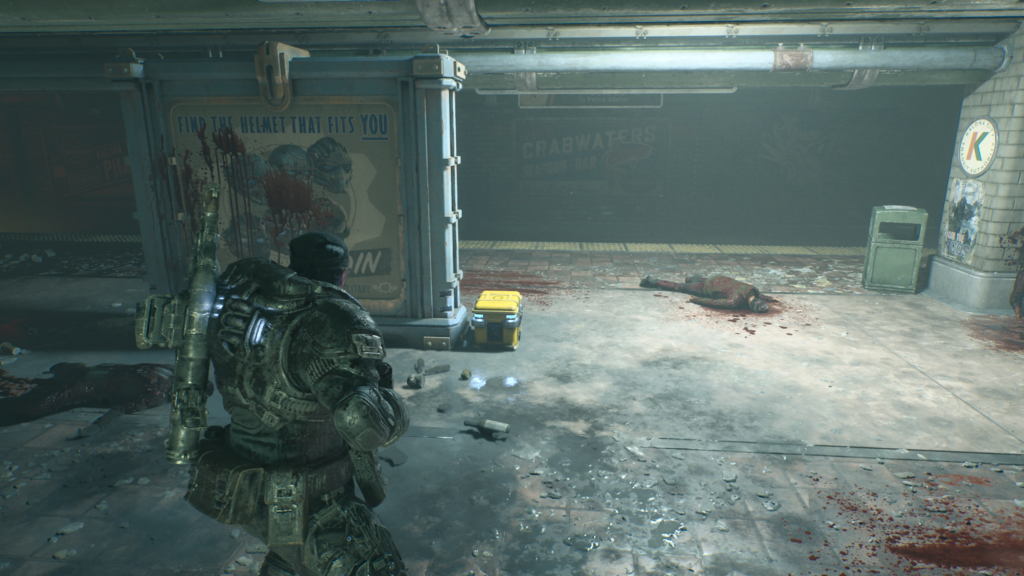
Later on, you’ll need to climb up some crashed subway cars top proceed. To the left of you is a subway platform. Head onto the platform to find a hard case, at the top end, in the centre, in front of a divider.
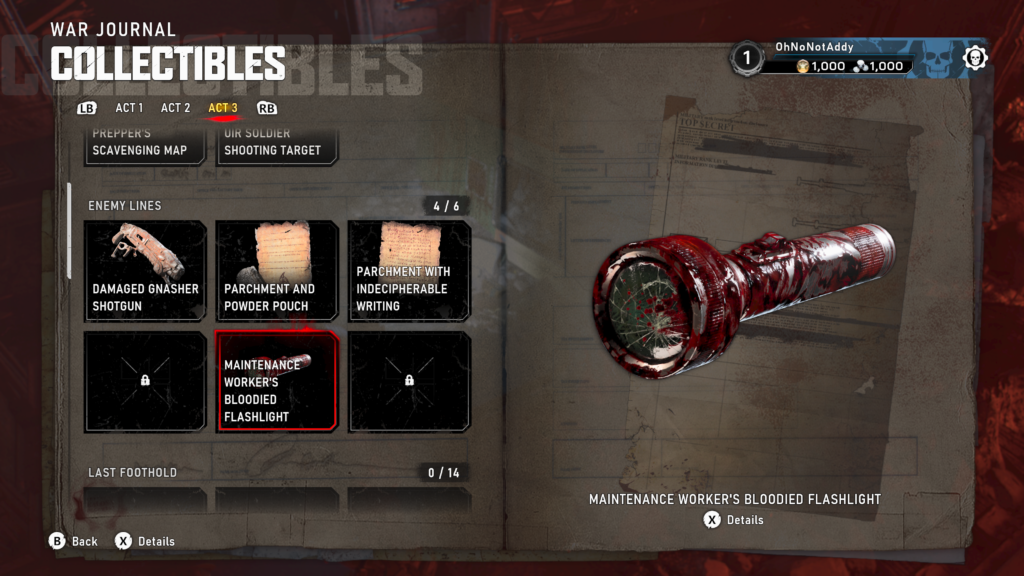
Collectible – Maintenance Worker’s Bloodied Flashlight (4 / 6)
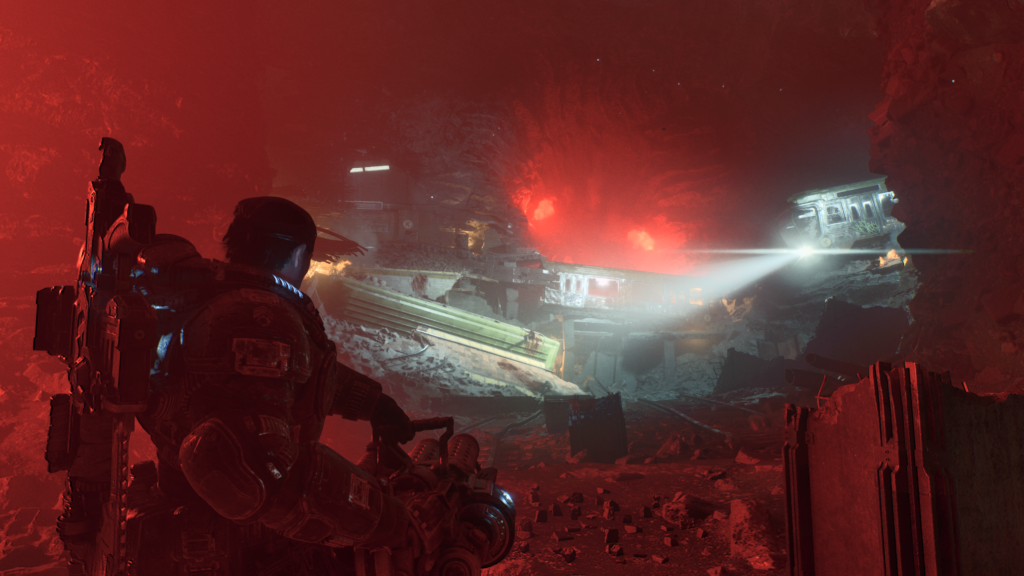
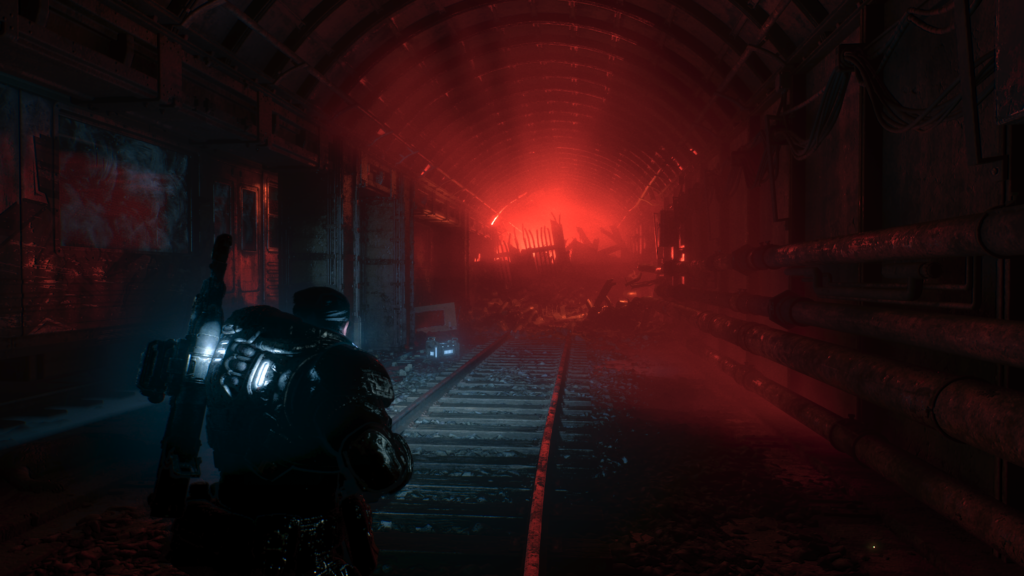
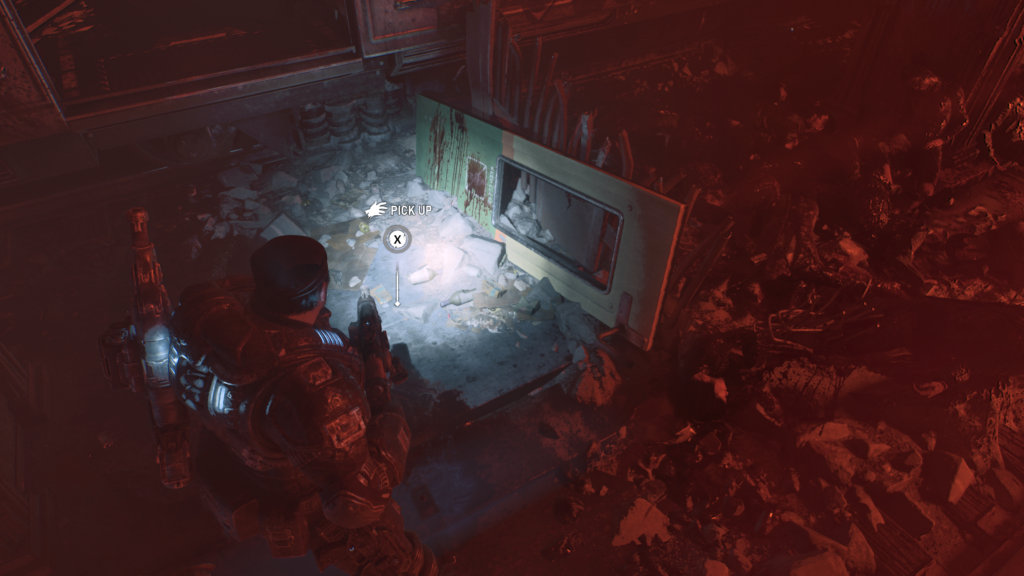
From the last hard case, continue away from your objective marker, down the dark tunnel, following the train tracks. You’ll see a red light up ahead. Move towards it. You’ll reach a wreckage and dead-end. On the left, on the floor, is the collectible.
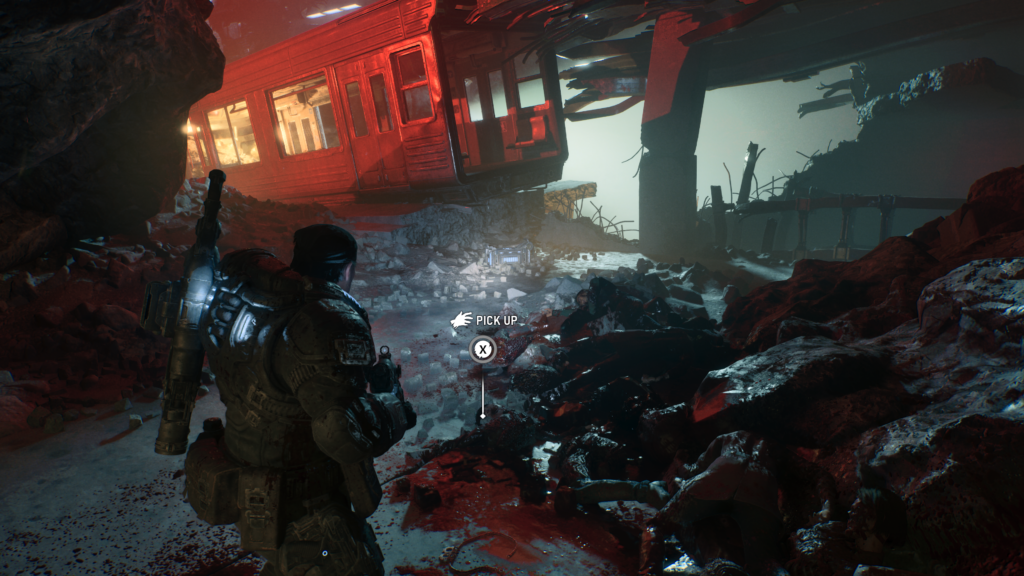
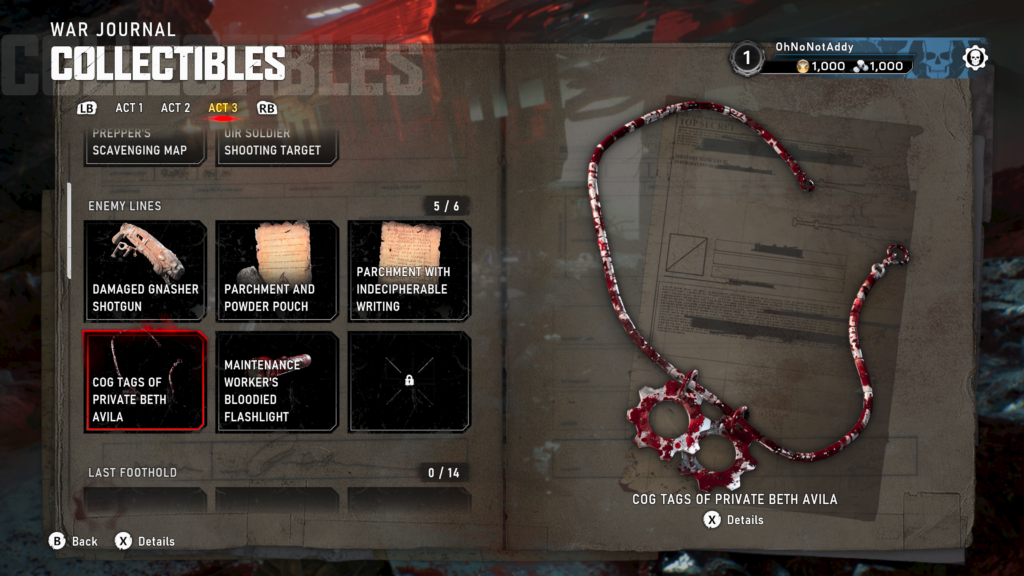
Collectible – COG Tags of Private Beth Avila (5 / 6)
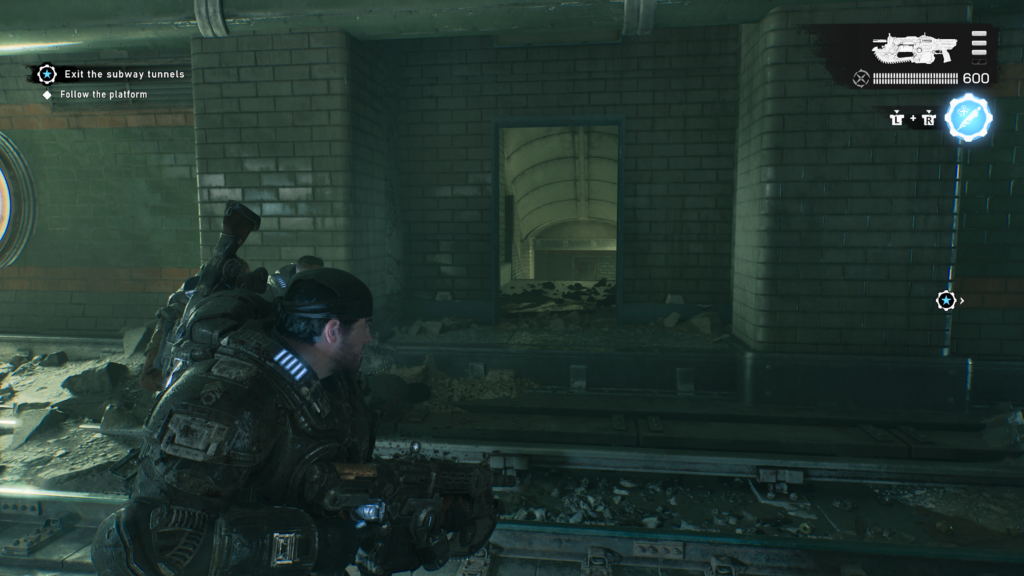
Double back on yourself and head towards the train platform and the crashed subway cars that you need to cross to proceed. Go past the location of the previous hard case (it should be on your right) and before crossing the train cars, look for a door way with stairs running down, on your left.
Head down and move into the space below to find the COG tags on the floor to the right with a body.
Hard Case (5 / 8)
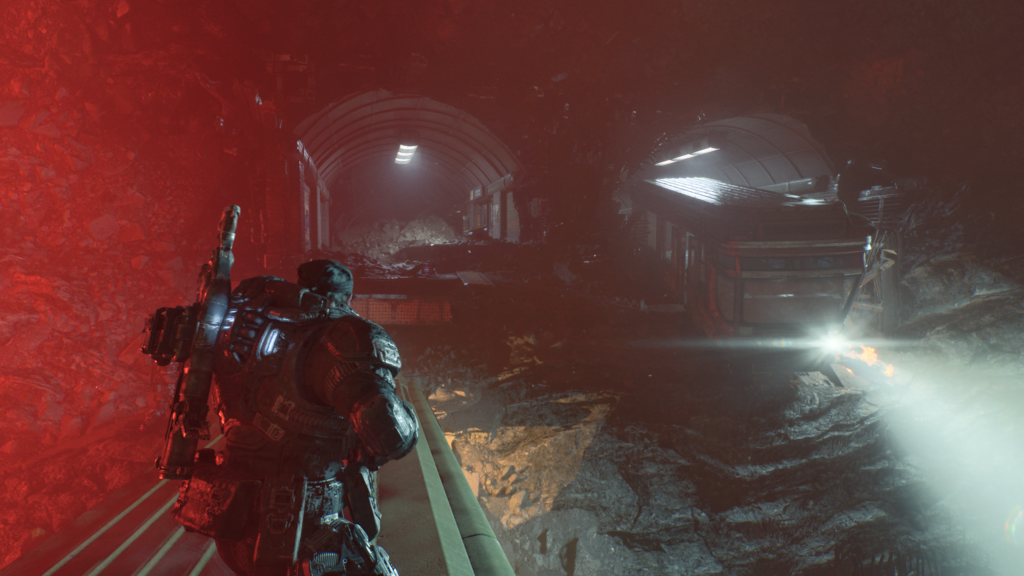
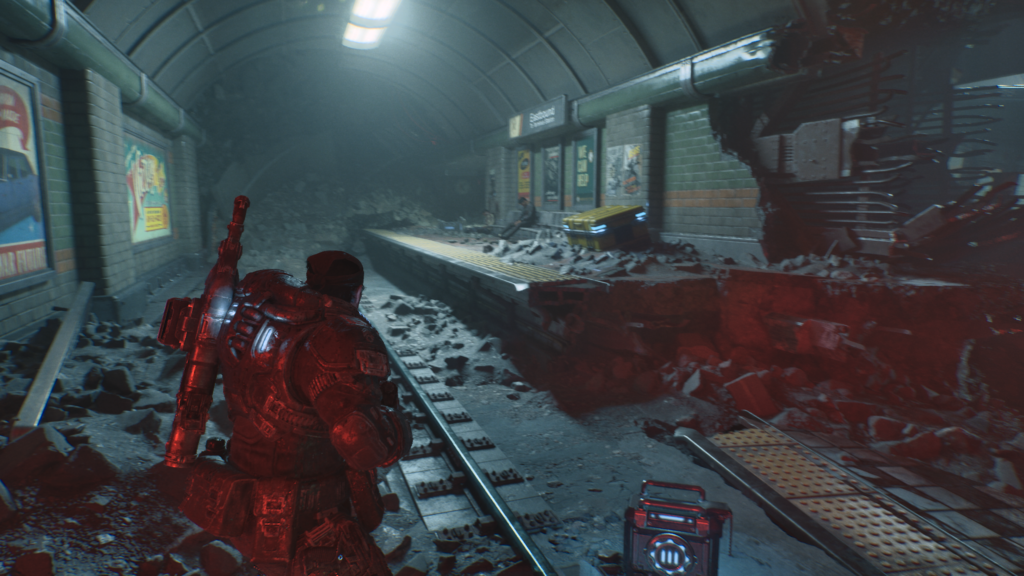
Cross the train cars to carry on moving towards the main objective. The hard case should be pretty easy to spot on the right of the path after you’ve crossed.
Hard Case (6 / 8)
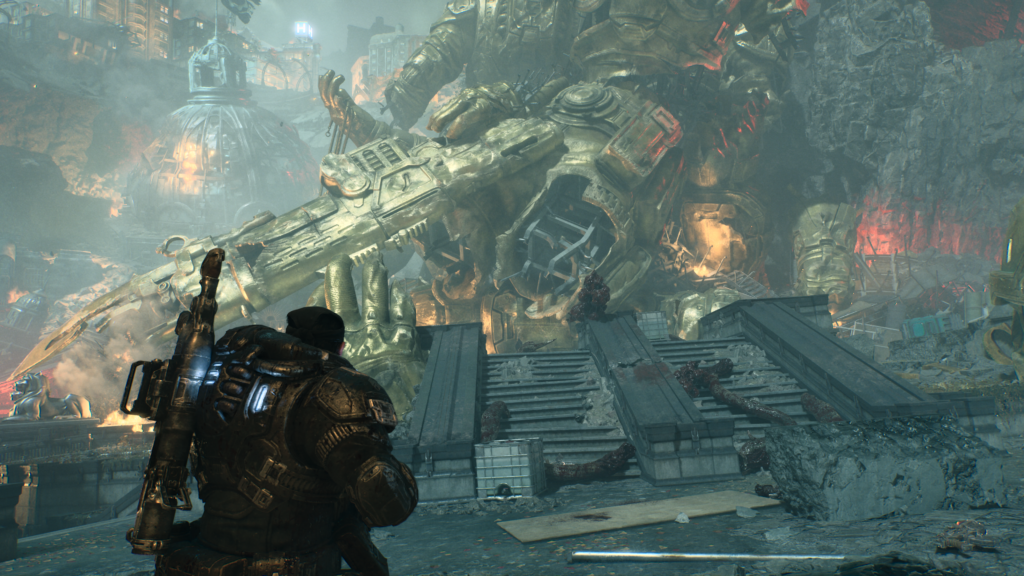
Later on, you’ll emerge from the underground to chaos and destruction. A collapsed golden Gear statue will be in front of you. Once you’ve dealt with any enemies, head down to your left to spot the hard case.
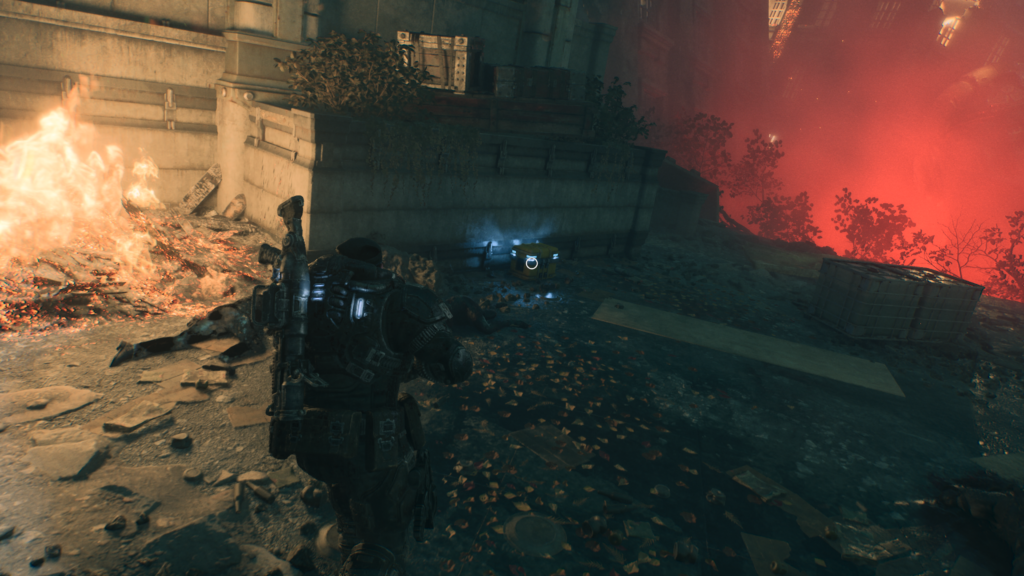
Hard Case (7 / 8)
Move forward towards your objective from the last hard case. Before you turn right to go down a path, you should spot this hard case on your left, on the edge of a cliff.
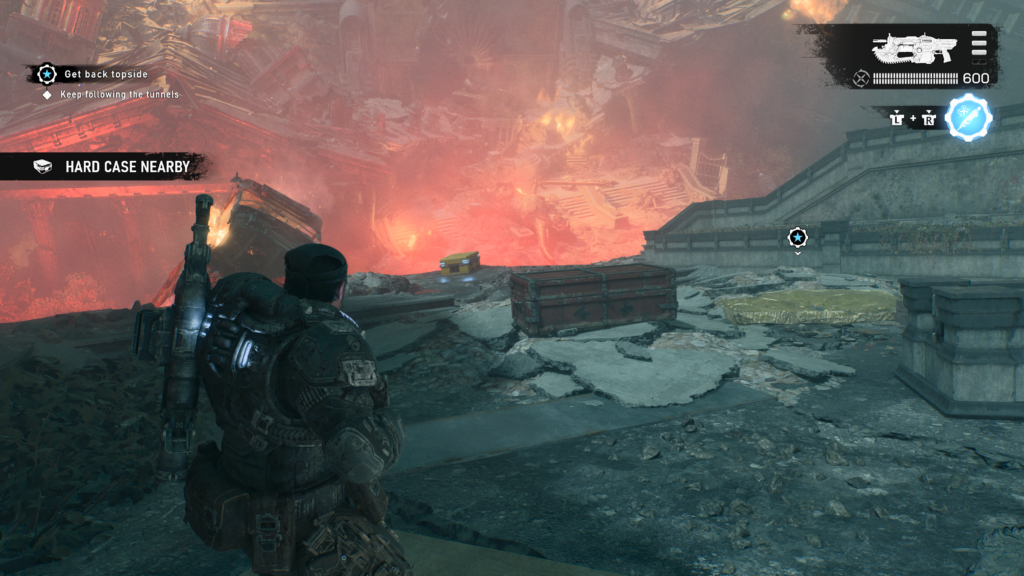
Hard Case (8 / 8)
Later on, when you’re in the sewers, you’ll reach a supply cache with the hard case next to it.
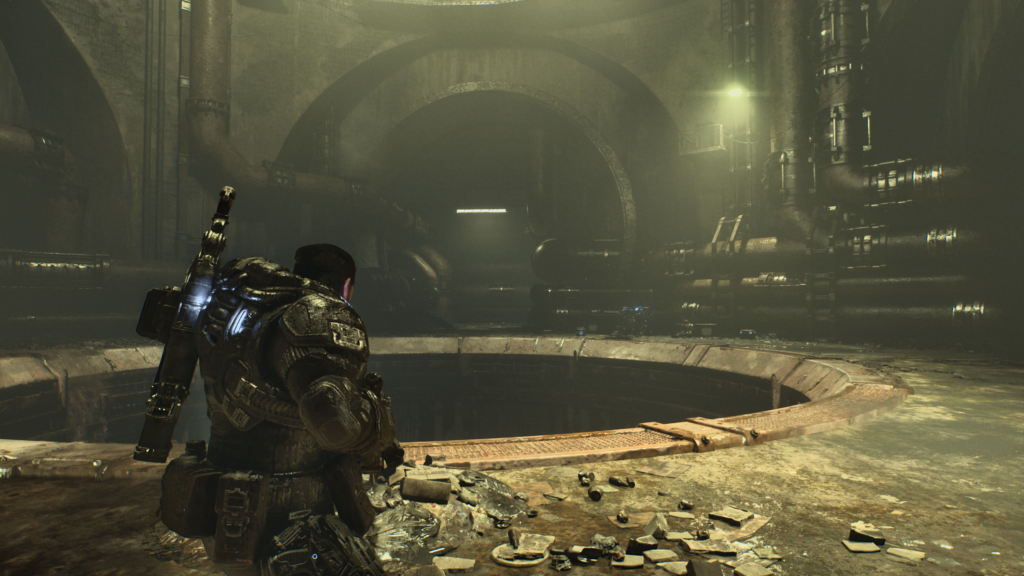
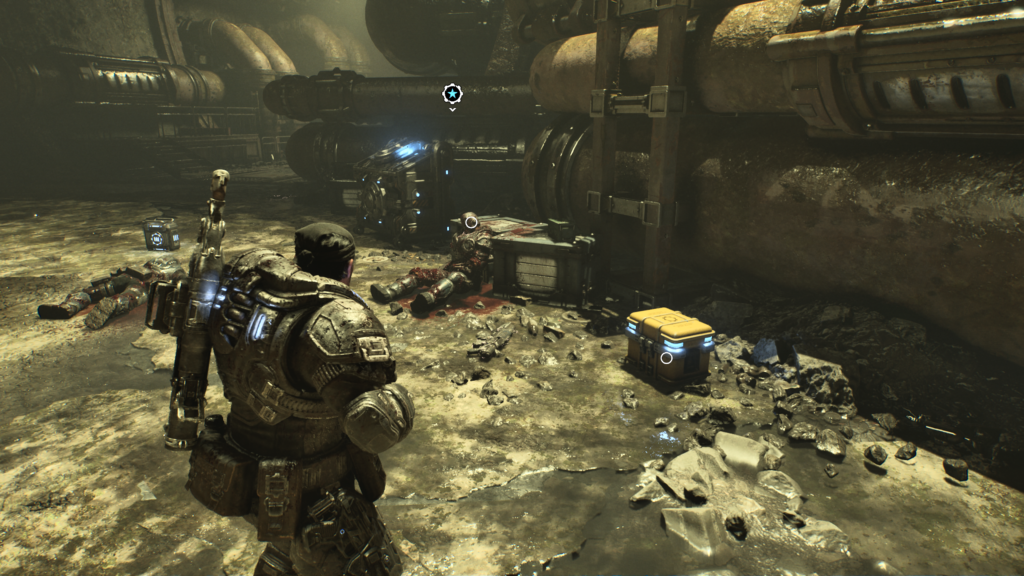
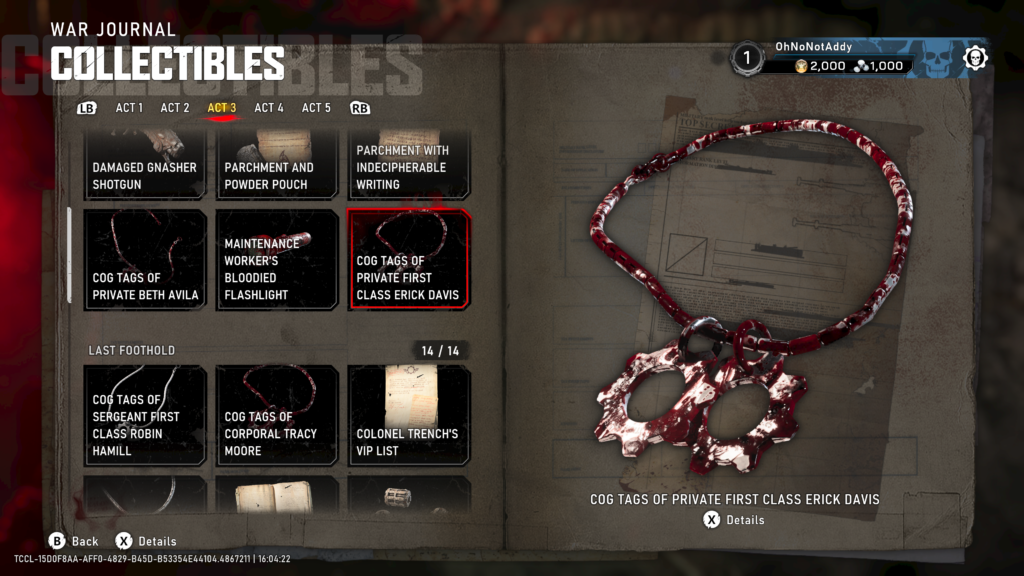
Collectible – COG Tags of Private First Class Erick Davis (6 / 6)
In the sewers, immediately to the left of the hard case above.
Act 3, Chapter 3 – Last Foothold
- 14 Collectibles
- 12 Hard Cases
- 3 Secondary Objectives
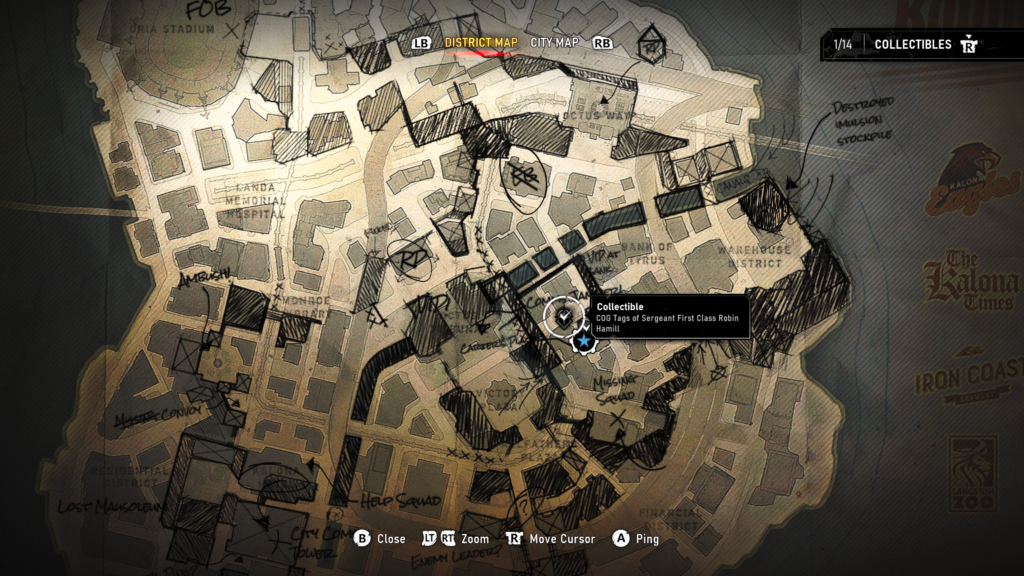
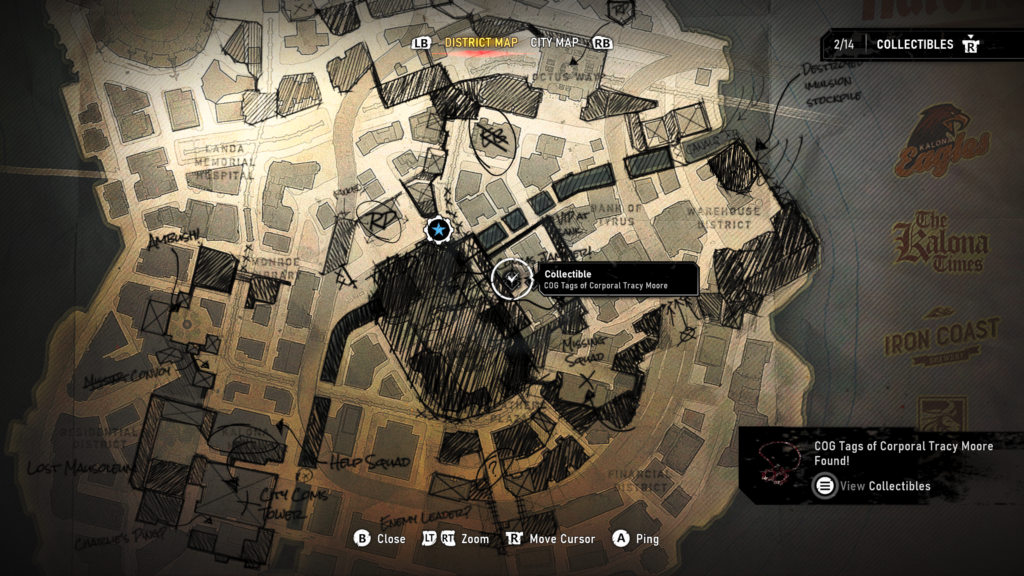
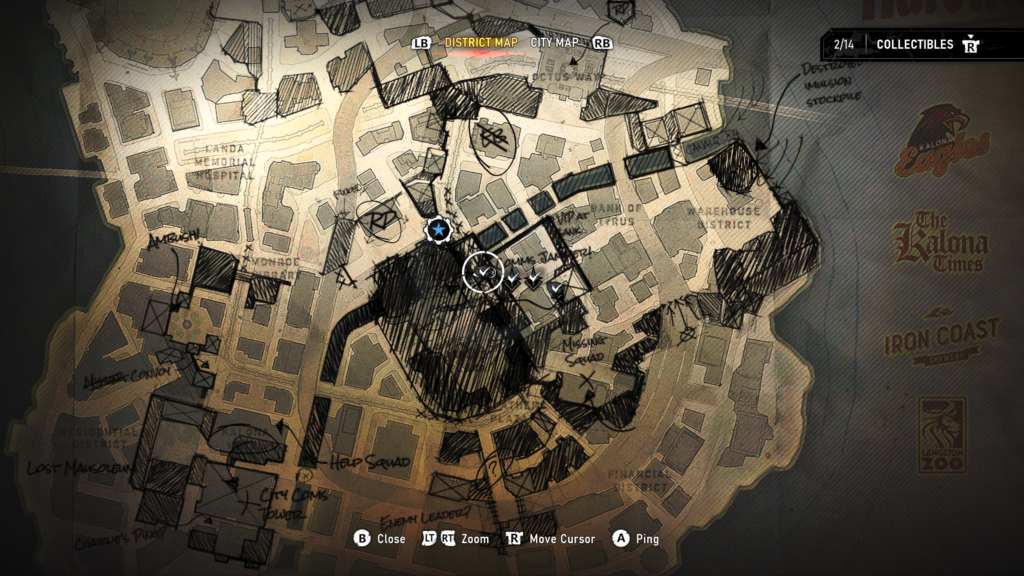
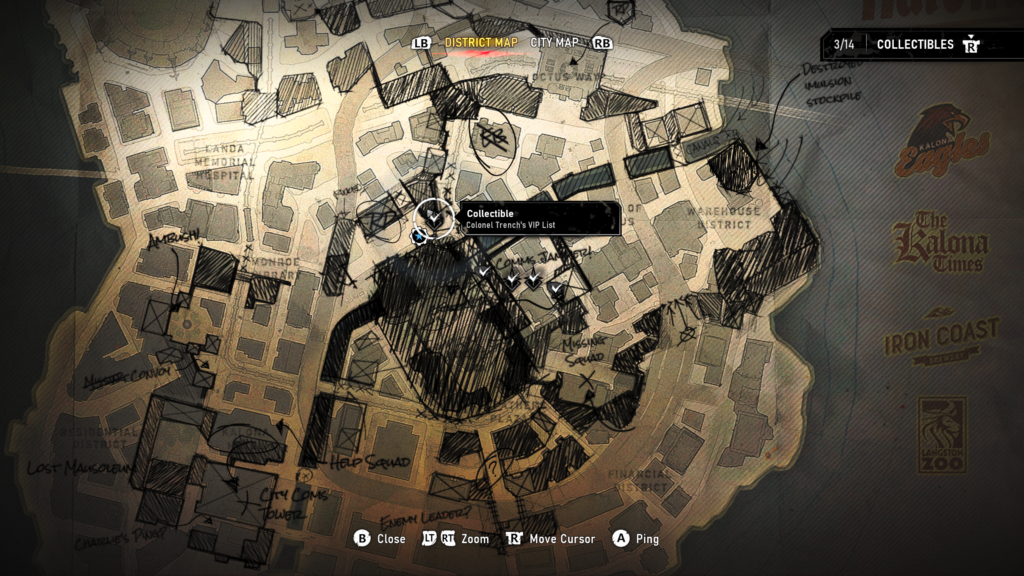
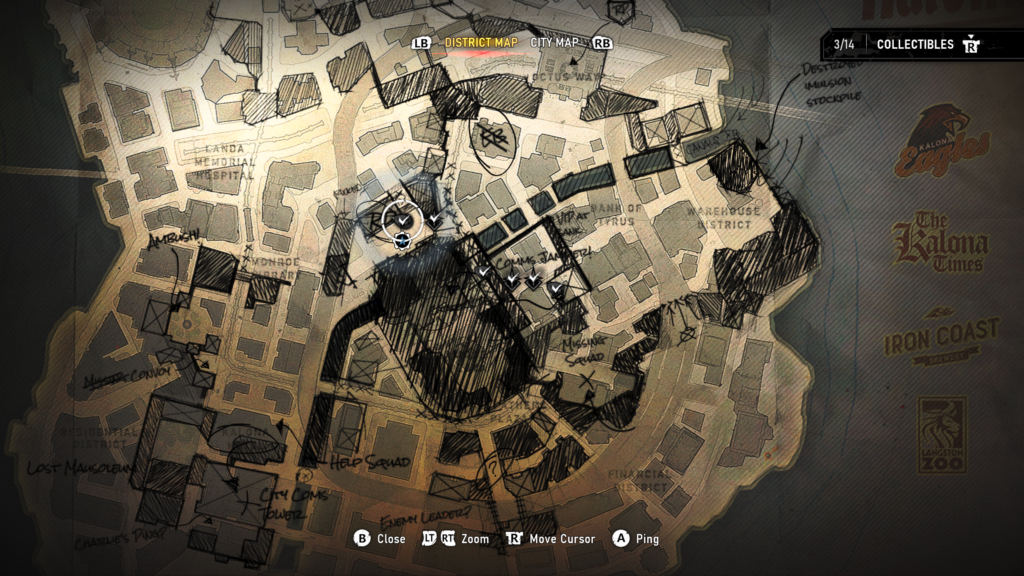
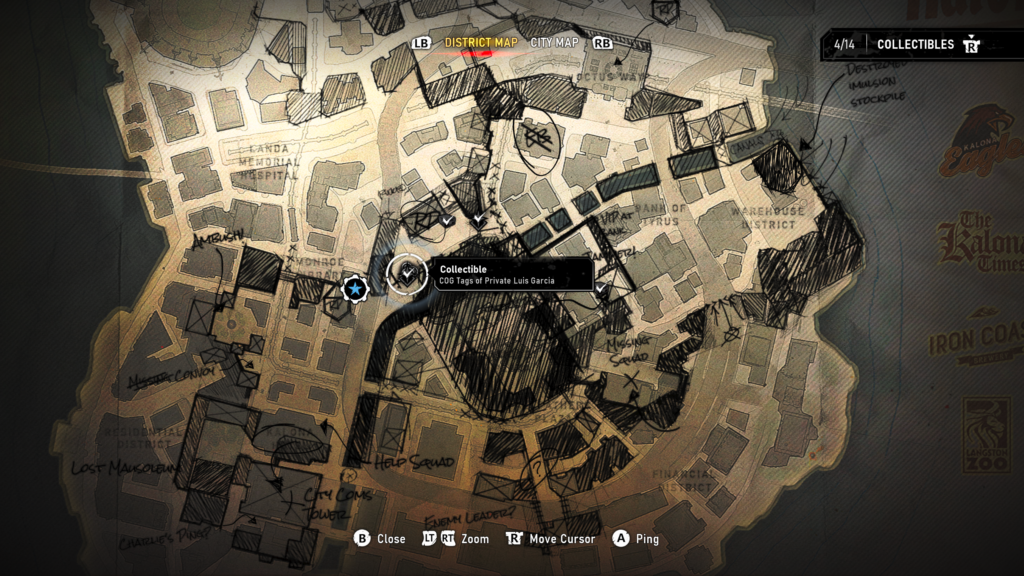
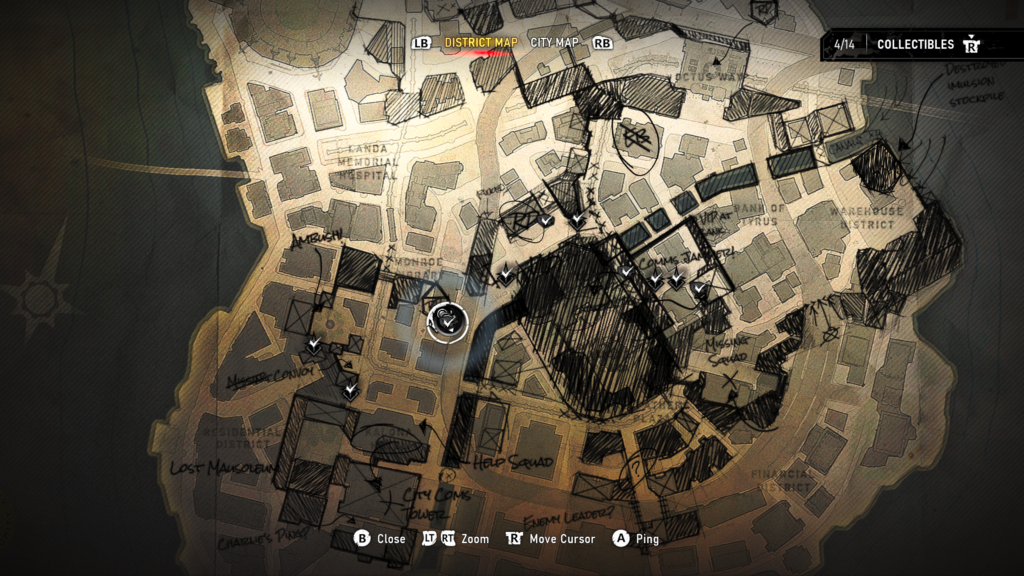
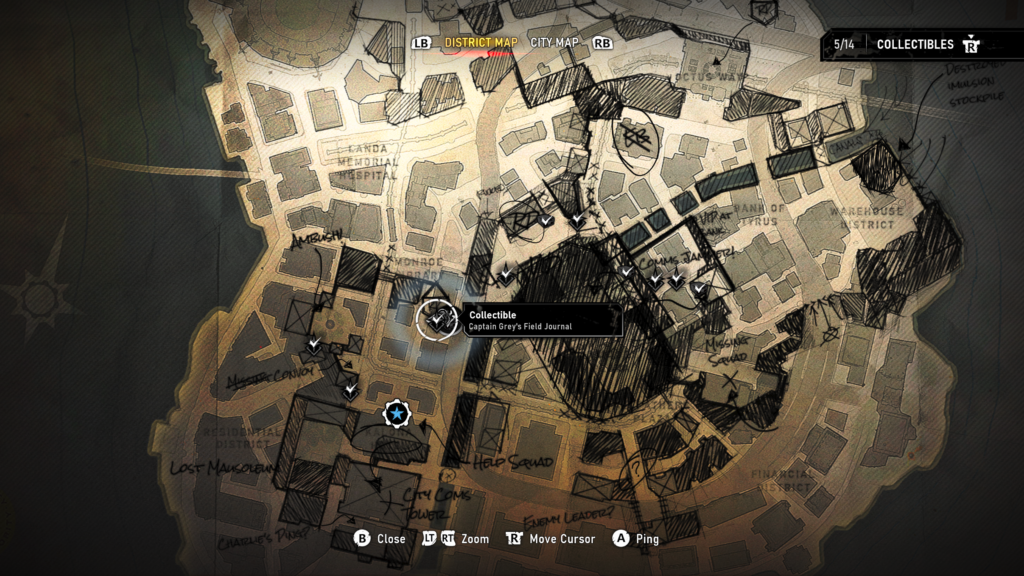
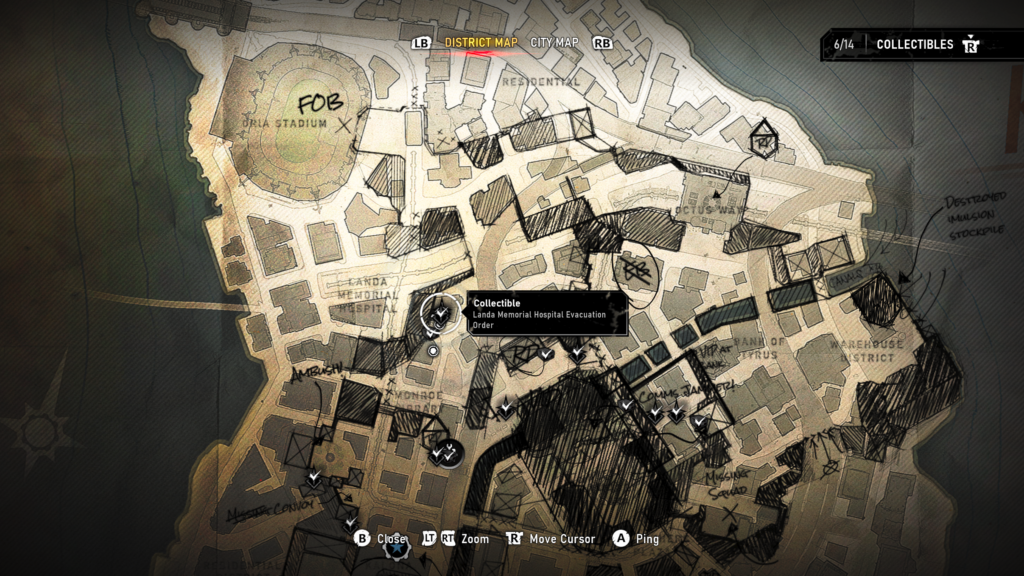
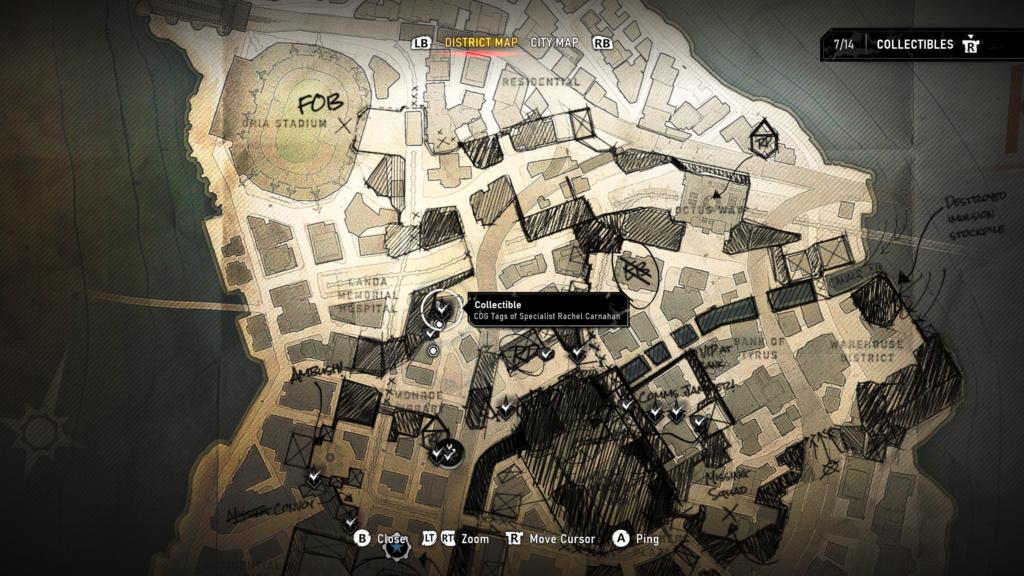
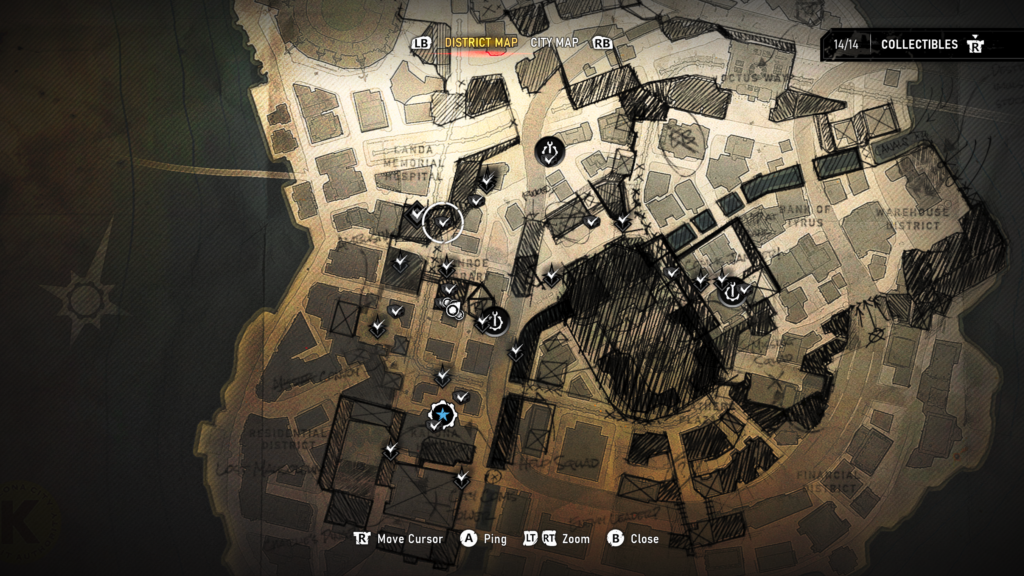
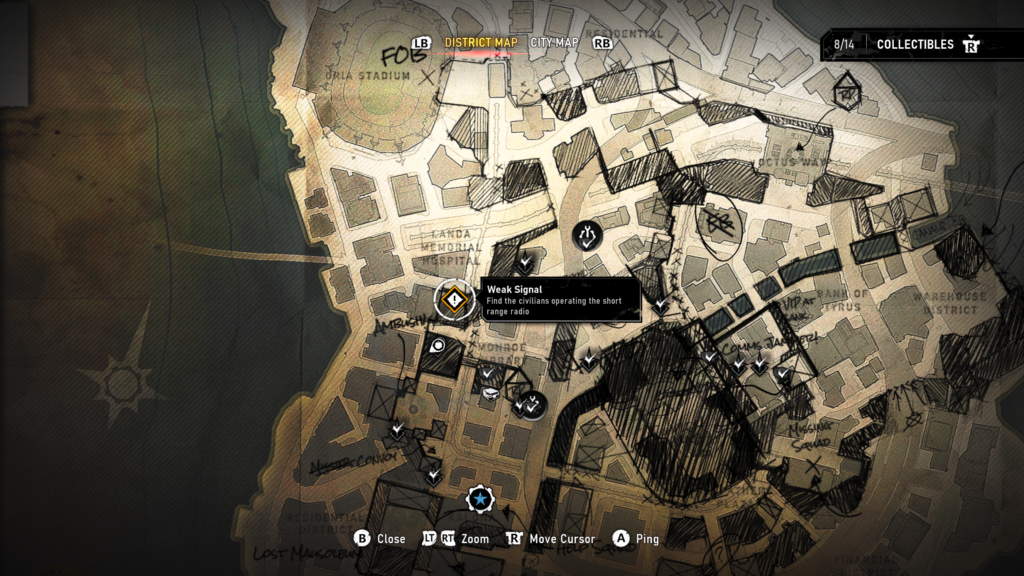
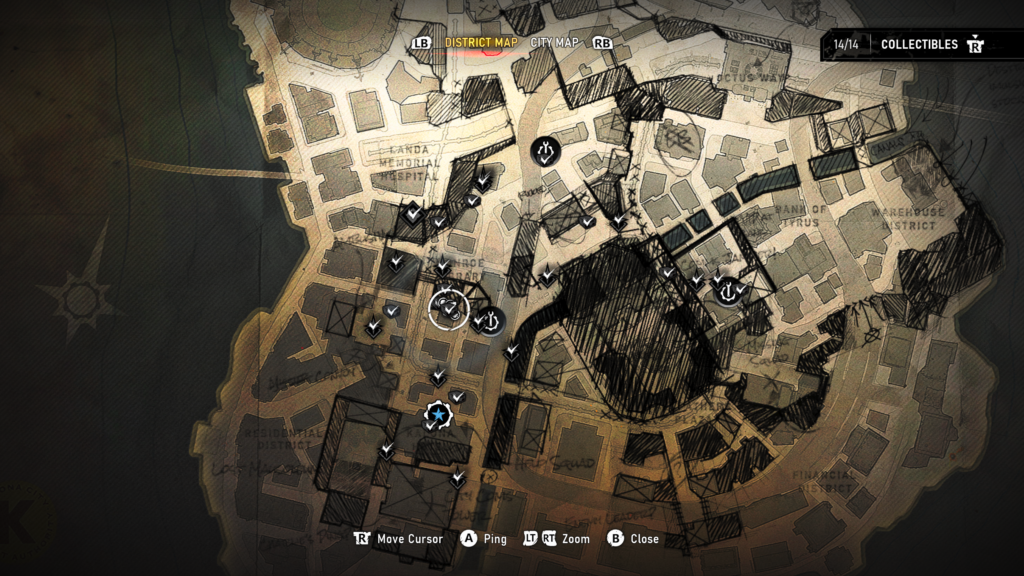
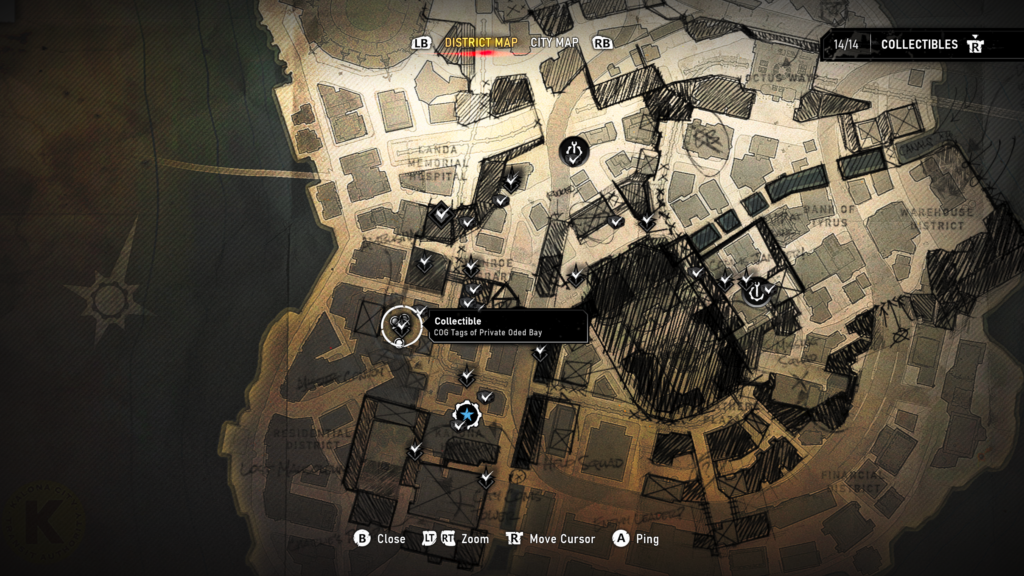
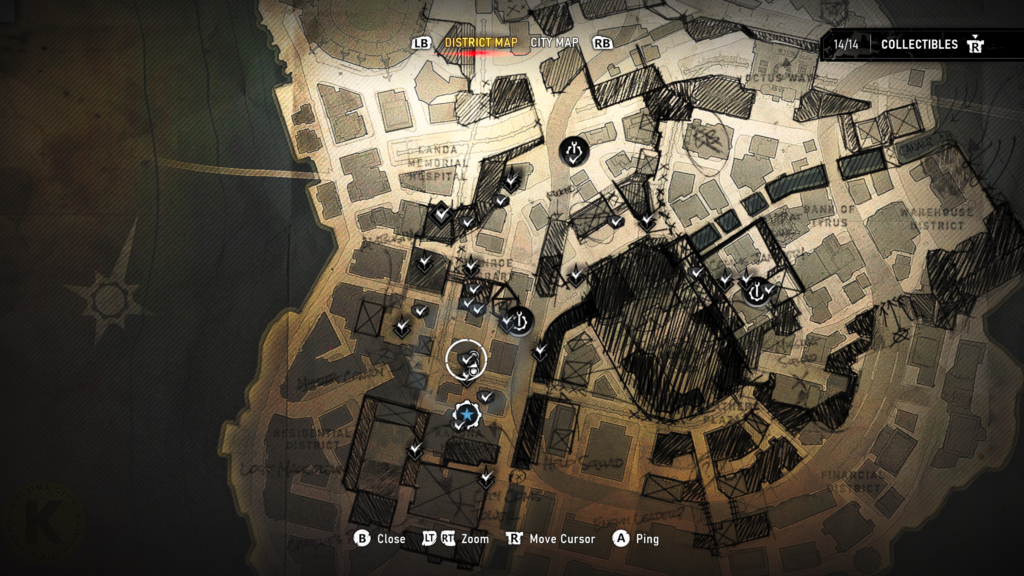
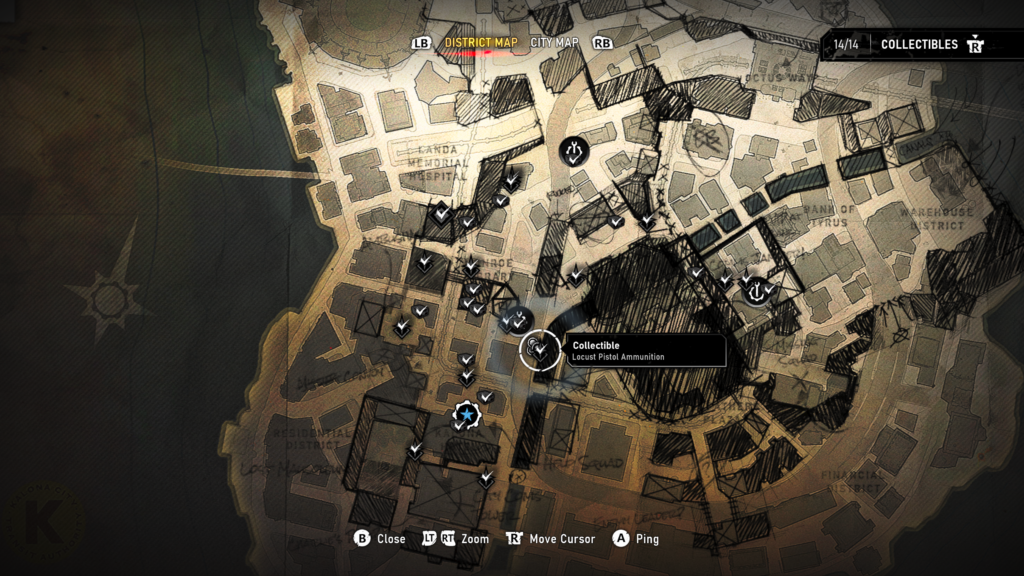
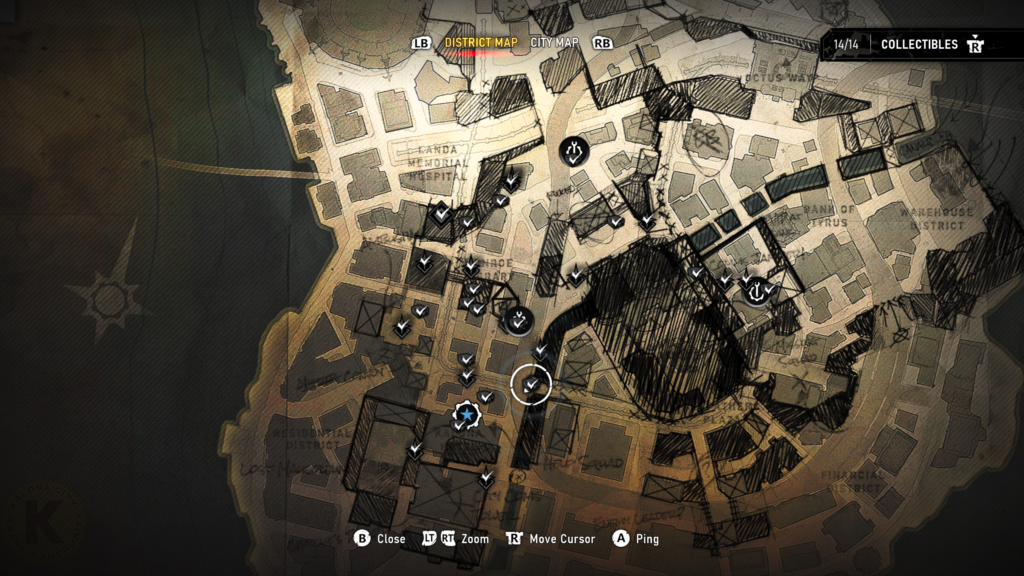
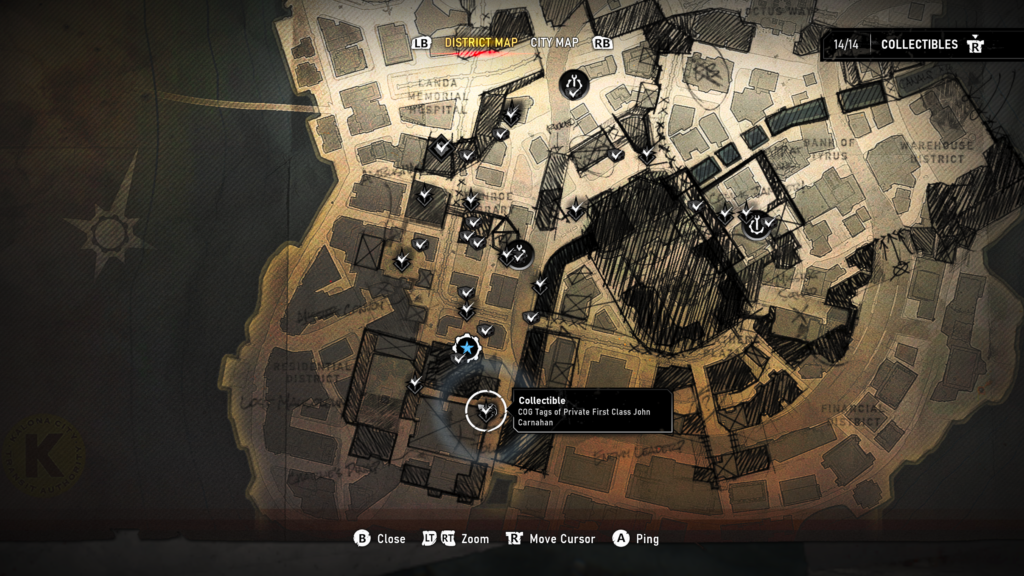
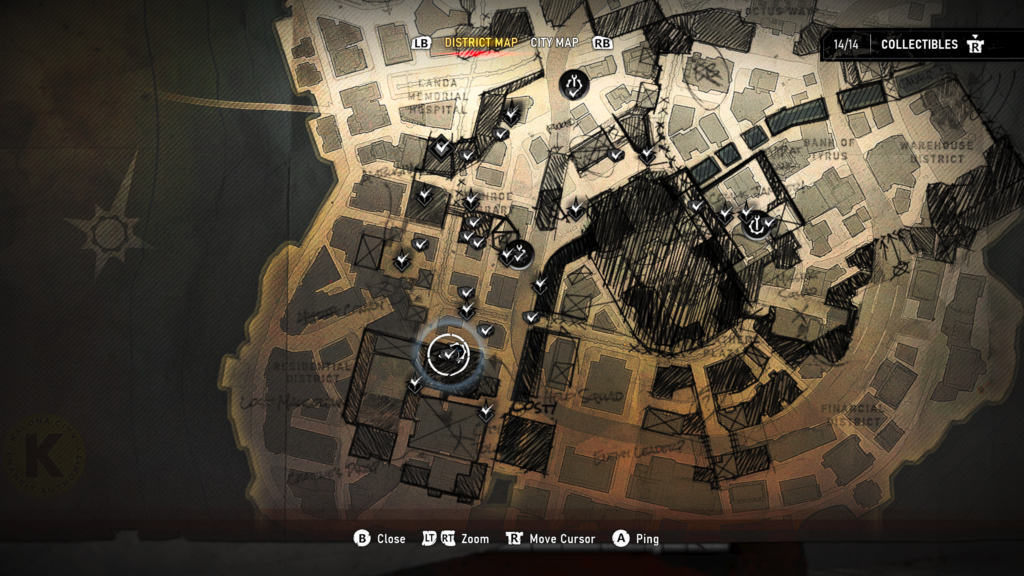
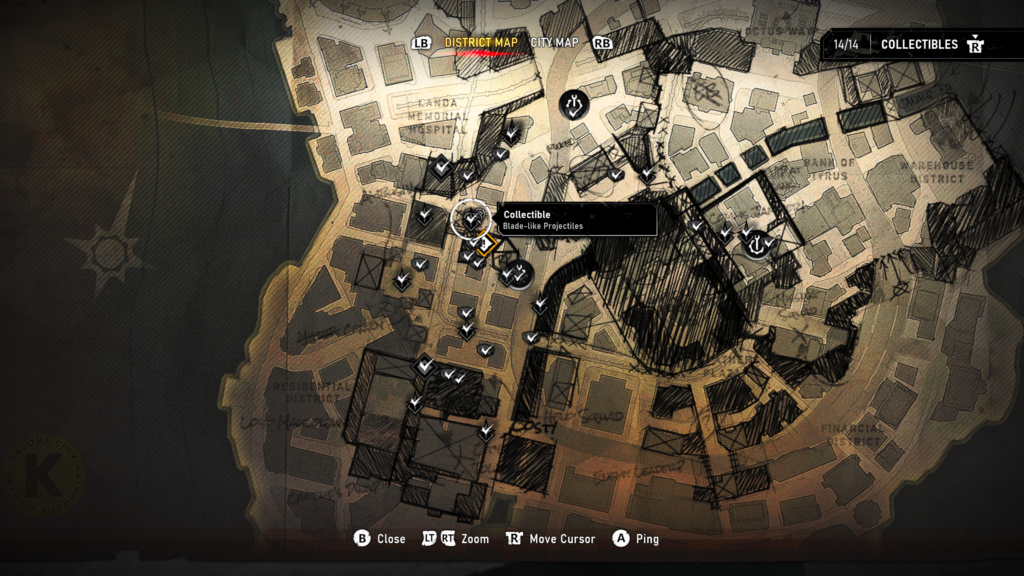
You will have access to a map in this chapter. I have included the map location for each object where possible.
Hard Case (1 / 12)
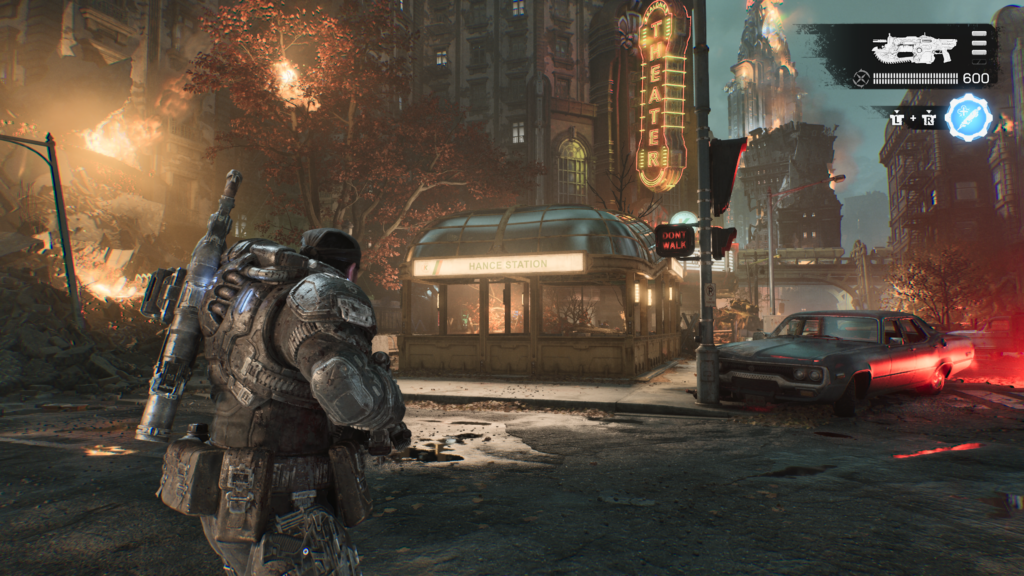
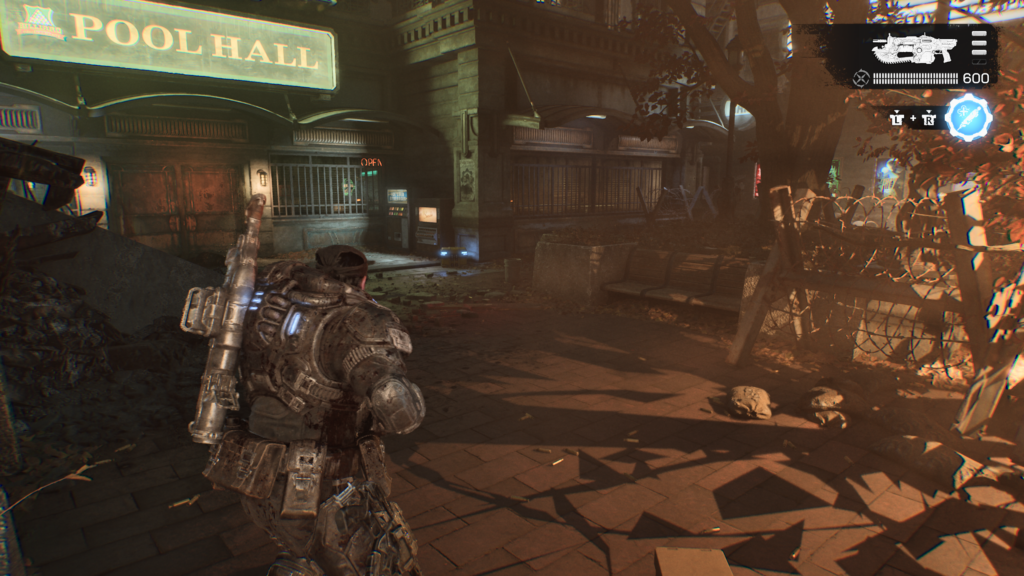
From the start of the chapter, facing the Kalona Theatre, turn around and head left down the side of the subway entrance. In front of the pool hall is the hard case.
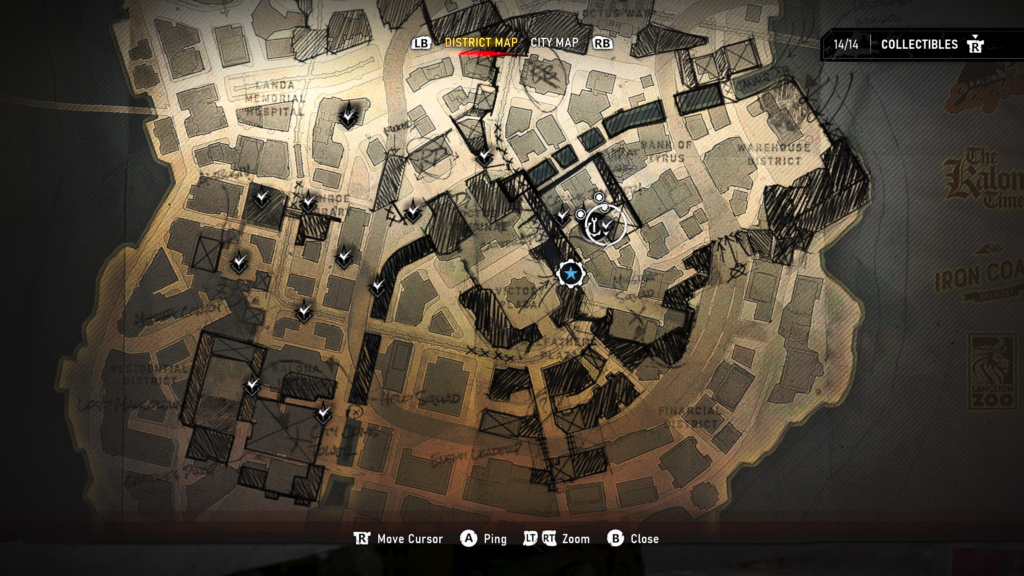
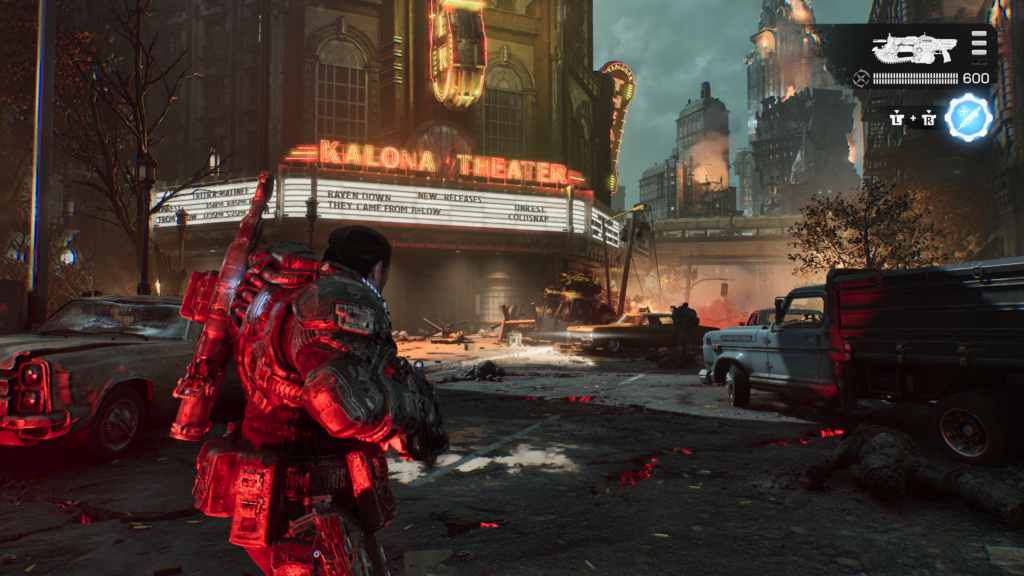
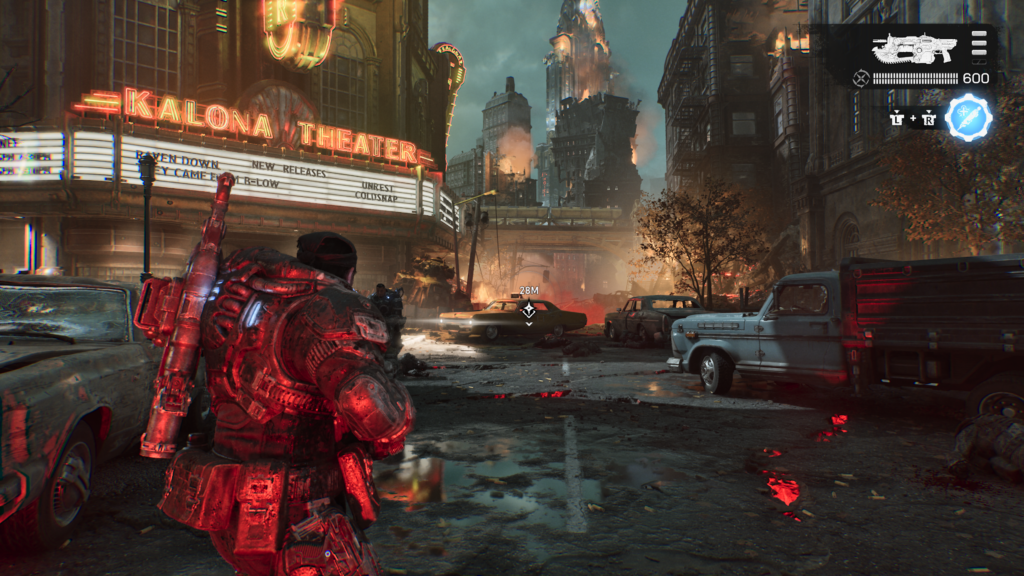
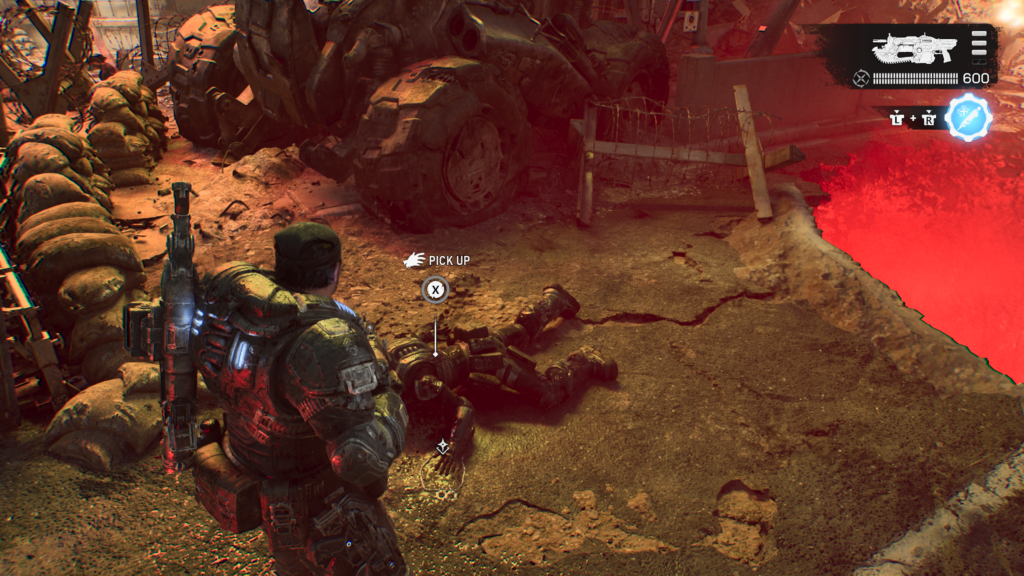
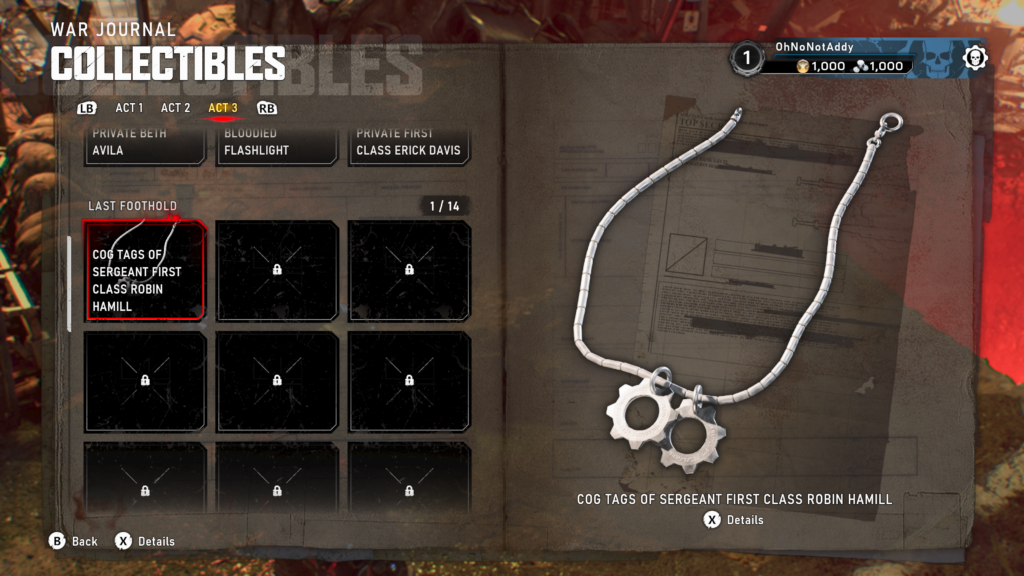
Collectible – COG Tags of Sergeant First Class Robin Hamill (1 / 14)
To the right of the Kalona Theatre, behind a taxi, on the ground.
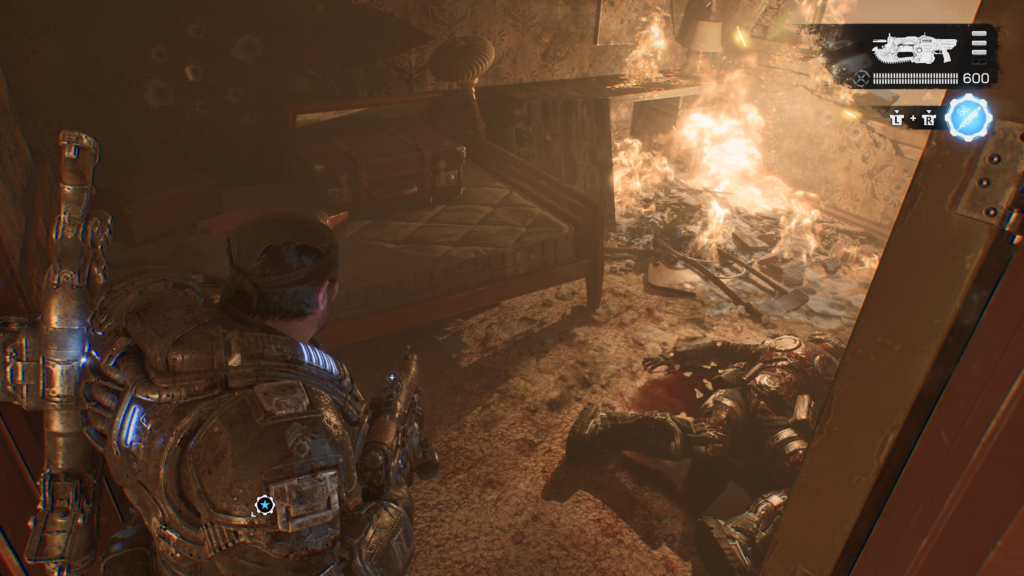
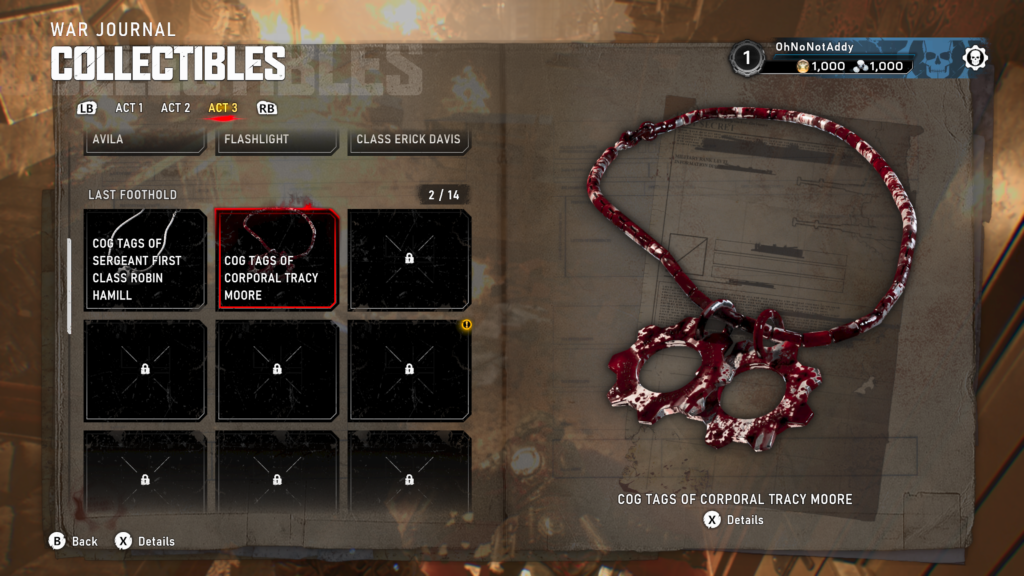
Collectible – COG Tags of Corporal Tracy Moore (2 / 14)
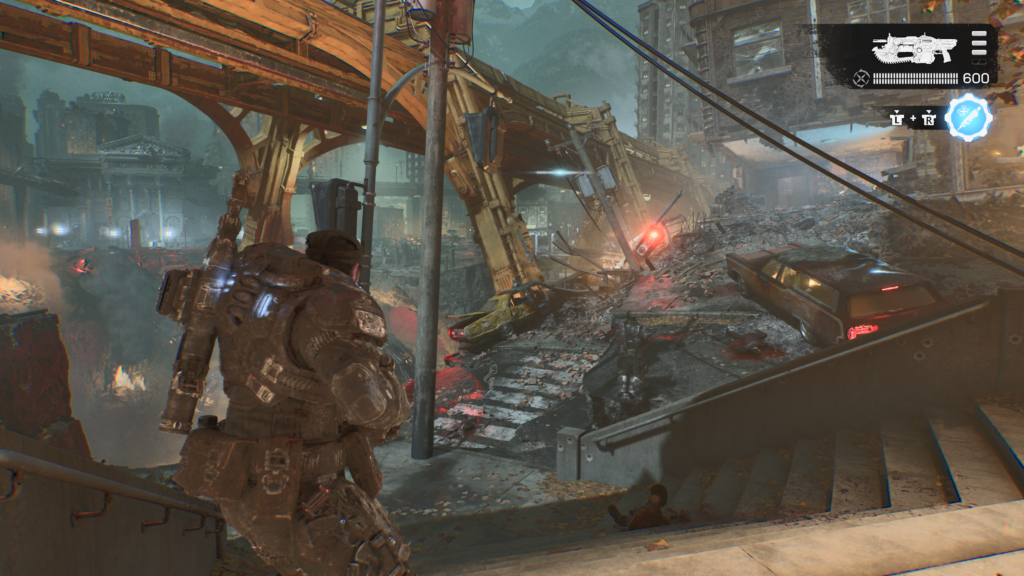
You’ll make your way through the collapsed streets, underneath the sky train above. You’ll reach a building on your right, as you head in the COG tags are in a back room on the floor.
Hard Case (2 / 12)
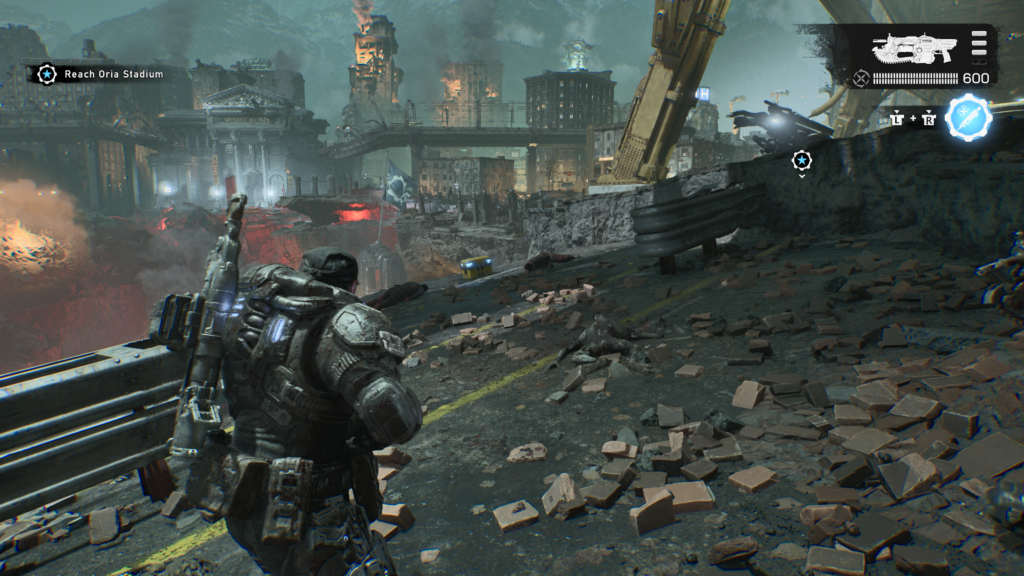
From the last collectible, head out of the building, continuing forward. On the left side of the road, at the edge of the road, is the hard case.
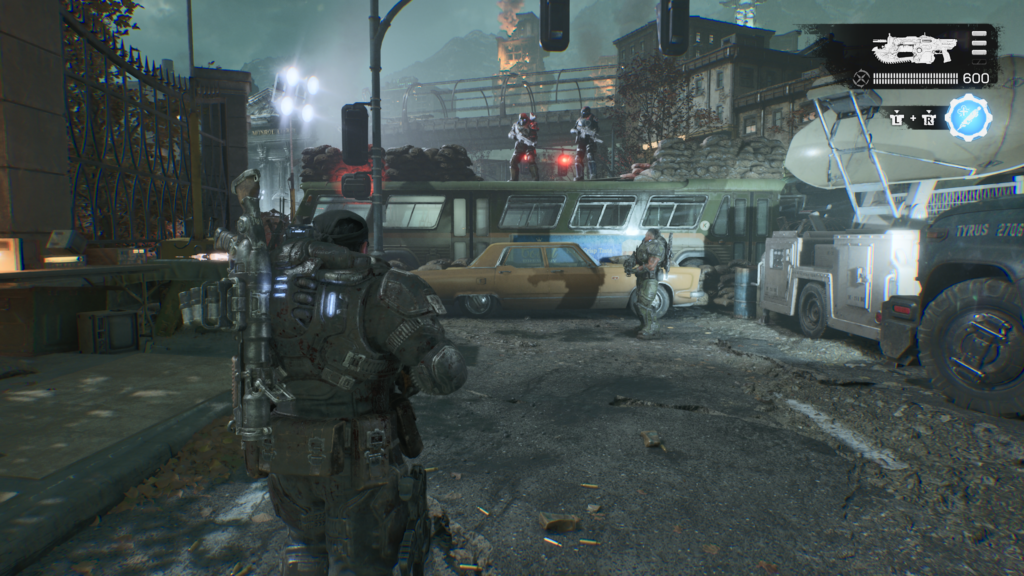
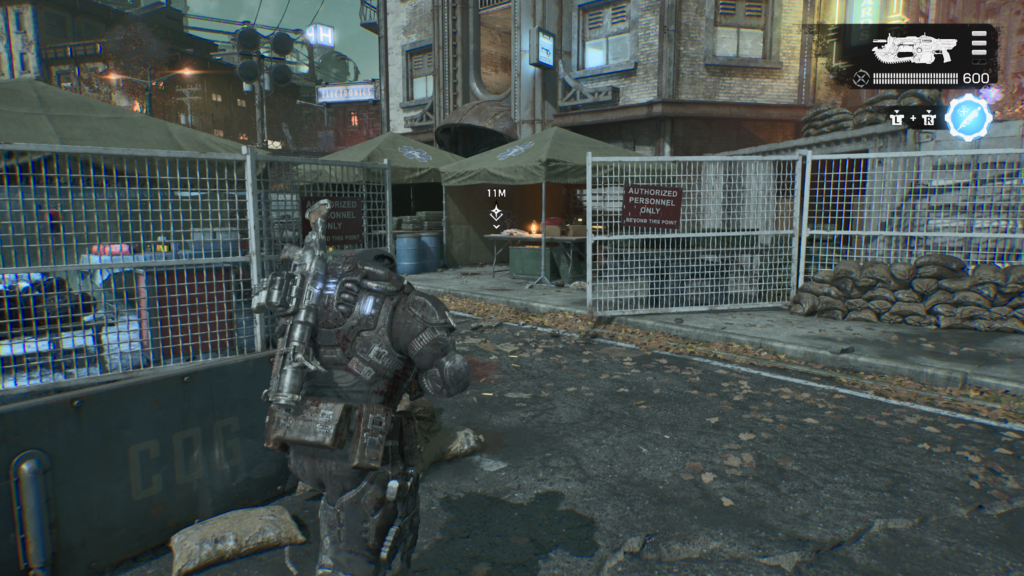
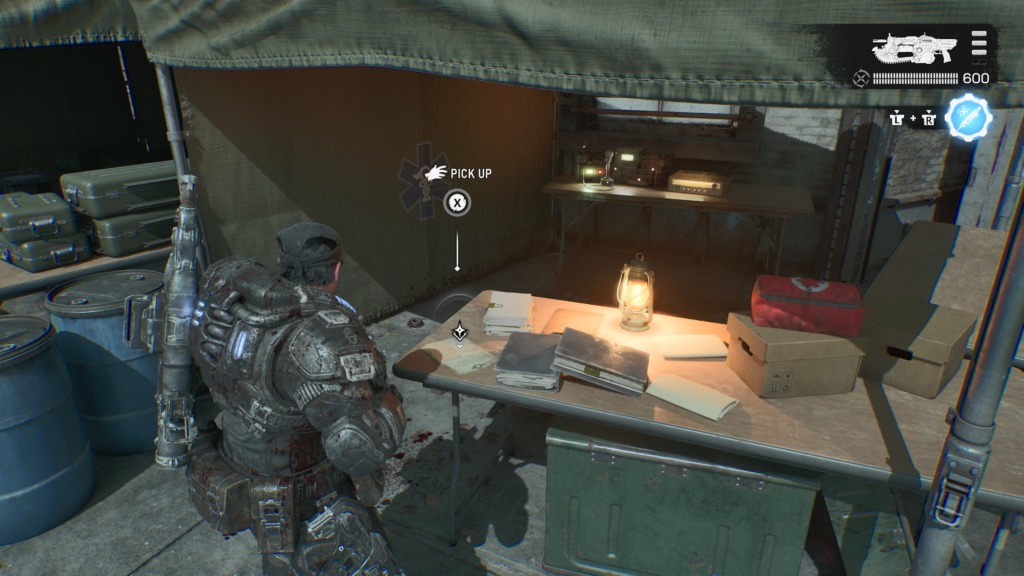
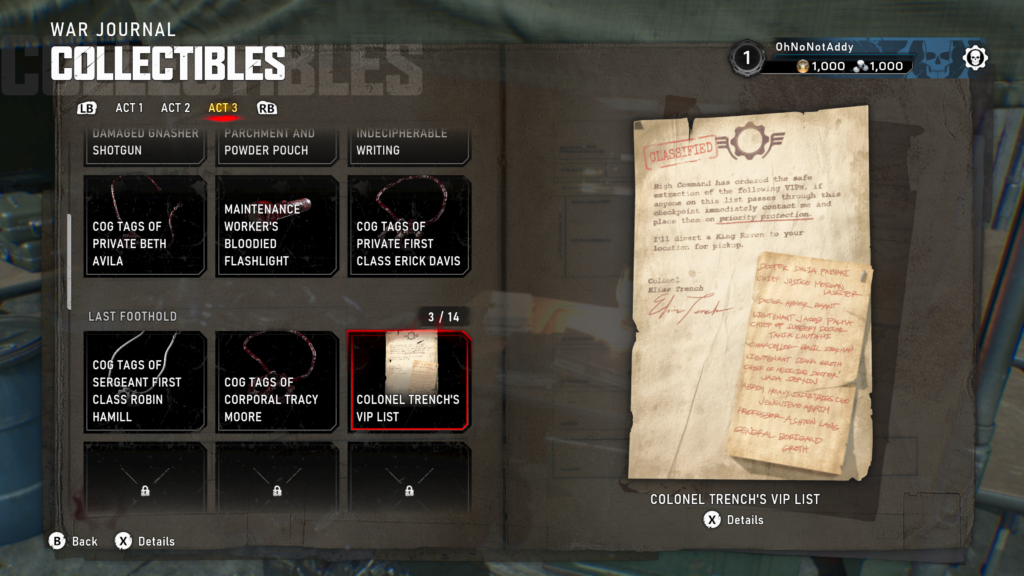
Collectible – Colonel Trench’s VIP List (3 / 14)
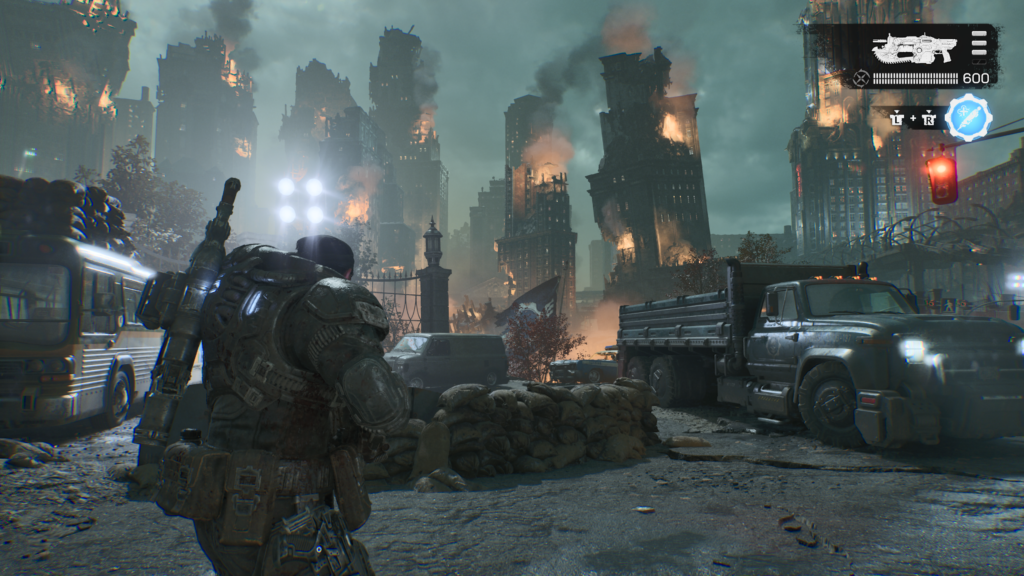
You’ll meet up with Tai in an abandoned COG checkpoint. You’ll need to follow him by climbing up and over a bus. Before you do, head to the right side of the checkpoint to find the collectible on a table under a gazebo / tent.
Hard Case (3 / 12)
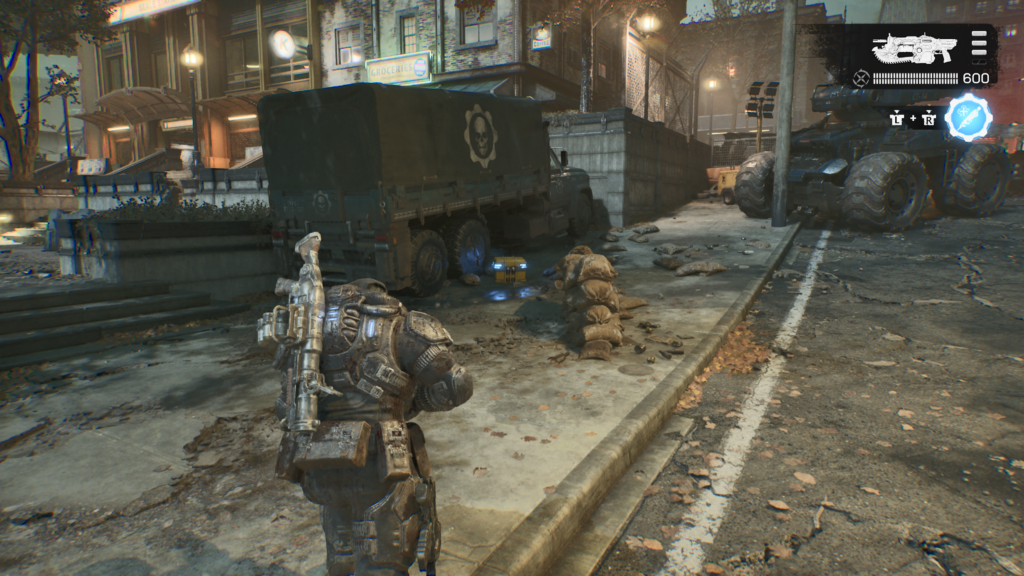
Once you’re over the bus, head to the right up the street. On the left, against a wall, is the hard case.
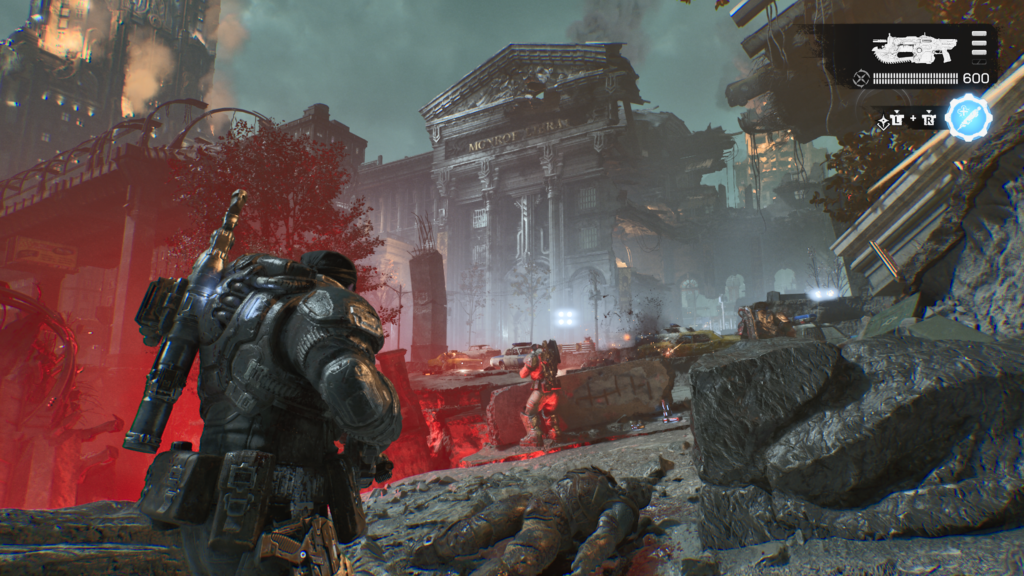
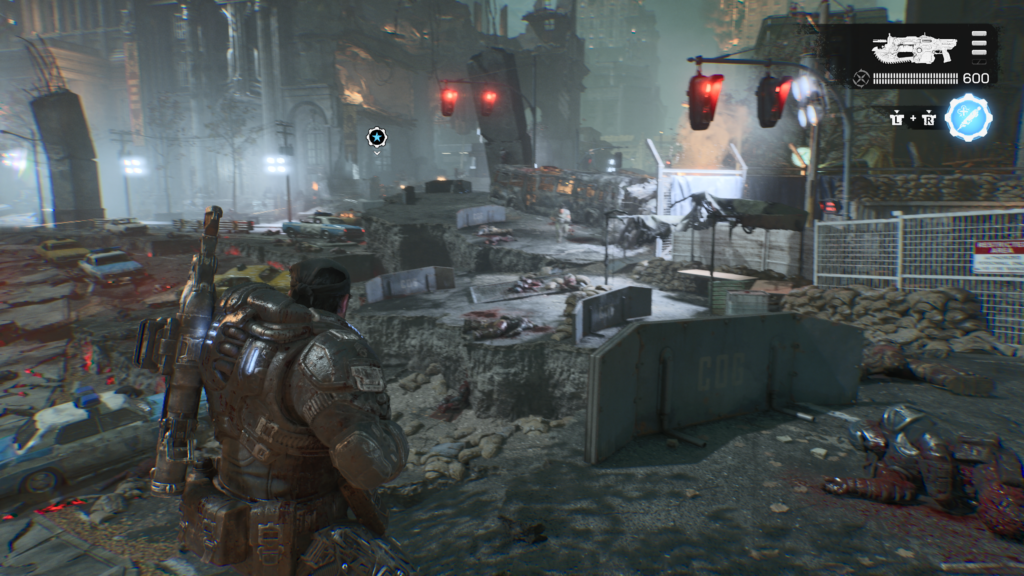
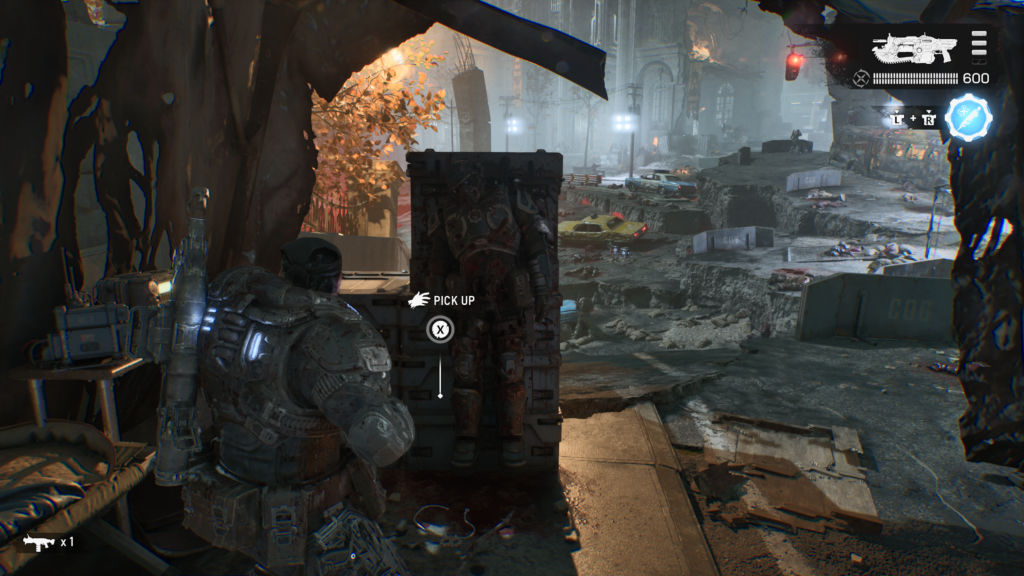
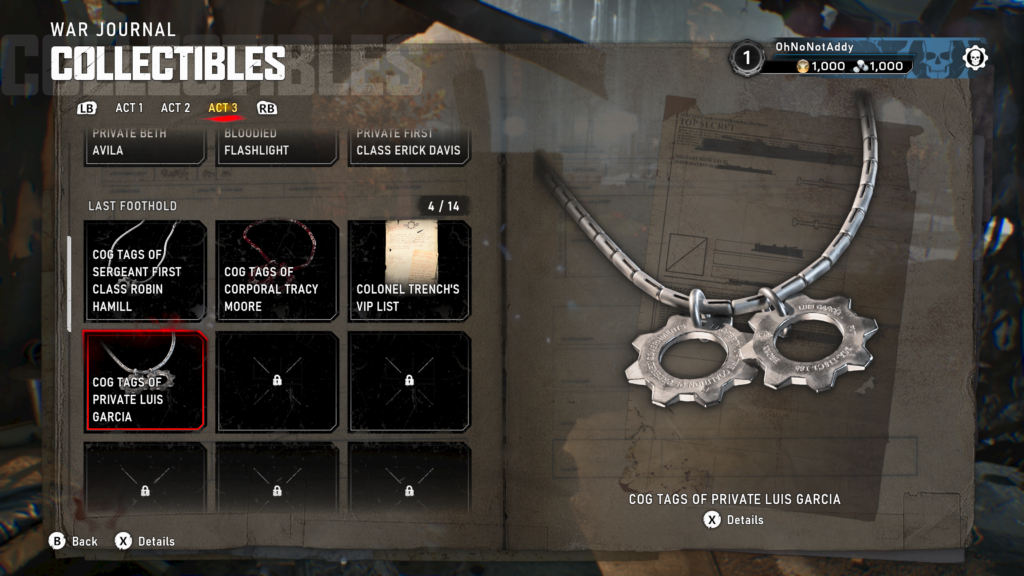
Collectible – COG Tags of Private Luis Garcia (4 / 14)
As you make your way to the library to meet up with Captain Grey, you’ll enter a fight with Locust. Head to the right, and climb up the ledges. At the top, turn back and head to the edge to find a shipping container on your right, inside it is the COG tag.
Hard Case (4 / 12)
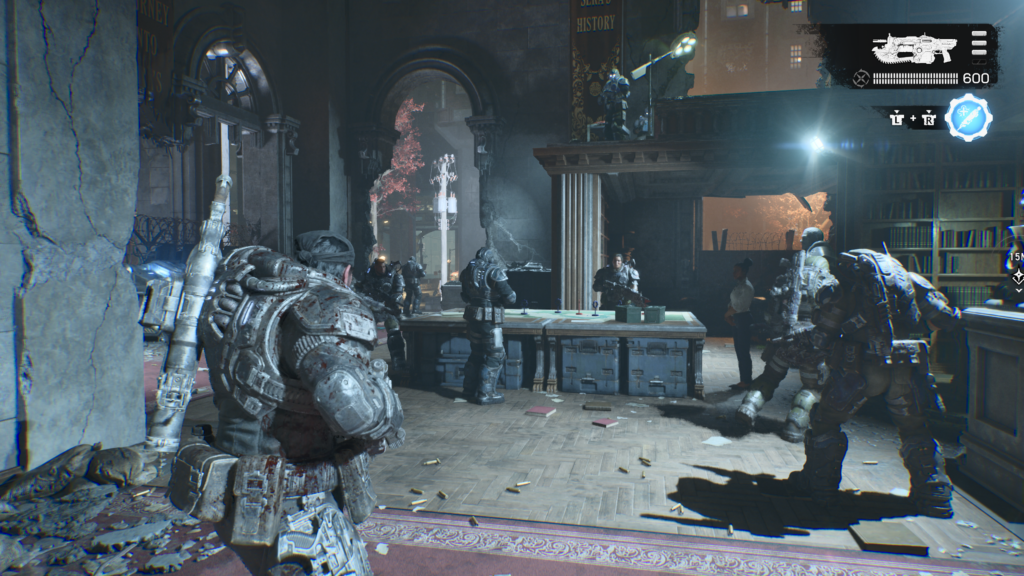
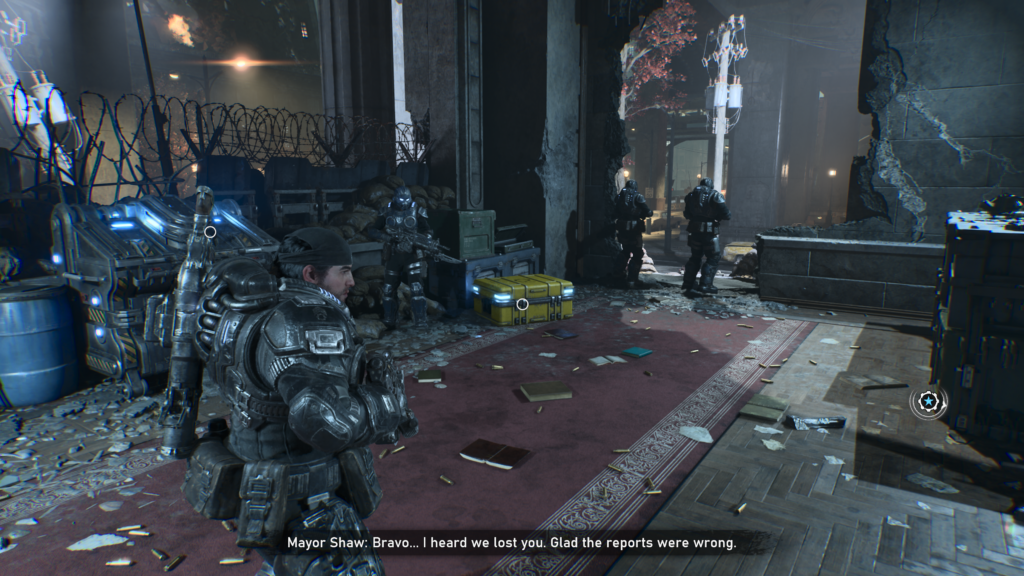
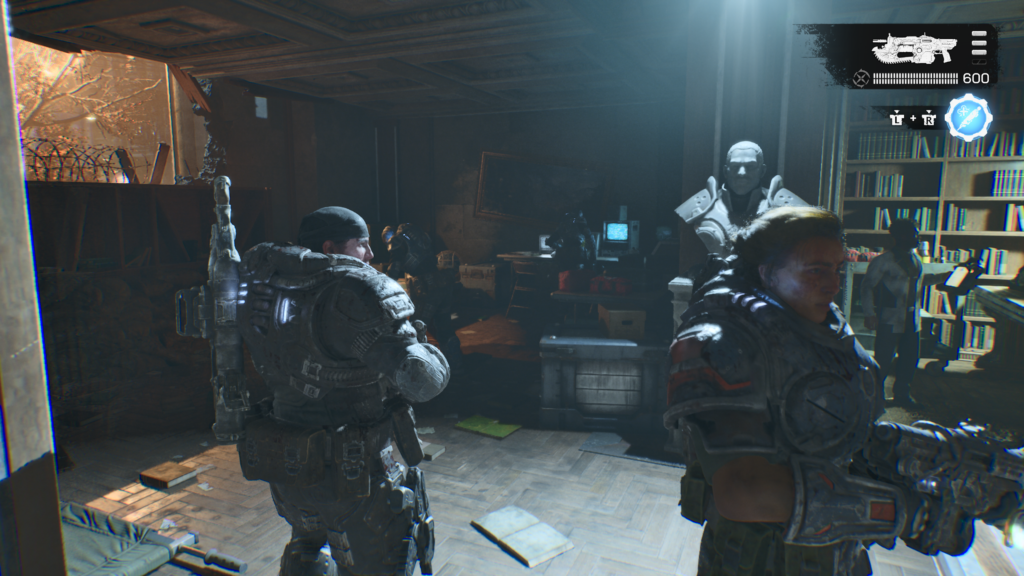
When you meet up with Captain Grey and the surviving COGS in the library, you’ll receive a briefing with a tactical map table in the centre. To the back left is the hard case.
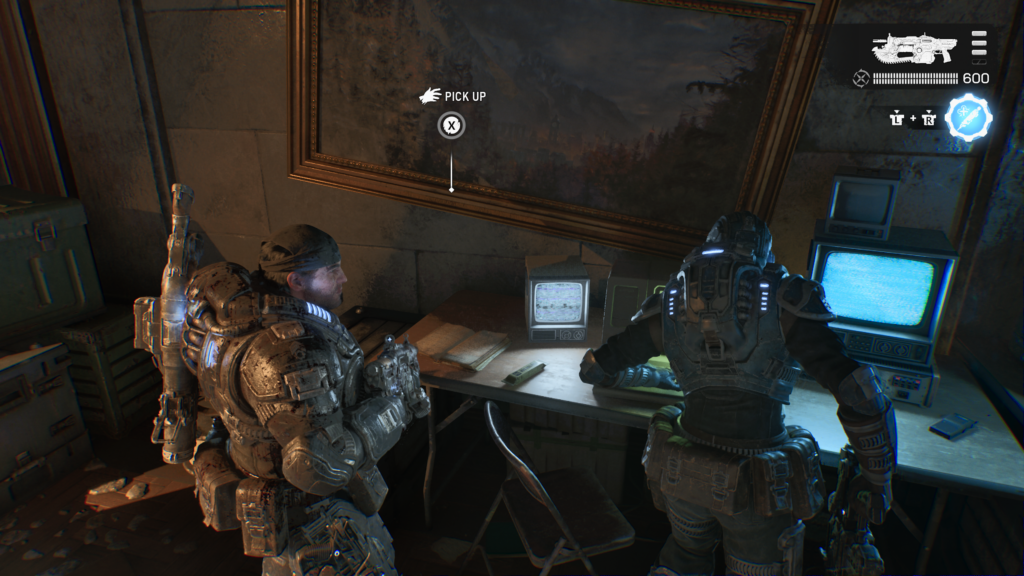
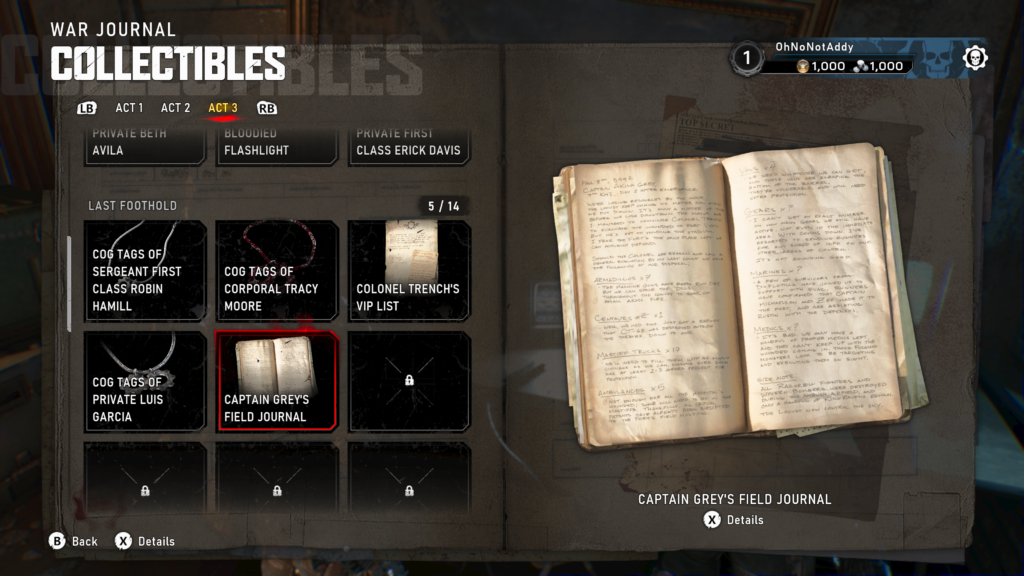
Collectible – Captain Grey’s Field Journal (5 / 14)
From the last hard case, head to the right of the area, into the room at back. The collectible is on a table.
Hard Case (5 / 12)
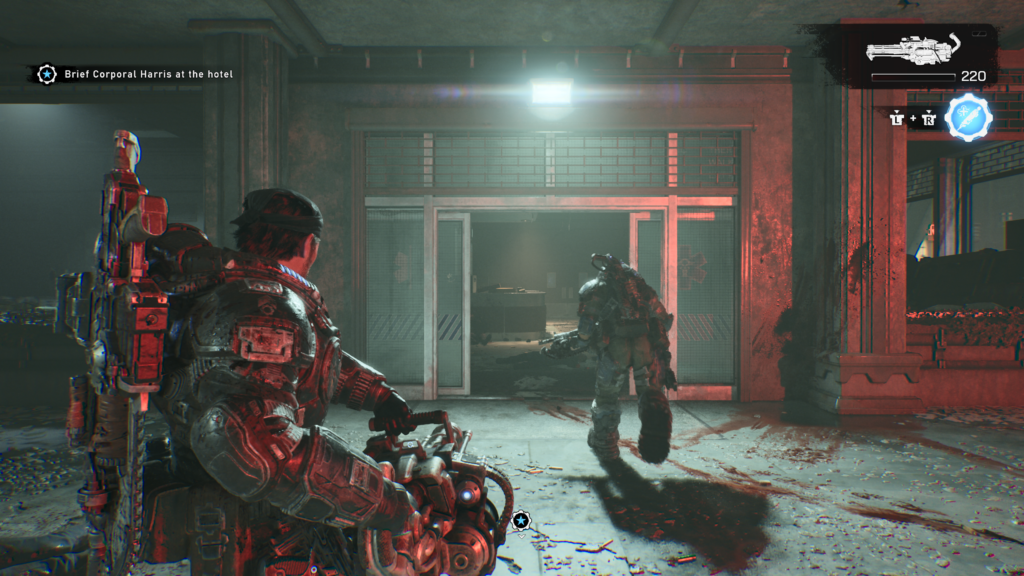
Head to the Landa Memorial Hospital. Fight off any Locust there, on the roof of the entrance is the hard case.
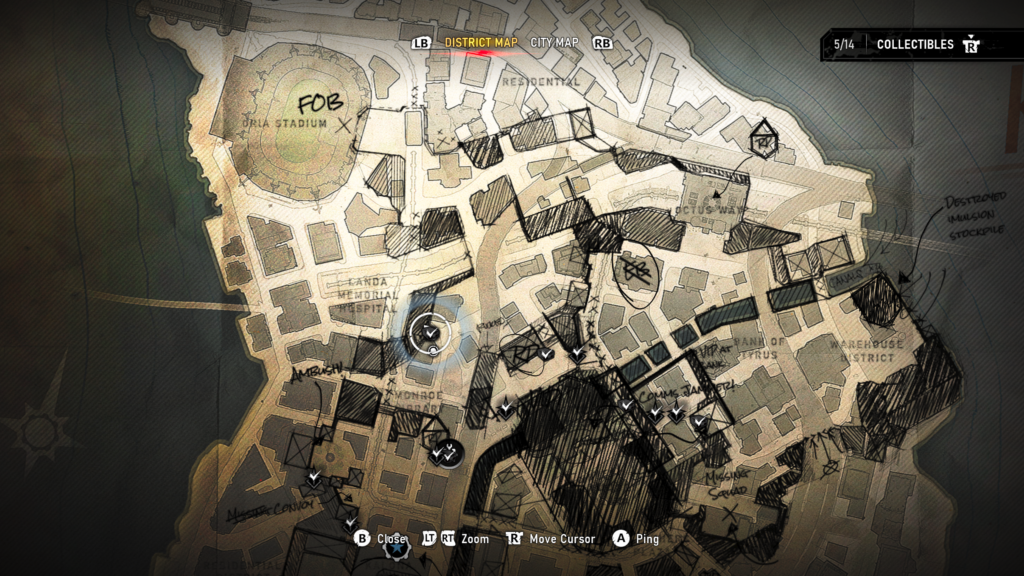
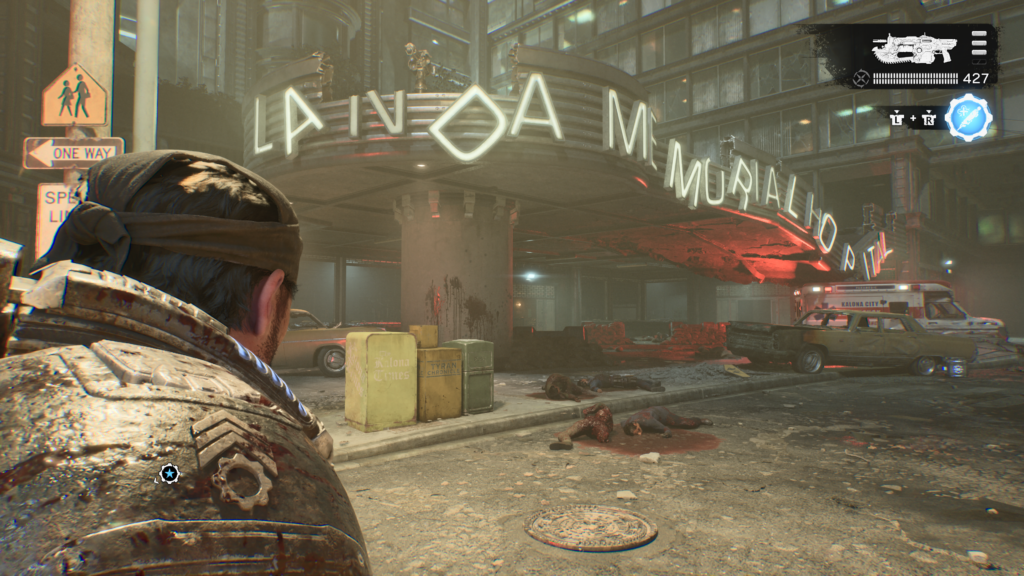
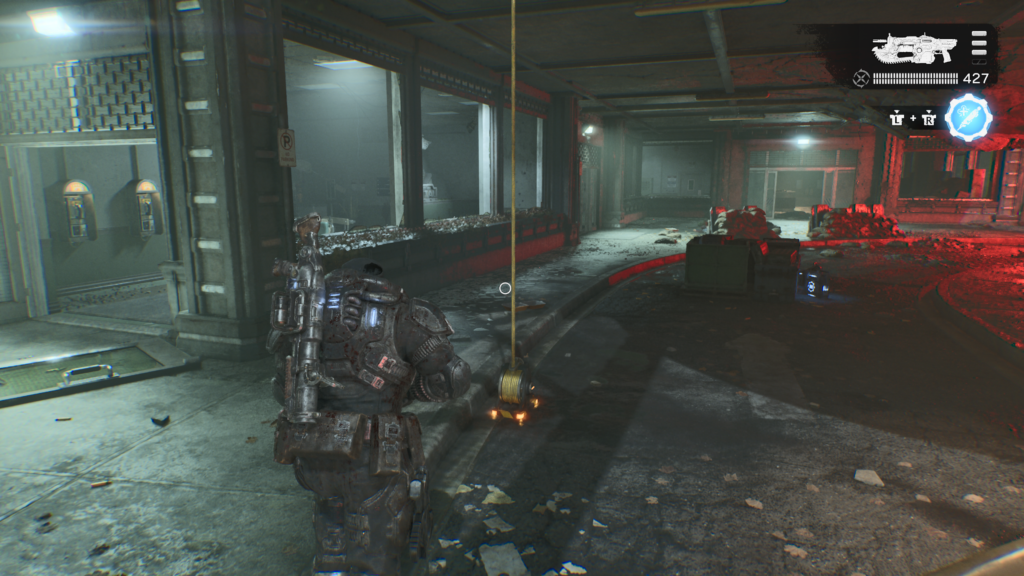
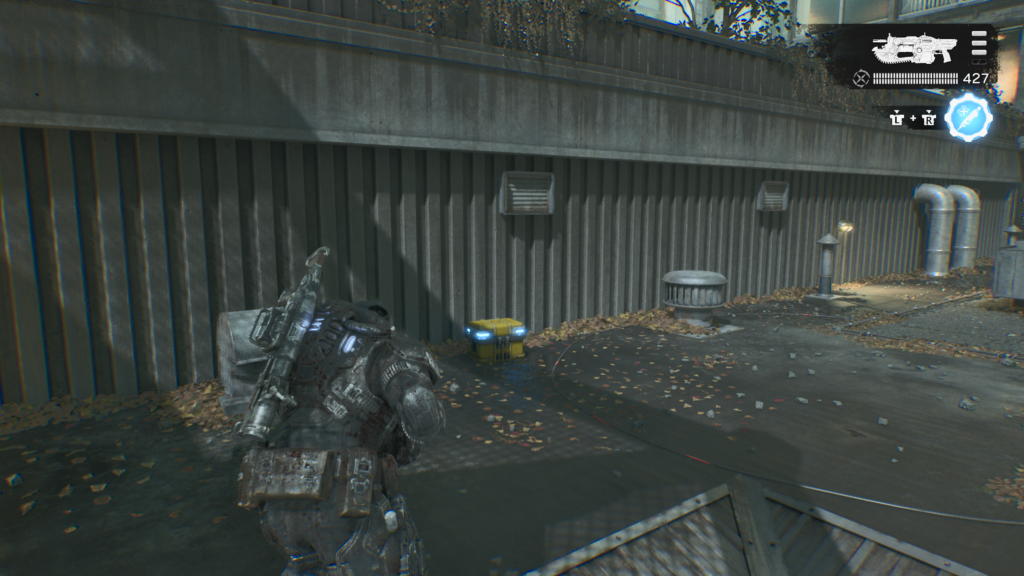
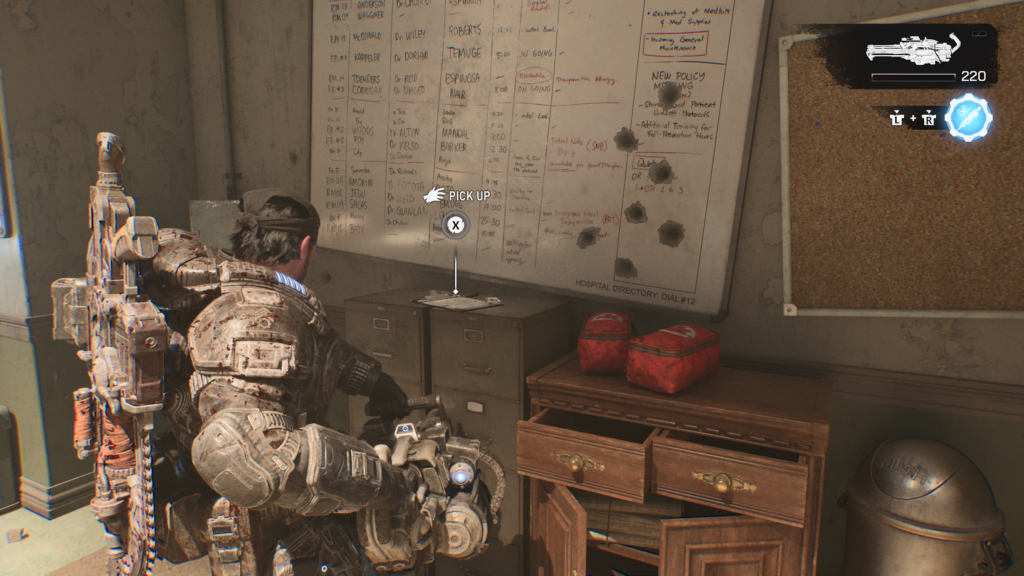
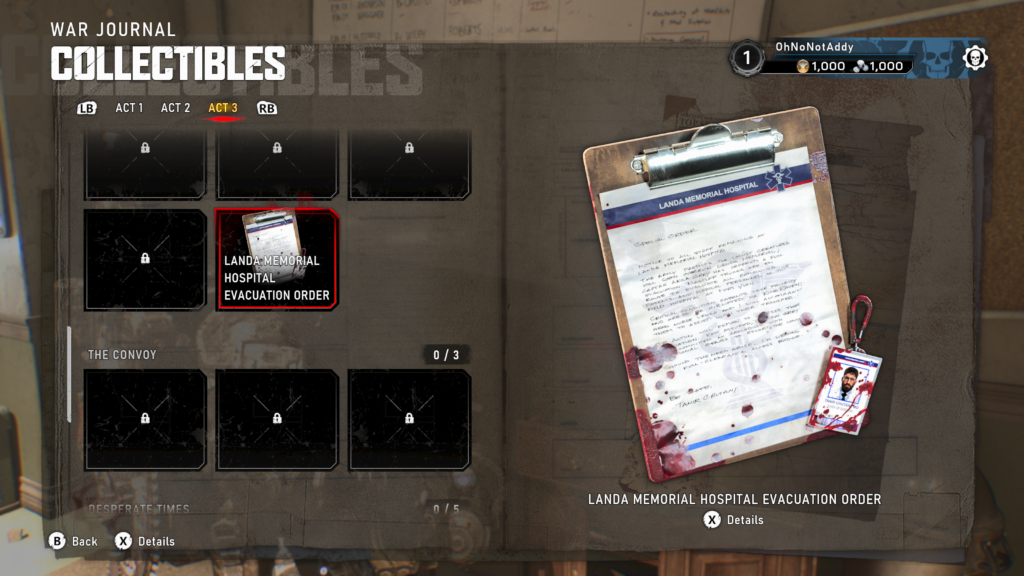
Collectible – Landa Memorial Hospital Evacuation Order (6 / 14)
Head into the hospital through the ground floor entrance, keep to the right and behind a reception area on a filing cabinet is the collectible.
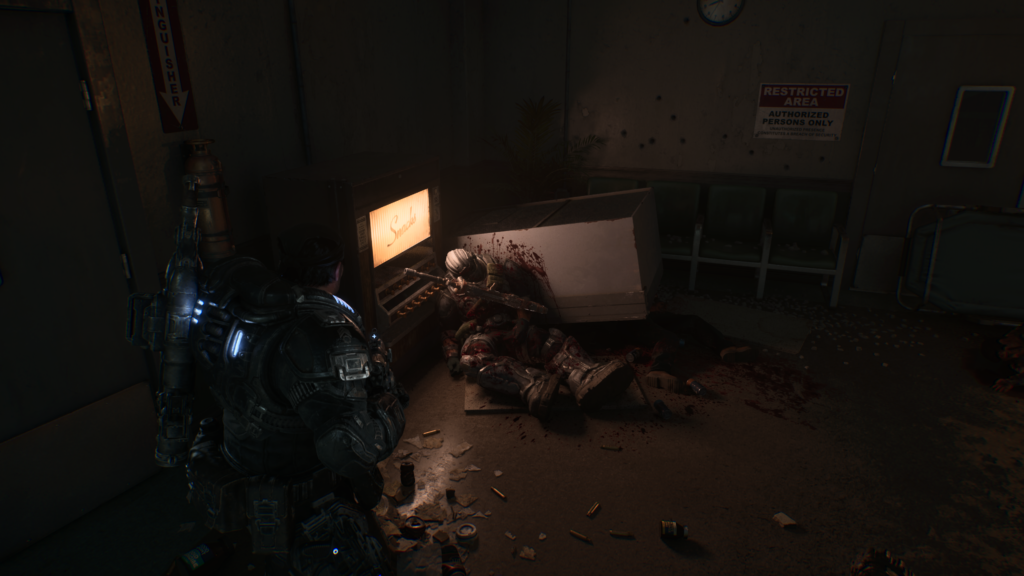
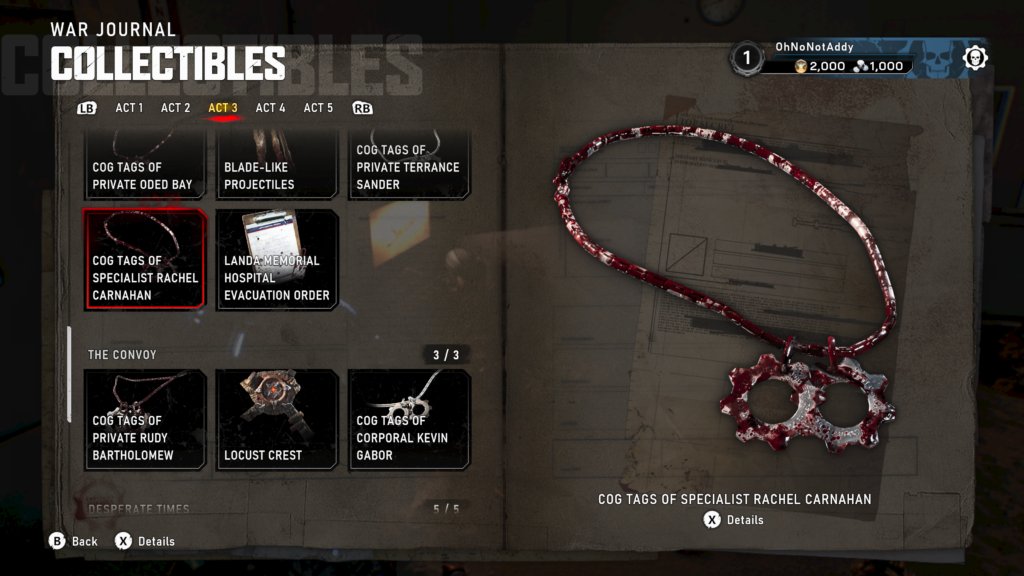
Collectible – COG Tags of Specialist Radchel Carnahan (7 / 14)
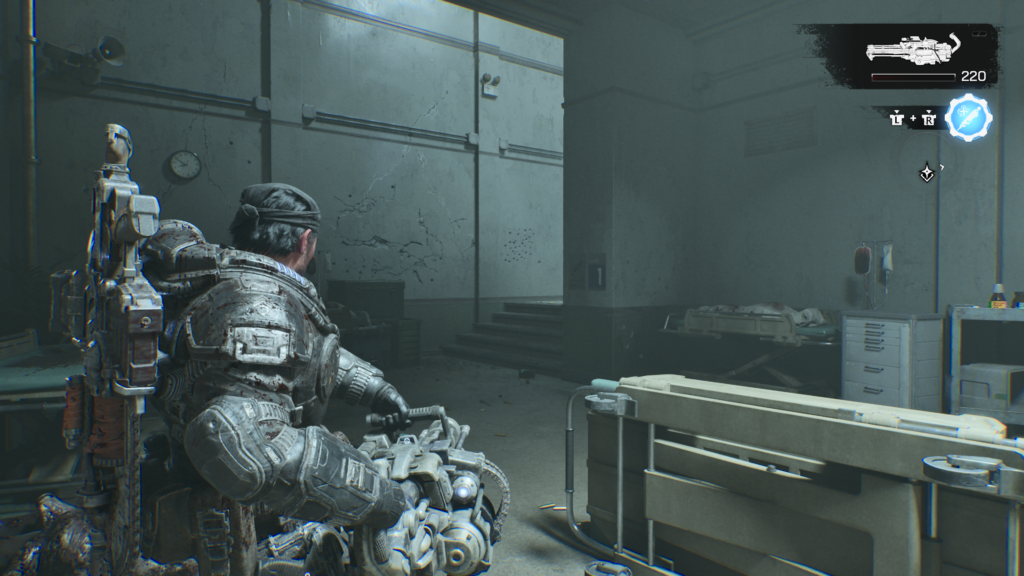
From the entrance to the hospital, where you entered previously, head to the left and up the stairs. At the top of the stairs, take a left to see the body of Gear, move over to grab the collectible.
Hard Case (6 / 12)
Go down the road to the right of the hospital. You’ll see a supply cache in front of some buildings on your left. In front of that, on the right, at the start of the road heading left is the hard case.
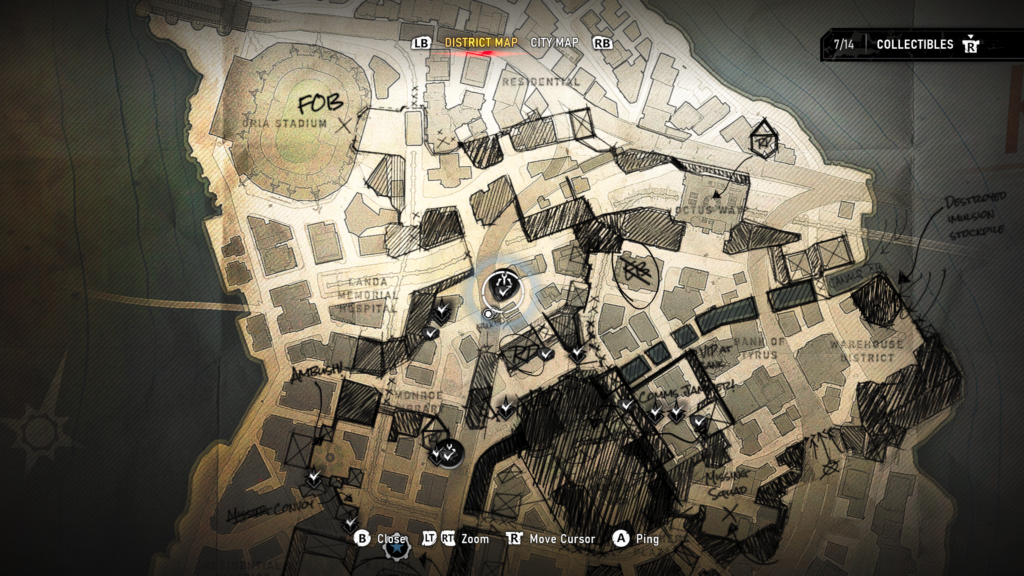
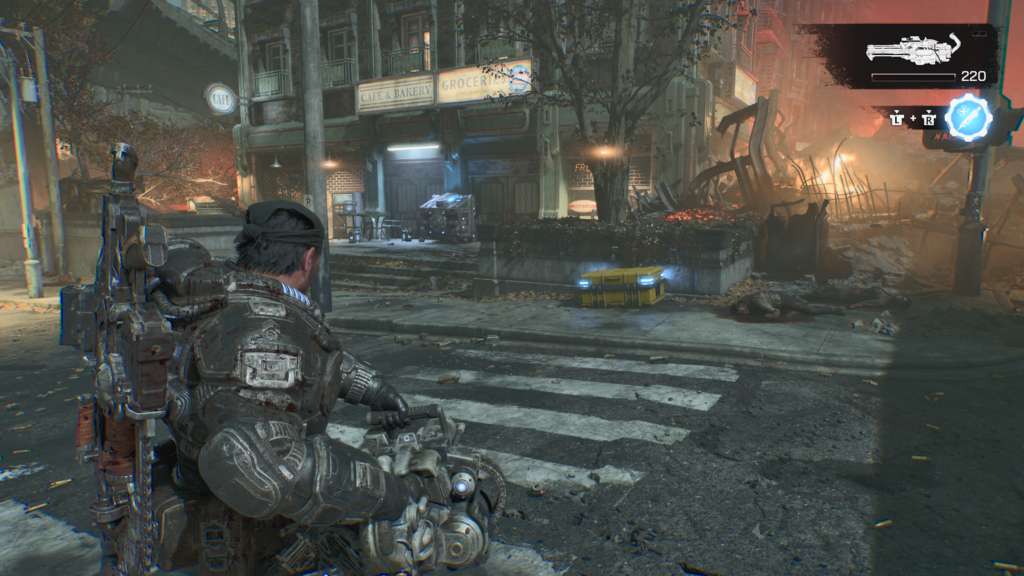
Hard Case (7 / 12)
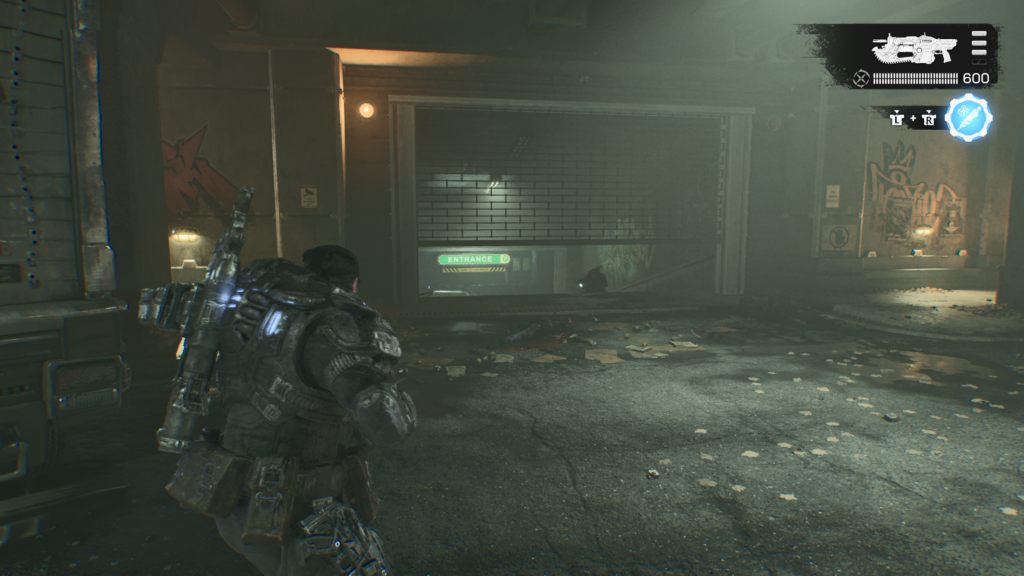
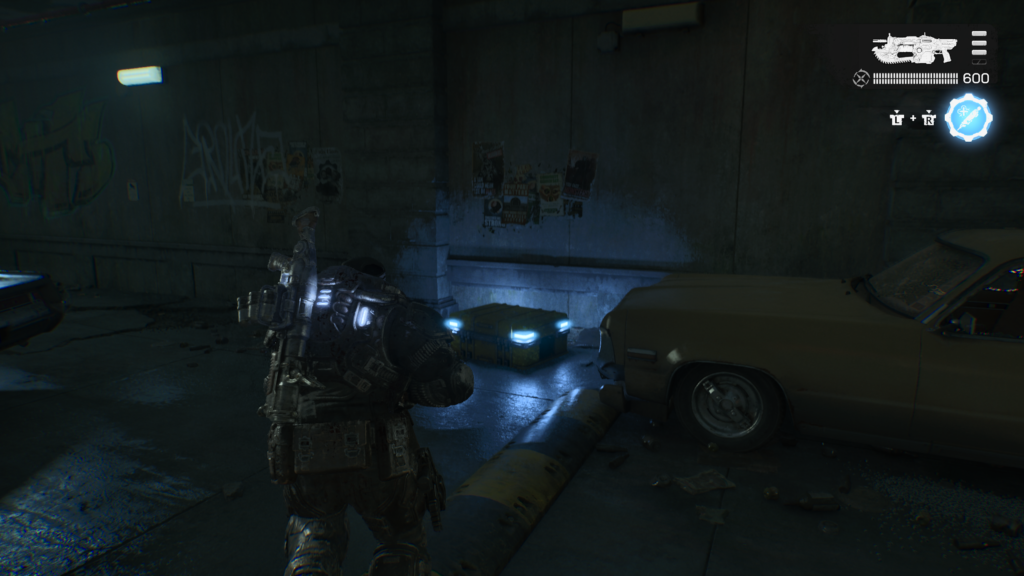
Head back towards the library, when you’re almost there, you can take a right that takes you through an underpass, on your left is an entrance to an underground parking lot. Marcus will comment that ‘there’s something in that parking garage’ (or words to that affect). Head inside and you’ll find a hard case down there, against the back left wall. Watch for an ambush!
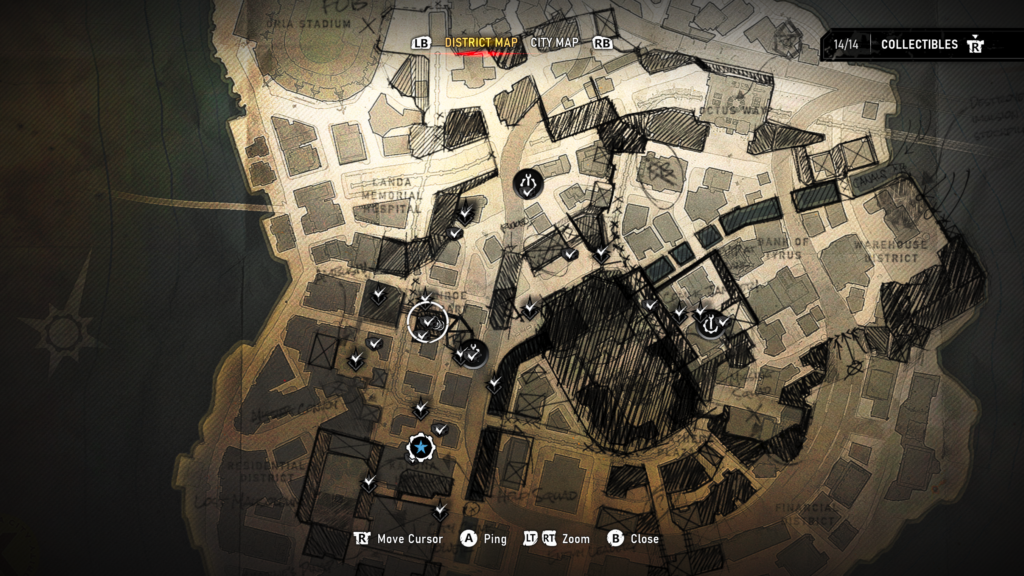
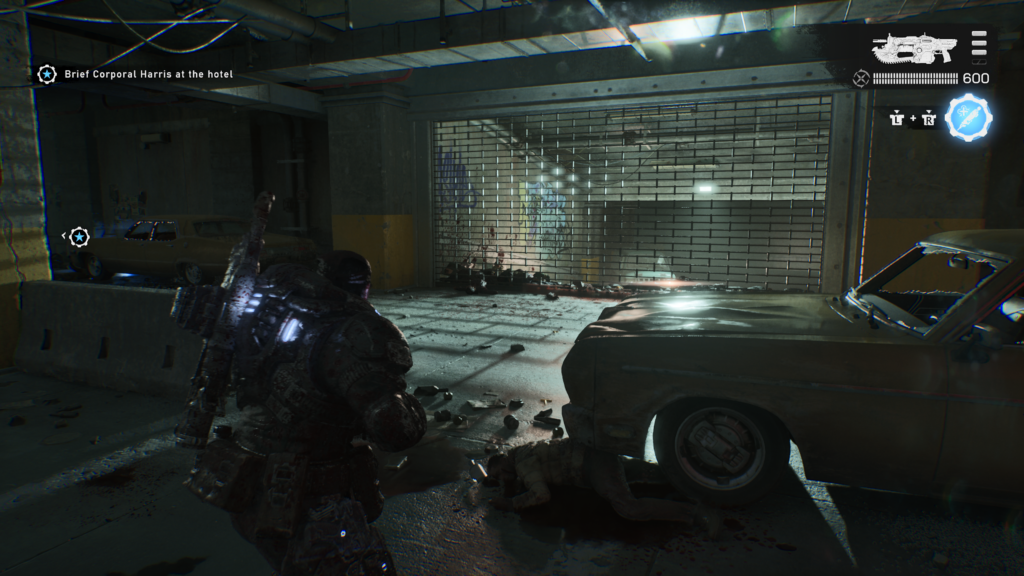
Hard Case (8 / 12)
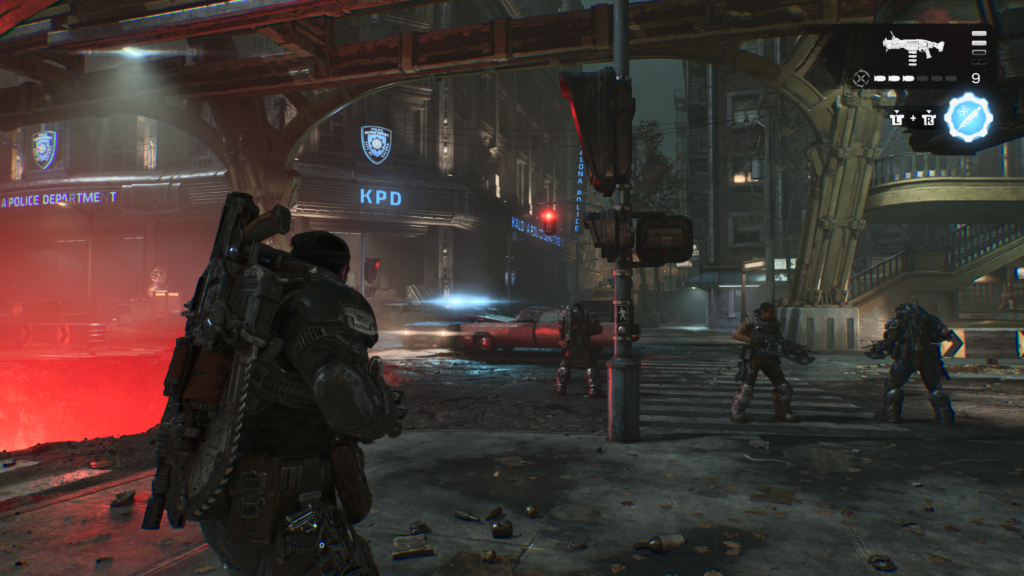
Head to the Kalona Police Department building, right from where you entered the underground parking lot. At the crossroads, look to your right to see some stairs up to a skytrain platform. On the platform you’ll see the hard case.
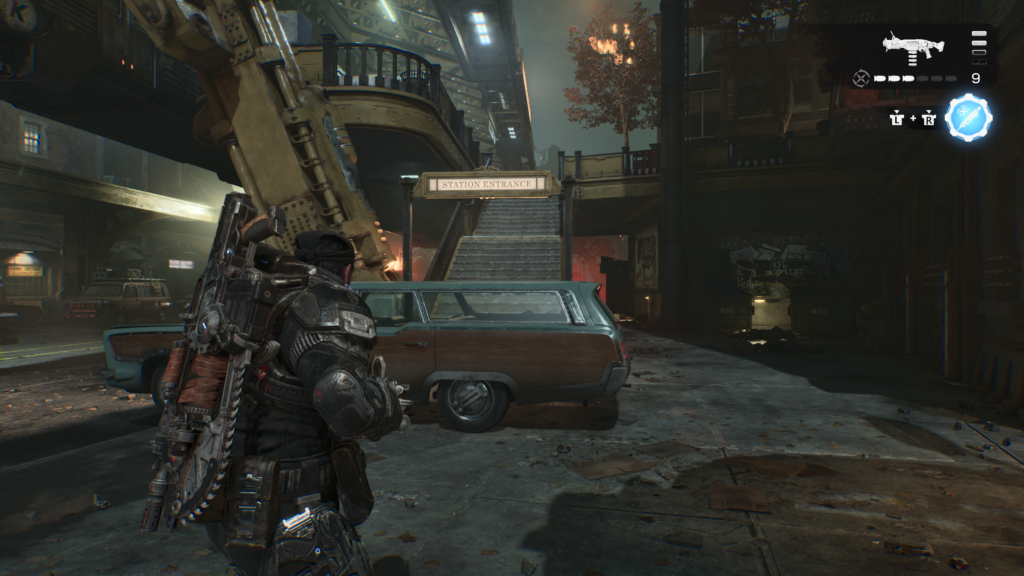
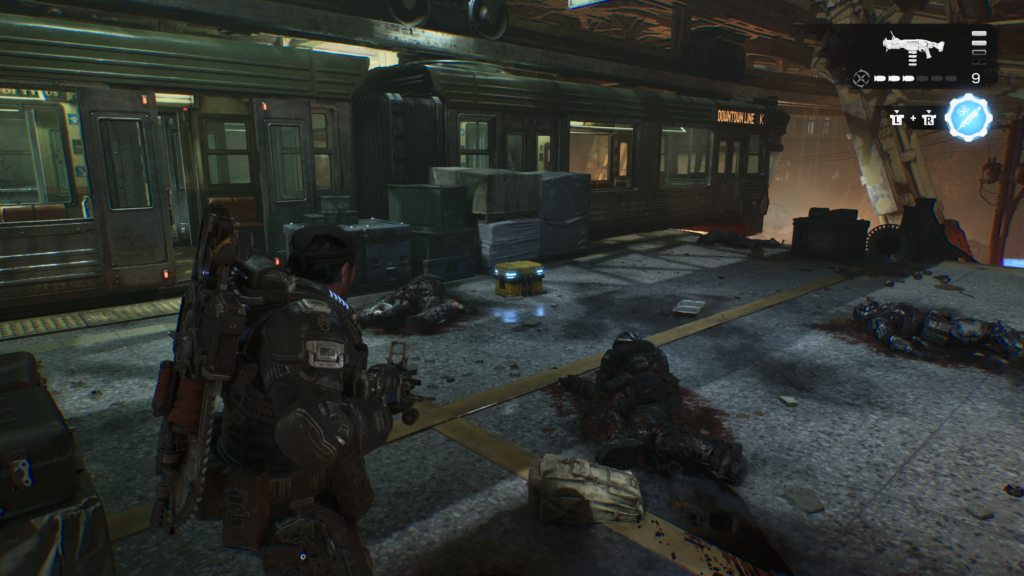
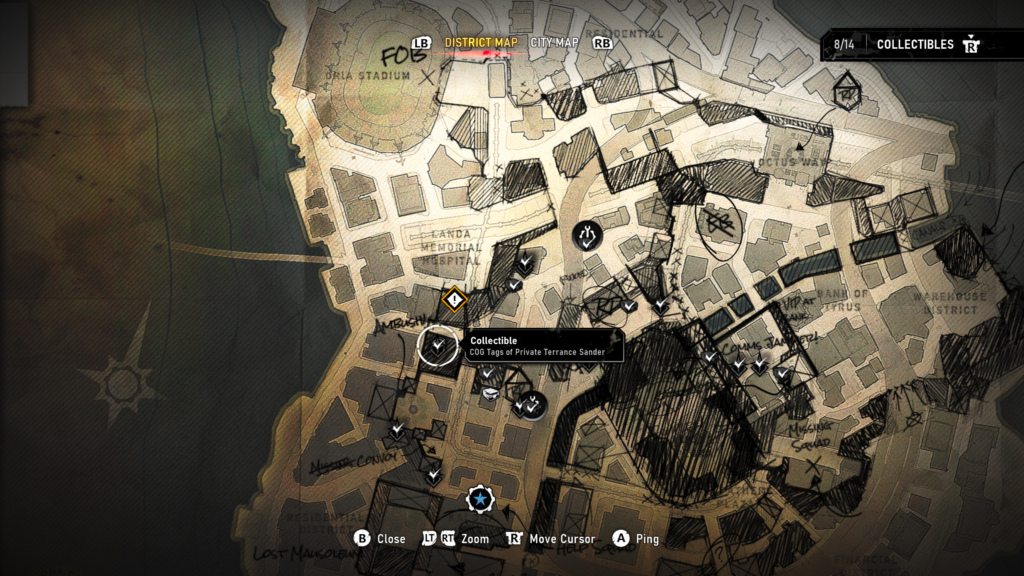
Collectible – COG Tags of Private Terrance Sander (8 / 14)
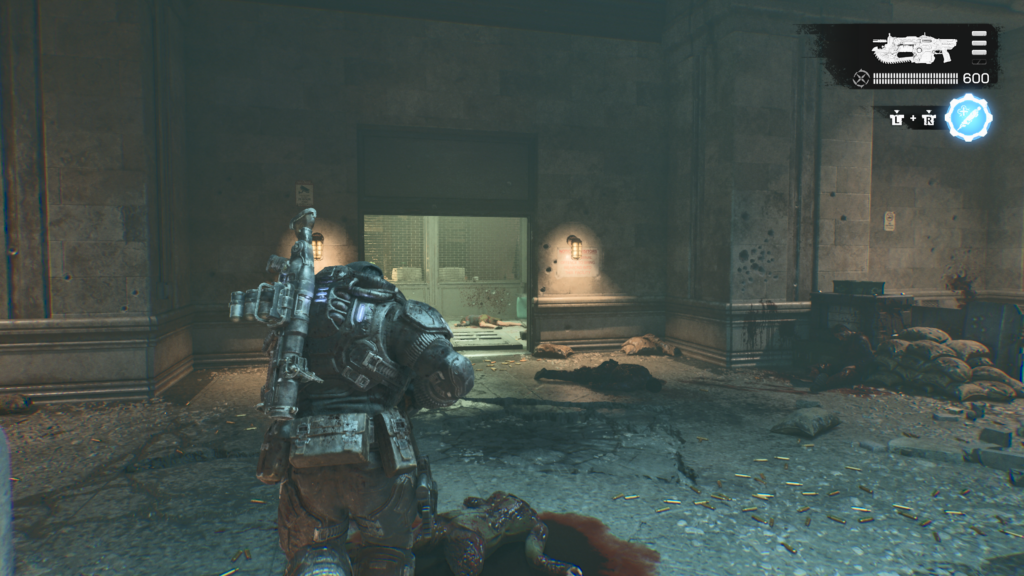
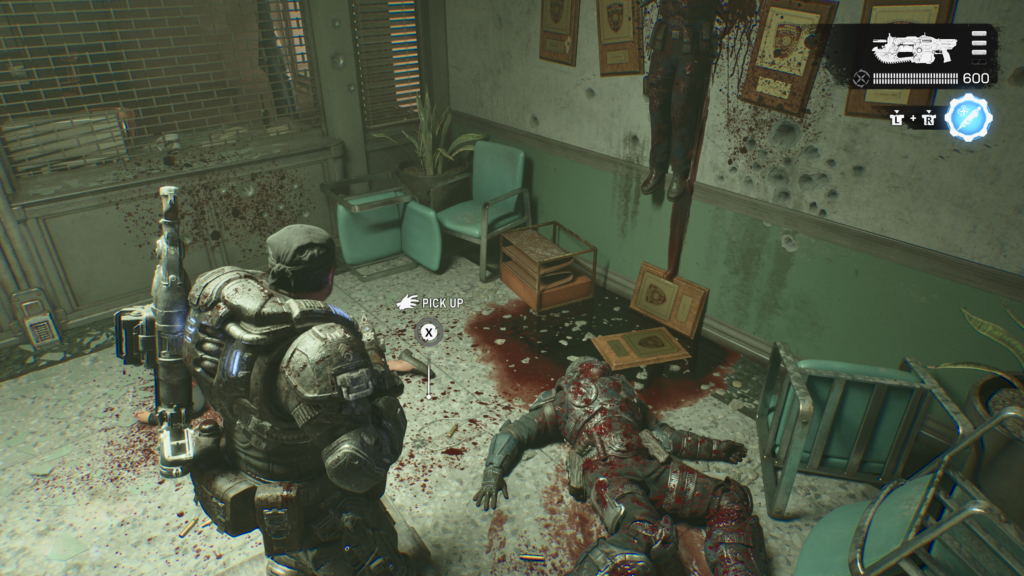
At the Kalona Police Department building. Head down the right side and in the door on the left, there is a body in the entrance, just to the right. Grab the collectible off the floor.
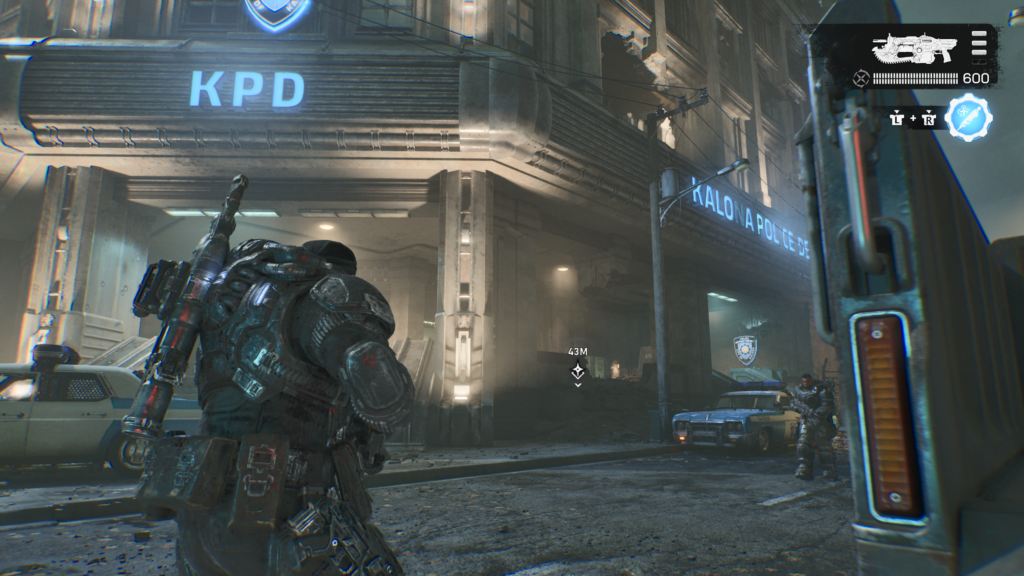
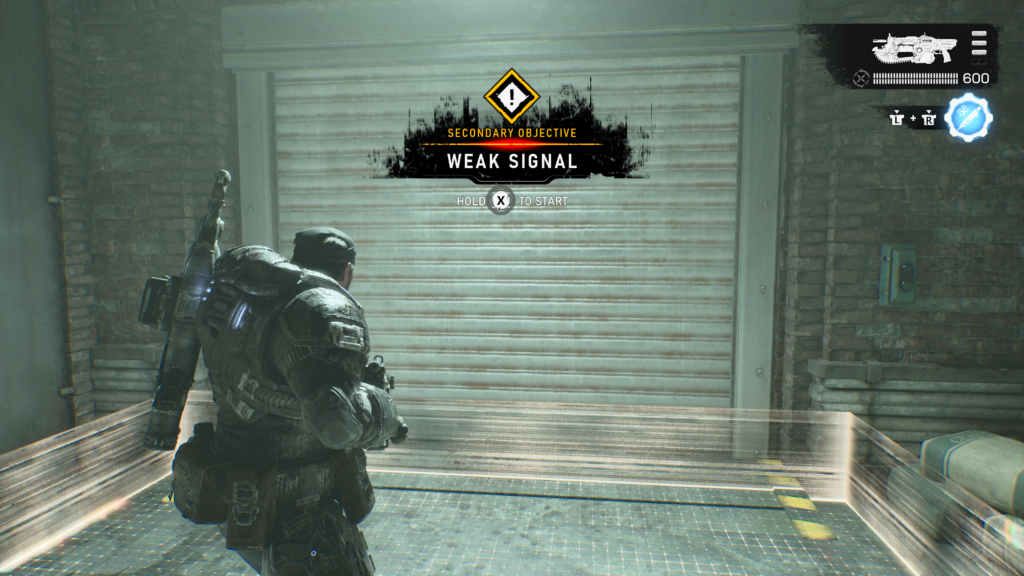
Secondary Objective (1/3) – Weak Signal
Across from the police station, on the other side of the road you ran up, in a loading bay. Head inside the loading bay to the back and on the right is the start of the secondary objective. Take out all the advancing Locust that spawn to complete this mission.
Hard Case (9 / 12)
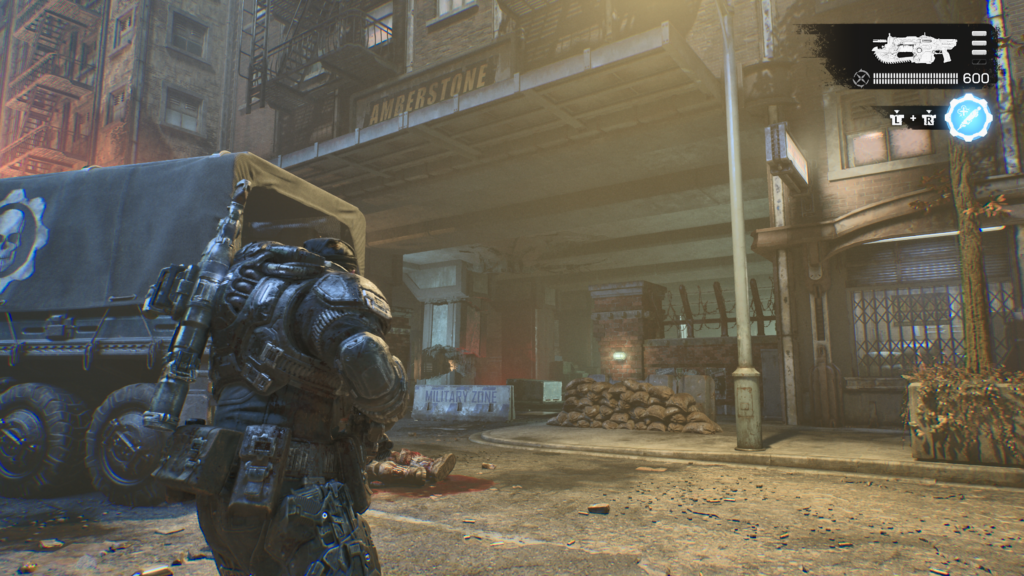
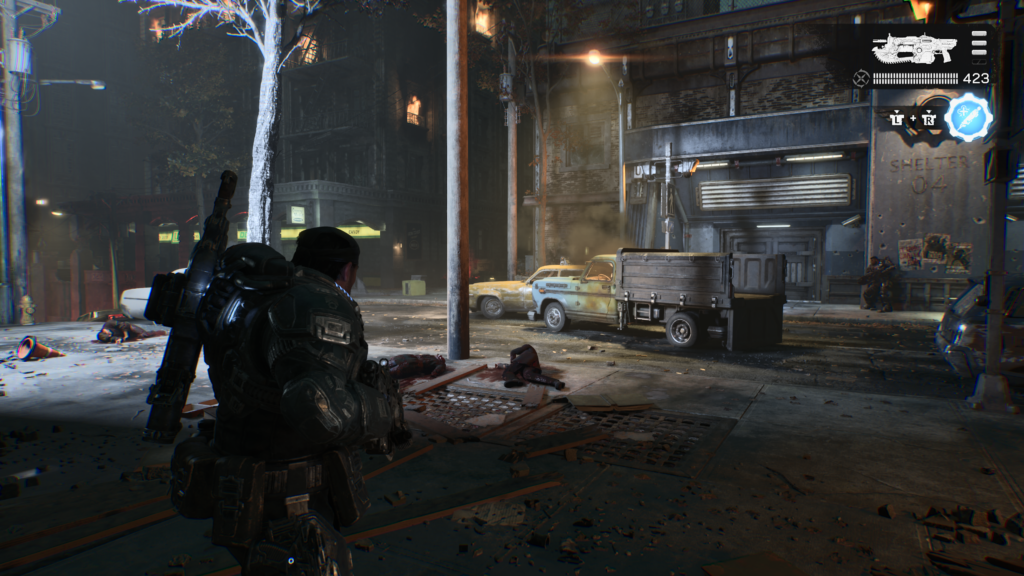
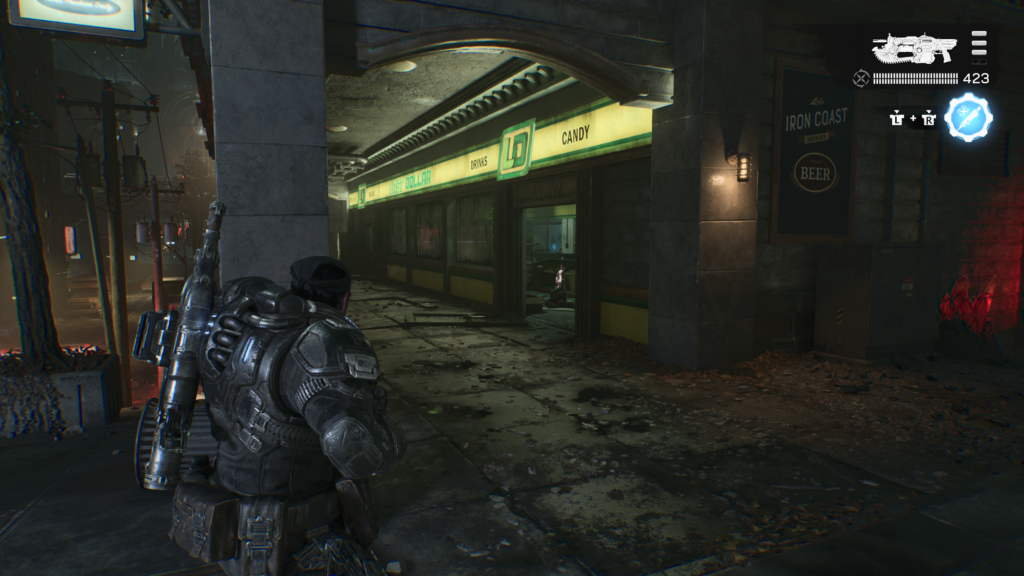
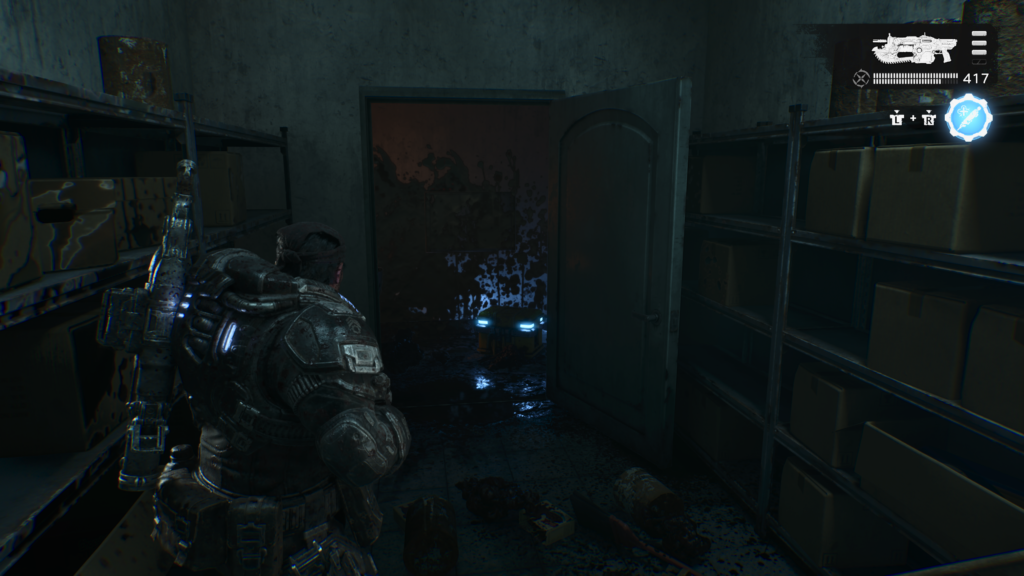
If you are at the top of the library steps (you might remember this from Act 2), head into the supermarket with the yellow sign and green lettering. In the back room, where there was a collectible in Act 2, there’ll be a hard case, guarded by a ticker.
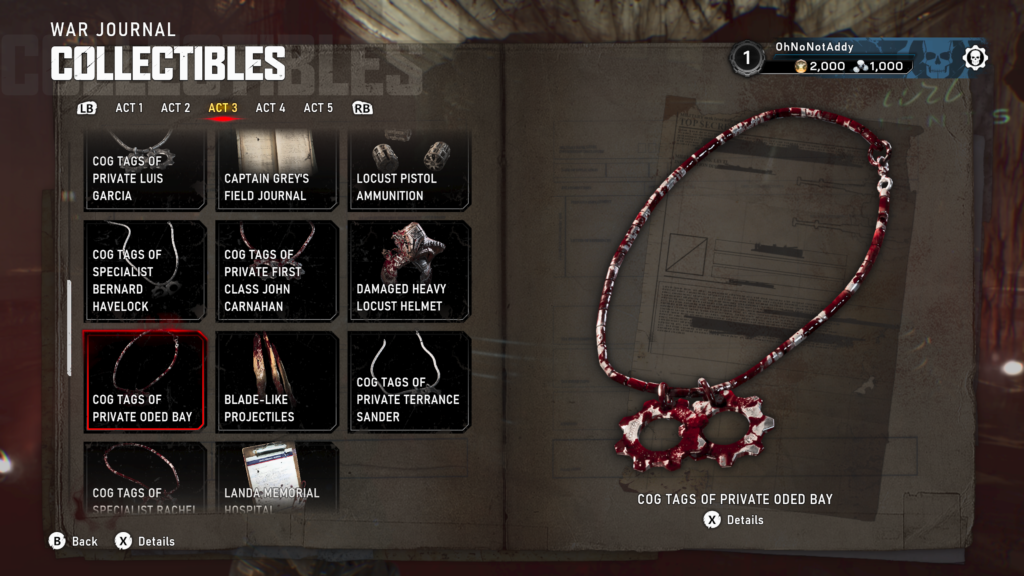
Collectible – COG Tags of Private Oded Bay (9 / 14)
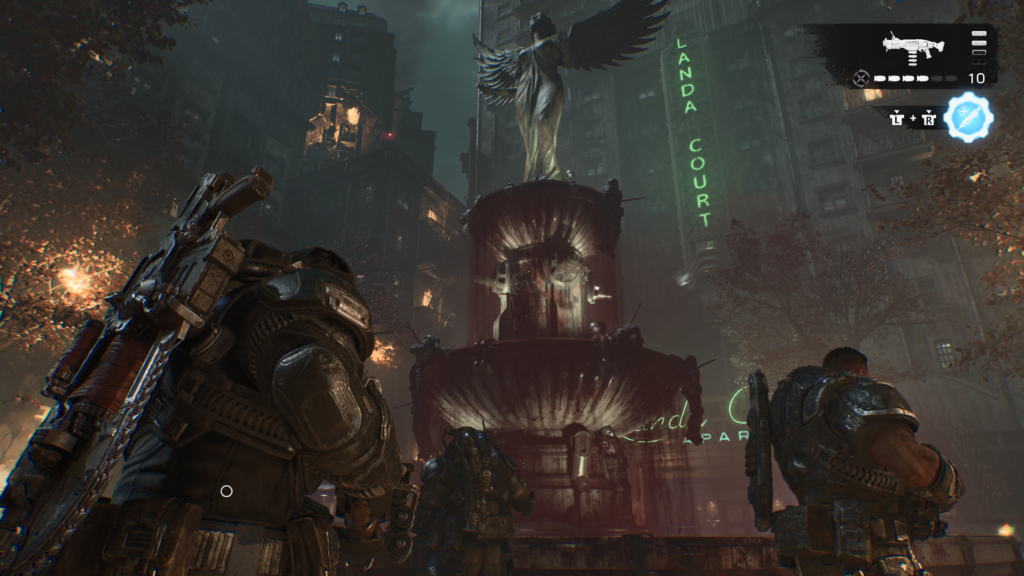
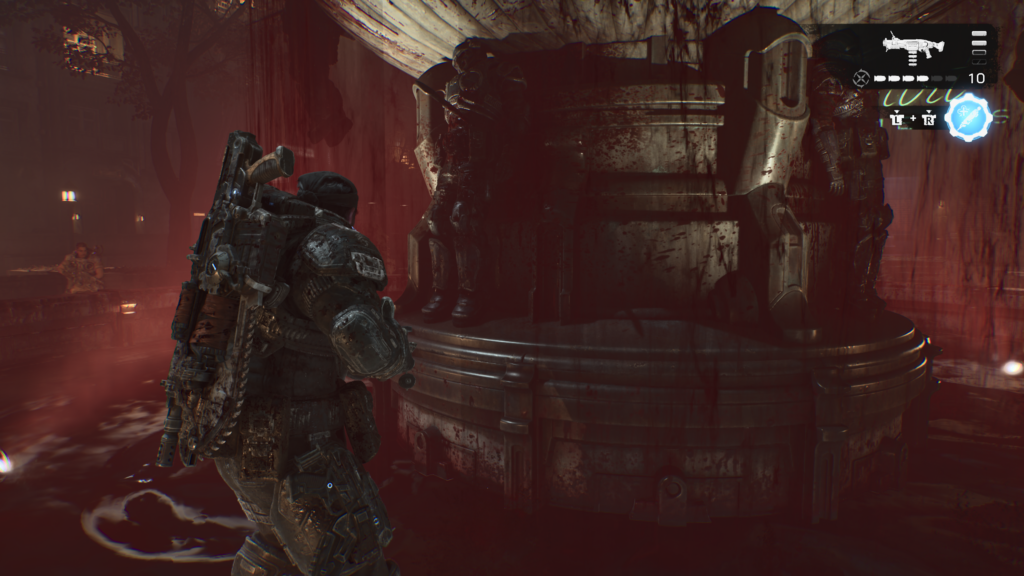
If you return to the area with the bloody fountain (round the back of the Kalona Police Department, and jump into the fountain you will find the next collectible.
Hard Case (10 / 12)
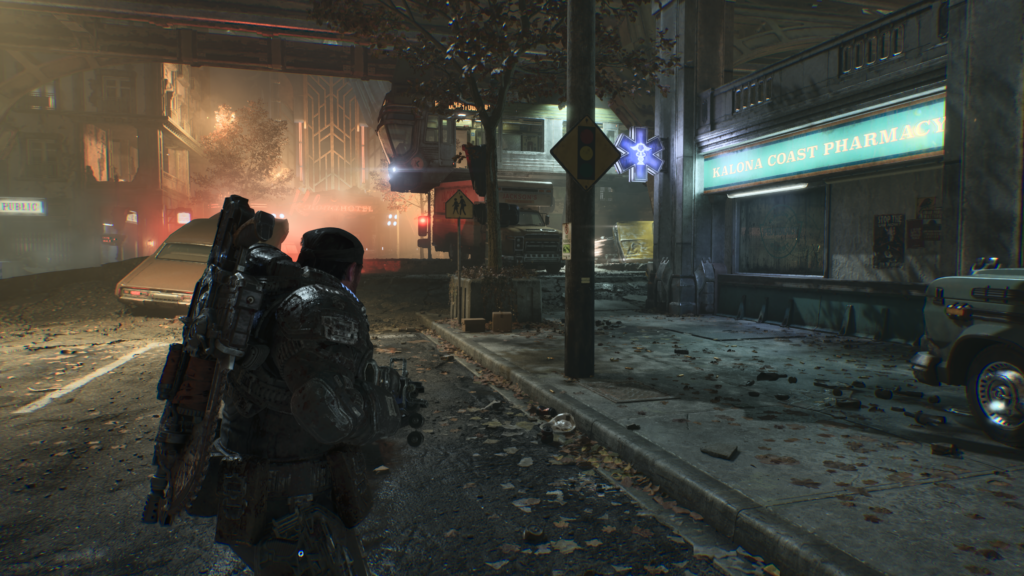
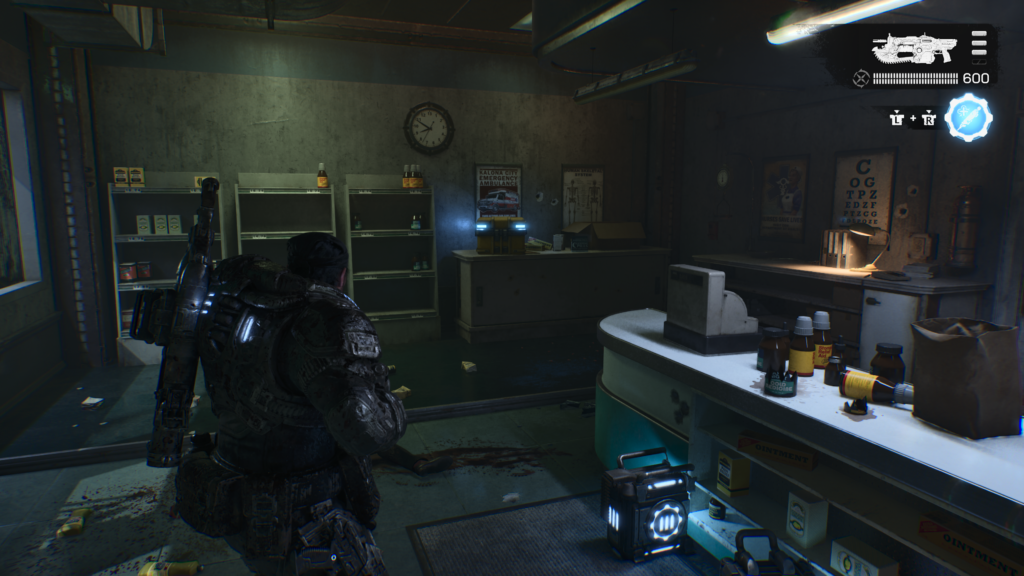
Inside the pharmacy building on a corner, you’ll have to shoot the windows to get in. It’s not far from the front of the Kalona Hotel.
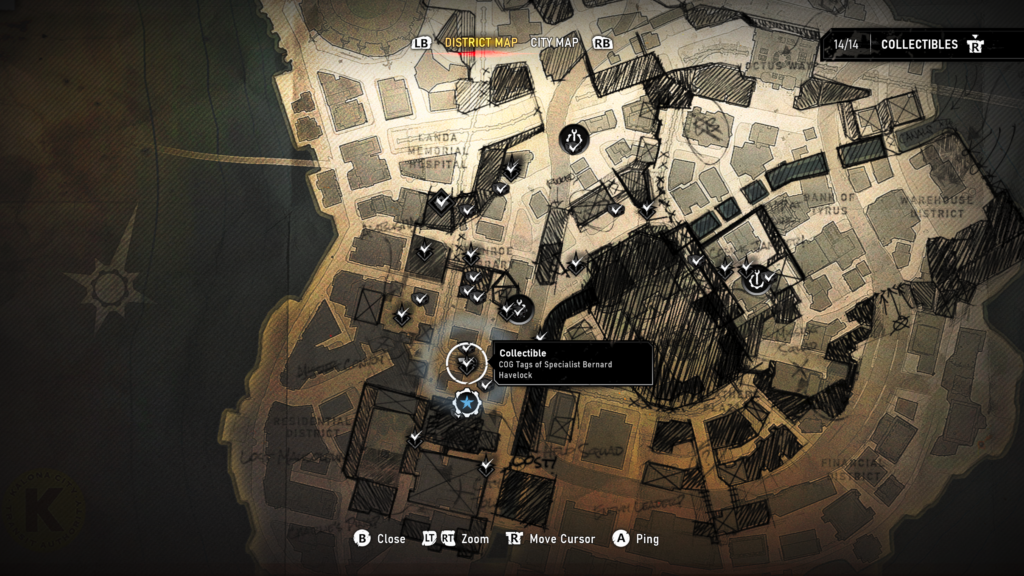
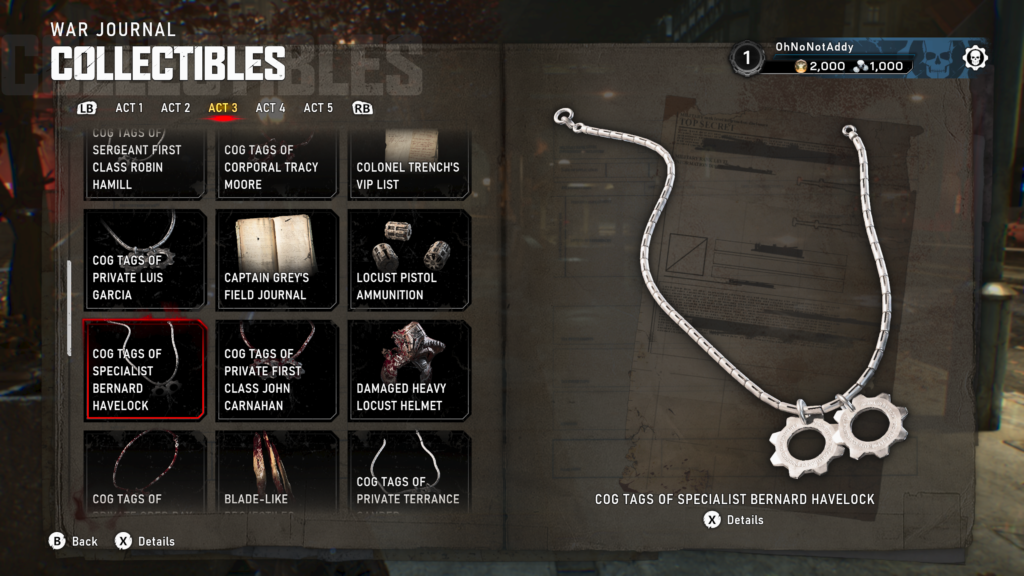
Collectible – COG Tags of Specialist Bernard Havelock (10 / 14)
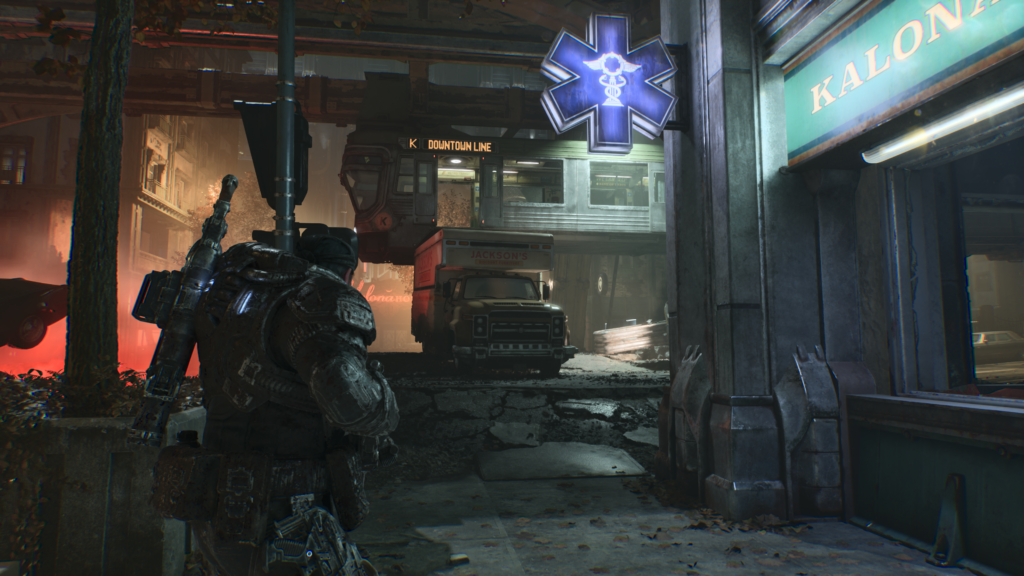
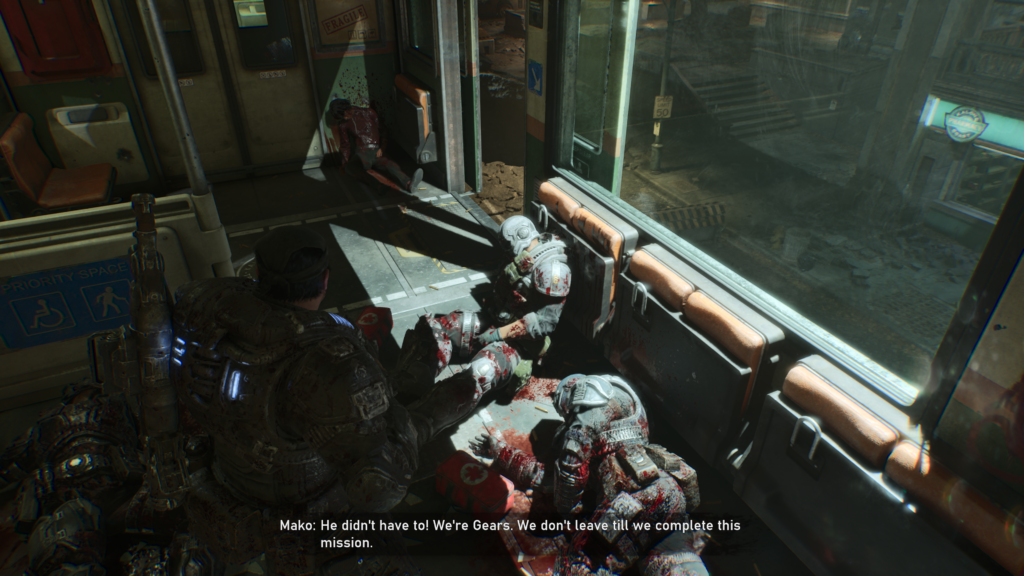
From the previous hard case jump back out of the pharmacy. Outside look to your right and you will see a tram car stuck above. Jump up into it using the abandoned truck and in the back of the tram will be the collectible.
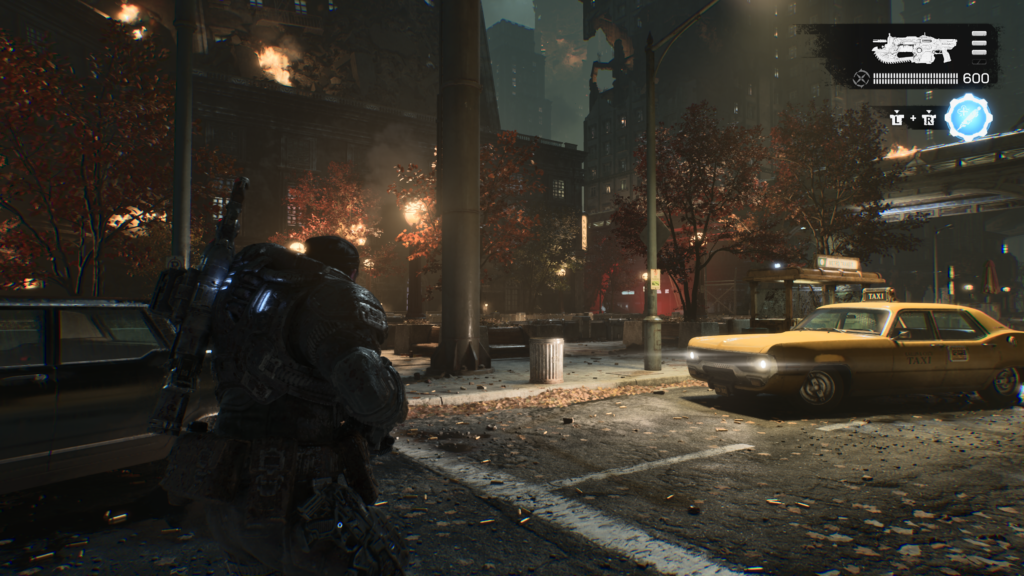
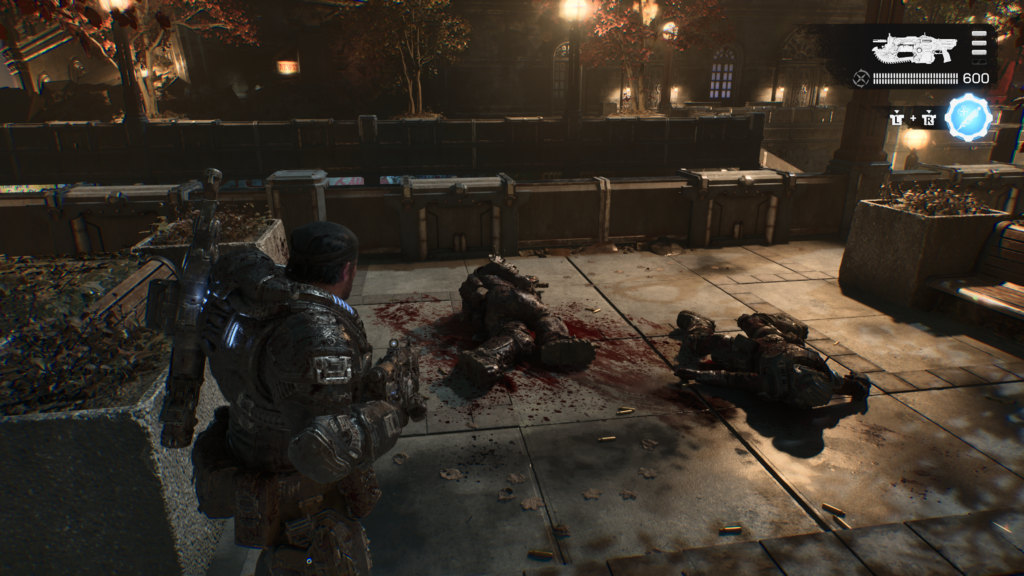
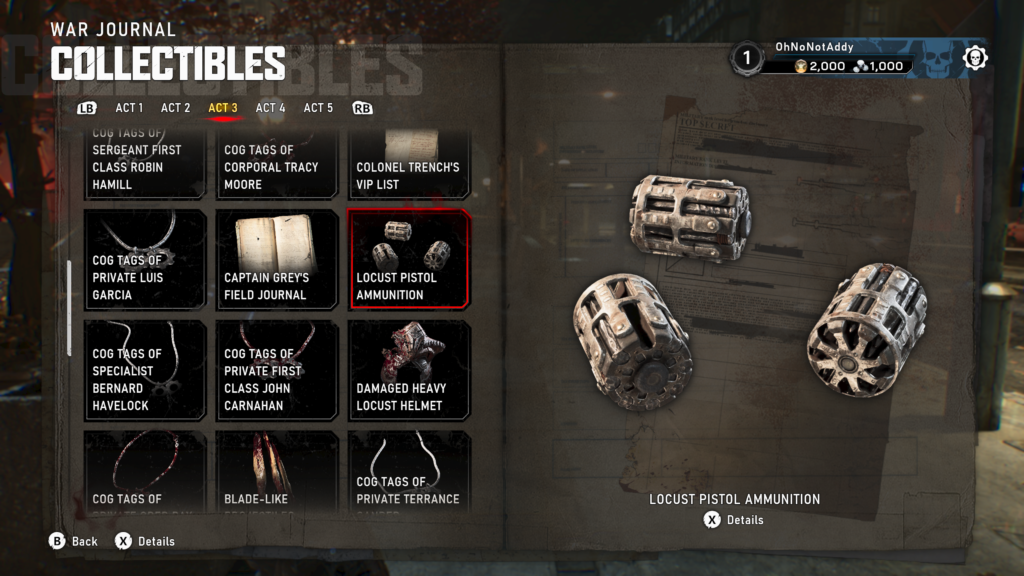
Collectible – Locust Pistol Ammunition (11 / 14)
At the front of the Library / apartment building area, towards the river, in front of a set of four park benches.
Hard Case (11 / 12)
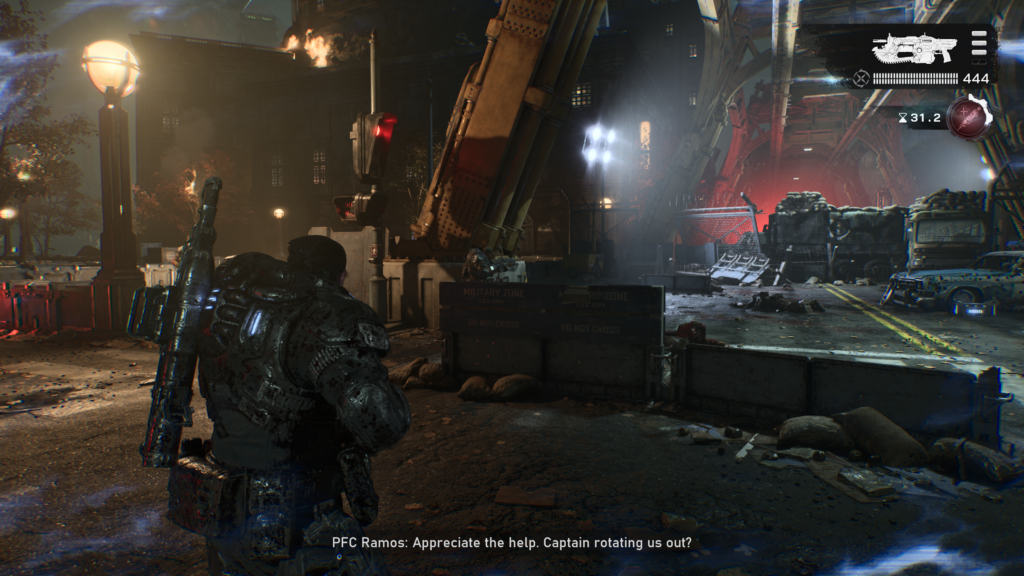
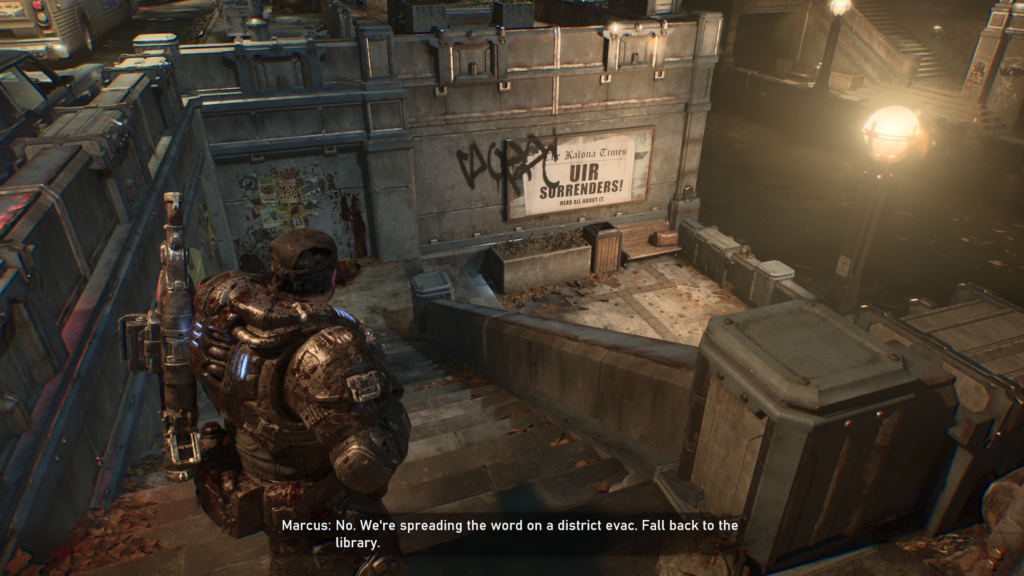
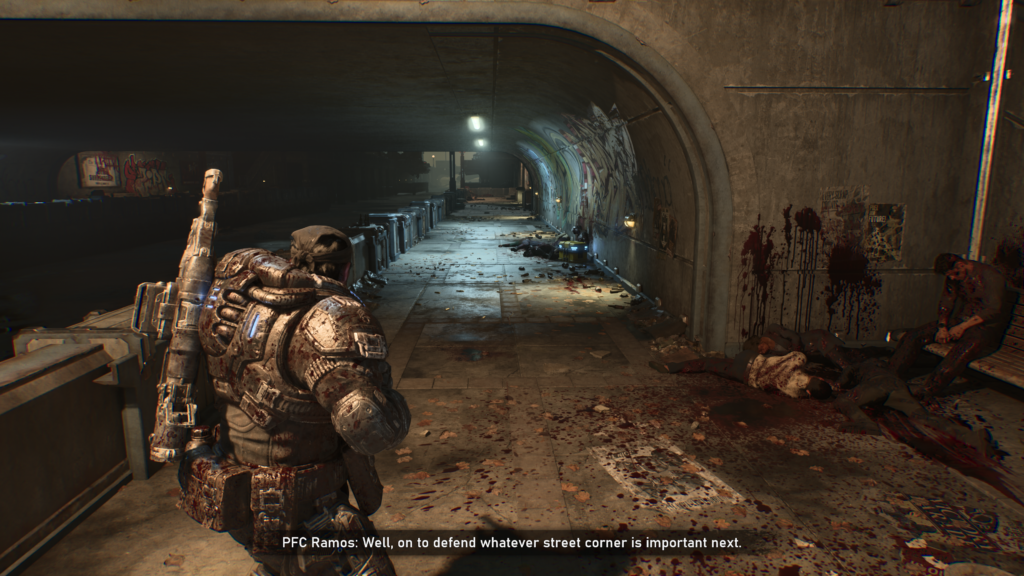
To the right of the last collectible, there’ll be some Gears fighting off some Locust enemies by a roadblock. There are some stairs down to an underpass to their left. Head down and underneath the roadblock above is the hard case.
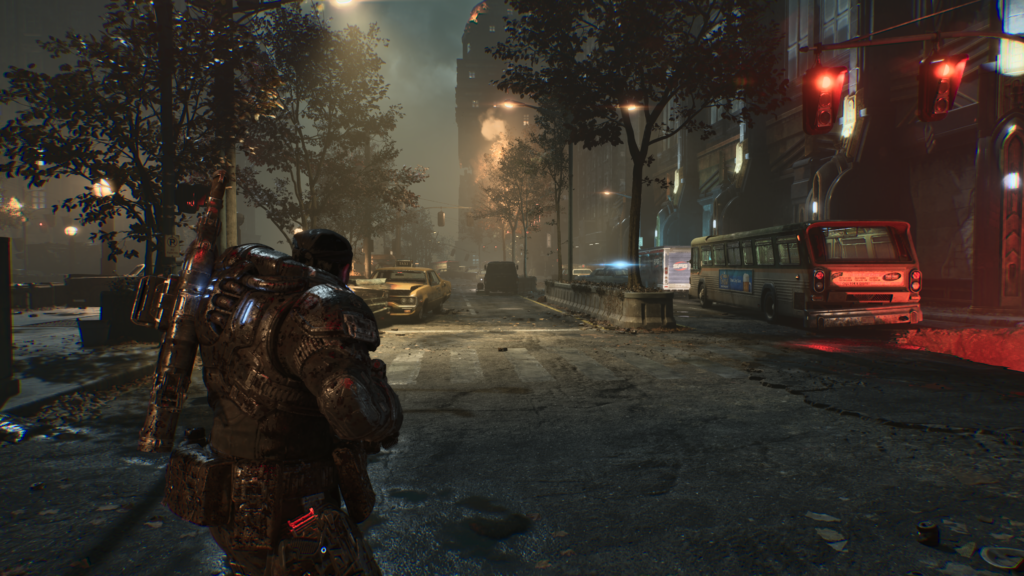
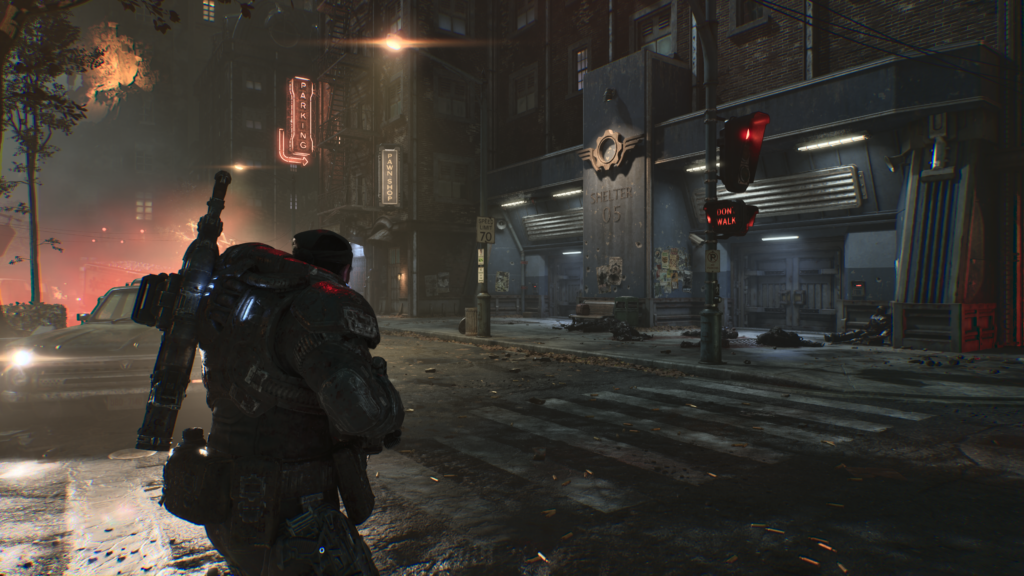
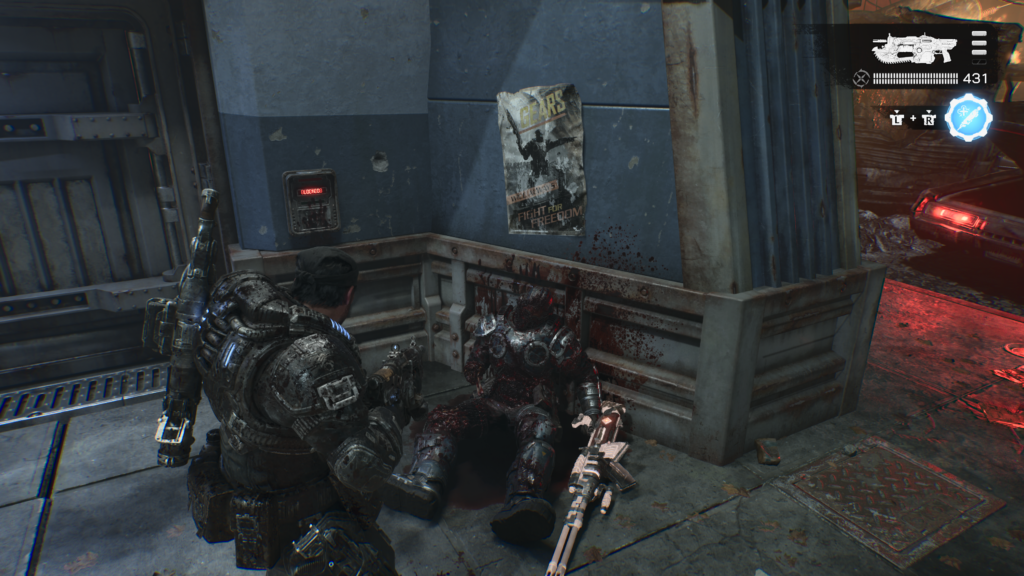
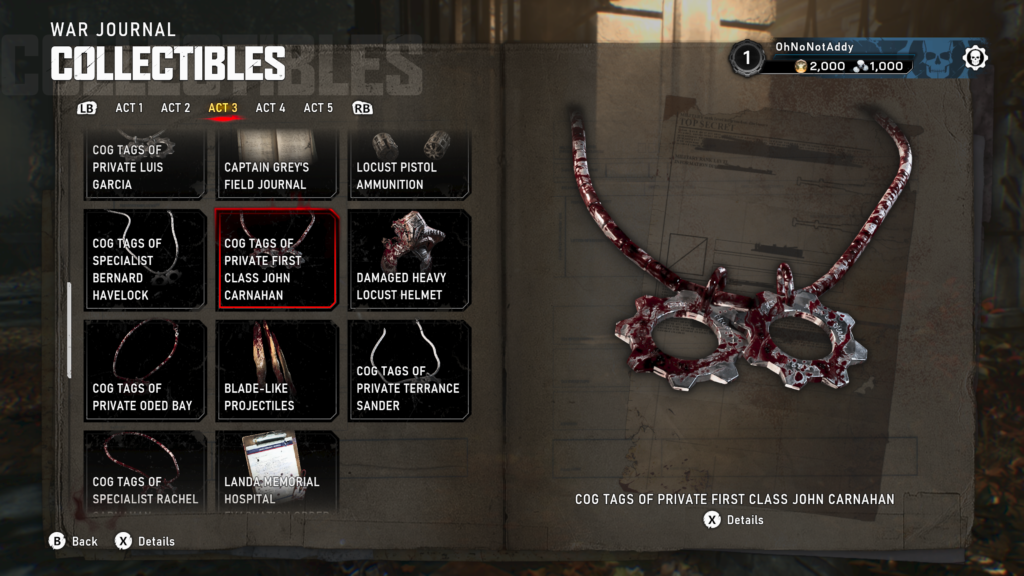
Collectible – COG Tags of Private First Class John Carnahan (12 / 14)
On the same main road as the last collectible, head all the way down to the end as far as you can go. On the right there is a closed off shelter (blue front building with a COG emblem on it). To the right of the entrance is a dead Gear soldier. Grab his tags.
Hard Case (12 / 12)
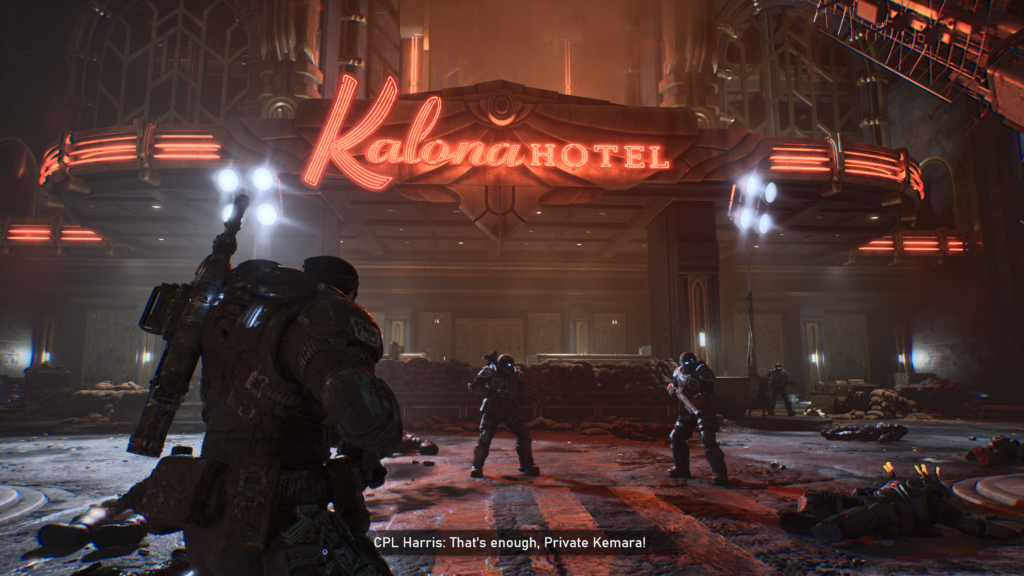
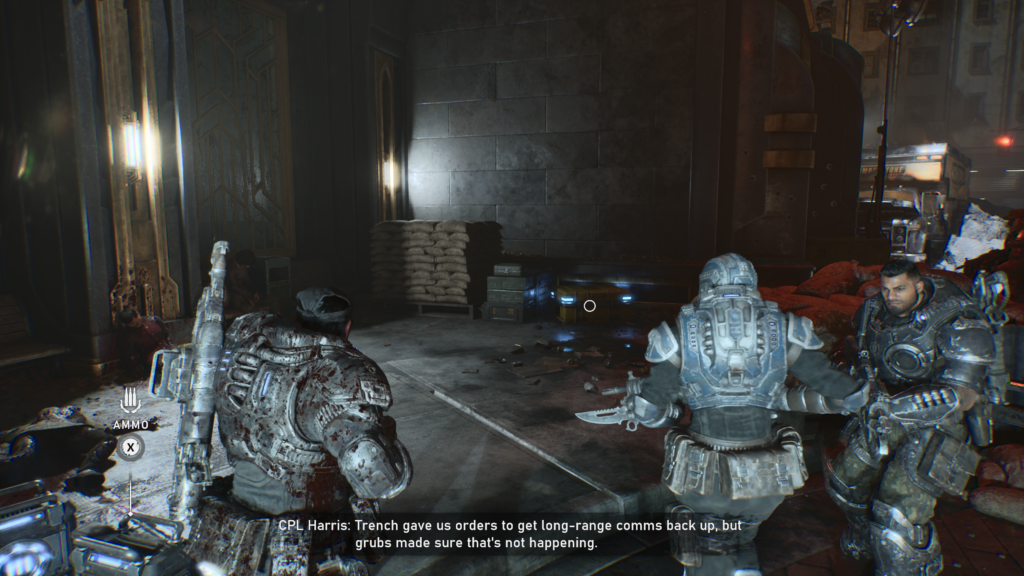
Head to Kalona Hotel now where the main objective is. To the right of the entrance will be the final hard case in this chapter.
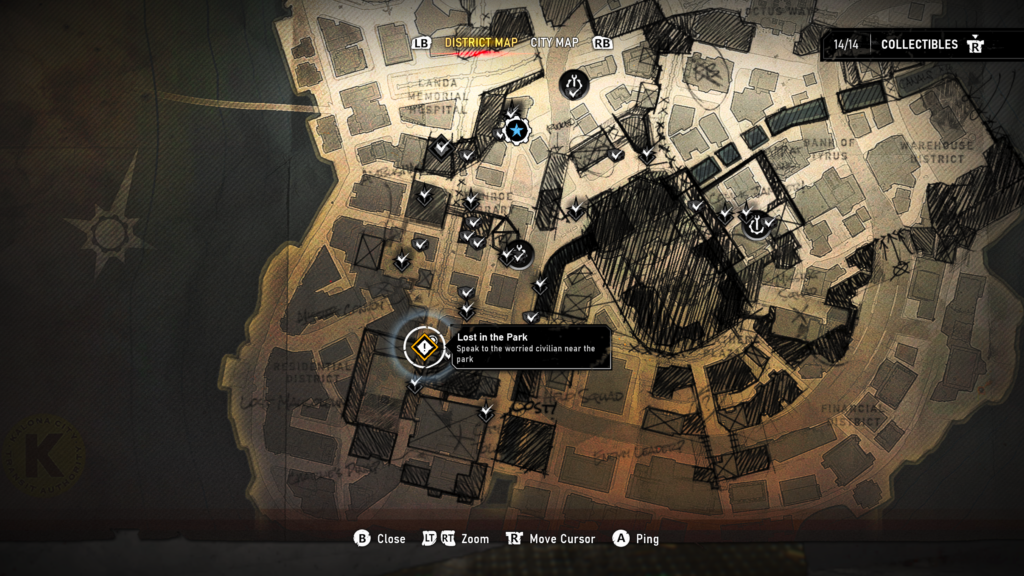
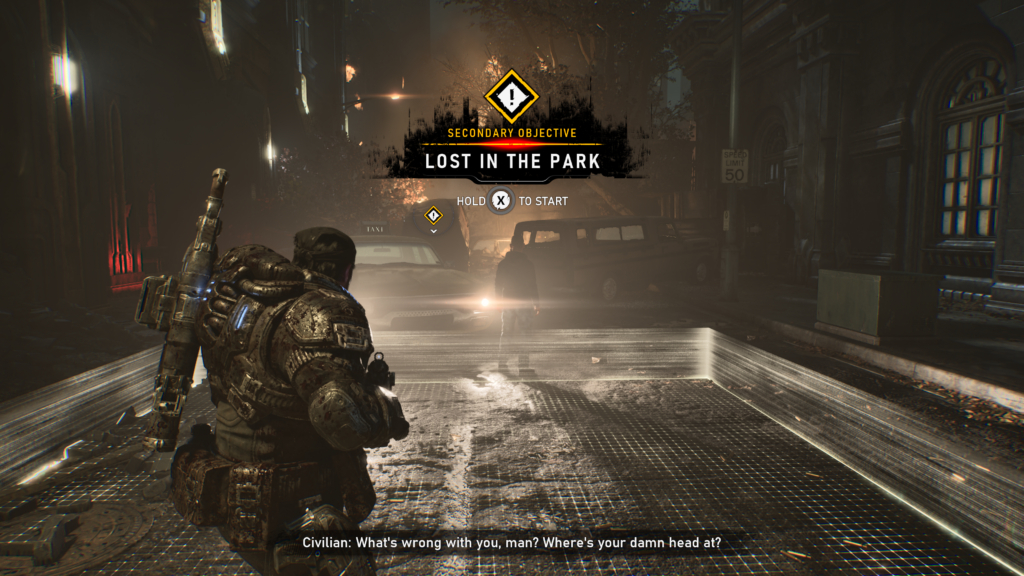
Secondary Objective (2/3) – Lost in the Park
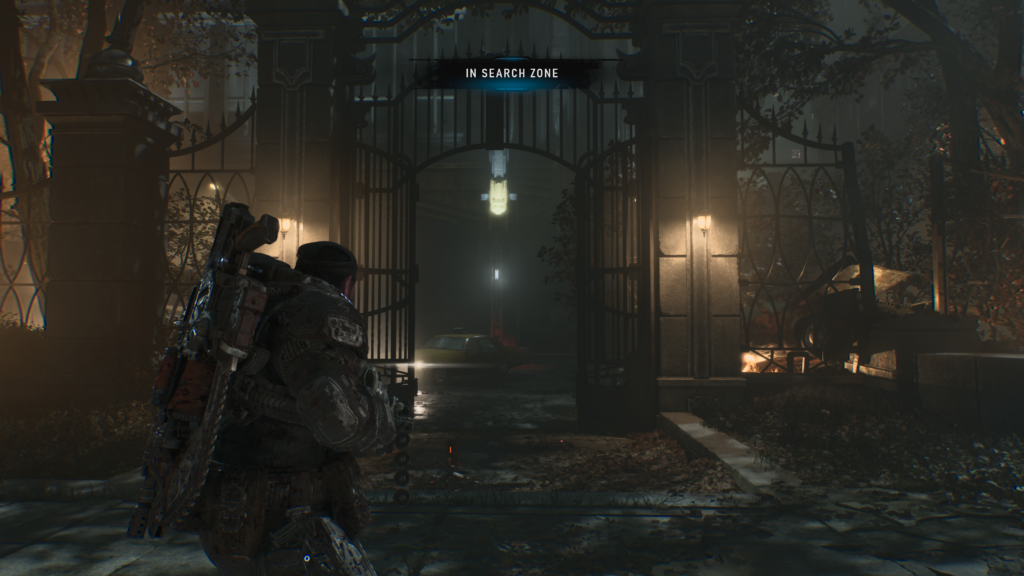
Head to the right from Kalona Hotel (if looking at the hotel) after you’ve helped the Gears load the convoy, and you fight the Spore Matrons for the first time. The secondary objective is in the corner on your left. Head through the doors on the right to go to the park and take out all the Locusts. You’ll need to find another civilian, he is under the steps as you enter the park from above.
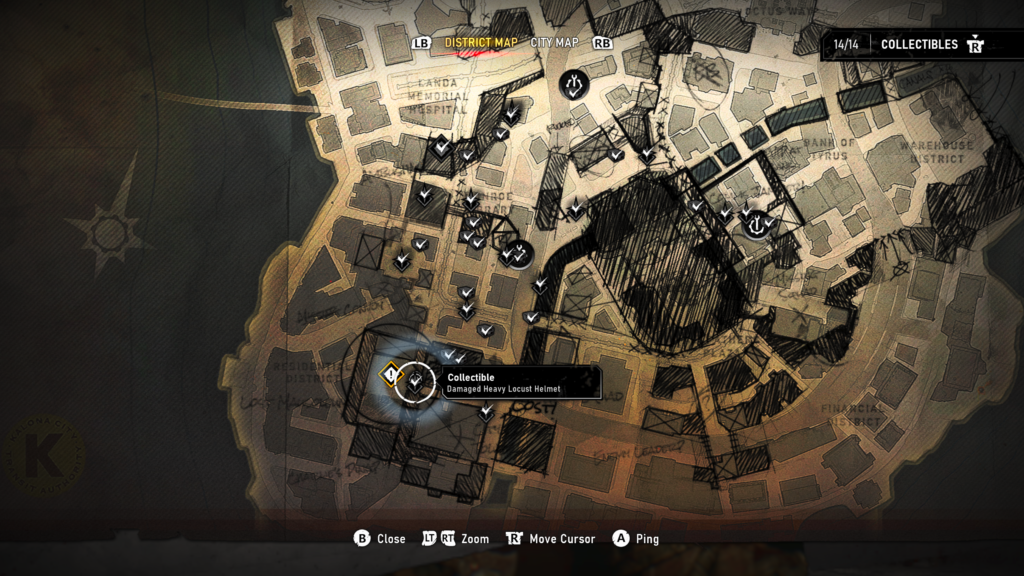
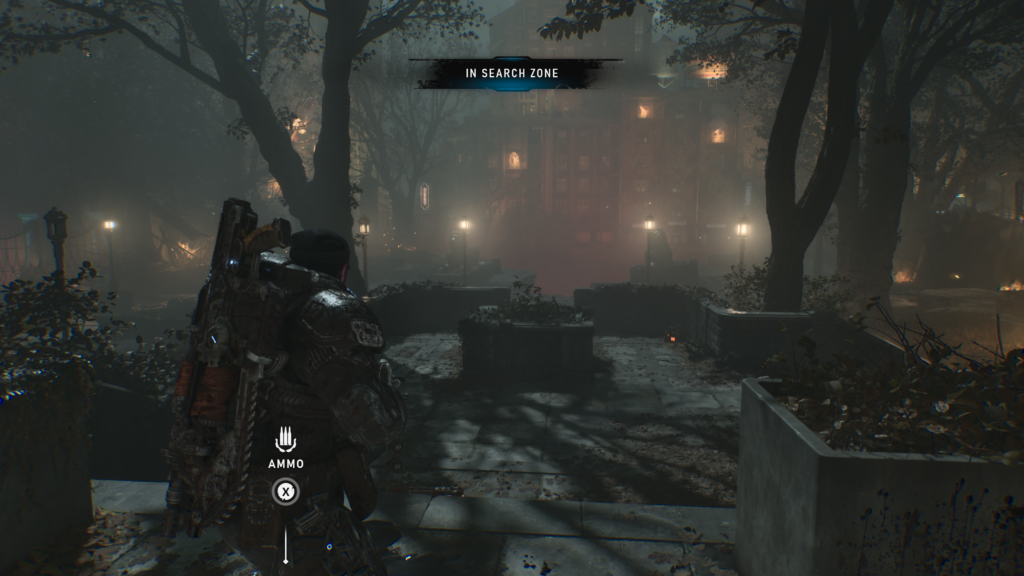
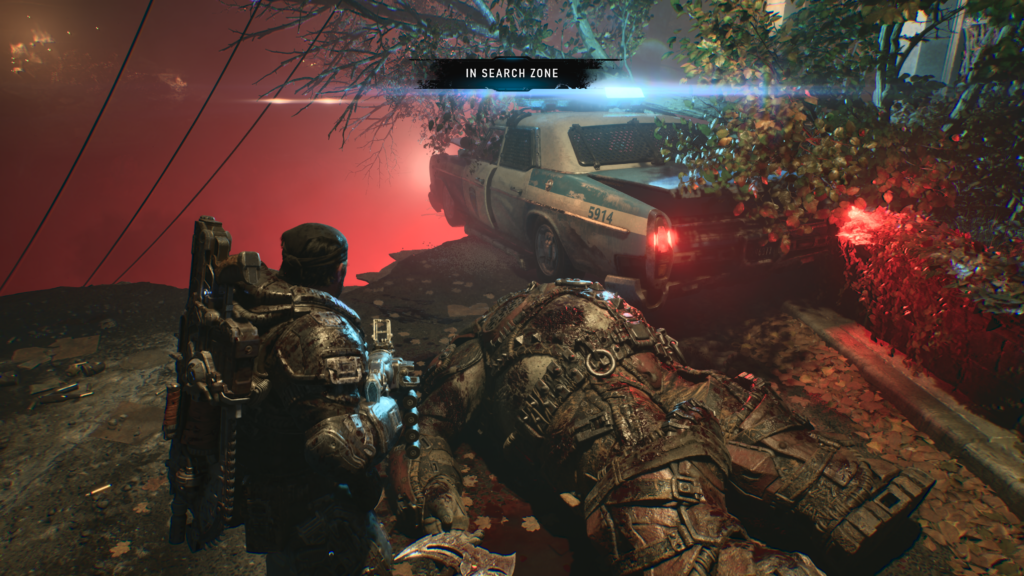
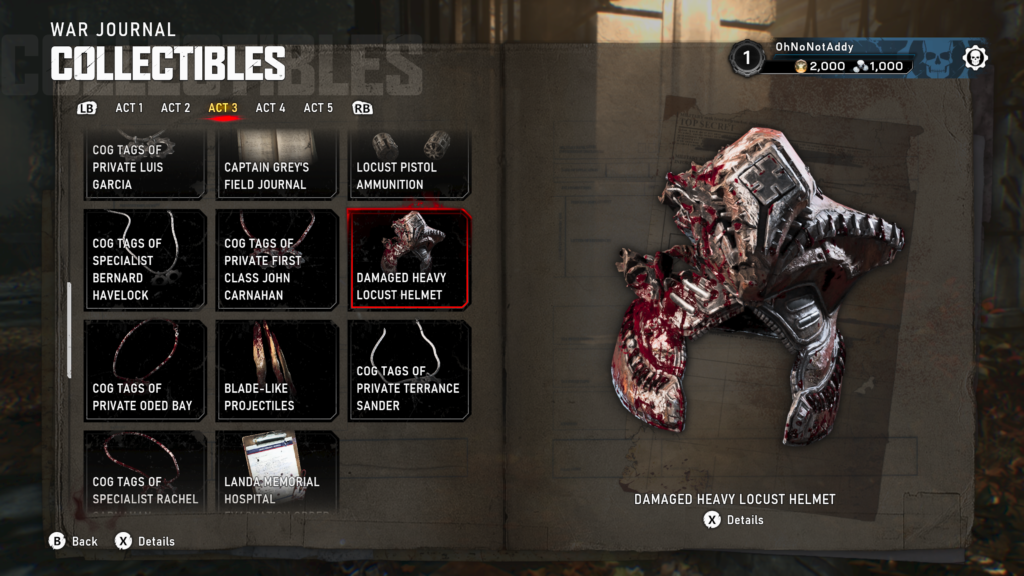
Collectible – Heavy Locust Helmet (13 / 14)
While in the park on the ‘Lost in the Park’ secondary objective. Look to the left, once safe to do so, and go through the gate in the wall through to the road. Take a right and buy a big sink hole is the collectible, next to a police car and a dead Boomer.
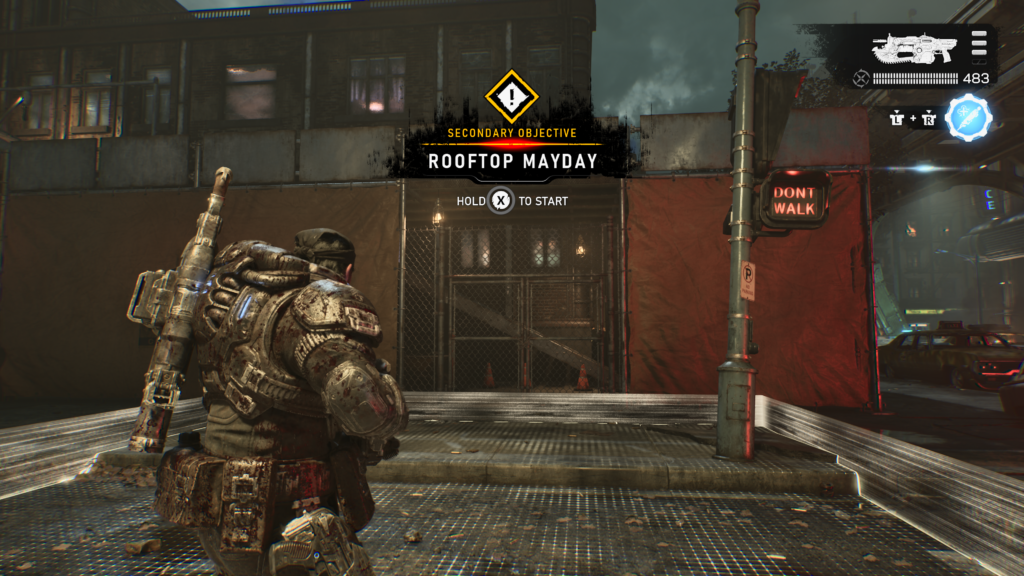
Secondary Objective (3/3) – Rooftop Mayday
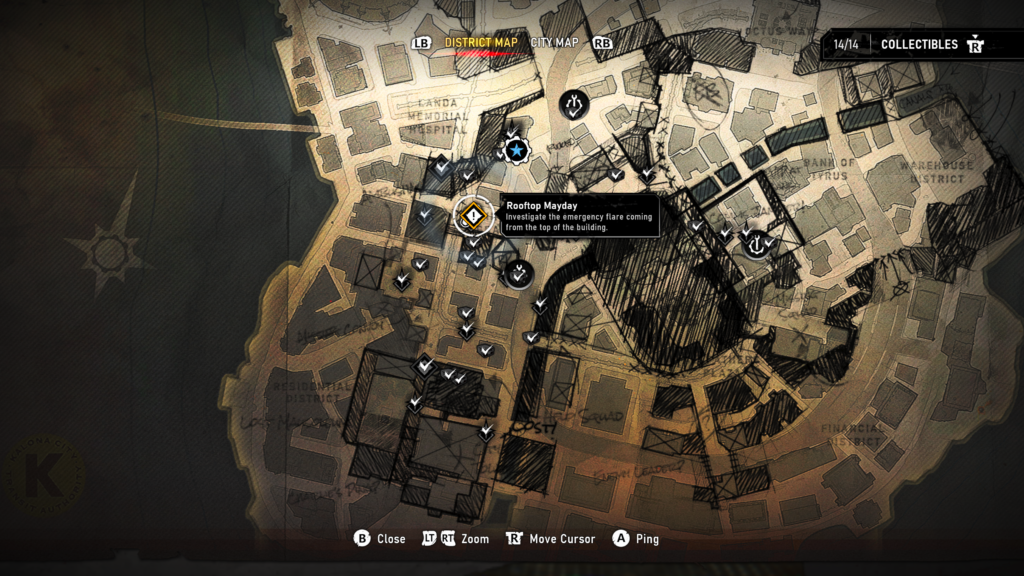
Once your objective is to give support at the hospital you can head back towards the police station. Run past it and you should see a flare up on one of the rooftop, Marcus will point it out for you. You can then head to the marker which is a bit further down the road to start it.
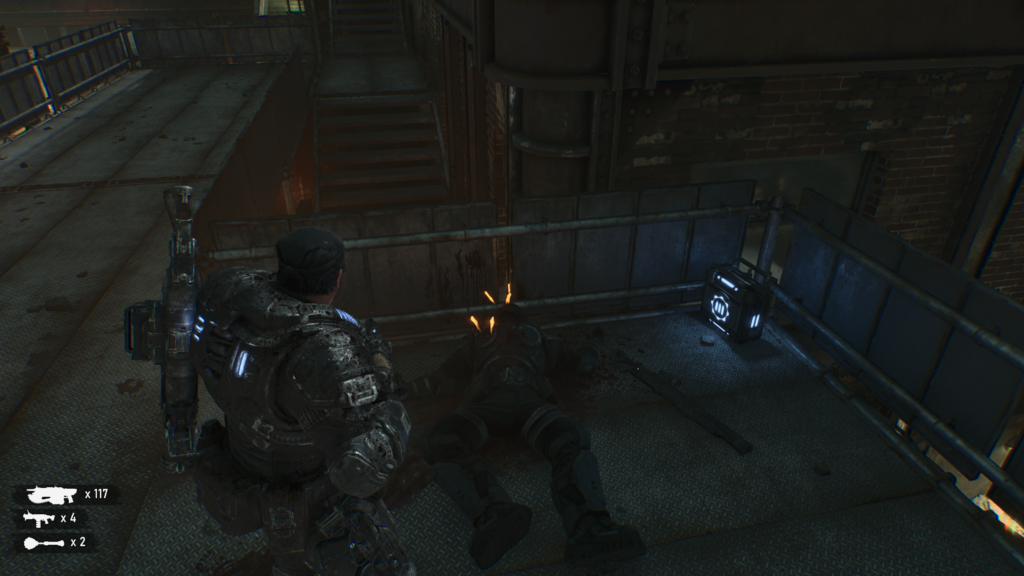
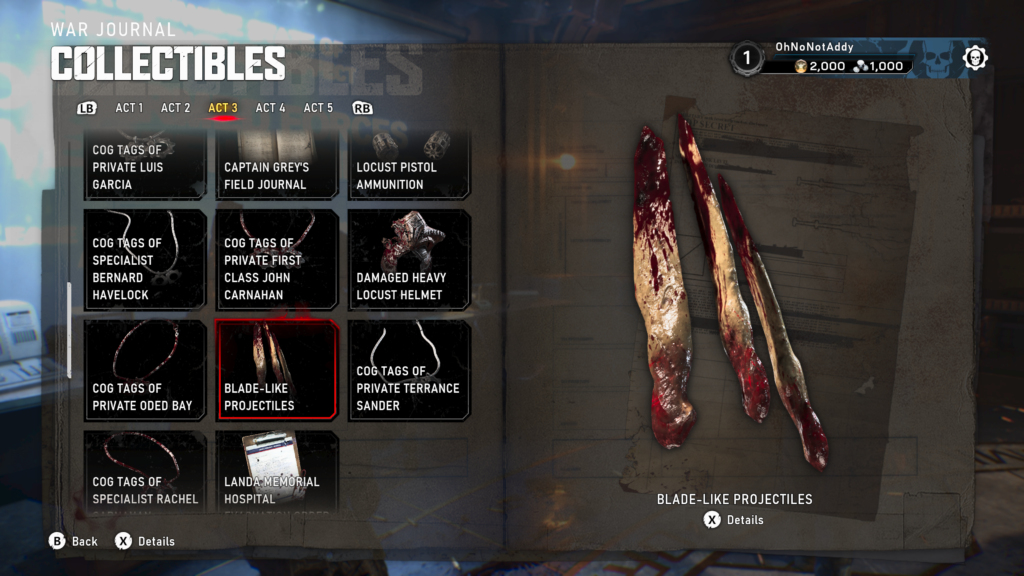
Collectible – Blade-Like Projectile (14 / 14)
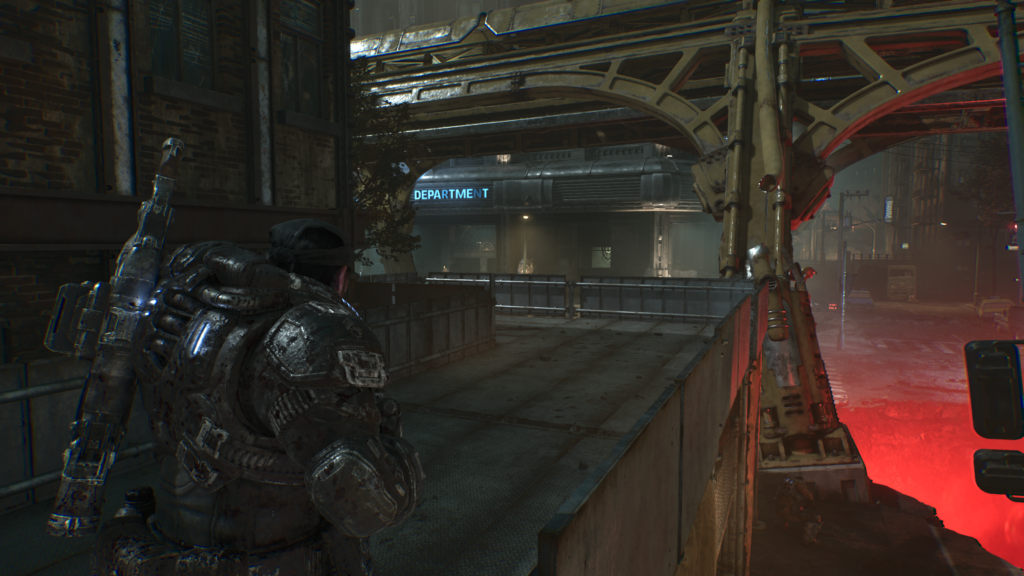
Start the Rooftop Mayday secondary object by cutting the gate open. Head up the first set of stairs and double back around on the scaffolding. At the end you can find some ammo and the last collectible of the chapter.
Act 3, Chapter 4 – The Convoy
- 3 Collectibles
- 5 Hard Cases
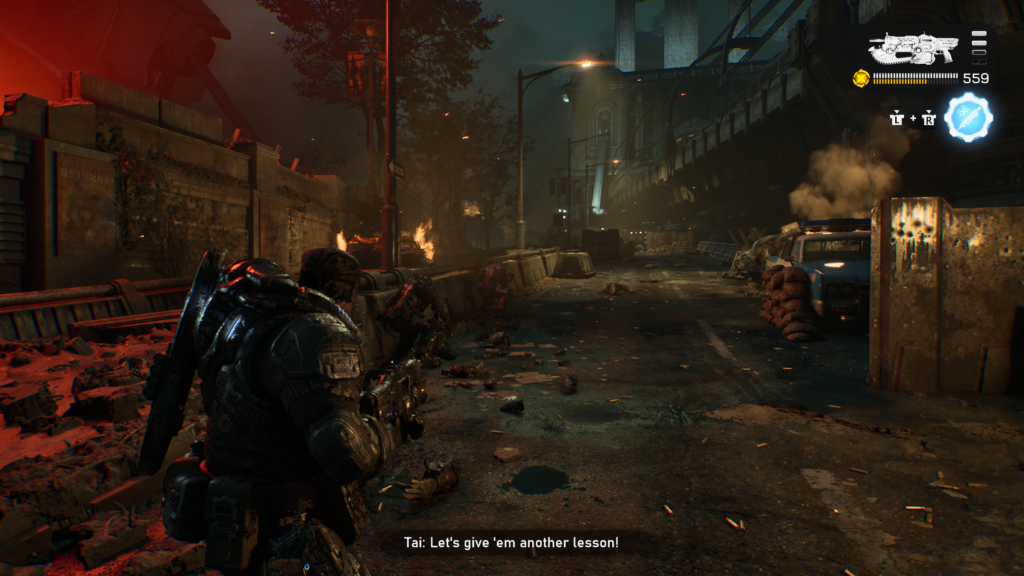
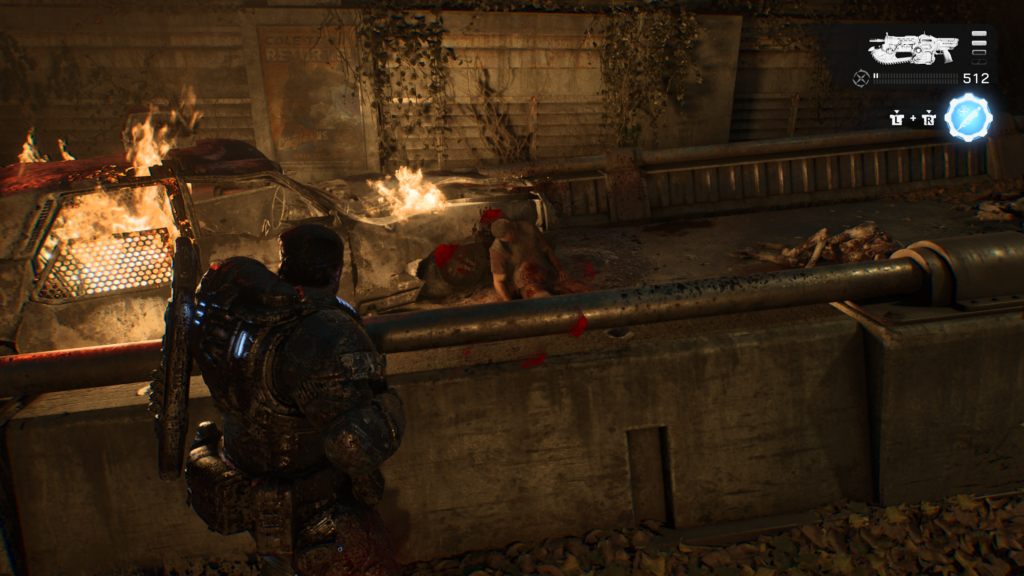
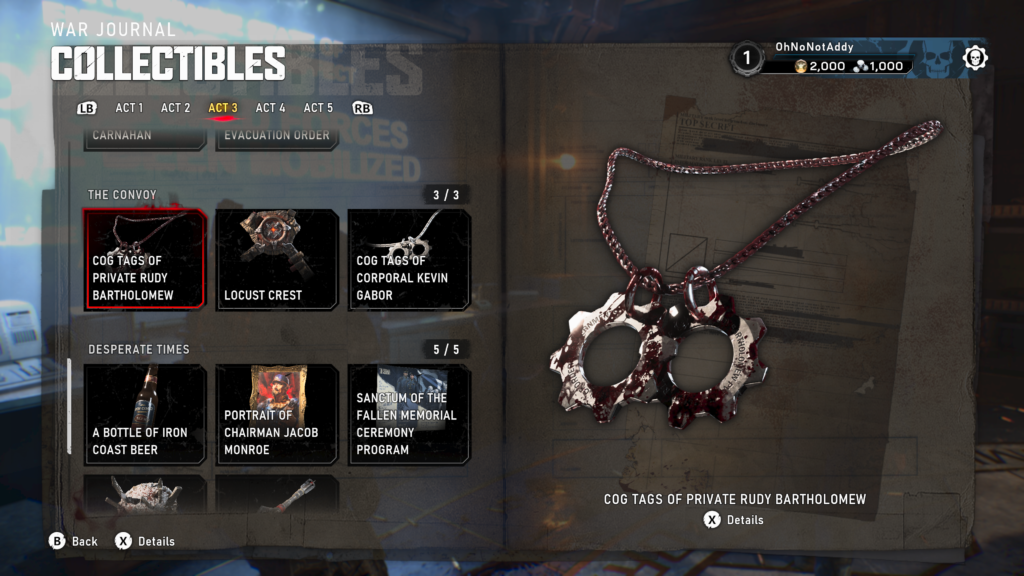
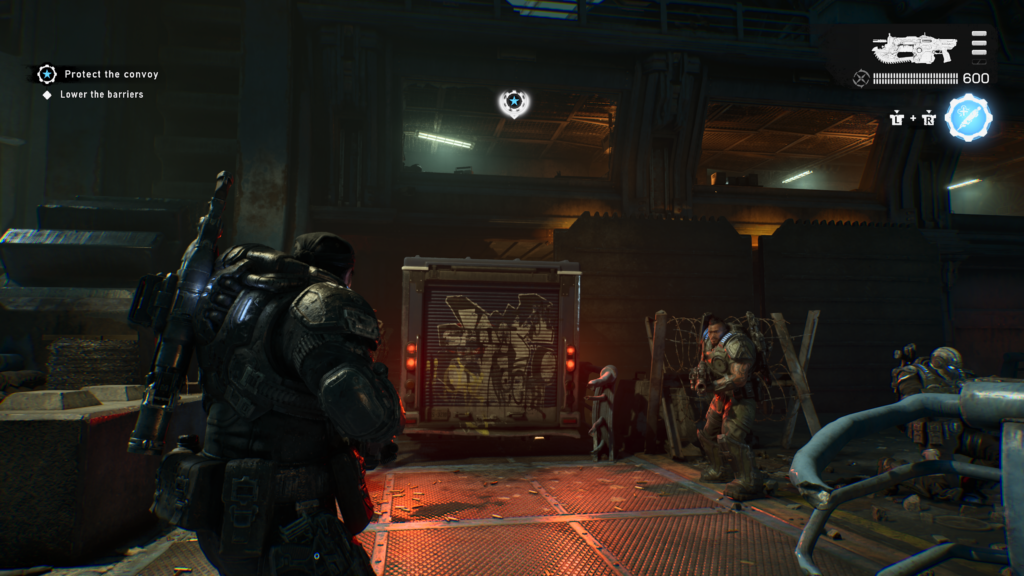
Collectible – COG Tags of Private Rudy Bartholomew (1 / 3)
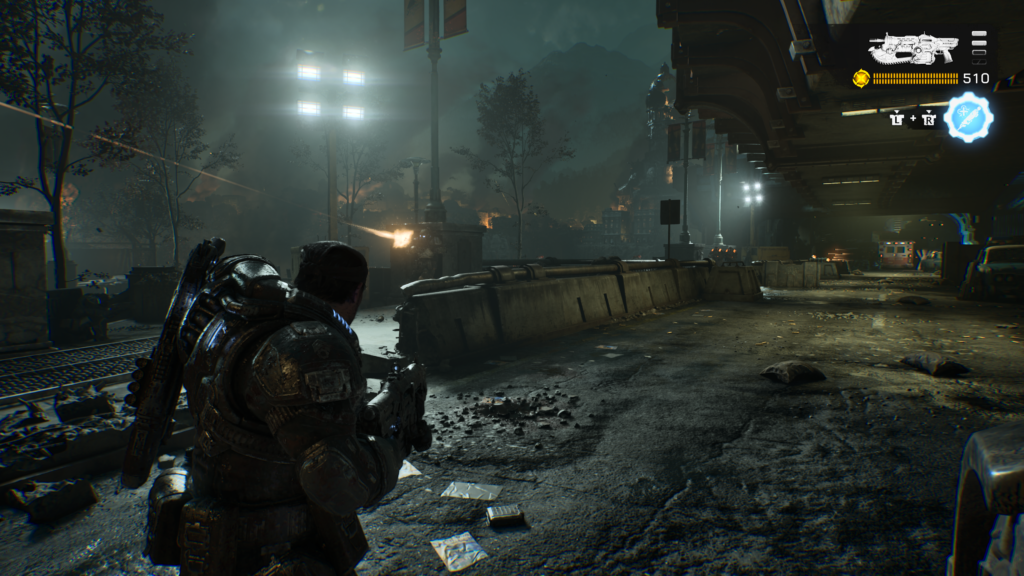
Near the start of this chapter, you’ll head upwards on the road. To your left, you will see a burnt out car, still on fire, with a soldier dead against it, over the barricade.
Hard Case (1 / 5)
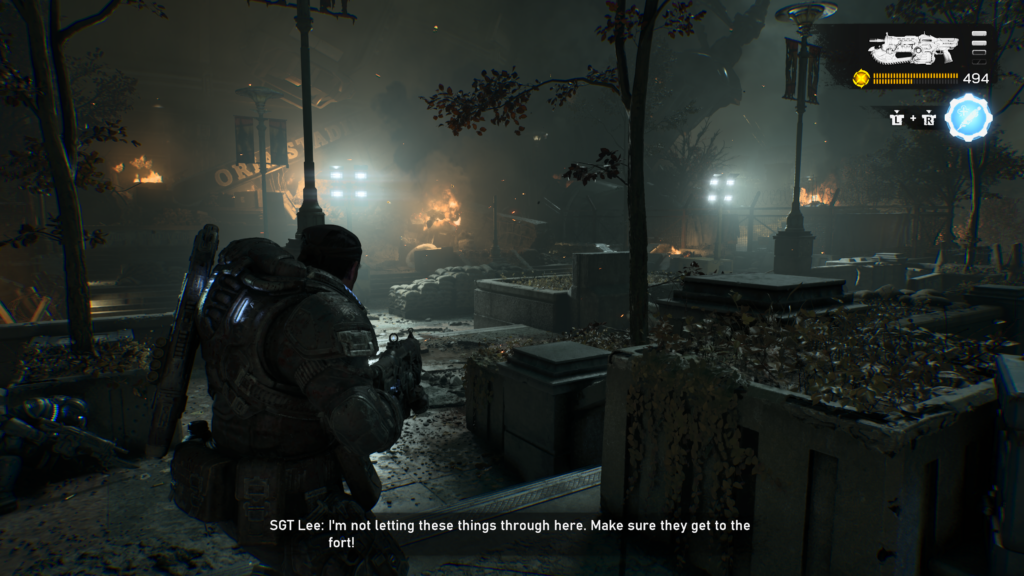
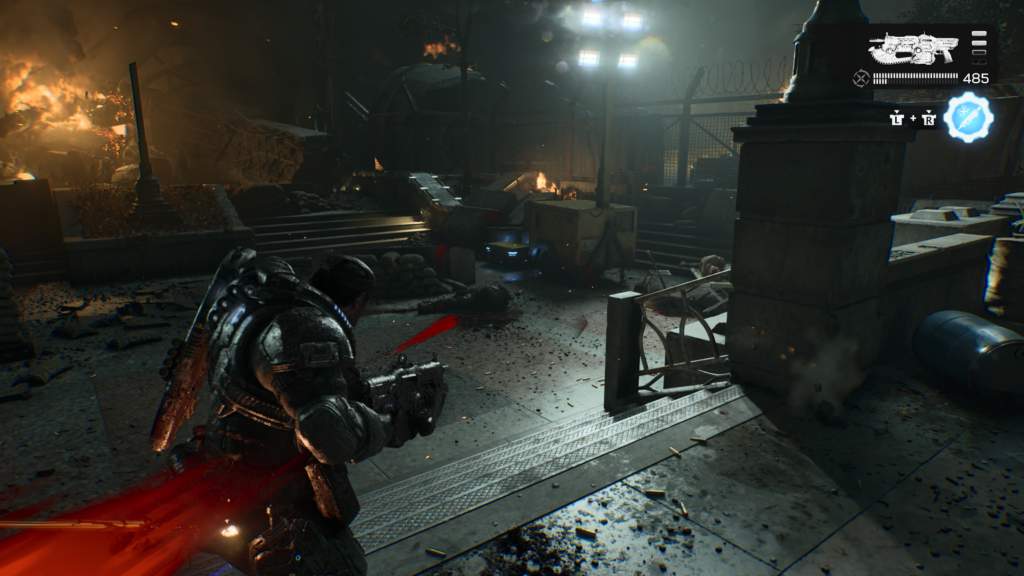
At the top of the road, after the last collectible, you’ll see a small courtyard area to your left. Take out any Locust and head down the steps to the far right corner at the back. The hard case is there.
Hard Case (2 / 5)
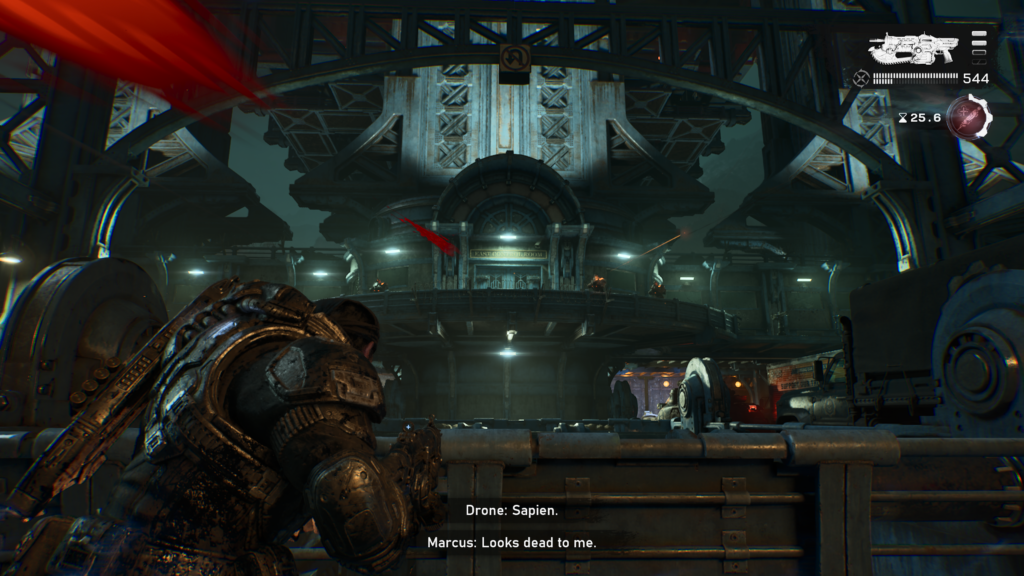
You’ll head up a floor on the bridge and be making your way to the control room. Near the control room, cross the bridge from the left to the right and the hard case is stashed underneath a military truck.
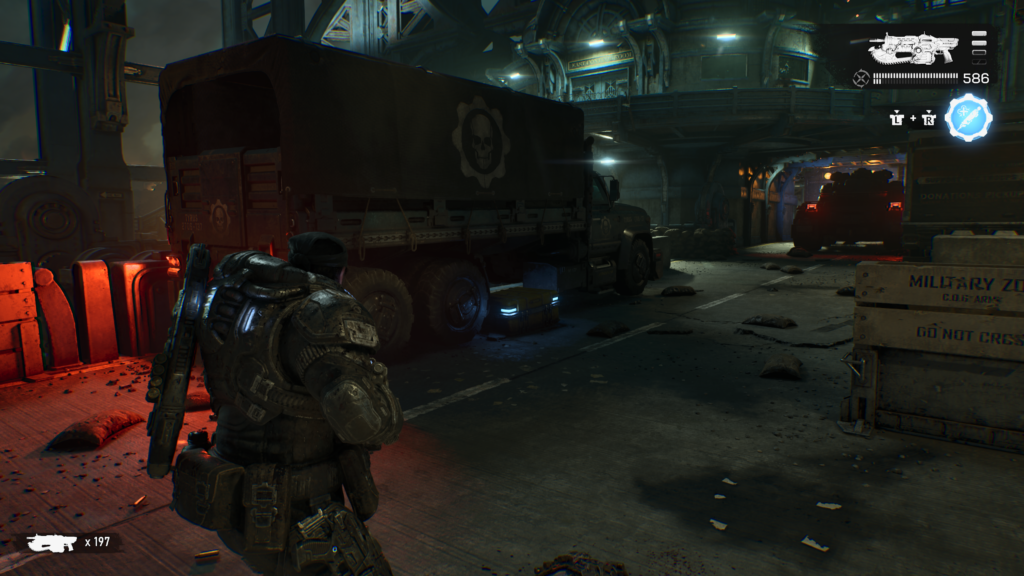
Hard Case (3 / 5)
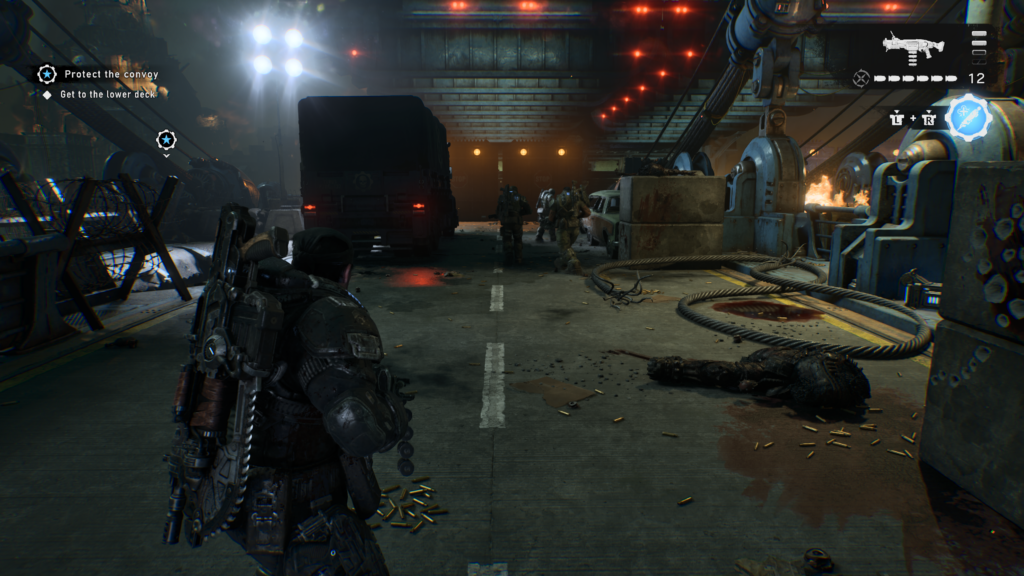
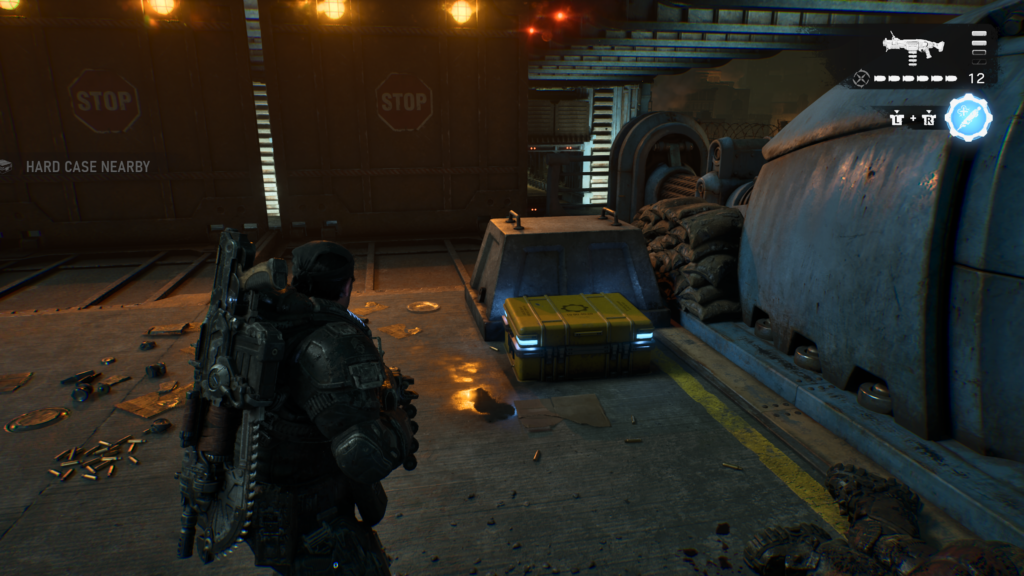
When you leave the control room, you’ll fight some Locust on the bridge. You’ll then be told to drop through a whole in the floor to the lower level. Before you do, head to the end of the bridge, on the left side, in front of a barricade is the hard case.
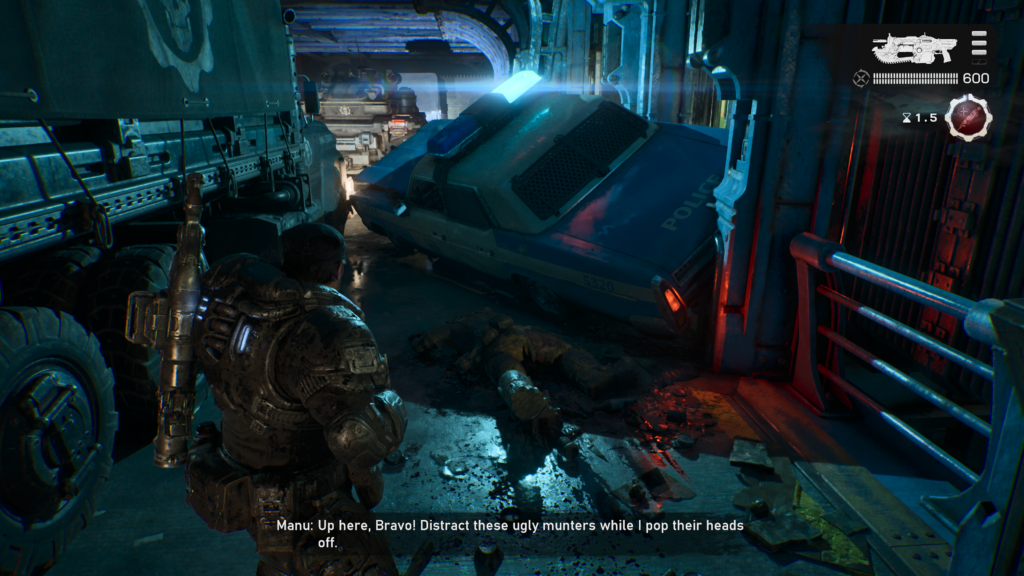
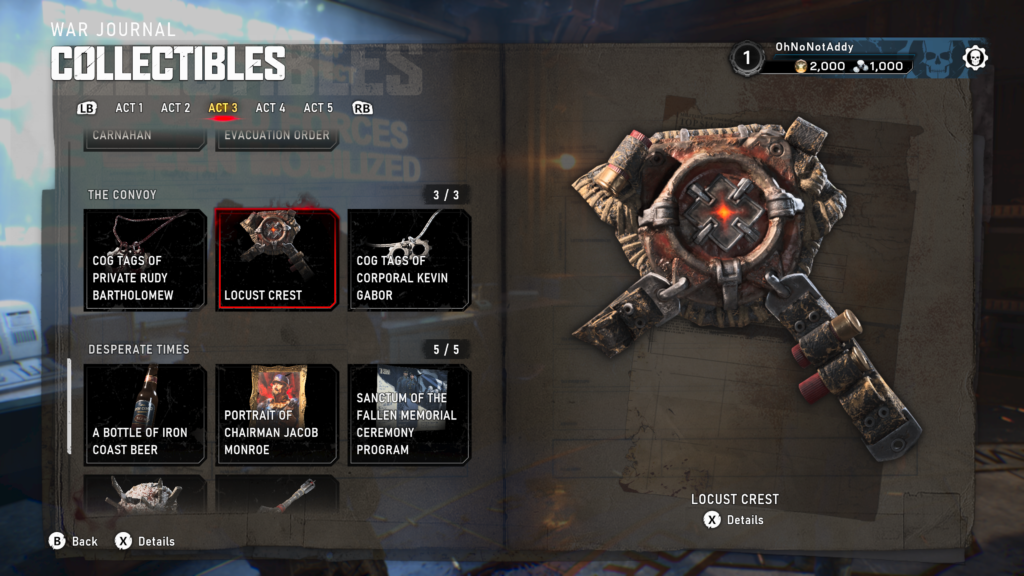
Collectible – Locust Crest (2 / 3)
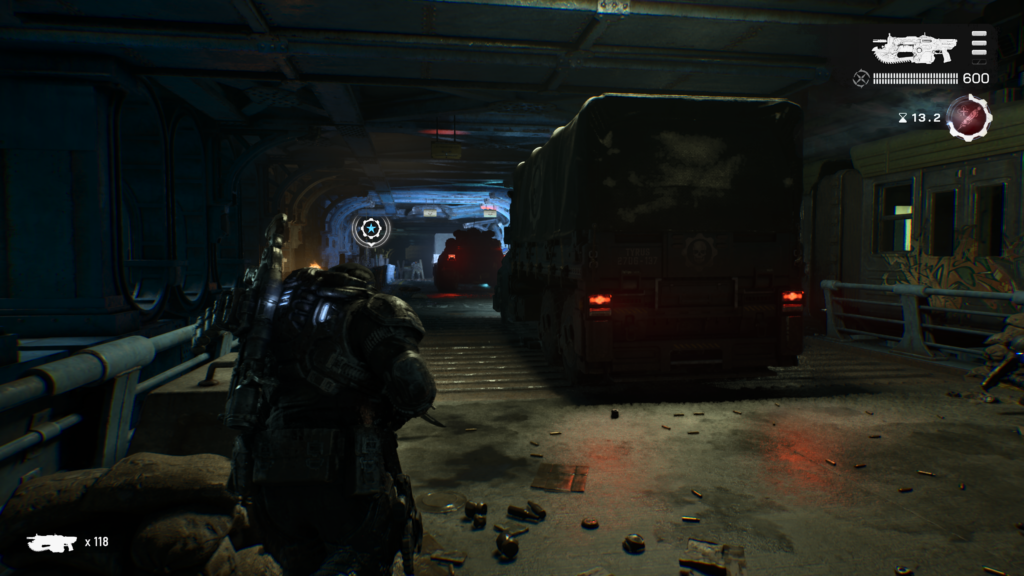
Once you’ve dropped down and taken care of the enemies. The convoy will start moving again. Stick to the right side and you’ll reach a upturned police car with the collectible just in front of it.
Hard Case (4 / 5)
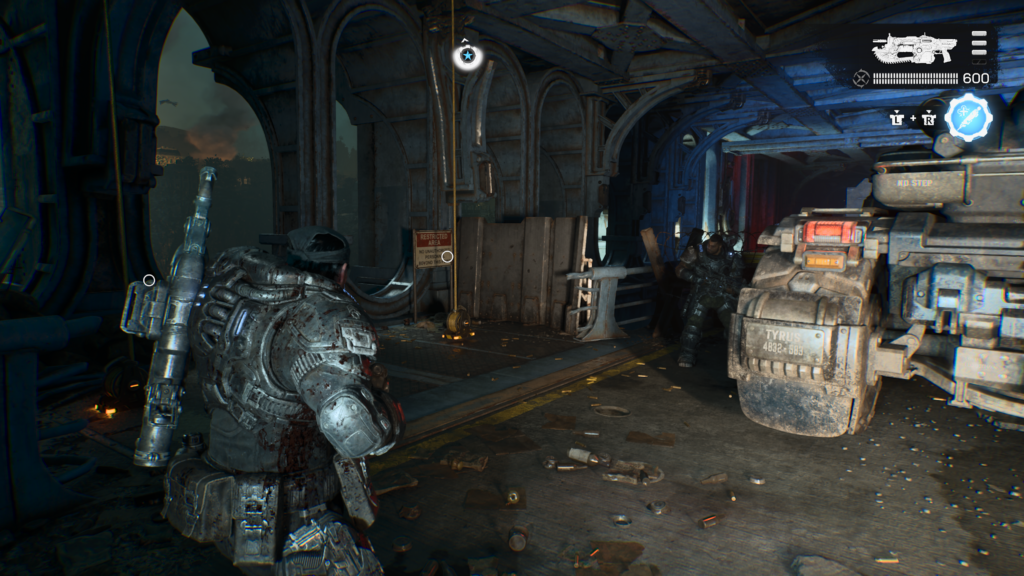
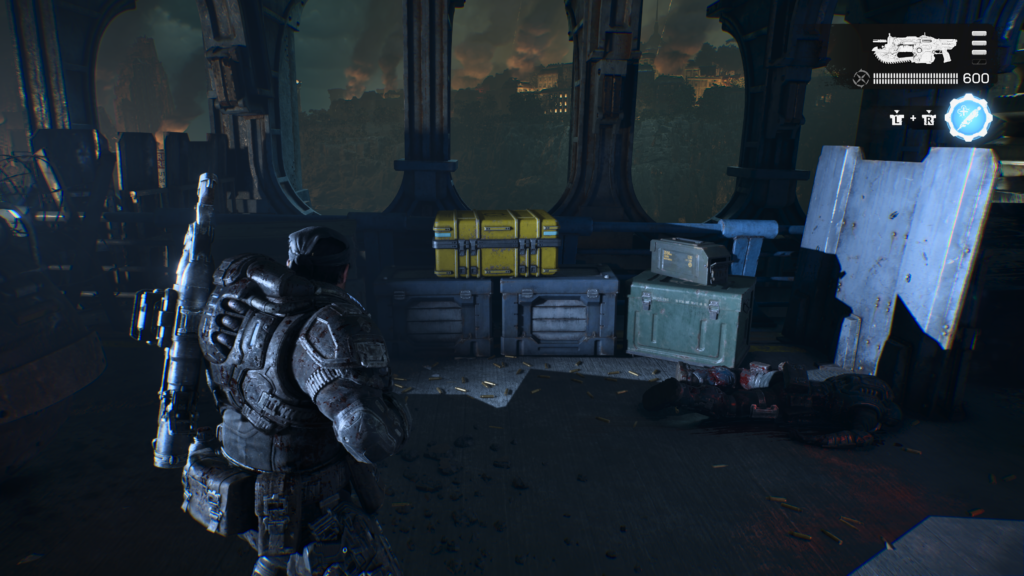
You’ll need to use a rope to ascend to continue. Before you do, head to the right of the ropes, behind some vehicles, the hard case is on a set of crates on the left side of the road.
Hard Case (5 / 5)
Once you return to the floor above, you’ll need to climb a crate and go through a window into the control room. As you enter, on the left, in the main space is the hard case.
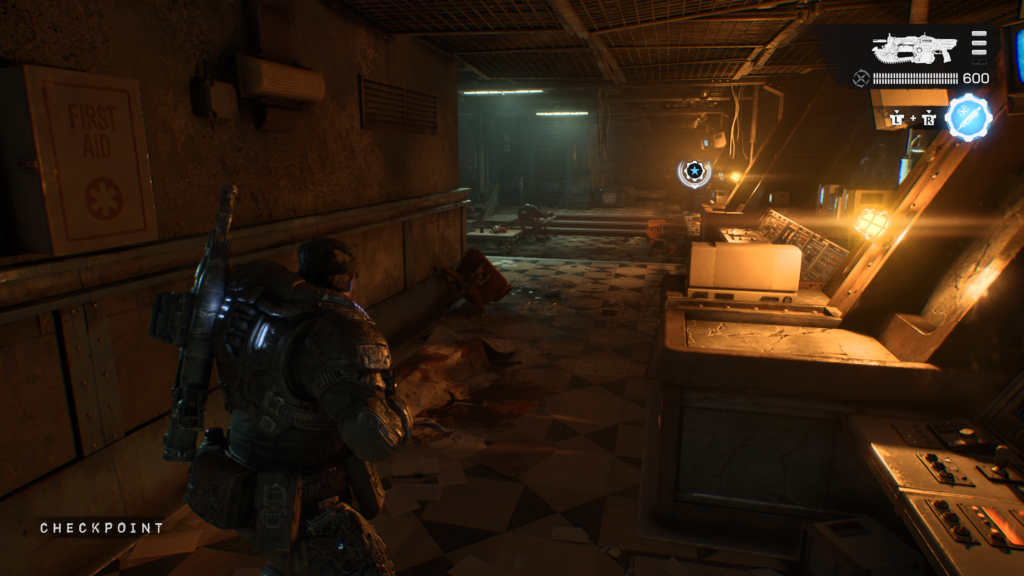
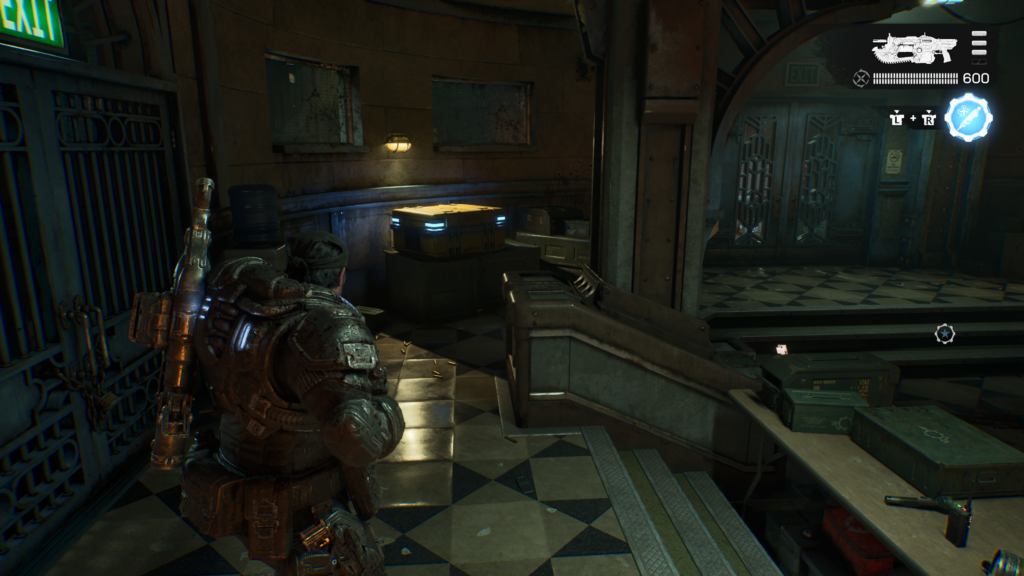
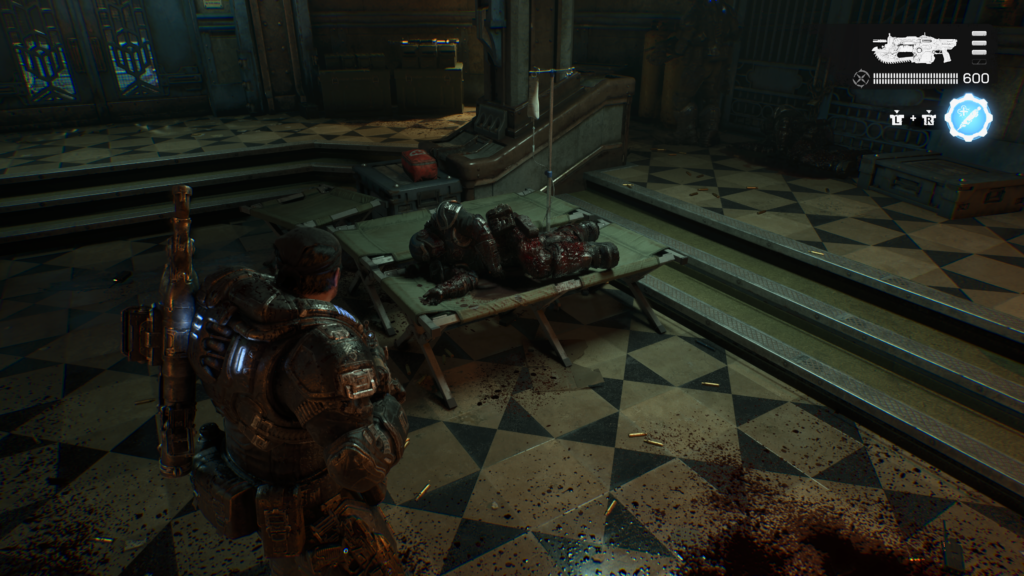
Collectible – COG Tags of Private Rudy Bartholomew (3 / 3)
On the right from the hard case, in the centre, in front of the console you need to use, is a dead COG soldier. Grab his tags.
Act 3, Chapter 5 – Desperate Times
- 5 Collectibles
- 5 Hard Cases
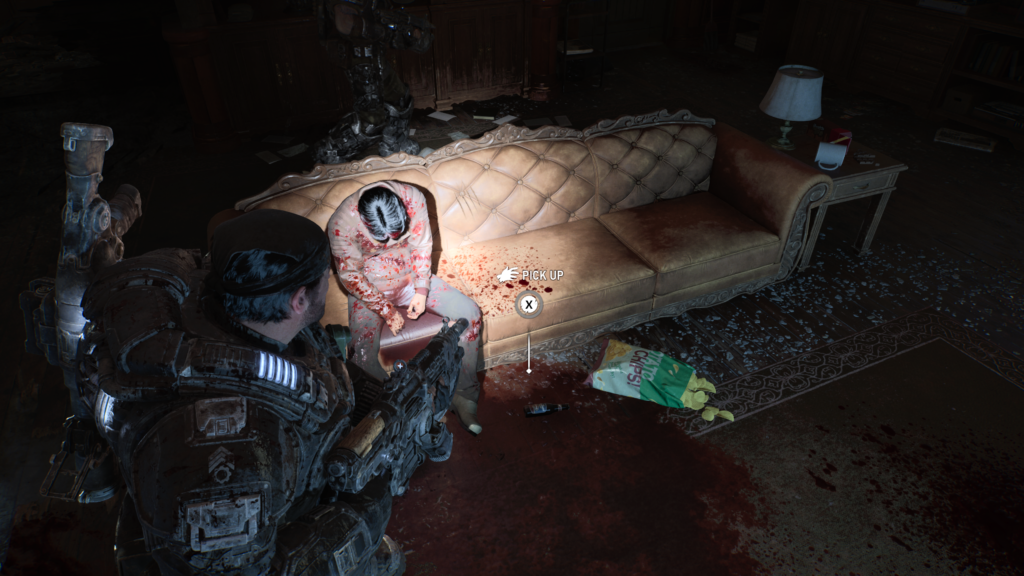
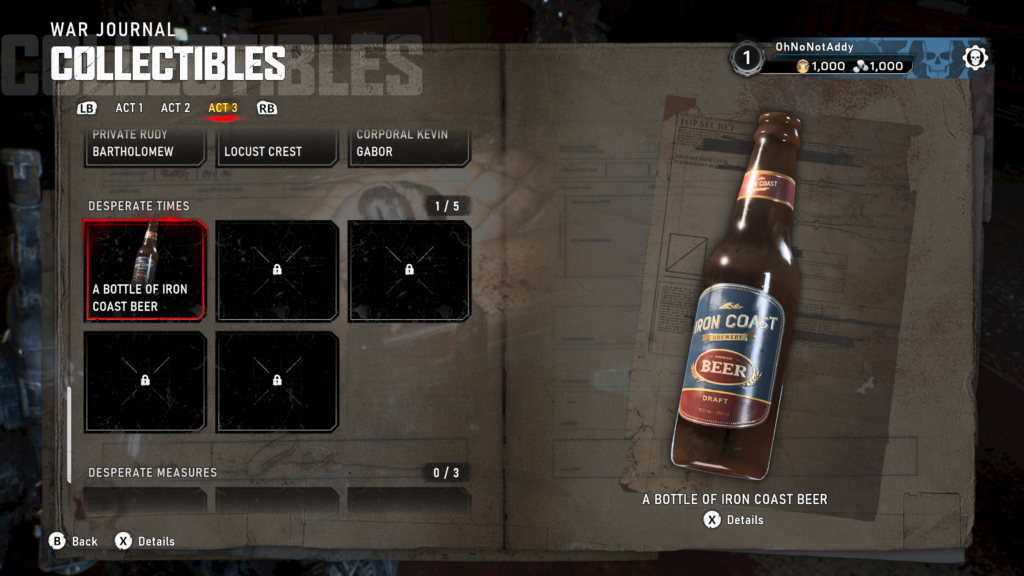
Collectible – A Bottle of Iron Coast Beer (1 / 5)
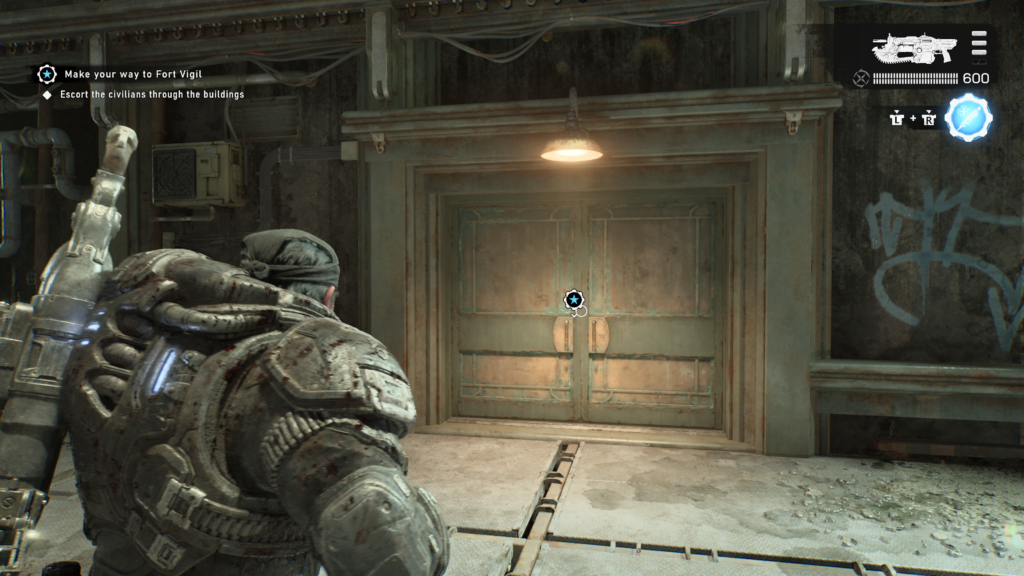
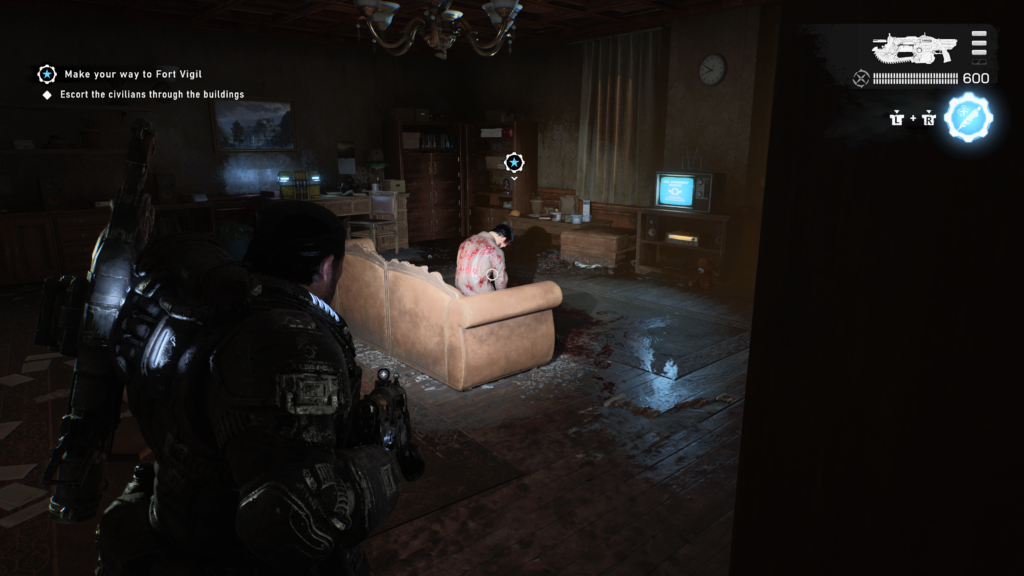
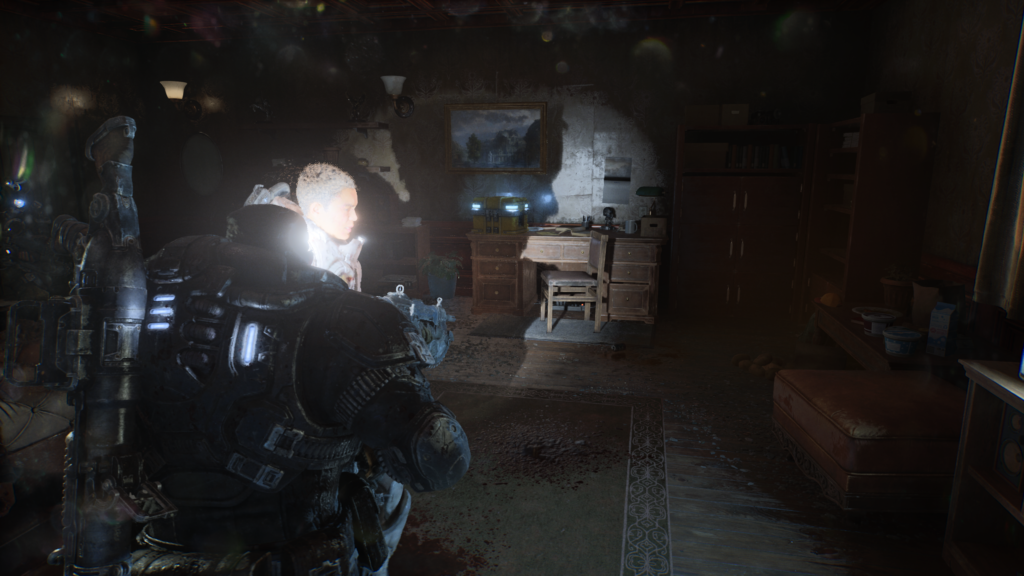
At the start of the chapter, you’ll be on the roof fighting Locust outside. Once they’re defeated you’ll head inside. You’ll enter a room and Marcus will try to talk to a person sat on a couch. Go to him to take the collectible.
Hard Case (1 / 5)
Immediately after the collectible, look to the right and grab the hard case from the side.
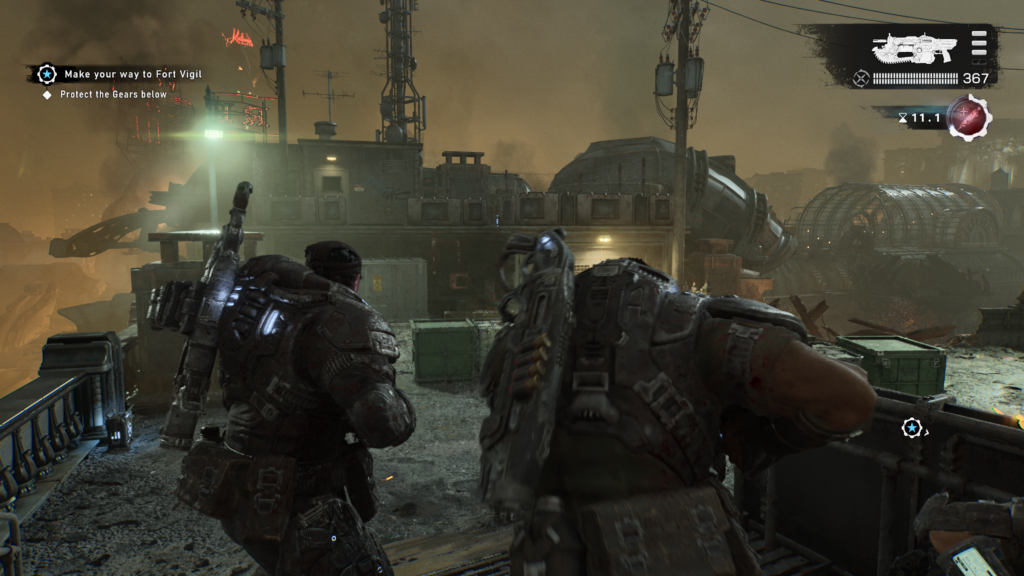
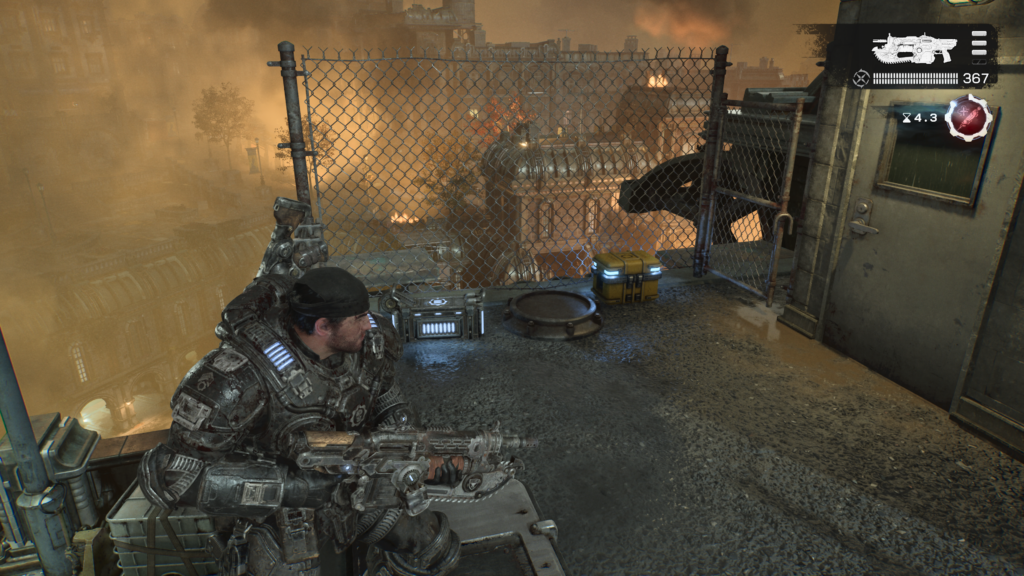
Hard Case (2 / 5)
You’ll end up back outside where you have more Locust to fight. Once they’re all taken care of, you’ll be prompted to head back inside. Instead, look to the left and climb up a small ledge to get to the next level and grab the hard case on the left, against a chain-link fence.
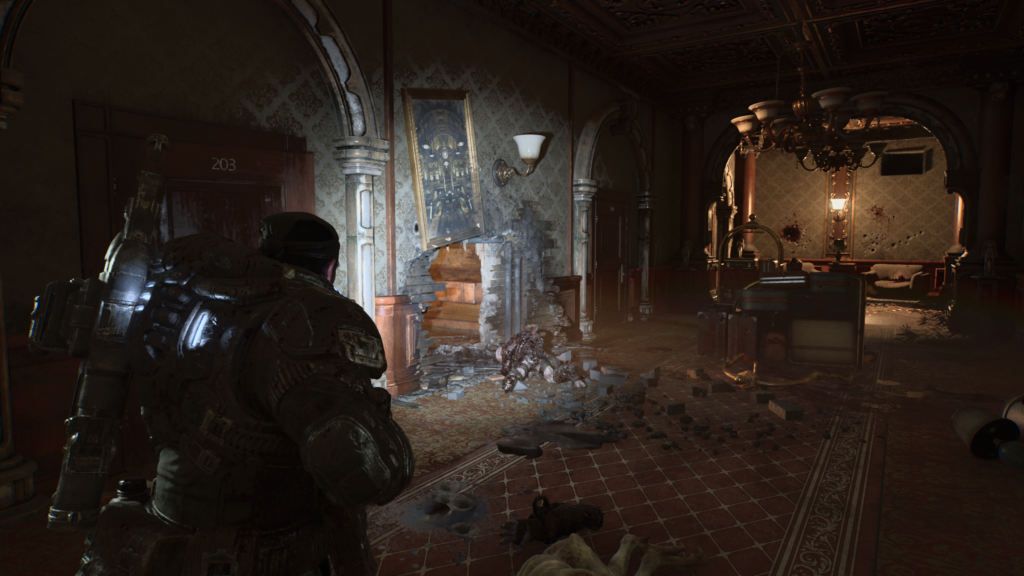
Hard Case (3 / 5)
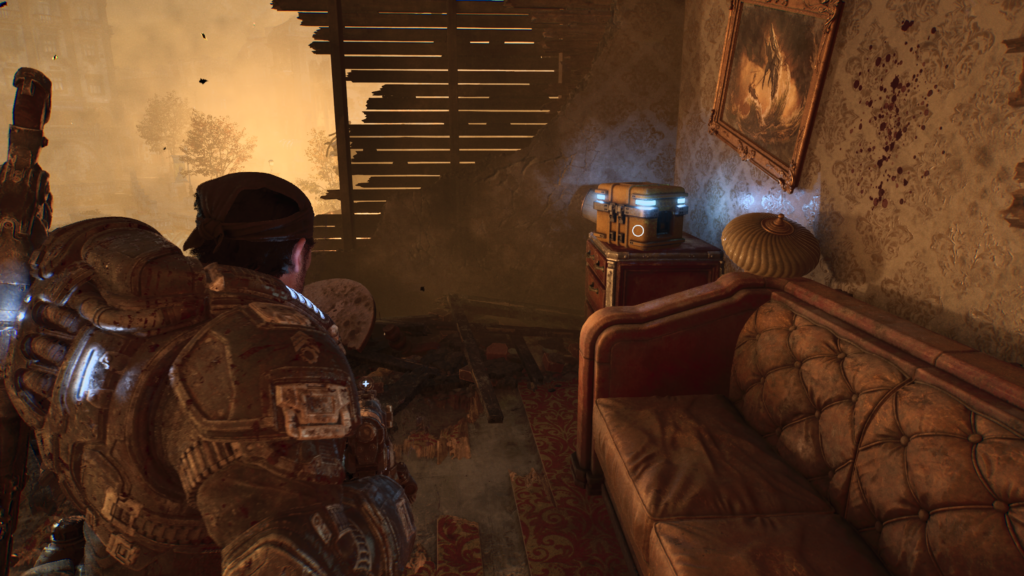
Once you head back inside, you’ll fight off some wretches. Once they’re gone, look for a hole in the wall on the left and crawl through. The hard case is directly in front of you on a chest of drawers.
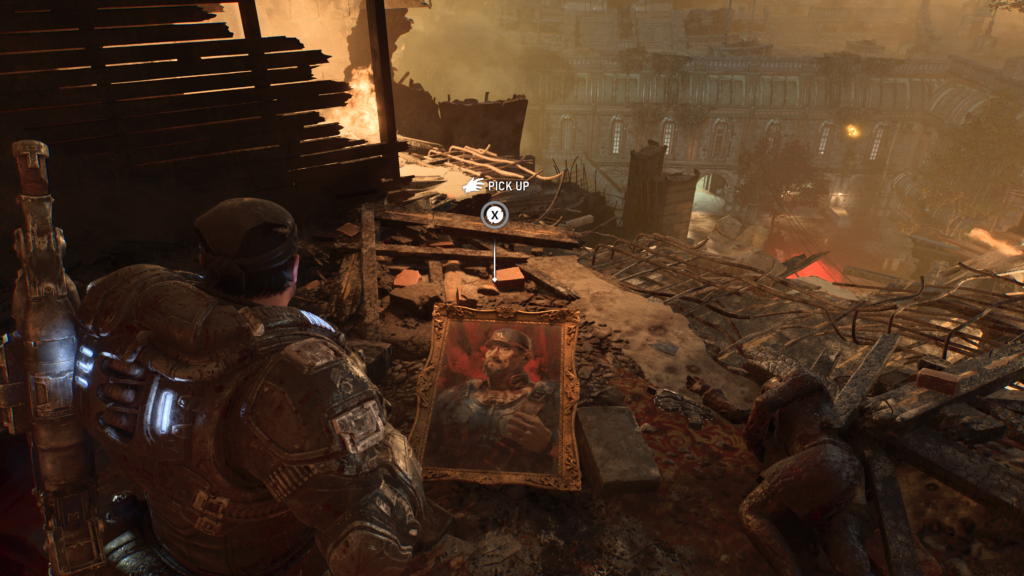
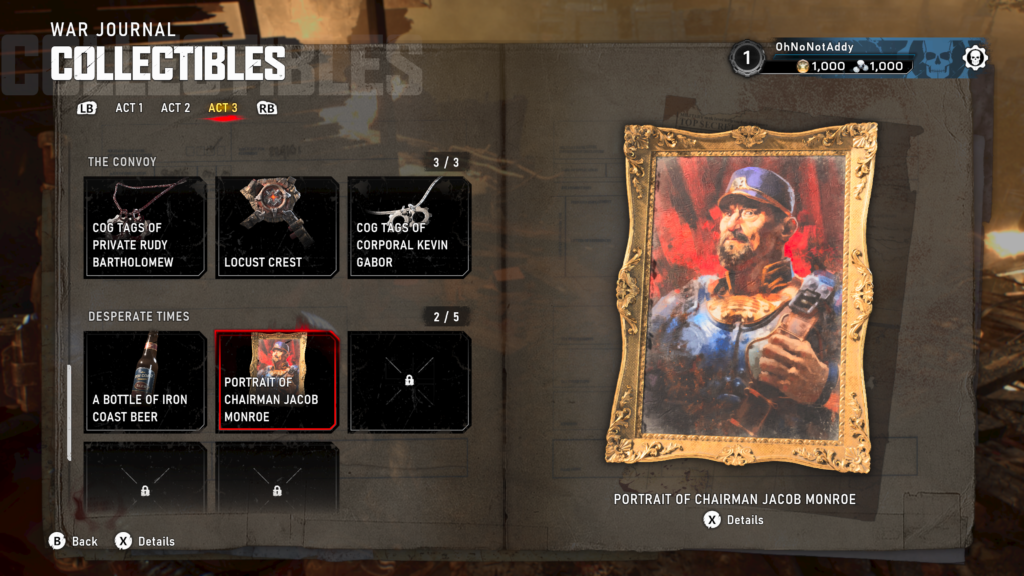
Collectible – Portrait of Jacob Monroe (2 / 5)
Immediately after the last hard case, look to your left to see the collectible on the ground.
Hard Case (4 / 5)
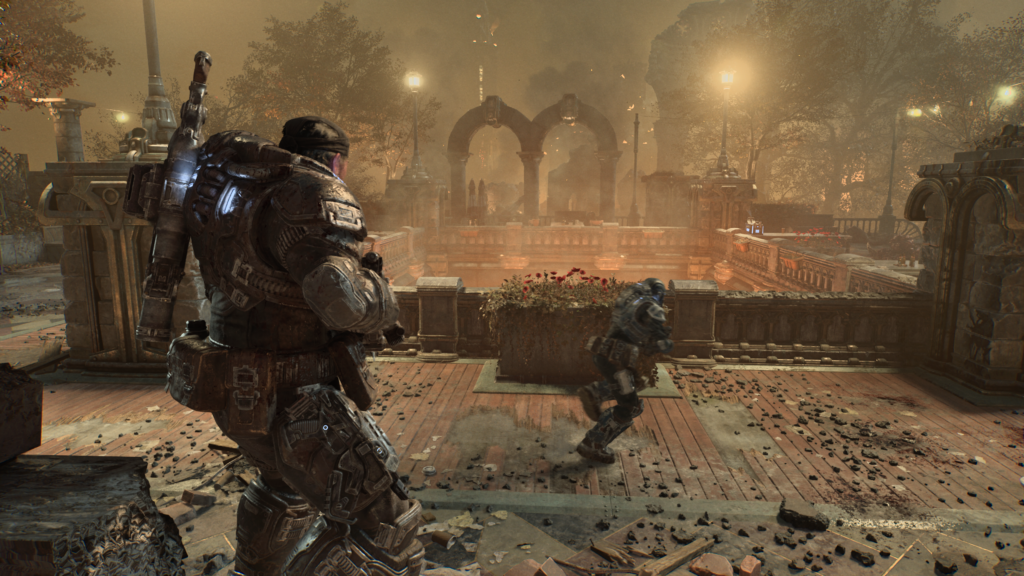
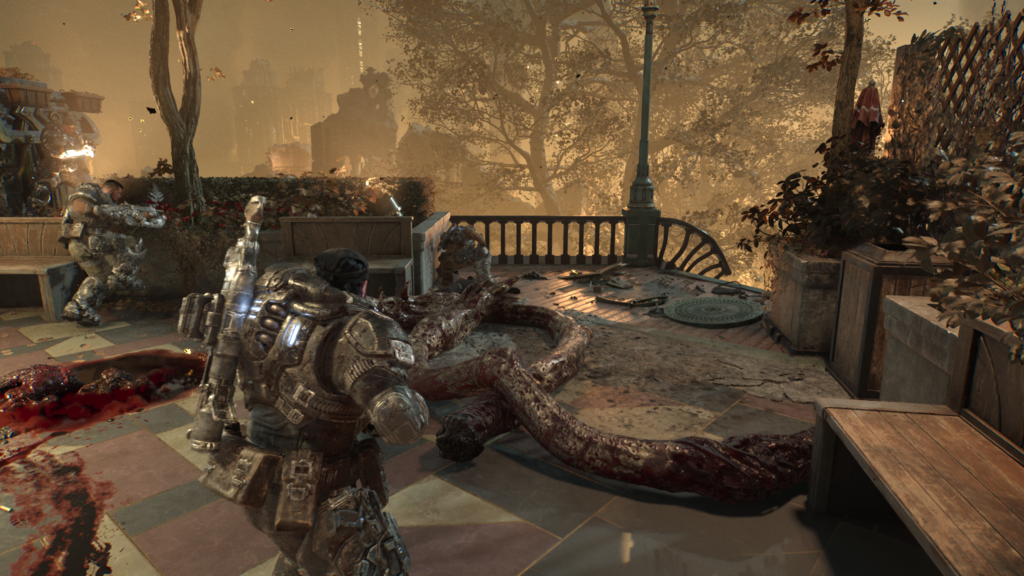
Continue on until you enter a courtyard where you have to take out a Reaver and lots of Locust. Once clear, head around the courtyard on the left side to find the hard case next to a stone fence.
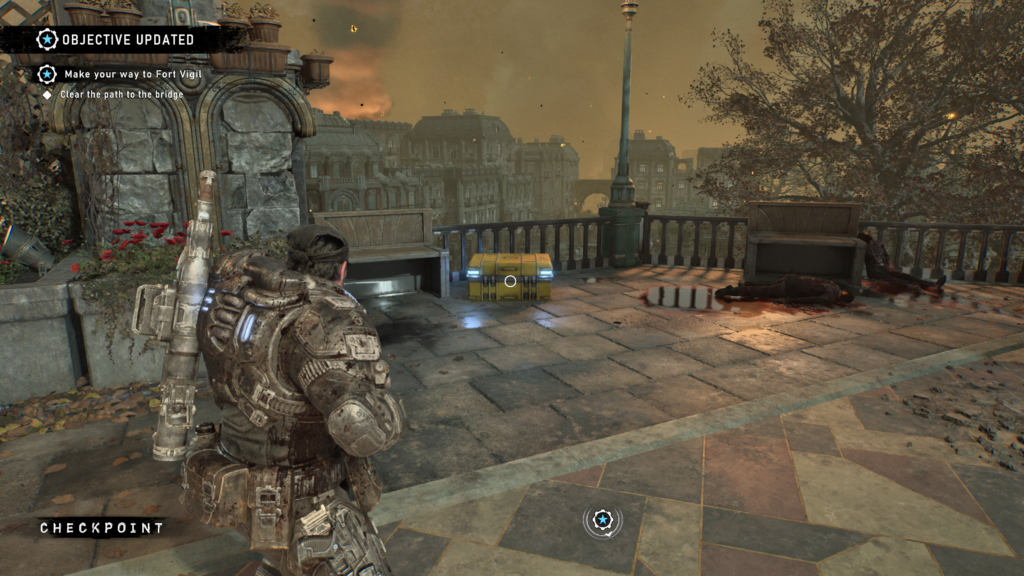
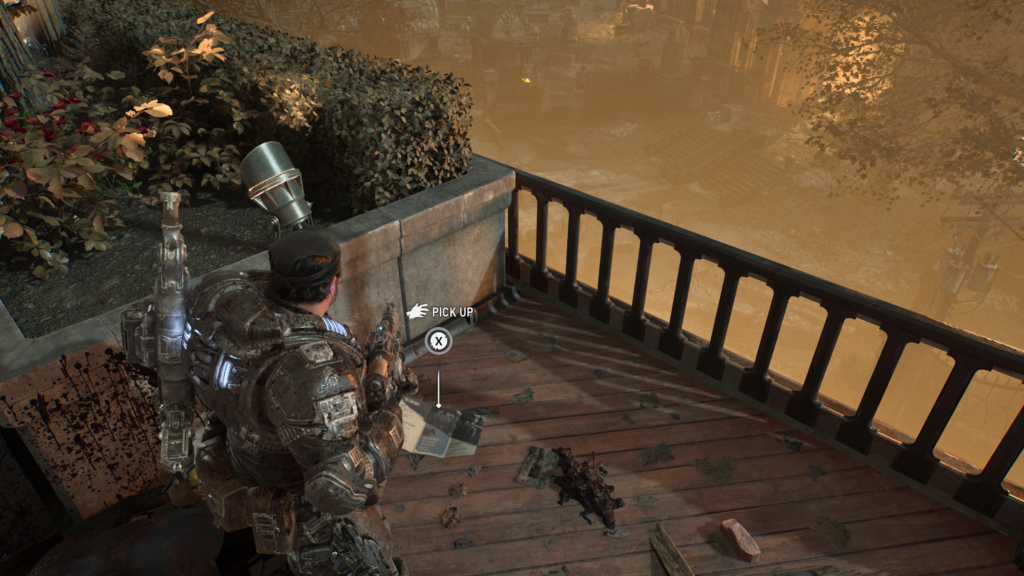
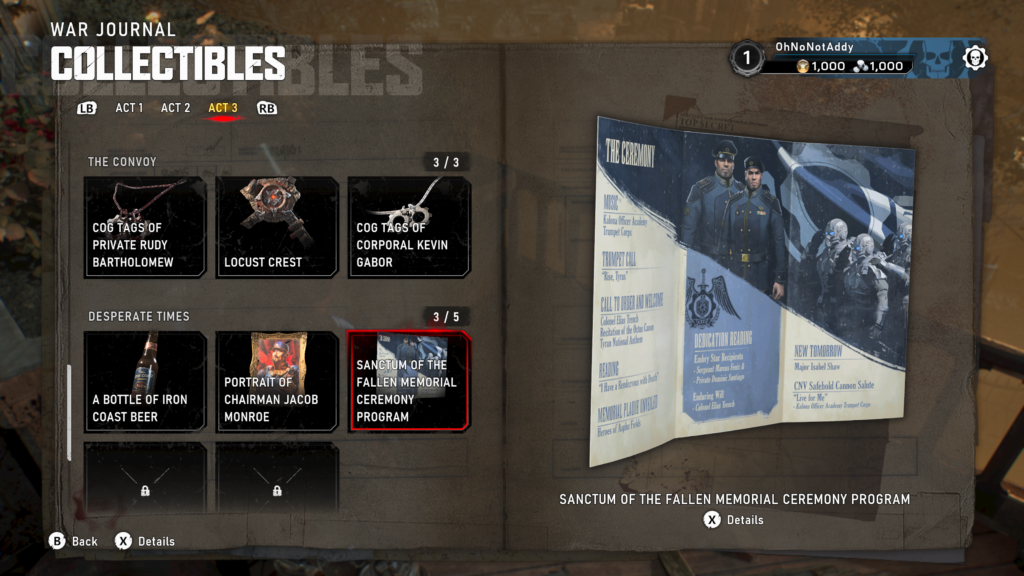
Collectible – Sanctum of the Fallen Memorial Ceremony Program (3 / 5)
If you return to where you entered the courtyard, and stay to the right of the central stone barricade and head forward, to the edge of the courtyard, you’ll see the collectible on the floor, next to a stone planter.
Hard Case (5 / 5)
You’ll see a cutscene where the Locust with a Torque Bow appears. Continue forward and you’ll have to take out some tickers and climb up a ledge. Before crossing the bridge on your left, look to the right to see the hard case.
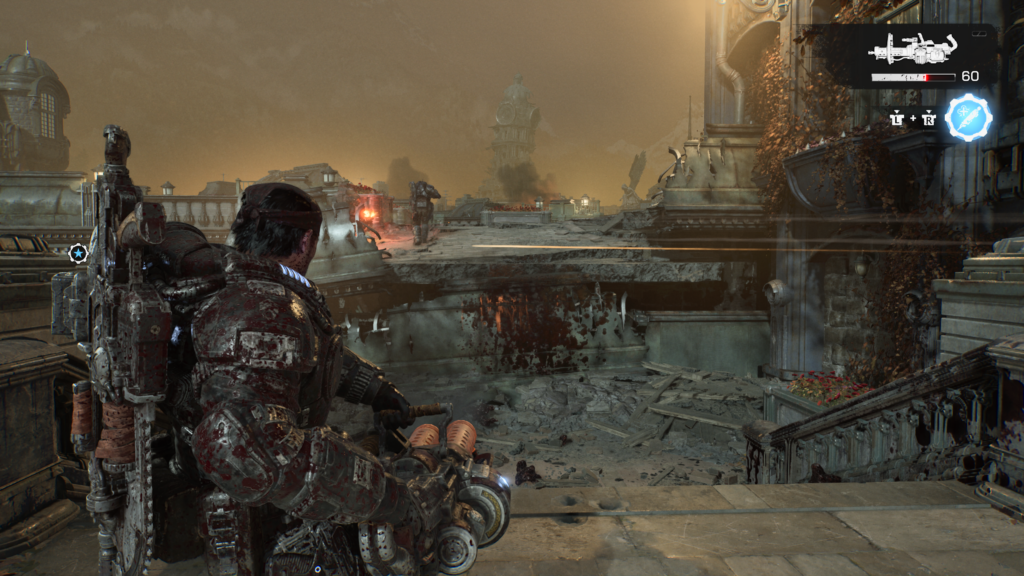
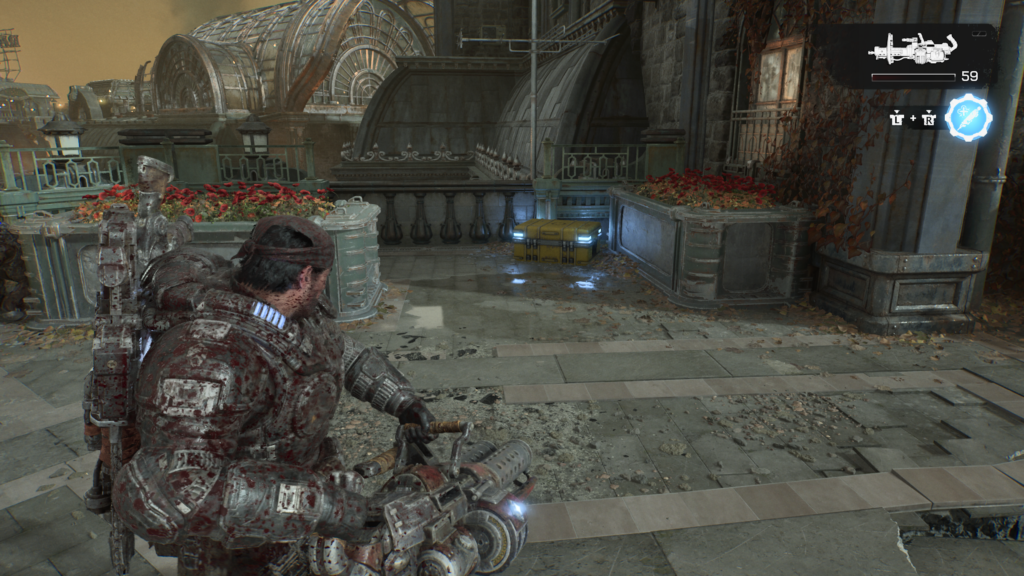
Collectible – Locust Spiked Shoulder Pad (4 / 5)
Cross the bridge and go to the right of the tree in the middle, towards the balcony is the collectible on the floor.
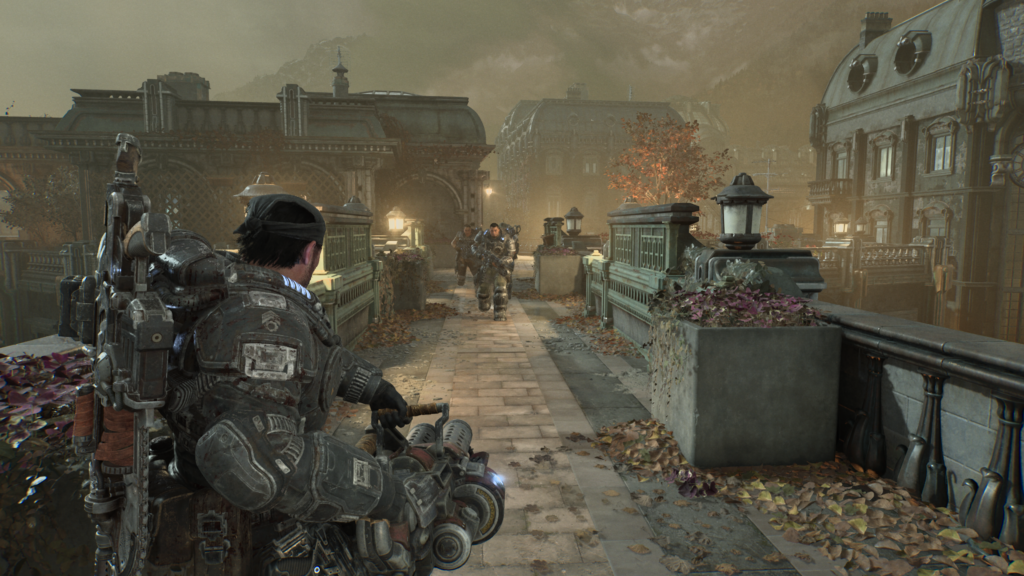
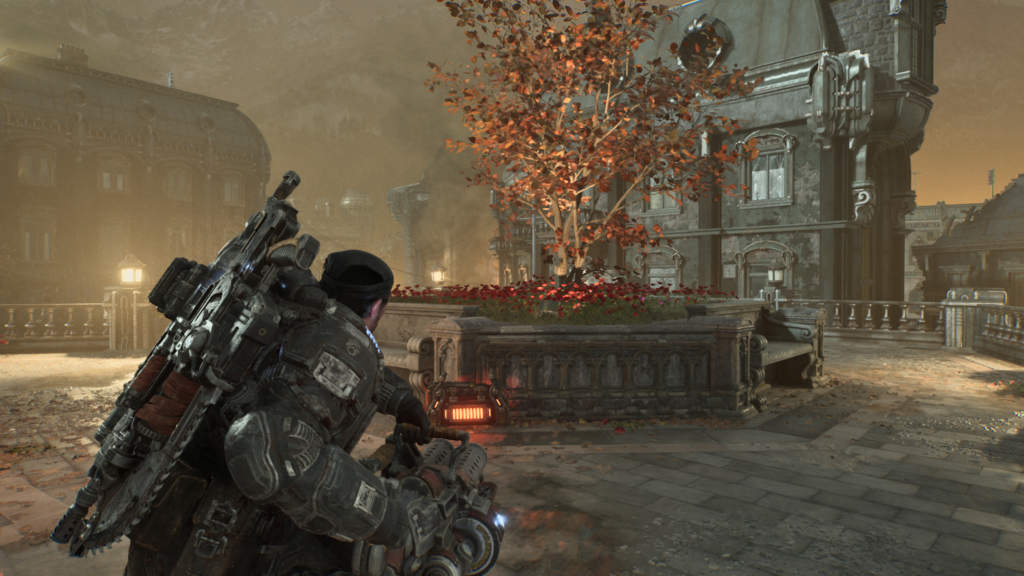
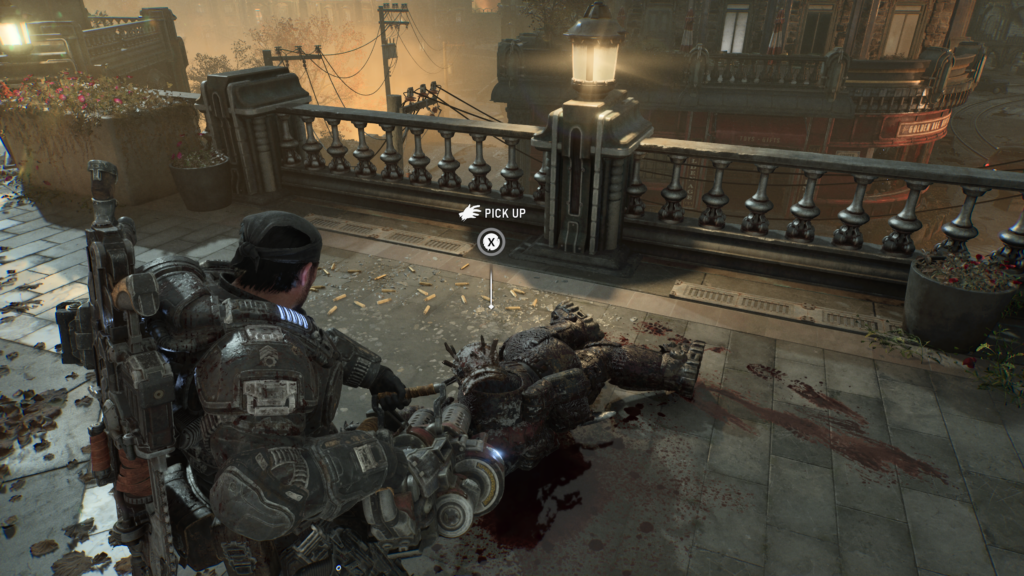
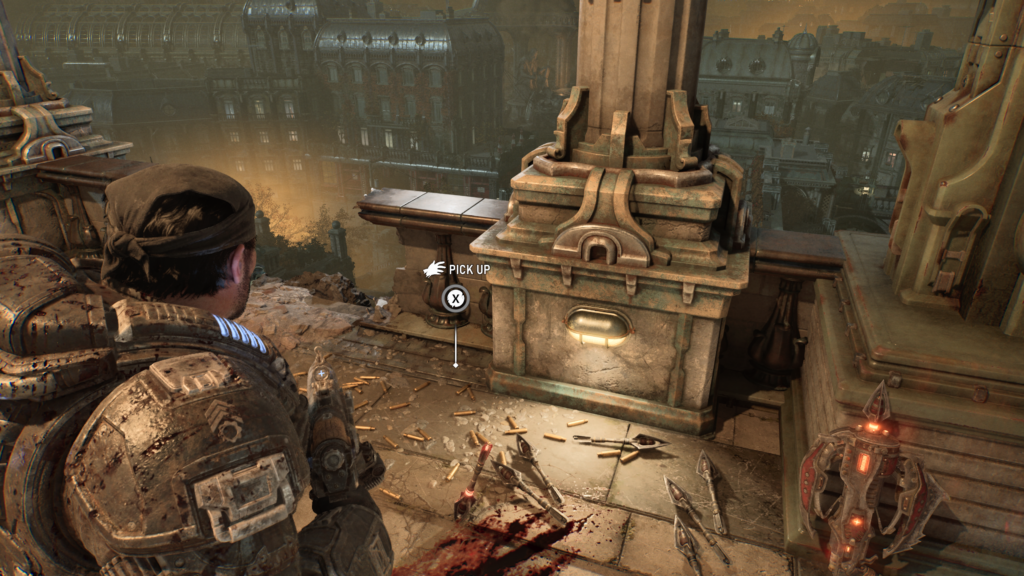
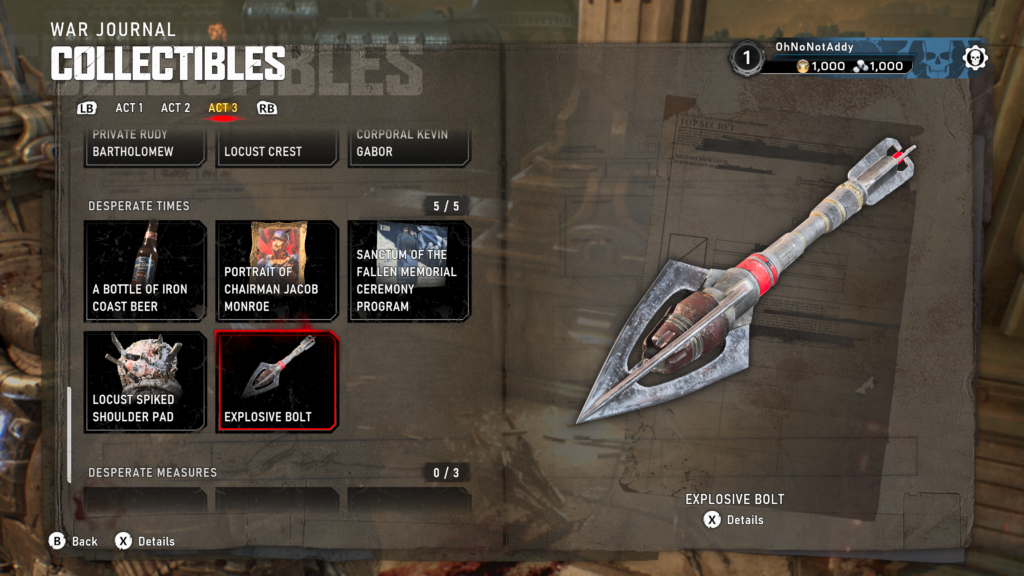
Collectible – Explosive Bolt (5 / 5)
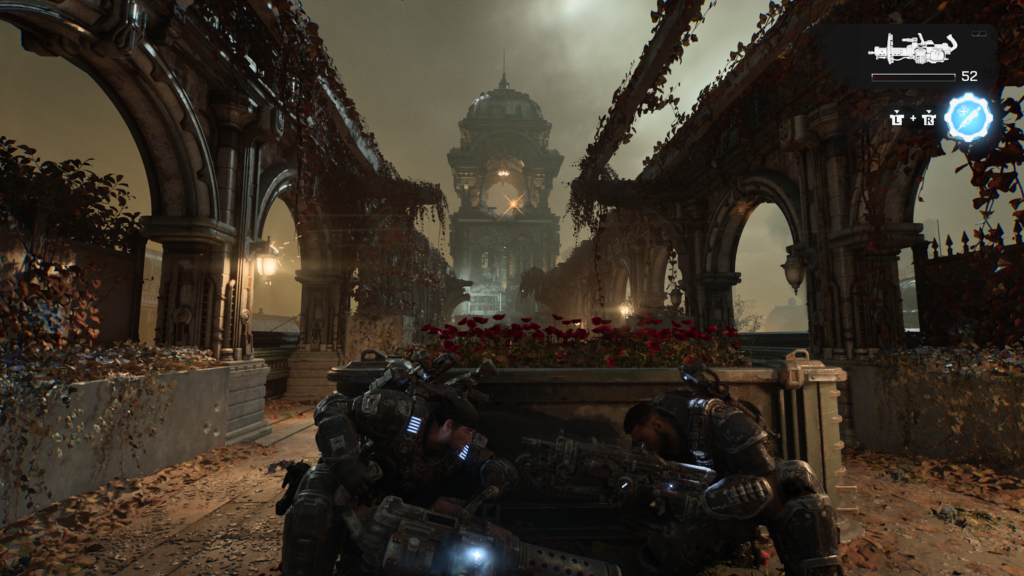
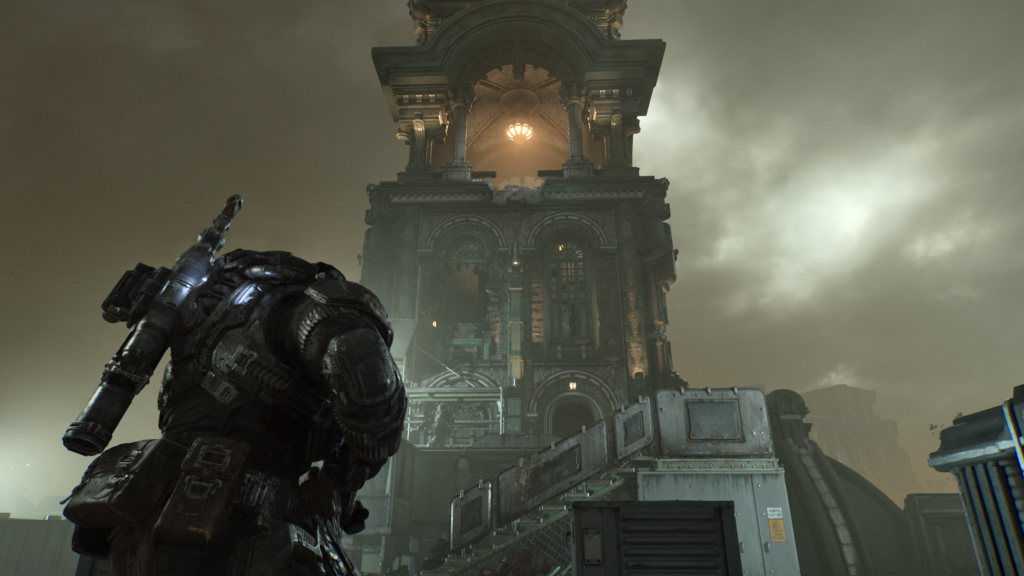
When you’ve cleared out the enemies in the clock tower. You will have to enter it to go down to street level. Instead go upwards, to the top and grab the collectible from the floor where the torque bows were.
Act 3, Chapter 6 – Desperate Measures
- 5 Hard Cases
- 3 Collectibles
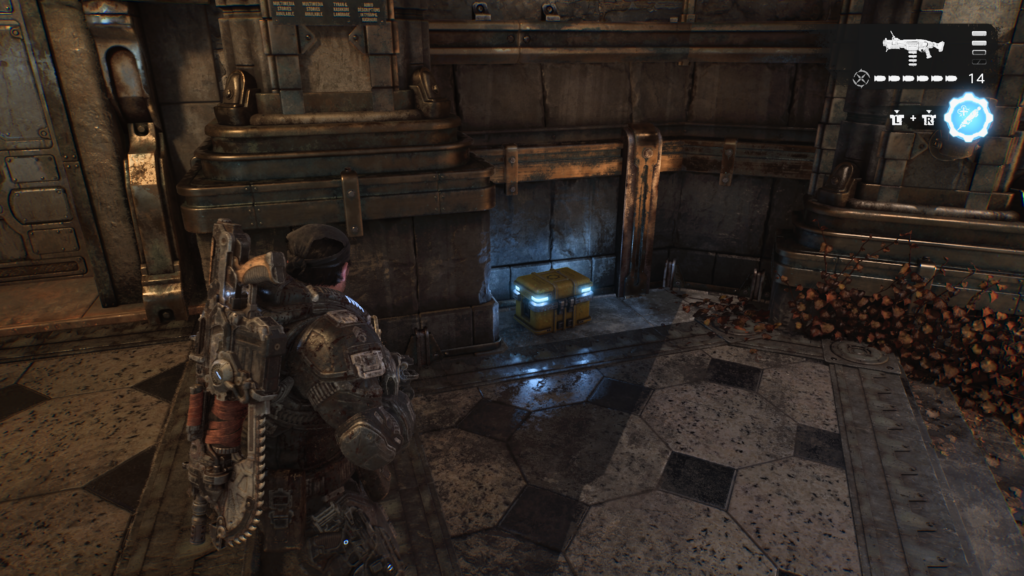
Hard Case (1 / 5)
After you have fought off the Locust at the beginning of the chapter. Head down the left side of the fort. You’ll see a path up a few steps to your left. Head down there to find a hard case.
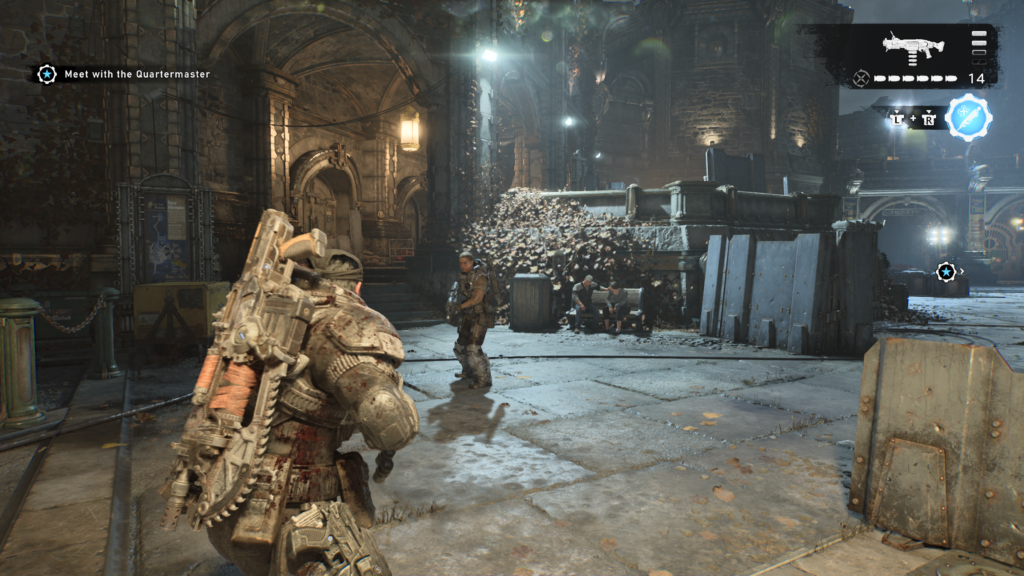
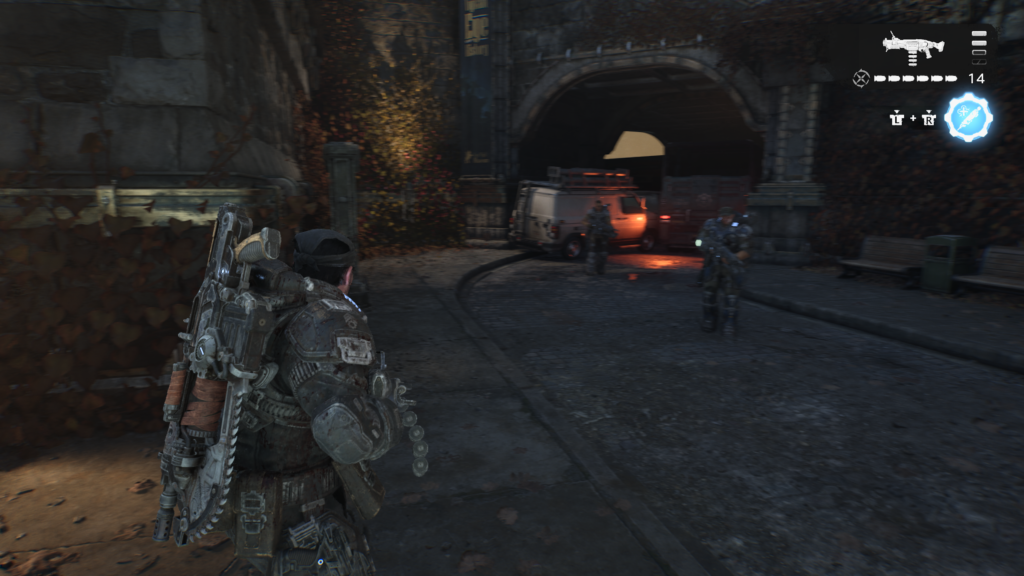
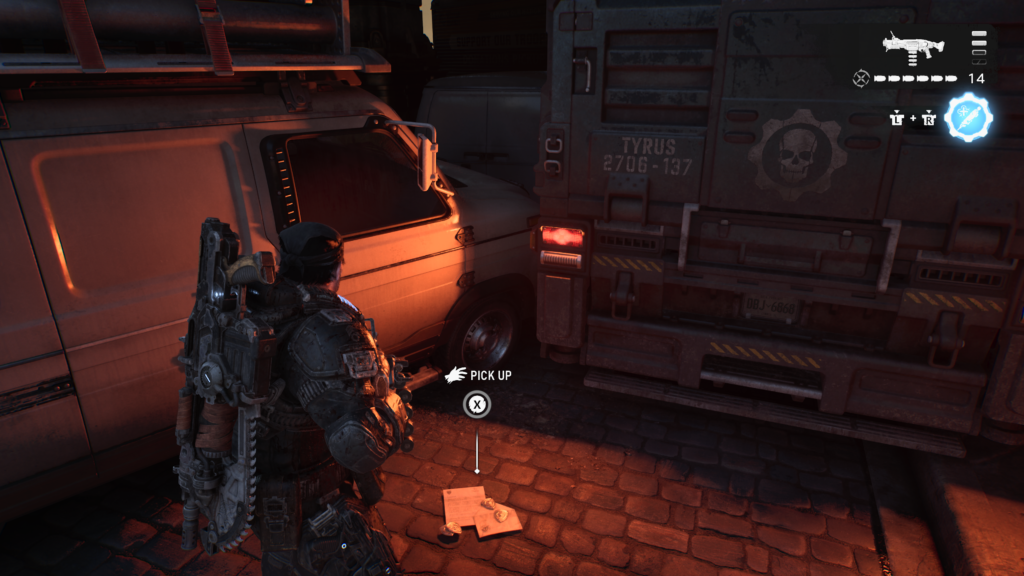
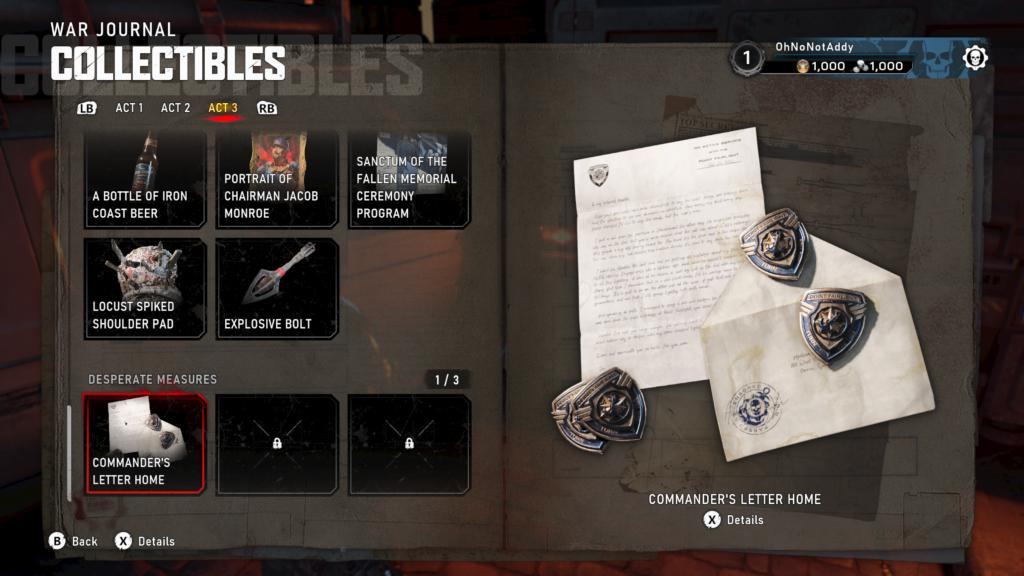
Collectible – Commander’s Letter Home (1 / 3)
Head to the centre of the fort, and look back towards the entrance. You should see a statue slap bang in the centre. Head down all the steps to the left and into the corner. Under a red glow and besides a truck is the collectible.
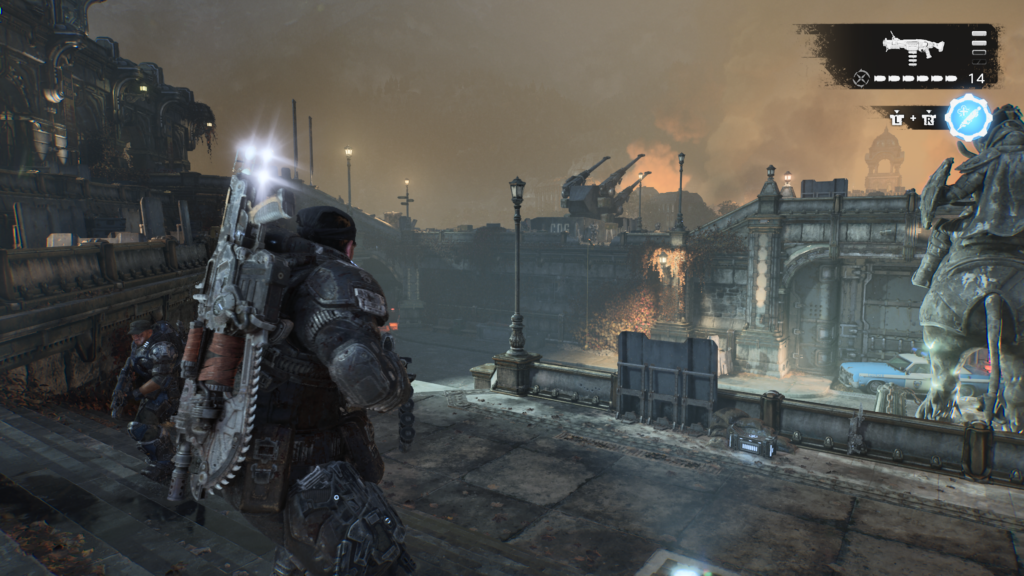
Hard Case (2 / 5)
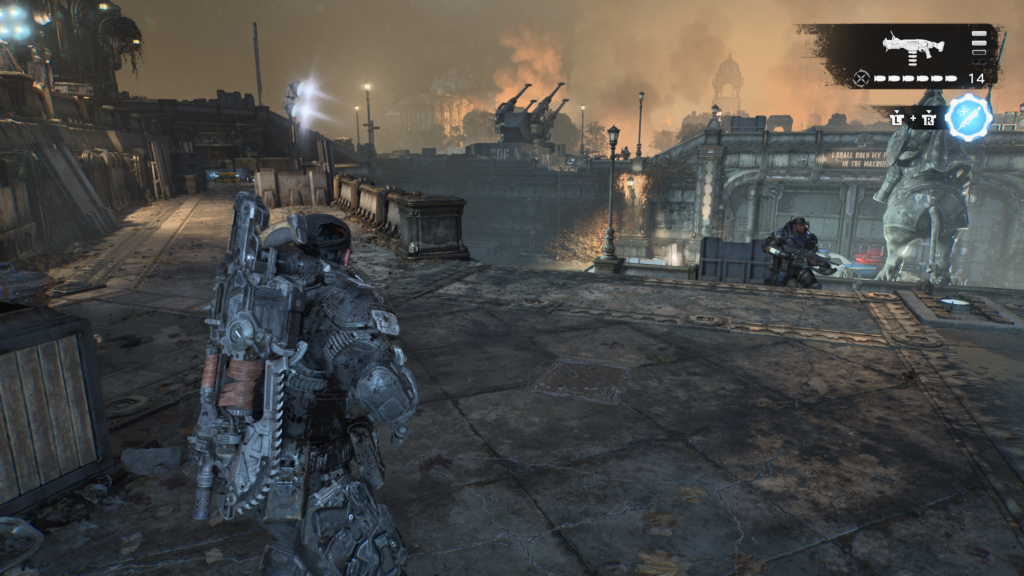
From the centre again, make sure you’re at the top of the steps and go to the left side. There should be a long walk way with a hard case at the end.
Hard Case (3 / 5)
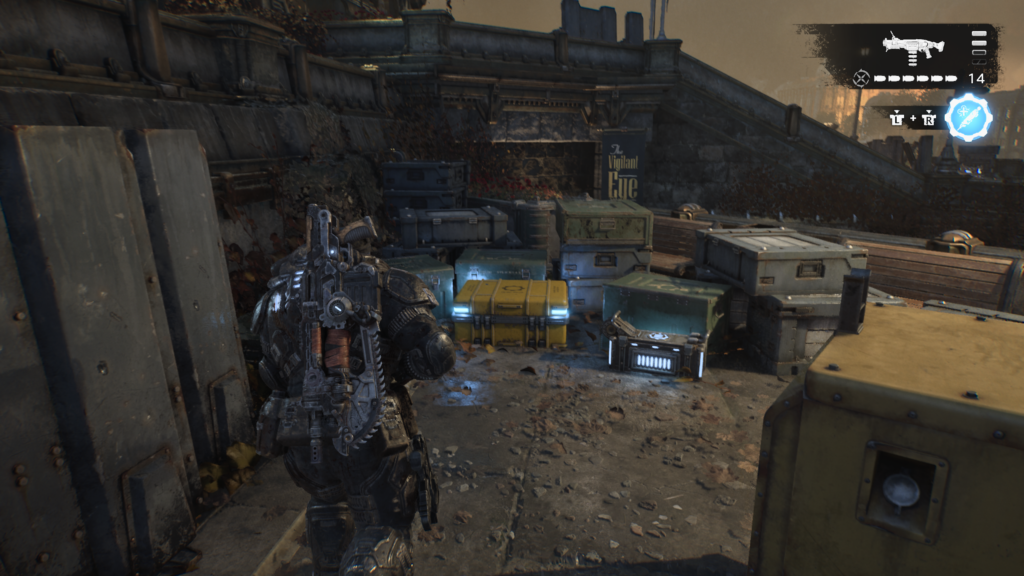
Looking at the main entrance now (with your back to the statue in the centre. To the left, behind a barrier is the hard case.
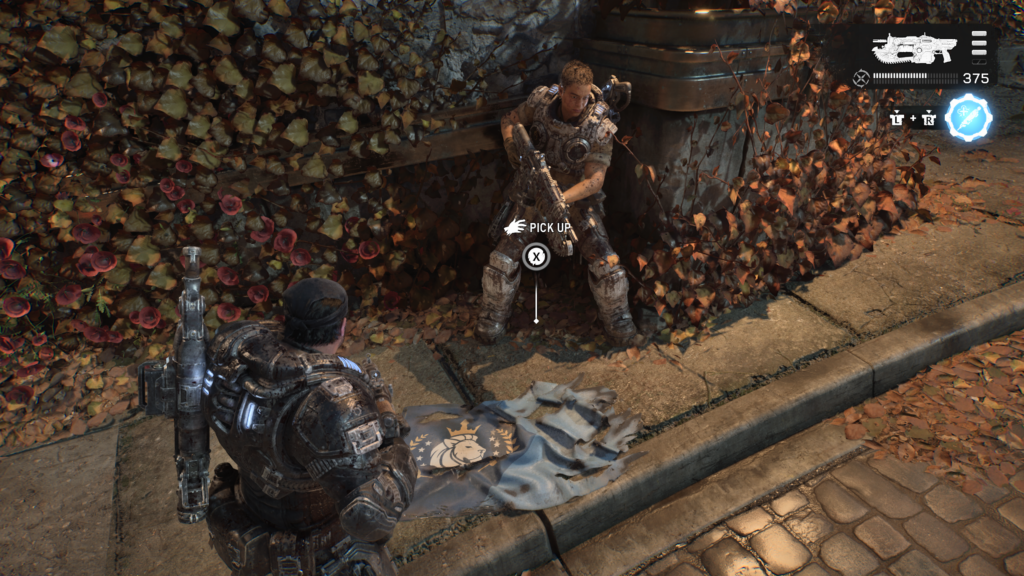
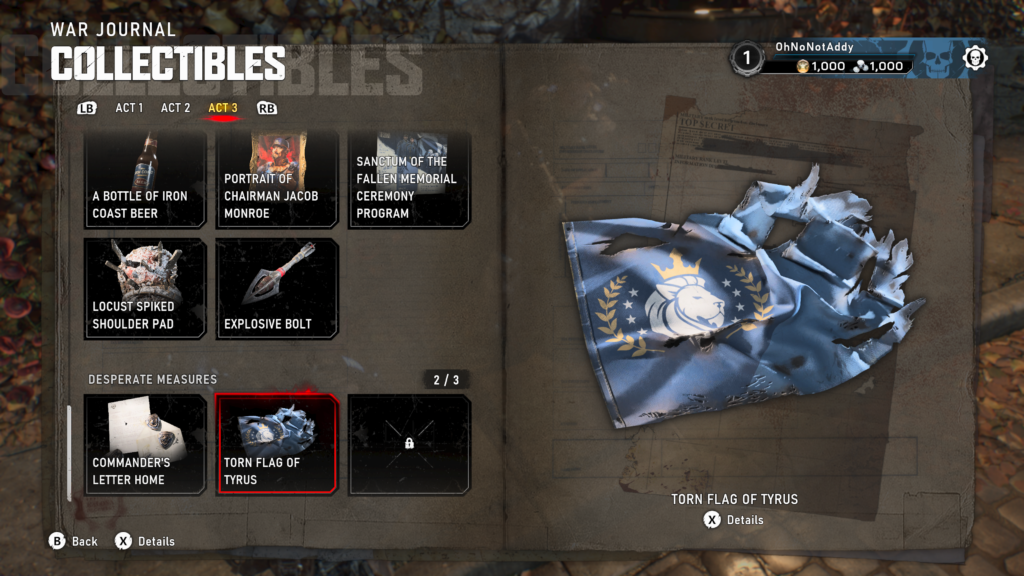
Collectible – Torn Flag of Tyrus (2 / 3)
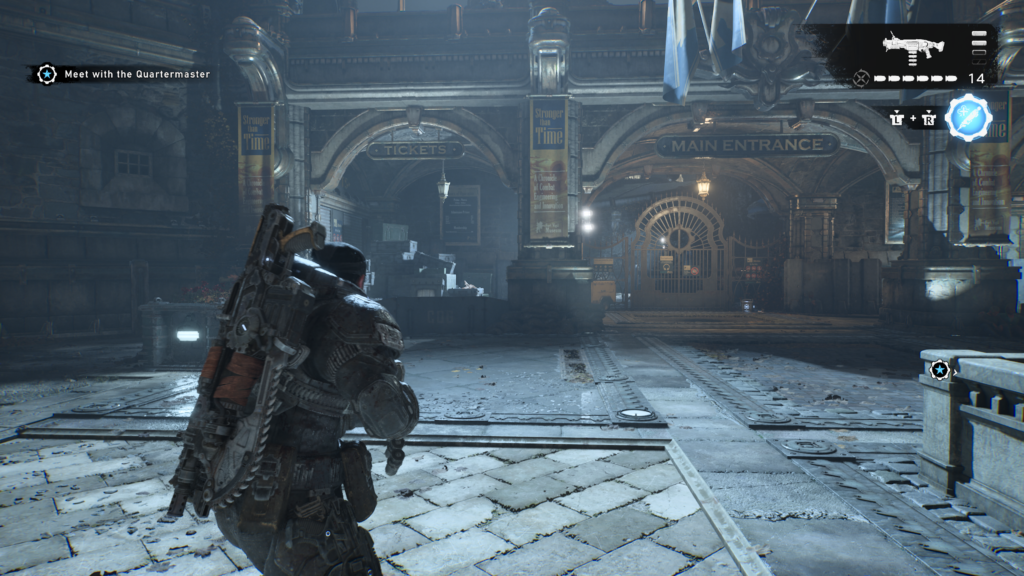
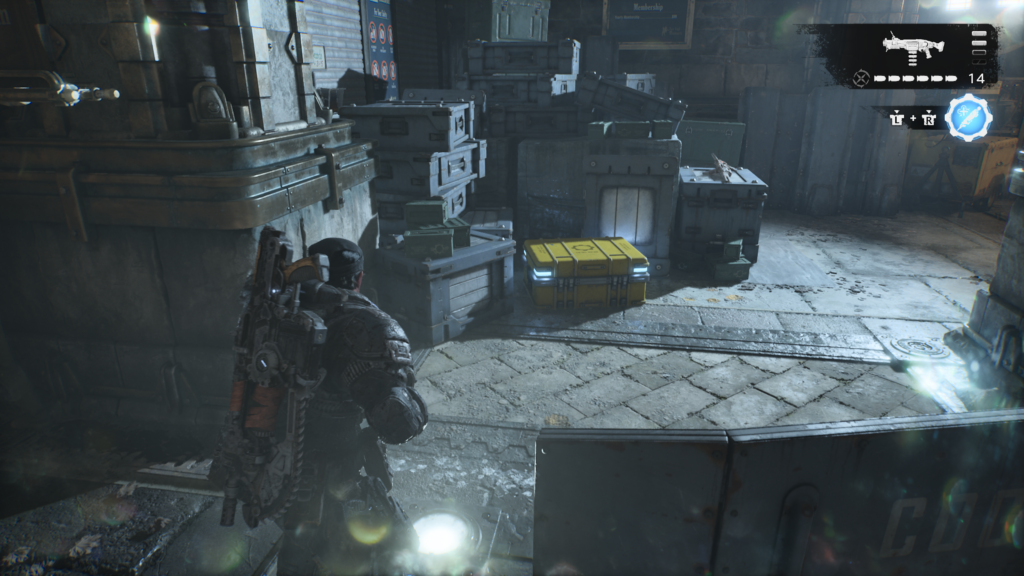
When you’ve gone through the main entrance, chasing the Brumak, you’ll fight off a few enemies. Once clear, look to the left and back down the path, now blocked. To the right, next to the wall is the collectible.
Hard Case (4 / 5)
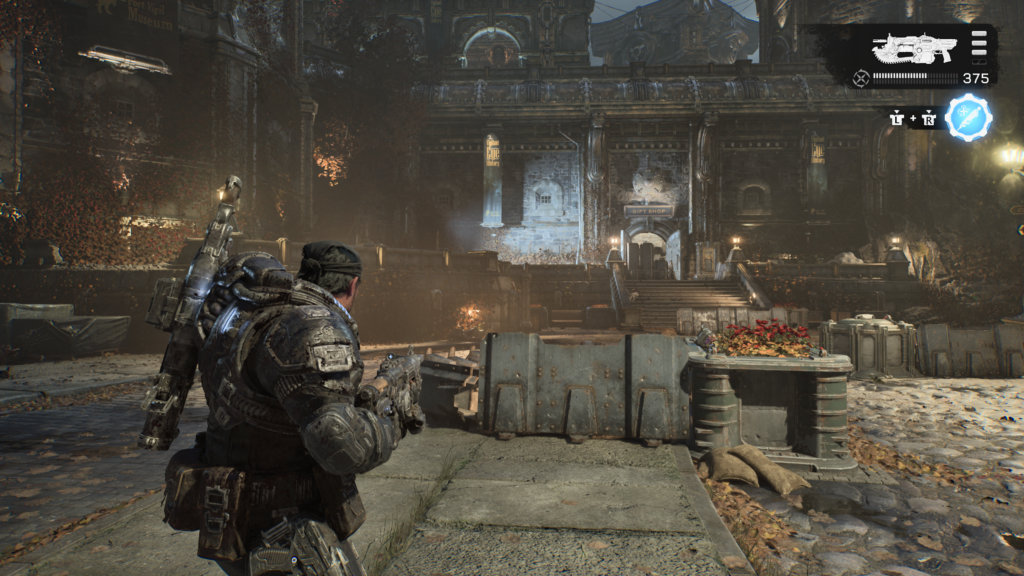
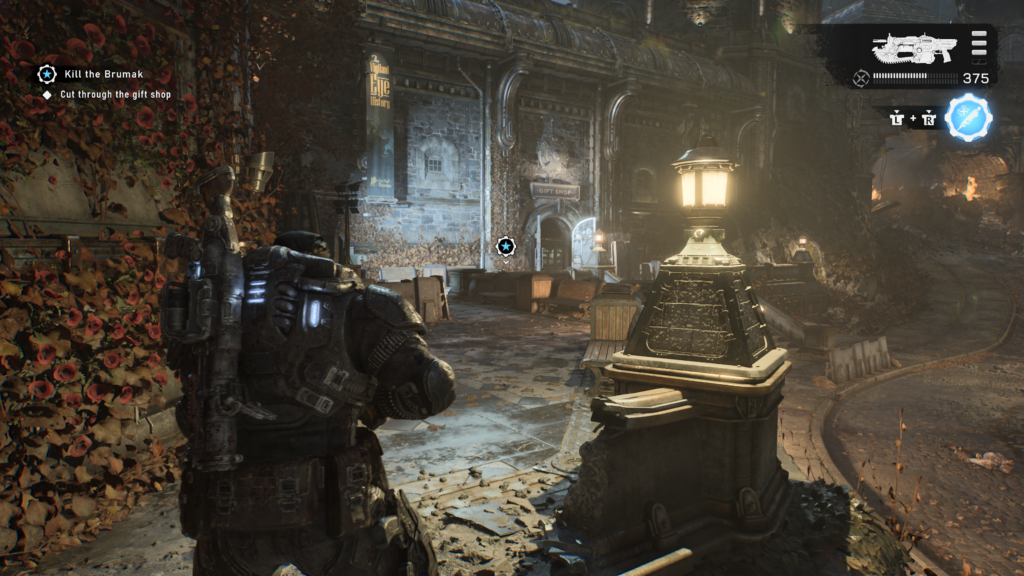
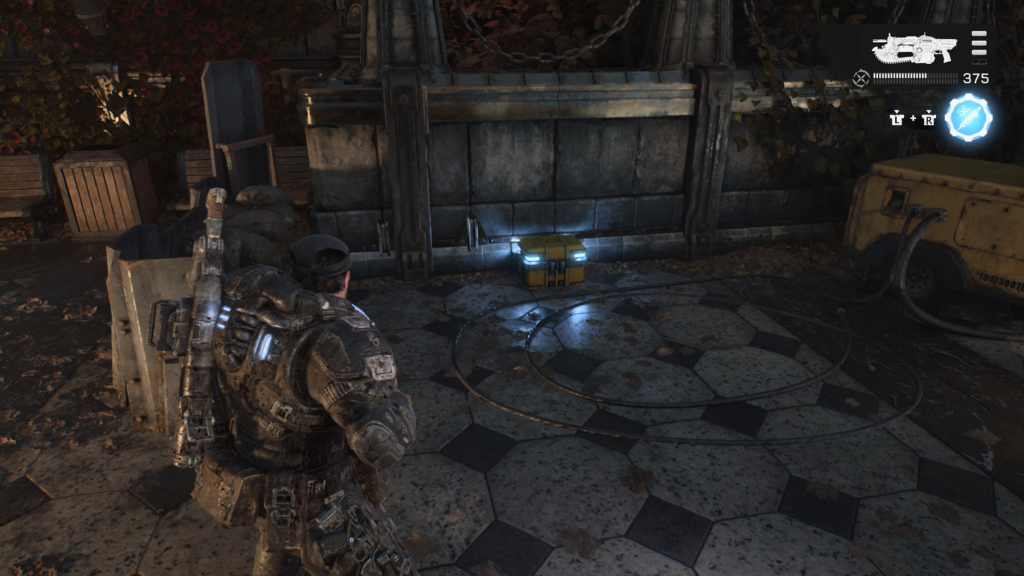
From the last collectible, turn around, and hug the wall on the left. Go up the ledge and walk forward, you should see a hard case on your left.
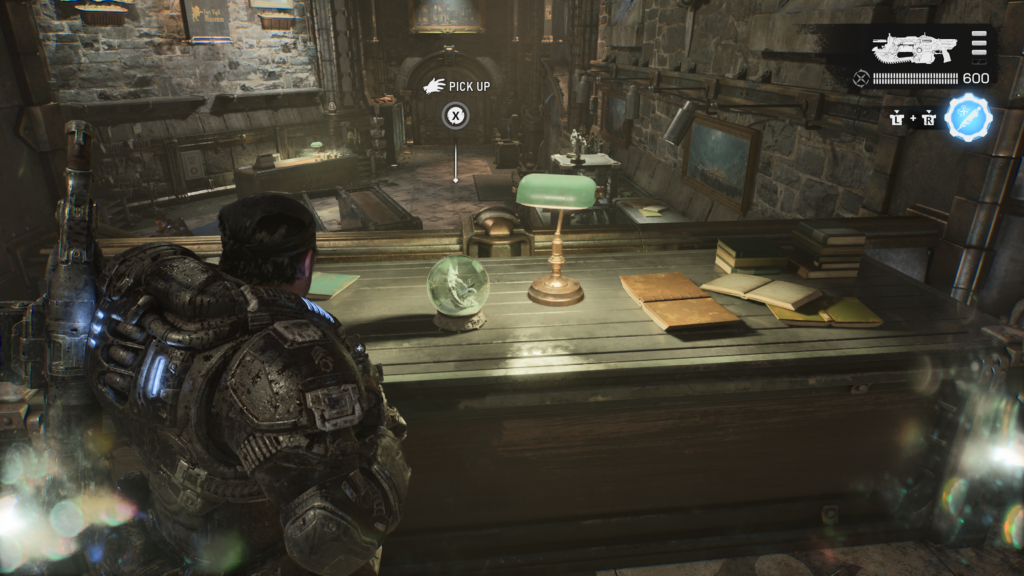
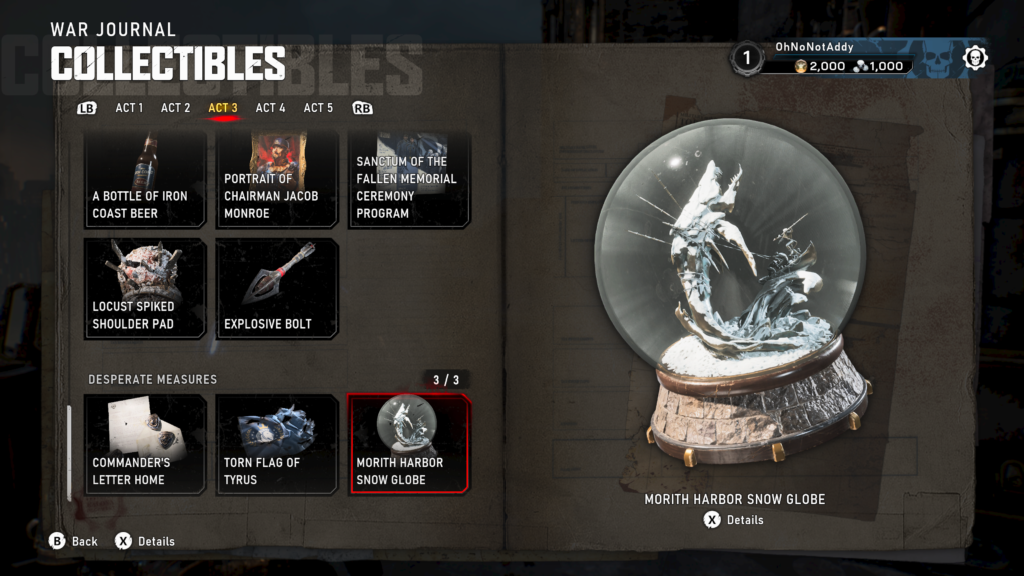
Collectible – Morith Harbor Snow Globe (3 / 3)
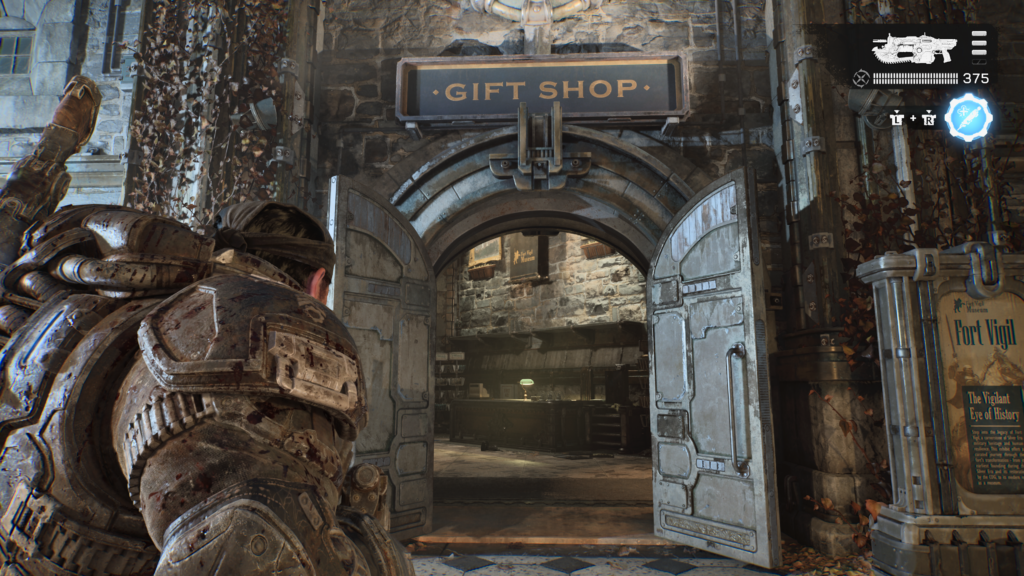
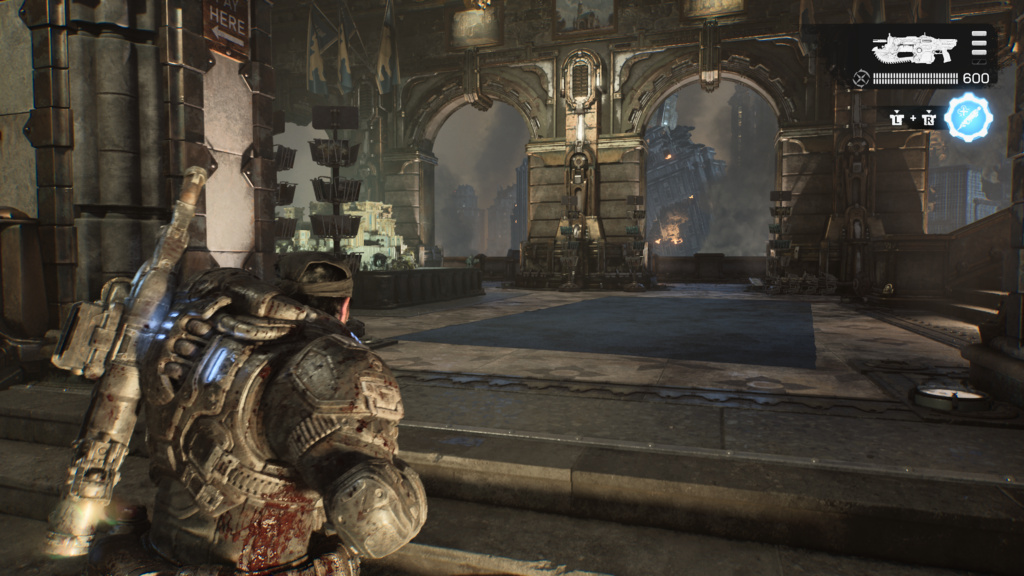
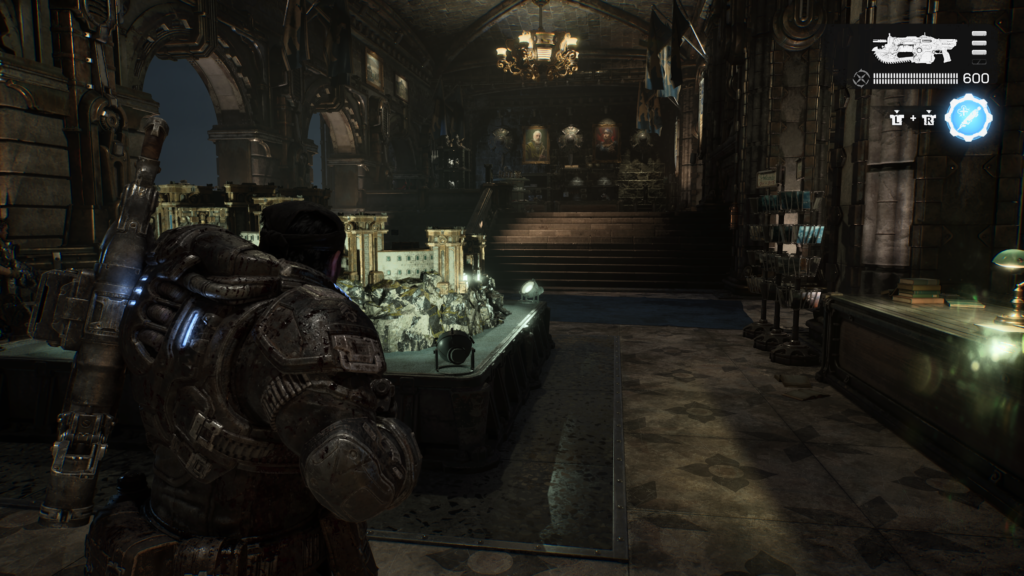
You’ll need to pass through the gift shop. Go in and up the stairs, you should see display on the floor to the left. Go left of that and grab the snowglobe on the counter.
Hard Case (5 / 5)
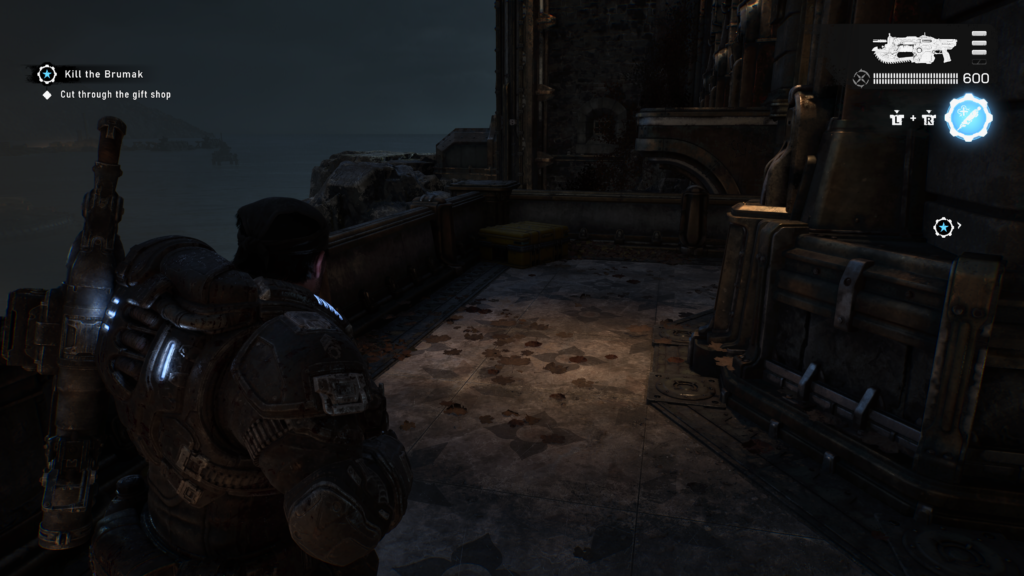
From the last collectible, turn around, facing the stairs you need to go up. Head to the left, onto the balcony and walk to the far end to see the hard case. This is super sneaky, because the game doesn’t say ‘hard case nearby’ and the case doesn’t glow!
Don’t stop there, we’re moving on to Act 4.
Gears of War: E-Day Campaign Review
Gears of War: E-Day Guides
We hope you found this guide useful. Check out more of our guides below:
- Achievement List
- Defeat the Brumak in Act 1, Chapter 4
- Defeat the Corpser in Act 3, Chapter 2
- Unlock the “Two Grubs, One Gut-Punch” Achievement
- Unlock the “Explosive Indigestion” Achievement
- Unlock the “Payback’s a Pitch” Achievement
- Unlock the “I Am Heavy Weapons Guy” Achievement
- Unlock the “Okay, Boomer” Achievement