Gears is back baby! The Coalition have returned with Gears of War: E-Day the latest entry in the iconic XBOX franchise. A prequel that tells the story of Emergence Day, the day when the Locust army reveal themselves. Marcus, Dom and other Gears band together to take on this new threat in the city of Kalona as the world of Sera changes forever!
Gears of War: E-Day Collectibles, Hard Cases, and Secondary Objectives
There’s plenty to find through the campaign of Gears of War: E-Day:
- Collectibles: Items scattered across the game’s five Acts of the campaign. These tell a grizzly tale of E-Day and add additional lore from the team. When you are near a collectible you will hear the familiar COG Omen musical sting. There are levels where you have access to a map, in those, the collectible gets added to the map. Get all the collectibles to unlock the “Memories from E-Day” achievement.
- Hard Cases: These provides upgrades for your weapons and tactical abilities. There’s plenty to find. You get alerted when you are near one with a message on screen. You can use your Tac-Com (LB on Xbox controller) to see them. In levels where there are maps, you will also get these pinged on your map. Finding all Hard Cases will get you the “Relax. I’m the Map” achievement.
- Secondary Objectives: you’ll encounter secondary objectives to help people out around Kalona. You might be pointed to it by the game (sometimes with a visual ‘Hold X to View’ on screen), others you might happen upon as you drawn to firefighting or conversation in the game. You will have to accept a secondary objective when it prompts you to begin it. Complete the objective to receive unlocks as your reward and work towards the “Side Piece” achievement.
Gears of War: E-Day Act 1 Collectibles Guide
You can use a video guide below or read on for a text and image guide:
Use the links below to jump to the chapter you need.
Act1
- Act 1, Chapter 1 – Emergence
- Act 1, Chapter 2 – Survival of the Fittest
- Act 1, Chapter 3 – A Gear in Need
- Act 1, Chapter 4 – Back in the Fold
Act 1, Chapter 1 – Emergence
- 3 Collectibles
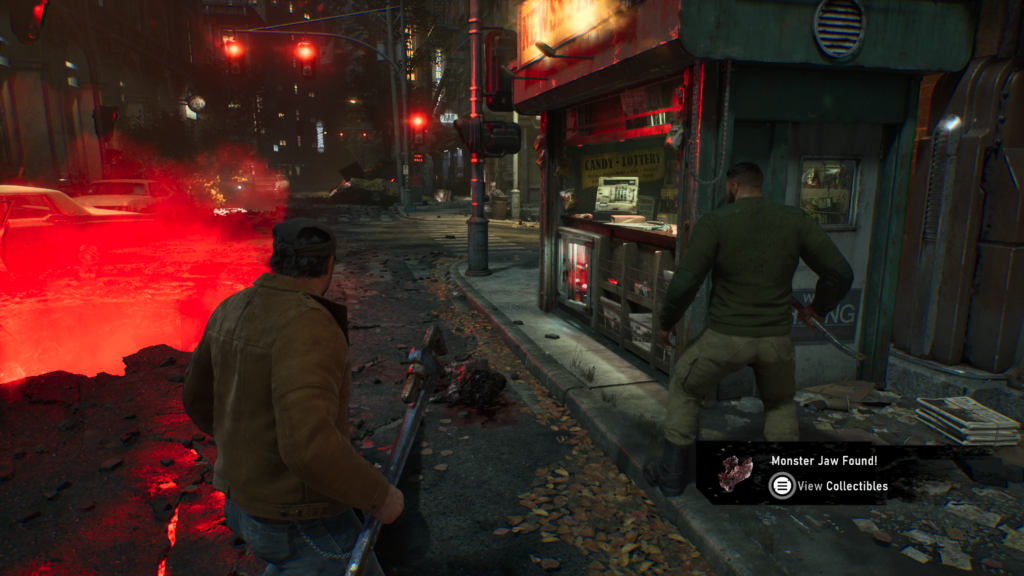
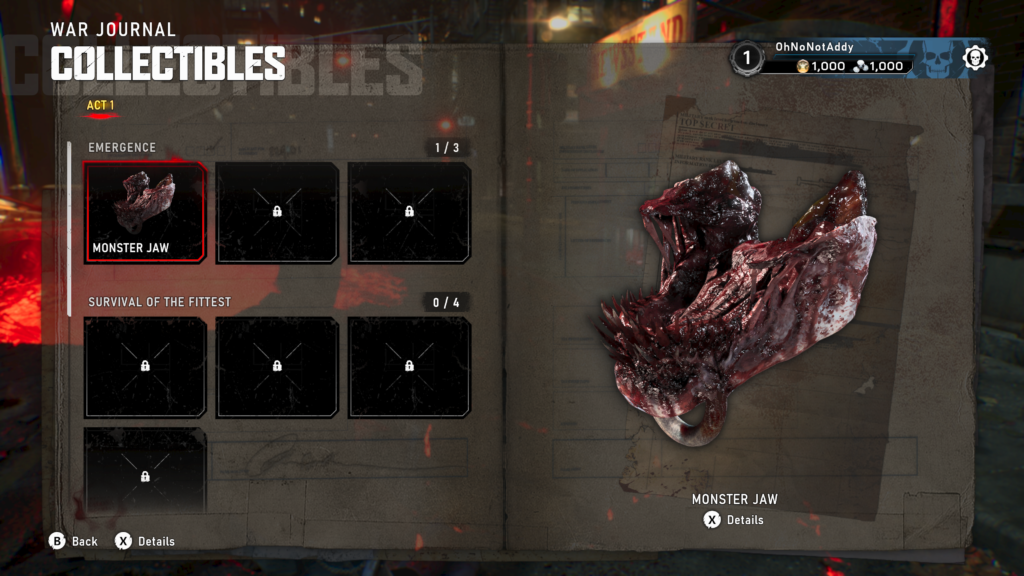
Collectible – Monster Jaw (1 / 3)
Towards the beginning of the game, after your first encounter with small juvie-like enemies, where you can only melee them. The collectible can be found immediately after the combat section and a small cutscene. When you regain control, the collectible is on the floor to the right of the emergence hole and just in front of a kiosk.
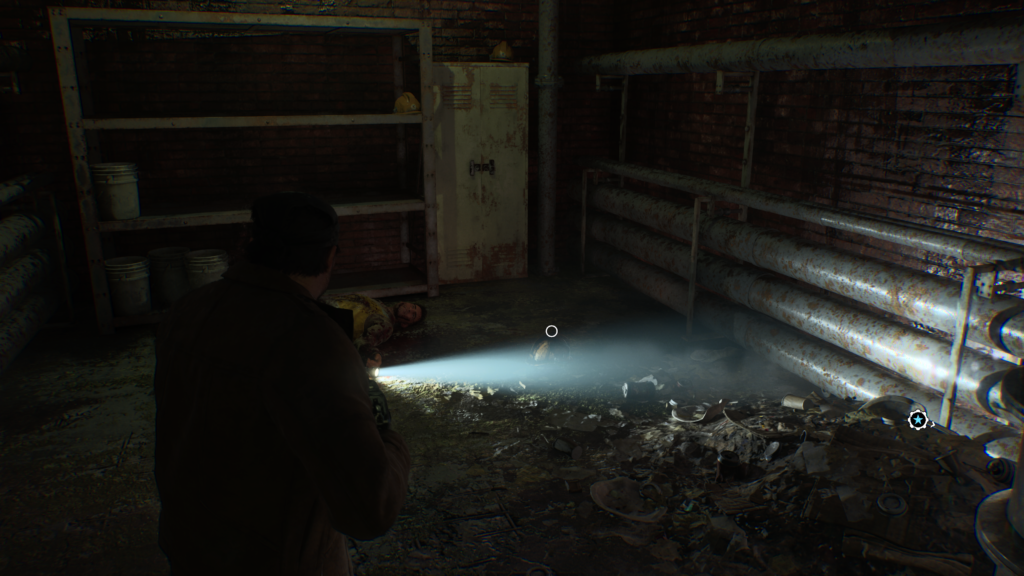
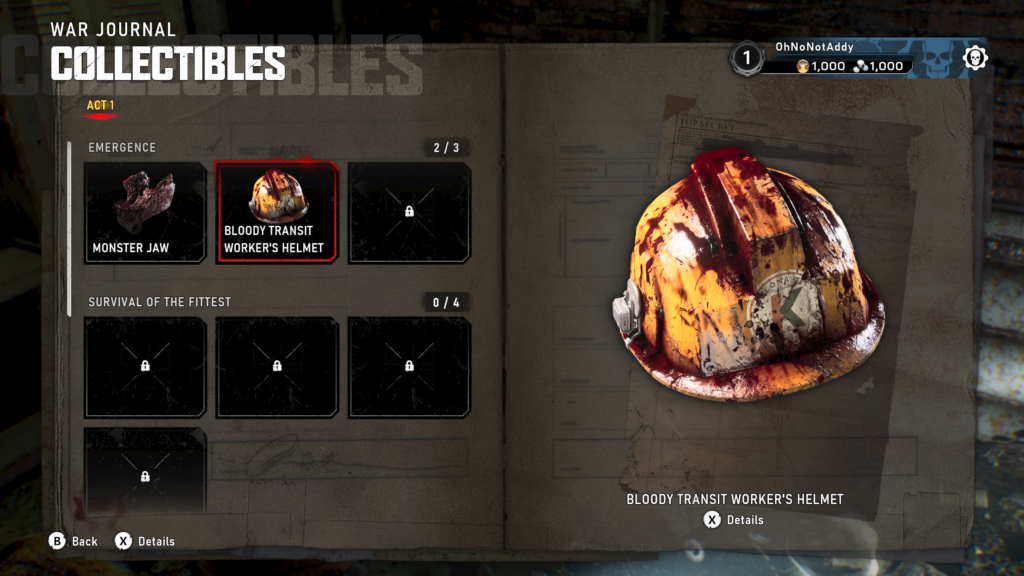
Collectible – Bloody Transit Worker’s Helmet (2 / 3)
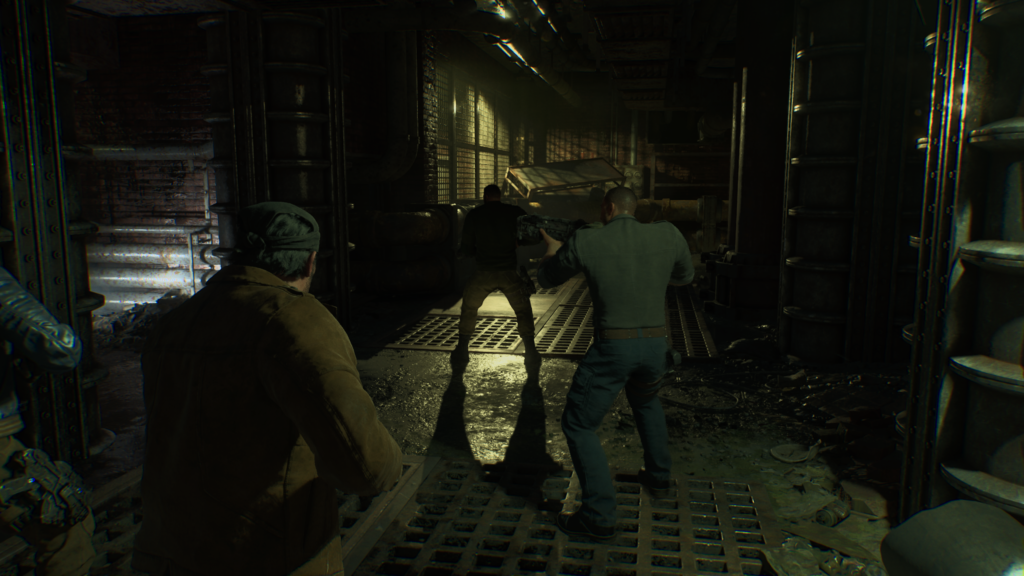
You’ll end up in some maintenance tunnels after the fighting on the streets. As you progress through you’ll head down a corridor with an opening on your left. Head in there to find the collectible on the ground, lit up by the torch.
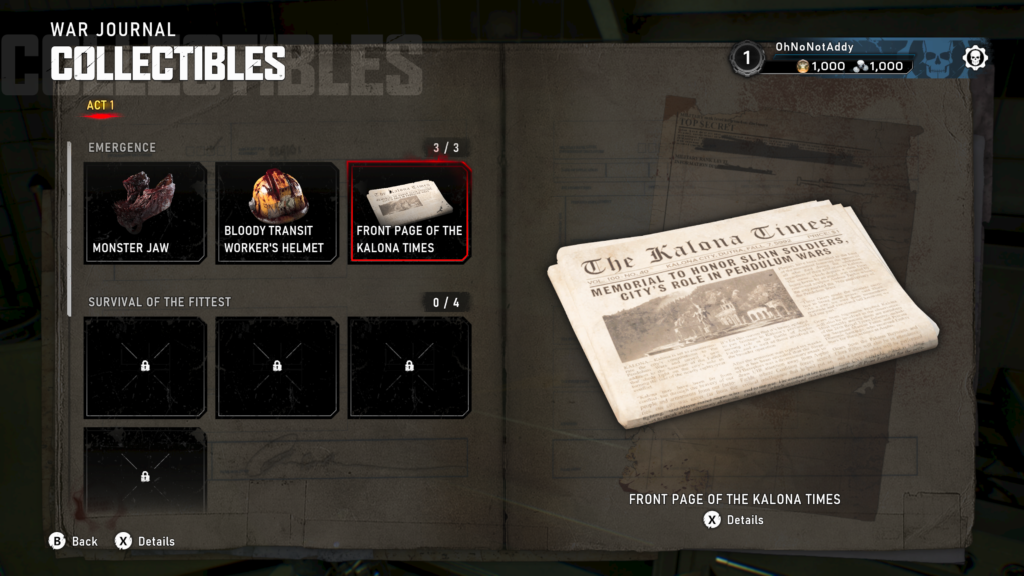
Collectible – Front Page of the Kalona Times (3 / 3)
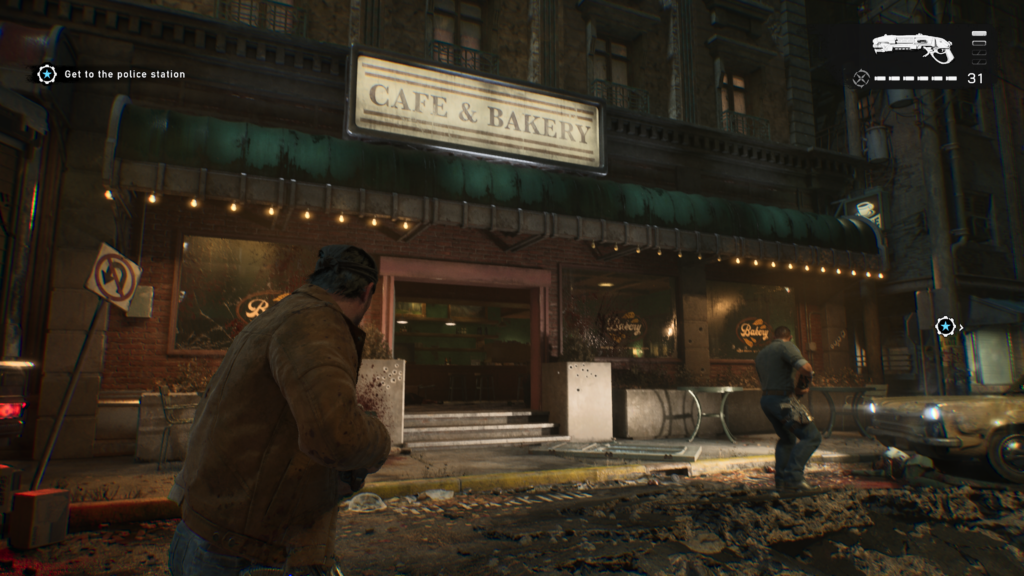
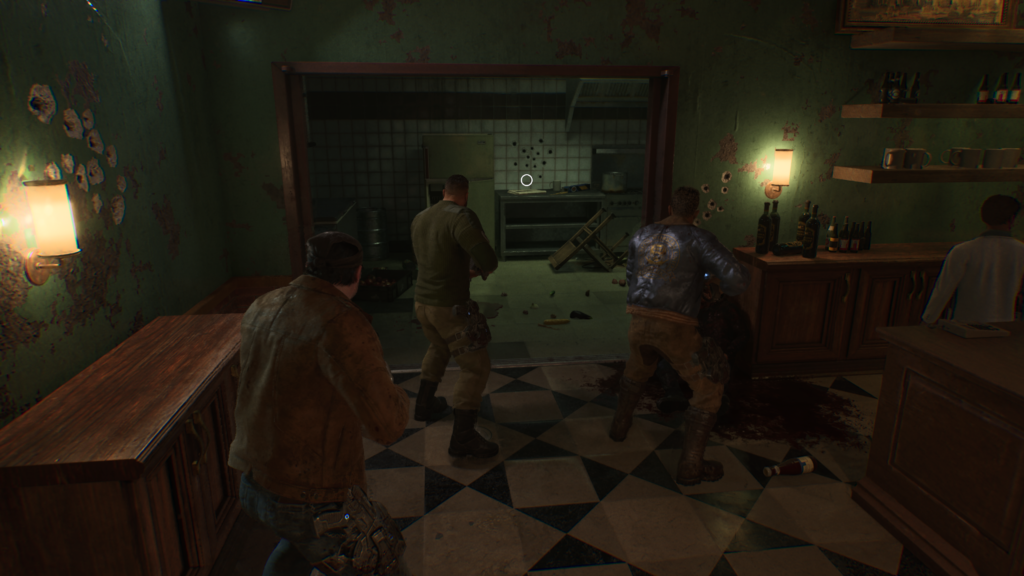
Once you’re back on the streets, heading to the police station, you’ll encounter a civilian trapped under a stone pillar. You’ll help them and move forward, taking on some more enemies. After you have defeated them, head down the steps and across the street to the the store titled “Cafe and Bakery”.
Head inside and to the left of the of the store, in the back, in the kitchen area on a counter top is the collectible.
Act 1, Chapter 2 – Survival of the Fittest
- 4 Collectibles
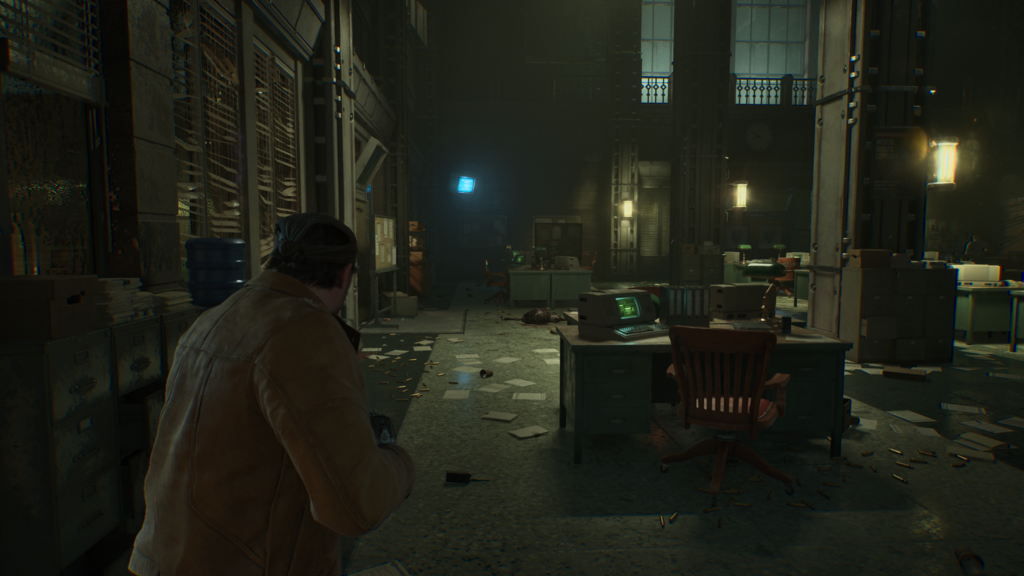
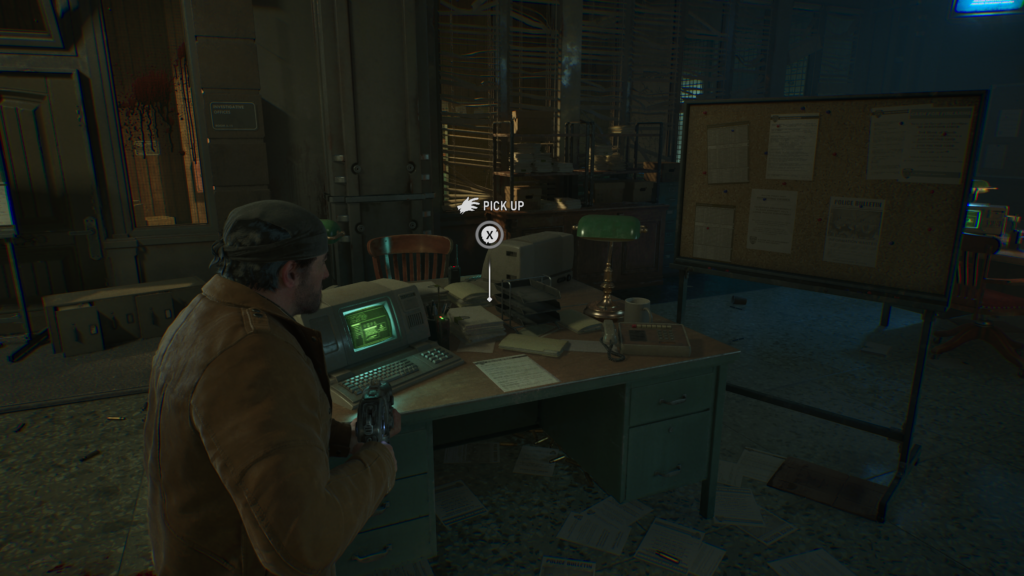
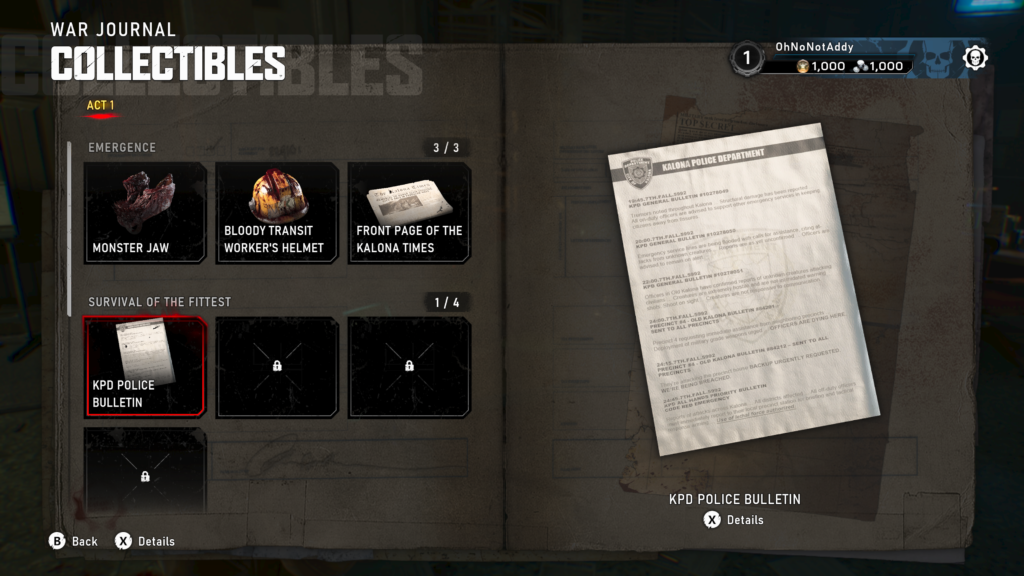
Collectible – KPD Police Bulletin (1 / 4)
From the beginning of the chapter, in the police station. Go through the opening on your left and stay to the left side. Near the back wall there’s a desk. On the right side of the desk is the collectible.
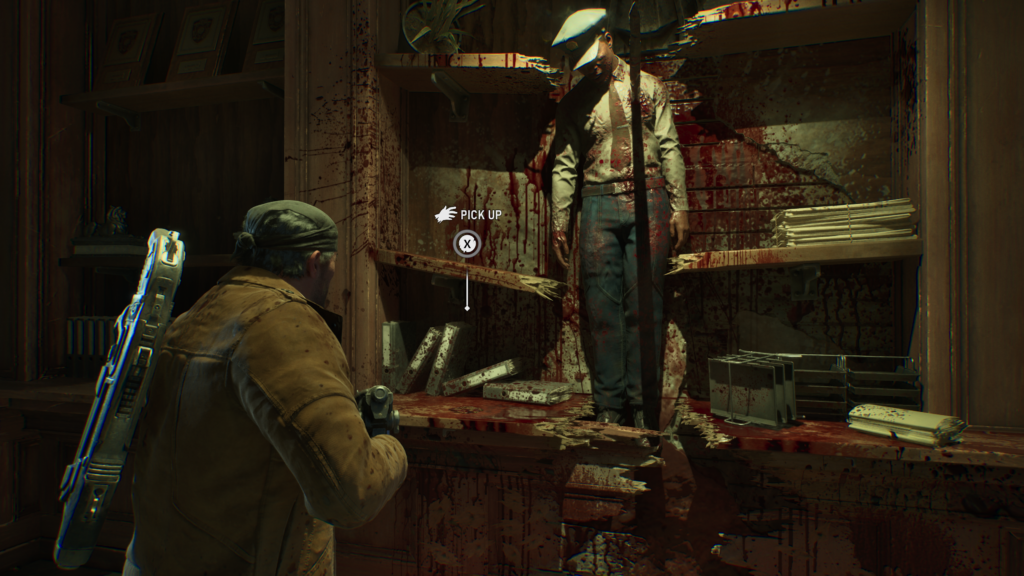
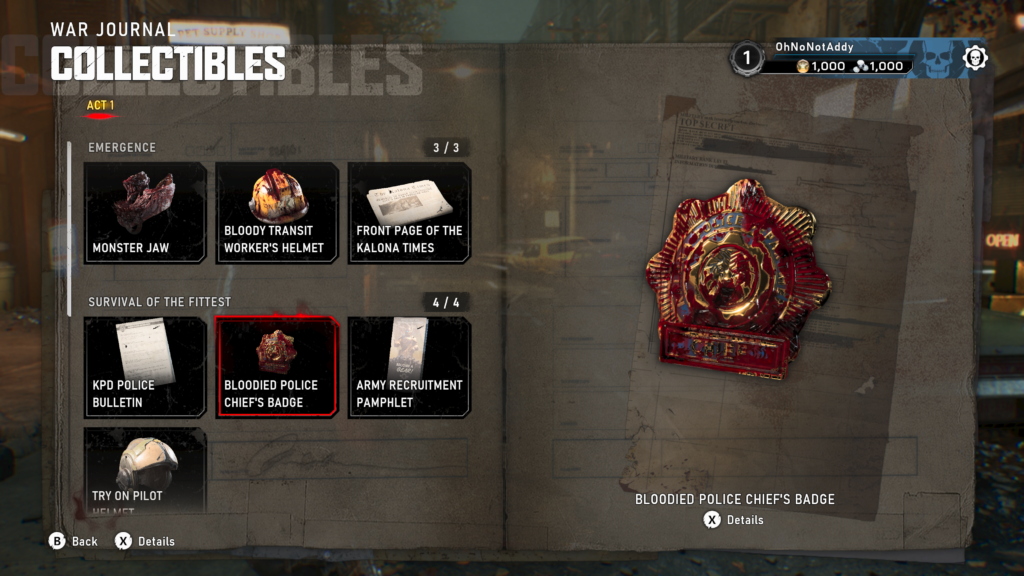
Collectible – Bloodied Police Chief’s Badge (2 / 4)
You’ll progress through the police station and go through a set of double doors where you’ll see the police chief, dead, and hung up on the wall. Just below his body is the collectible.
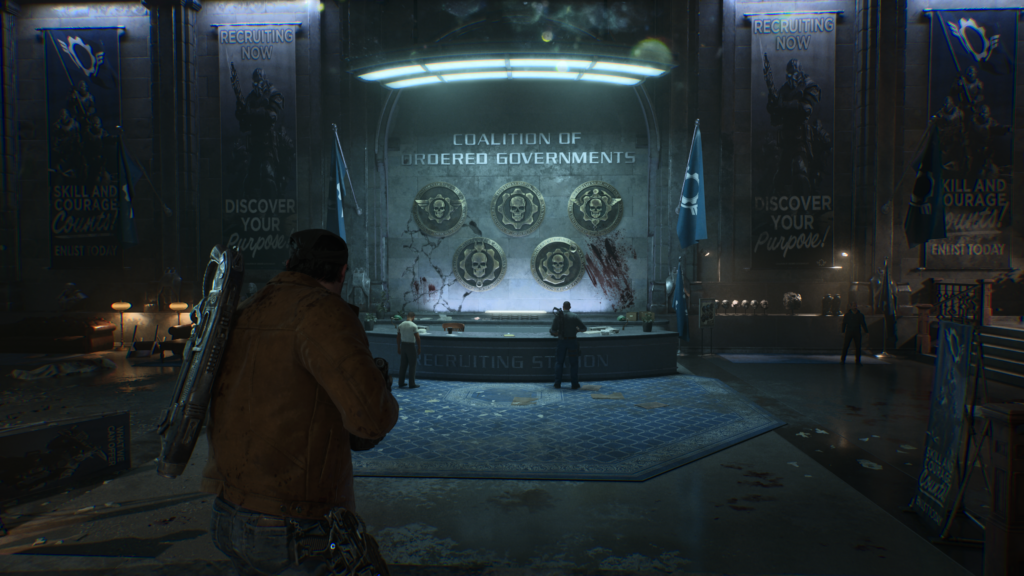
Collectible – Army Recruitment Pamphlet (3 / 4)
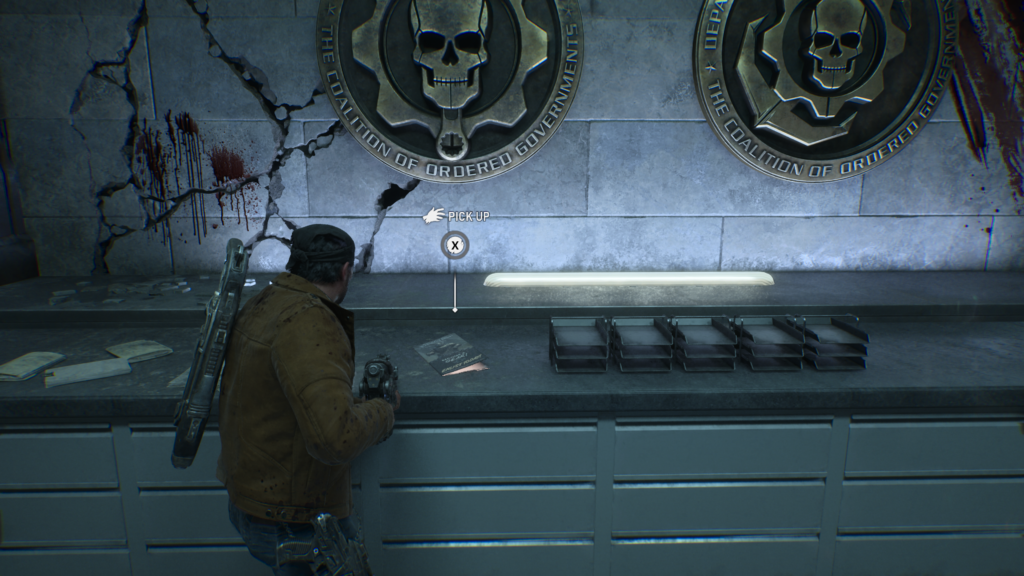
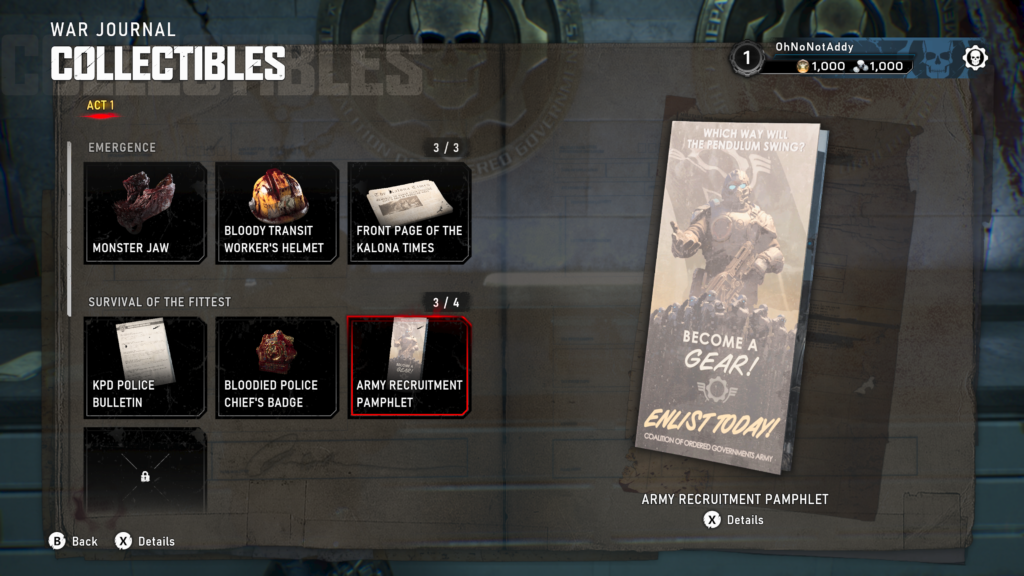
Later on, you’ll arrive at the Gears Recruitment Centre, after a big gun battle in the courtyard in front of the building. Once inside, you’ll see a large display in front of you with big COG symbols hanging from the wall. Behind the desk, in front of that, is the collectible on the desk against the wall.
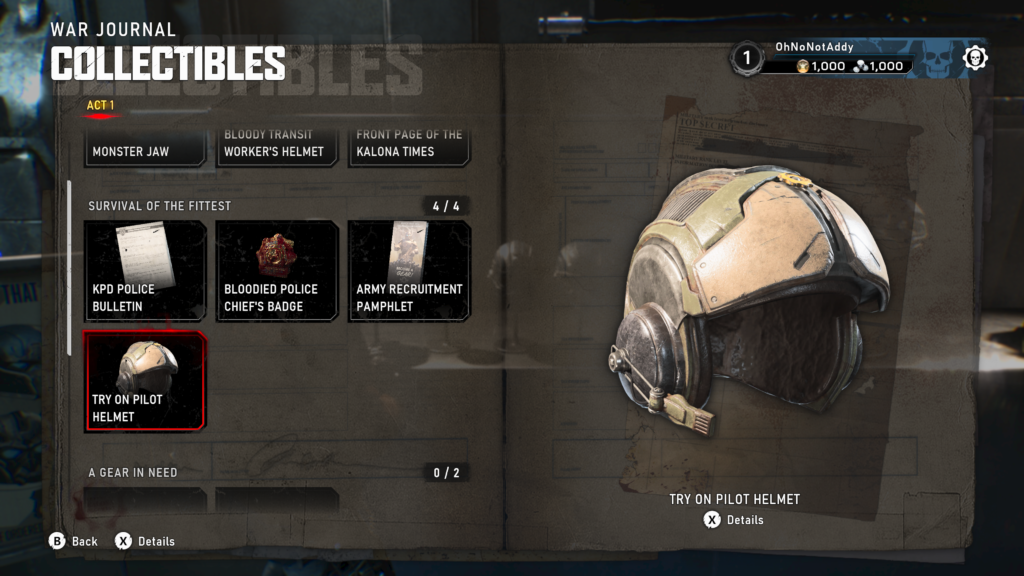
Collectible – Try On Pilot Helmet (4 / 4)
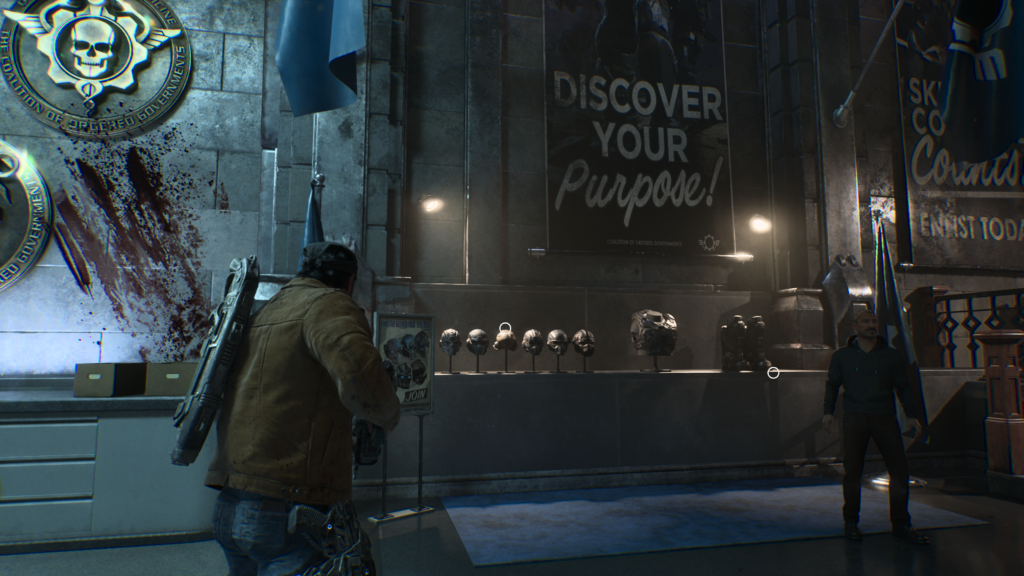
From the last collectible, head to the right to see a row of pilot’s helmets. The third one in from the left is your next collectible.
Act 1, Chapter 3 – A Gear in Need
- 2 Collectibles
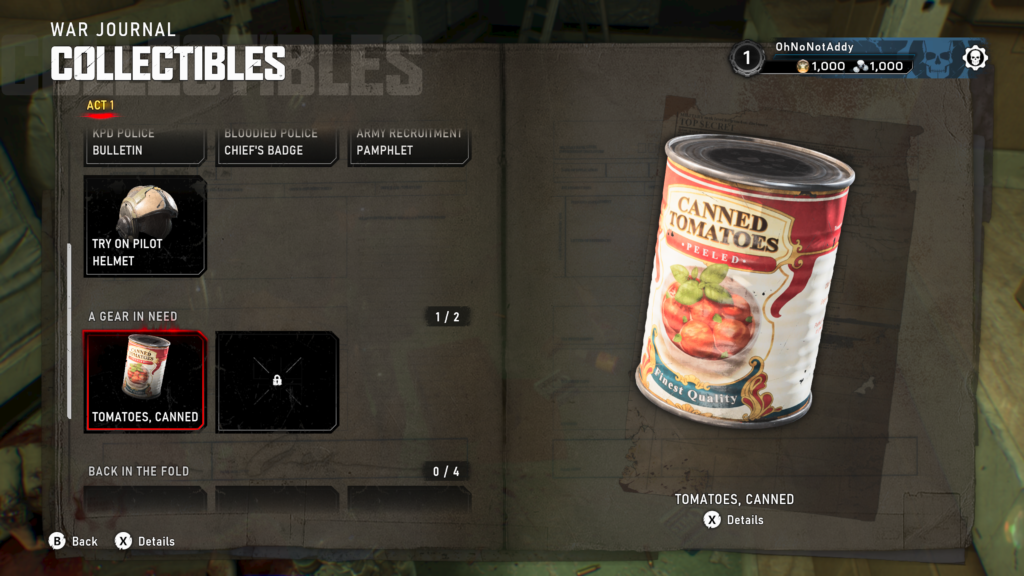
Collectible – Tomatoes, Canned (1 / 2)
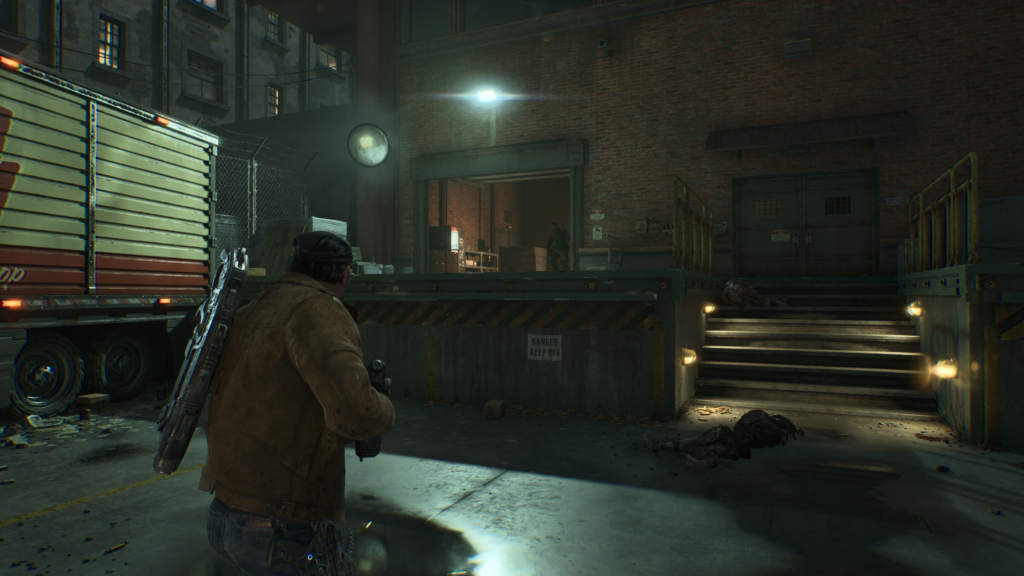
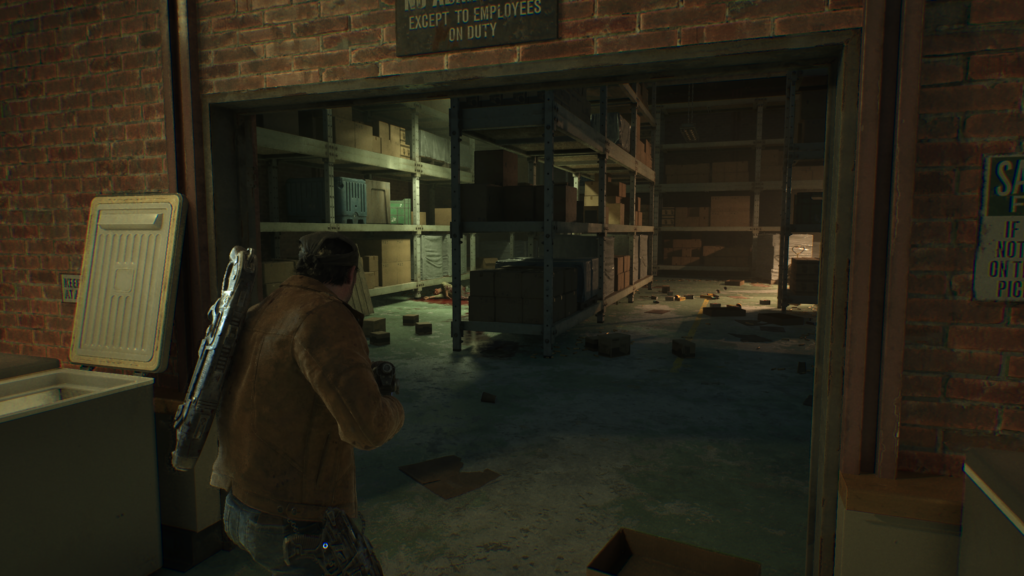
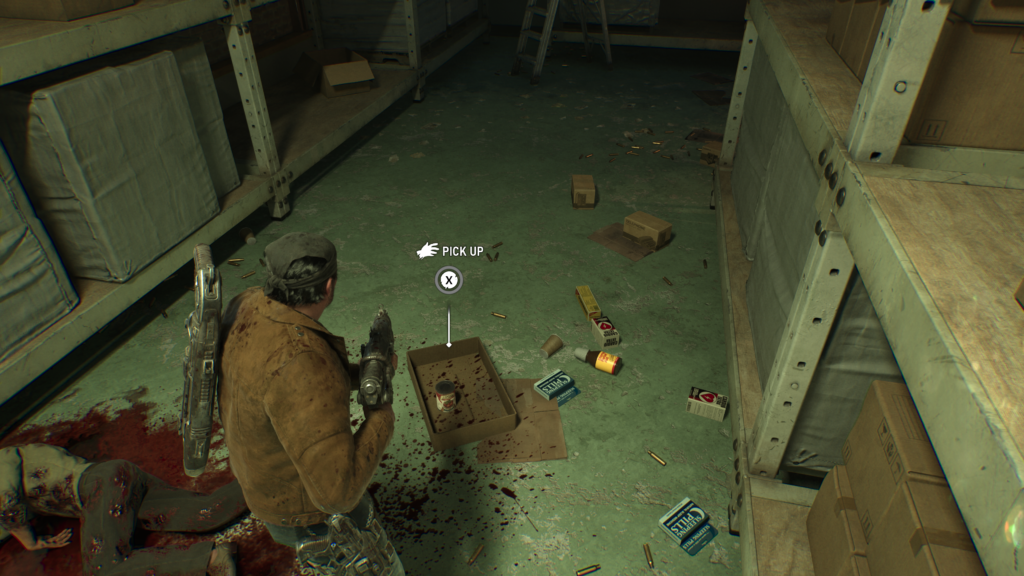
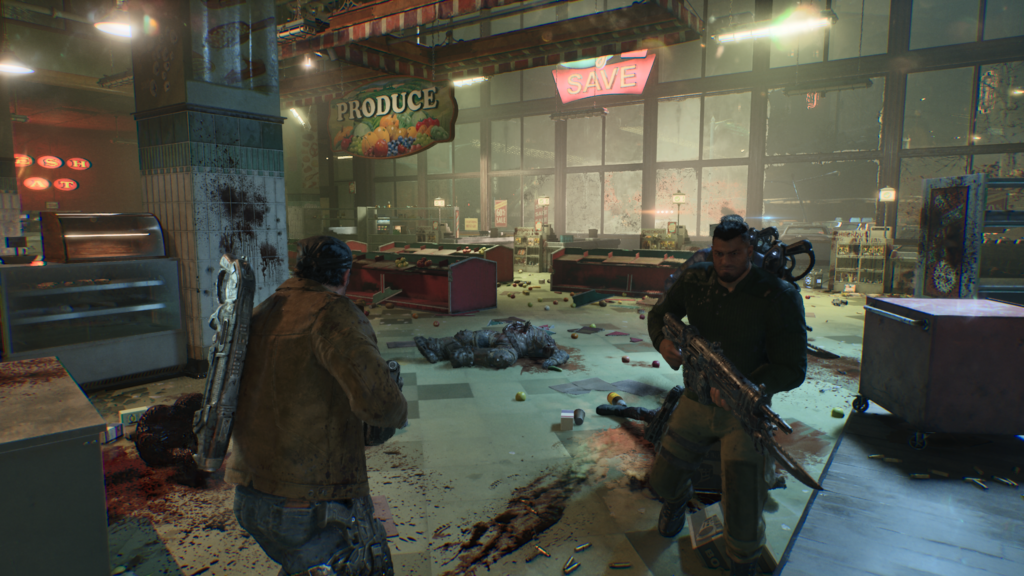
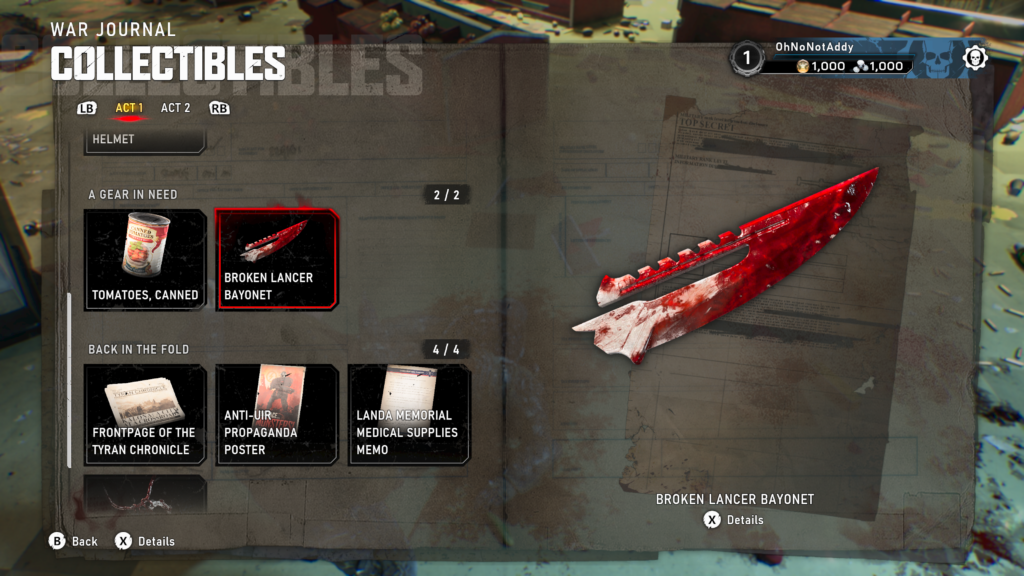
As you make your way into the Try ‘N Save supermarket where you can hear the gunfire. You’ll head round the back to the delivery area, some juvie enemies will appear. After defeating them you’ll enter a warehouse area, head to the back, into the second room and veer to the left of the storage shelves in the centre. The collectible is on the floor, looking a bit messy (“Gaaaaah they fucked up my tomatoes!”)
Collectible – Broken Lancer Bayonet (2 / 2)
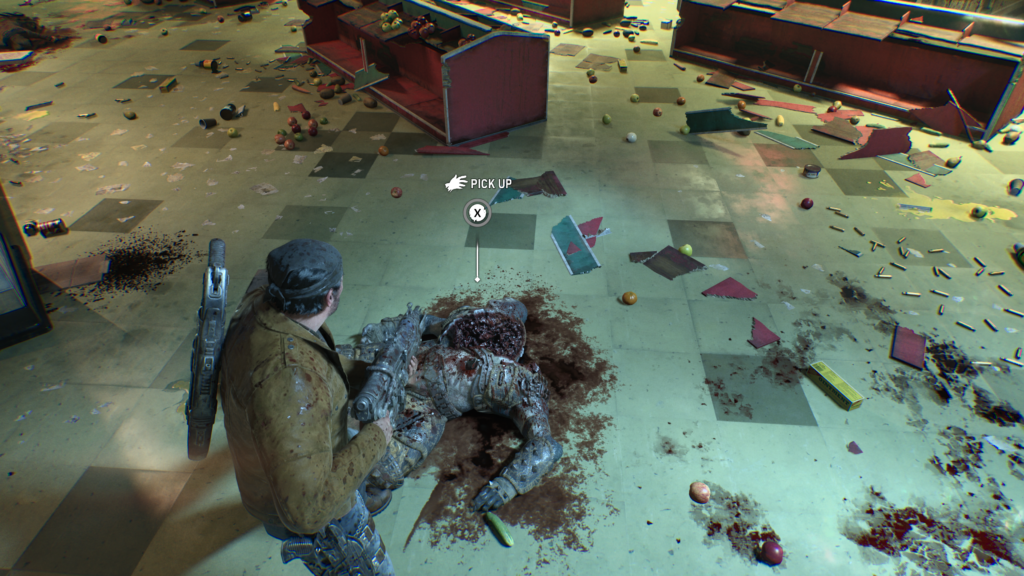
In the supermarket, after you have taken out all the enemies, there’ll be a cutscene where Tai appears. Once you regain control, don’t leave the supermarket. Look for a dead soldier on the ground with the broken bayonet (collectible) sticking out of him.
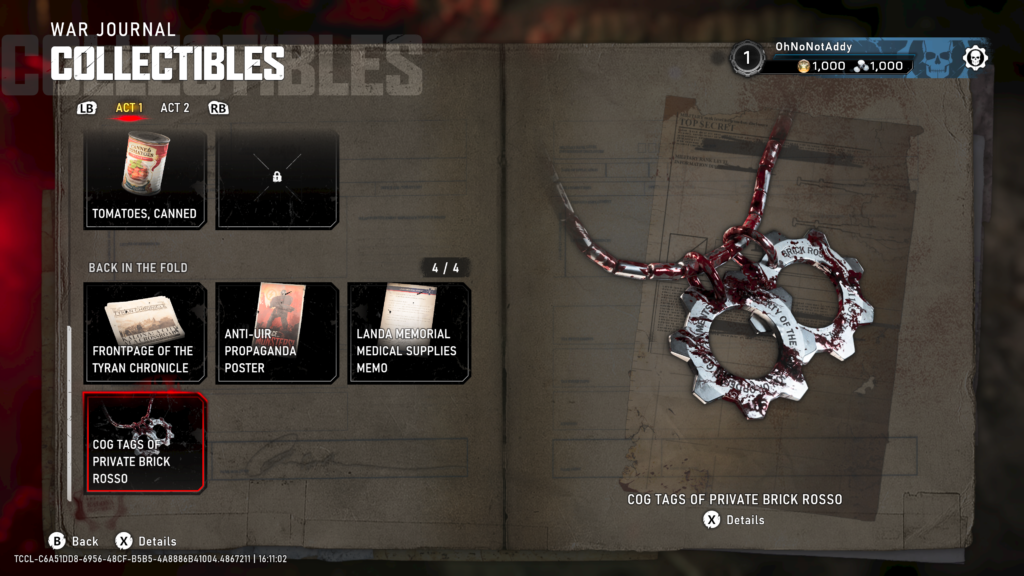
Act 1, Chapter 4 – Back in the Fold
- 4 Collectibles
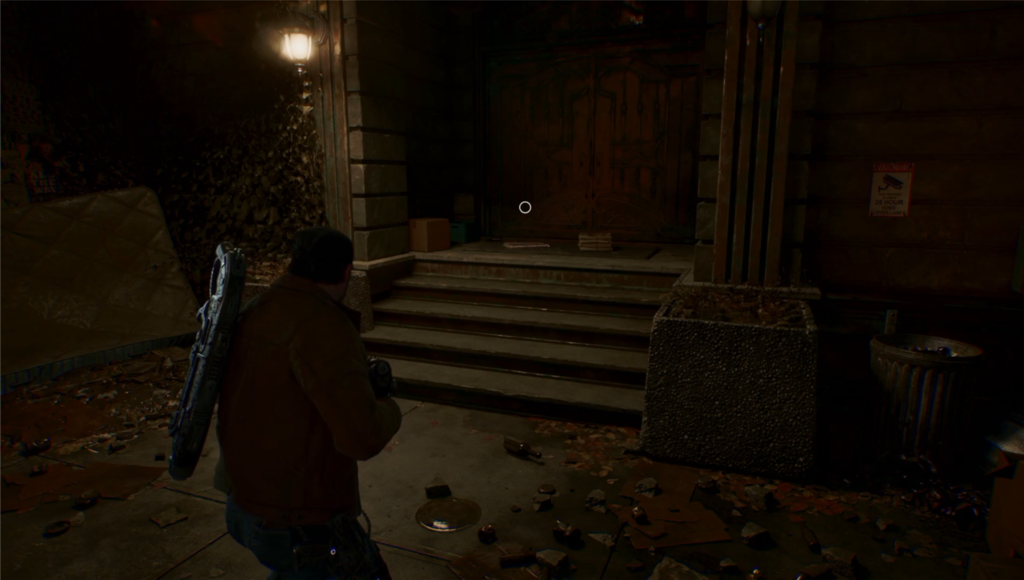
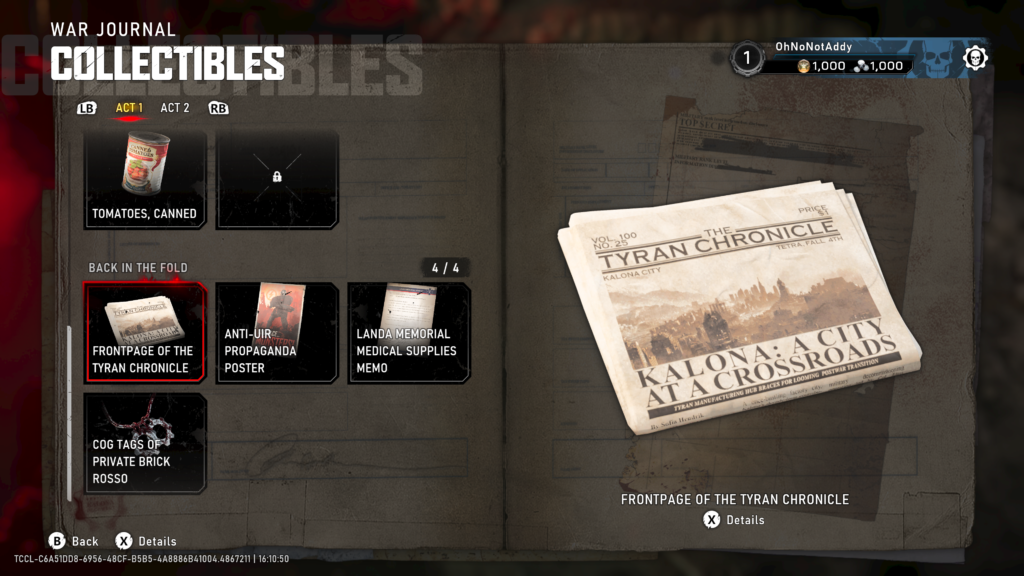
Collectible – Front Page of the Tyran Chronicle (1 / 4)
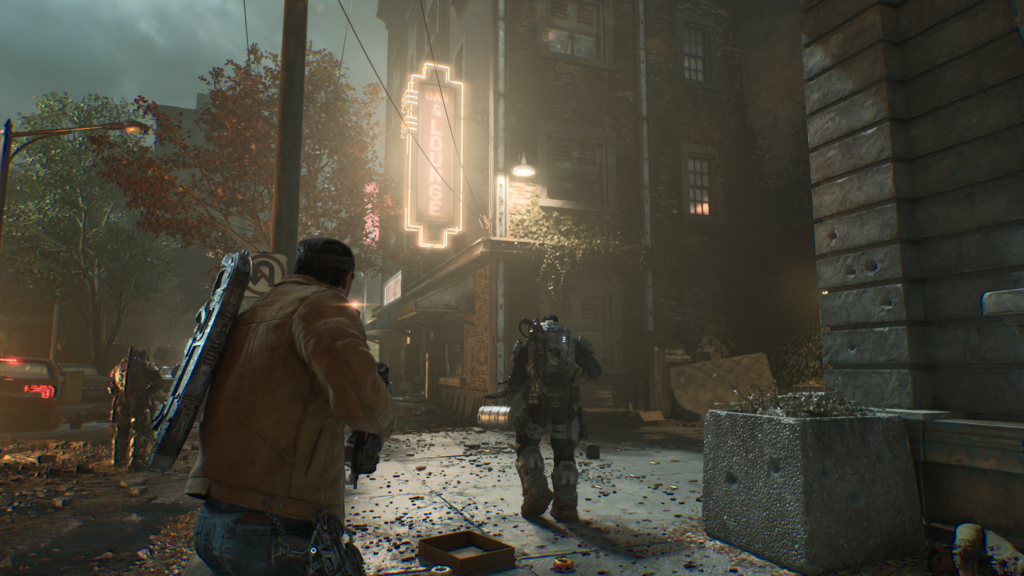
At the start of the chapter you’ll be walking down a street. Keep to the right side until you spot a vertical sign that says “Bar & Lounge”. To the right in the wide alley is a doorstep with the newspaper on it.
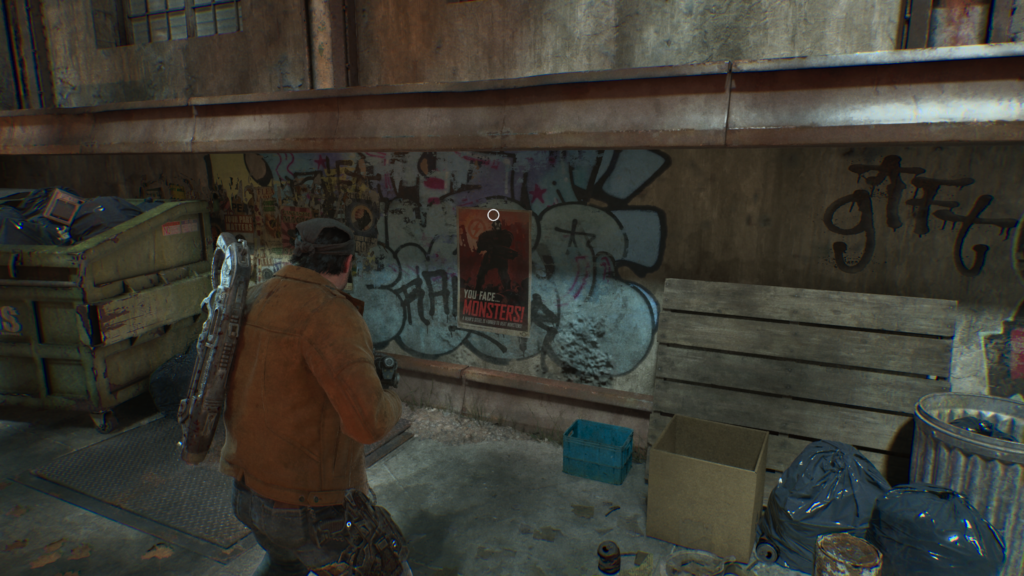
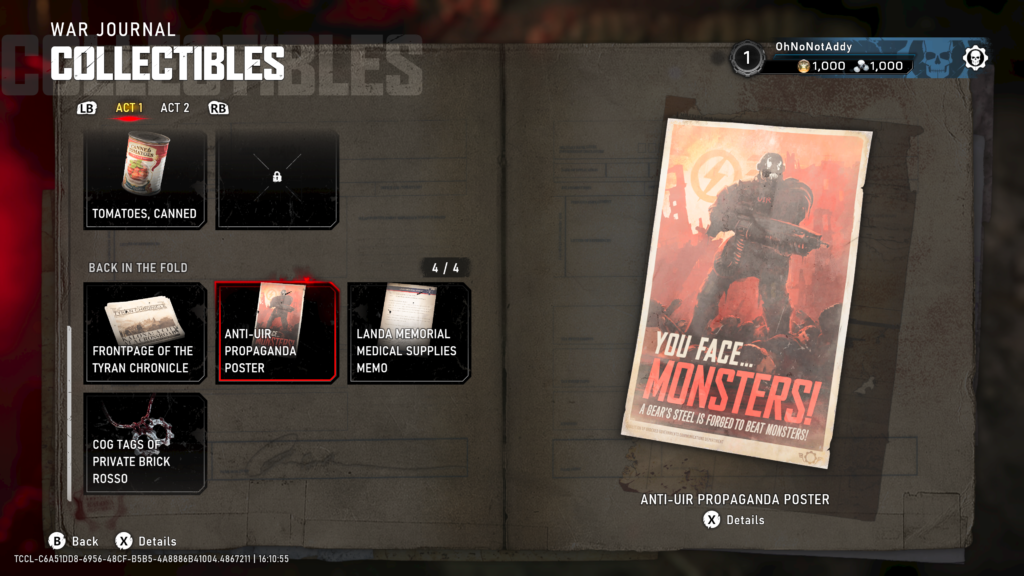
Collectible – Anti-UIR Propaganda Poster (2 / 4)
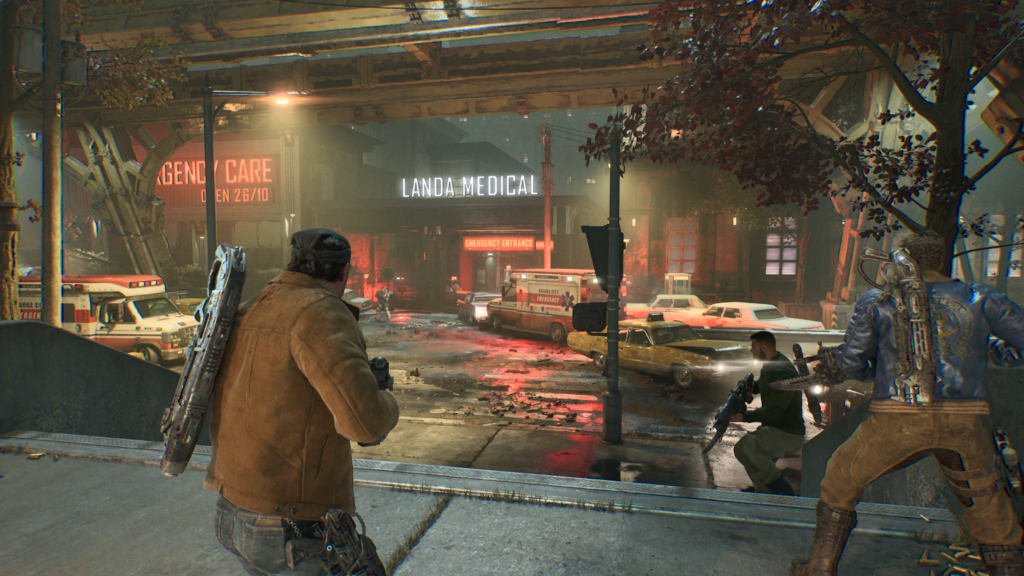
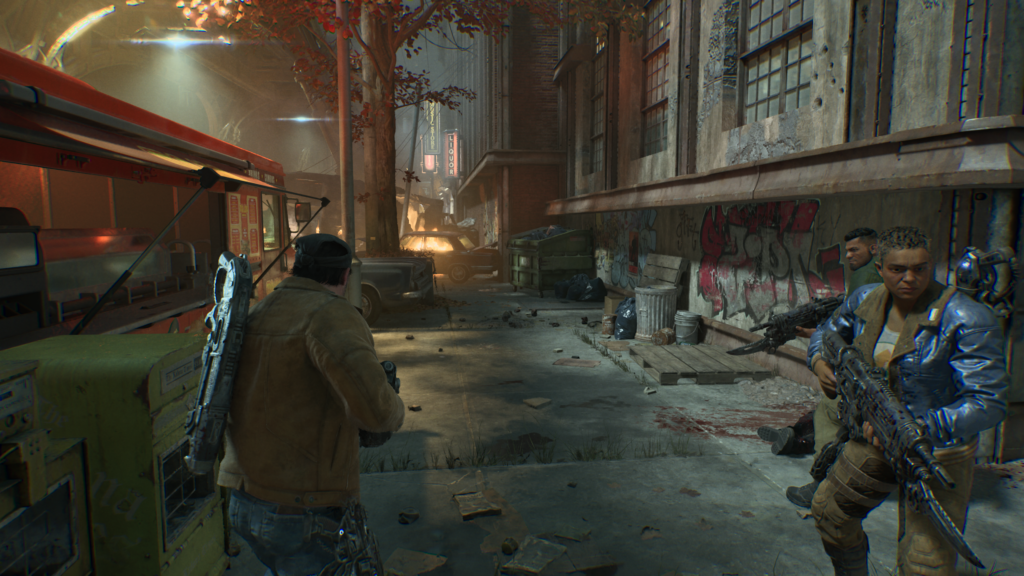
You’ll exit a building and be in front of the Landa Medical centre. Head down the small set of steps and turn to your right. Follow the path down and on the wall on your right further down is the collectible on the wall.
Collectible – Landa Memorial Medical Supplies Memo (3 / 4)
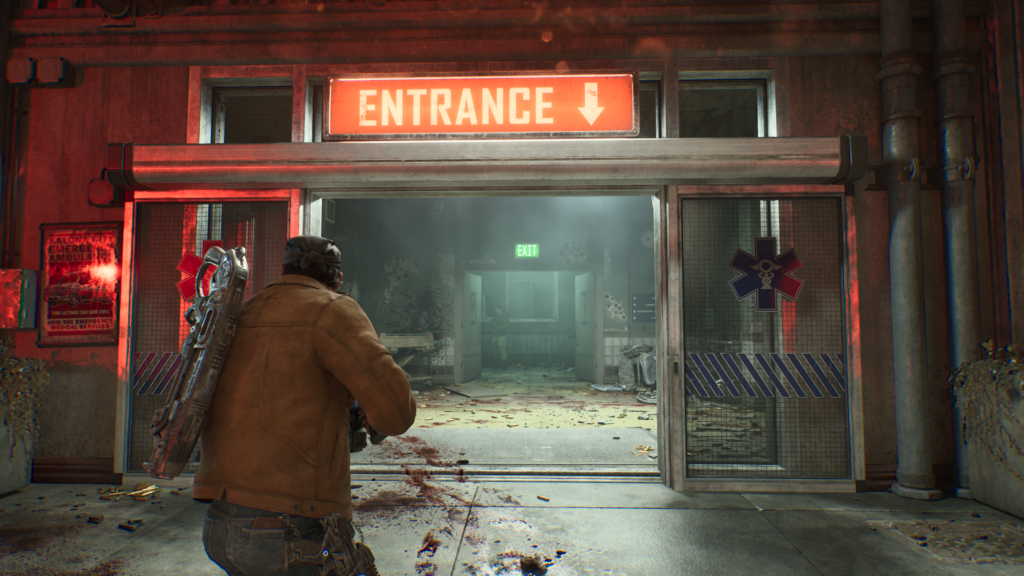
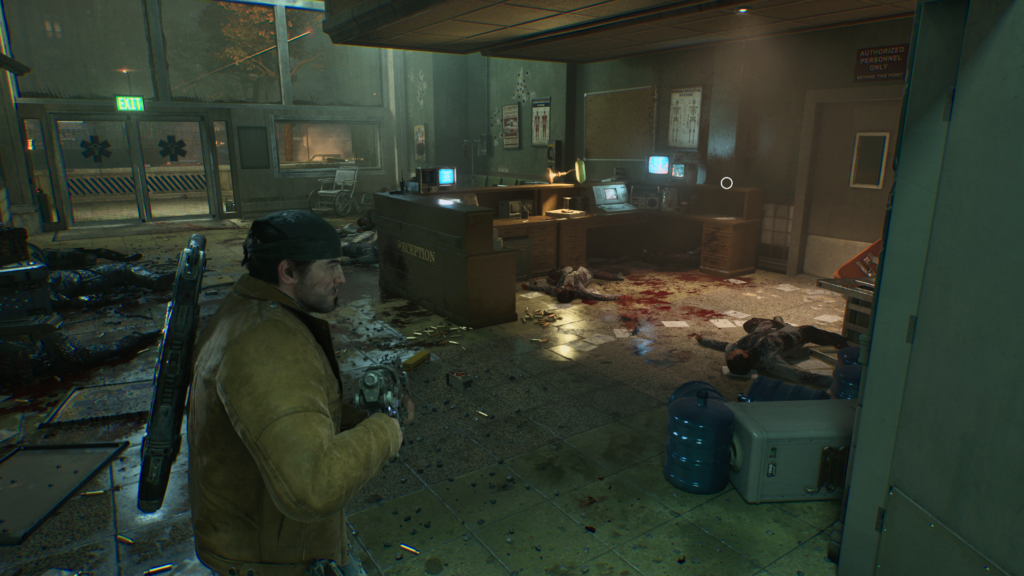
Once you’ve fought the Locust as you head towards the entrance to the medical centre (this is where you spot the Elite Grenadiers for the first time, someone will comment about them having shotguns). Head into the medical centre when it is safe to do so and follow the short corridor round.
You’ll enter a small office space. On the right on a desk is the collectible.
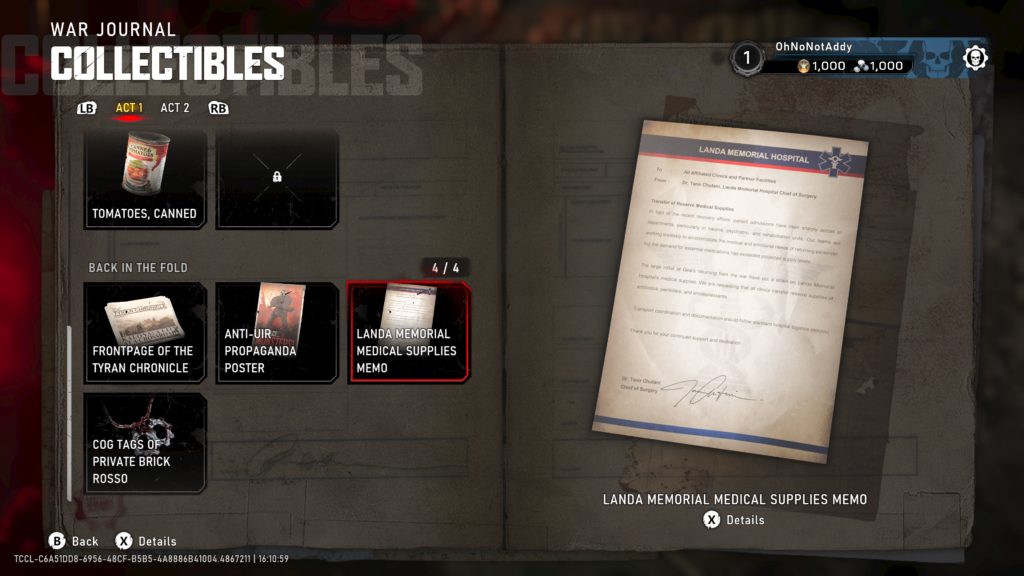
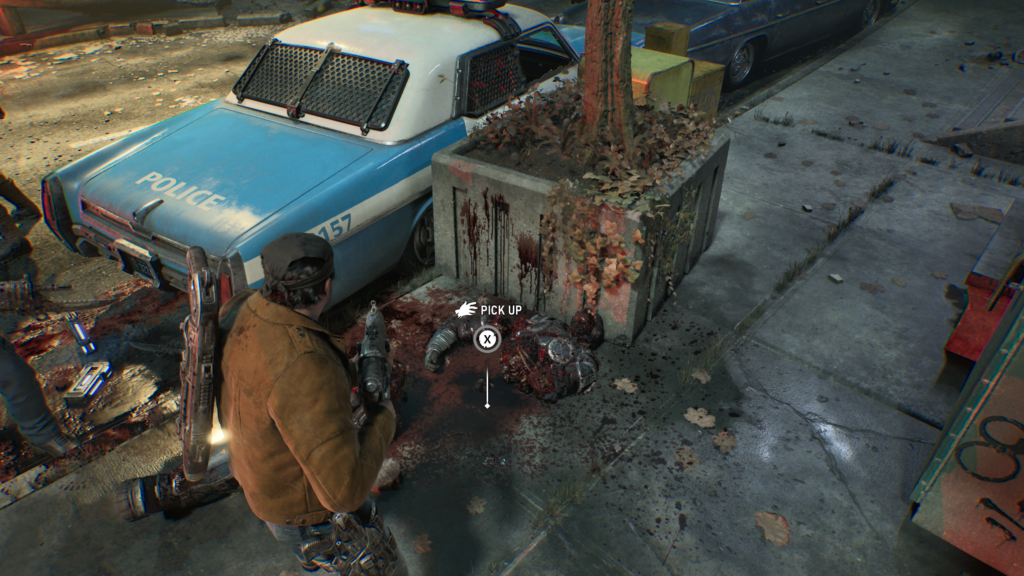
Collectible – COG Tags of Private Brick Rosso (4 / 4)
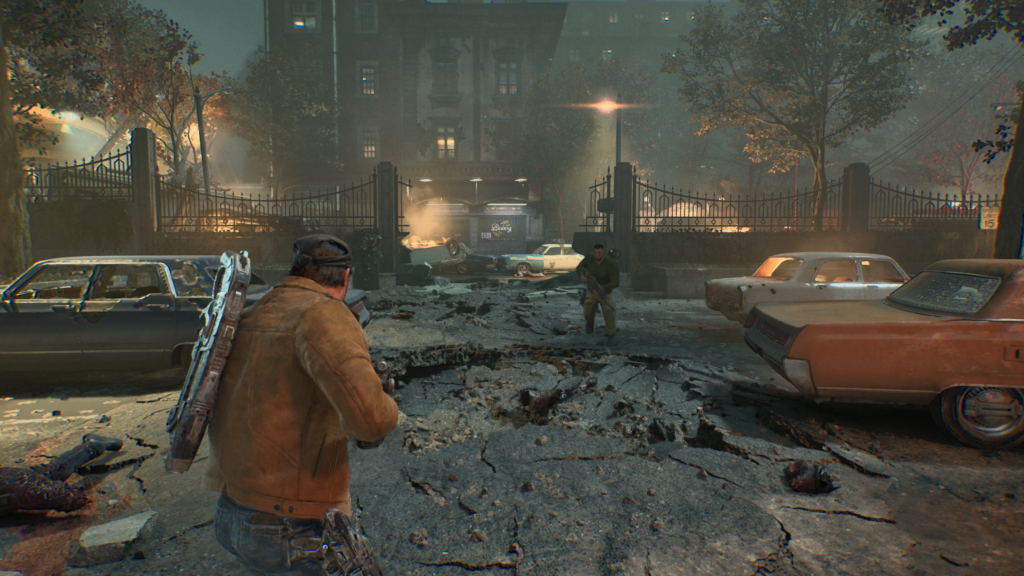
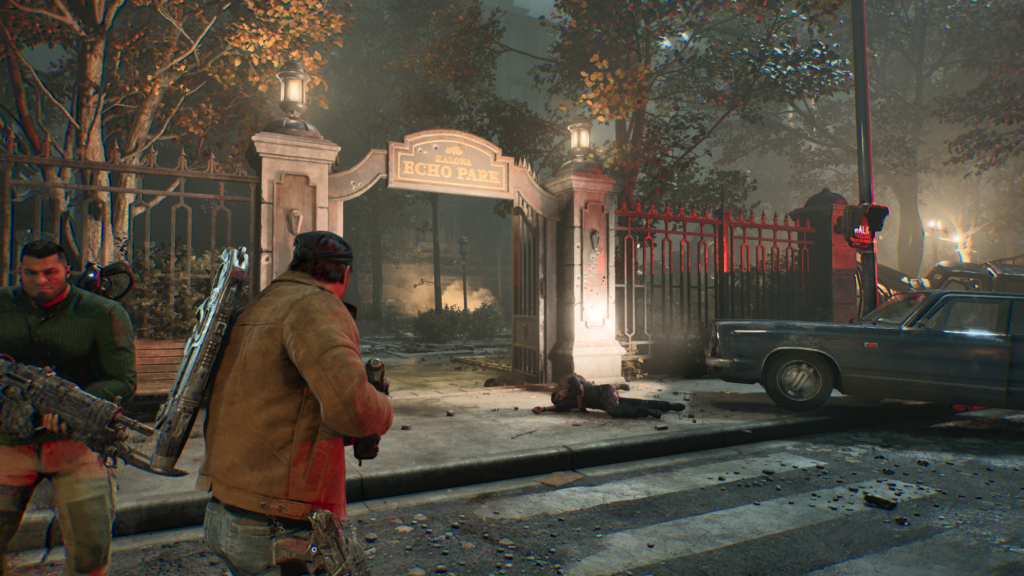
You will exit the medical centre and enter into a fight in a courtyard. This is where you discover the ol’ grenade trick to close E-Holes. Once you have cleared out the enemies head forward out of the courtyard.
Bear slightly right towards the entrance to the park. Turn to the left and at the back of police car is the collectible.
That’s everything from Act 1, onwards to Act 2!
Gears of War: E-Day Campaign Review
Gears of War: E-Day Guides
We hope you found this guide useful. Check out more of our guides below:
- Achievement List
- Defeat the Brumak in Act 1, Chapter 4
- Defeat the Corpser in Act 3, Chapter 2
- Unlock the “Two Grubs, One Gut-Punch” Achievement
- Unlock the “Explosive Indigestion” Achievement
- Unlock the “Payback’s a Pitch” Achievement
- Unlock the “I Am Heavy Weapons Guy” Achievement
- Unlock the “Okay, Boomer” Achievement