
Gears is back baby! The Coalition have returned with Gears of War: E-Day the latest entry in the iconic XBOX franchise. A prequel that tells the story of Emergence Day, the day when the Locust army reveal themselves. Marcus, Dom and other Gears band together to take on this new threat in the city of Kalona as the world of Sera changes forever!
Gears of War: E-Day Collectibles, Hard Cases, and Secondary Objectives
There’s plenty to find through the campaign of Gears of War: E-Day:
- Collectibles: Items scattered across the game’s five Acts of the campaign. These tell a grizzly tale of E-Day and add additional lore from the team. When you are near a collectible you will hear the familiar COG Omen musical sting. There are levels where you have access to a map, in those, the collectible gets added to the map. Get all the collectibles to unlock the “Memories from E-Day” achievement.
- Hard Cases: These provides upgrades for your weapons and tactical abilities. There’s plenty to find. You get alerted when you are near one with a message on screen. You can use your Tac-Com (LB on Xbox controller) to see them. In levels where there are maps, you will also get these pinged on your map. Finding all Hard Cases will get you the “Relax. I’m the Map” achievement.
- Secondary Objectives: you’ll encounter secondary objectives to help people out around Kalona. You might be pointed to it by the game (sometimes with a visual ‘Hold X to View’ on screen), others you might happen upon as you drawn to firefighting or conversation in the game. You will have to accept a secondary objective when it prompts you to begin it. Complete the objective to receive unlocks as your reward and work towards the “Side Piece” achievement.
Gears of War: E-Day Act 2 Collectibles Guide
You can use a video guide below or read on for a text and image guide:
Use the links below to jump to the chapter you need.
Act 2
- Act 2, Chapter 1 – Bravo Squad
- Act 2, Chapter 2 – Hold the Line (Part 1)
- Act 2, Chapter 2 – Hold the Line (Part 2)
- Act 2, Chapter 2 – Hold the Line (Part 3)
- Act 2, Chapter 3
- Act 2, Chapter 4 (No collectibles)
- Act 2, Chapter 5
Act 2, Chapter 1 – Bravo Squad
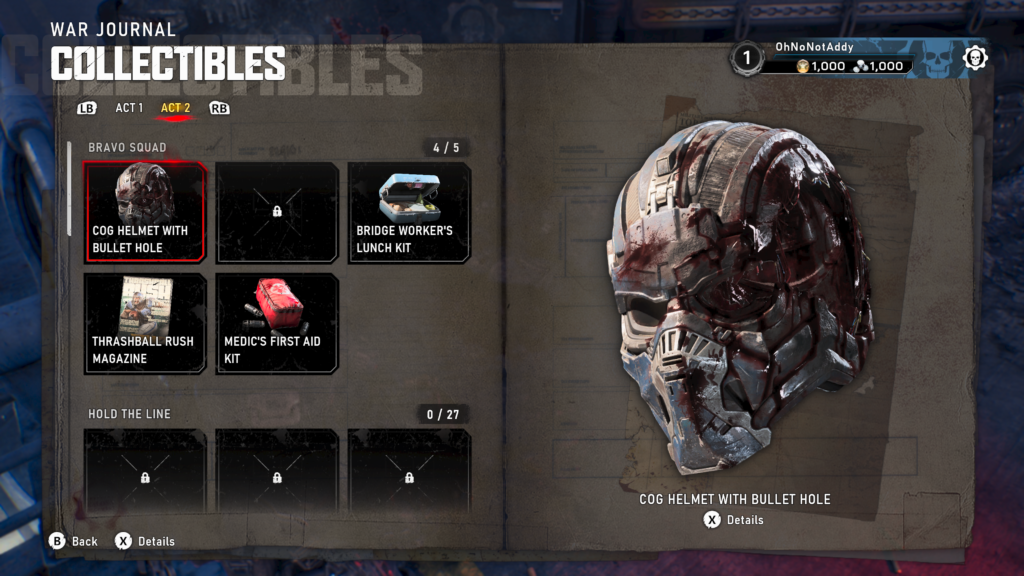
- 5 Collectibles
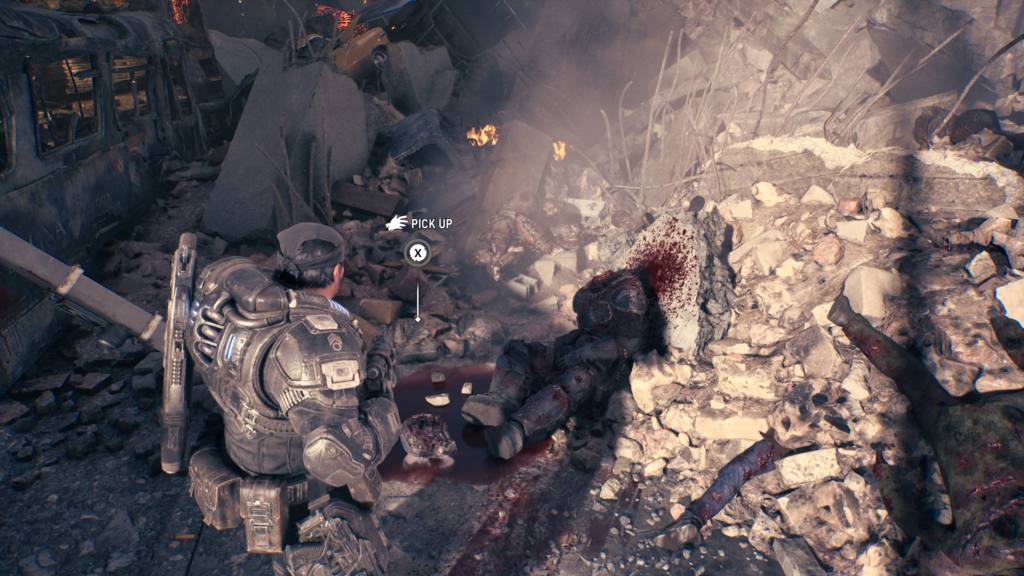
Collectible – COG Helmet with Bullet Hole (1 / 5)
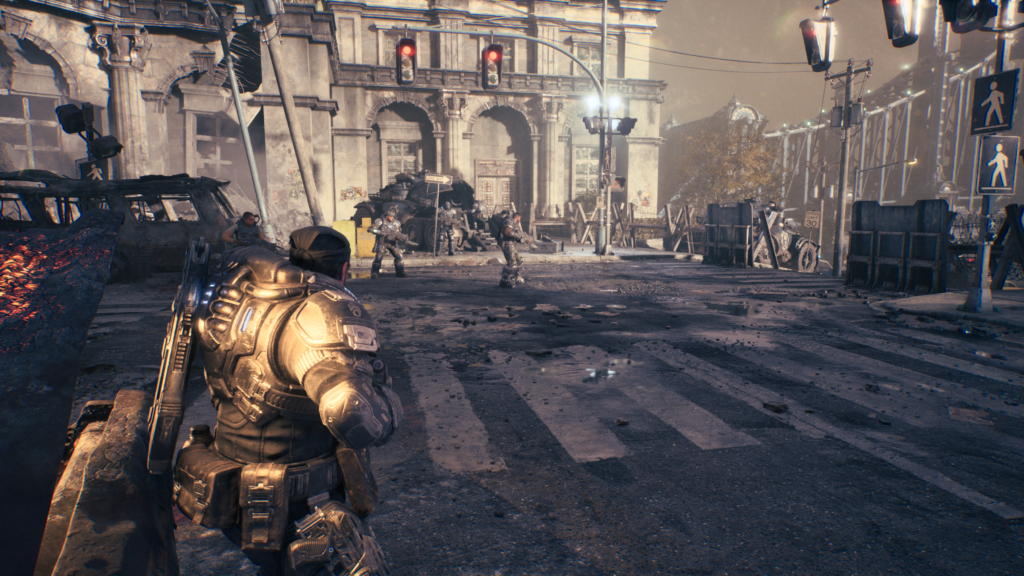
From the beginning of the chapter, once you’re outside. You’ll head forward and a vehicle will open up a passage on your right. Look to the left and and you’ll see a soldier lying on the ground propped up against some rubble. The collectible is on the floor.
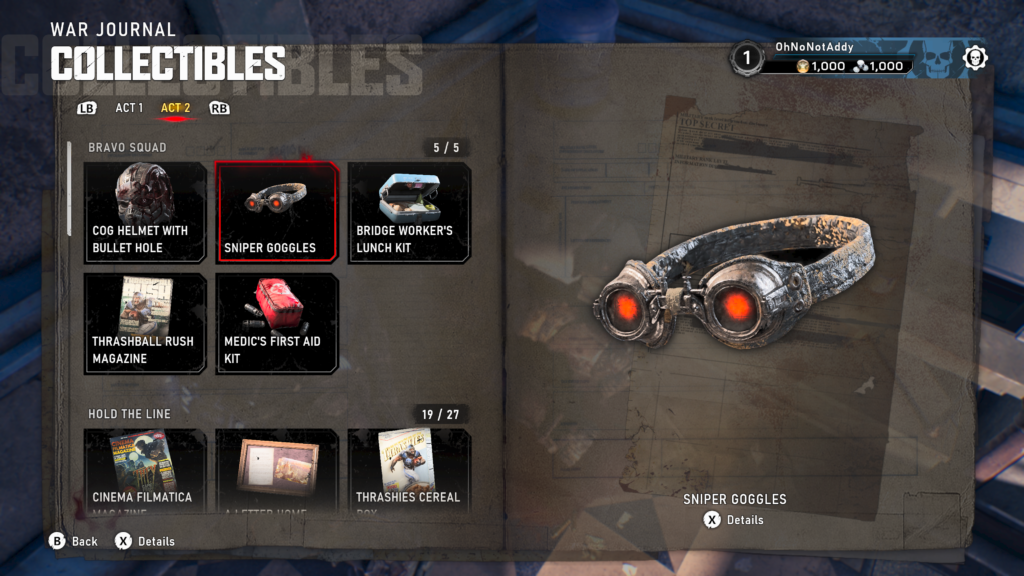
Collectible – Sniper Goggles (2 / 5)
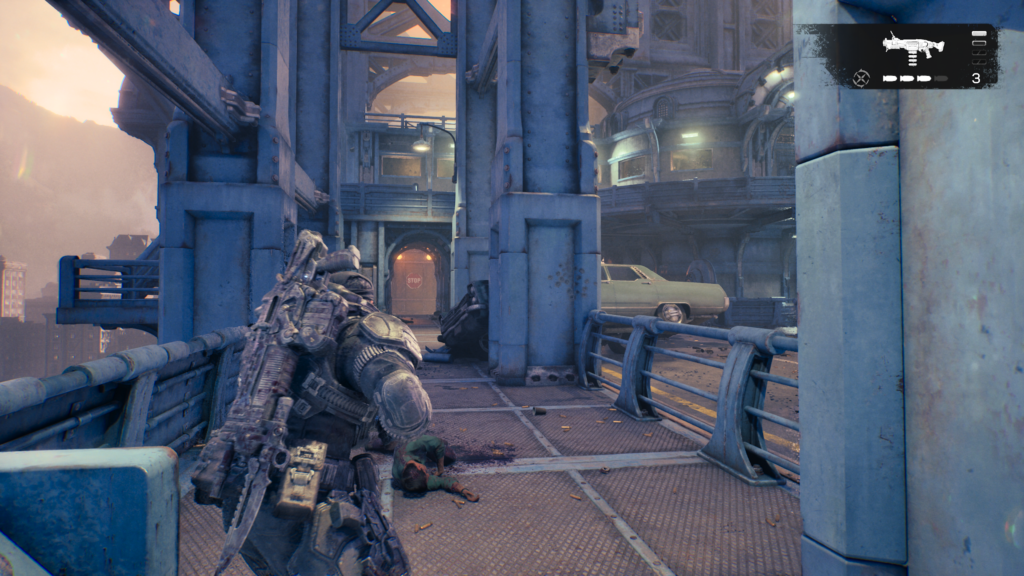
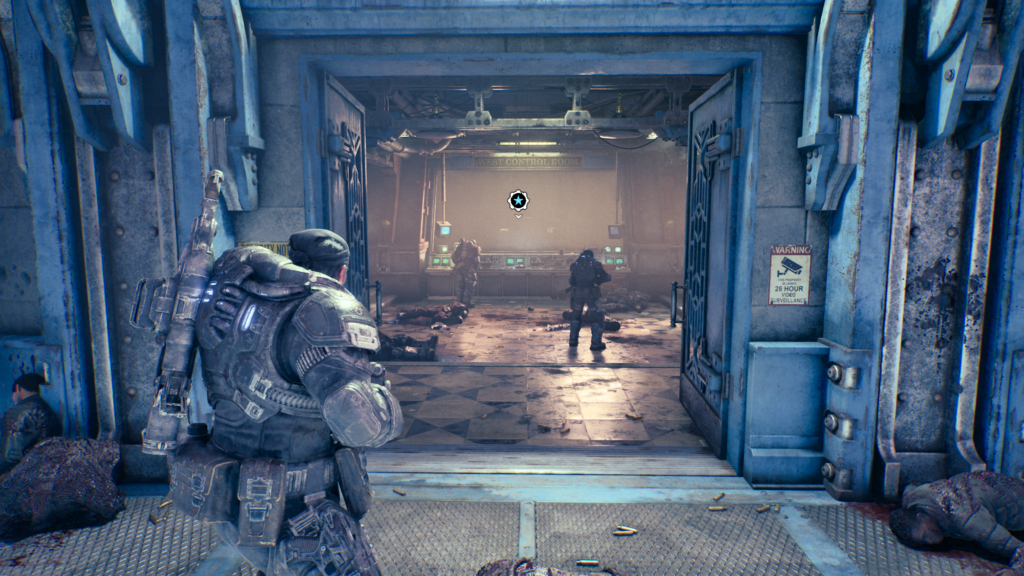
You’ll fight a load of enemies on the bridge as you make your way towards Charlie Squad. Once you have cleared them all out, your objective will be to enter the control room.
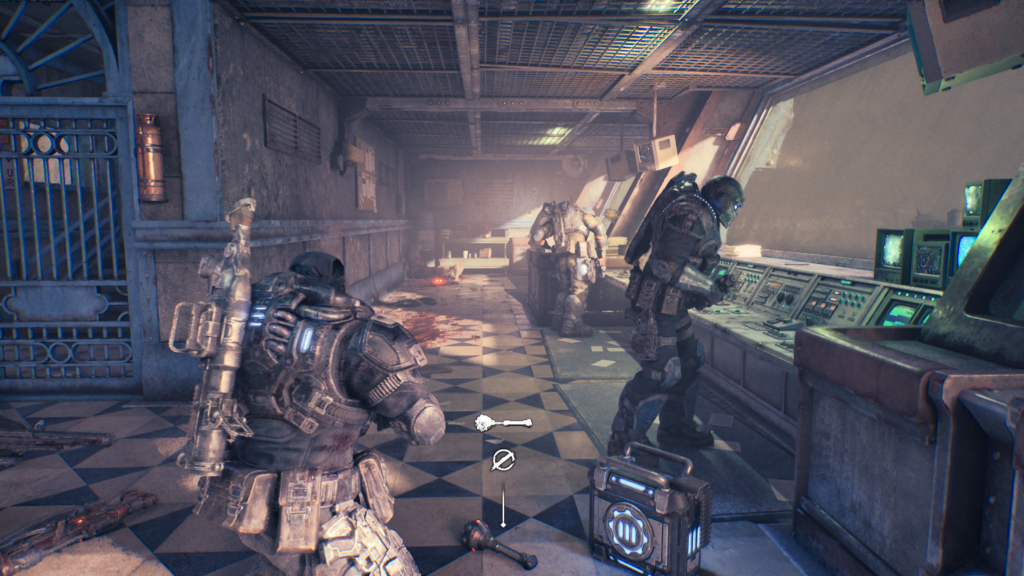
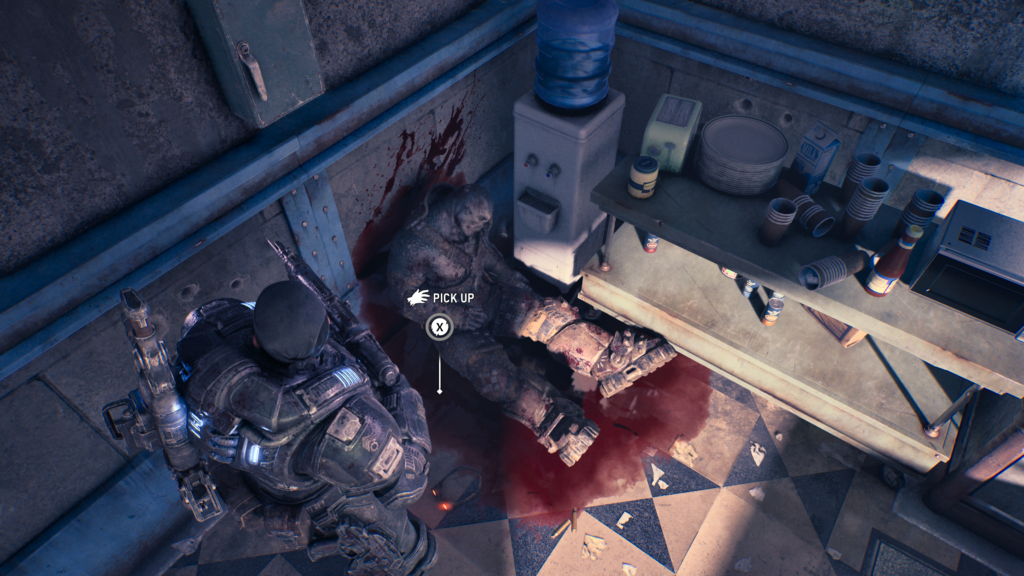
Once inside, you’ll be asked to activate the bridge using the controls in the centre of the room. Instead, look to the left and go down the short corridor to the end to find a dead Locust. Claim his goggles as your collectible.
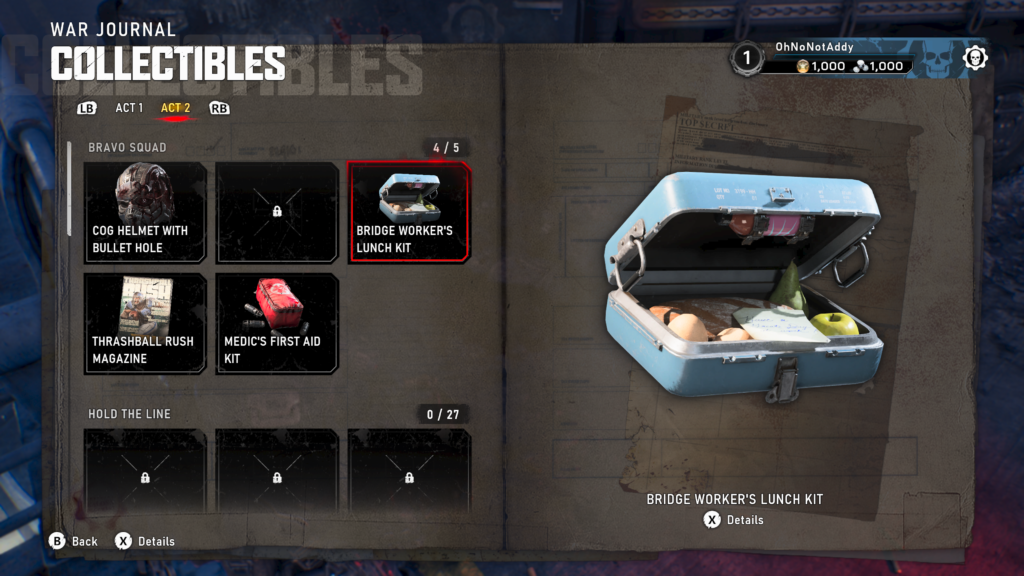
Collectible – Bridge Worker’s Lunch Kit (3 / 5)
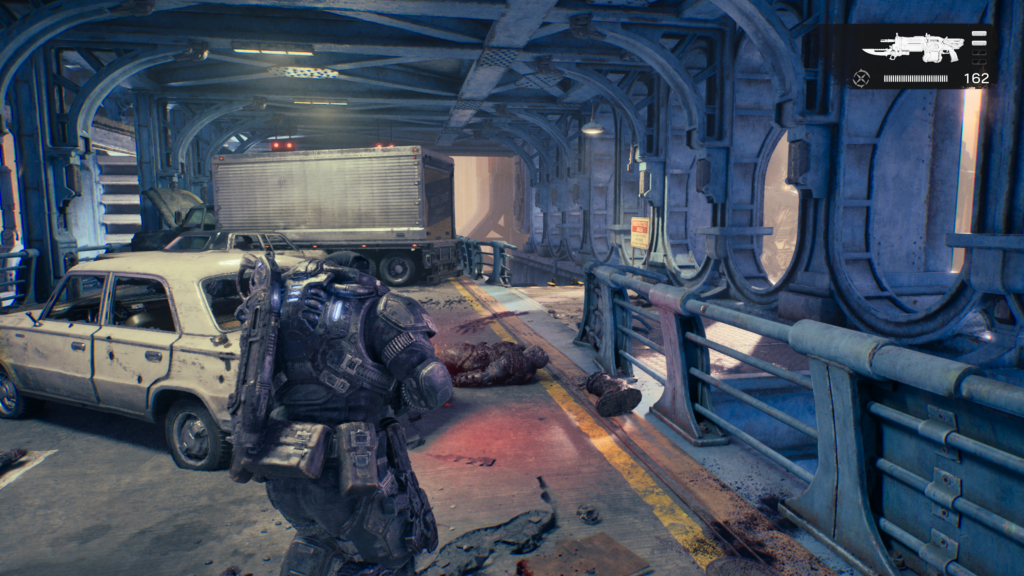
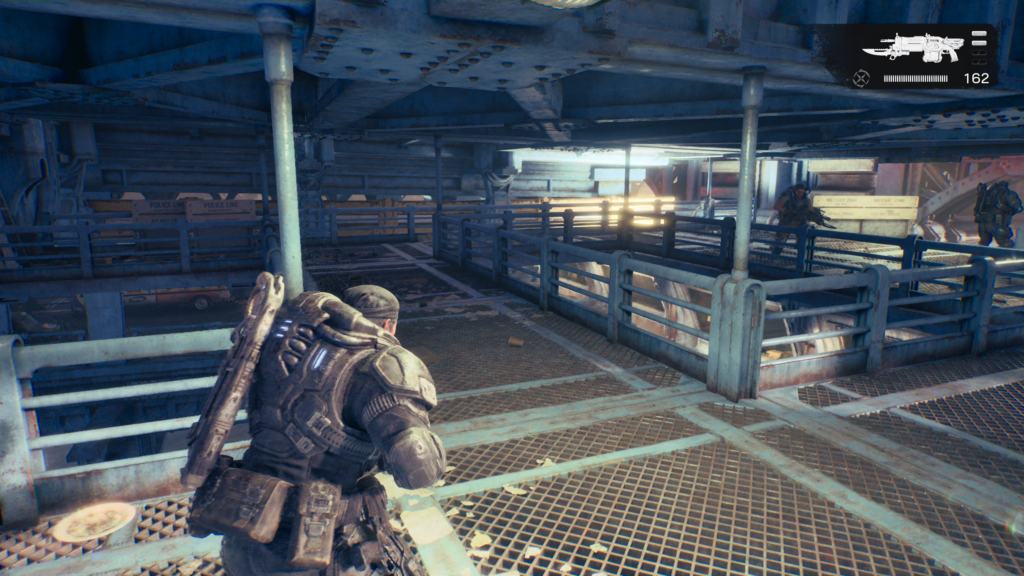
Once you’ve crossed the bridge and taken out the Breechshot snipers. You’ll split up from Charlie squad. Once up on the next level you’ll support Charlie from above and then you’ll have to fight through some enemies where Charlie Squad will provide support fire to you. Take them all out and you’ll have to drop a ladder to progress.
Once you’re down, take the gantry on your left and go left again to find a dead end with the collectible on the floor.
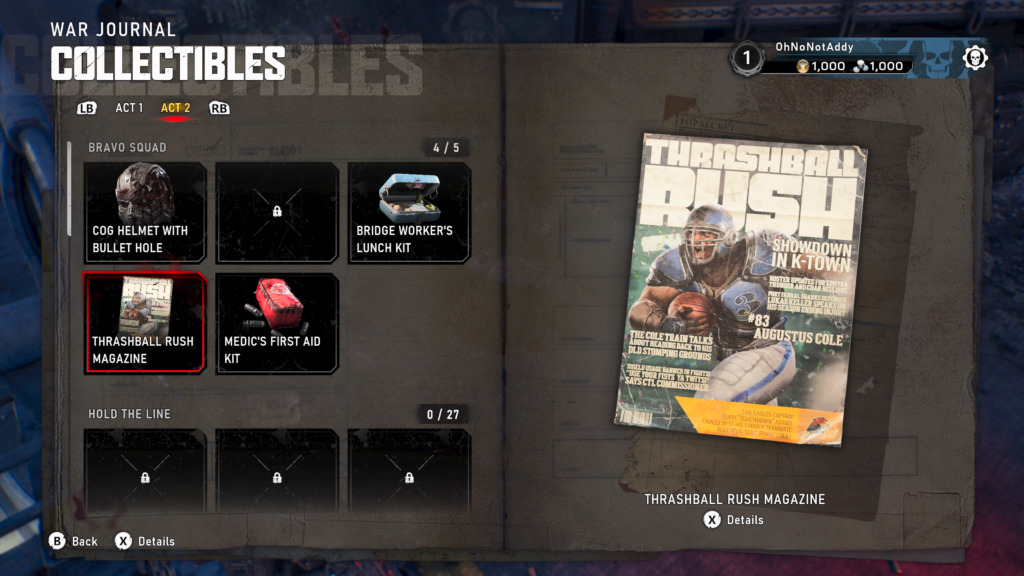
Collectible – Thrashball Rush Magazine (4 / 5)
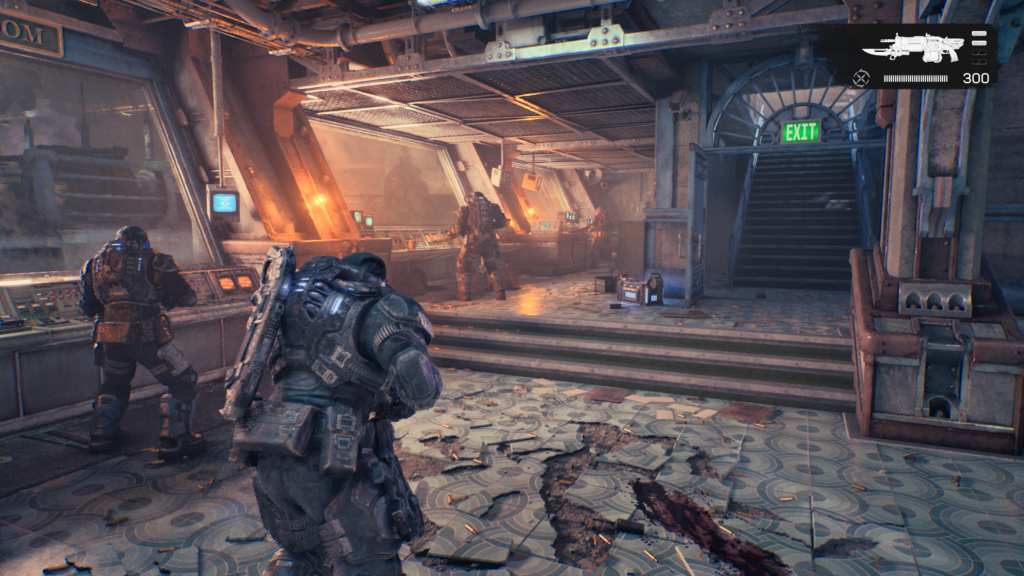
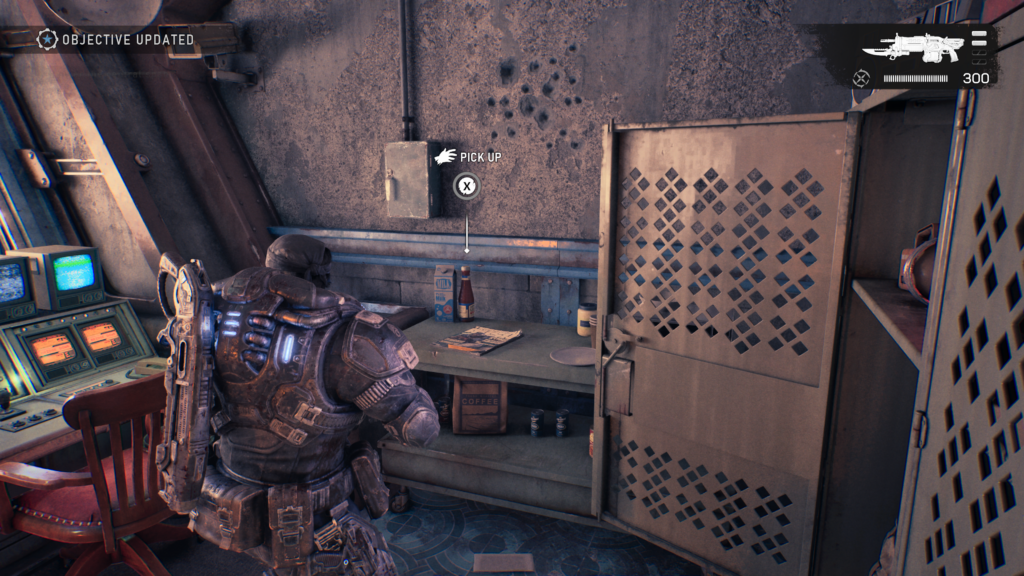
Not far from the last collectible, you’ll head down some steps into a control room. Go forward and down the short path in front of you. The collectible is at the end on a cabinet.
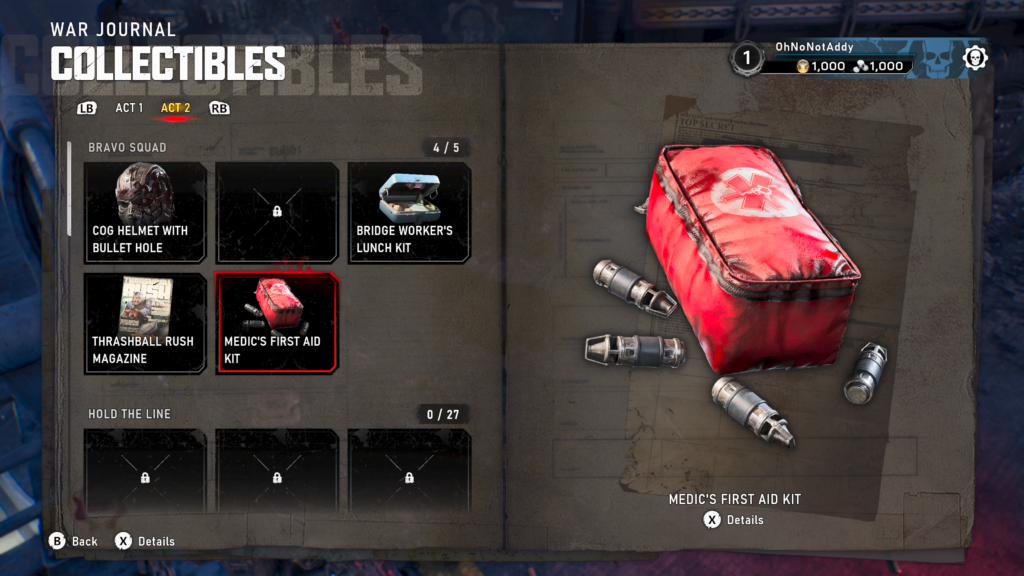
Collectible – Medic’s First Aid Kit (5 / 5)
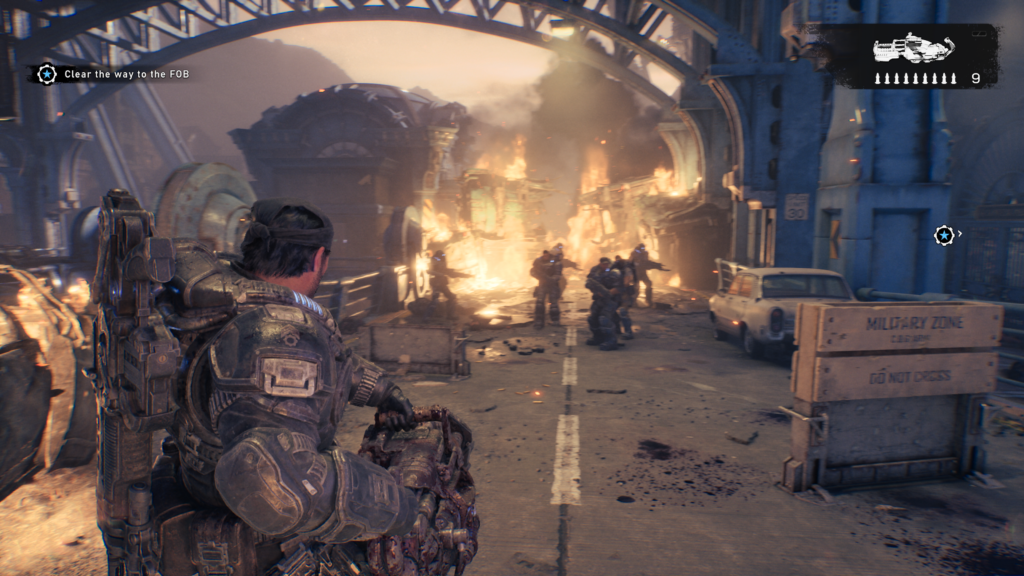
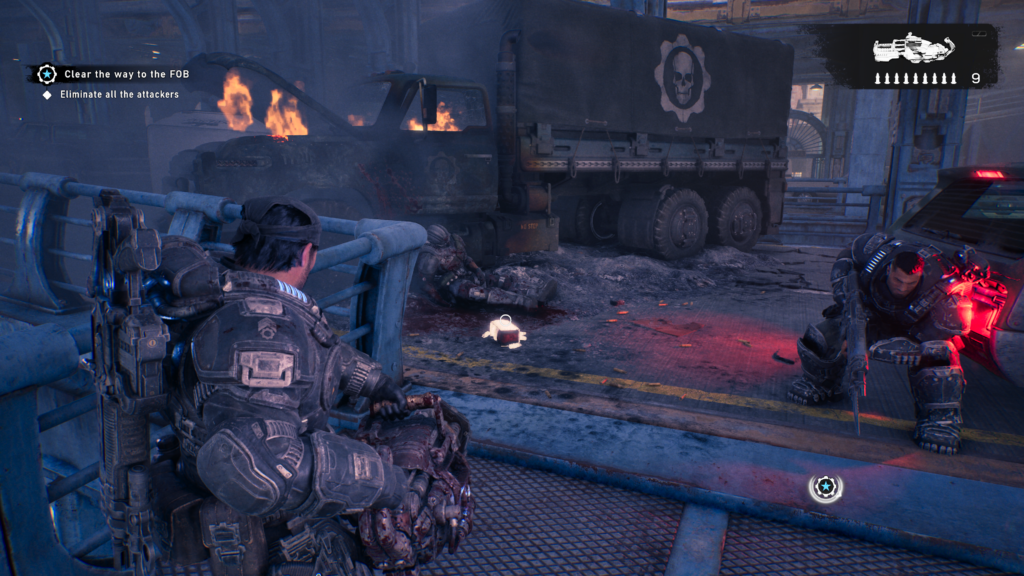
After the fight with the Heavy Boomers, you’ll need to head to down stairs to proceed. At the bottom of the stairs, take a right and head forward. The collectible is on the floor to your left, in front of a truck.
Act 2, Chapter 2 – Hold the Line
This chapter is split into three parts. There are a total of:
- 27 Collectibles
- 36 Hard Cases
- 6 Secondary Objectives (please note at time of writing I am missing one secondary objective and will update as soon as it is located)
To help with tracking, I’ve split this chapter into their individual parts. Some of the collectibles might appear on your map, but you might not be able to reach them until a later part of the chapter.
Act 2, Chapter 2 – Hold the Line (Part 1)
- 3 Collectibles
- 1 Hard Case
- 2 Secondary Objectives
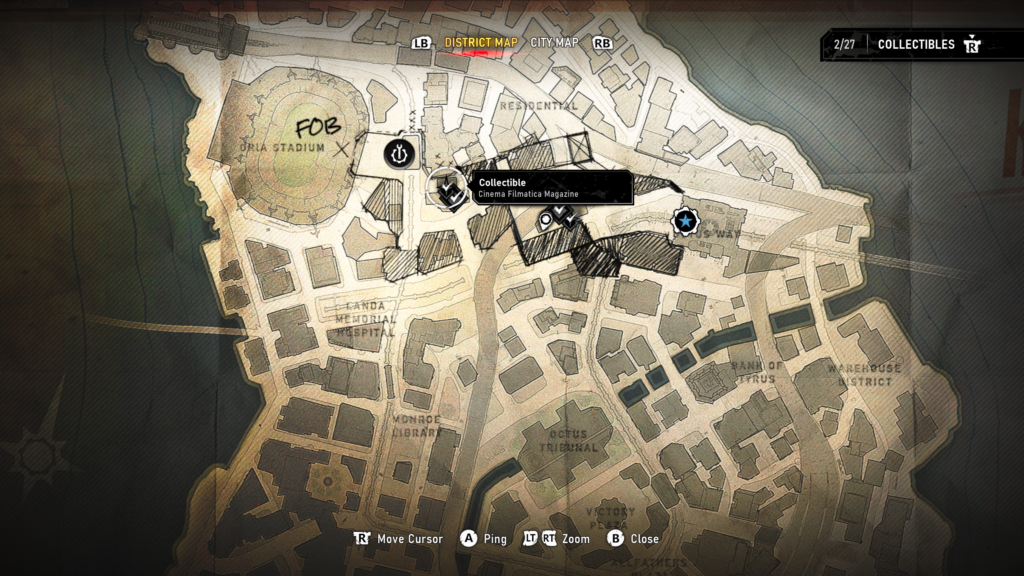
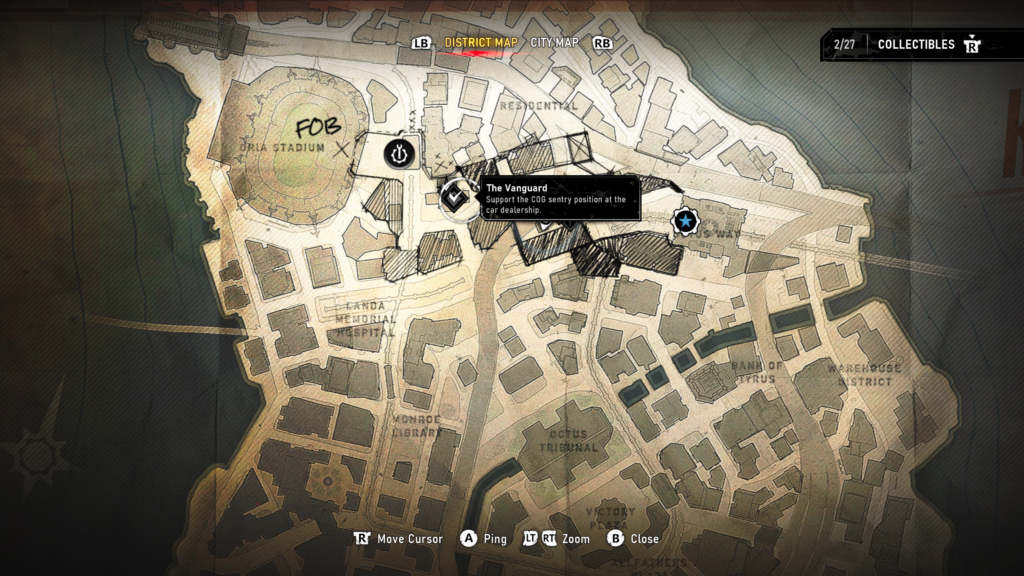
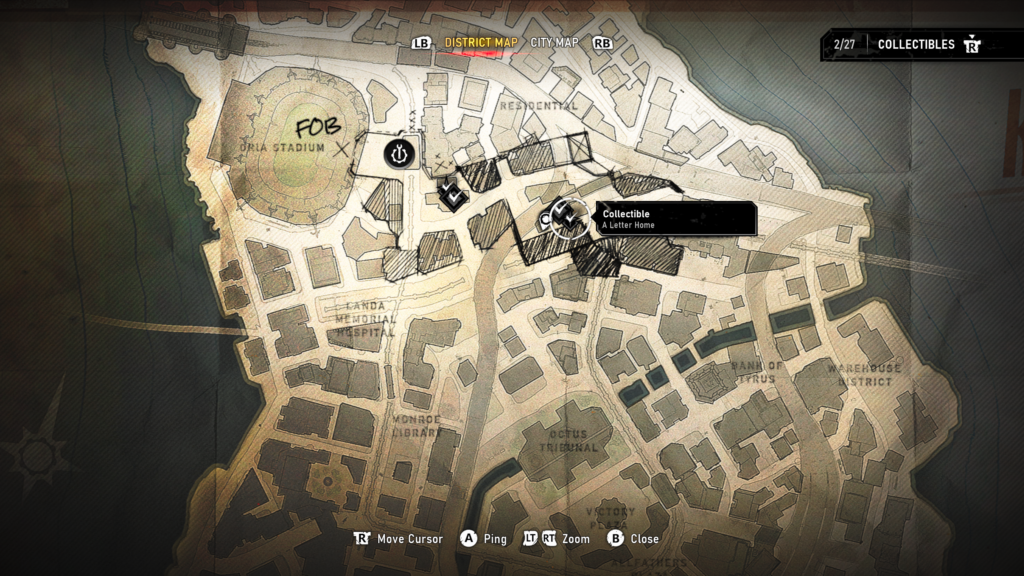
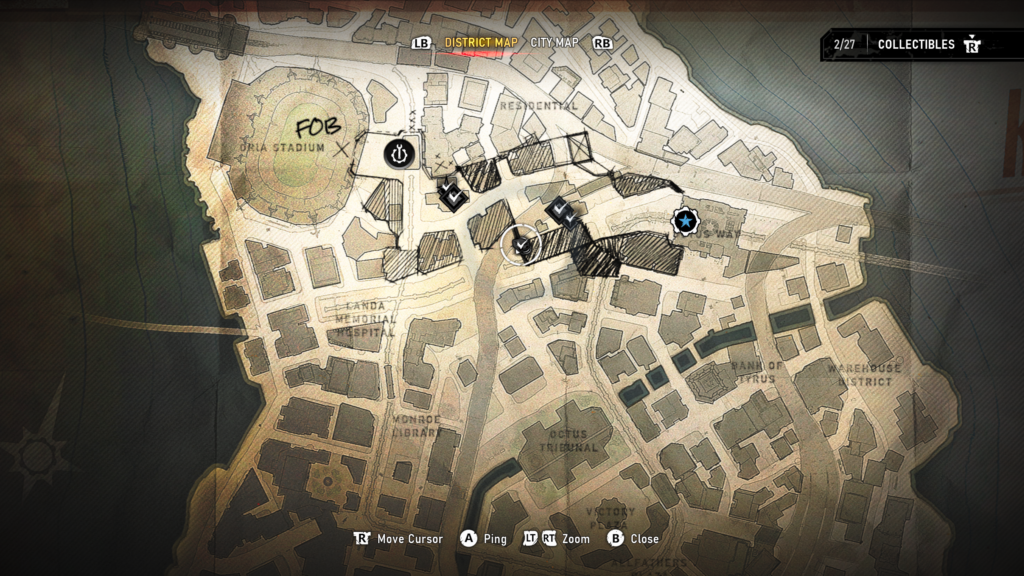
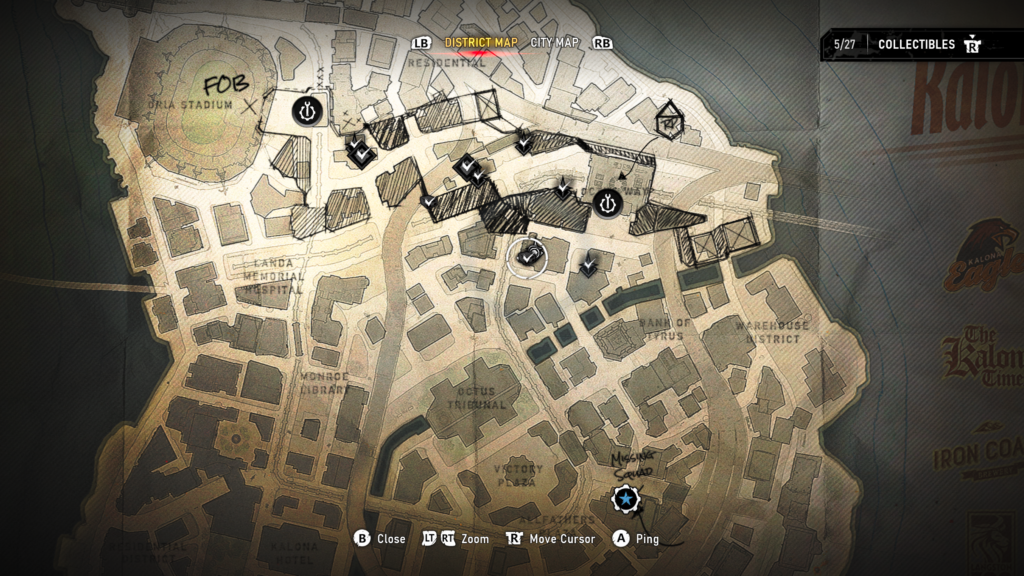
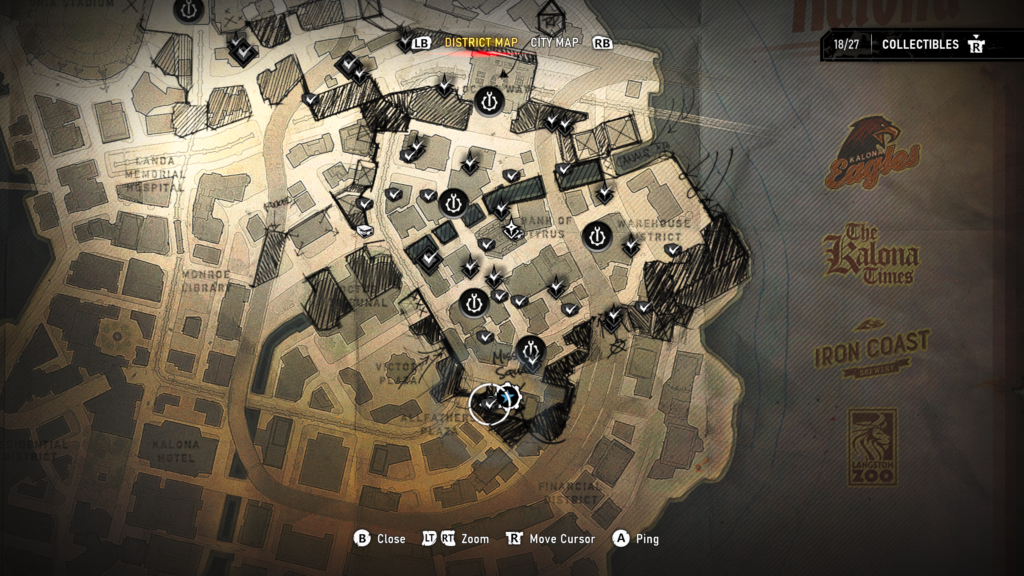
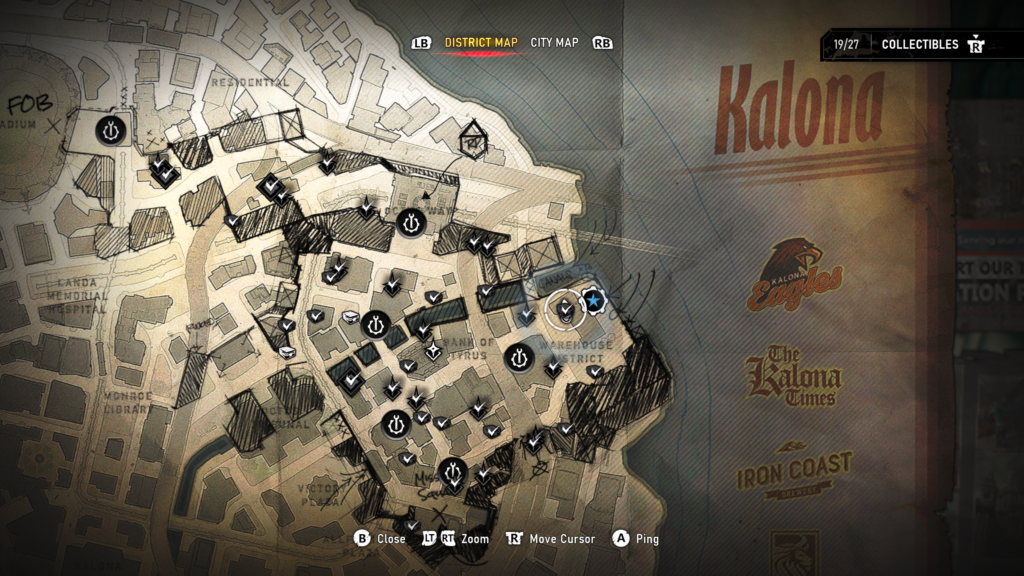
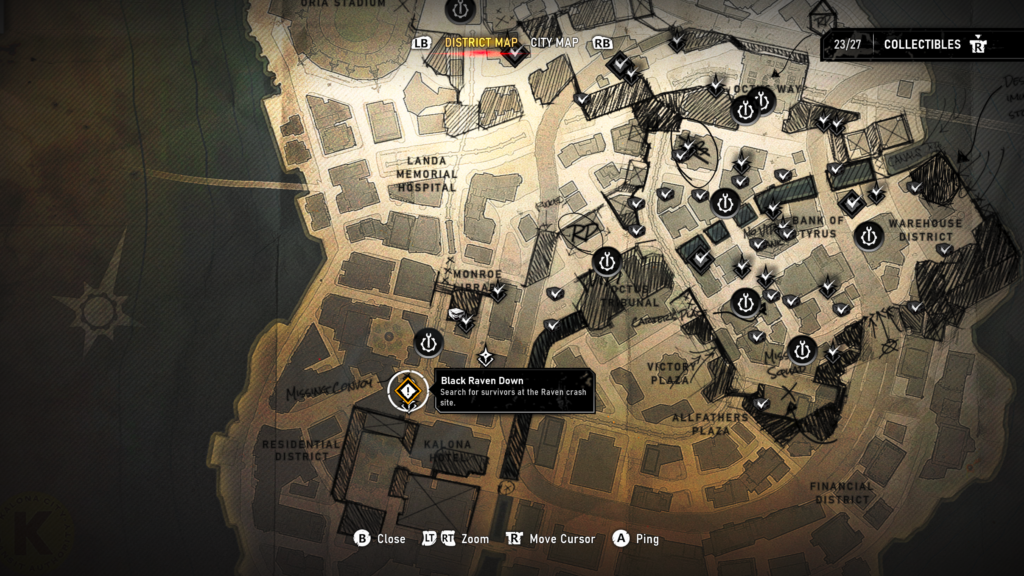
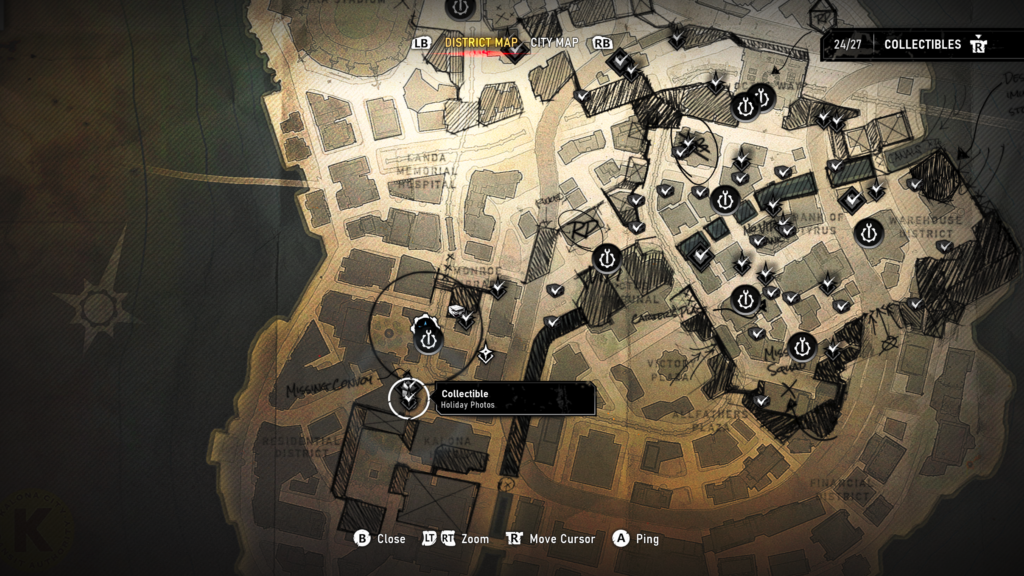
You will have access to a map in this chapter. I have included the map location for each object where possible.
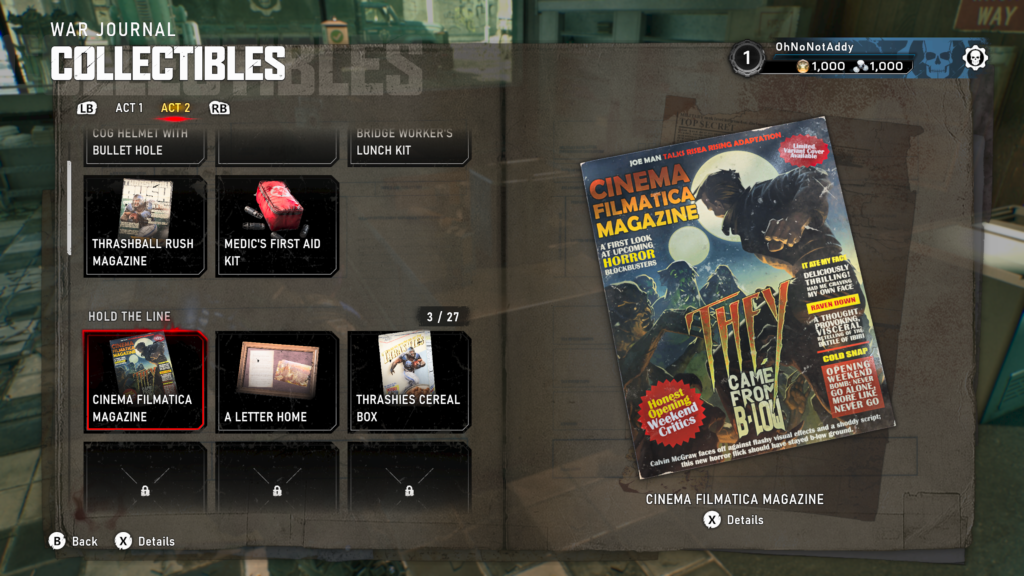
Collectible – Cinema Filmatica Magazine (1 / 3)
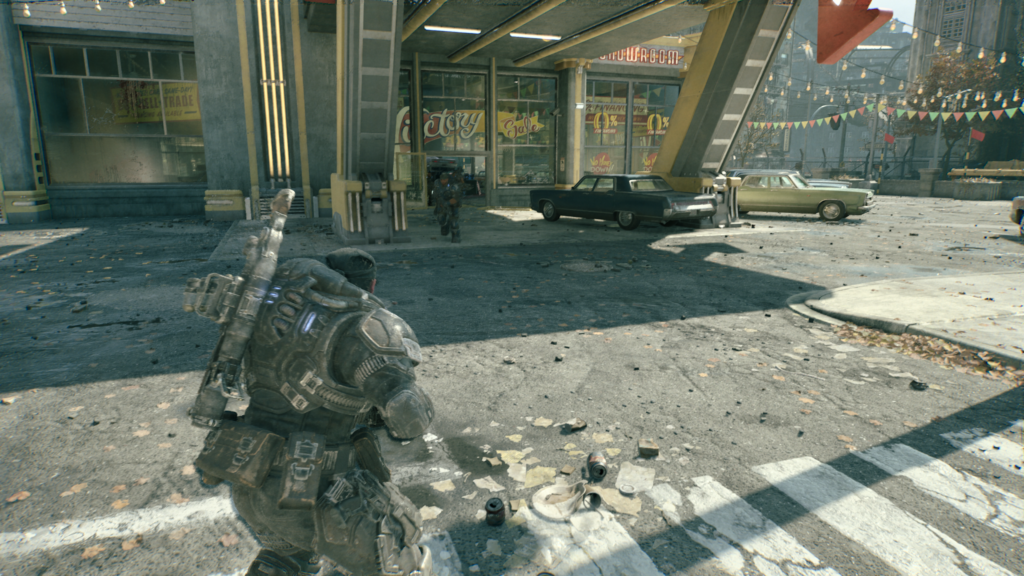
After you have used a Supply Crate and received your orders at the beginning of the chapter, you’ll be able to head into the semi-open area of the map for exploring. You’ll be heading to Secure Octus Way Station.
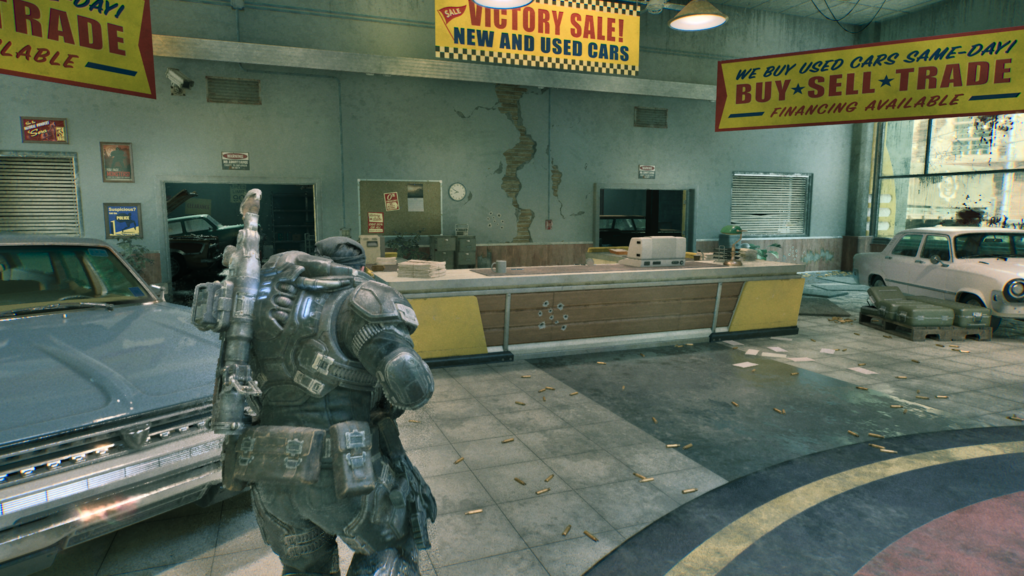
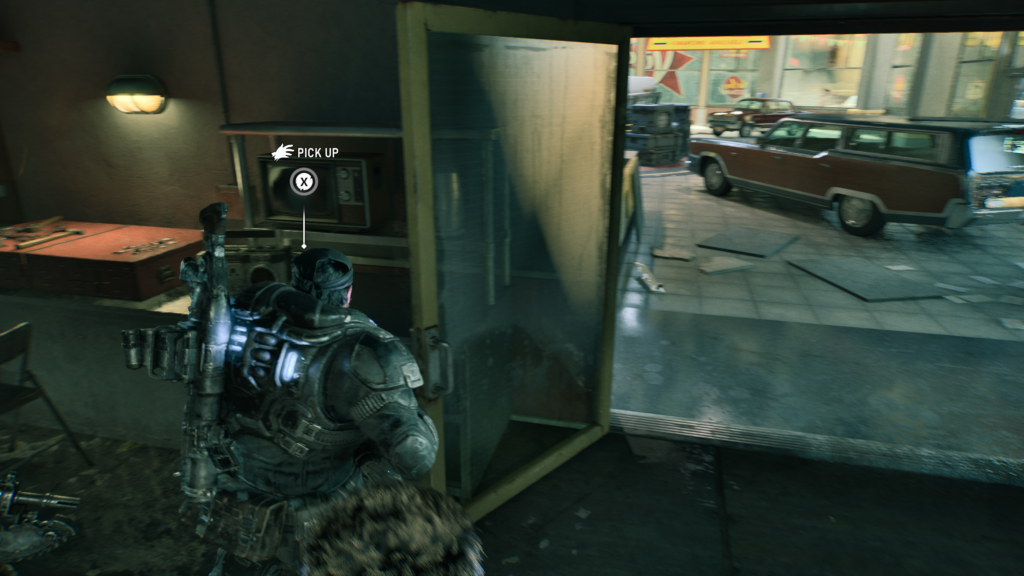
As you enter the main area, you’ll see a car dealership on your left. Head inside, into the garage at the back to find the collectible on a desk.
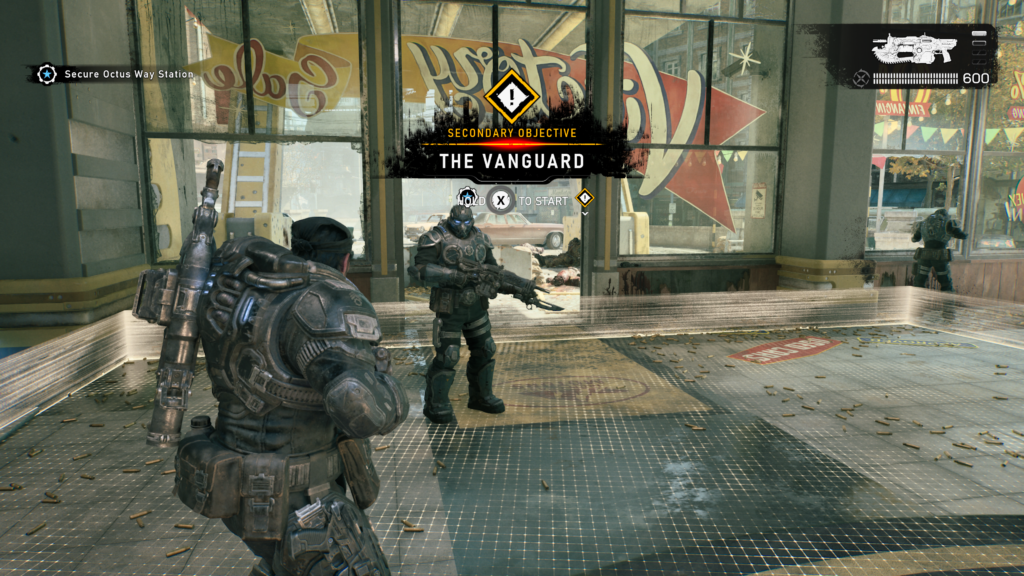
Secondary Objective – (1 / 2) – The Vanguard
In the Car Dealership, where you just picked up the last collectible. Approach the COG Soldier near the entrance on the other side of where you entered. You will be given the option to start “The Vanguard” secondary objective.
This will prompt an E-Hole and several enemies to appear. Once you’ve taken them all out, you’ll complete the objective and receive some upgrade parts as a reward.
Secondary Objective – (2 / 2) – Trapped Family
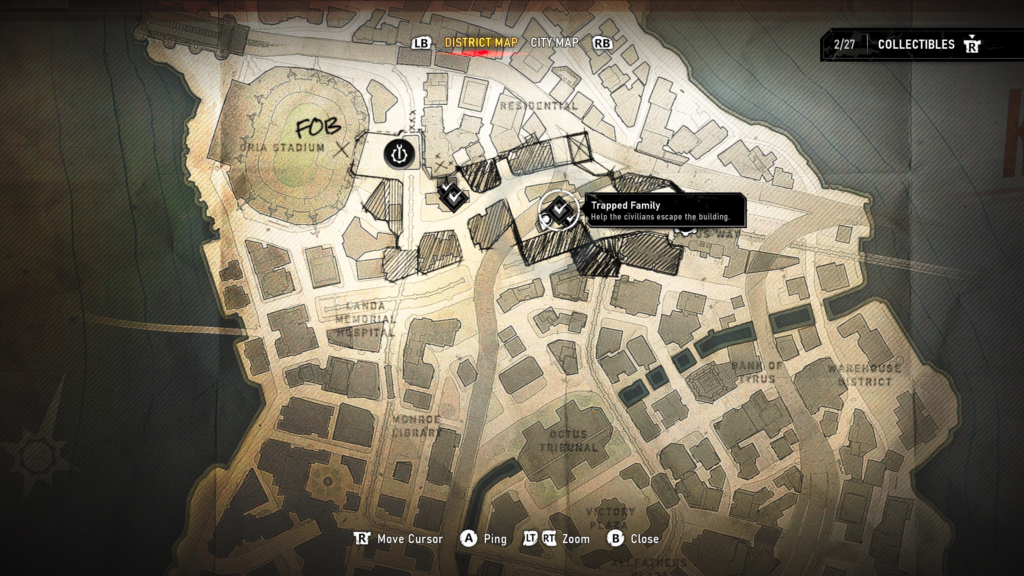
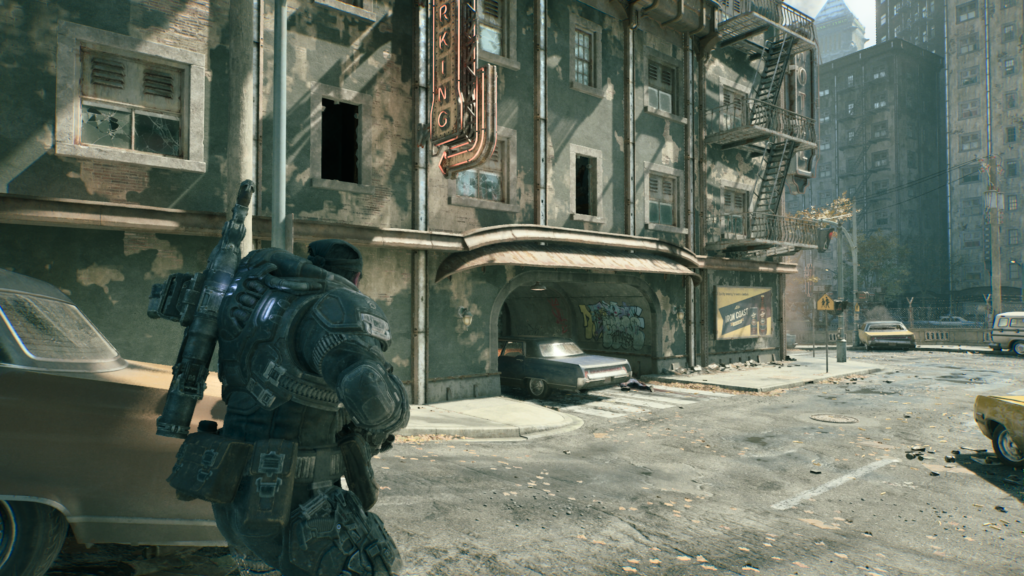
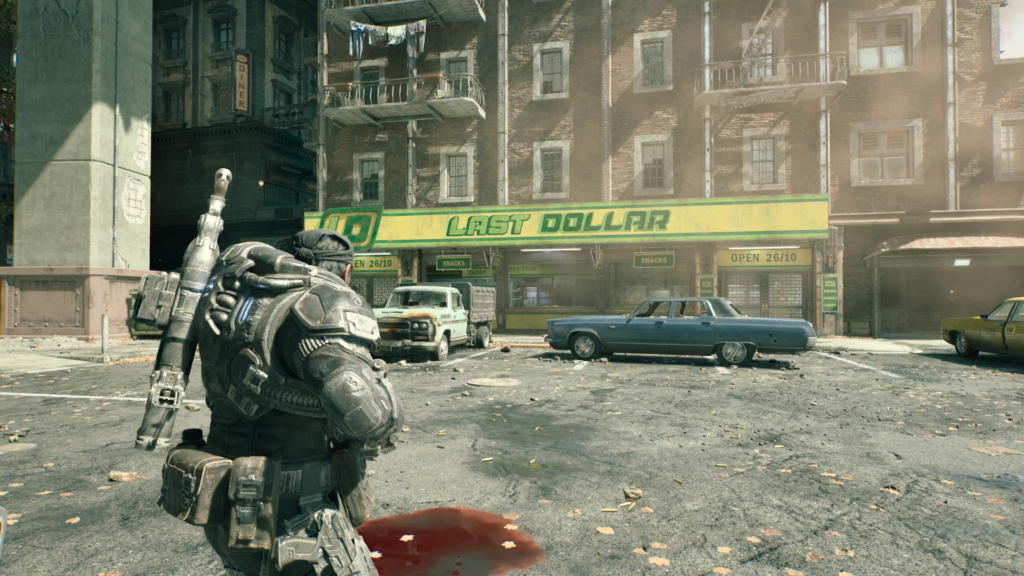
If you head down the main street after the car dealership, you should see an alleyway on your right. Head down to a car park in front of a Last Dollar store. You’ll hear cries of help. Here’s where you’ll pick up the Trapped Family side mission.
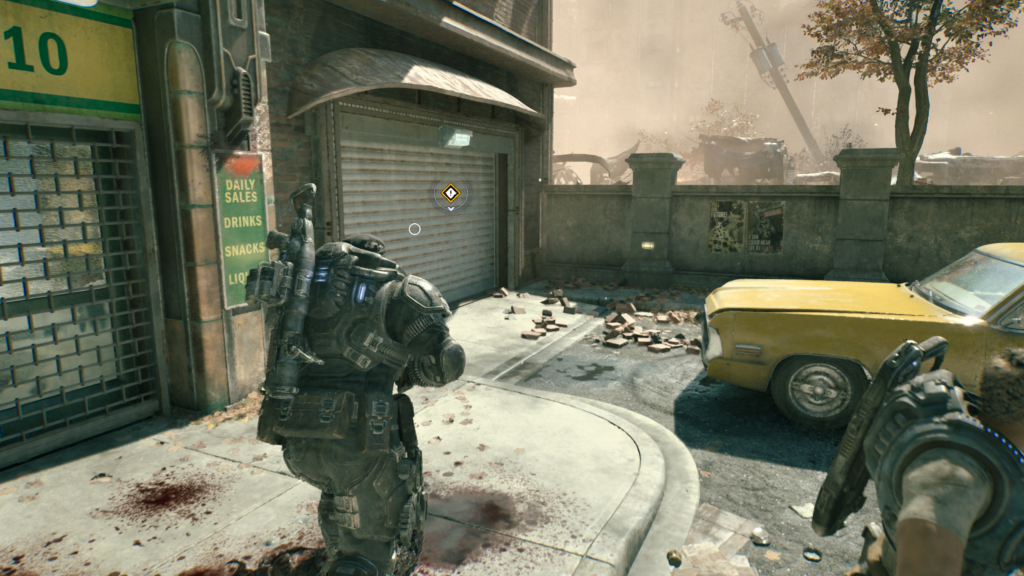
Take out all the juvie-type enemies that charge you and then head to the shutter on the right of the building (if you’re facing it) and you should get a prompt to open it. Head inside (don’t miss the collectible on the right as you progress through.
Head to the back behind the counter and press the button next to the cash register.
Collectible – A Letter Home (2 / 3)
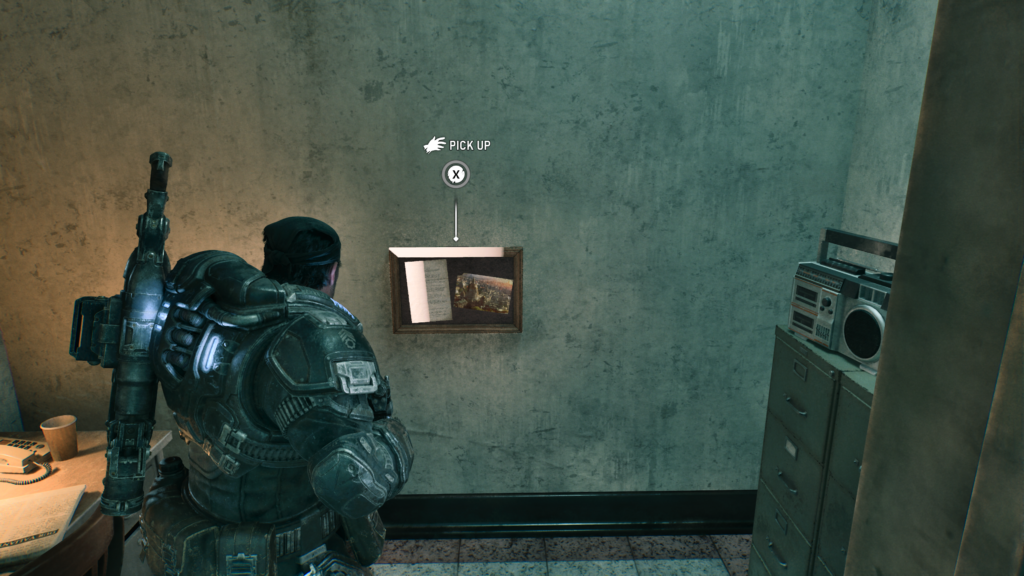
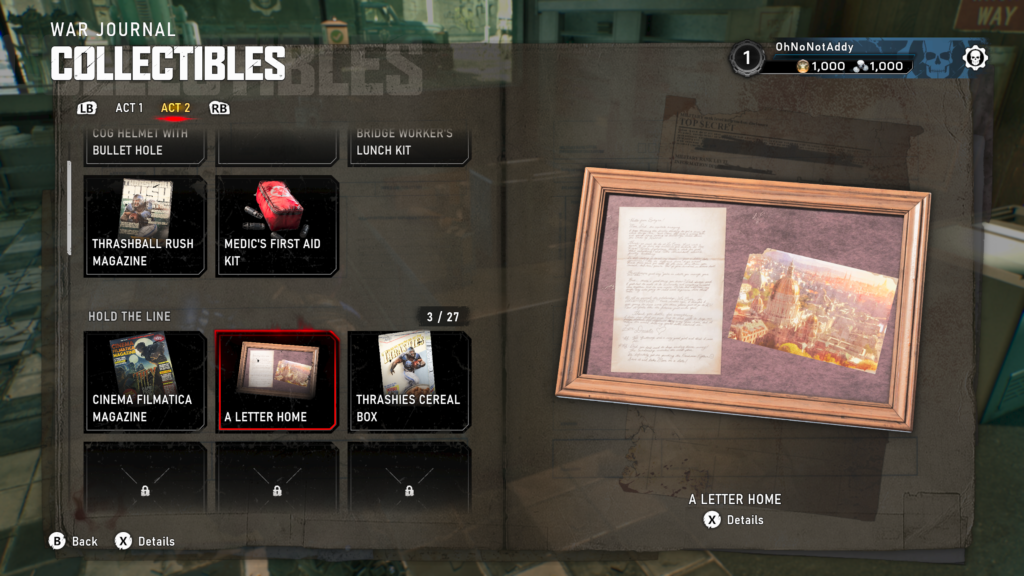
During the Trapped Family secondary objective, you will enter a garage by raising a shutter. As you enter, you’ll head forward into a back room. On the right, is the collectible hanging on the wall.
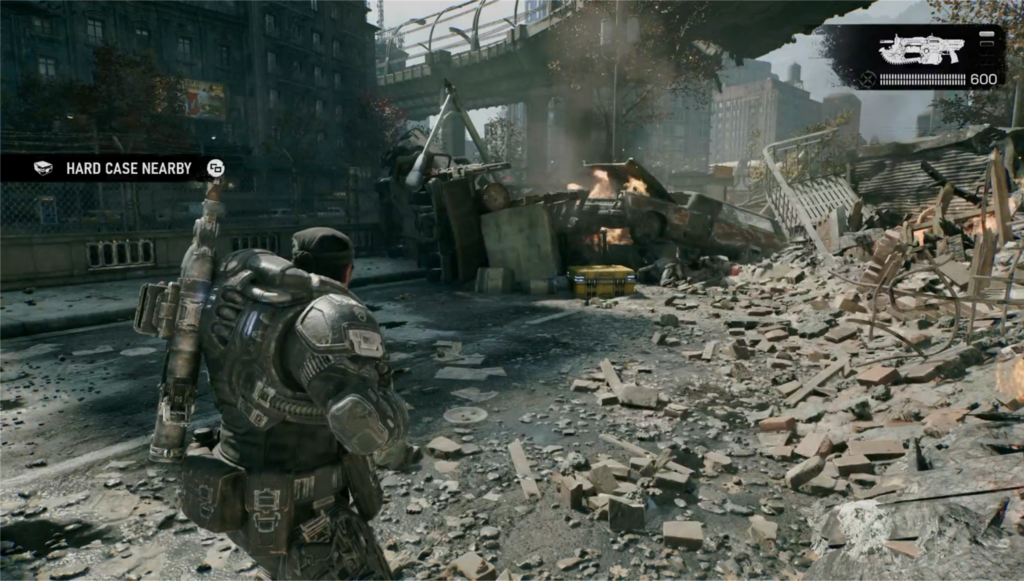
Hard Case (1/1)
If you leave the parking lot the way the juvie-enemies come from during the Trapped Family secondary objective and take a left on the main road, you’ll reach a junction. There’s a dead-end both ways but if you head right, and behind the burnt out bus, you’ll see the Hard Case and a juvie protecting it.
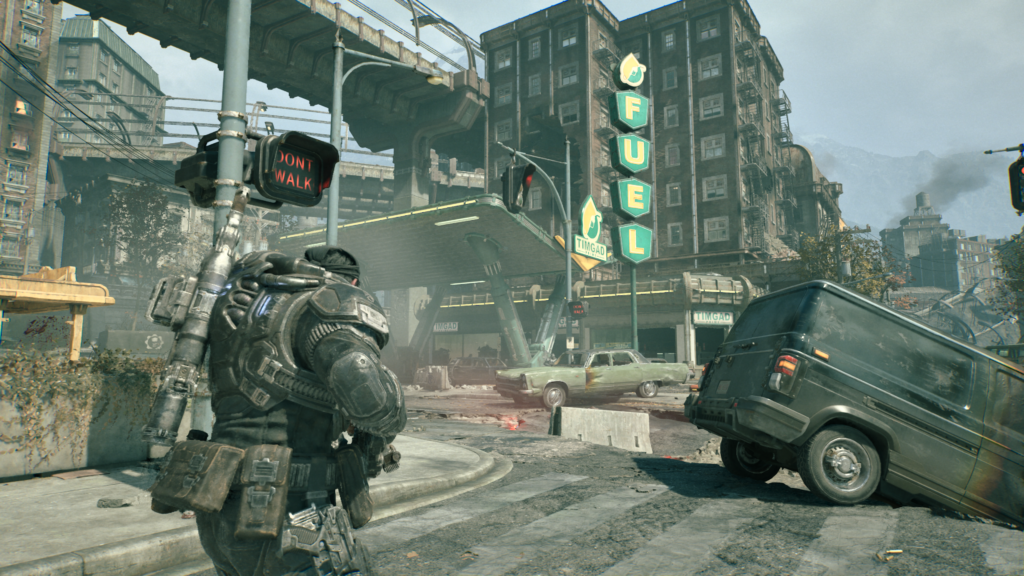
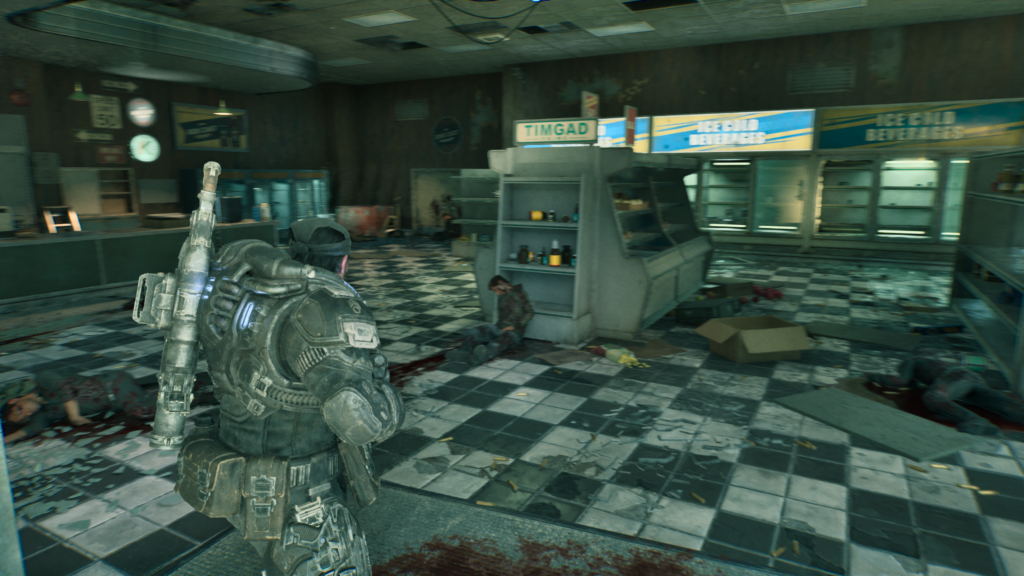
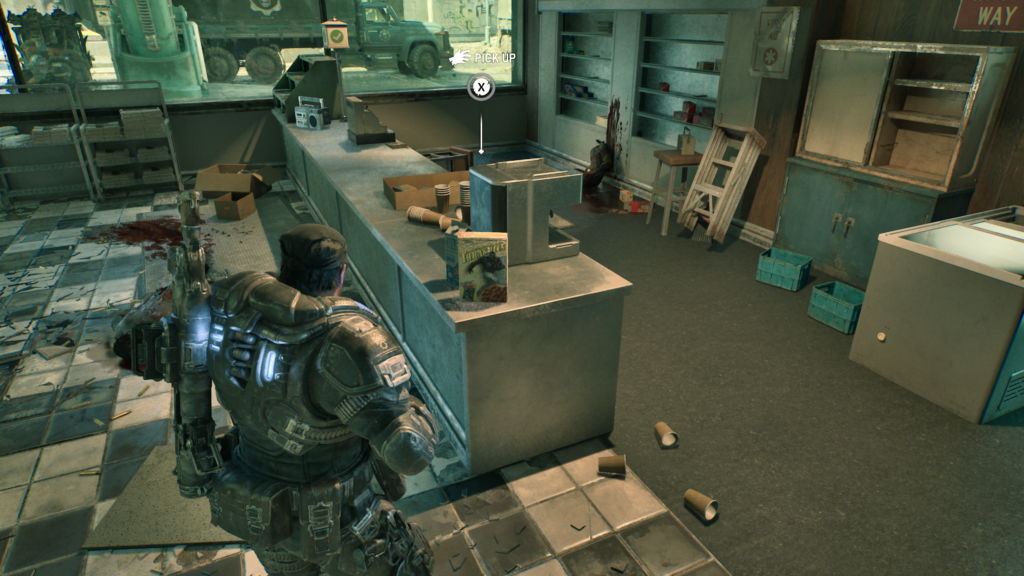
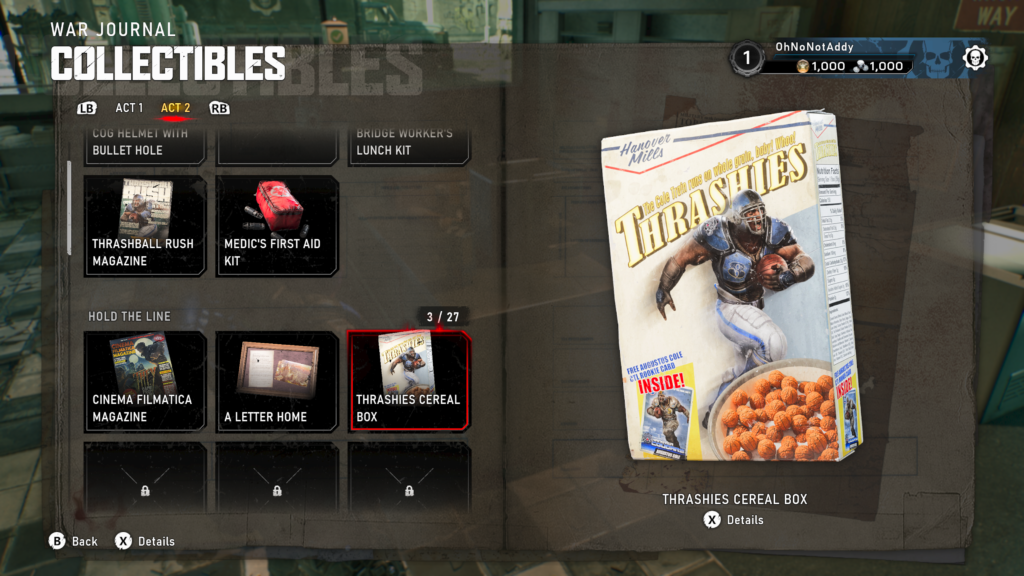
Collectible – Thrashies Cereal Box (3 / 3)
Look out for the fuel station. Head into the store, and on the counter is the collectible.
Act 2, Chapter 2 – Hold the Line (Part 2)
- 18 Collectibles
- 18 Hard Case
- 3 Secondary Objectives
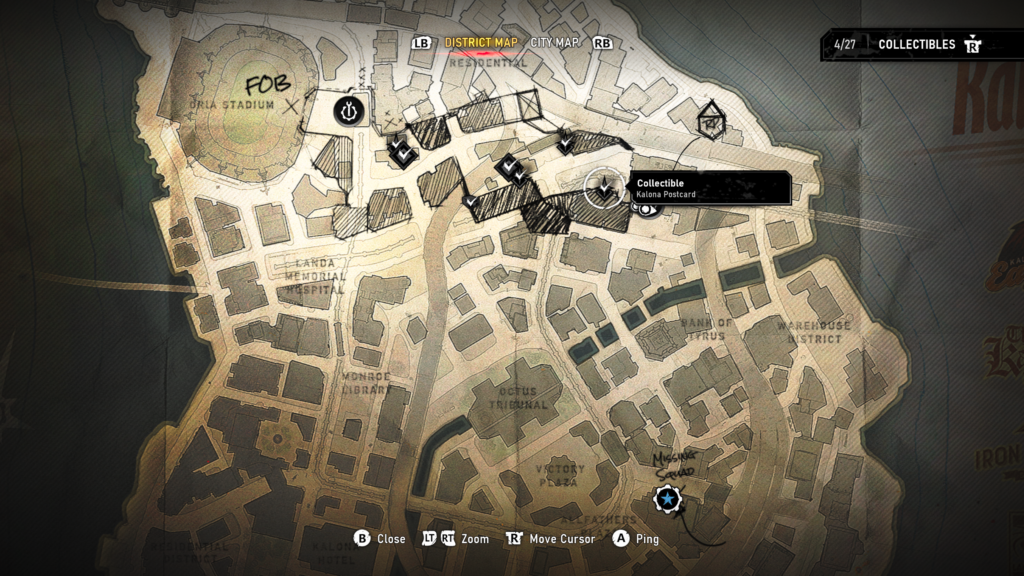
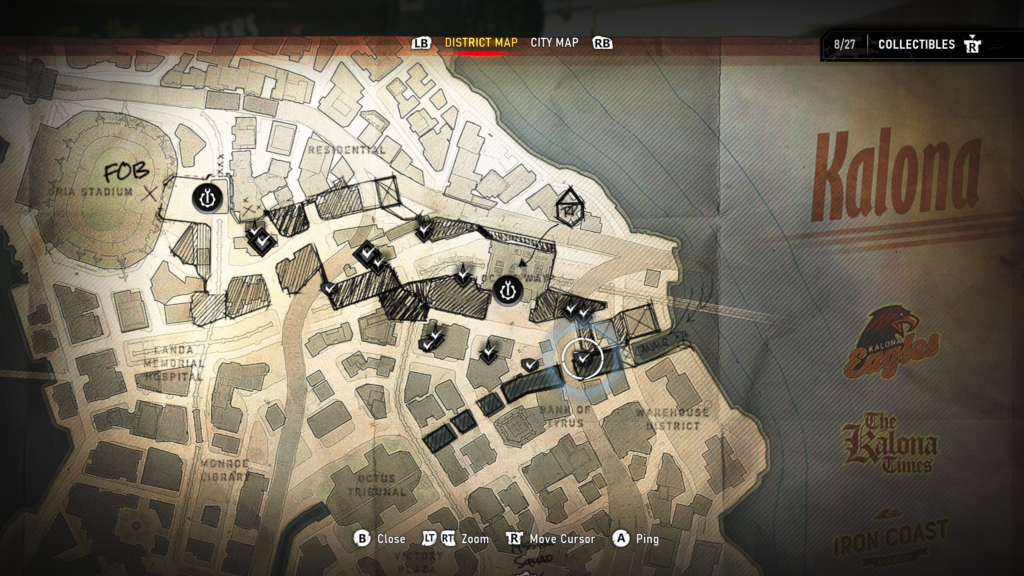
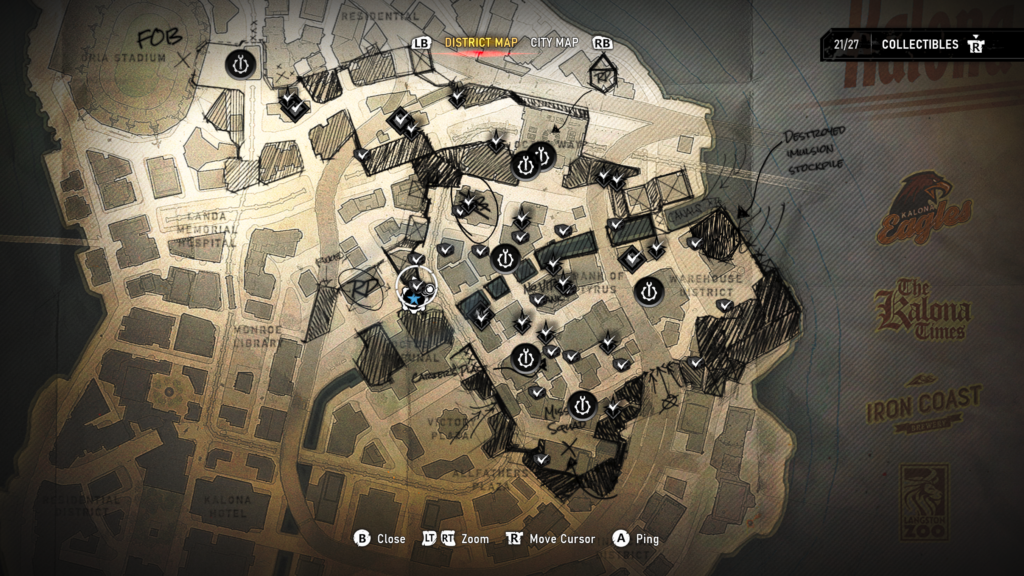
You will have access to a map in this chapter. I have included the map location for each object where possible. I have listed these collectibles in the order that I found them, this is not necessarily the most efficient / correct order. The collectibles will also appear in your log not in order.
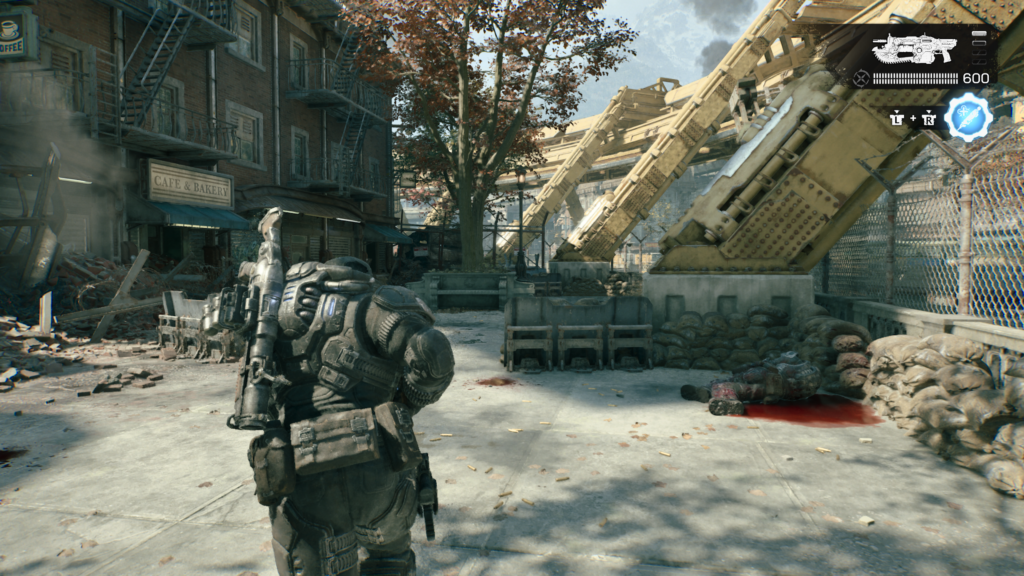
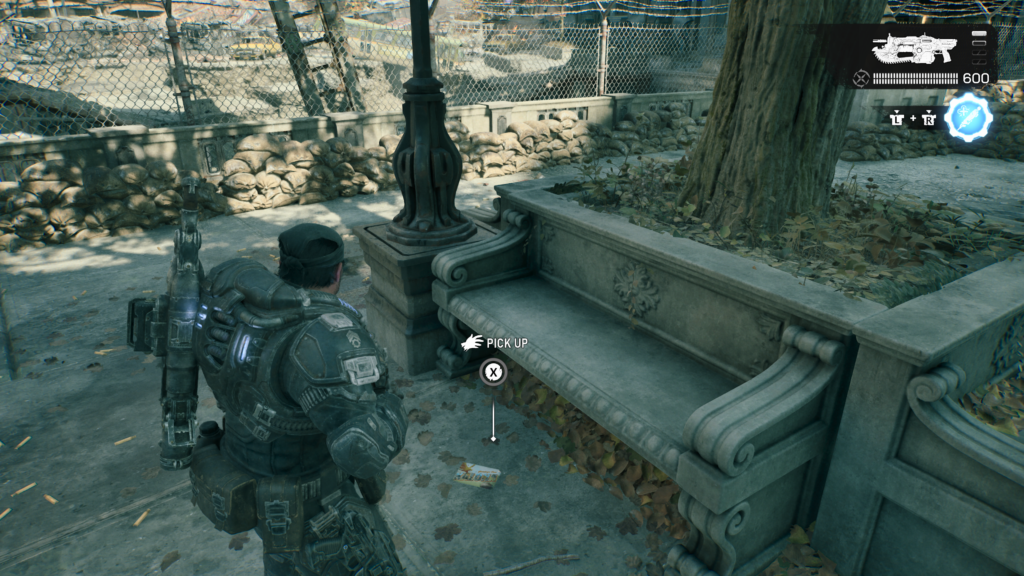
Collectible – Kalona Postcard (1 / 18)
At the start of Part 2 (the game will indicate this on screen. Head to the right when you leave the station and down an alley to find the collectible in front of a stone bench.
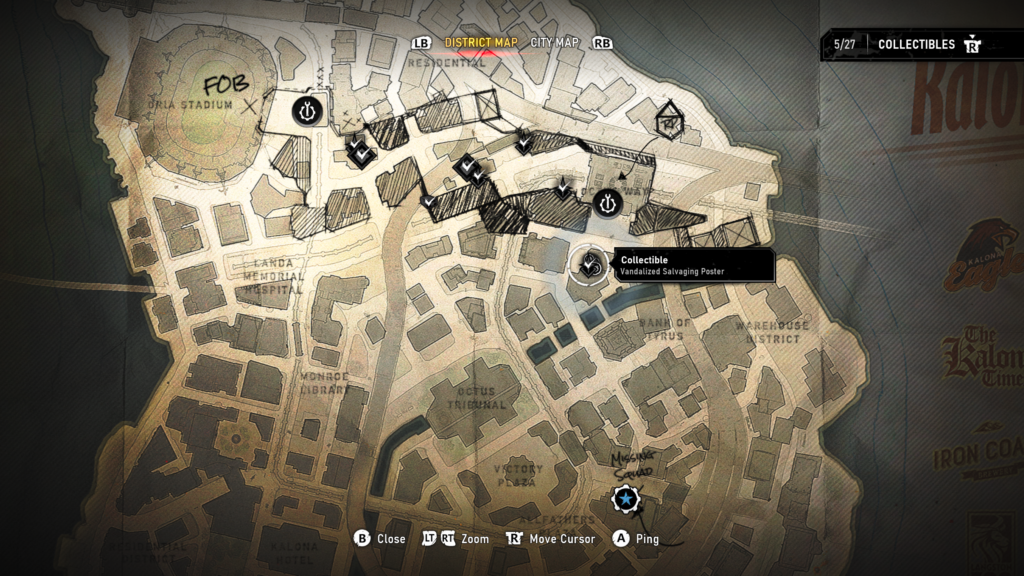
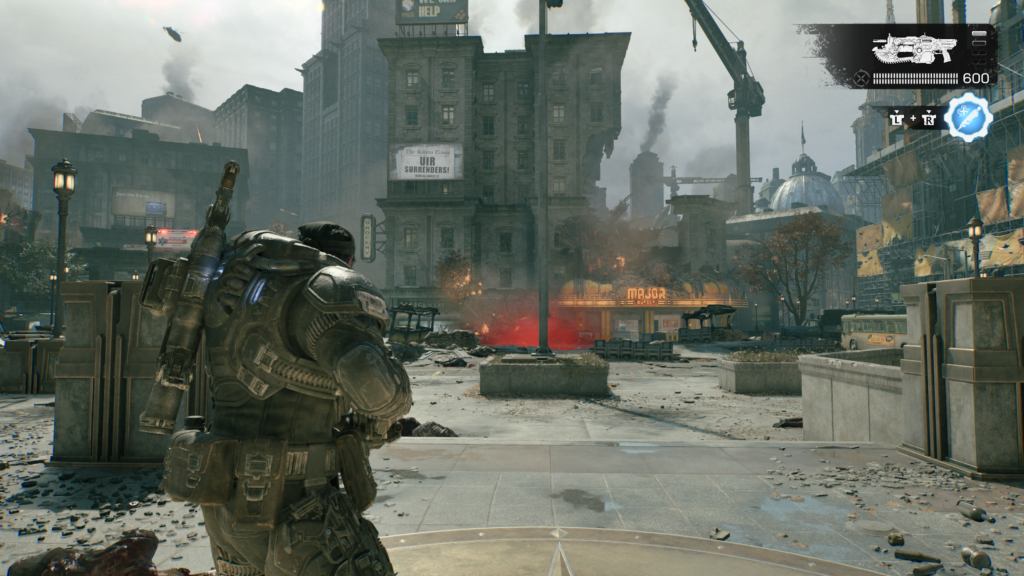
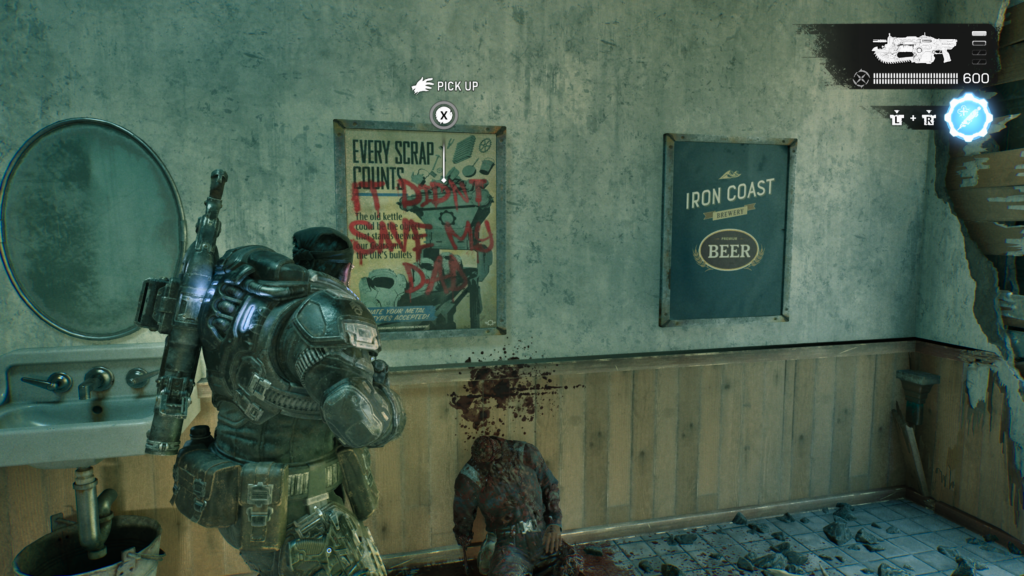
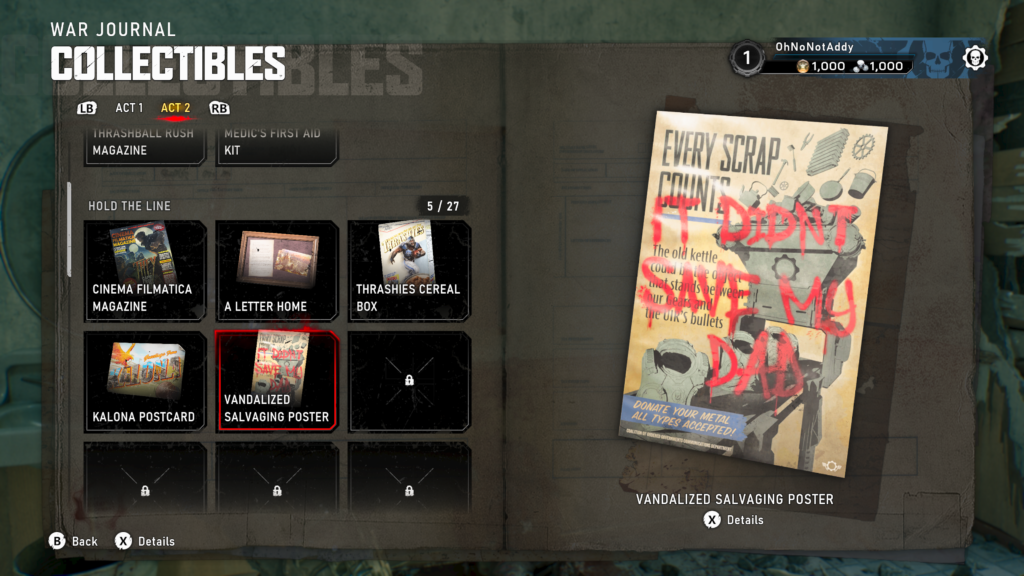
Collectible – Vandalized Salvaging Poster (2 / 18)
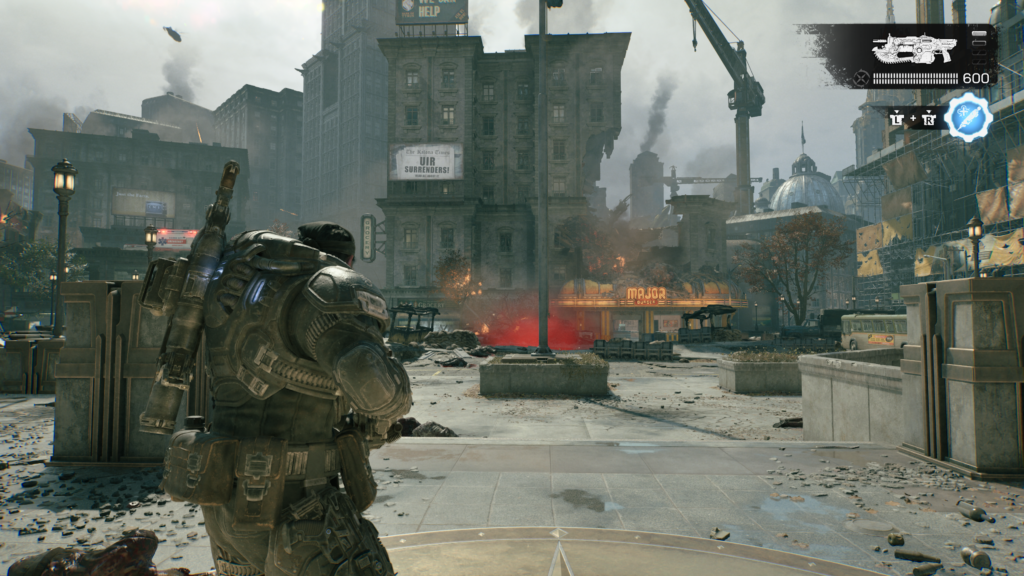
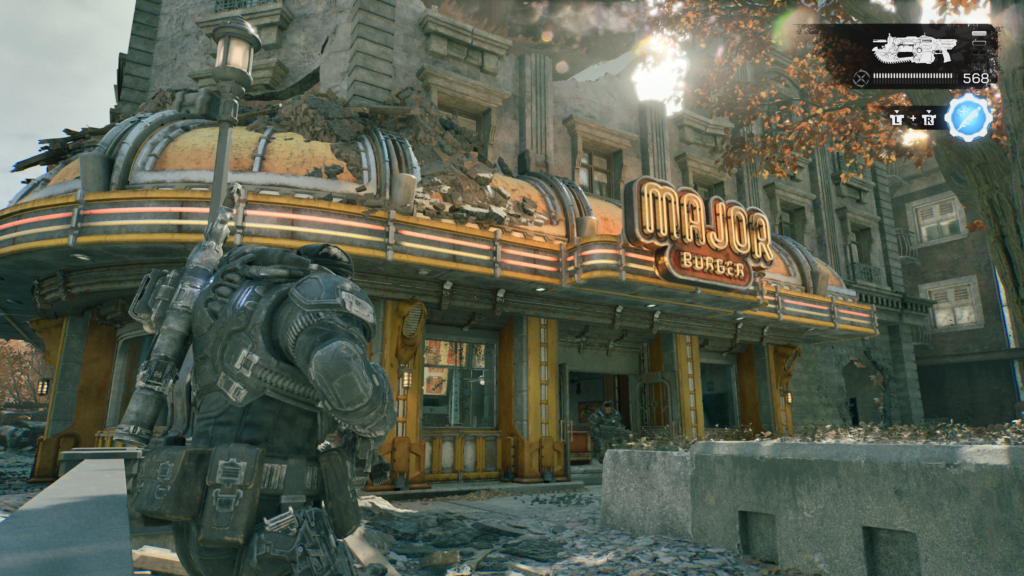
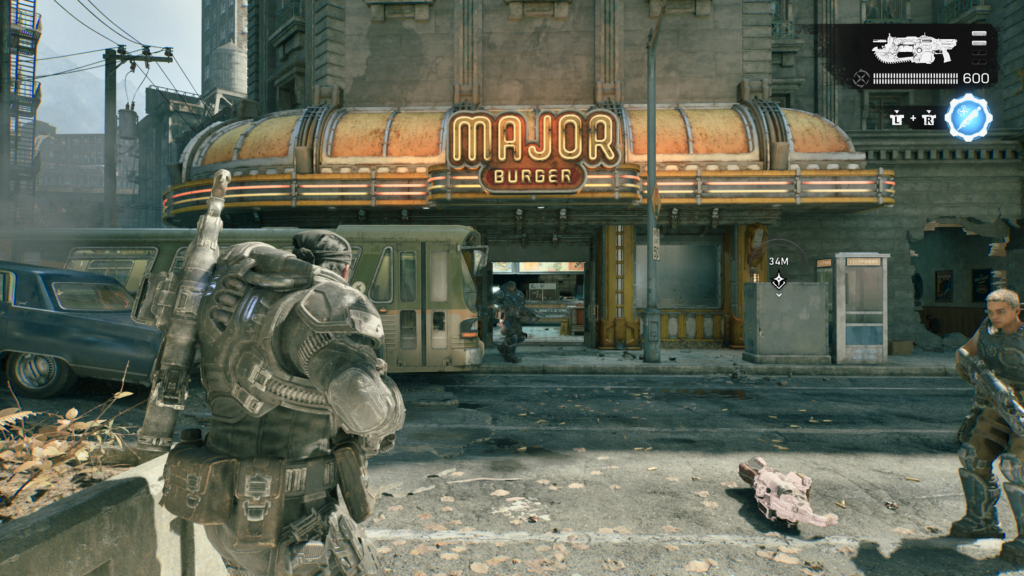
Across from the entrance to the area (start of Part 2) head into the Major Burger restaurant in front you. On the back wall is the collectible.
Hard Case (1 / 18)
On the first floor of the construction site
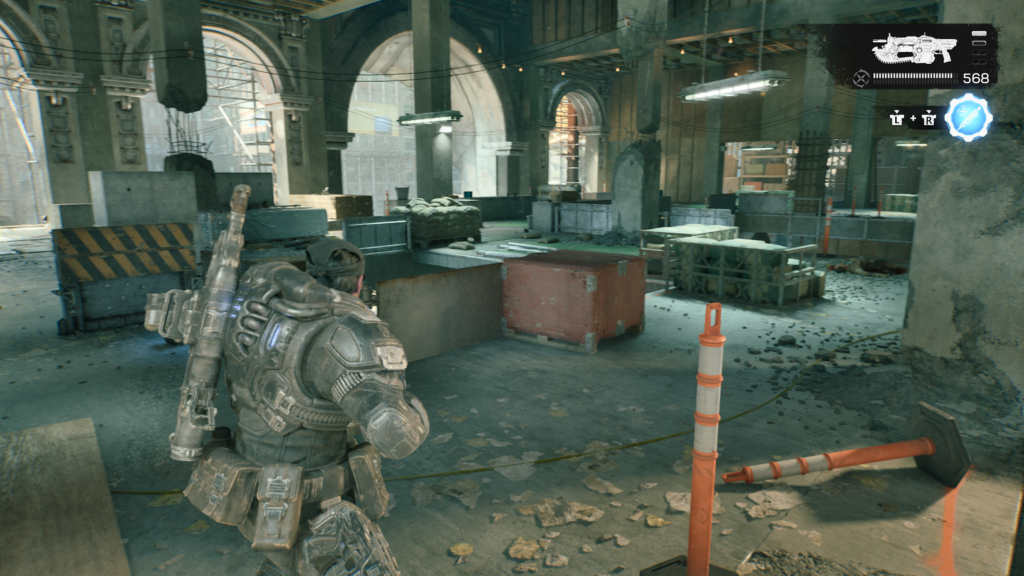
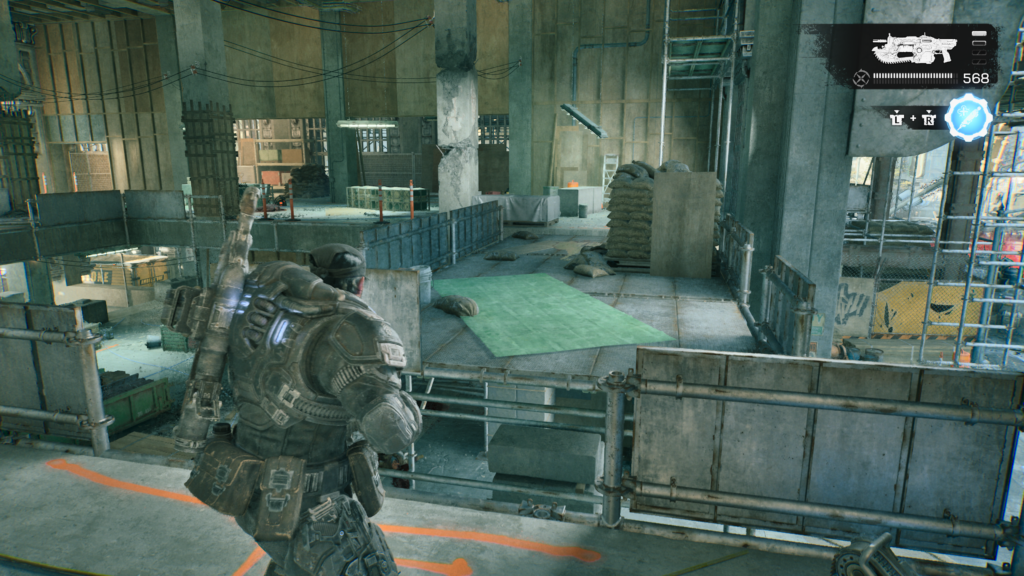
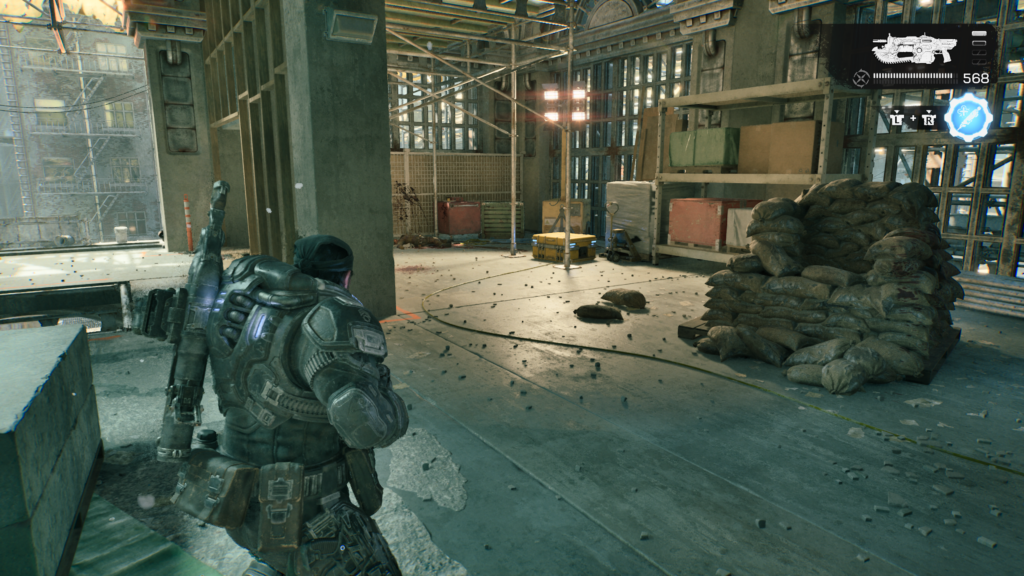
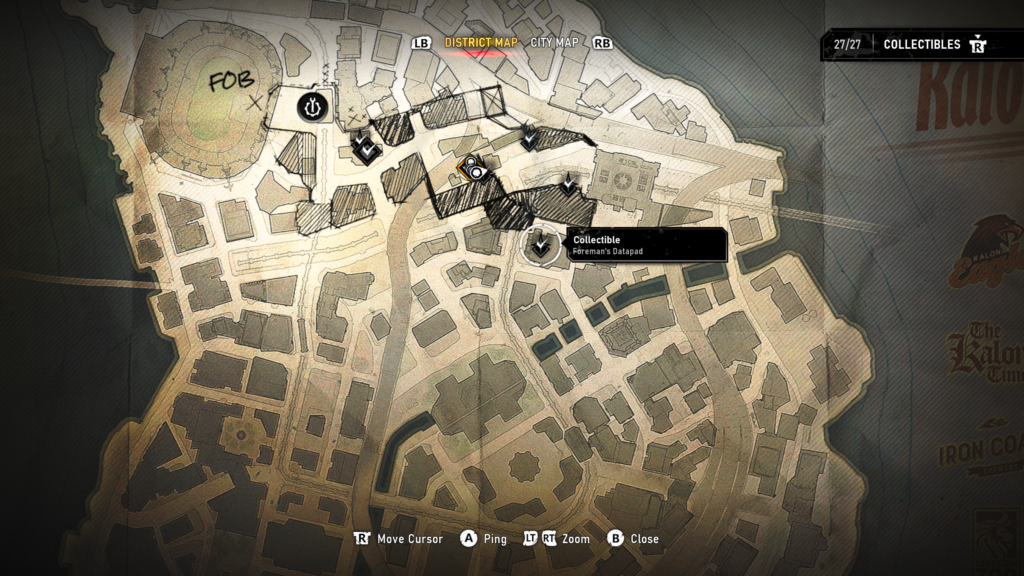
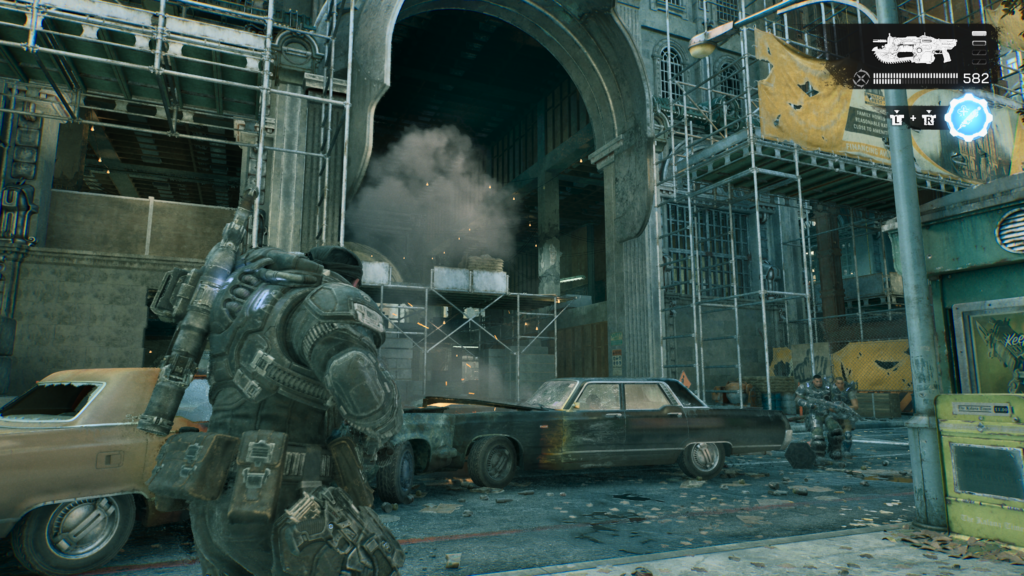
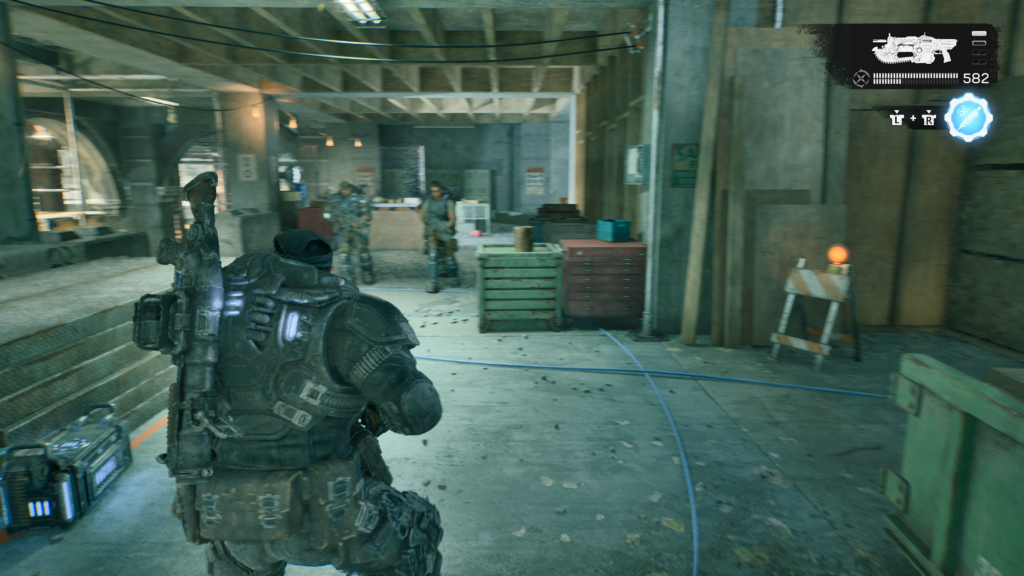
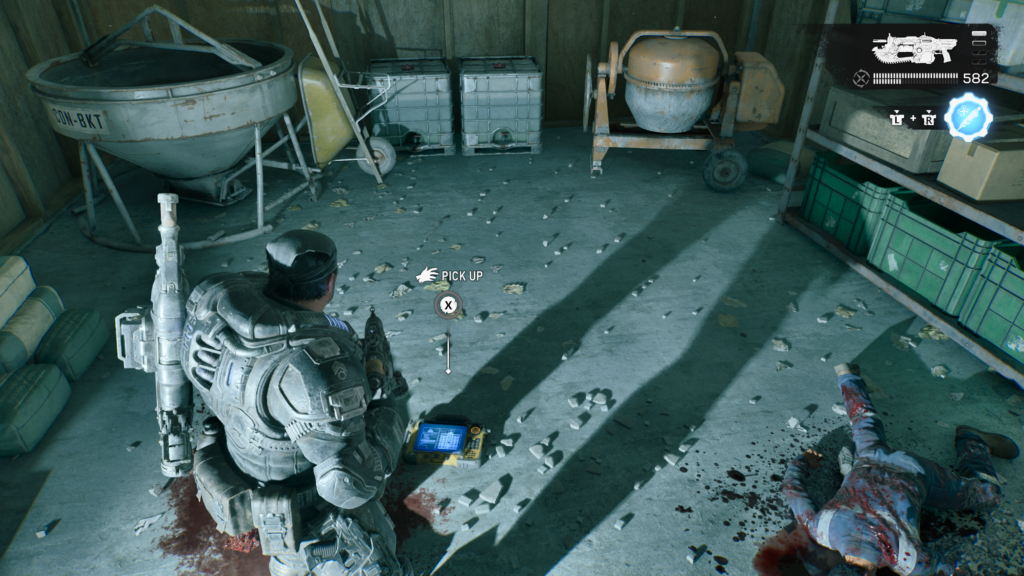
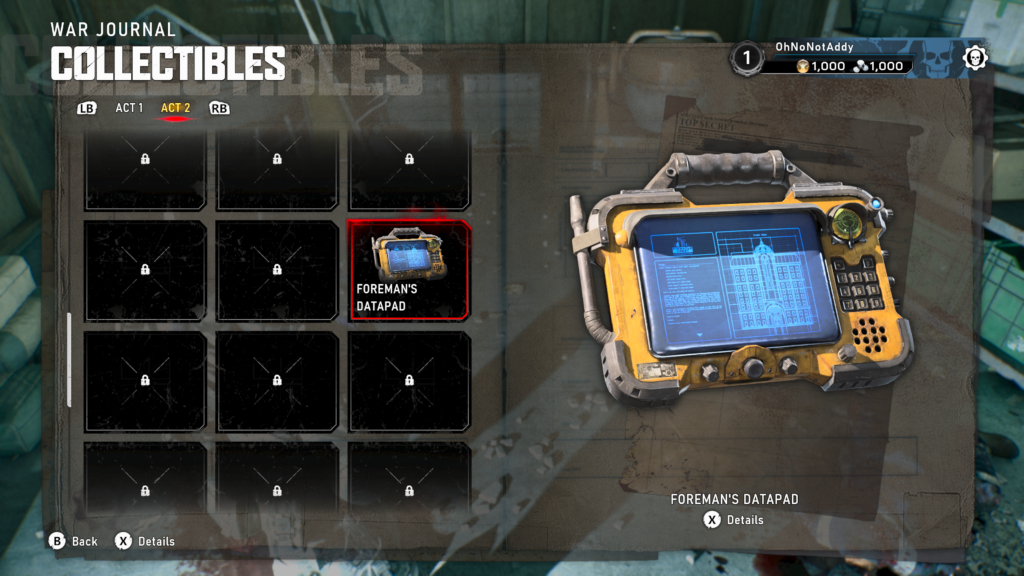
Collectible – Foreman’s Datapad (3 / 18)
On the ground floor of the construction site to the back right.
Hard Case (2 / 18)
Across the start of Part 2 is a car park to the left of the Major Burger restaurant. On the top floor is the hard case.
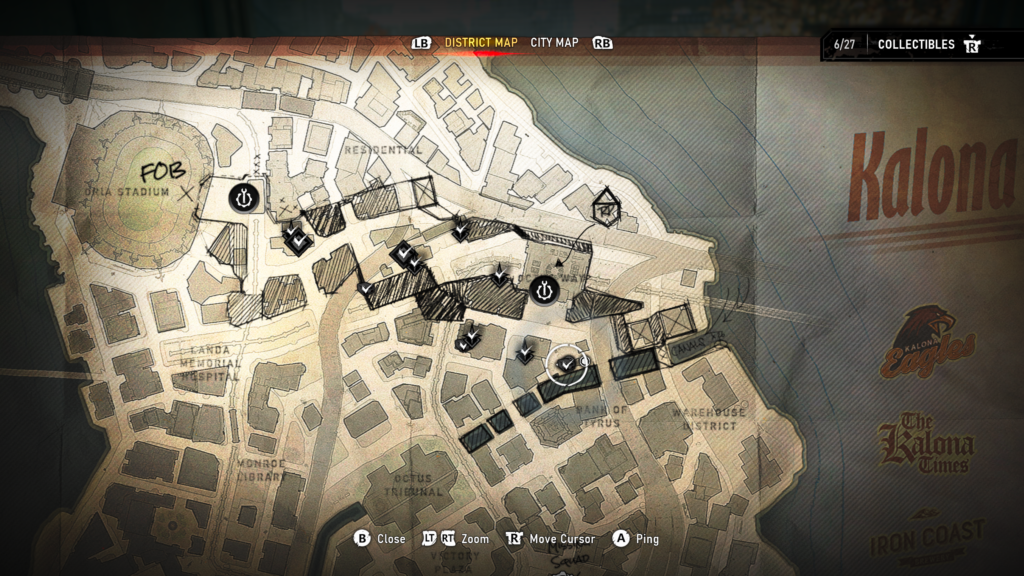
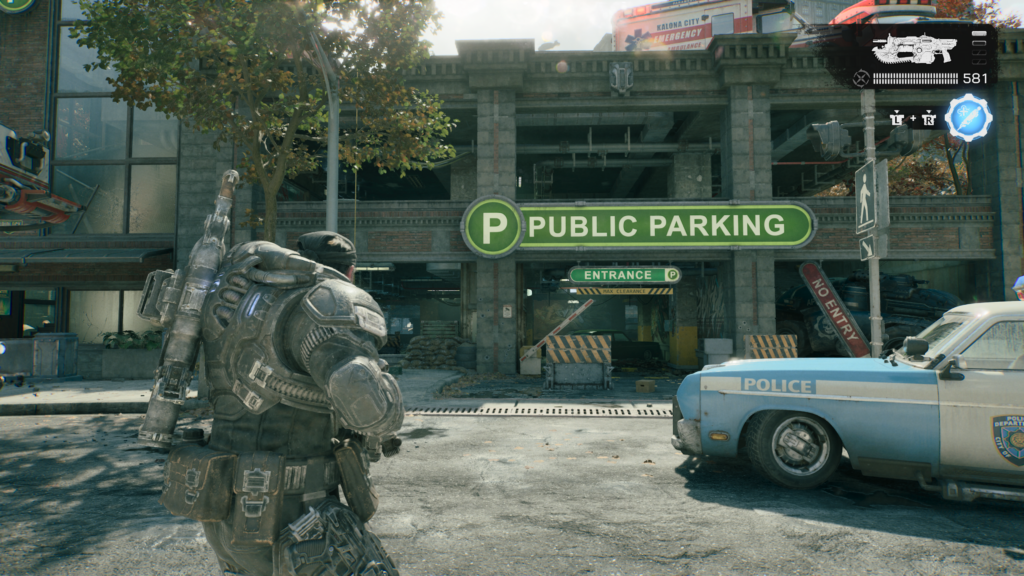
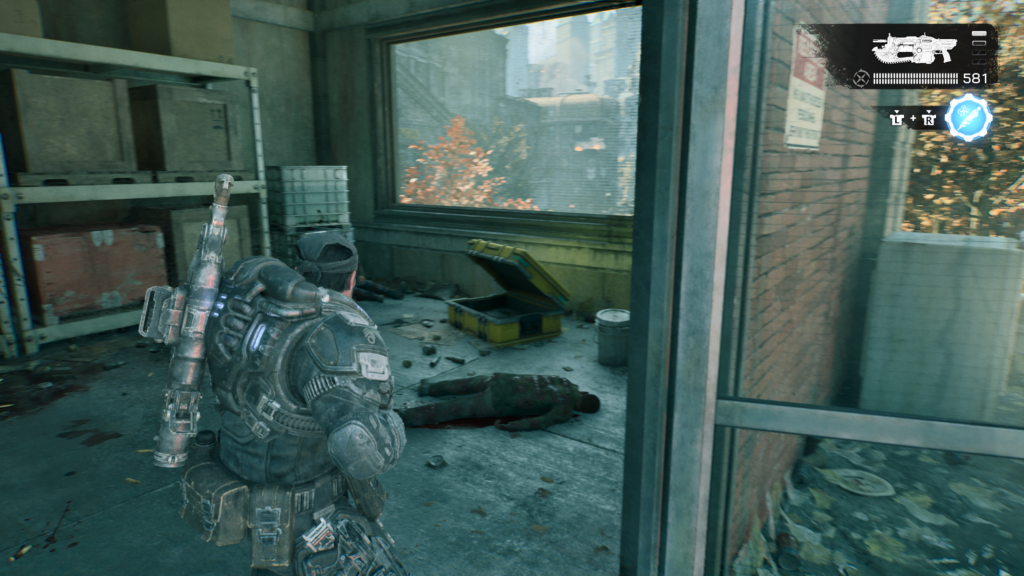
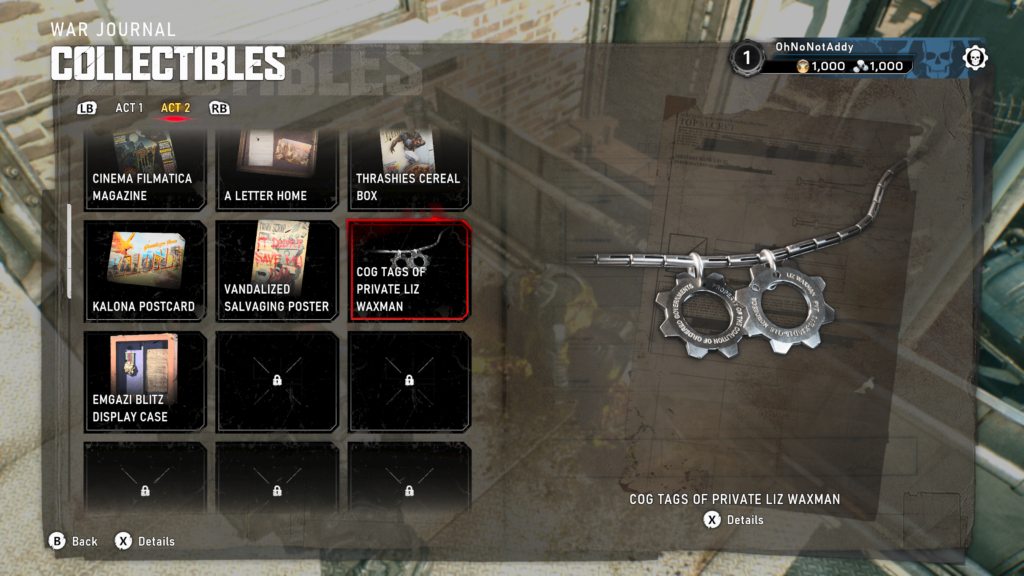
Collectible – COG Tags of Private Liz Waxman (4 / 18)
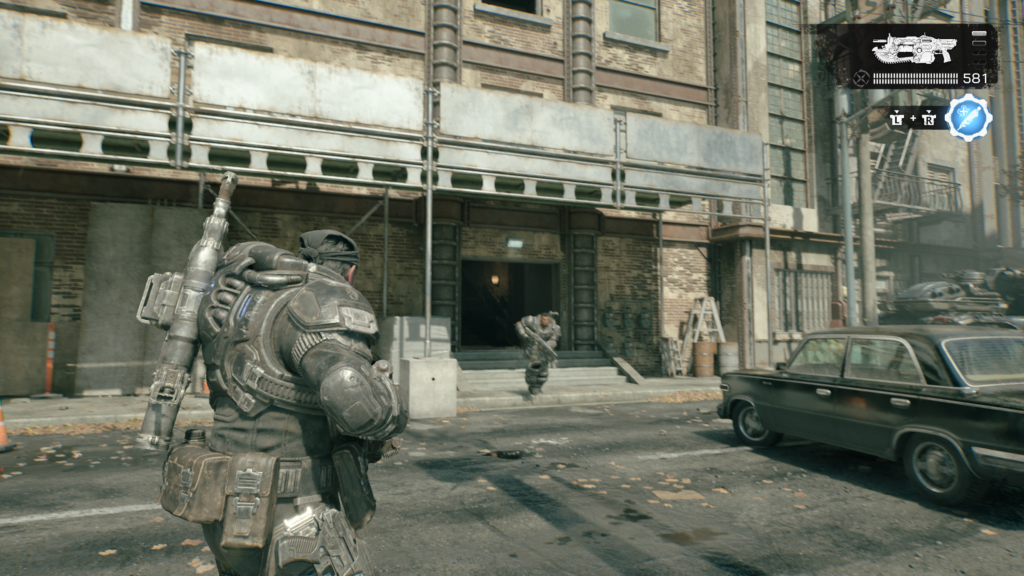
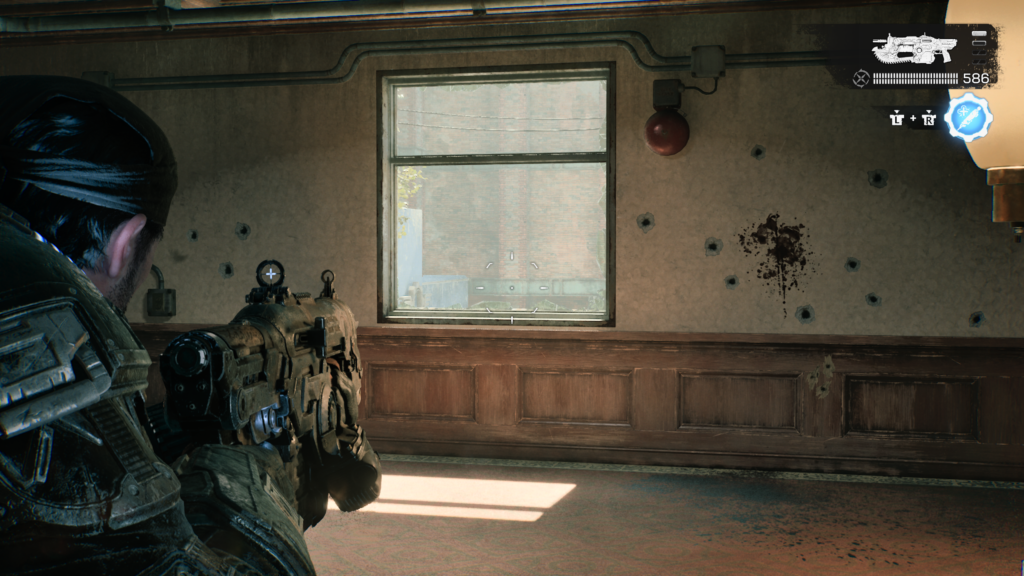
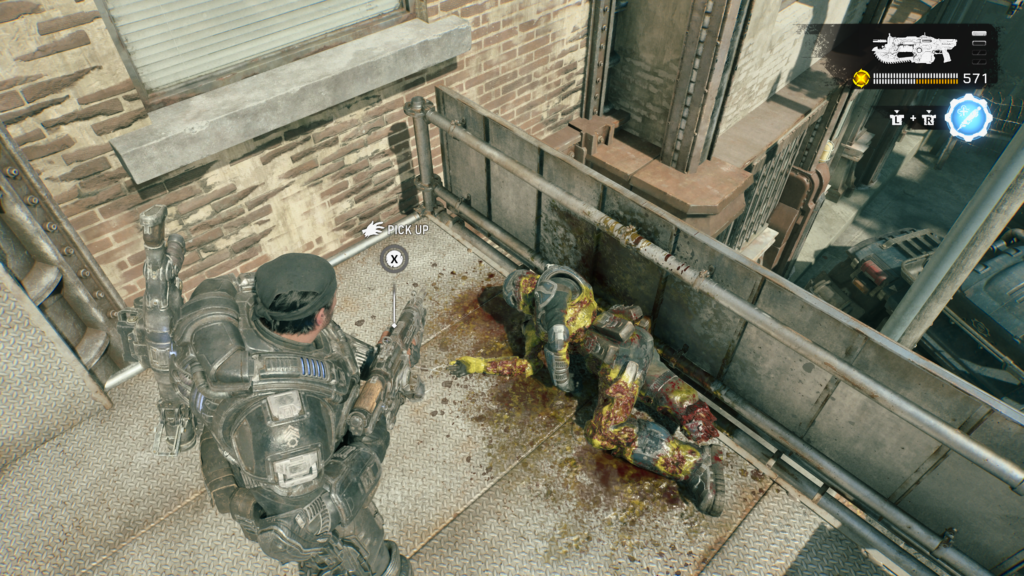
To the far left from the start of Part 2, in an apartment building. Head to the first floor, shoot the window out and jump through onto the scaffolding. The collectible is on the floor to the left.
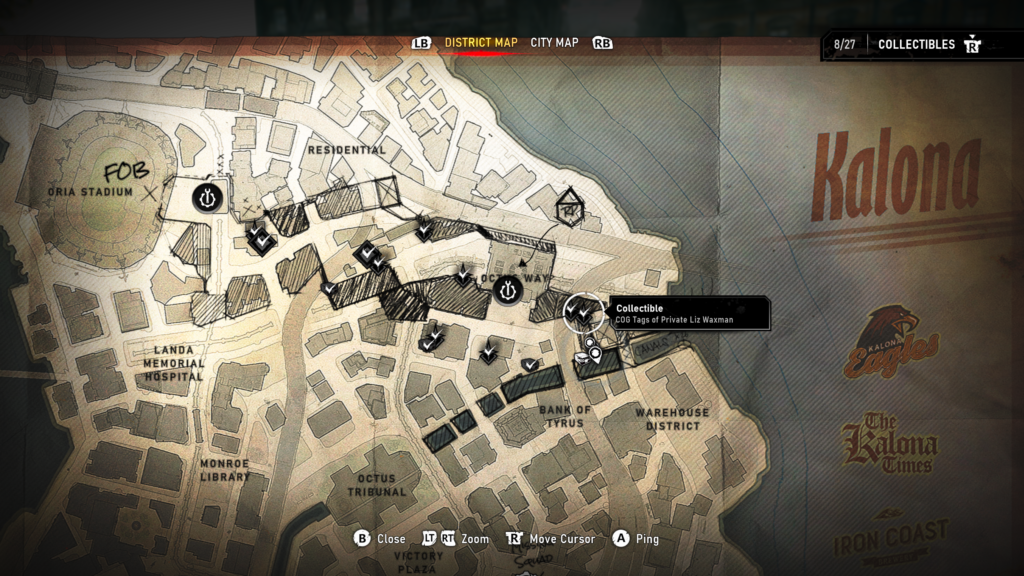
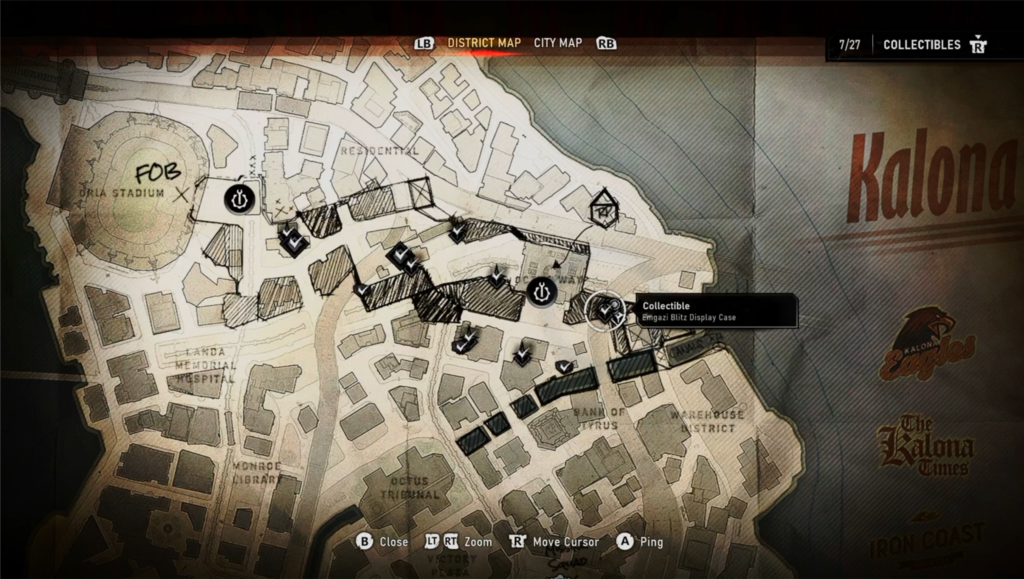
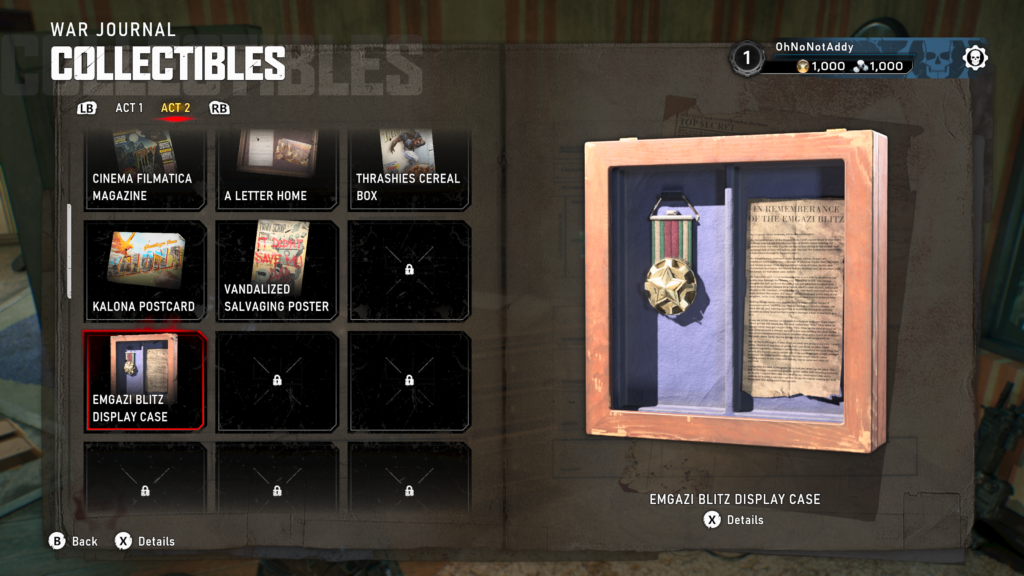
Collectible – Emgazi Blitz Display Case (5 / 18)
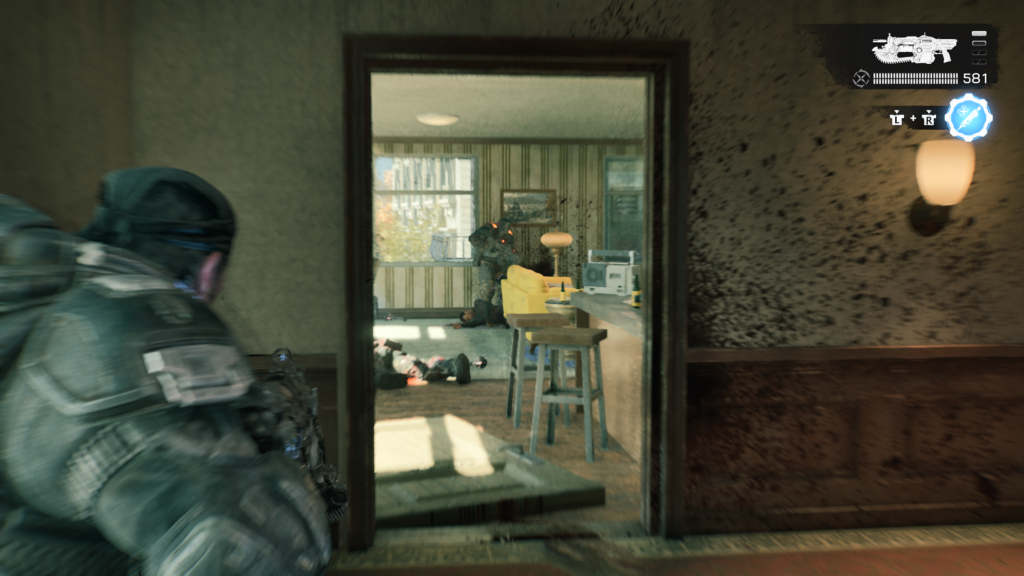
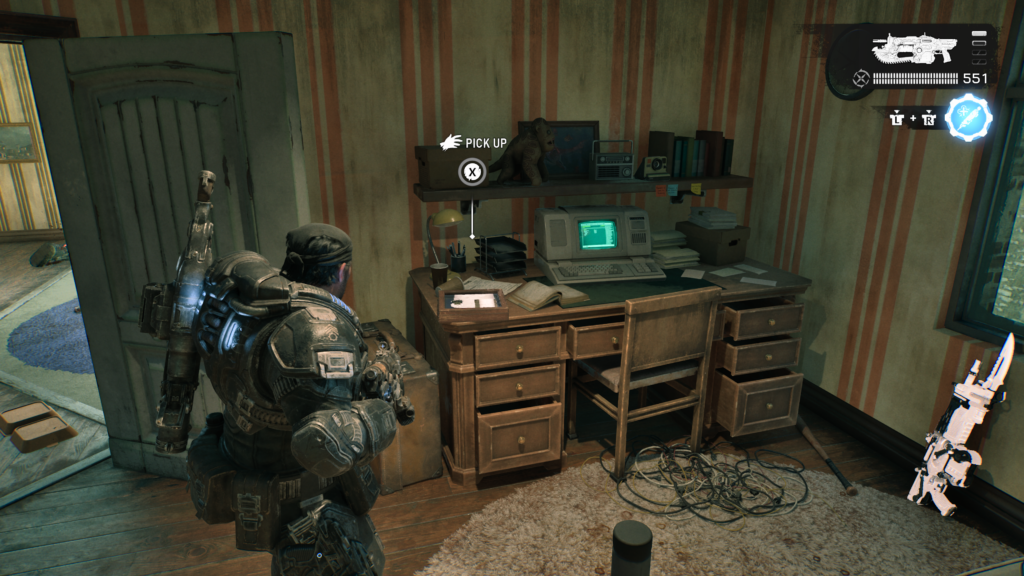
In the same apartment building, go up to the upmost floor and take out the Locust in there. The collectible is in the bedroom.
Hard Case (3 / 18)
Near a bridge, take a left before crossing and down some steps to find the hard case at the end of a path.
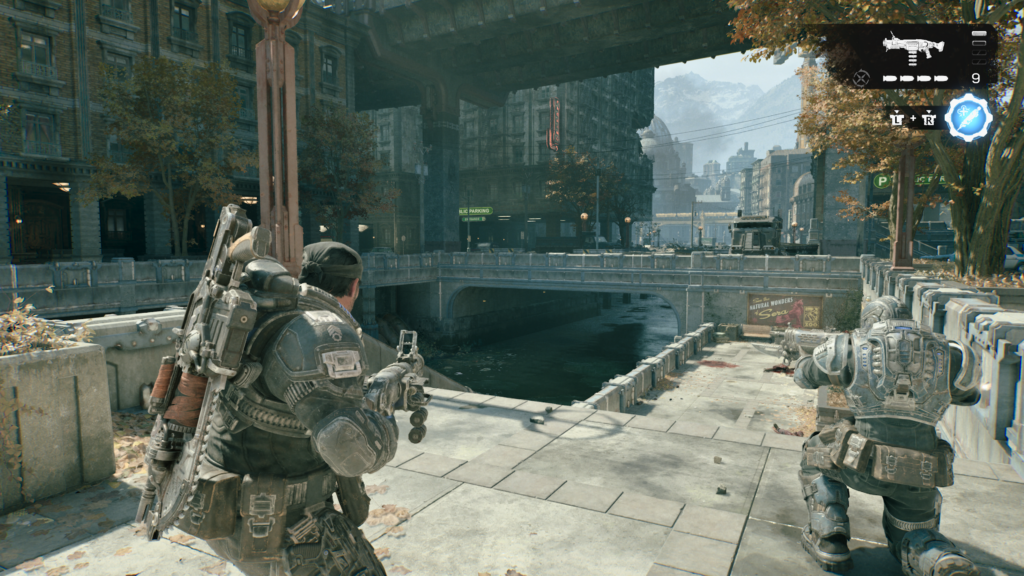
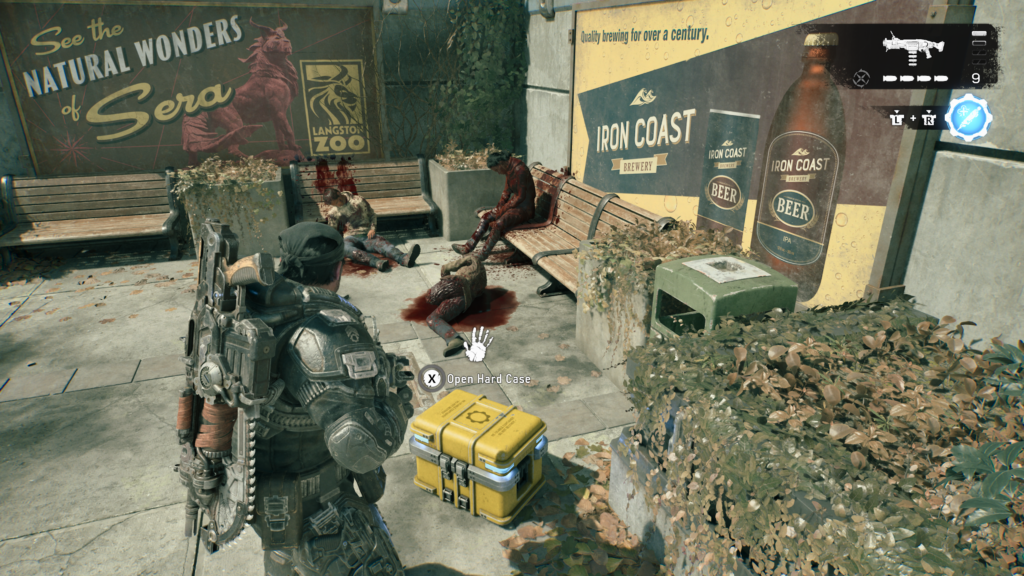
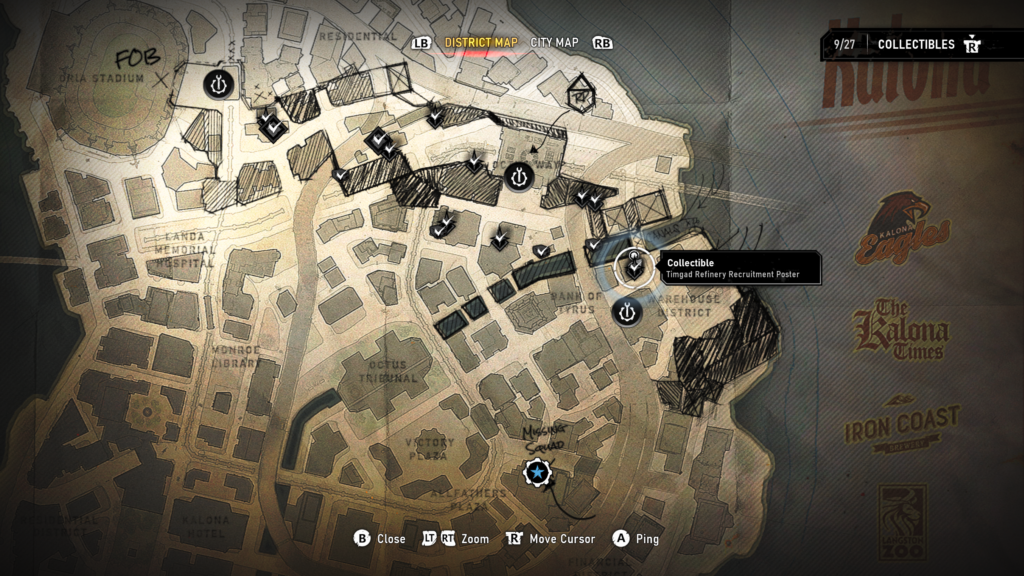
Collectible – Timgad Refinery Recruitment Poster (6 / 18)
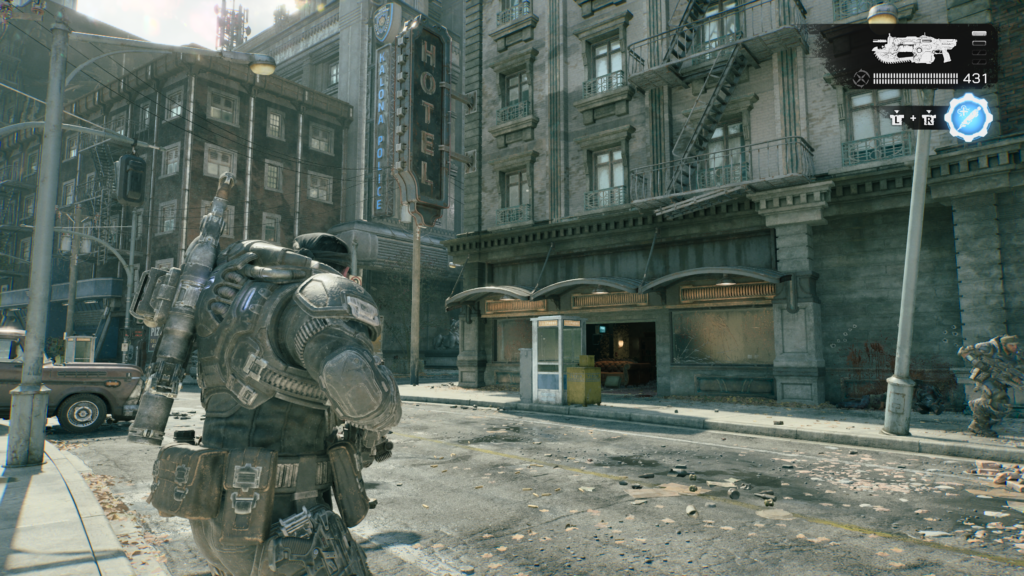
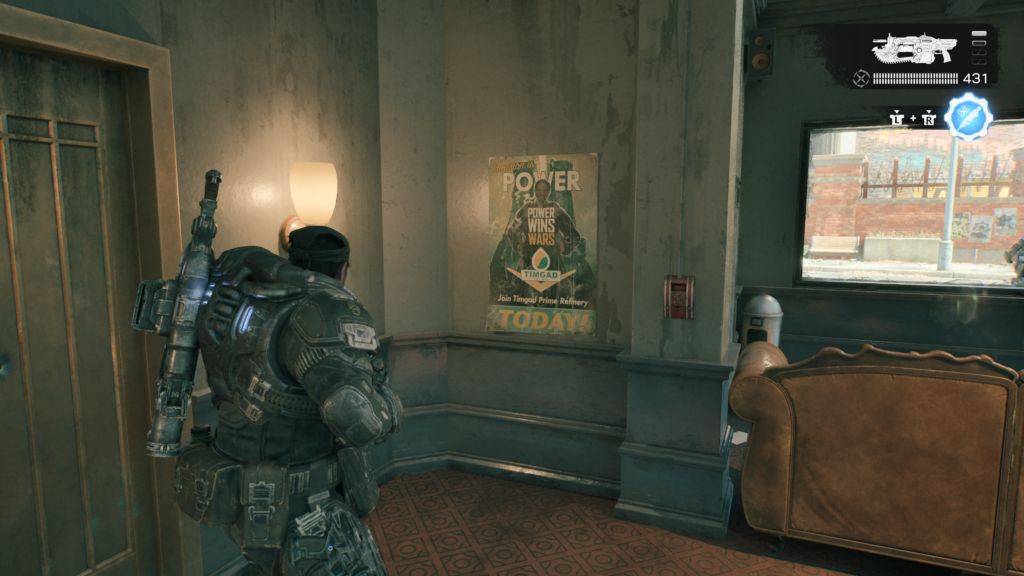
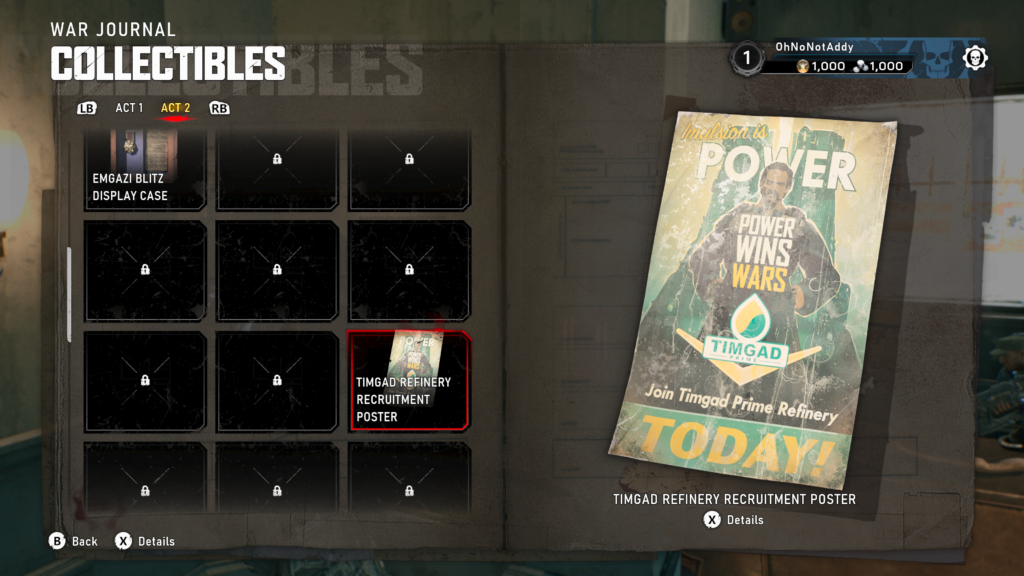
Cross to the other side of the river now where you will see a sign for a hotel. Head inside the hotel and on a wall in the back right hand corner will be a poster to collect.
Collectible – Re: Vibration Complaints (7 / 18)
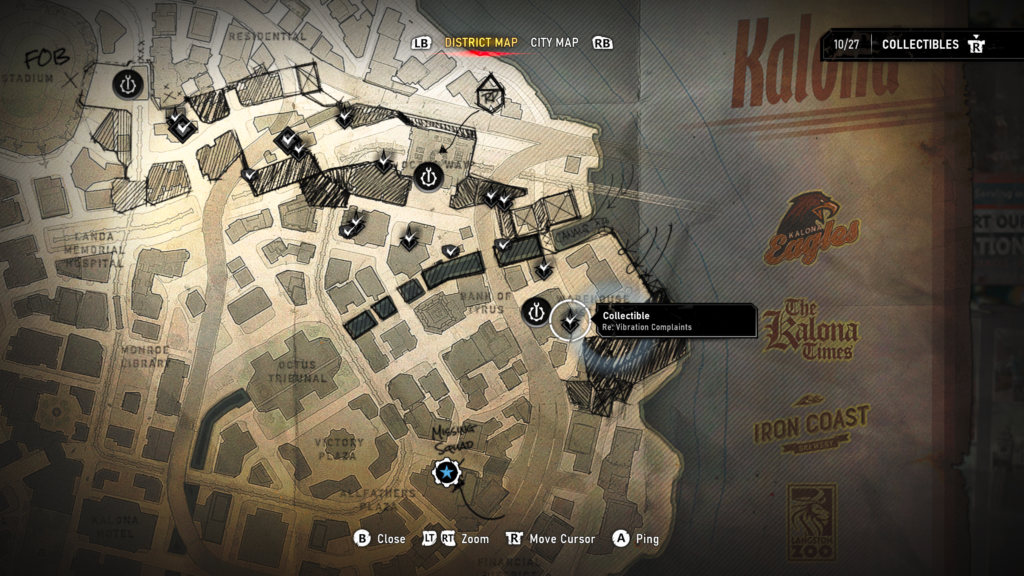
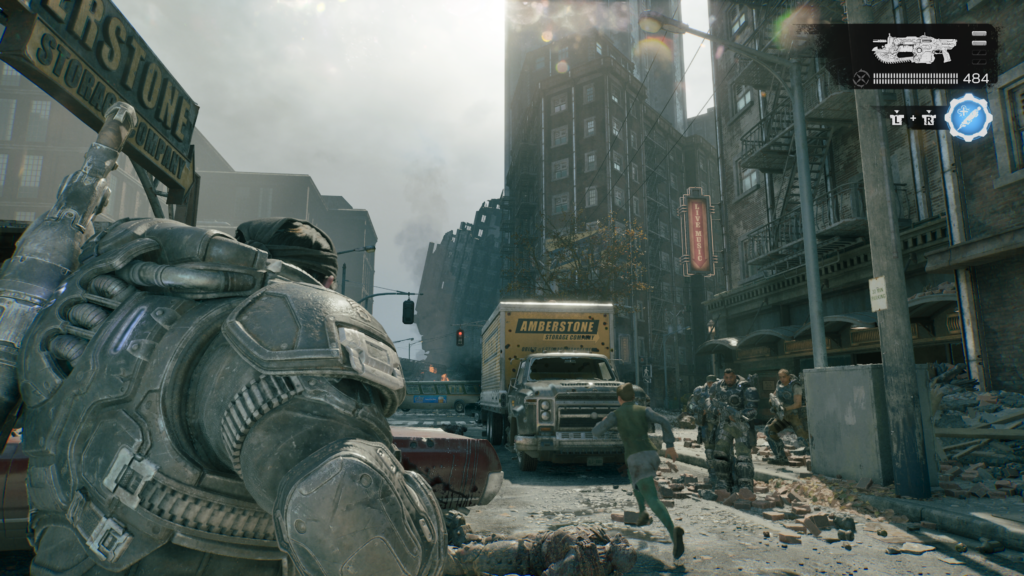
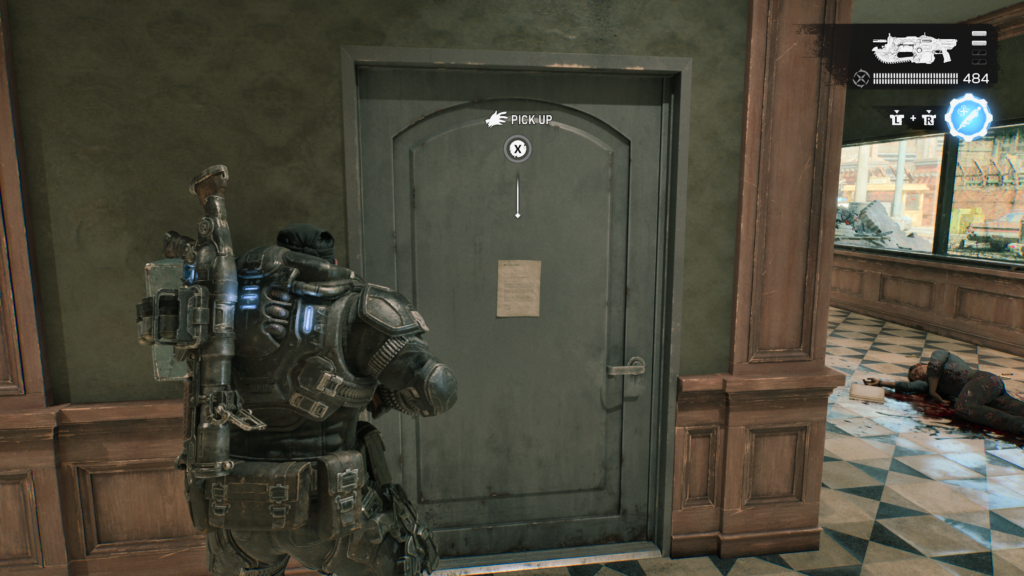
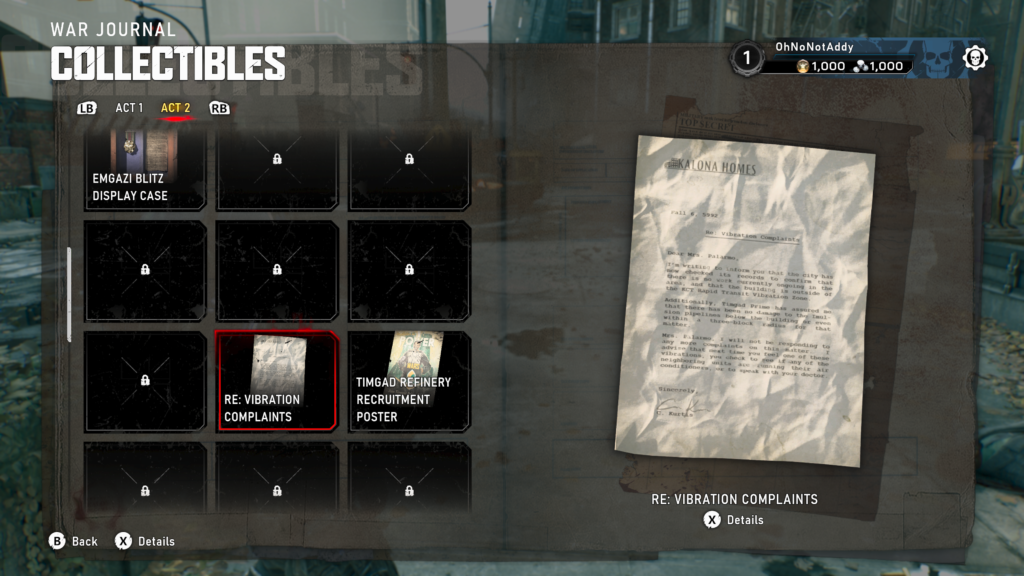
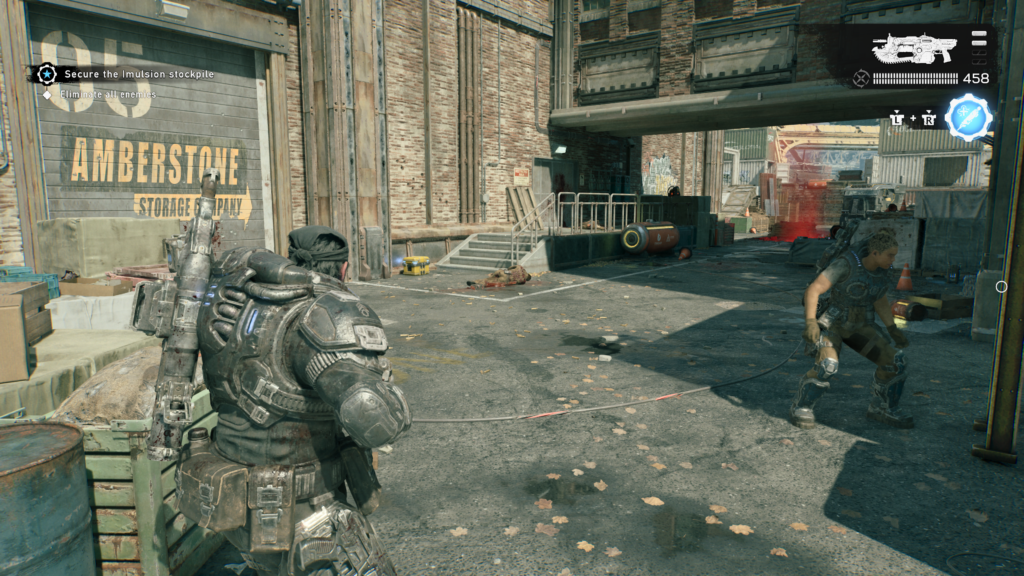
With the large Amberstone Storage facility on your left, look in the apartment building on your right. A Locust soldier will be coming out. On the a door inside is the collectible.
Hard Case (4 / 18)
At the bottom right of the map, down from the Amberstone storage facility, in a yard.
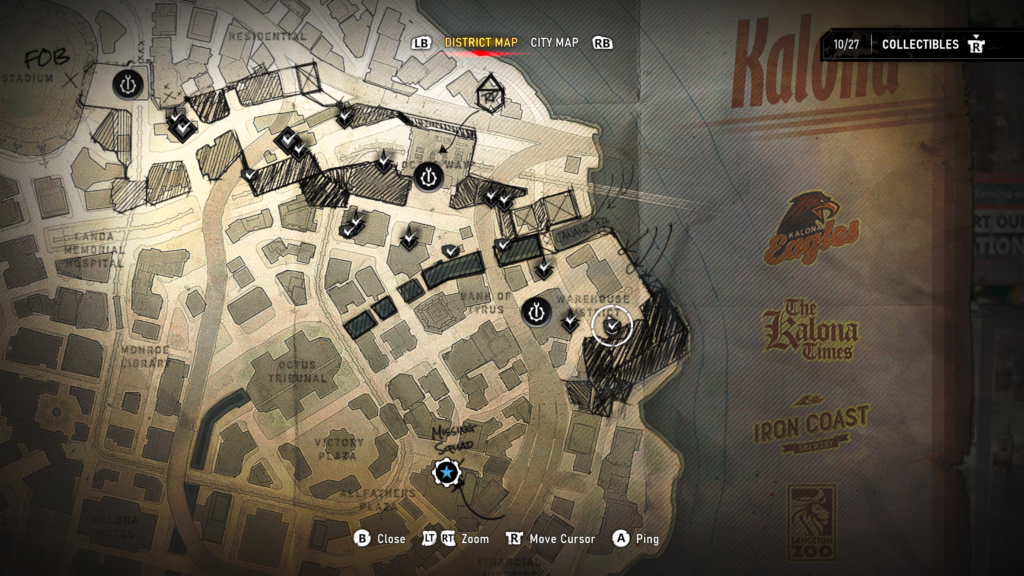
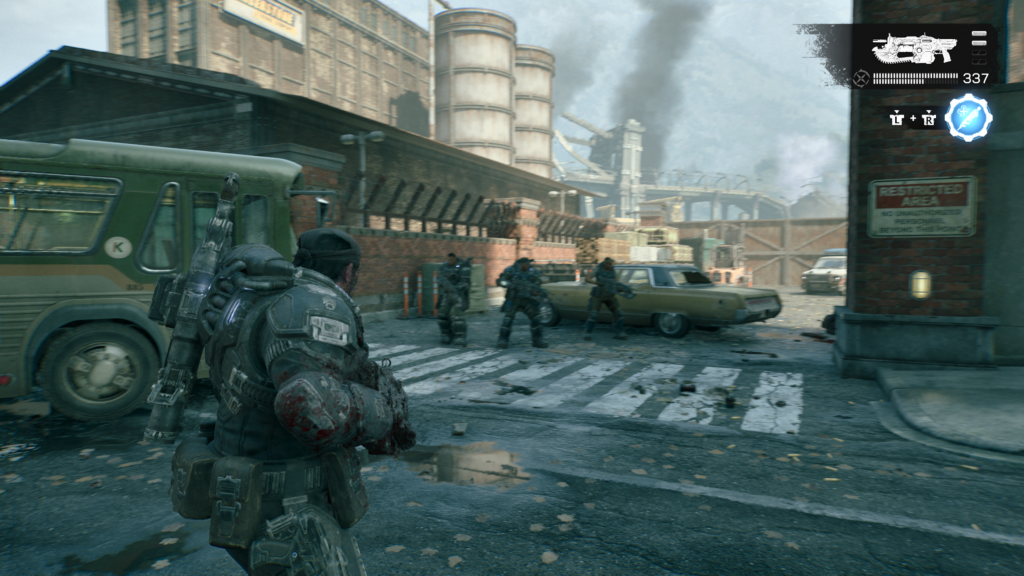
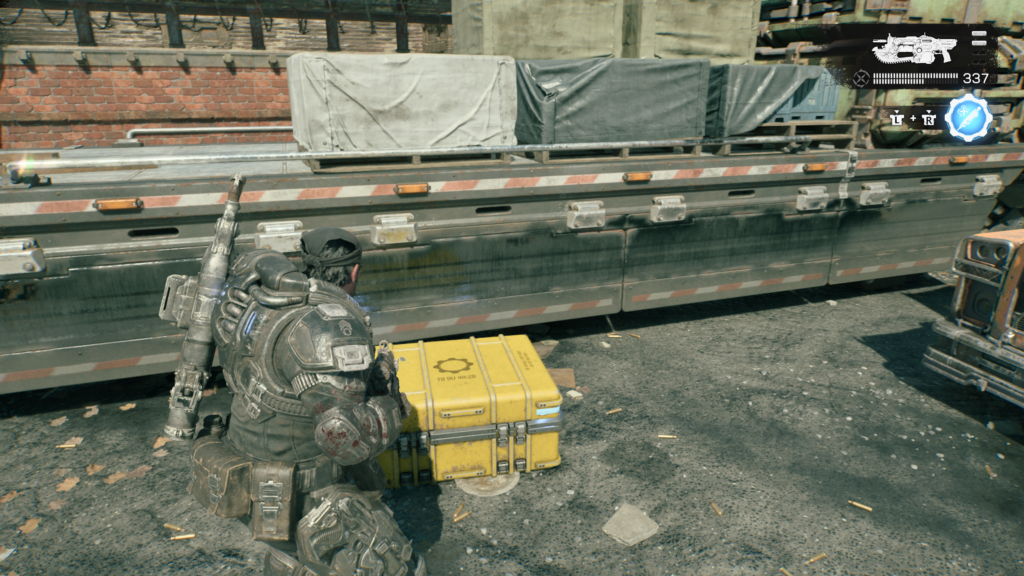
Hard Case (5 / 18)
Down an alley towards the bottom of the map.
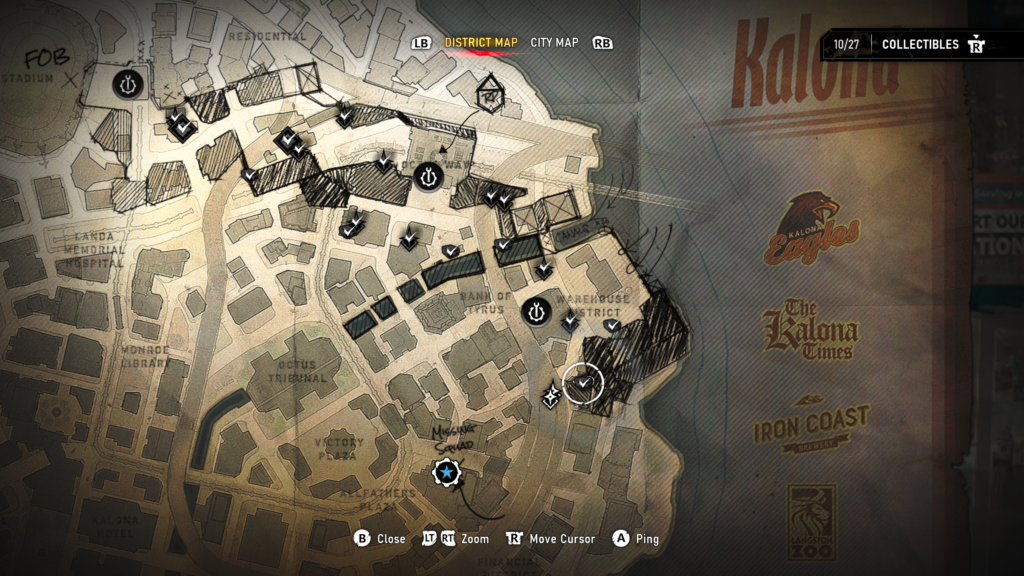
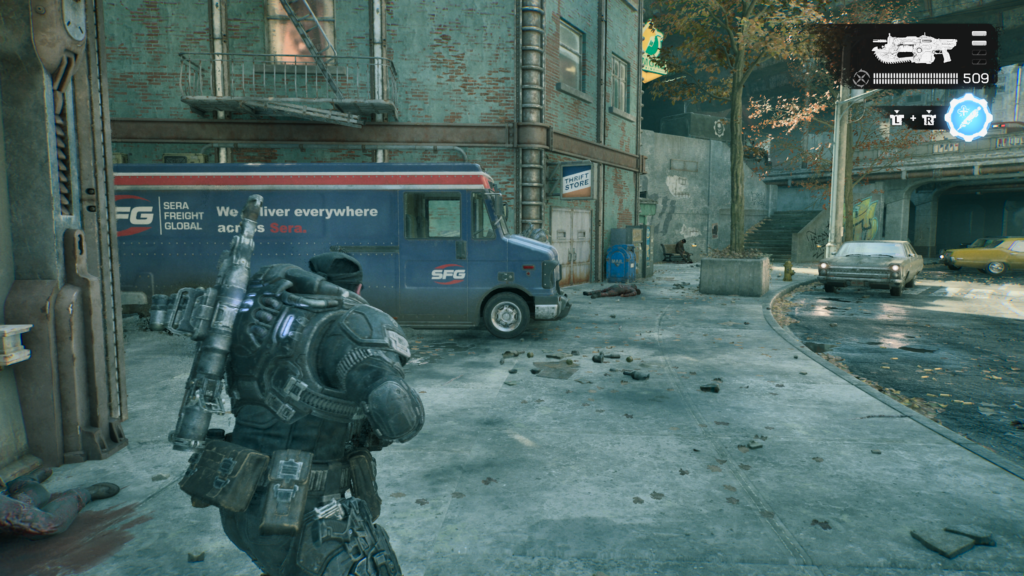
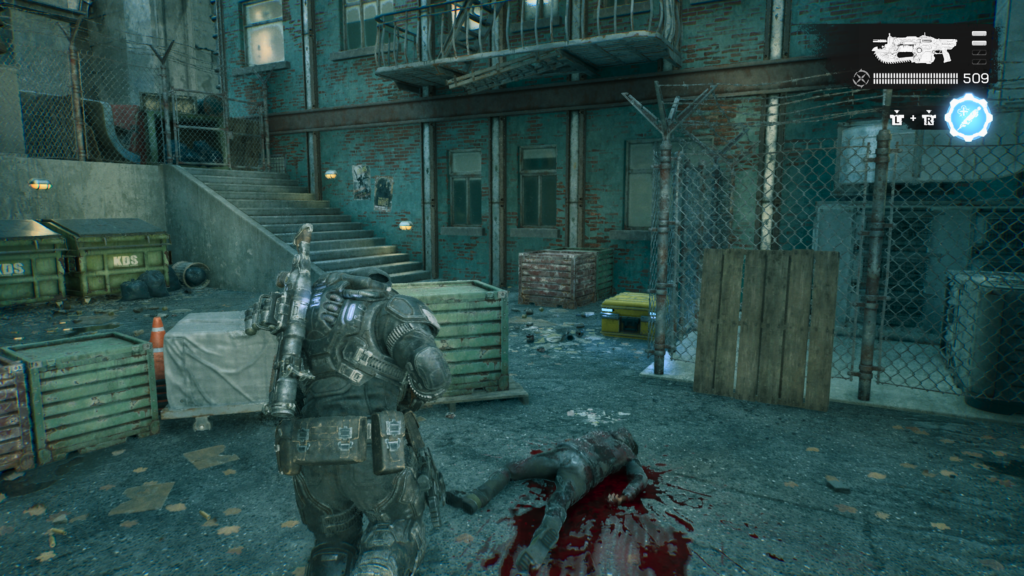
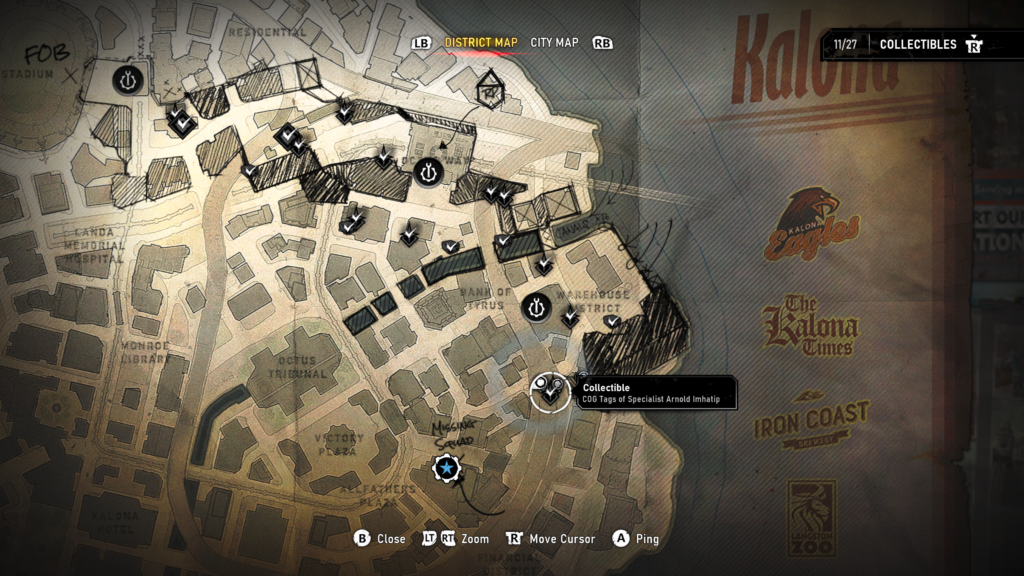
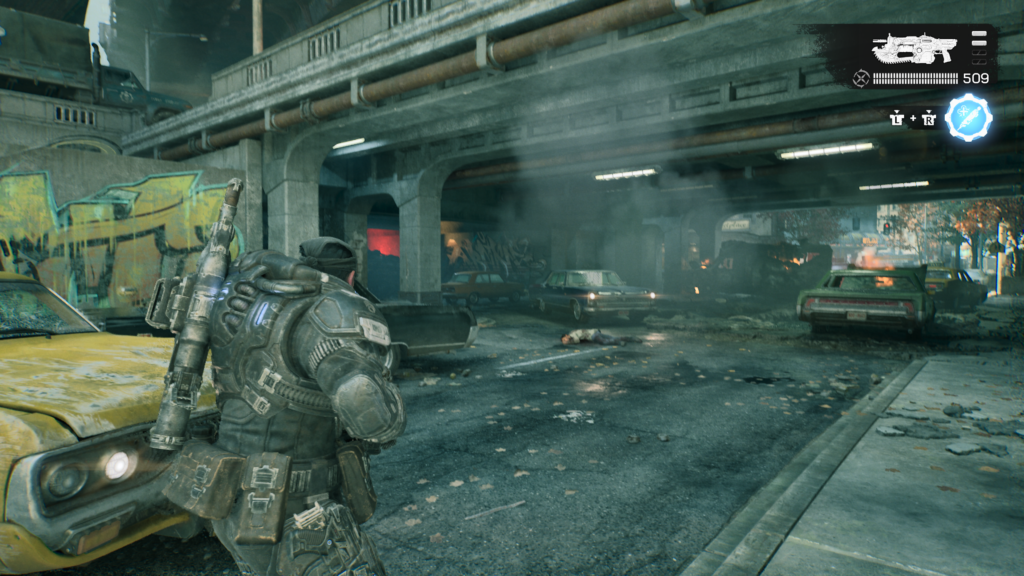
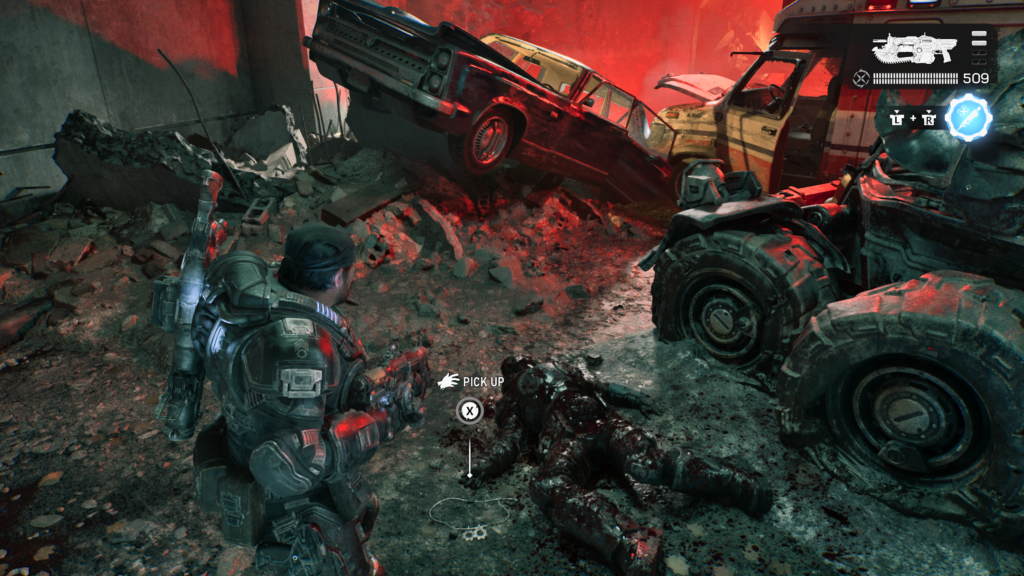
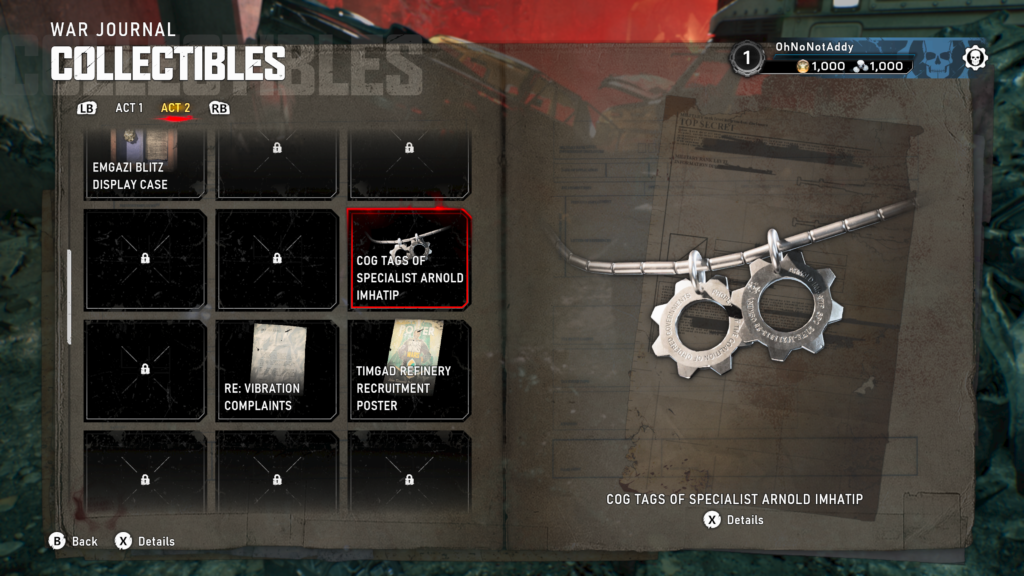
Collectible – COG Tags of Specialist Arnold Imhatip (8 / 18)
Under a bridge, amongst a a dead end and crashed cars.
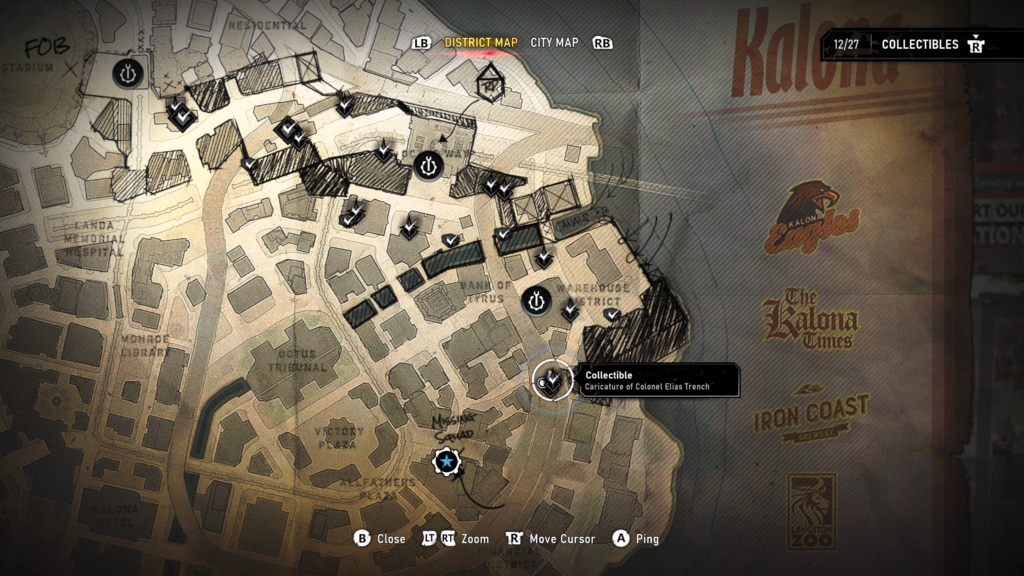
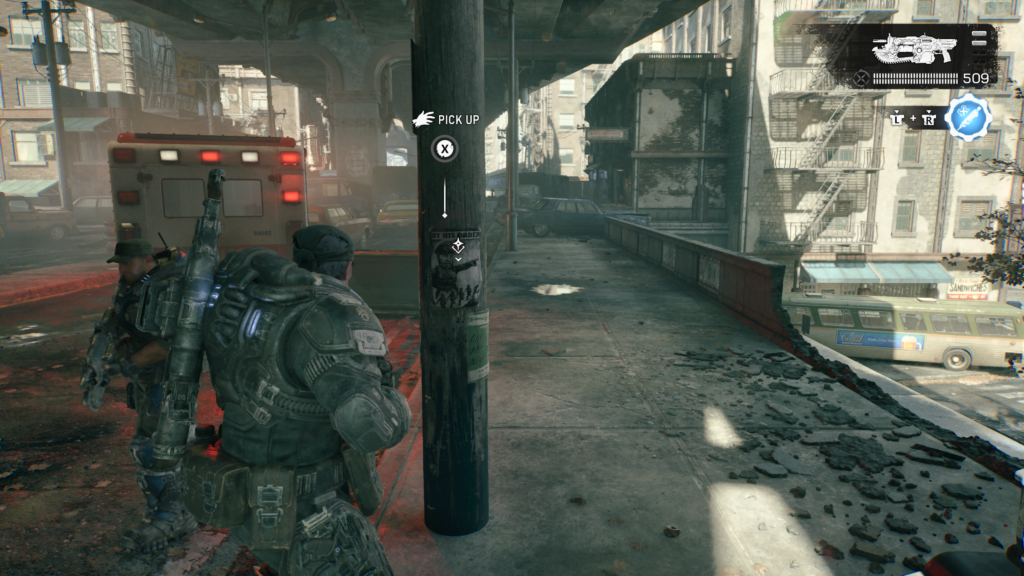
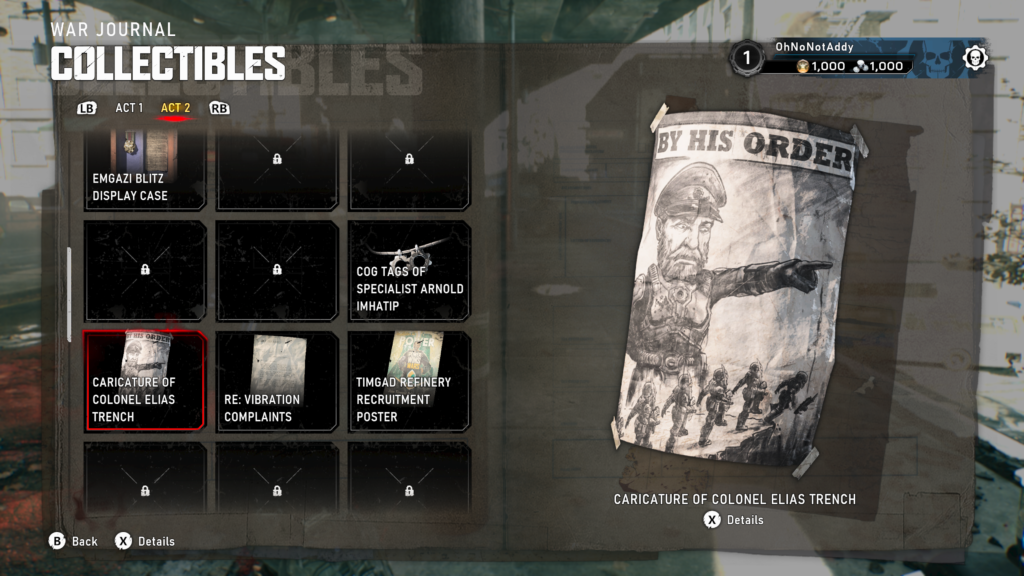
Collectible – Caricature of Colonel Elias Trench (9 / 18)
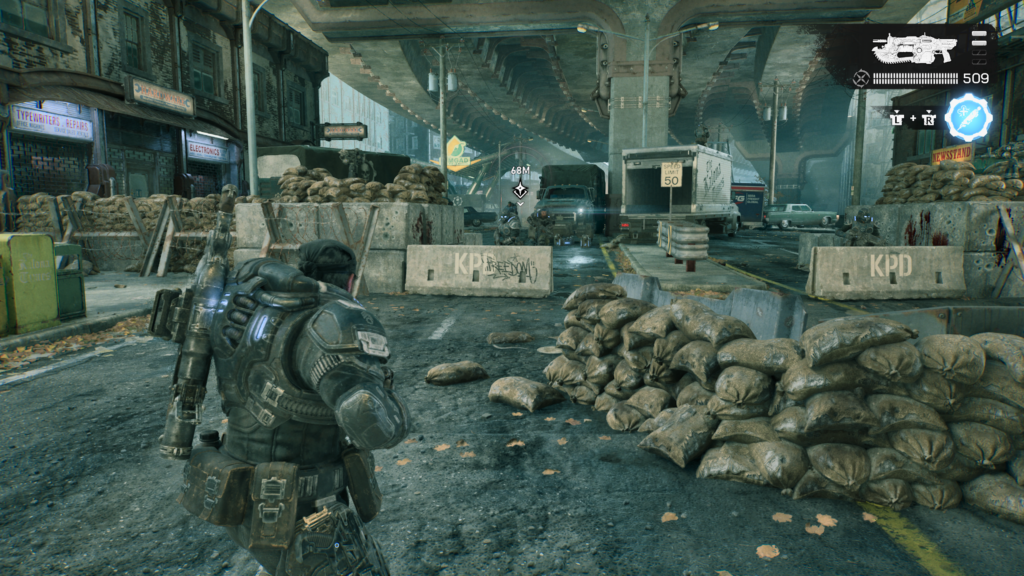
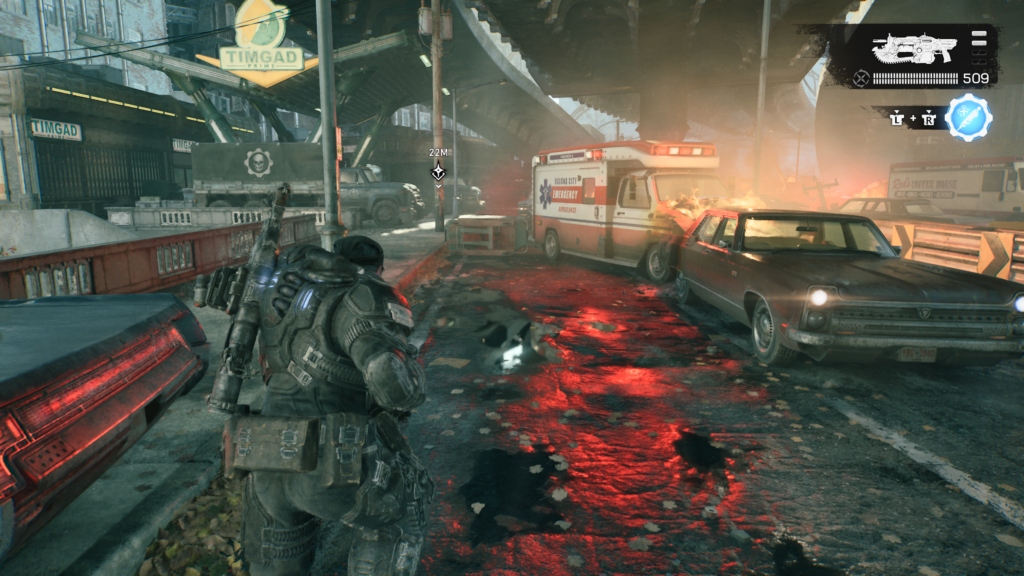
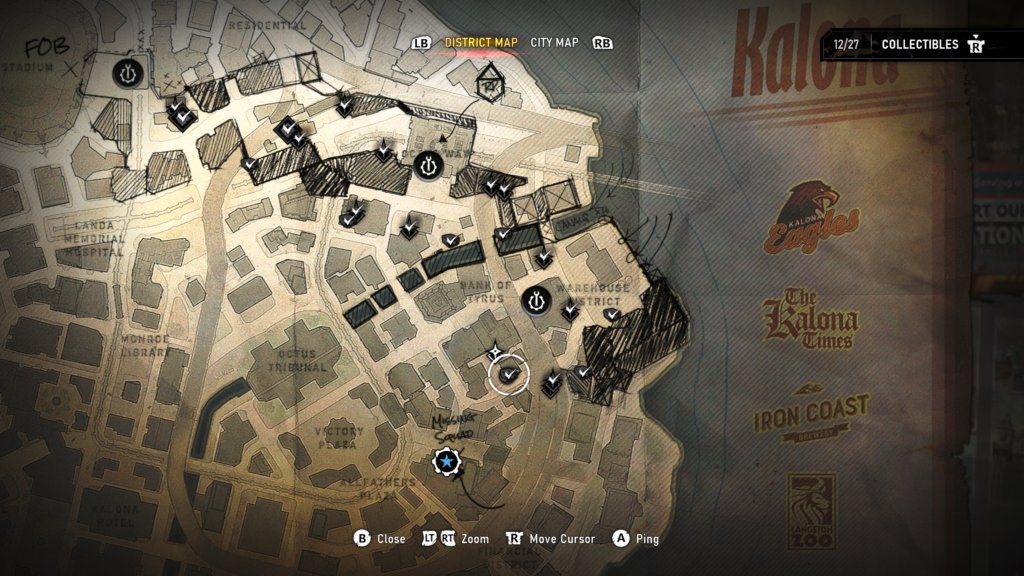
On the street above the last collectible, there is a COG road block, head and on a lamp post, not far from the fuel pumps, is the collectible.
Hard Case (6 / 18)
When facing the entrance to the COG road block, take a right down an alley, you’ll see some climbable ladders. Go up to the next floor and shoot out the window. Hop into the room to find the hard case.
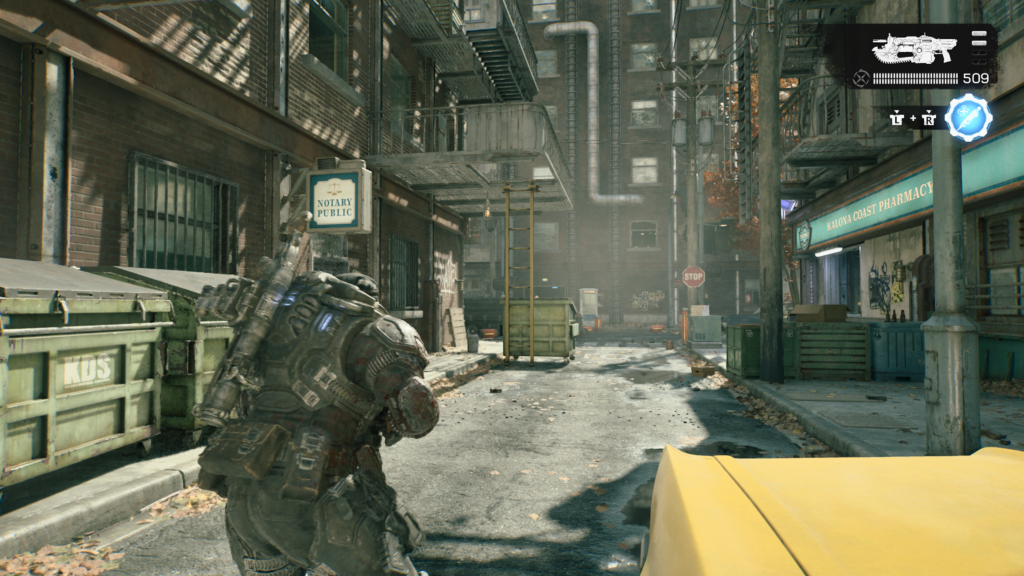
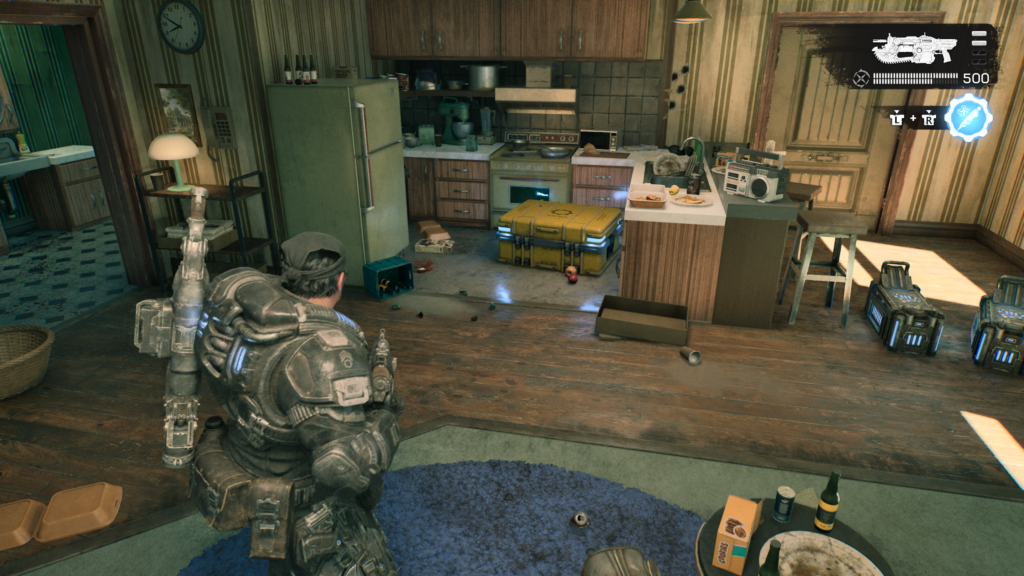
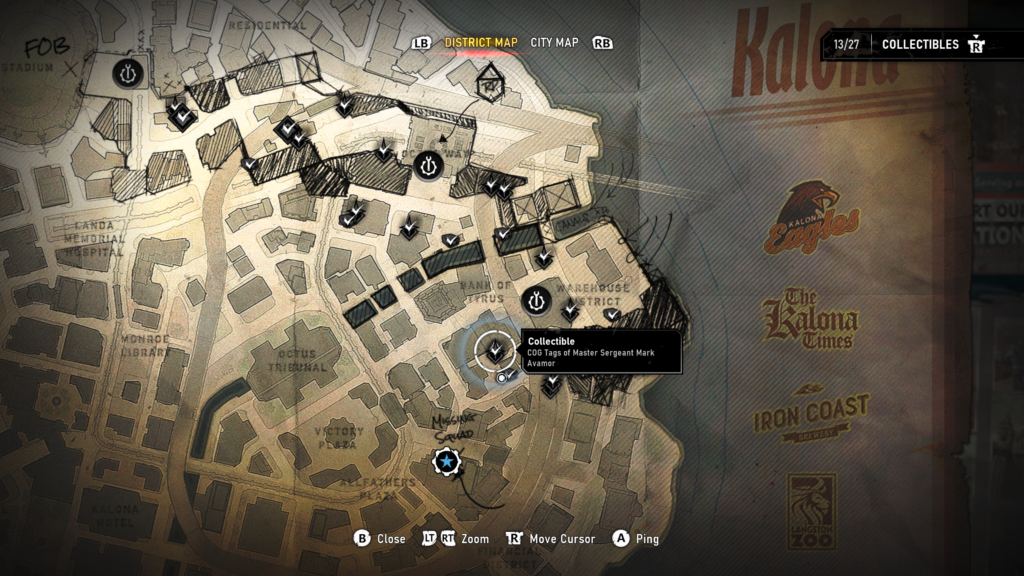
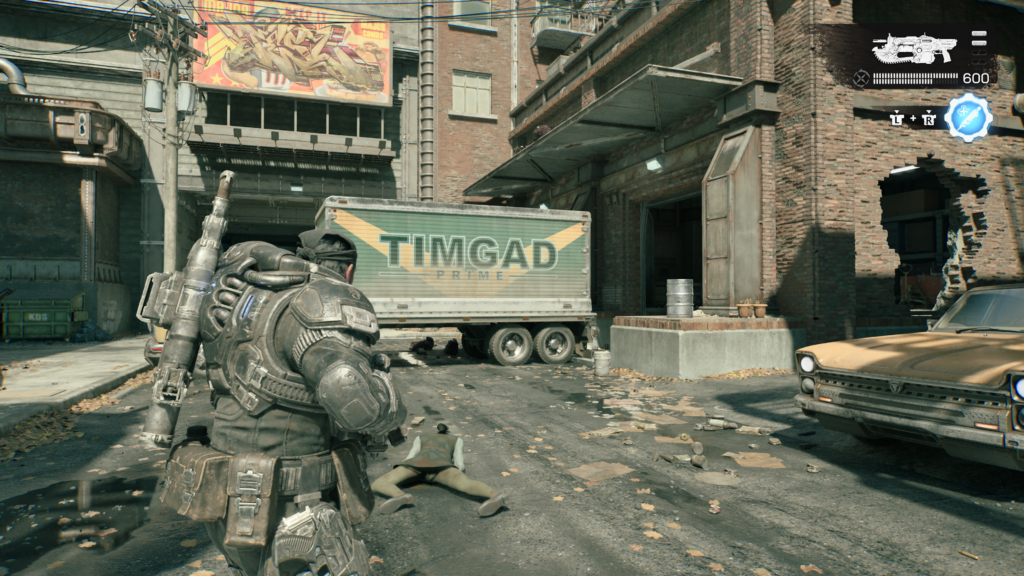
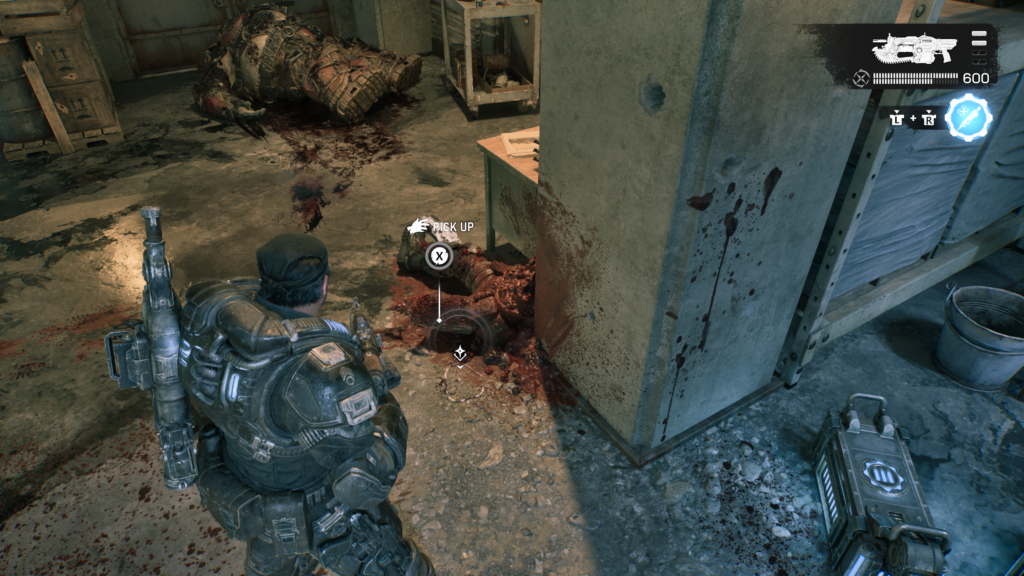
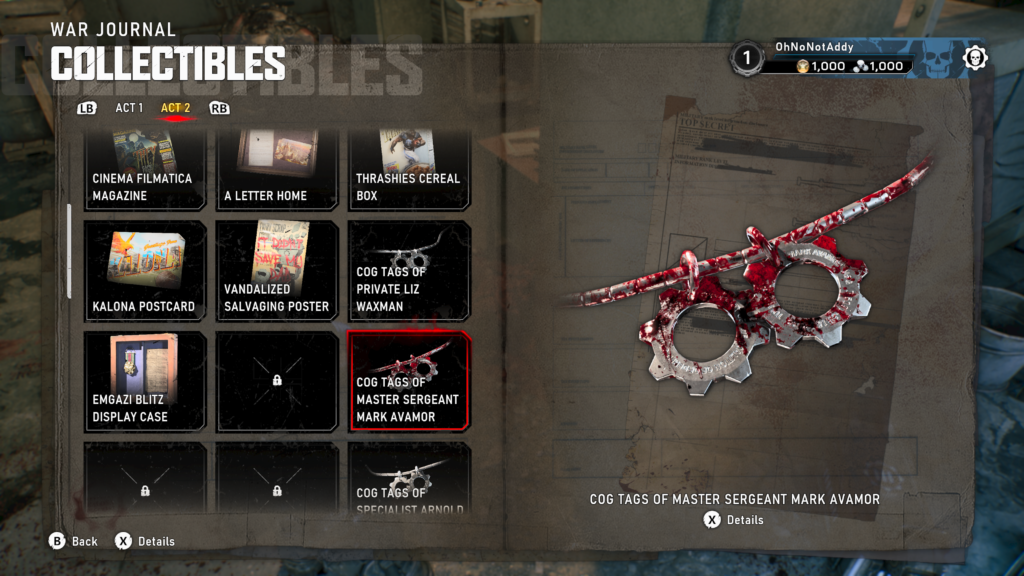
Collectible – COG Tags of Master Sergeant Mark Avalon (10 / 18)
Turn around from the last collectible and head forward into the wrecked loading bay on the right to find the collectible.
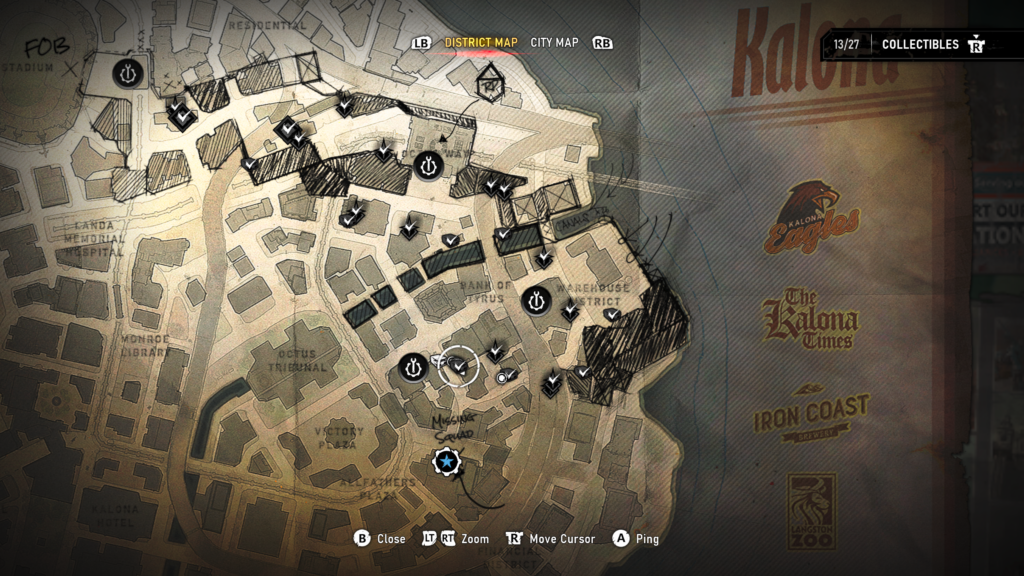
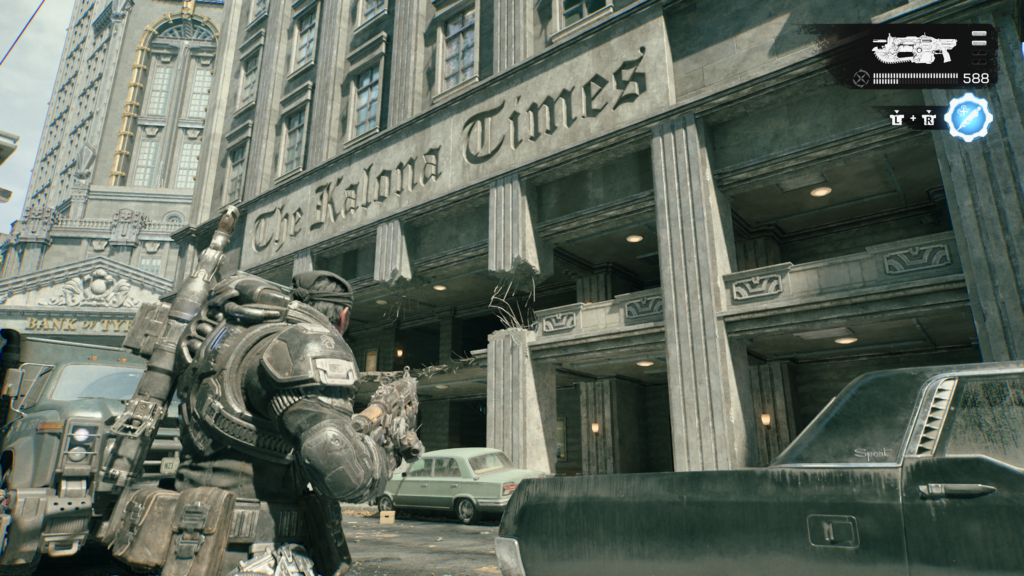
Hard Case (7 / 18)
Look for the Kalona Times building. The hard case is on the first floor.
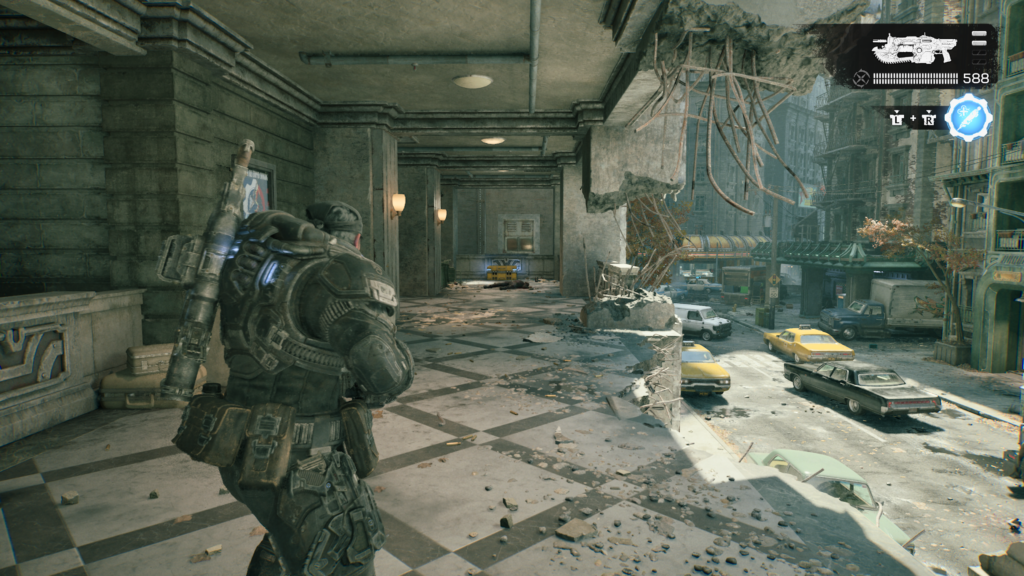
Hard Case (8 / 18)
From the last collectible, look across the street to see the hard case on the street, next to a kiosk.
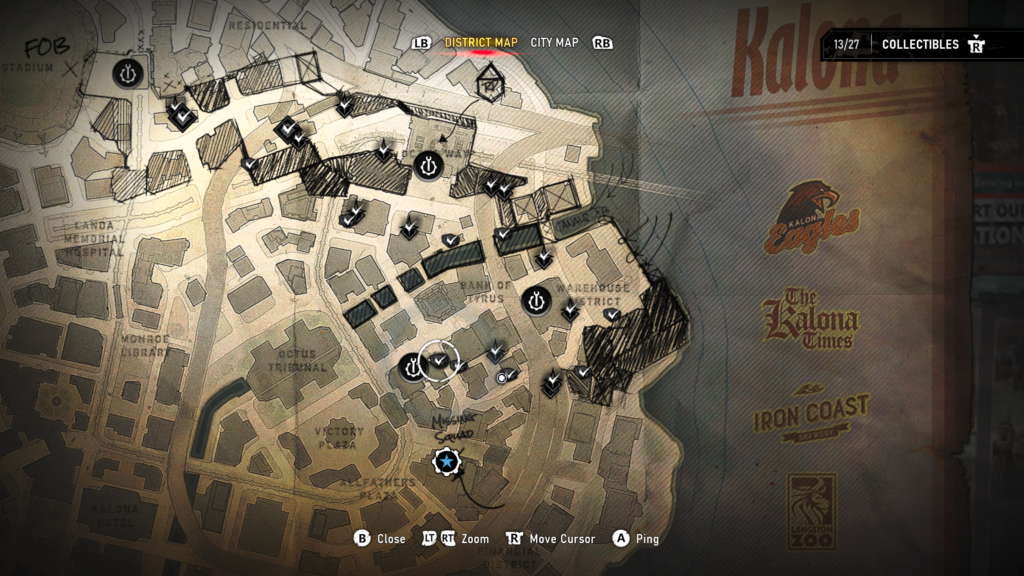
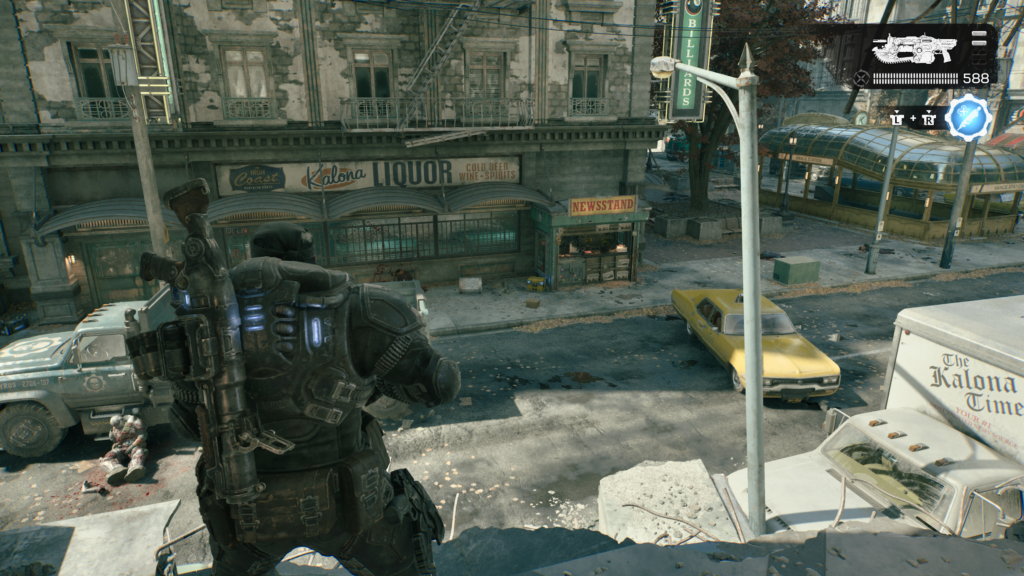
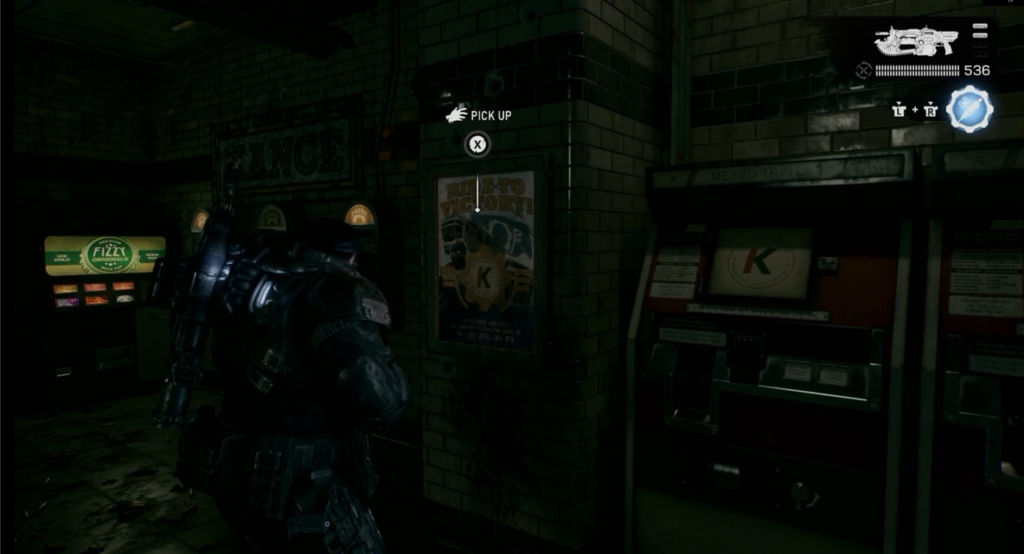
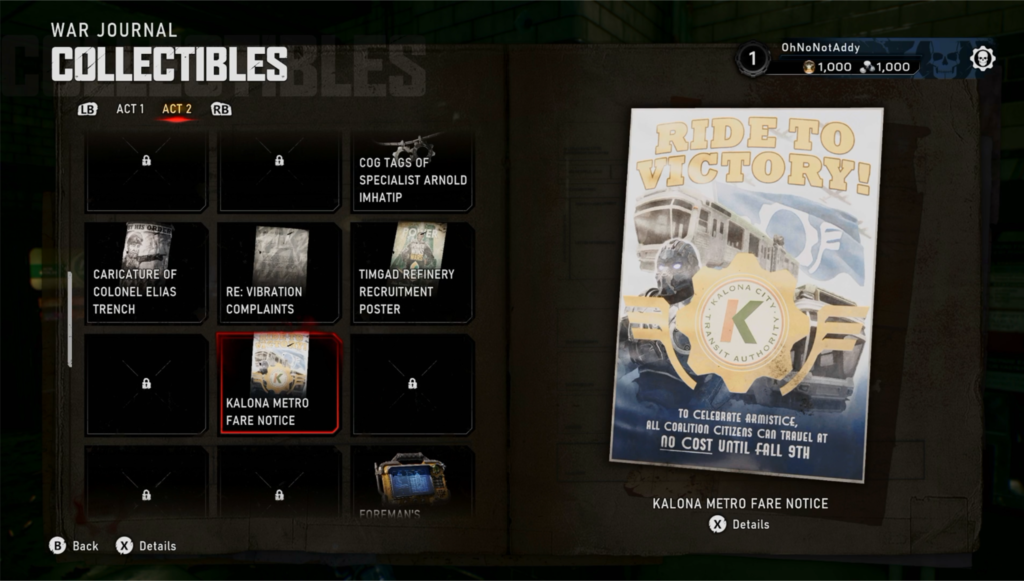
Collectible – Kalona Metro Fare Notice (11 / 18)
Outside of the Tyrus Bank, head down into the Metro station entrance, you will see the collectible on the wall.
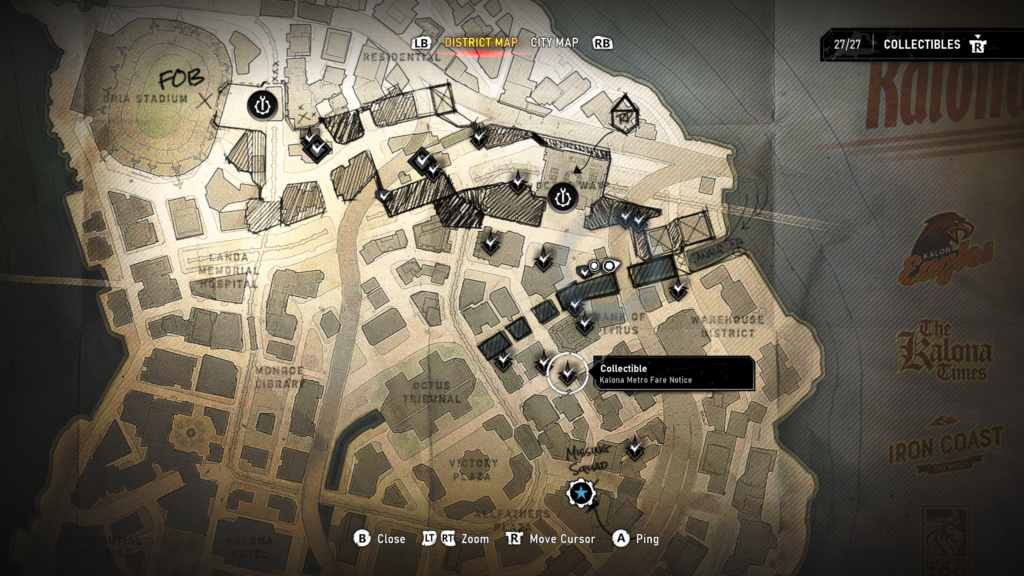
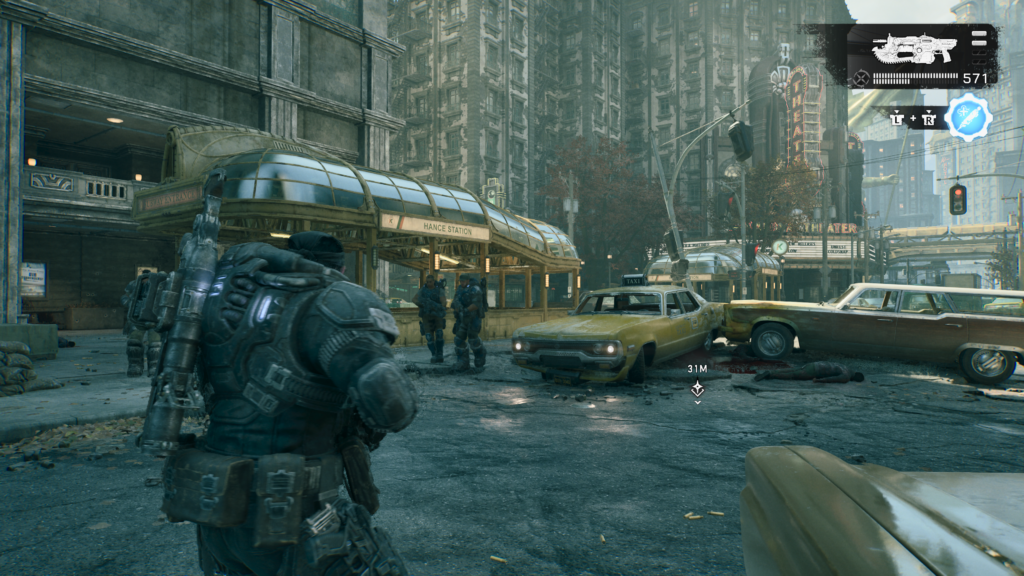
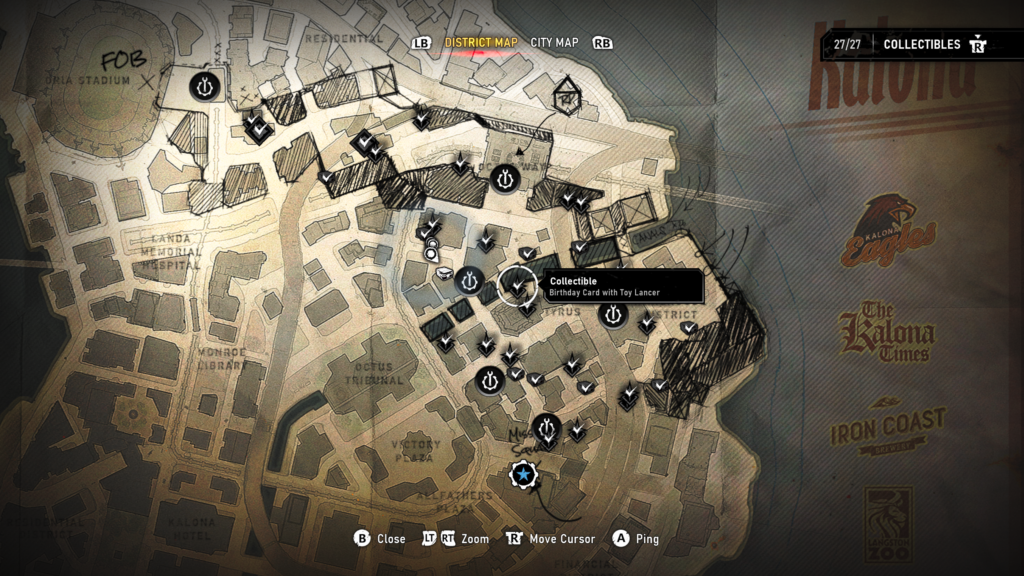
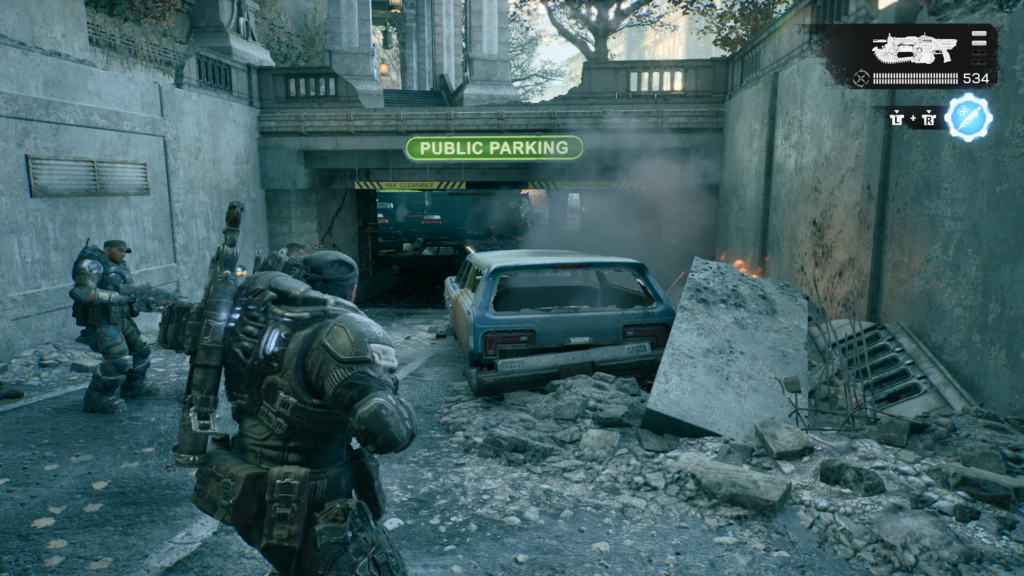
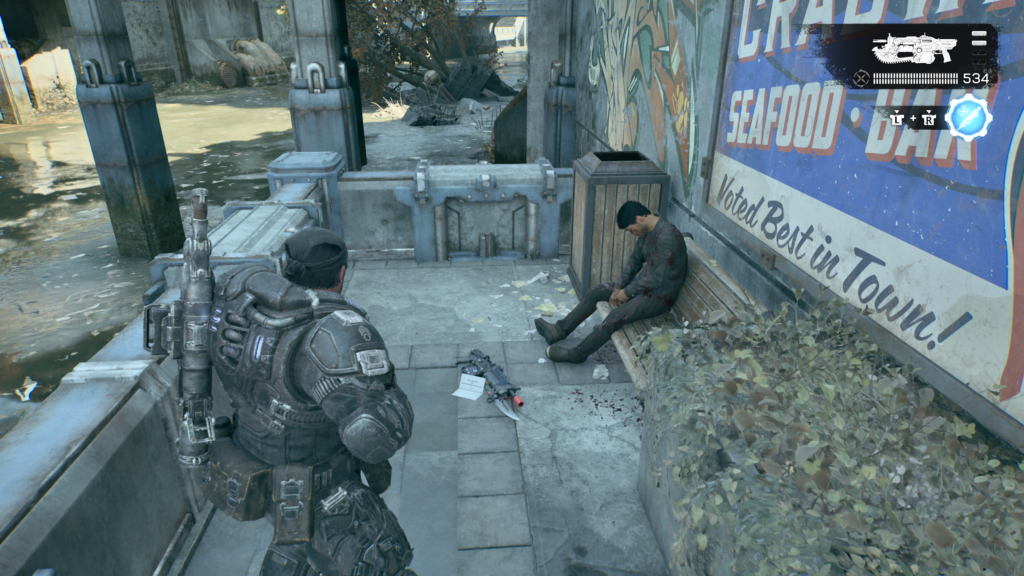
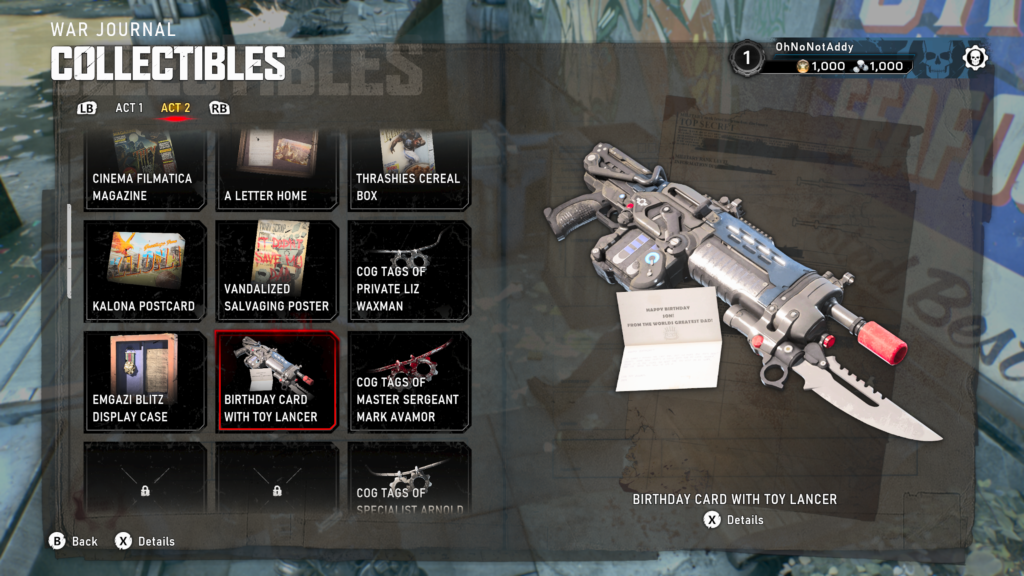
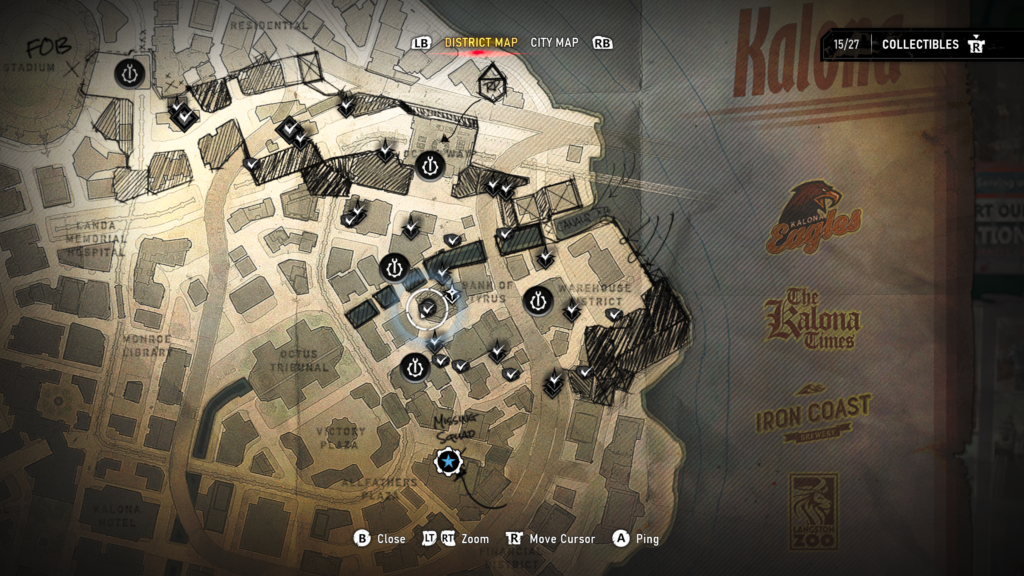
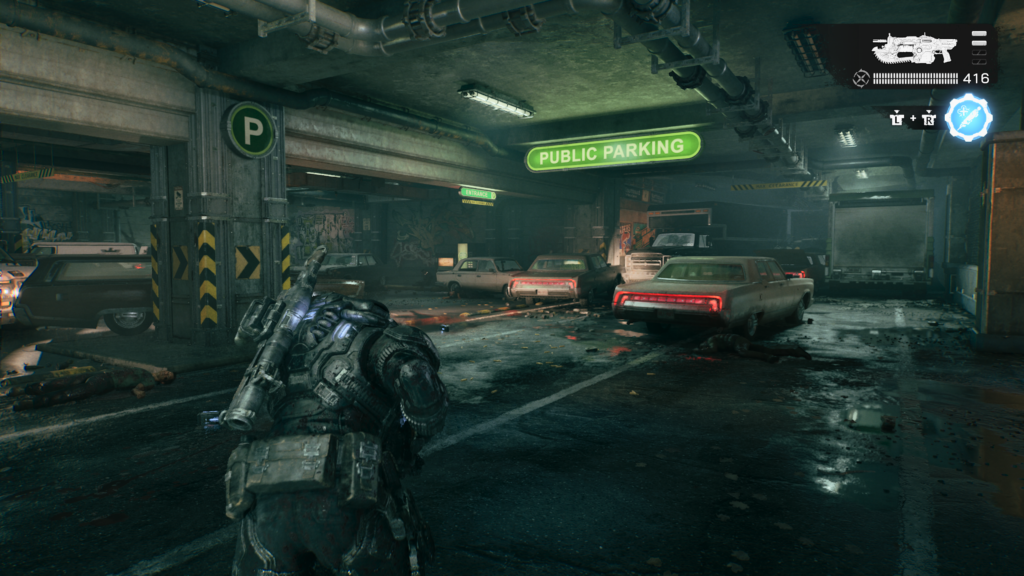
Collectible – Birthday Card with Toy Lancer (12 / 18)
In an underground car park, take a right to the path overlooking the river.
Hard Case (9 / 18)
Not far from the last collectible, investigate the truck crash to find the hard case being guarded by lots of enemies.
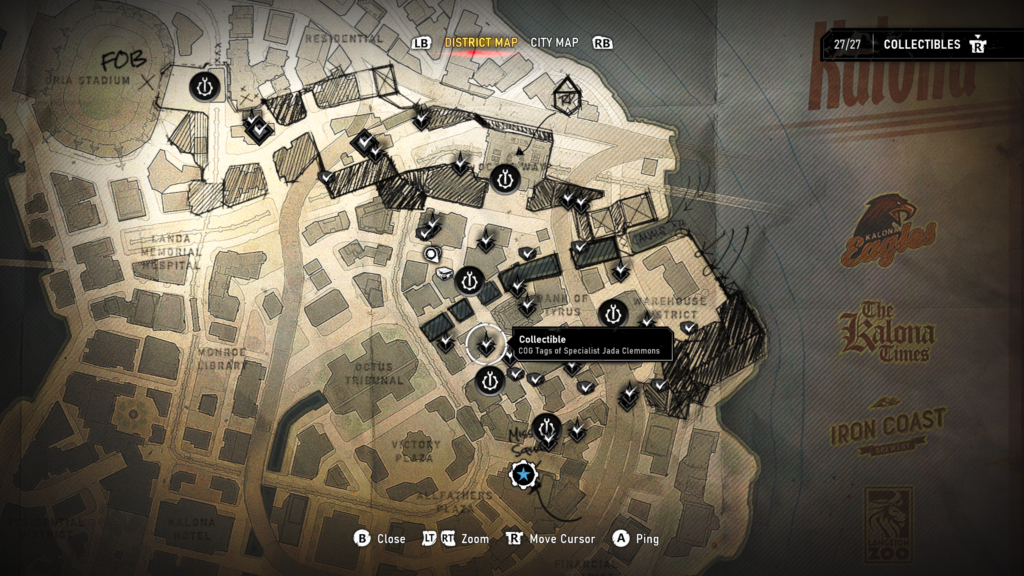
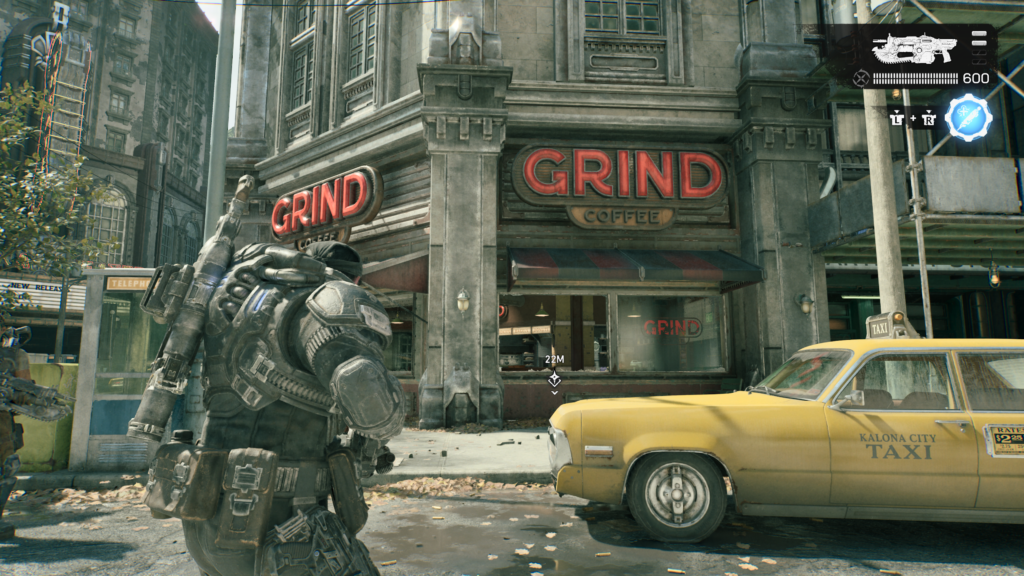
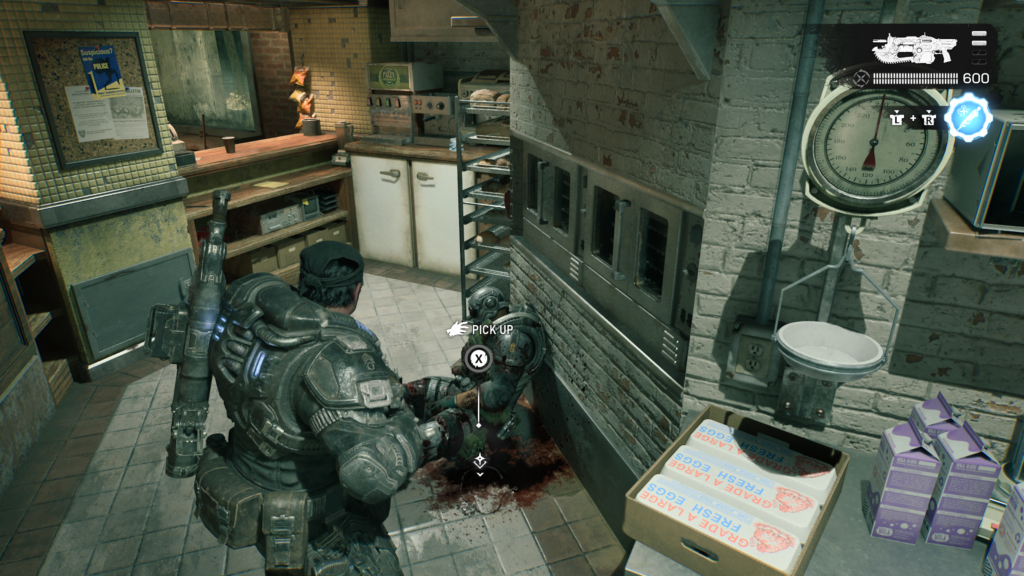
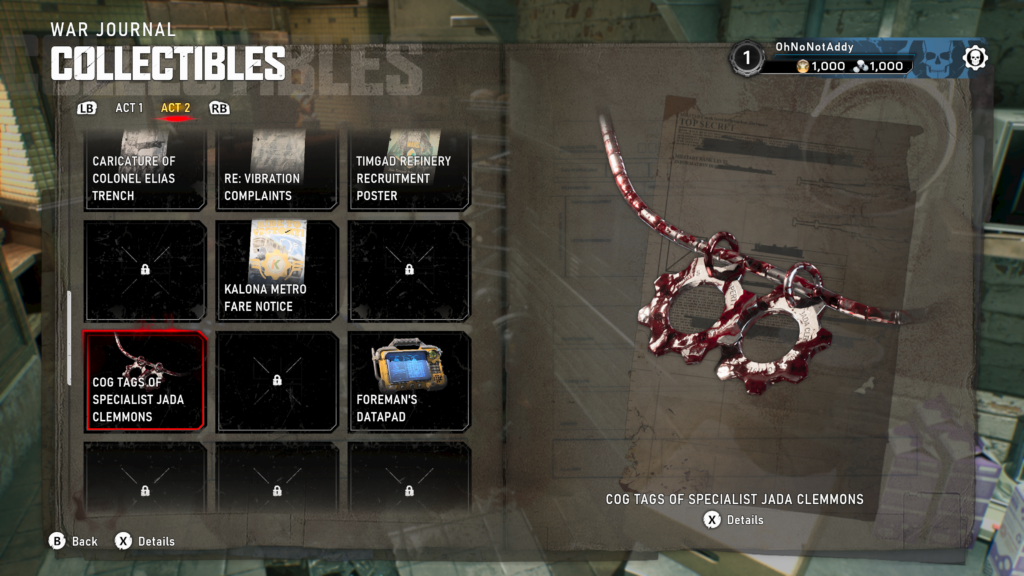
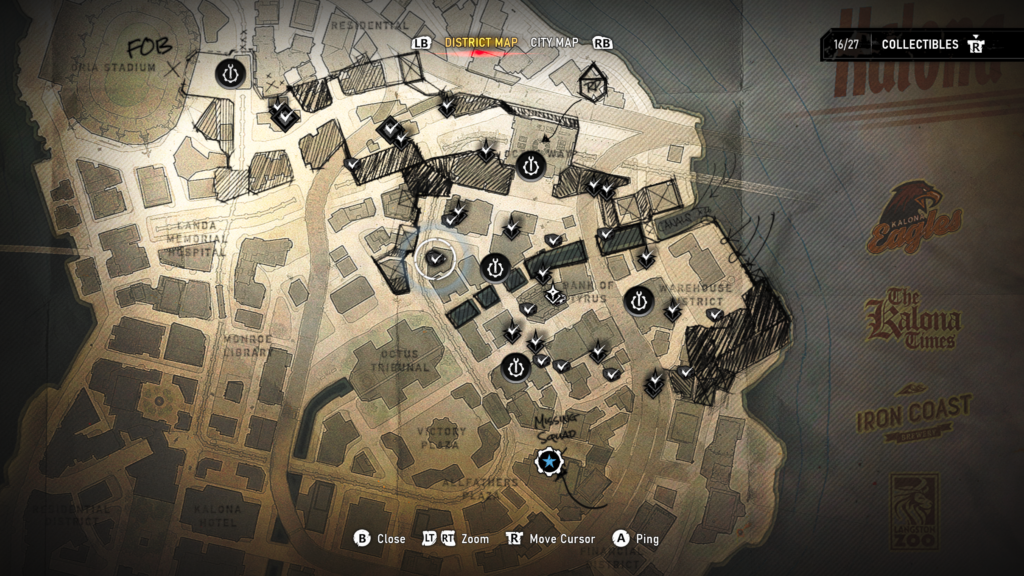
Collectible – COG Tags of Specialist Jada Clemmons (13 / 18)
In the Grind Coffee Shop, across from the Bank of Tyrus.
Hard Case (10 / 18)
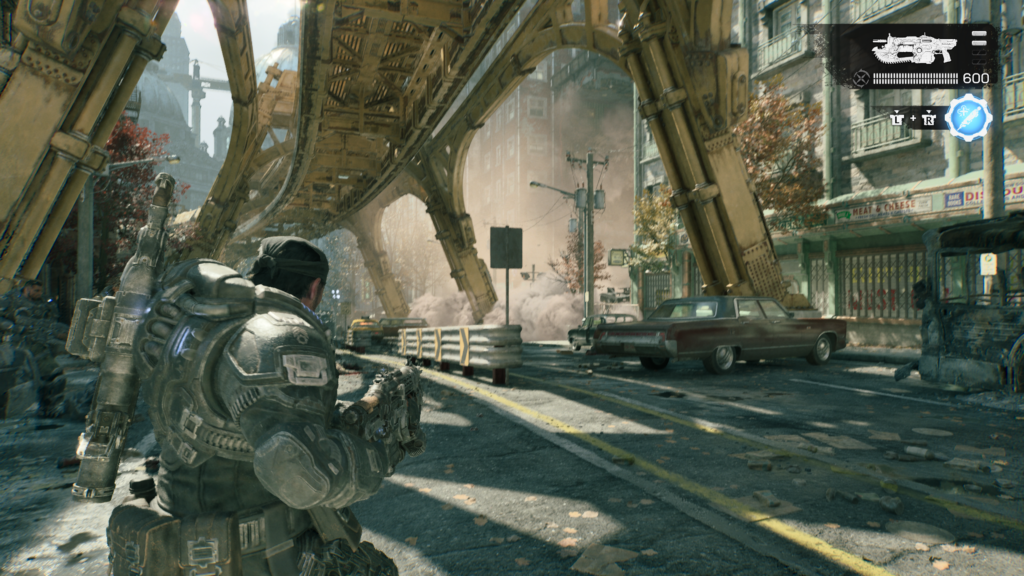
To then far right of the construction site, head up the steps and down the main road, the hard case will be on your left.
Hard Case (11 / 18)
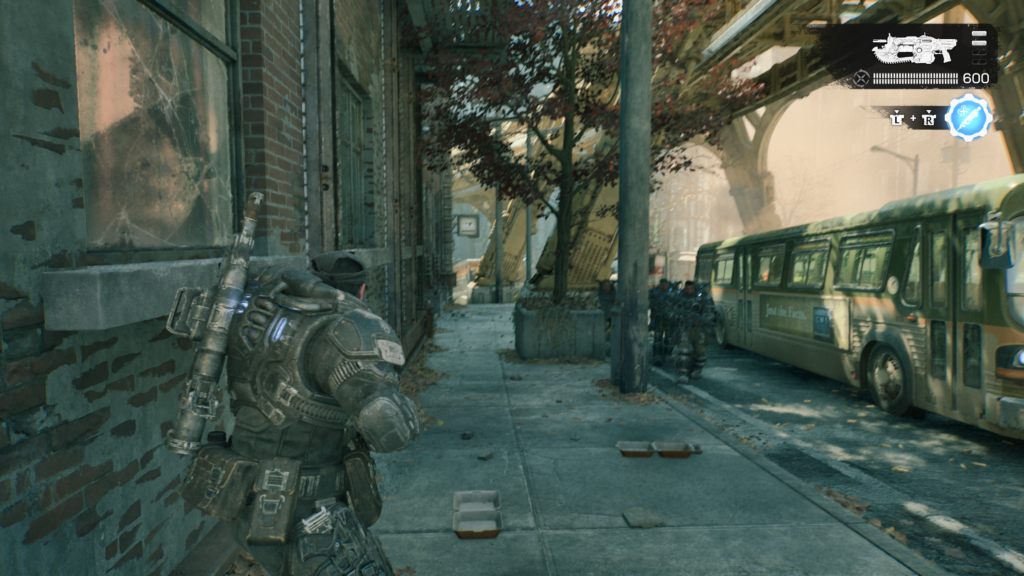
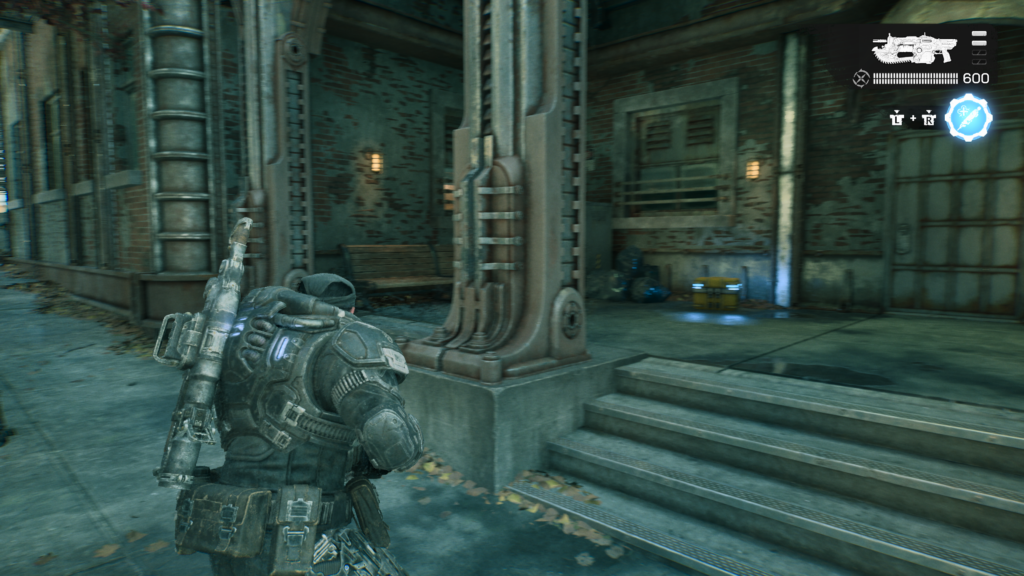
Not far from the last hard case, across the main road and on the right, in front of a pharmacy.
Hard Case (12 / 18)
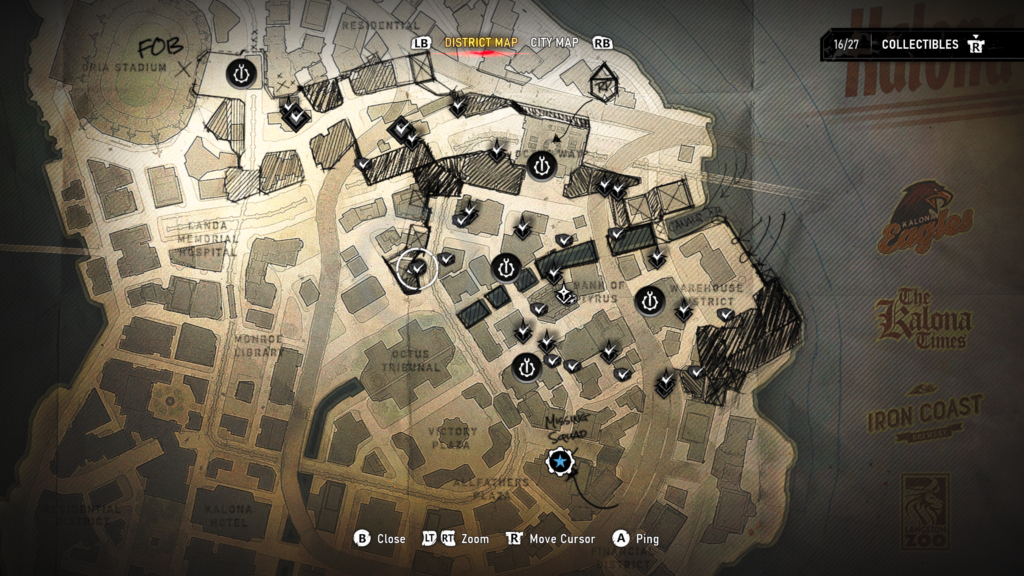
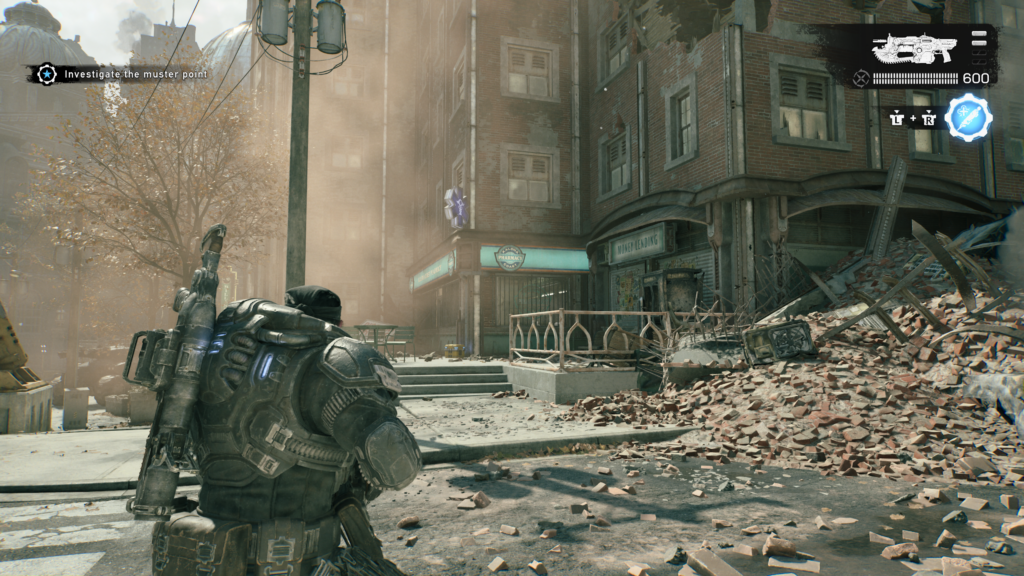
Across from the construction site, on the first floor of a building. Jump up the shipping container to get in.
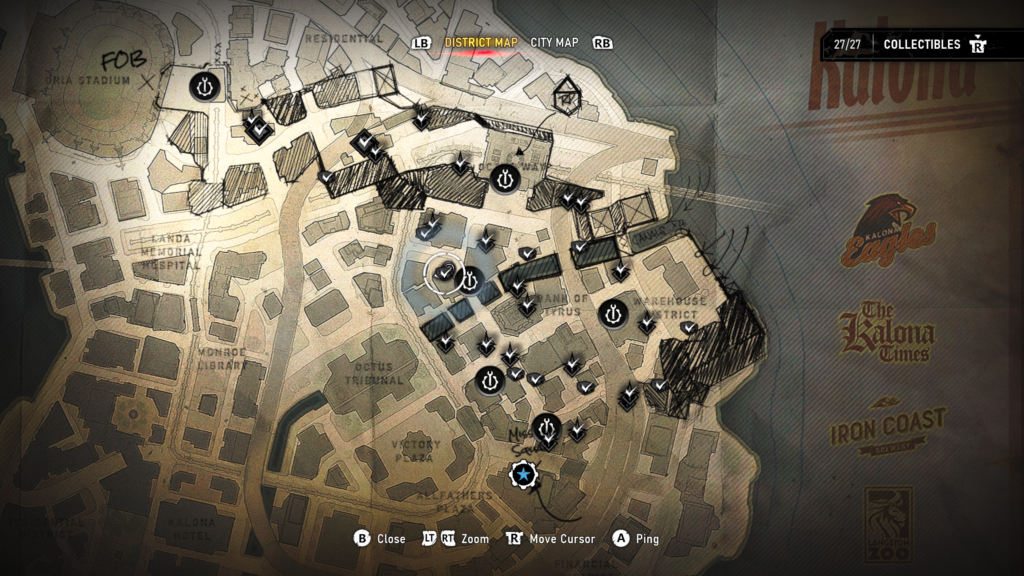
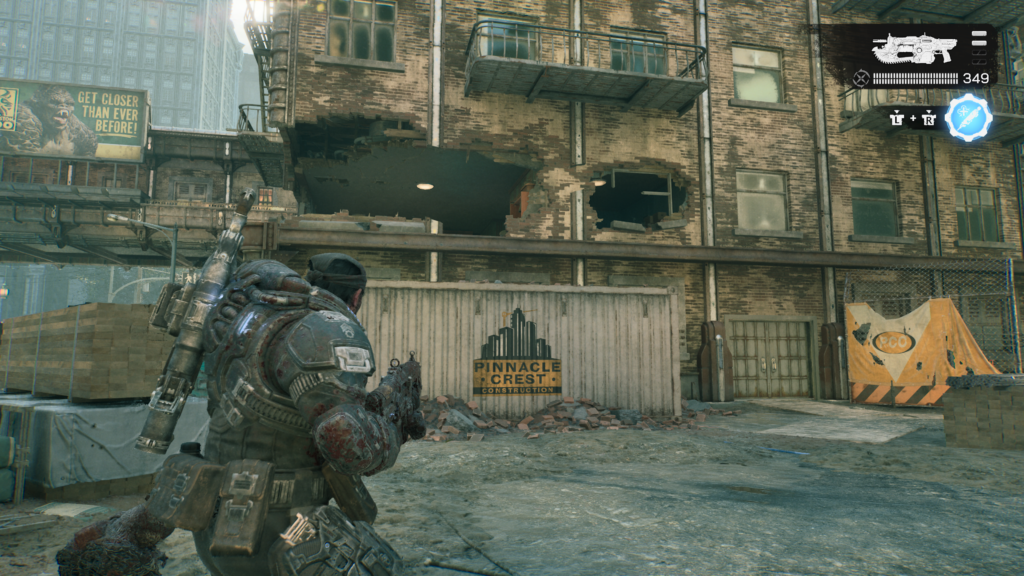
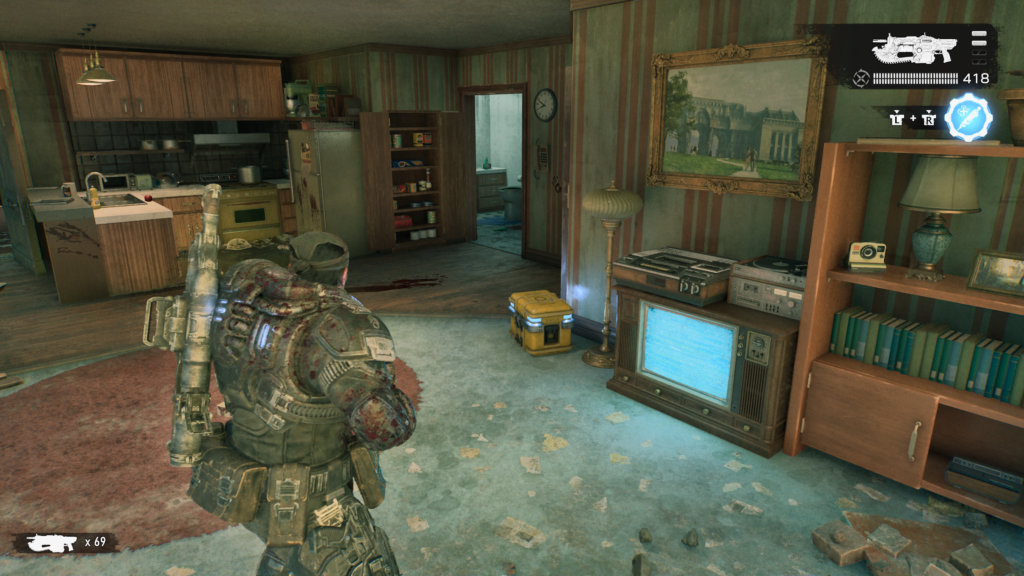
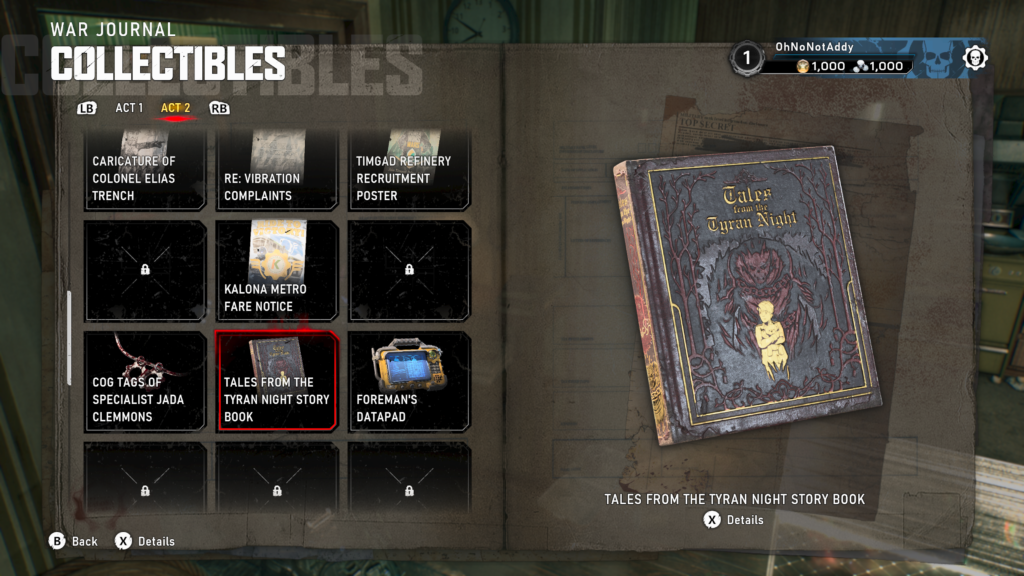
Collectible – Tales of the Tyran Night Story Book (14 / 18)
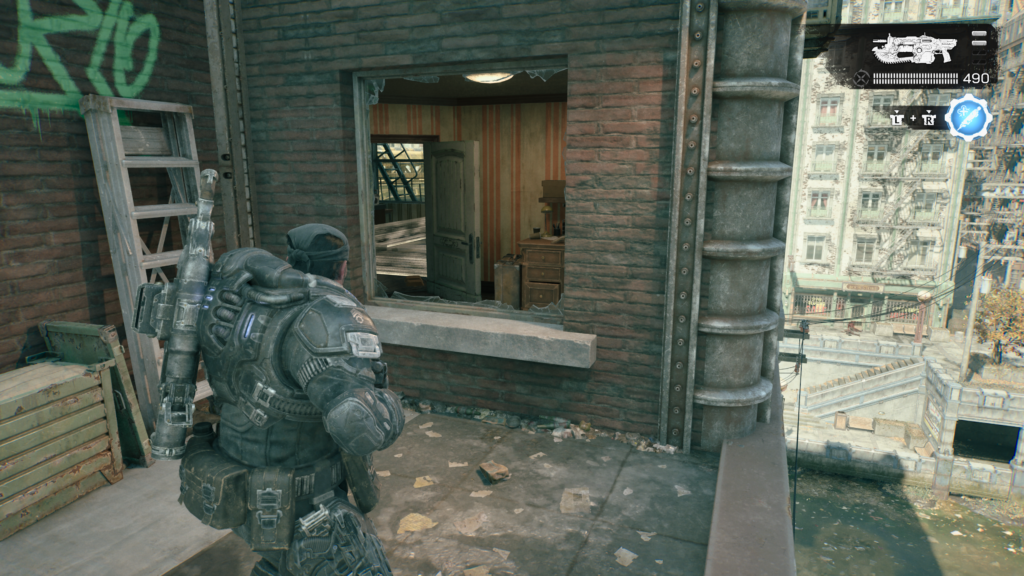
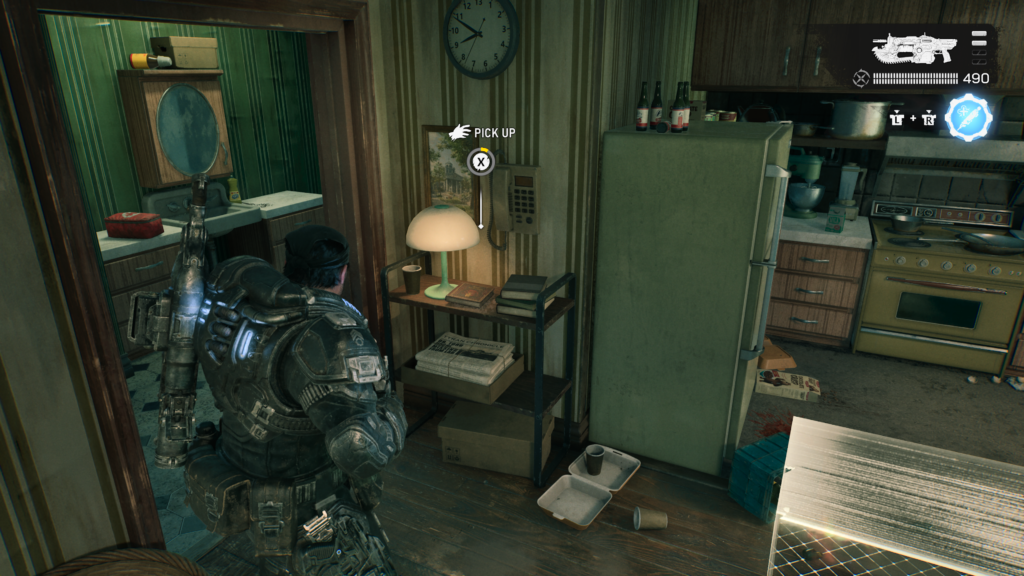
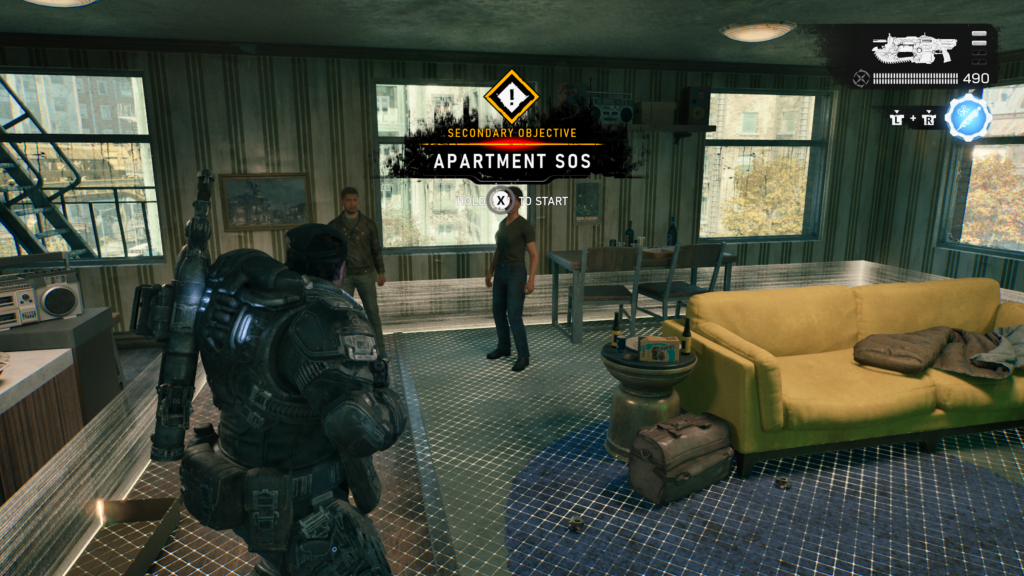
In the apartment where you pick up the Apartment SOS secondary objective. Just to the left as you enter the room is the collectible. You’ll have to climb up some scaffolding to get in.
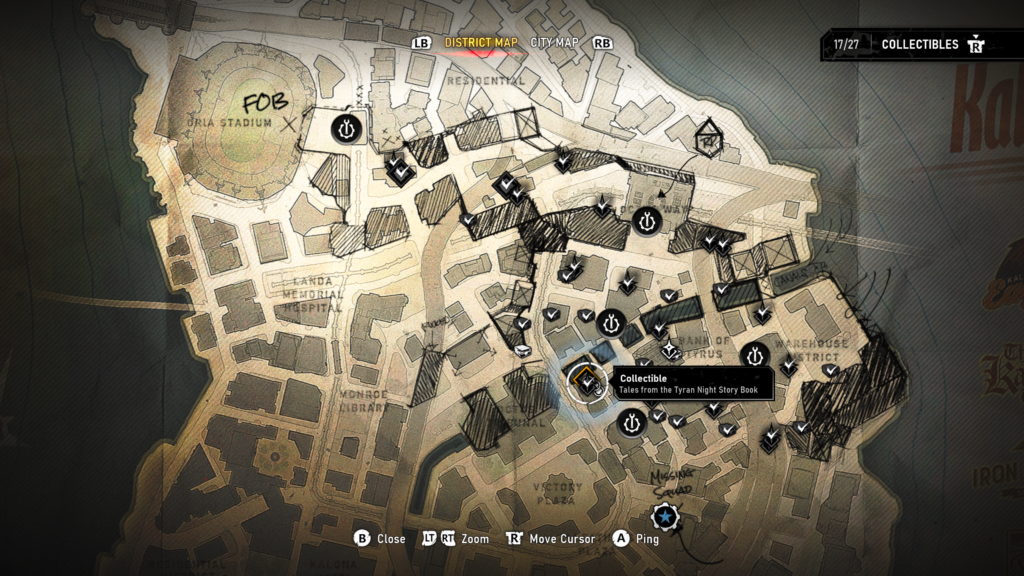
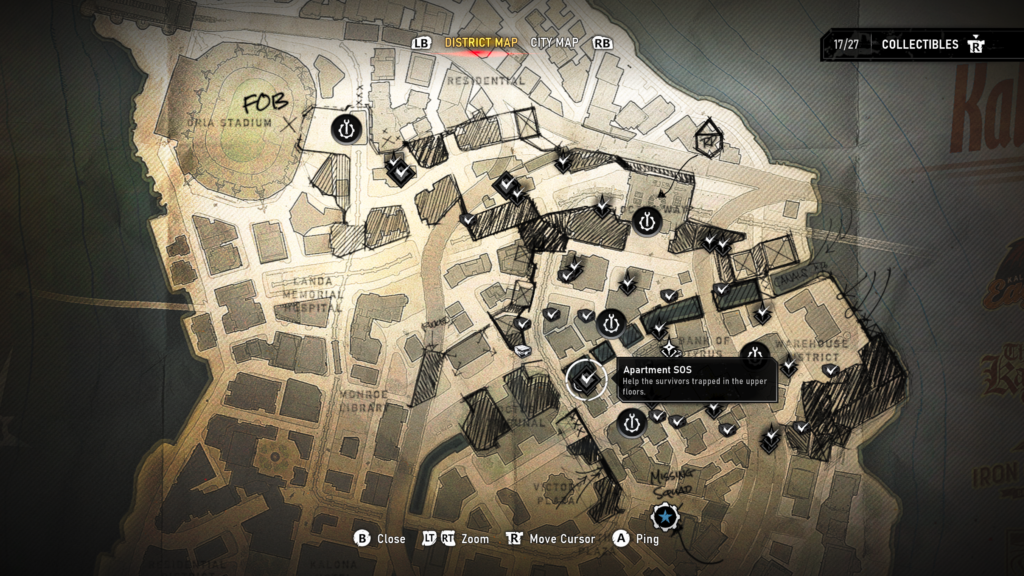
Secondary Objective – (1 / 3) – Apartment SOS
In the same room as the above collectible. Accept the missions and you will have to fight your way through juvies, Locust soldiers and Heavy Boomers. Once they are all clear the survivors will join you downstairs and you will have completed the secondary objective.
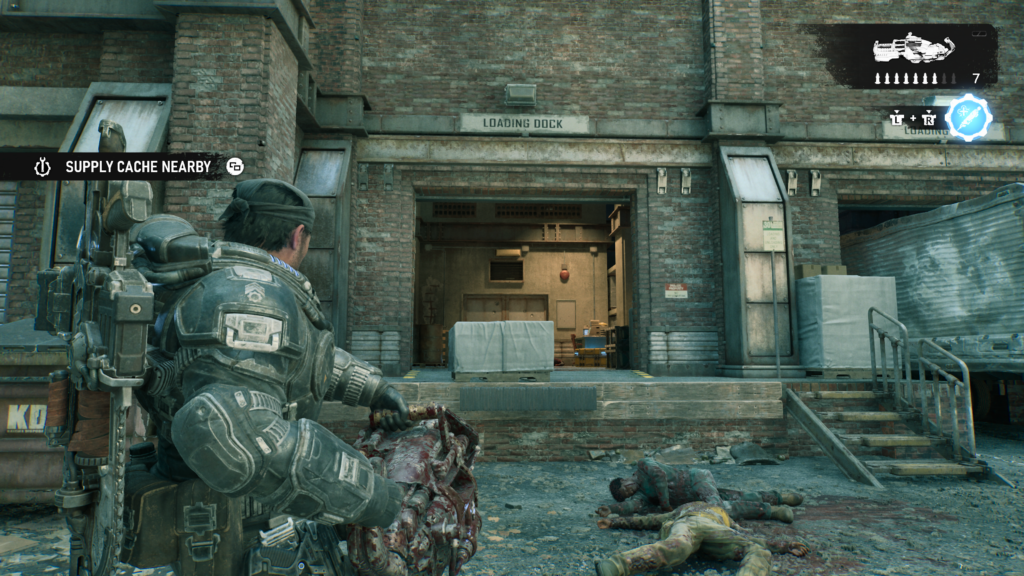
Hard Case (13 / 18)
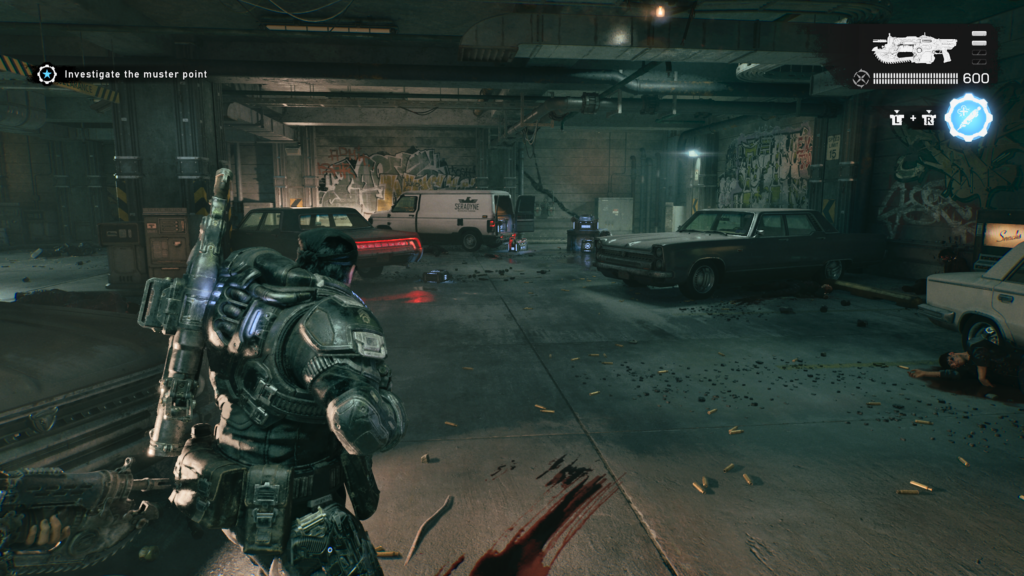
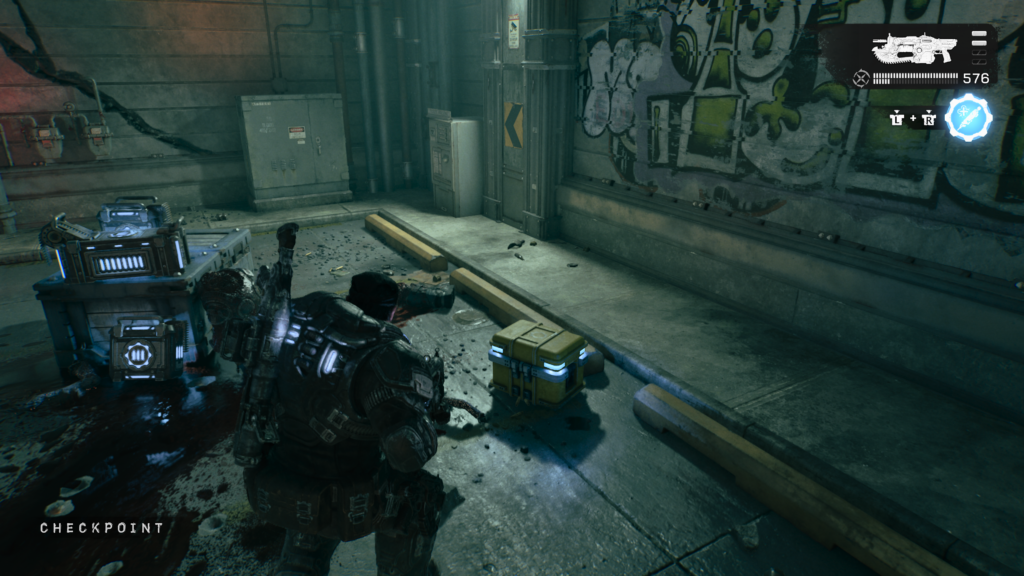
In a loading dock area, not far from the “Investigate the muster point” objective, down an alley.
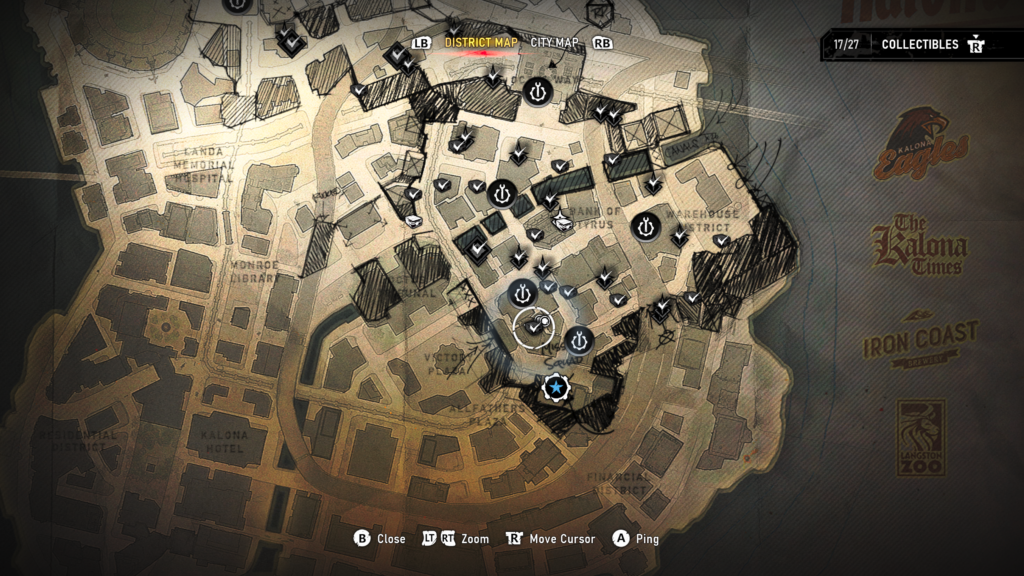
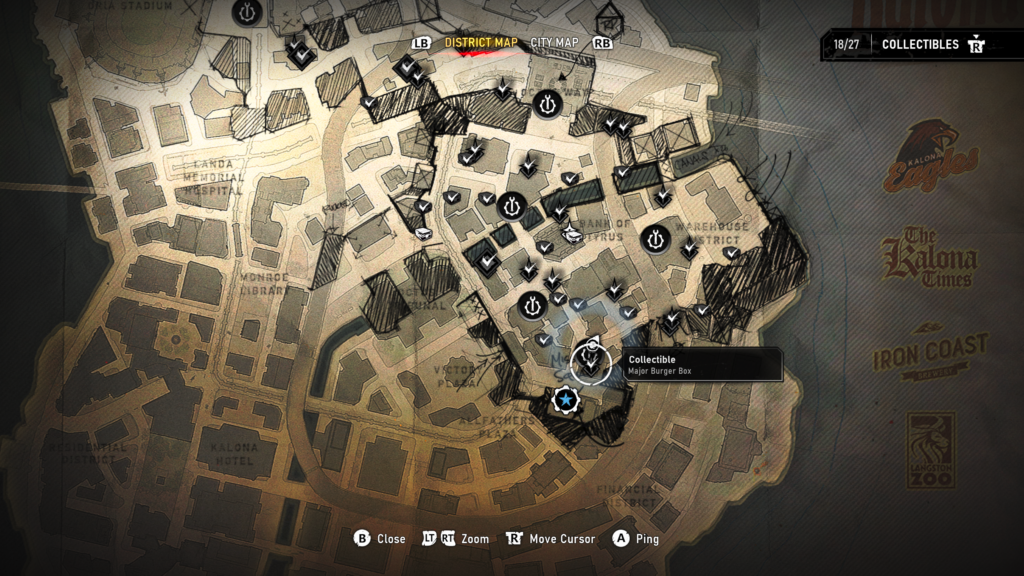
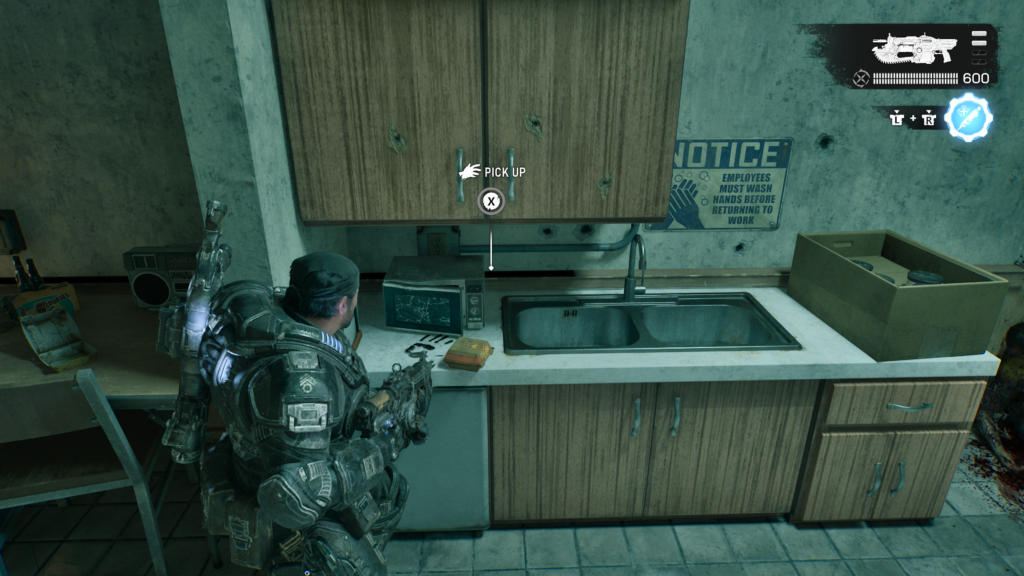
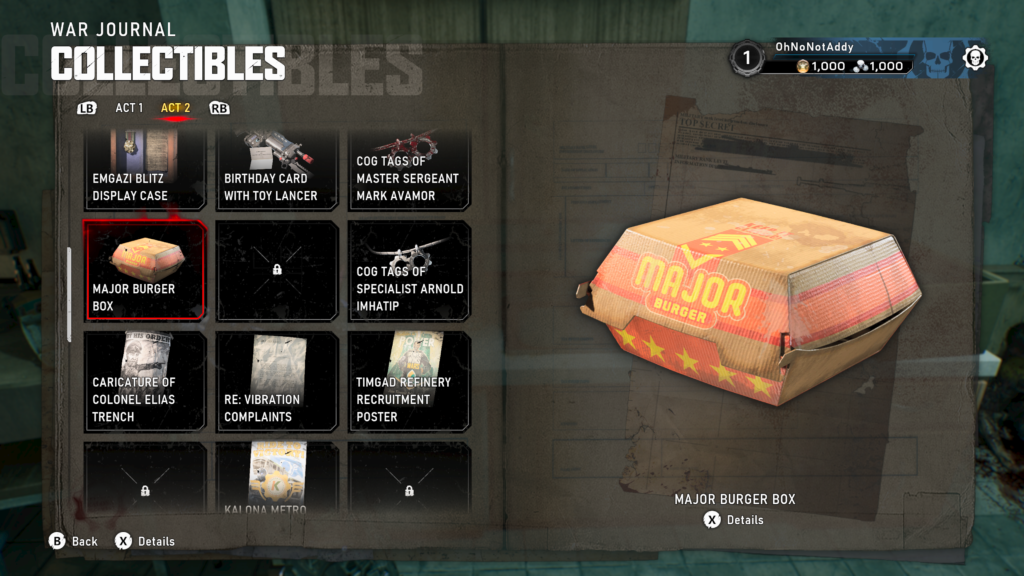
Collectible – Major Burger Box (15 / 18)
In the back room of the Major Burger restaurant near the “Investigate the muster point” main objective.
Hard Case (14 / 18)
At the “Investigate the muster point” building, on the right, behind the pillars.
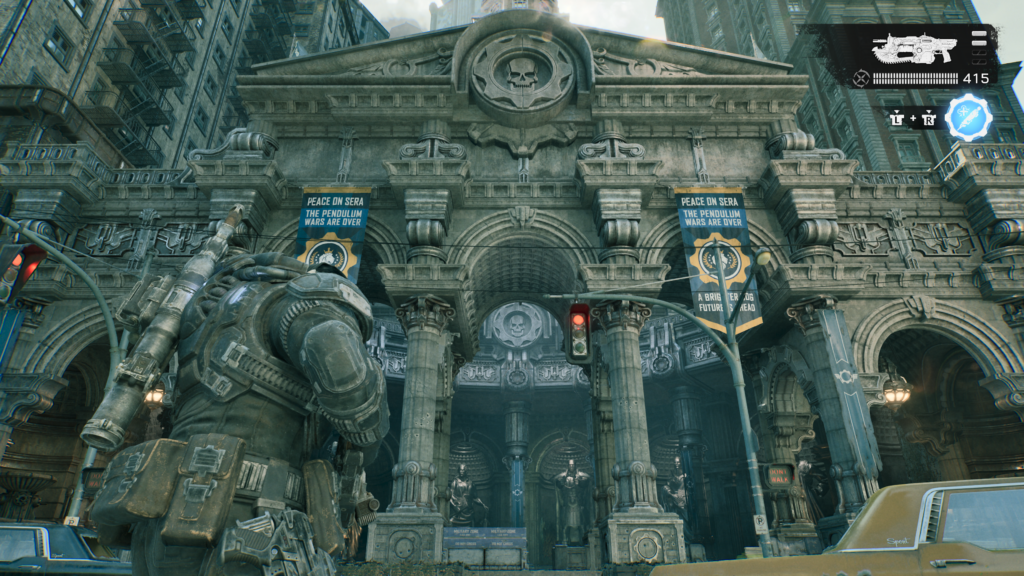
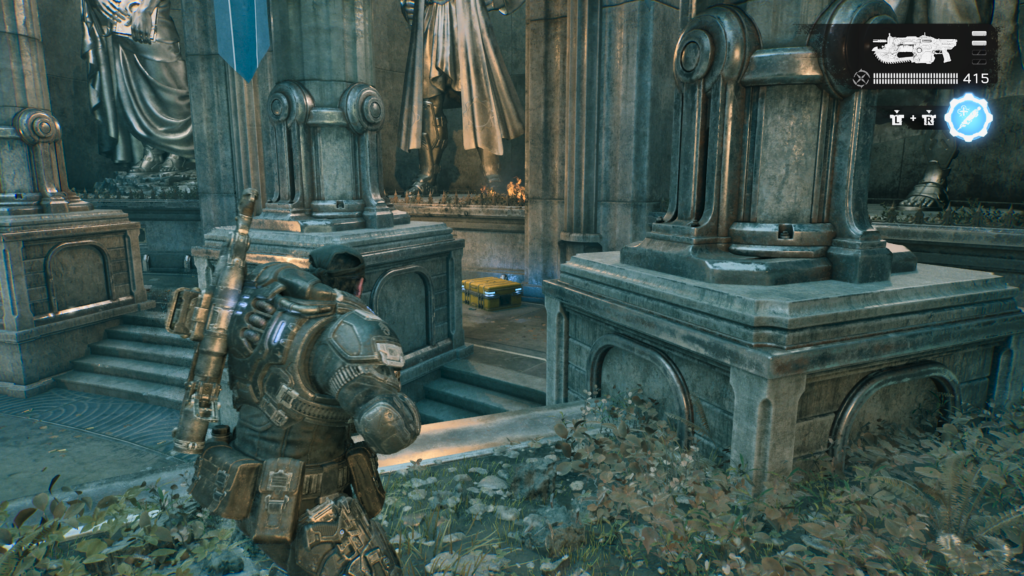
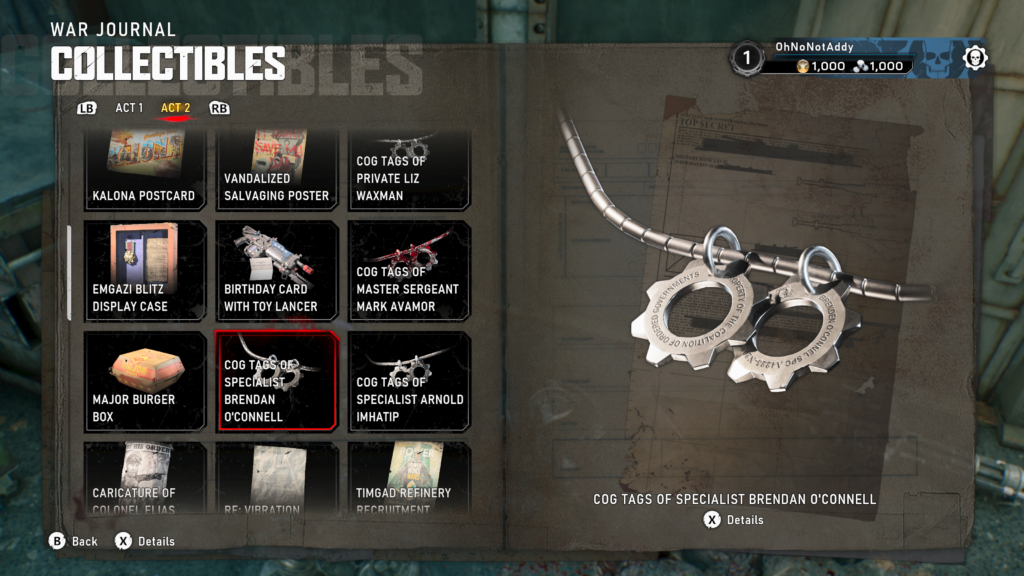
Collectible – COG Tags of Specialist Brendan O’Connell (16 / 18)
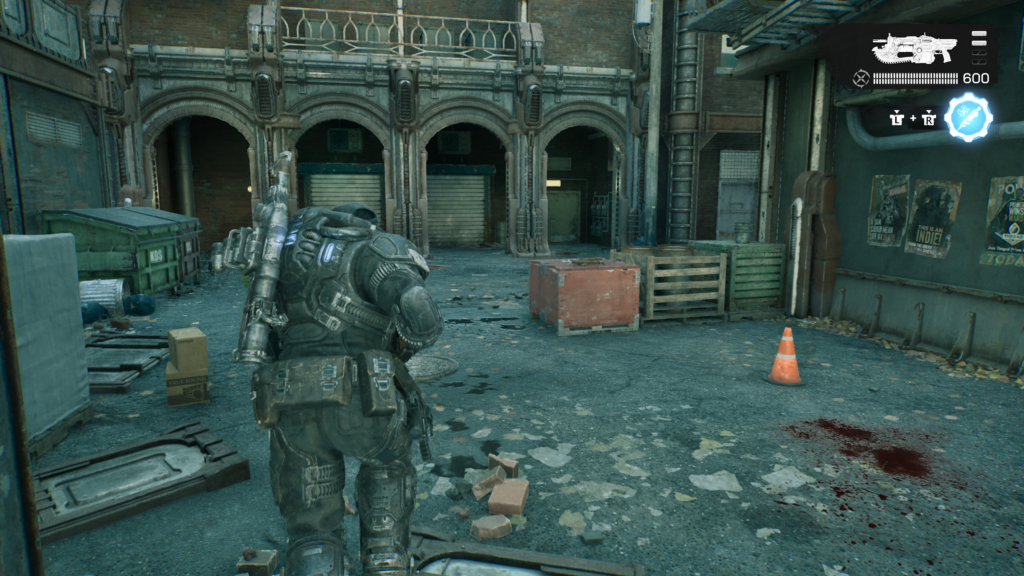
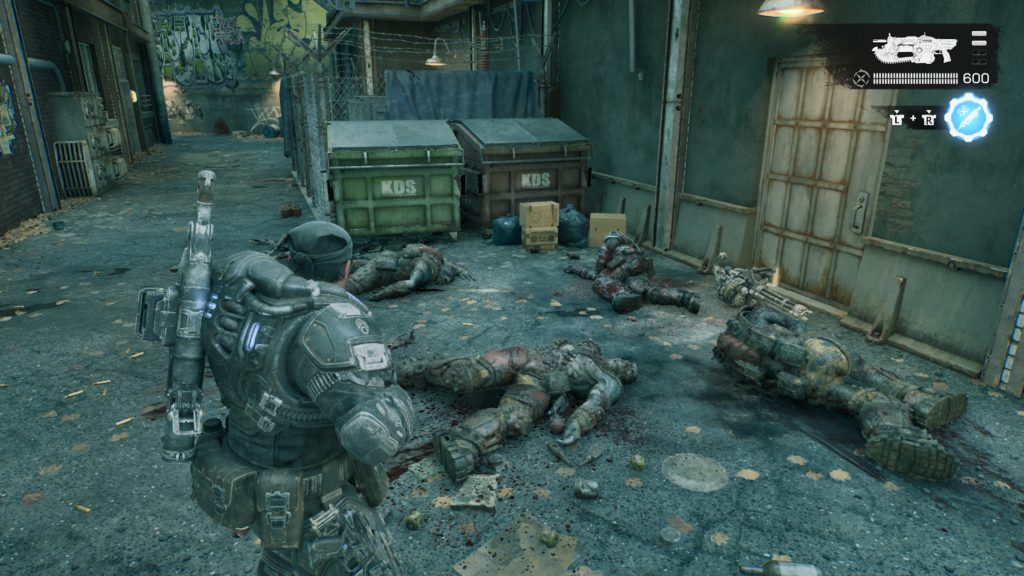
If you’re looking at the ‘muster point’ objective location, head left and up an alley, you should come across a squad of dead soldiers and a Vulcan cannon. The collectible is amongst the bodies.
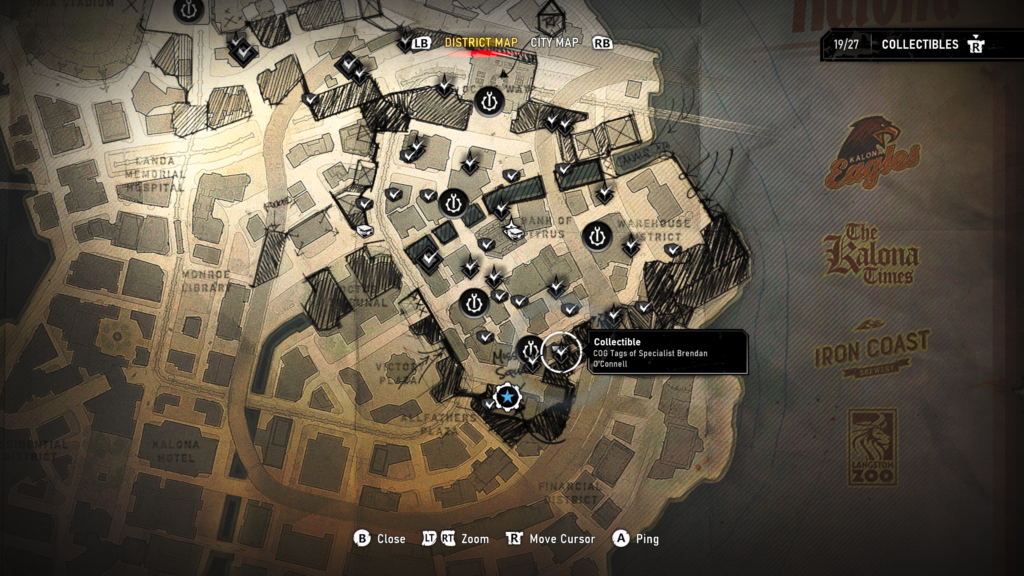
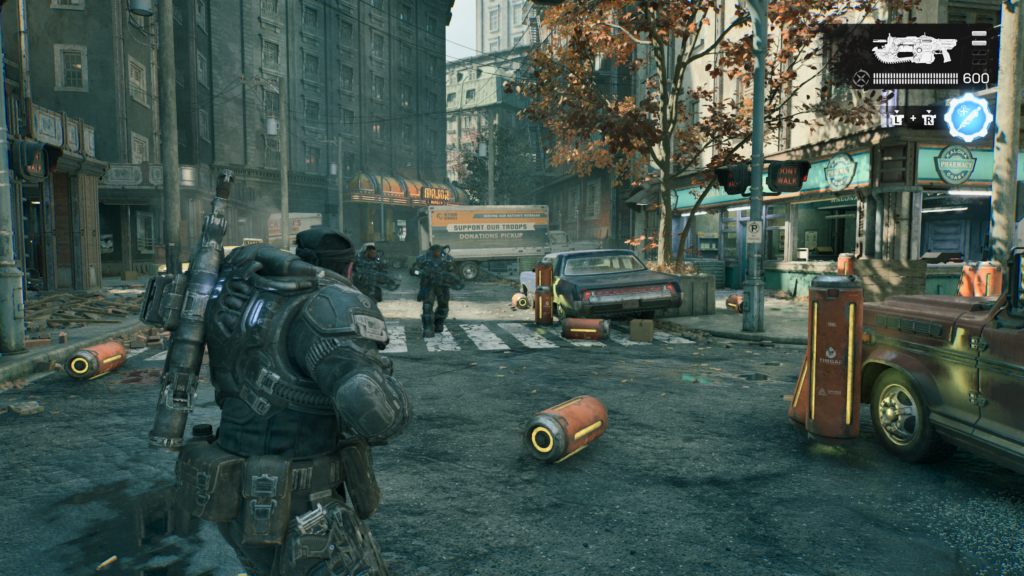
Hard Case (15 / 18)
You’ll need to head to the Amberstone Storage Facility as part of the main objectives. When here, the hard case is on your way to the objective marker.
Secondary Objective – (2 / 3) – Lost in Translation
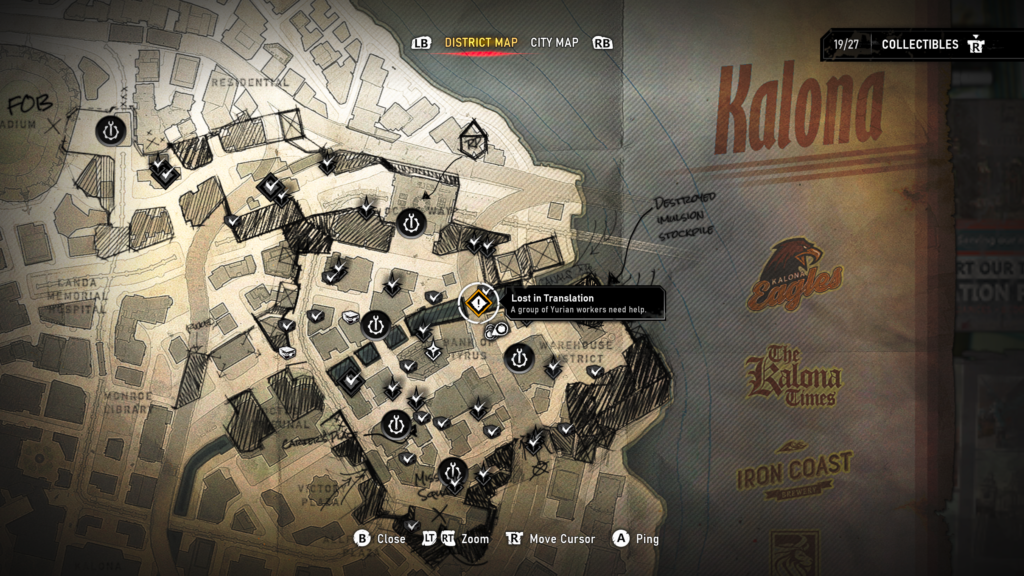
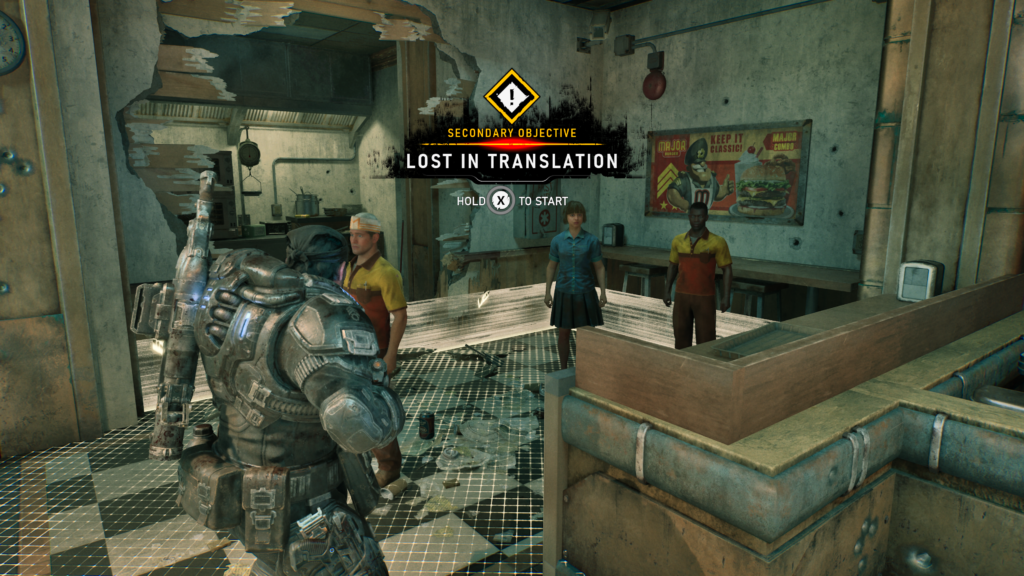
This mission will be accessible when your main objective is to “Find Mags’ Meds” after you’re done at the Amberstone Storage Facility. The secondary objective is located in a Major Burger restaurant. You’ll need to speak with the civilians and then escort them to a shelter. There will be several points where Locust attack. Once you have reached the shelter, and the civilians are safe you will complete the secondary objective.
Hard Case (16 / 18)
In an underground car park, across the river from where you found the Lancer Toy collectible earlier.
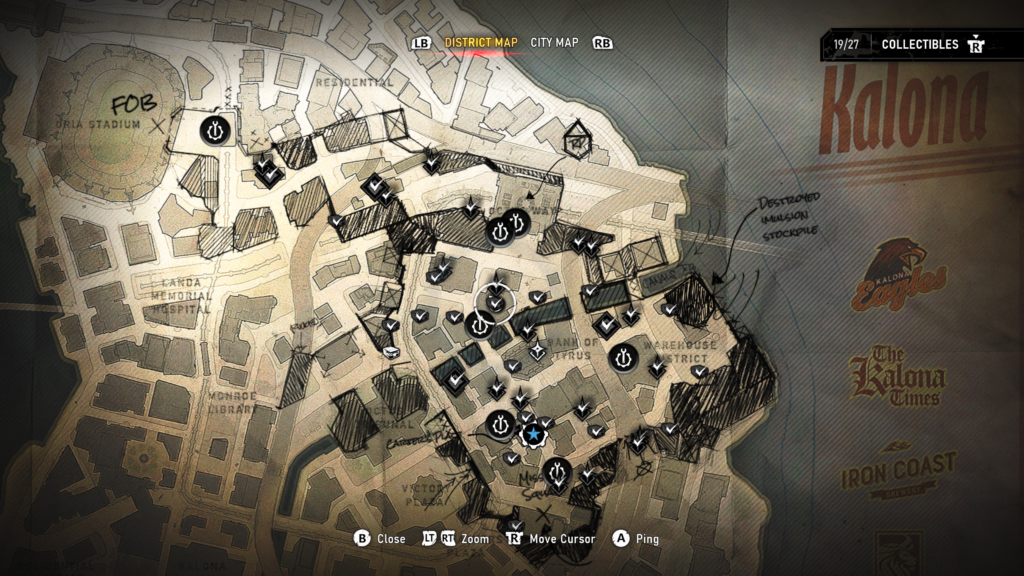
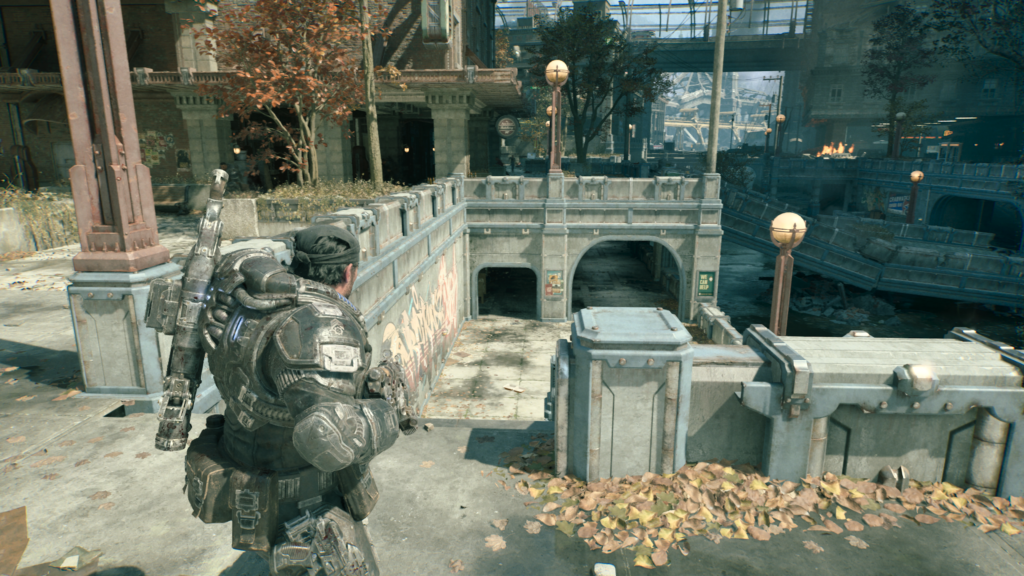
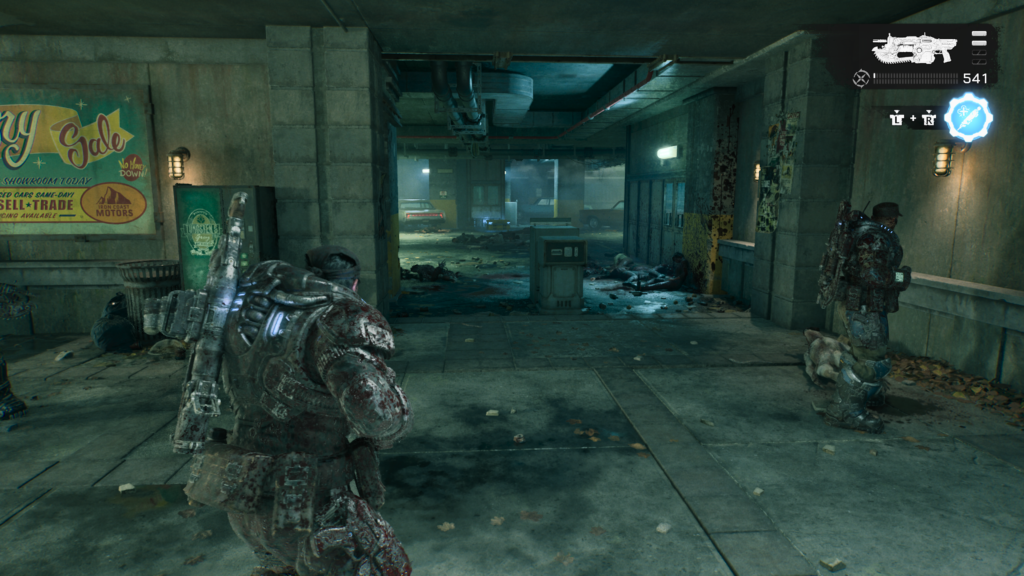
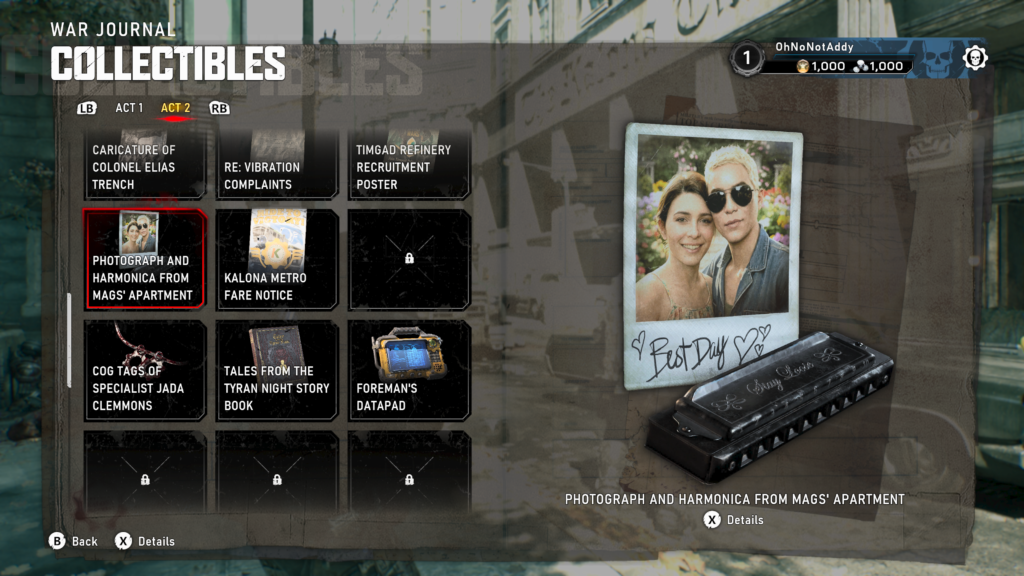
Collectible – Photograph and Harmonica from Mags’ Apartment (17 / 18)
You’ll receive this collectible as part of the main mission objective where you have to ‘Find Mags’ Meds’. After a cutscene inside Mags’ apartment, you’ll come back outside and receive the collectible.
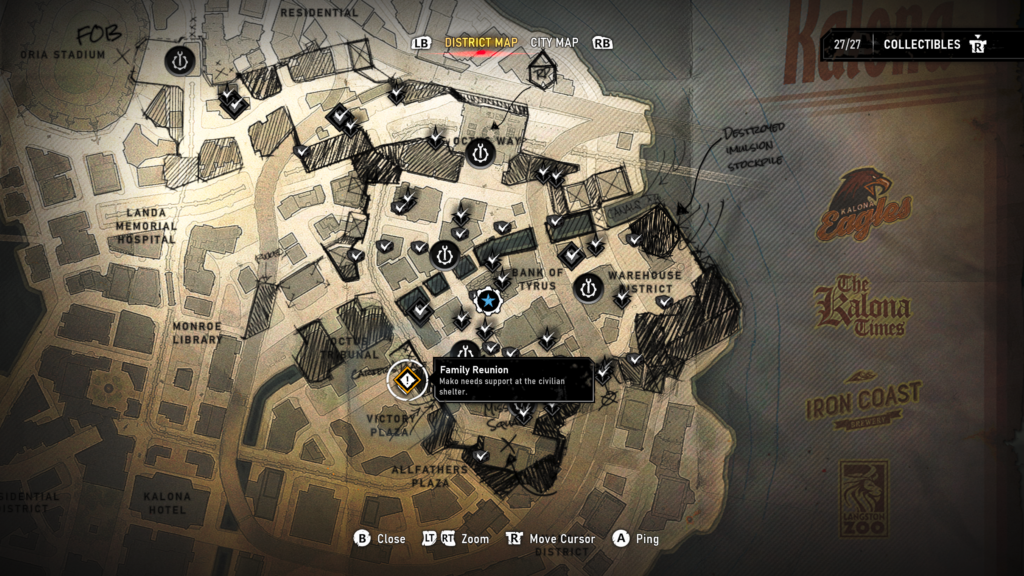
Secondary Objective – (3 / 3) – Family Reunion
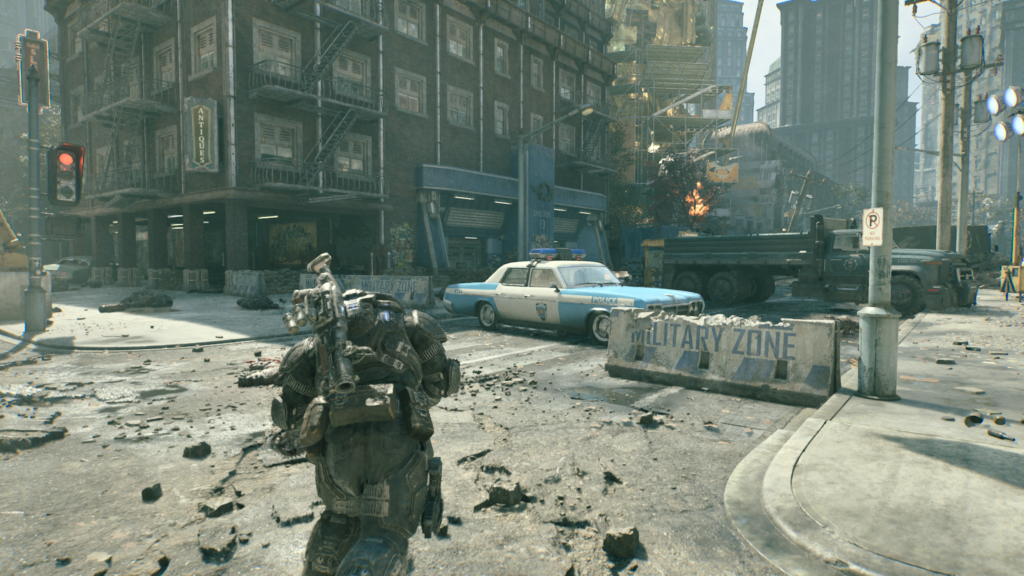
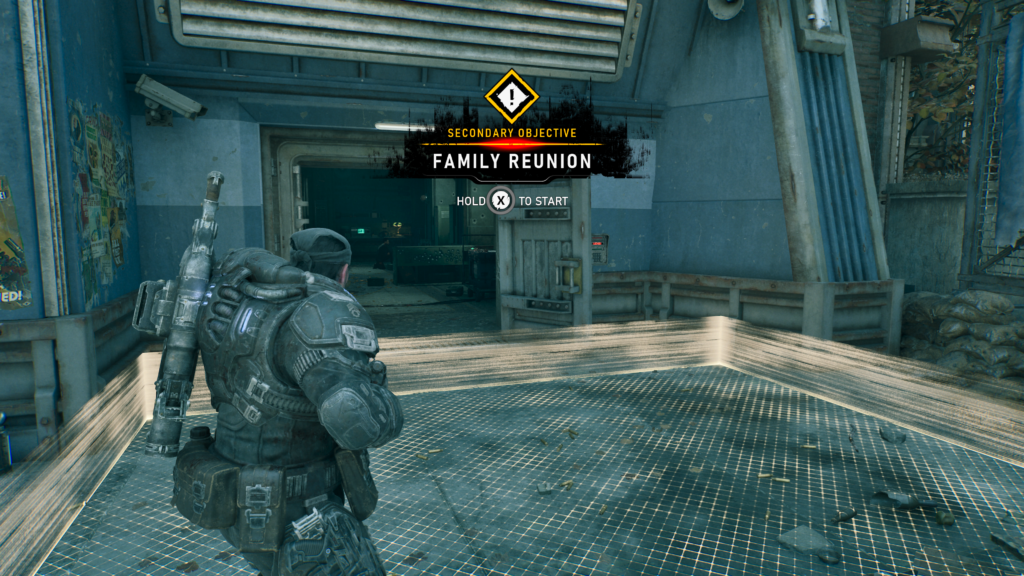
After you have left Mags’ apartment, head forward towards the cross roads where the Bank of Tyrus is sat. Take a left and head all the way down to the edge of the map, there is a shelter there with the Family Reunion Secondary Objective. Defend the shelter to protect the civilians and complete it.
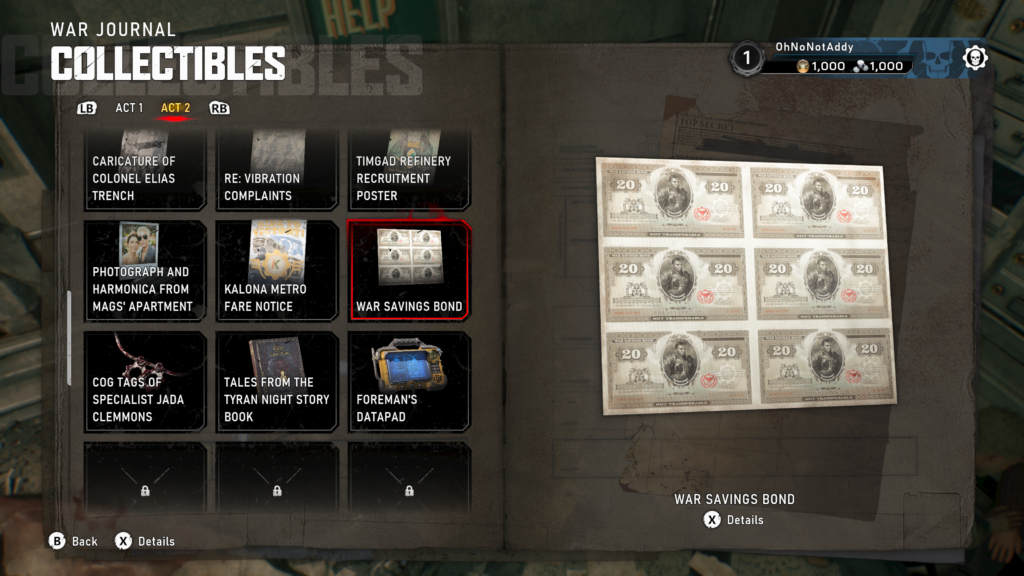
Collectible – War Savings Bond (18 / 18)
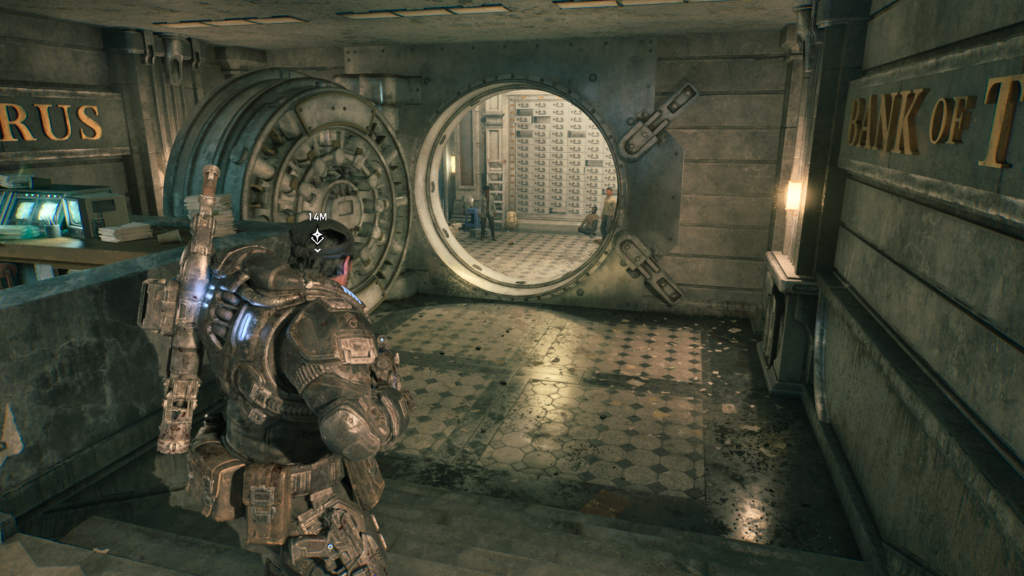
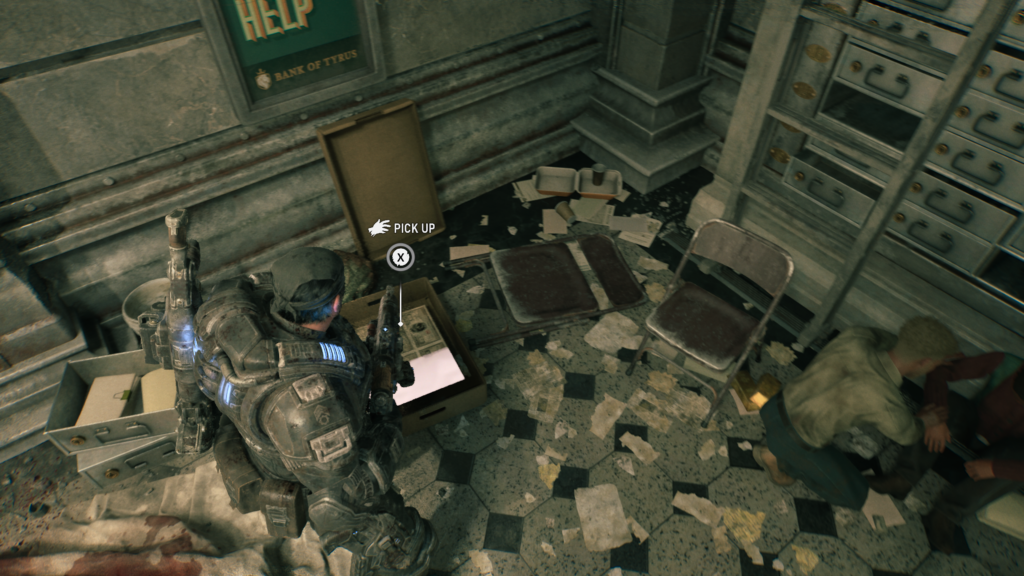
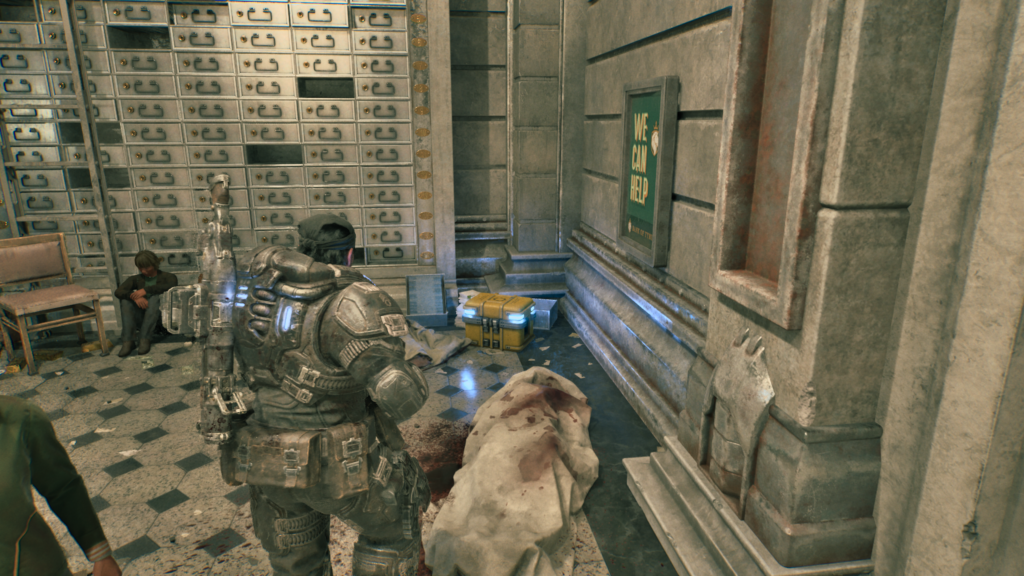
One of the main objectives will take you inside the Bank of Tyrus. Once you have cleared the enemies from this section you will need to open the vault. When you can go inside, the collectible is on the left as you enter.
This may appear on your map as you explore, but you won’t be able to get to it until this specific part in the objectives.
Hard Case (17 / 18)
Also in the Bank of Tyrus vault. Instead of going to the left, look to the right to see the hard case.
Hard Case (18 / 18)
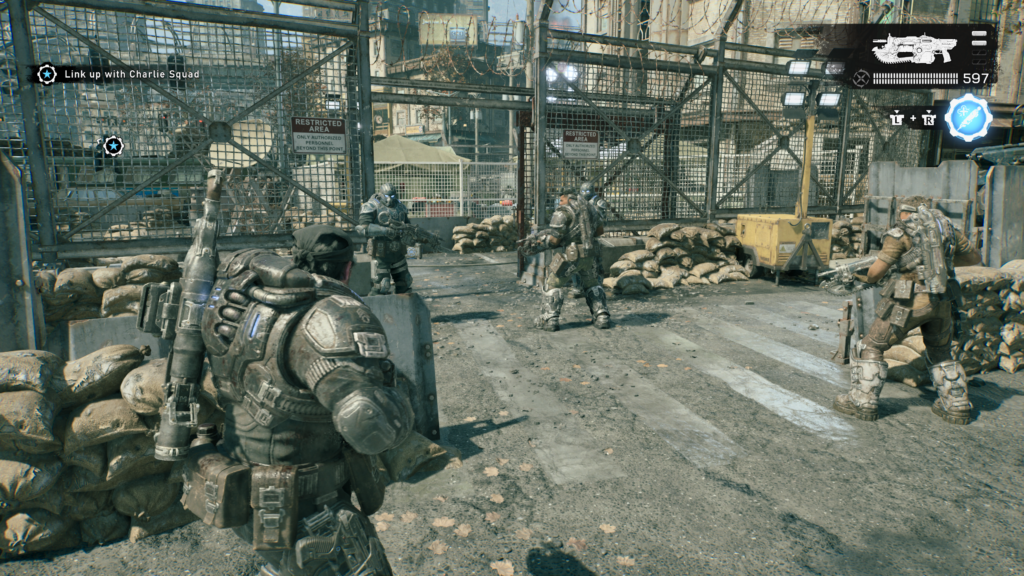
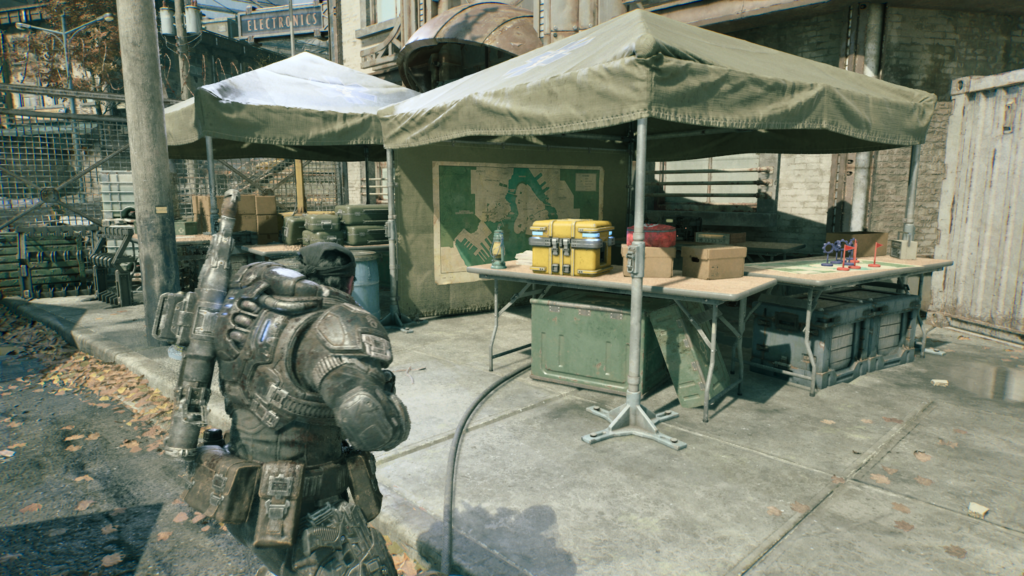
Can be accessed when your main objective is to “Link up with Charlie”, you will be able to head through the gates that were previously closed. The hard case is to the right of the camp, on a table.
Act 2, Chapter 2 – Hold the Line (Part 3)
- 6 Collectibles
- 8 Hard Case
- 2 Secondary Objectives
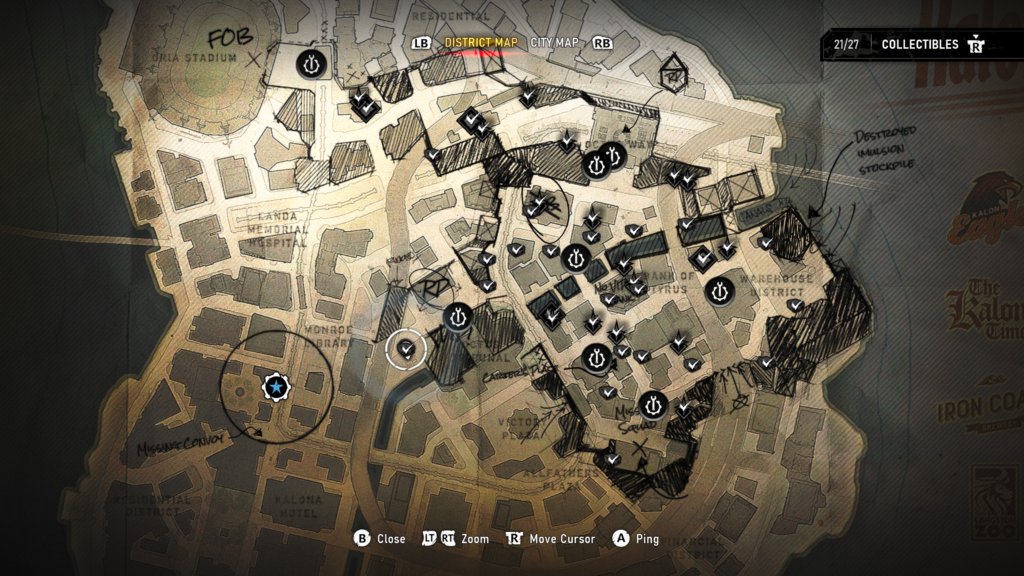
You will have access to a map in this chapter. I have included the map location for each object where possible. I have listed these collectibles in the order that I found them, t
Hard Case (1 / 8)
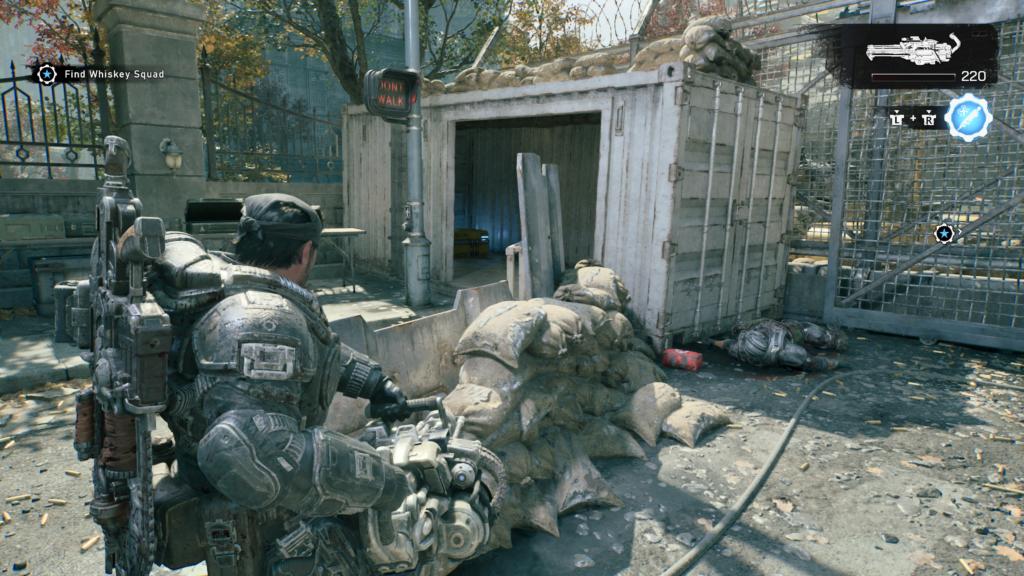
The hard case is in a shipping container while your walking through the military camp.
Hard Case (2 / 8)
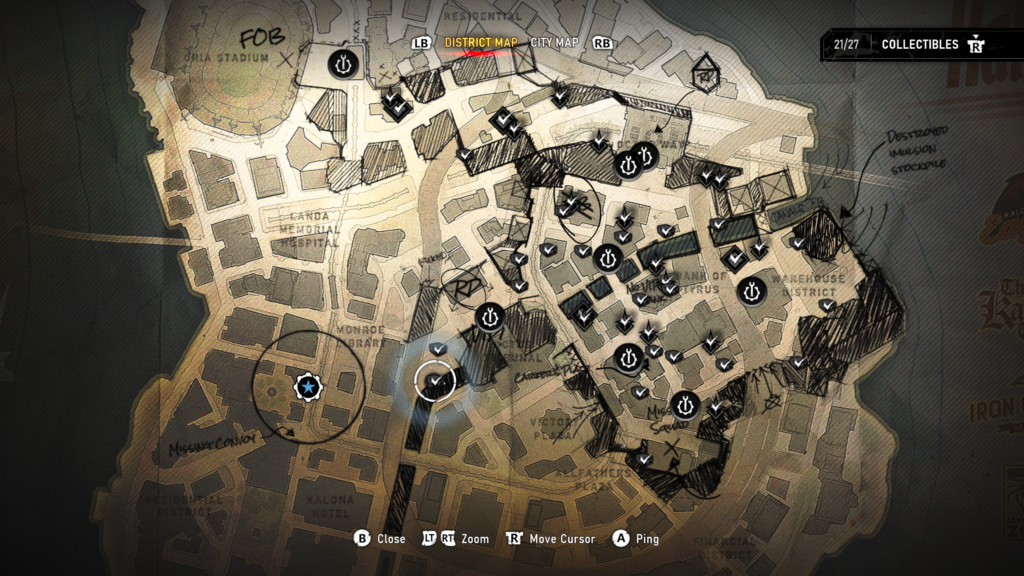
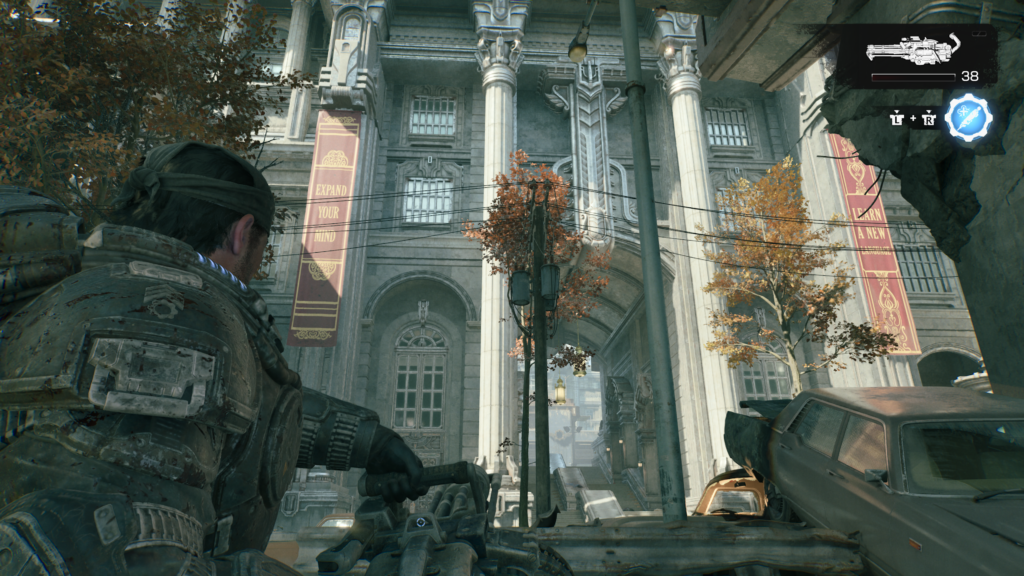
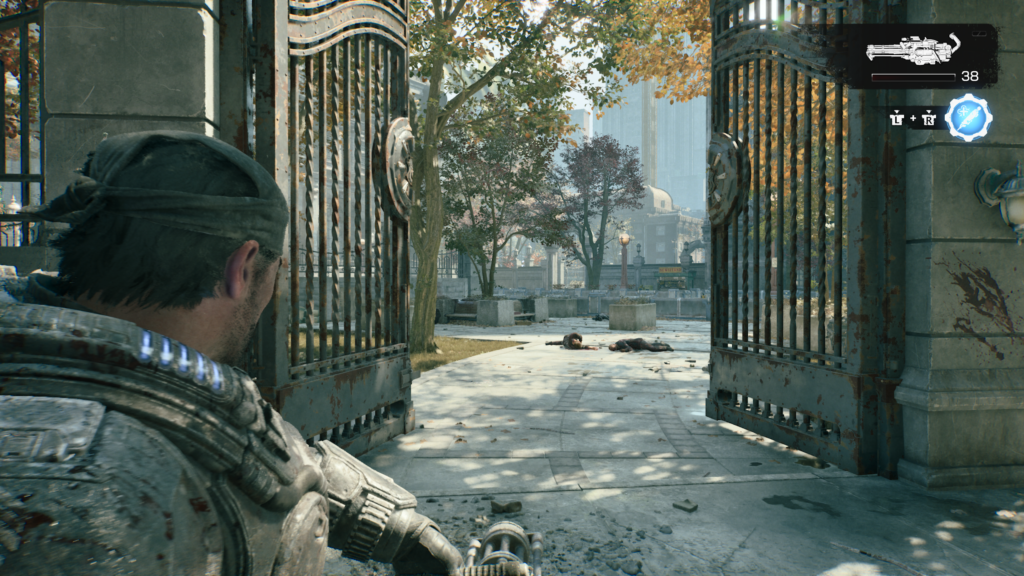
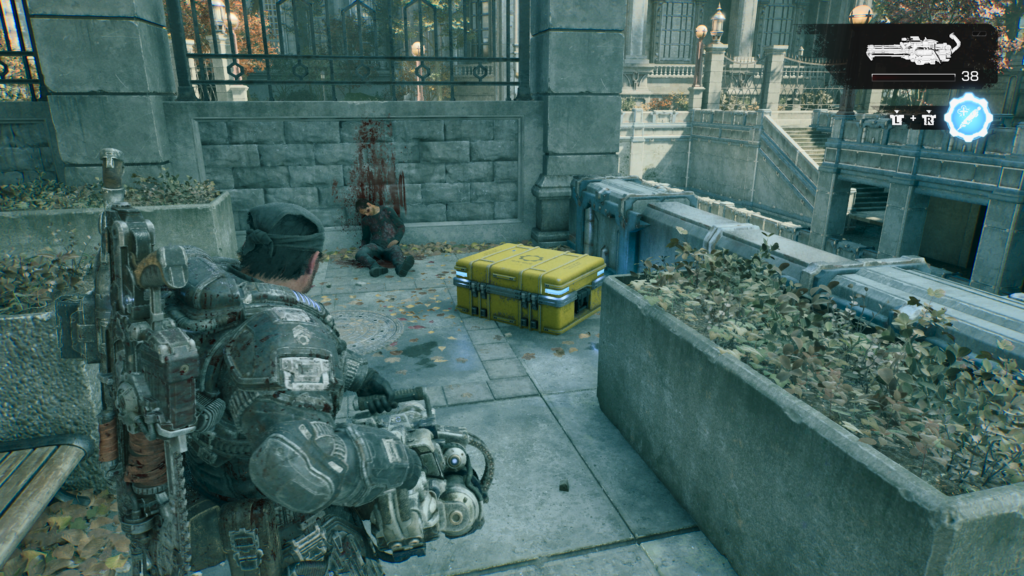
Across from the Monroe Library (the very large building as you enter the area, on your right, there is a park you can access through a gate. Go through and the hard case is in the back left of that area.
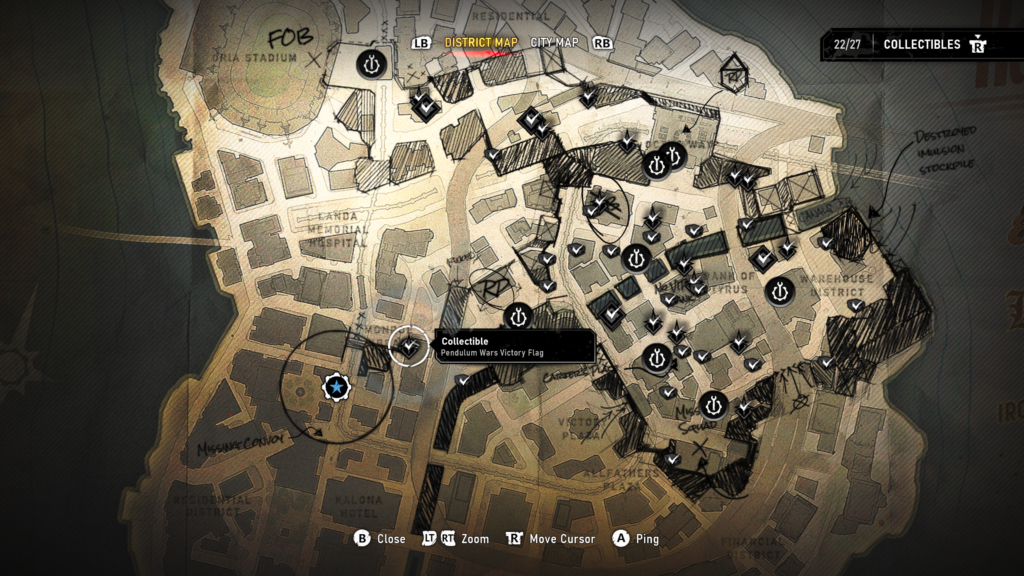
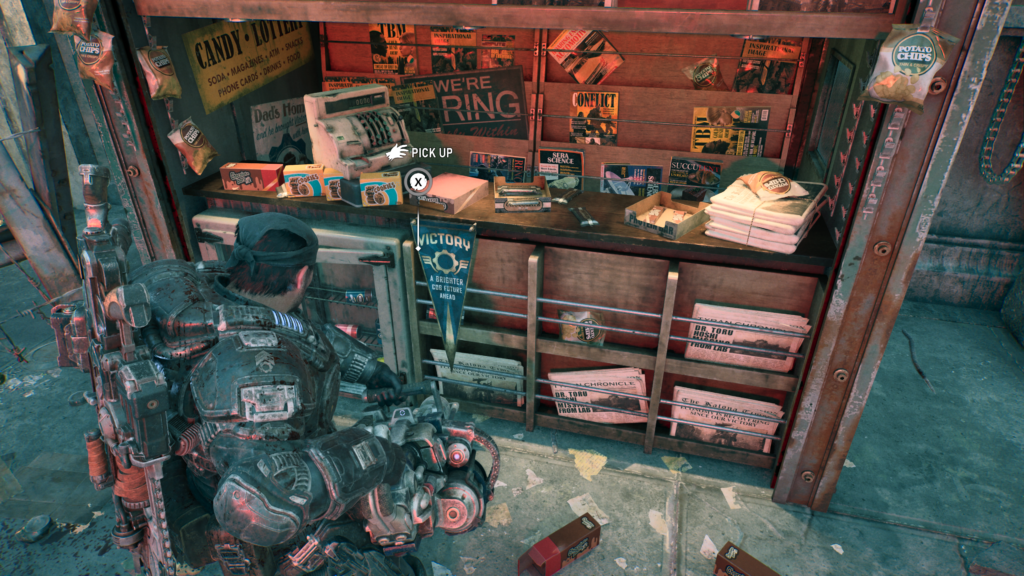
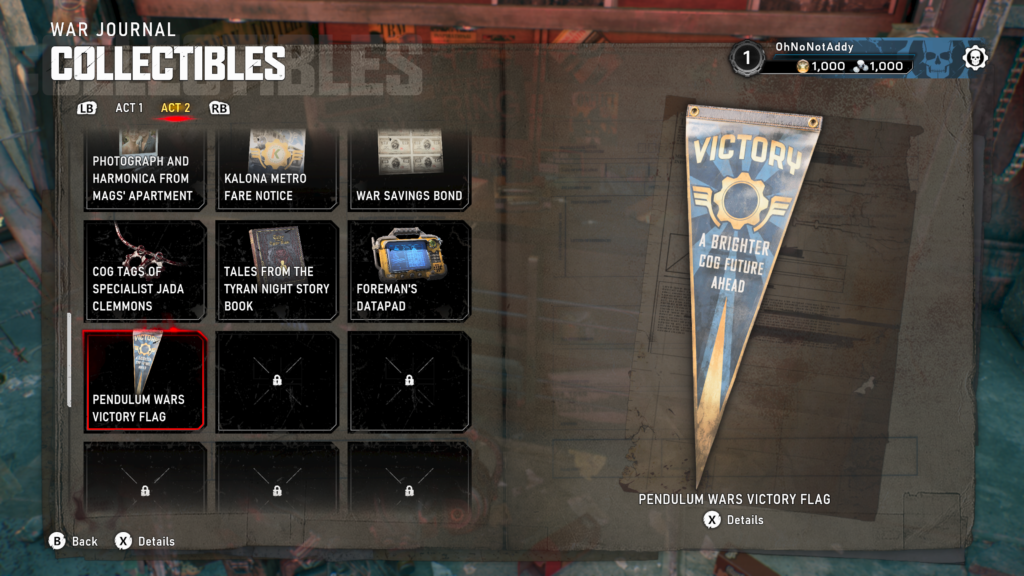
Collectible – Pendulum Wars Victory Flag (1 / 6)
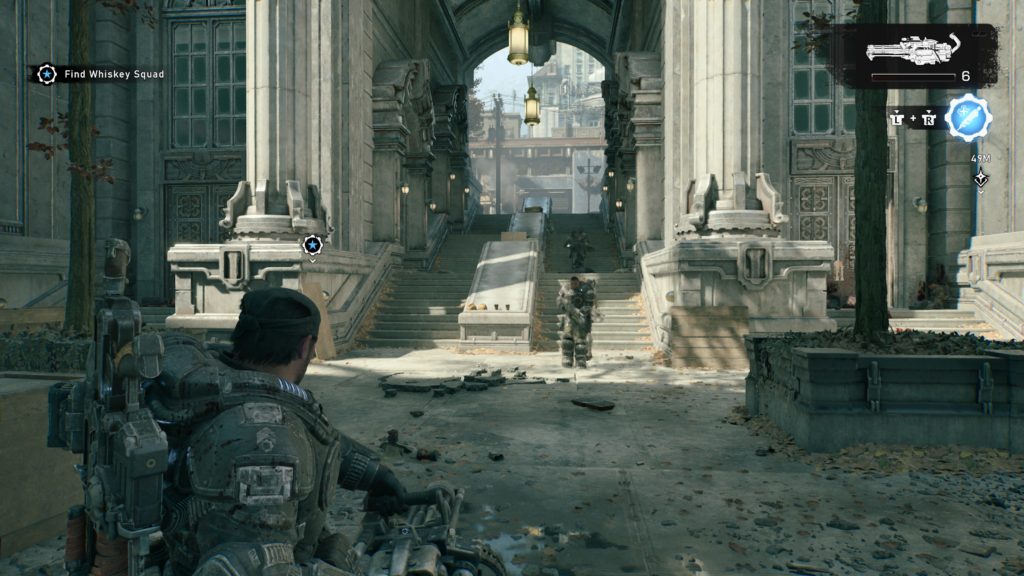
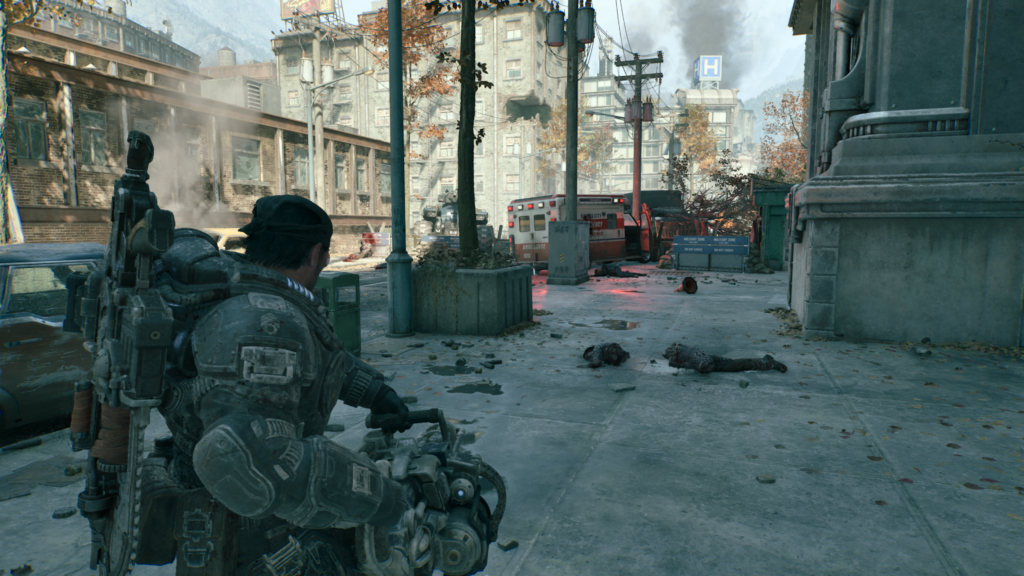
From the previous hard case turn back around and head up the stairs of the library building. At the top of the stairs make a right and in the corner of the dead end will be a newspaper stand. The collectible is there.
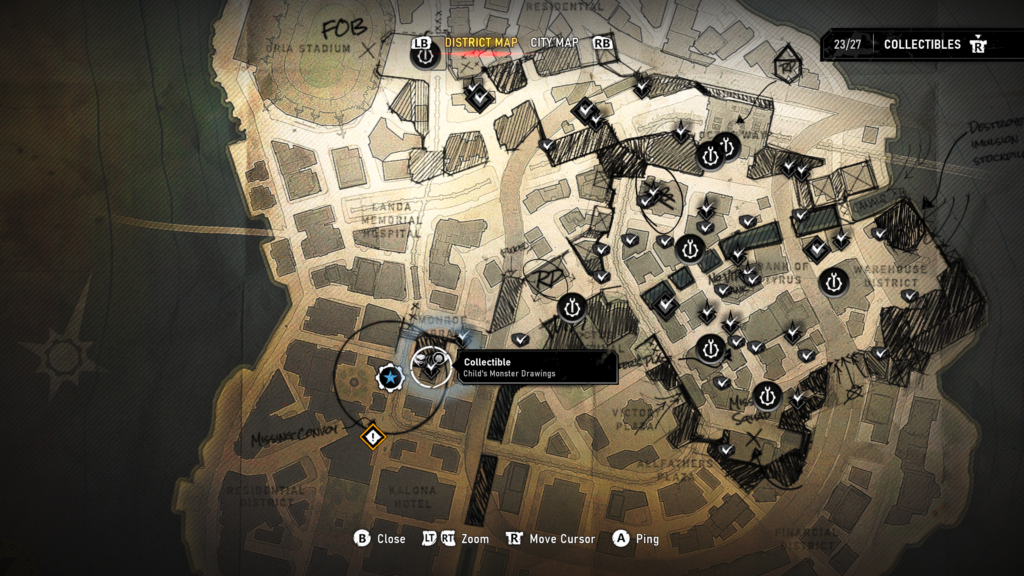
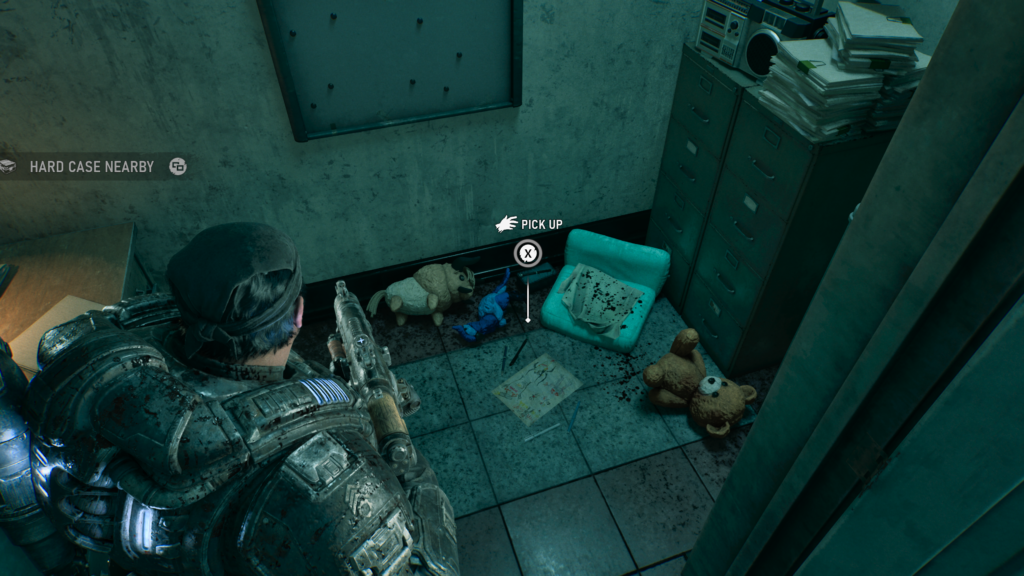
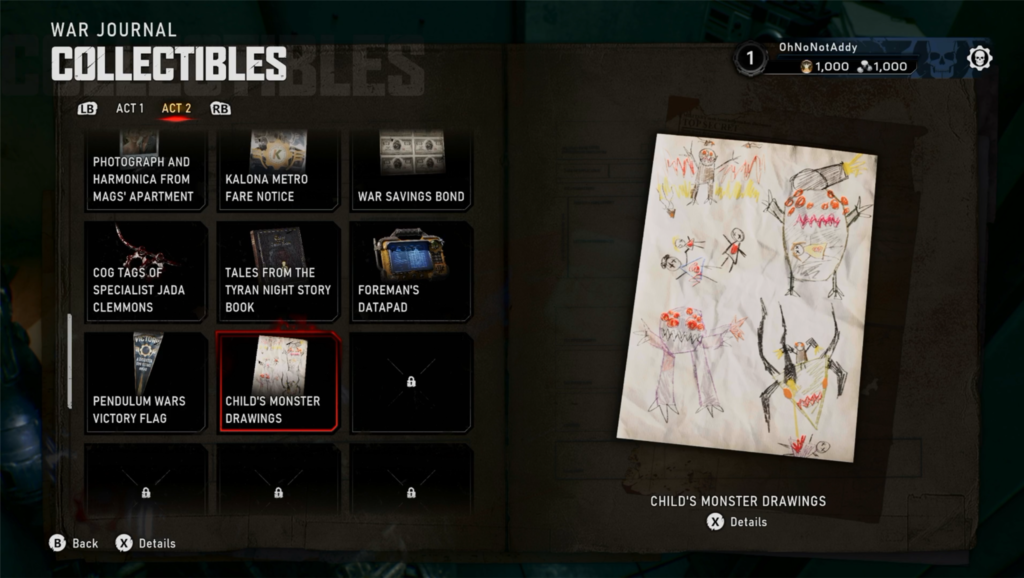
Collectible – Child’s Monster Drawings (2 / 6)
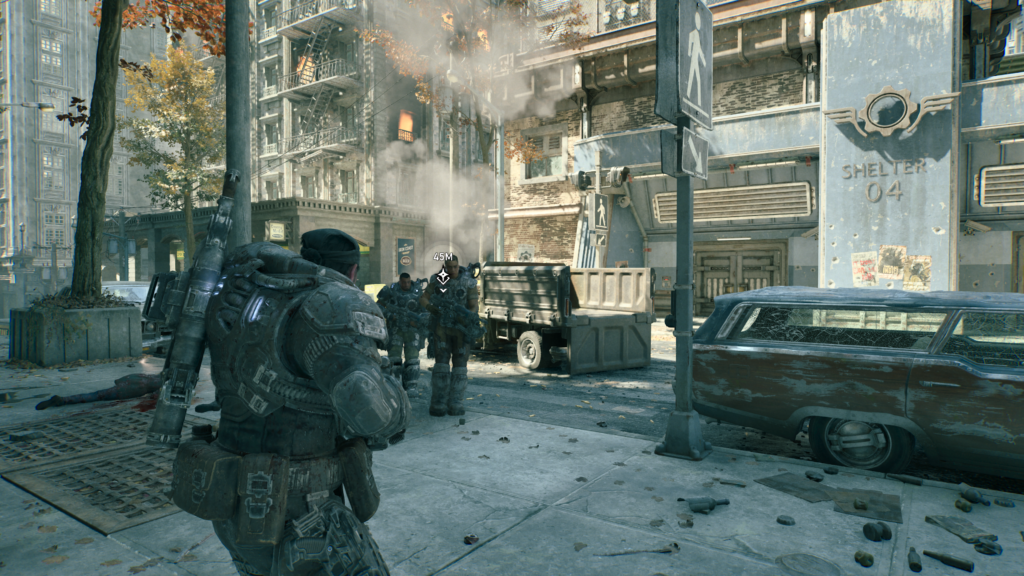
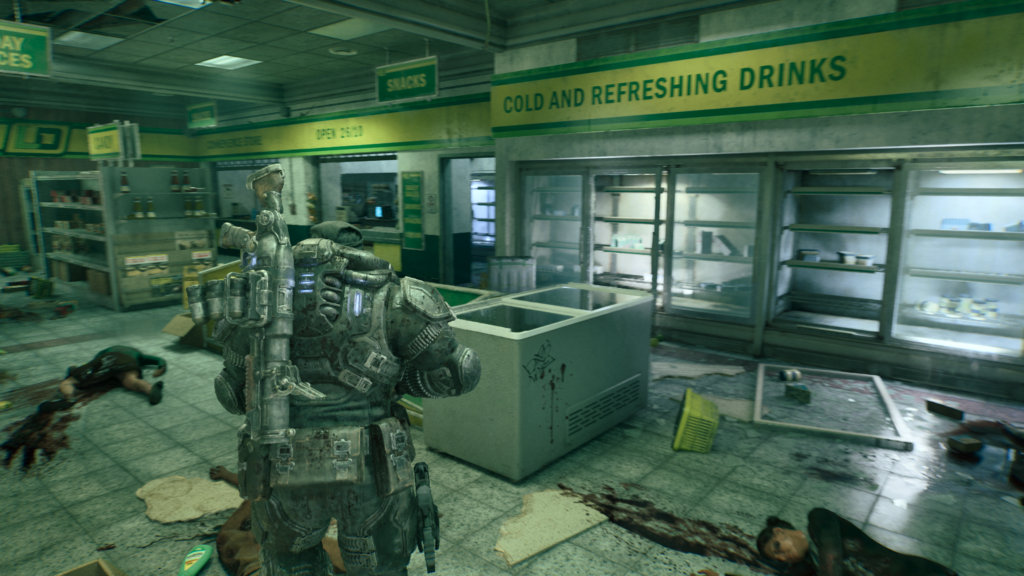
From the top of the library steps, near the last collectible, head to the left and go into the supermarket with the yellow and green sign. In the back room is the collectible on the floor.
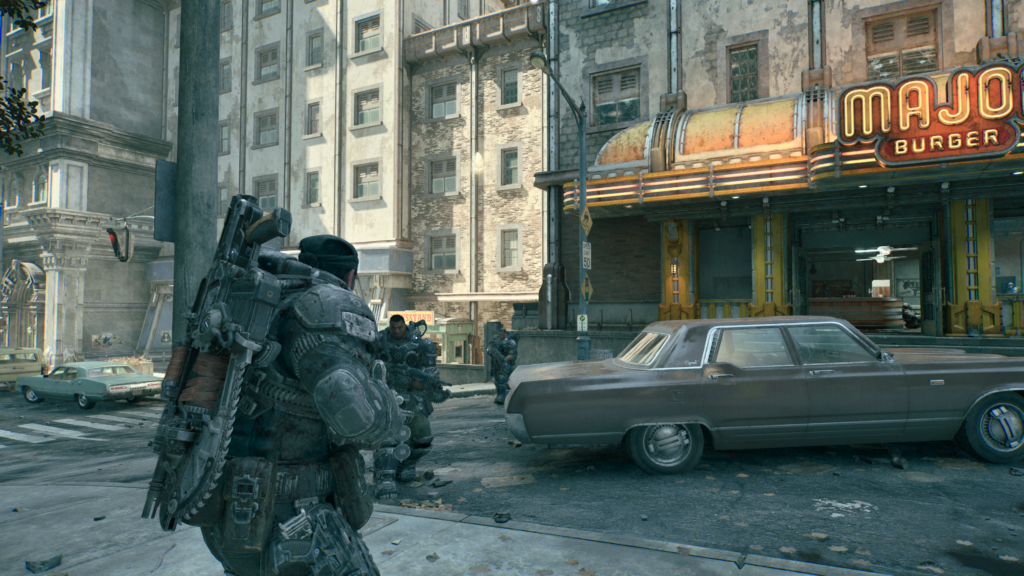
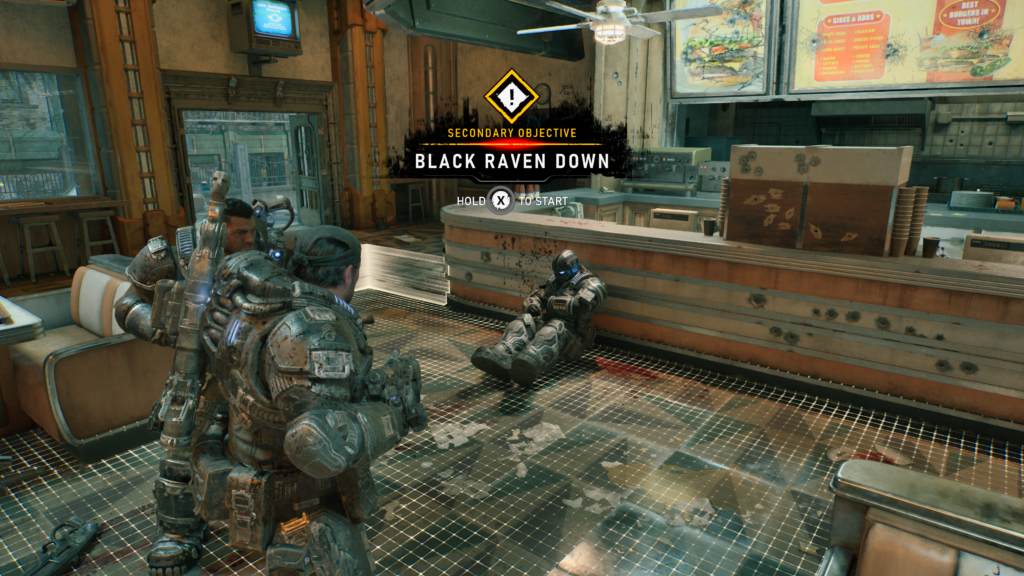
Secondary Objective – (1 / 2) – Black Raven Down
Collectible – Holiday Photos (3 / 6)
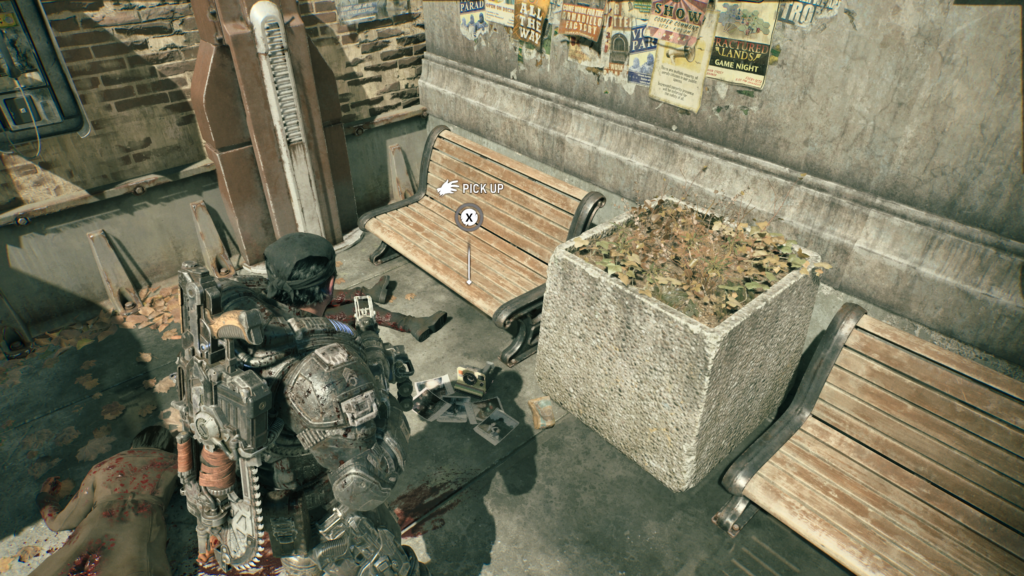
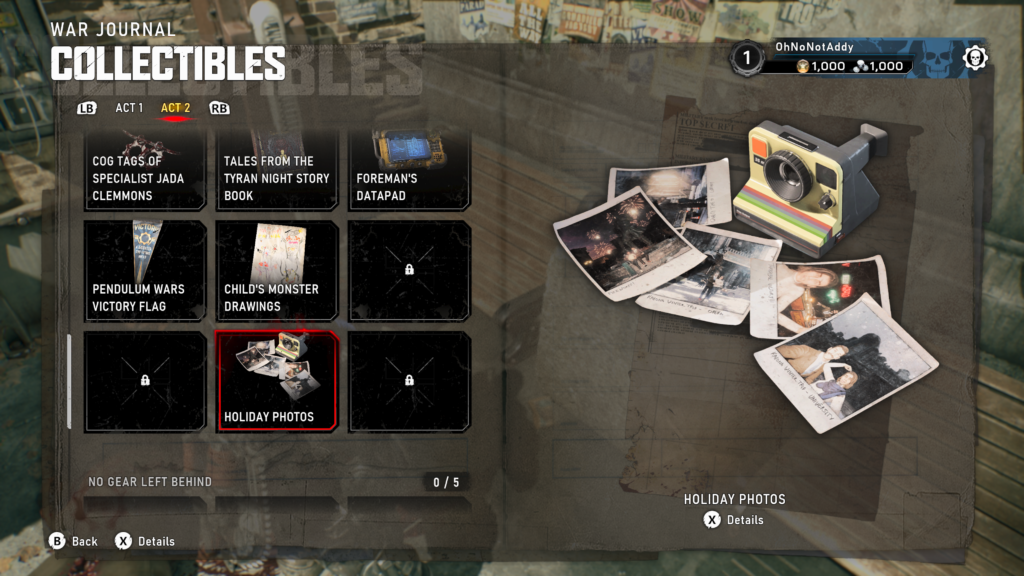
From the Major Burger where the secondary objective was, head to the left and on your right, you should see a newsstand to the right of Shelter 09. Head back down the side of the newsstand to spot the collectible on the floor in front of a bench.
Hard Case (3 / 8)
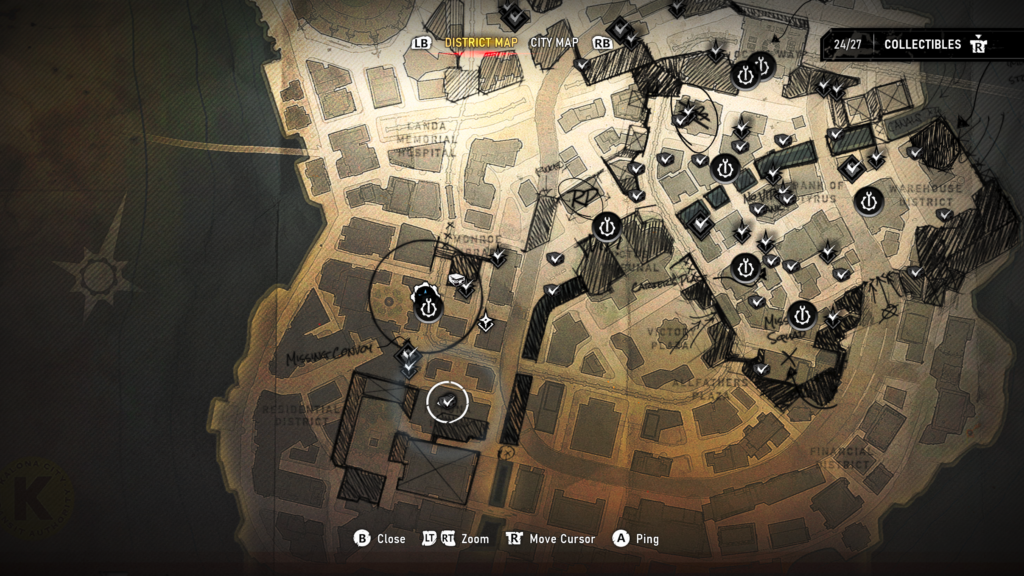
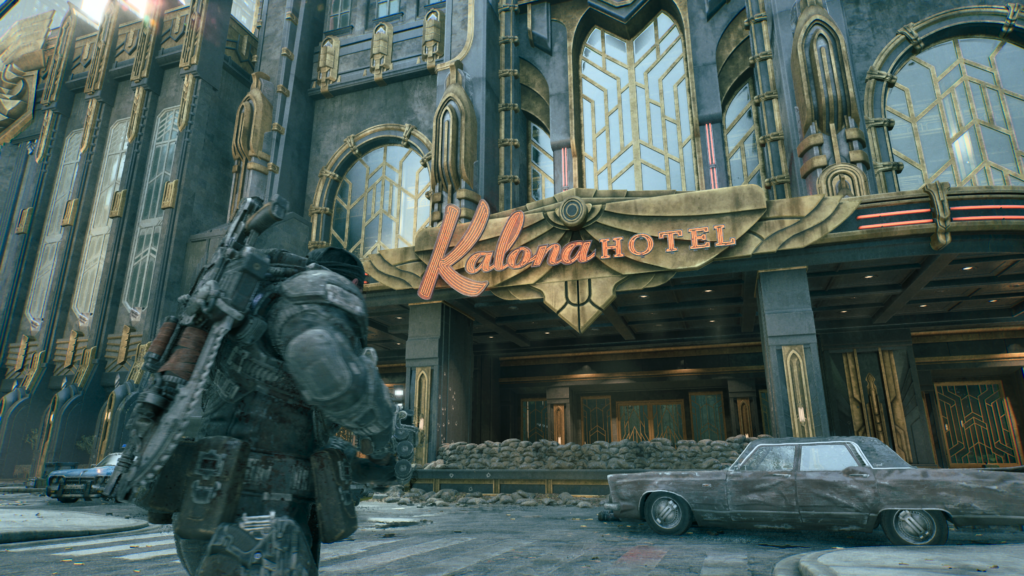
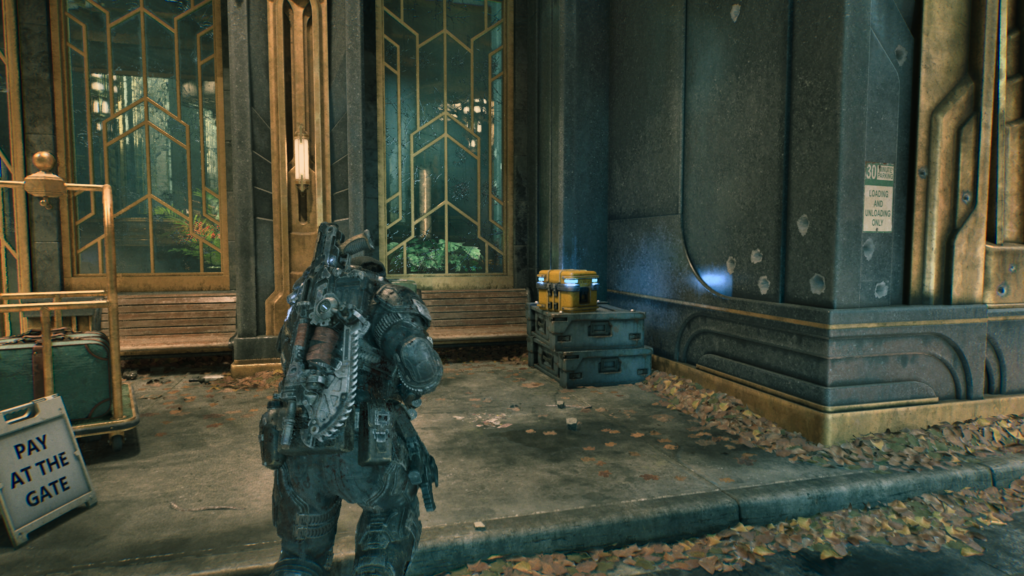
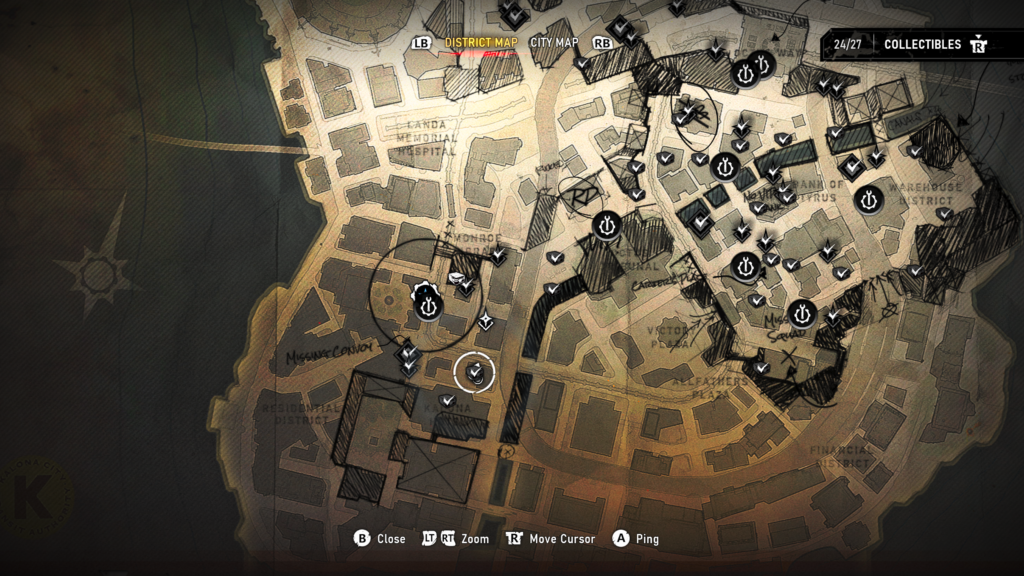
At the entrance to the Kalona Hotel. To the right side of the entrance.
Hard Case (4 / 8)
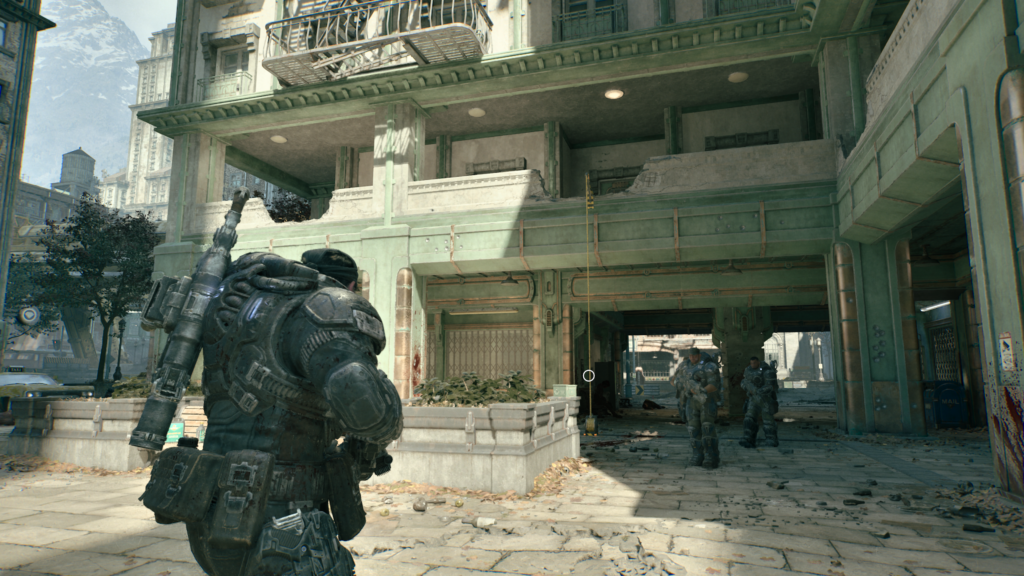
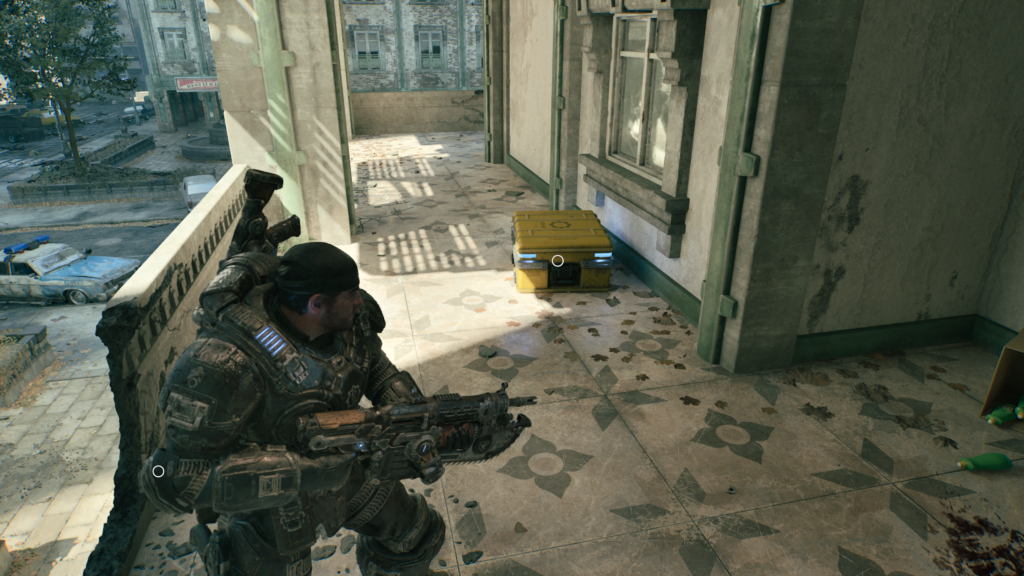
Across from the entrance to the Kalona Hotel there is a building with a pale green balcony, a floor up, that you can get to. Use the rope to get to the next floor and the hard case is on your left as soon as you reach that floor (if you use the rope).
Hard Case (5 / 8)
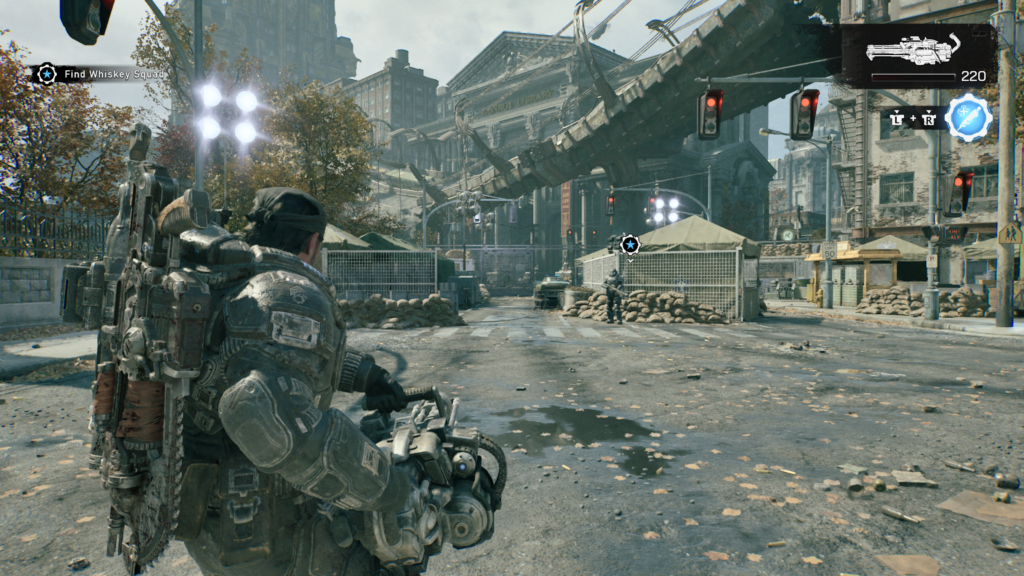
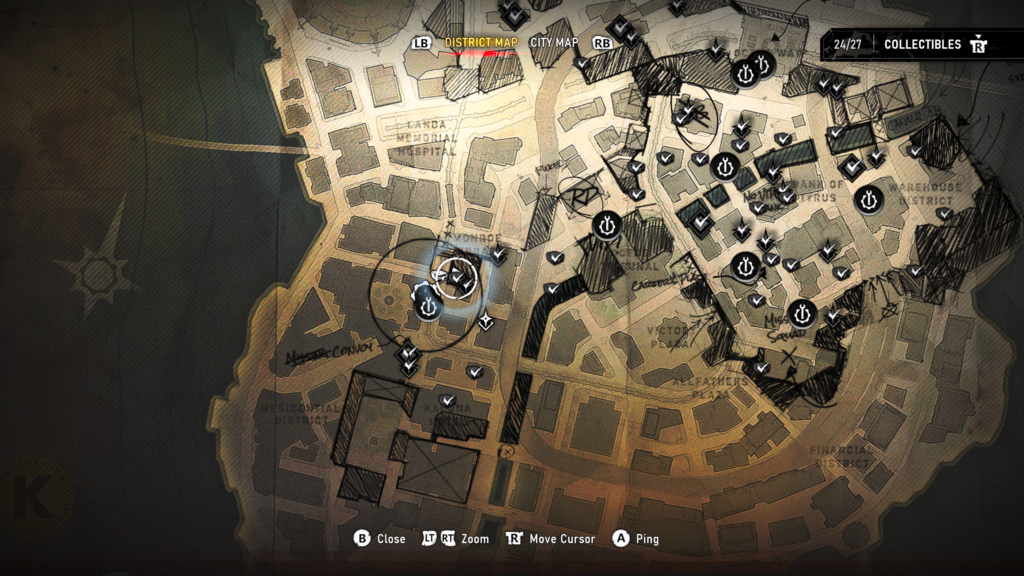
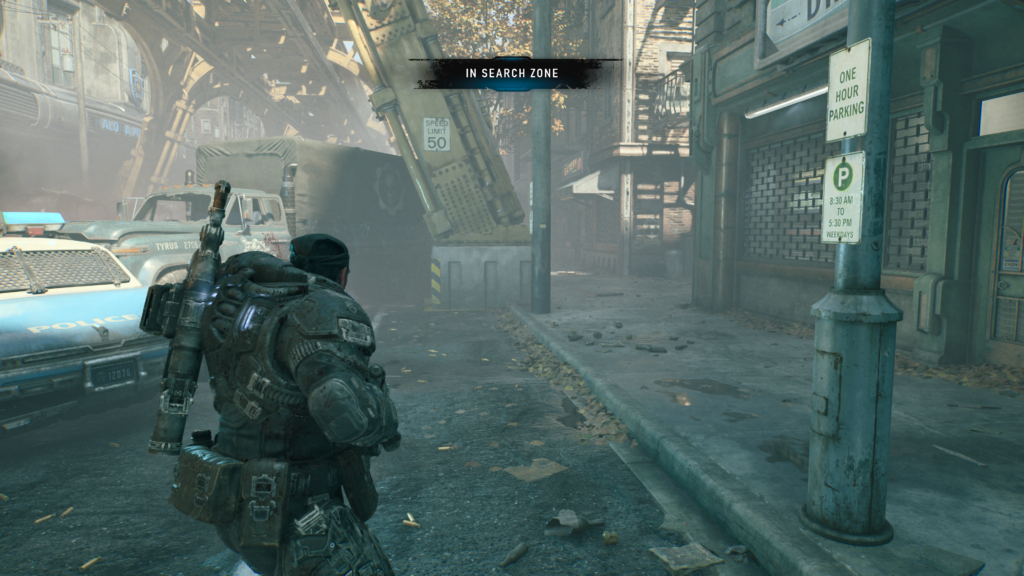
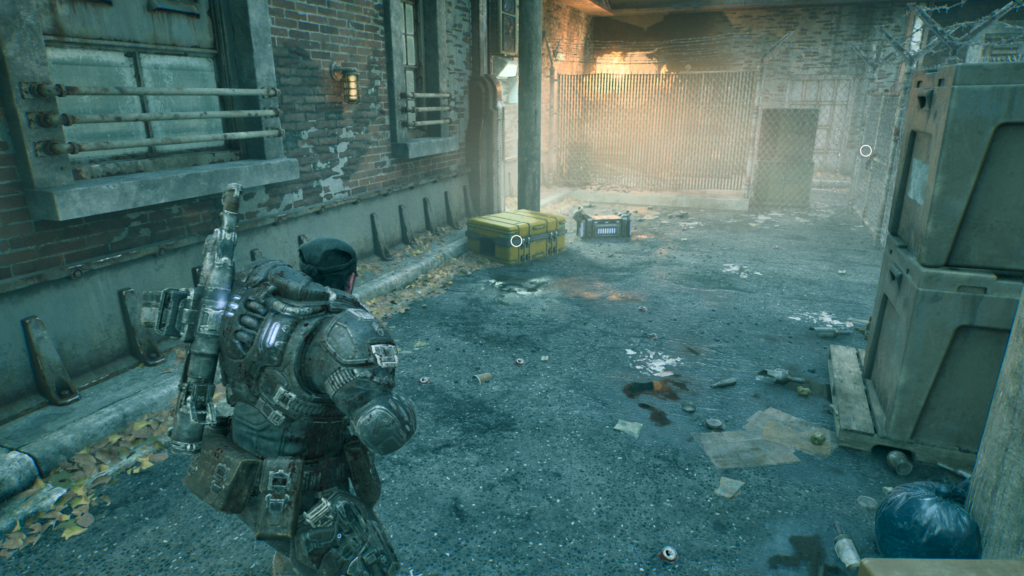
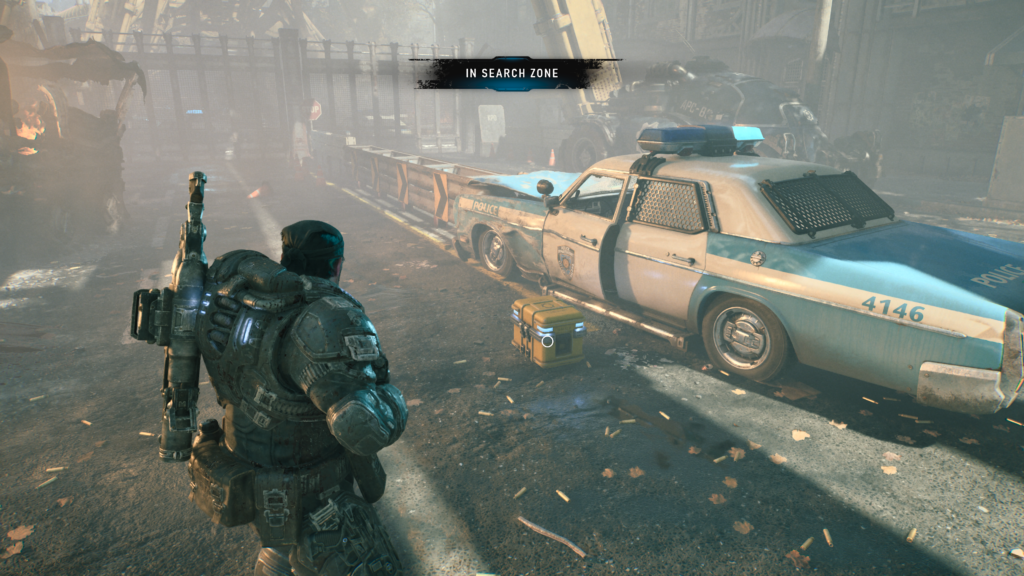
There’s a set of steps towards the centre of the area that you can cross that takes you into the ‘search zone’ while you’re looking for Whiskey Squad. Cross over these and down, take a right to see an alley on your right. Go down this alley to find the hard case. Don’t forget to open the gate to create a shortcut through.
Hard Case (6 / 8)
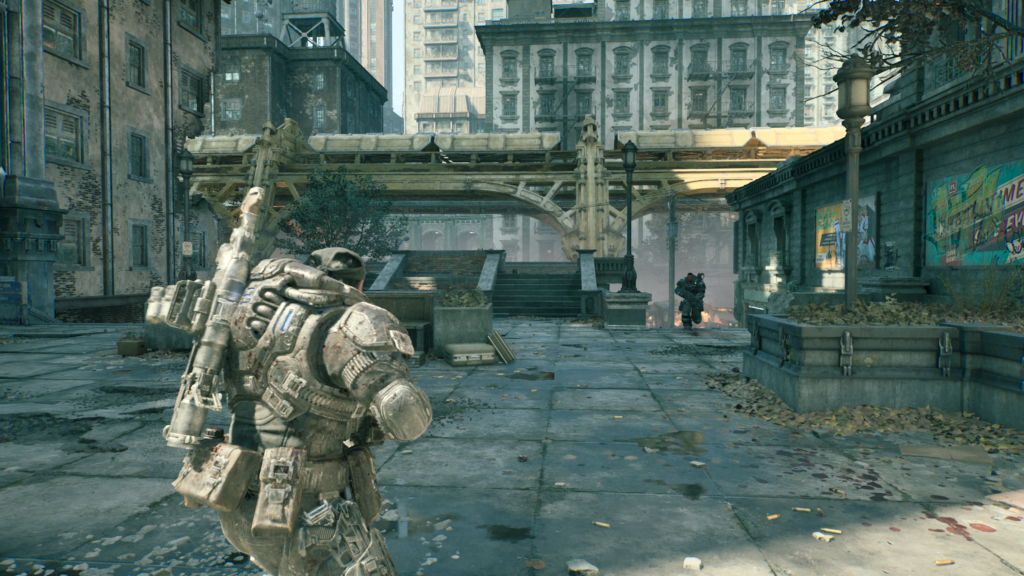
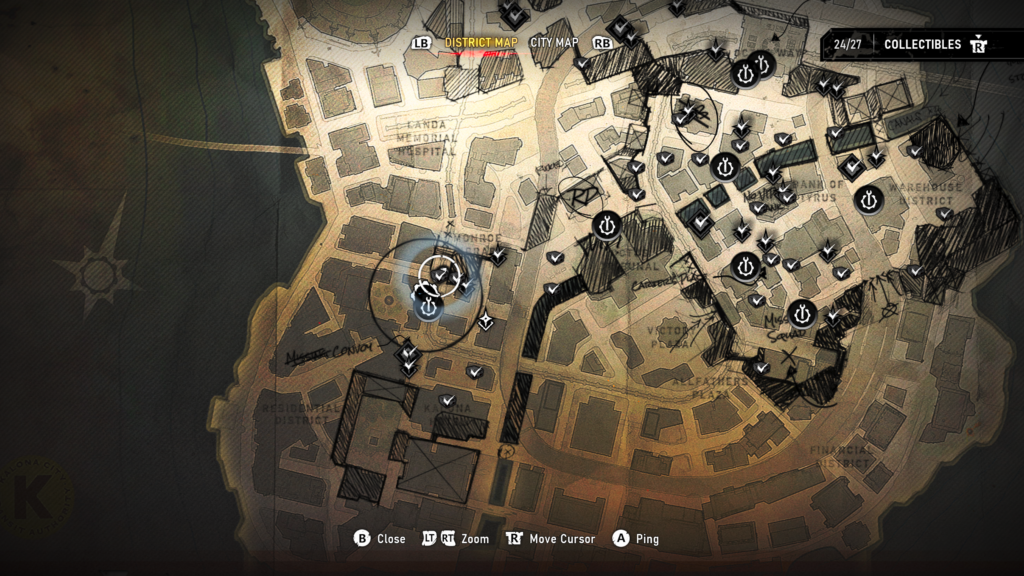
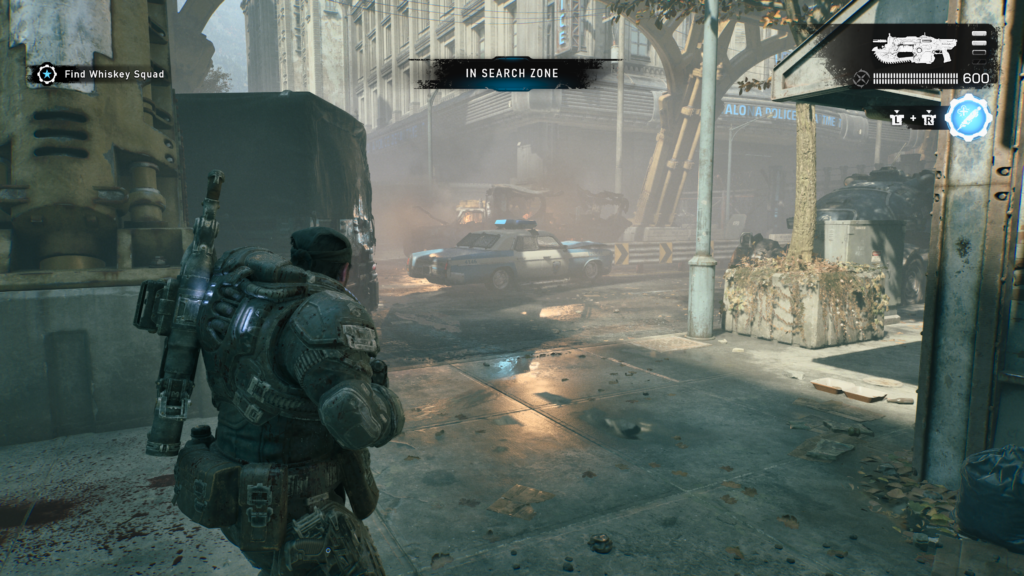
From the last hard case, return back to the street that put you in the ‘search zone’ and head forward, behind a police car is the next hard case.
Hard Case (7 / 8)
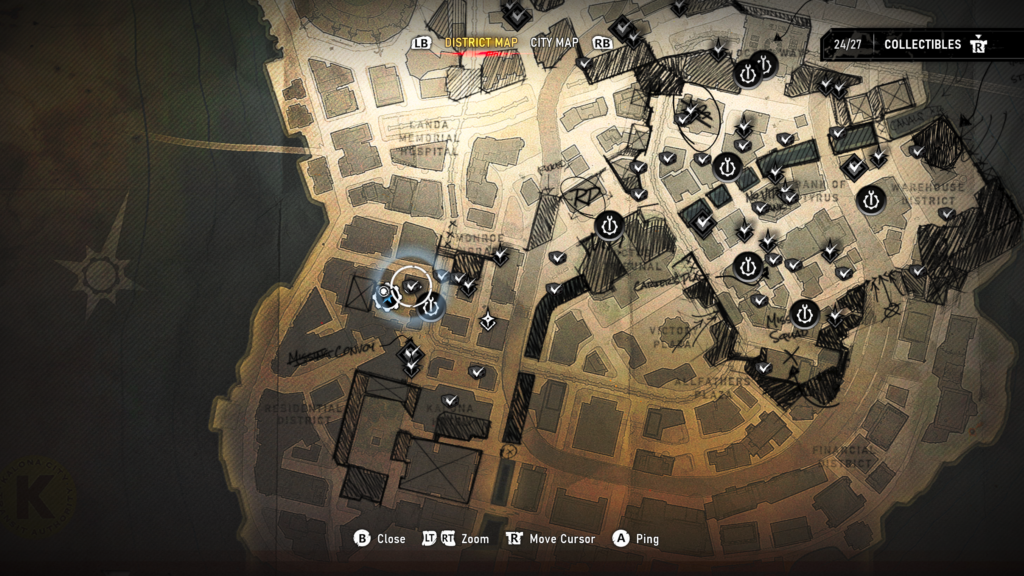
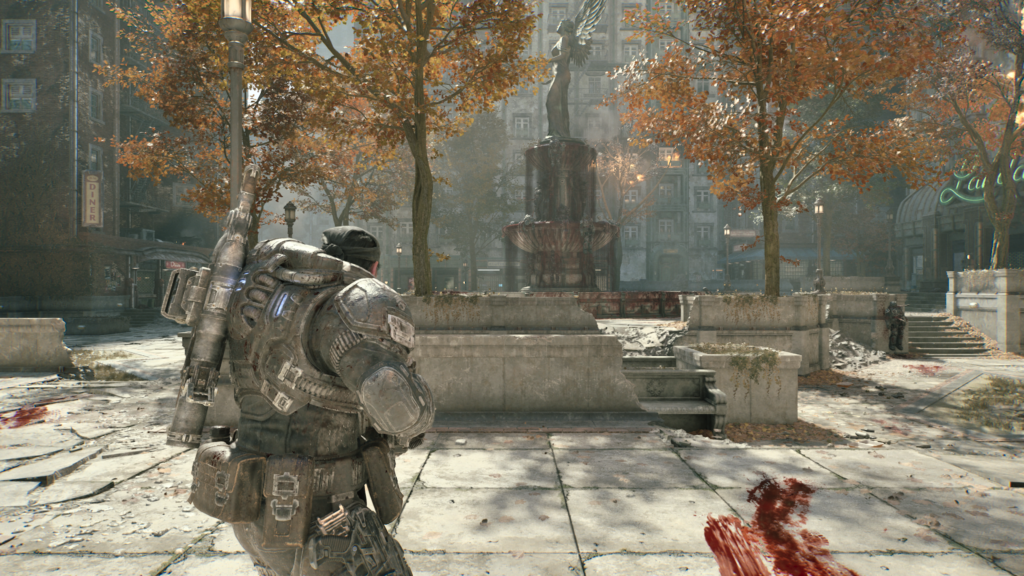
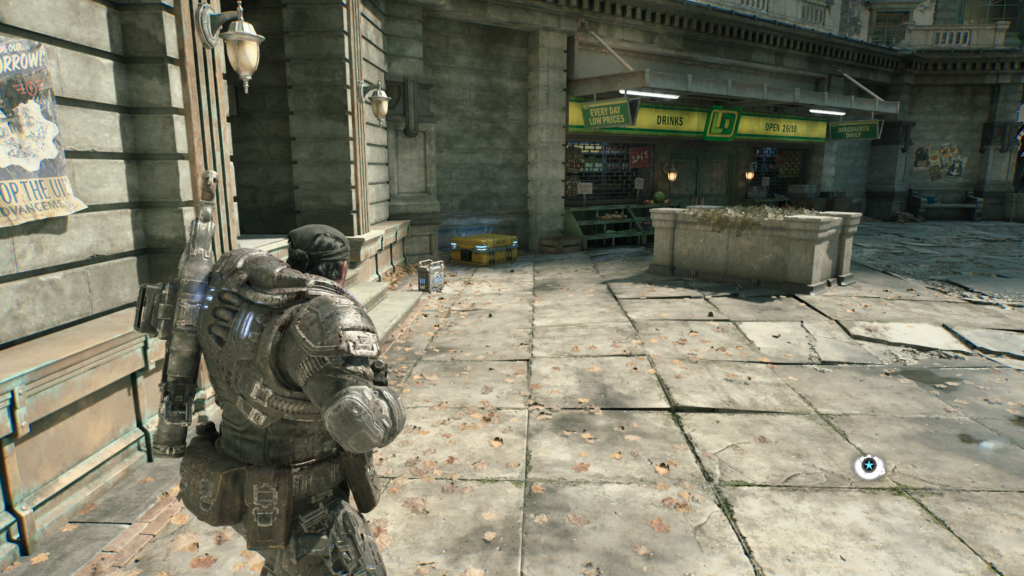
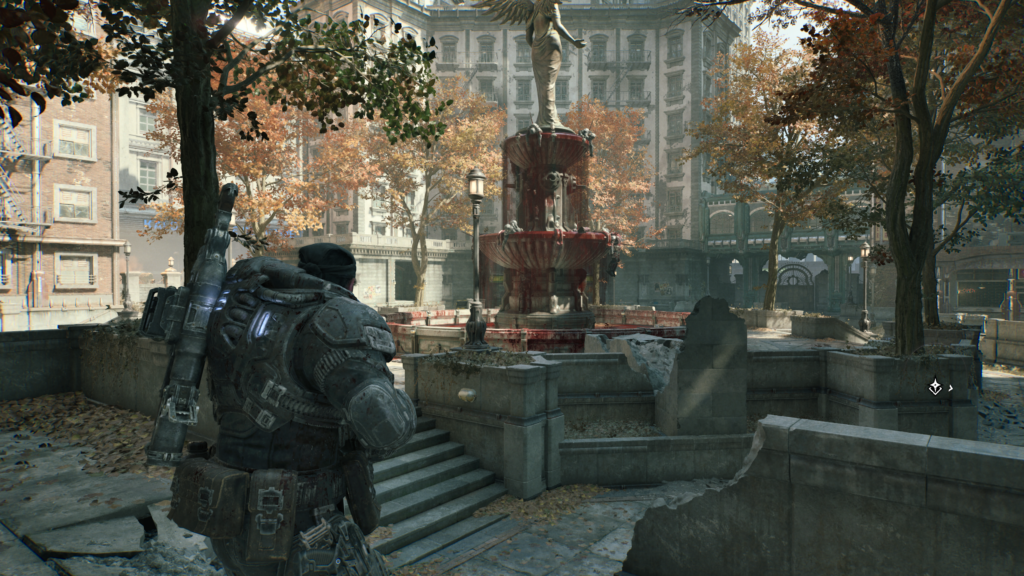
When you reach the courtyard, and the fountain, turn to the left to see the hard case to the side.
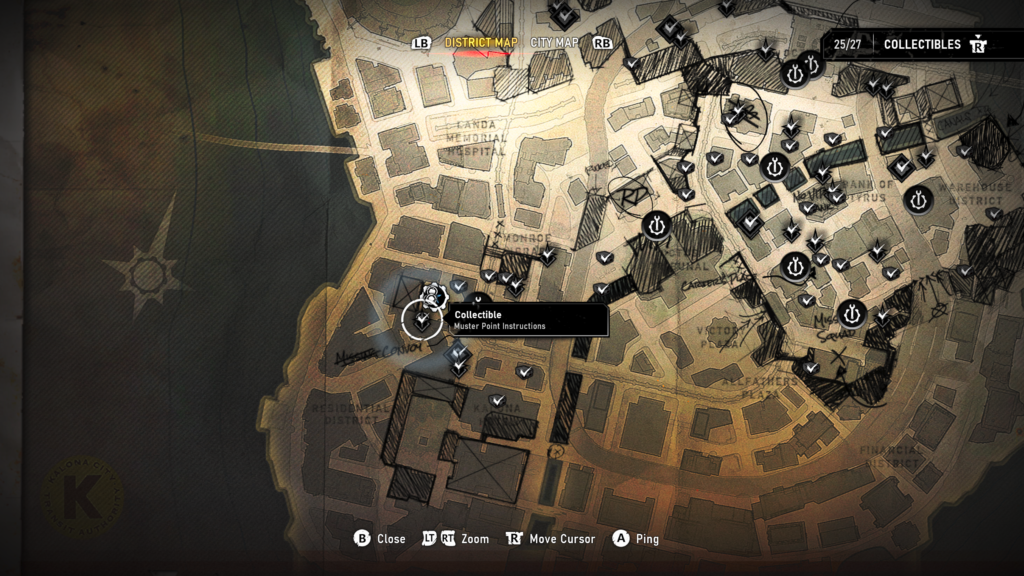
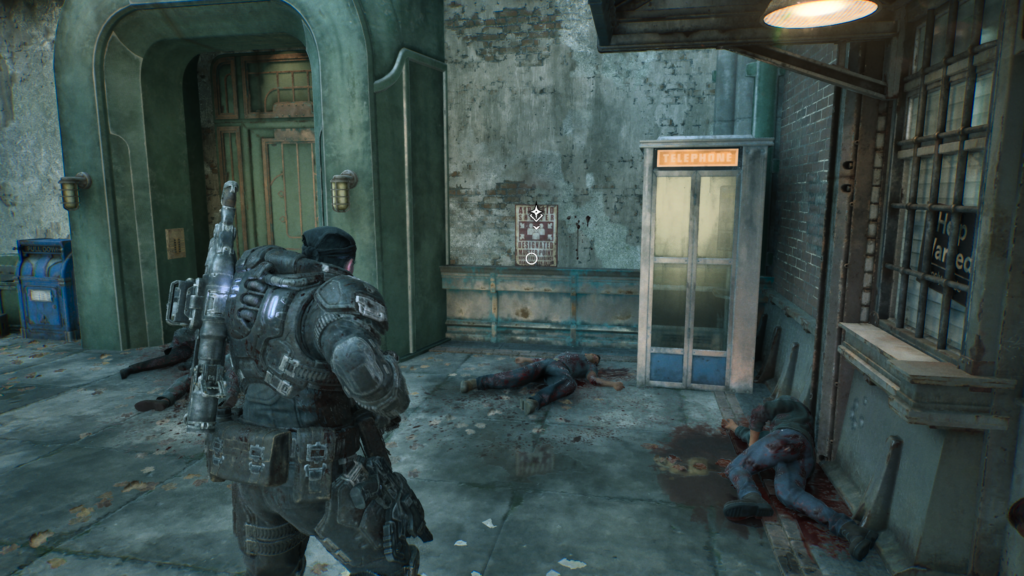
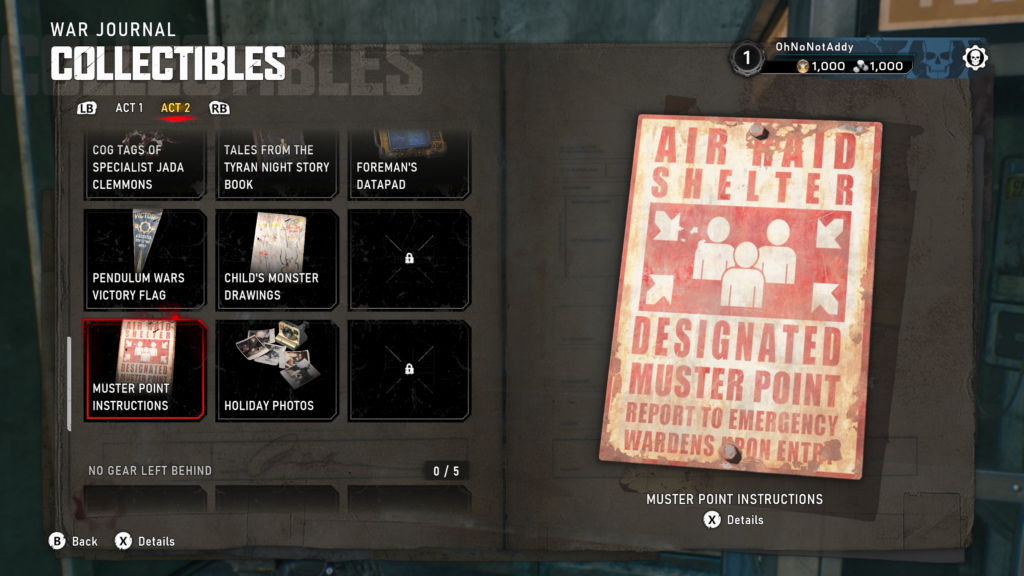
Collectible – Muster Point Instructions (4 / 6)
In the courtyard area, head past the fountain and on the wall on the other side from where you entered is the collectible on a wall.
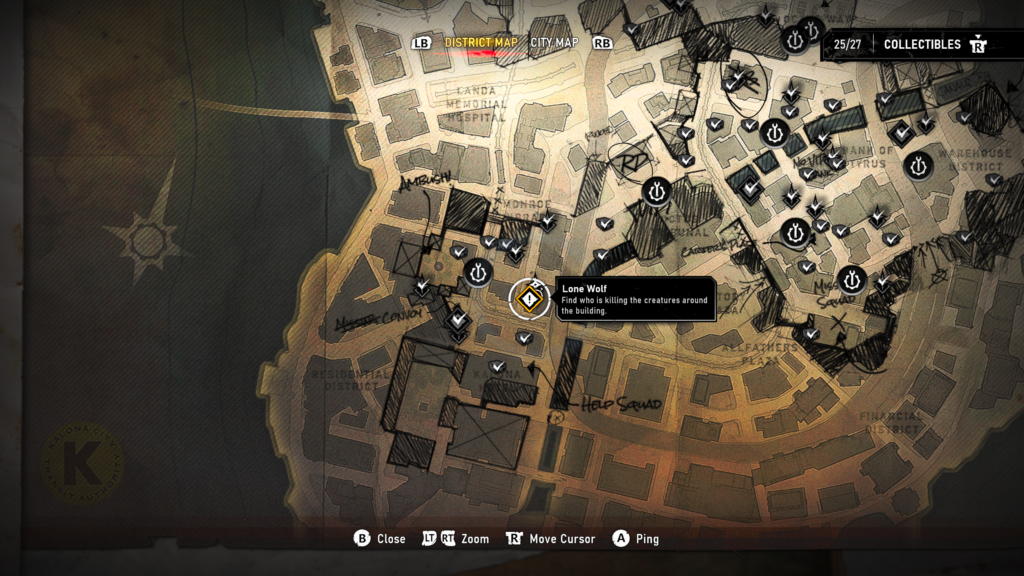
Secondary Objective – (2 / 2) – Lone Wolf
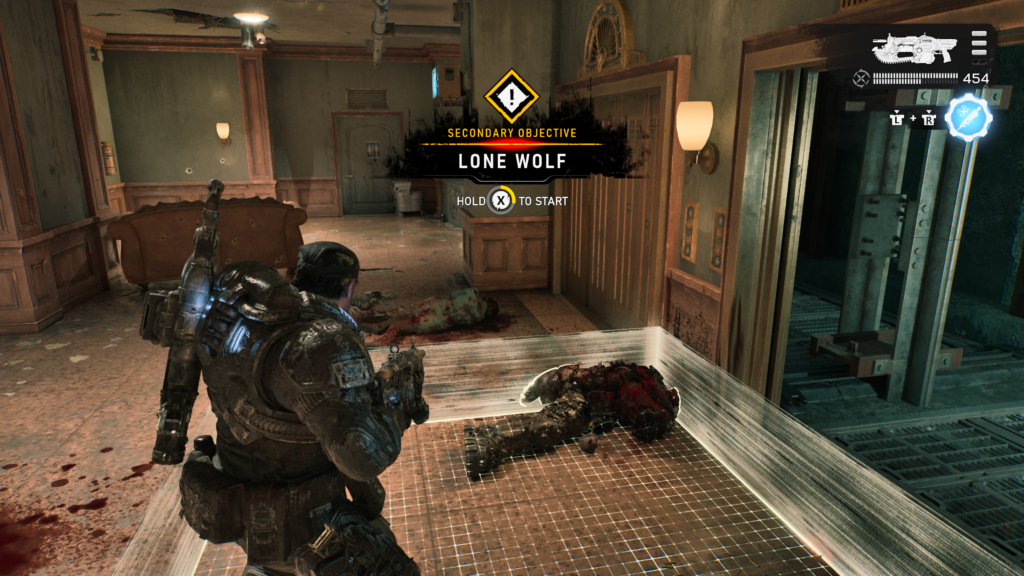
After you have completed the mission in the courtyard, you can return to the area where the big library building is located at the beginning of this area. If looking at the library steps, to the left is an apartment building with lifts in it. You can now access the Lone Wolf secondary objective at one of the elevator doors.
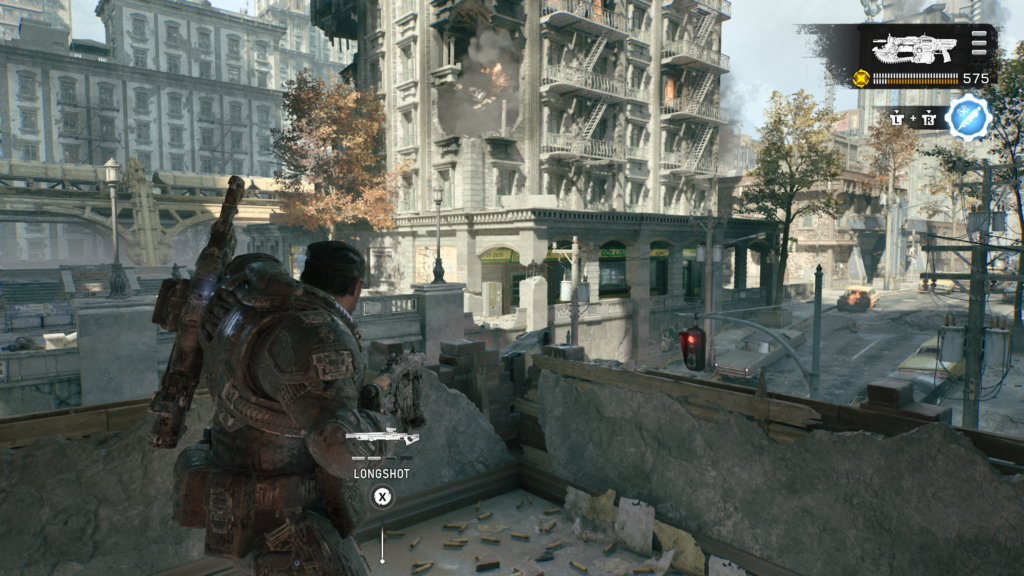
Head up and help the Gear fight off the Locust to complete this objective.
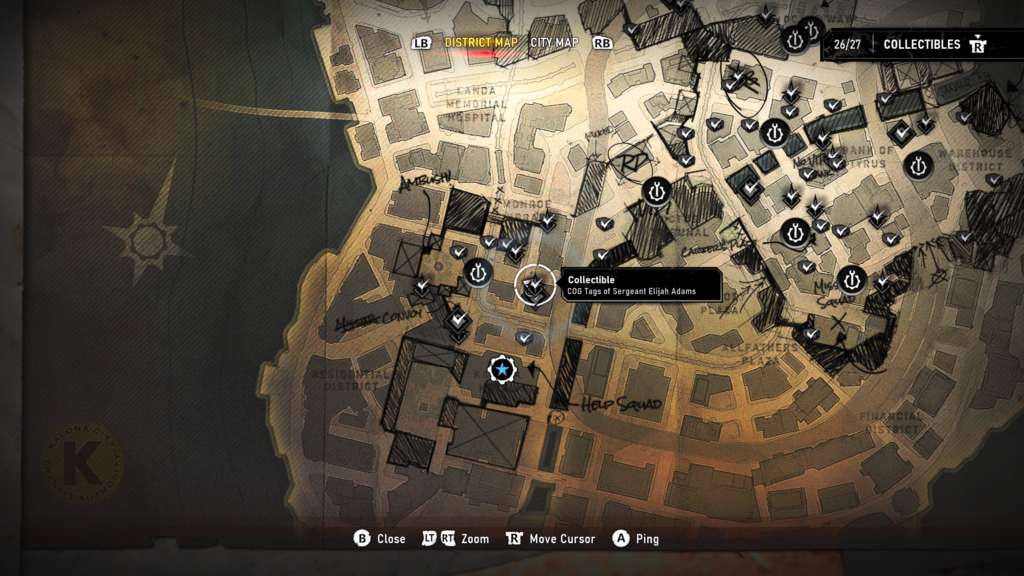
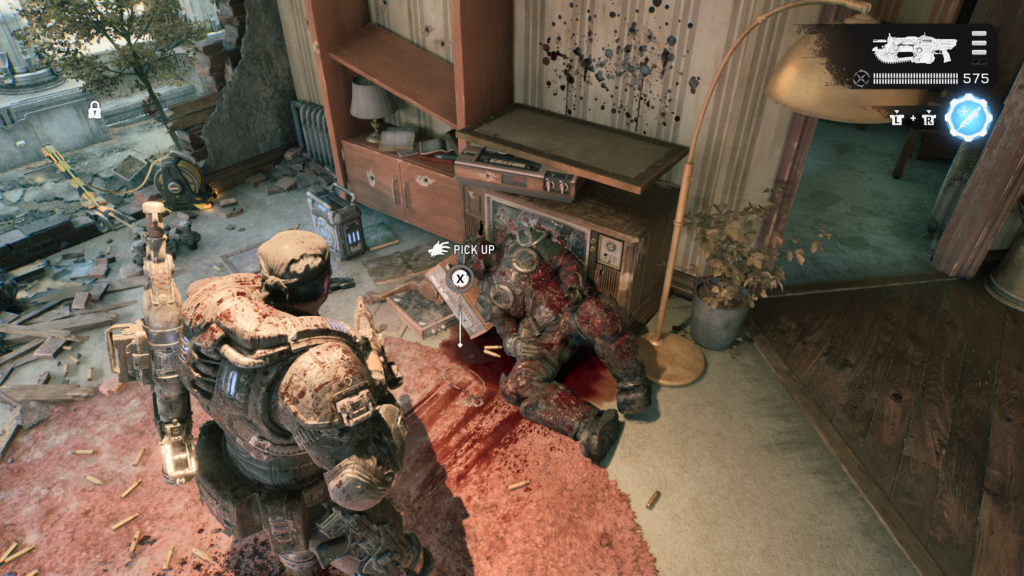
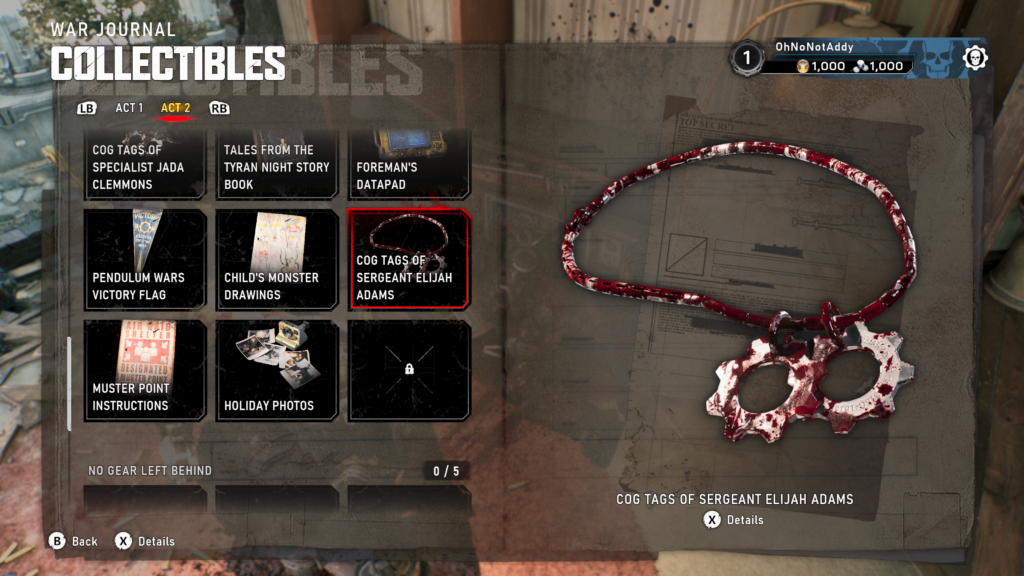
Collectible – COG Tags of Sergeant Elijah Adams (5 / 6)
You can access this collectible during the Lone Wolf secondary objective. Turn around from the broken wall to see the body of a Gear soldier, their COG tags on the floor in front of them.
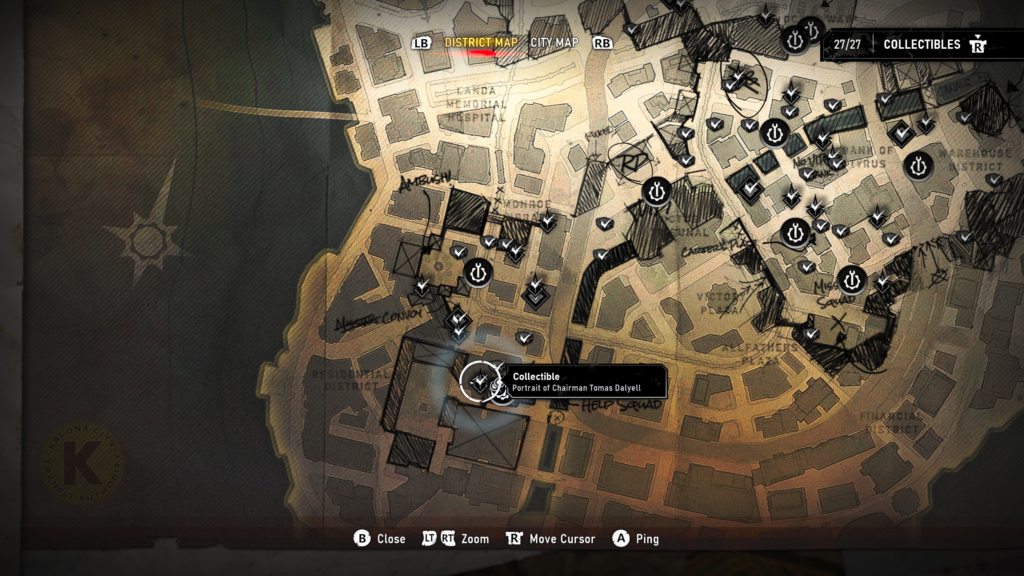
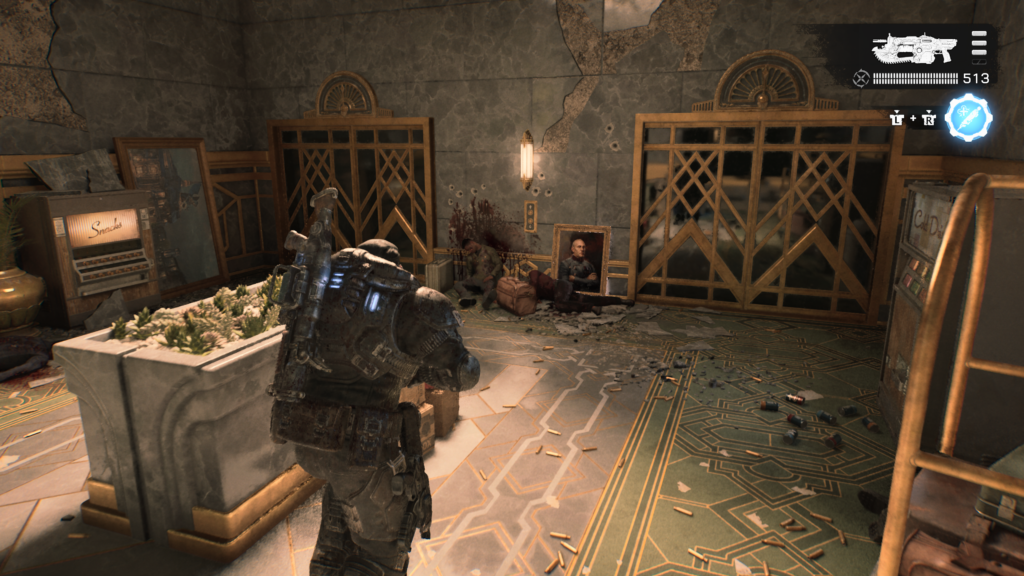
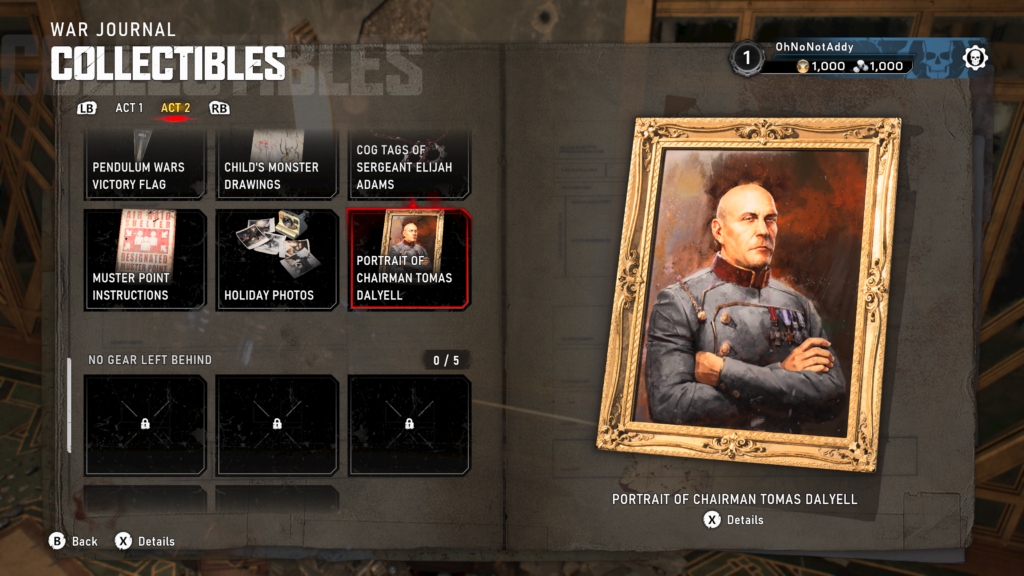
Collectible – Portrait of Tomas Dalyell (6 / 6)
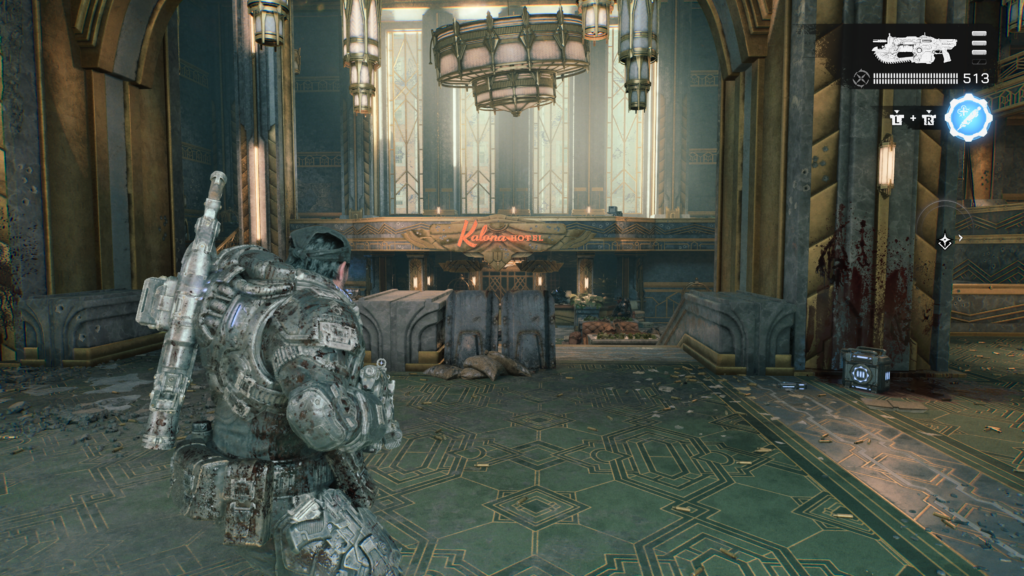
From the main entrance of the Kalona Hotel (once you’re inside as part of the main objective), head to the right and up the stairs. The portrait is lying against a wall.
Hard Case (8 / 8)
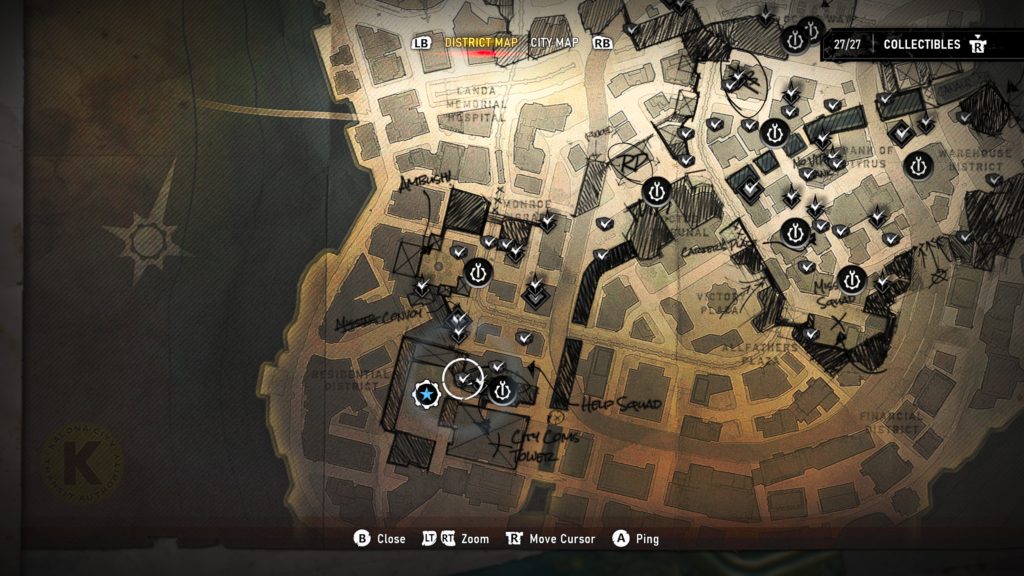
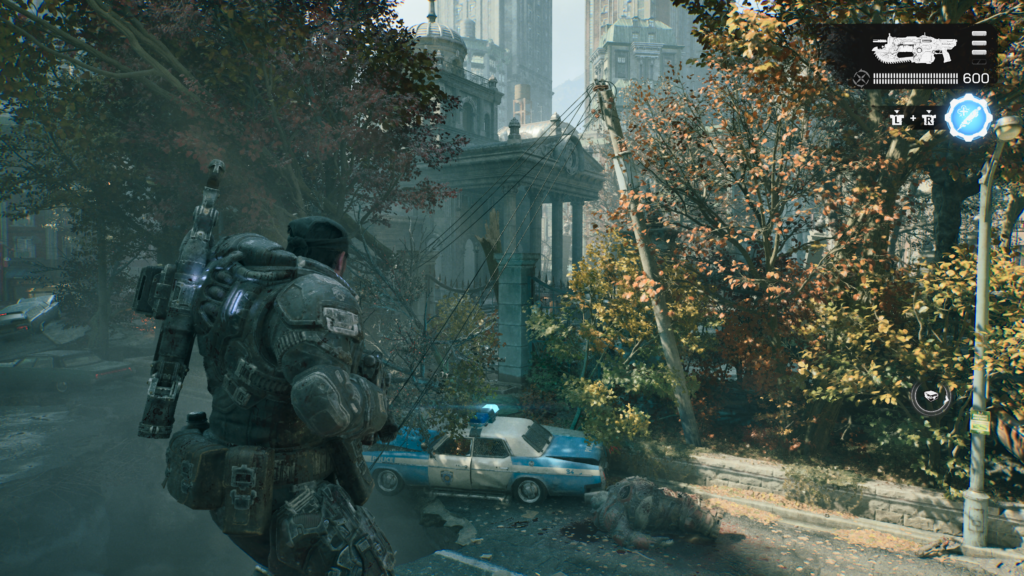
Once you leave the hotel, you’ll drop back down to street level before heading into the park and the end of this bumper chapter. Before you do, look to the right, to the right of the car is a hard case.
Act 2, Chapter 3 – No Gear Left Behind
- 5 Collectibles
- 6 Hard Cases
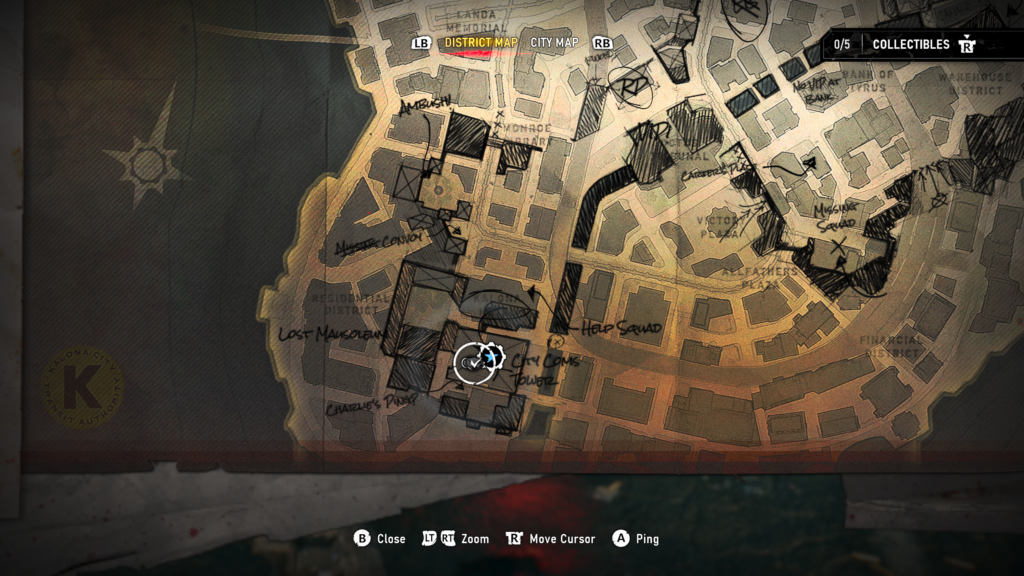
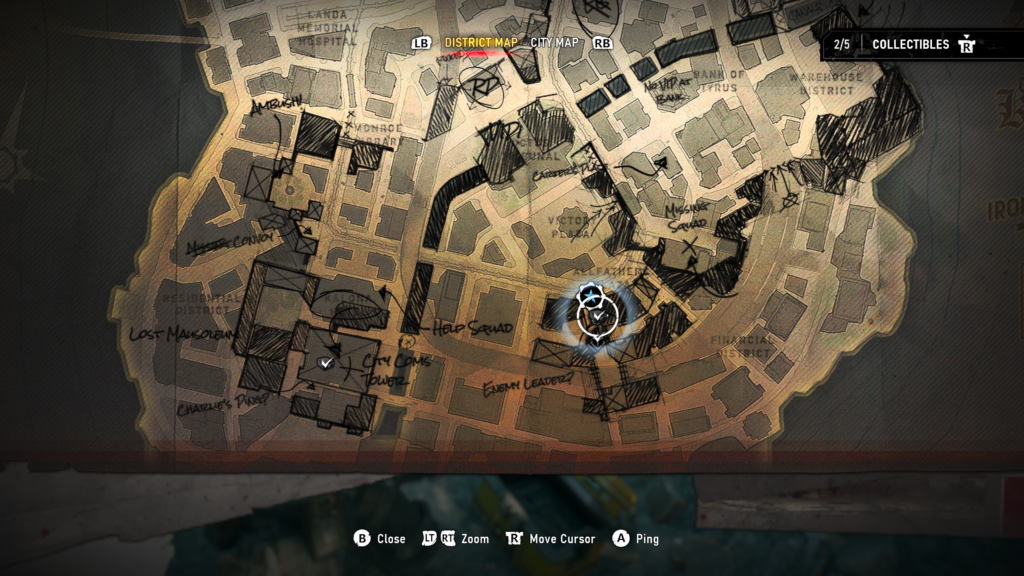
You will have access to a map in this chapter. I have included the map location for each object where possible.
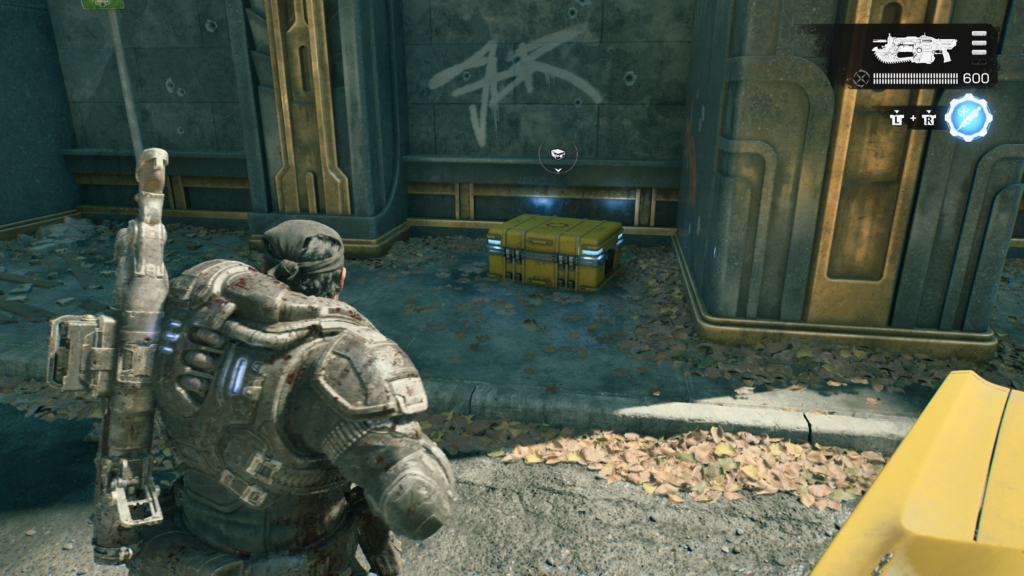
Hard Case (1 / 6)
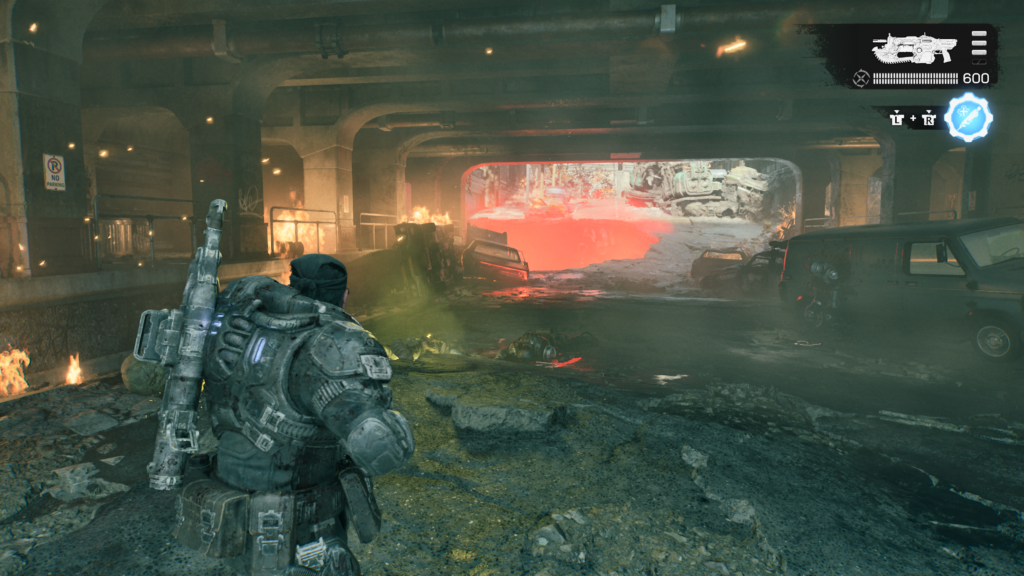
Near the beginning of the chapter, you will enter a tunnel with lots of crashed vehicles. As you move forward you should spot the hard case in the centre, next to the central barricade.
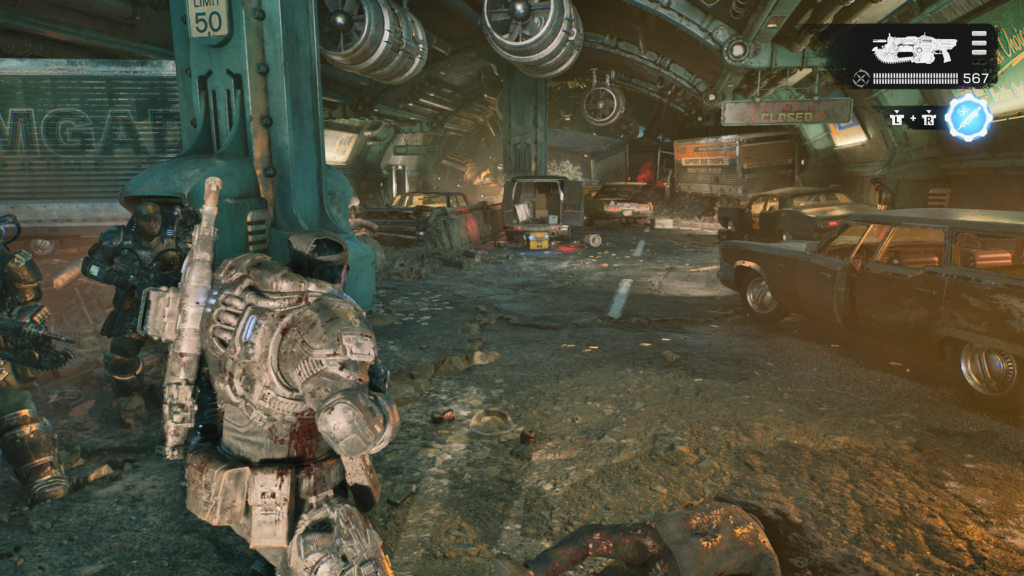
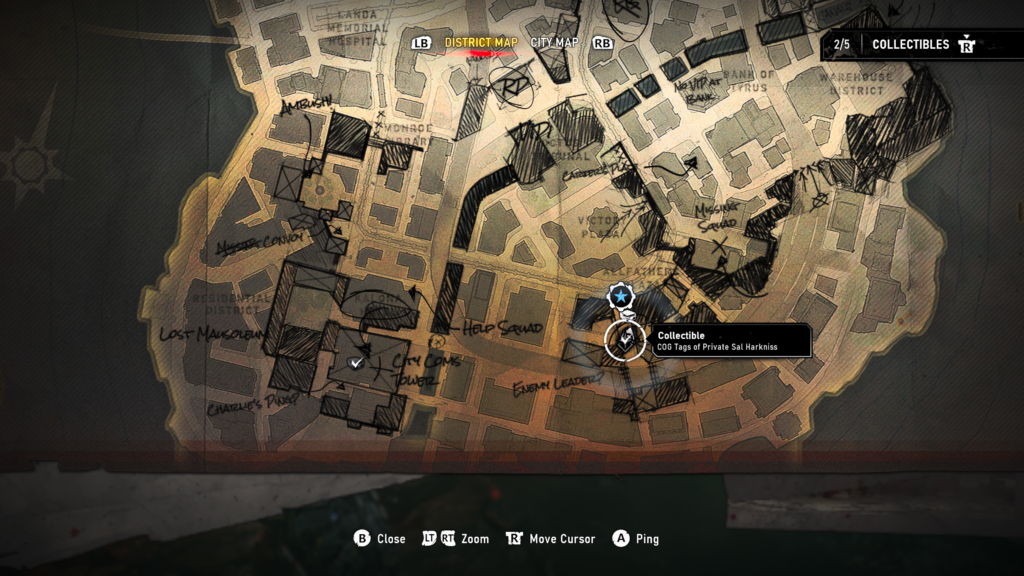
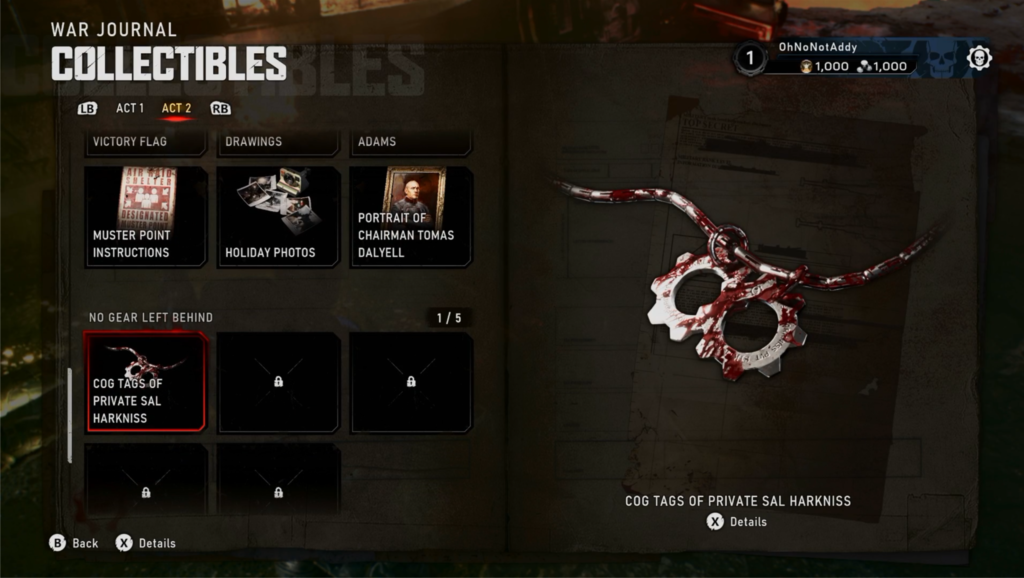
Collectible – COG Tags of Private Sal Harkniss (1 / 5)
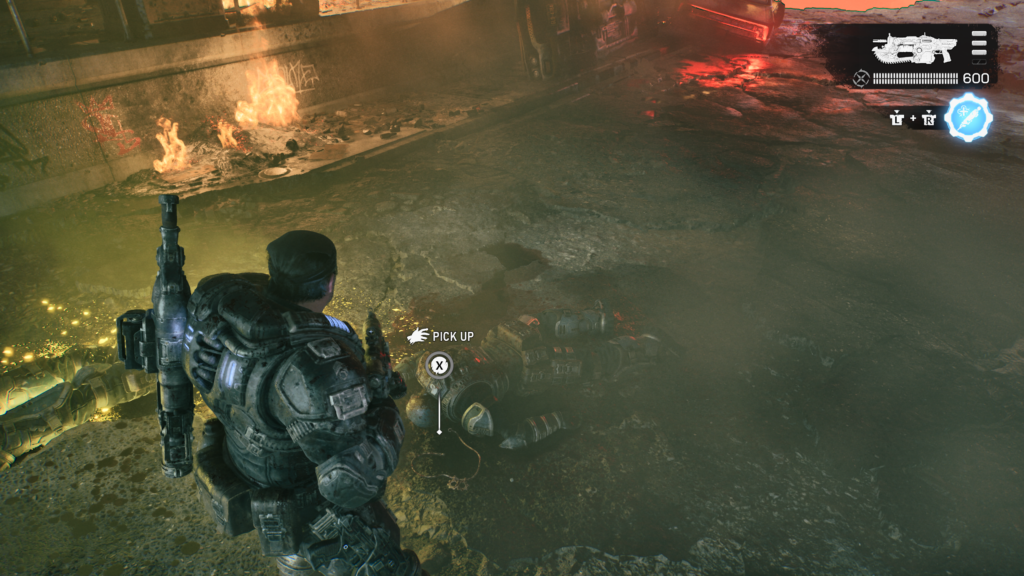
After the brutal (and amazing) cutscene with The Impaler, head into the tunnel where they were. On the floor in the centre, you’ll find a pair of COG tags next to the body with the melted face.
Collectible – COG Tags of Private Siv Strickland (2 / 5)
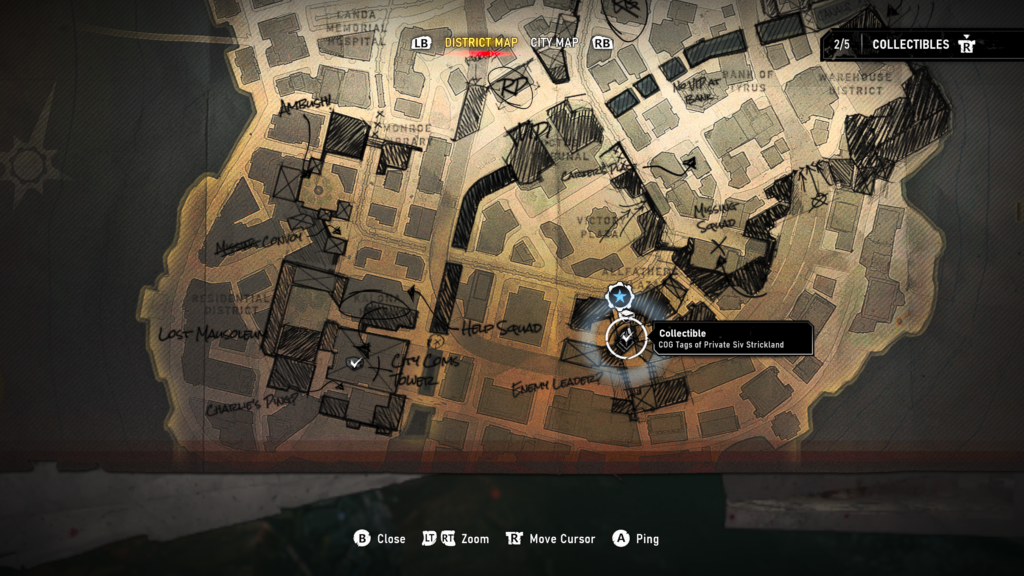
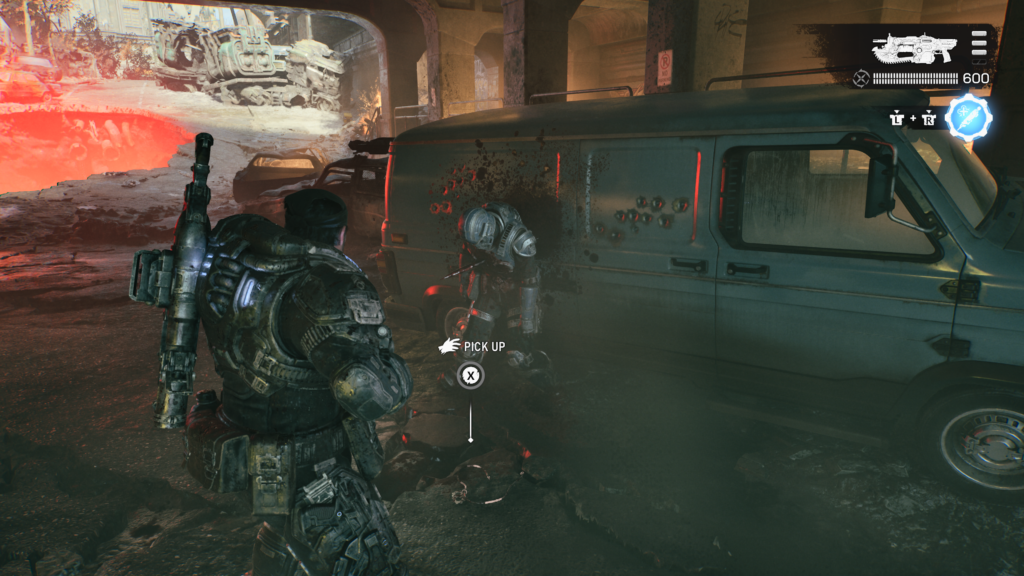
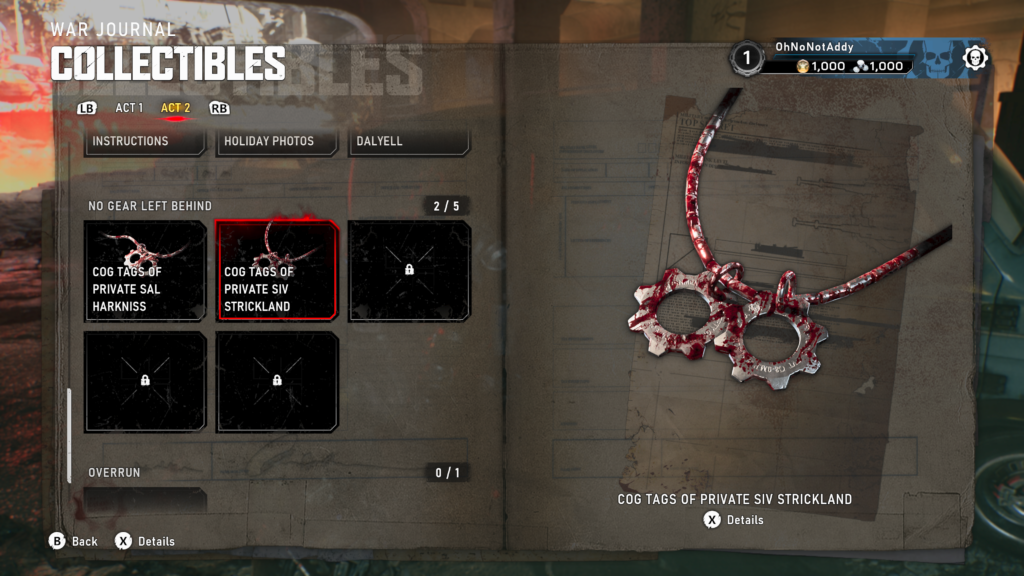
From the last collectible, look to the Gear impaled against the side of a van. On the floor are their COG tags.
Hard Case (2 / 6)
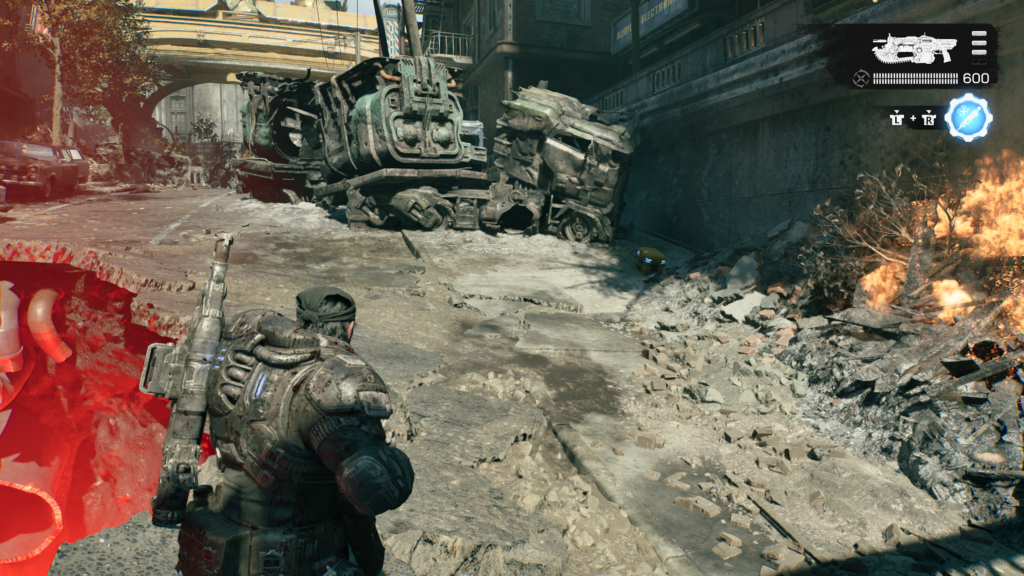
As you leave the tunnel where the last two collectibles were, you’ll go up an incline, the hard case is on your right as your go up.
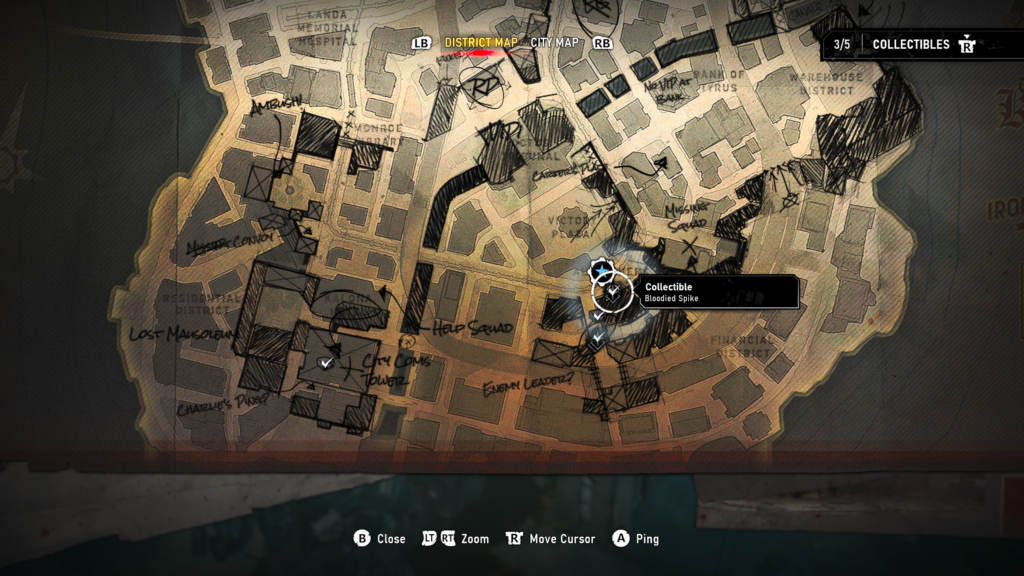
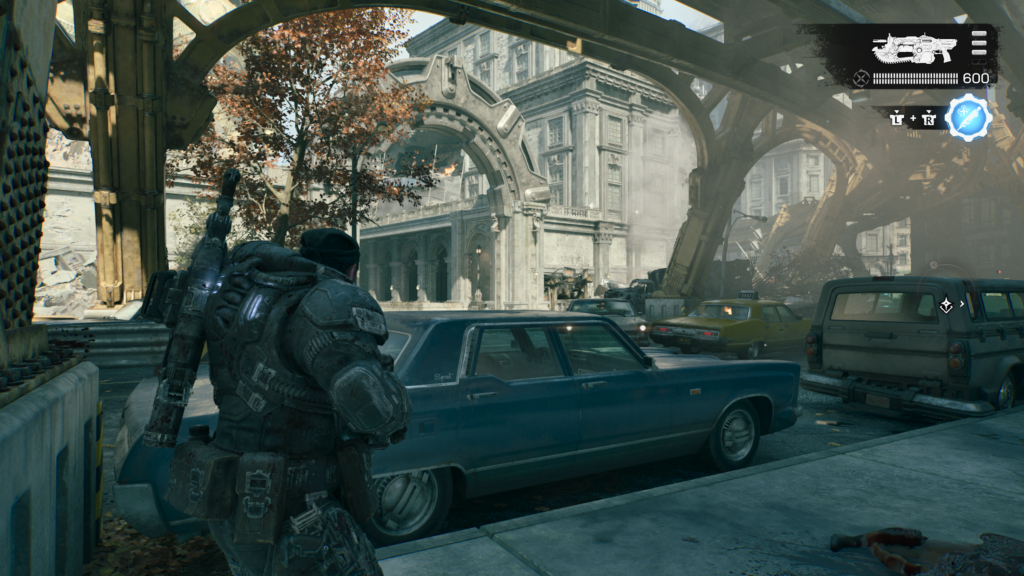
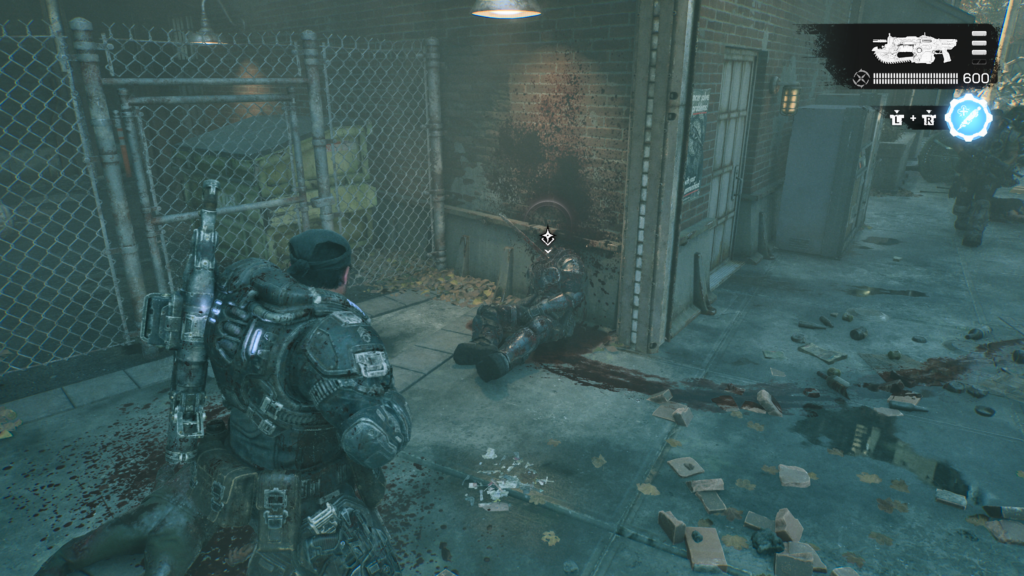
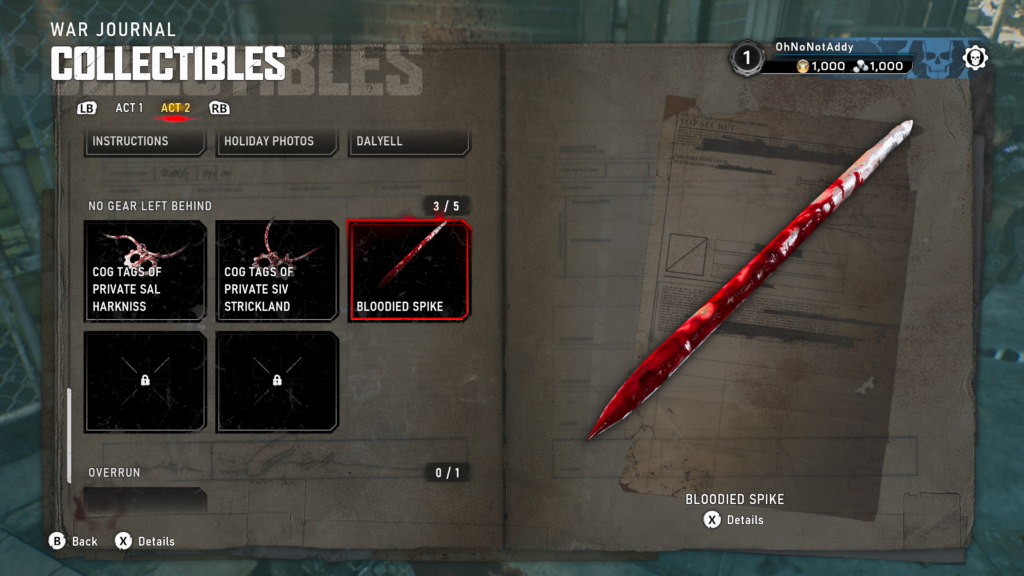
Collectible – Bloodied Spike (3 / 5)
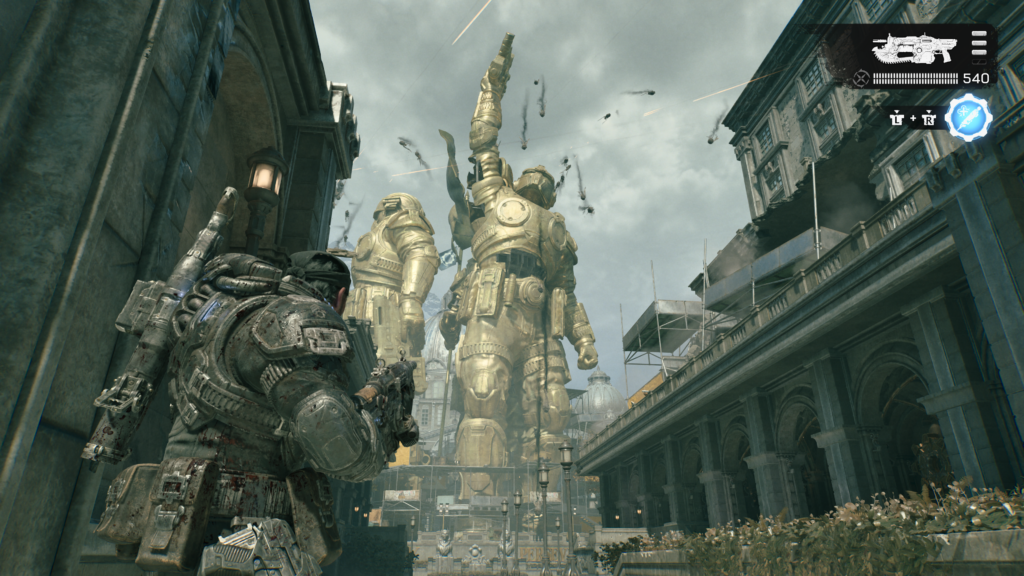
As you continue forward, you’ll need to head under an archway towards a giant golden Gear statue. Don’t progress forward as you reach that archway and stick to the right side of the road. Tucked away in a corner is a dead soldier with the collectible sticking out of him.
Hard Case (3 / 6)
Once you reach the plaza with the giant golden Gear statue. Fight off the Locust, then head to your right (if facing the statue). The hard case is in a corner to the right.
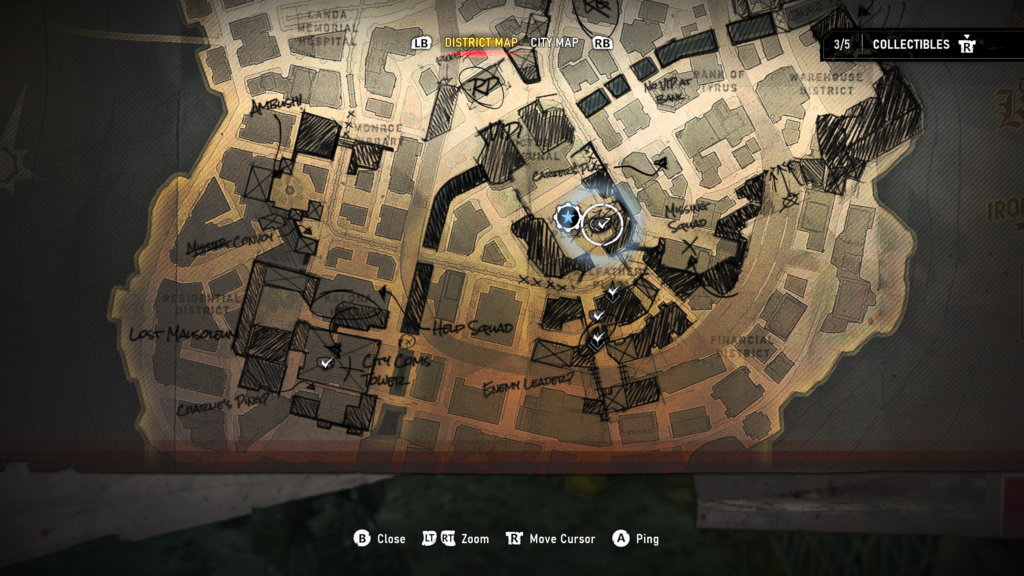
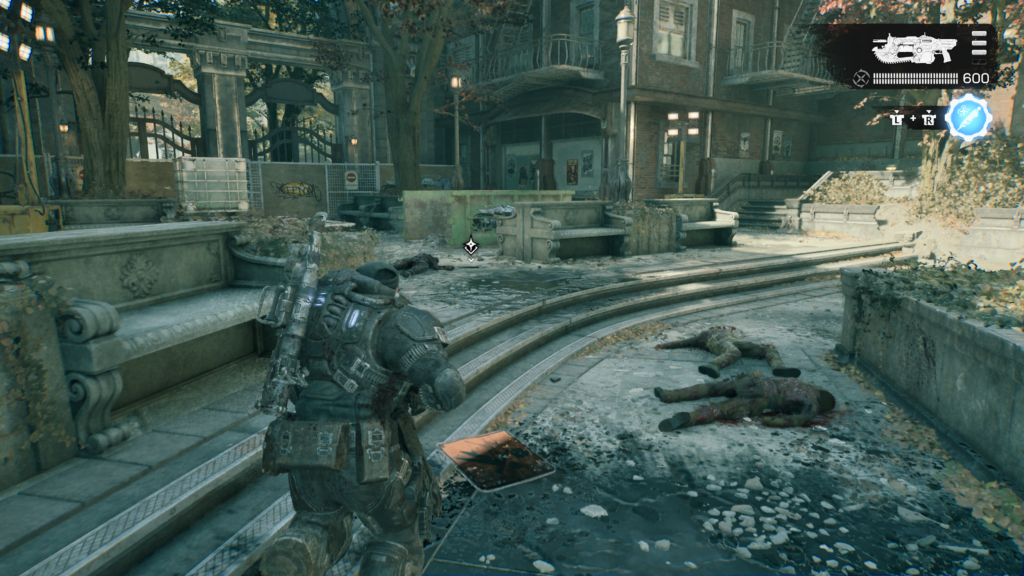
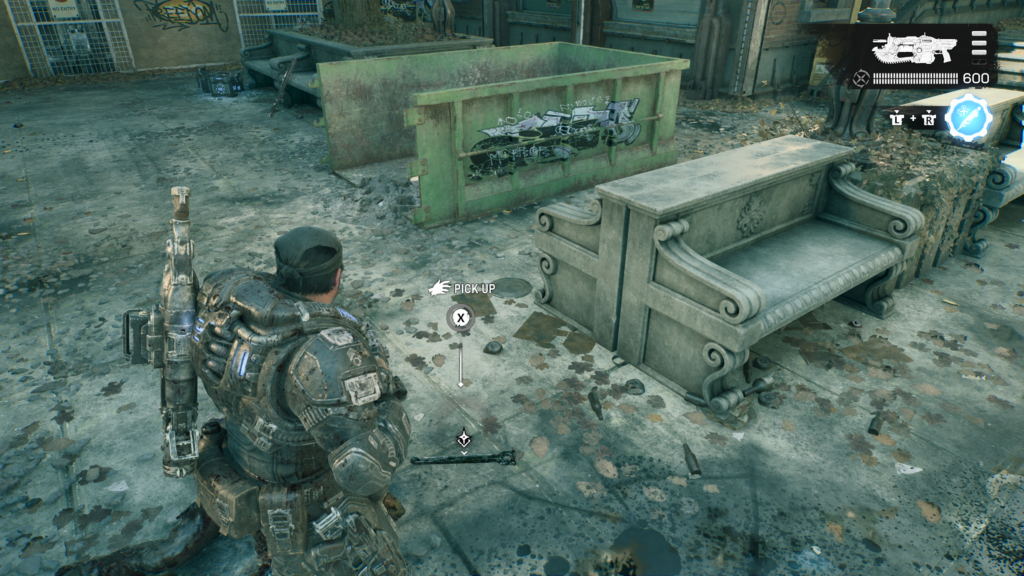
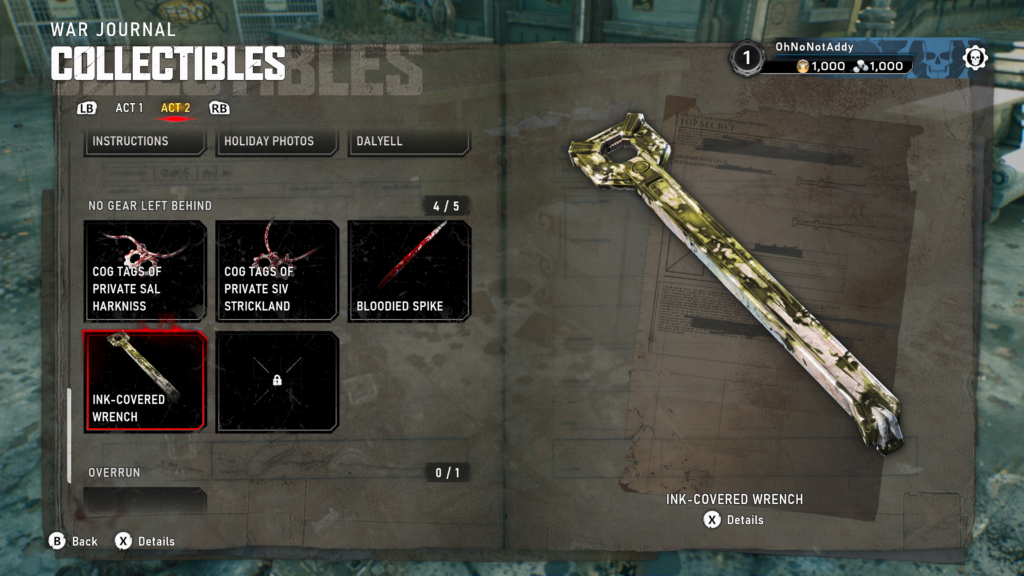
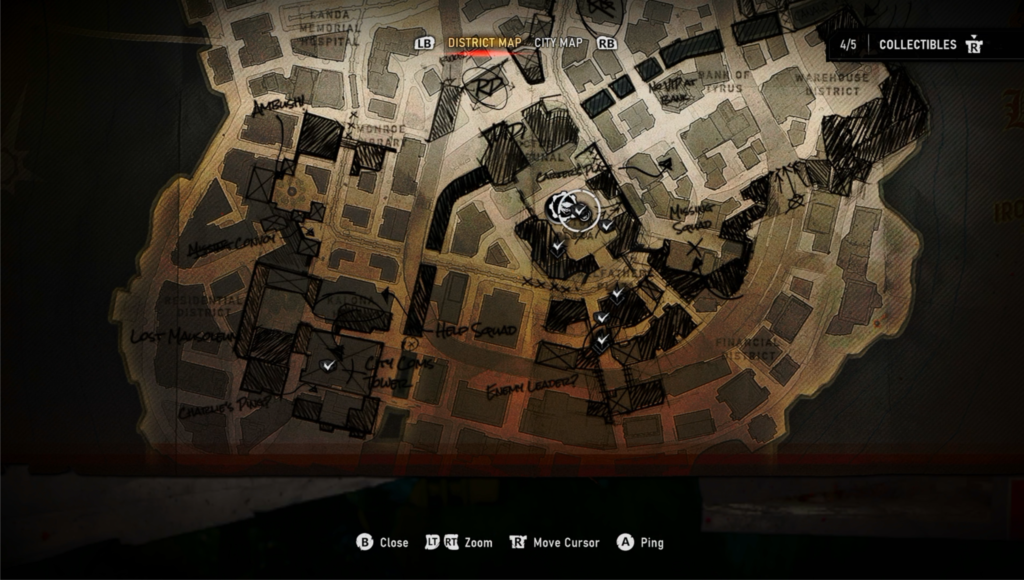
Collectible – Ink-Covered Wrench (4 / 5)
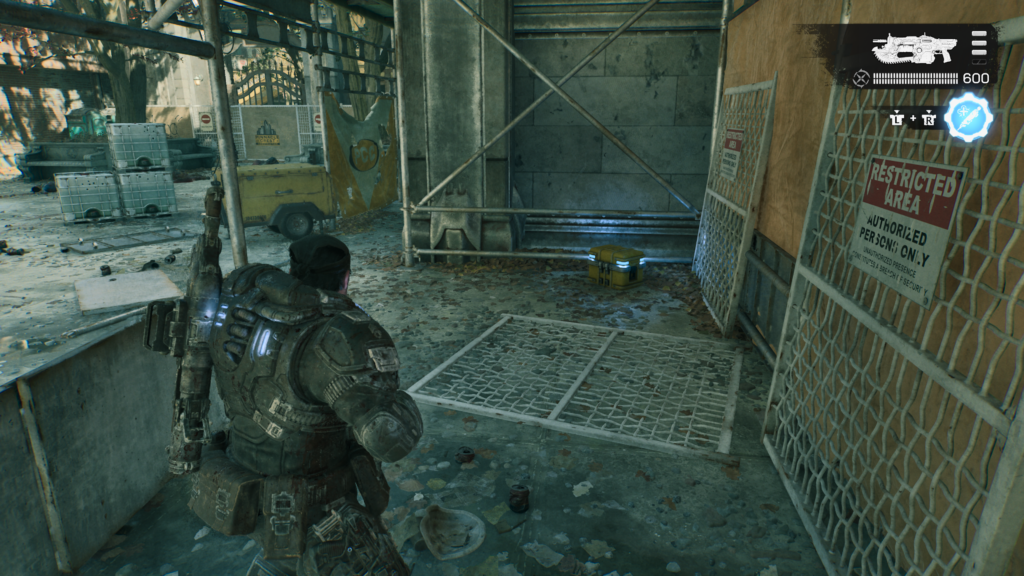
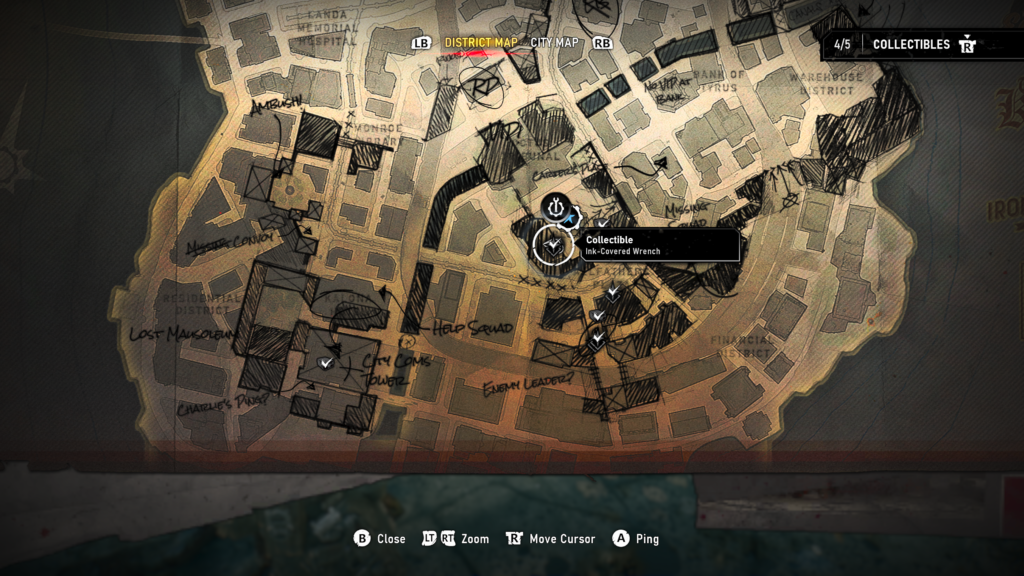
Return to the centre of the plaza with the giant golden Gear statue and head to the left. In the centre of the left area, on the floor is the collectible.
Hard Case (4 / 6)
From the centre of the golden Gear statue plaza, take the stairs up the scaffolding on the right and follow the path on the right to a shipping container which contains the hard case.
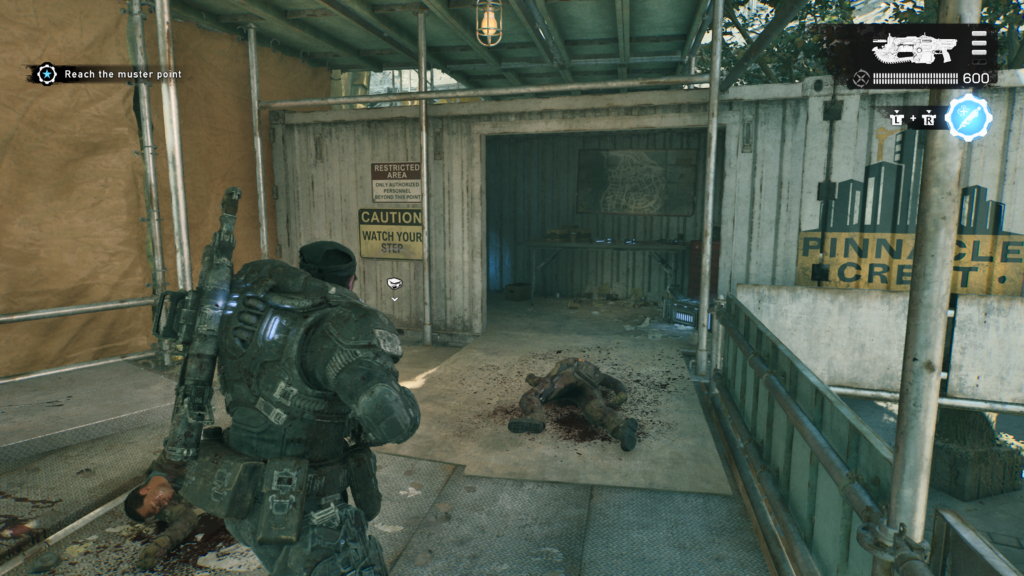
Hard Case (5 / 6)
Walk to the centre of the scaffolding from the last hard case and drop down, towards your main objective location. As you head forward you should spot another hard case on your right.
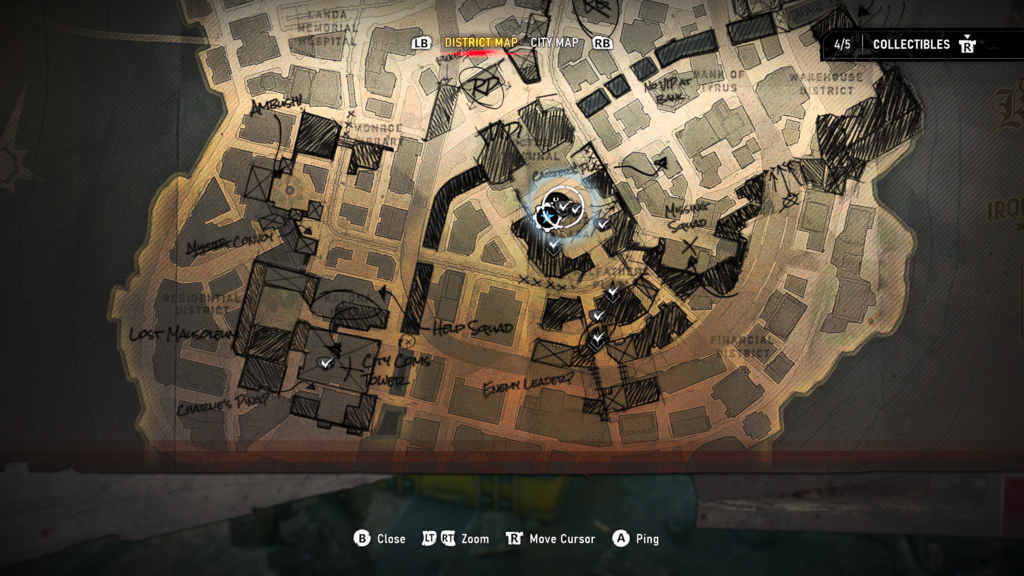
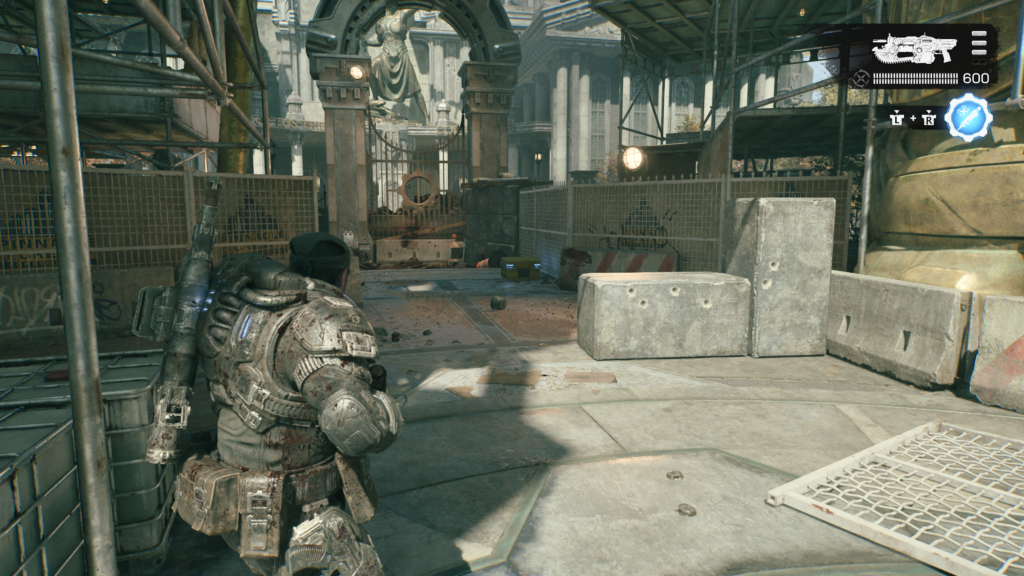
Hard Case (6 / 6)
After the fight with the Seeder, you will speak with Captain Gray and walk through a building. Halfway through, on your left, will be the hard case.
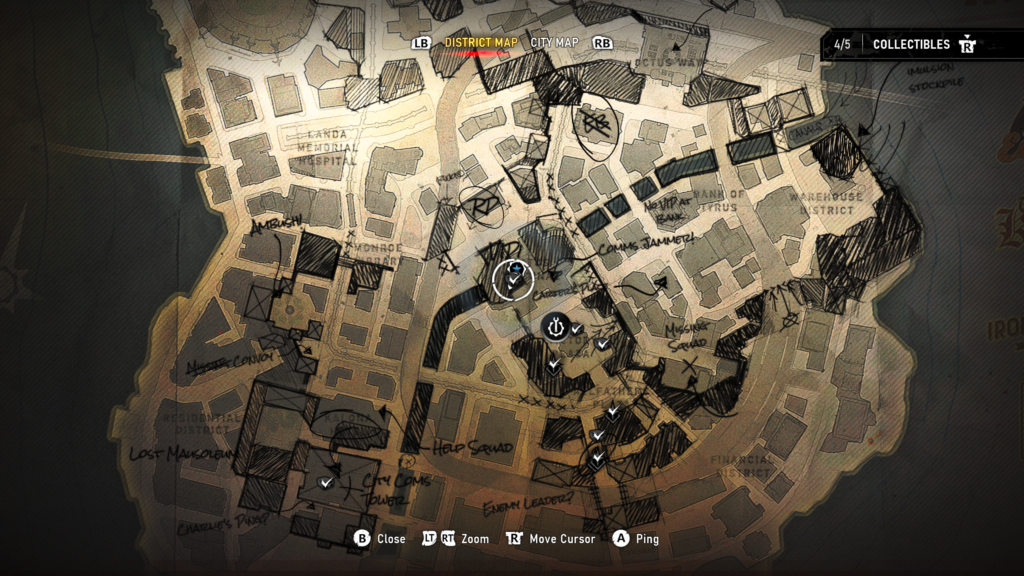
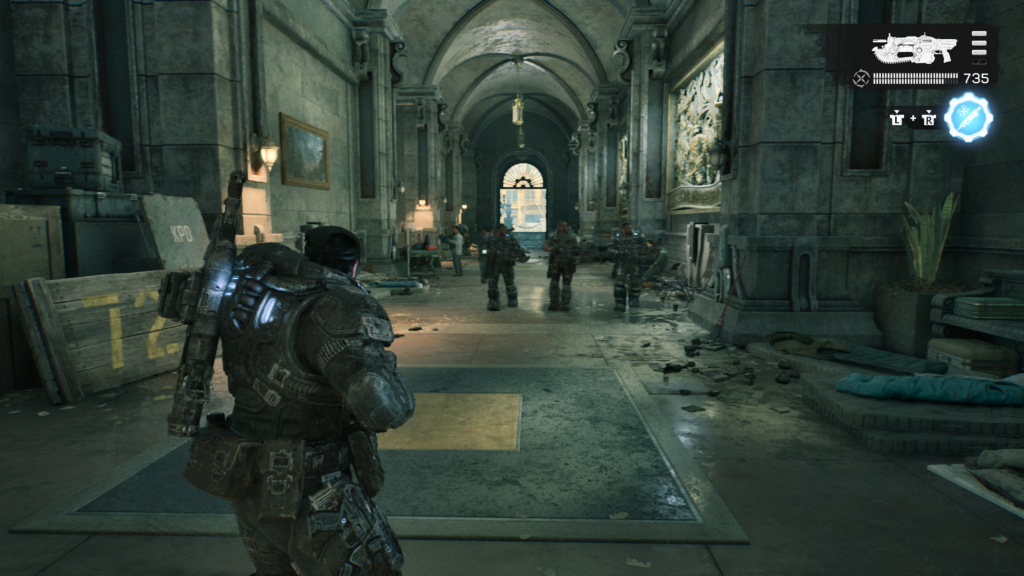
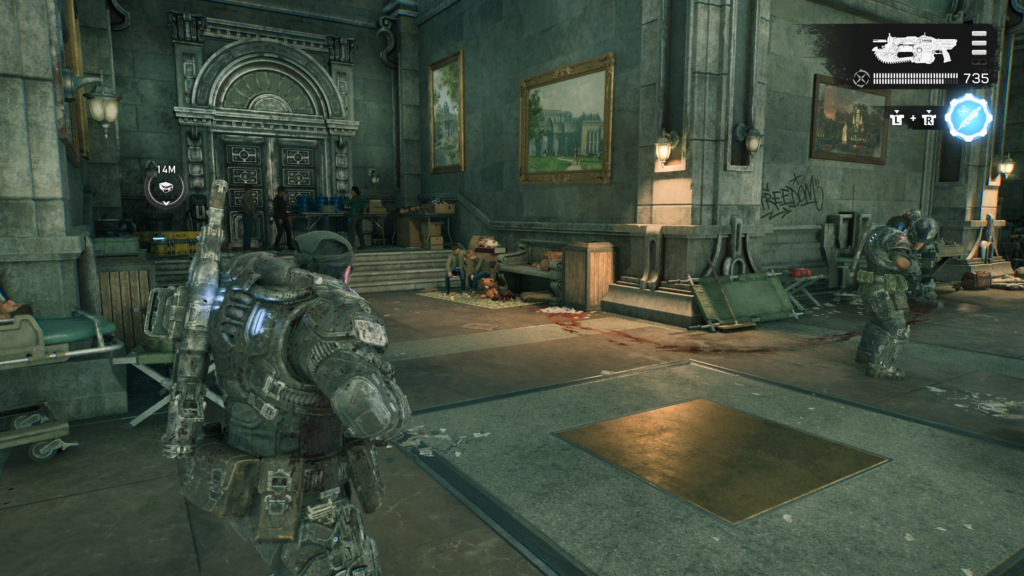
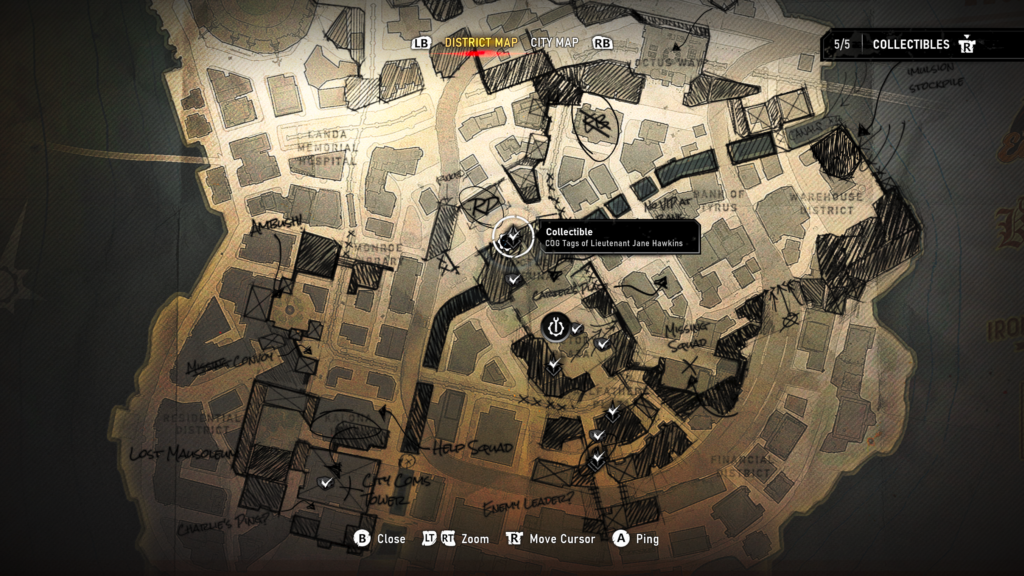
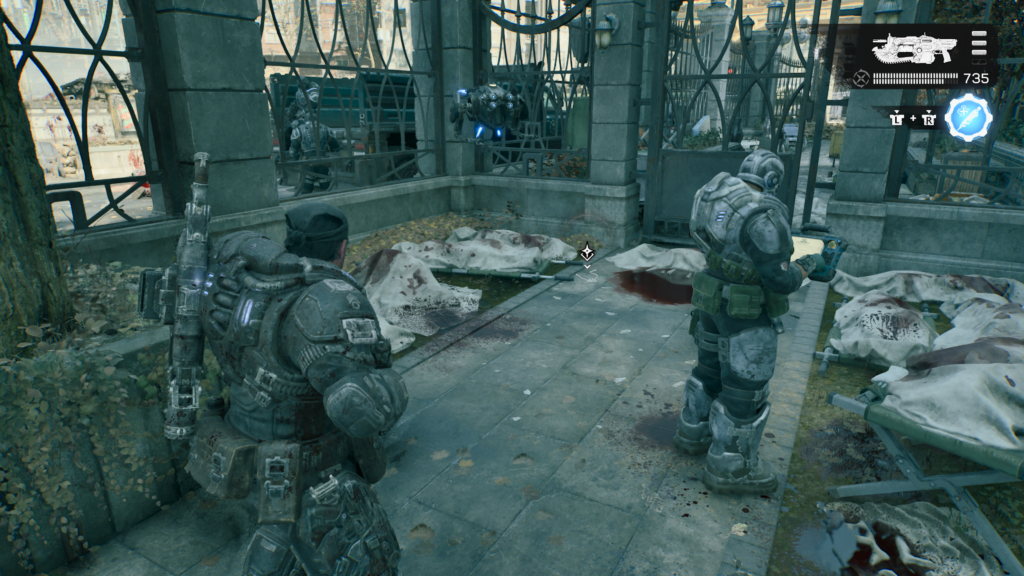
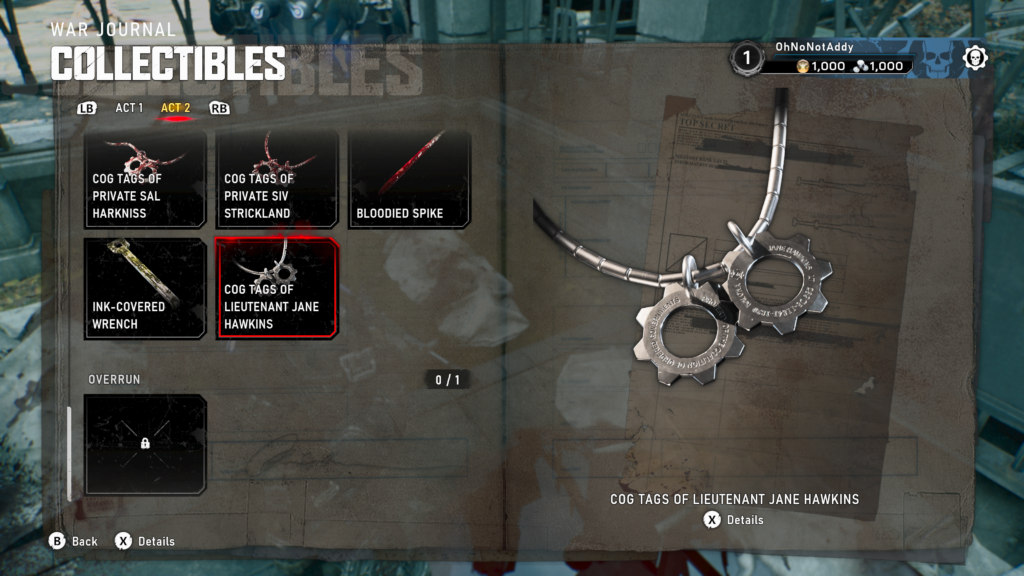
Collectible – COG Tags of Lieutenant Jane Hawkins (5 / 5)
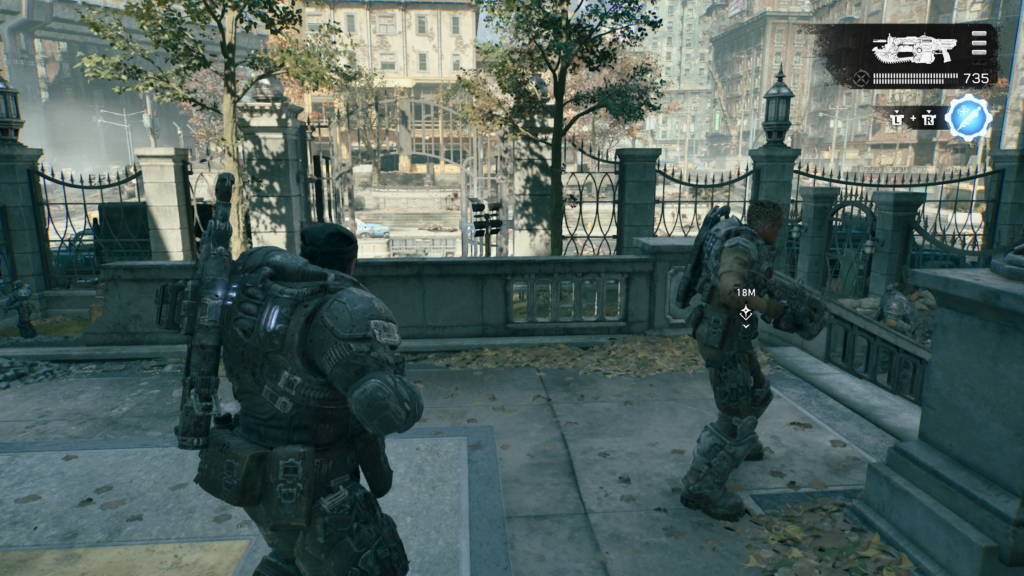
After your corridor chat with Captain Gray, you’ll emerge outside again. Head down the steps and before exiting through the gate, look to your right to spot the COG tags on the floor.
Act 2, Chapter 4 – Fly Boys
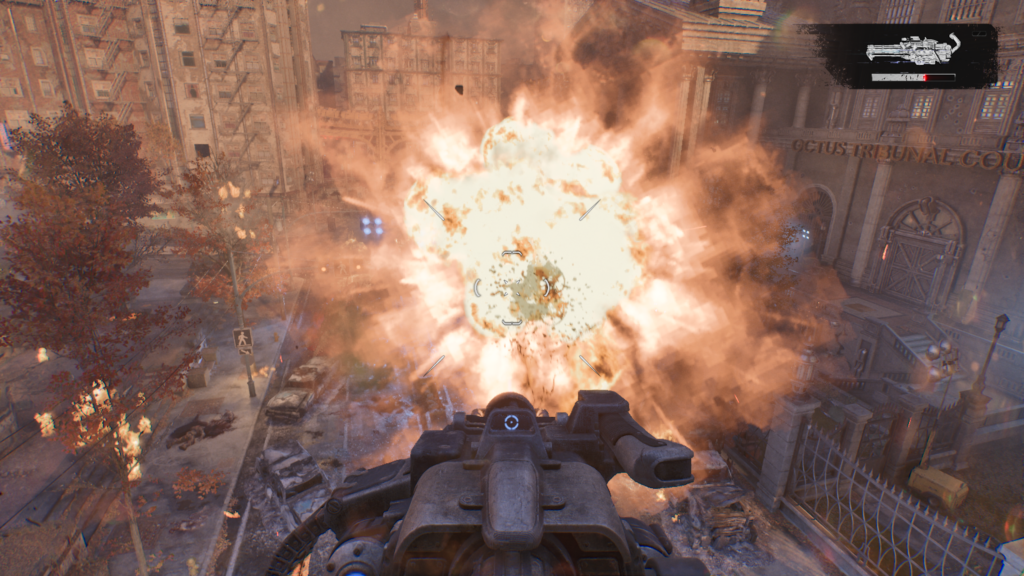
There are no collectibles on this chapter. Enjoy the shooting!
Act 2, Chapter 5 – Overrun
- 1 Collectible1
- 3 Hard Cases
You will have access to a map in this chapter. I have included the map location for each object where possible.
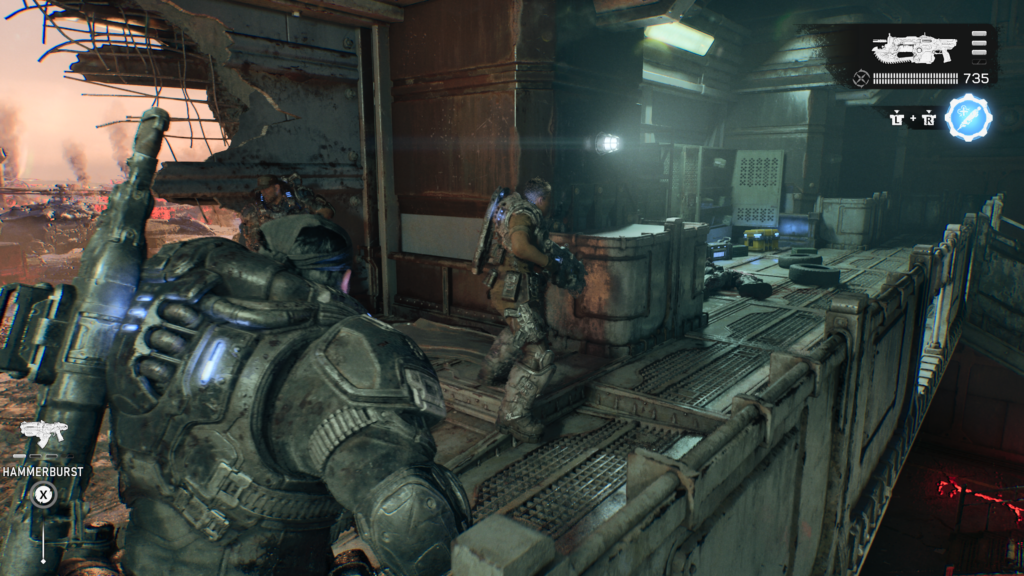
Hard Case (1 / 3)
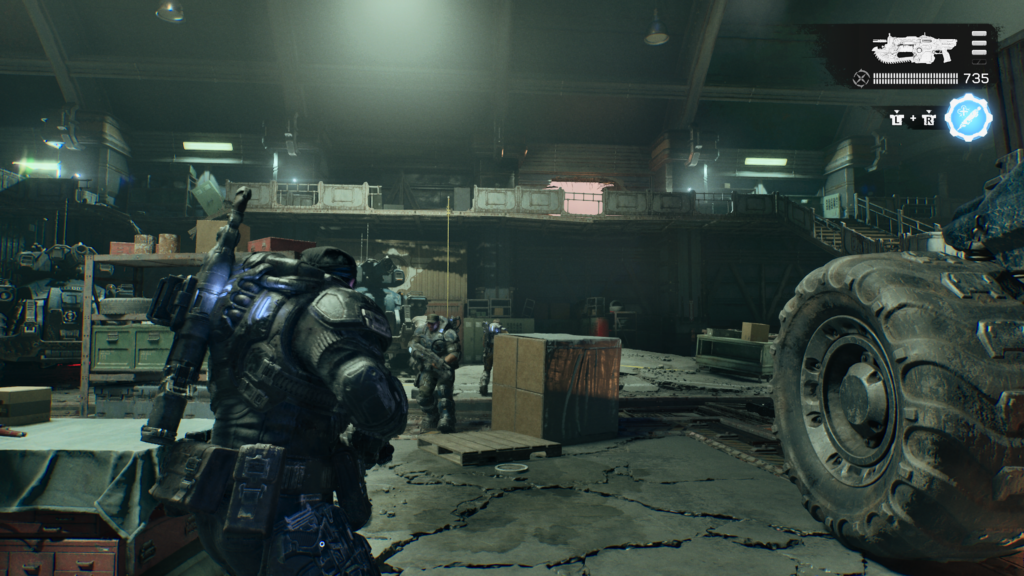
After the combat in the warehouse, a hole will get blown up in the wall opposite where you entered. You’ll have to leave through that hole to progress. To the right of the hole in the wall is the hard case.
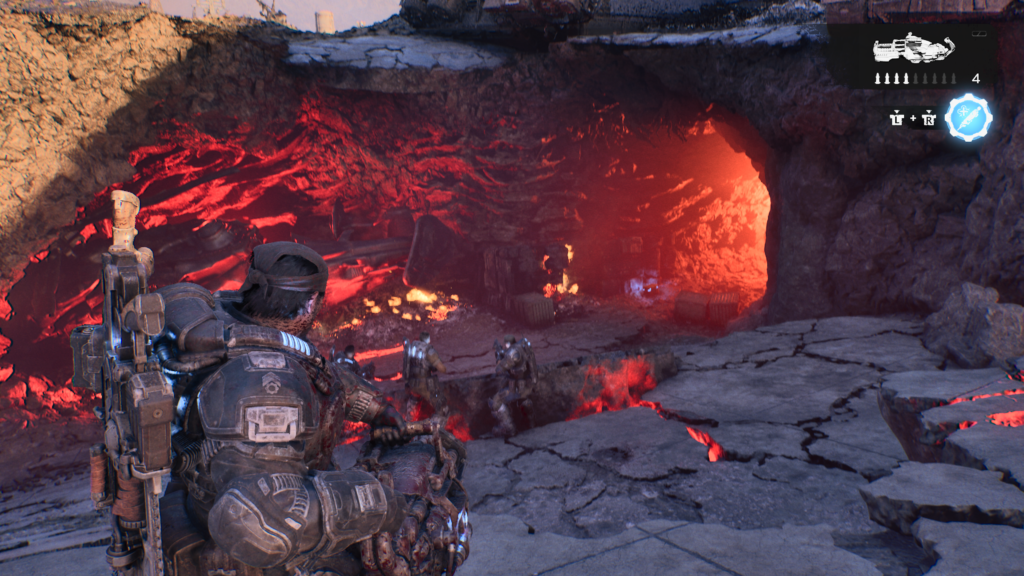
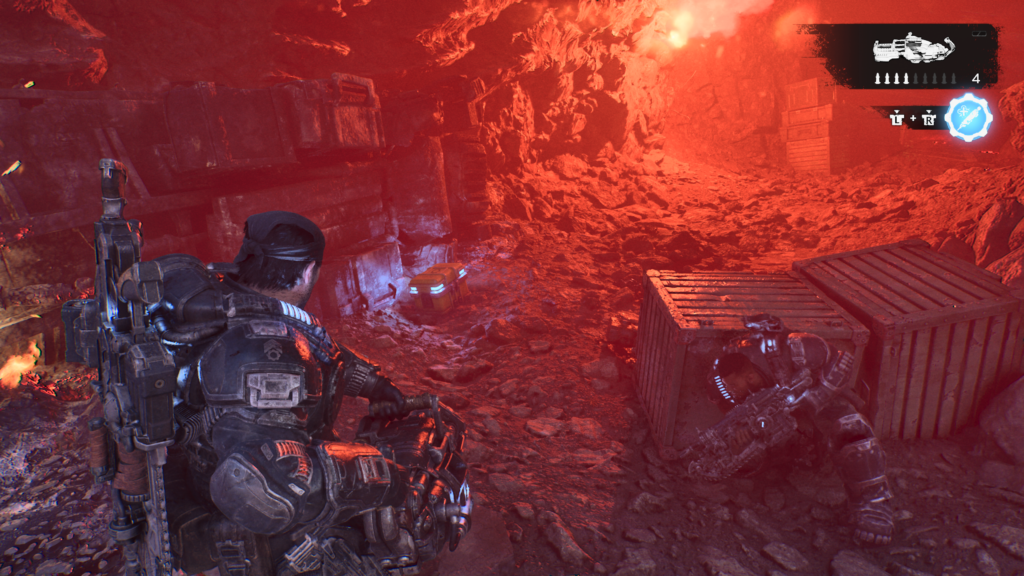
Hard Case (2 / 3)
After fighting Locust outside, you’ll have to head down into a crater, full of red glow. At the bottom, as you head in, is the hard case, it’s pretty hard to miss.
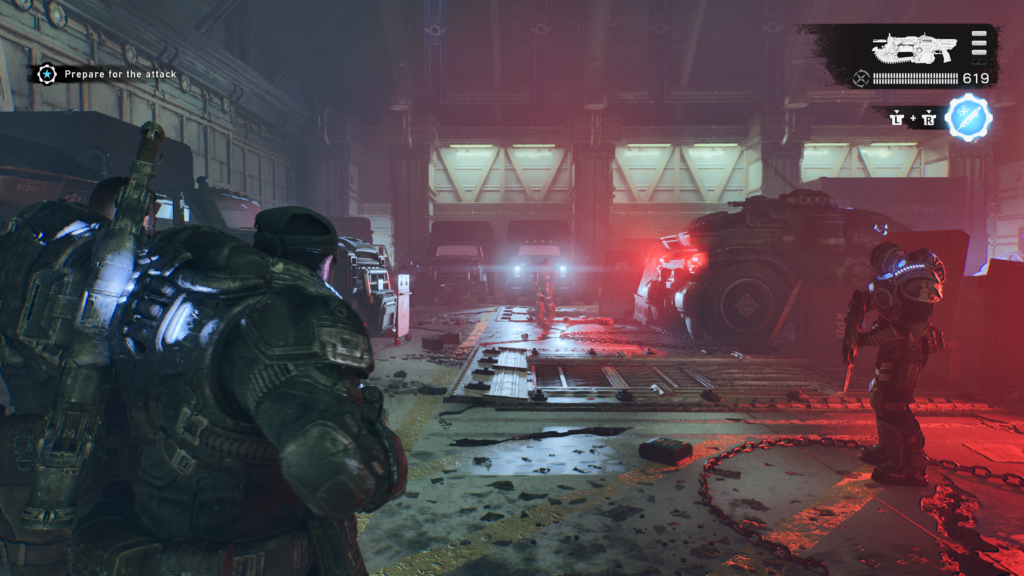
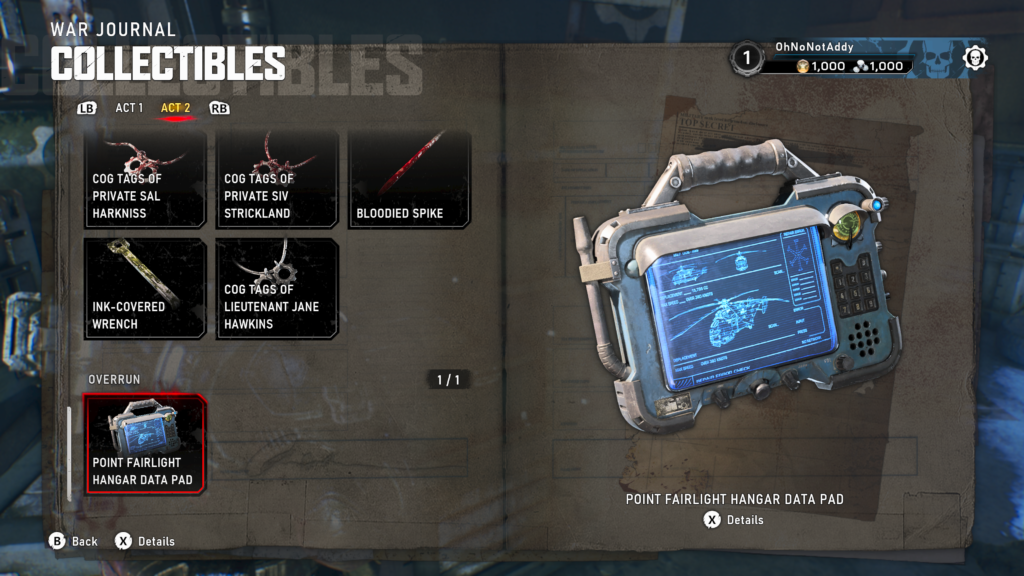
Collectible – Point Fairlight Hangar Data Pad (1 / 1)
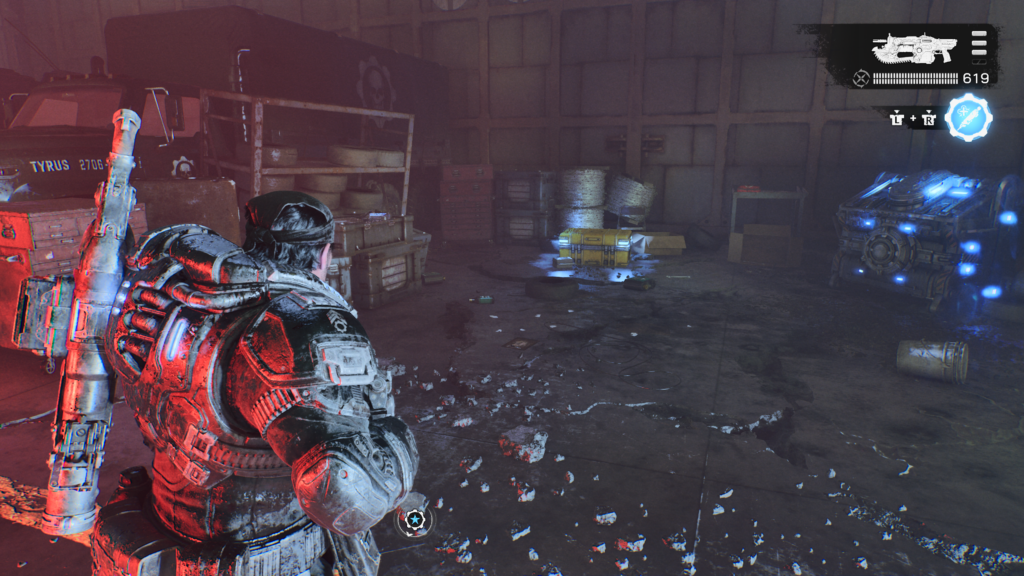
Once you head back inside walk forward a few seconds and you will see a section to your left inbetween some trucks. You will find the data pad on some boxes here.
Hard Case (3 / 3)
In between the last collectible and the supply cache in the hangar. Just look to your right from the last collectible, it’s hard to miss.
Phew! That’s everything from Act 2 of Gears of War: E-Day. Onto Act 3!
Gears of War: E-Day Campaign Review
Gears of War: E-Day Guides
We hope you found this guide useful. Check out more of our guides below:
- Achievement List
- Defeat the Brumak in Act 1, Chapter 4
- Defeat the Corpser in Act 3, Chapter 2
- Unlock the “Two Grubs, One Gut-Punch” Achievement
- Unlock the “Explosive Indigestion” Achievement
- Unlock the “Payback’s a Pitch” Achievement
- Unlock the “I Am Heavy Weapons Guy” Achievement
- Unlock the “Okay, Boomer” Achievement


