
In this guide we will show you how to find all of the Terminals in Halo: Campaign Evolved. There are thirteen Terminals across the game, with one per mission. The Terminals are often hidden well and require some exploration to locate without the use of a guide.
Each Terminal is available on any difficulty and you are able to make use of starting at advanced Rally Points in the mission. Loading into a Rally Point, collecting the Terminal then backing out to the main menu will not void the unlock.
So, lets get to it.
Halo Campaign Evolved – All Terminal Locations
Pillar of Autumn – Approach
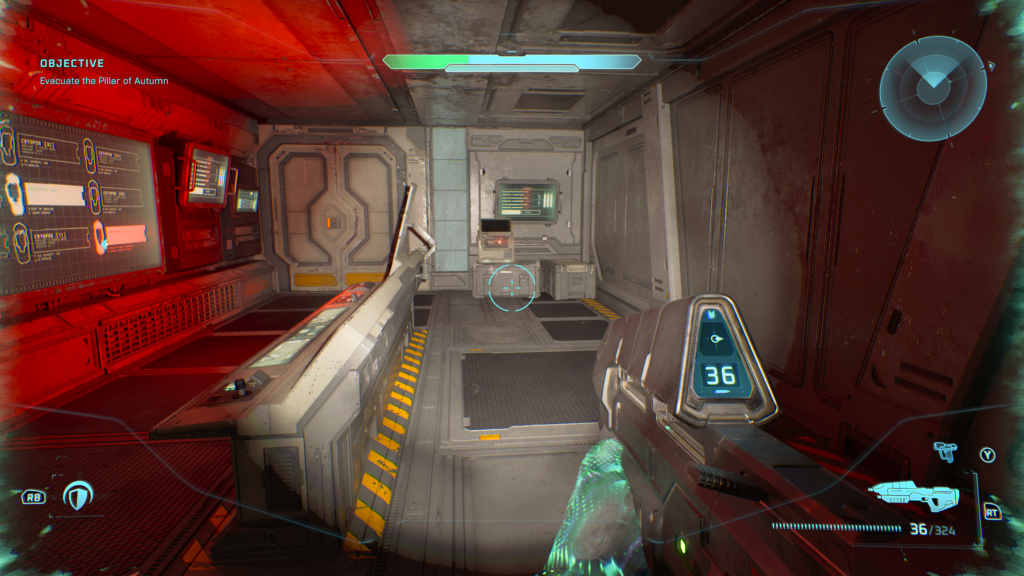
Later in the level you’ll reach a cryochamber control room, where Elites will be shooting at the bulletproof glass in front of you:
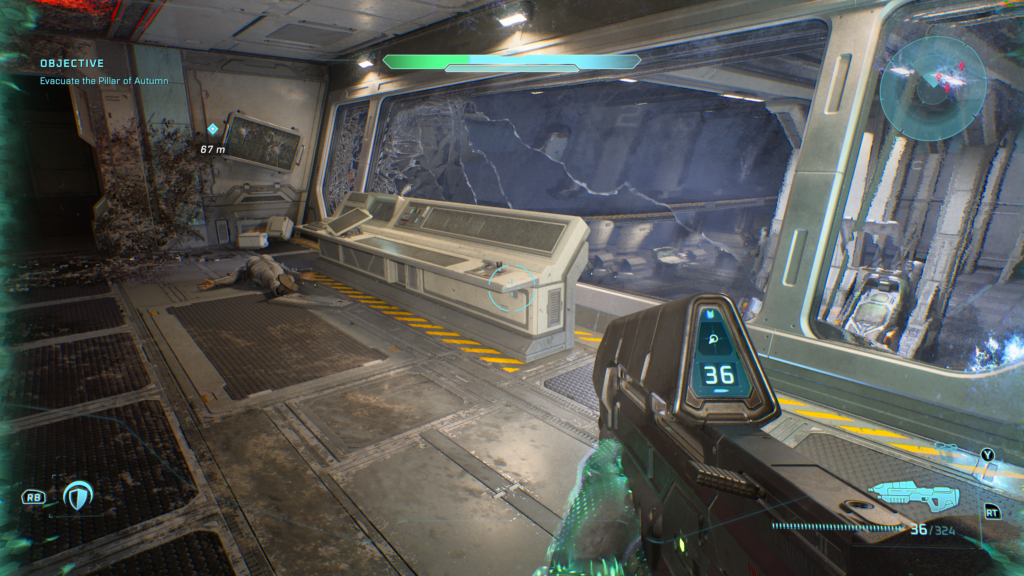
Proceed through the next door and instead of going straight, swing left to another room:
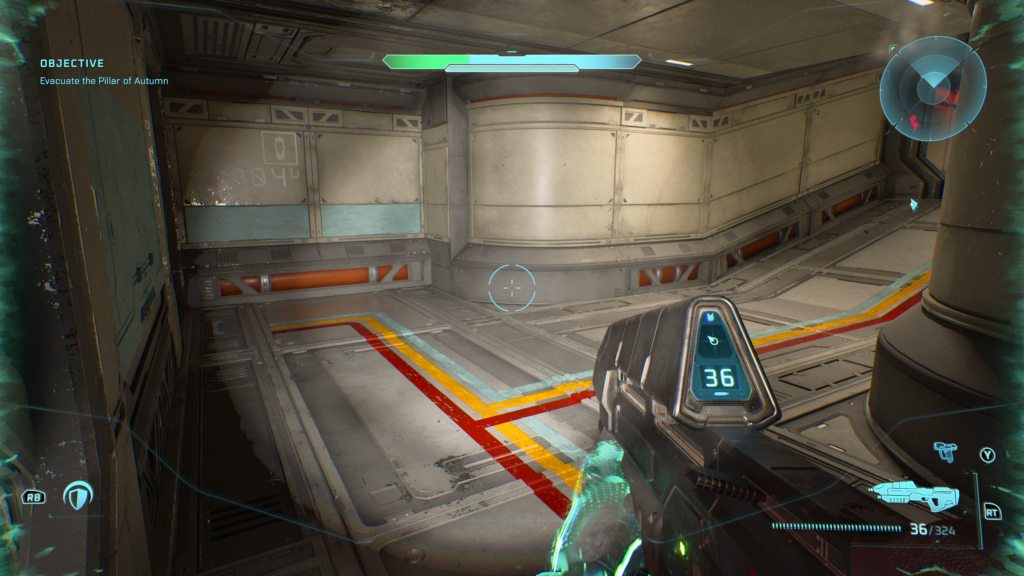
Your first Terminal is on the right hand side at the back:
Halo – Forgotten
After gaining the Warthog from Foehammer, carry on until you enter the Forerunner tunnels:
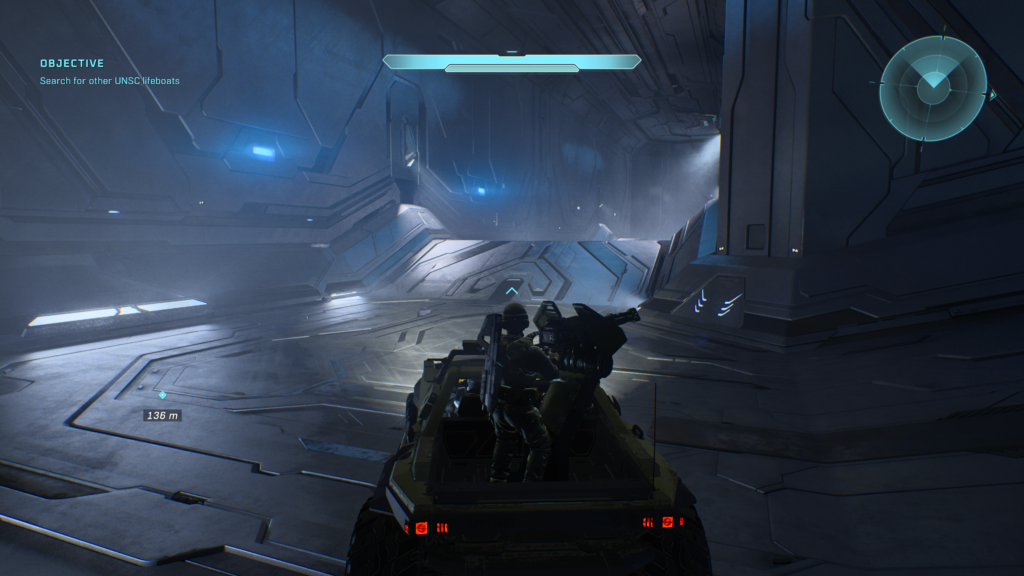
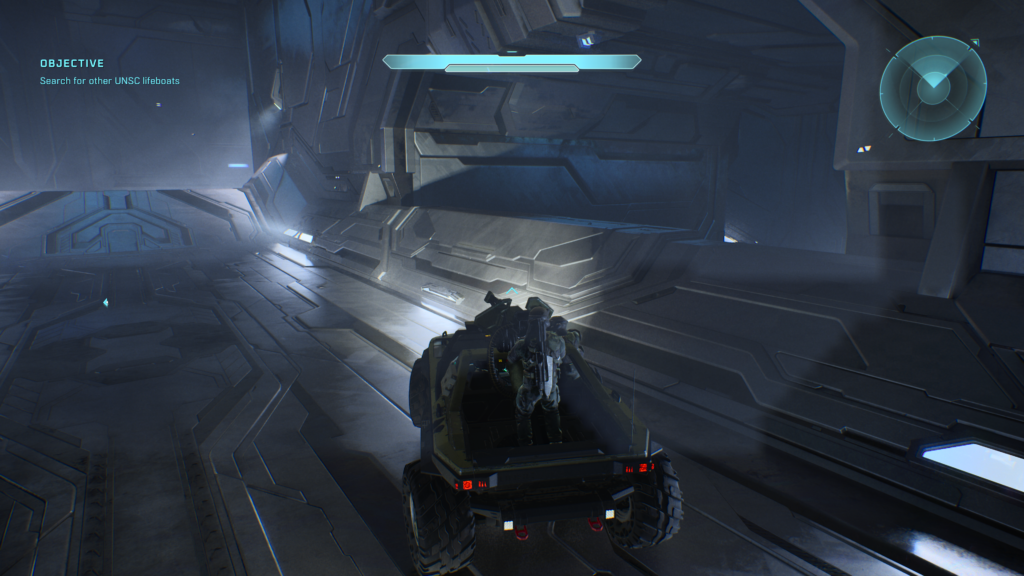
Shortly after, keep an eye for this gap on the right. Climb up on it:
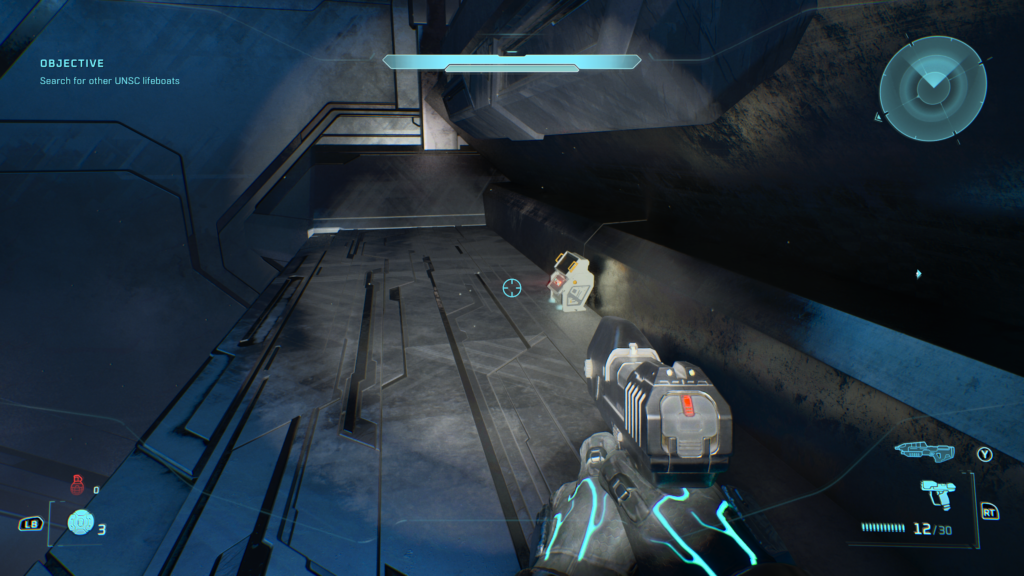
Drop over the side to find the Forgotten Terminal:
The Truth and Reconciliation – Inquisitor
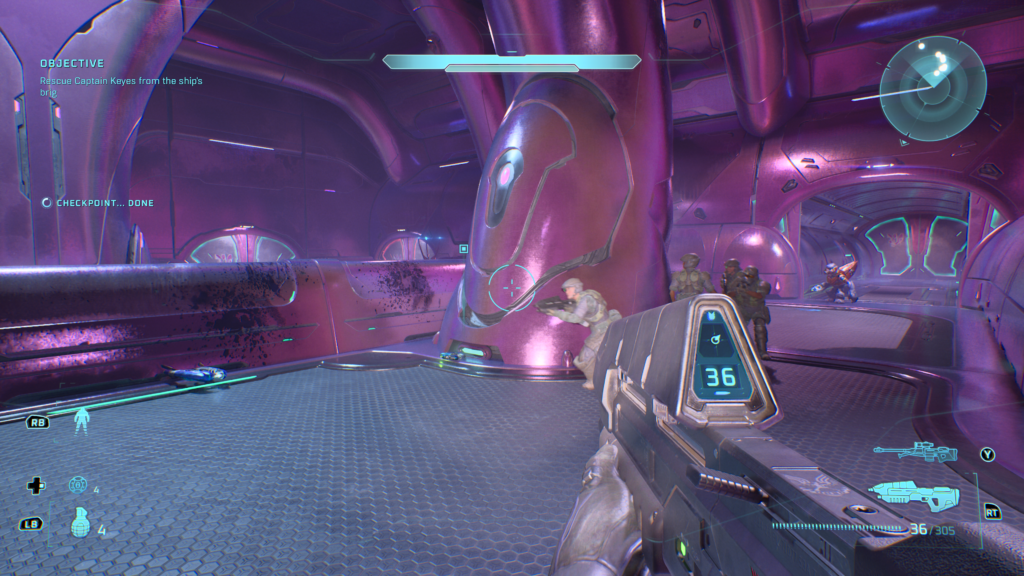
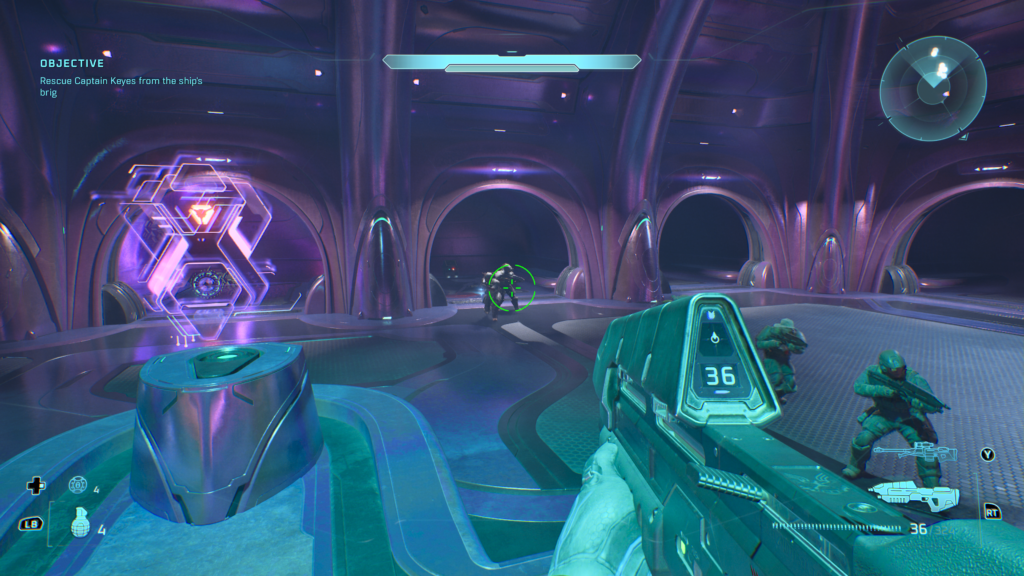
About 15-minutes into the mission you will board the Covenant ship via a gravity lift. After battling many waves of enemies you’ll be tasked with finding Keyes in a holding cell. Don’t get him yet. Come to this area where the objective begin and go through the door on the right:
Once through the door and in the cell block, open the doors using the panel and look inside this cell to find the Terminal. You’ll know you’re in the right cell block as a Grunt you release will be friendly:
The Silent Cartographer – Status Update
You can do this from Rally Point Bravo if you’d prefer.
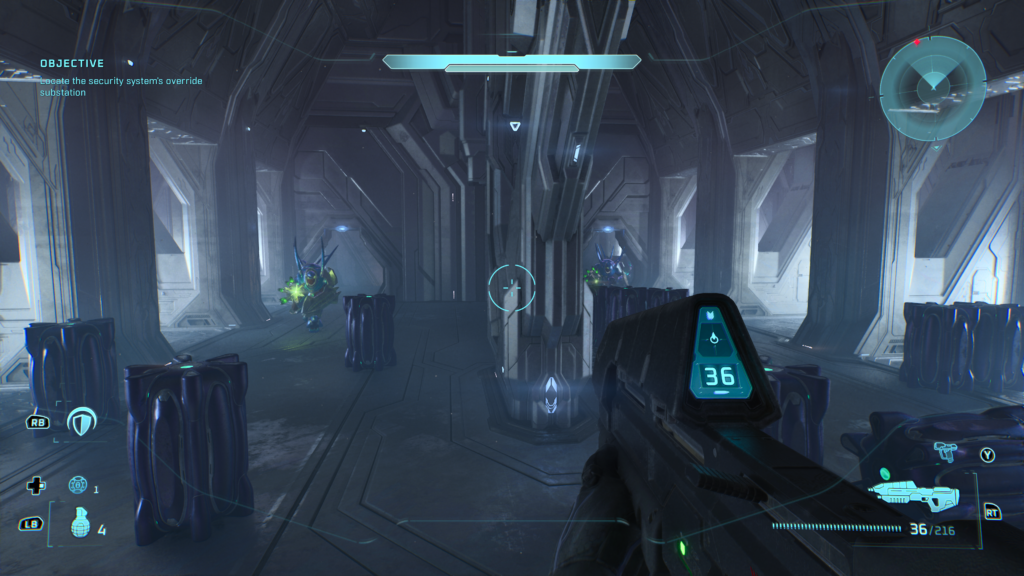
After reaching the locked door, you’ll be sent back down the beach to open the door via other means. Naturally, you’ll progress to this room with two indoor Hunters:
You can run passed them and to the control panel, but no need to press it yet:
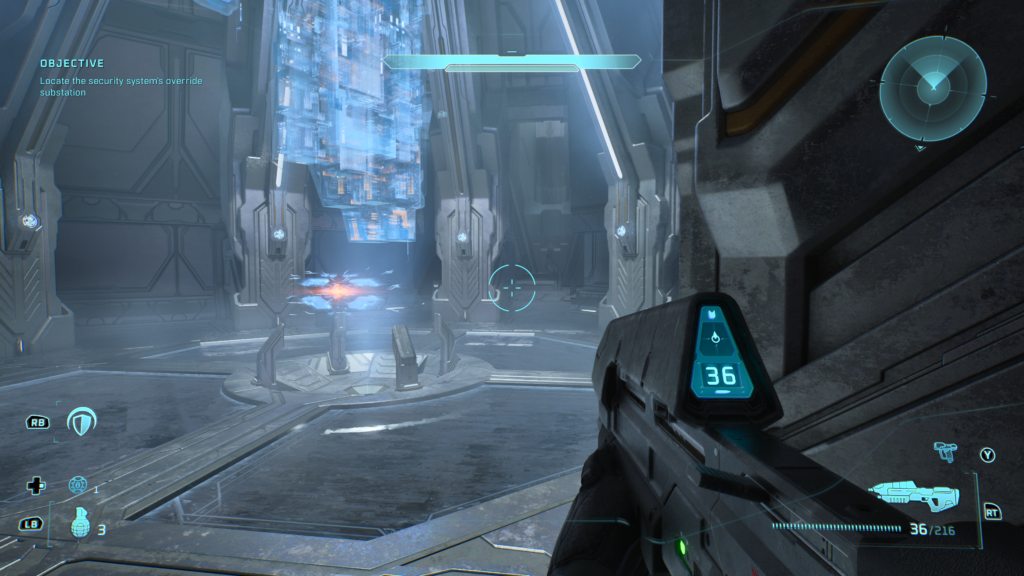
Instead, move passed the panel to see a small wall with the Terminal behind:
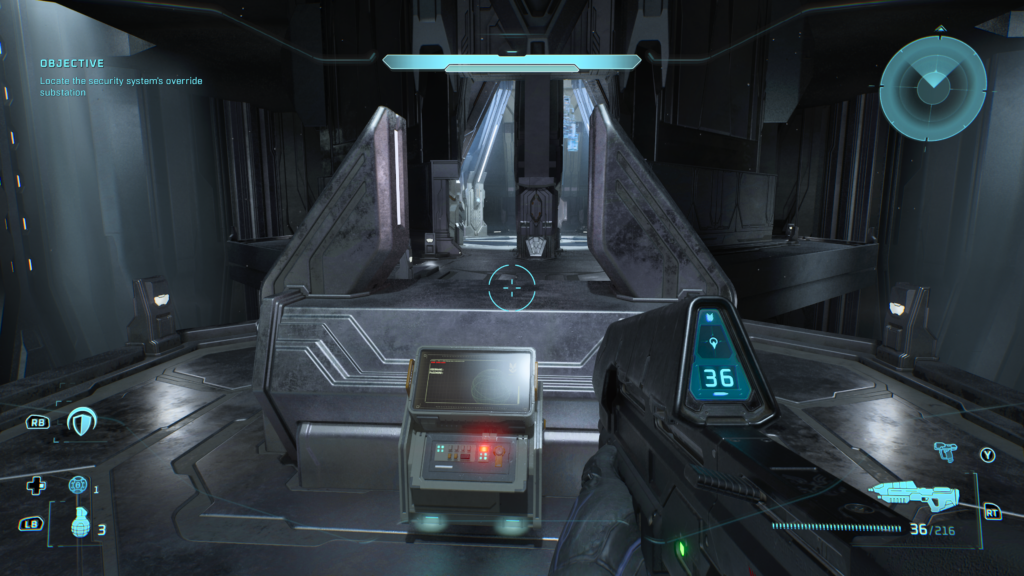
Assault on the Control Room – Tangent I
Quite far into the mission, you’ll be in a tank. With a bit of luck you’ll have taken the tank through several areas, including sections where you need to jump out to press a button to open gates. After coming up a hill inside a cave covered in ice, you’ll reach this section where there’s a fork in the road and lots of enemies:
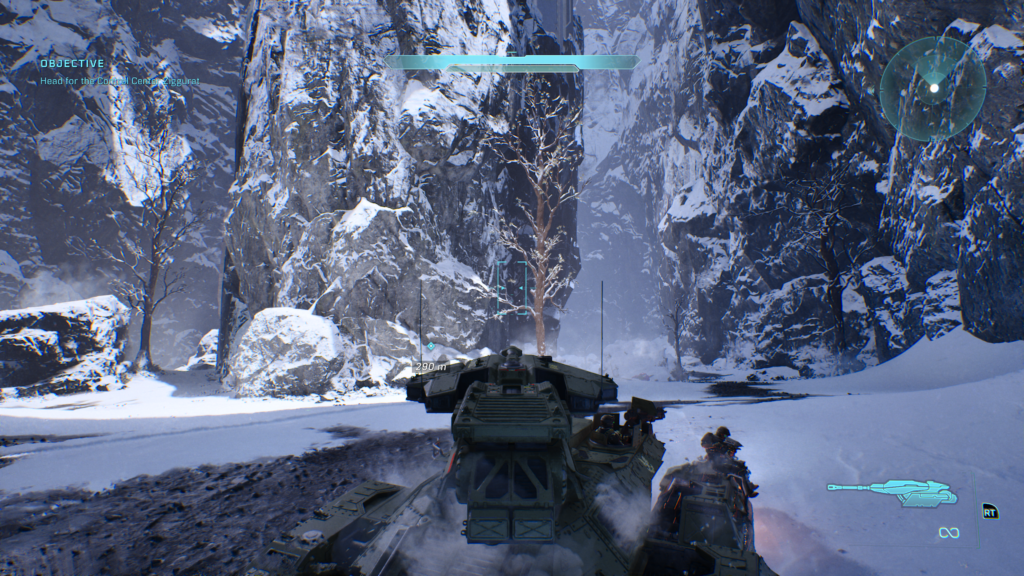
Enemies will come out of the rock structure in the centre. Take them out, then head inside and up this ramp:
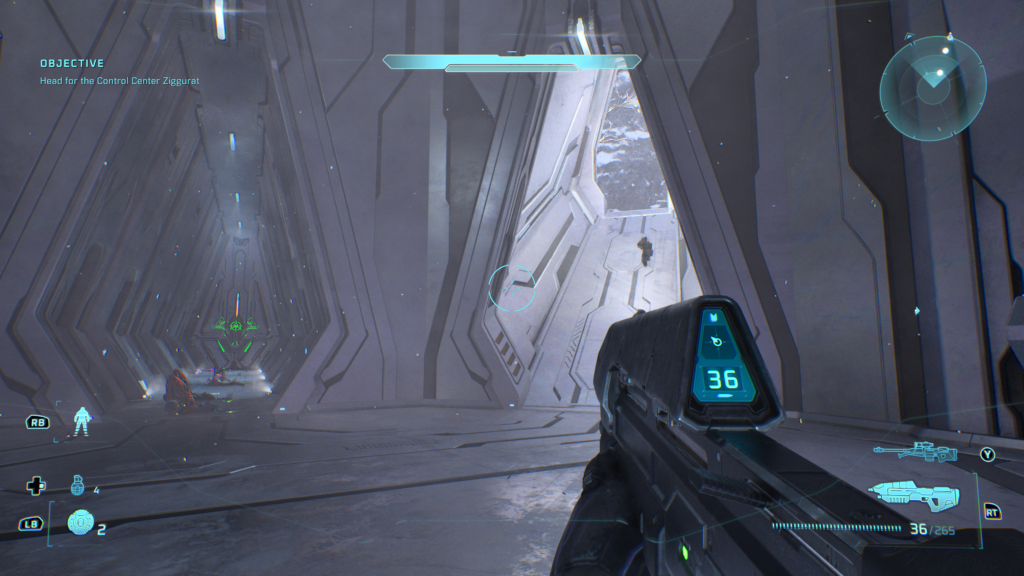
The Terminal will be up on this ledge:
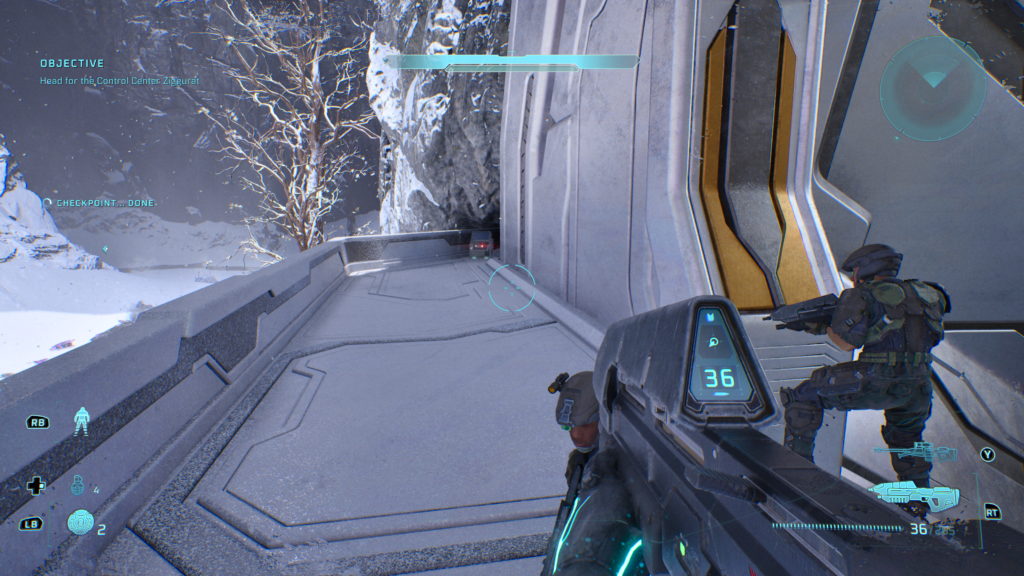
343 Guilty Spark – Tangent II
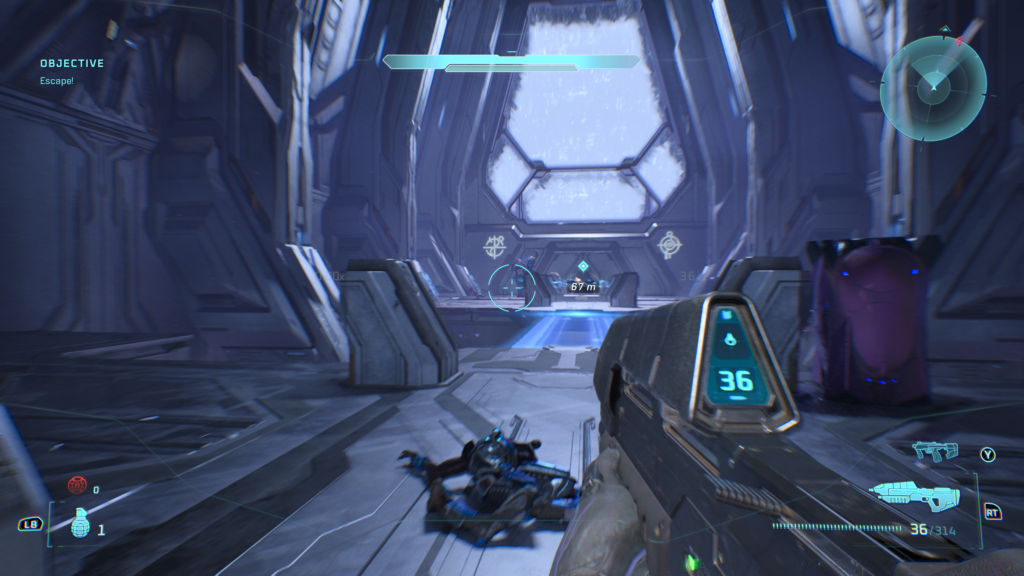
Tangent II: About halfway through the mission, you’ll encounter the Flood for the first time. Keep battling them until you reach a section where you call a lift, which drops down broken covered in fire. From there, turn round and head back out as you need to for progression. You’ll need to cross this light bridge:
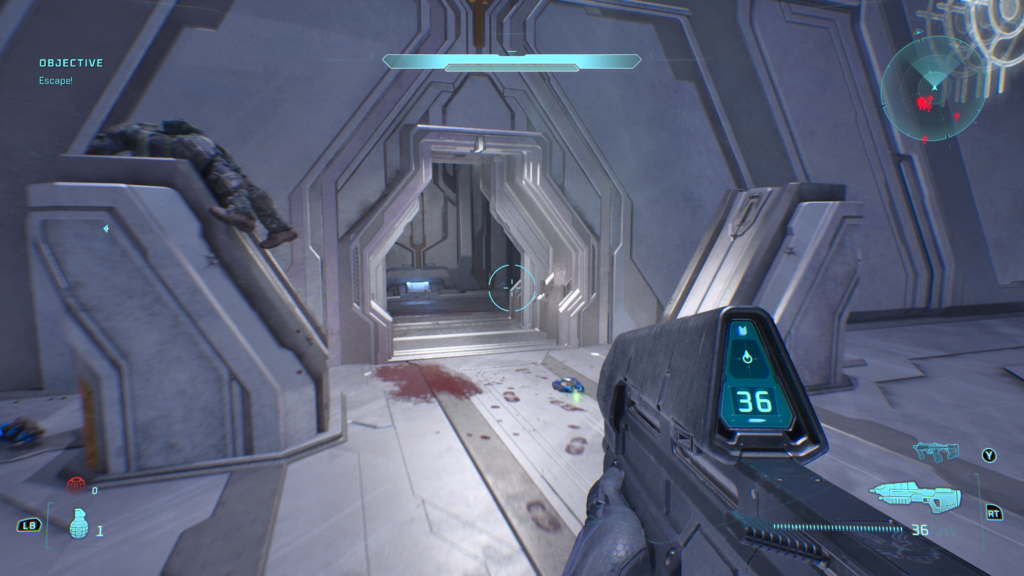
When across the bridge, head through the door you need to go through. Head through and loop round the wall just inside:
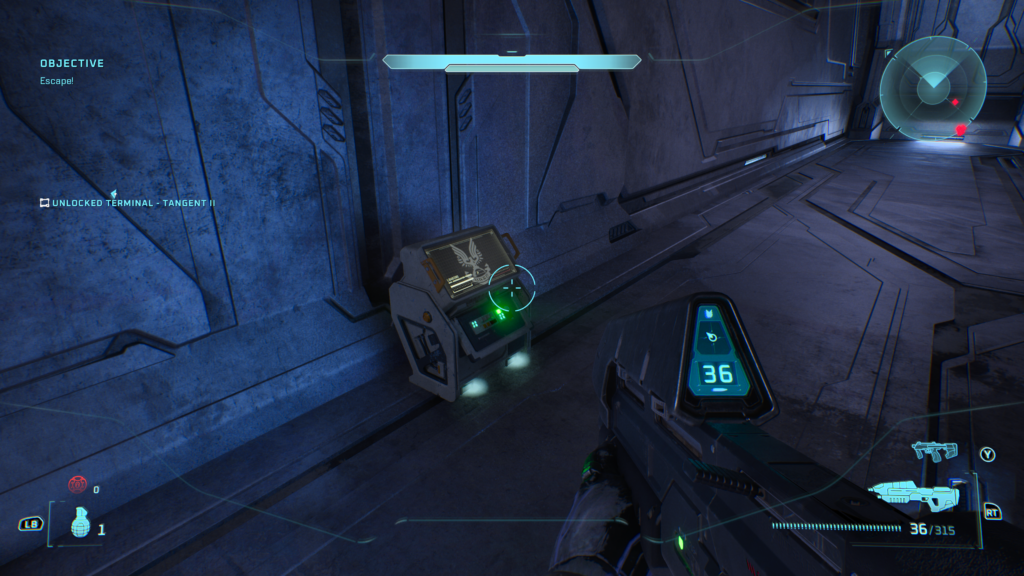
On the far side of the wall is your next Terminal:
The Library – Tangent III
Rally Point Bravo: You’ll come to this large door that Guilty Spark is opening whilst you’re taking on a wave of enemies – note the Pop Skull is to the right here if you need that too:
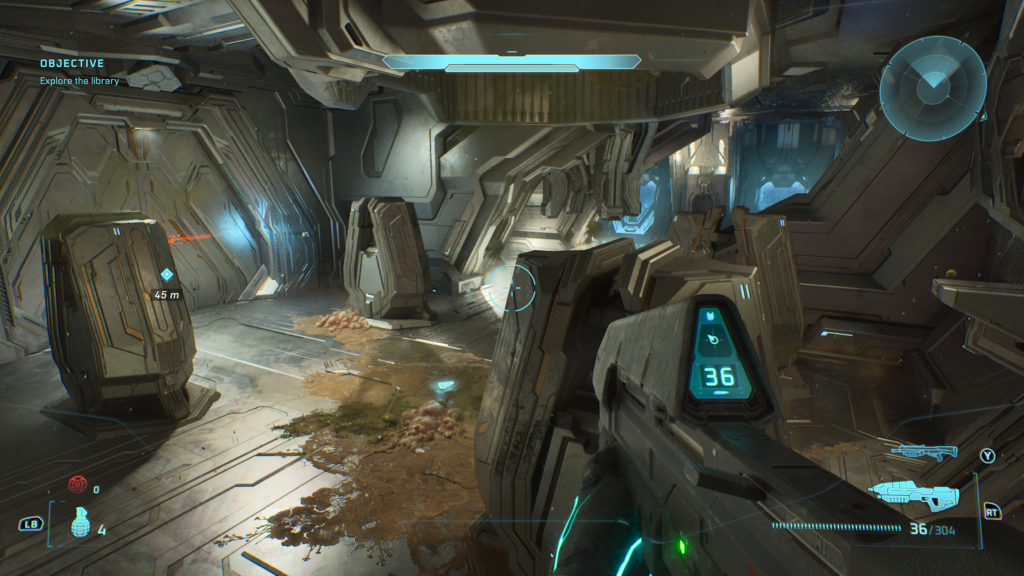
Once the doors open, instead using the button on the right to use the lift, press the button on the left to open the door:
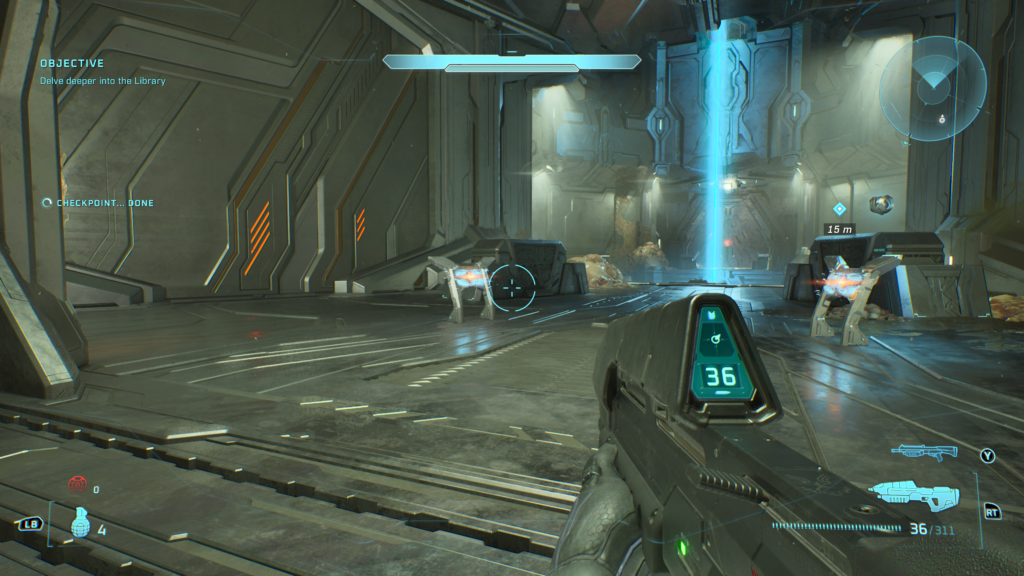
On the left side are some Flood sacks, shoot them to create a passageway:
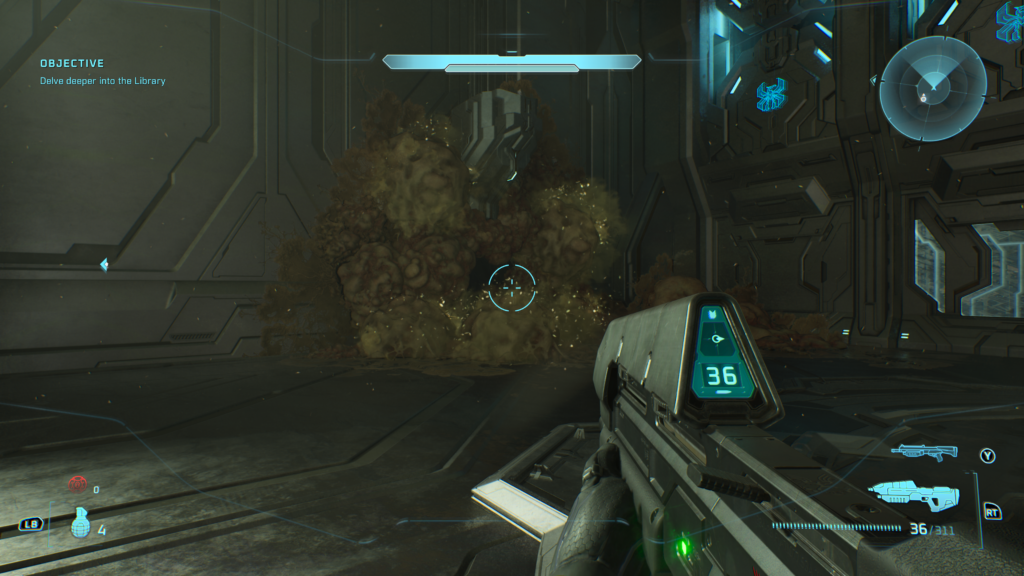
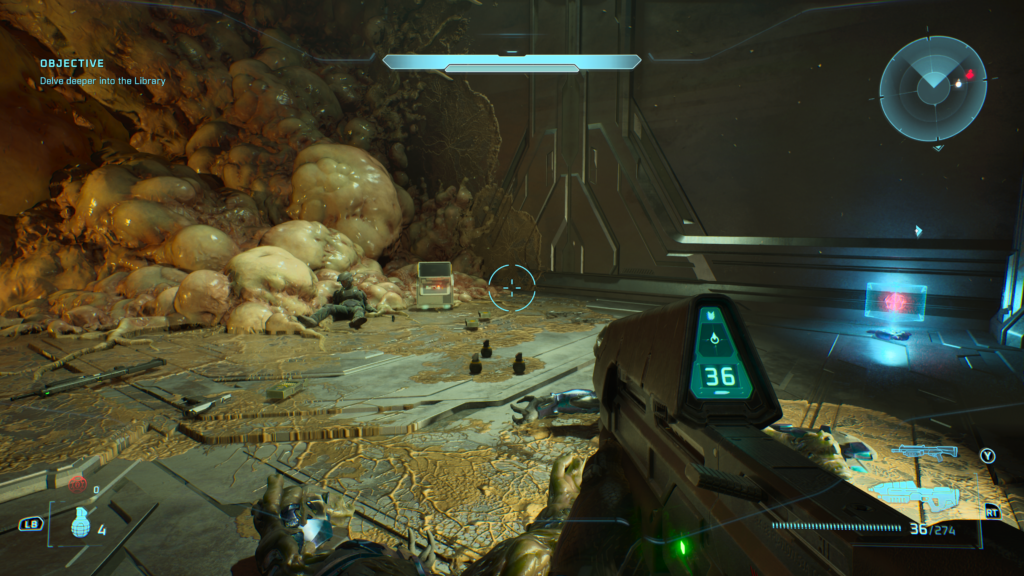
Just inside is the Terminal:
Two Betrayals – Alone
At the very start of the level, turn around and head behind the holographic sphere:
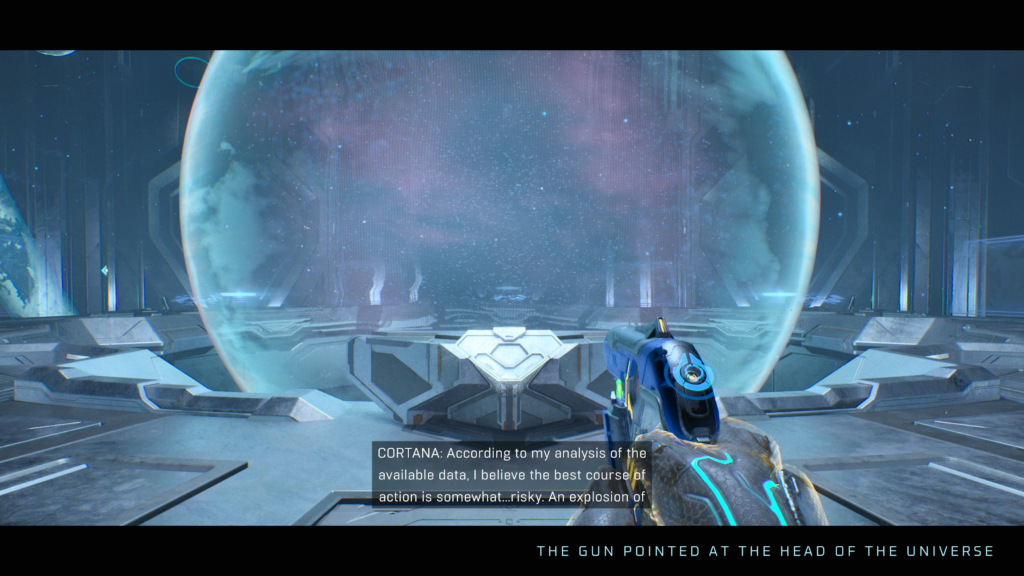
Right behind is the Terminal:
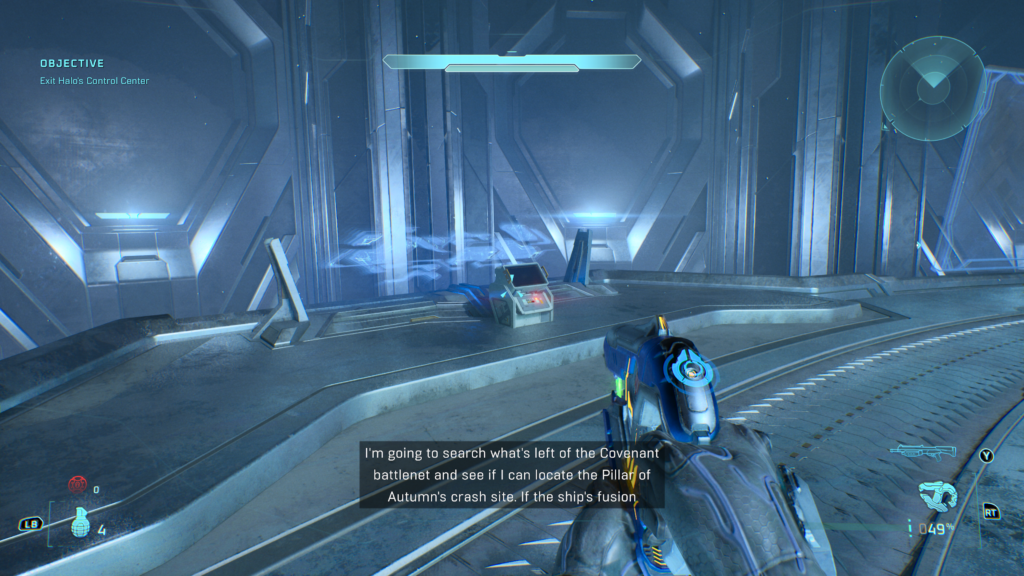
Keyes – Consumed
Late in the level when you’re on the Covenant ship, you’ll finally reach a drop ship hangar bay on the upper level. As soon as you enter, head left and through this door to the left:
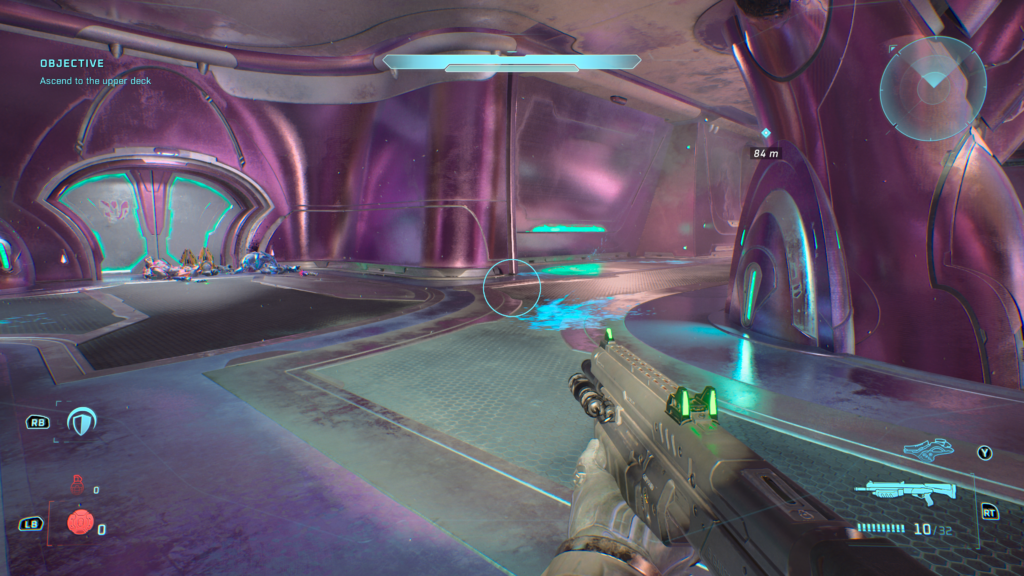
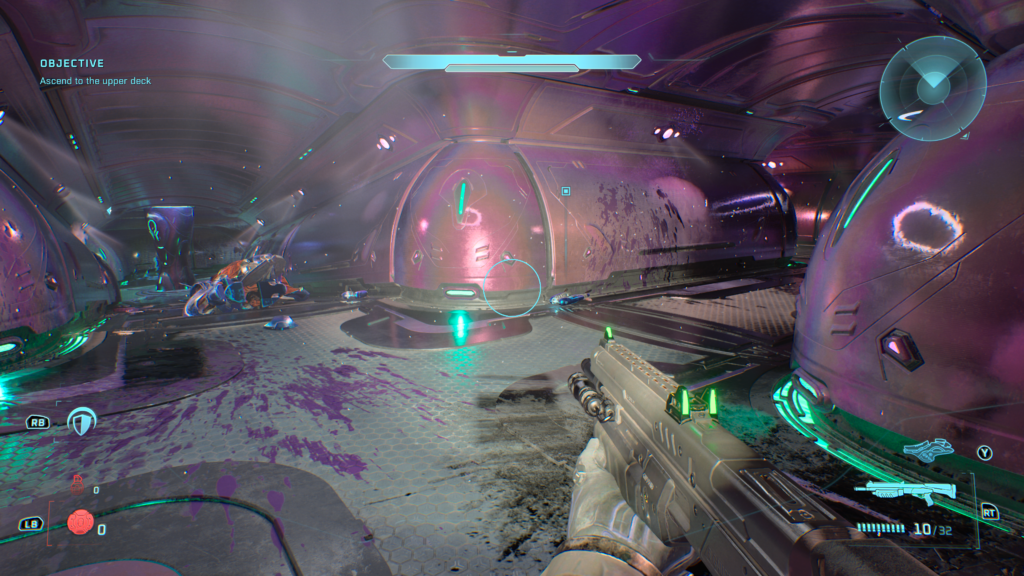
Take out the enemies including the Hunters in the corridor, then at this junction take a right:
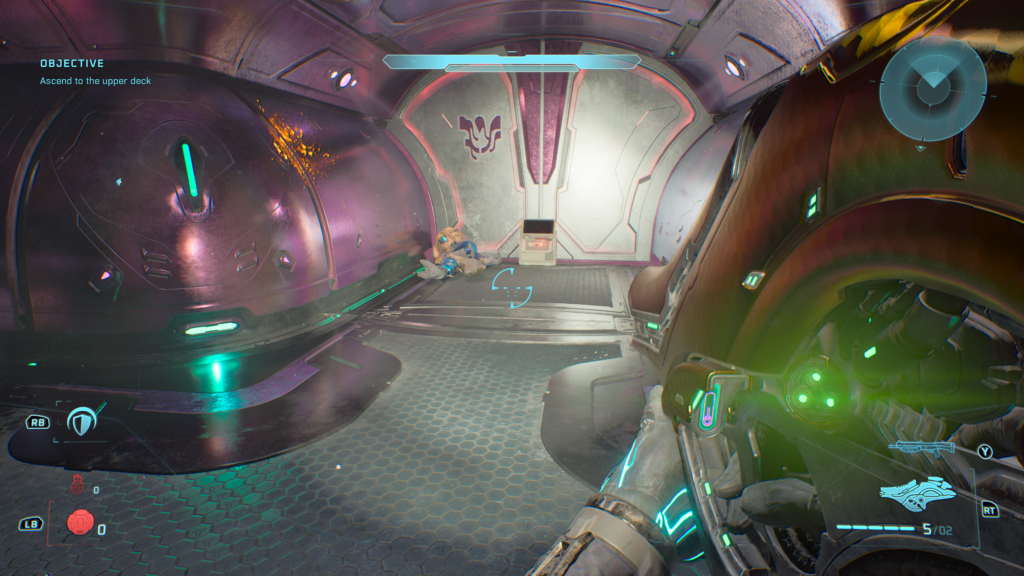
The Terminal is tucked away on the left here:
The Maw – Arrival
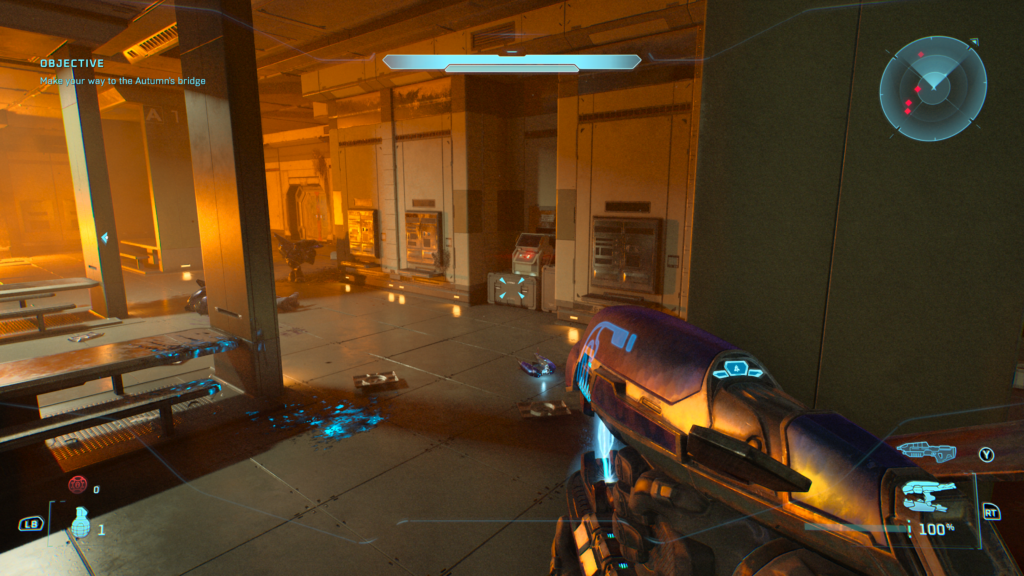
Very early in the mission you’ll come to room B03L, the same diner from the game’s first mission:
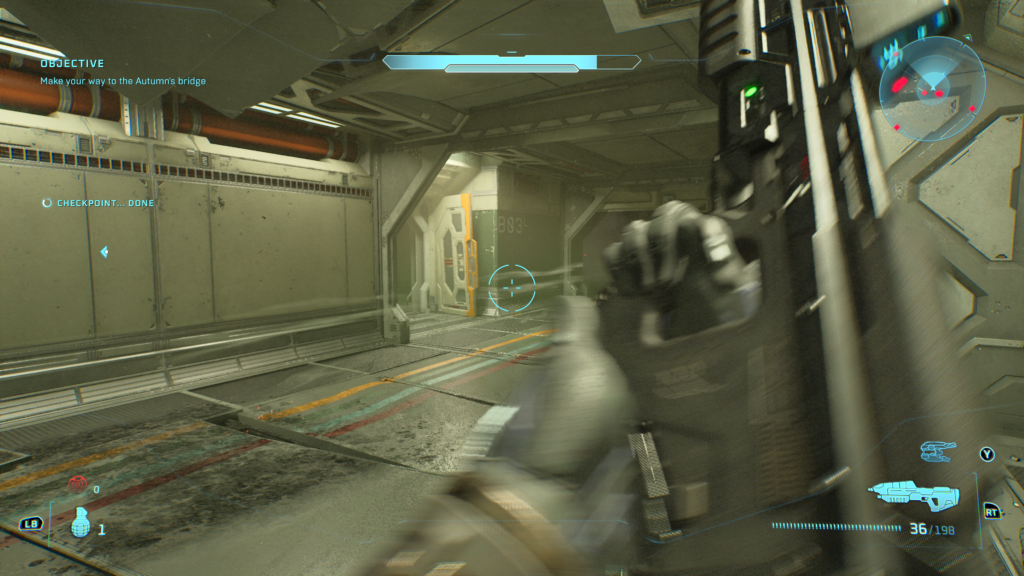
Clear the enemies out and look to the room to find the final Terminal from the original ten missions:
New Mission 1 – The Path
You’ll reach a section where Brutes keep dropping down from a lift and some Elites come out of the side doors. When you’re done killing everything, Johnson will say something about the lift and jump in it. Follow him:
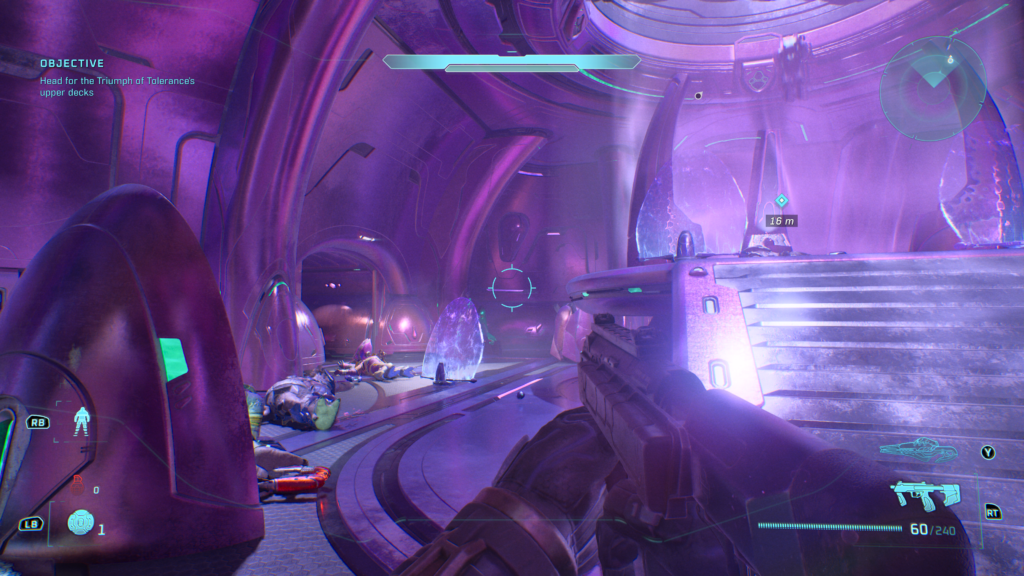
When you’re up, turn to your 8 o’clock and head to this door:
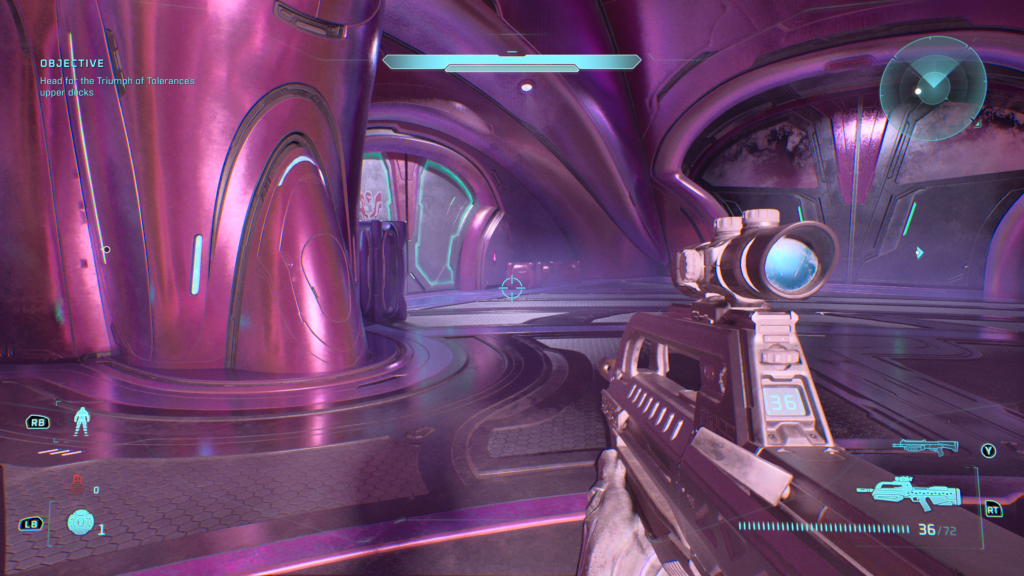
Head inside to find your The Path Terminal:
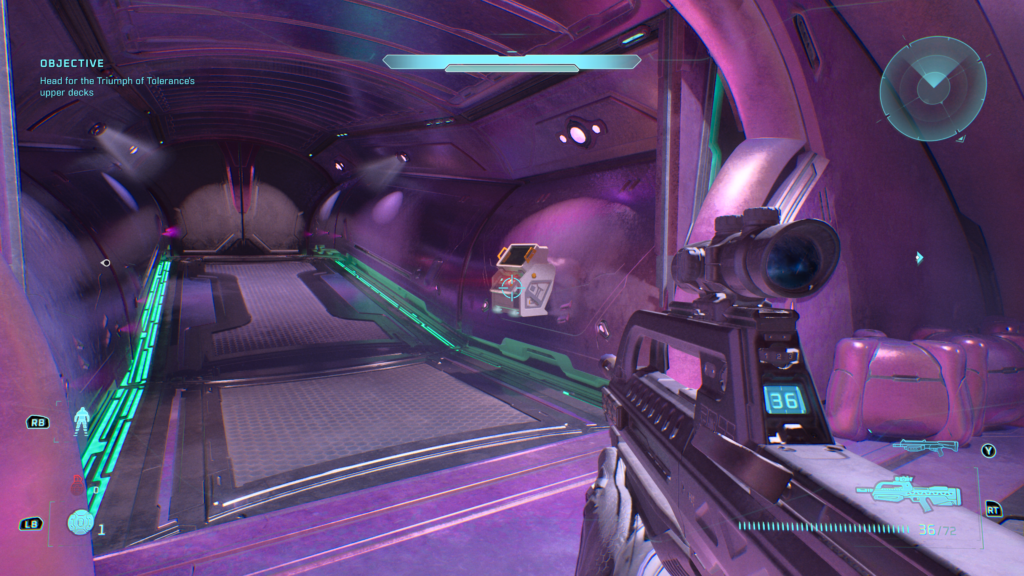
New Mission 2 – Penitent Report
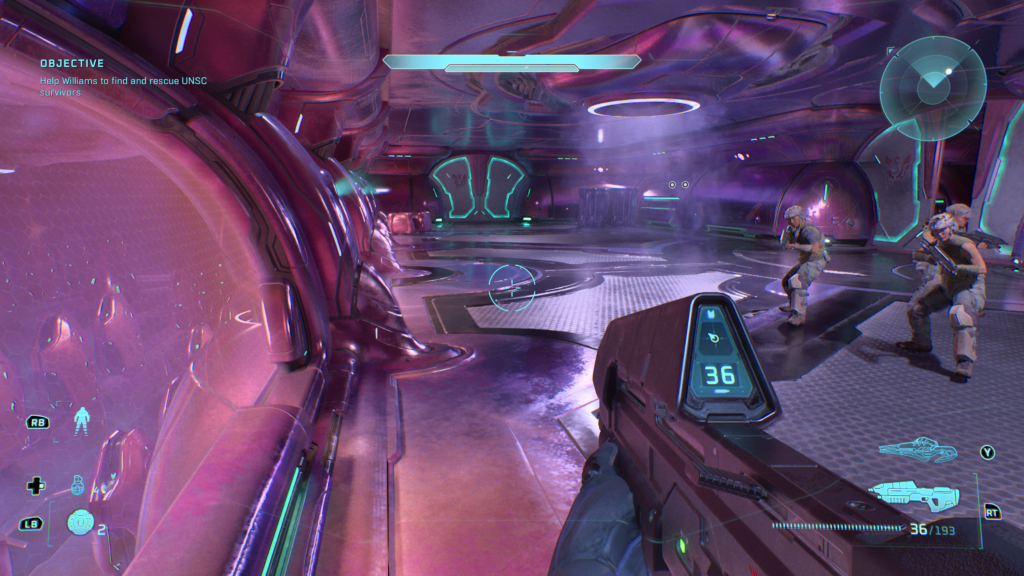
Quite an easy one to find. After about 10-minutes of being inside the Covenant-held structure, you will reach a section where Johnson and your other AI teammate will talk about Marines being packed for shipping, that’s on the left. On the right is a door towards the Terminal:
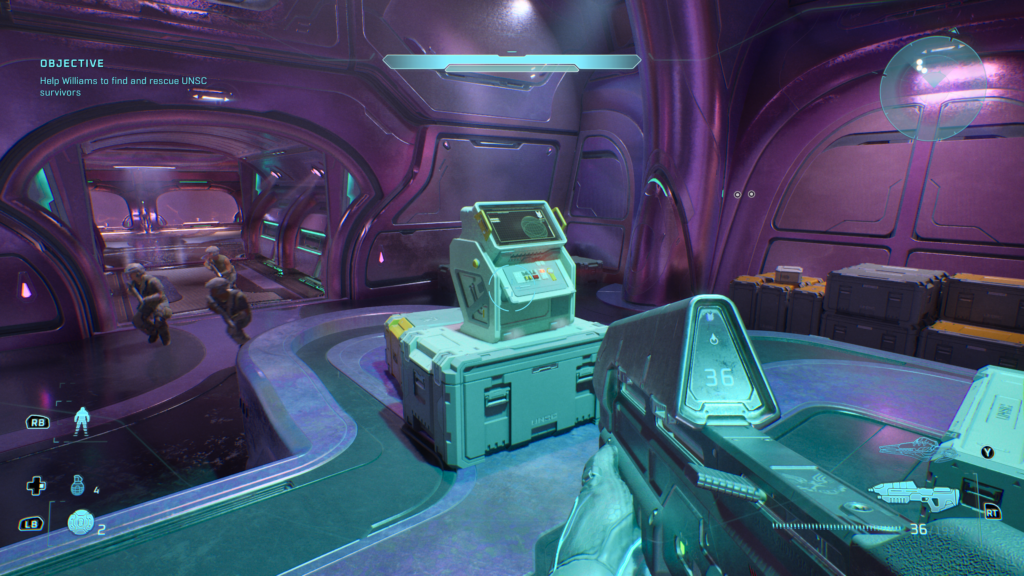
Just inside, here’s the Penitent Report Terminal:
New Mission 3 – Harmonious Clarity
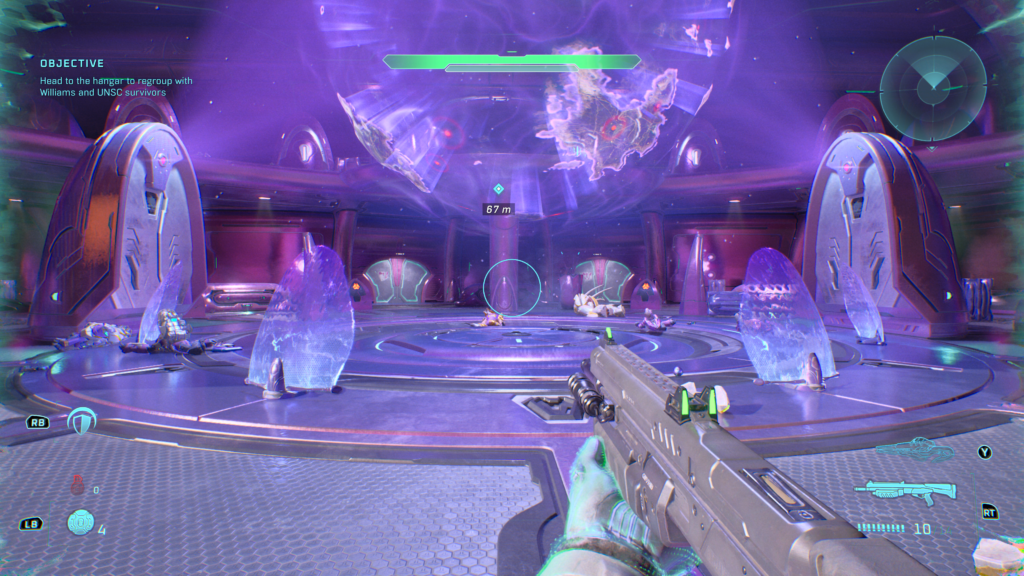
Harmonious Clarity: During the mission you’ll come to a section where you take on a large number of enemies in a room with a large planet hologram in the middle. Take out all the enemies to trigger a cutscene. After taking them out, instead of heading upstairs with Johnson, go through the doors on the ground floor:
Pass through another couple of doors which include a whole arsenal of weapons you might want to grab:
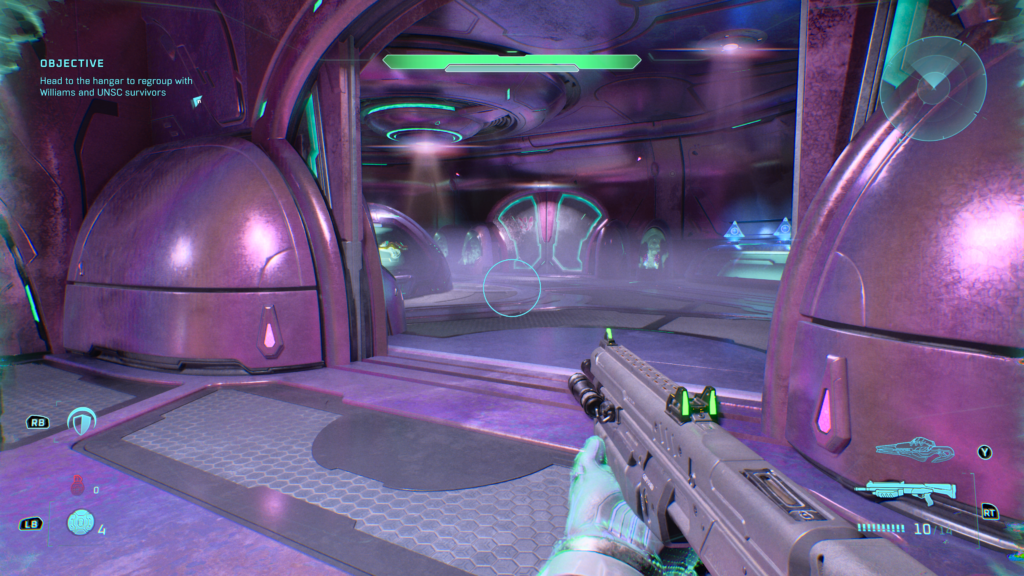
In the final room is the Terminal tucked away on the left side:
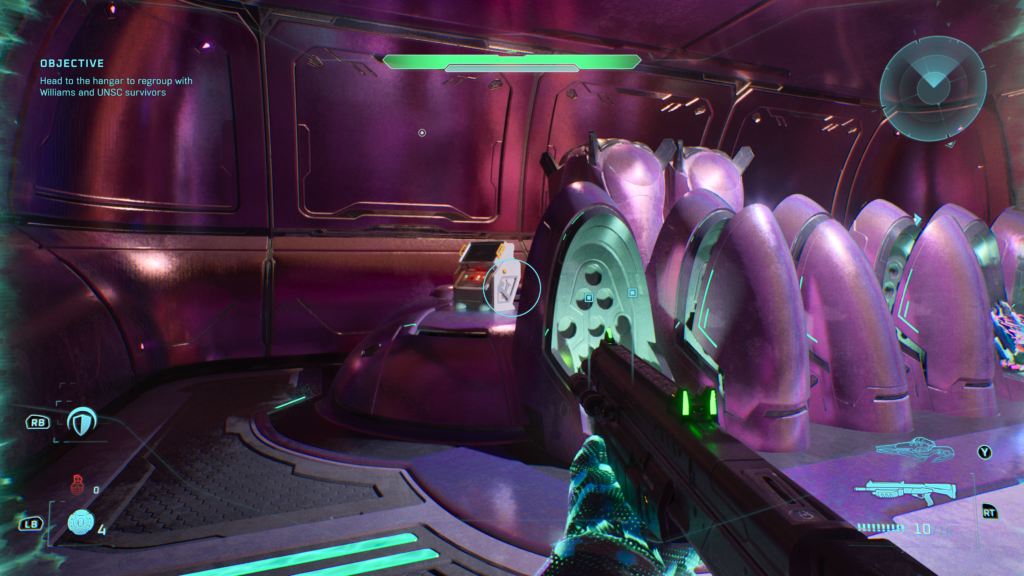
And by collecting that final Terminal, you will unlock the Lore Have Mercy achievement / trophy, congratulations!
That was our All Terminals / Lore Have Mercy guide for Halo: Campaign Evolved. We hope it was helpful! You can find more of our guides for Halo: Campaign Evolved below, or read our full review here.
Are you enjoying Halo: Campaign Evolved? Let us know in the comments below, and join the Gamer Social Club Discord to talk about your favourite games, play in community game nights, take part in giveaways, and more!