In this guide, we will show how to easily find all 25 Mementos in Silver Pines. Most of these are optional items to locate, but we strongly advise finding them as they’ll allow you equip new perks for Red Walker, aiding in your survival across Silver Pines. We’ll show you all the Memento locations, in an order that is easy to follow as you play the game, below.
Be aware of heavy spoilers in this guide. Please click on the images below to enlarge them if you need to.
Find All Mementos in Silver Pines
Here are all the Memento locations, largely in the order in which you’ll find them in the game yourself. Please note, you will need various items to access some of these Mementos, and one of them is unlocked at the very end of the game.
You will need to find more Vessel Shards to unlock extra Memento slots. If you’re looking for all Vessel Shards, please find a link to our locations guide in the footer below.
Empty Matchstick Memento
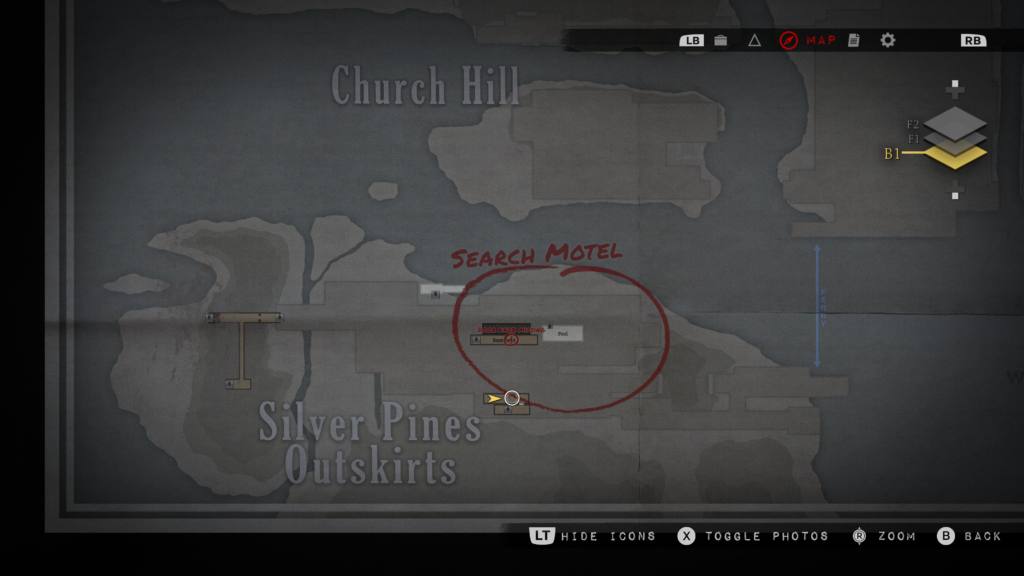
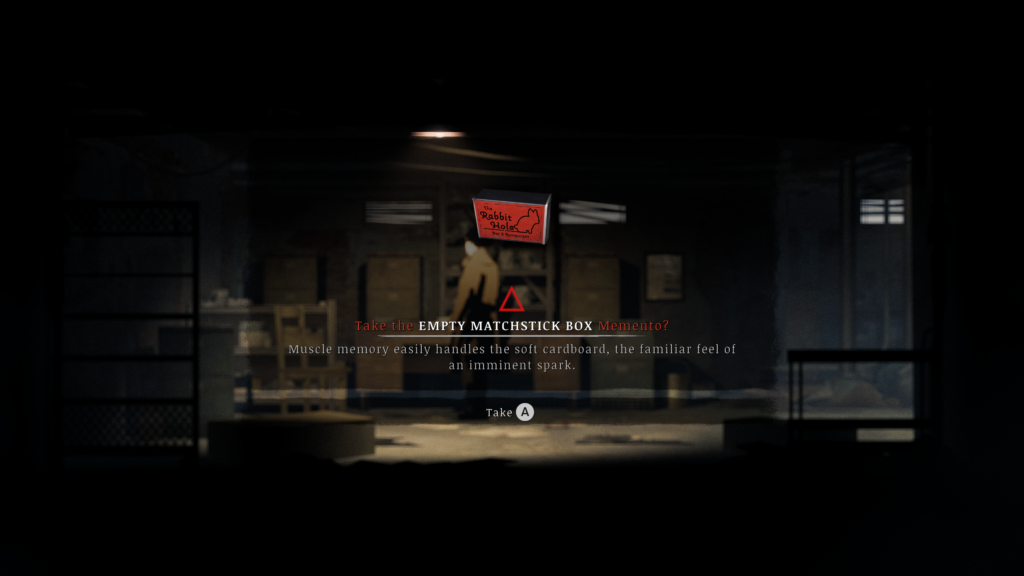
Early in the game you’ll acquire the shotgun. You’ll then want to head back to the Miner Diner where you began the game. You can now slash through some material, before heading downstairs to the staff room. Downstairs you’ll find your first Memento – Empty Matchstick Box:
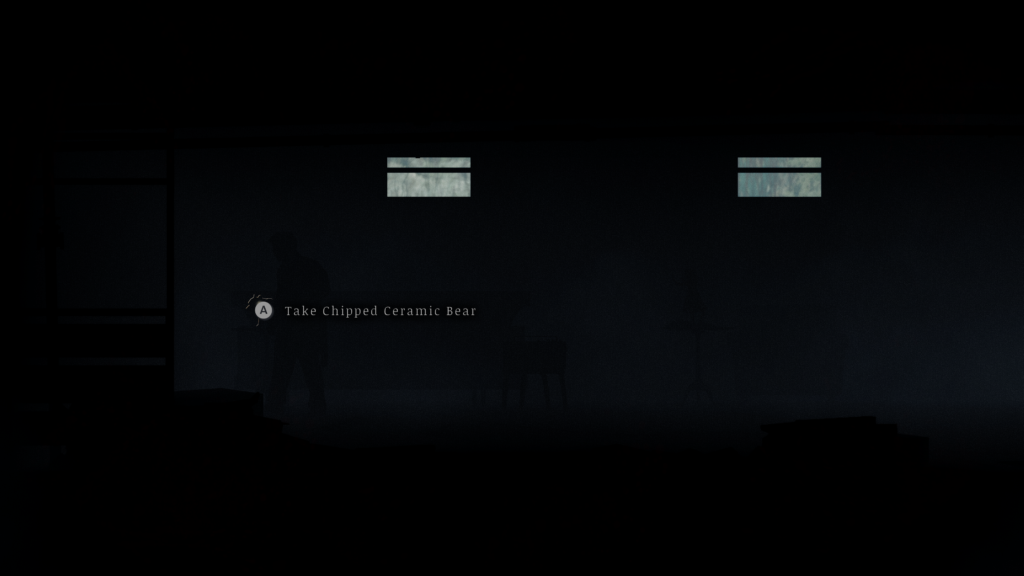
Chipped Ceramic Bear Memento
This may be missable. A little later, you’ll see your first gig from Eddie Velvet in a dream. After the dream, you’ll be able to turn on a light right by you. When you do, turn it straight back off. You’ll see your second Memento – Chipped Ceramic Bear on the sofa to the left. If you miss it, try returning back to the palm tree door later:
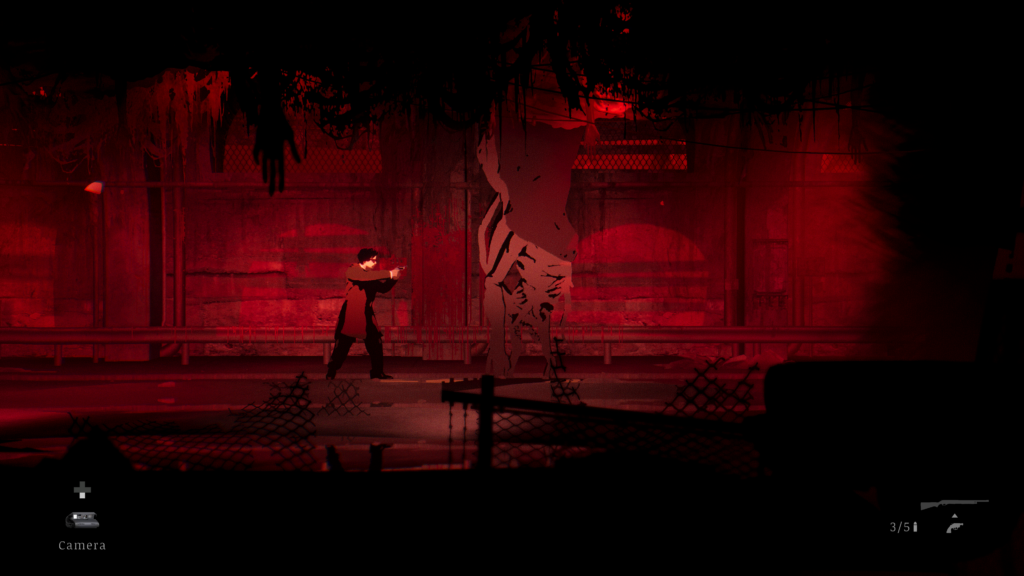
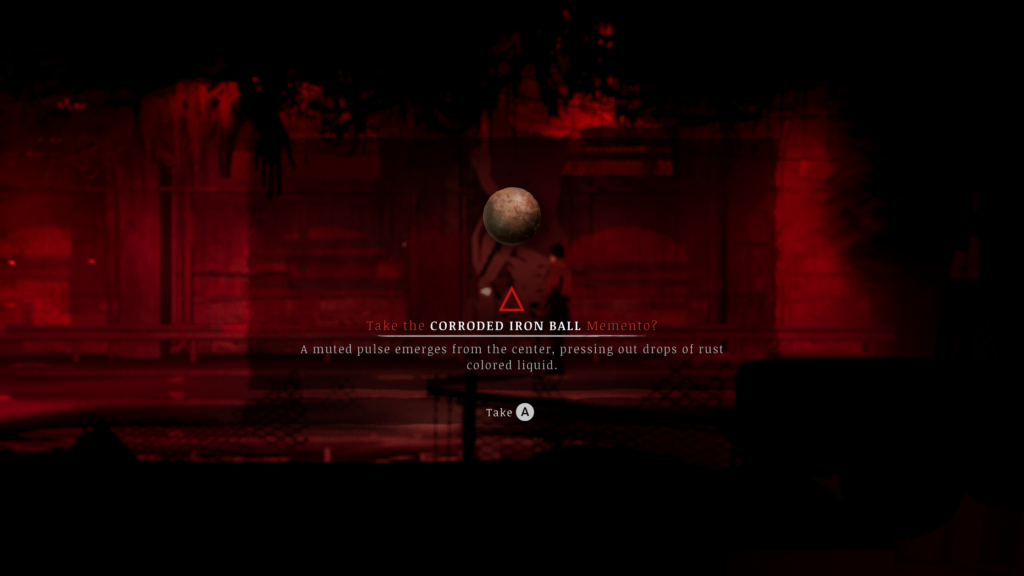
Corroded Iron Ball Memento
This may be missable if you don’t grab it at this time. At the first boss fight, take them out. Then investigate their body to find the Corroded Iron Ball Memento:
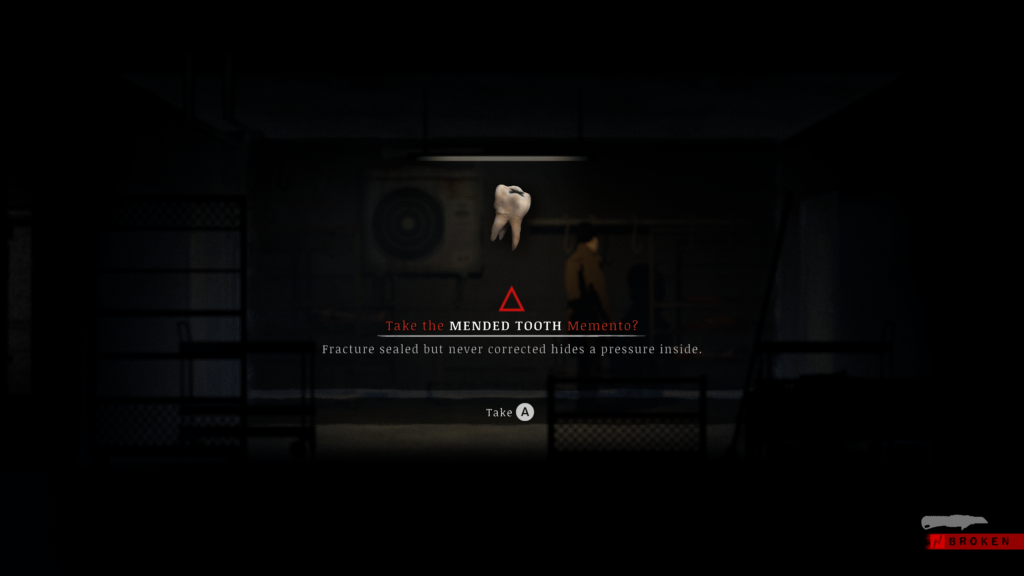
Mended Tooth Memento
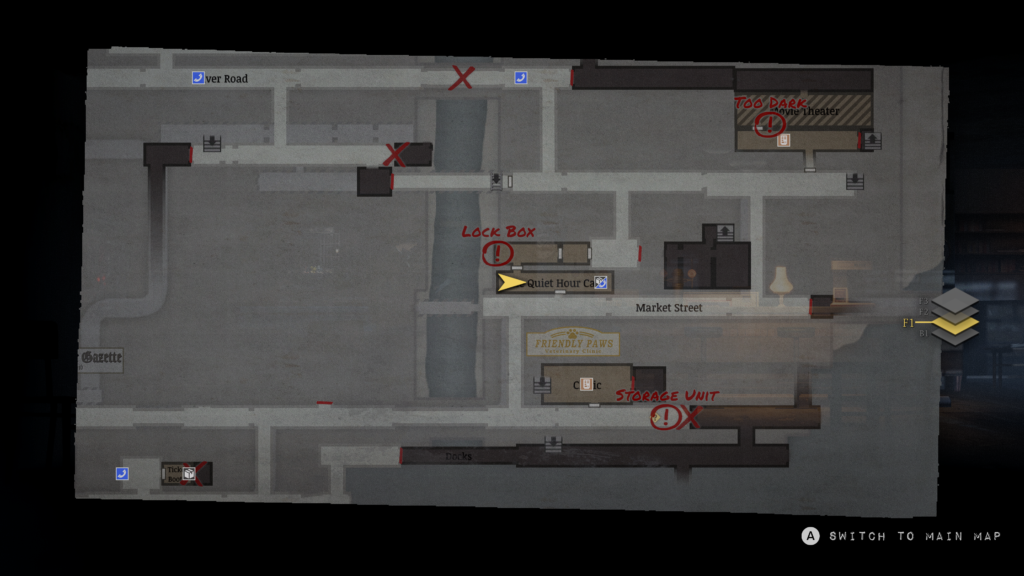
Not long after getting off the ferry, come to this location and go through the door on the left, near where the enemy stands. Just inside is the Mended Tooth Memento:
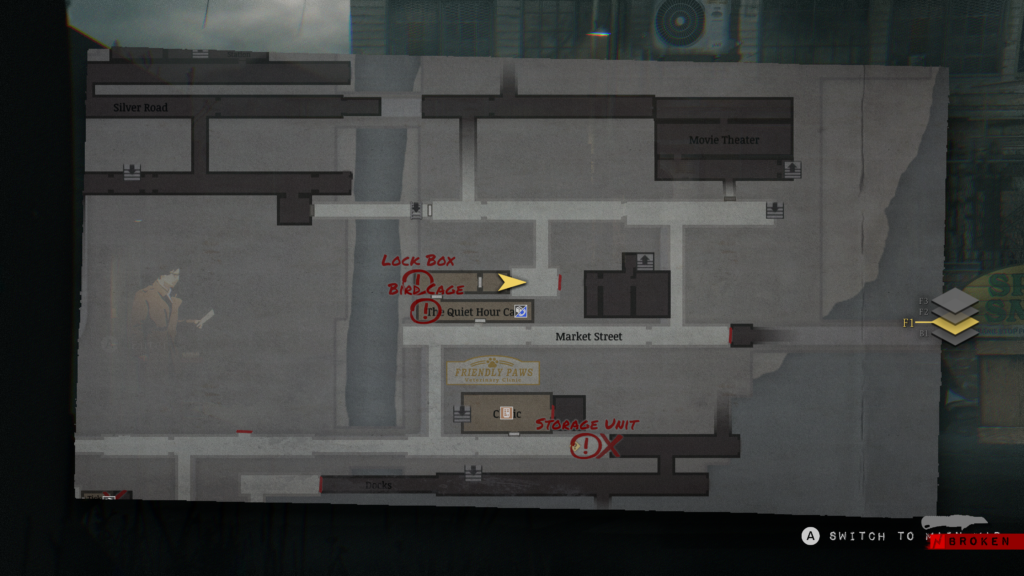
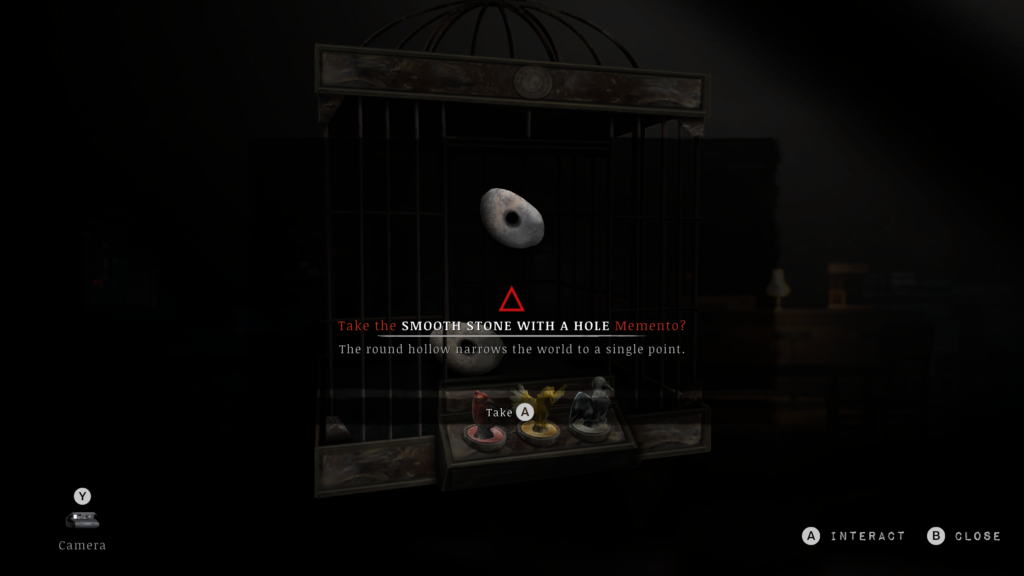
Smooth Stone with a Hole Memento
In the town there are three bird objects – yellow, red and silver – when you have them, return to The Quiet Hour Café and place them to unlock the cage revealing your next Memento:
Badge 0013 Memento
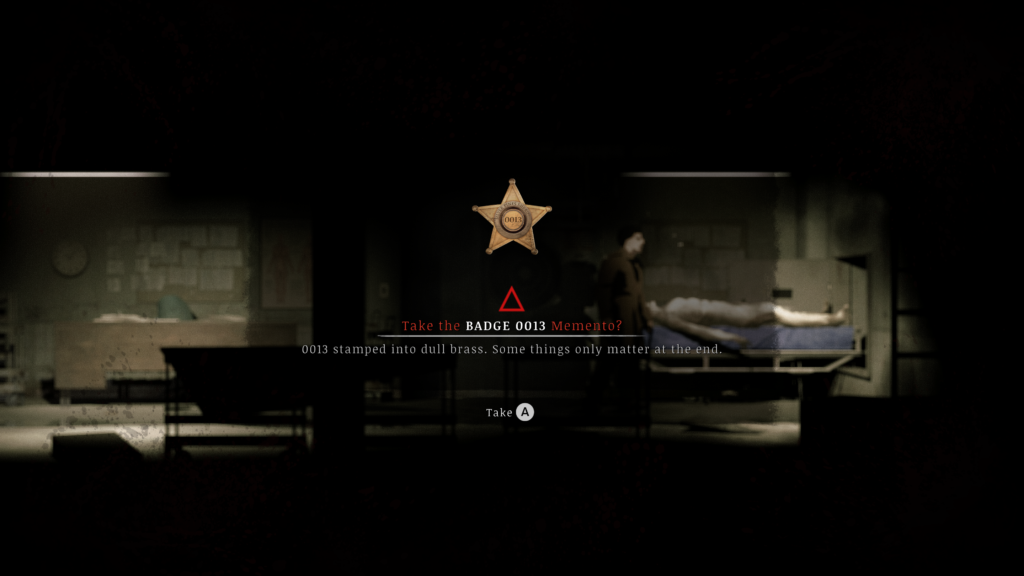
Inside the Sheriff’s Department, head to Cold Storage and pull the body out. Once you’ve got your crowbar, you’ll be able to pry this Memento out of the corpses mouth:
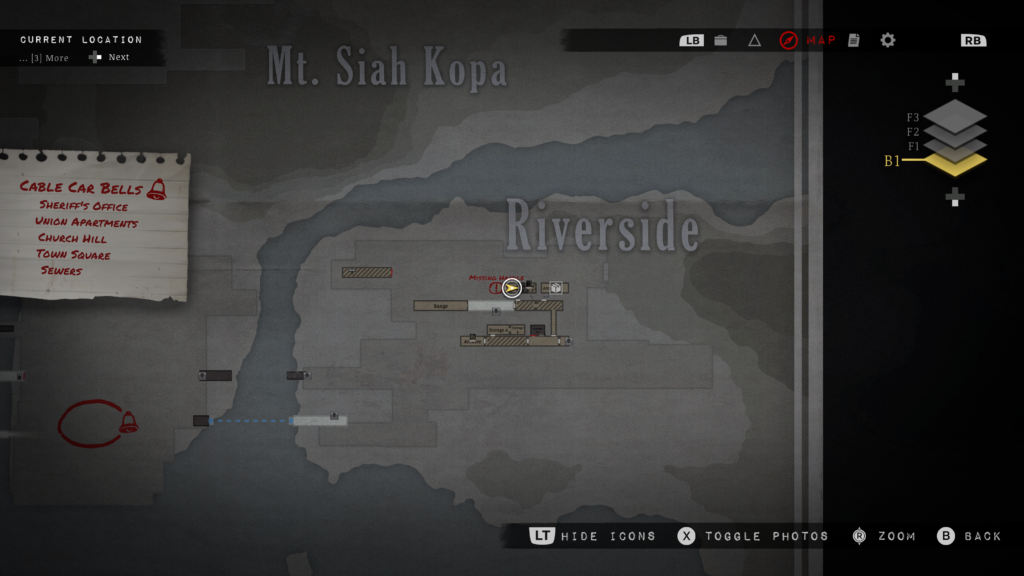
Snake Earring Memento
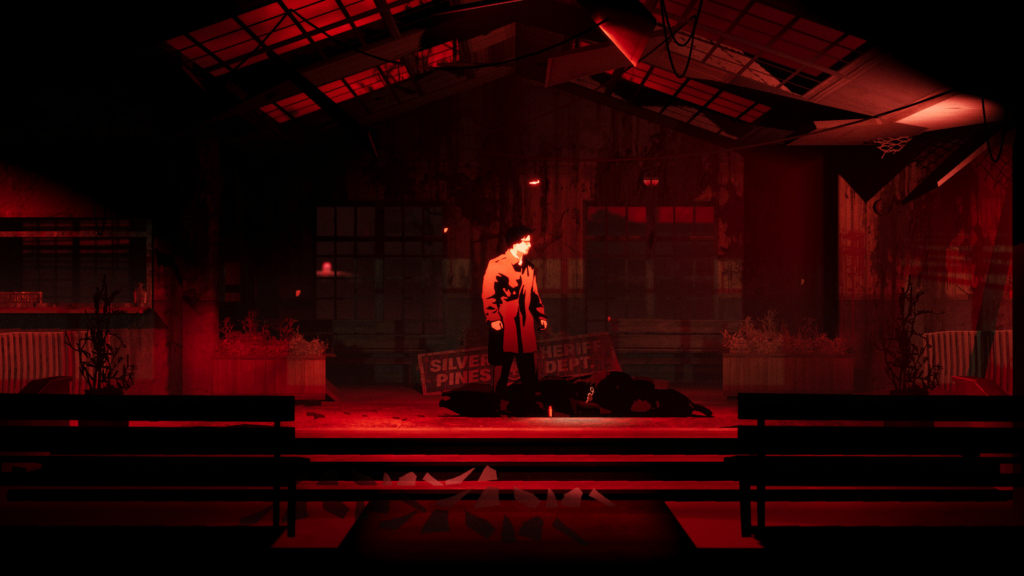
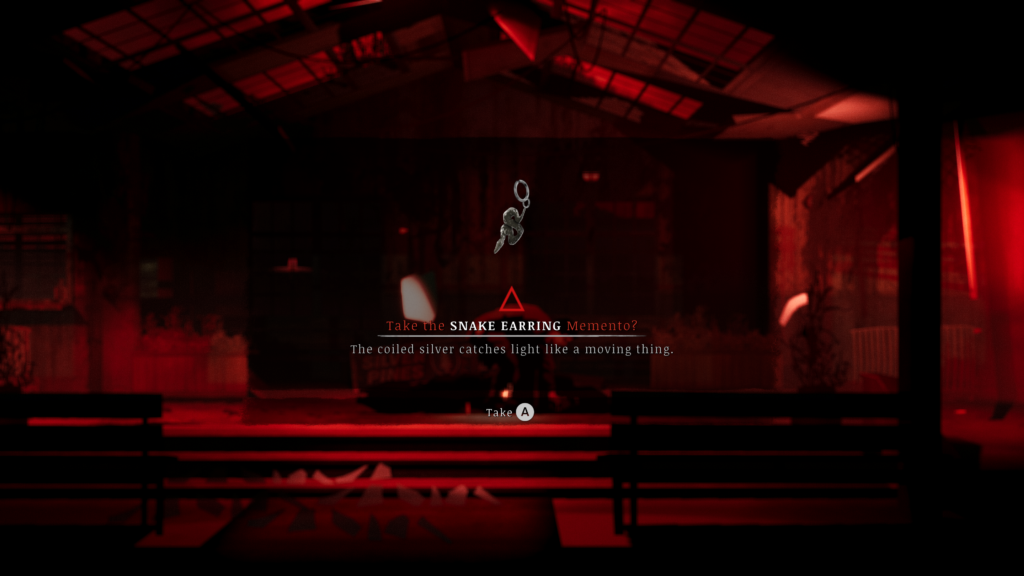
This may be missable if you don’t grab it at this time. After you beat the second boss, Deputy Roberts, walk over to their corpse to find your Snake Earring Memento:
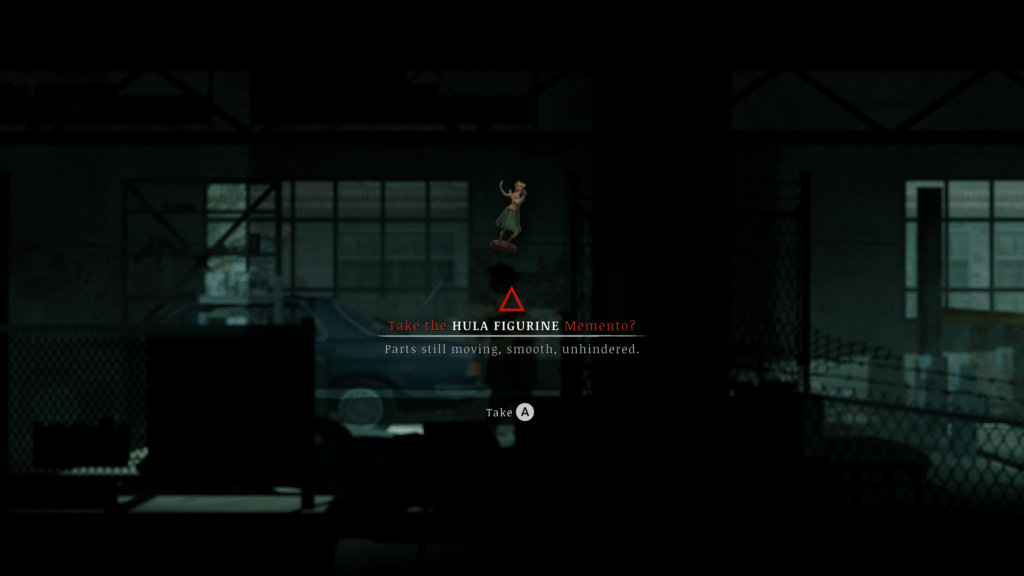
Hula Figurine Memento
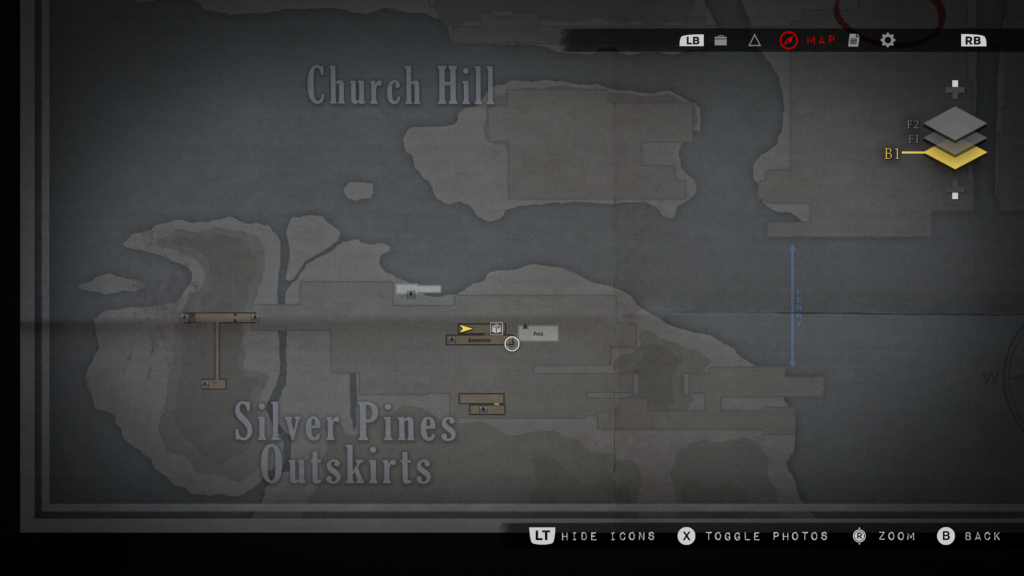
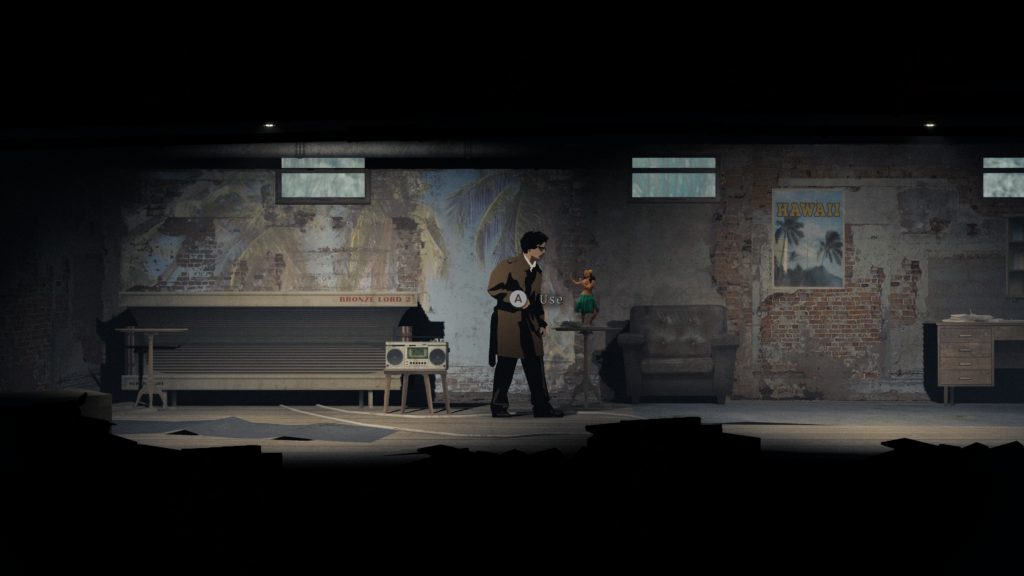
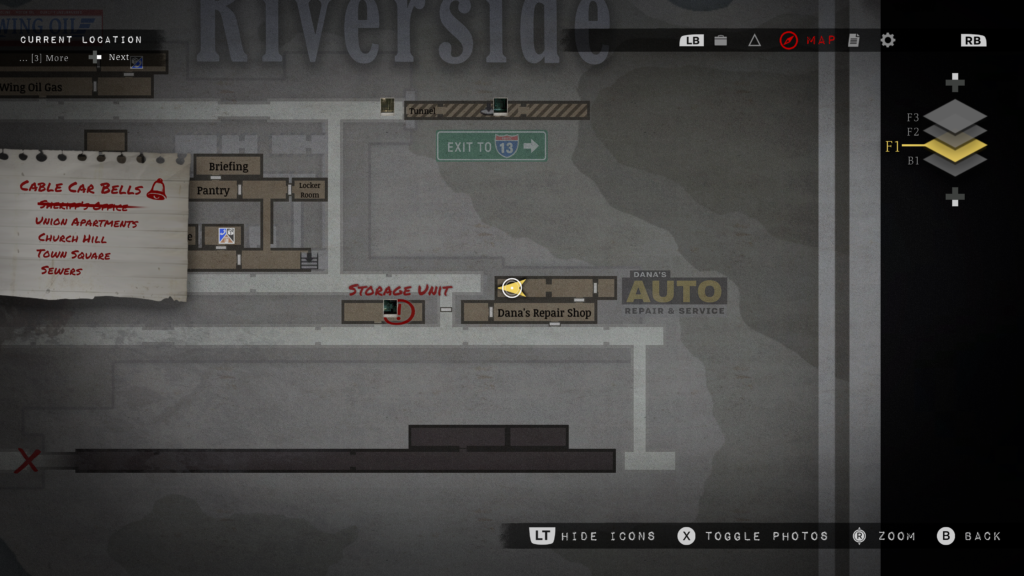
Straight after the boss above, and getting the bell, head back to Dana’s Repair Shop where you can now use the crowbar to smash into a new room. Once inside, head under the car to the left to find the Hula Figurine in the boot of a blue car:
Repaired Polaroid
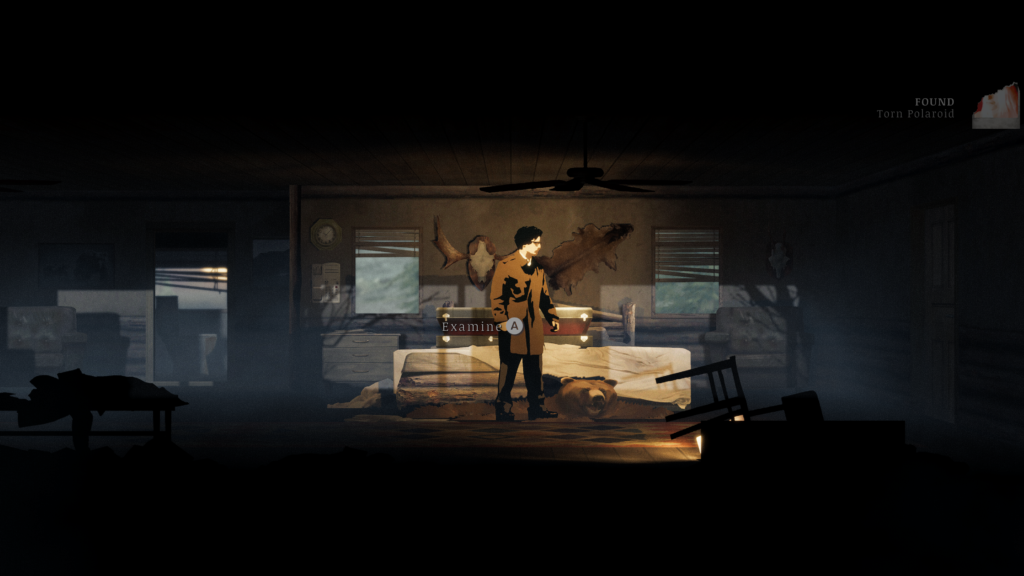
This one is in two-parts:
- Almost unmissable. Very early in the game, wWhen you reach the Grizzly Suite at the hotel, open Eddie’s guitar case to find your first memento inside:
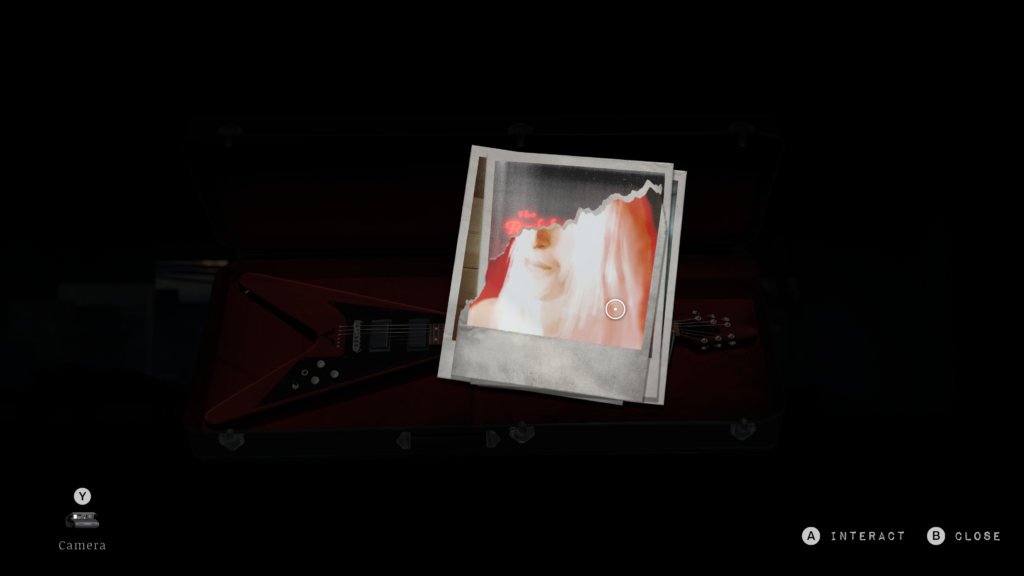
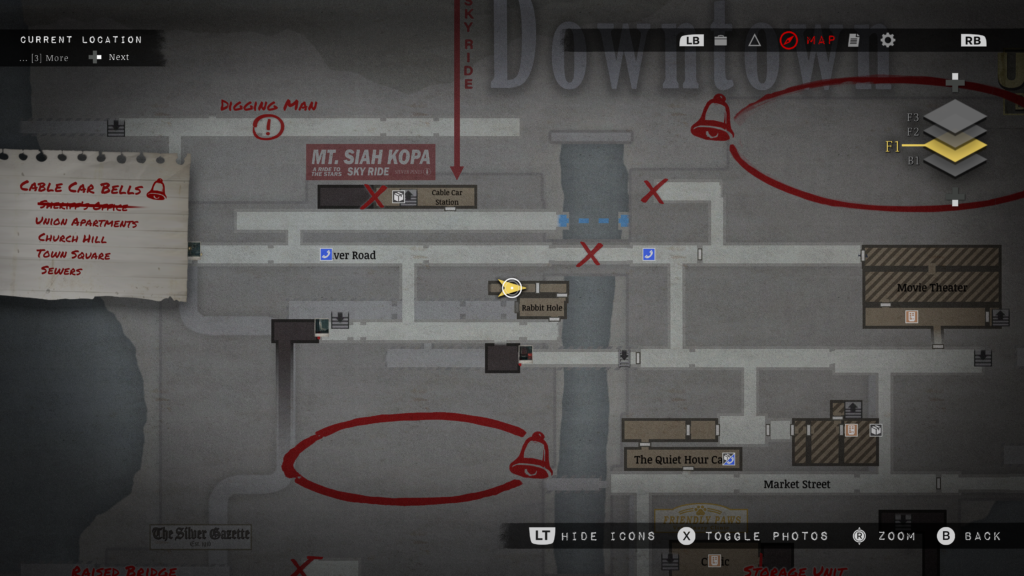
- You need to progress to get the crowbar and then enter the Rabbit Hole bar. Once inside, head to the backroom to find the picture on a mirror. Be sure to combine it with the one you found earlier
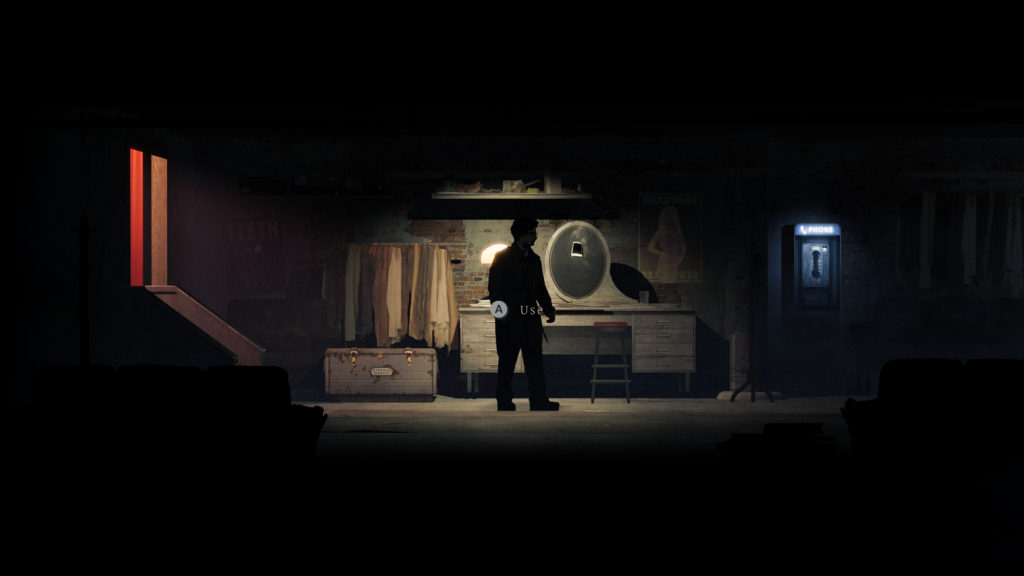
Sea Polished Glass Shard Memento
This is found immediately after killing the game’s third boss. Move to the left after regaining control to grab it:
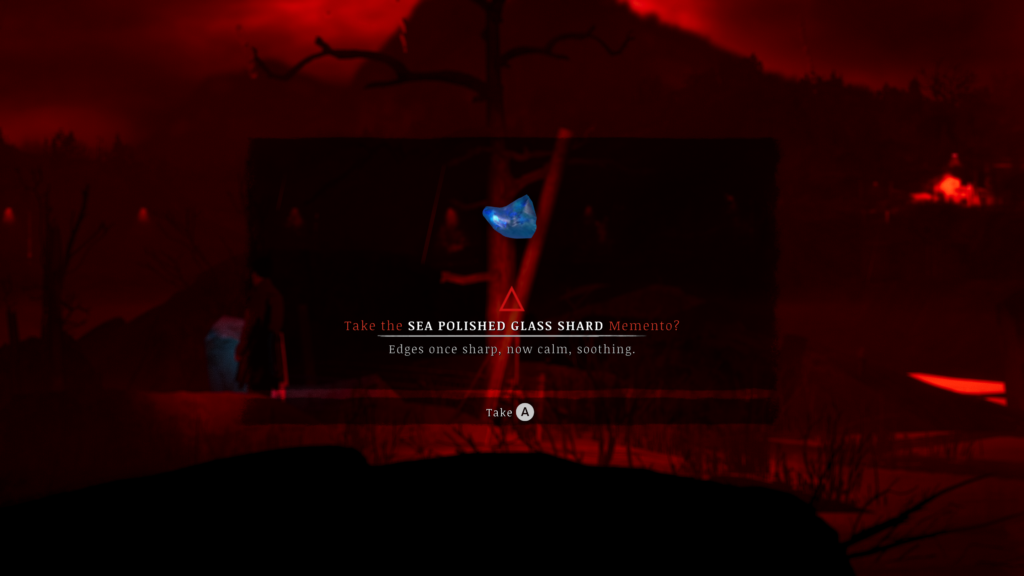
Switchblade Cufflink Memento
After getting back to the original island on the ferry – we have a guide to show you how to do that in the footer below – you’ll need a crowbar or sledgehammer to smash into this small room with your Memento inside:
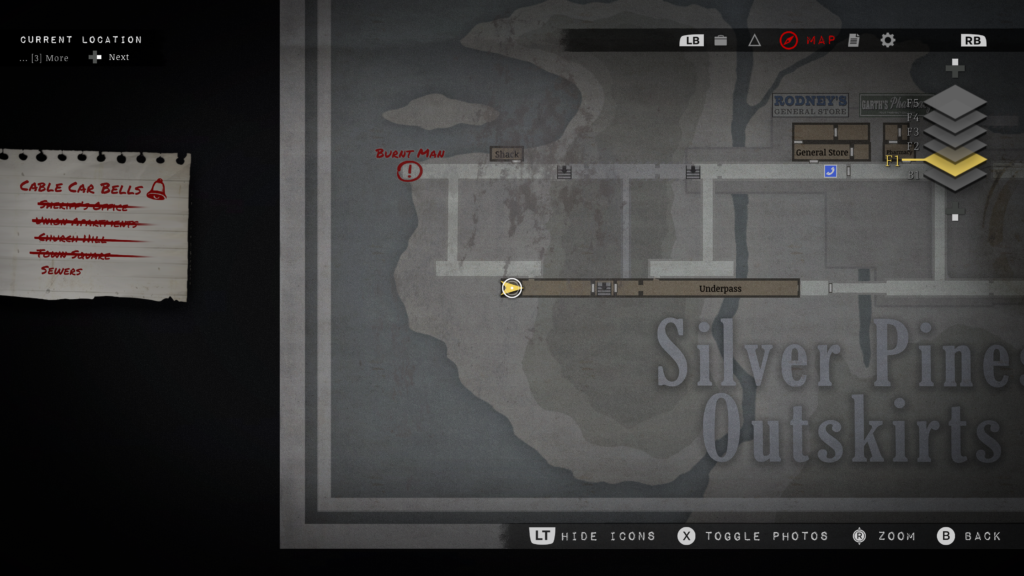
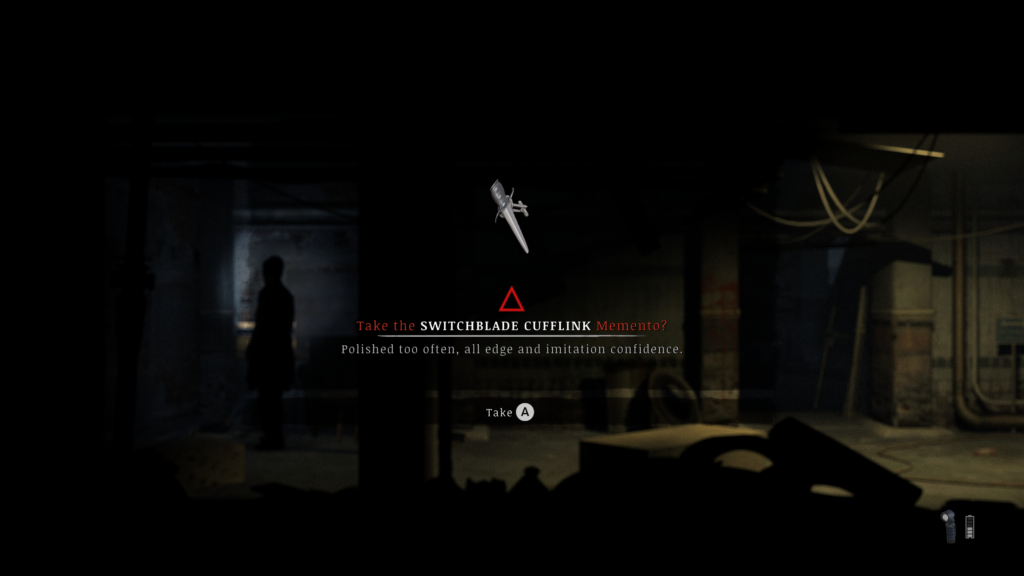
Faceless Coin Memento
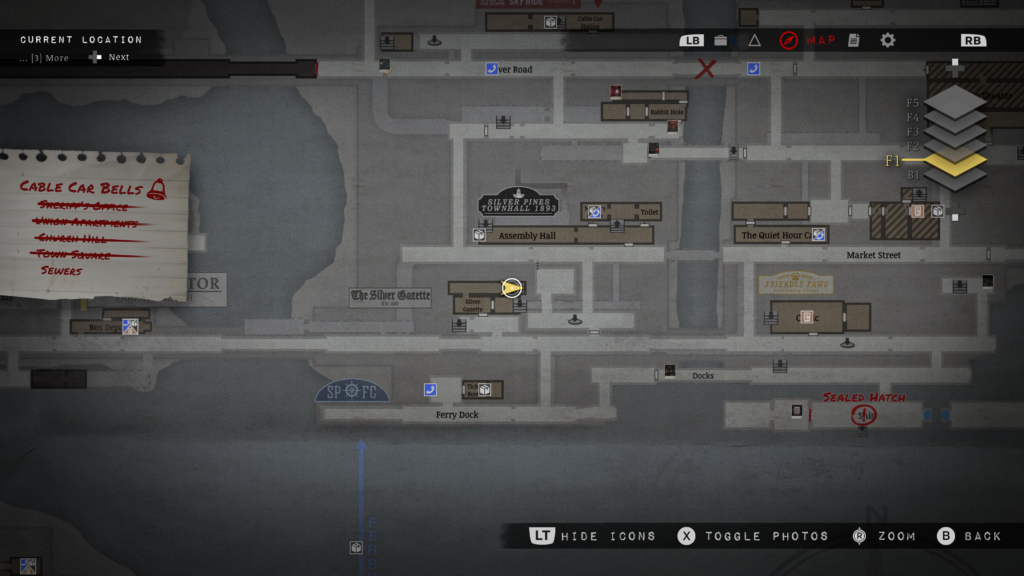
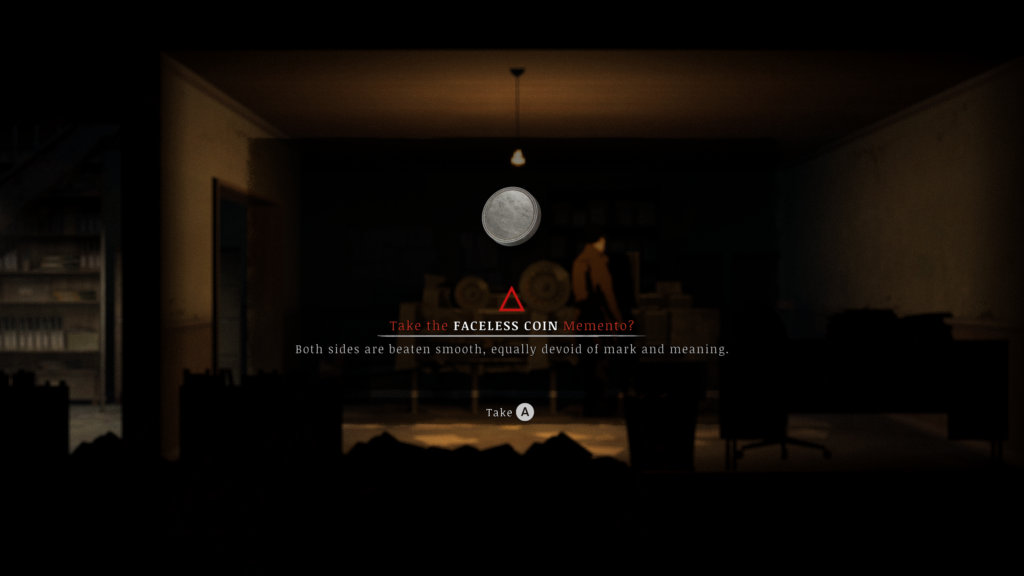
After entering the Sewers, you’ll gain access to the Gazette’s lower levels. The Faceless Coin Memento is located here:
30 Days Sober Chip
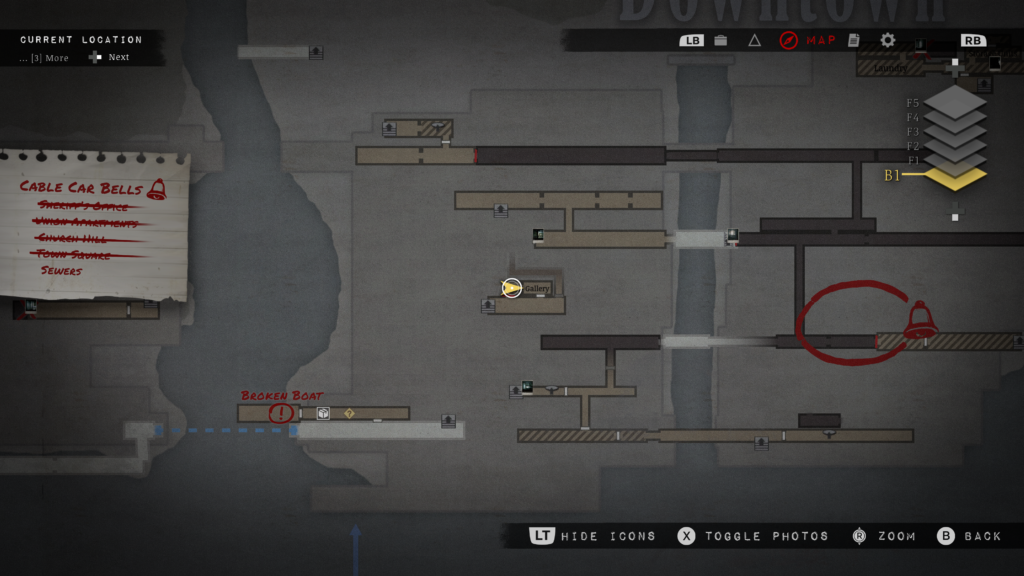
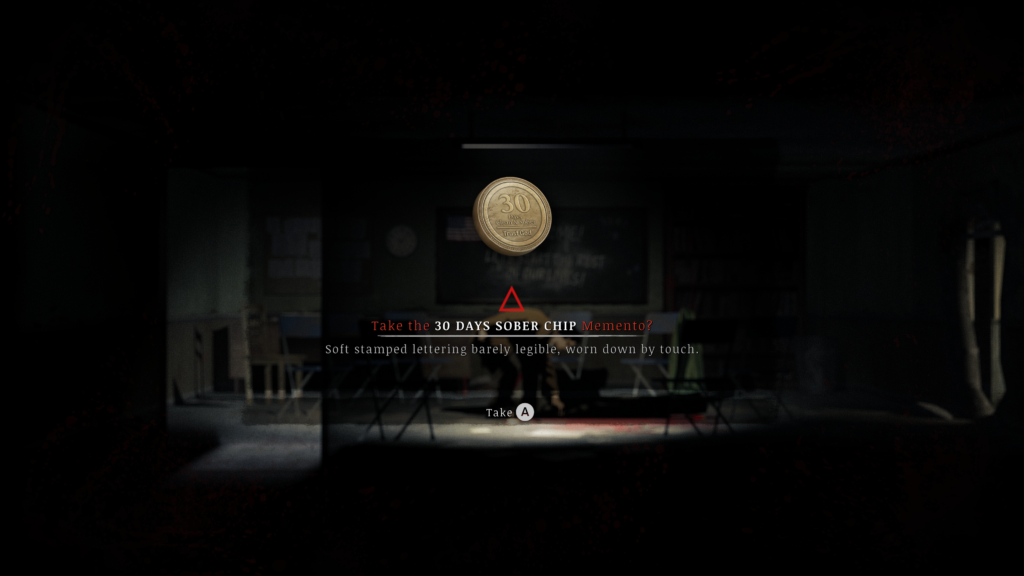
After getting the sledgehammer, return to the Town Hall and head down to the basement where the furnace is. Smash in a wall to make it to hear, take out the enemies then grab your Memento:
V Guitar Pick Memento
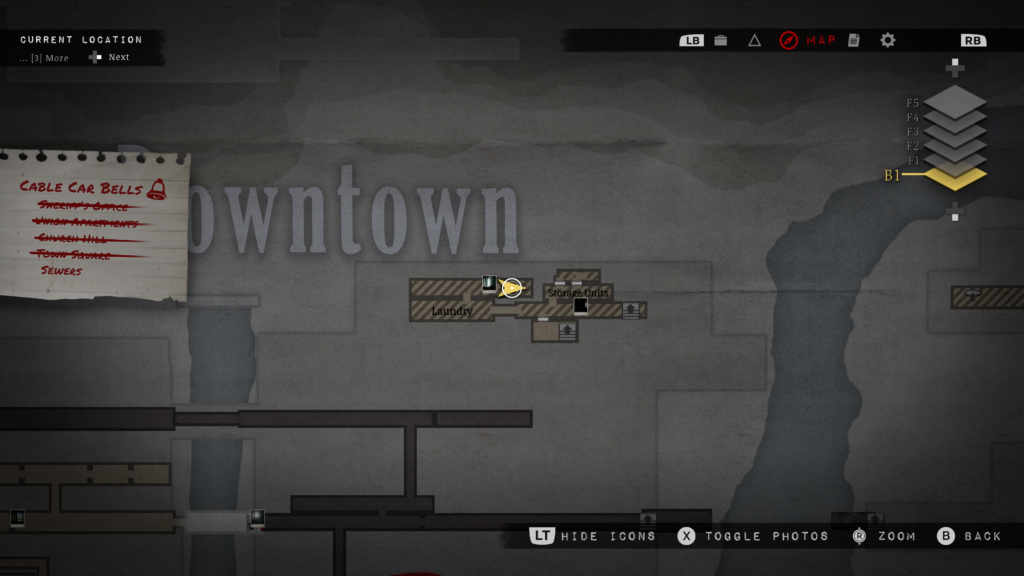
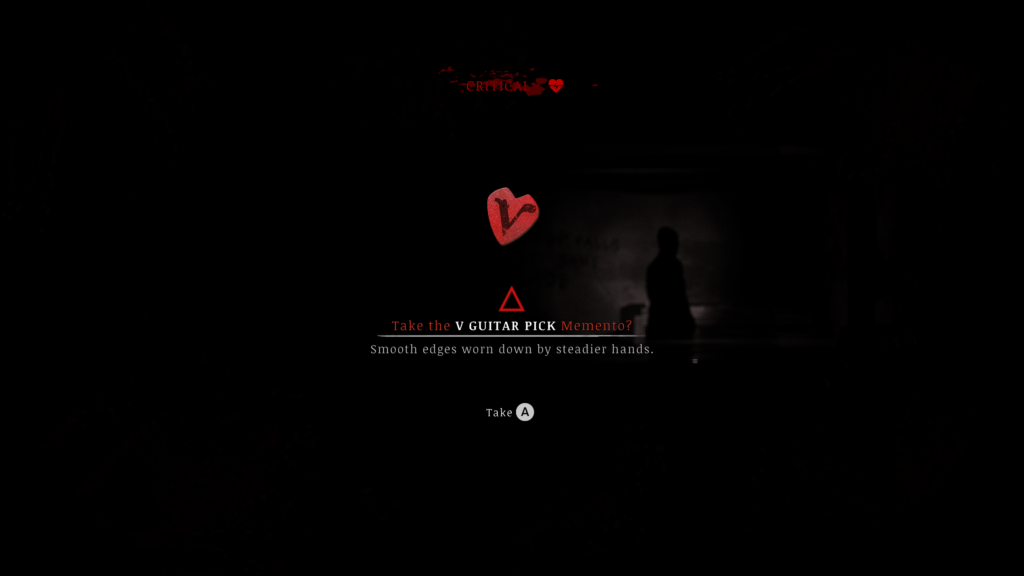
You need the sledgehammer here. Return to the Union Building and head to the basement to smash in a wall, to this location. Plenty of enemies come out so be ready. Inside is your V Guitar Pick Memento:
Rusted Spur Memento
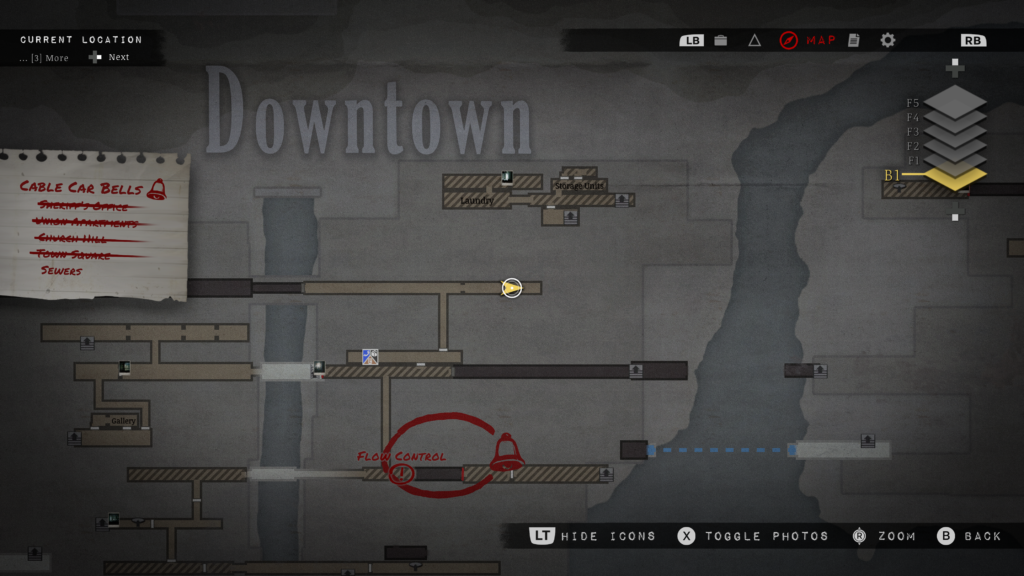
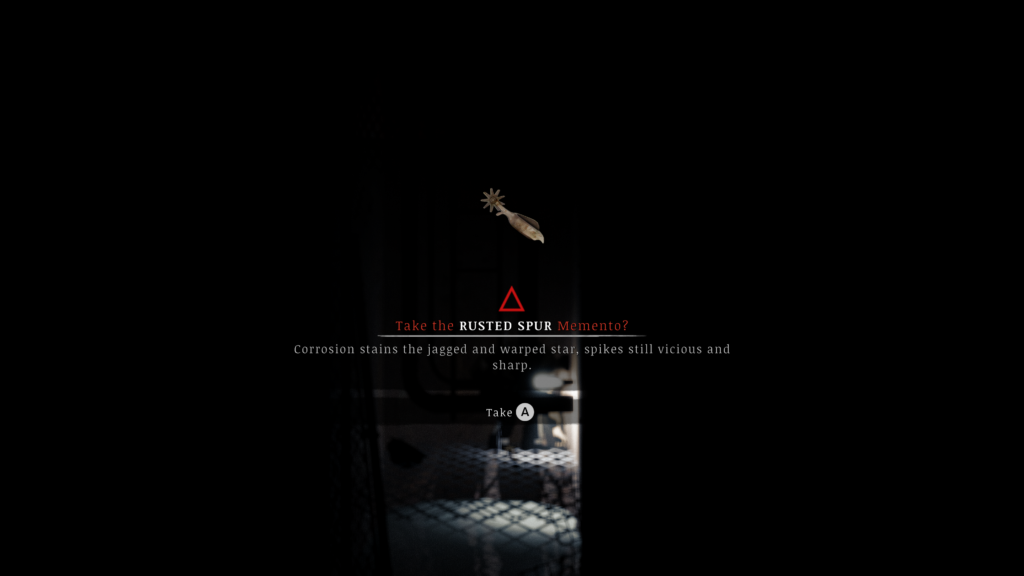
From the nearby save point, make sure you have the drain cover remover. Open the drain then climb down to here to find your Rusted Spur Memento:
Driftwood Stake
When you have the drain cover remover, head back to the northeast of the Riverside to this location:
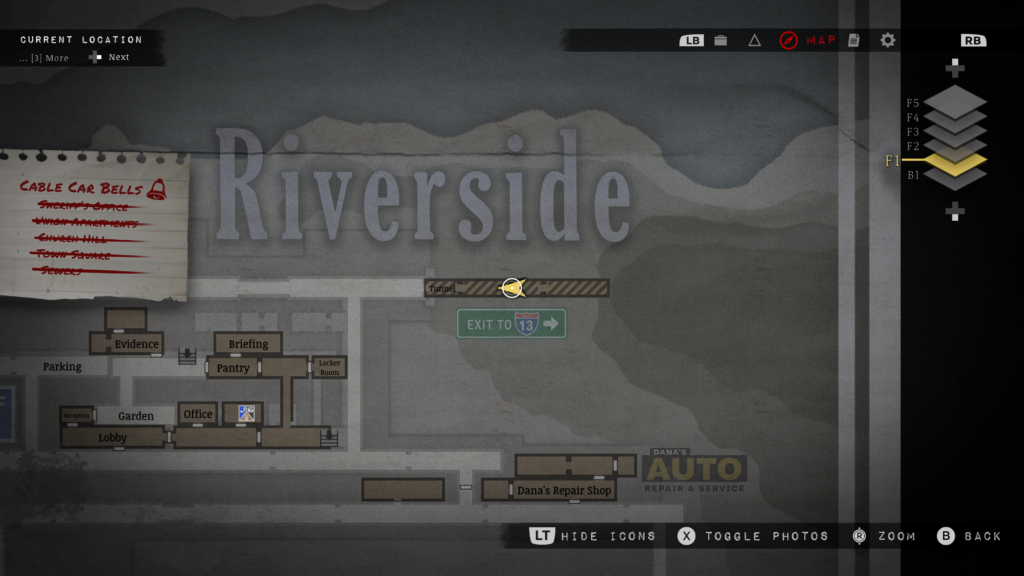
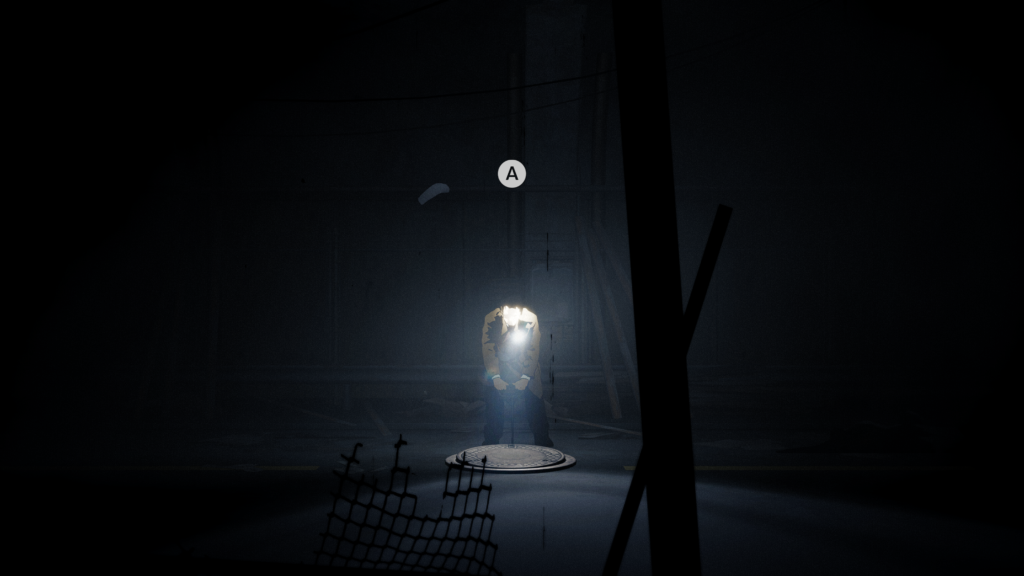
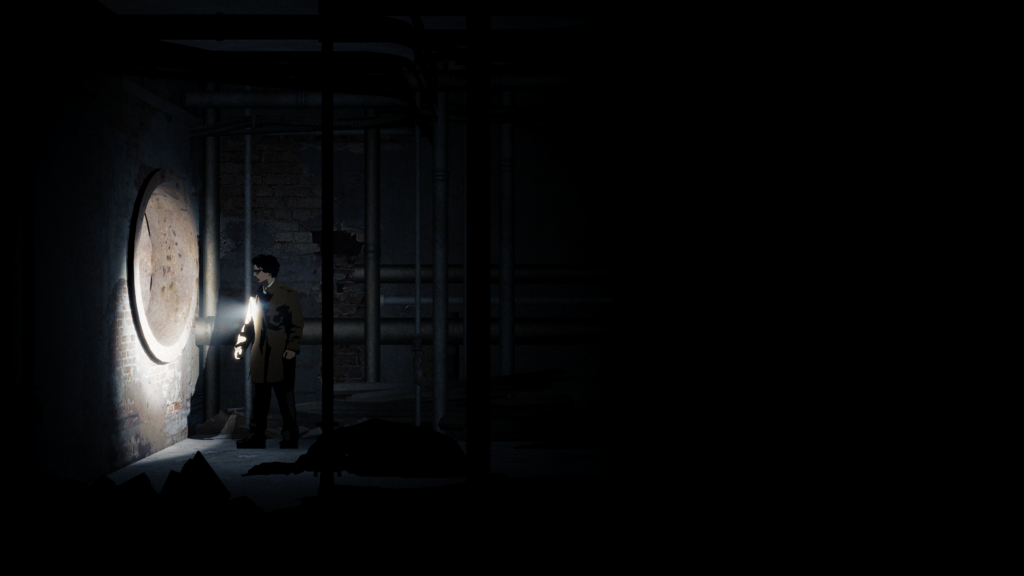
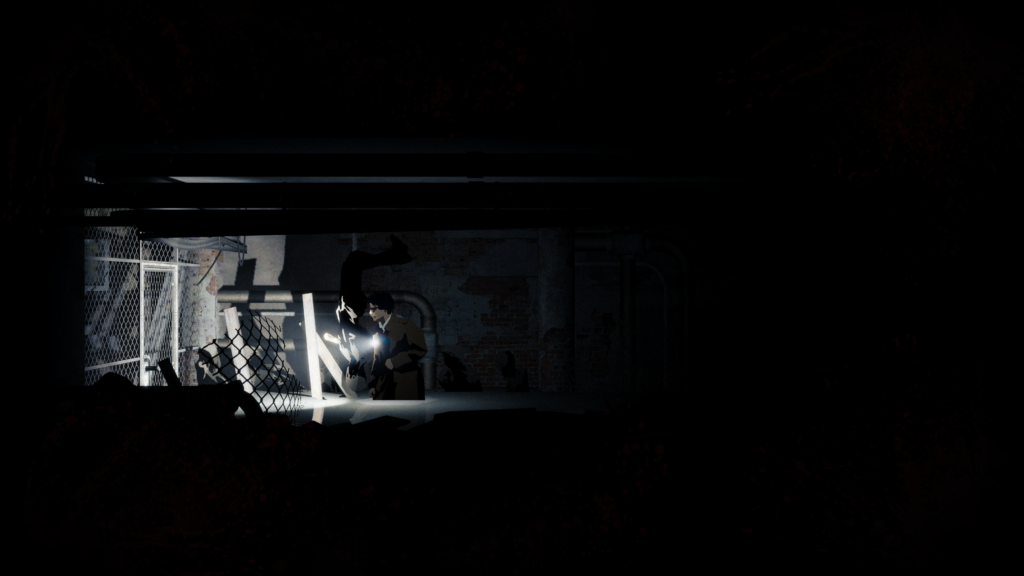
Once inside, head left and take out the several enemies. Keep heading left through the tunnels till you find the Driftwood Stake Memento on some already dead enemies:
Worn Silver Buckle Memento
This is a multi-step requirement which you need to open the Ship’s Sealed Hatch.
The opportunity to do this won’t occur until later in the game. After completing a few sections in Downtown Silver Pines including the Union Building, you’ll move south towards the Sewers. When you get there you’ll discover a ship with the ship and its sealed hatch, with information about a required code to unlock it. We’ll show you where the manual is, you’ll need the crowbar or sledgehammer to get started here.
The manual can be found on a riverbank in Riverside. Come to this location with a crowbar or sledgehammer and smash the wall, then walk through. Note: Alternatively, from the Downtown side, you can crouch under the wall next to the movie theatre and swim over.
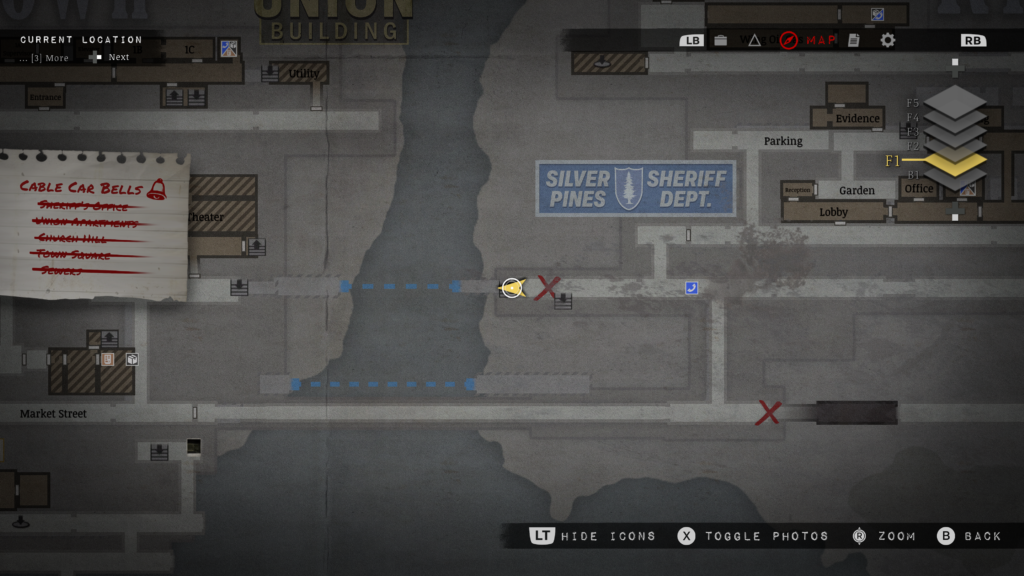
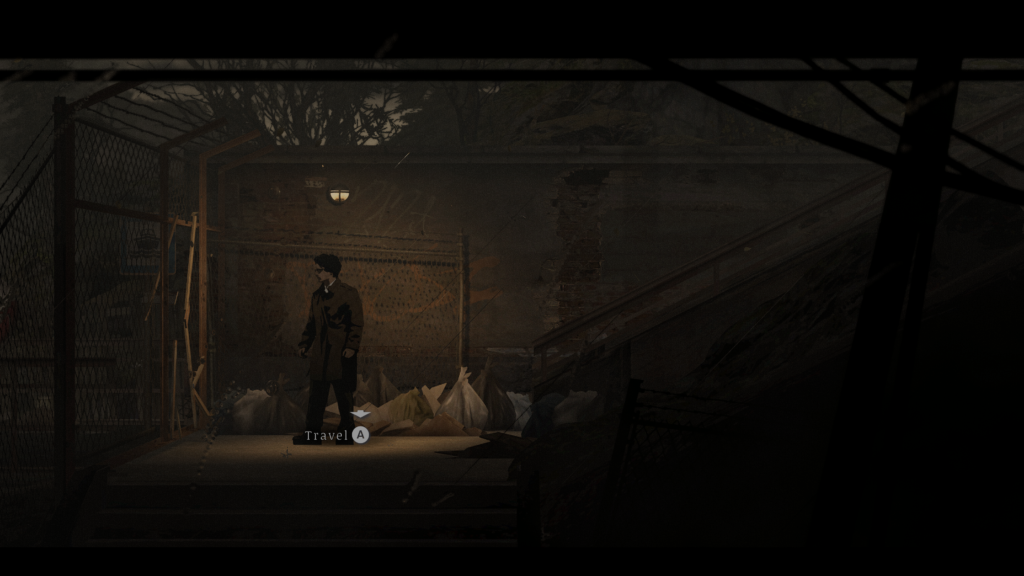
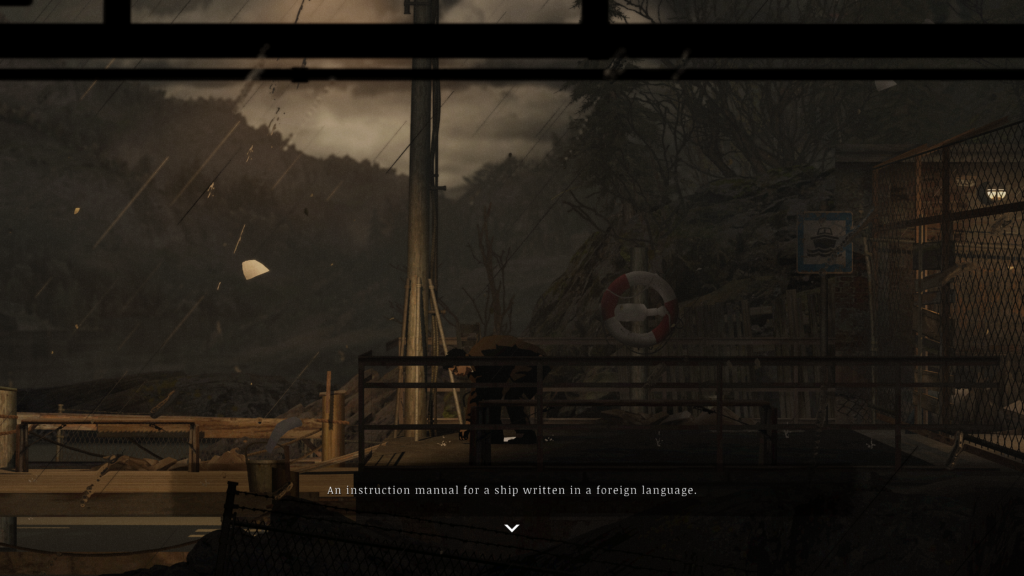
The manual is here on the jetty:
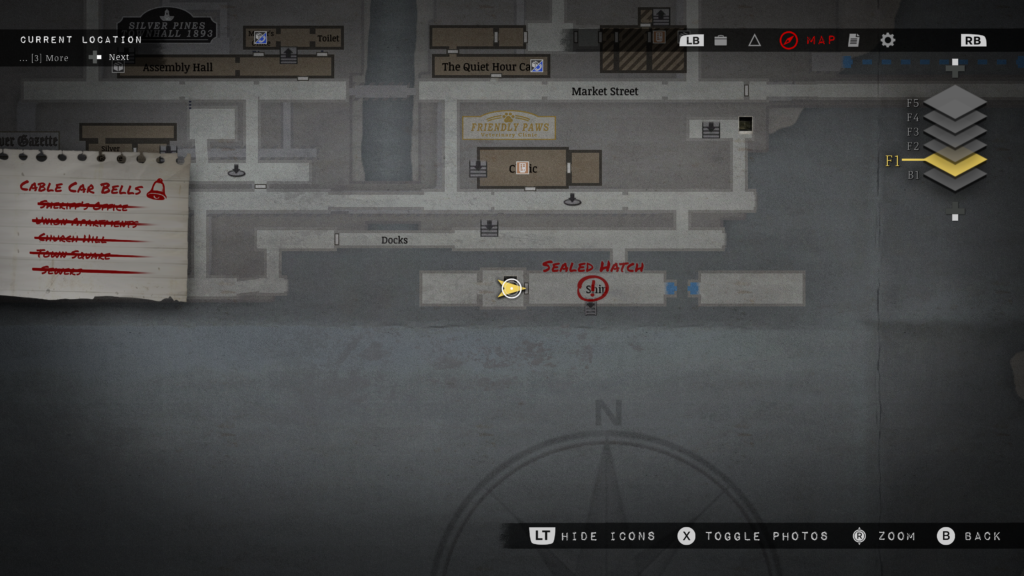
Now, head back to the ship in the south of Downtown to the ship:
In the ship, there’s a note about needing a translation guide that you already now have:
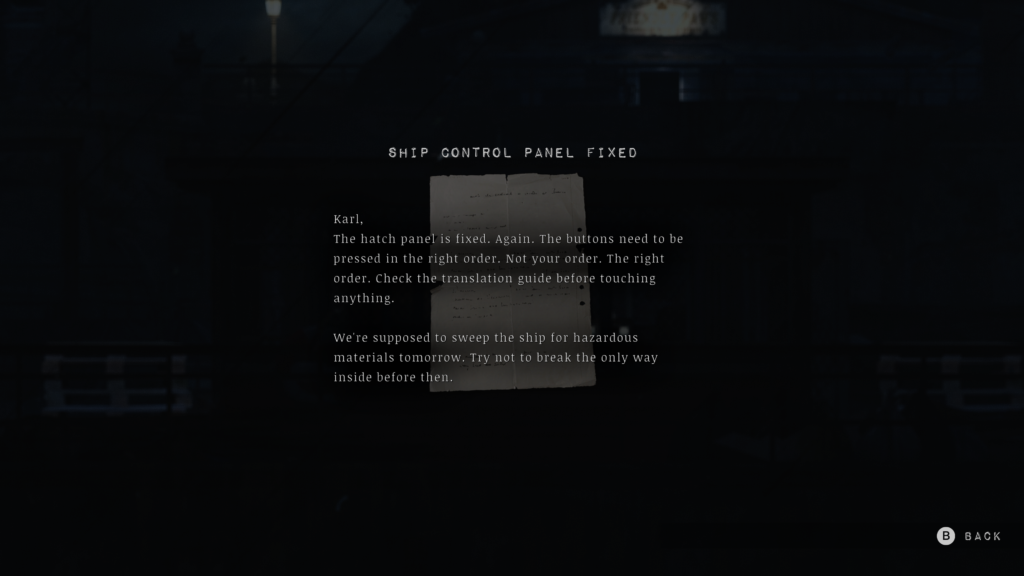
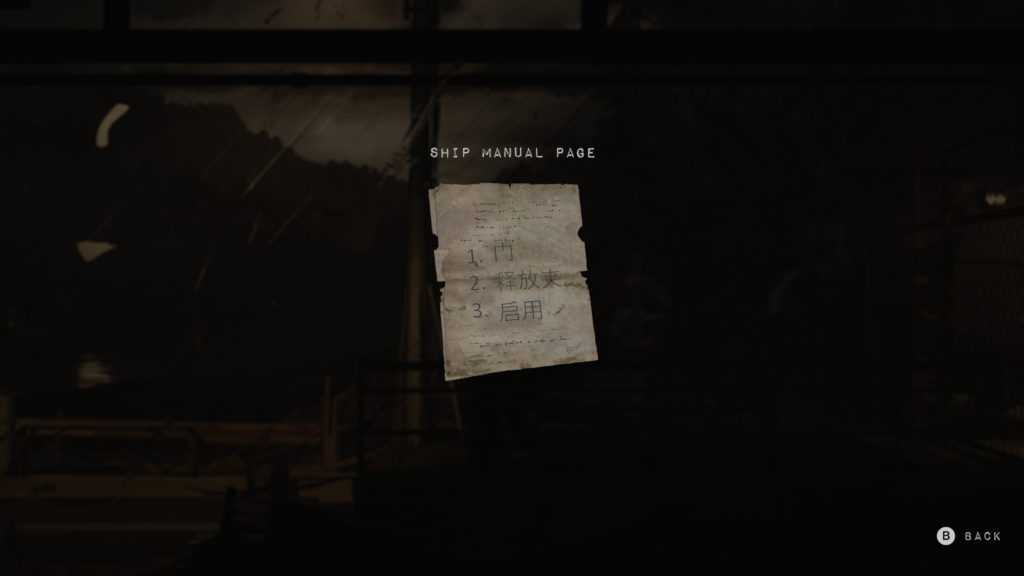
Enter the 3-part code in the order, as per the instructions above (here’s the translations, in case you were interested):
- 1: Door
- 2: Release the clamp
- 3: Activate
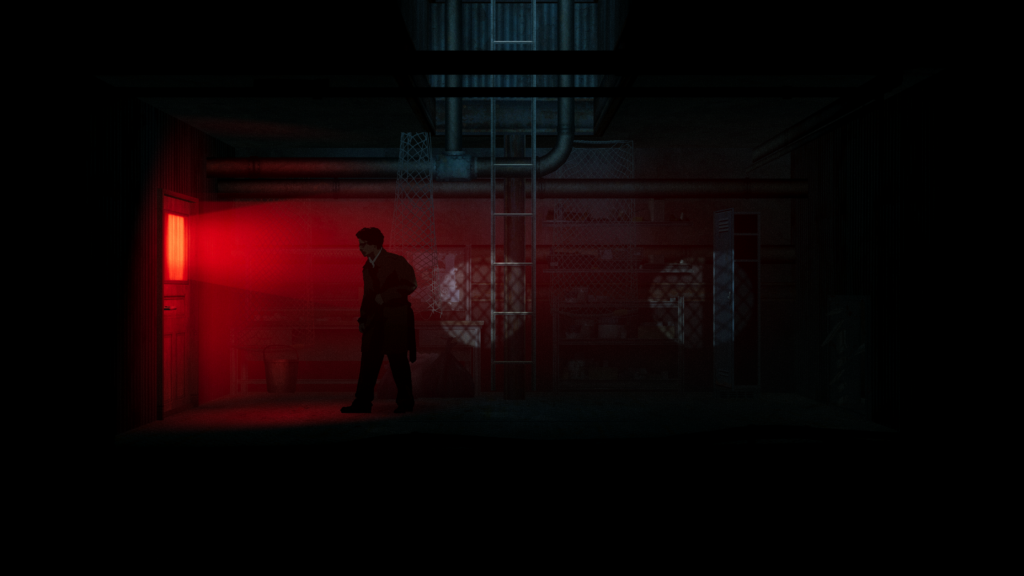
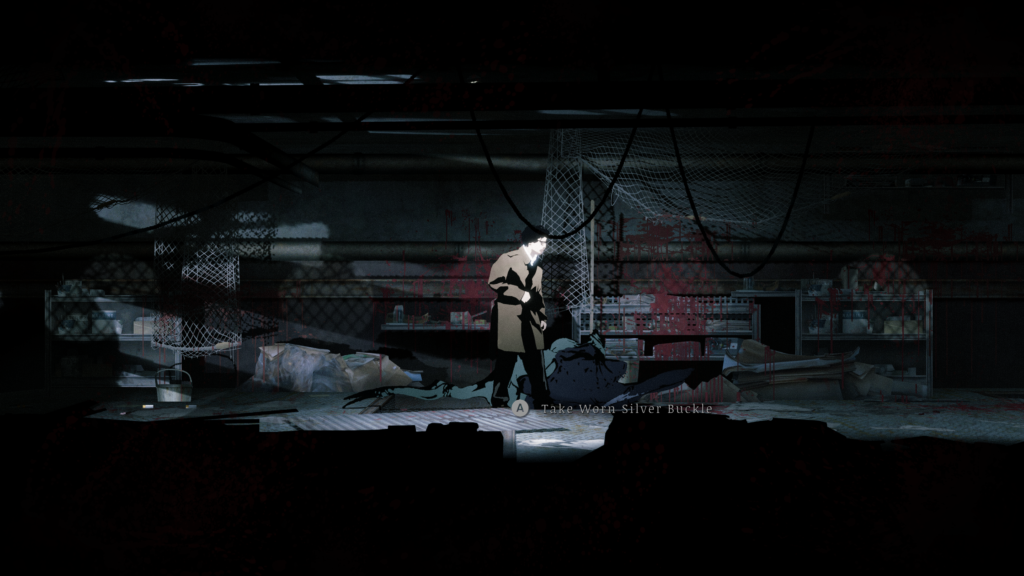
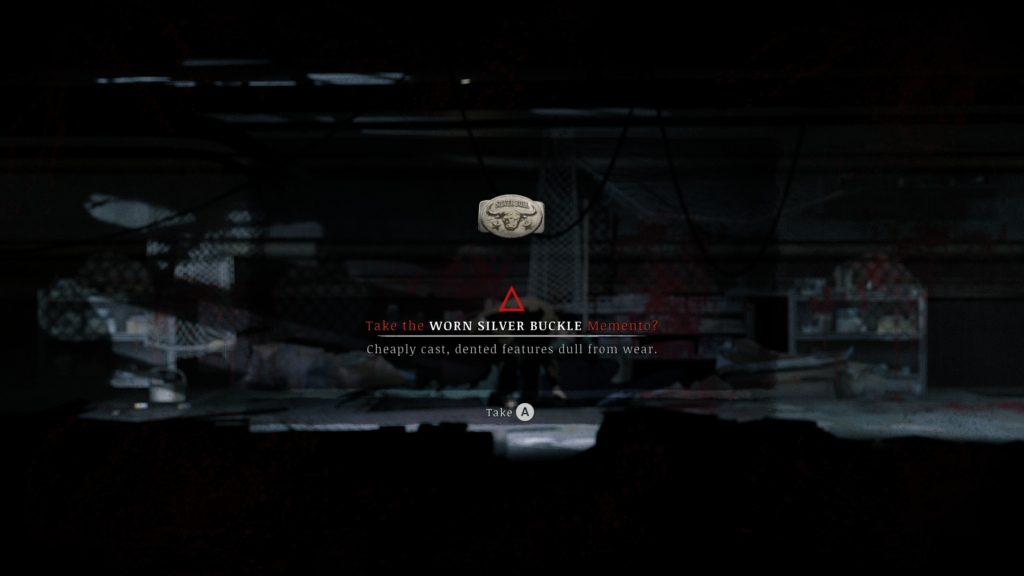
This will open the hatch, jump in and make sure you’ve plenty of ammo for a boss fight. Be sure to grab all items, including some via the vent to the right. Take the door to the left to take on the relatively straightforward boss. They will drop the Worn Silver Buckle Memento:
Old Corsage
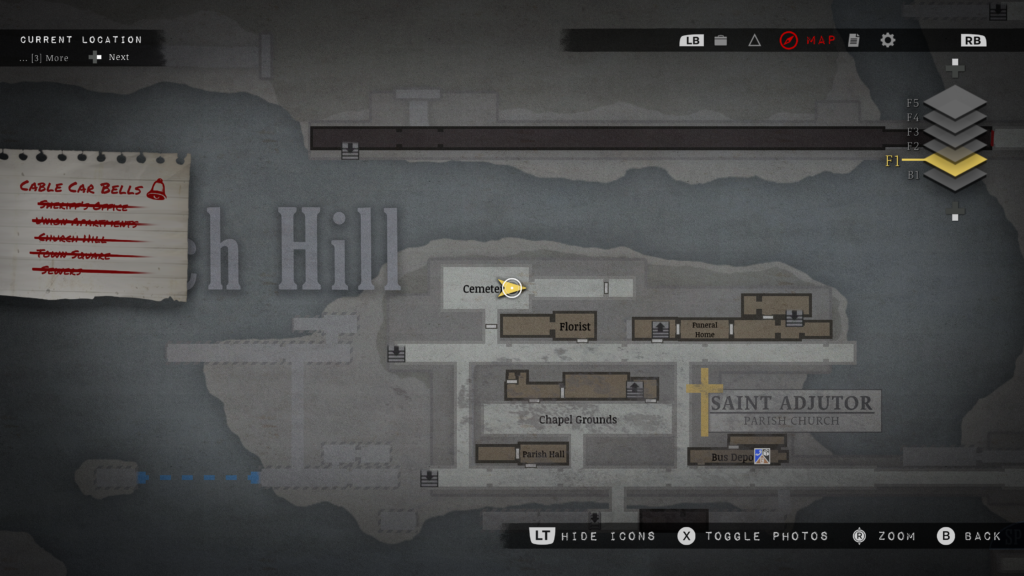
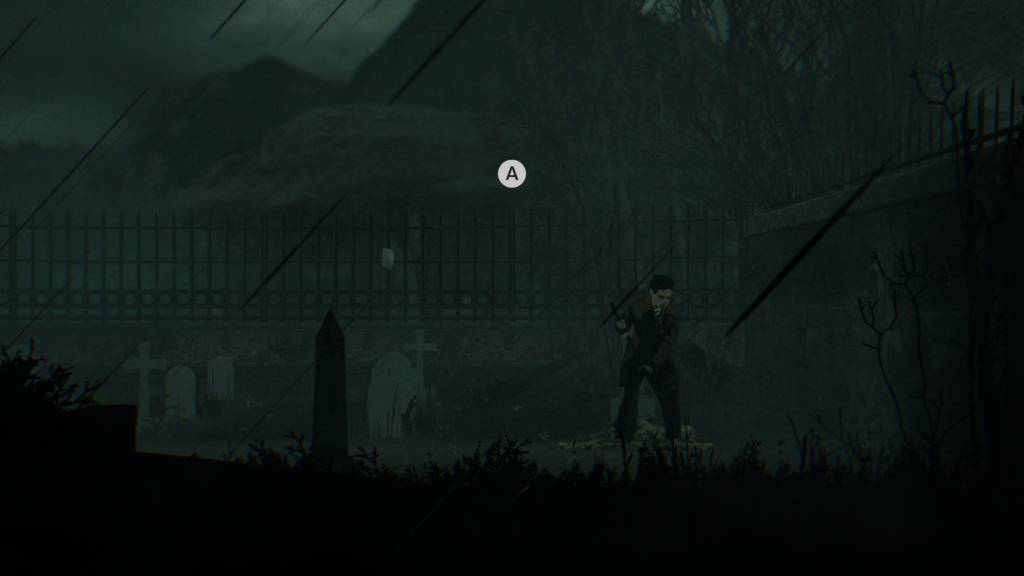
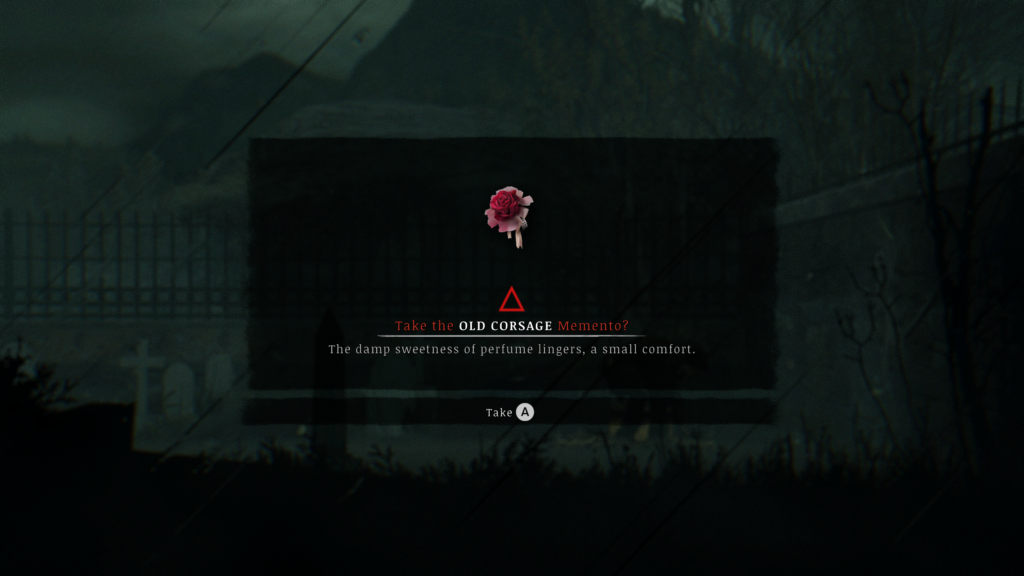
After getting the shovel – see here for our guide on how to get that – head to the Cemetery and dig up this hole to find your next Memento:
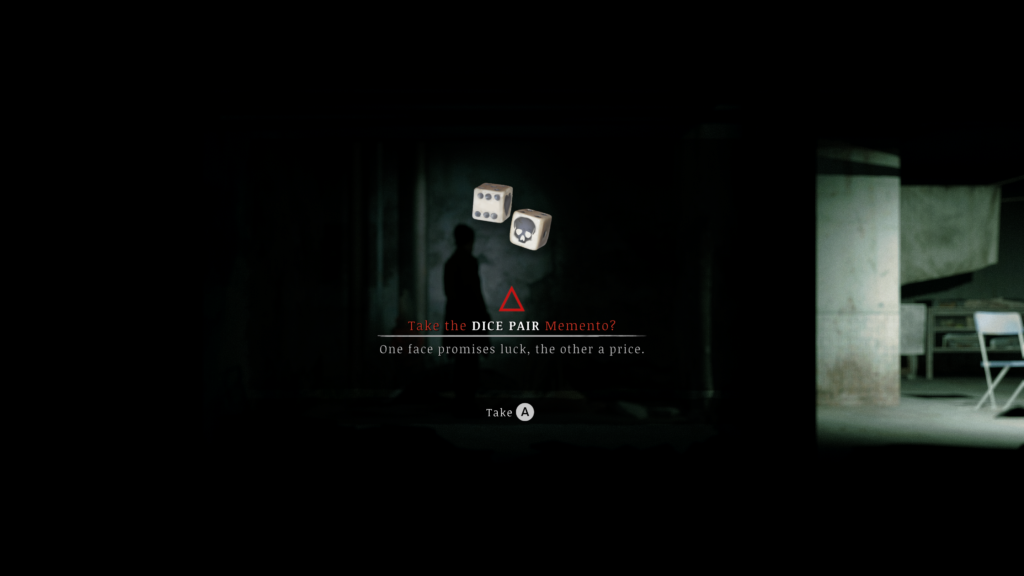
Dice Pair Memento
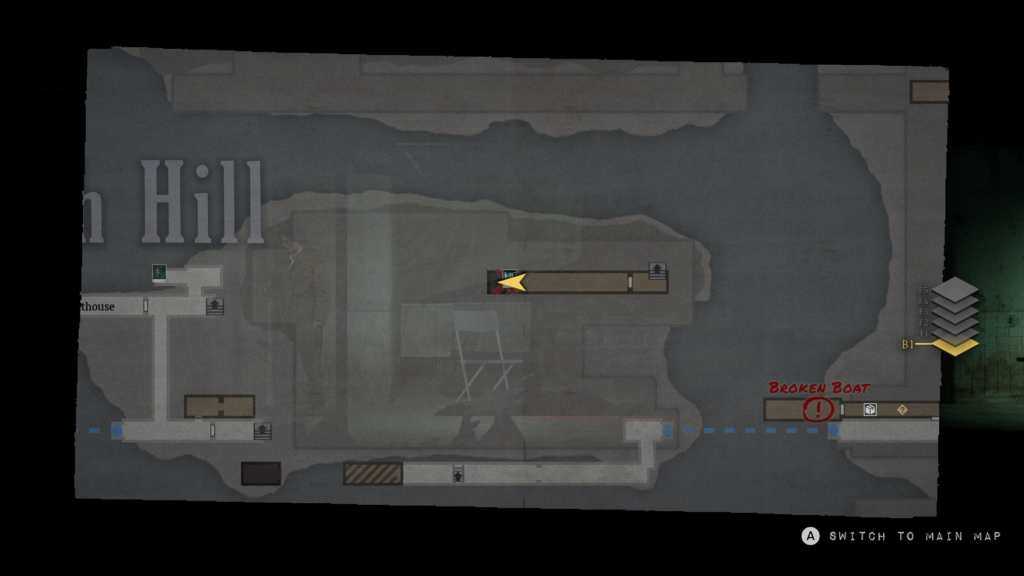
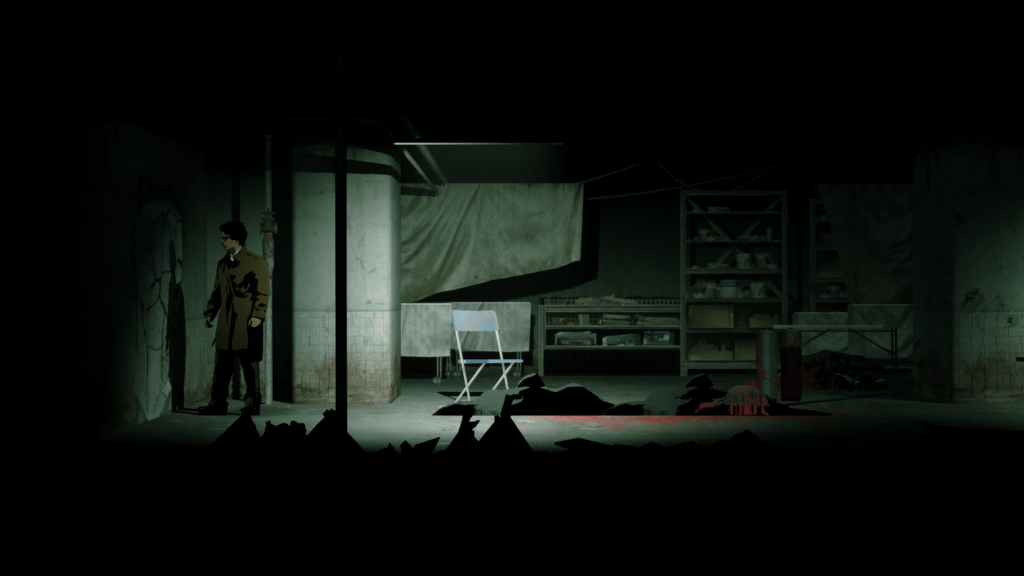
When you have the sledgehammer, return to the Funeral Home and into the basement. Head to this wall on the left to smash it through and find your next Memento:
Cracked Wrist Watch Memento
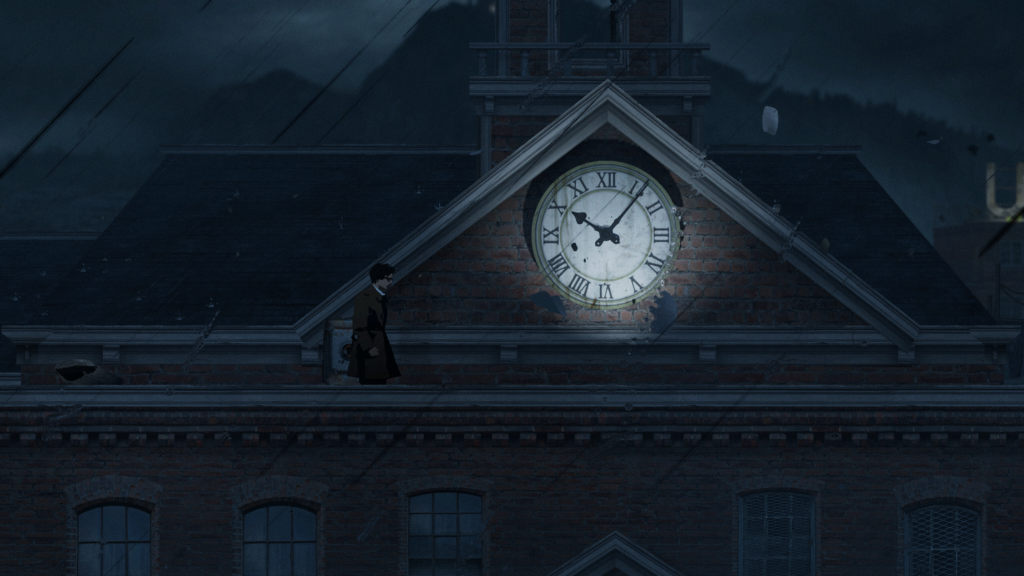
Head to the top of the Town Hall with the crank. The time you need to enter is 10:06, like all other clocks in town. I should note, I had to re-enter the crank after setting the time for this to work, you’ll know as the clock tower will chime:
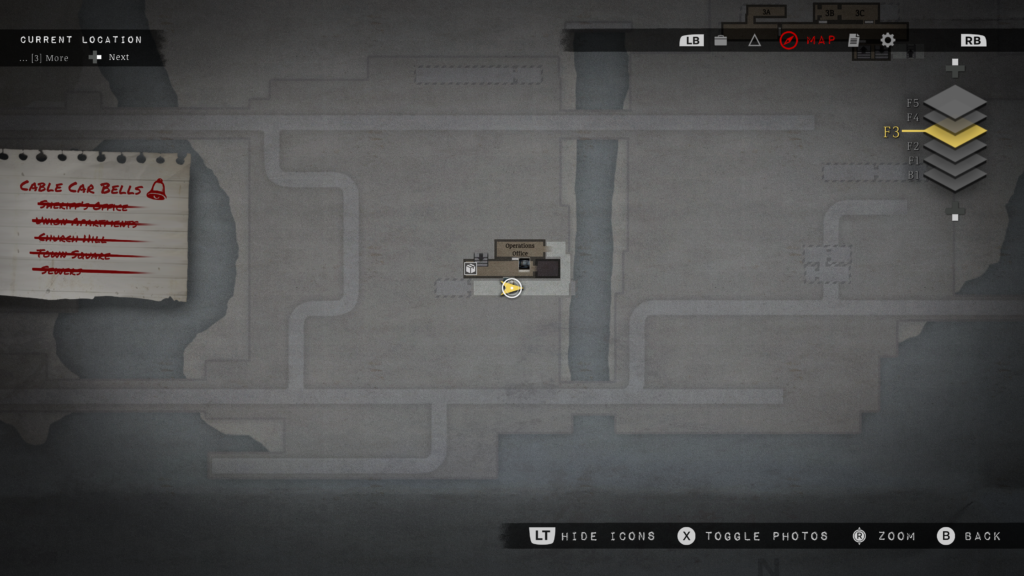
Now, head back just inside to the candle stick on the wall which previously did nothing. You can now pull it, to open a secret door:
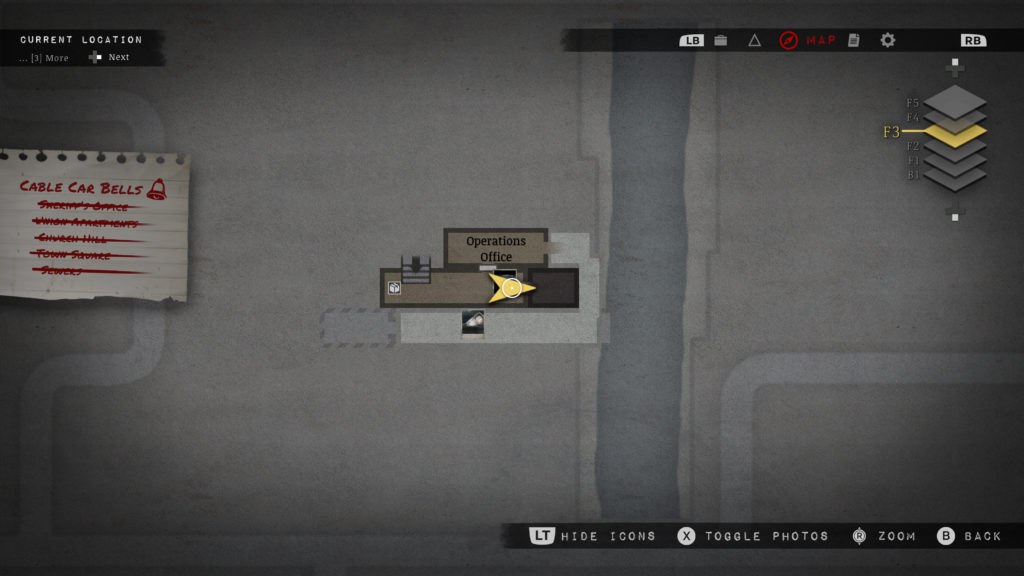
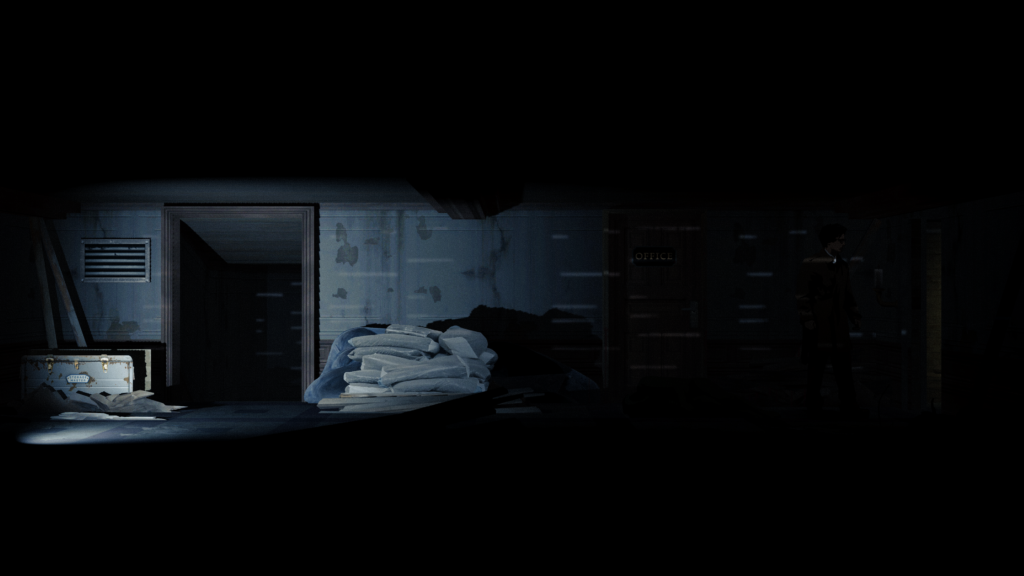
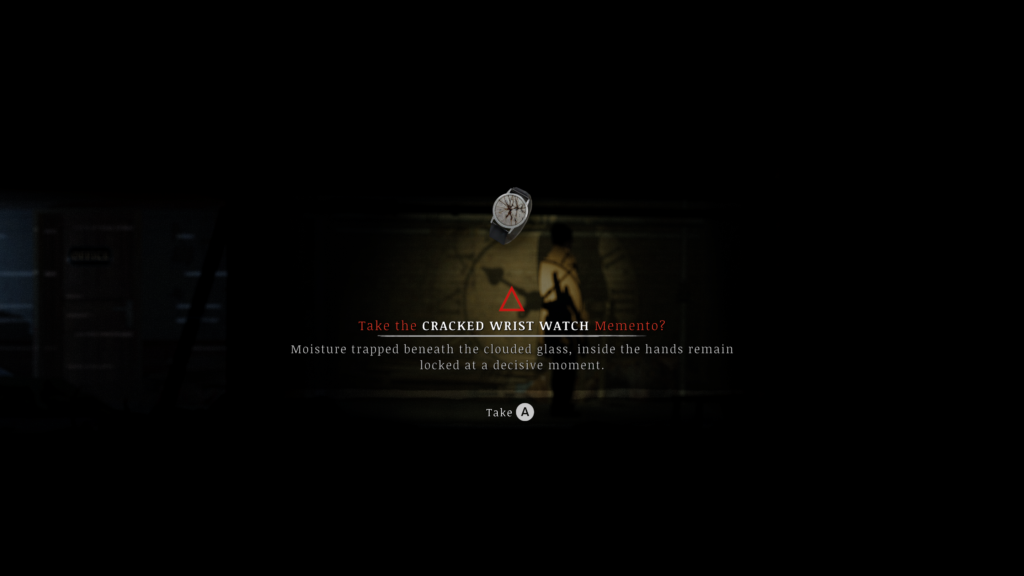
Inside will be the Cracked Wrist Watch:
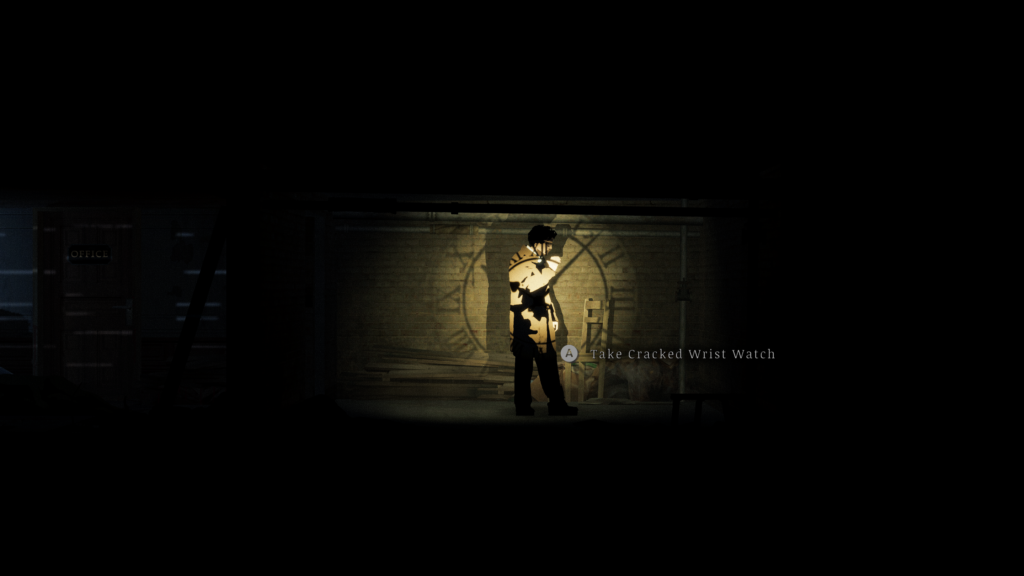
Cat Collar Memento
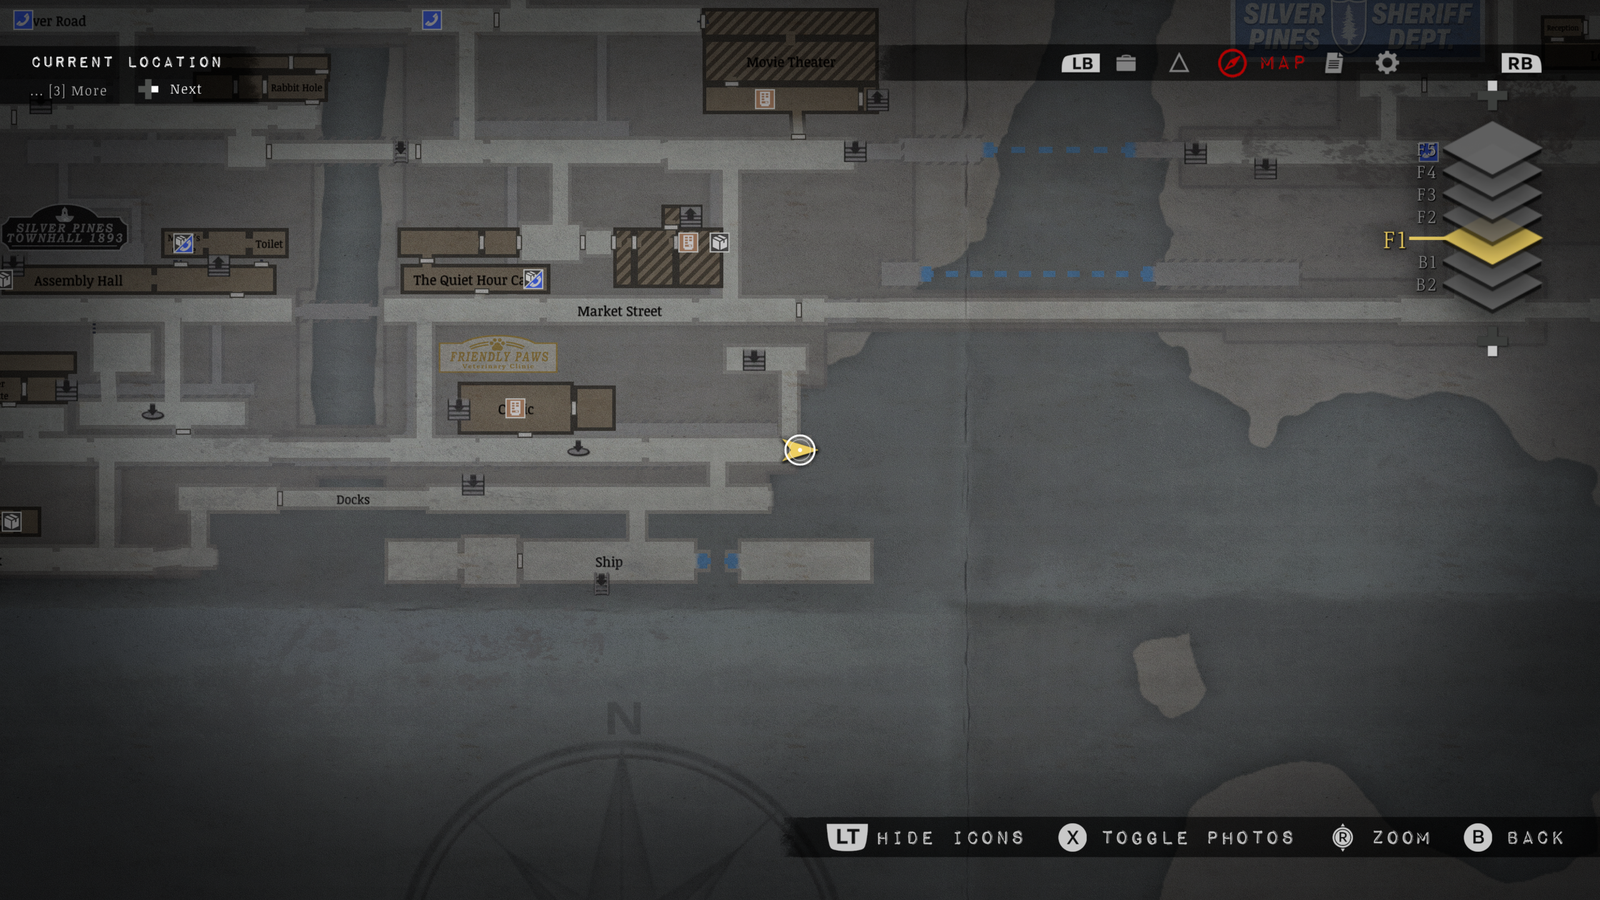
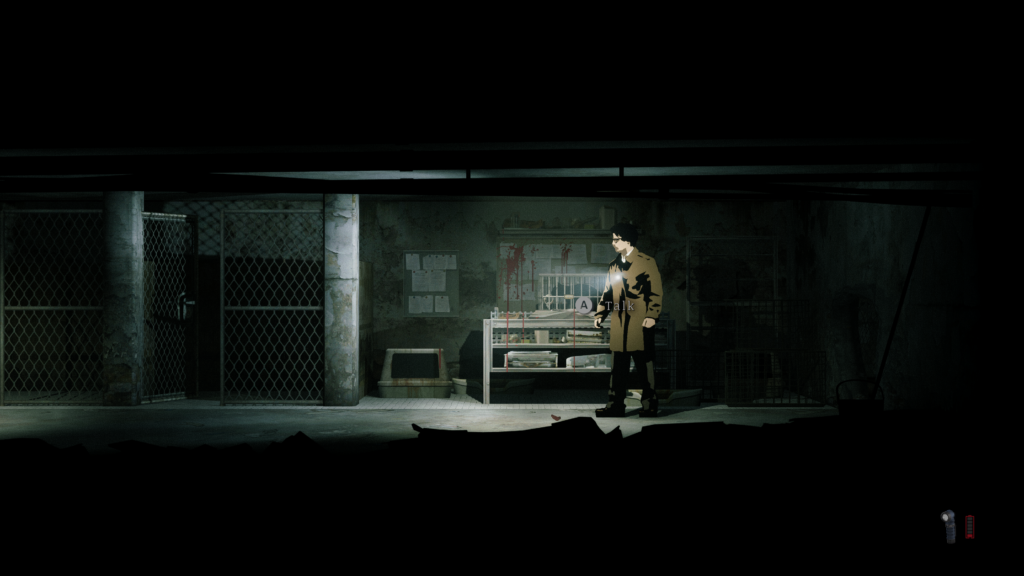
Possibly one of the hardest to find in the game. Come to this location near the sewers and you’ll need to jump over the railings into the water:
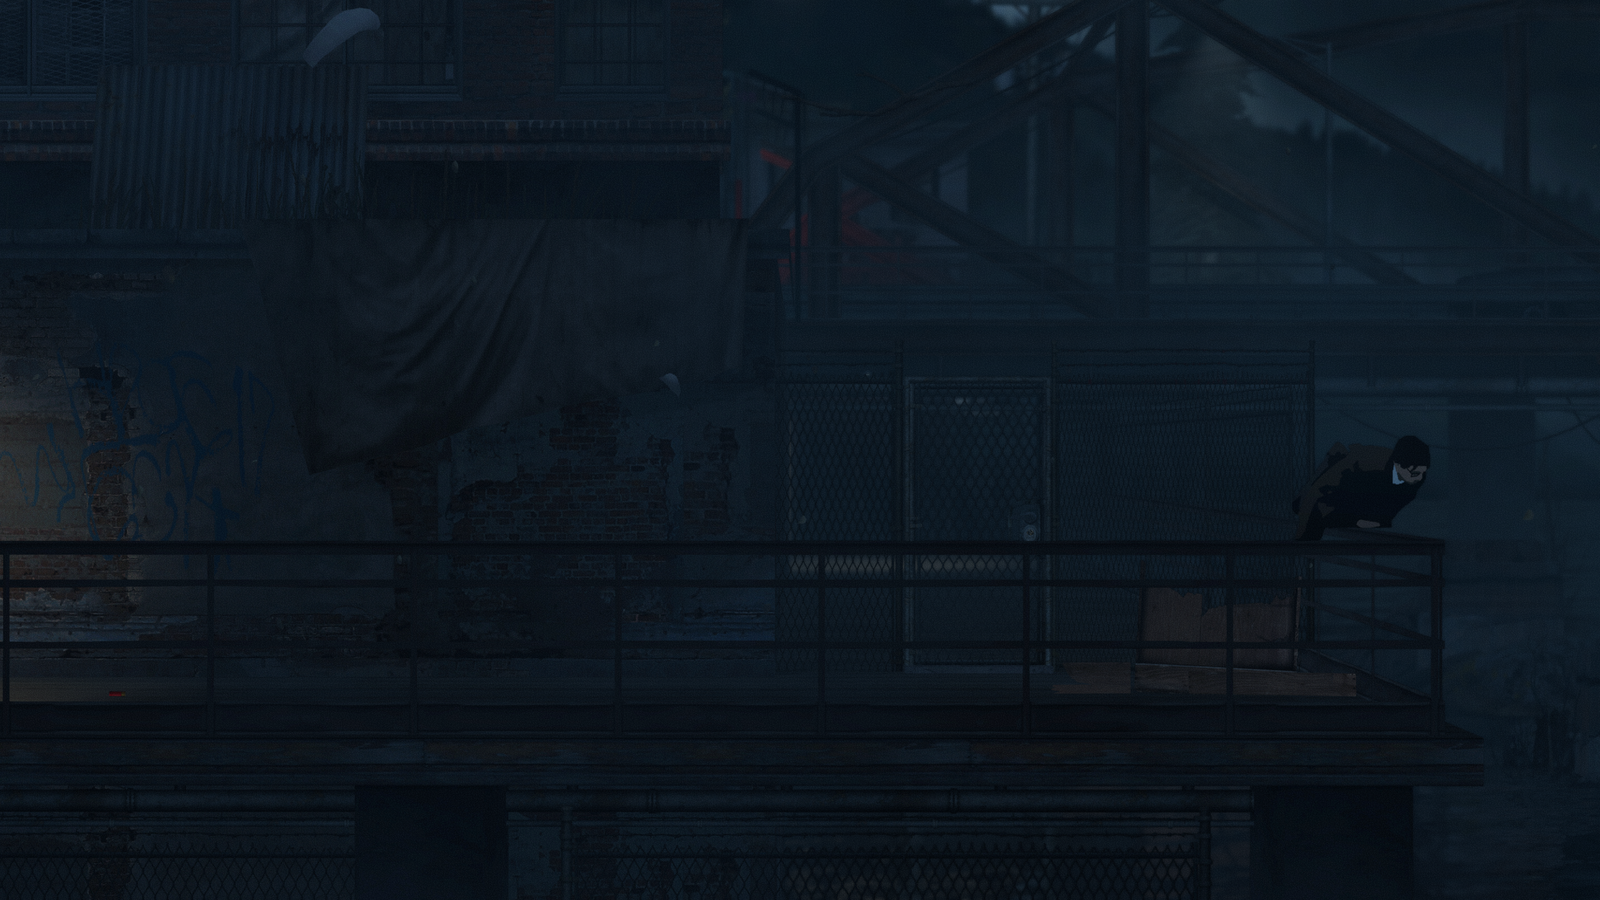
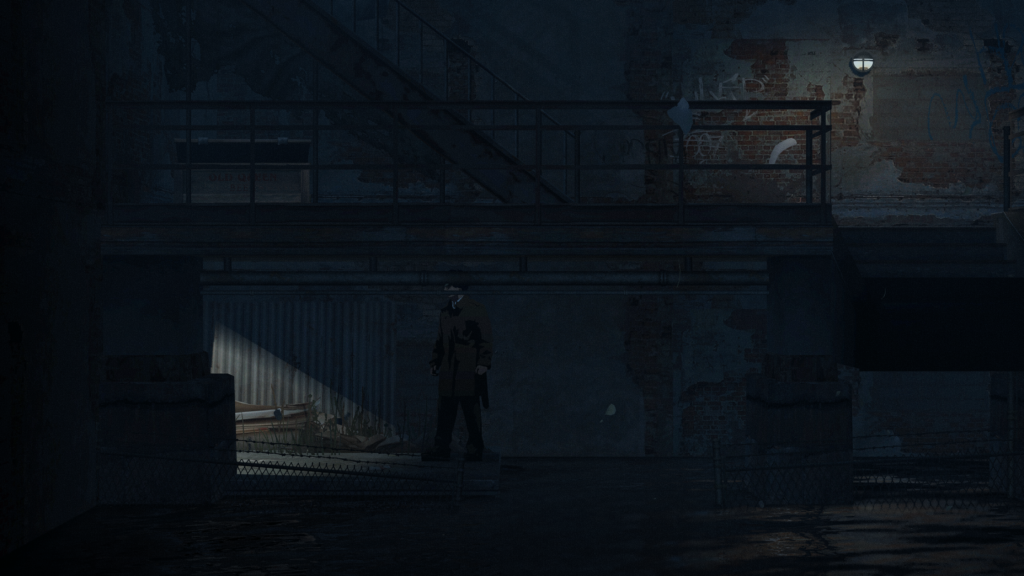
Once you have, swim left till you reach this platform and walk in. It will lead to the basement of the vets now:
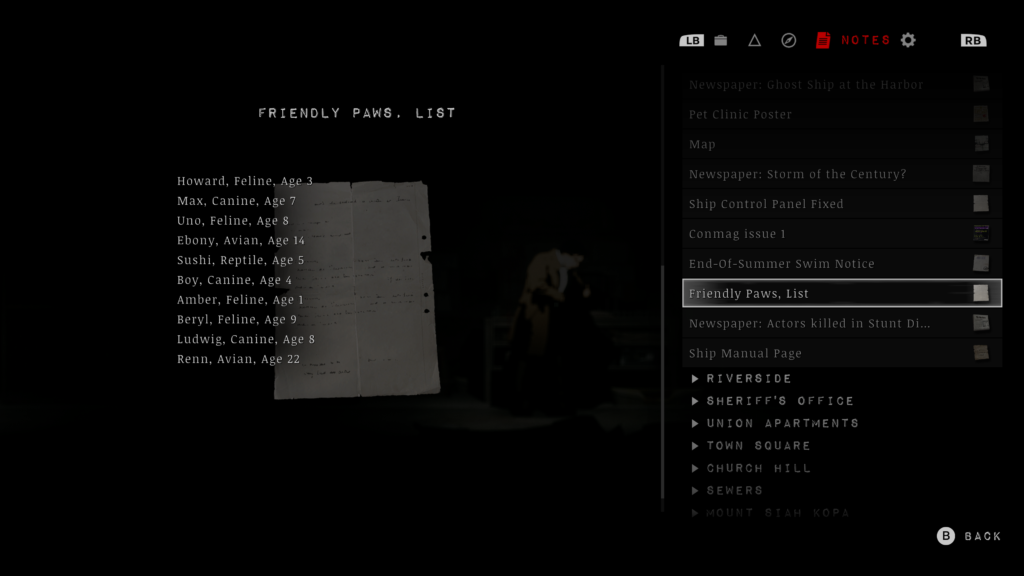
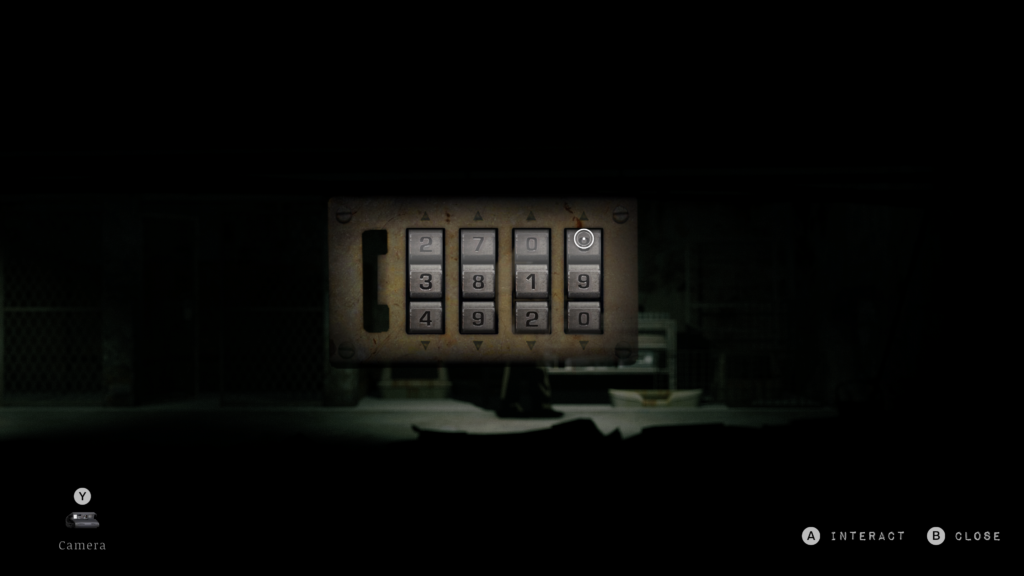
Once in the vets, you’ll see your friend the black cat in a padlocked cage which is being guarded by a dog. Kill the dog and then the code for the padlock is taken from a note you can find in the vets upstairs. The code is the order of the felines ages, so: 3819:
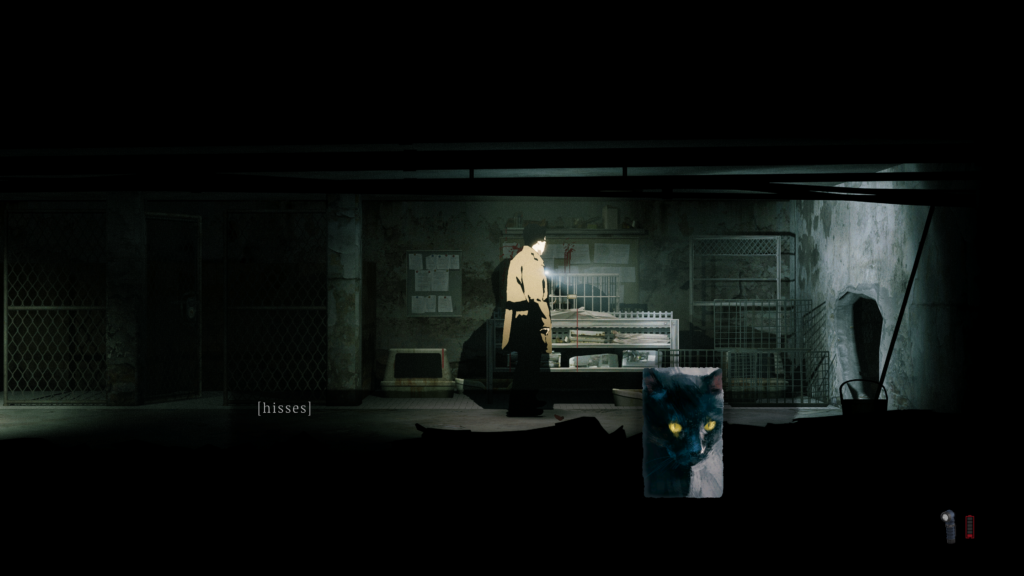
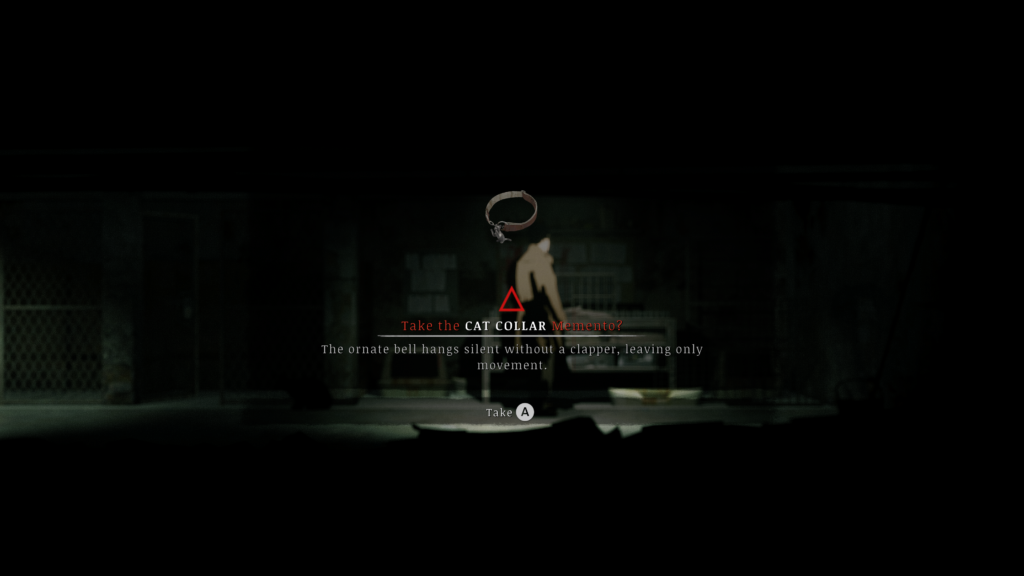
When you’ve freed the cat, you’ll be able to grab the Cat Collar Memento. Pet them once more, whilst you’re at it:
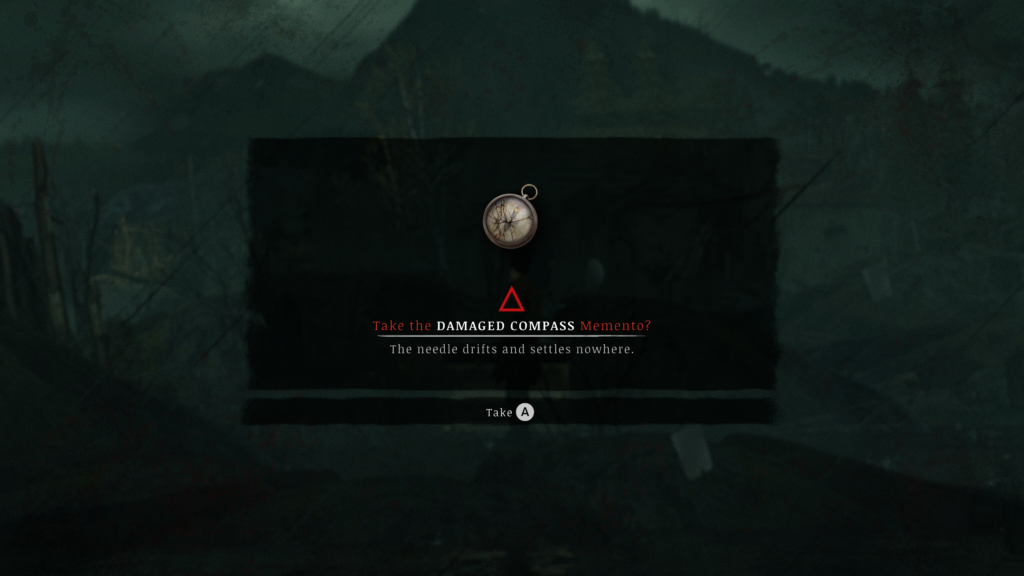
Damaged Compass Memento
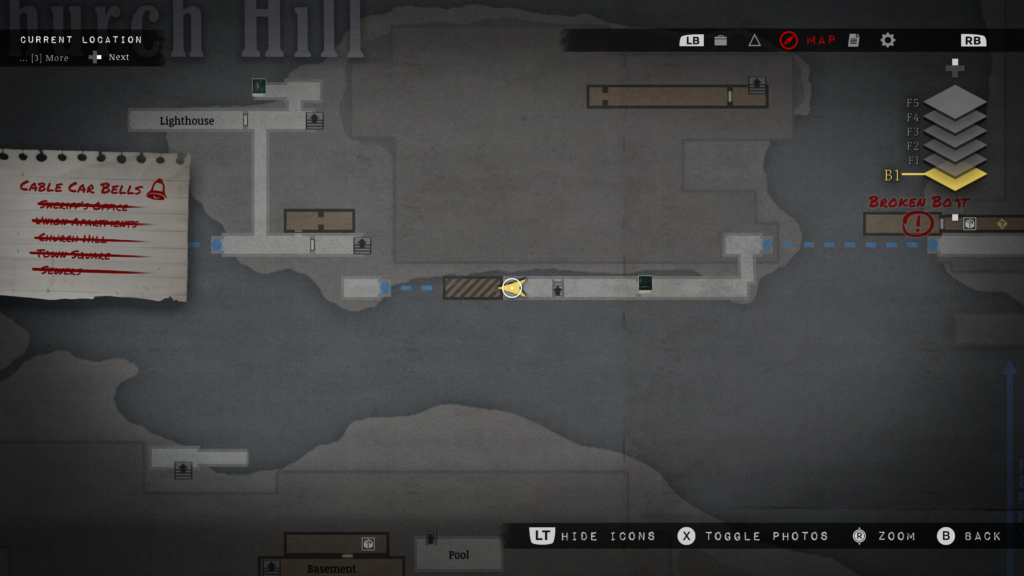
Come to this location in the water, and hop on top of this shed and walk over to the left:
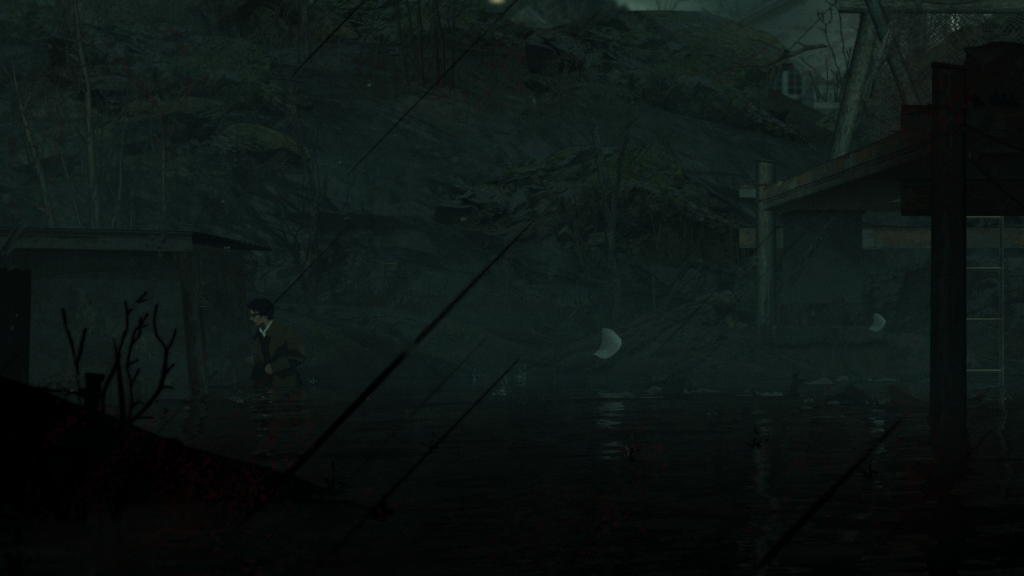
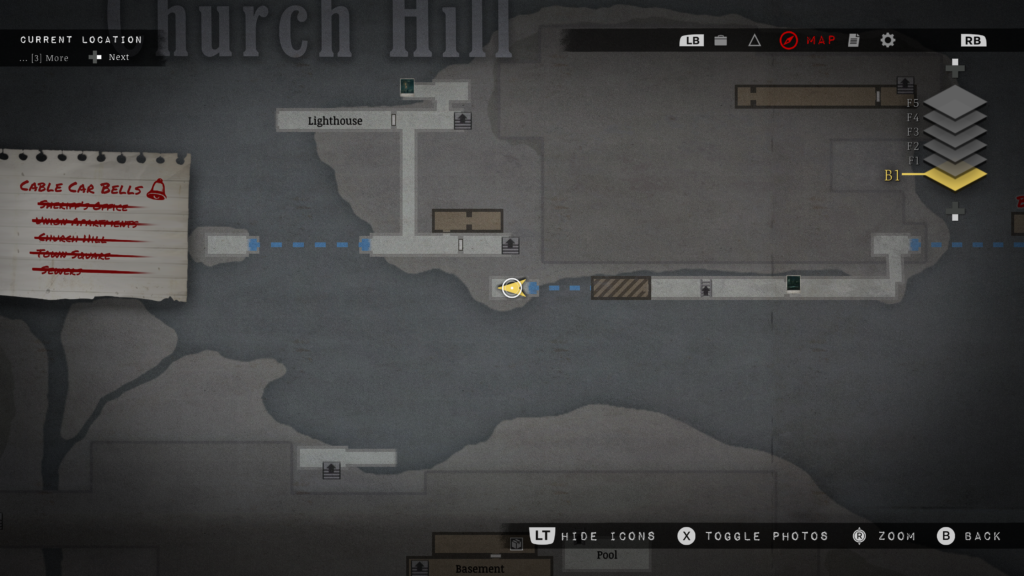
Swim left for a short while to find your next Damaged Compass Memento here on the small bank:
Red Driving Glove Memento
At the TV station, after getting the Stage 1 Key, you’ll come to this space. Look up and left to shoot out the vent:
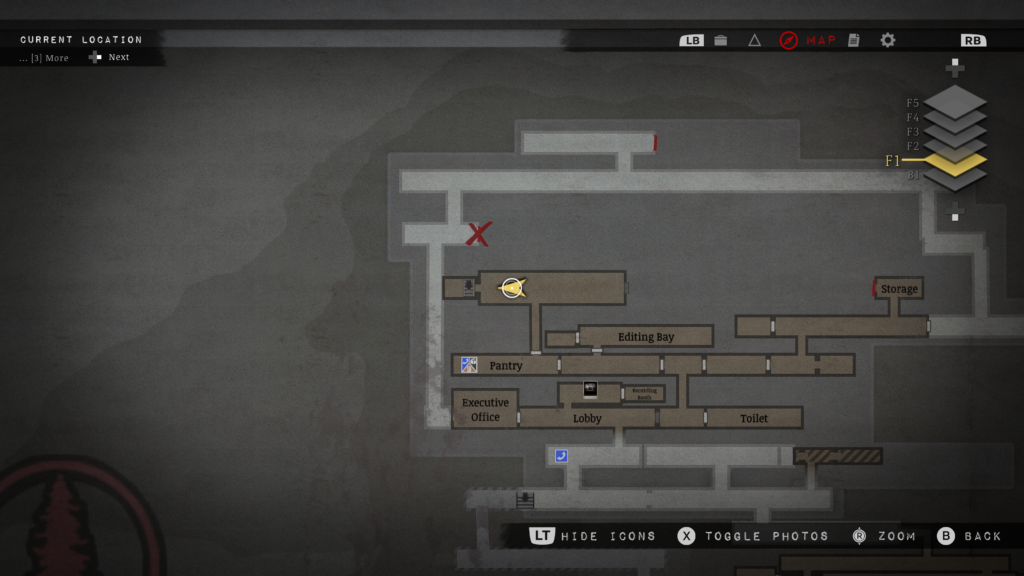
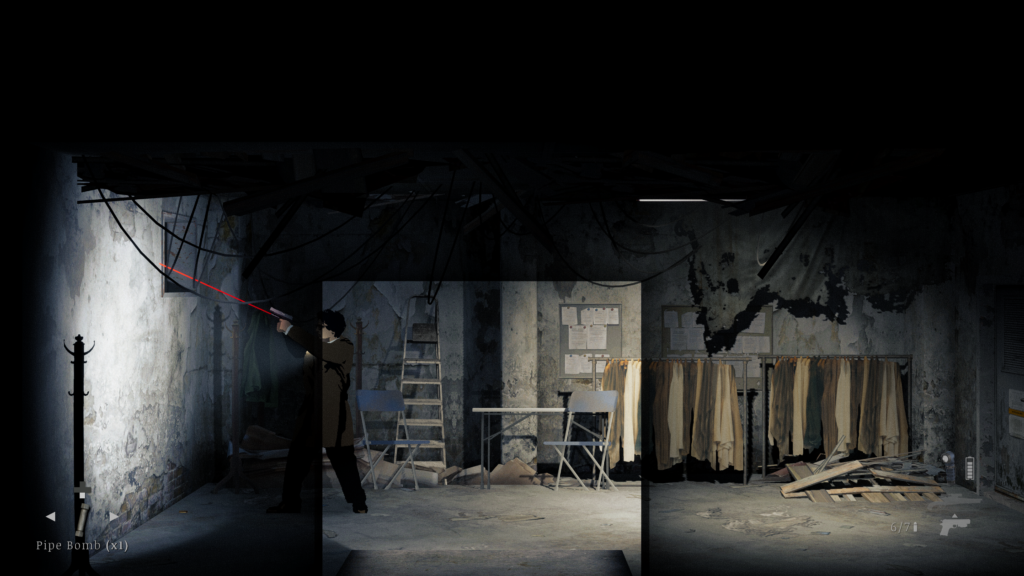
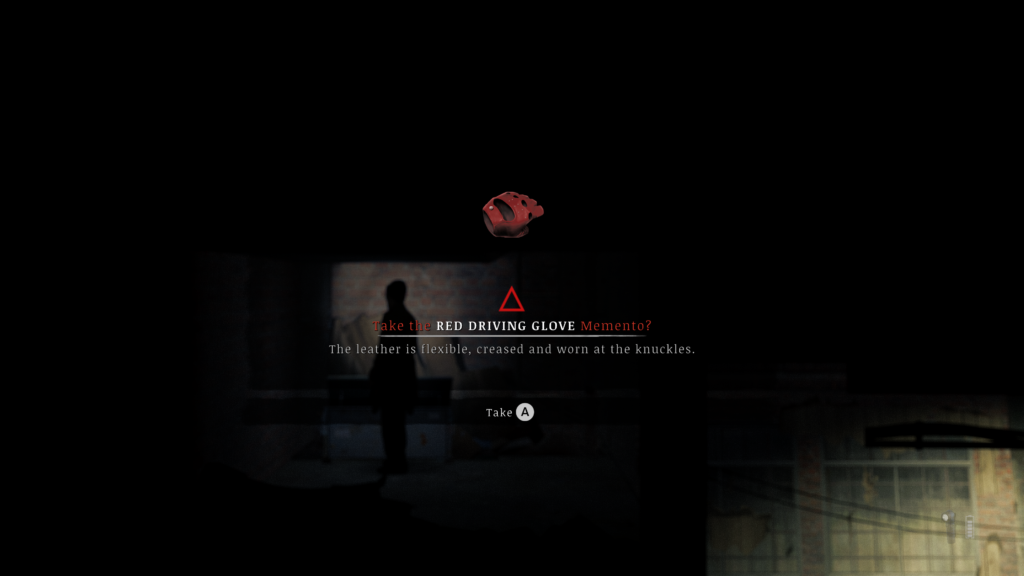
Climb up and over, then down the ladder to find your Red Driving Glove Memento:
8 Ball Gear Shift Memento
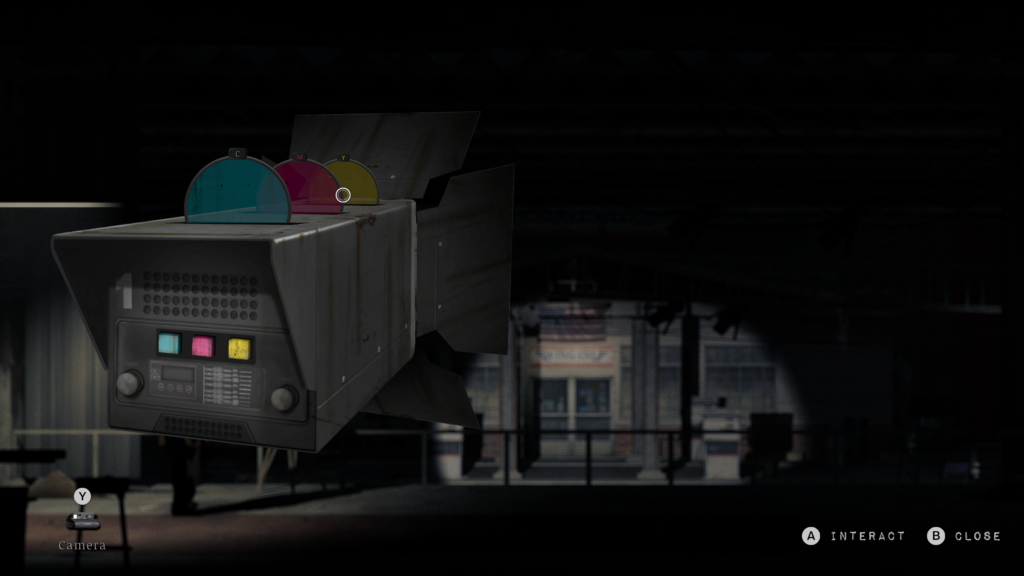
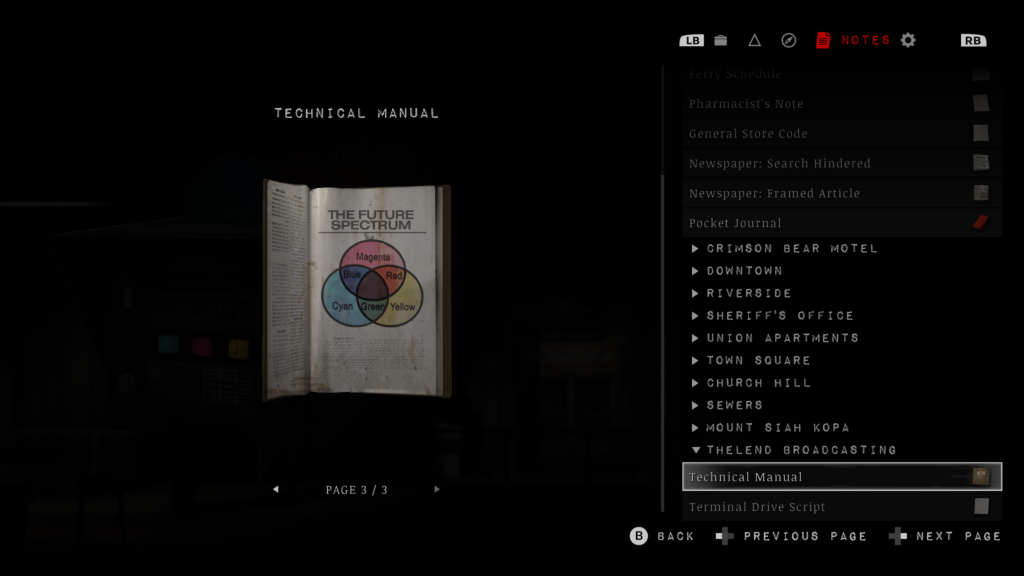
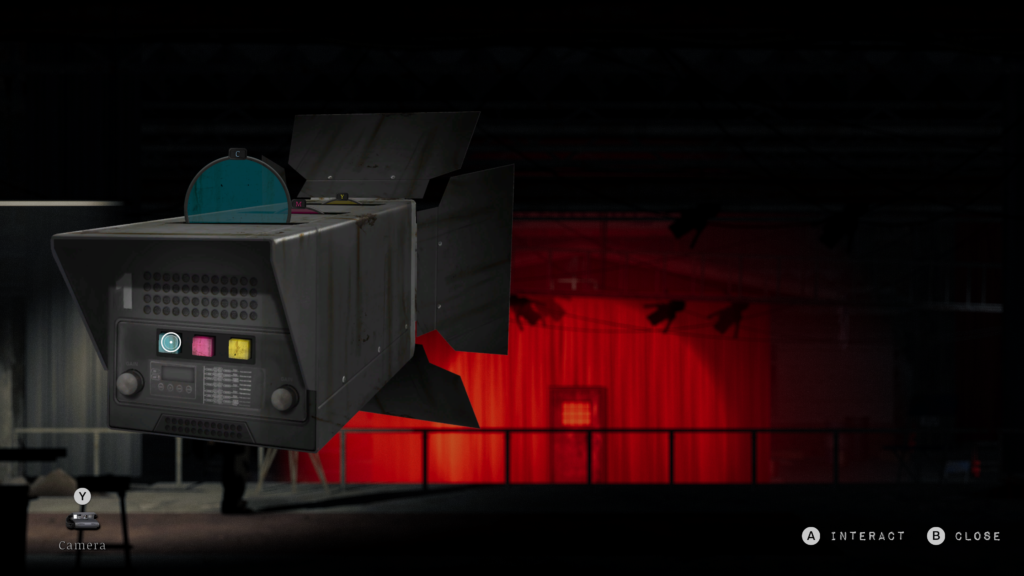
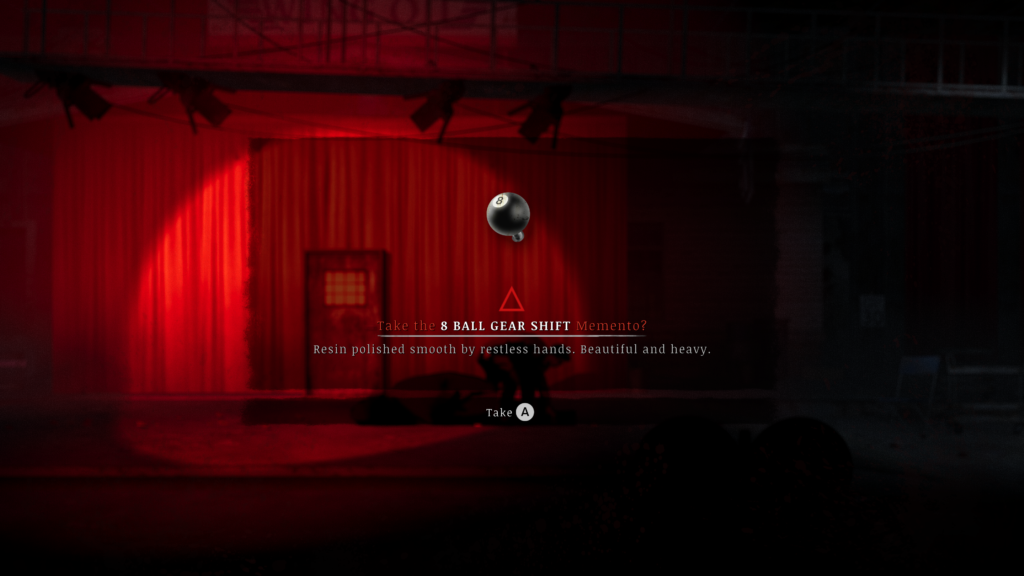
This may be missable if you don’t grab it at this time. This is awarded for defeating The Driver on the Stage at the Thelend Broadcasting Company. The Driver can be encountered after entering all three colour circles to the video camera, then only activating the blue one. You’ll know you’ll have it right as the Stage will turn red:
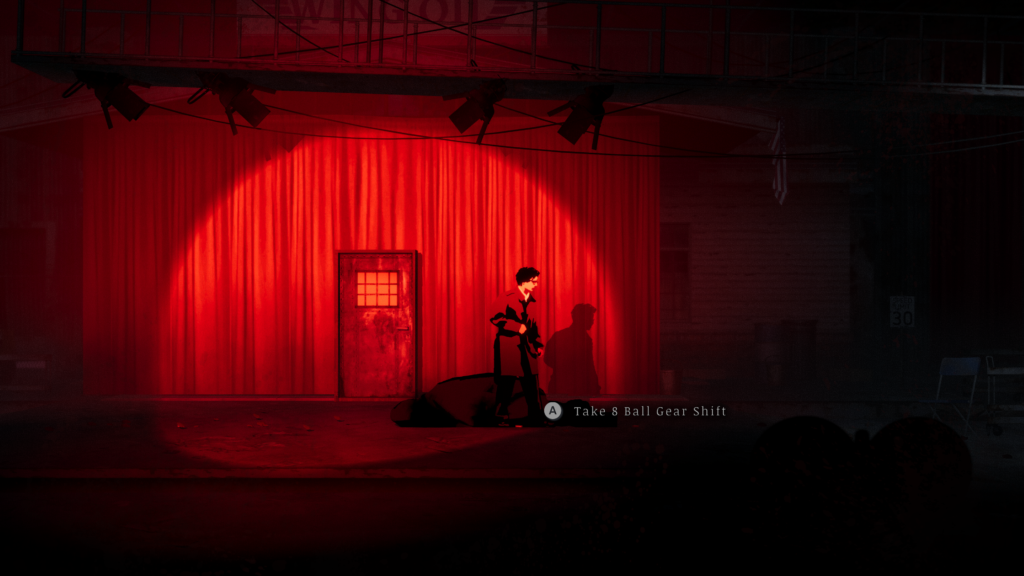
Once he’s down, the Memento will be on his body:
The Polaroid Negative Memento
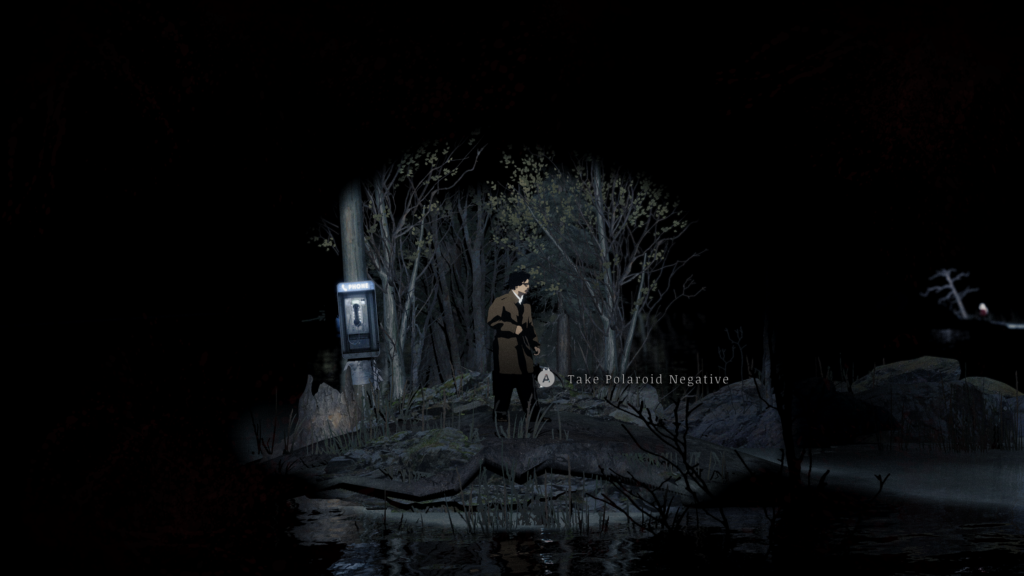
This may be missable if you don’t grab it at this time. After defeating the final boss, you’ll find the Polaroid Negative Memento on their body:
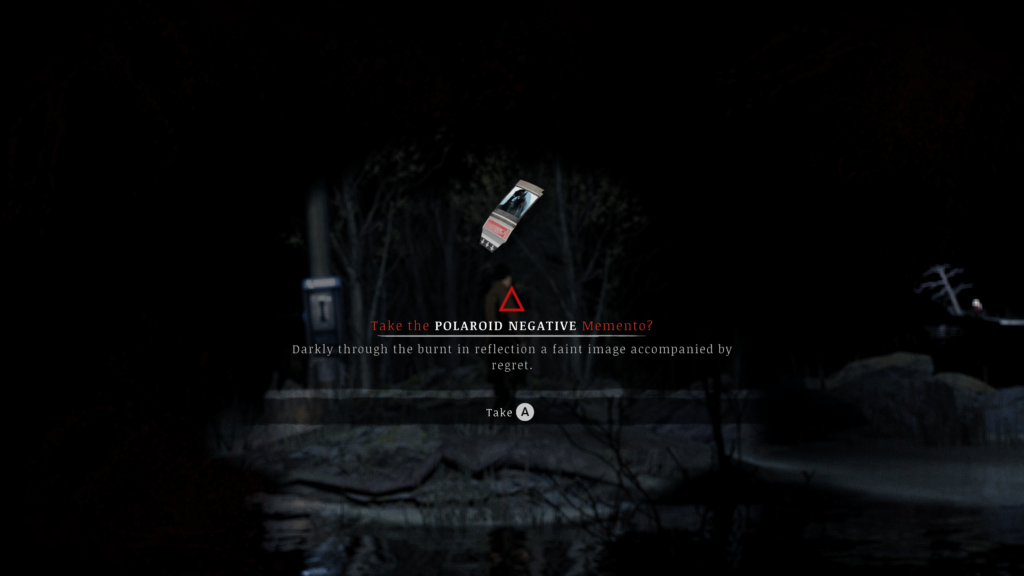
And with that, you’ll have all Mementos and be able to equip more of the game’s exciting perks in this exceptional, eerie, Twin Peaks-like town.
That was our All 25 Memento Locations Guide for Silver Pines. We hope it was helpful! You can find more of our guides for Silver Pines below.
Are you enjoying Silver Pines? Let us know in the comments below, and join the Gamer Social Club Discord to talk about your favourite games, play in community game nights, take part in giveaways, and more!
Silver Pines Guides
- Silver Pines A Call for Help Achievement Guide
- Silver Pines All 7 Stamina Upgrade / Coffee Machine Locations
- Silver Pines All 9 Inventory Upgrade Pouch Locations Guide
- Silver Pines All 16 Vessel Shard Locations Guide
- Silver Pines All Map Locations Guide
- Silver Pines Find the Shovel Guide
- Silver Pines Fix the Broken Speedboat and Unlock Fast Travel Guide
- Silver Pines Moment of Calm, Brief Respite Achievement Guide
- Silver Pines Nail Gun Location Guide
- Silver Pines Open the Palm Tree Door Guide
- Silver Pines Open the Ship Sealed Hatch Guide
- Silver Pines Restart the Ferry Guide
- Silver Pines Sheriff’s Station Door Handle Location Guide
- Silver Pines Sheriff’s Station Prison Cell Code
- Silver Pines Sheriff’s Station Safe Puzzle Solution / Crowbar Location
- Silver Pines Swedish K SMG Location Guide
- Silver Pines Union Building Supervisor Door Solution and Lift Level 4 Button