

Valor Mortis is a first-person action soulslike from the creators of Ghostrunner. You will rise from death as a former soldier of Napoleon’s army. Wield supernatural powers, battle horrifying monsters, and unravel a conspiracy that threatens all of humanity.
Valor Mortis releases on 13 October 2026 for PC, PS5, and Xbox Series. It is also available day one on Xbox Game Pass.
Unlock the “Ambersmith” Achievement with Every Unique Amber Location
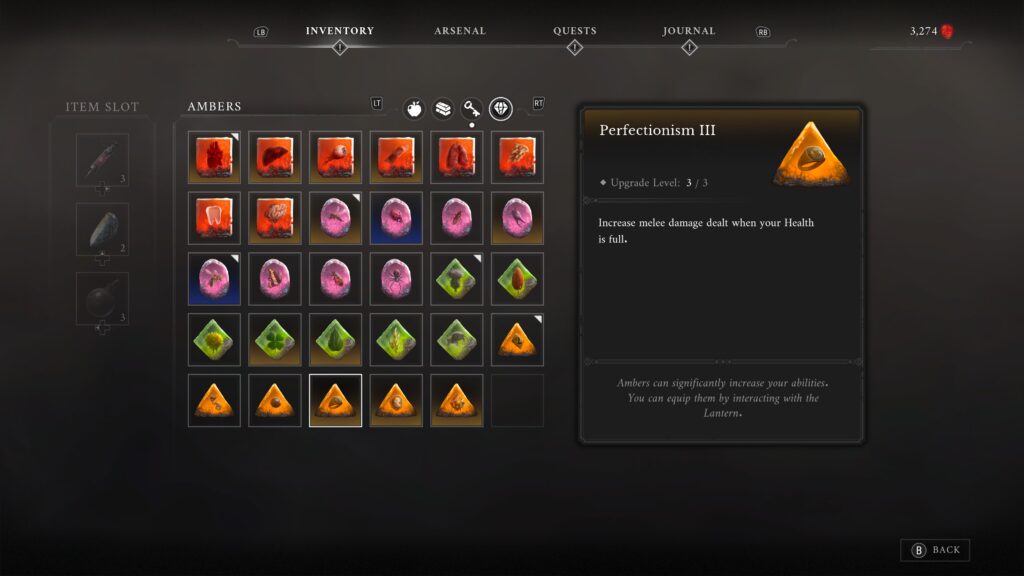
To unlock the “Ambersmith” achievement / trophy you will need to “gather all ambers”. This means finding each of the unique ambers you can find in the game.
Ambers are passive abilities that you can take advantage of by equipping them in the level up screen of the game. The more you level up, the more slots open up to equip ambers, up to a maximum of five.
Many of the ambers have additional tiers to improve their abilities, usually up to three levels. Finding another amber of the same name will level up the amber. For the achievement / trophy it seems you don’t need to find every amber in the game, including the duplicates for the upgrades. Mine popped after finding all the differently named ambers, not every amber in the game.
This guide doesn’t show you where every amber is, it shows where all the unique ones are for the achievement. Be sure to explore and complete quests and take out side bosses if you want to get all the additional levels of amber available to you.
You can watch a video guide below, or read on for a text and image guide.
These are listed in the order that they were found, not necessarily the most efficient order. There is a fast travel that unlocks early on in the game, so you can travel back to anything you might have missed.
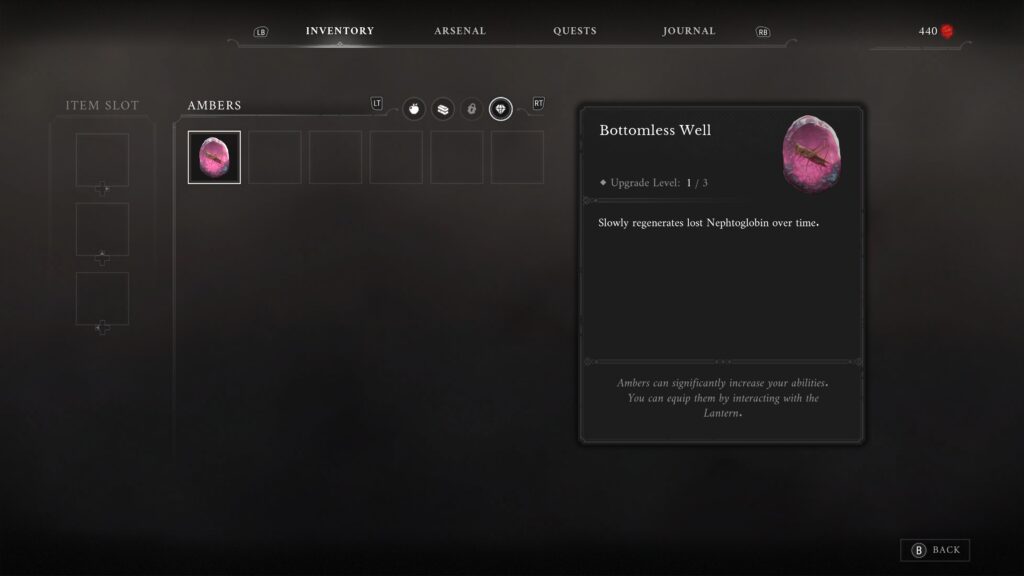
Bottomless Well
- Effect: Slowly regenerates lost Nephtoglobin over time
- Nearest Lantern: Chapter 1, Battlefield – Onslaught Arch
- Transmutation needed: Fire
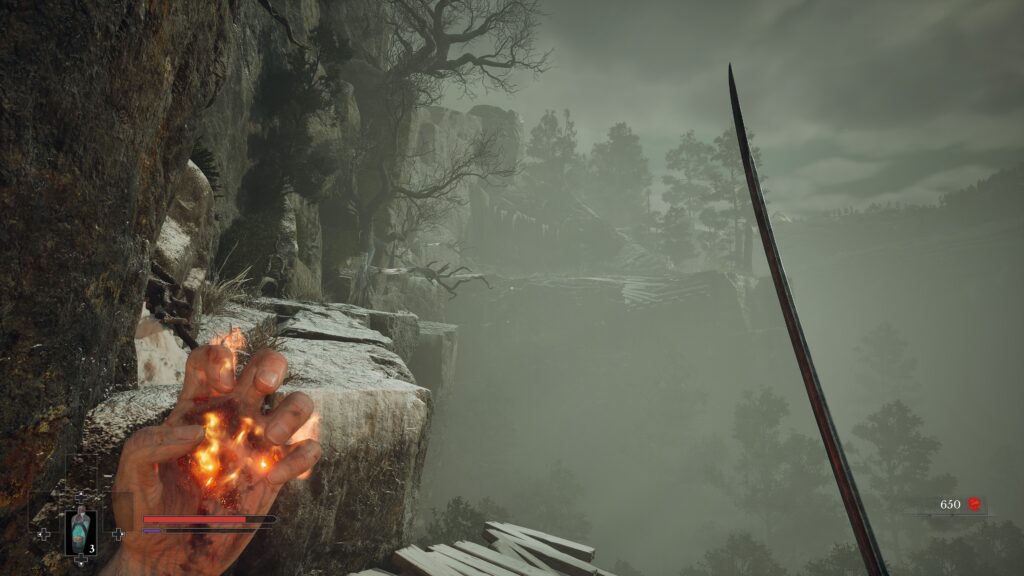
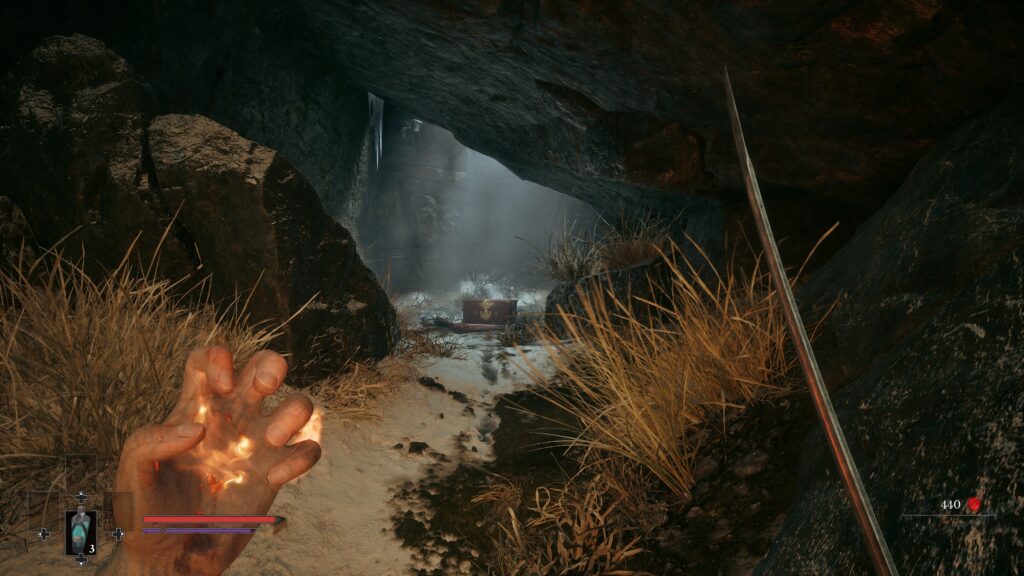
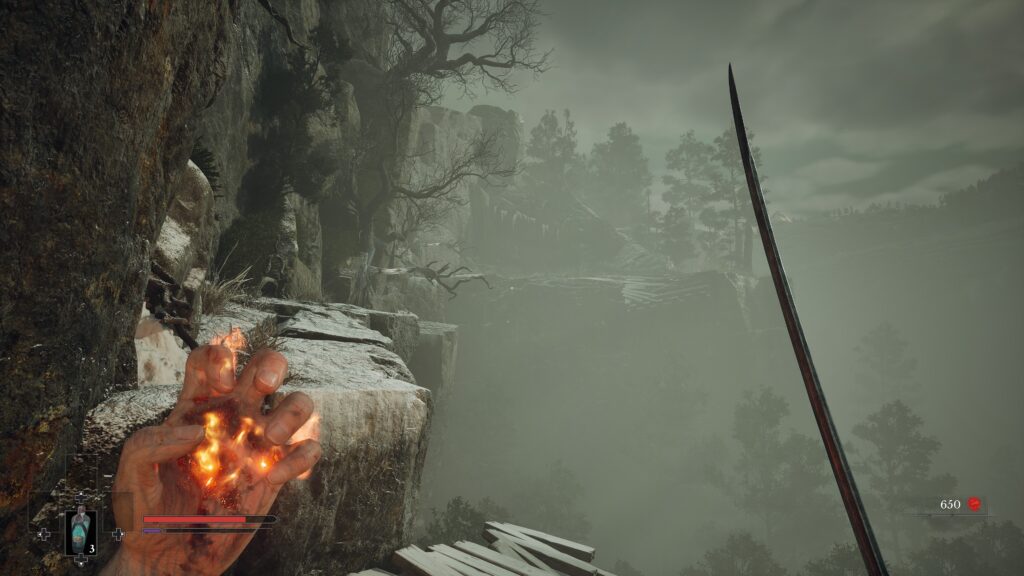
Return to the Lantern, and turn around, looking back up the cliff the way you came down. Go back up the platforms, swinging on the tree branches. When you reach the other side, you should see a cave blocked by a growth that can be removed with the fire transmutation (which you now have). Use it and grab the amber from the chest.
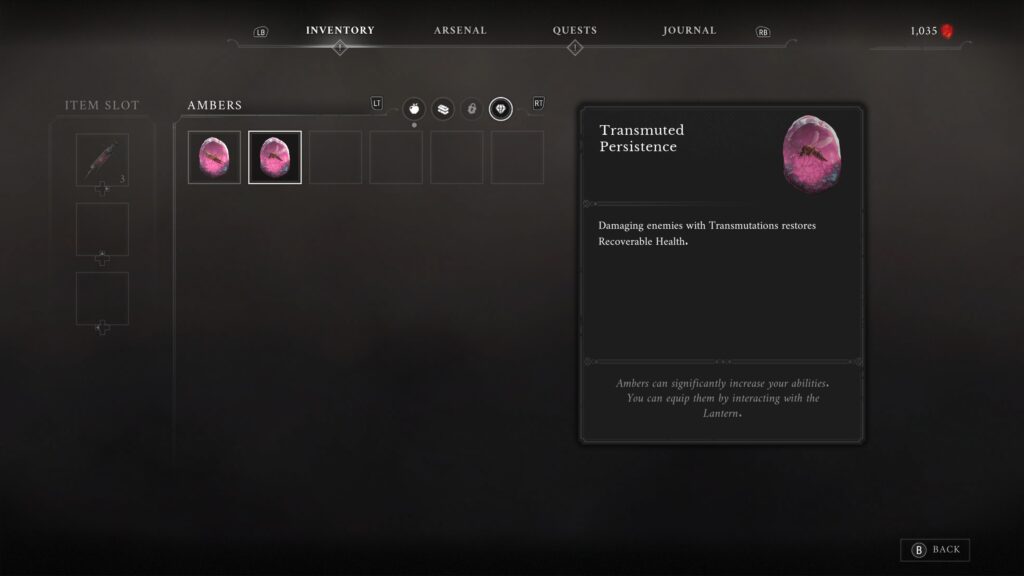
Transmuted Persistence
- Effect: Damaging enemies with Transmutations restores Recoverable Health
- Nearest Lantern: Chapter 1, Battlefield – Trenches
- Transmutation / weapon needed: None
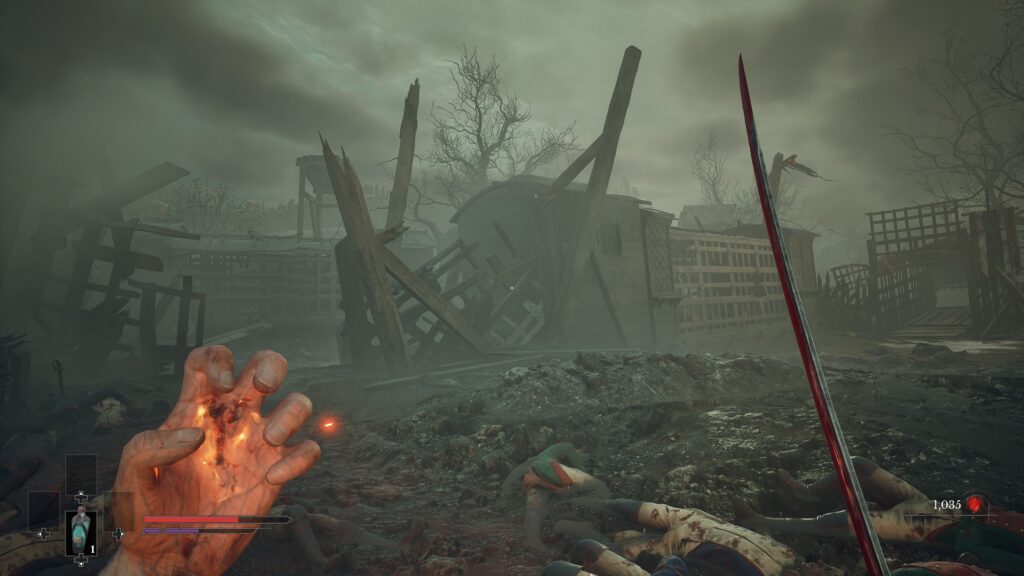
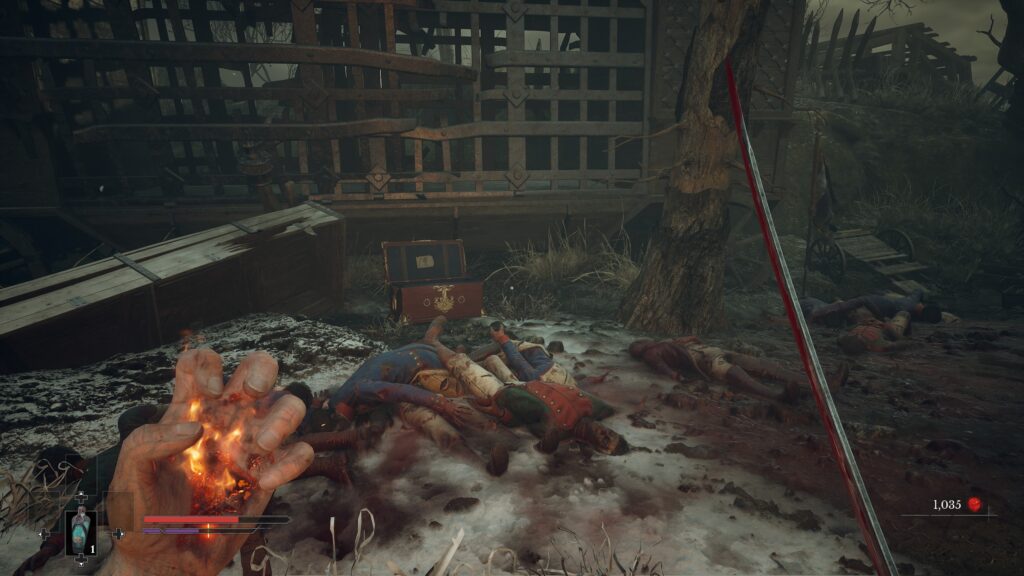
After crossing the battlefield, you’ll cross through a cage that will be a trap, and you’ll see a Lantern once you’ve travelled through the cage. Go back where you came and look to the right of the overturned carriage on your right. There should be a gap you can go through. Take out any enemies and you’ll see a chest with the amber in it.
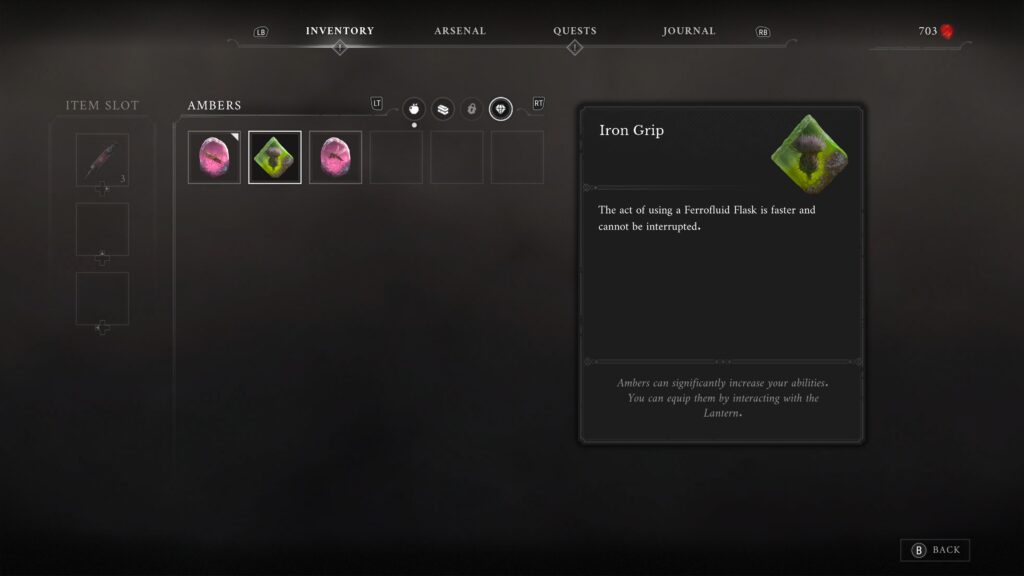
Iron Grip
- Effect: The act of using a Ferrofluid Flask is faster and cannot be interrupted.
- Nearest Lantern: Chapter 1, Battlefield – Trenches
- Transmutation / weapon needed: None
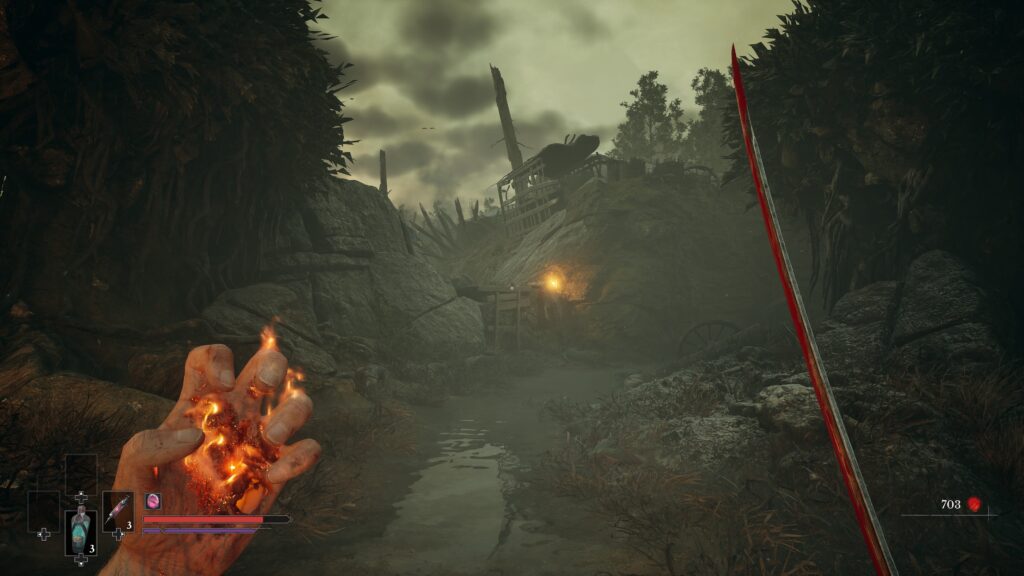
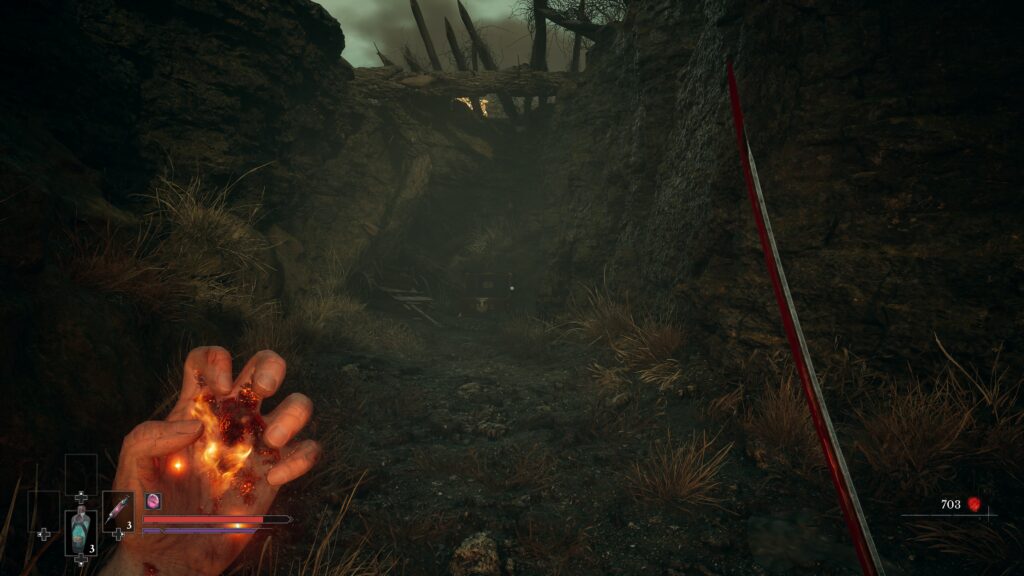
You’ll reach a point where you’ll be told about the attacking from above mechanic. After taking out the enemy below, follow the path round, past the wooden ledge you can climb up on your left. At the end of the path, behind an enemy is a chest with the amber in it.
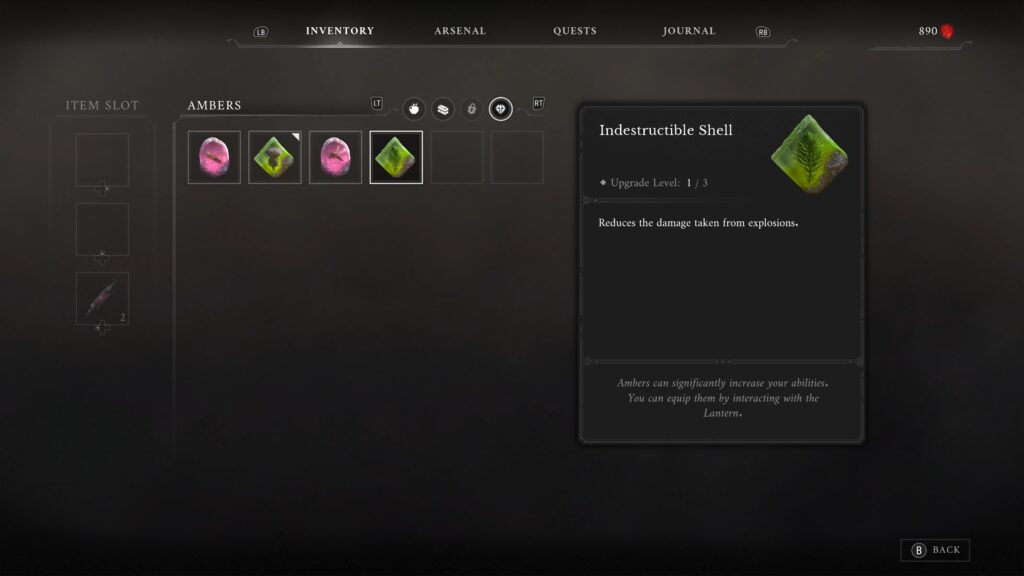
Indestructible Shell
- Effect: Reduces the damage taken from explosions
- Nearest Lantern: Chapter 2, Valley of Ashes – Demolished Path (though you’ll have to pass this chest to reach the Lantern).
- Transmutation / weapon needed: None
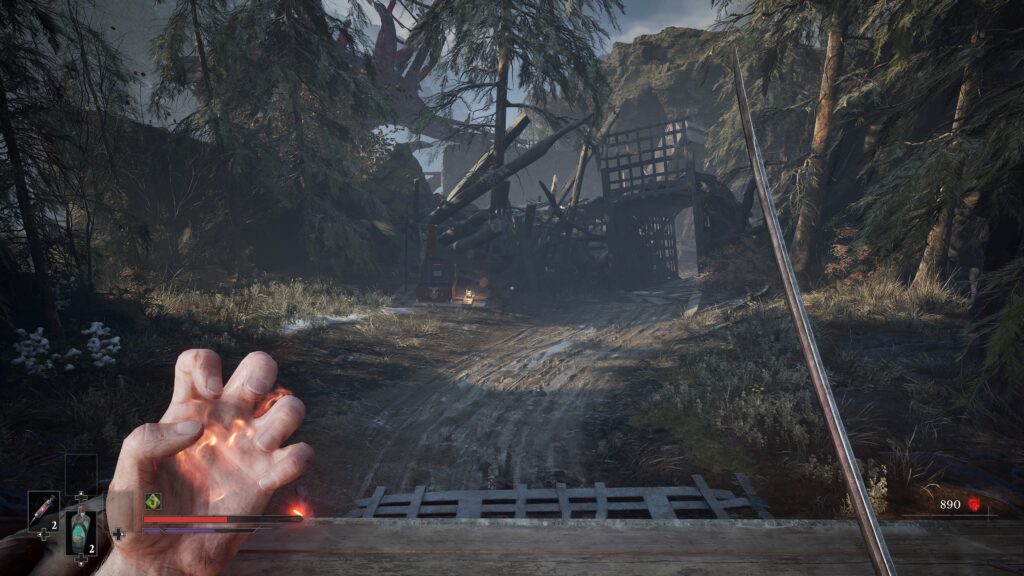
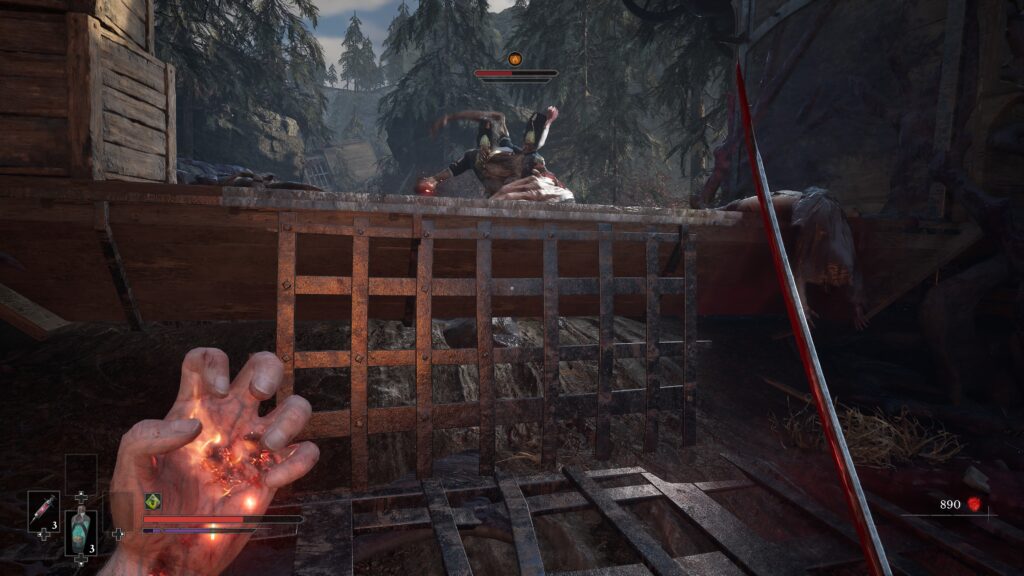
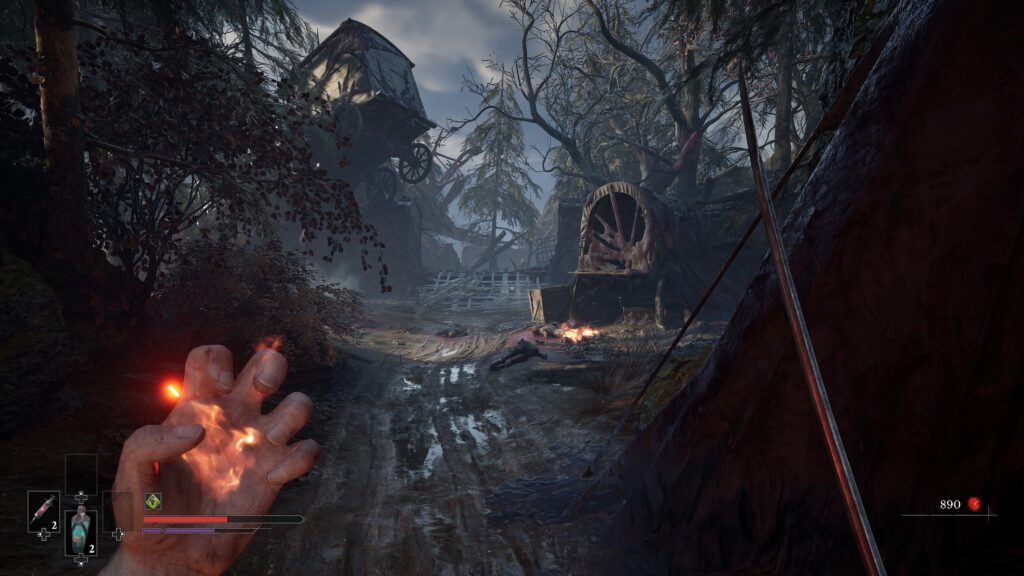
As you make your way through the beginning area of Valley of the Ashes, you’ll encounter a Risen Grenadier for the first time (this is the monstrosity that has explosives in a bucket). In the same space that the enemy is, behind it, is a chest with the amber in it.
If you see the train car and the next Lantern, you’ve gone too far.
Sleight of Hand
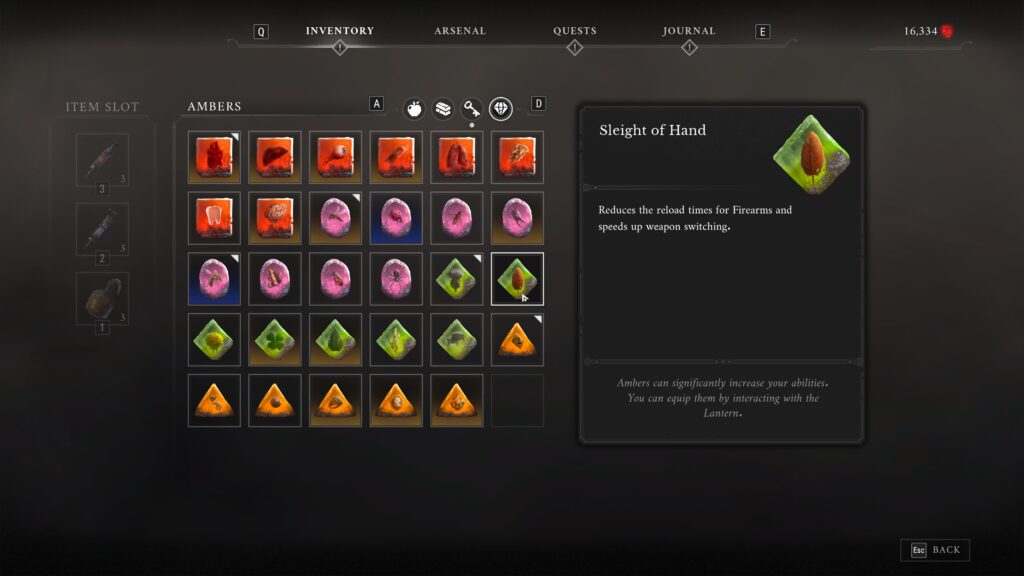
- Effect: Reduce the reload times for Firearms and speeds up weapon switching.
- Nearest Lantern: Chapter 2, Valley of Ashes – Demolished Path
- Transmutation / weapon needed: None
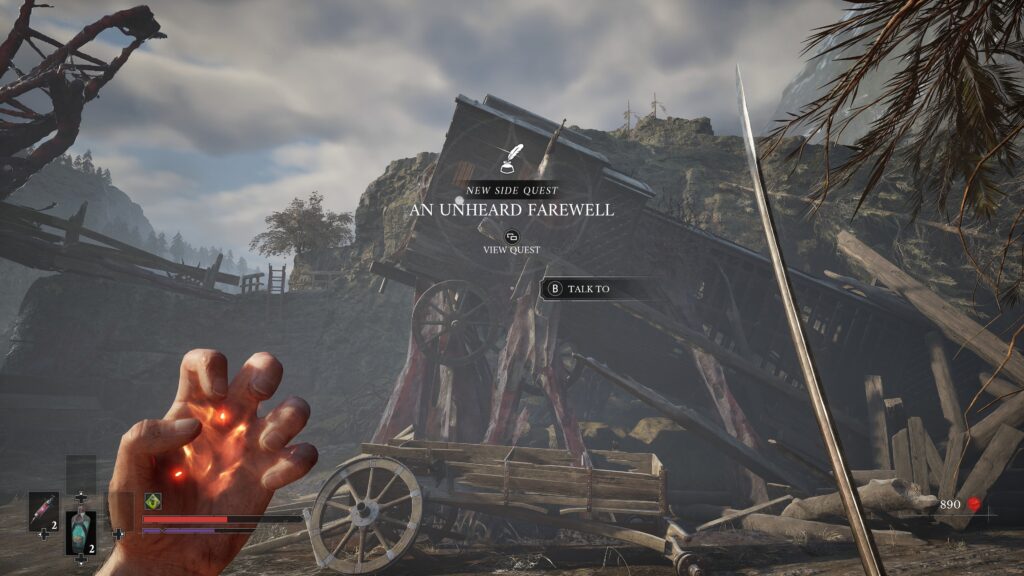
Awarded for completing the “An Unheard Farewell” side quest.
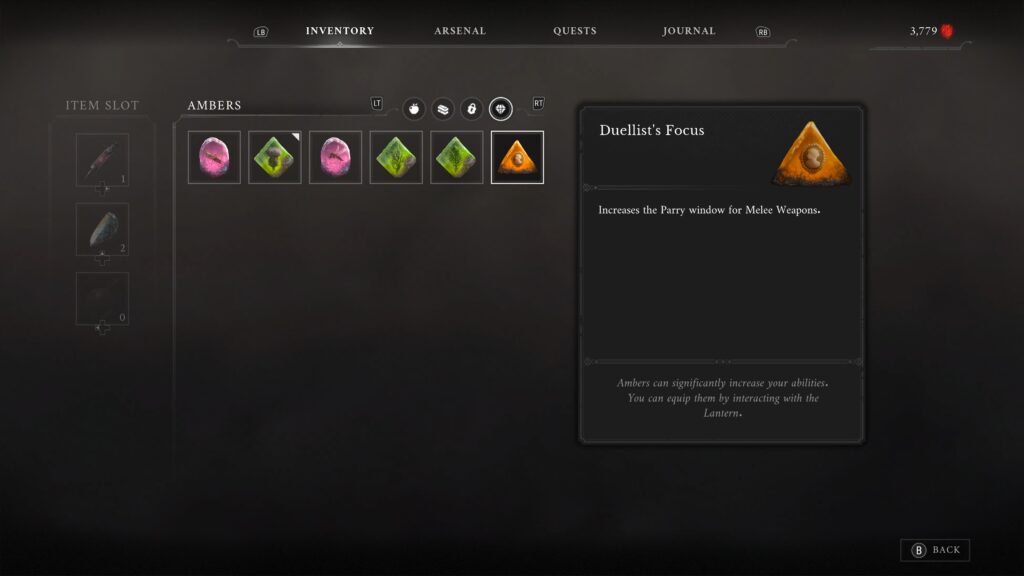
Duellist’s Focus
For me, this was the best amber in the game, giving that wider parry window, was an absolute godsend.
- Effect: Increases the Parry window for Melee Weapons
- Nearest Lantern: Chapter 1, Battlefield – Onslaught Arch
- Transmutation / weapon needed: Pistol
This is the first Lantern in the game. I walked back, though you can wait until you unlock Fast Travel. That being said, it’s well worth the trip.
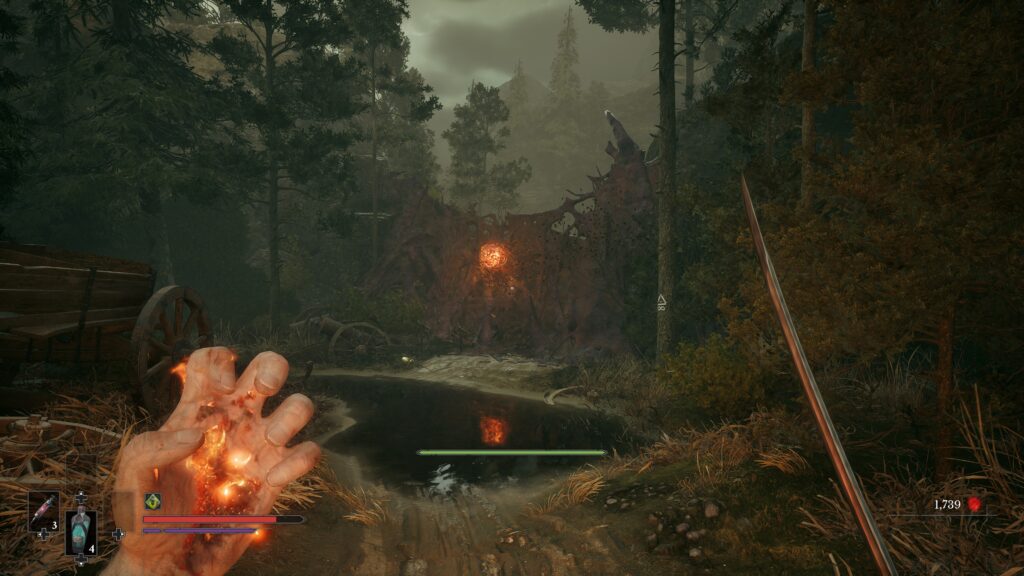
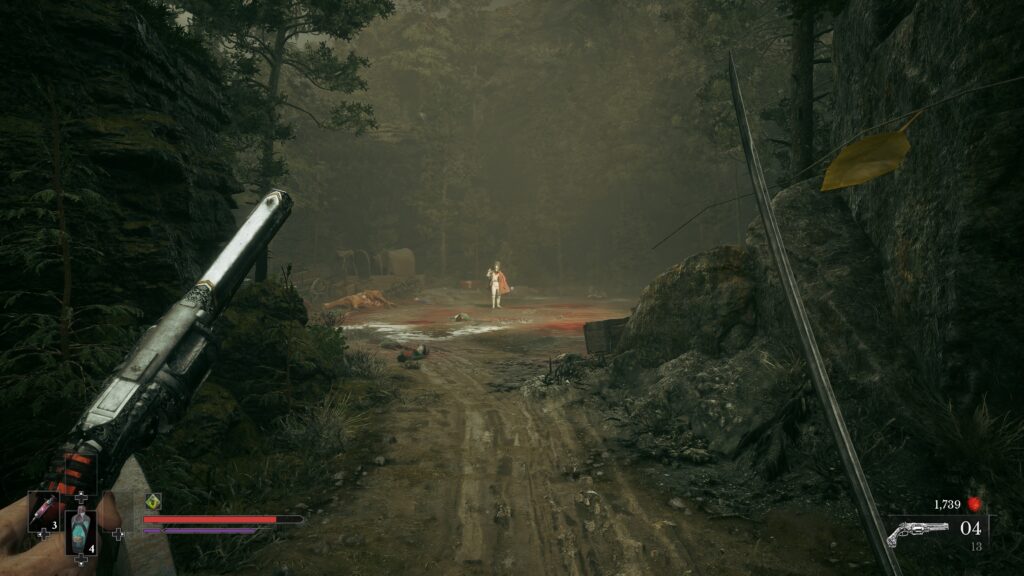
Return to the first Lantern and head back towards where the game starts. At the crossroads, not far from where you picked up the Saber, veer left and you’ll see a nepthoglobin wall that needs a pistol shot to open it up. Behind the wall is an Eternal Guard enemy. You’ll need to get past him to reach the chest behind him, containing the amber.
This is one of the soldiers you need to defeat for the Oathbound side quest.
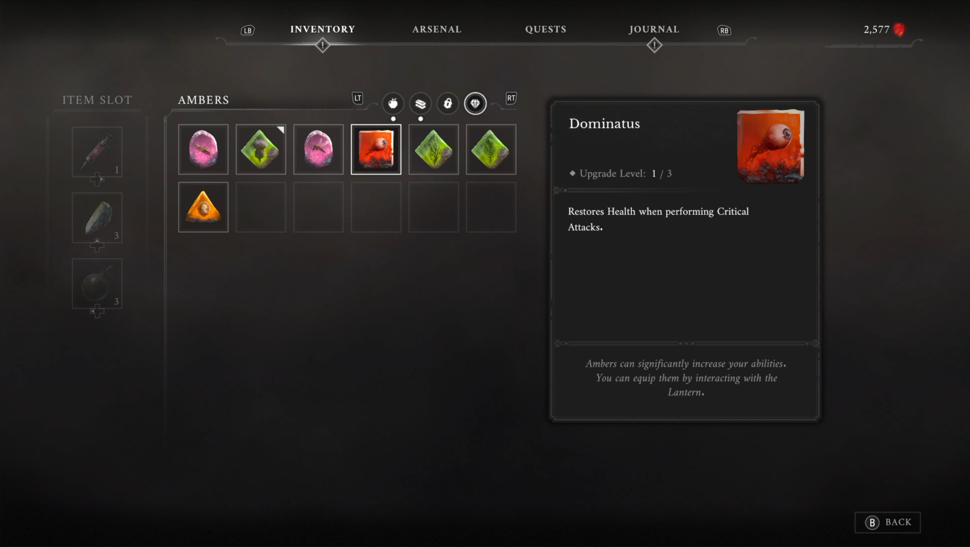
Dominatus
- Effect: Restores Health when performing Critical Attacks
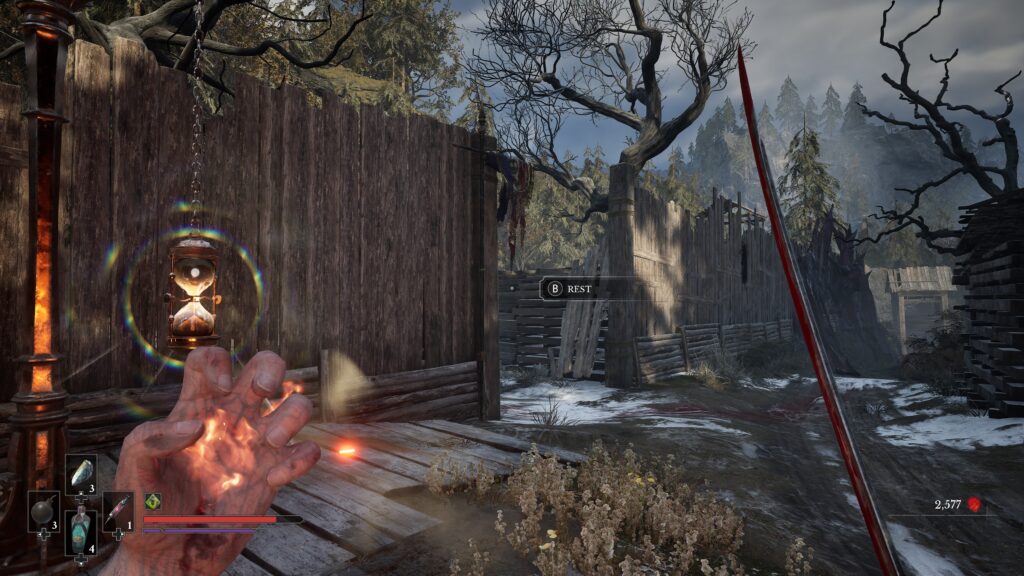
- Nearest Lantern: Chapter 2, Valley of Ashes – Military Camp
- Transmutation / weapon needed: None
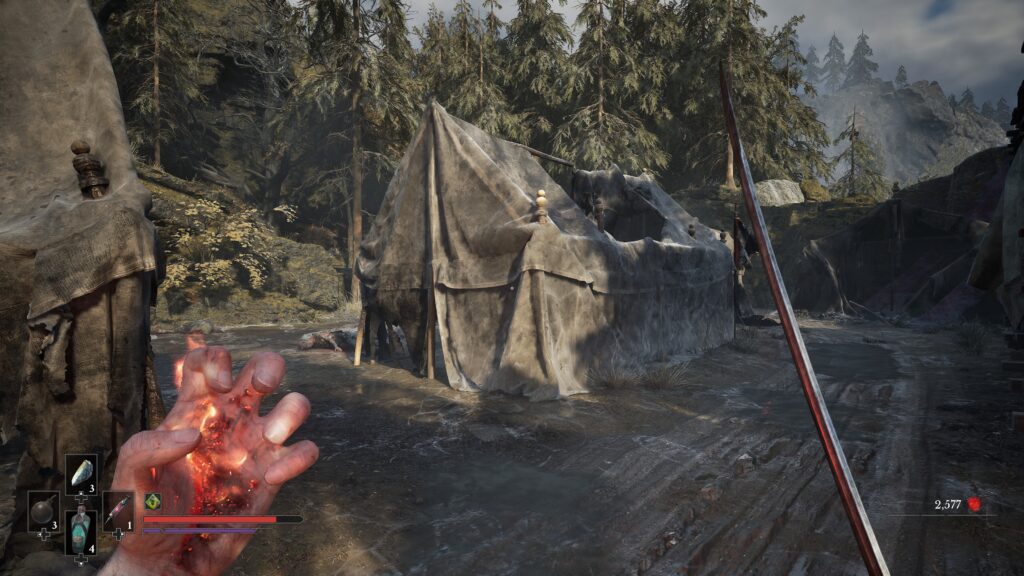
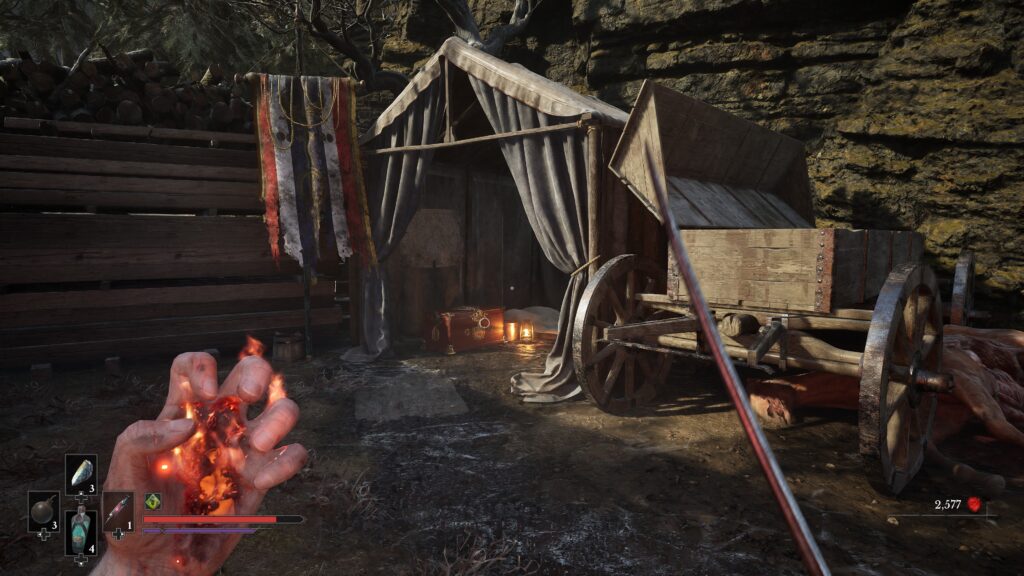
From the Lantern, head into the military camp (the area surrounded by tall wooden posts) Follow the main path, and break the crates that are in the way. About three quarters of the way down, you’ll see an opening to the left, follow it round, and go left again to see a small tent on your right. The chest with the amber is in there.
Watch out for the enemies!
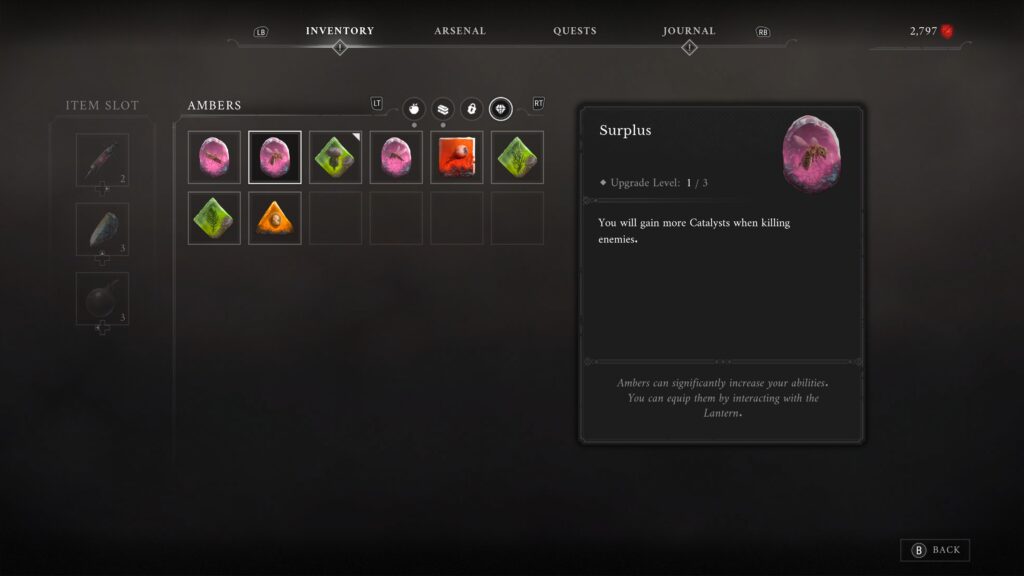
Surplus
- Effect: You will gain more Catalysts when killing enemies
- Nearest Lantern: Chapter 2, Valley of Ashes – Military Camp
- Transmutation / weapon needed: Fire, Pistol
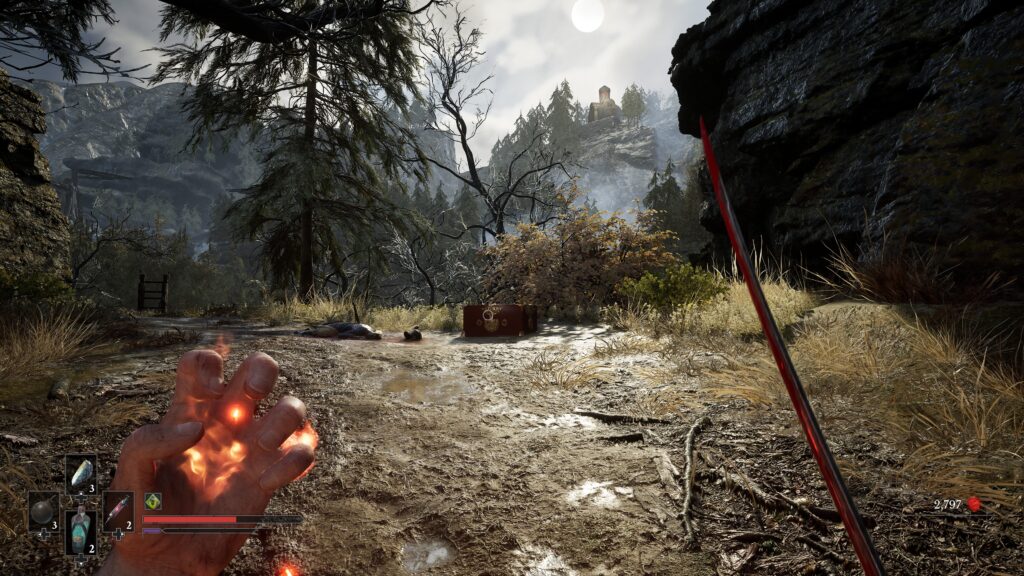
From the last amber, you can head forward and follow the path that leads to the left and up a small incline. At the top of the path is a cannon that you need to use to open up the main path to progress. To the right, before you reach the cannon is a yellow nephtoglobin wall that you need to use your fire transmutation on .
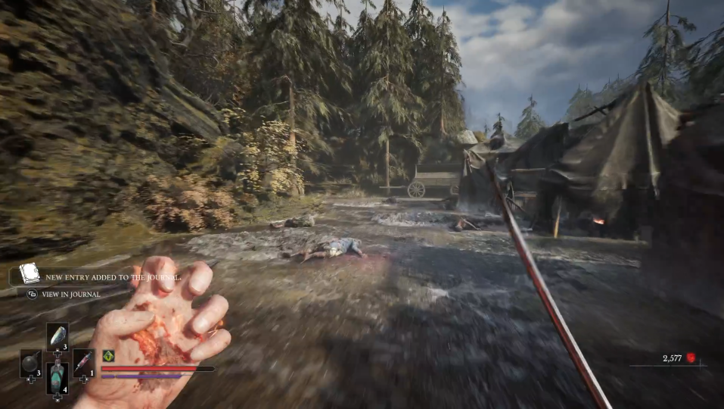
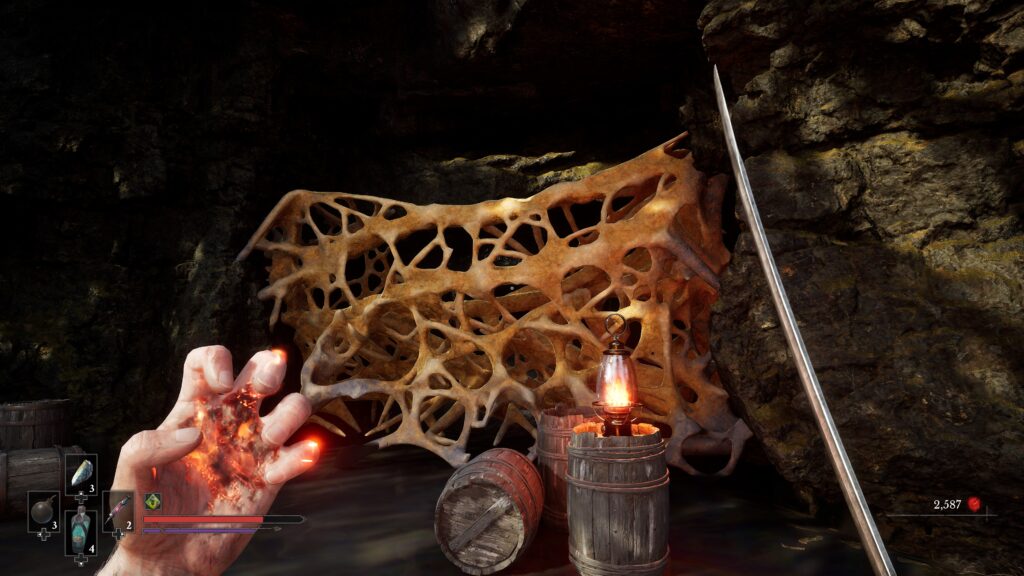
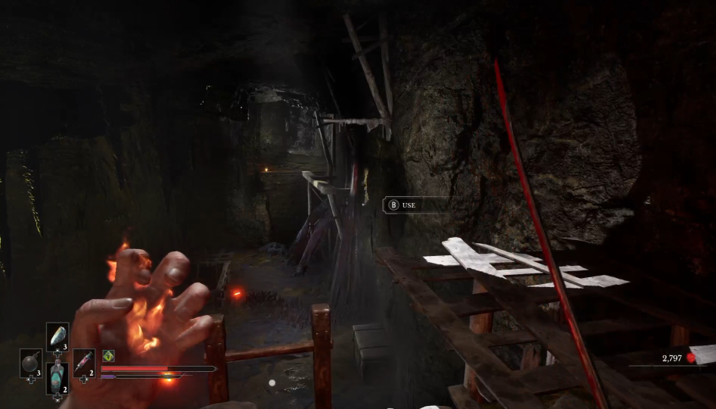
Head inside the cavern to spot a floor covered in poisonous material, if you infestation meter fills up, it’s insta-death, so be careful not to fall in, you don’t have long to survive it. Look across the gap in the floor and you’ll spot another yellow nepthglobin wall, with a fire lantern sat on a crate next to it. Use your pistol to shoot it to get red of the wall. Behind the wall is a nepthglobin weak spot, shoot that to get rid of the barrier nepthoglobin wall on the left, freeing up a pole that you can now swing across.
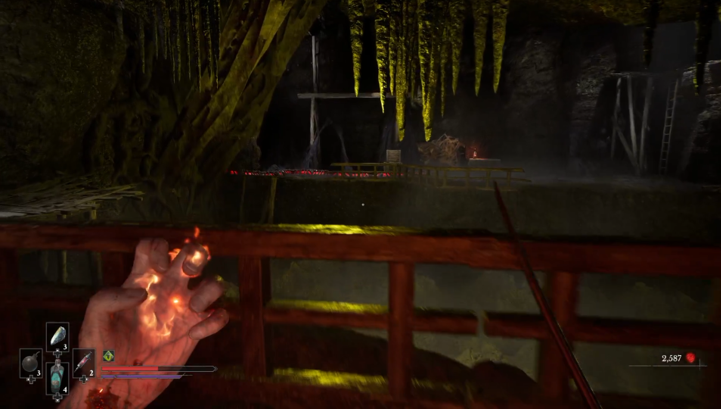
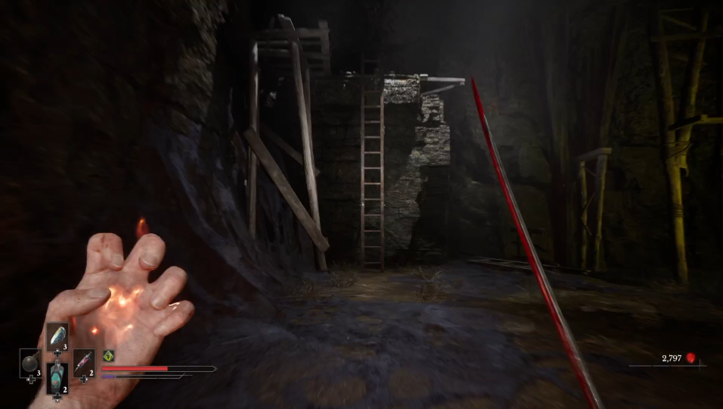
Once on the other side, take out the enemies and head up the ladder behind them. Do a 180 turn to face back where you came and jump to the pole and onto the wooden beam. Follow the path to find a chest at the top of a slope with the amber inside.
Be sure to grab any other goodies in the cave while you’re there.
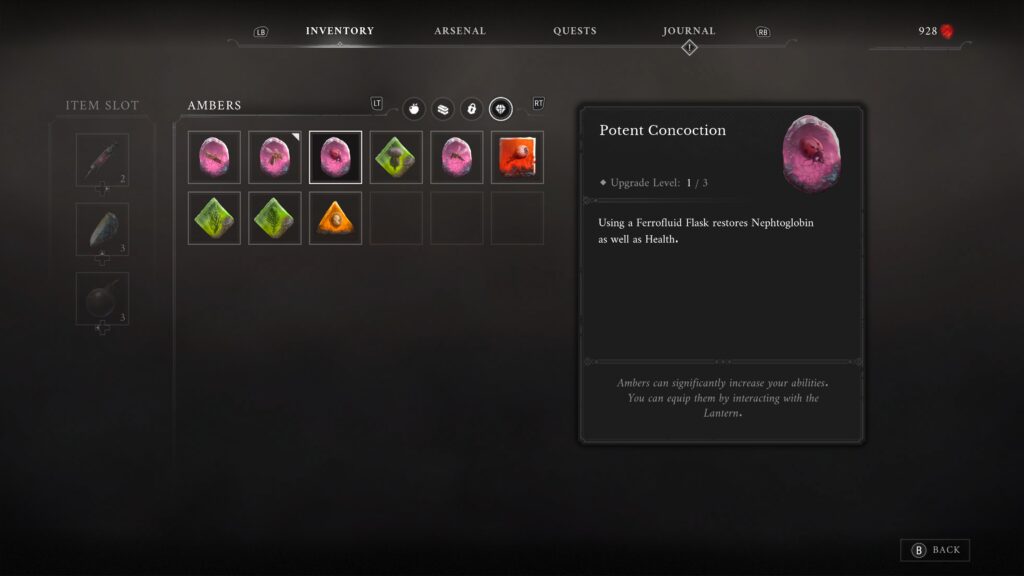
Potent Concoction
- Effect: Using a Ferrofluid Flask restore Nephtoglobin as well as Health
- Nearest Lantern: Chapter 2, Valley of Ashes – Quarry.
- Transmutation / weapon needed: Fire
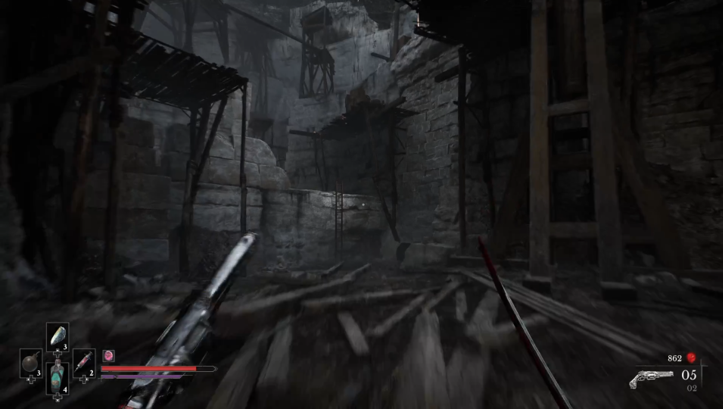
From the Lantern, head to the back right of the area. There is a ladder you can climb up, with a yellow nepthglobin wall at the top. Use your fire transmutation to clear the wall and then take out the enemies behind it. Once clear, look to the left for a chest with the amber in.
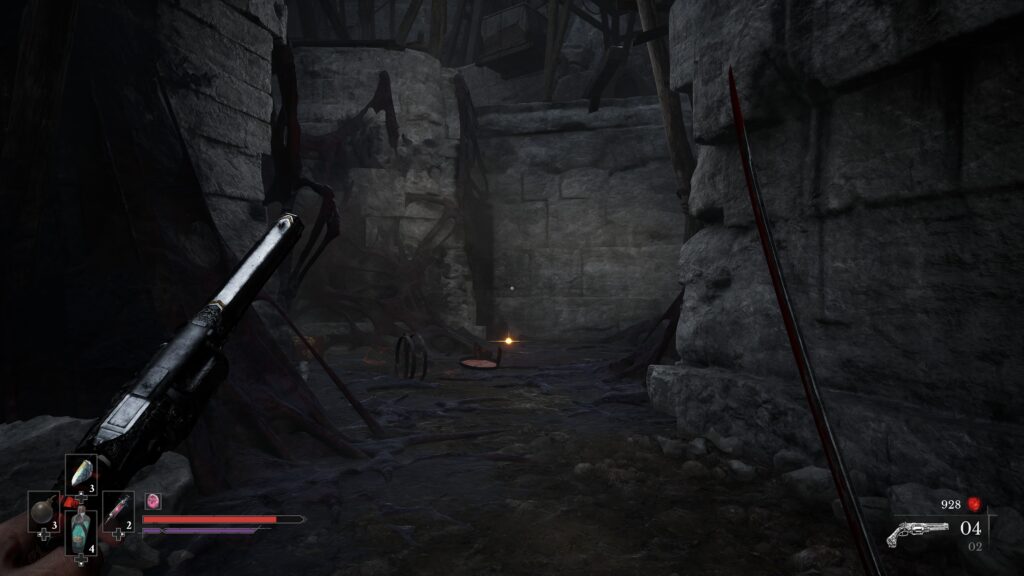
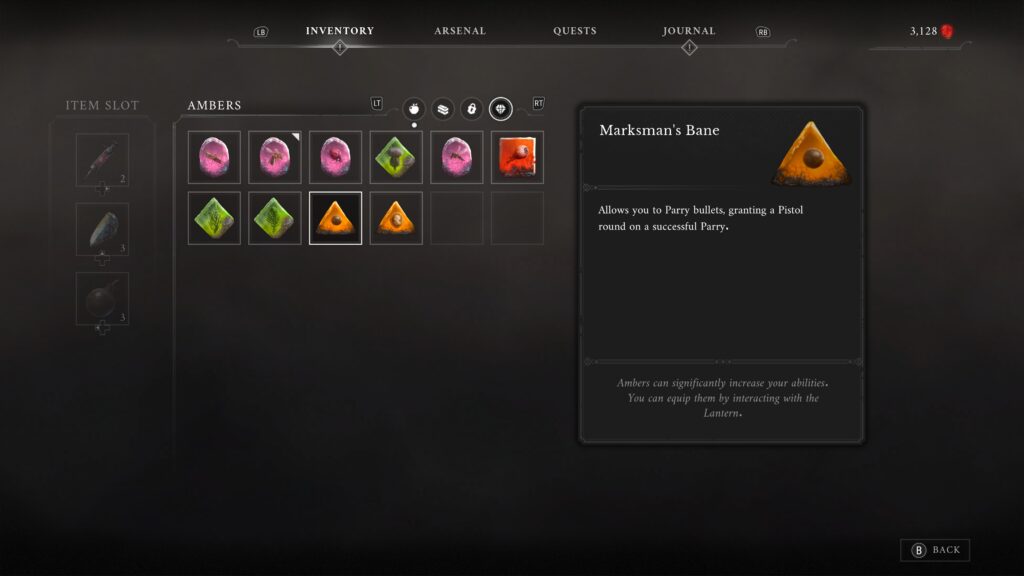
Marksman’s Bane
- Effect: Allows you to Parry bullets, granting a pistol round on a successful Parry.
- Nearest Lantern: Chapter 2, Valley of Ashes – Quarry.
- Transmutation / weapon needed: None
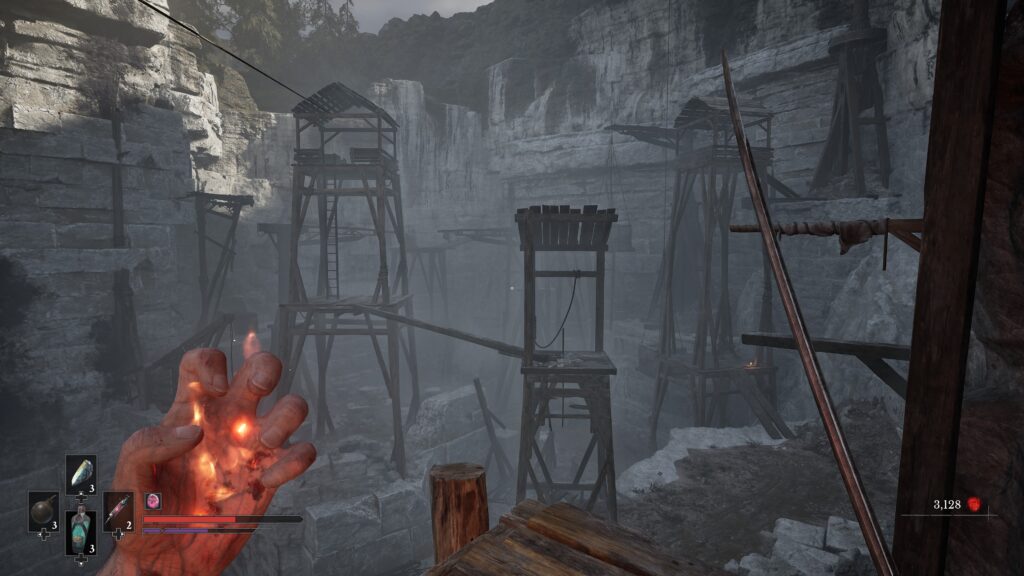
As you make your way through the Quarry area, you’ll reach the top of the area and need to zipline across to the other side (Napoleon will natter at you at this point). When you land head to the left to see a stack of breakable crates. Smash them to reveal a path to a wooden tower in the middle.
Carefully make your way across and climb to the ladder into one of the towers (it’s where a rifle enemy was shooting at you from earlier, or still is if you haven’t dealt with him). At the top of the ladder is a chest with the amber in it.
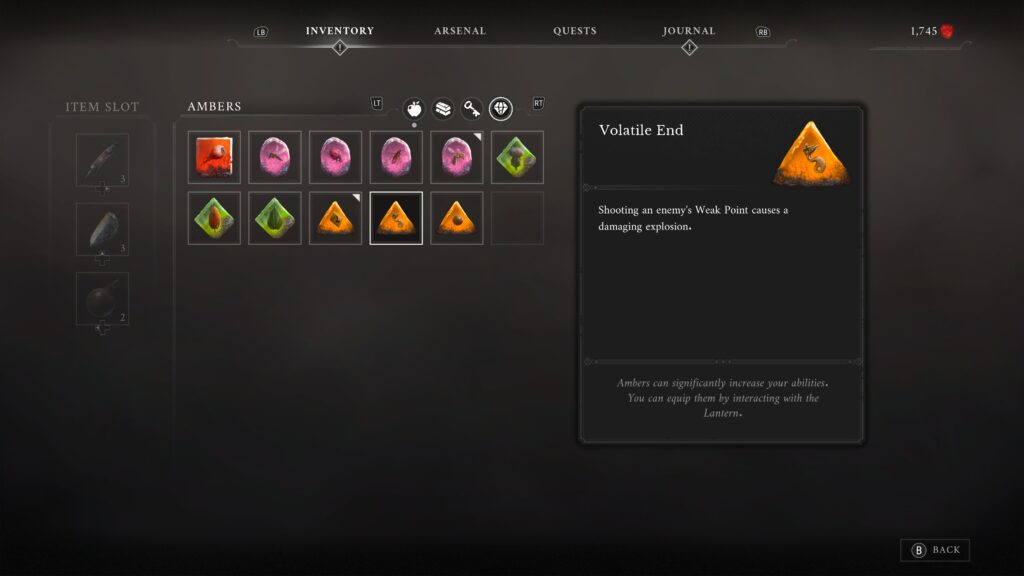
Volatile End
- Effect: Shooting an enemy’s Weak Point causes a damaging explosion.
- Nearest Lantern: Chapter 3, Fallen Village – Fields.
- Transmutation / weapon needed: None
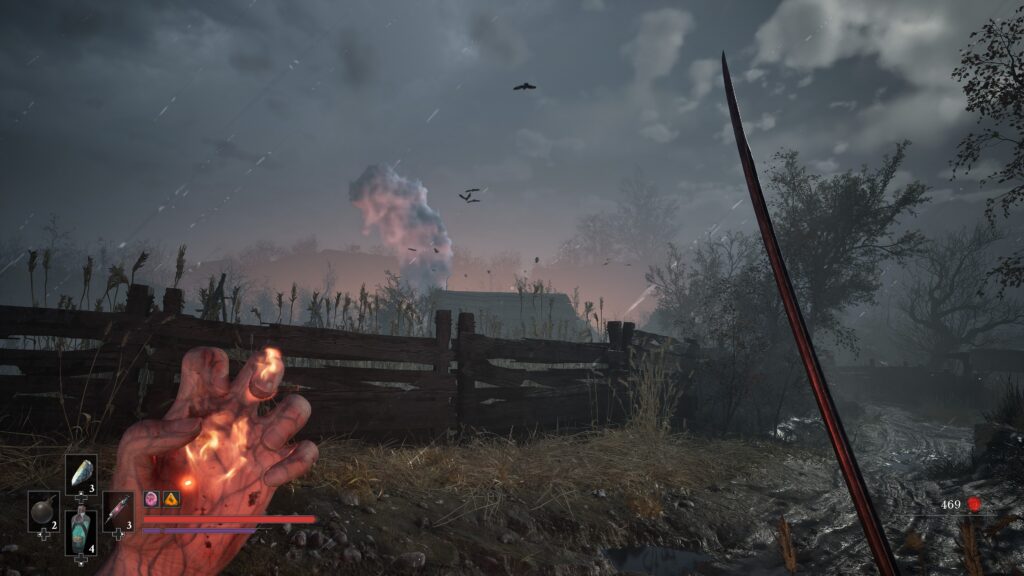
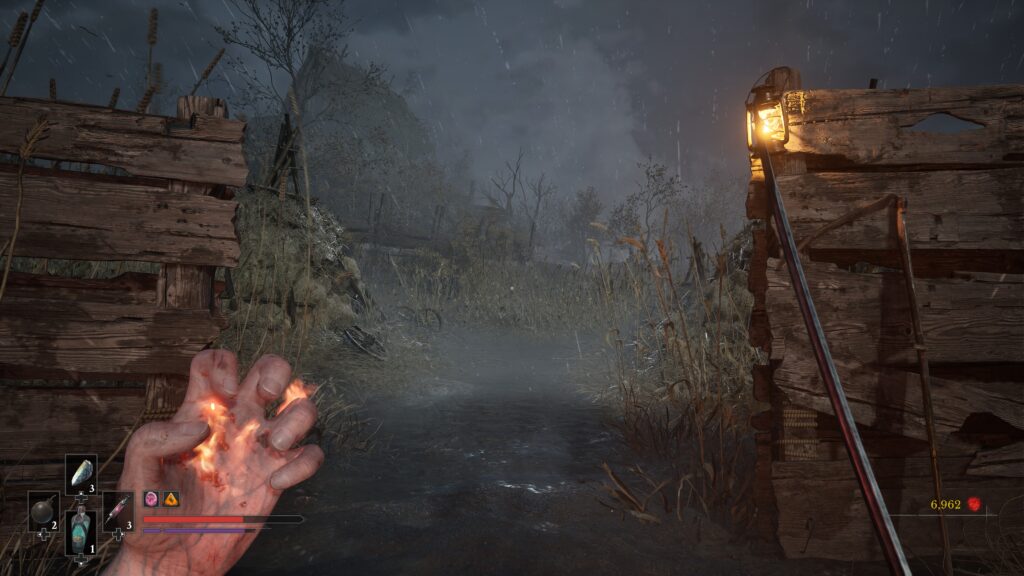
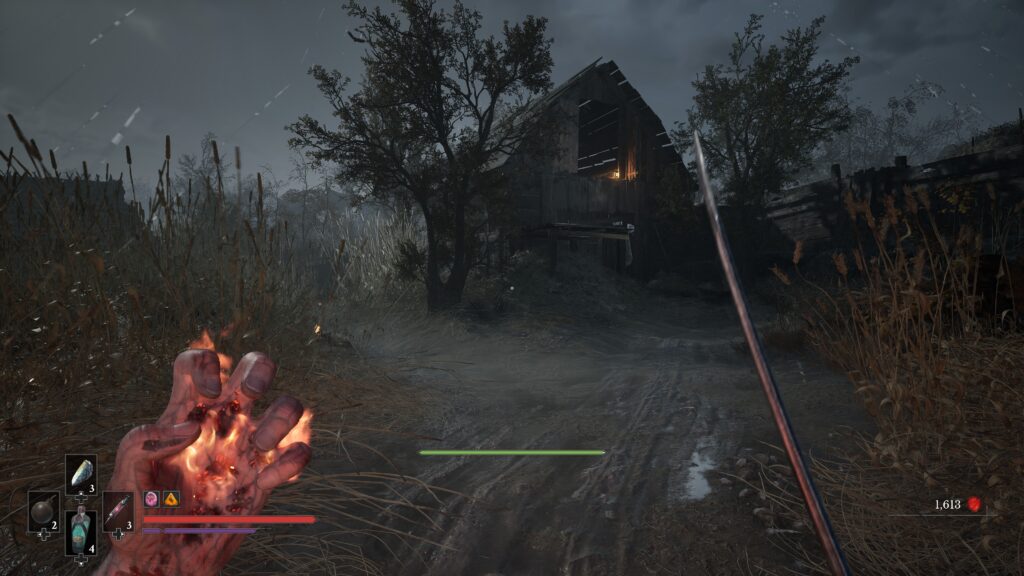
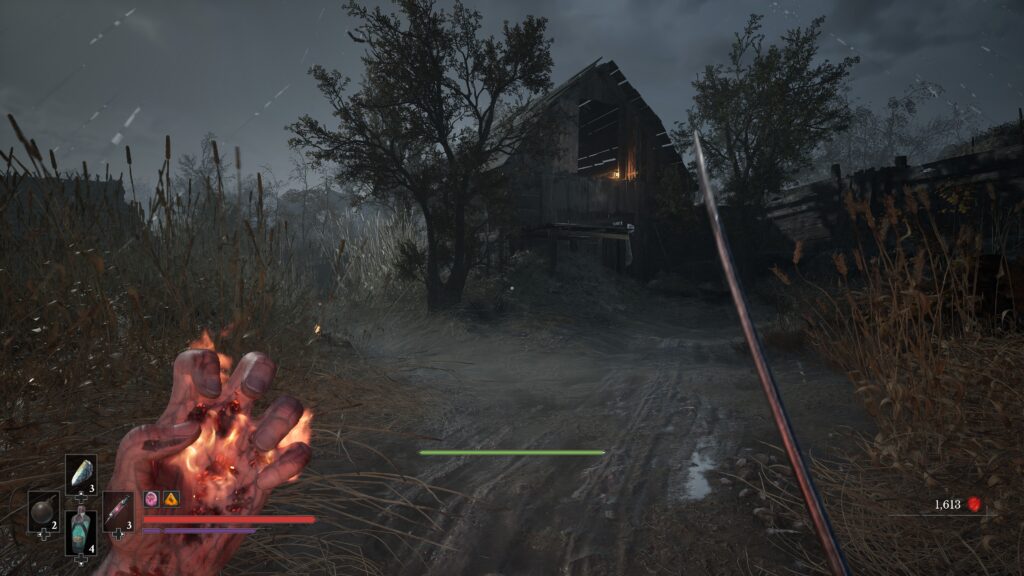
Once you’ve progressed in the first part of the chapter, you’ll unlock a gate that leads you back to the Lantern. From there continue forward and down the path and follow it round to the left. You’ll reach some hay fields with lots of enemies skulking about.
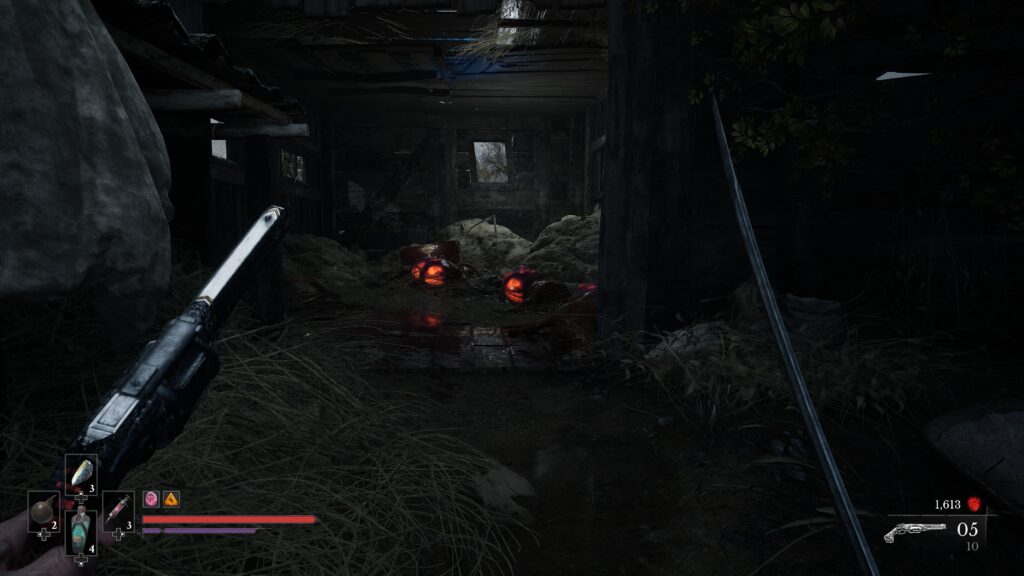
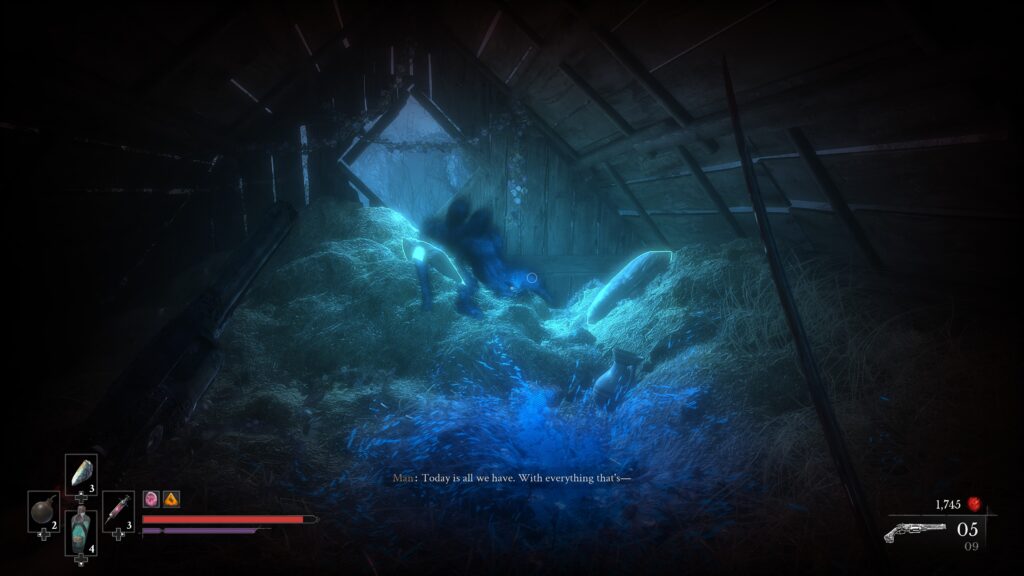
Continue on the path until you round a corner and see a barn just off the path to the right. Inside is a number of exploding dead horses, and a chest with the amber in it.
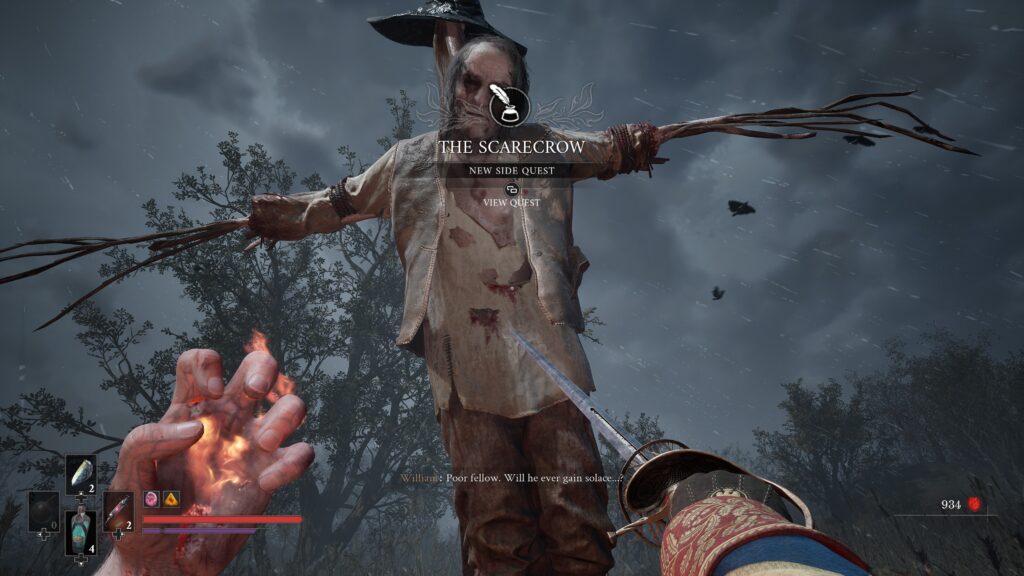
If you’re following “The Scarecrow” side quest, you will head to the same barn to complete it. The crows in the sky eventually lead you here.
Bountiful Harvest
- Effect: Picking up Nepthoglobin Remnants restores Health.
- Nearest Lantern: Chapter 3, Fallen Village – Fields.
- Transmutation / weapon needed: None
You will need to complete “The Scarecrow” side quest to grab this amber.
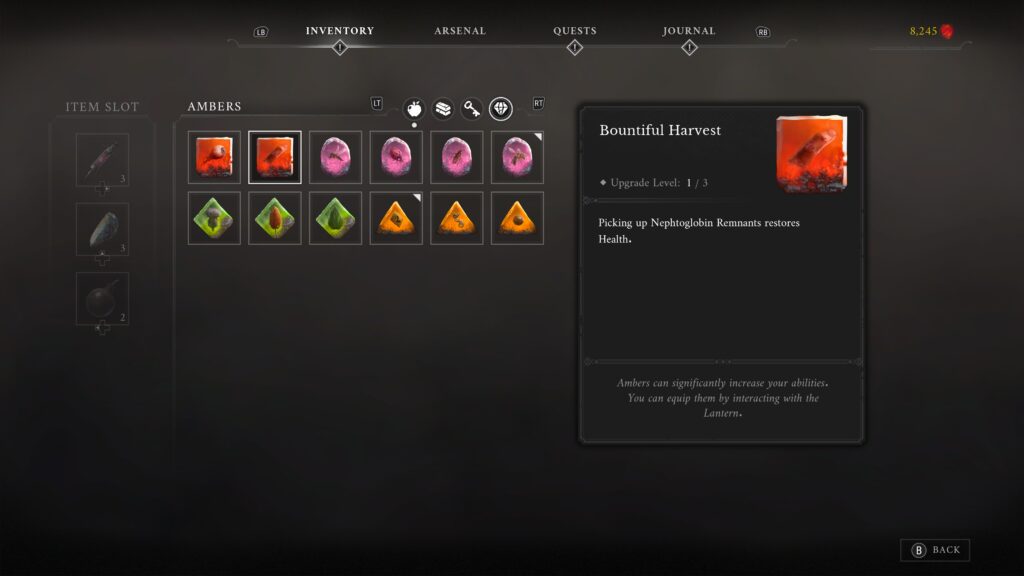
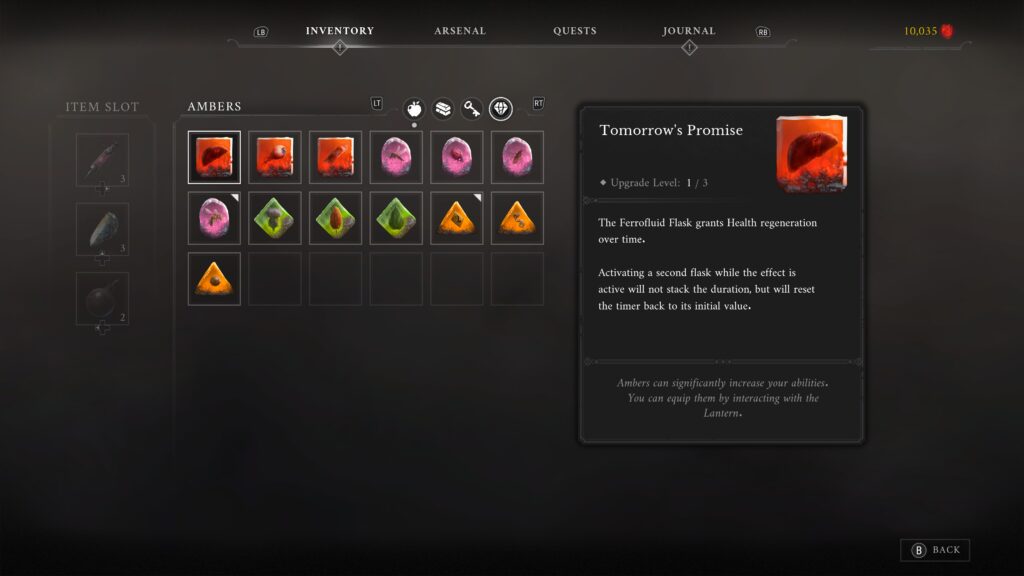
Tomorrow’s Harvest
- Effect: The Ferrofluid Flask grants Health regeneration over time. Activating a second flask while the effect is active will not stack the duration, but will reset the time back to its initial value.
- Nearest Lantern: Chapter 3, Fallen Village – Marketplace.
- Transmutation / weapon needed: None
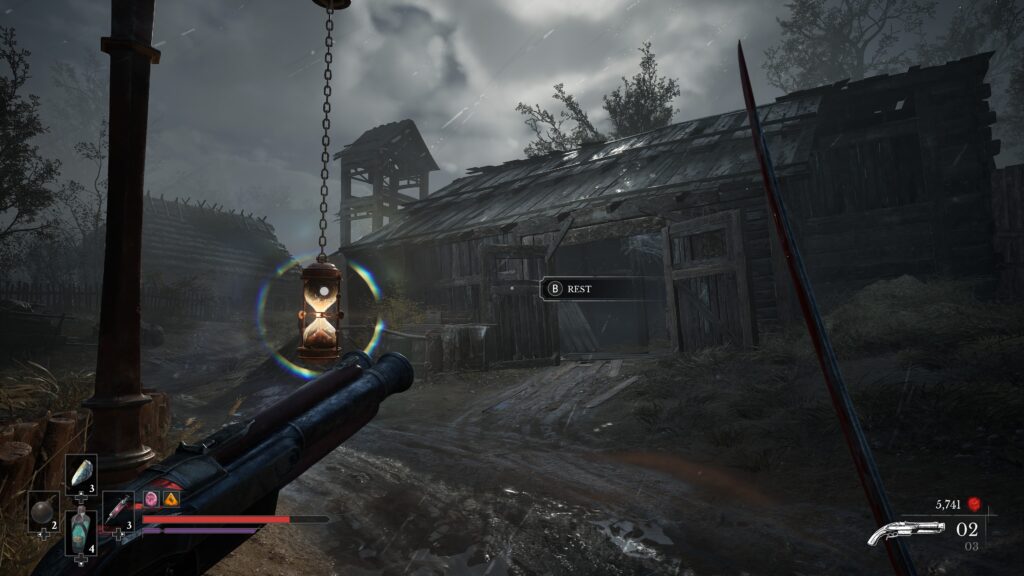
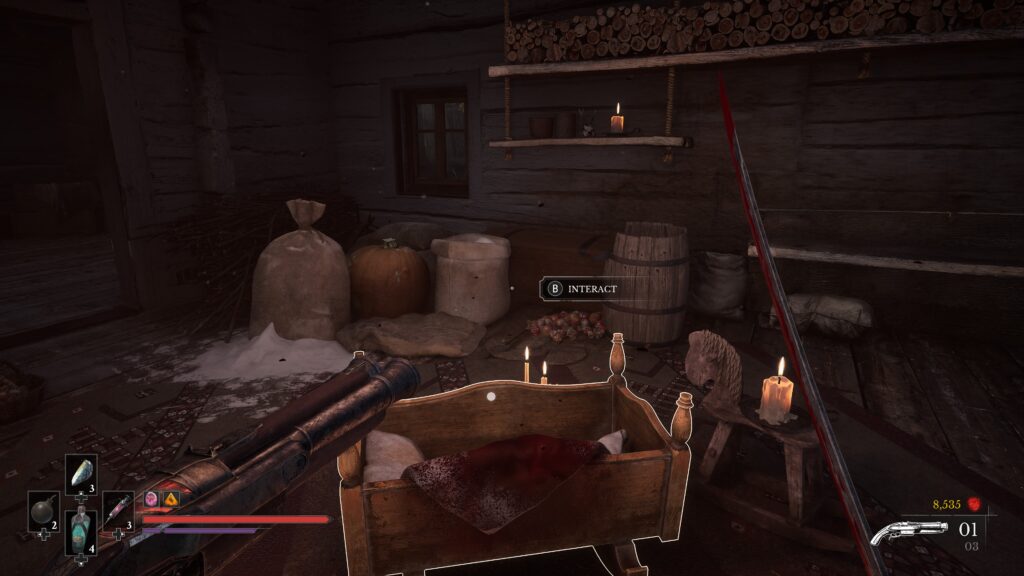
You will need to complete the “Lullaby” side quest to grab this. From the Lantern, look for the wooden cabin on the left off the main path going forward (the barn with the five enemies in on your right).
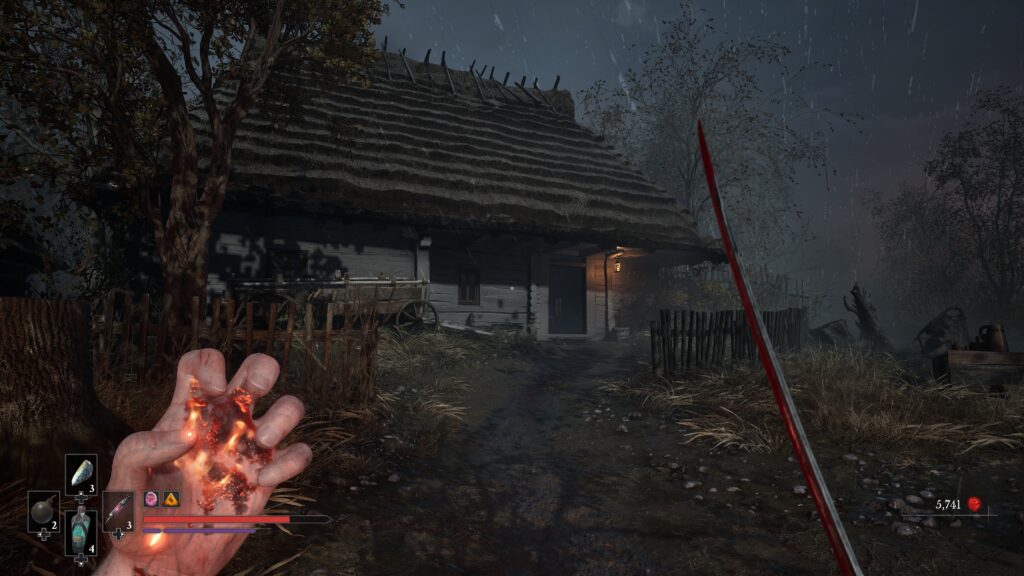
Inside you will activate the side quest. Head through the house and out to the back, take out the enemies and grab the ‘Weathered Key’ from the floor.
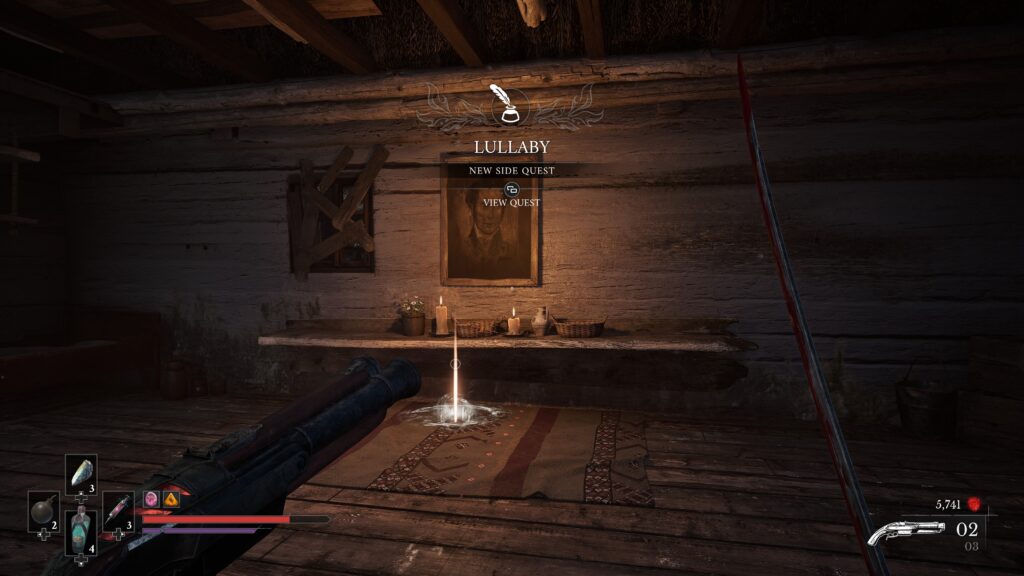
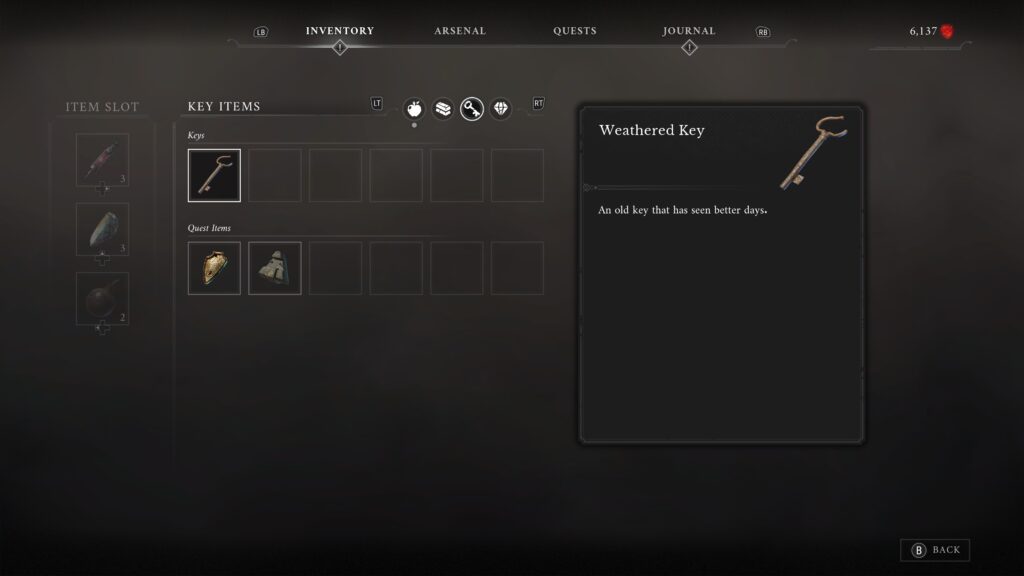
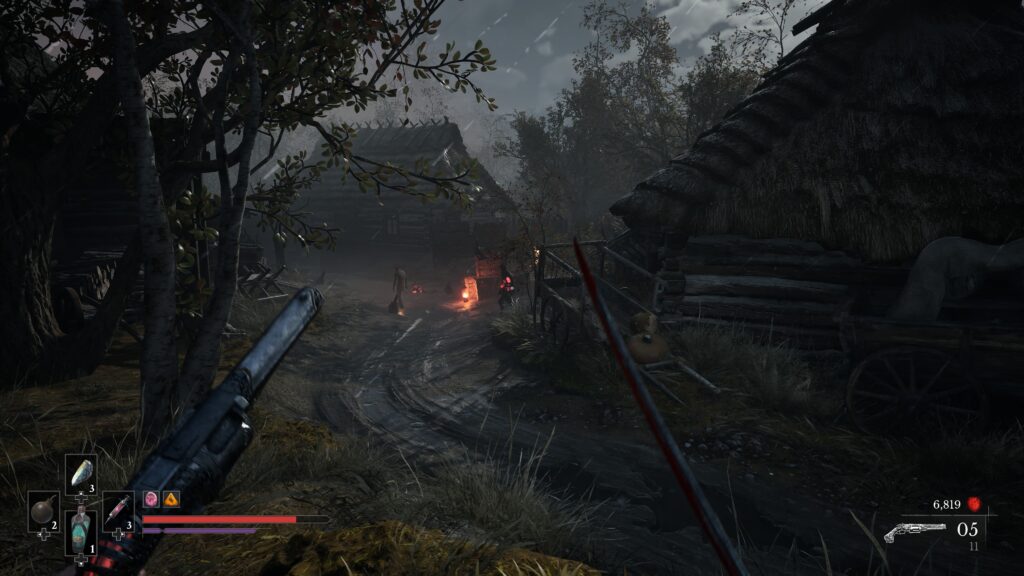
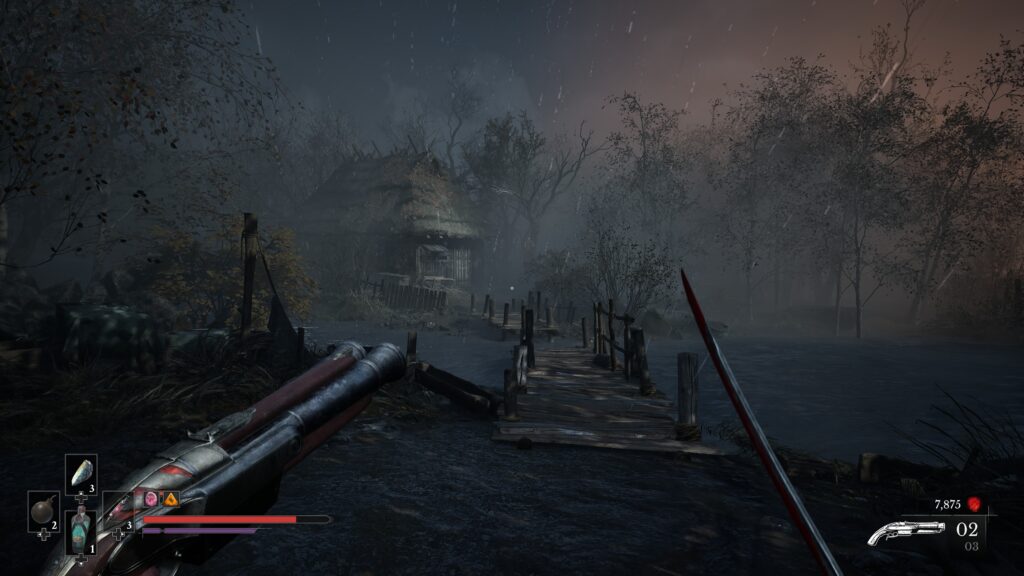
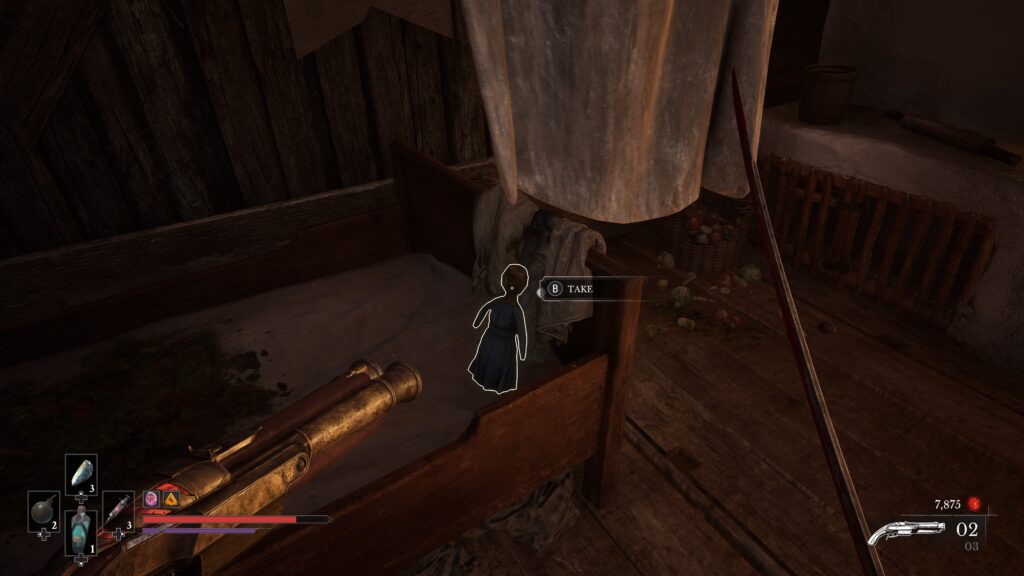
Head back past the Lantern and back through the carriage where you got the Blunderbuss weapon. Head forward and to the right, fighting through the enemies. You’ll spot a house across a wooden bridge. You can now enter to grab the Toy from inside. Return to where the side quest started to complete it and get the amber.
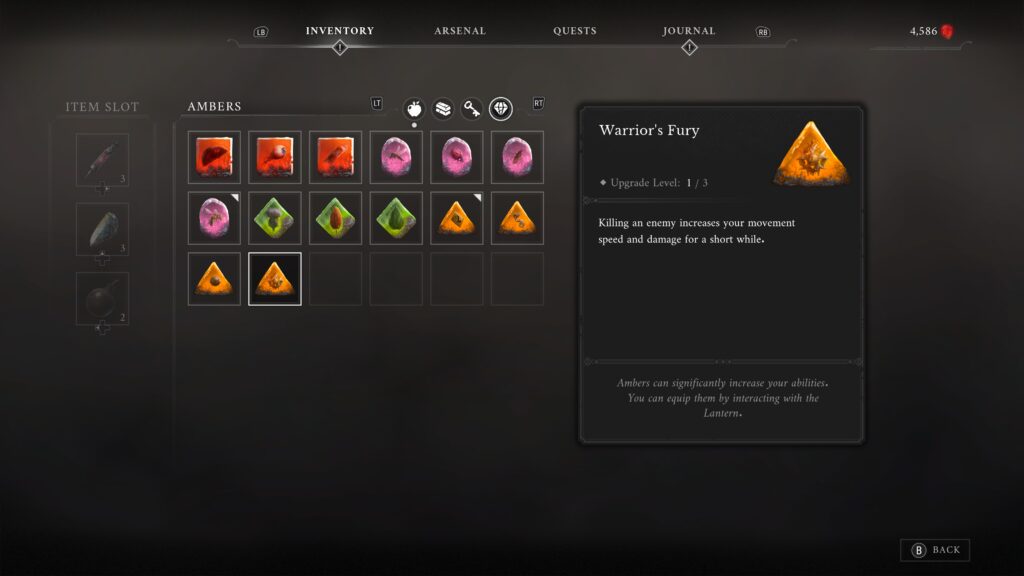
Warrior’s Fury
- Effect: Killing an enemy increases your movement speed and damage for a short while.
- Nearest Lantern: Chapter 3, Fallen Village – Marketplace.
- Transmutation / weapon needed: None
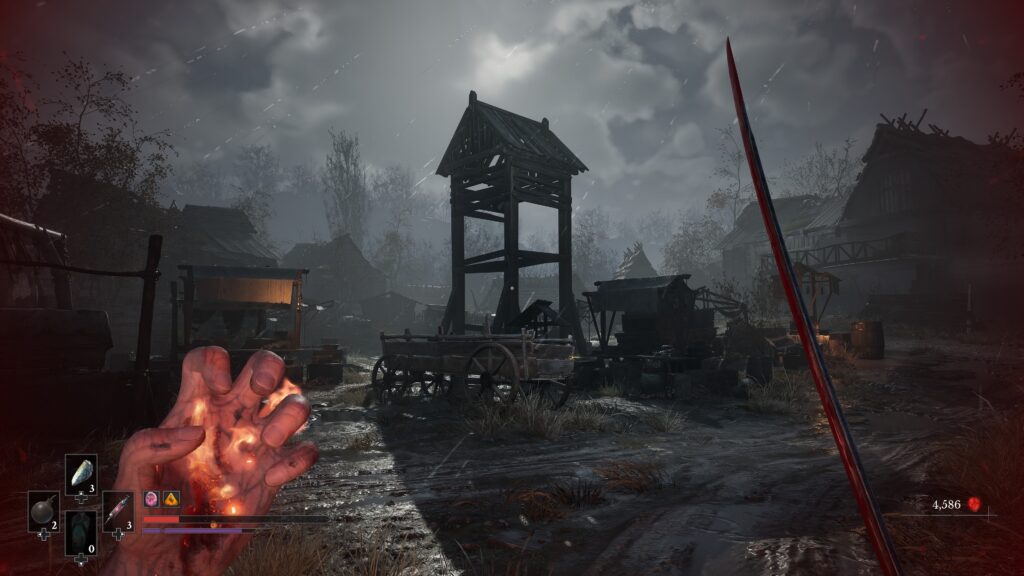
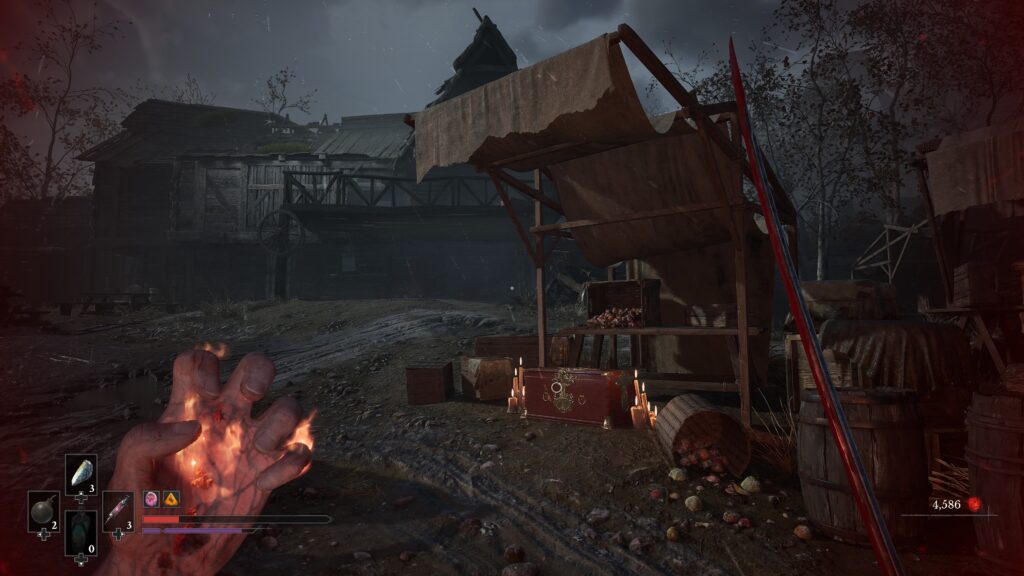
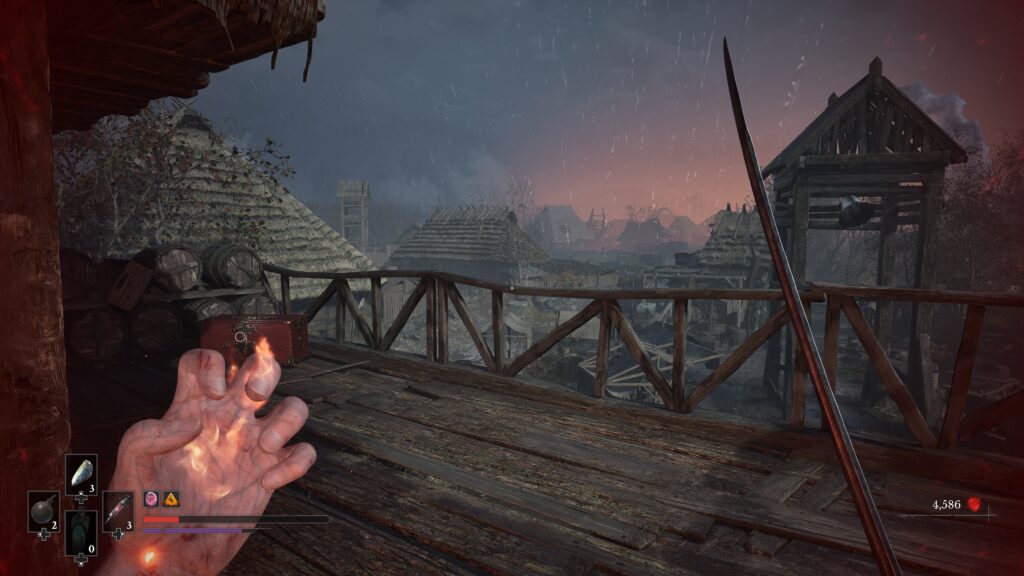
From the Lantern, you’ll head through the barn on your right (with the five enemies in it) and up out the back left of the barn. You’ll hop over a fence and head into a wide open space with a lot of enemies in it.
Once it is safe to do so, head to the right where the three marksman enemies were shooting at a wall and head into the house they were shooting at. Head upstairs and out the opening on the left. Jump across the collapsing floor to get to the chest (run back round and jump across if you fall through).
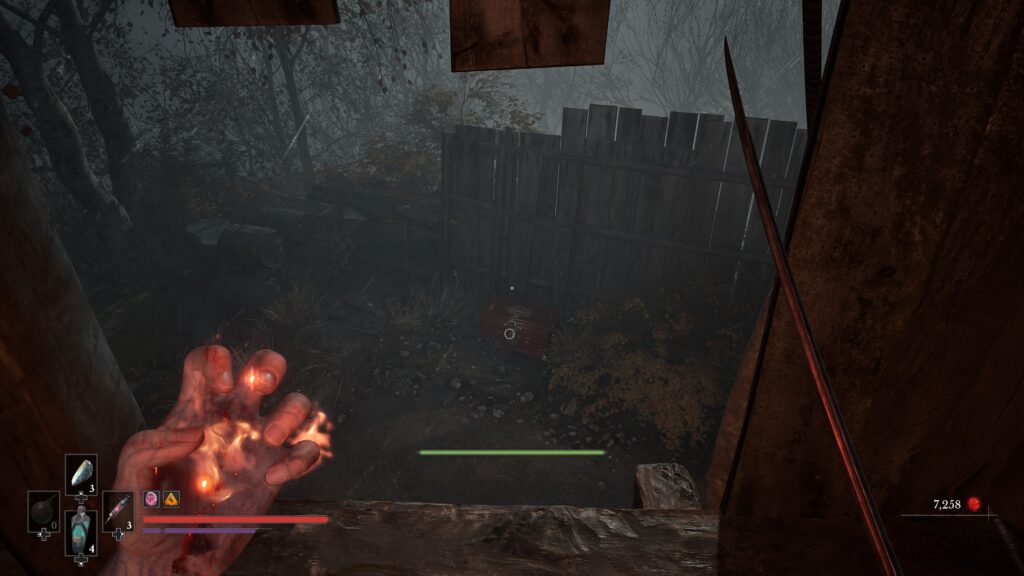
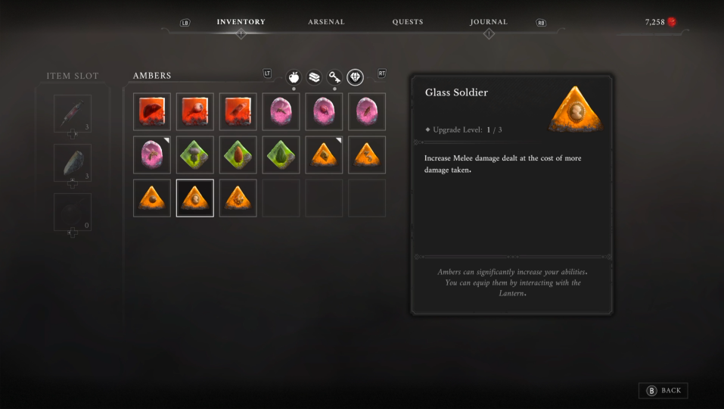
Glass Soldier
- Effect: Increase Melee damage dealt at the cost of more damage taken.
- Nearest Lantern: Chapter 3, Fallen Village – Orchard.
- Transmutation / weapon needed: None
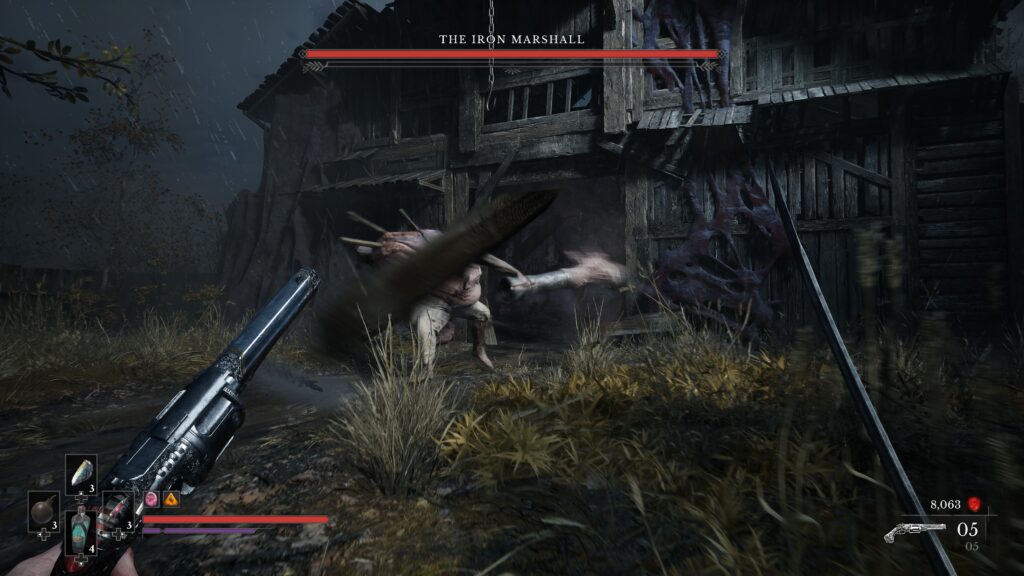
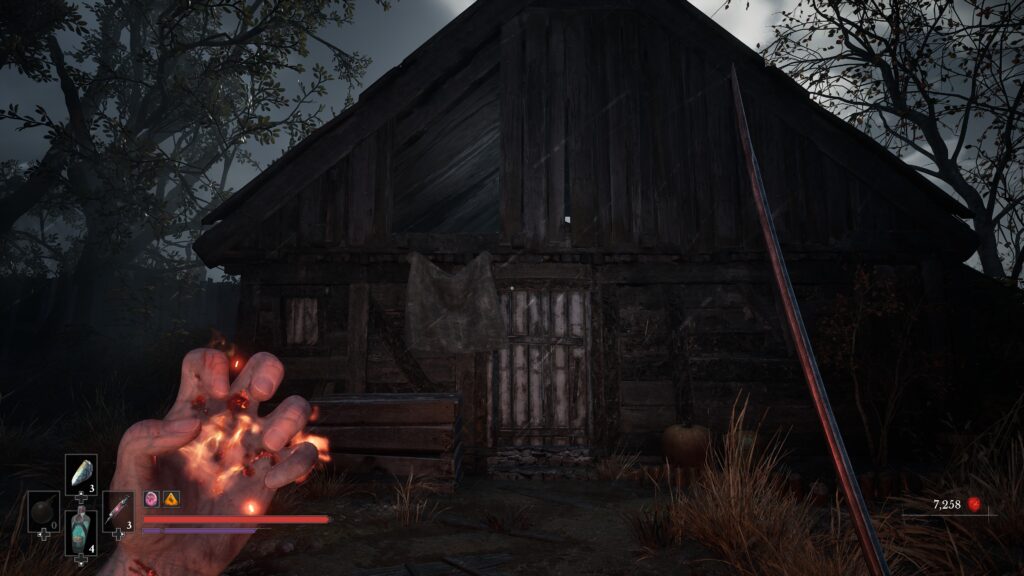
Once you have taken out the Iron Marshall boss, look to your right to see a barn with some crates you can climb up to a ledge on the first floor above. Head through the top floor of the barn and drop down the other side to grab the amber from a chest.
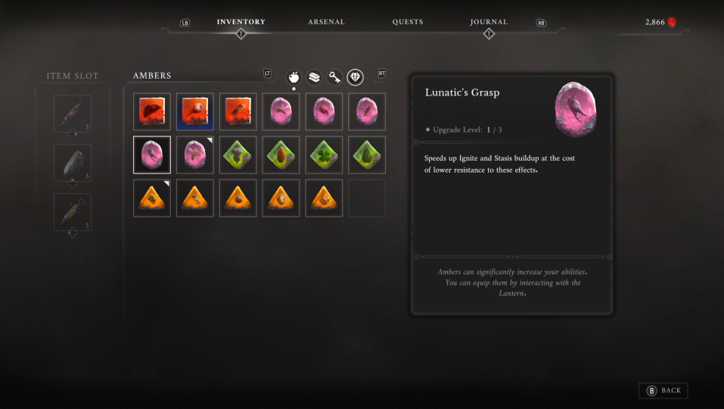
Lunatic’s Grasp
- Effect: Speeds up Ignite and Stasis buildup at the cost of lower resistance to these effects.
- Nearest Lantern: Chapter 4, Caverns – Weeping Ledge.
- Transmutation / weapon needed: Fire
From the Lantern, you’ll make your way through a cave system until you reach a large open space that you have to drop down to. There are several Carrion enemies to defeat. In this room is a chest with the amber in it.
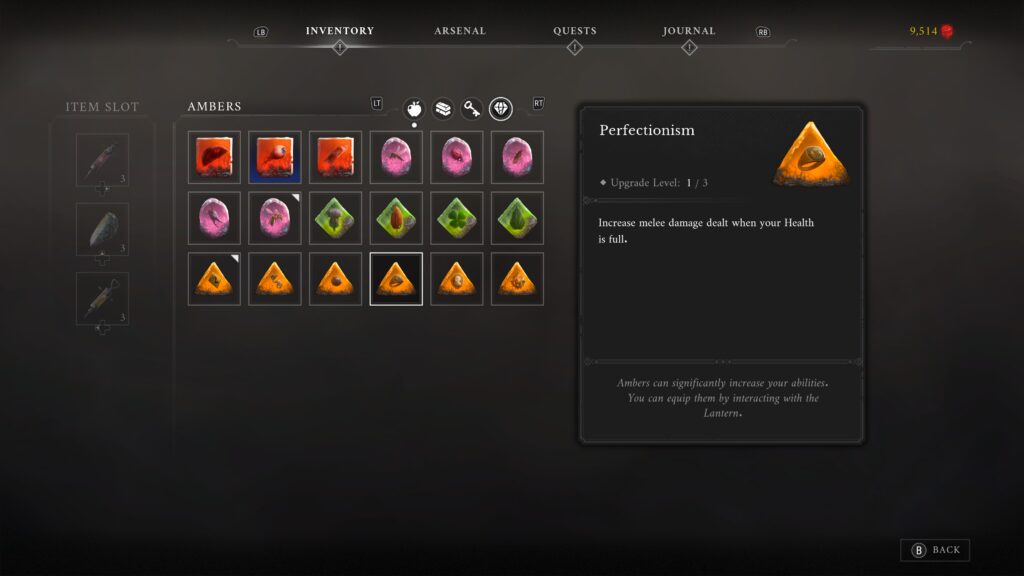
Perfectionism
- Effect: Speeds up Ignite and Stasis buildup at the cost of lower resistance to these effects.
- Nearest Lantern: Chapter 4, Caverns – Old Mine
- Transmutation / weapon needed: Stasis
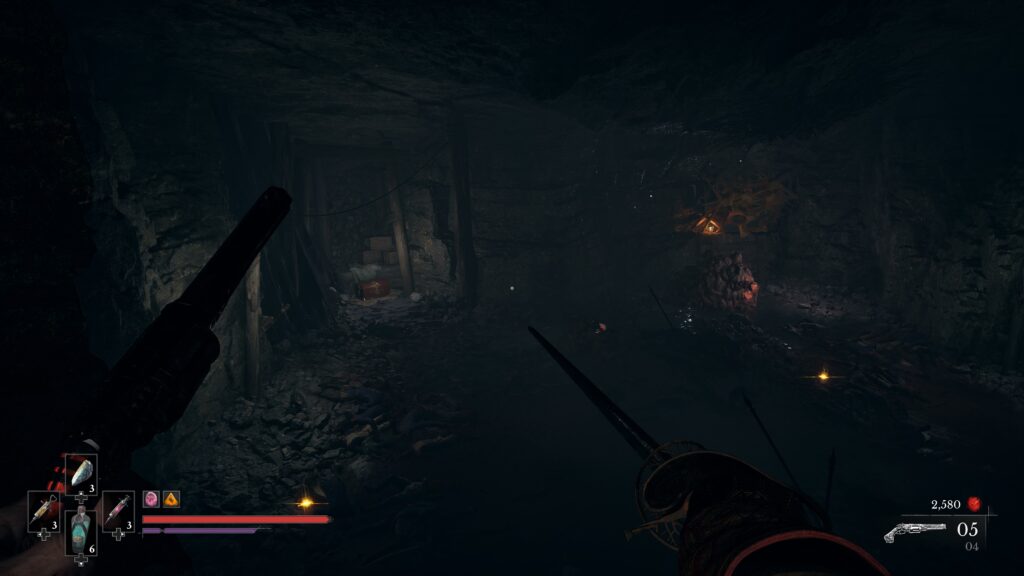
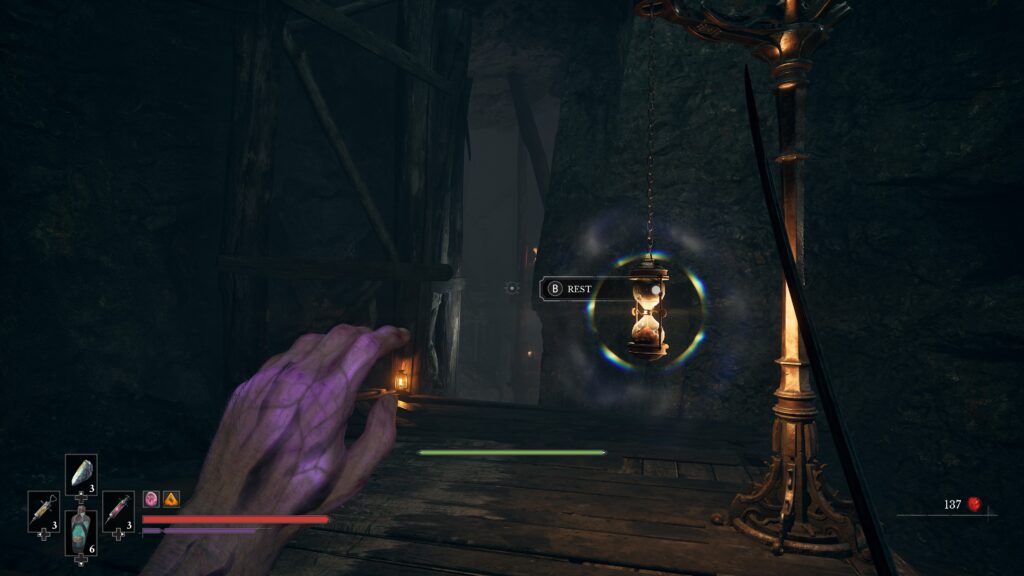
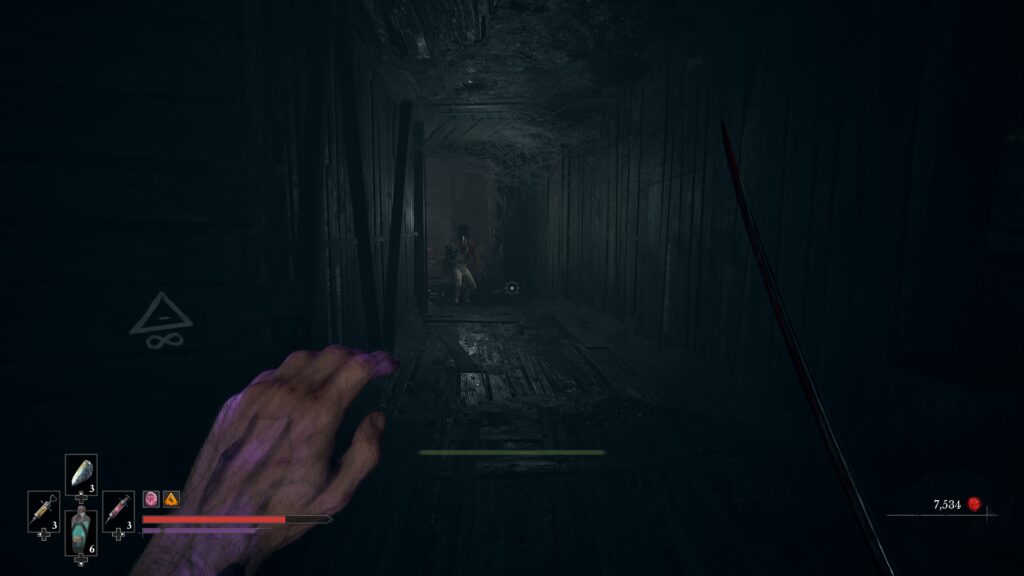
From the Lantern, go through the the passageway that takes you into a mineshaft where you need to raise a crate using a winch and then use the stasis transmutation to freeze the cogs to hold the crate in place, creating a platform.
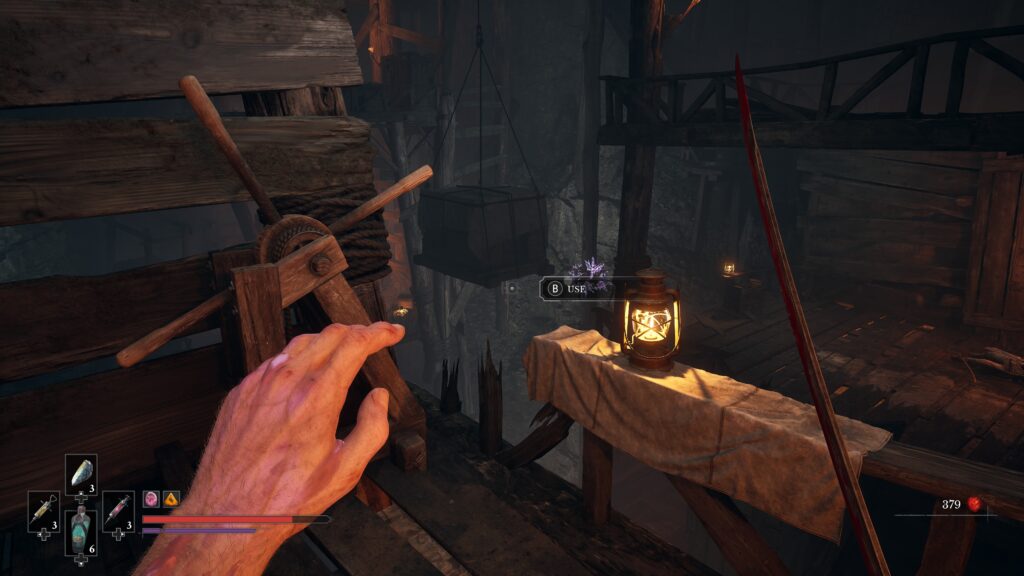
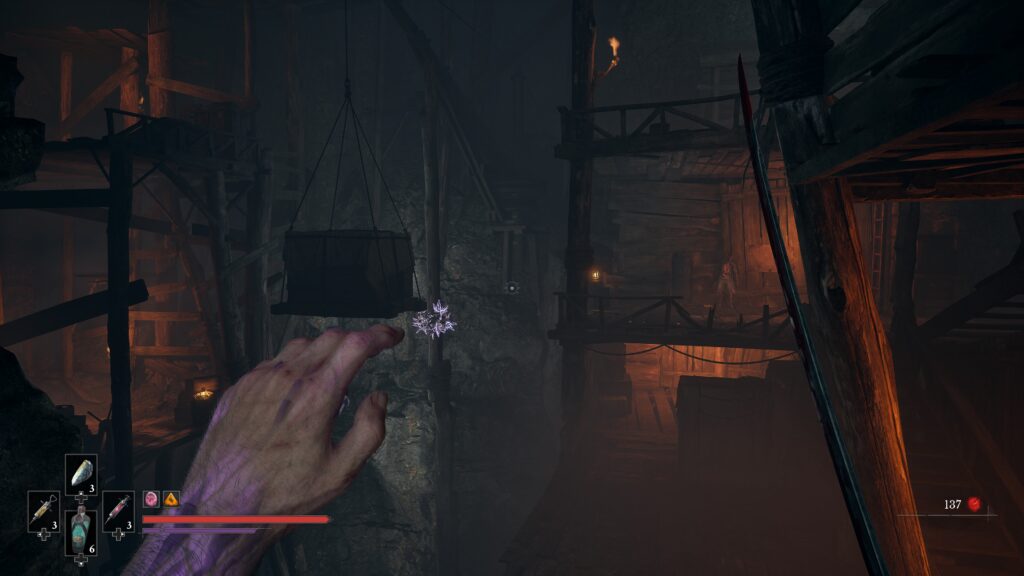
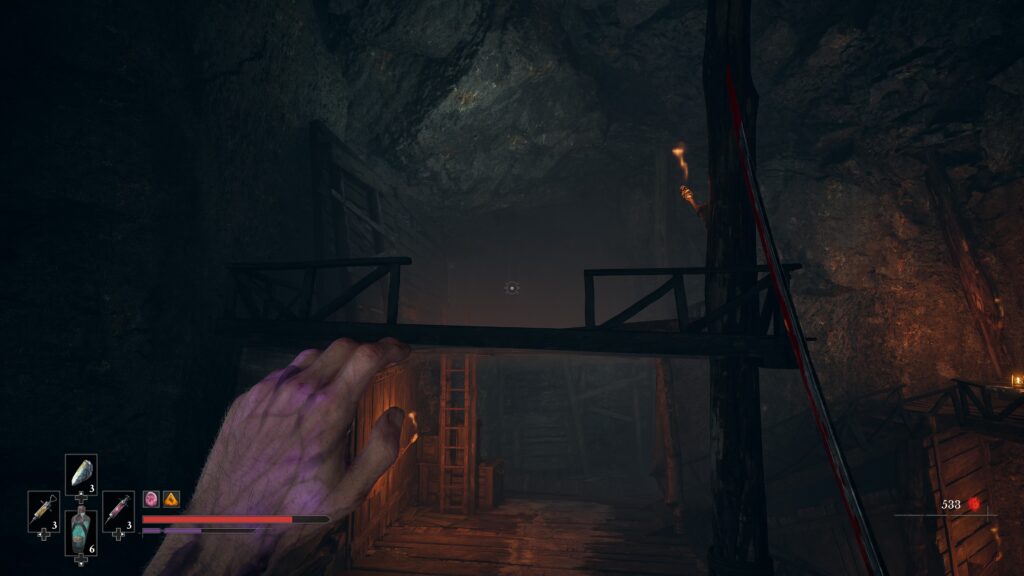
Use this mechanism so you can raise the platform slightly higher so you can jump to the crate, turn around and then reach the higher ledge that is above where you just jumped from. Once up there, you can follow the path round to find an Eternal Guard enemy, part of the Oathbound side quest.
Once you have defeated him, you can grab the amber from a crate behind where he was stood.
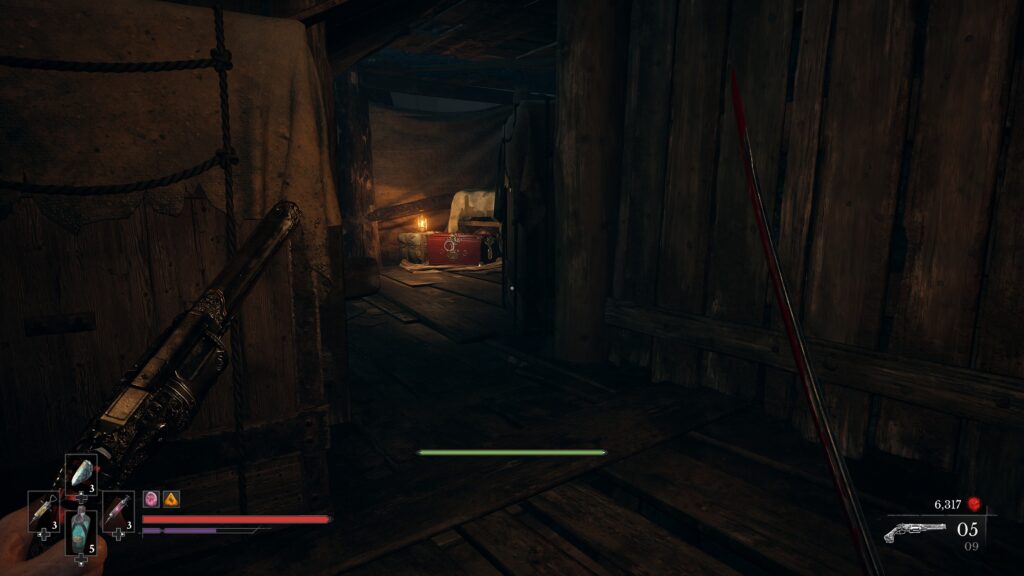
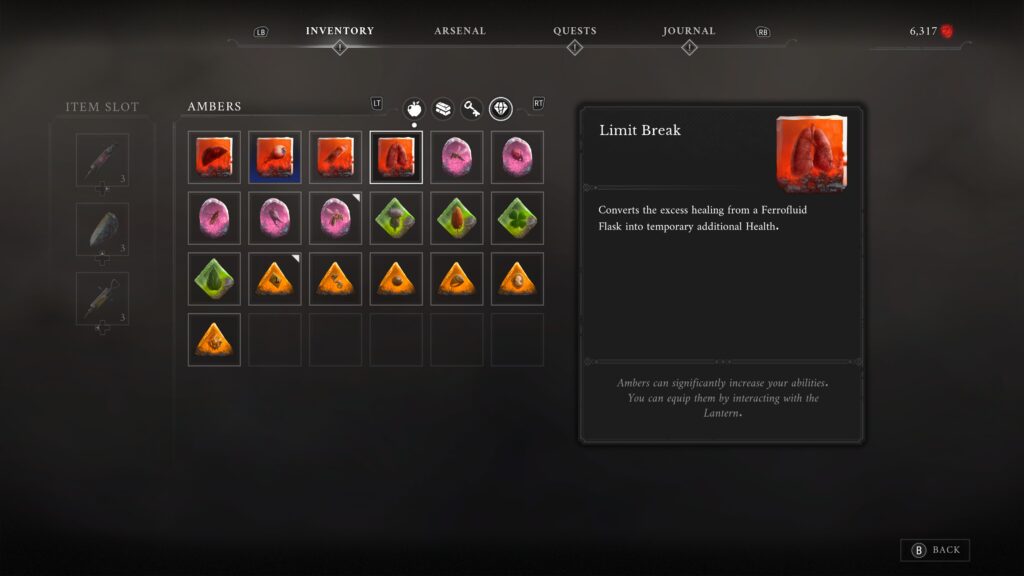
Limit Break
- Effect: Converts the excess healing from a Ferrofluid Flask into temporary additional Health.
- Nearest Lantern: Chapter 4, Caverns – Old Mine.
- Transmutation / weapon needed: None
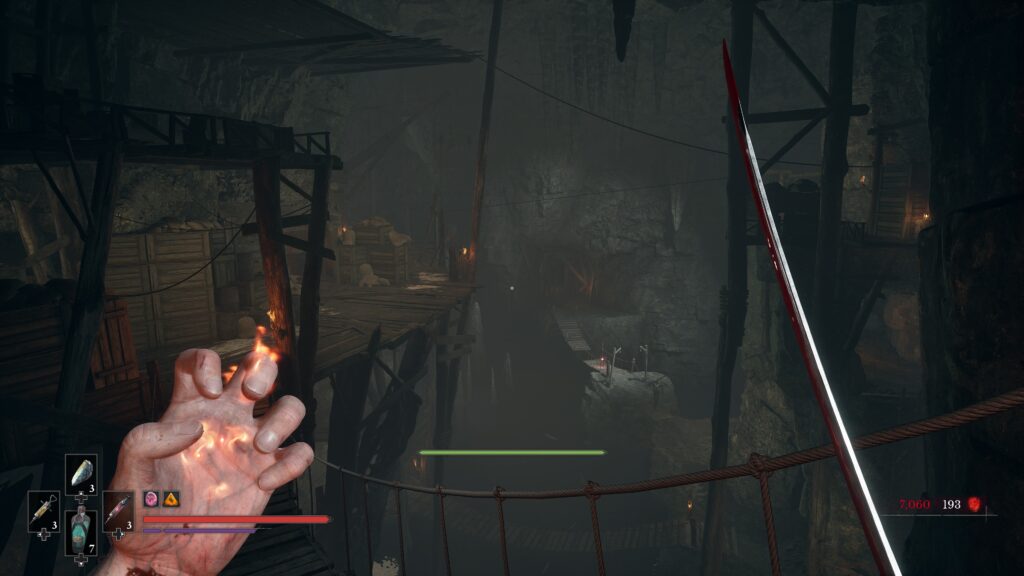
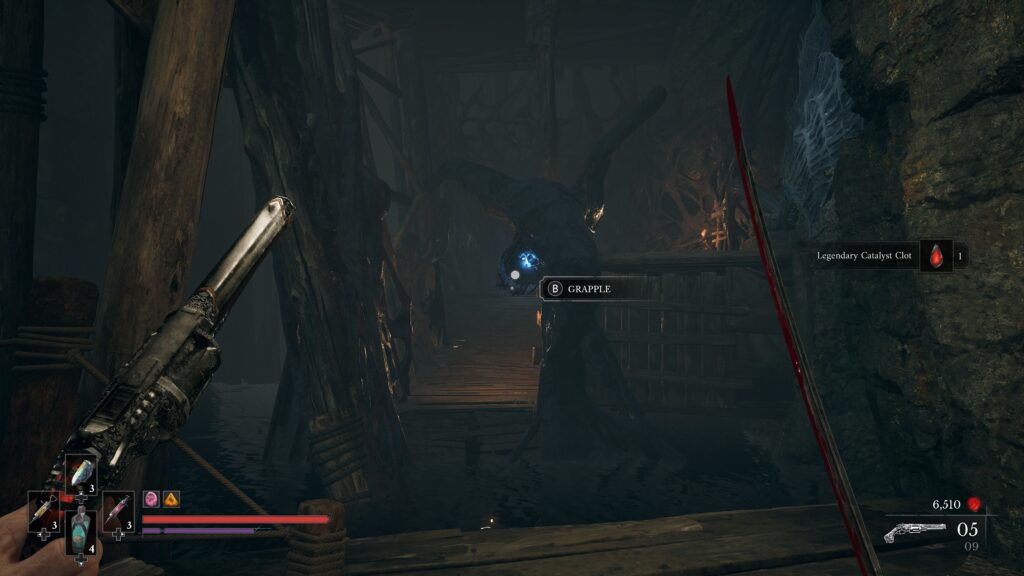
As you continue to explore the caverns, you’ll come into a large area that has two distinct sides, connected by rope bridges. Make your way down to the bottom floor, taking out any enemies on the way. You can either climb down from the side where you enter and climb down to the bottom, cross the bridge and look to the left, there is a grapple point to jump the water. Head to the right, take out the enemy and follow the path round to find the amber in a chest.
You can also cross to the opposite side and work your way across on a higher floor and drop down, entering the same area from the reverse side.
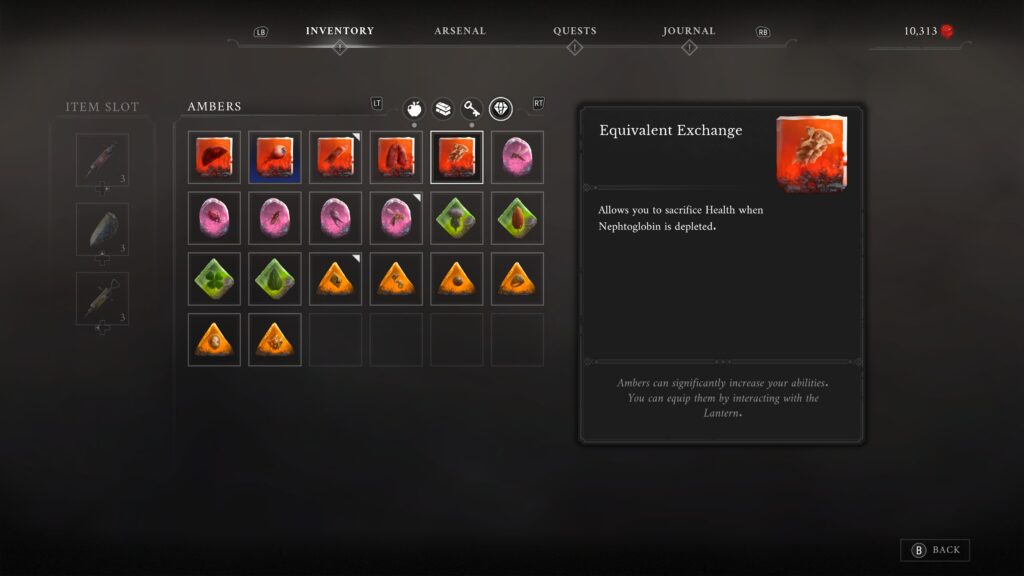
Equivalent Exchange
- Effect: Allows you to sacrifice Health when Nephtoglobin is depleted.
- Nearest Lantern: Chapter 5, Vale of Wrath – Wolfsbane Field
- Transmutation / weapon needed: None
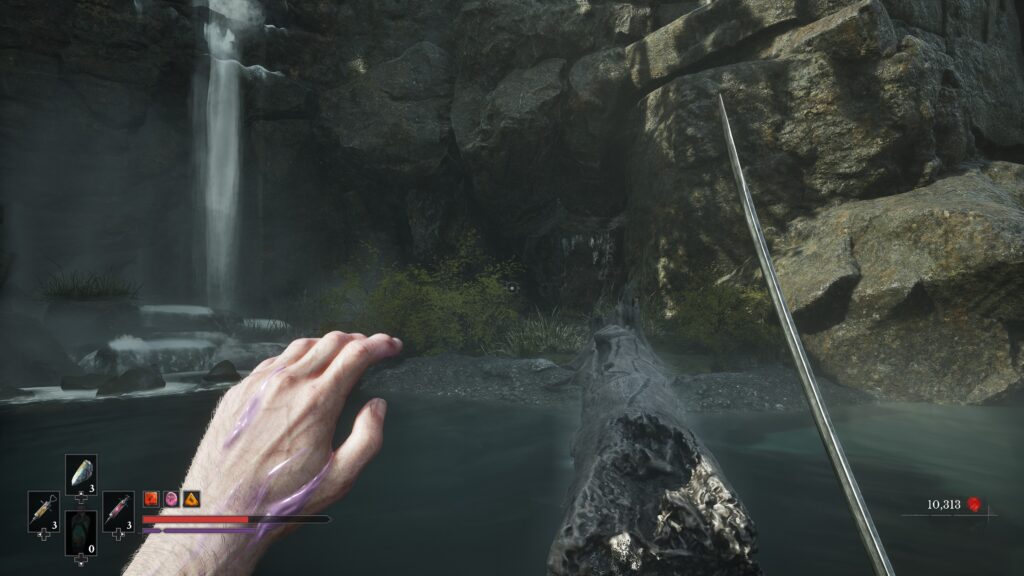
In the first area of Chapter 5, you’ll be in a small village with wooden houses. Make your way round looking for the nephtoglobin weak spots to clear the main path. As you go round, you’ll enter a cave where you can go through to the other side (past the rifle Volunteer enemy) to shoot a tree branch to create a shortcut.
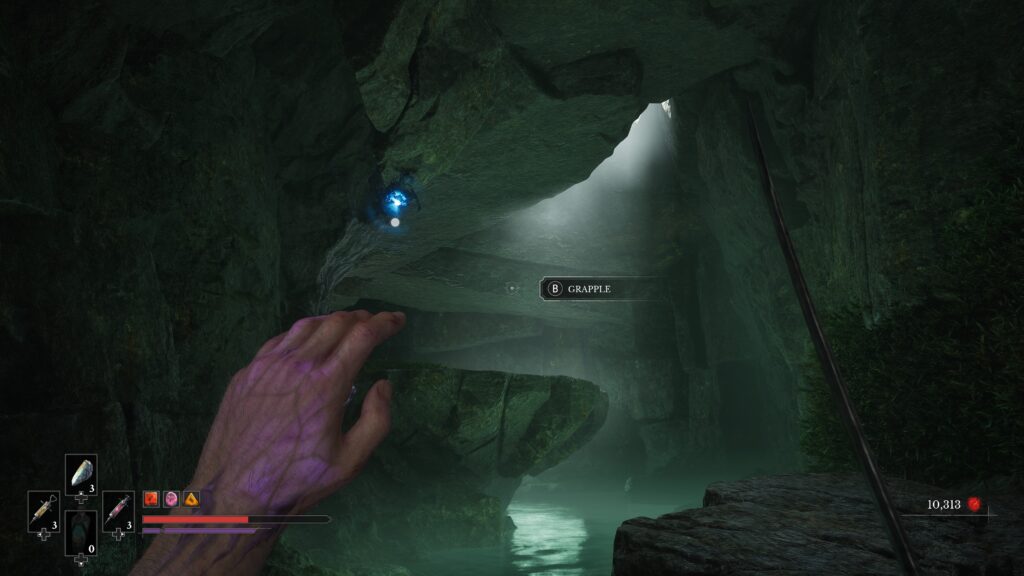
Turn back round and go into the green-y cave and use the grapple point to jump up to the stone platform above. Here you will find elite enemy that you will need to defeat. Killing it will gain you the amber.
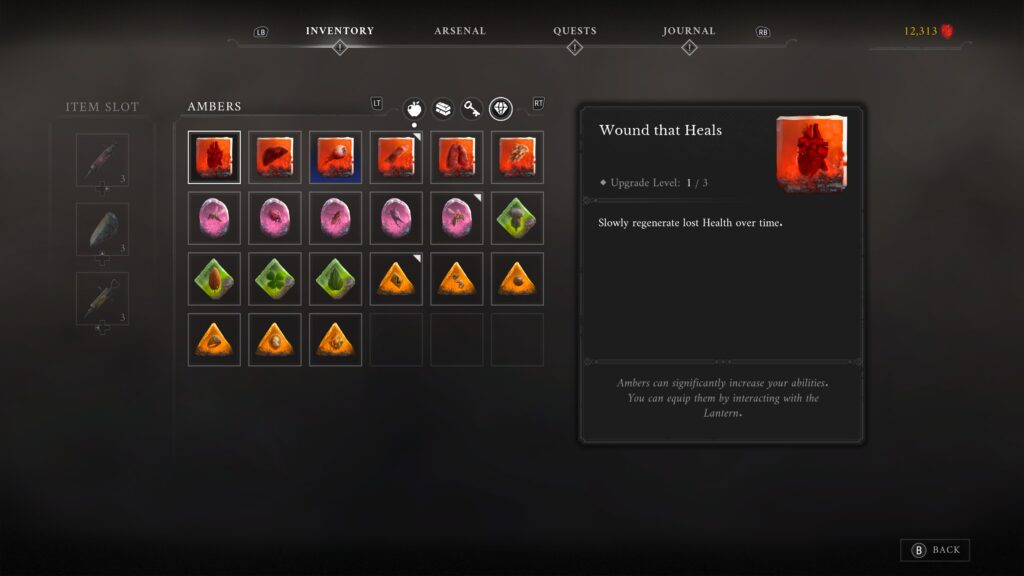
Wound That Heals
- Effect: Slowly regenerates lost Health over time.
- Nearest Lantern: Chapter 5, Vale of Wrath – Wolfsbane Field
- Transmutation / weapon needed: None
Immediately after collecting the last amber, head to the left of where the enemy was waiting for you to see a slope. Go up that and into a well-hidden cave. At the backof the cave, you’ll spot a place where you can drop down and grab the Cellar Key. This part of “The Lost Boy” side quest (which you can start at the beginning of the area in the ground floor of the house on the left from the Lantern).
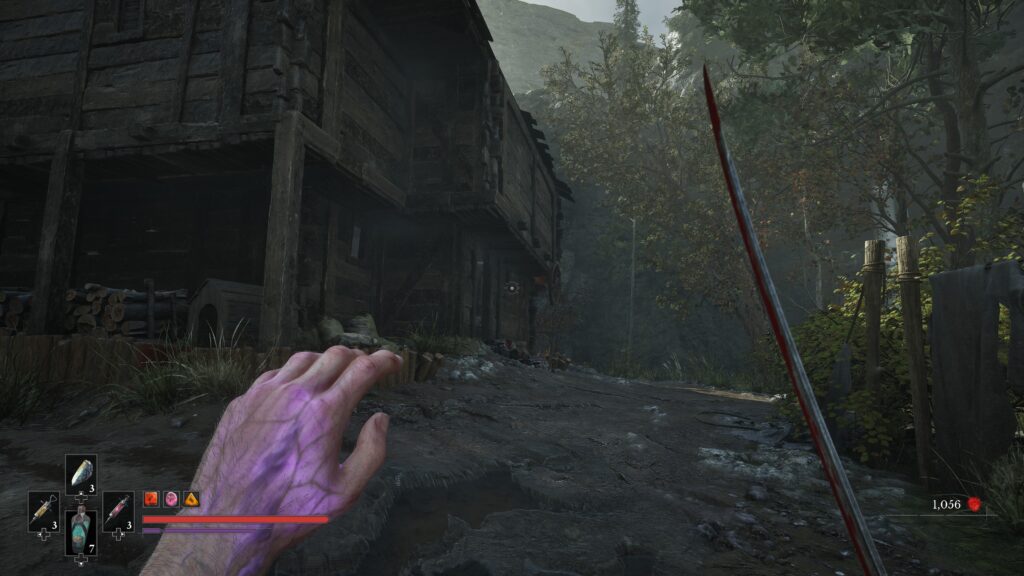
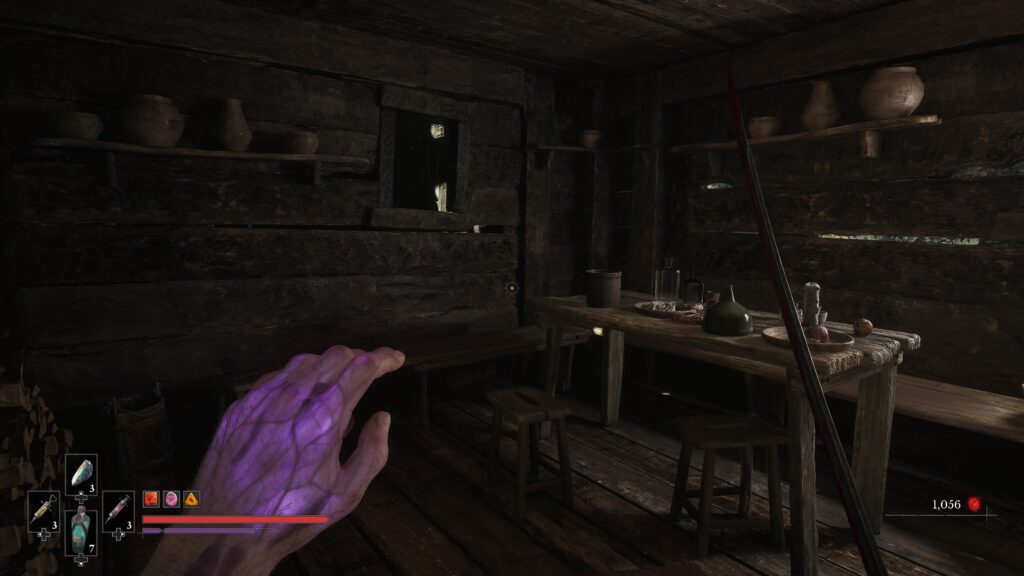
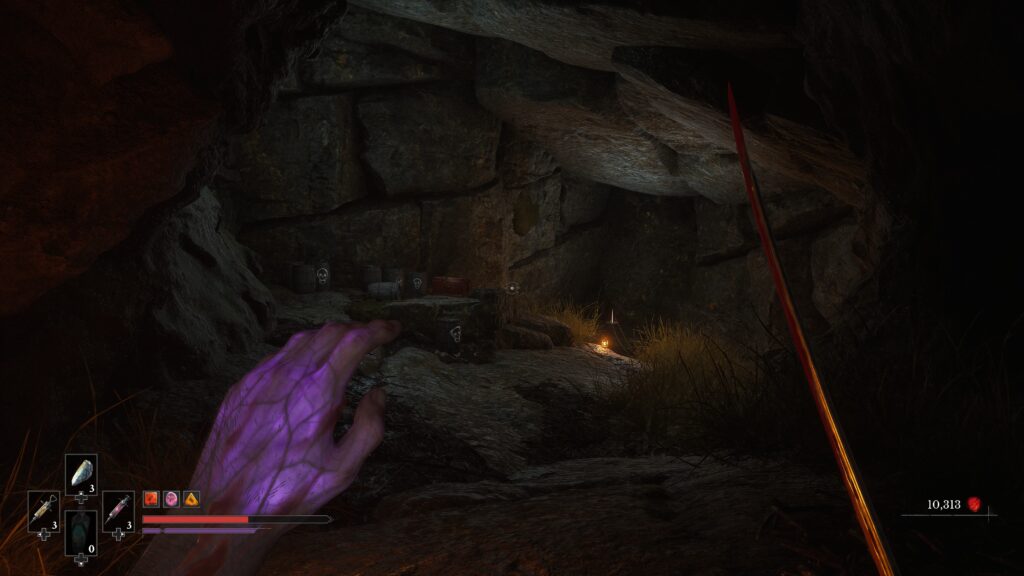
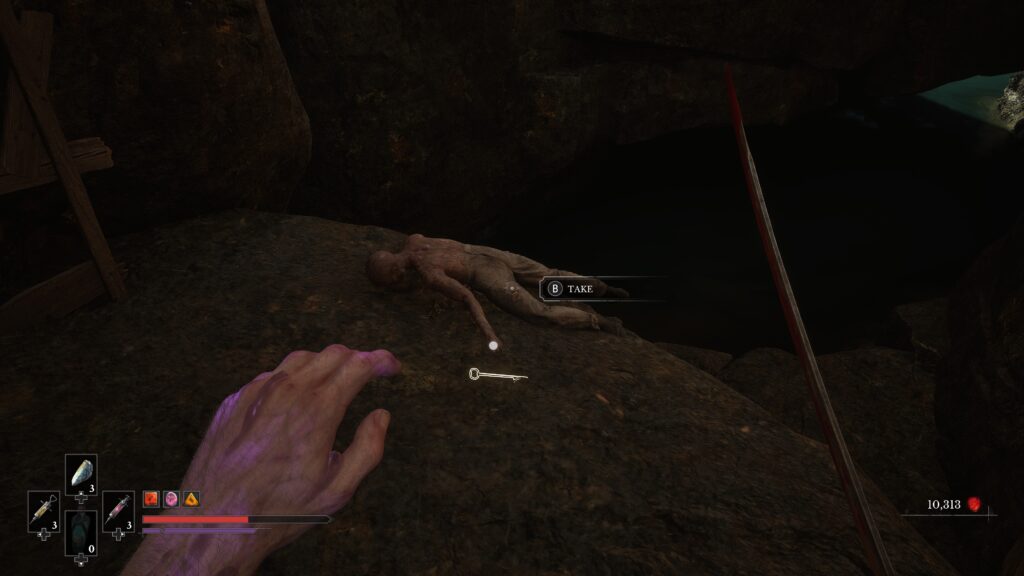
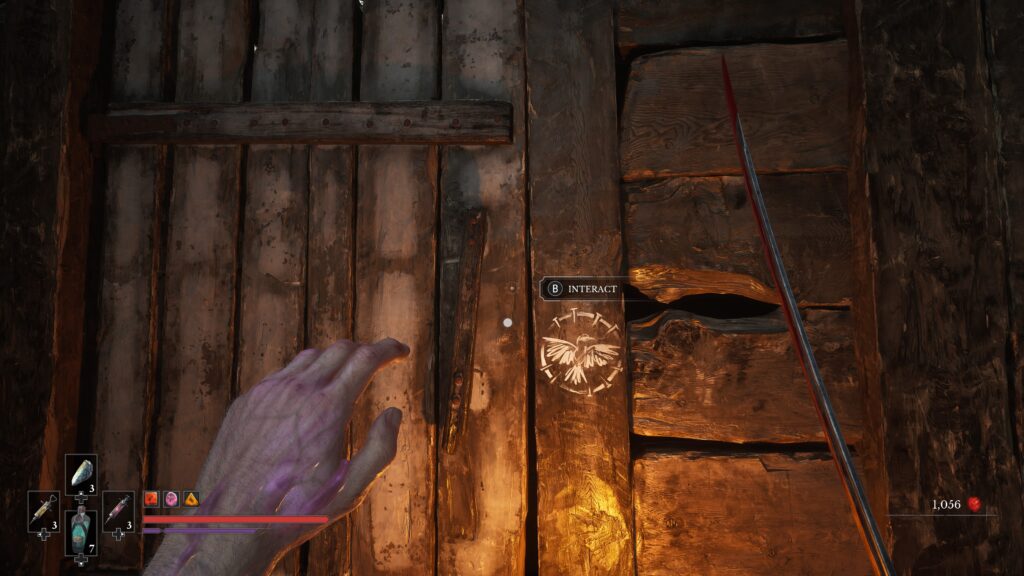
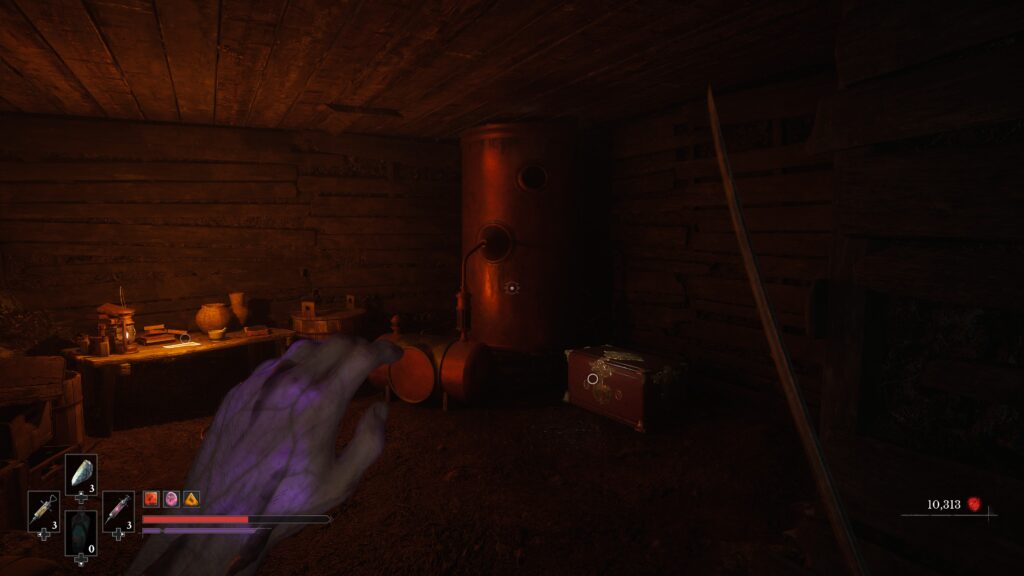
Grab the key and return to the cabin with the bird symbol next to the door. It’s next to the house where you started the side quest. Head downstairs and the amber is in the chest on the right.
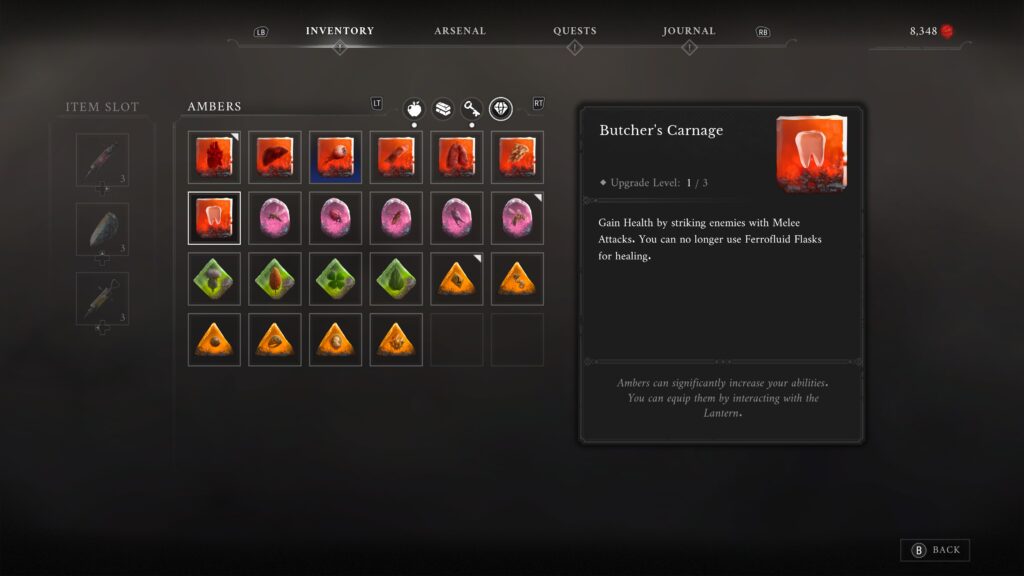
Butcher’s Carnage
- Effect: Gain Health by striking enemies with Melee Attacks. You can no longer use Ferrofluid Flasks for healing.
- Nearest Lantern: Chapter 5, Vale of Wrath – Under the Bridge
- Transmutation / weapon needed: Pistol, Fire
As you make your way round the main path from the Lantern, you’ll eventually spot a house on the right. Go down the right side of the house to find a nephtoglobin weak spot to shoot through a window in the house. Head inside the house and upstairs to find an artist hanging. Interact with the painting to open the window and a look on a gravestone. This starts the “In the Name of Art” side quest.
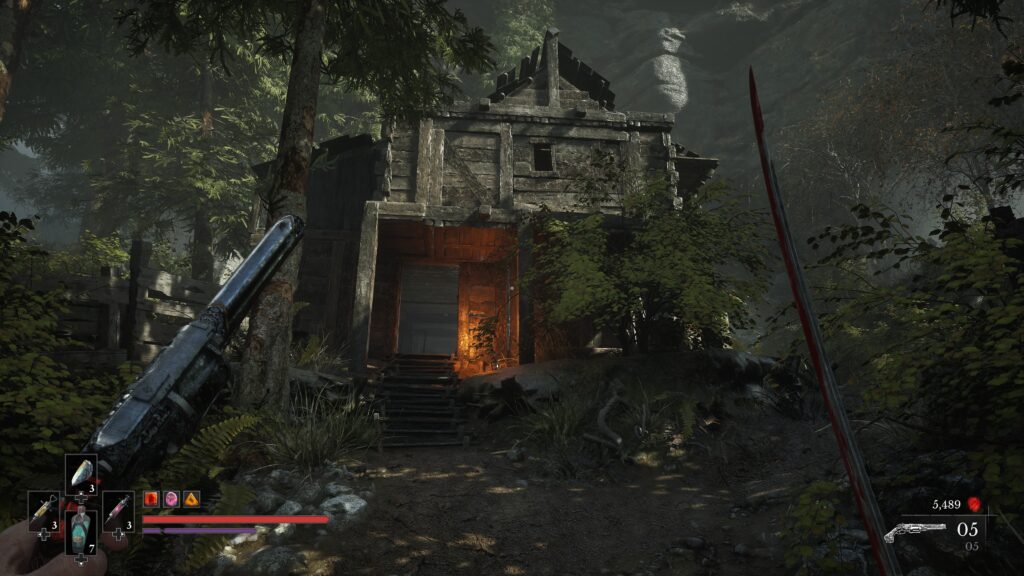
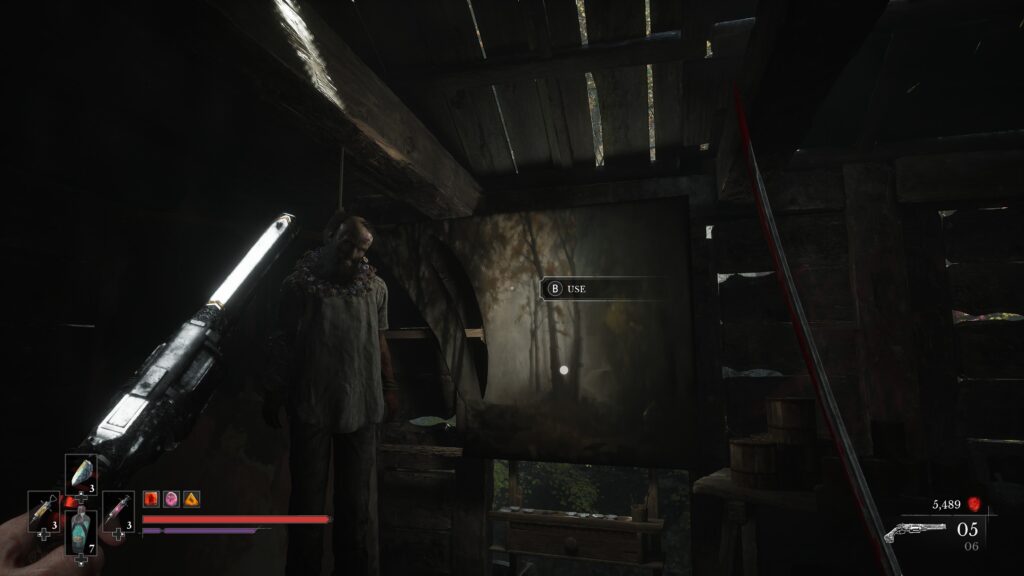
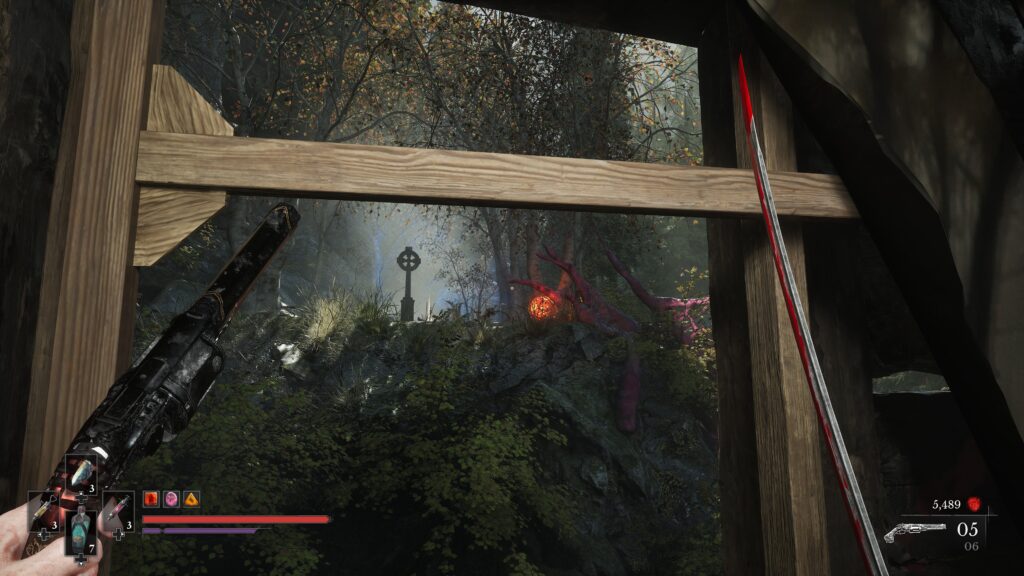
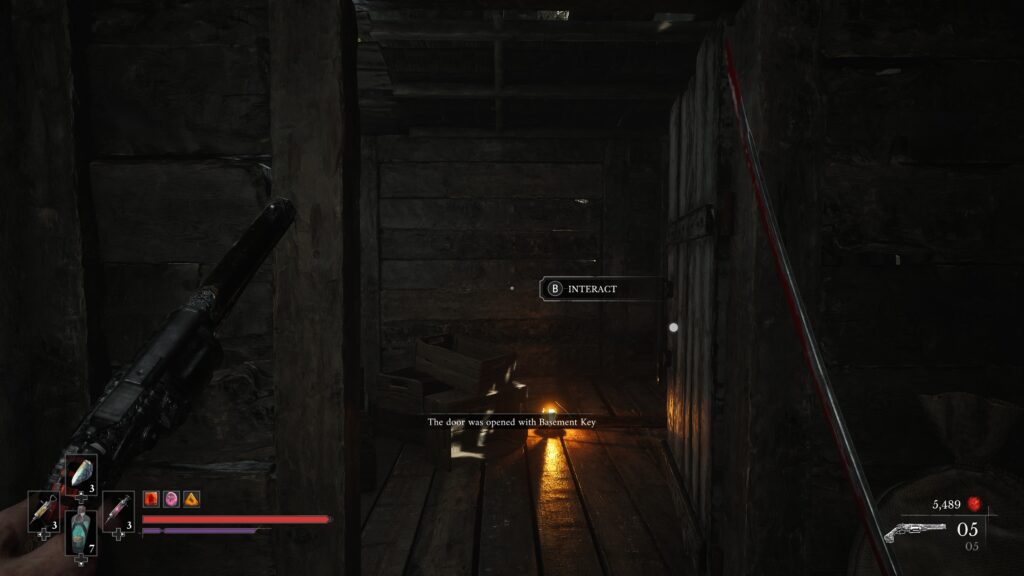
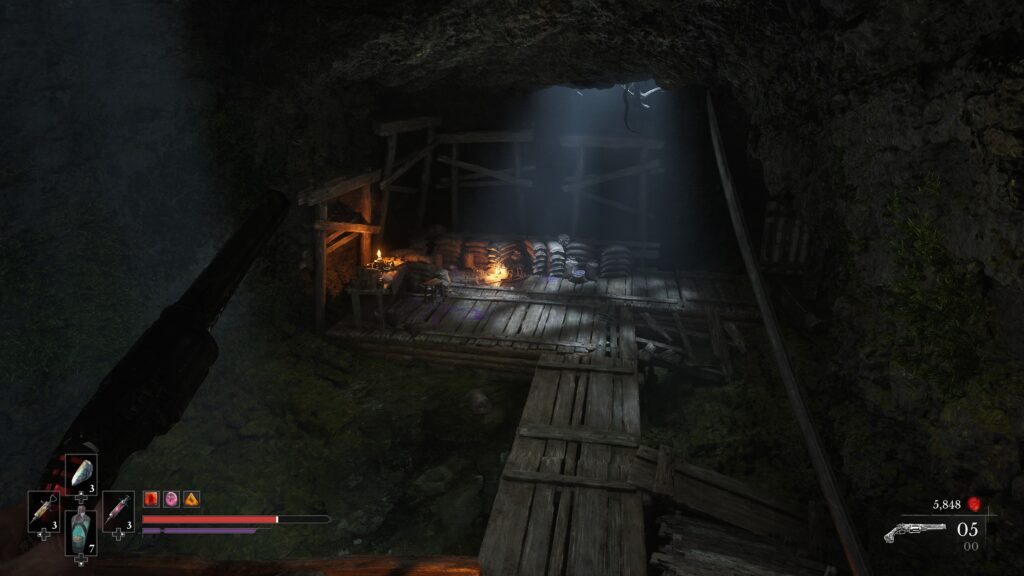
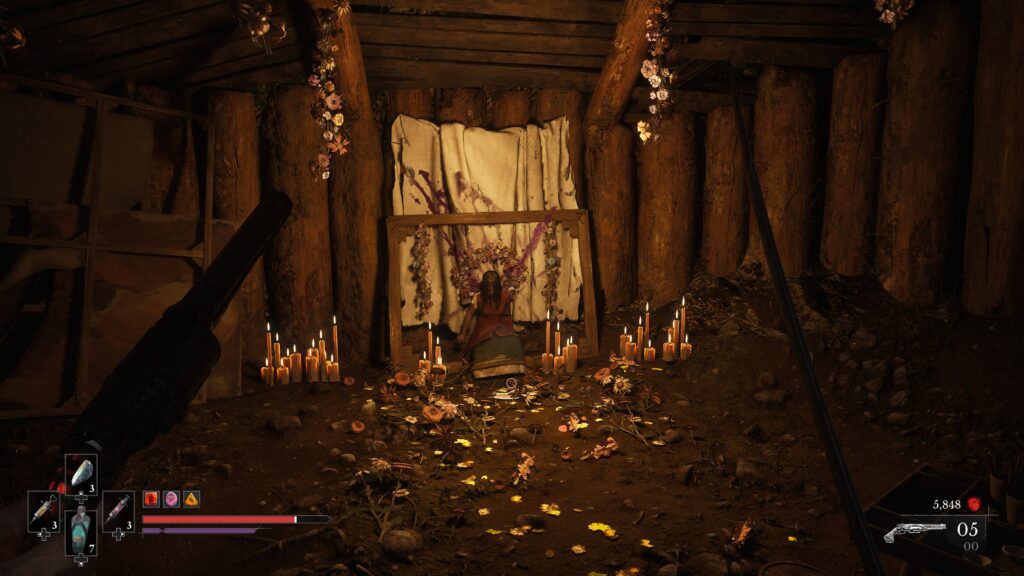
Head outside and up to the gravestone (to the left as you leave the house). You’ll be able to grab the ‘Basement Key’ from the gravestone. Head back inside and on the ground floor of the house, go to the back of the house and unlock the previously locked door. Head down and follow the path through, taking out any enemies you encounter. You’ll eventually see what happened to artist’s wife, completing the side quest. This will reward you with the amber.
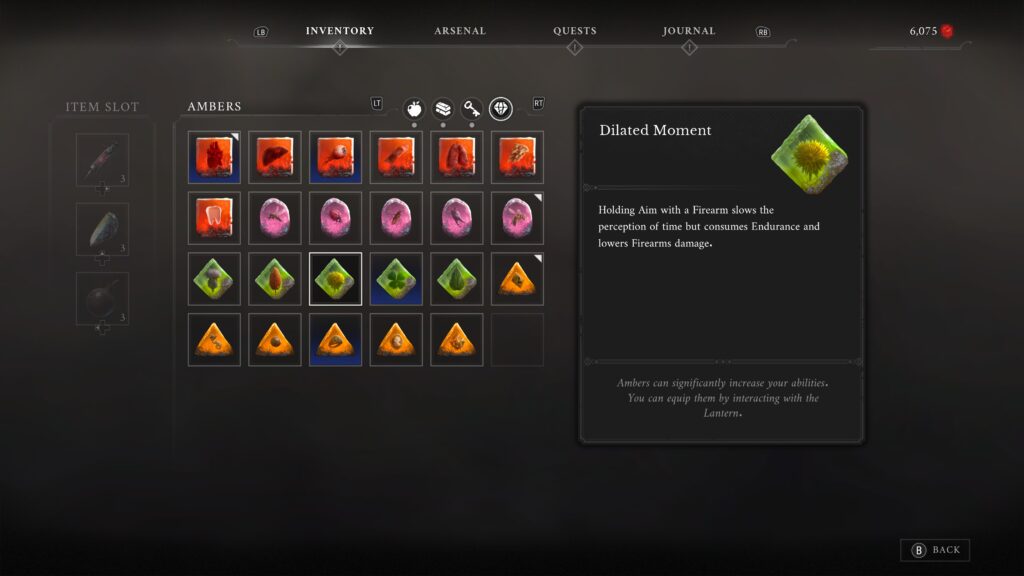
Dilated Moment
- Effect: Holding Aim with a Firearm slows the perception of time but consumes Endurance and lowers Firearms damage.
- Nearest Lantern: Chapter 5, Vale of Wrath – Under the Bridge
- Transmutation / weapon needed: None
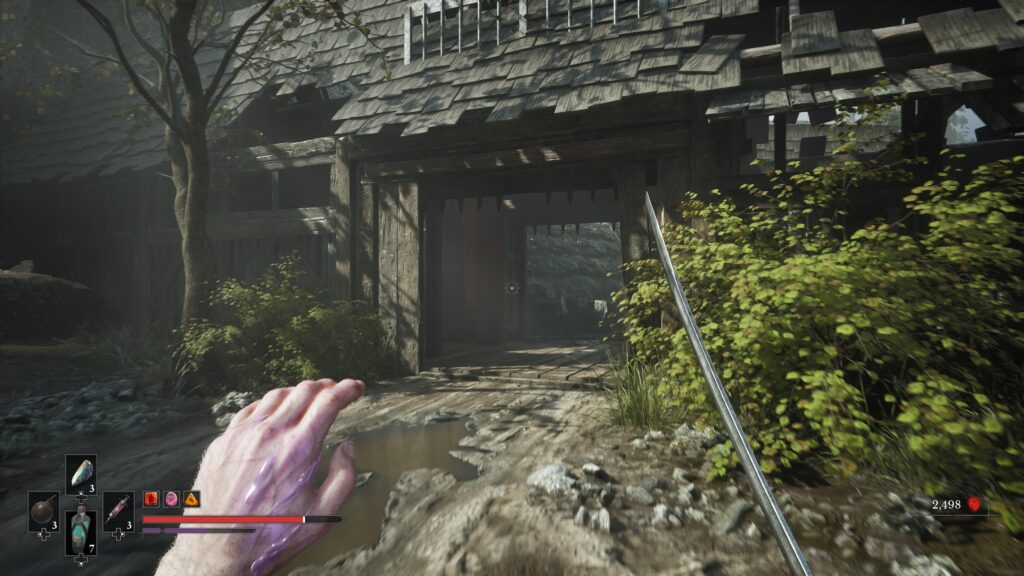
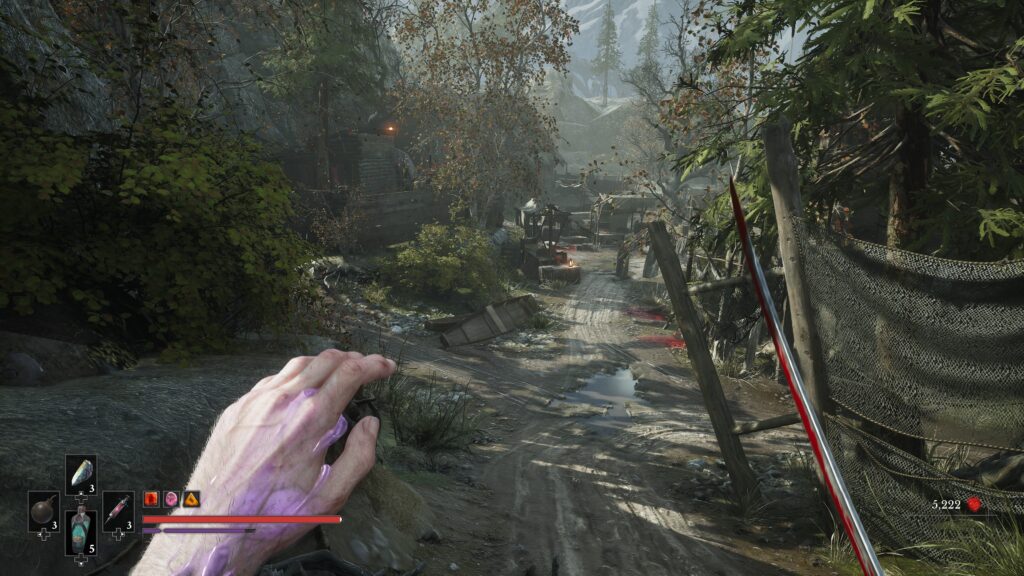
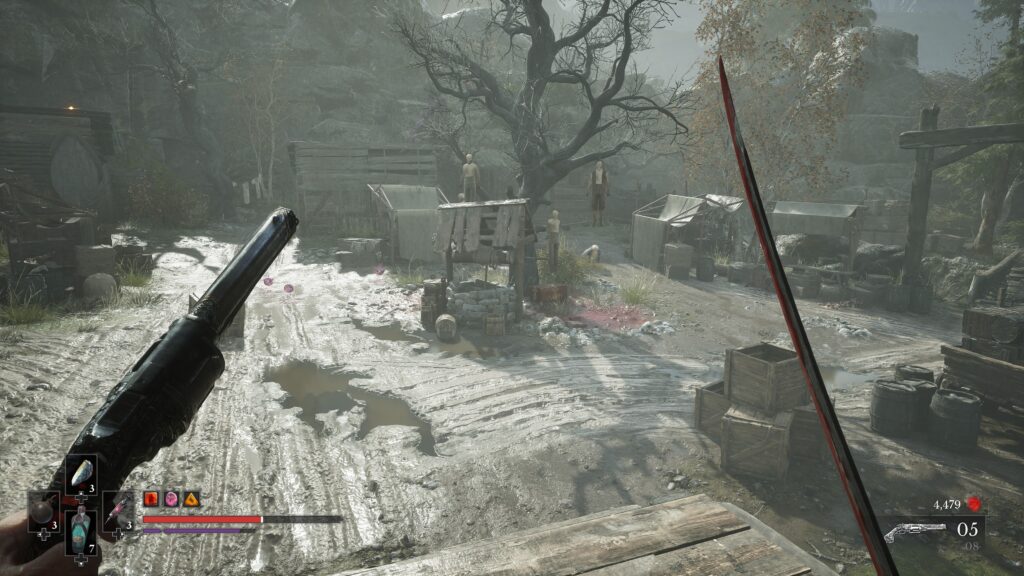
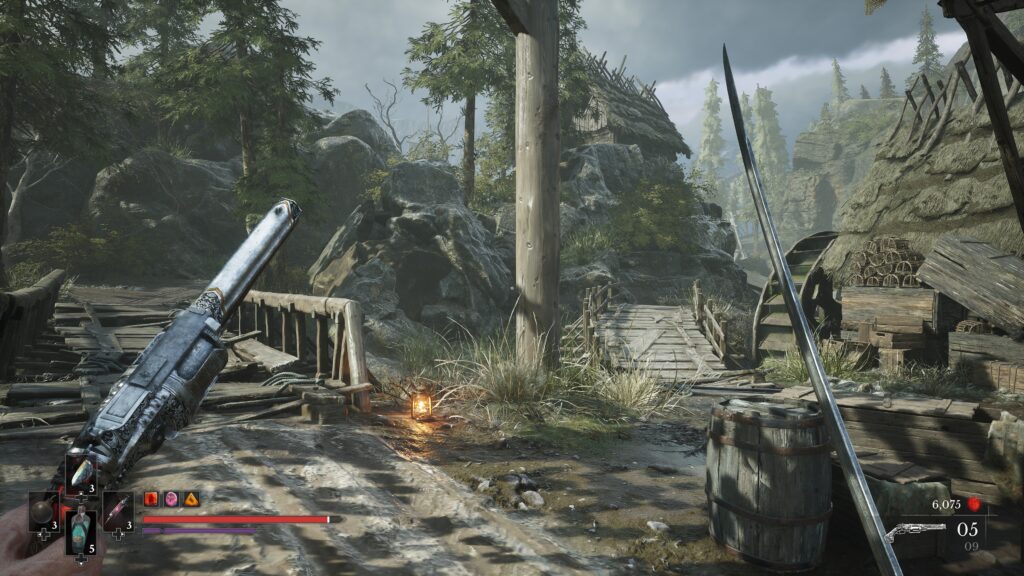
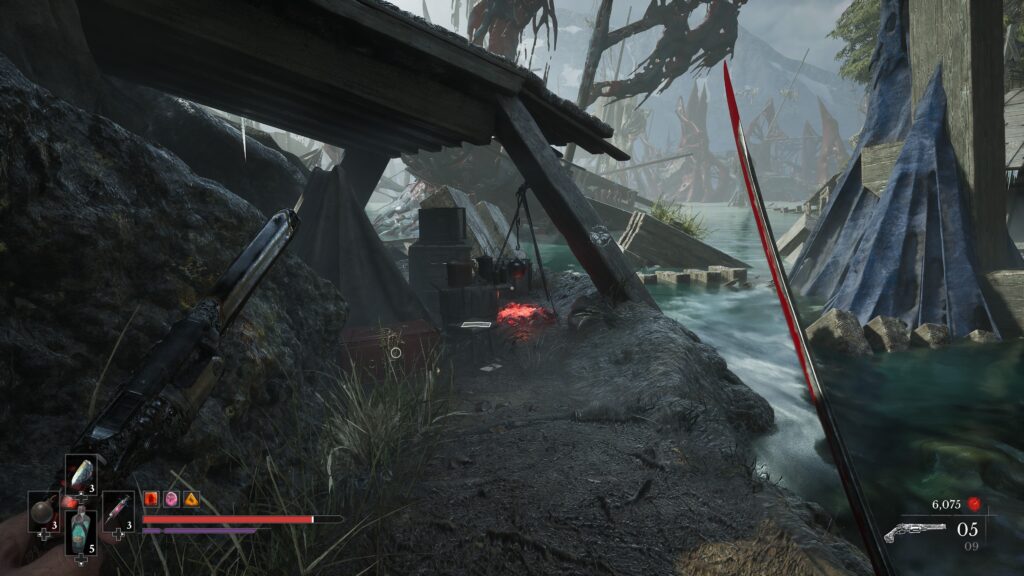
Once you’ve been through the encampment (where you get the musket) and crossed the bridge you’ll make your way through a large gate and into another village area. Head down the street into a large open marketplace with many enemies. Once safe, head through to the other side and where you can cross a wooden bridge to continue, take the smaller wooden bridge to the right. It’ll lead to a dead end where you’ll find a chest containing the amber.
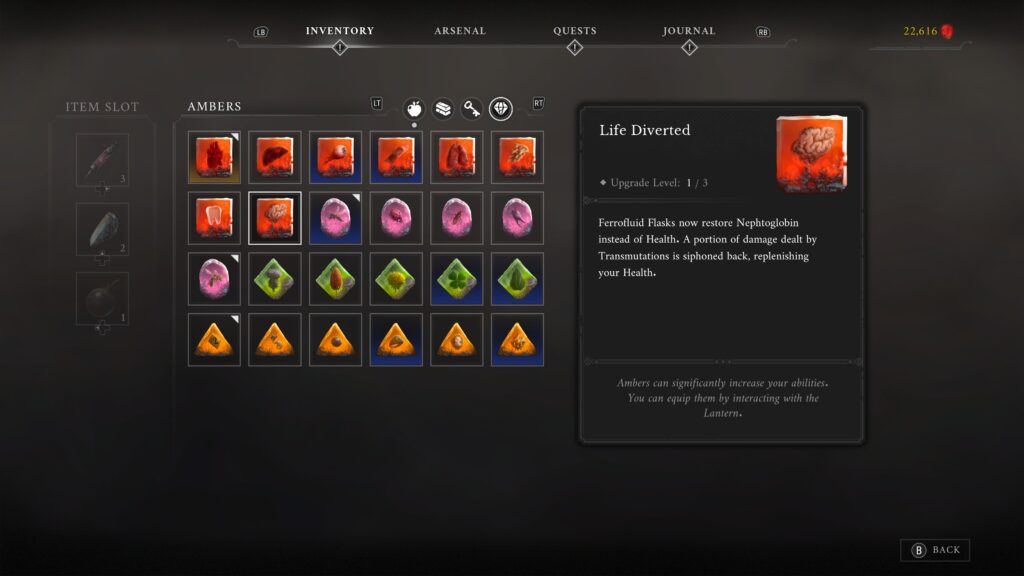
Life Diverted
- Effect: Ferrofluid Flasks now restore Nephtoglobin instead of Health. A portion of damage dealth by Transmutations is siphoned back, replenishing your Health.
- Nearest Lantern: Chapter 6, Cursed Hollow – Deep Water (I recommend progressing a little bit further to unlock the shortcut to the Village Church Lantern, just to the left of the church you need to progress to – where you get the Claymore, this saves you a rubbish backtrack if you die to the enemy guarding the amber).
- Transmutation / weapon needed: None
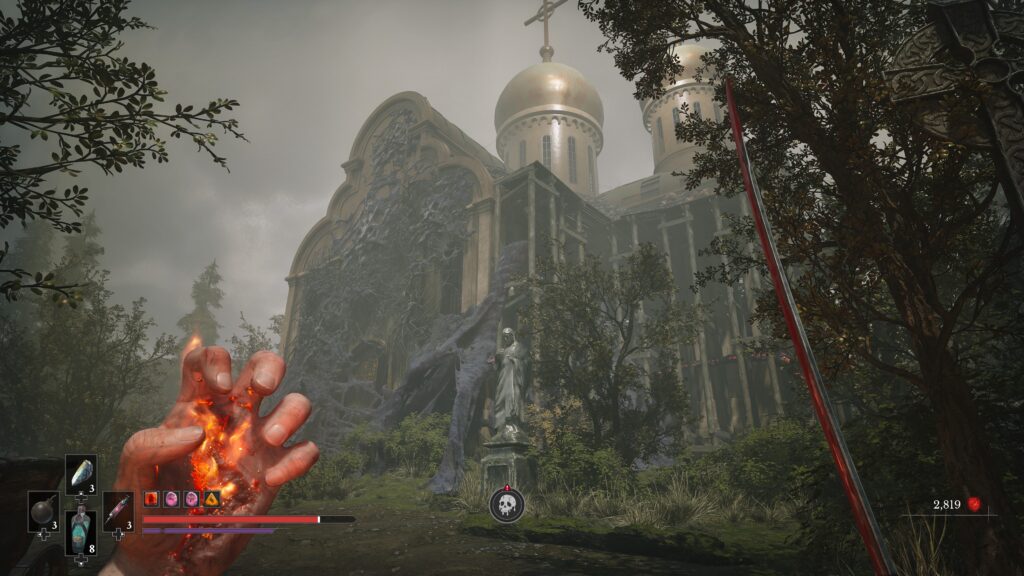
As recommended, head to the church and go left to unlock the shortcut to the “Village Church” lantern.
If you’re making your way from the “Deep Waters” lantern:
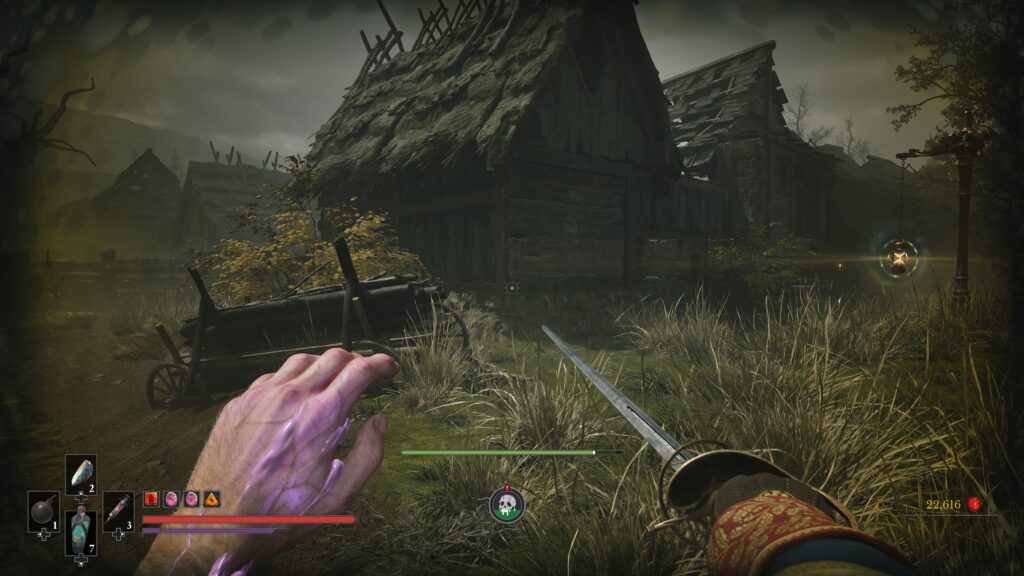
You’ll make your way towards the church as part of the main objective. This involves navigating poisonous waters and many an enemy. You’ll reach a run where you need to take out a Volunteer enemy, then a couple of Carrions before a pipe wielding Iron Legion enemy, there’s a haystack in the middle of a circular platform. Continue forward, you should see the church in the distance. Once you arrive at larger platform, there will be several enemies that swarm you, including an axe wielding enemy.
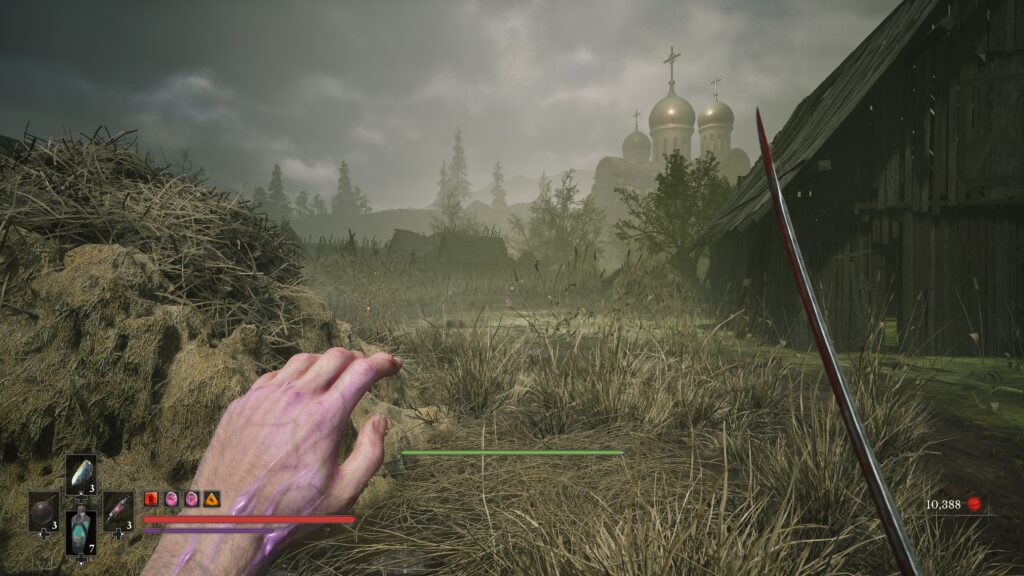
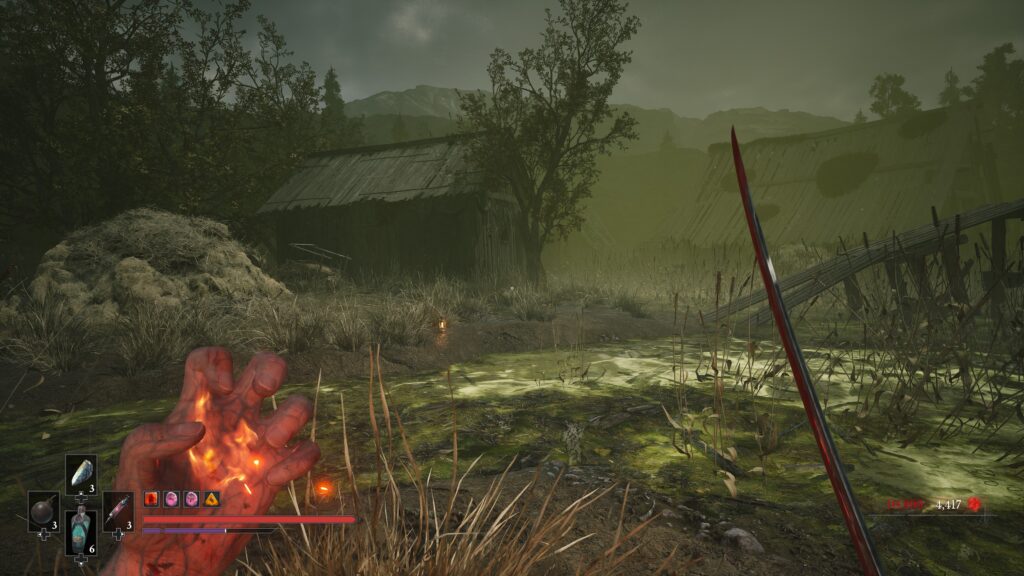
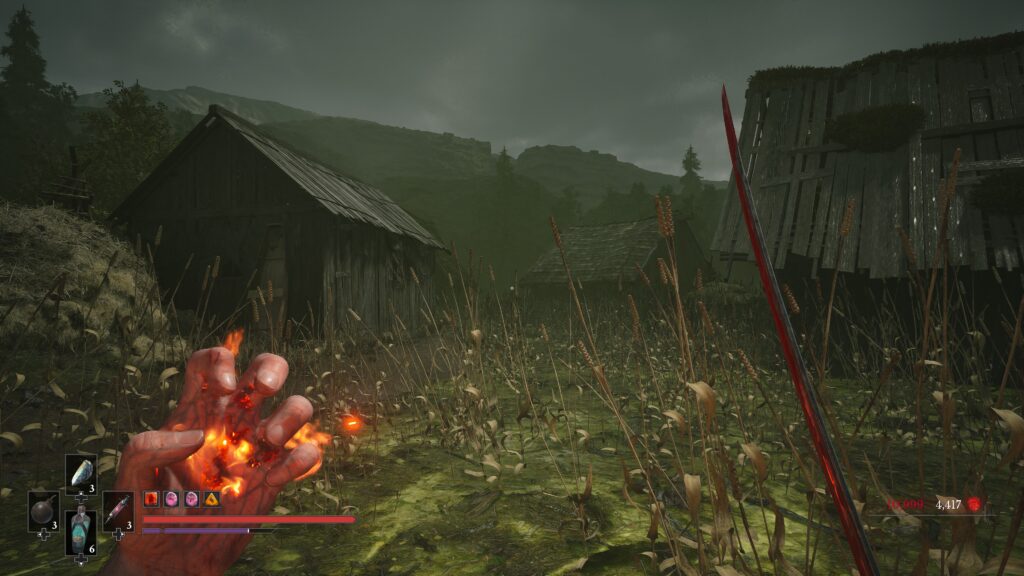
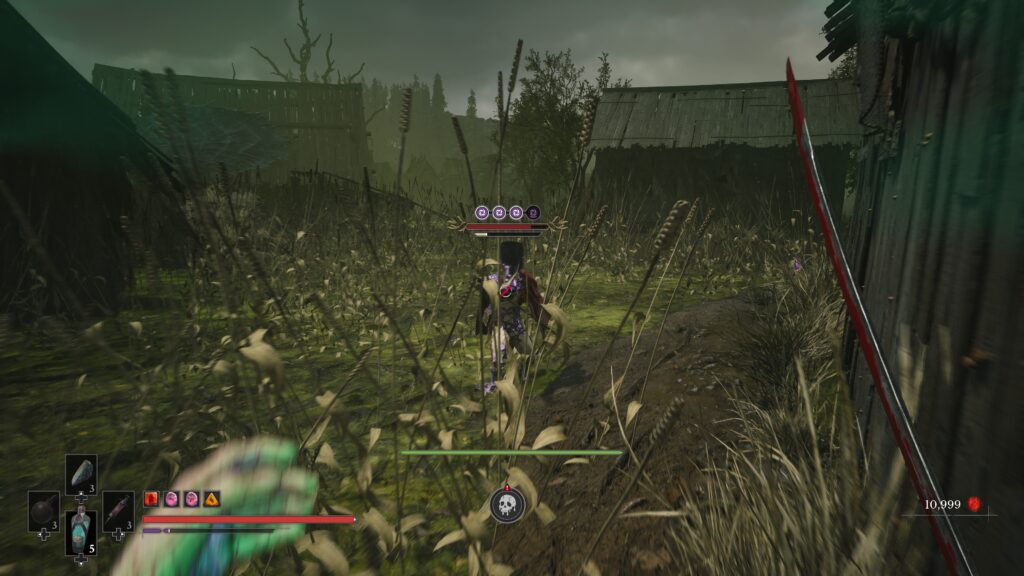
Once they’re all dealt with, head to your right and walk across the outside of a couple of wooden barns. The second one should have the “Oathbound” side quest symbol. Round the corner to see the enemy (who’ll attack immediately). He’s tricky because of the small combat area. Once dealt with, go to the chest behind where the enemy was stood to grab the amber.
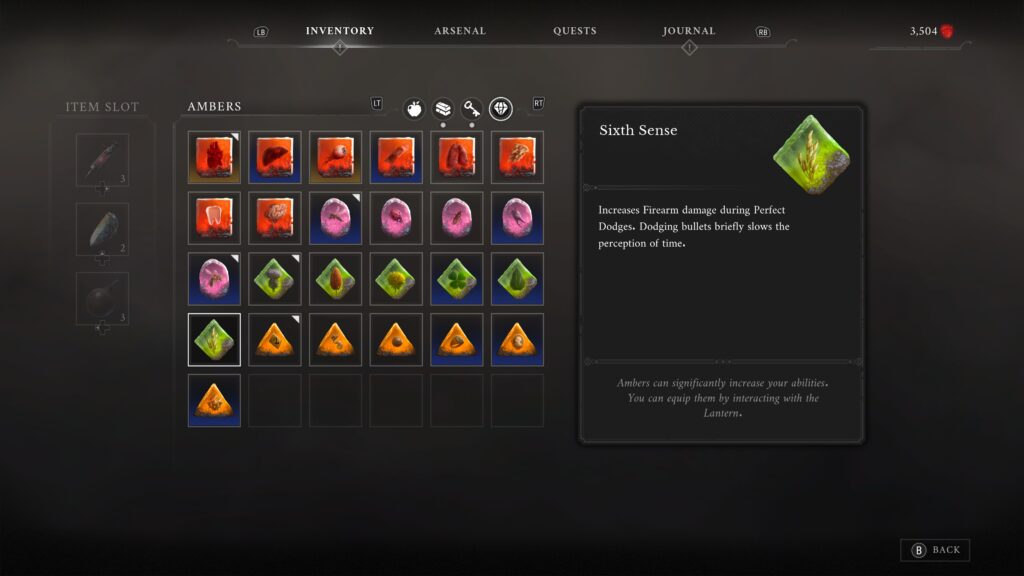
Sixth Sense
- Effect: Increases Firearm damage during Perfect Dodges. Dodging bullets briefly slows the perception of time.
- Nearest Lantern: Chapter 8, City of Orphans – Tribunal Square
- Transmutation / weapon needed: None
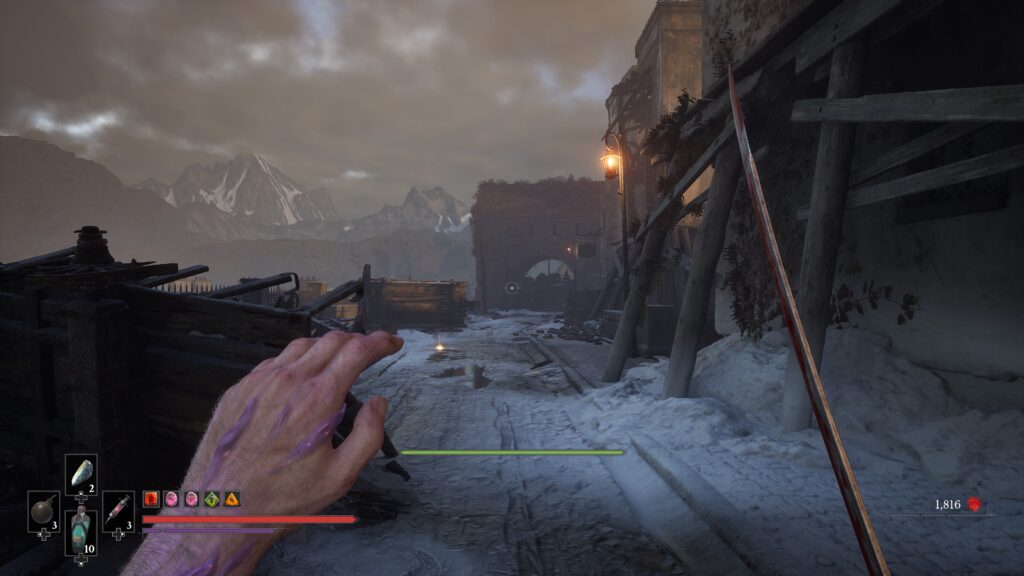
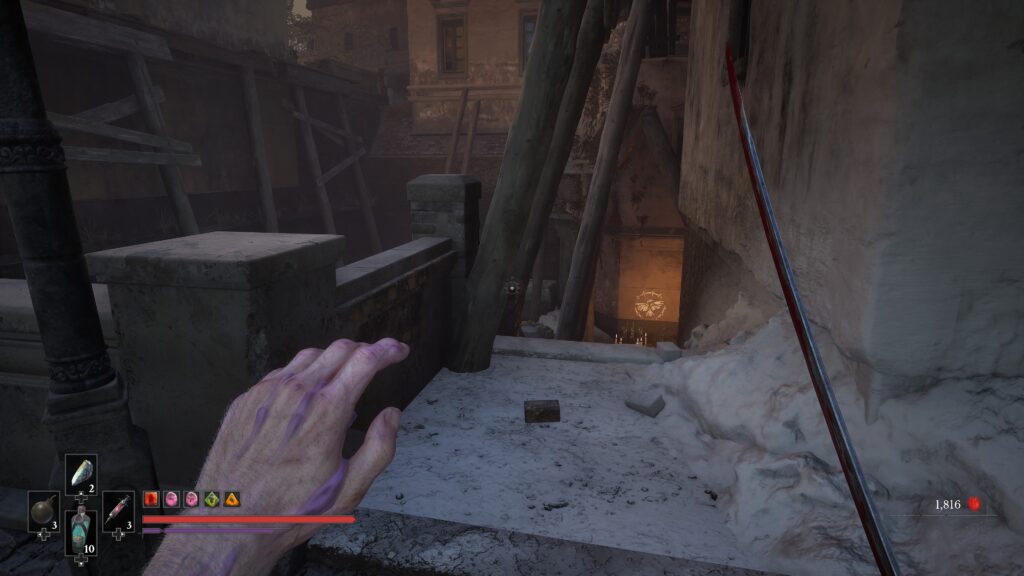
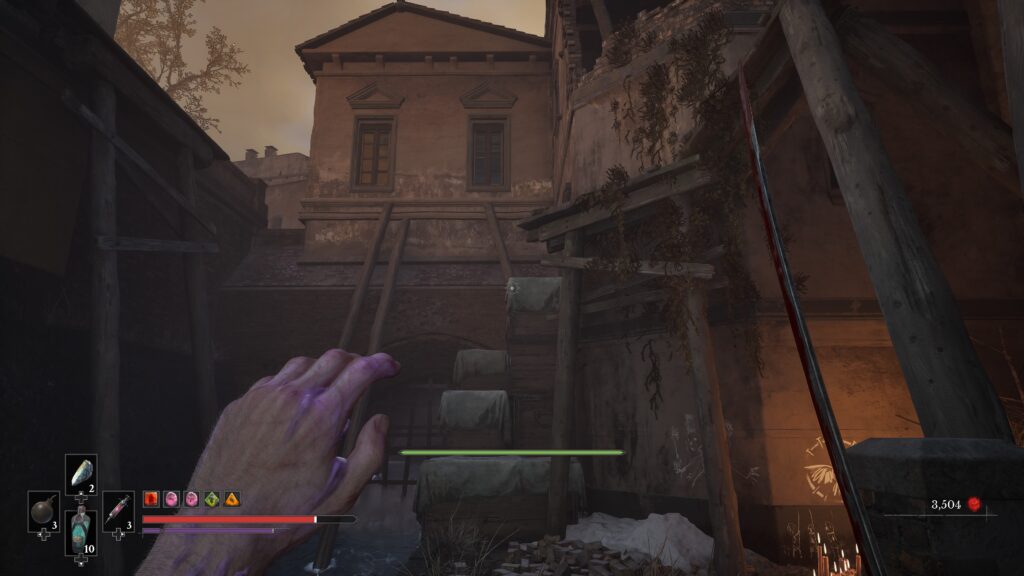
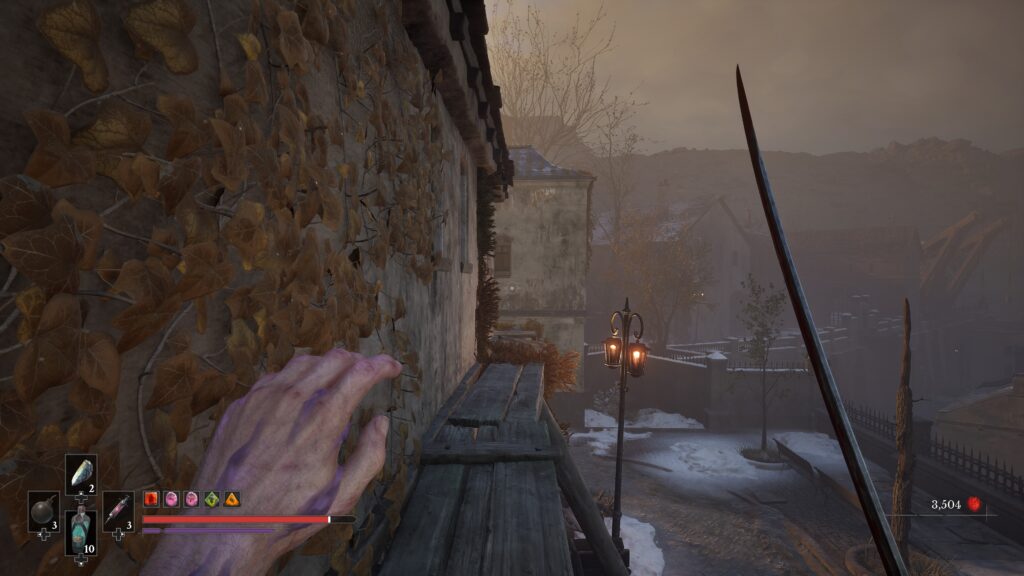
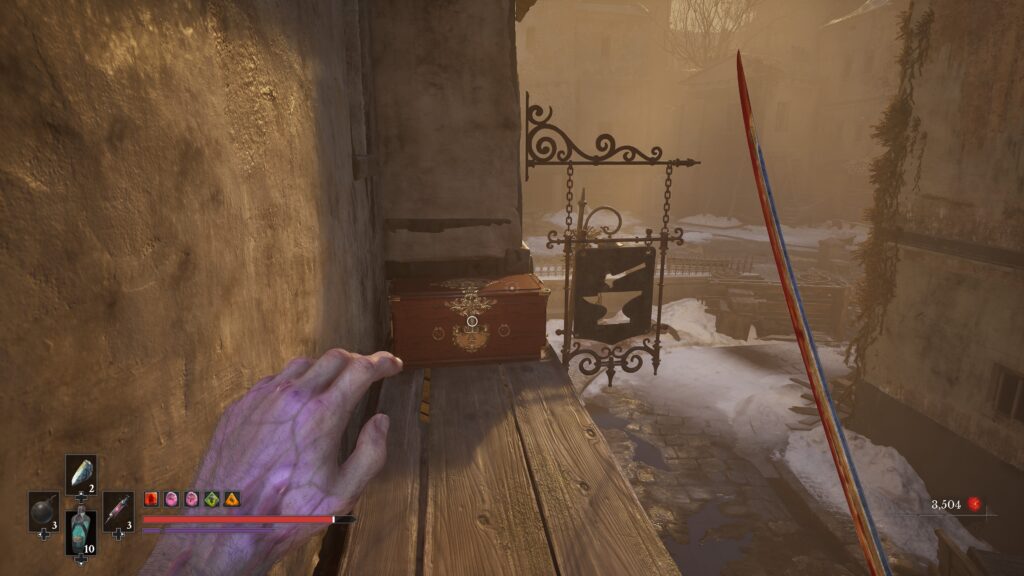
You’ll head down to the left from the possessed guillotine and enemies watching it. When you arrive on the next road, you’ll see a Volunteer enemy at the end of the road. Move forward and look to the right to see some steps down. In front of you are some climbable crates you can go up. Climb them and take the wooden walkway above to go around the outside of the building. It will lead to a chest with the amber in it.
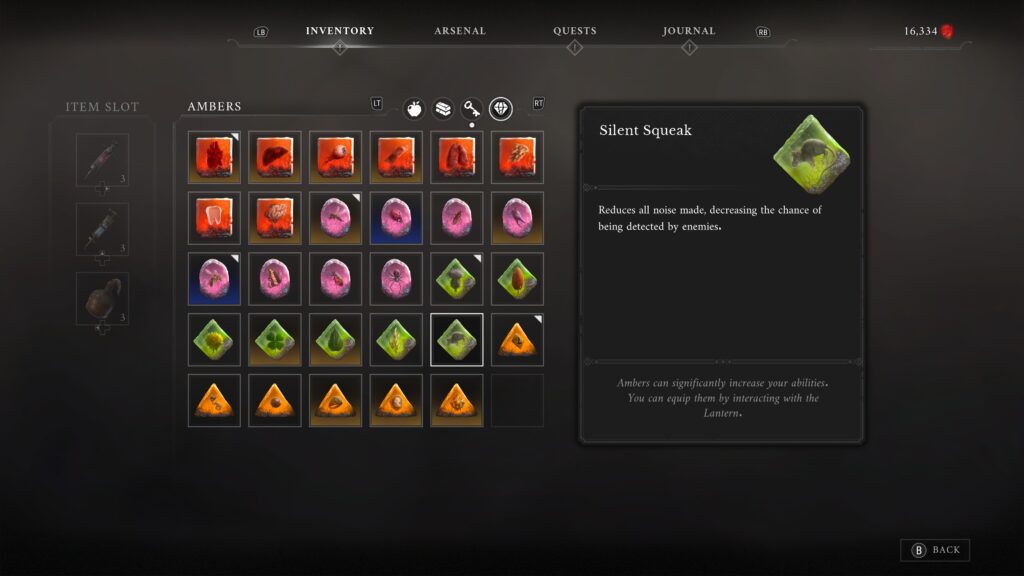
Silent Squeak
- Effect: Reduces all noise made, decreasing the chance of being detected by enemies.
- Nearest Lantern: Chapter 8, City of Orphans – Shamble Street
- Transmutation / weapon needed: None
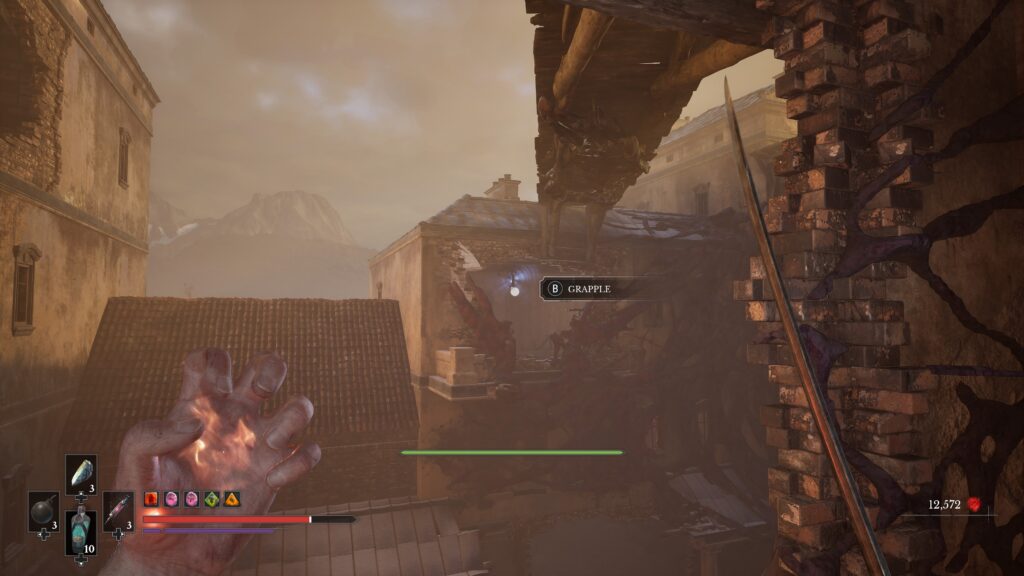
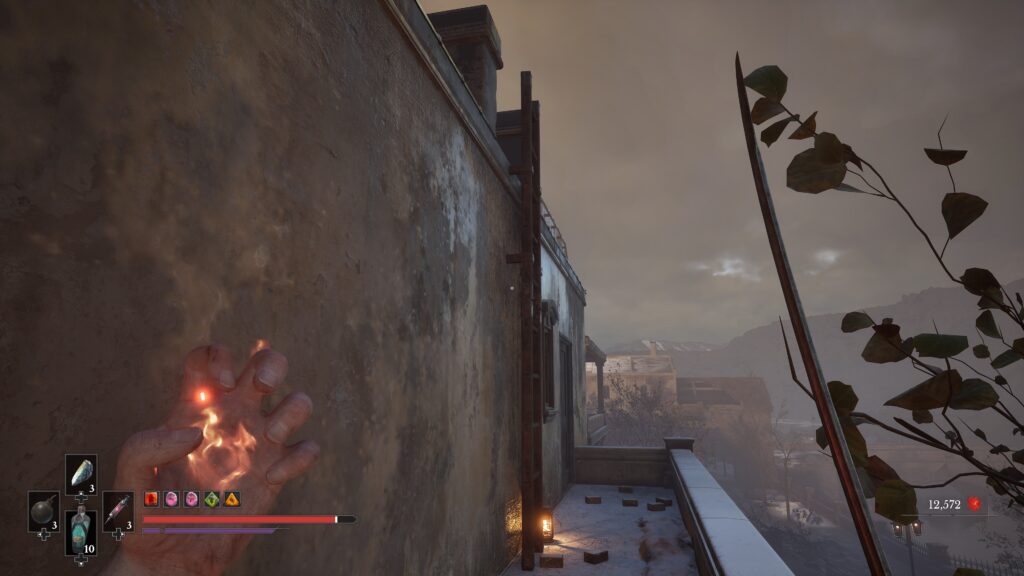
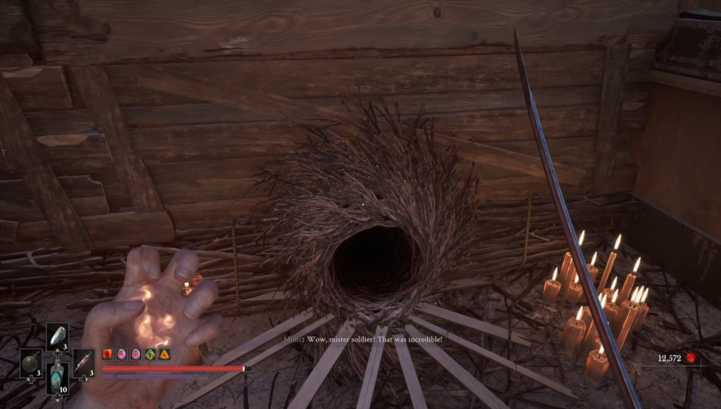
From the Shamble Street Lantern, you’ll have to make your way through and up some delapidated houses and into a courtyard, where there are a number of the dog like enemies. Once you’ve dealt with them, you’ll go into another house. Eventually you’ll make your way through a house and have to use a grapple point to get to another house. Go right through that house and out of the window. You’ll see a ladder leading to the roof. At the top, on your left is a nest. Speak with Mimi (in the nest) and you’ll be awarded the amber.
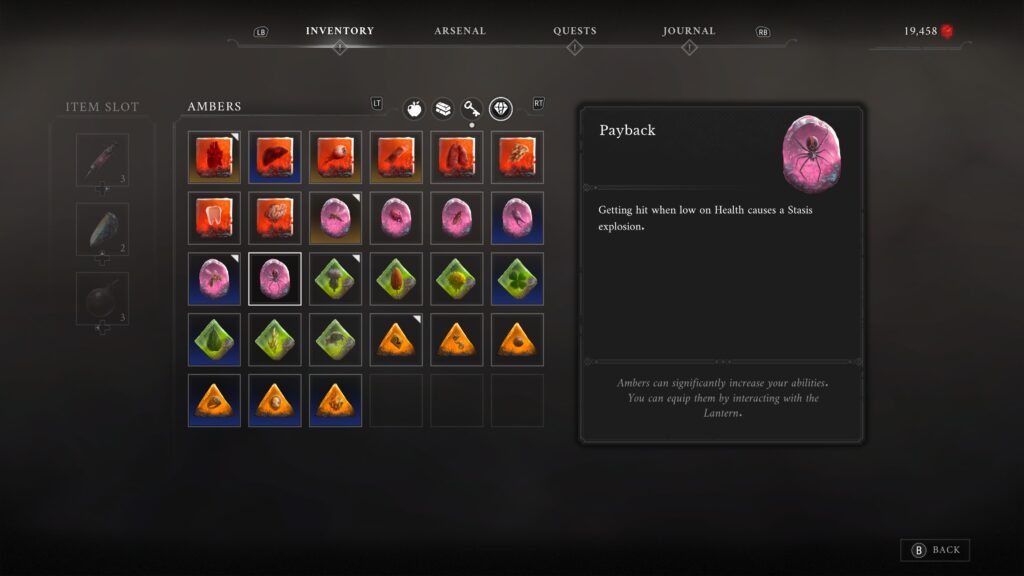
Payback
- Effect: Getting hit when low on health causes a Stasis explosion.
- Nearest Lantern: Chapter 9, University – Main Hall
- Transmutation / weapon needed: None
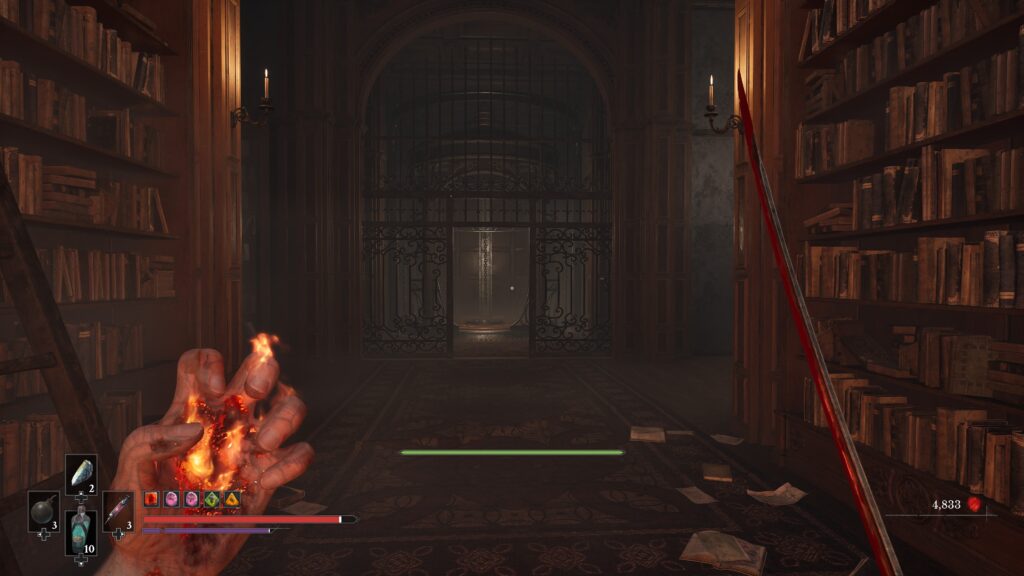
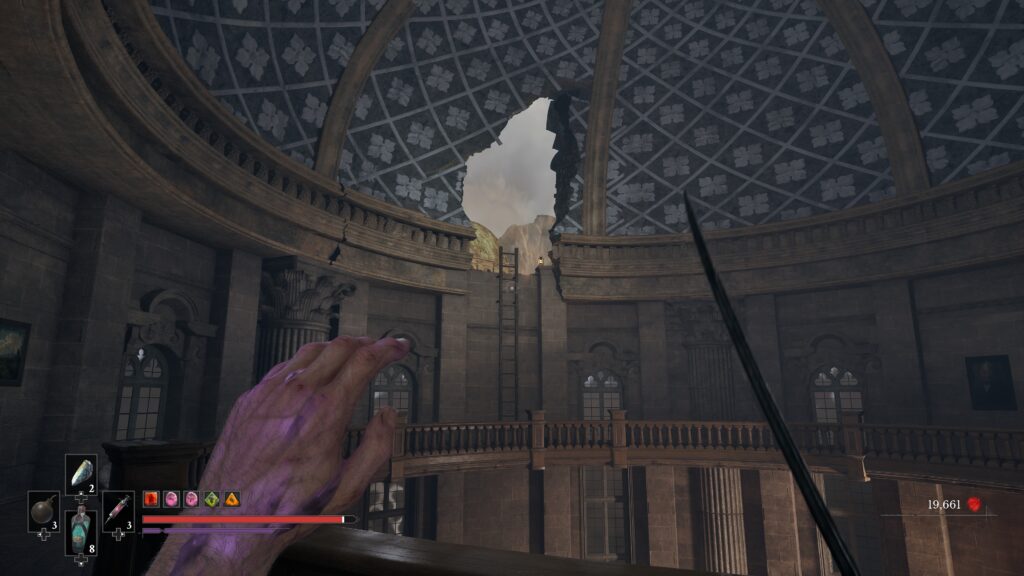
As you explore the university, you’ll come down a corridor with an elevator directly in front of you and a path to the left, and to the right. Head to the right where you’ll enter a circular room with some ladders downstairs. At the bottom will be an elite enemy of the Iron Brigade. Once you defeat it, you’ll get the amber.
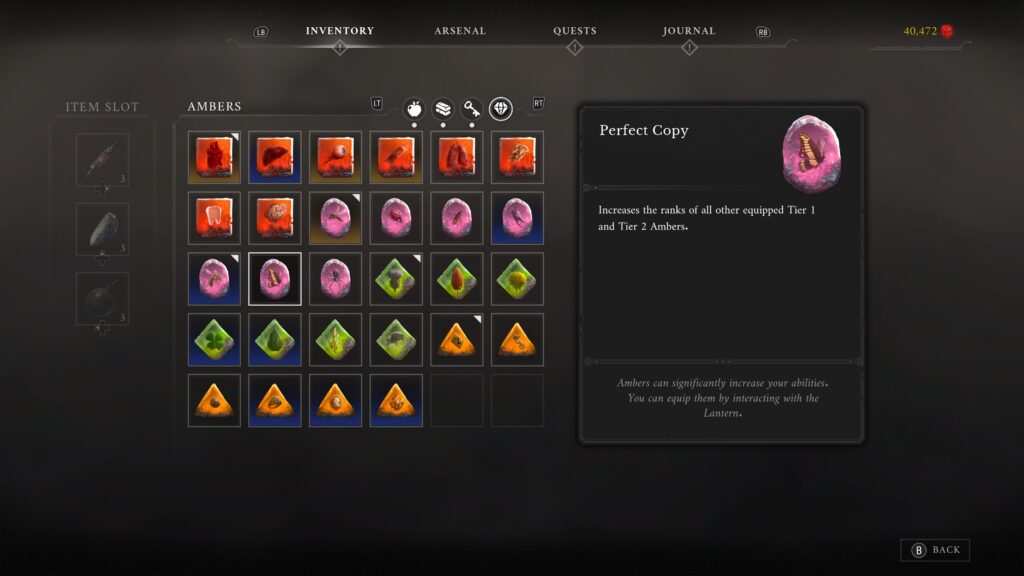
Perfect Copy
- Effect: Increases the ranks of all other equipped Tier 1 and Tier 2 Ambers.
- Nearest Lantern: Chapter 2, Valley of Ashes – The Other Side
- Transmutation / weapon needed: Shield
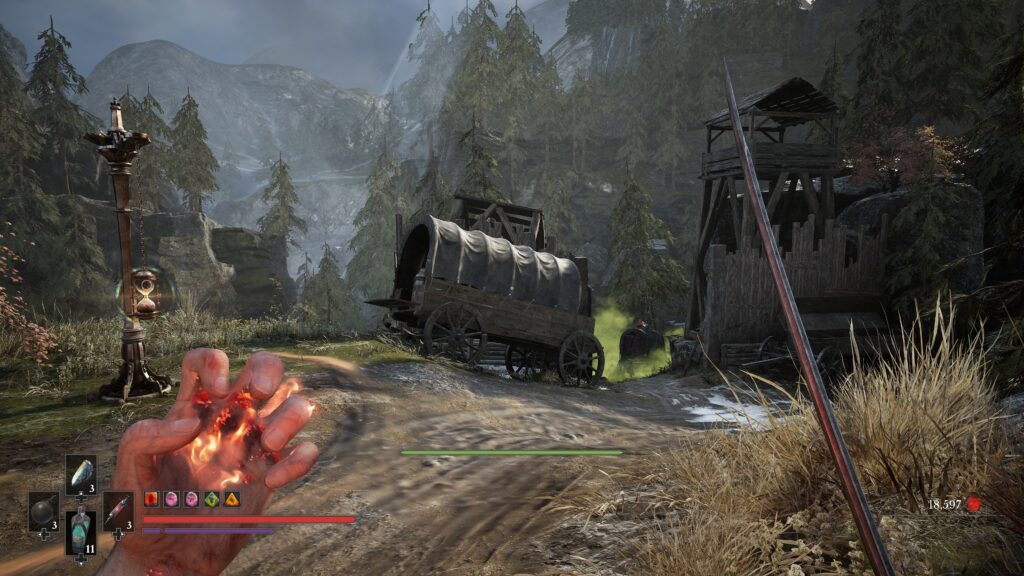
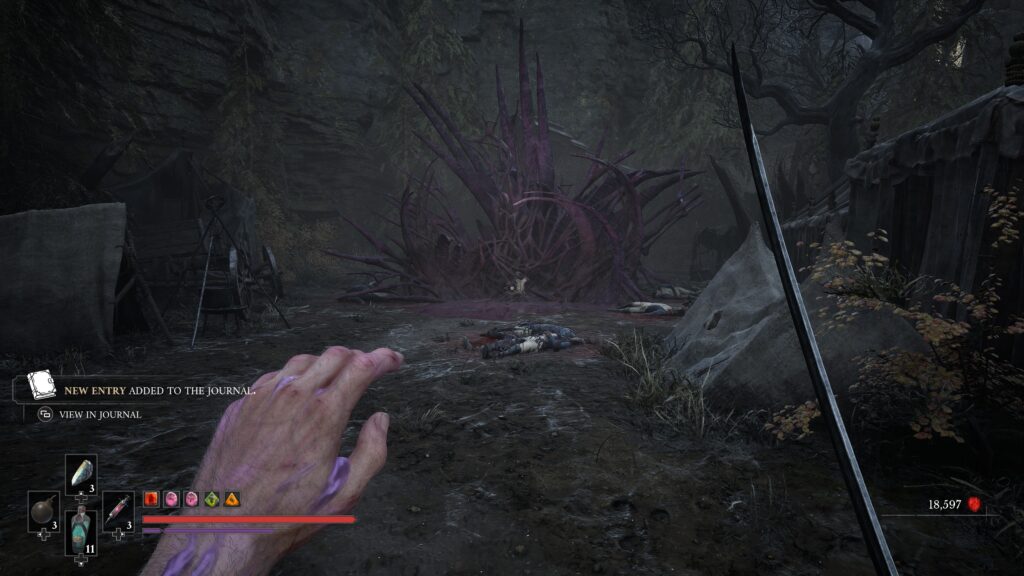
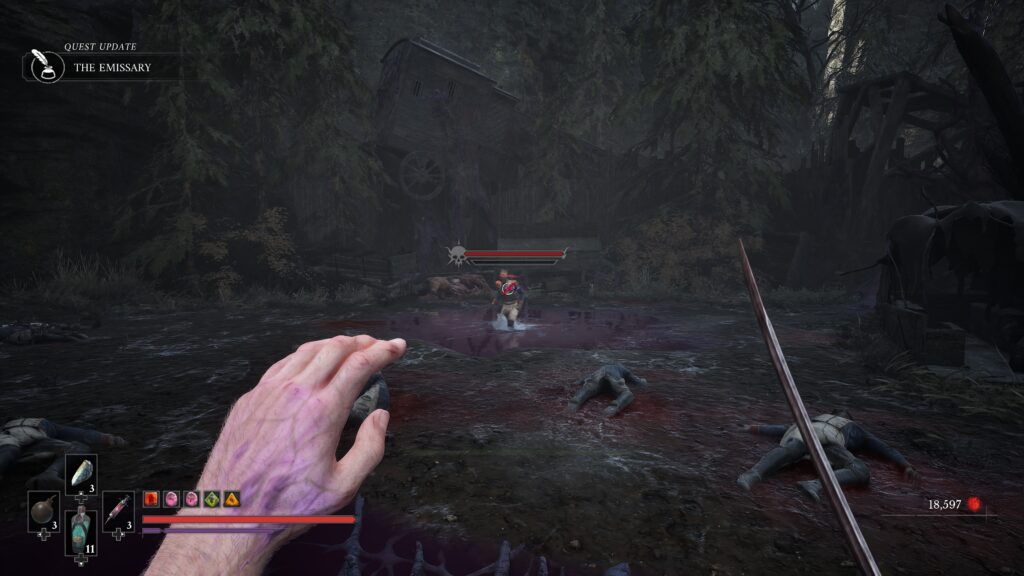
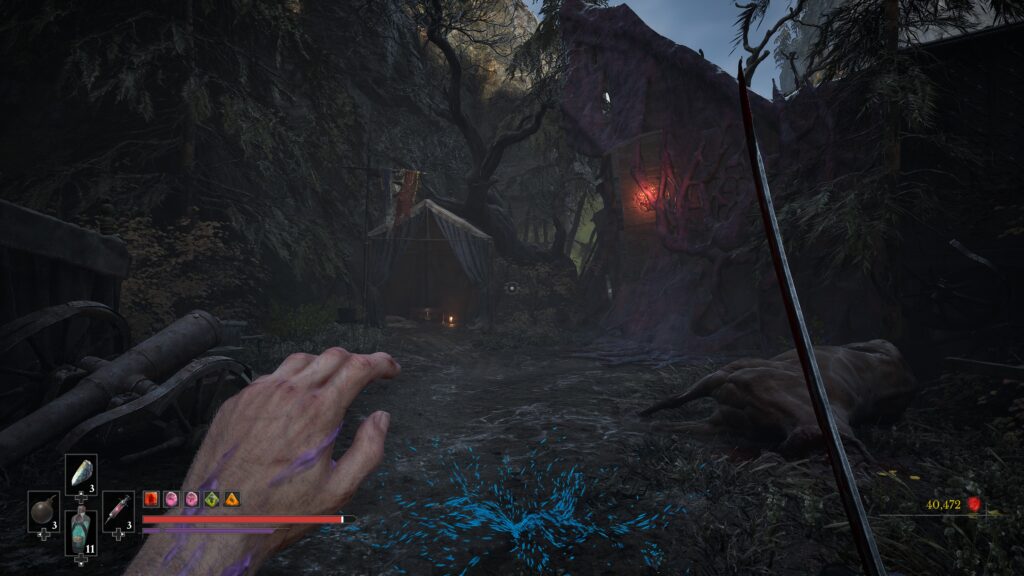
You need to go to this area to complete the “The Emissary” side quest. Head through the poison areas and follow the path round until you spot a body trapped in nepthglobin. An elite enemy will attack you. Once you’ve dealt with it, continue to follow the path round until you reach a chest to the left of a nephtoglobin wall with the amber in it.
Weirdly, the Ambersmith achievement popped here, even though I had one left to get.
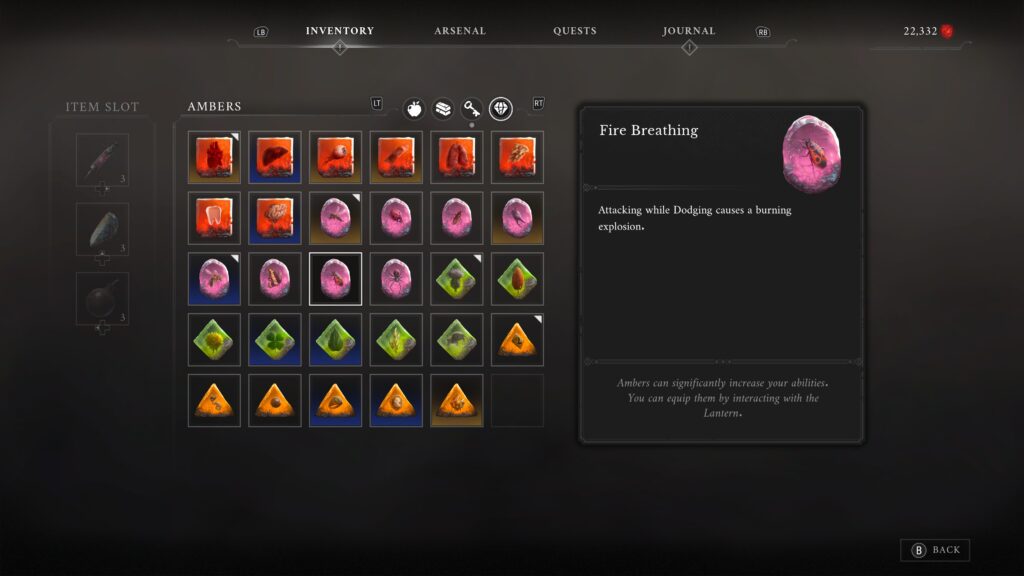
Fire Breathing
- Effect: Attacking while dodging causes a burning explosion.
- Nearest Lantern: Chapter 10, Fortress – Abandoned Church is the nearest Lantern
- Transmutation / weapon needed: None
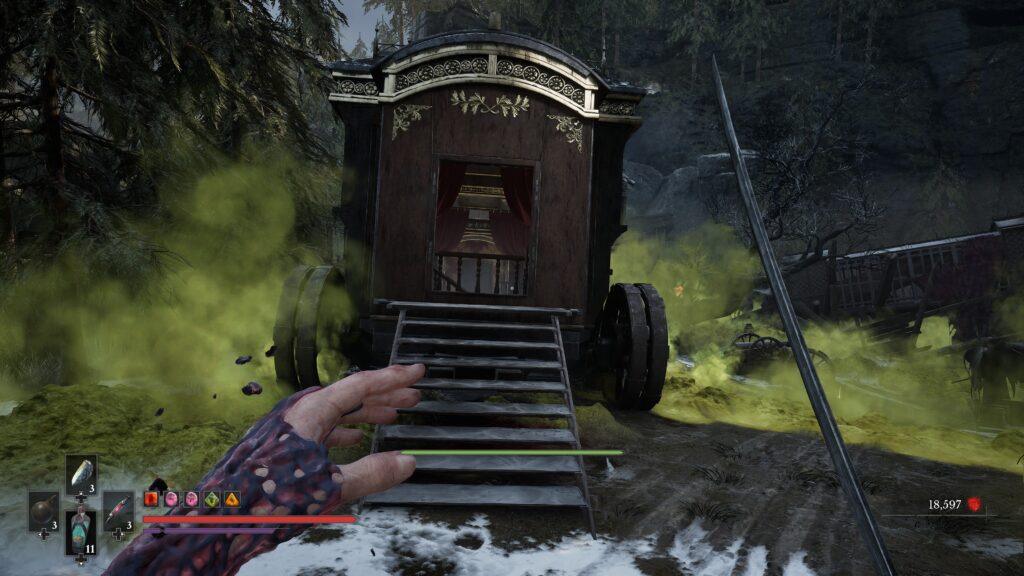
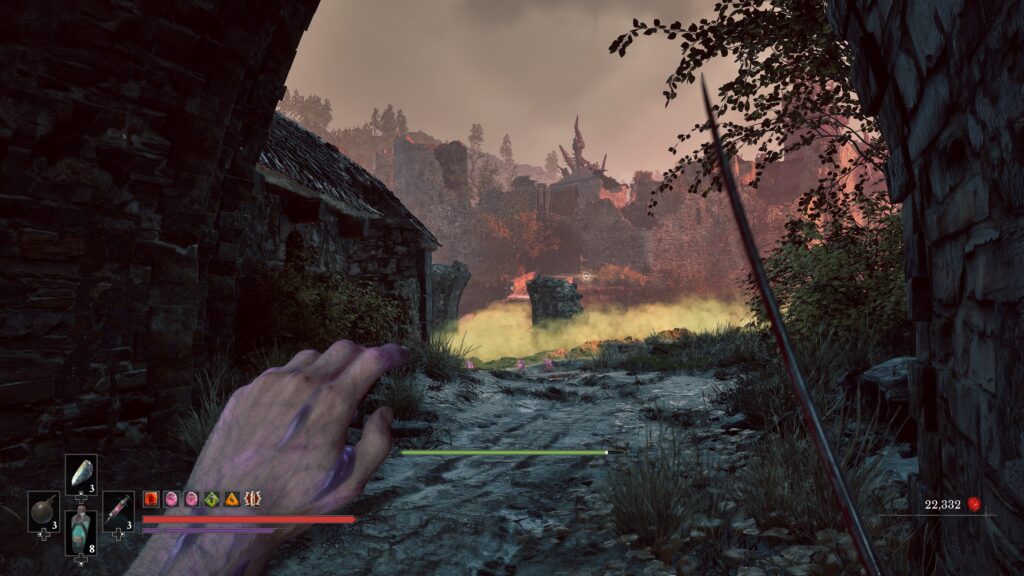
As you enter the Fortress area you’ll have to fight an elite Iron Brigade enemy. Take it out to get the Amber.
We hope you found this guide useful. We’ve got even more to help you in your quest.
Valor Mortis Guides
- Beginner’s Guide
- Valor Mortis Achievement / Trophy List
- Unlock the “Flame Feast” Achievement / Trophy
- Unlock the “Frenzied Flame” Achievement / Trophy
Boss Guides
- General Lothaire, the Eagle-Bearer (“Torn Banner” achievement / trophy)
- The Iron Marshall (“Ultima Ratio Regum” achievement / trophy)
Side Quest Guides
- “An Unheard Farewell” Side Quest (“Aggressive Reconnaissance” achievement / trophy)
- “The Deserter” Side Quest (“Hand in the Jar” achievement / trophy)
- “The Curious Case of Seamus Diggory” Side Quest (“Blood and Wine” achievement / trophy)
- “Laudanum” Side Quest (“A Bitter Cure” achievement / trophy)