
Use our Spirit of the North 2 The Bear Tribe Lore Scrolls Locations Guide to grab all The Bear Tribe’s lore scroll collectibles.
Spirit of the North 2 has just been released and brings our furry fox friend back to save some lost animal Guardians. By mending their pain, by exploring the land, and defeating them in boss battles, you’ll help heal the land. Not only that, but you’ll gain allies to take on the final boss, Grimnir, the Shaman.
Much of the game’s story and lore is told through a whole load of collectibles scattered throughout the land. You’ll unlock an achievement for finding 20, 45, and 89 of the collectible scrolls.
Lore Scrolls Locations Guide
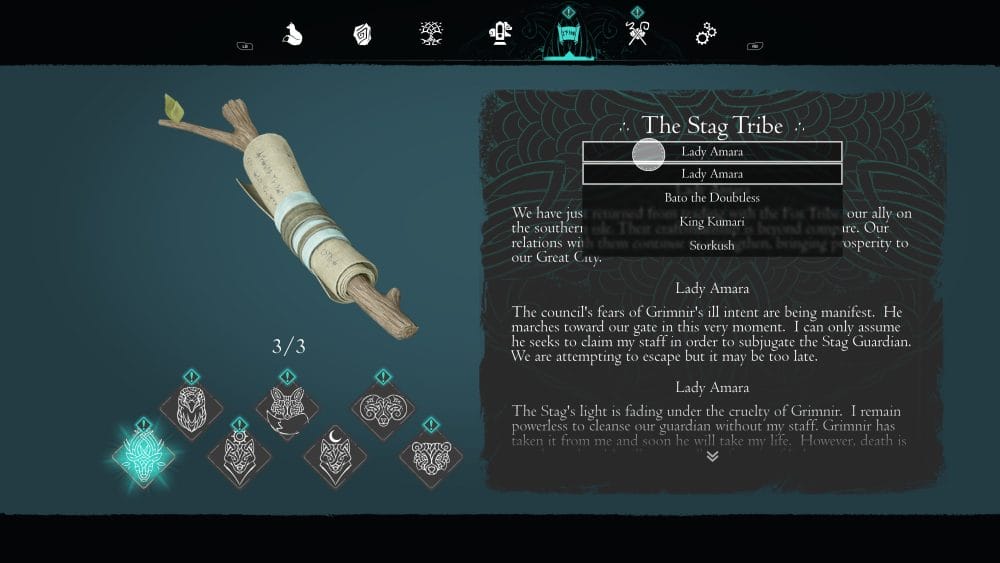
We’ve split the collectibles by each of the ‘Tribes’ in the collectibles menu. There’s a tribe for each guardian, each with a number of collectibles under it. If you want to keep track of which ones you have, move your cursor over the name of the collectibles you are looking at.
You can then select them to bring up a drop-down menu of the collectibles under that tribe (this is never explained and easily missed). See the image below for an example.
The Bear Tribe Lore Scrolls Locations Guide
As a reminder, these are ordered by how they appear in the menu, not in the best order to find them. I would recommend playing through the game and collecting everything you can. You can then look at what you’re missing in the menu and nab everything post-game.
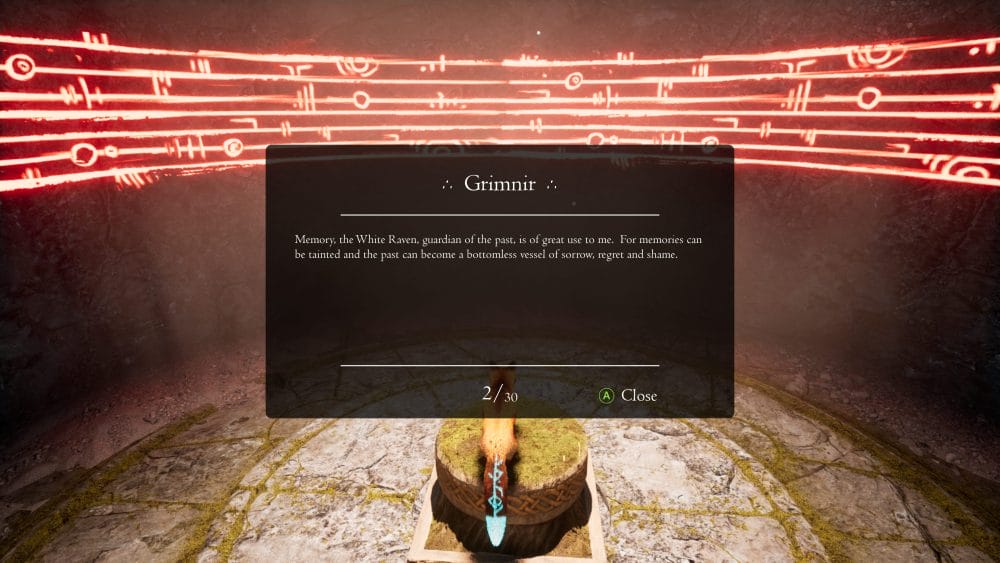
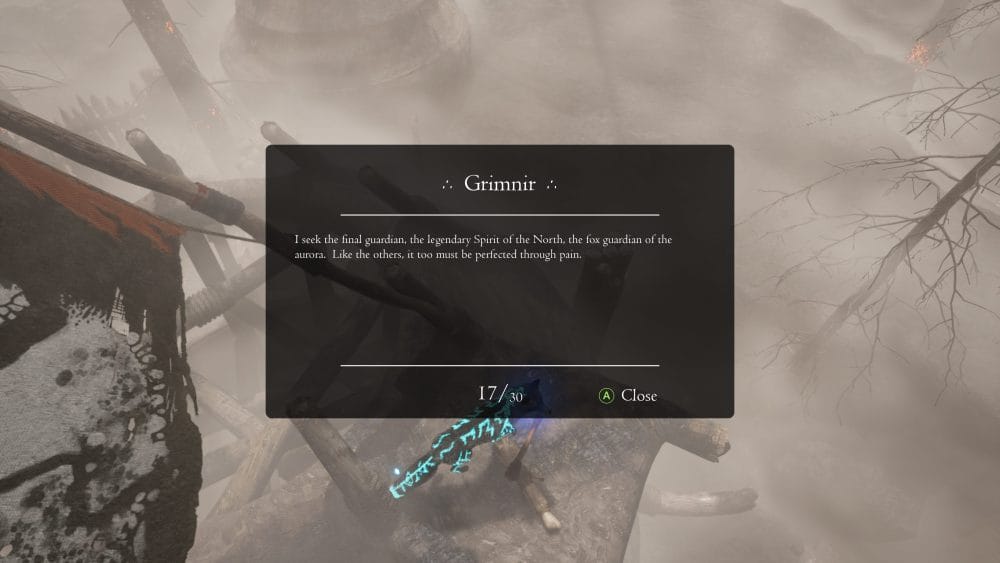
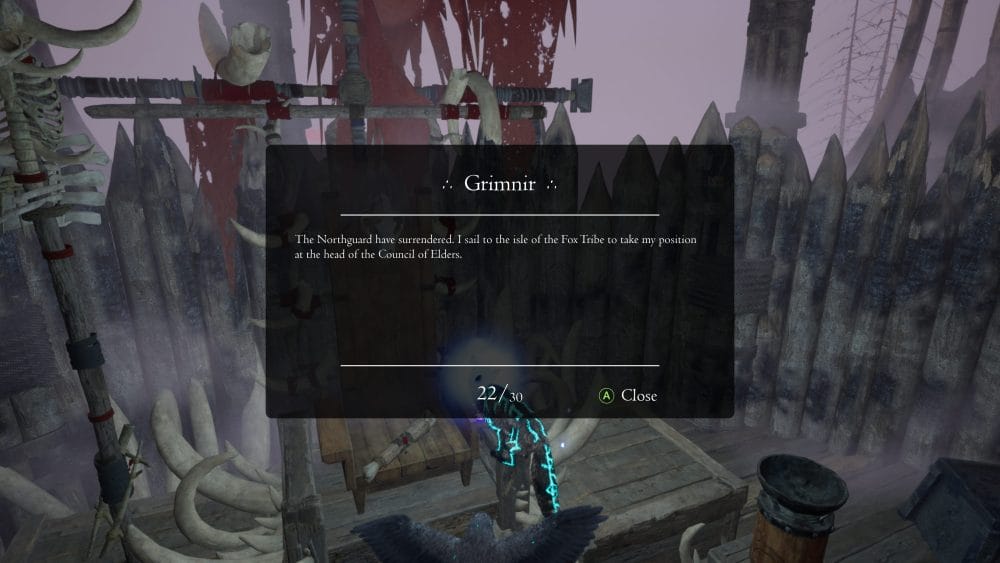
Grimnir
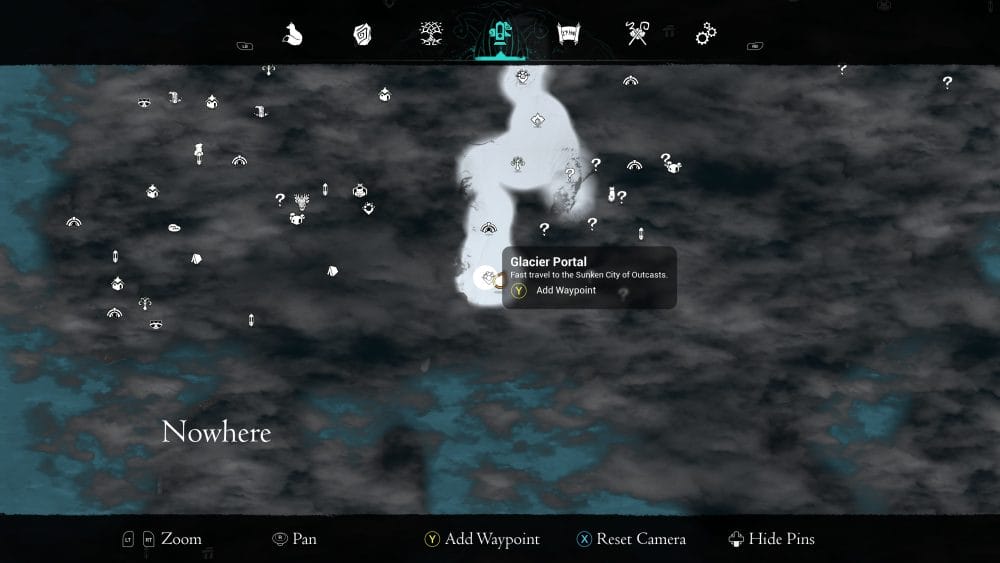
Grimnir (1/13) – Frigid Peaks, Glacier Portal
From the Glacier Portal, head up the stairs and head left. Enter the space with the pink leafed tree. The scroll is against the wall, next to the tree.

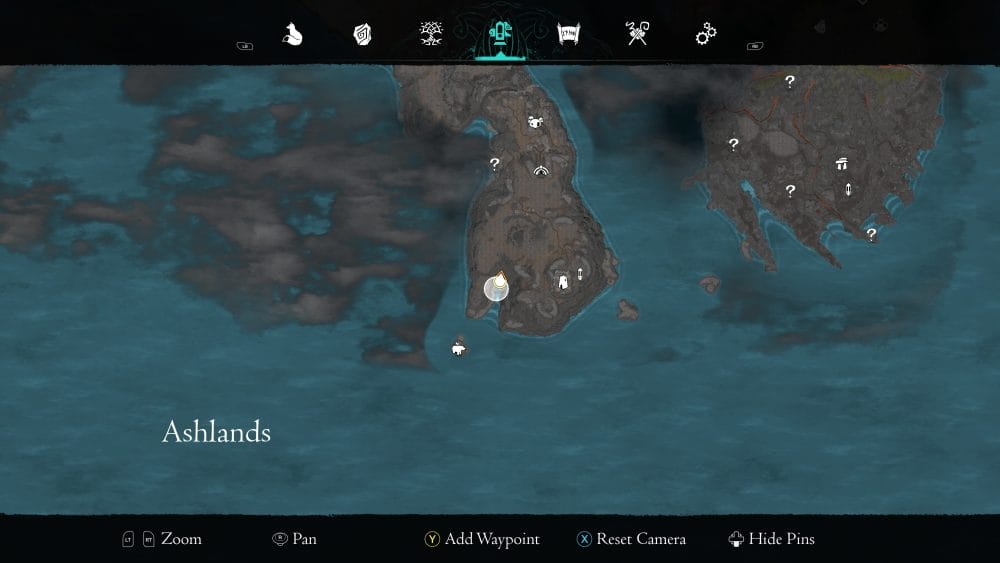
Grimnir (2/13) – Ashlands, Grim Hollow
In a cave not far from the coast on the left island.


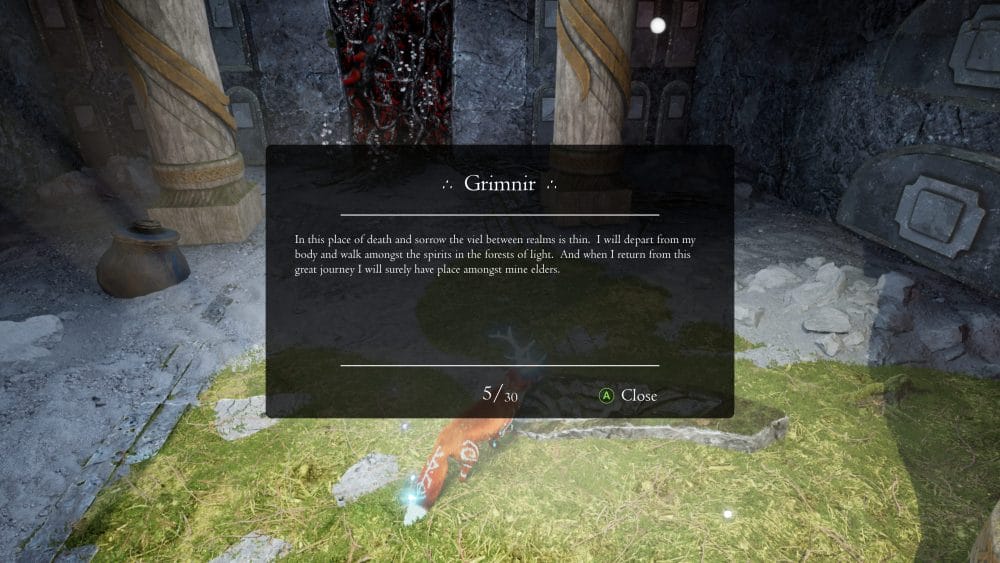
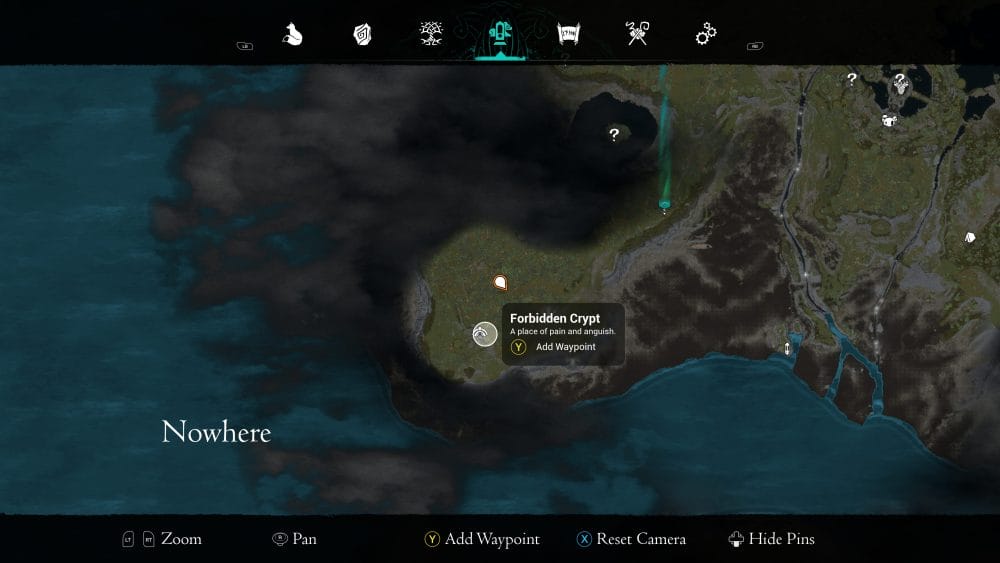
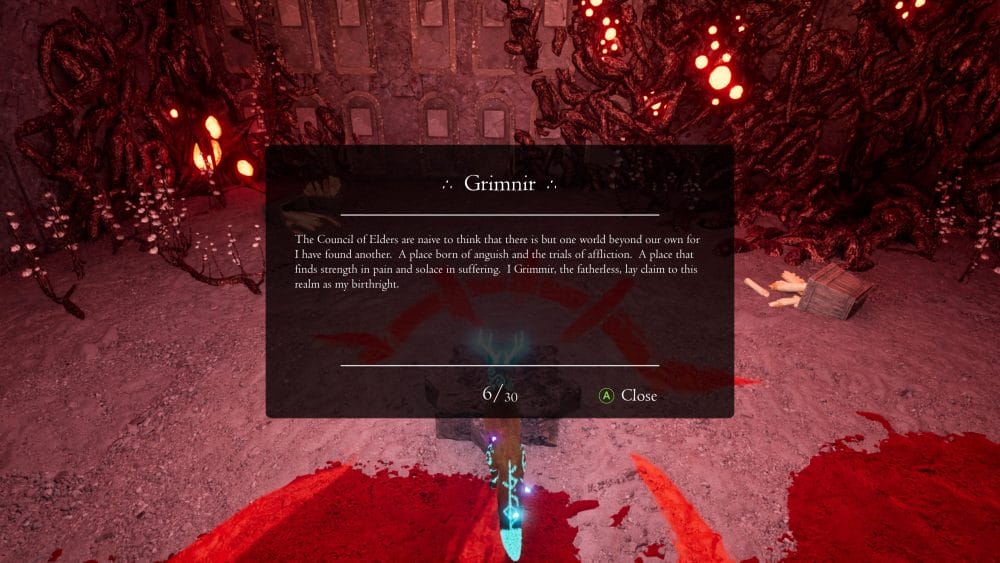
Grimnir (3/13) – Mosswood, Forbidden Crypt
In the big long rectangular room, with a lot of red fog in the centre. It’s on one of the sides, in a shaft of light on a grassy raised bit.
Grimnir (4/13) – Mosswood, Forbidden Crypt
Following on from the previous collectible, drop down to the next level using the big hole in the centre of the room. There’s a scroll sitting in a side section of the room you fall into. There’s a big red rune on the wall behind the scroll.

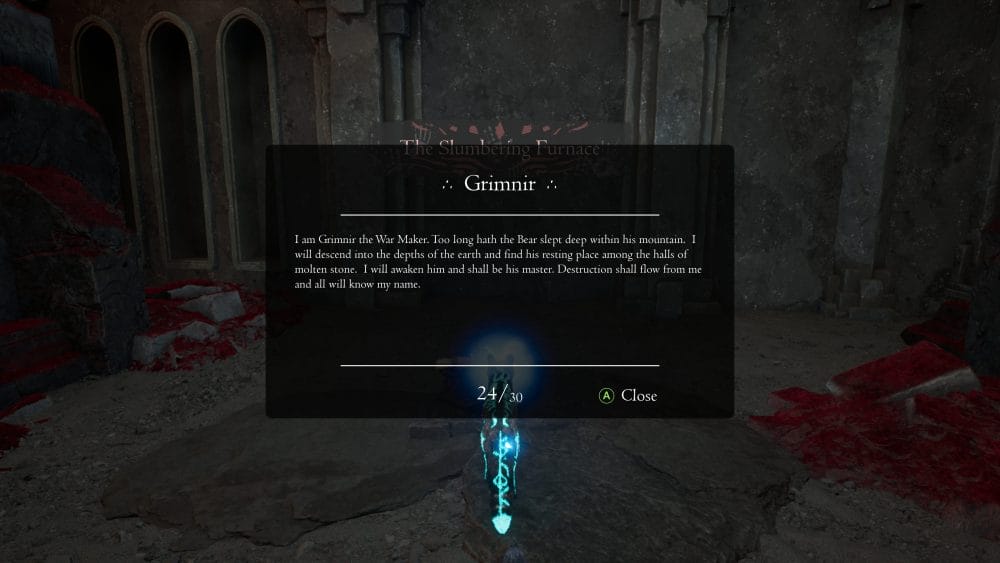
Grimnir (5/13) – Ashlands, The Slumbering Furnace
You need to head in here to go to the Bear boss fight. It’s in the large room, to the right of the Statue of Eona.

Grimnir (6/13) – Mosswood, Temple of the Stag
At the entrance to the Temple of the Stag, pretty easy to spot.


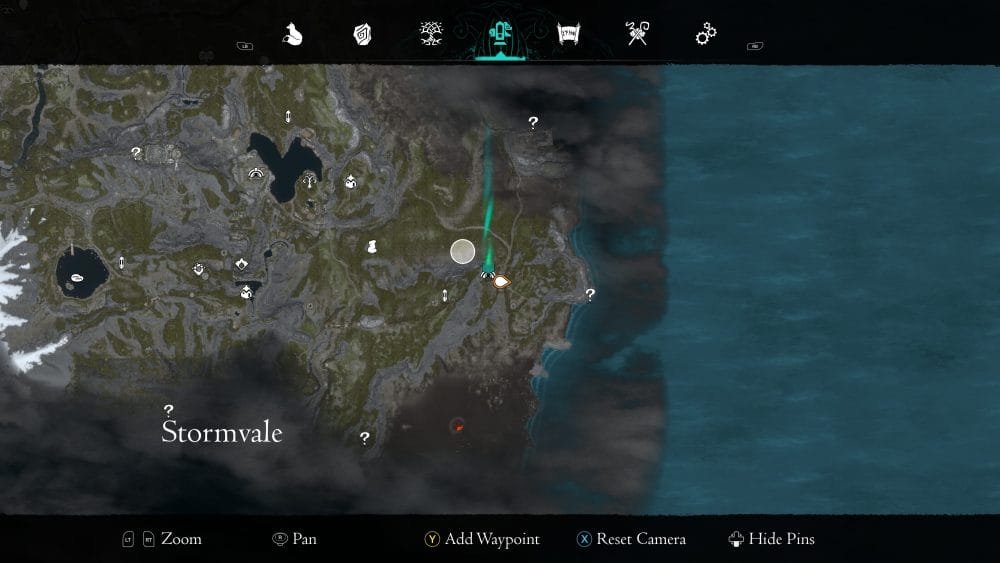
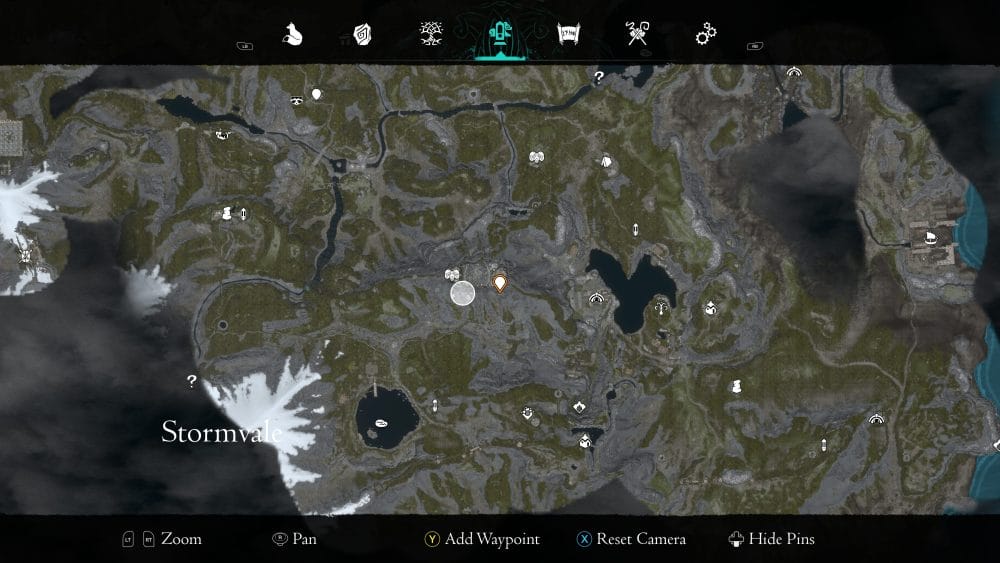
Grimnir (7/13) – Stormvale, Tomb of Heilda
On the floor, in front of a big gate, next to the entrance to the Tomb of Heilda
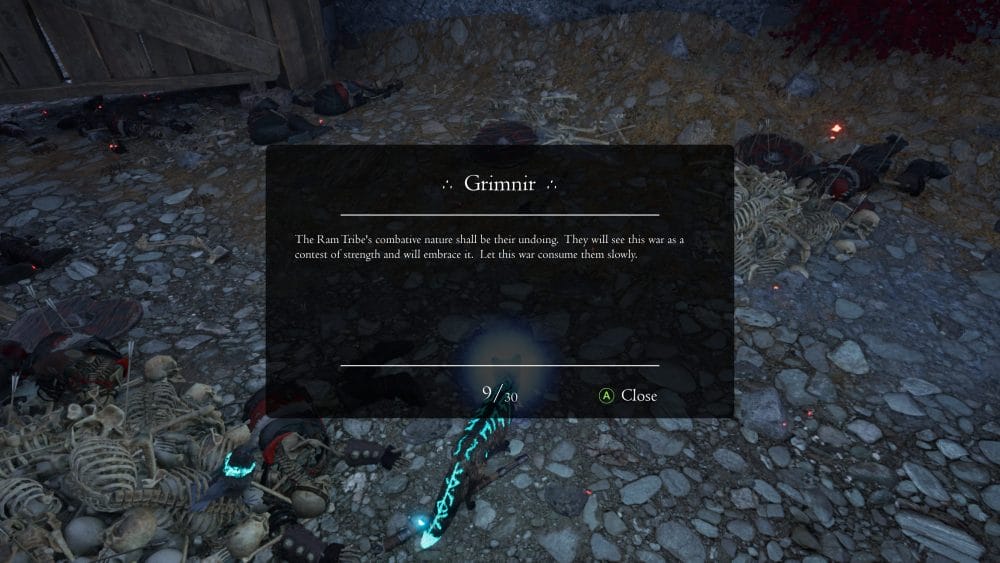
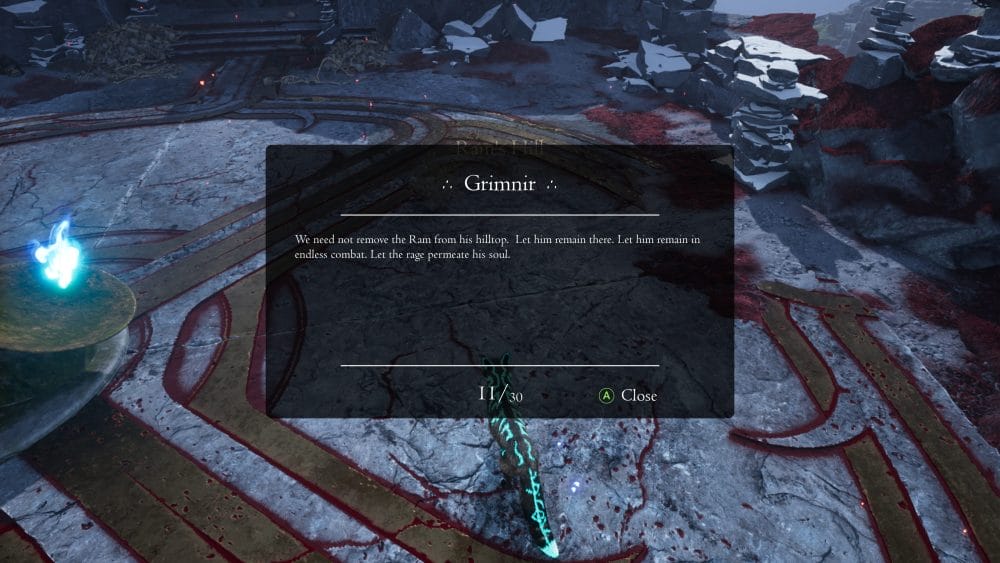
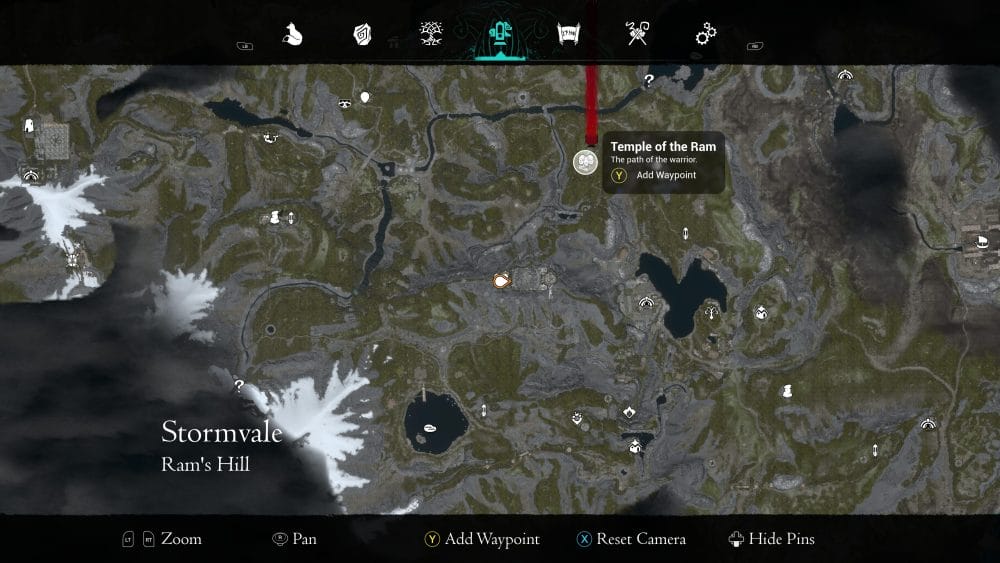
Grimnir (8/13) – Stormvale, Ram’s Hill
The space before the boss, at the end of the path going through the Temple of the Ram. On the floor, next to the Statue of Eona.
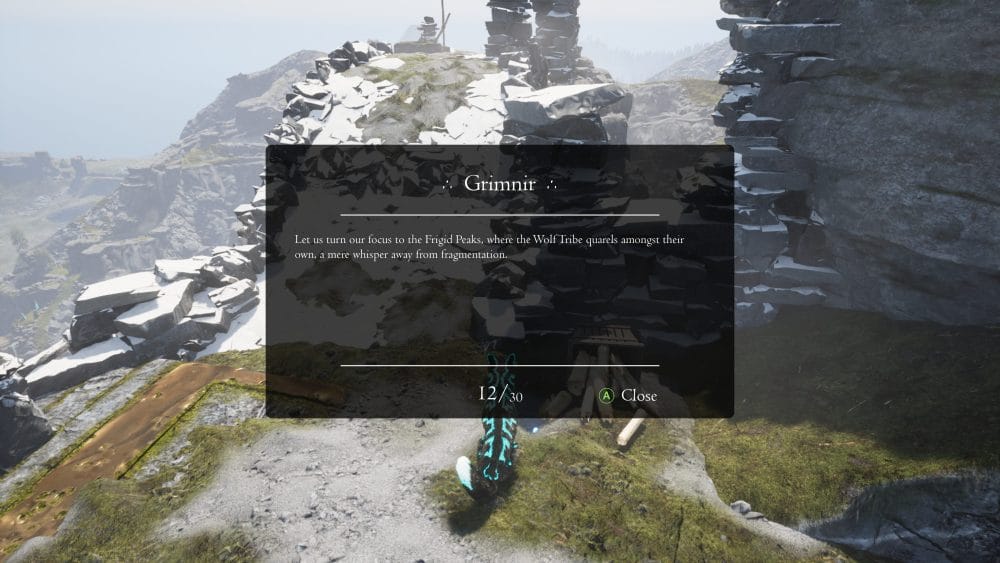
Grimnir (9/13) – Stormvale, Ram’s Hill
After the Ram boss battle, the scroll is to the right, where you need to head after receiving the Ram’s blessing.
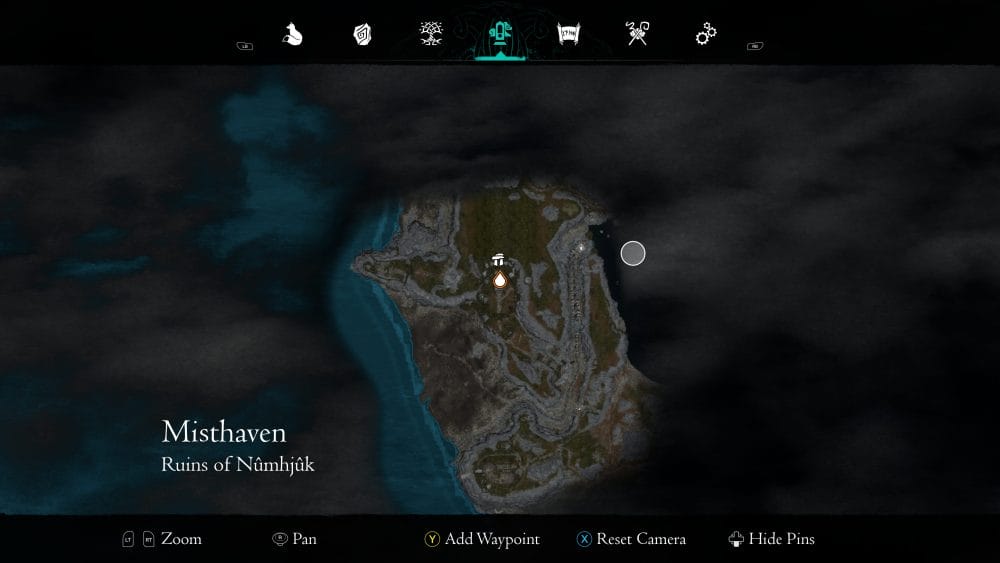
Grimnir (10/13) – Misthaven, Ruins of Numhjuk
After finding the relic, the Staff of Numhjuk, at the Ruins of Numhjuk, the lore scrolls is to the left of the door you need to go through to progress.

Grimnir (11/13) – Misthaven, Temple of the Raven
In the room before the Raven boss battle (big circular room with a Statue of Eona in the middle). There’s a gate to the right. Next to the gate there’s a circular hub, like with the Obelisks, pay 50 crystal shards and the gate will open.
Grimnir (12/13) – Ashlands, Corrupt Village
On the roof of one of the central houses in the Corrupt Village. It’s towards the north of Ashlands.

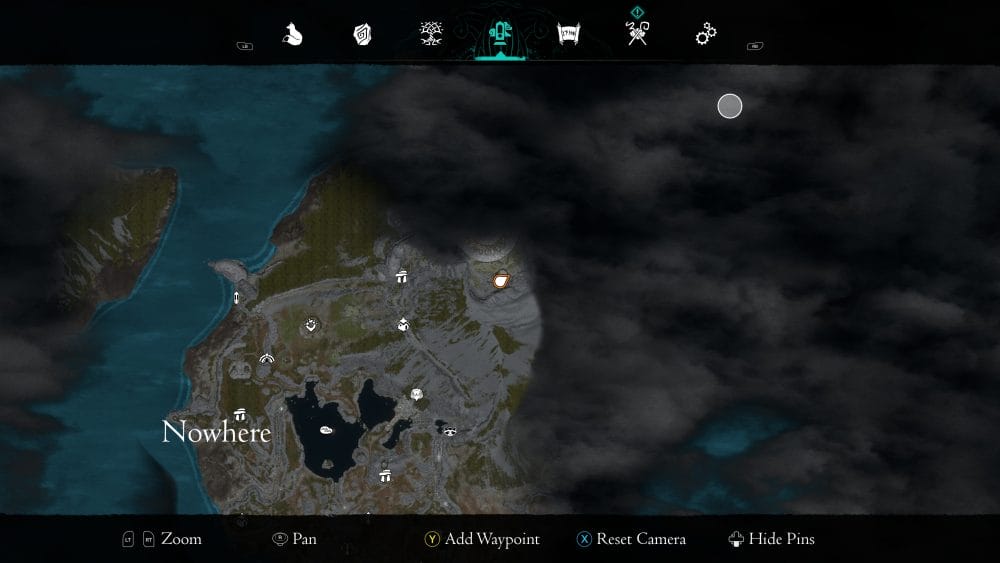
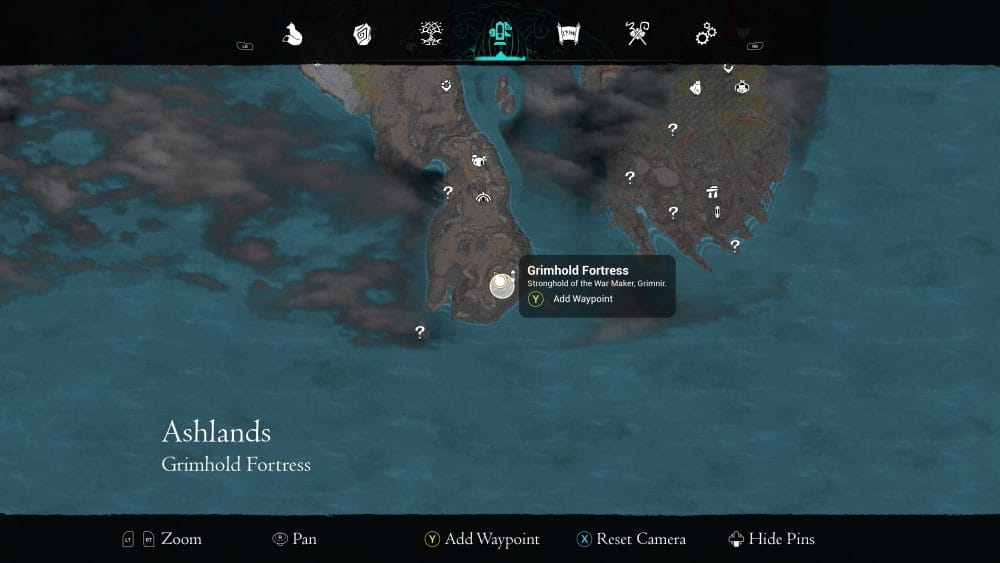
Grimnir (13/13) – Ashlands, Grimhold Fortress
In the large main structure in the Fortress, head upwards to the ‘throne room’. The scrolls is sat on the throne.
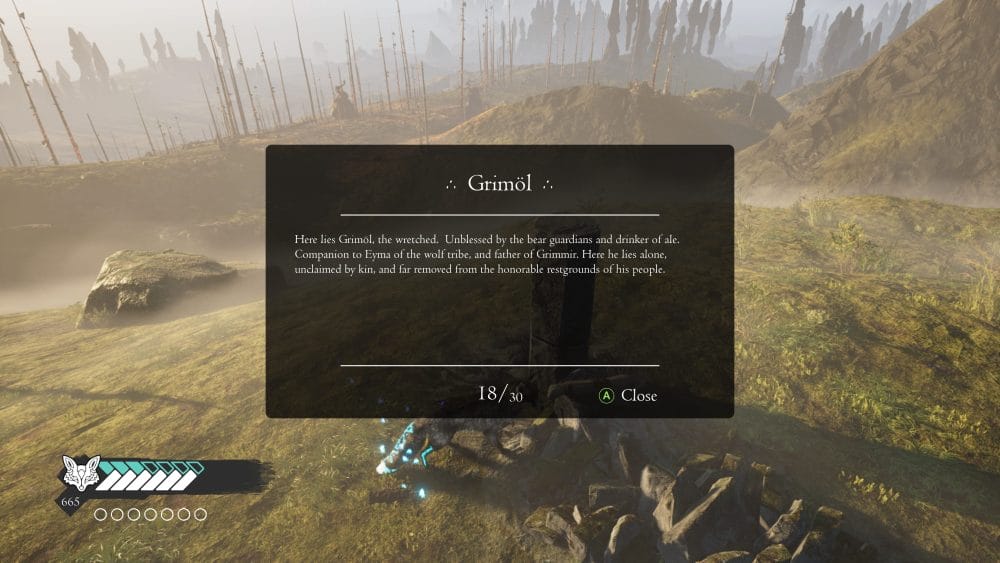
Grimol
Grimol (1/1) – Ashlands, Lover’s Hill
Out in the open, atop a grave. Pretty easy to spot if you’re in the right area.

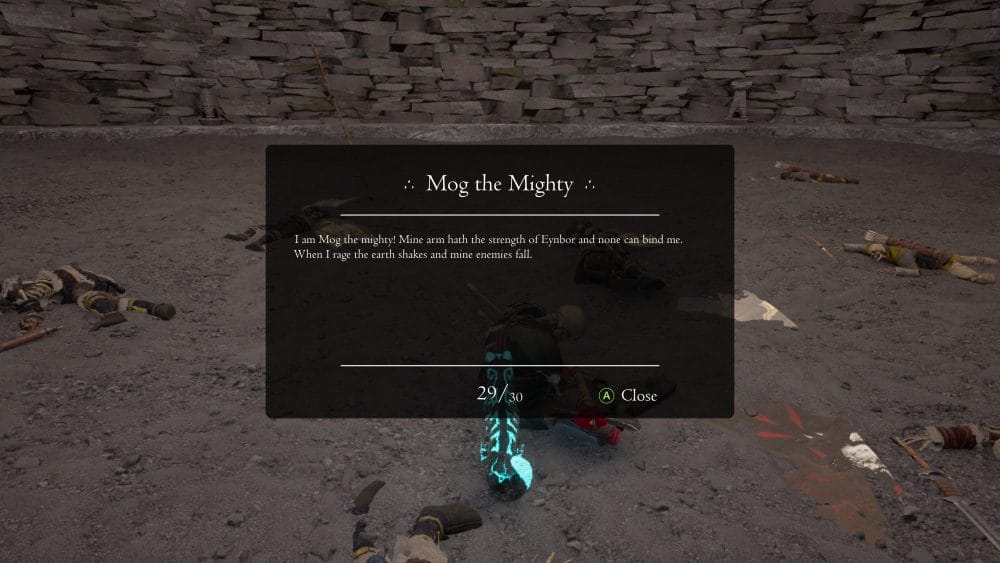
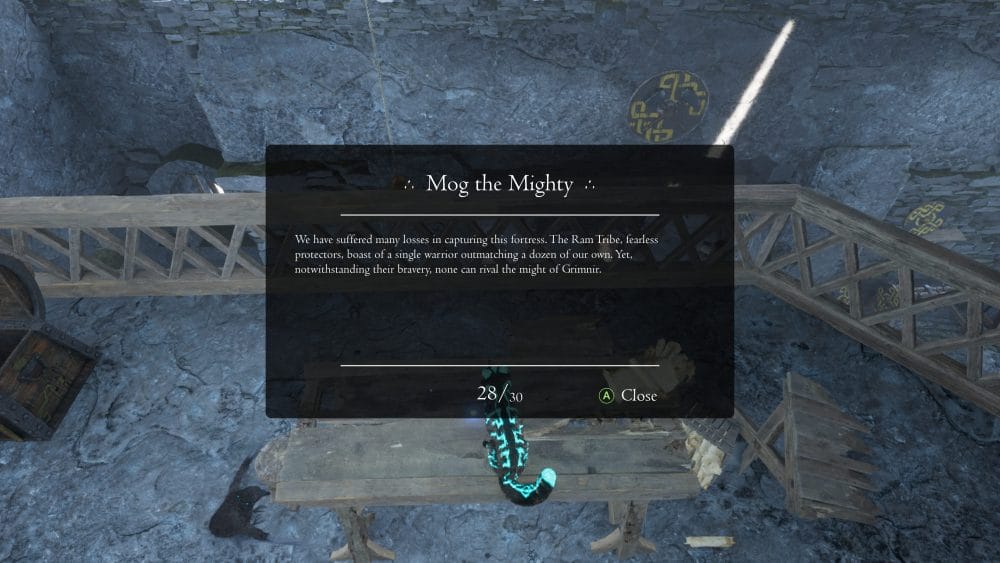
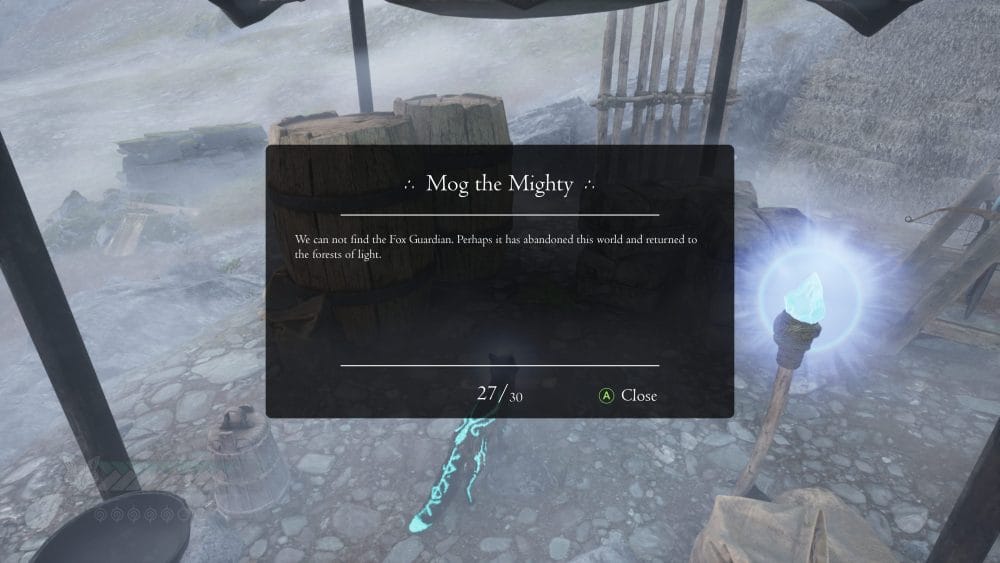
Mog the Mighty
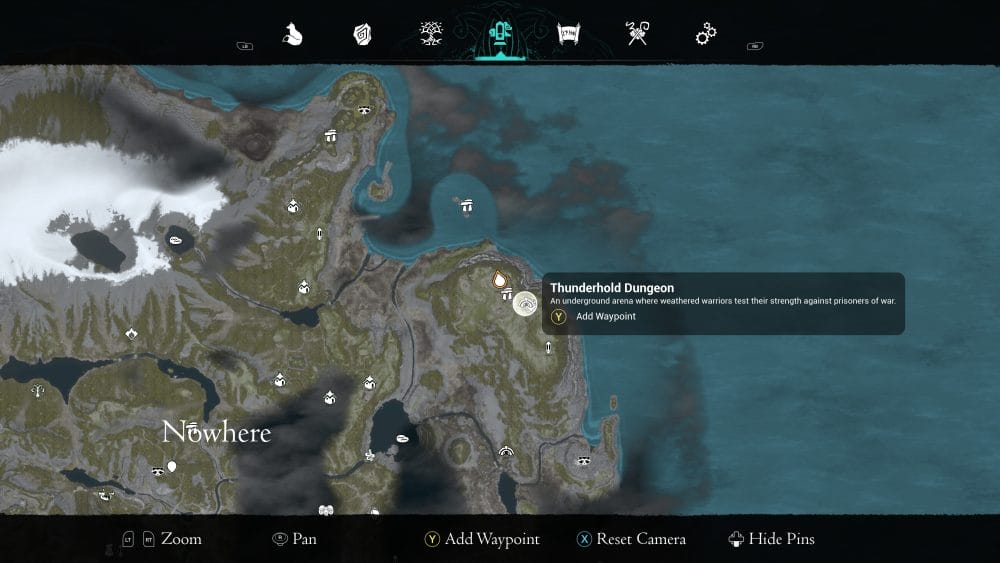
Mog the Mighty (1/9) – Stormvale, Thunderhold Dungeon
Inside Thunderhold Dungeon. The entrance is on the cliffside behind the Stormvale portal.
Mog the Mighty (2/9) – Ashlands, Grimhold Sanctum
This is an area you have to go to, where you find one of the relics. It’s right in your path as you head towards the entrance. Lower part of the left side of Ashlands.


Mog the Mighty (3/9) – Mosswood
In the first open area after arriving in Mosswood. As you progress, with the coast on your right, you’ll spot some shipwreck Longboats. A little to the left of those is a small shelter with a brown cloth covering it. The scroll is on a sleeping bag in front of that.


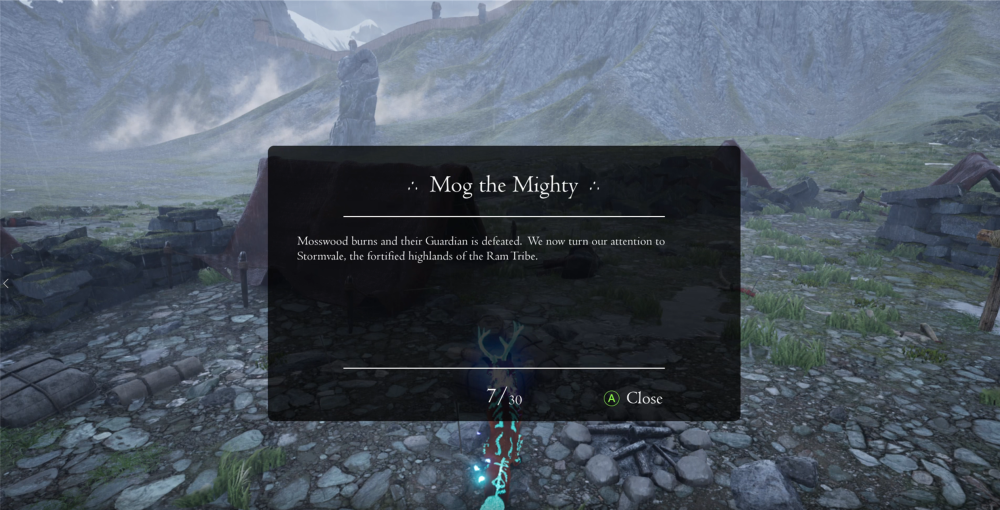
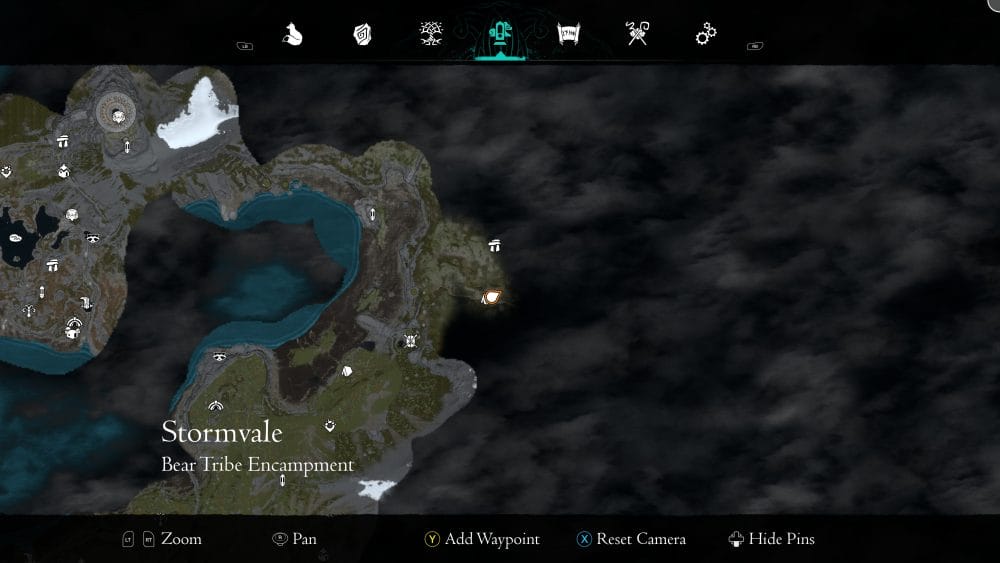
Mog the Mighty (4/9) – Stormvale, Bear Tribe Encampment
As you head to the entrance of Stormvale, you’ll arrive in the Valley of the Ancients. You’ll find the scroll near some tents in the Bear Tribe Encampment on the way to the main entrance to Stormvale.
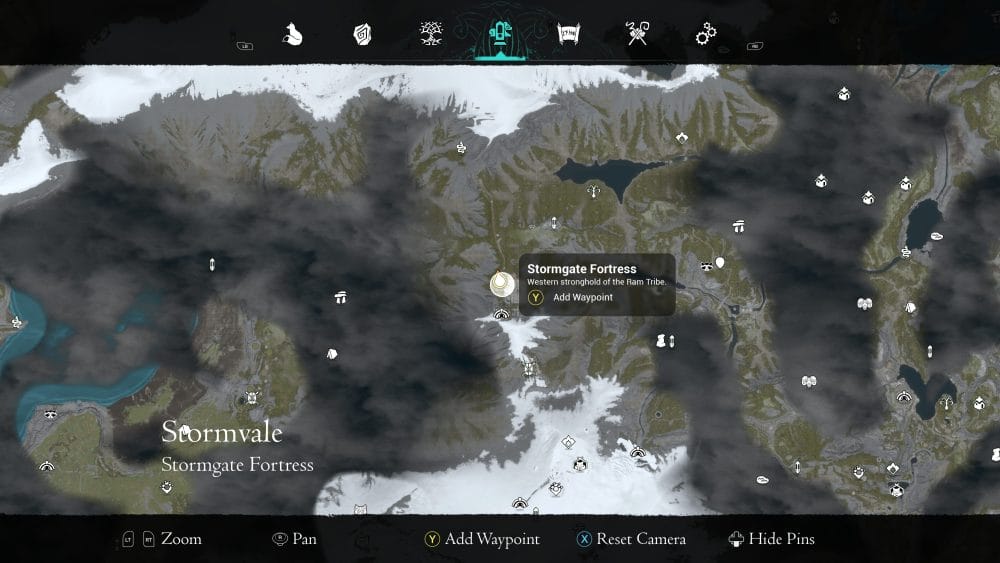
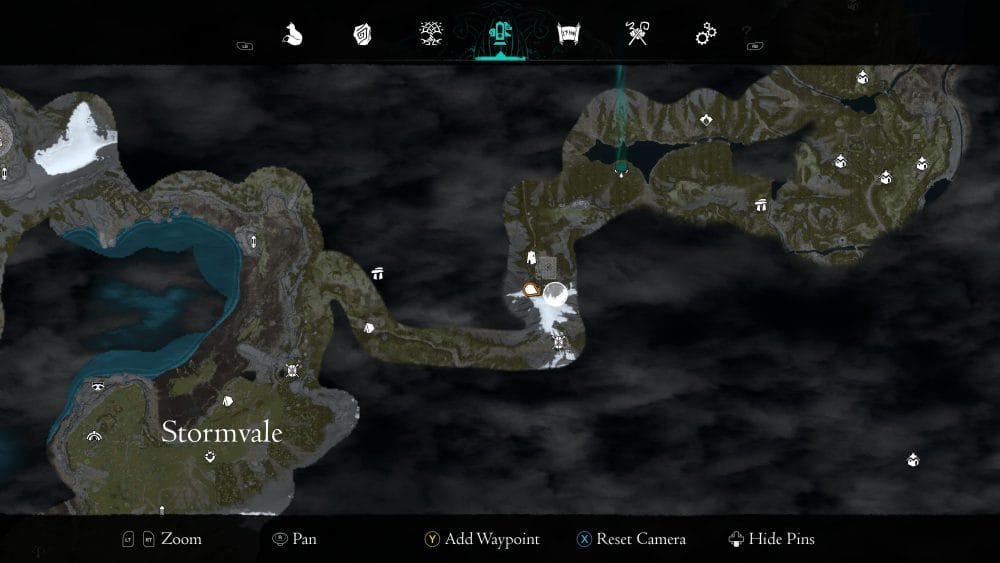
Mog the Mighty (5/9) – Stormvale, Stormgate Fortress
Around the back of the building, there’s an open window you can jump in. Use Lift Glide Rune or Spirit Jump to get in.
Mog the Mighty (6/9) – Stormvale, Stormgate Tower
On entering Stormgate Tower, head upwards first. At the top.

Mog the Mighty (7/9) – Frigid Peaks, Glacier Portal
In the Glacier Portal, head to the left, at the end is a prison cell door. Once you’ve grabbed the relic in this area, this cell door will open. Head in, and the scroll is on a sled on the left.

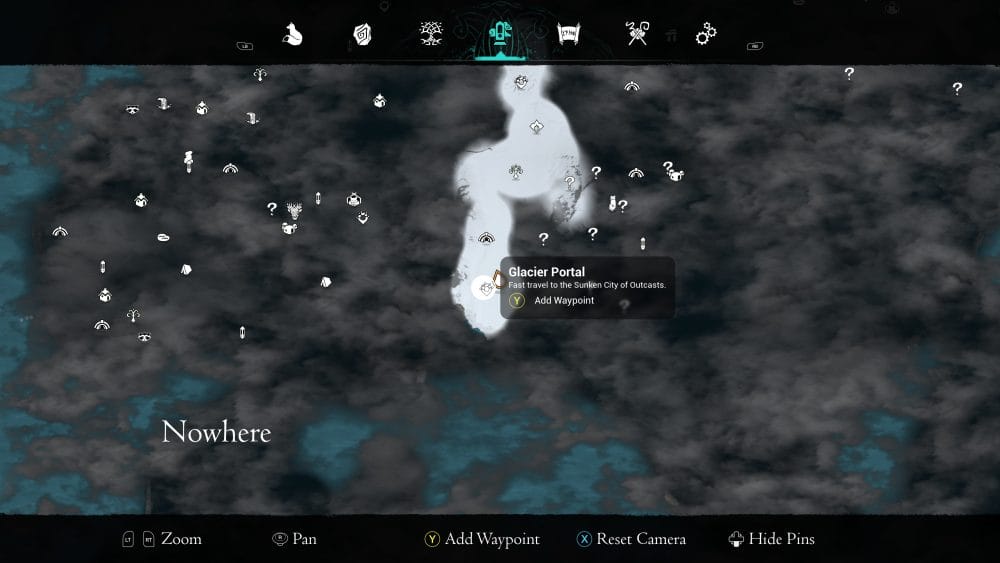
Mog the Mighty (8/9) – Frigid Peaks, Sunken City of Outcasts
You will arrive at the Sunken City of Outcasts as a matter of progress through the Thal’dulian Glacier. You should arrive in a large long room, with a wolf staute in the middle, filled with water. You need to get to the top level, on the back left to find the scroll. You can head here from the Glacier portal, too (head up the left stairs from the portal to re-enter this space).


Mog the Mighty (9/9) – Misthaven
At the bottom right of the area, on the coast. Not far from a Longboat and wooden structures.

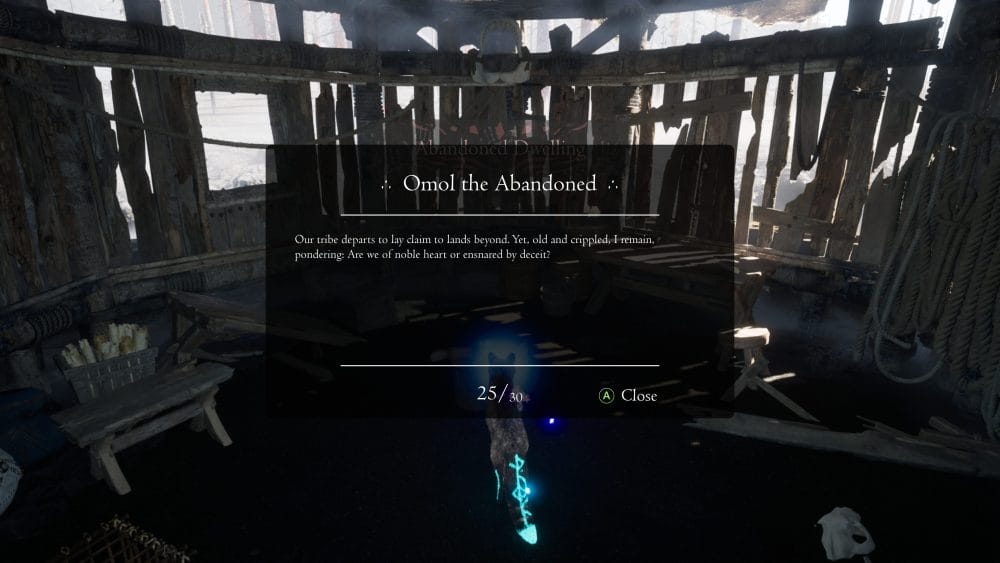
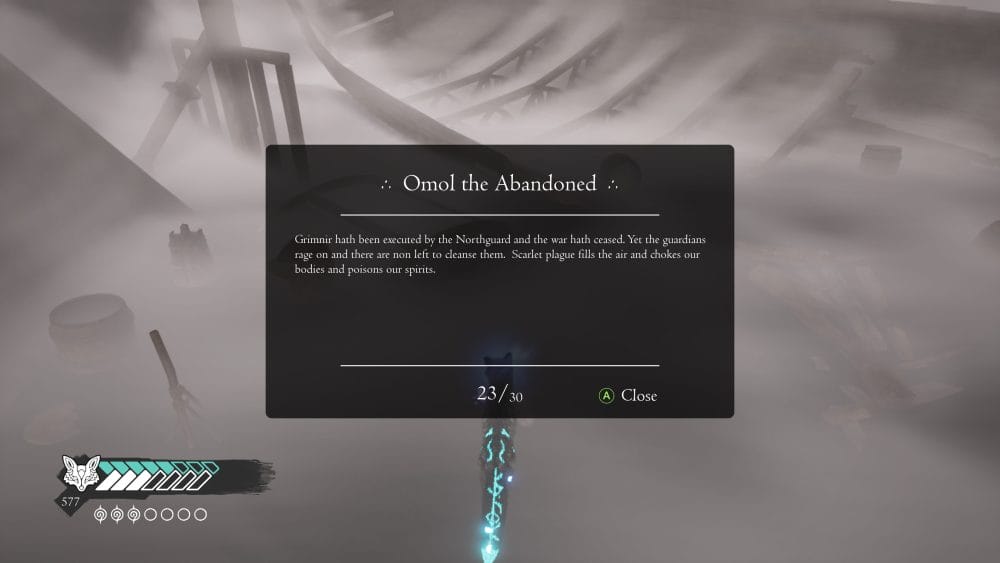
Omol the Abandoned
Omol the Abandoned (1/4) – Ashlands, Abandoned Dwelling
To the bottom left of the right hand island. In a little wooden house, not far from the coast and a Statue of Eona.

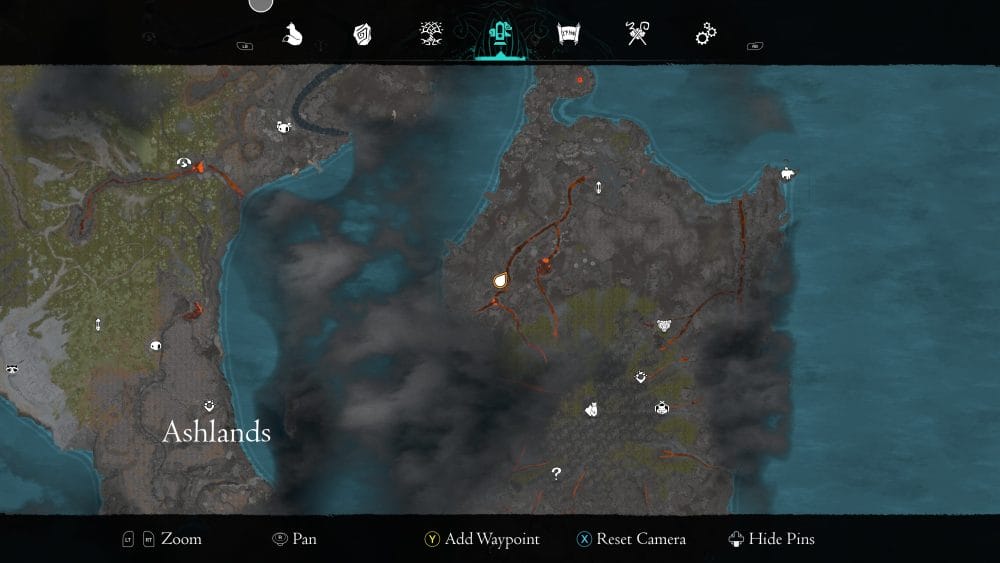
Omol the Abandoned (2/4) – Ashlands
To the lower left of the left island in Ashlands. It’s in a large cave, near the ocean.
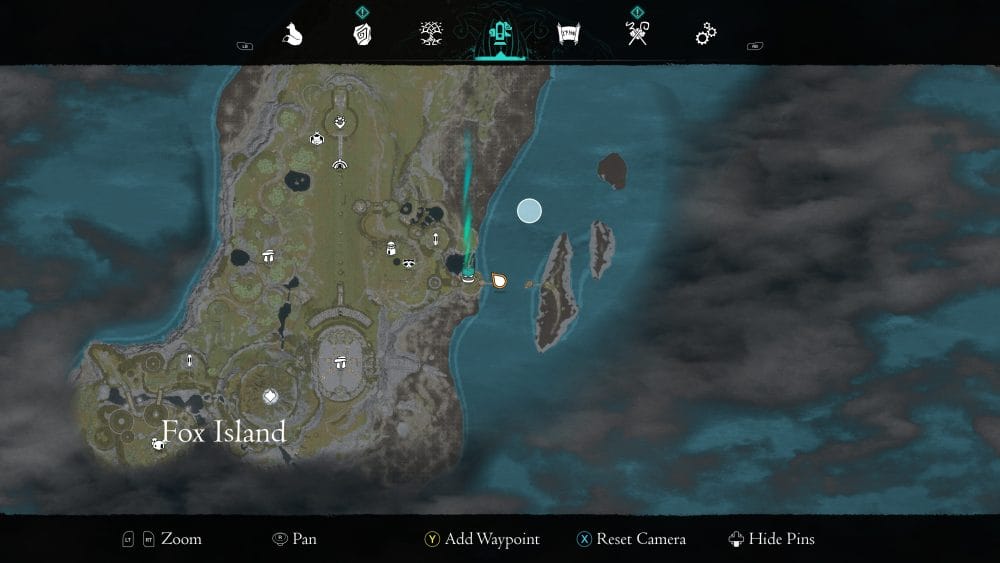
Omol the Abandoned (3/4) – Fox Island, Foxhaven Harbor
The scroll is on a jutted out circular platform that’s out on the sea from the right side of Fox Island.

Omol the Abandoned (4/4)
The northern part of the right island in Ashlands. On a wooden structure near a jutting pointed rock, near the coast.

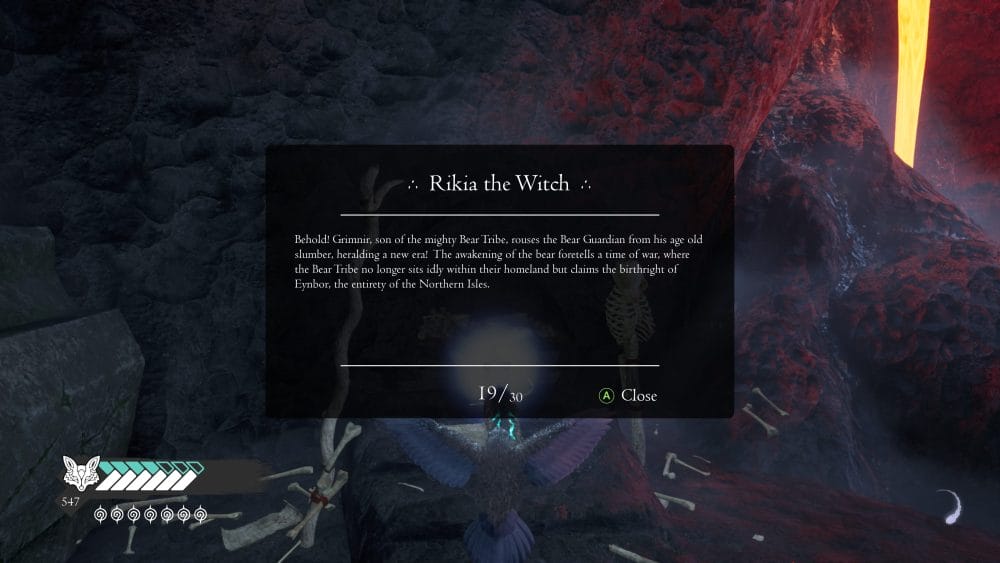
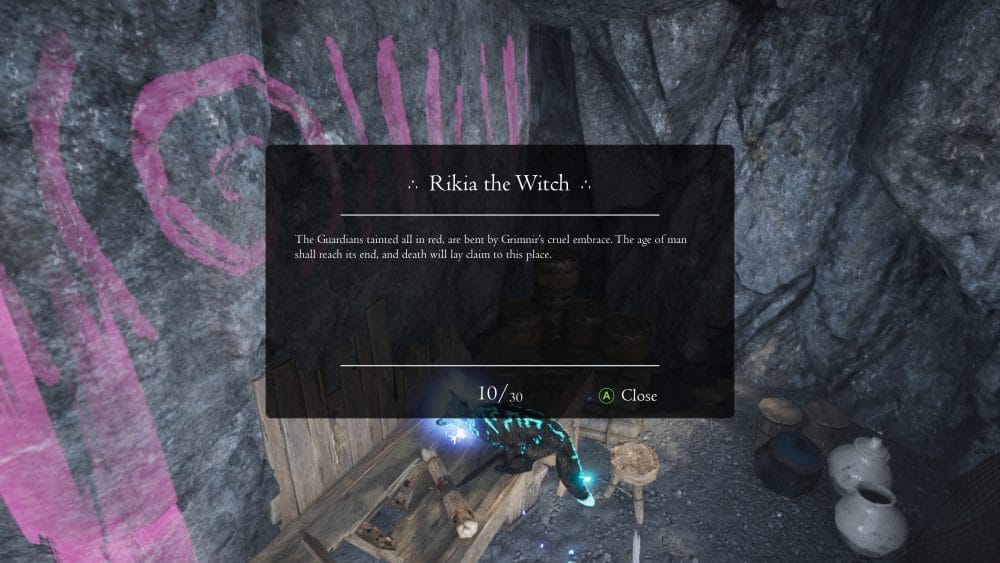
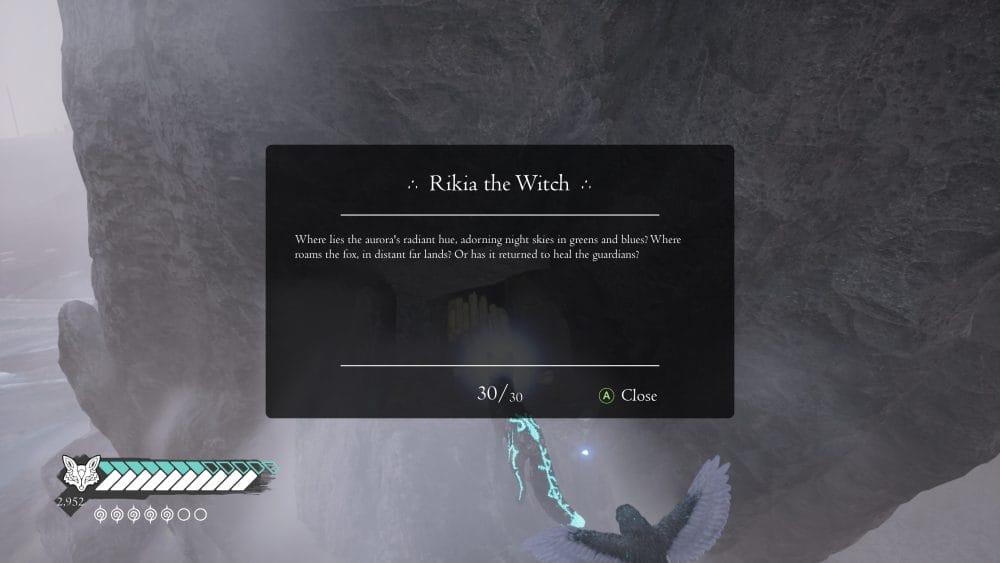
Rikia the Witch
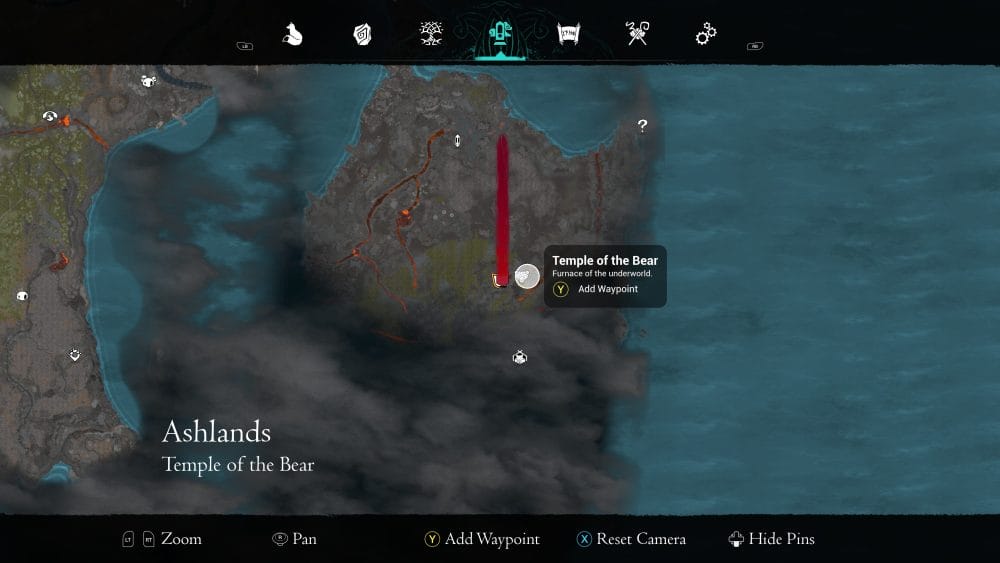
Rikia the Witch (1/3) – Ashlands, Temple of the Bear
To the right of the entrance to the Temple of the Bear, in a little alcove in the wall.
Rikia the Witch (2/3) – Stormvale, Witch’s Lair
To the far right of the Stormvale. In the Witch’s Lair, which is over the cliff edge. You’ll need to glide down to reach it.

Rikia the Witch (3/3) – Ashlands
At the top of the right side island. There’s a large rock that’s pointing diagonally out of the floor. Ascend this, it’s on the underside.

I hope that the Spirit of the North 2 skill points locations guide was useful. Be sure to look out for our other Spirit of the North 2 guides.
Spirit of the North 2 Guides
- Spirit of the North 2: Beginner’s Guide
- Ancient Tree Locations
- “Children of Eona” Guide
- Fox Den Locations
- Light Trader Location Guide
- Obelisk Locations
- Portal Locations
- Raccoon Traders Locations
- Rune Locations
- Skill Point Locations
- Snake Shrine Locations
- Unlock the Ashlands Snake Shrine
- Defeat the White Raven Boss Battle (Misthaven)
- Defeat the Stag Boss Battle (Mosswood)
- Defeat the Ram Boss Battle (Stormvale)
- Defeat the Wolves Boss Battle (Frigid Peaks)
- Defeat the Bear Boss Battle (Ashlands)
- Defeat Grimnir, the Shaman, Final Boss Battle (Fox Island)
- All Lore Scrolls Locations Guides