
Get the most out of your new Fox adventure with our Spirit of the North 2 beginner’s guide.
Spirit of the North 2 has just been released and brings our furry fox friend back to save some lost animal Guardians. By mending their pain, by exploring the land defeating them in boss battles, you’ll help heal the land. Not only that, but you’ll gain allies to take on the final boss, Grimnir, the Shaman.
There are a lot of puzzles and secrets scattered across the world of Spirit of the North 2, some being trickier than others. Not only that, but there are very few directions or clues as to what the deal is with the game. With that in mind, we’ve pulled together some top tips to get you started.
Crystals and Jars
First things first. To do all the things you might want to do, or come across in the world of Spirit of the North 2, you’ll need money (because even in a derelict Ancient World, currency is a thing). In Spirit of the North 2, crystals are your currency.
You’ll find them mainly in breakable jars scattered throughout the land. They’re usually white or blue. Just walk through them to break them open. Later on, bigger jars with a Ram motif on them will appear. You’ll need to use the dash ability (which you get later on in the game) to break those.
You have a limit for crystals. This can be upgraded using skill points (see below). You can also store excess crystals at your Fox Dens (see below). A nice feature is that you can carry excess to your carry capacity of crystals. If you are over your limit, the number in the bottom left corner of the screen will be red. If you die whilst the number is red, you will lose any excess crystals over your carry limit.
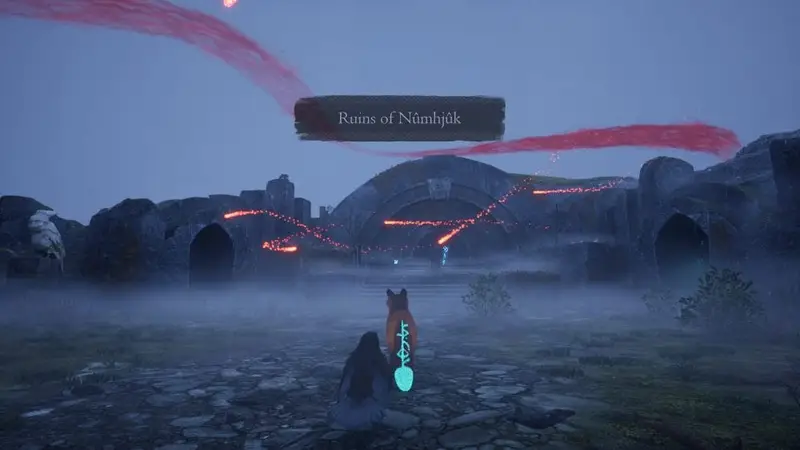
Look to the Sky
One of nice touches I liked about Spirit of the North is the visual cues in the sky for finding you way. If you get lost, for the main objective anyhow, you can look up to the sky to help get some direction. Your key items in each of the game’s six main areas are indicated by a red ribbon in the sky. Follow those to the location they are coming out of to find a key item, or indeed the Temple of an animal Guardian.
If you place a waypoint on the map, this will also appear in the sky as a beam of light. Note that this will disappear as you get close, and the location you’re looking for might be below you.

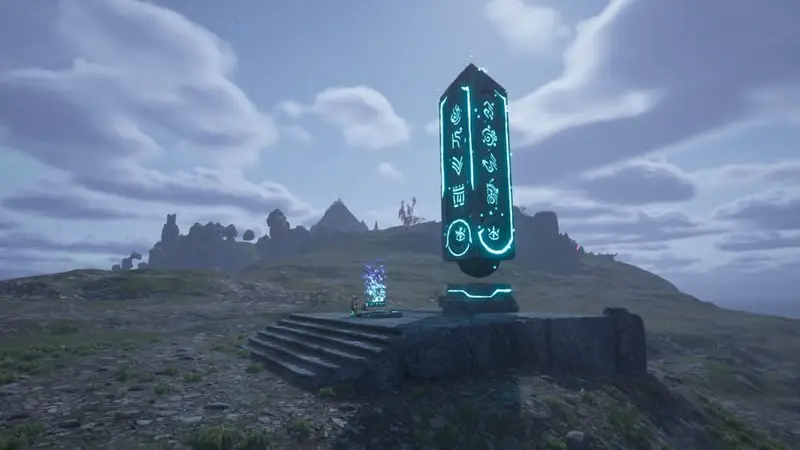
Obelisks
Obelisks act like the synchronization points in Assassin’s Creed titles. Reach an Obelisk and activate it to reveal a portion of the map and any areas of interest. These will be indicated on the map with a ‘?’ if you haven’t already discovered them. Do note that this doesn’t reveal smaller locations or collectibles (such as scrolls).
Obelisks cost crystals to activate. The cost to activate increases by area. The most expensive one I found was 175 crystals. The first one was 15. I advise always having some crystals to hand should you come across an Obelisk. They’re pretty easy to spot. Do note that the activation point (where you pay the crystals) is sometimes in a different nearby location.
Wisps
You need wisps. Wisps are red orbs that fly around the map. Sometimes they appear spontaneously in a cluster (what’s the collective noun for a group of wisps?). Other times they appear as a result of solving a puzzle or performing a certain action in the world.
You’ll need wisps to get into the main objective areas to collect a key item (where the red ribbons go). You’ll also need wisps to cleanse Ancient Trees (see below).
Wisps are bloody annoying as they’re nippy. You’ll often have to chase them down, and it can be easy to lose them. You can only carry so many, but this carry capacity can be upgraded slightly using skill points. I did find myself running out of space a few times. You can store wisps as your Fox Den (see below).
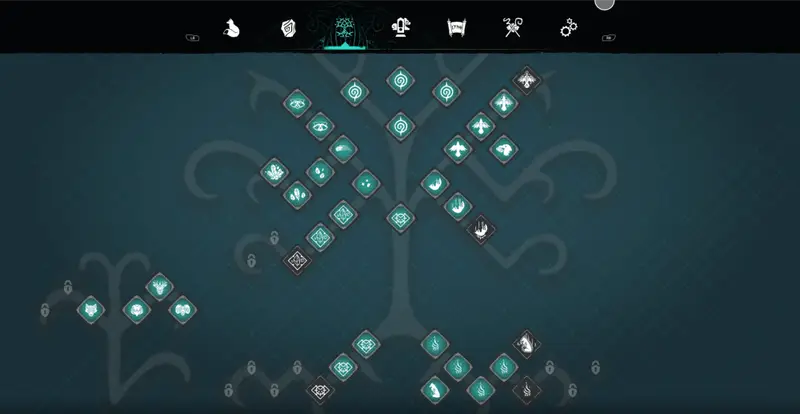
Skill Points
You’ll find skill points throughout the map. Often as a reward in a treasure chest for exploring. Some of these are more hidden than others (for example, you’ll get one for opening the Snake Shrine in Ashlands area). You’ll also get skill points for cleansing Ancient Trees (see below).
Use skill points to upgrade your abilities and carrying capacity. Some of the most helpful early upgrades are increased gliding time, and wisp carry capacity. You can also upgrade your health, crystal carry capacity and spirit energy capacity.
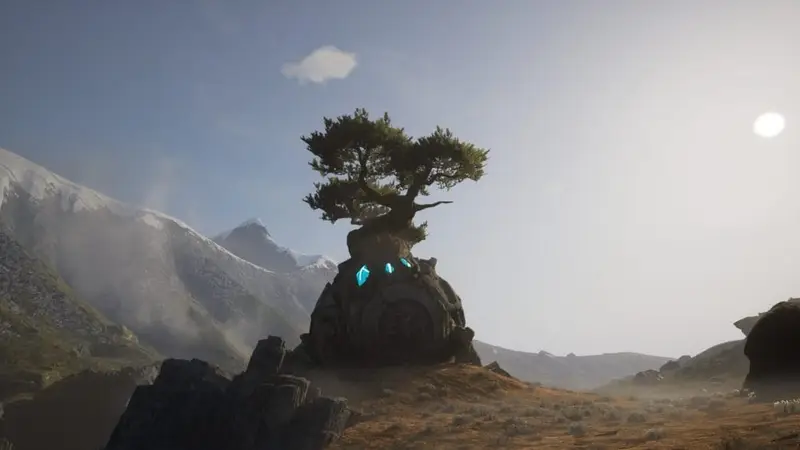
Ancient Trees
Around the map will be Ancient Trees. They are areas of corruption and you must cleanse the surrounding smaller trees to cleanse the larger central tree. You will need wisps to do this. Early on you will need fewer wisps and further in the game will need more. Cleansing an Ancient Tree will earn you a skill point. You will know you are near one of the small trees because your wisps will appear above your Fox.
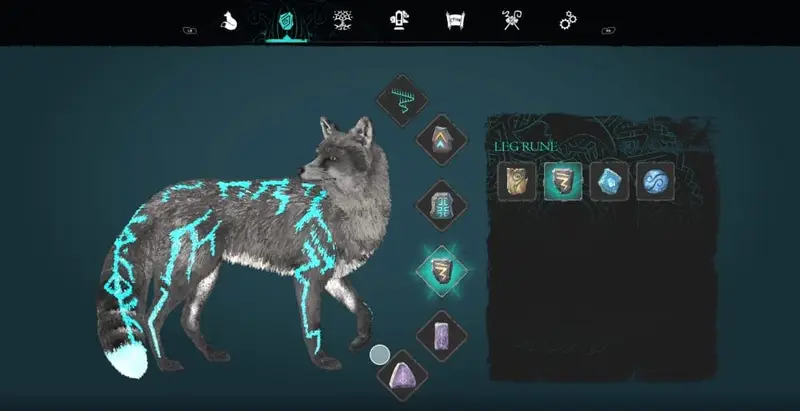
Runes
Runes grant you a variety of abilities and skills. These can range from damage protection, improved traversal abilities (such as faster running or double jump) as well helping you spot things in the world (such as nearby wisps or collectible scrolls).
You’ll receive some key ones as you progress through the game. Others can be bought from Raccoon Grotto’s using crystals.
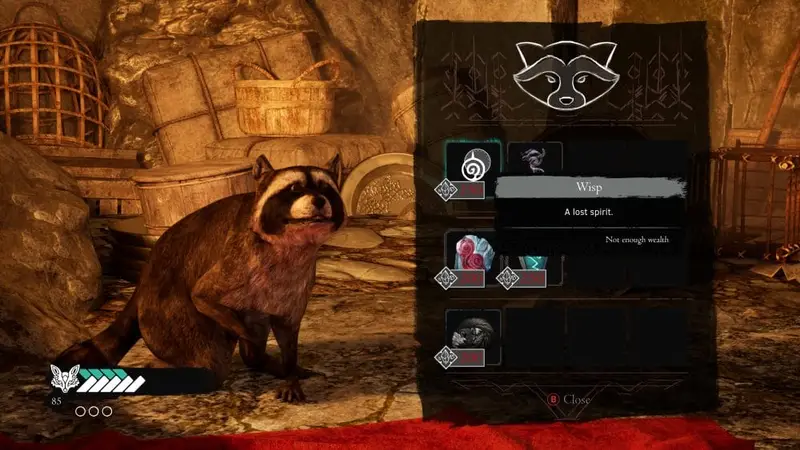
Raccoon Grottos
Raccoon Grotto’s are Spirit of the North 2’s shops. Run by crystal hungry raccoons, they are scattered across the map, often in caves or structures. They sell wisps, which they don’t seem to run out of, as well as new runs and keys to your Fox Dens (see below).
They also sell Fox skins and eye colour cosmetics too.
You can unlock a discount of 5% and then 10% using skill points.
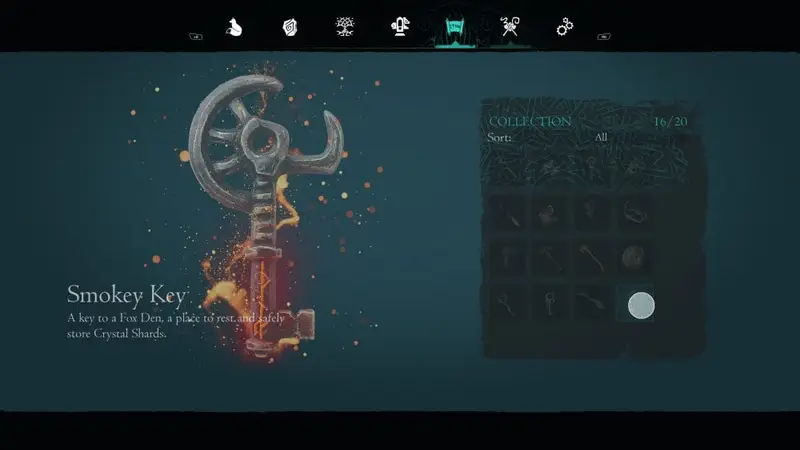
Fox Dens
Everyone needs a home base to return to. In each area of the game are Fox Dens. Locations that you can go to rest and recuperate. You can also use Fox Dens to store excess wisps and crystals. You can also restore your health by resting on a hay bed.
Each Fox Den has a portal for fast travel too (see below). To access the different Fox Dens, you need to purchase the correct key from a Raccoon Grotto. Doing so will add the location to the map. Head there and you’ll have access (as long as you have the key).
There’s also a room that has two perches in it. One of them will have a White Raven on it once you’ve beaten the first boss. You can unlock an upgrade (skills menu) to send it out to find loot. Return here occasionally to boost your crystal count.
You can return to the last Fox Den you rested at by pressing down on the D-Pad (Xbox).
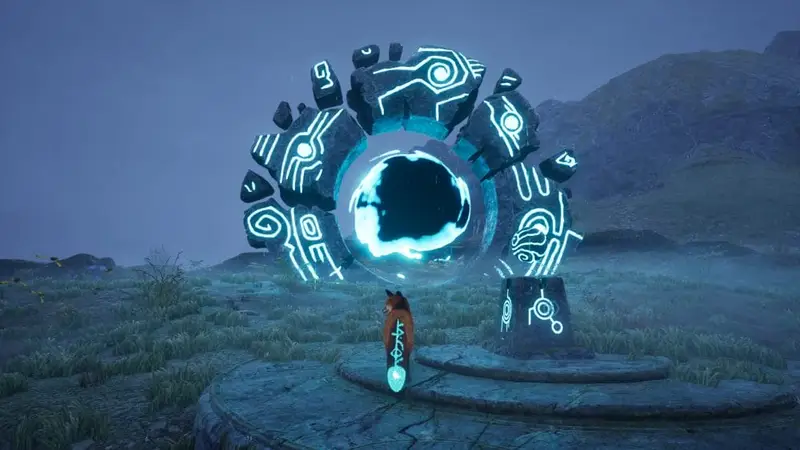
Portals
Portals are for fast travelling. You can find them at every Fox Den (you’ll need to pay 250 crystals to open the door to the portal). They’re also scattered in different locations around the map. Approaching the portal activates them and enables them for fast travelling. Use the totem with the spherical stone to change which location you want to travel to and then jump in to fast travel.
You’ll Be Back
There are a number of puzzles, collectibles, chests and areas you won’t be able to access when you first come across them. Spirit of the North 2 has some Metroid-lite elements where you unlock new abilities and skills as you progress. Therefore I would advise making notes, or remembering where some things were so you can return when you’re skilled up.
For example, you’ll encounter some big stone doors with a Ram’s head on it in the first area. You won’t be able to get past those until you unlock the dash ability in the third area.
Equally, there’s technically nothing stopping you from exploring most of the whole map, but there are some areas where you’ll die automatically. One area is too cold, and the other is too hot, for instance. You’ll need to defeat certain bosses to grant you that protection. Once you’ve got it, explore away.
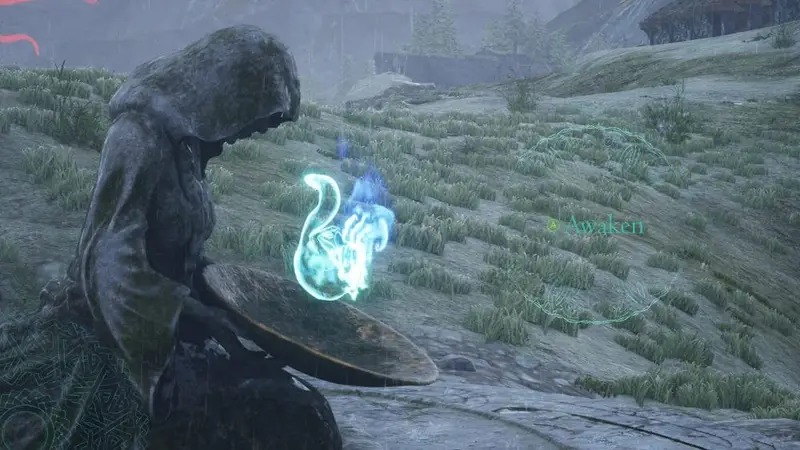
Death is Not the End
You’ll likely die in Spirit of the North 2. When you do, you’ll respawn at the last Shrine of Eona you were near. These are the statues holding the large bowl with a blue flame in it.
When you die, you’ll drop any crystals you were carrying at the place you died. If you return to where you died you can retrieve them, like Dark Souls. However, unlike a Souls game, if you die before returning to your grave, you won’t lose your crystals forever. You can still go back and grab them.
Point of No Return?
There isn’t one. Once you’ve defeated the last boss, you return to the open world and can continue exploring, mopping up and having a jolly good time.
Mushrooms
If you see some sparkly mushrooms on your travels. Head to them and wait to see where they pop up. They’ll direct you around the map. Some may appear further away, check the direction the mushrooms were heading.
At the end of your chase, you’ll encounter a turtle with a chest on its back (don’t ask). It usually contains a cosmetic fur or eye colour.
Hopefully, that’s enough to get you going in your adventure in Spirit of the North 2. Be sure to check out our other Spirit of the North 2 guides.
Spirit of the North 2 Guides
- Ancient Tree Locations
- “Children of Eona” Guide
- Fox Den Locations
- Light Trader Location Guide
- Obelisk Locations
- Portal Locations
- Raccoon Traders Locations
- Rune Locations
- Skill Point Locations
- Snake Shrine Locations
- Unlock the Ashlands Snake Shrine
- Defeat the White Raven Boss Battle (Misthaven)
- Defeat the Stag Boss Battle (Mosswood)
- Defeat the Ram Boss Battle (Stormvale)
- Defeat the Wolves Boss Battle (Frigid Peaks)
- Defeat the Bear Boss Battle (Ashlands)
- Defeat Grimnir, the Shaman, Final Boss Battle (Fox Island)
- All Lore Scrolls Locations Guides
- The Fox Tribe Lore Scrolls Locations Guide
- The Raven Tribe Lore Scrolls Locations Guide
- The Stag Tribe Lore Scrolls Locations Guide
- The Ram Tribe Lore Scrolls Locations Guide
- The Sun Wolf Tribe Lore Scrolls Locations Guide
- The Moon Wolf Tribe Lore Scrolls Locations Guide
- The Bear Tribe Lore Scrolls Locations Guide


12 Responses
Have you by chance figured out what the door with the purple light and turtle statues along the beach near the Tower of Runa is? I’ve been wracking my brain, hoping it’s the traveling trader’s home or something, but cannot figure it out 😮â€ðŸ’¨
Apparently it’s a possible tease by devs for future DLC/content, apparently it isn’t openable as yet (according to folk on the Discord)
Thank you, good man.
Also do you have a guide for the 20 fox furs? I have 17 at the moment, visited every possible Racoon and there is nothing new to buy so I am at a loss where to get the remaining 3 furs to get the achievement.
Hey, I’ve not done one yet, but I’m going to see if I can pull one together. There are some furs that are found in the world for soolving puzzles and stuff, so you won’t buy them all. Keep an eye out, I’ll see what I can do
Thank you, this is the only thing stopping me from getting a platinum trophy 😀
Hey, fox furs guide is up, apologies for the delay: https://gamersocialclub.ca/2025/06/04/spirit-of-the-north-2-fox-furs-locations-guide/
Thank you, I needed this
I’m stuck here… I droped a key item (storm caller) along the way and I can’t find it, so I can’t complete Temple of the Wolf and pass on to the next map. I tried to go back to the glaciar and do it again but it’s not possible. Help. Please. ðŸ™ðŸ»
Hey, the items usually reset and go back to where their original location. You can get back to the glacier area either by using the portal to get there, or by going back in the original way in or the reverse way by going through the raccoon grotto, towards the bottom of map
I tried going back. I even lit it all up again. But the rock platform doesn’t move to become reachable.
Awesome game
hi i tried to purify an ancient tree but it took me a while to get a third whisp and now it won let me interact with them or unlock the tree