

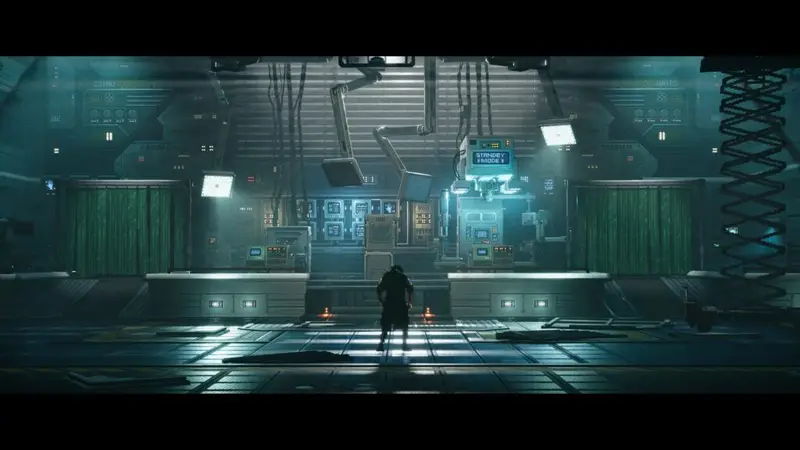
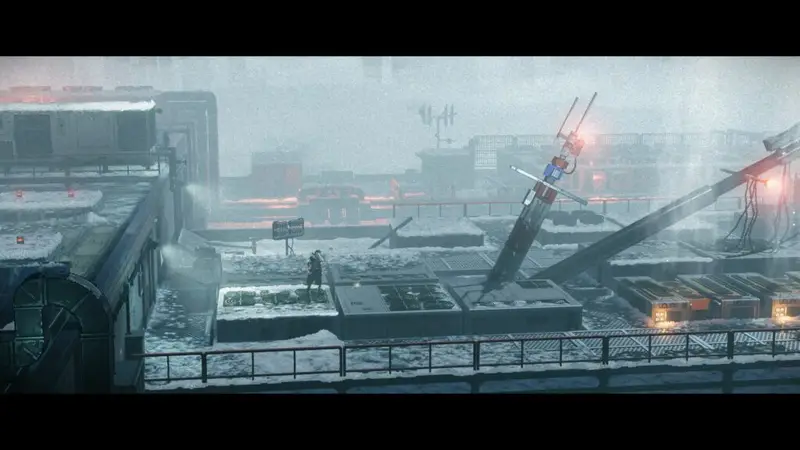
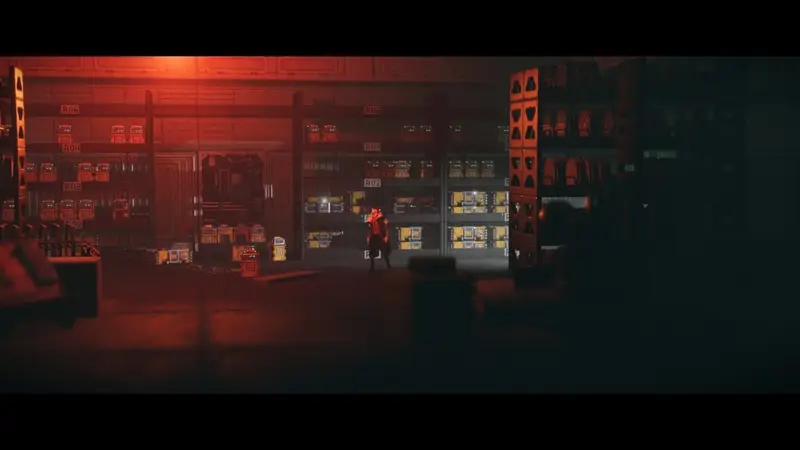
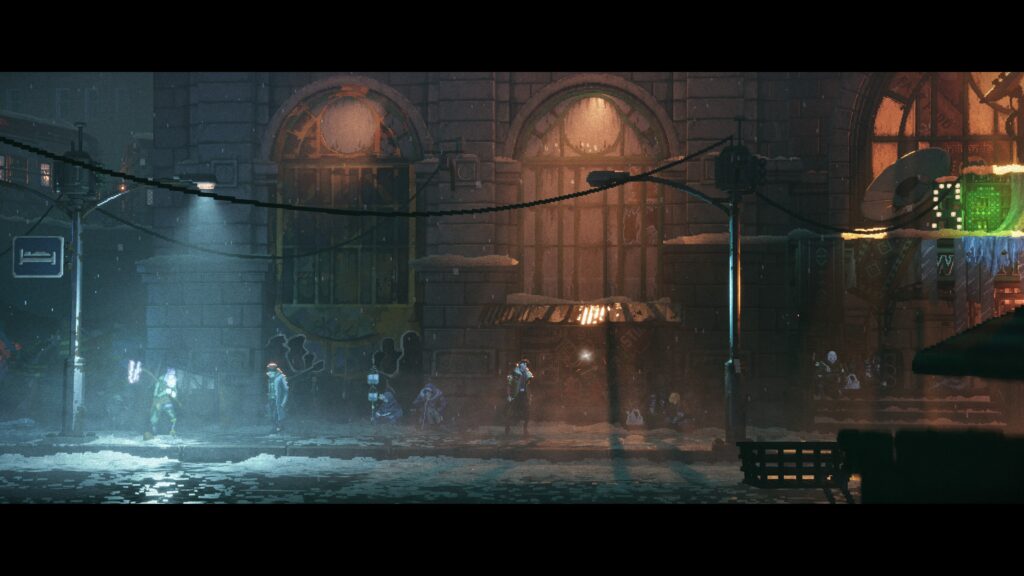
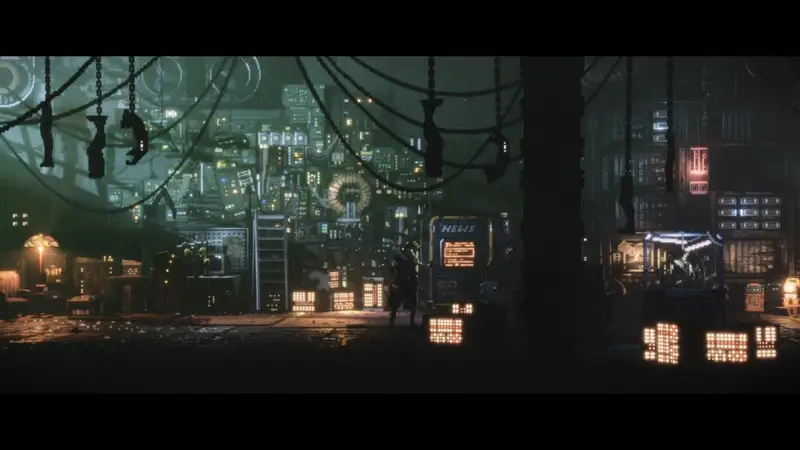
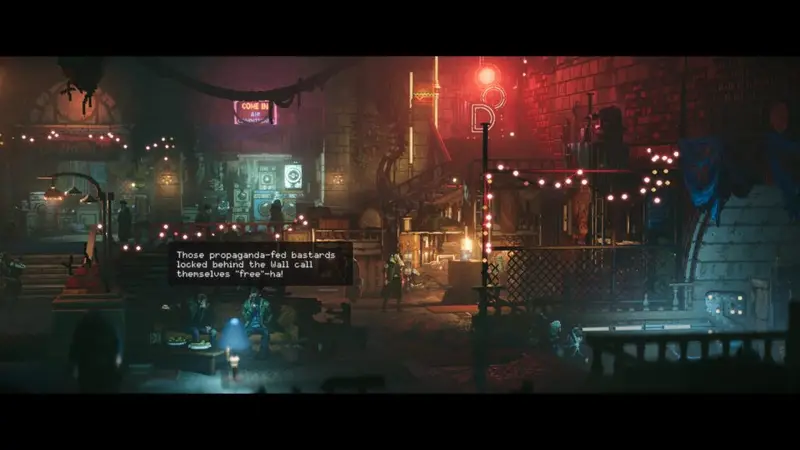
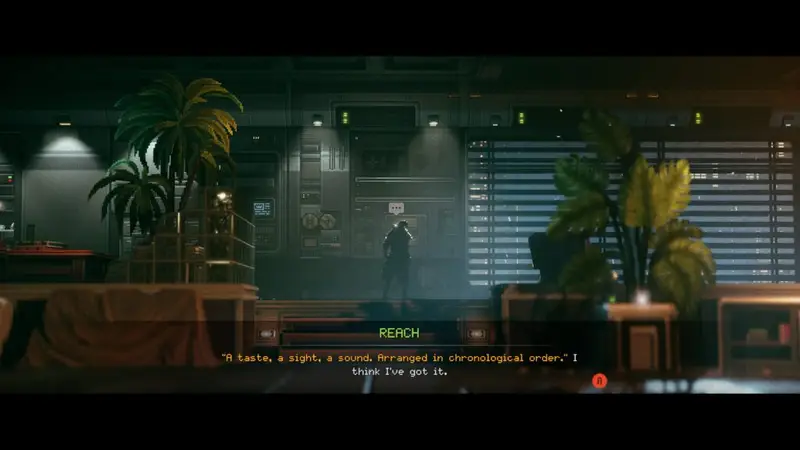
It’s hard to believe but after many, many, many delays, Replaced is finally ours to enjoy. The action-platformer set in an alternative cyberpunk dystopian 1980s America sees the story of Warren and R.E.A.C.H.. The aforementioned R.E.A.C.H. being an artificial intelligence that has unwittingly been swapped into Warren’s body. Now, trying to outrun lots of folk who want to kill him, R.E.A.C.H. must return to the lab where it all happened to try undo what has been done.
Replaced: Collectibles Guide
There are lots of collectibles / things to seek out in your adventure, including:
- Music tracks
- Scans – miscellaneous items that add to the info, lore and backstory of the game
- Weapon and pickaxe upgrades
- Health and med-stim upgrades
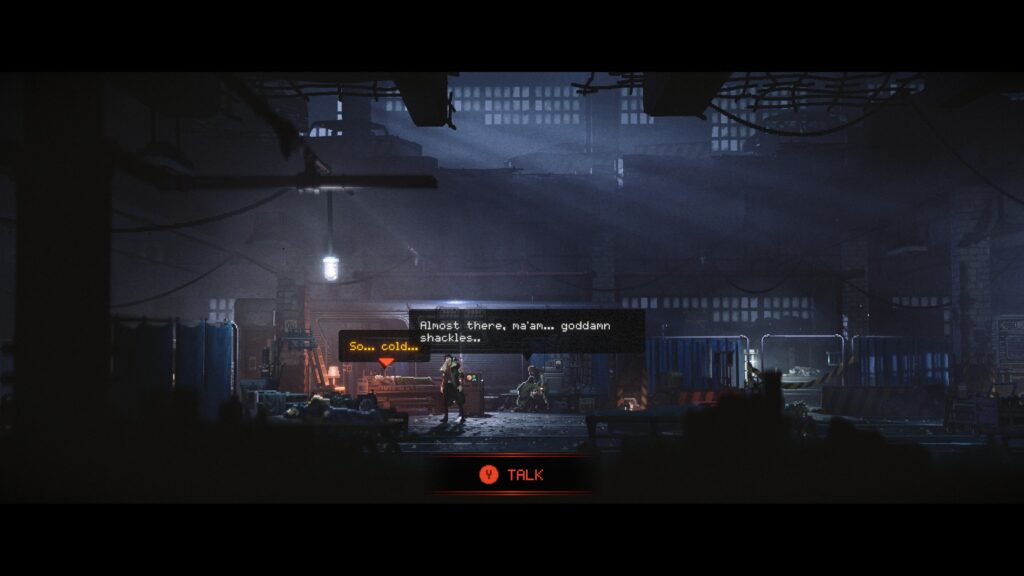
- Side quests – indicated by a character with yellow text in their speech bubble.
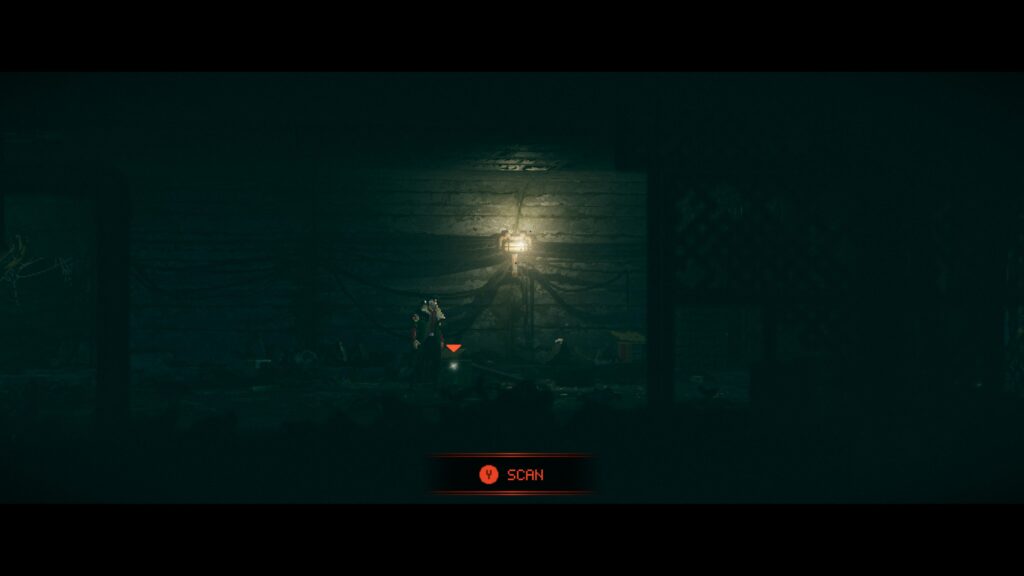
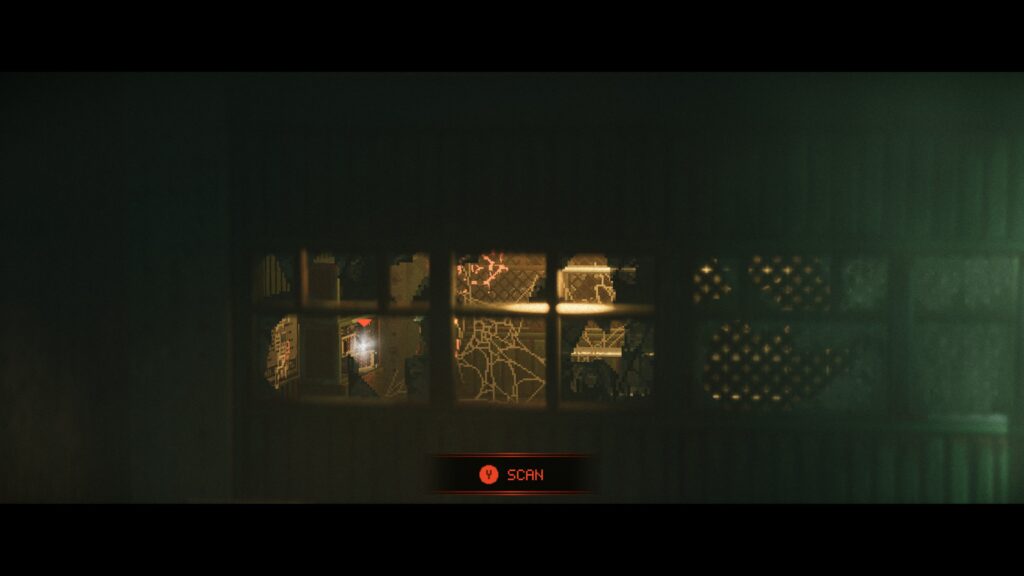
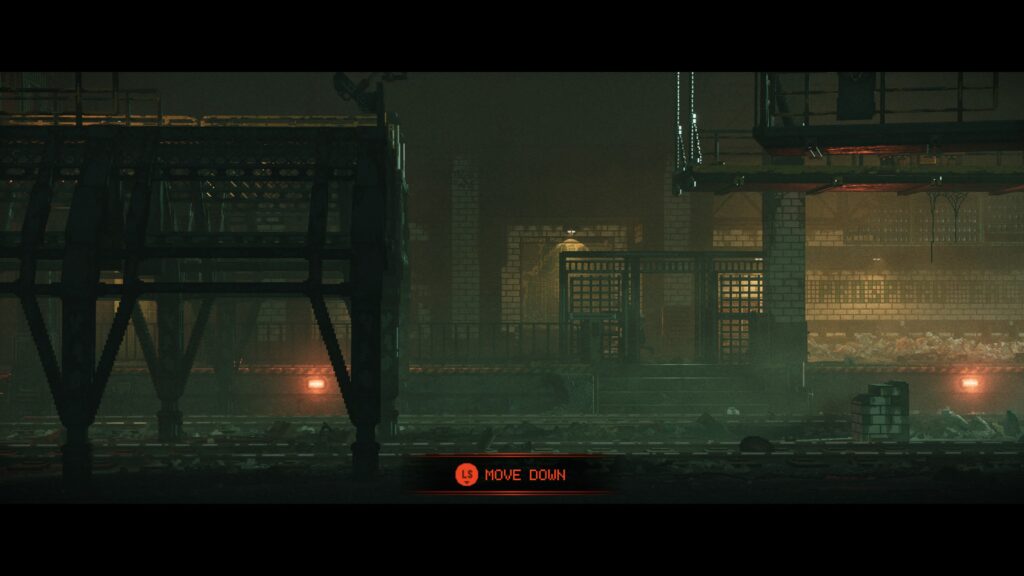
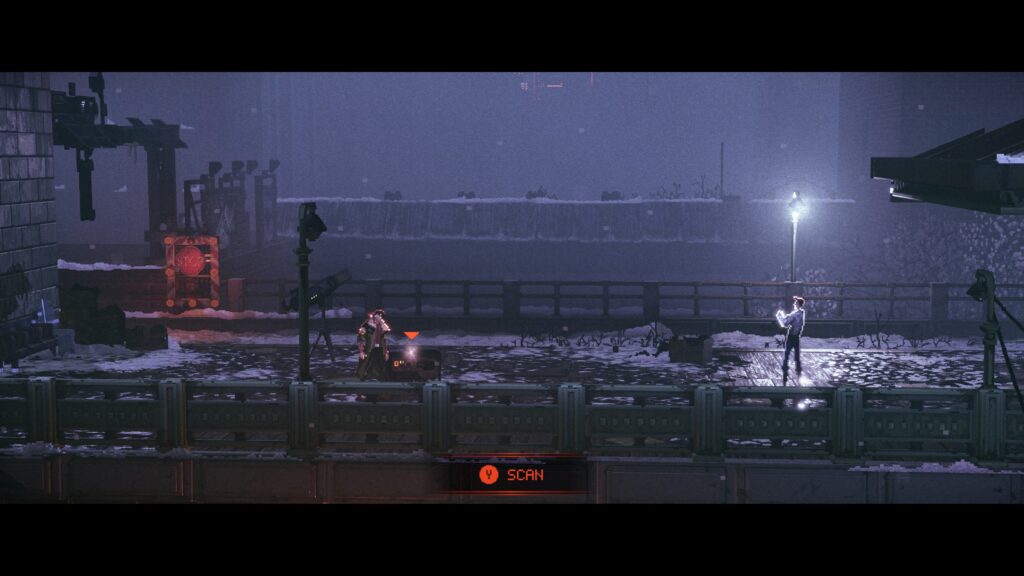
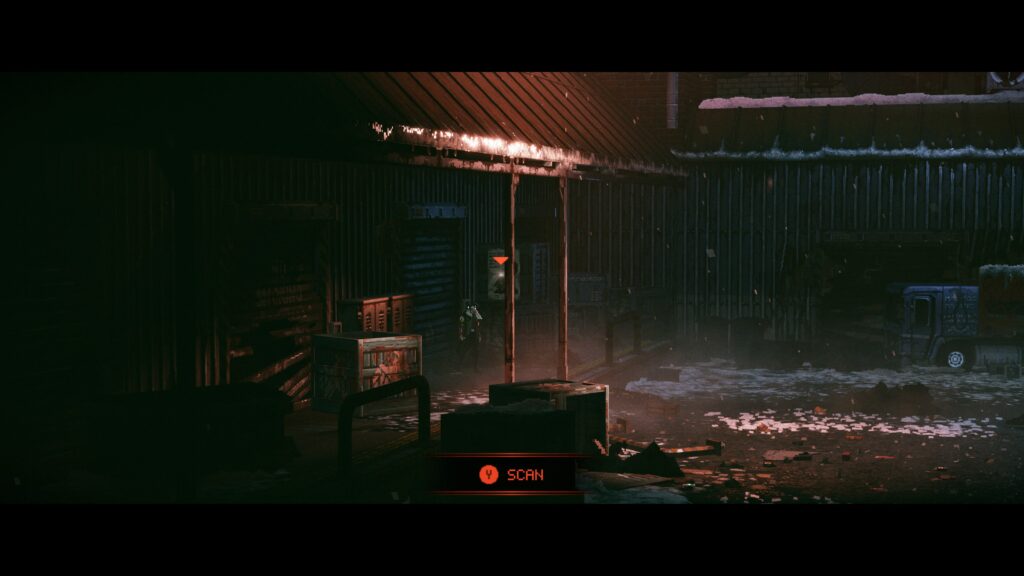
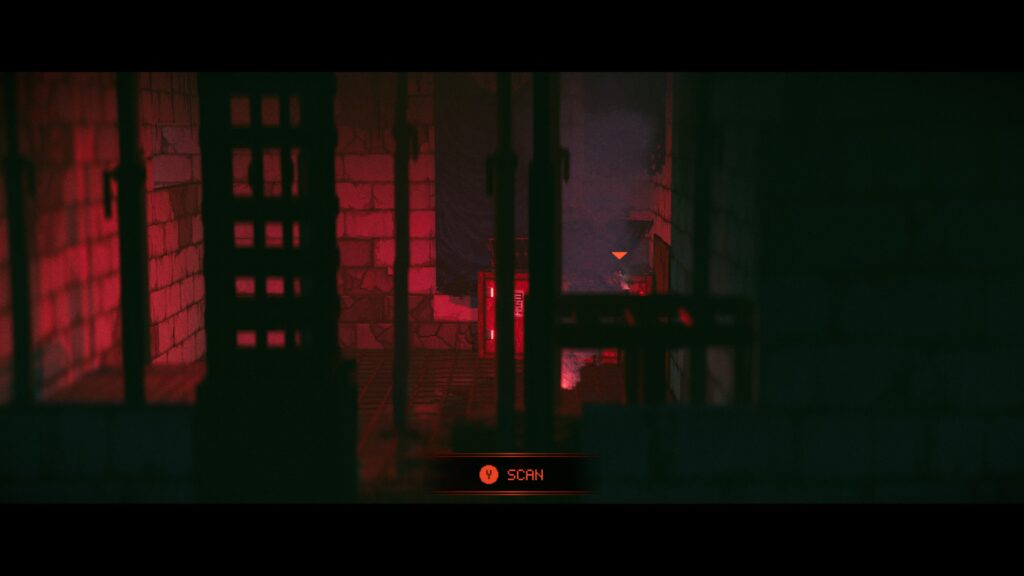
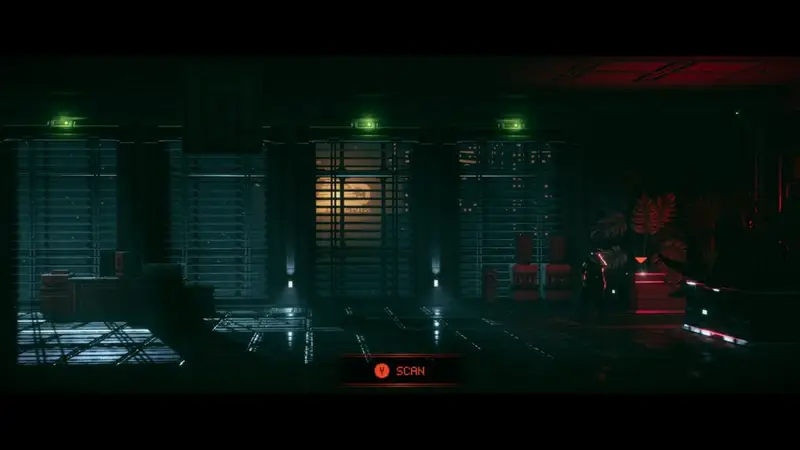
We’ll highlight the collectibles in the order that they’ve been found, not necessarily the best / most efficient way to find them. Collectibles are indicated by a white glow in the game. When you approach, you’ll get a prompt to ‘scan’.
We’ll do our best to not include any story spoilers but obviously caveat that there may be some spoilers in the locations / images used. Side quest coverage will be intertwined into the guide and key requirements will be included in the guide as they were carried out.
- Prologue
- Chapter 1
- Chapter 2
- Chapter 3
- Chapter 4
- Chapter 5
- Chapter 6
- Chapter 7
- Chapter 8
- Chapter 9
- Chapter 10
There is no chapter select, so if you miss a collectible you’ll have to playthrough again.
Prologue
From what we can see, there are no collectibles in the Prologue.
Chapter 1
You’ll know you’ve entered Chapter 1 as you’ll unlock the “Job Burnout” achievement for completing the Prologue.
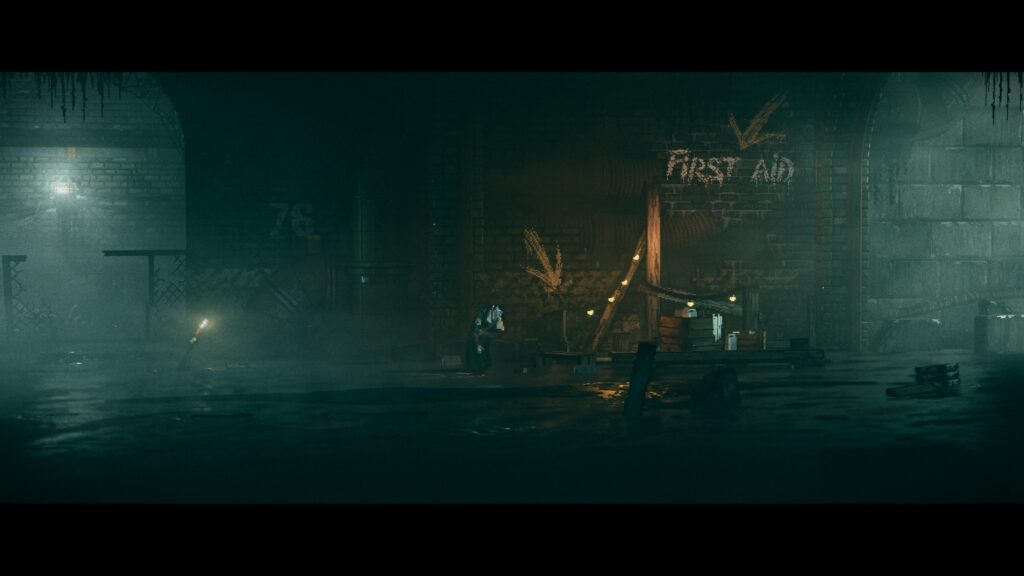
Scan – Med-Stim
When you reach the ‘First Aid’ point near the beginning of the chapter. This is an automatic unlock.
Music – Lab Rat
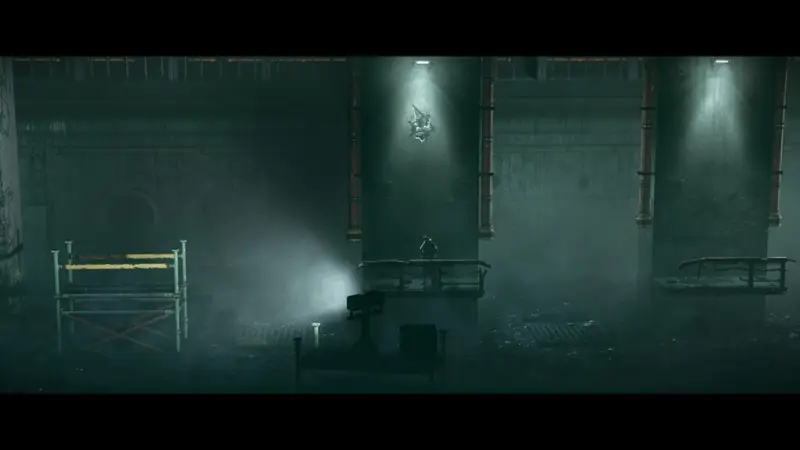
You’ll jump across a couple of gaps and move to the next section. It’s a long corridor with a pretty obvious collectible to find.
Scan – Survivor’s Memoir
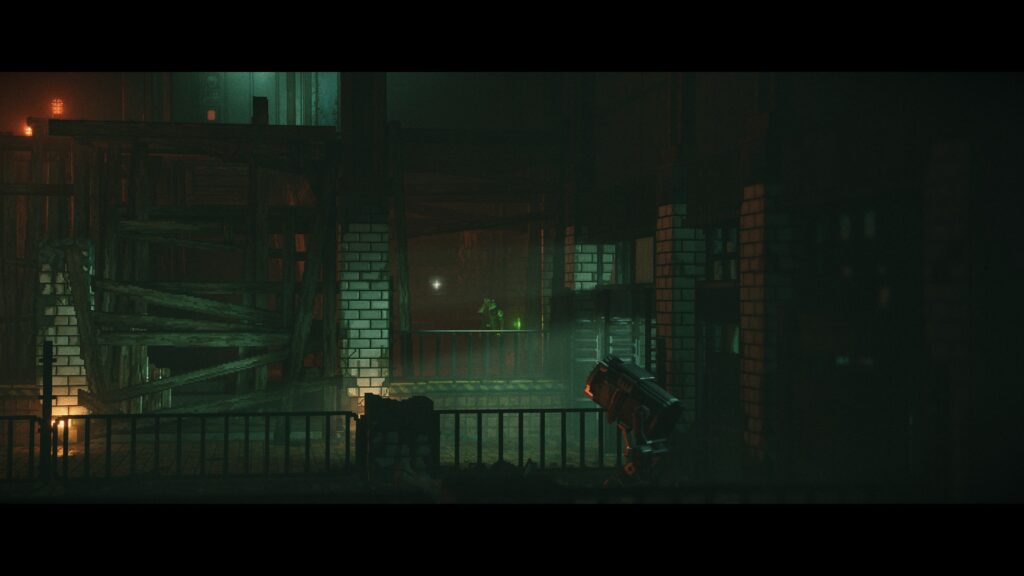
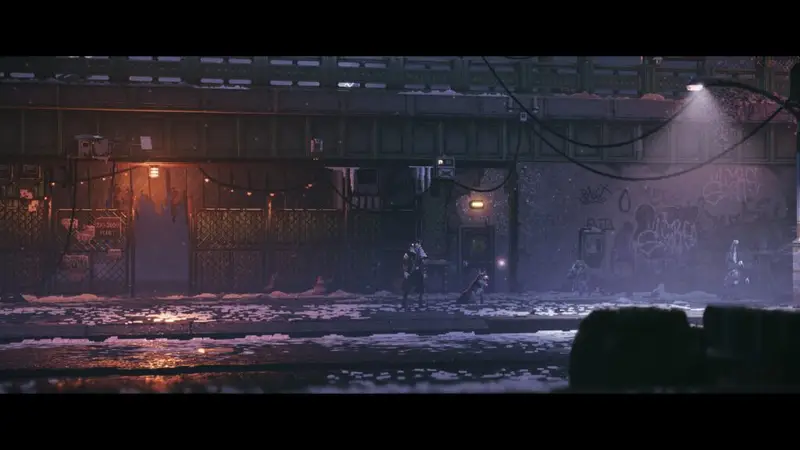
After your first combat experience with Termite Dale and the others, the collectible will be to the right before leaving this area.
Scan – The Catastrophe – 20 Year Later
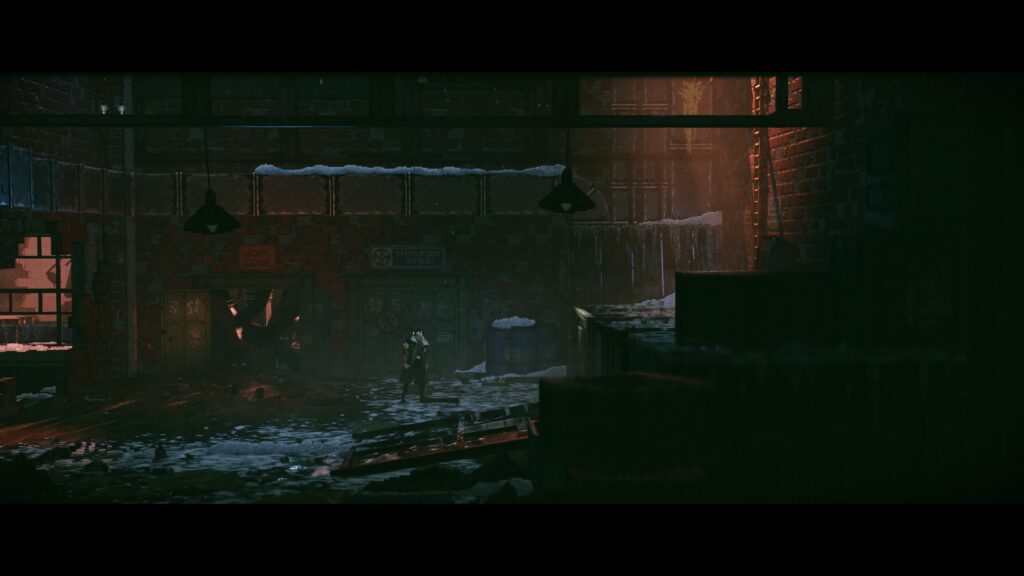
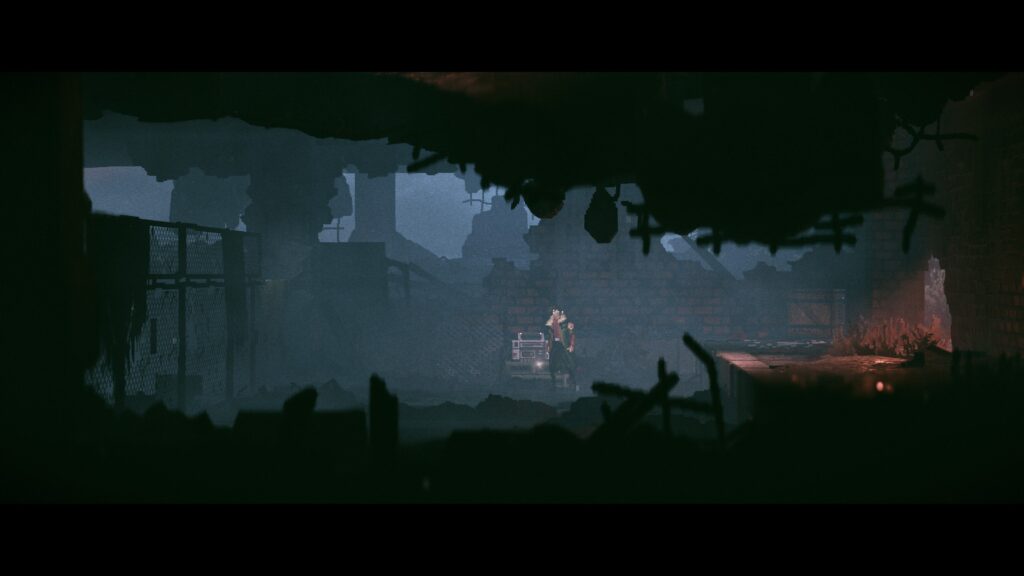
After the previous fight, you’ll head outside, head forward and you’ll go inside a delapidated shelter. To the far right of that shelter is the collectible, pinned to the wall.
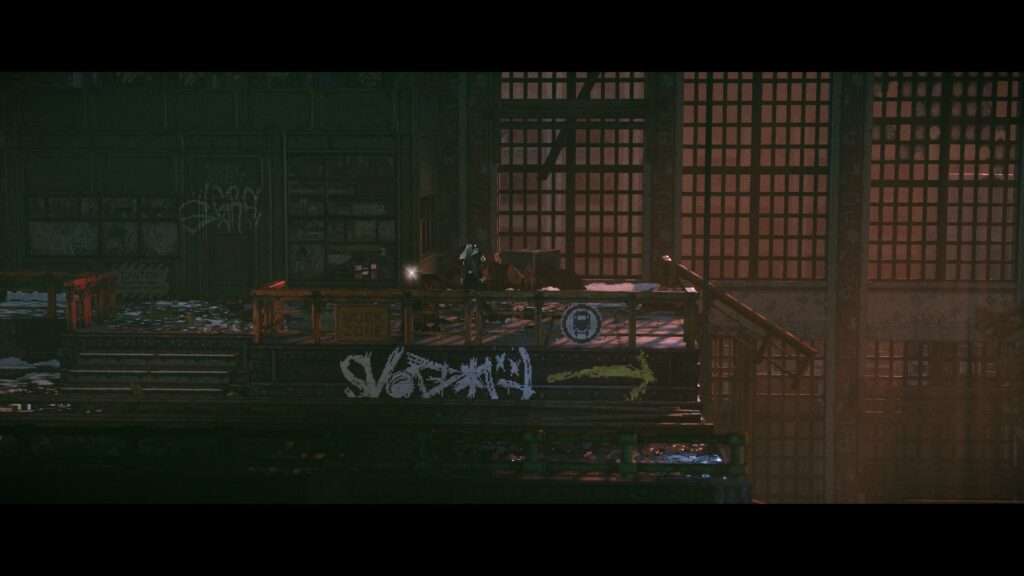
Scan – Board Game Box
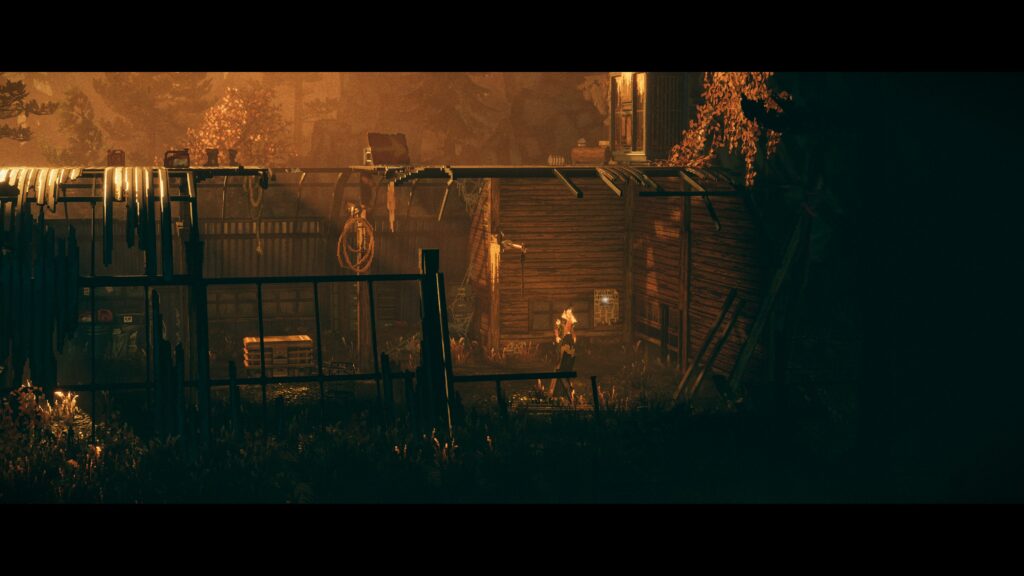
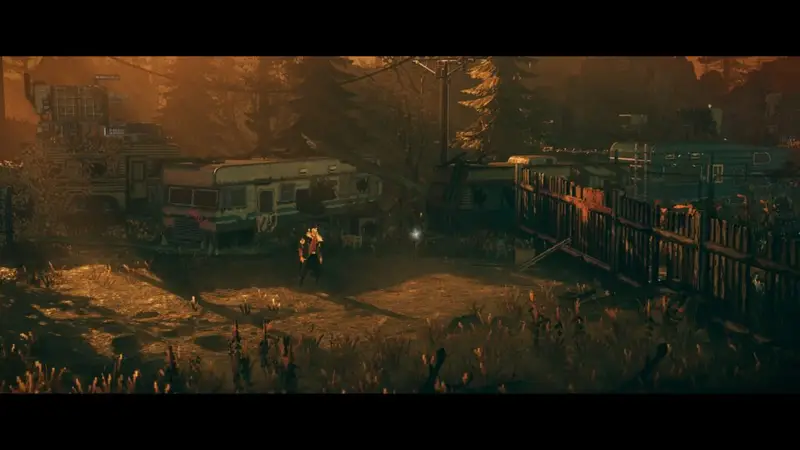
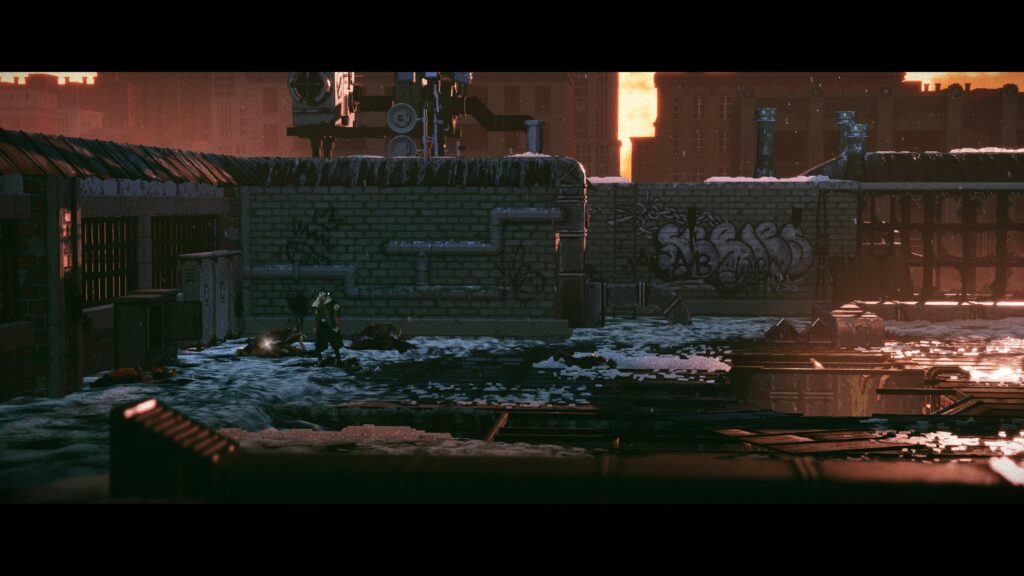
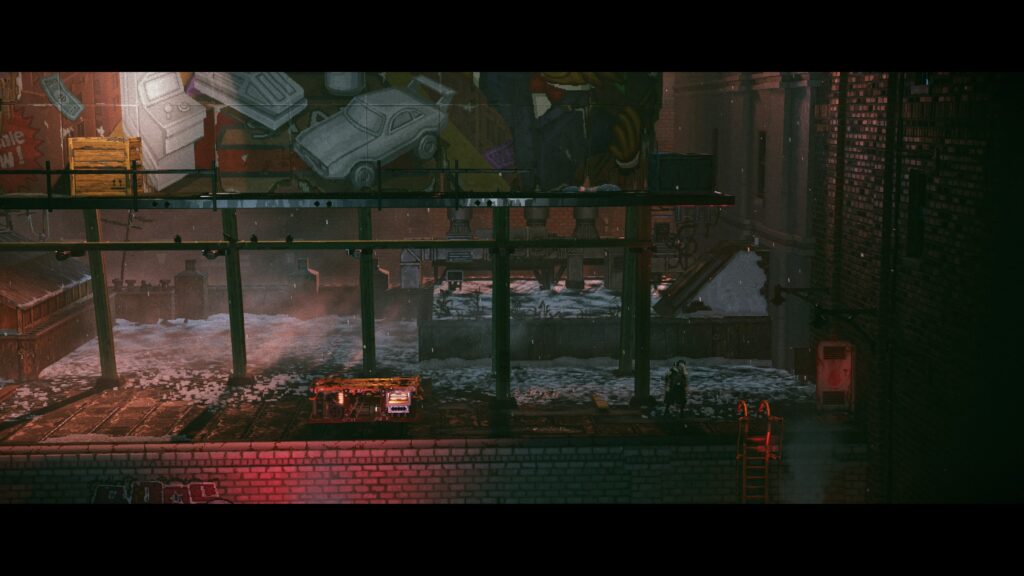
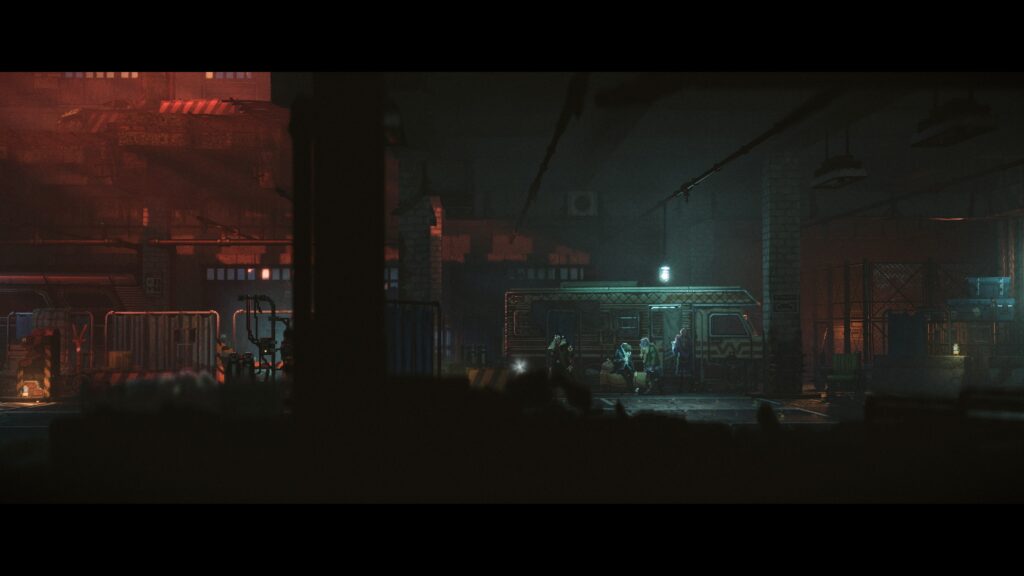
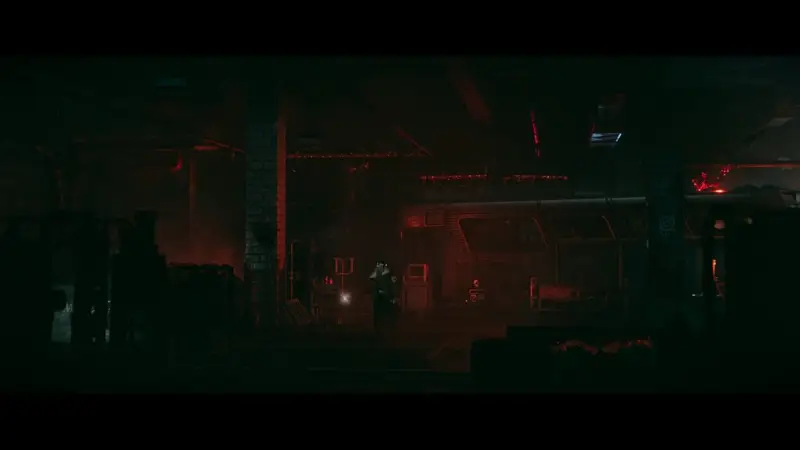
After the fight with Termite Kyle and the others, head to the right of the area. Just to the right of an R.V. is the collectible, before you climb the fence.
Scan – Goodbye Letter
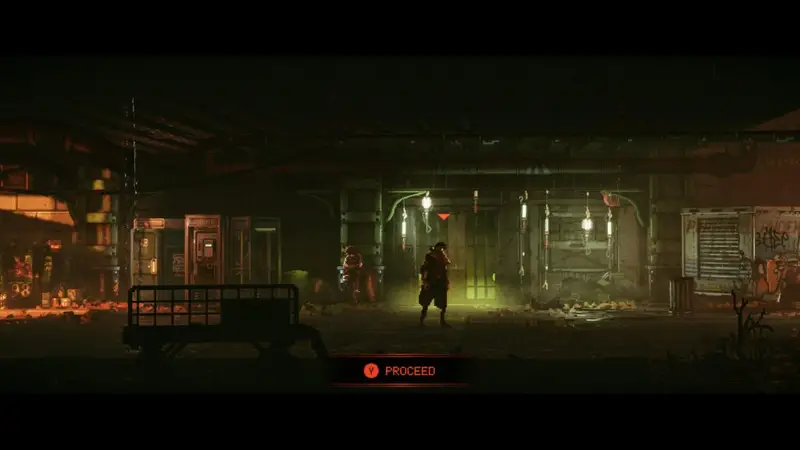
As you approach the end of this section of the game, you’ll reach a road. The game will prompt you to proceed, taking you the next section of the chapter. Don’t do this yet, head to the right and against a motorhome is the collectible.


Health Upgrade – Genetic Profile
After the sneaking section where you are avoiding the Termite Sniper, you’ll drop down in front of a diner car park. Go to the left to grab the upgrade.

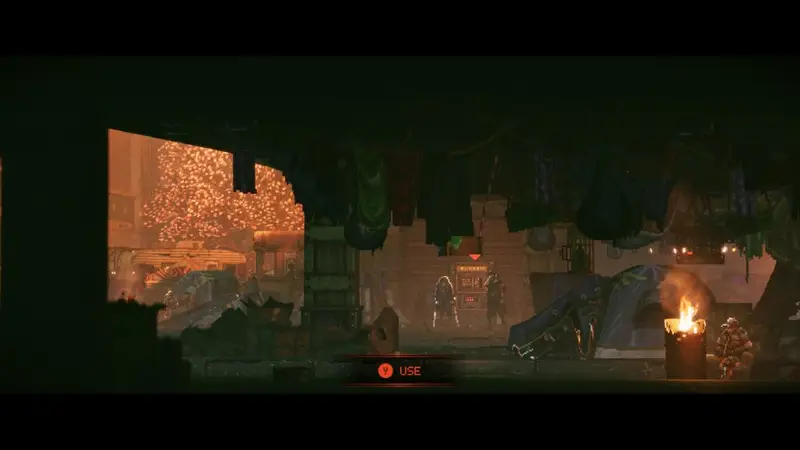
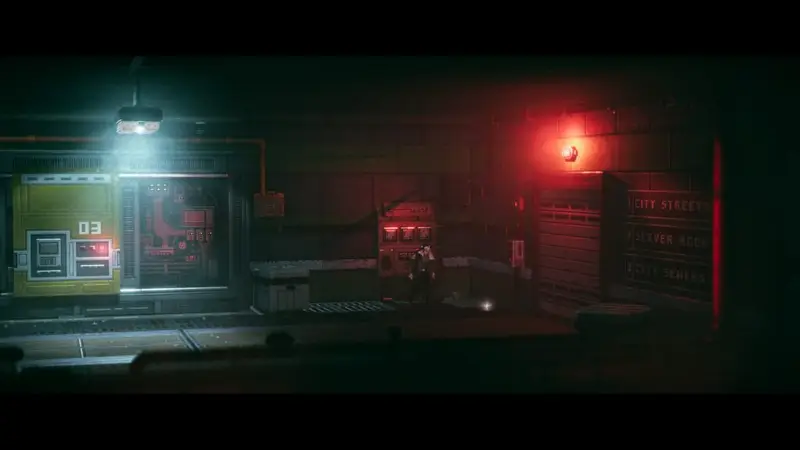
Scan – Eviction Notice
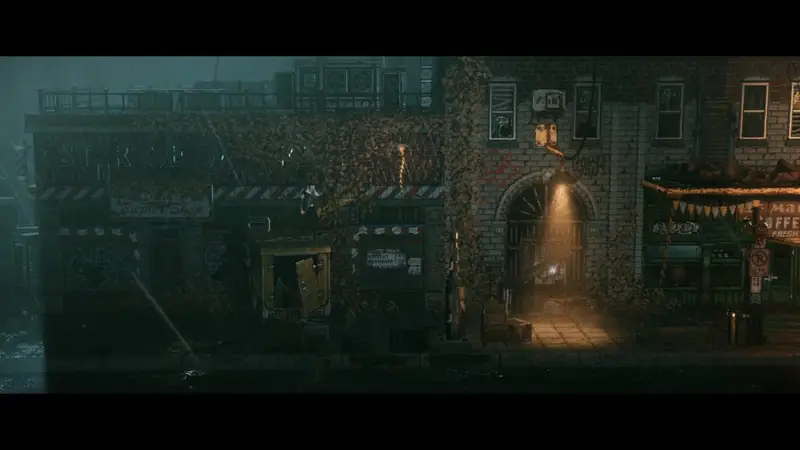
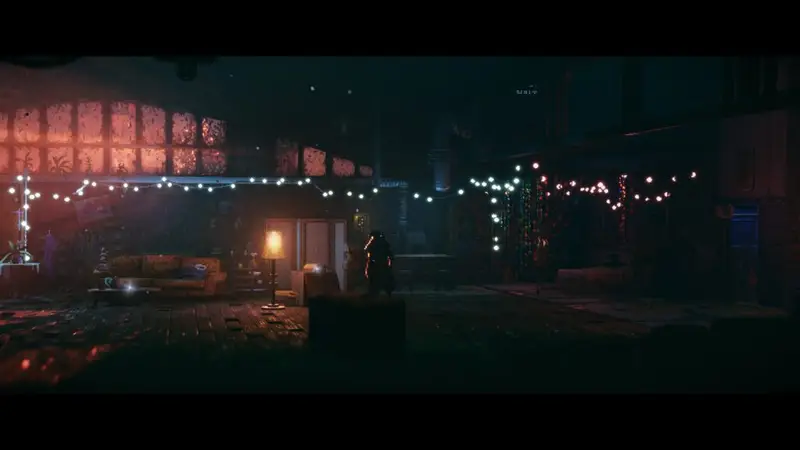
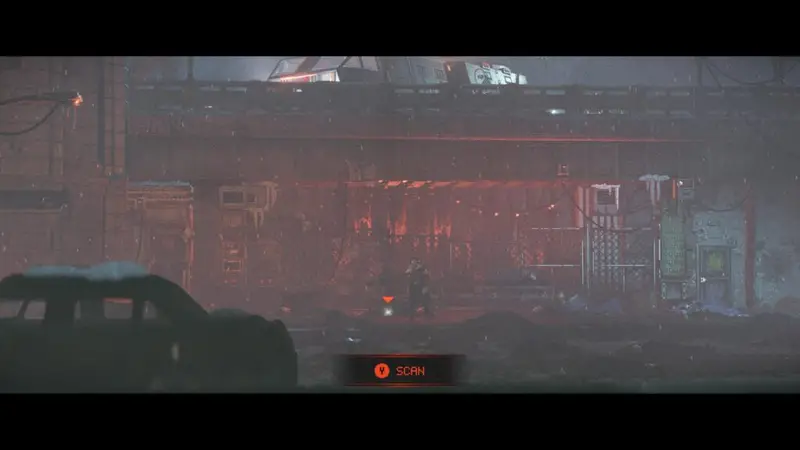
In the next area from the diner’s car park, you’ll have to climb over a crashed yellow van. You’ll see the collectible in the centre of an arched gateway, lit by an orange lamplight.
Scan – Pawn Shopkeeper’s Note
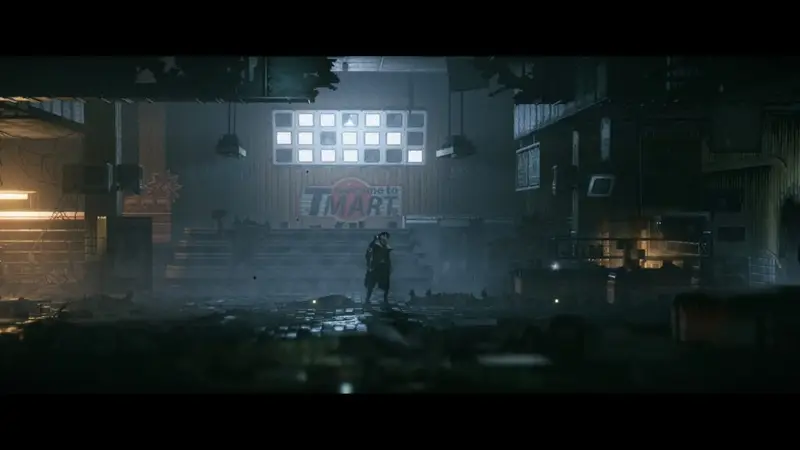
You’ll have a fight inside a TMart with Termite Josh and his friends (including your first encounter with a gun. A touch to the right of centre is the collectible on a shop counter.
Scan – Preacher’s Diary
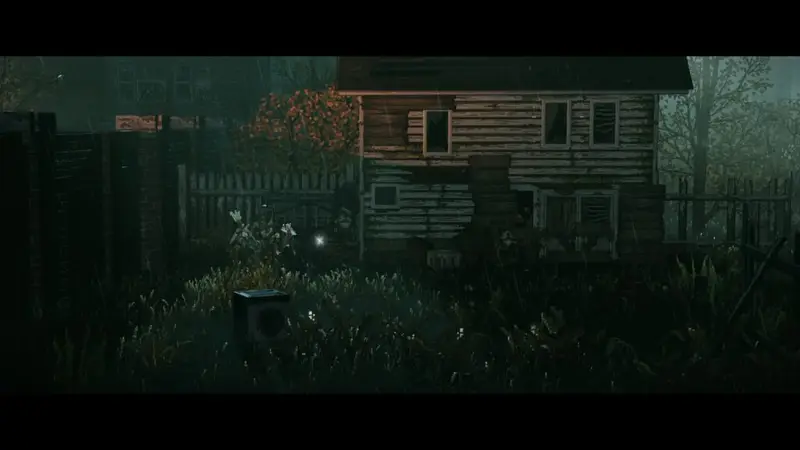
After slowly moving the box without being spotted by the Termite Sniper and climbing in to the warehouse, you’ll jump across some gaps and crates before dropping down into a fight. Once you’ve taken out the enemies, head to the next section and climb the wall. After dropping down, the collectible should be right in front of you in a garden.
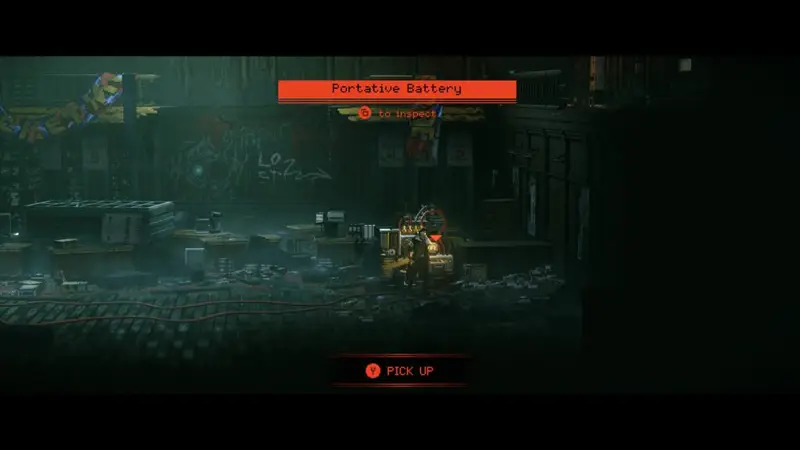
Scan – Portative Battery
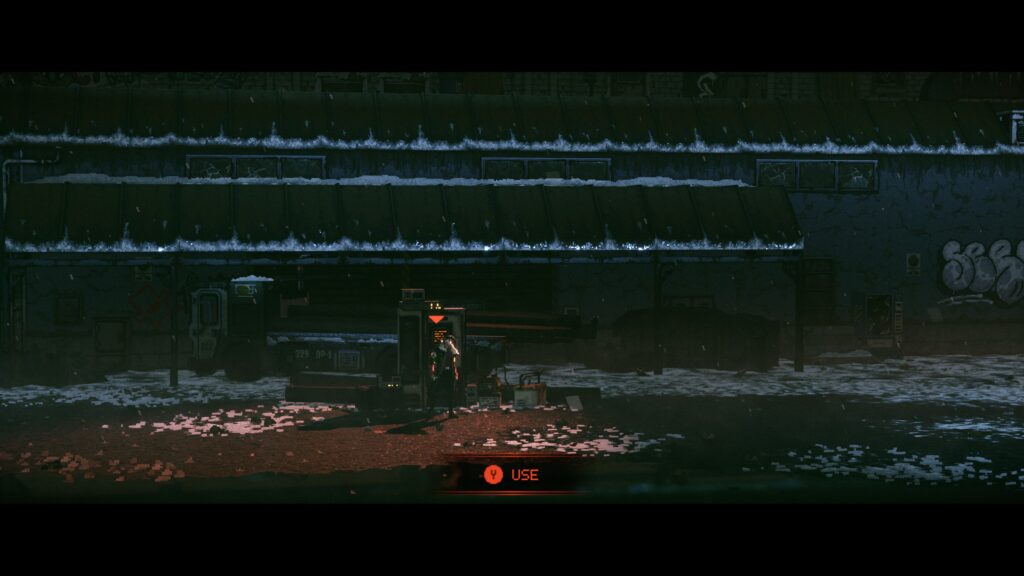
You’ll enter a library where you have to power up a generator. Once you’ve moved the battery pack into the generator you’ll unlock this entry automatically.
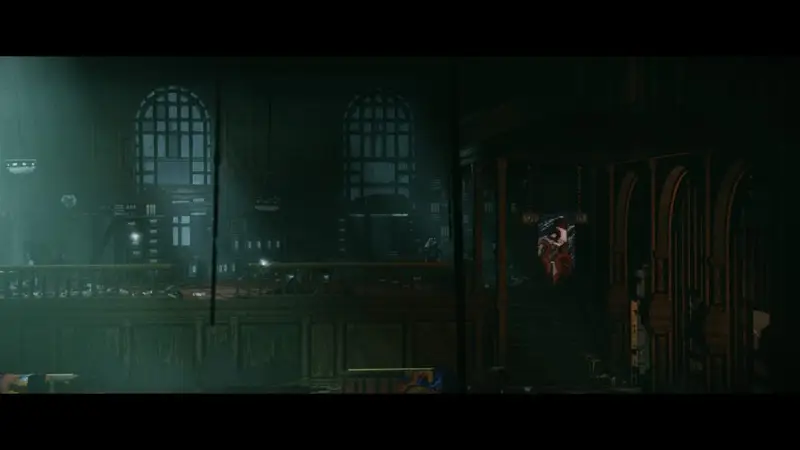
Scan – Inaugural Address
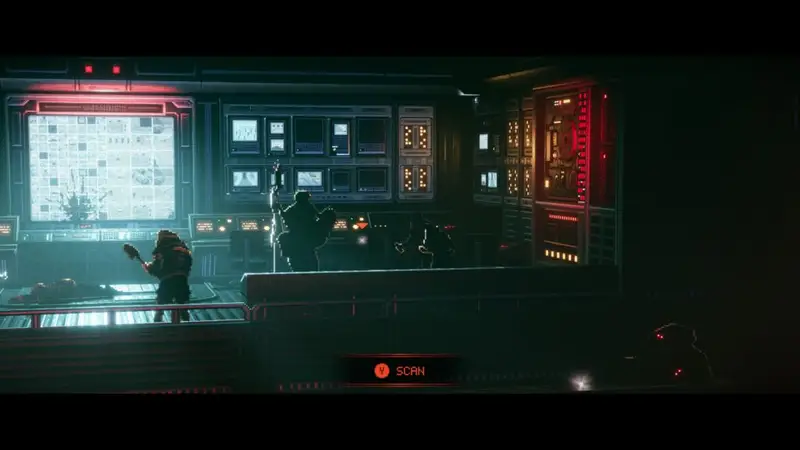
Once you’ve activated the generator, you’ll jump across on to the book shelves that moved out a bit. Once across climb the stairs (don’t go right and ‘proceed’). There are two collectibles on the upper level. The first one is closest as you’ve climbed the stairs.
Scan – Archived Poster
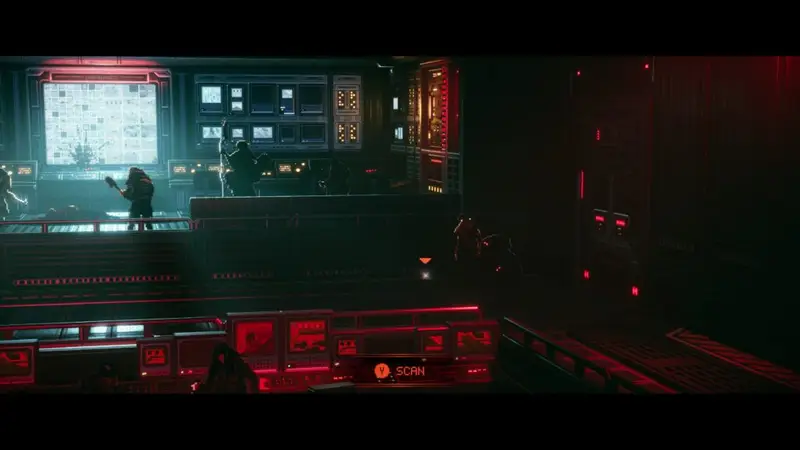
Just a little to the left of the last collectible on that same upper area.
Chapter 2
You’ll know you’ve entered Chapter 2 as you’ll unlock the “Machine Learning” achievement for completing Chapter 2.
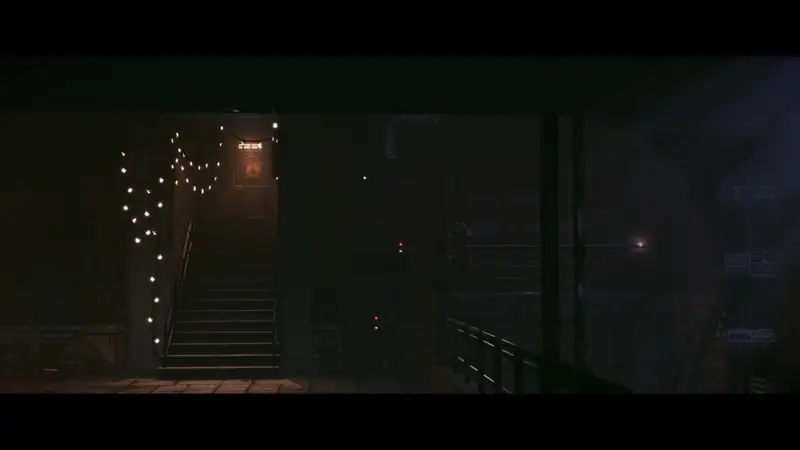
Side Quest – David
From the start, you’ll head down two flights of stairs. You should spot David fairly quickly, he has yellow text in his speech bubble to indicate a side quest.
He wants to repair his telescope to watch guard patterns on the Wall but needs binoculars from someone called Susan.
Scan – Strange County Rhyme
From David, continue into the level, heading left. A big building will come into view behind you. In the foreground on a display board is the collectible.
Scan – Disposal’s Diary
Keep heading past the big building behind you. To the left of the big building behind you is a small red tent. The collectible is sat there.
Side Quest – Doctor
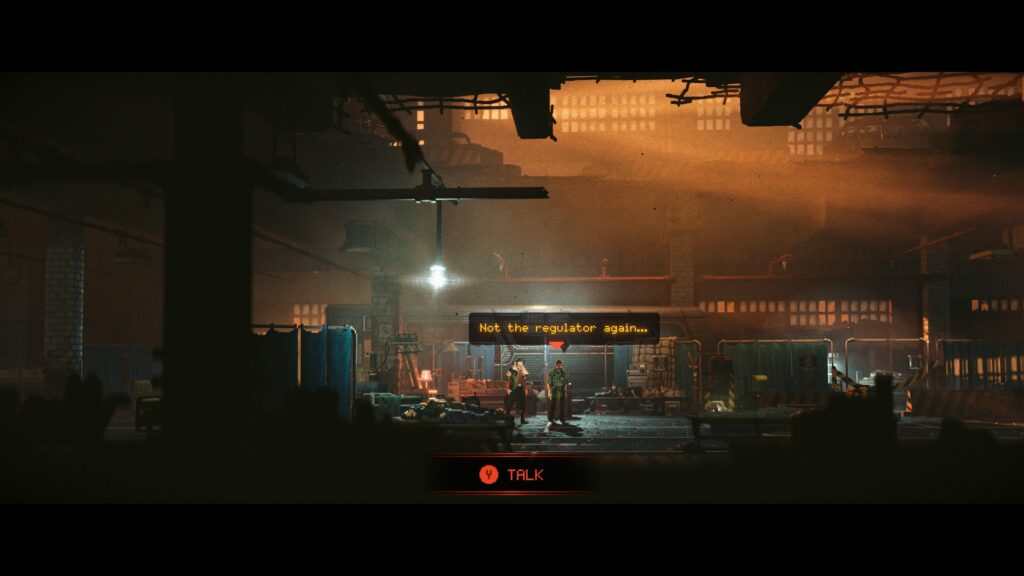
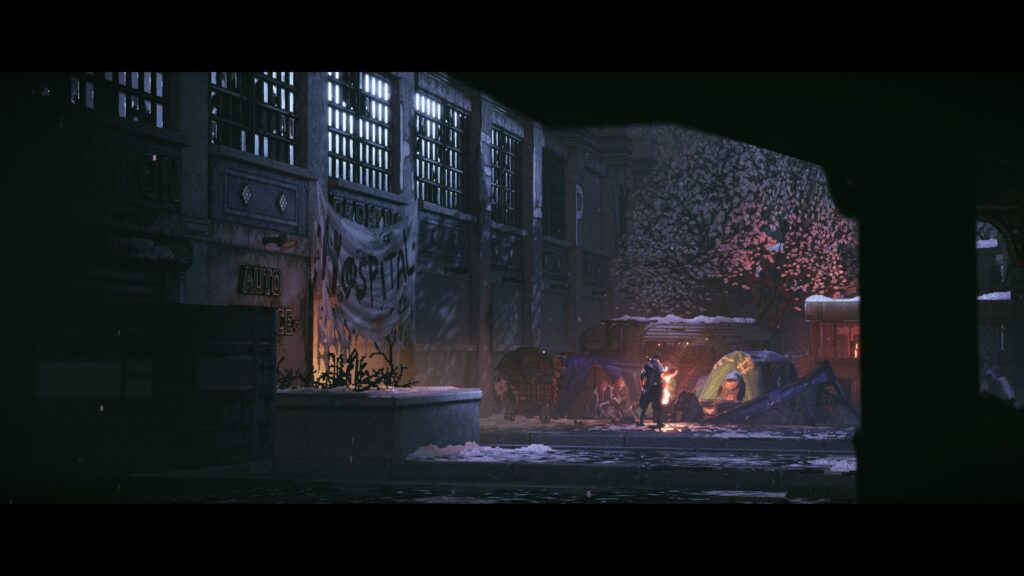
Keep heading as far left as you go until you reach an indoor hospital area. Inside you’ll find the Doctor who asks you to find a regular to fix his machine so he continue helping people. He mentions someone called YoYo.

Scan – OId FPRS Booklet
From the Doctor, continue right into the next screen. The collectible is in the centre right of that area, on a pillar.
Scan – Phoenix Corporation is Born
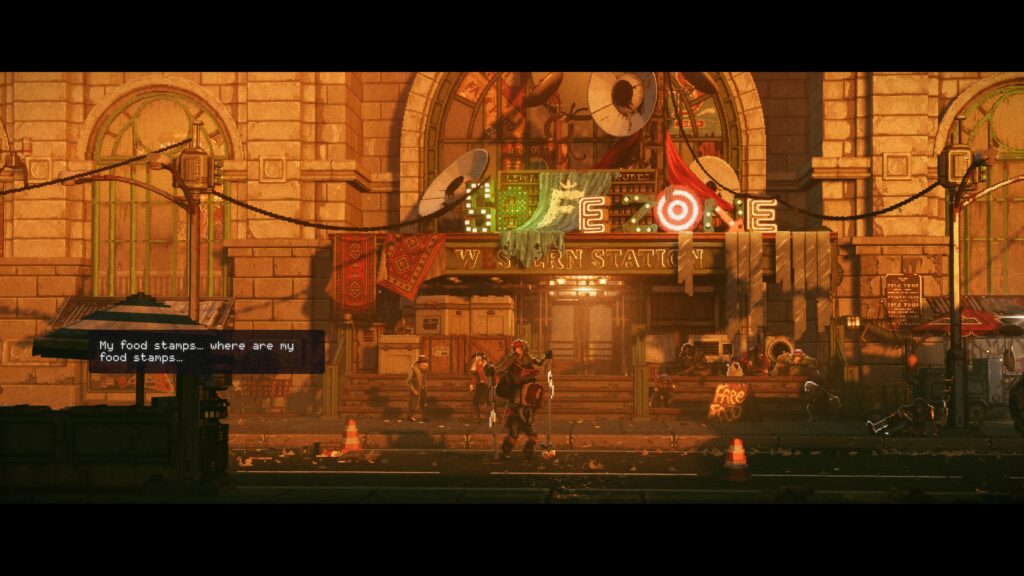
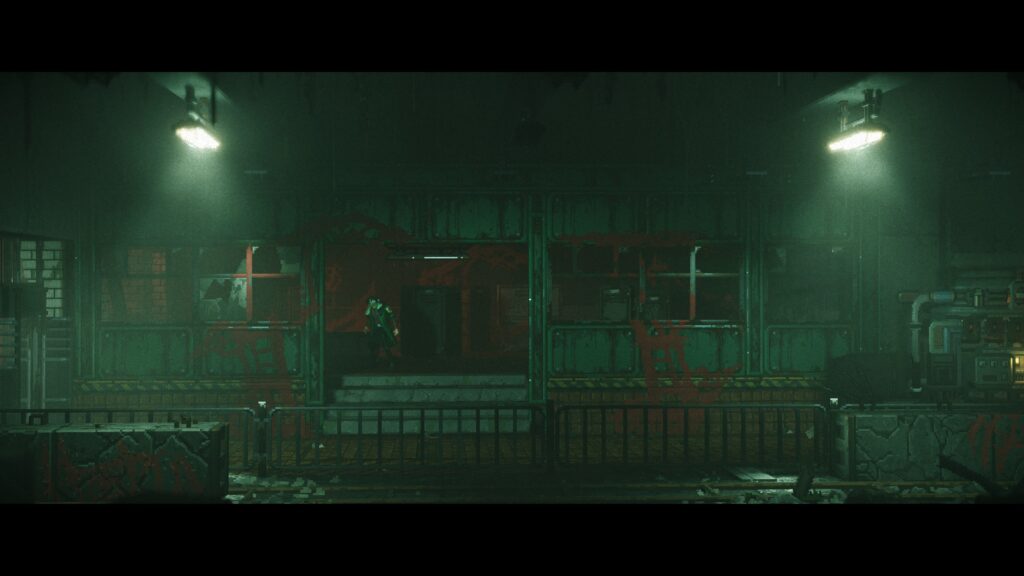
Head out of the hospital and continue back to the big building (keep heading right). Standing in front of the steps to ‘Western Station’ you should get a prompt to proceed. Head inside.
Once inside head to the left and you should spot the collectible sat in front of a barber’s store.
Music – Endless Meadow
From the last collectible, head down the stairs that are in front of you and take a right. In the centre of the next screen is the collectible sat in front of a green sign that says ‘cassettes’.

Side Quest – Susan
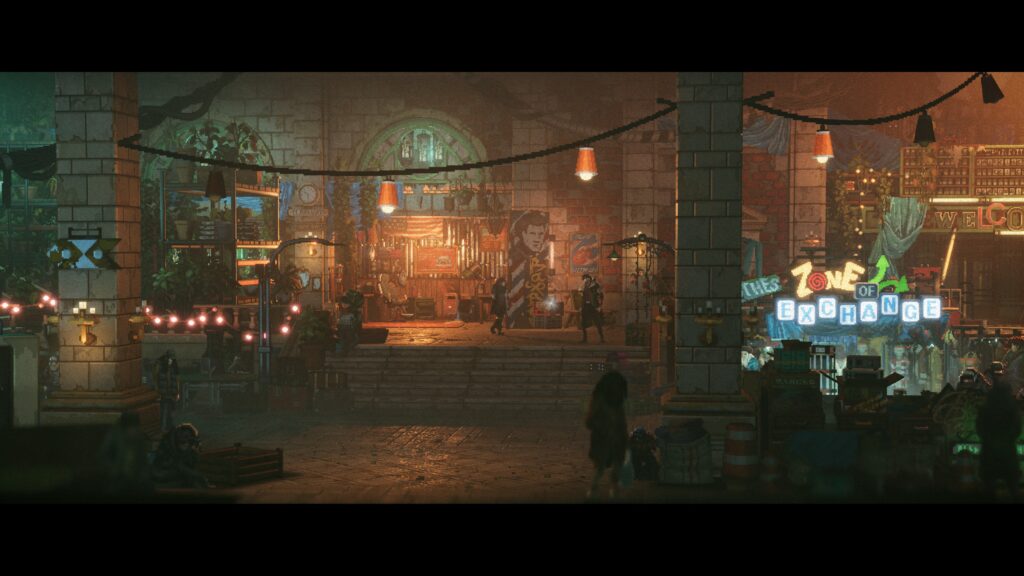
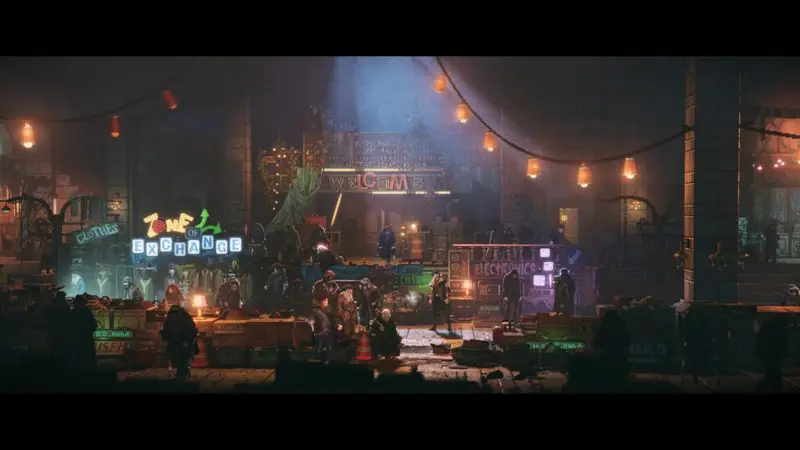
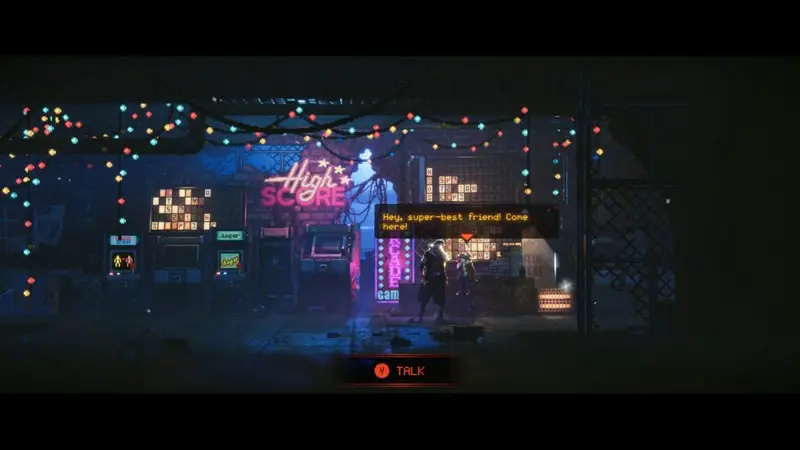
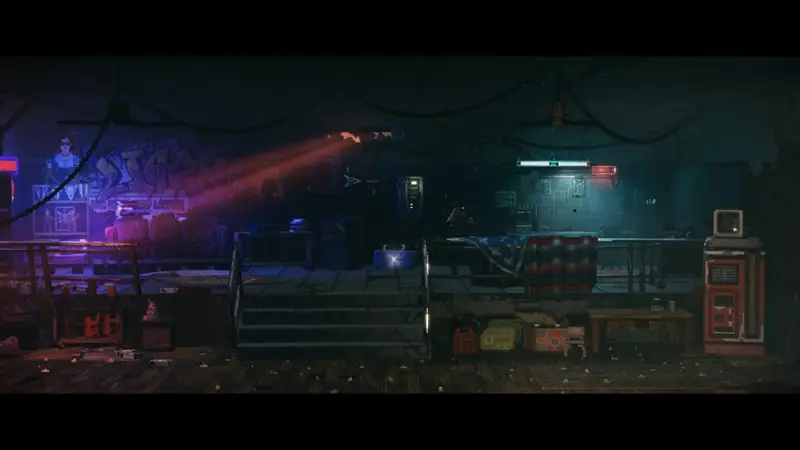
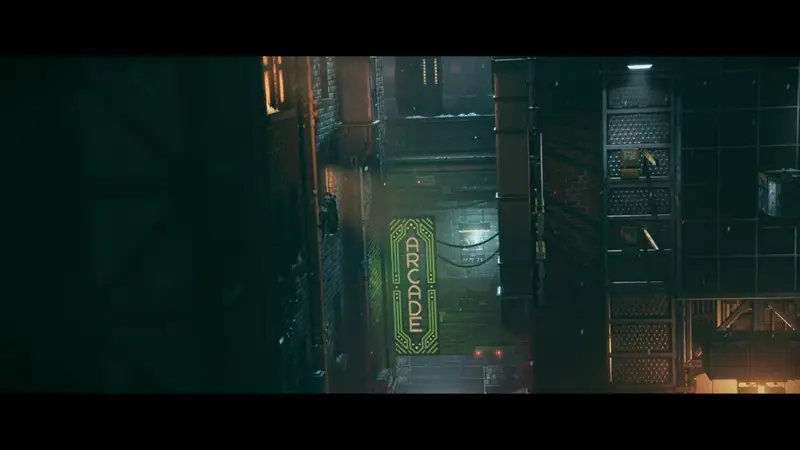
Head all the way left and go inside the monster’s mouth to go into the next area. Once the next screen loads, head to the right into a den with several arcade cabinets and arcade memorabilia. There you’ll find Susan.
She wants to make friends and become best friends (something you need to complete David’s side quest). She says she needs a rectifier to help repair her arcade cabinet.

Music – A Place to Call Home
From Susan, head into the next room on the right and the collectible is in there.
Side Quest + Scan – Electronic Components
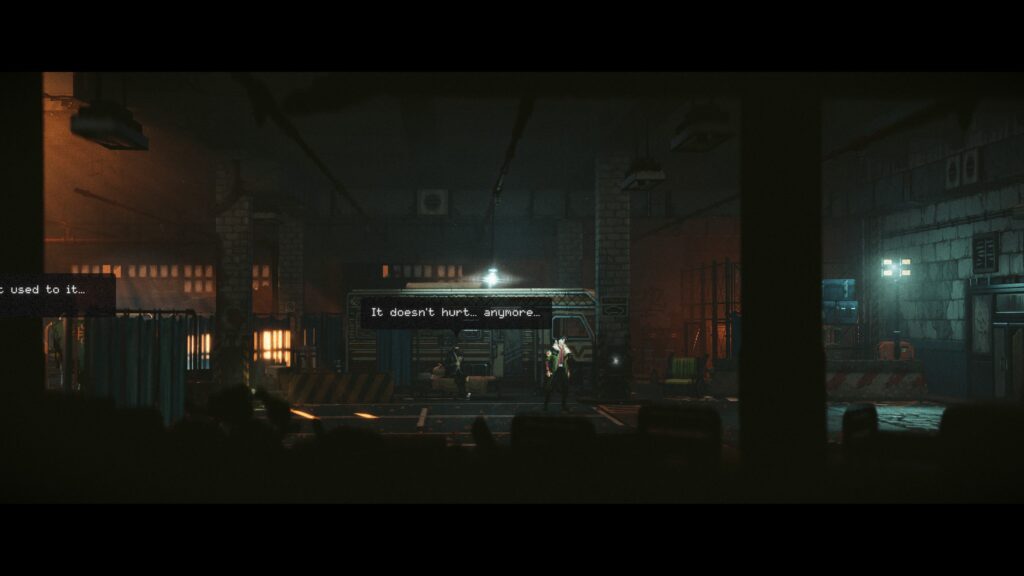
Head back to the main room with the market place. Once there, head back to the main entrance and exit back to the outside, street level (the entrance is up the stairs and in the centre).
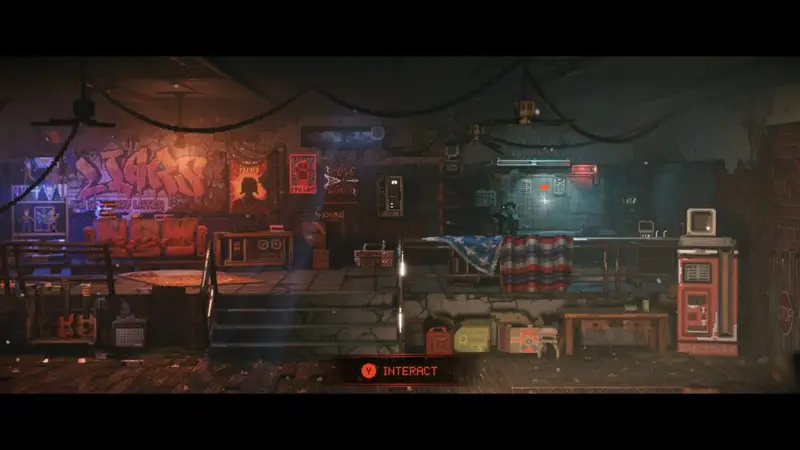
Once outside, head to your left and go through the screen that is under the bridge (I don’t ever wannna feeeeel, like I did that day). Just a little before you come out from under the bridge, you’ll be able to interact with an old ticket machine. You’ll receive the electronic components for Susan here, as well as a scan entry.
Scan – Tower Districts
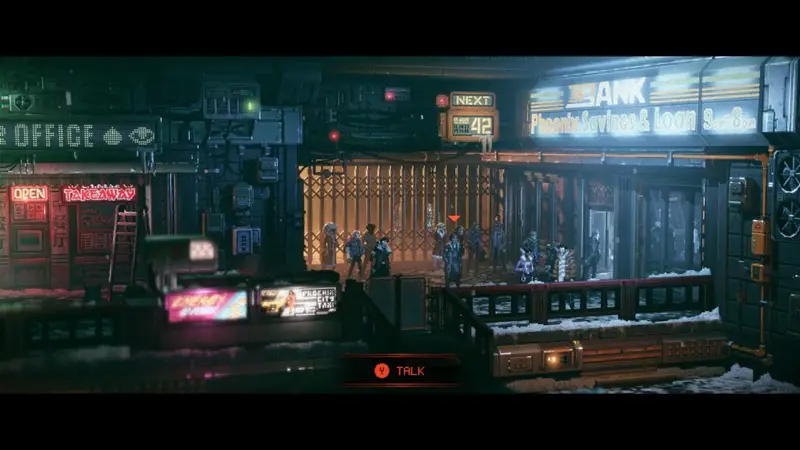
Head back towards the big building and go past its entrance to the right where you should get another prompt to proceed into a different area (it’s right next to where you spoke to David). Inside there is a collectible on the right, before the queue of people and at the back of a van.

Scan – Phoenix-City Wall Specs
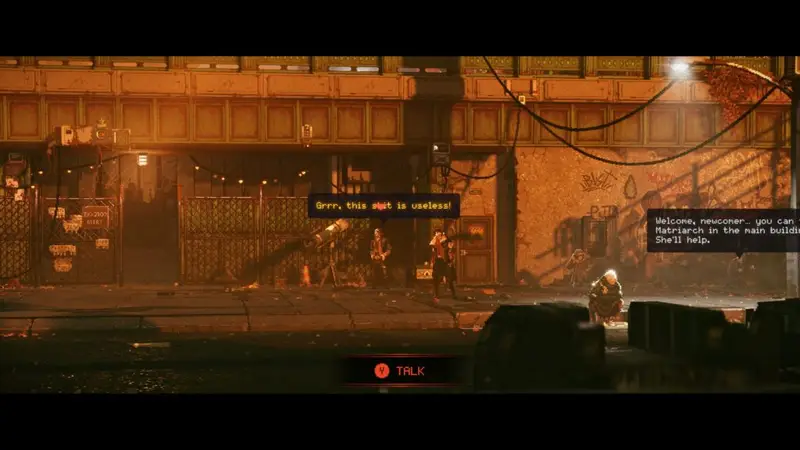
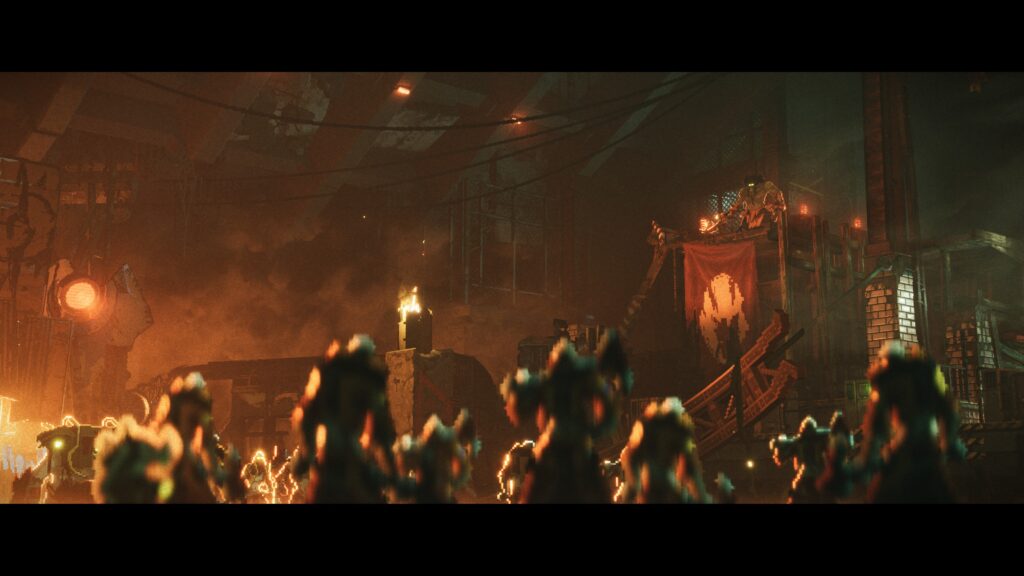
Head back inside the big, Western Station building and head right. At the end you’ll find a set of stairs upwards (there’s a red food sign above). Take them up and a cutscene will trigger where you talk with Matriarch, Ironwood and Tempest. Once you regain control, head to the left of where the two characters are sat. The collectible is sat on a chair.
Side Quest – Rectifier to Susan
Once you’re done chatting, head back out and down the stairs. Go down the stairs again and left, we’re heading back to the arcade to give Susan the electronic components we’ve collected.
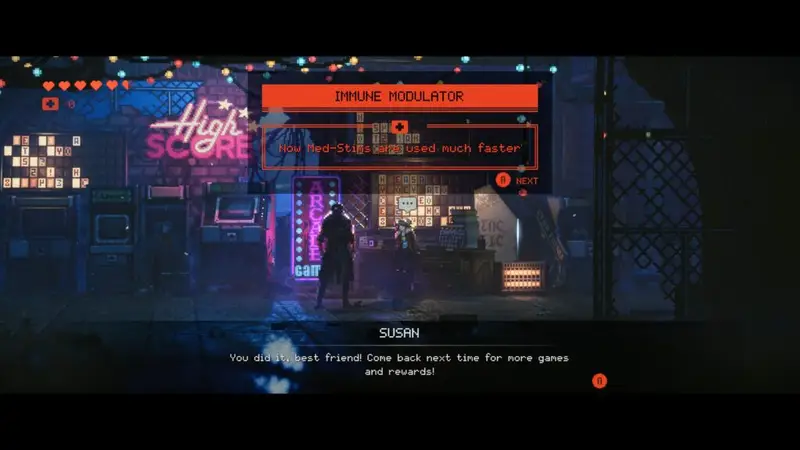
Med-Stim Upgrade – Immune Modulator
Susan will fix one of the arcade cabinets and challenge you to beat her high score. Doing so will get you a reward, you also need to do this for David’ side quest.
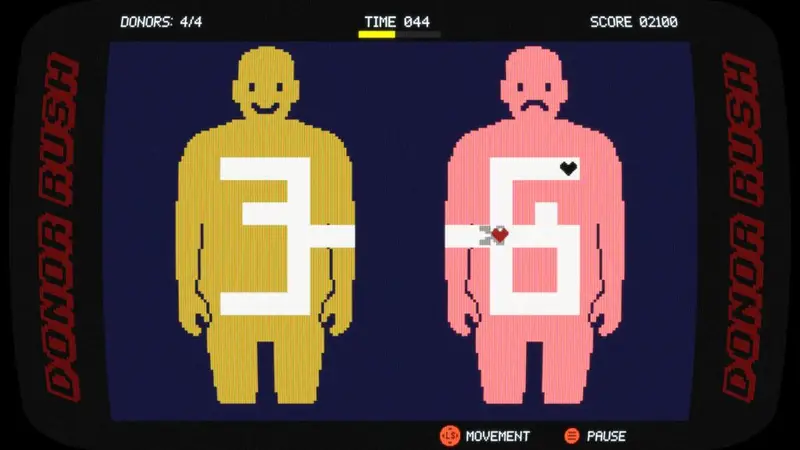
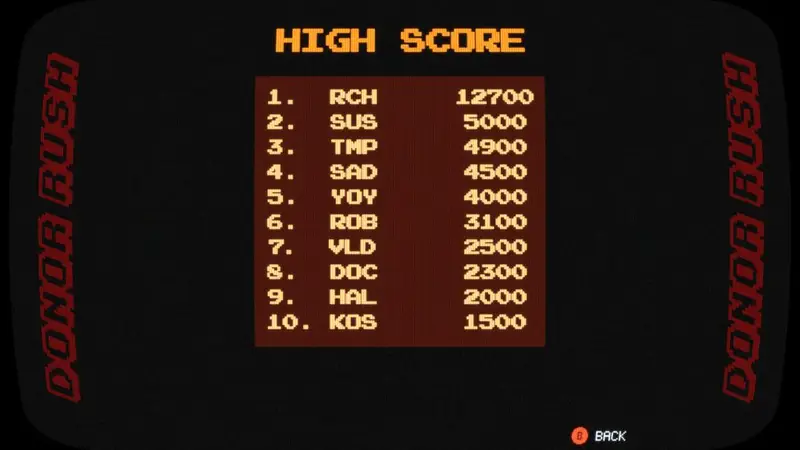
Head to the arcade cabinet and interact with it. You’ll be playing a game called ‘Donor Rush’. It’s fairly easy, you drive a car around a map, following a yellow arrow to pick up people. Then once you’ve collected the specified amount (top left corner of the screen) you’ll head to the hospital in the centre of the map.
This switches you to a mini-game where you must hover an organ from the left-hand yellow person and transfer it to the right-hand person in pink. Use the cursor to hover over the organ and line it up on the silhouette of the person on the right. The game warns to not touch the edges of people’s tubes.
Keep playing until you run out of time. For me, this was when I had to try pick up 6 people in my car. I had more than enough to beat Susan’s score of 5000.

Once you’ve done that, return to Susan and she’ll reward you with the med-stim upgrade.
Side Quest – Susan’s Binoculars
After beating Susan’s high score, speak with her and she will give you the binoculars.
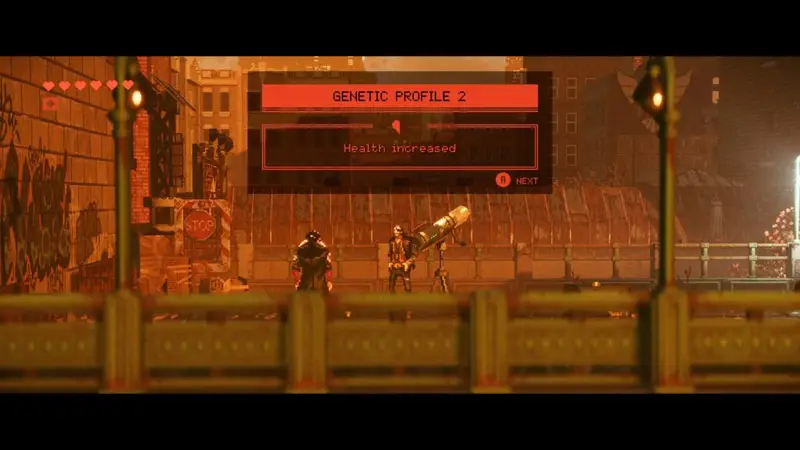
Side Quest – Complete David’s Quest & Health Upgrade – Genetic Profile 2
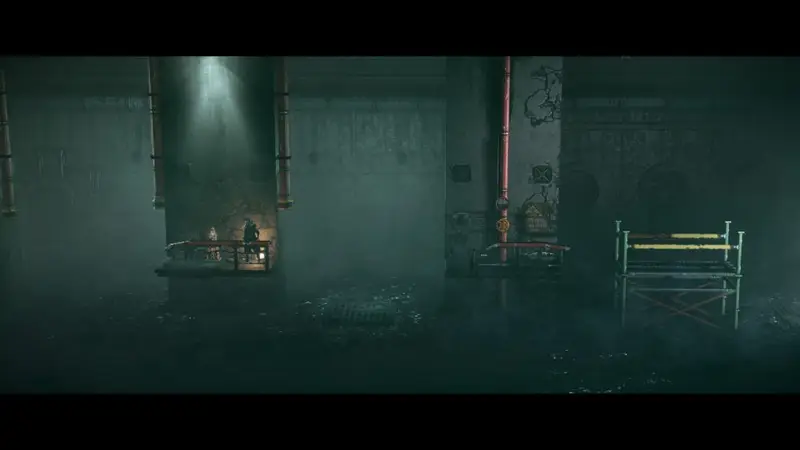
Return to David. He is sat on the platform setting up his telescope. This is where you started the chapter. (outside on the street, all the way to the right and up the stairs). Speak with him first, then after going through his dialogue, activate the generator on the right.
Completing this will finish David’s side quest, giving you the “My Only Sunshine” achievement and a health upgrade.
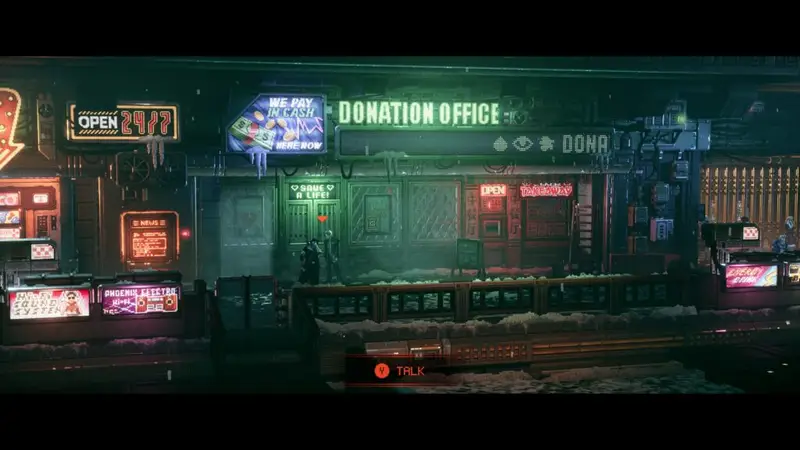
Scan – Note to YoYo
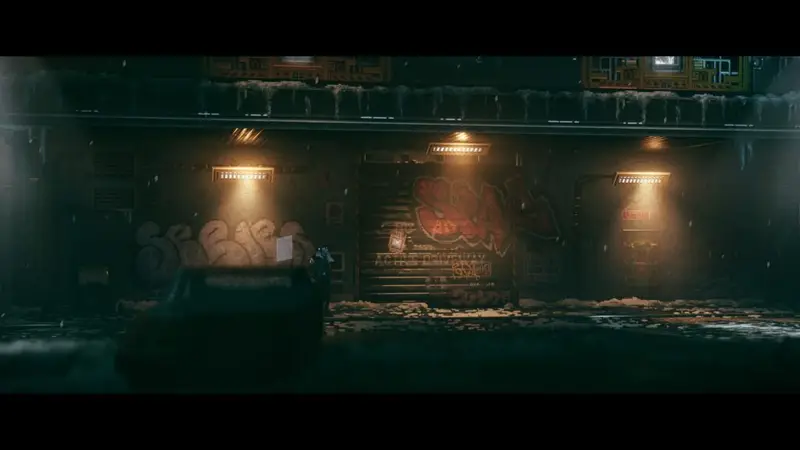
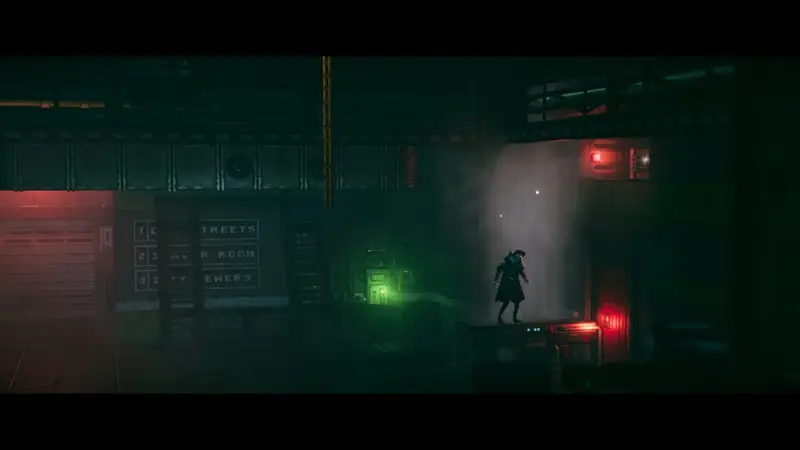
Head back down the stairs from David and head back into the alleyway, next to where he was originally stood. Go forward and enter the room that has a green light in the doorway.
Once inside, head to the right of the entrance to grab the collectible.
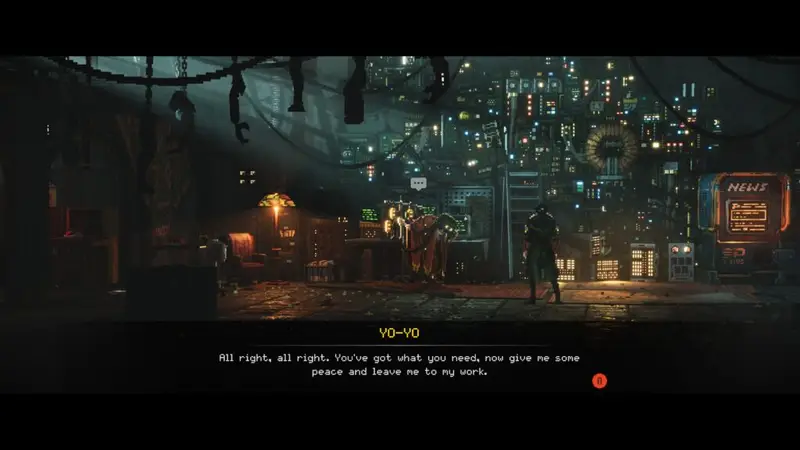
Side Quest – Regulator
After the cutscene with YoYo and Tempest, as well as learning the new Gun Blast mechanic, you’ll regain control. Speak with YoYo and select the option in yellow to talk about getting a regulator for the Doctor. YoYo will hand it over.
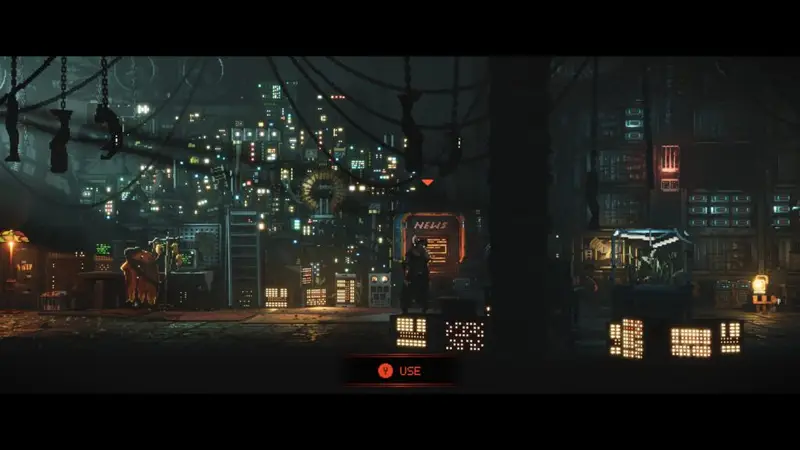
Scan – Underground Chatroom
To the right of YoYo is a ‘News’ computer. Interact with it and select the second option for the ‘underground chatroom’.
Side Quest – Doctor & Health Upgrade – Rechargeable Ampoule
Leave YoYo’s place and head back out. Return to the street (take a left after leaving YoYo’s) and head all the way to the left to return to the hospital. Speak with the Doctor and you’ll give him the regulator, completing the quest.
You’ll unlock the “Let There Be Blood” achievement and receive a health upgrade too.


You’re now ok to complete the rest of Chapter 2.
Chapter 3
You’ll know you’re in chapter 3 as you will unlock the “Machine Learning” achievement for completing chapter 2.
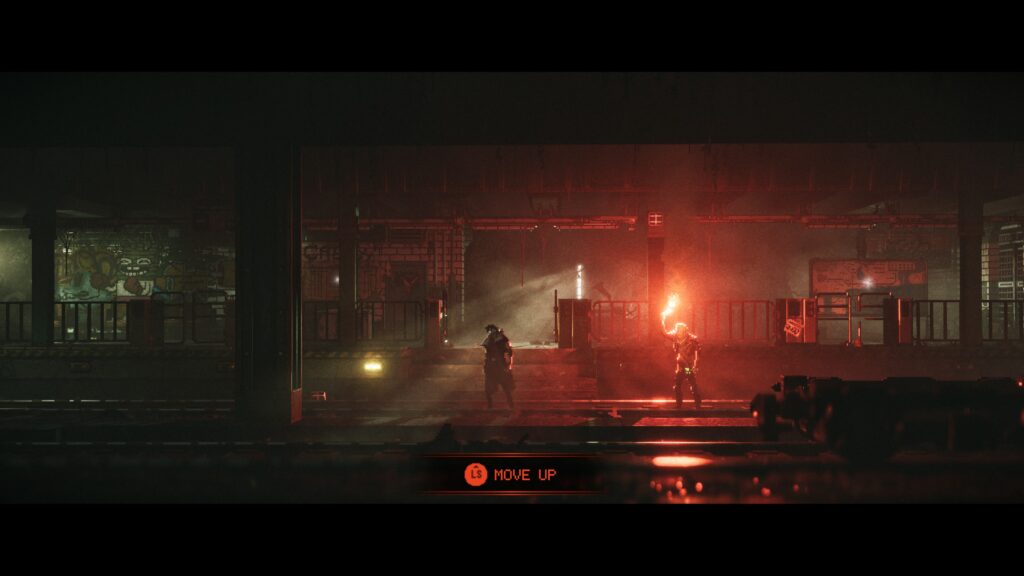
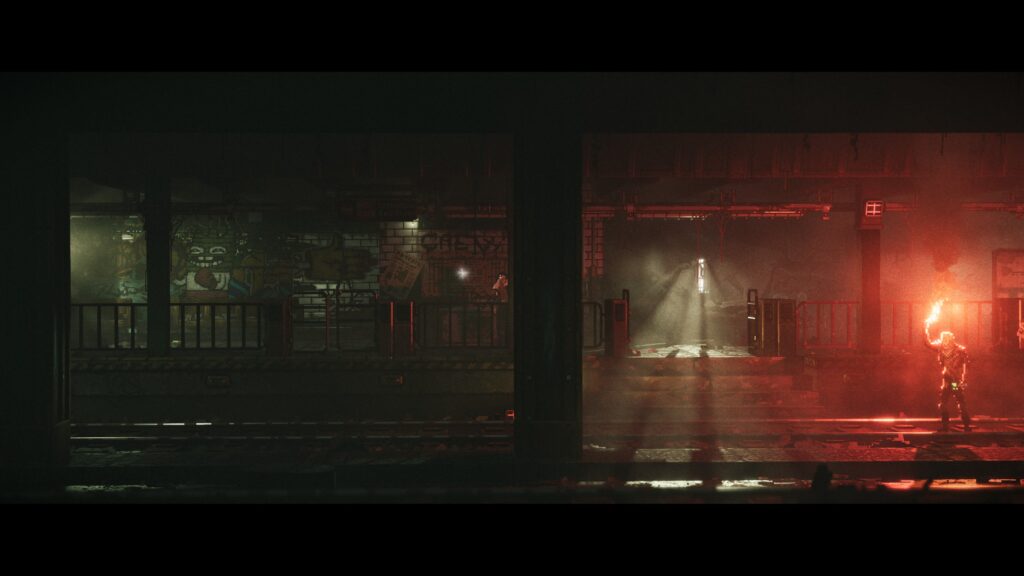
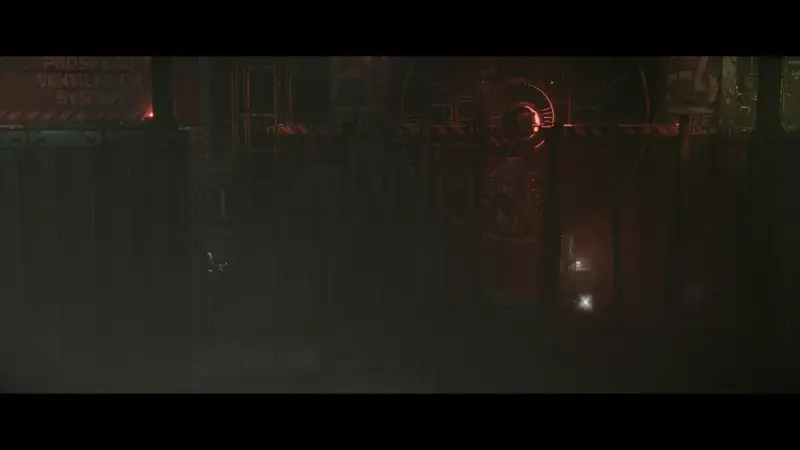
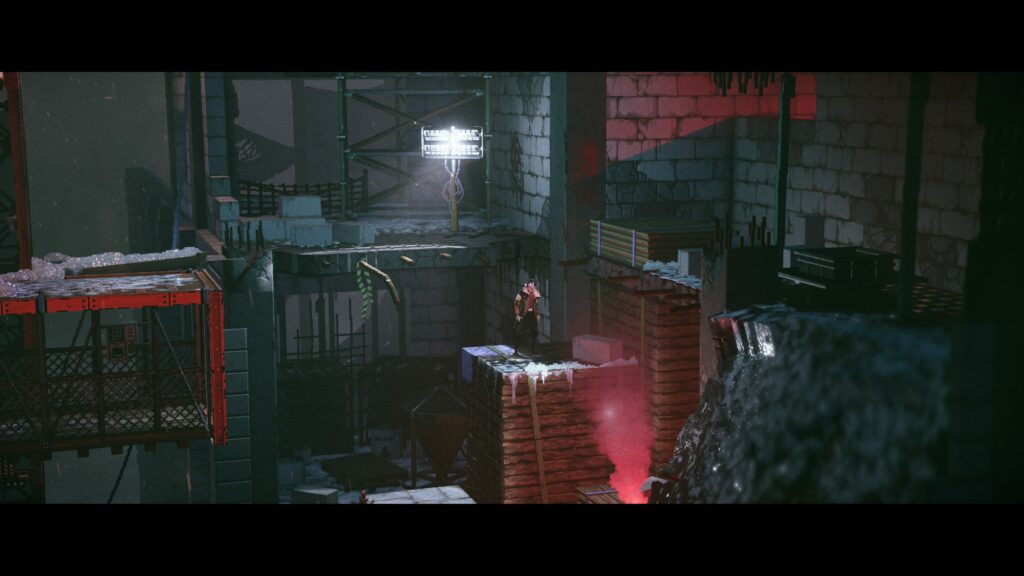
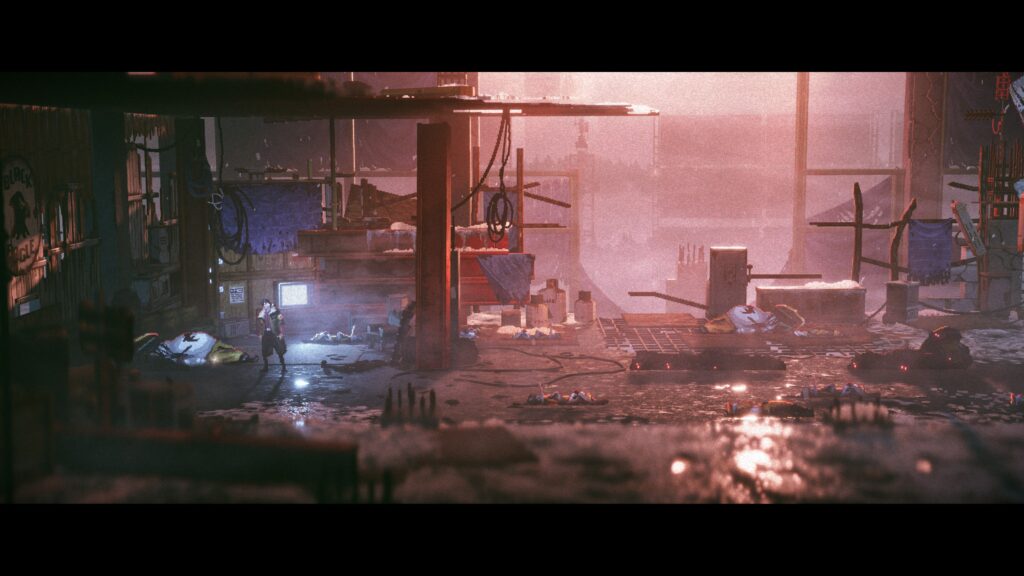
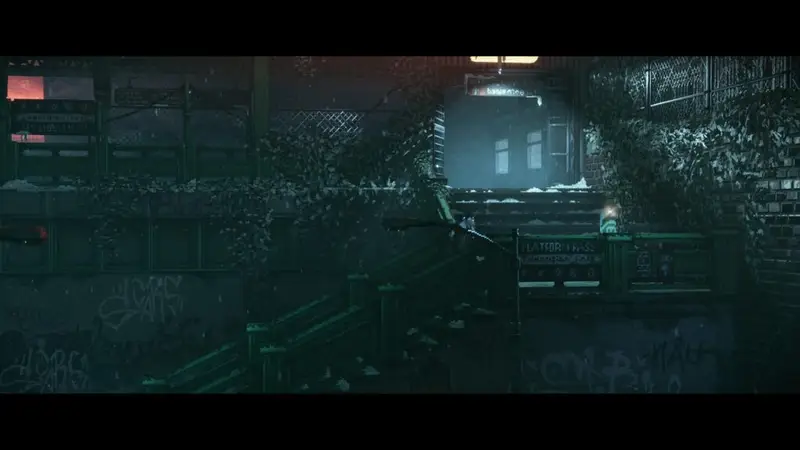
Scan – Prospero Information Board
You’ll follow Tempest for a little while with his flare. You’ll eventually stop and he tells you that you can have a look around if you like. Head up the stairs and to the left to grab the collectible.
Health Upgrade – Genetic Profile 4
Don’t worry, you haven’t missed number 3.
In the next area where you need to climb up and around using your pickaxe to get across the chasm and lower the train car, you’ll initially climb up a ladder and jump across a couple of platforms. Once you’ve reached the otherside (but before jumping across the chasm, you’ll move up. From there, take a left and go all the way to the wall to find the pick up.
Scan – Ironwood’s Interview
Later, after a lot of climbing, and dodging the Termite Sniper, you’ll crawl into a new area. Head forward and you’ll spot the collectible in a raised area behind where you’re stood. Head to the right and crawl through the yellow crate. You’ll fight some enemies and continue forward. On the next screen is a set of stairs to go up. Once you do head back to the left and go all the way to the little cubicle where the collectible is.

Health Upgrade – Genetic Profile 3
Told you you hadn’t missed it.
From the last collectible, head back to the steps, but this time go to the right (not down the steps) and you’ll enter a building where you can’t see R.E.A.C.H.. In the middle is the pick up, you’ll get a prompt to pick it up when you can.
Scan – Propero Incident Recording
In the next area, you’ll need to activate a generator by putting a battery in it. To the very right of this section, where the battery is, against the wall at the very right is the collectible.
Scan – Termite’s Diary
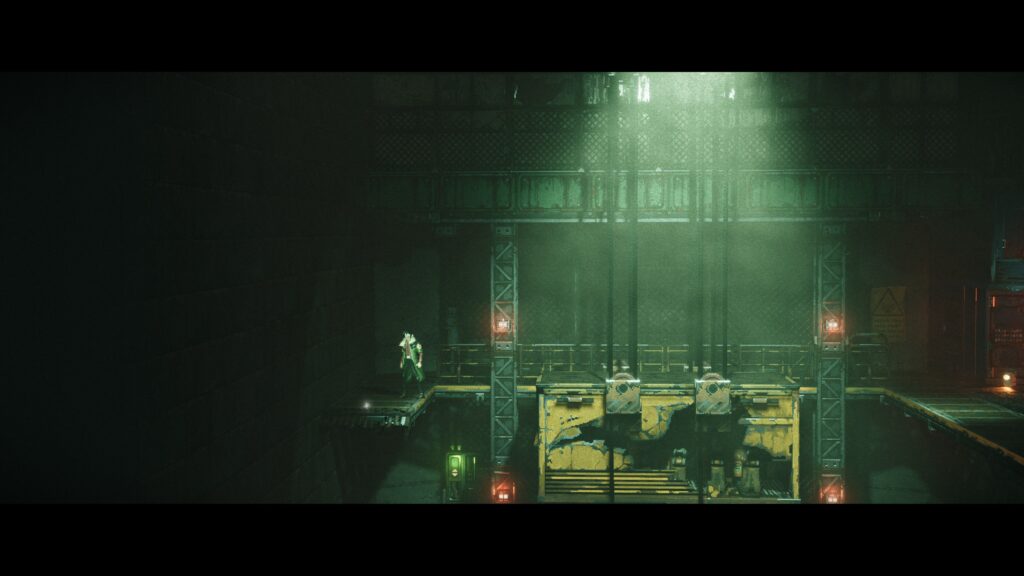
You’ll progress to the point where you need to use the elevator to lower and raise a container that you can jump to. You’ll do this several times to reach the top. When you get to the top floor, the collectible is the left side, just run and jump across the crate to get there.
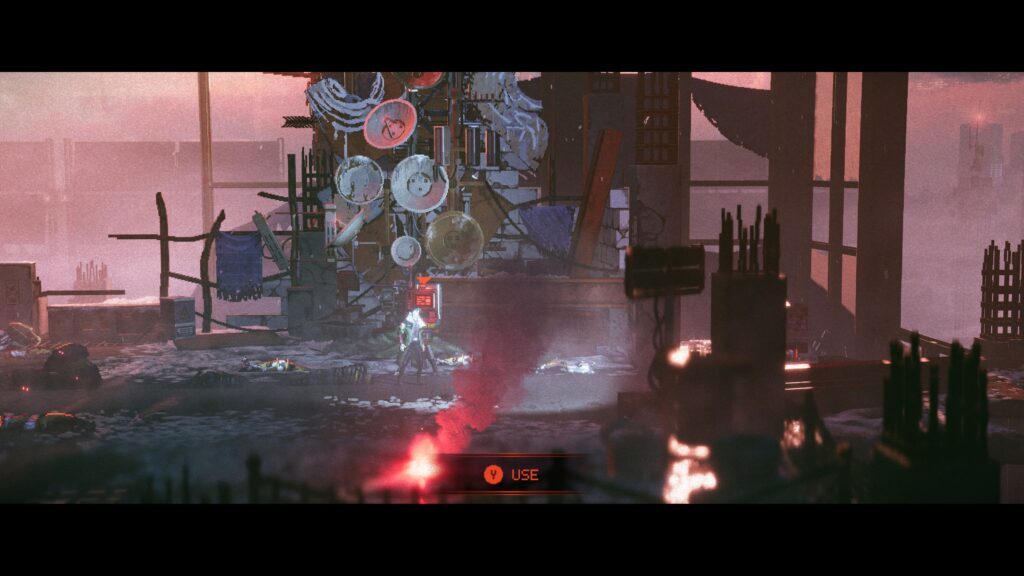
Music – Solve a Problem
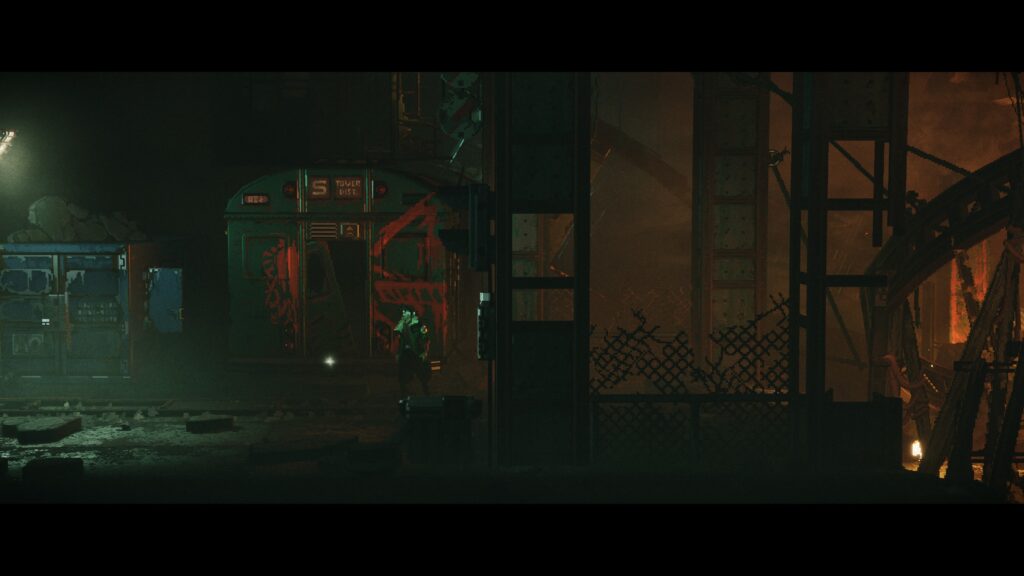
After the cutscene with Uncle Ben, and then the fight with Geiger and his minions, head to the left of the arena and climb up the ledge. The collectible is sat on the door of a subway train.
Scan – Warden’s Letter
Heading right from the arean you just fought in, move to the next screen and go up the stairs you see. Head to the left and you’ll grab the collectible.
Scan – Water Station Notice
You’ll enter the section where you need to climb up several obstacles, avoiding the steam jets, to turn off the water valves to create a path through.
You’ll reach the last valve at the top left of the area. The collectible is next to the valve.
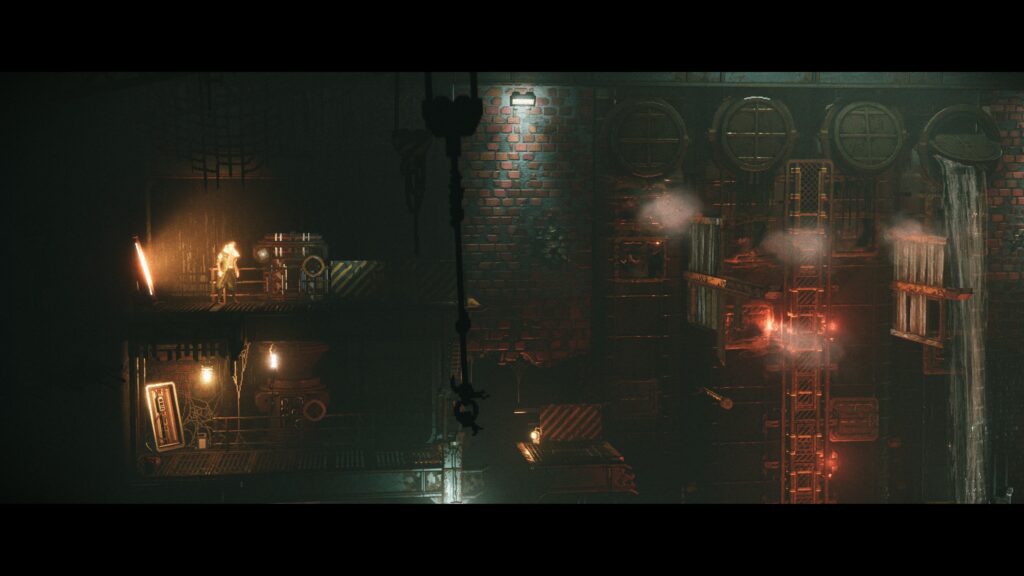
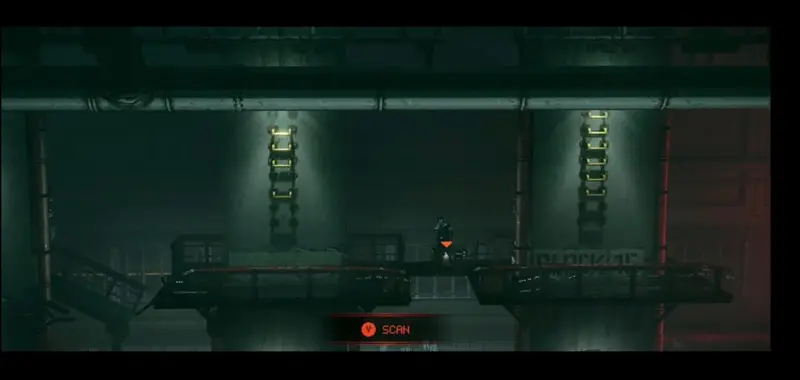
Weapon Upgrade – Kinectic Inductor 1
In the same area as the collectible above. Jump across to reach the other side now the water paths are gone. Instead of continuing forward, drop down to the floor below (approach the edge of the walkway and press down, R.E.A.C.H. should climb down).
From there jump to your left, avoiding the steam and jump down (aim down and press jump, while hanging off the ledge), to grab the lower ledge. Jump to the right to land on the section below where you just were. Jump across and grab the upgrade.
Scan – Kennedy’s Speech
After you’ve entered the next section through a door, you’ll run a cross a long walkway over some water. When you reach a gap, drop down and head all the way to the left. The collectible is on a box.

Scan – Corpse Butchering Guide
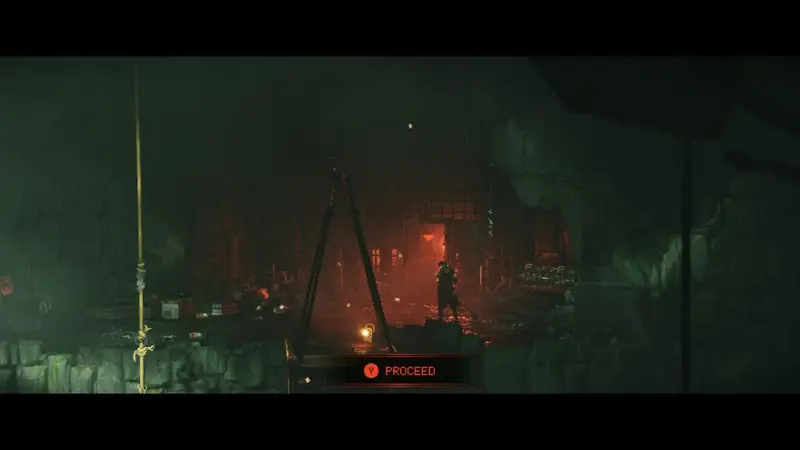
You’ll cross a deeper water section with a flare, where you have to fend off creatures with the light to stop them attacking you. When you reach the next built-up bit, move up towards where you’re being called. A Slave Leader will ask you to help them escape.
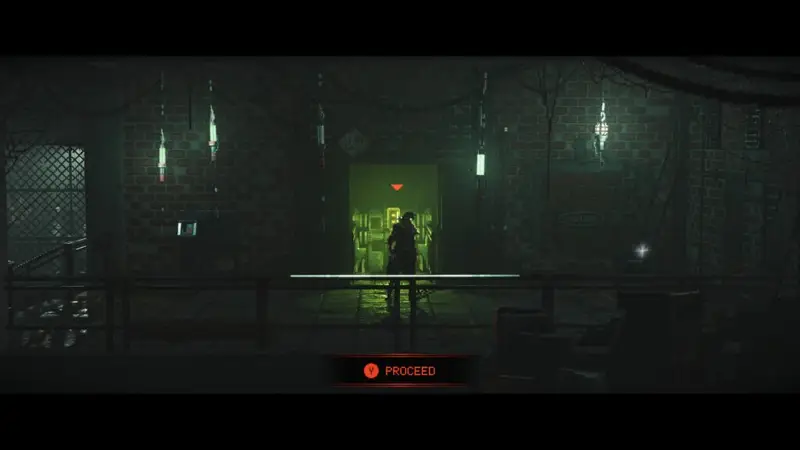
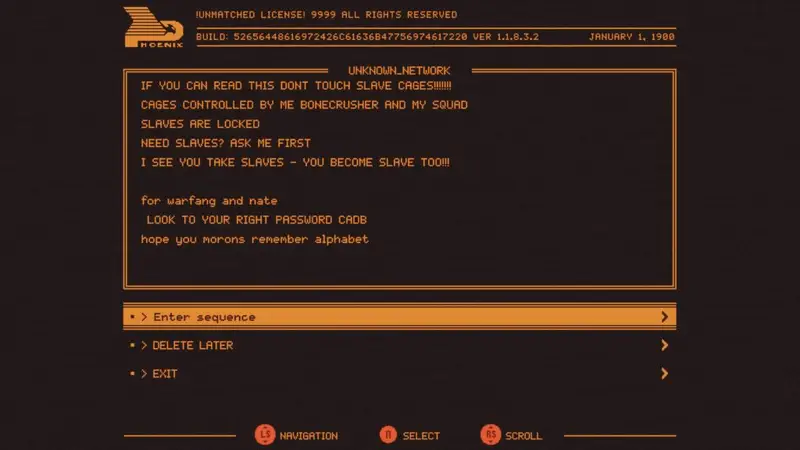
Climb upwards and enter the room that’s above where you spoke to the Slave Leader. In here you’ll need to defeat the enemies and then move a power supply before entering a code to release the prisoners (the sequence is Chains, Knife, Eye, Cross).
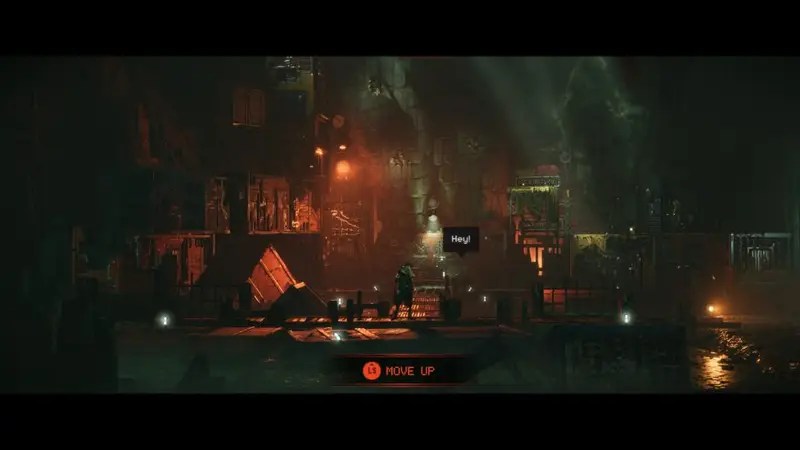

After you have done this, you will head to the left to return to the now free slaves. Before you leave you should spot the collectible pinned to a post. Don’t leave this room without collecting the next collectible too.
Scan – Incriminating Chat
Whilst you’re solving the puzzle above, you’ll interact with a computer (where you need to enter the sequence above), scroll down to the option where it says “DELETE LATER”. This will give you the collectible
Scan – The City Gets a New Name
After freeing the slaves, and guiding them across the next flare water way, you’ll enter a new area with some big ciruclar turbine looking things. Jump across the platforms to the second one and drop down below the platform. The collectible is in the right-hand corner.

Scan – New Prospero Head Worries
A little while later, you’ll approach an elevator and get ambushed by an enemy who will kick you to the floor below, into a combat arean. Once you’ve dealt with the enemies, head to the left first and grab the collectible that’s sat on a stone column.

Scan – Unsent Letter Home
You’ll head right from the combat arena you were just in and climb up. Follow the path round and climb the ladder to the left. Once at the top climb up the right and keep going right, moving down (towards the foreground) and then head right. The collectible is in the next room.

Scan – Miner’s Last Words
A bit further on, you’ll climb up a narrow, fairly red-lit shaft and crawl through an air vent. In the next room you’ll enter has several consoles to interact with to progress and a terminal to the right. The collectible is to the right of the terminal on the right, sat on a corpse.
Scan – Propsero Universal ID Card
Once you’ve solved the generator puzzle (solution in the image below), you’ll turn the lights on. The ID card (which you need to progress) will be on the table that is now illuminated.
You need to interact with each terminal to move the little green squares into the right place to the generator on the right has three lit green lights.

That’s it for Chapter 3, see you in Chapter 4.
Chapter 4
You’ll know you’ve reached chapter for when you unlock “The Lowest Low” for completing chapter 3.
Scan – Doctor’s Orders
Heading out of where you start the chapter, you’ll find yourself in the hospital back at the Station area from Chapter 2. The collectible is sneakily placed behind some scenery in the foreground and is obscured from view. Watch for the prompt to pick it up.
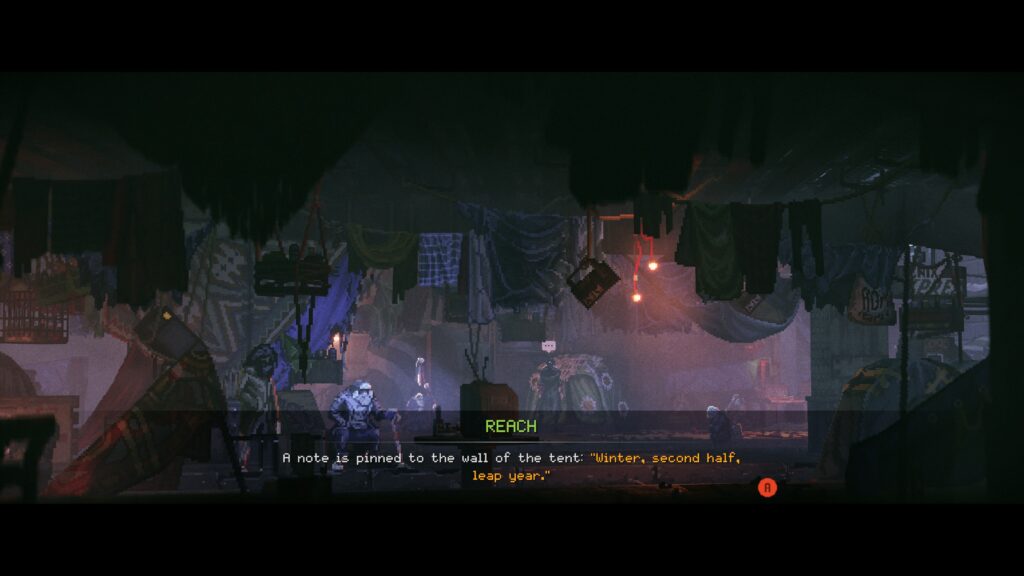
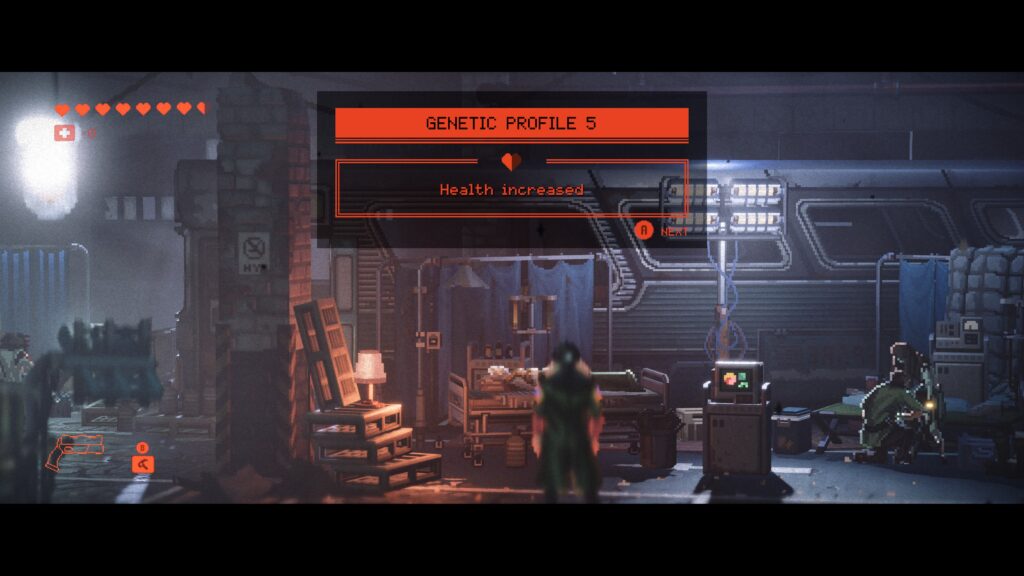
Side Quest – Old Man & Scan – Family Photo & Health Upgrade – Genetic Profile 5
Next to the collectible above is an Old Man you can talk to. He is dying and wants to see his wife and daughter’s face one more time. He says they’re in a flower tent.
Head out of the hospital and on to the next screen, you’ll see several tents, including the flower tent in the middle. Interact and you’ll get some options to explore the tent. Do them all to receive key dates that are clues to opening a lockbox in the tent.
The correct answers to open the lockbox are 02, 18, 1944.
Inside you’ll receive the family photo to take to the Old Man, this is also a collectible.
Return to the Old Man to complete the quest, where you’ll receive the health upgrade and the “Family Reunion” achievement for completing the quest.
Scan – Nursery Rhyme
Head back out of the hospital and head towards the Station (the big building), to the right of the entrance is a collectible on the same noticeboard that there was in Chapter 2.

Scan – Ironwood’s Note
Head to the right and return tohte station platform by climbing the stairs. The collectible is on the generator you activated in Chapter 2 for David’s side quest.
Scan – Phoenix Initiative Take Control
Return to the Station entrance and go inside. Head to the right and down the steps. To the right in the corner is the collectible.

Music – Great Power, Great Responsibility
Go the left from the last collectible and into the centre of the space, the collectible is in front of the green cassette sign as in Chapter 2.
Side Quest – Edward
Go the left and up the small steps to speak with Edward who is in front of the barbers. He wants you to get the map Tempest has in his man-cave.

Scan – Mommy’s Letter
Head down the steps from Edward and to the left to return to Susan and the arcade games. Just to the right of where Susan is sat is the collectible.
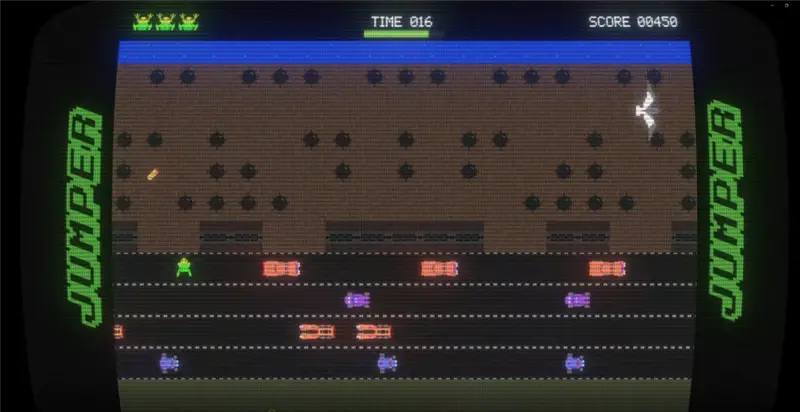
Weapon Upgrade – Kinetic Inductor 2
To unlock this upgrade, you will need to beat Susan’s high score of 5000 on the newest arcade cabinet that she has repaired. Get ready for a game of Frogger… I mean, Jumper. Simple enough, you need to get the frog across the highway dodging traffic, avoiding spikes and watching for the seagulls that are flying across the top half.
You’ll get bonus points for collecting hot dogs as you cross on the upper half. To start with there’s only one seagull that flies across the upper half of the top section. After a couple of successful runs, a second seagull will appear flying across the lower half of the top area. The traffic also picks up speed too.
Once you’ve got the movement down, it’s not too bad. You get three lives and if you lose them all, you’ll start again.

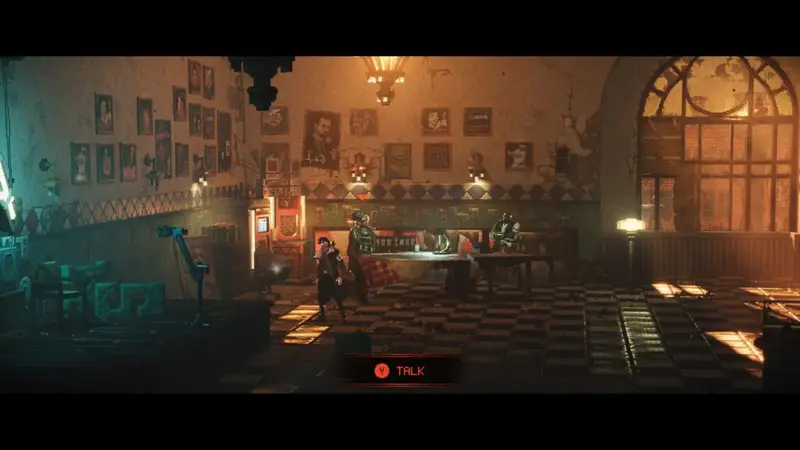
Scan – About Reach
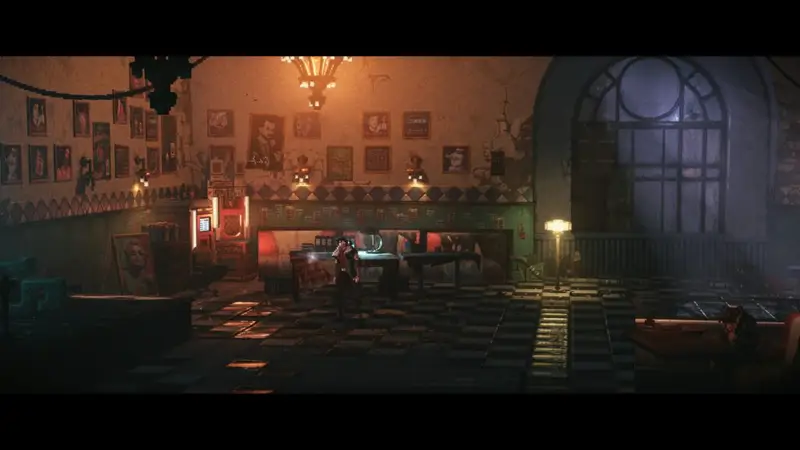
Head out of the arcade den and go into the main market hall. Climb up the small steps and go all the way to the right and up the stairs into the bar (where you met Matriarch and Ironwood in Chapter 2). Head all the way to the left and on the table is the collectible.
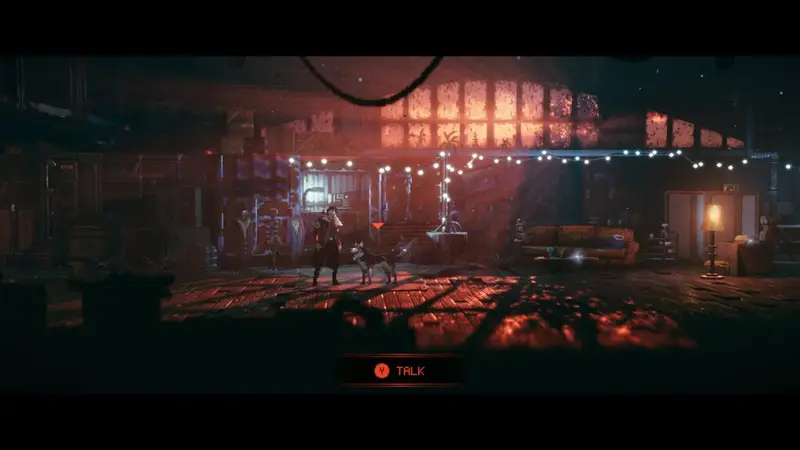
Side Quest – Dog
Head out of the Station and back on to the street, go to the right and enter the alleyway as if you were heading to YoYo’s place. In front of you in the alley will be Excalibur, the dog. Speak with him and you’ll be told he wants some food.

Side Quest – Map for Edward & Scan – Edward’s Diary & Health Upgrade – Rechargeable Ampoule 2 & Scan – Old Logs
Head right from the doggo and into Tempest’s hideout at the far right of the area. Climb the steps and interact with the map and Reach will create a copy of it.
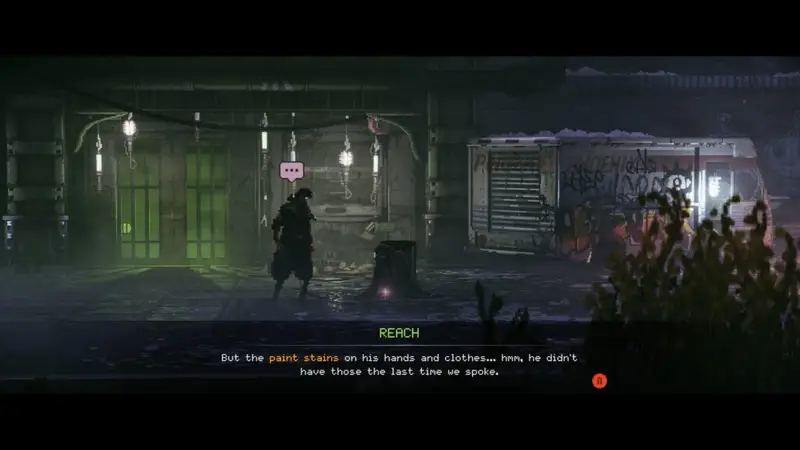
As you head out, back to where the dog was, you’ll find Edward dead (dead on the ground). On inspecting him, you’ll see he’s got paint stains on him. You’ll also pick up his diary which is a collectible.
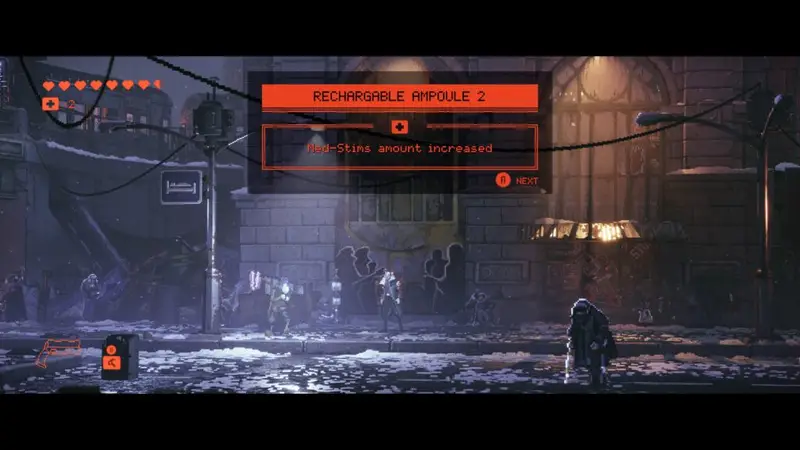
Go back to the street and head left past the entrance to the station. You’ll see a large mural you can interact with. Do so to complete Edward’s Side Quest. You’ll receive a Rechargeable Ampoule 2 , Old Logs scan and the “Hunted” achievement for completing the side quest.

Side Quest – Dog Meat & Music – Prayer of the Damned Ones & Weapon Upgrade – Reduction Gear & Scan – Unsent Letter to Mole
Head into the station and go up into the bar and speak with the chef behind the counter. He’ll give you a burger for Excalibur. Return to the dog and feed him. He’ll bark and lead you outside and to the right of the entrance into another door. Head in.
When you enter the interior, head to your right and jump to the ledge on the right. You’ll grab the music collectible here.
Head to the left, following Excalibur. In the last room you’ll trigger a short cutscene where you’ll get the weapon upgrade and scan letter. You’ll unlock the “Good Boy” achievement for completing the side quest too.
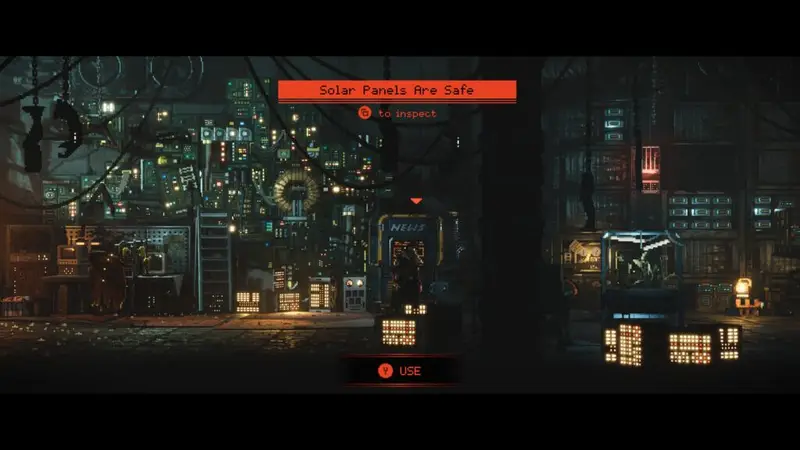
Scan – Solar Panels are Safe
When you finally got to see YoYo to give him the battery, interact with the News computer again. You’ll receive the new intel by clicking through the two options.
Chapter 5
You’ll know you’re in chapter 5 because you’ll unlock the “Brothers in Arms” achievement.
Scan – Protestor’s Note
After getting to grips with the double jump and air streams, you’ll move a generator to the right to be able to double jump into the building. Once you’re inside, head to the right to find the collectible.
Scan – Cult Leader Arrested
You’ll fight a large number of enemies on top of a train car. Once you’re done, you’ll drop on the right. Don’t drop any further and head to the left through the train car to the otherside. You should spot the collectible on the left.
Health Upgrade – Genetic Profile 6
From the last collectible, turn right and instead of walking back through the train, jump down below it to find this sneaky upgrade.
Scan – Termite’s Regret
You’ll end up climbing onto the roof. Once you’re there, jump across the gap you’ve just emerged from, to the left and walk over to the collectible on the left side.

Scan – Help Those in Need
You’ll drop down and fight a lot of enemies just after being told about the Overdrive ability. Once they’re all defeated, head to the left and spot the poster next to the wall.
Scan – Update Notes & More Donors Needed
To the right of the area you fought all those enemies is a computer terminal. Interact with it and select both options to add both collectibles to your scan log.
Scan – Watergate Scandal
After some rooftop hopping, you’ll eventually climb a ladder that puts you underneath a giant billboard. To the right of the ladder is a doorway. Head in and find the collectible.
Scan – Action Figure
You’ll end up inside a building where you’ll have to jump across an electrified body of water. You’ll likely spot the collectible on the lower right section of the screen. To get it, jump to the long pole and shimmy so you are directly above the first pickaxe hold. Aim down and press jump to drop, then quickly use your pickaxe to grab the wall. Jump across to grab the collectible.
Scan – Portable Solar Panel
You’ll end up back outside, climbing a long ladder. You’ll reach a ledge on your right. Jump to it and climb up the stacks of wood. Walk to the right and jump through the hole in the wall with the red glow coming from it. In there is the collectible.
Scan – Rusted Pin
You’ll fight a lot of PCPD enemies, including big robot tank types. Once they’re all defeated, head to the left to find the collectible.
Scan – PCPD Trooper’s Report & Nixon vs. Phoenix Corporation
To the right of the area, you fought all the enemies in is another terminal. Access both files to add two documents to the collectibles log.
Music – A View to Die For
After the chase sequence across the cranes and then into the fields. You’ll climb into a building, still evading the drone. Eventually you’ll drop out of the building to the outside. You’ll land right next to a hole in the wall to the lower floor of the building. Go in and find the music in a boom box.
Weapon Upgrade – Kinectic Inductor 4
To the left of the music collectible, jump over the fence on your left to find the upgrade.
Chapter 6
You’ll know you’ve started Chapter 6 when you unlock the “Another Brick in the Wall” achievement for completing Chapter 5.
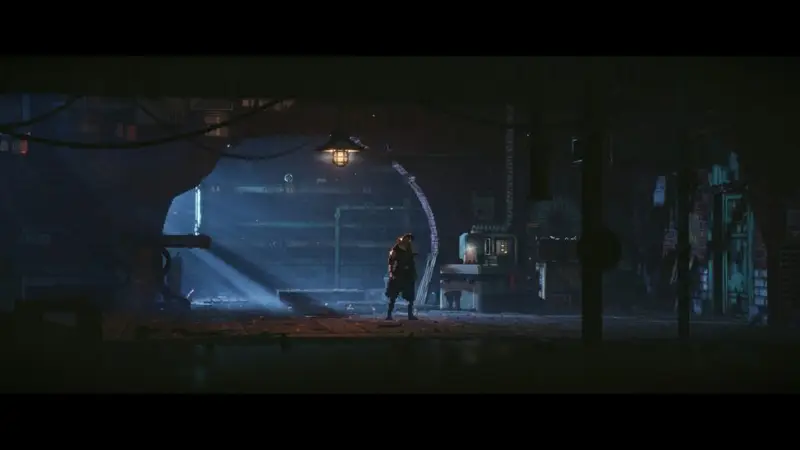
Scan – Souvenir Key Chain
When you arrive at the Pump Station, you’ll see two large air streams and lots of poles that you can swing on. Head to the right and inside the building, you’ll see a moveable air stream. Grab it and drag it all the way to the left, as far as it can go. Climb onto the unit and jump to the first pole. Turn so that you jump to the left and grab the ledge. Climb up and grab the collectible on the roof.


Weapon Upgrade – Kinetic Inductor 3
Return to the floor and grab the unit and drag it to the right so it sits in between the second and third tall white and blue silos. Use the unit again to jump to the lowest pole on the right hand silo. Swing to the left and grab the pole on the middle silo, before turning to the right and grabbing the next pole up on the right hand silo.
From there, jump to the right and land on the lower ledge, above the door where you got the movable air conditioning unit. Head through the door and keep going right until you drop down. The collectible is against the wall on the right.

Scan – Trading Worldwide
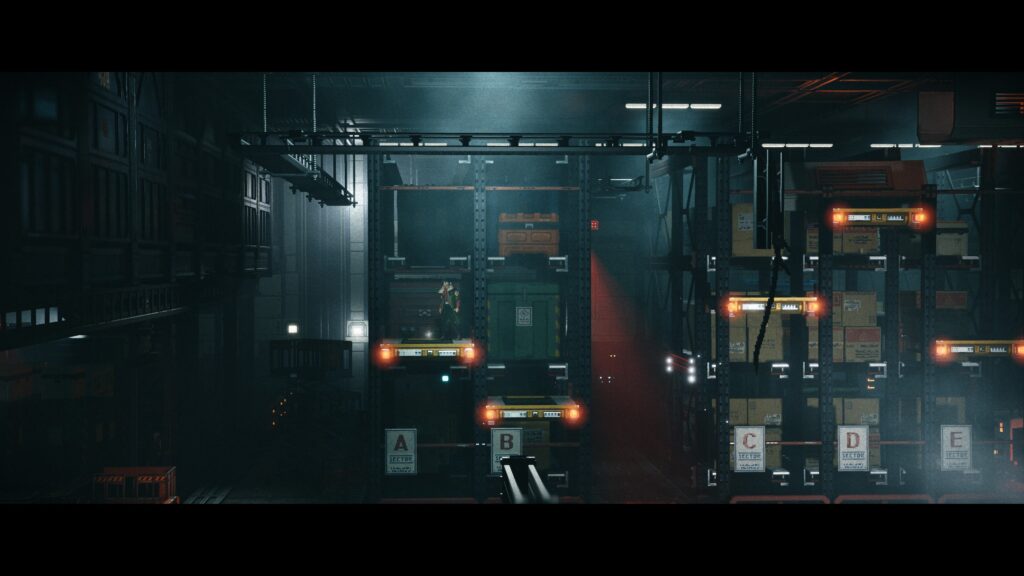
Later on you’ll enter a warehouse with lots of shelving and turrets guarding the gaps in between the shelving. Above the A shelving unit is the collectible. You may have to go to the other side of the shelves to get up and jump across (dodging the turrets red beam) to get across to it.
Scan – Phoenix Tech Show
Continuing to make your way through the level, you’ll drop from a vent into a fight with a whole load of enemies. Once you’ve taken them out, head to the right and look for some steps down. Walk to the left slightly and you’ll spot the collectible on the edge of a table.
Scan – Climatologist Letter & Classified Protocols
After a big brawl with a lot of enemies later, you’ll end in a room where to the right you can see an active computer with a green screen that you can interact with. Do so and select both options to add two scans to the log.
Scan – Scratched Wingman
After the room with the last collectible, head into the lift. When you arrive at the next area, head to the left first and cross the area where the turret is guarding. You’ll see the collectible on a ledge.

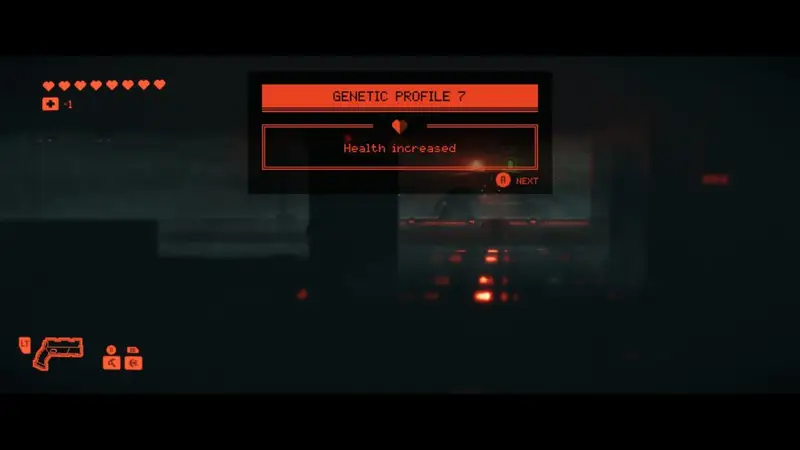
Health Upgrade – Genetic Profile 7
You’ll enter a big server room where you need to climb up and go above the turrets that are guarding in between each server (you’ll know you’re in the right place as the turrets don’t move. Watch out for the electric handholds. Once you get across, you’ll drop down a big hole in the floor. Head to the left until you spot the pick up.


Scan – Surgical Station Manual
You’ll fall through the floor and land in an arena where you’ll have a brawl with enemies. Once that’s done, head to the right and into the next room. The collectible is on a table as you walk through.
Scan – R.E.A.C.H. Manual
You’ll enter what looks like a morgue, head across the corridor, hack the door and head into the next room. Just before the door to the next room after that you’ll see the collectible sat against a large dumpster.
Music – Abandoned Forest
After another fight, where you learn the Shockwave ability. You’ll push a gurney / bed back where you came so you climb a ladder by the doorway that the turret is guarding. You’ll continue up and climb back the way you feel earlier. When you reach the top go to the right to find the collectible.

Scan – Firefighter’s Audiologs
You’ll end up on the roof. As you continue forward you should spot this easy to spot collectible on the floor before reaching several air streams.
Scan – Private Diary
After the roof section, you’ll return back indoors, dropping down to another level. Head forward and you’ll shortly arrive at a set of ladders. Before heading down, go to the right to find a collectible.
Scan – Guard’s Burned Letter
You’ll arrive at the “Central Core”, just to the left of the sign and a doorway, you’ll see the collectible sat on a crate.

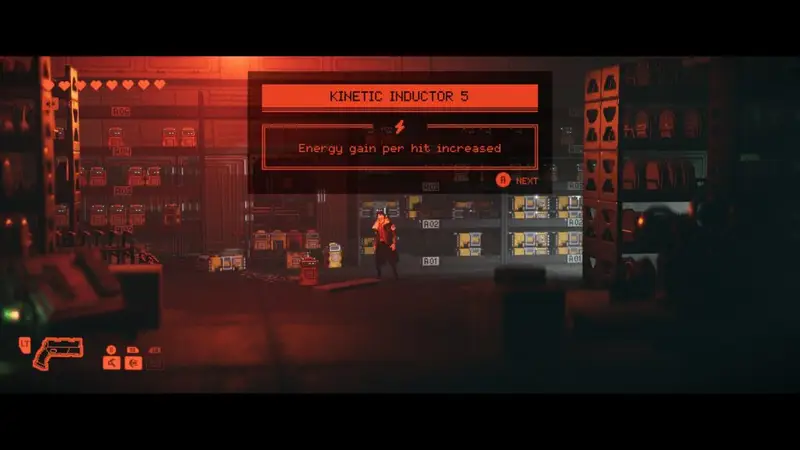
Weapon Upgrade – Kinetic Inductor 5
After the cutscene in the R.E.A.C.H. room, when you regain control, head to the left and hack the door. Head in and you’ll find the upgrade on a shelf.
If you’ve been following this guide you should unlock the “Top Gear” achievement for collecting all gun and pickaxe upgrades.
Scan – McVeigh Profile
Later on, you’ll be in an elevator when it gets shutdown. You’ll climb out onto the roof. When you gain control, go to the left and climb the ledges. Head to the left and grab the collectible.

Chapter 7
You’ll receive the “Home Sweet Home” achievement for completing Chapter 6.
Scan – Friendly Note
You’ll be back in the hospital at the start of the chapter. Head across to the left a couple of rooms until you spot the collectible in front of a motorhome, to the left of several people.
Scan – The Council’s Message
Head out of the hospital and towards the Station’s entrance. Just to the left, pinned to the noticeboard is the collectible.
Scan – Child’s Rhyme
Once more to the board to the right of the entrance of the Station.
Music – Void
Head inside the Station, as with Chapter 2 and Chapter 4, there is a collectible in the centre, down the steps in front of the green ‘cassettes’ sign.
Side Quest – Sandra & Scan – Trooper’s I.D.
To the right of the cassette stall, you’ll be able to chat with Sandra. She wants to some help identifying a possible spy who’s I.D. she found. You’ll add the I.D. to your scan log.
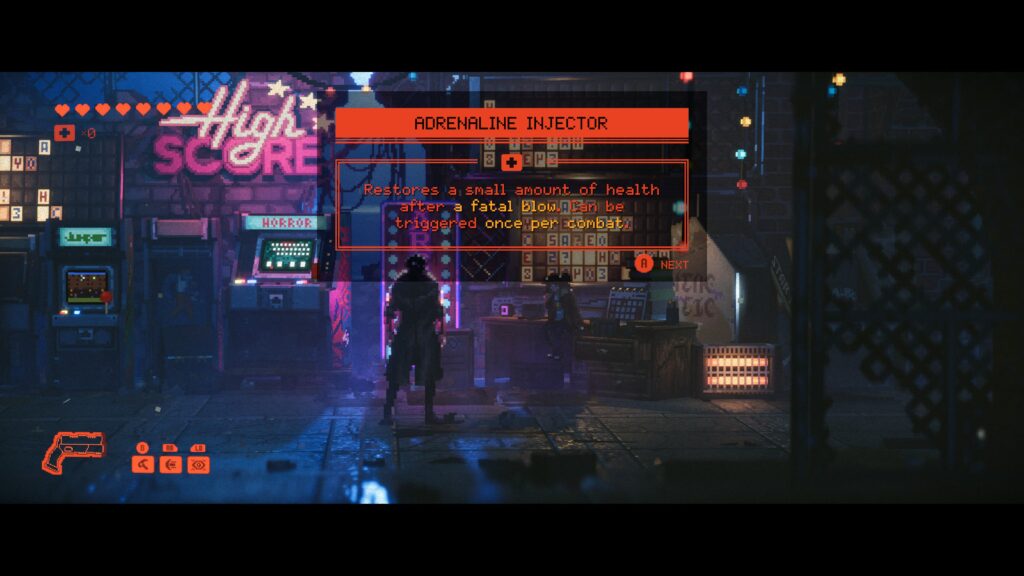
Health Upgrade – Adrenaline Injector
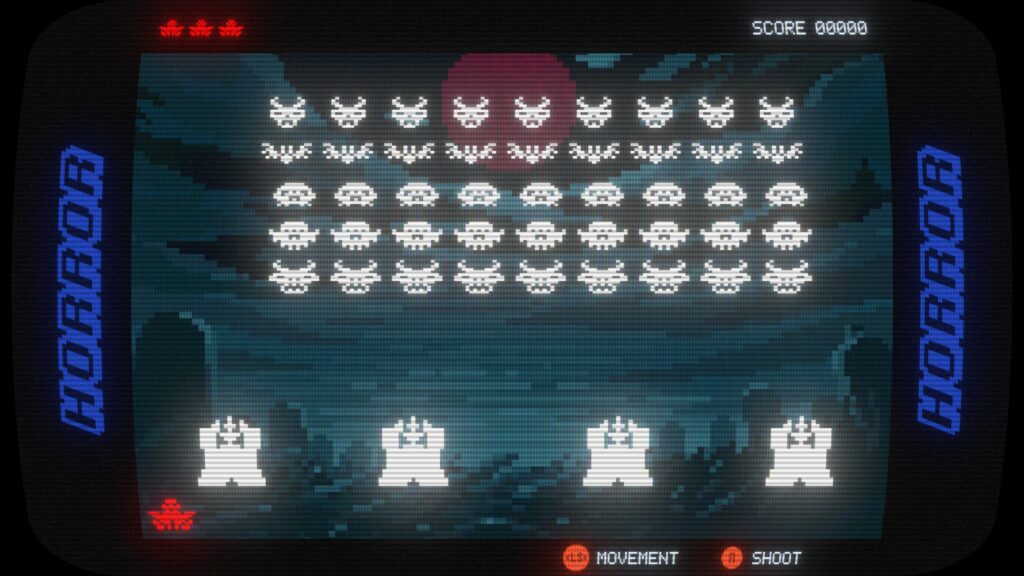
Head to the arcades again to see Susan and play the next game she’s repaired. And good news, it’s Space Invaders…I mean, “Horror”. Simple premise, shoot the alien ships, the big red one at the top is worth the most points, don’t die. You’ll probably need to complete about four rounds to get the high score.
Once you’ve done that, speak with Susan and she’ll give you the Adrenaline Injector upgrade.
You should also get the “Old School” achievement for beating the top scores of all the arcade games.
Scan – Termite Lair is Gone
Head back into the main Station hall and then head to the back right and go into the bar. To the far left on the table is the collectible.
Side Quest & Scan – Wall Conspiracy Forum & Trooper’s File
Head to Yo-Yo’s place (go in the alley to the right of the Station main entrance, then into the door with green lighting). Head down and use the ‘News’ terminal and look at all the items.
You will need to use the terminal to scan the I.D. card for the Sandra side quest. You’ll have to hack it to make it happen.
Side Quest – Speak with Berty
Outside of Yo-Yo’s place is the suspect in question, Berty. Speak with him and he’ll say he needs to speak with Sandra.
Speak to the Cat
Just to the right of Berty there is a cat sat on a bin. If you talk to it, Reach will query cat’s existence. If you spoke to the other cat previously, you’ll unlock the “Sad Cats” achievement.
Pet Excalibur
Head right from the cat, and now go be a dog person. Excalibur will greet you, if you talk to him, you’ll pet him and unlock the “We Are All Here for This” achievement.
Side Quest – Tempest’s Comic Collection
To the right of Excalibur is a note on the table. It’s asking for help in finding Tempest’s missing comic books.
Music – Second Chance
To the right of the note giving you the side quest, there is a music pick up sat on a box.
Music – No Tomorrow
Head to the right from where the note for the side quest was, into Tempest’s man cave. Climb the short steps and go to the blue boombox. The music pick up is there.
Side Quest & Scan – Comic Book, The Tempest Man Flies
Head back onto the main street and head right. Go up the first flight of stairs that head up to the train platform and grab the comic book. Don’t go all the way up and approach the car, that will end the chapter.
Side Quest & Scan – Comic Book, The Red Nuke
Head to the Station entrance and go inside. Head down to the arcade, where Susan is. Head past where she’s sat and go into the other room. The comic book is sat on a box.
Side Quest & Scan – Comic Book, Love & Masks
Go back up to the main hall of the Station and head all the way right, past where Sandra is. The comic book is in the corner.
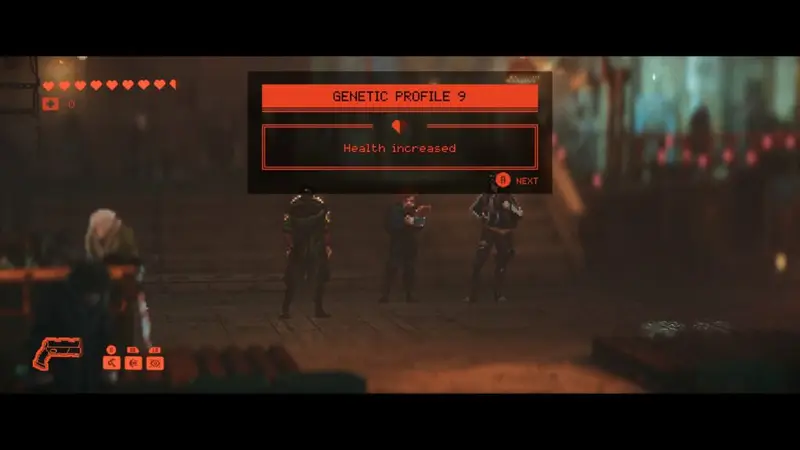
Side Quest – Speak with Sandra and Berty & Scan – Trooper’s Diary & Health Upgrade – Genetic Profile 9
Head a bit to the left to speak with Sandra and Berty, resolving the side quest.
You’ll be given the diary as a scan log and a health upgrade. You’ll also receive the “Look-a-Like” achievement for completing Sandra’s quest.
Side Quest & Scan – Comic Book, From the Ashes
Head up to the bar and head to the left. The comic book is about halfway in, just past the kitchen.
Side Quest & Scan – Comic Book, High Stakes
Leave the Station and head left towards the hospital. As you enter the hospital area proper, you’ll see it a little high up from the floor, on a standing light.

Side Quest & Scan – Comic Book, The Ultimate Sacrifice
Head to Yo-Yo’s place, to the right of the entrance to the Station. Once inside, go all the way to the left and you’ll spot it on a shelf.
Side Quest – Return the Comics & Combat Upgrade – Balance Unit
Now you have them all, head out of Yo-Yo’s and take a right and back to Tempest’s place. Interact with the table where you picked up the side quest and you’ll finish it.
You’ll also receive “The Biggest Fan” achievement for completing the side quest.

Chapter 8
You’ll know you’ve reached the end of Chapter 7 when you unlock the “New Horizons” achievement.
Scan – Project Havoc Flyer
From the start of the Chapter, you’ll run across a rooftop before climbing down to ground level. Once on the floor, you’ll spot the collectible stuck to an iron shutter.
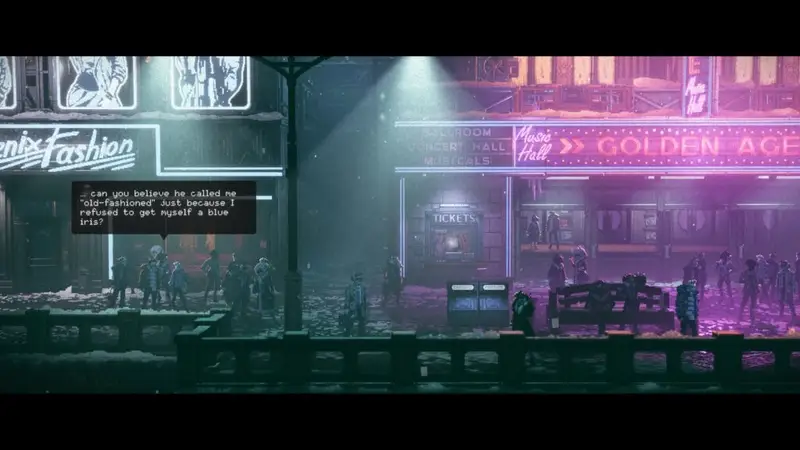
Scan – “Feather Squad” Movie Poster
Once you’ve reached the street level and crossed the road, under the drone. You’ll head through the streets and reach a purple lit theatre front. On the board to the left of that building is the collectible.

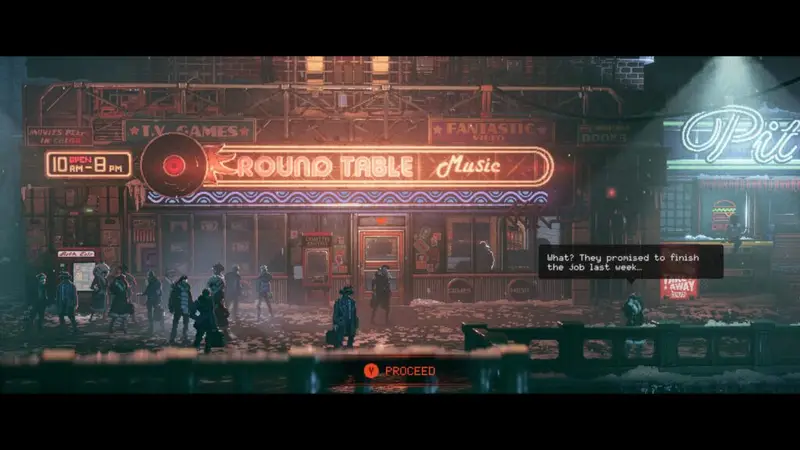
Music – Alone in a Crowd
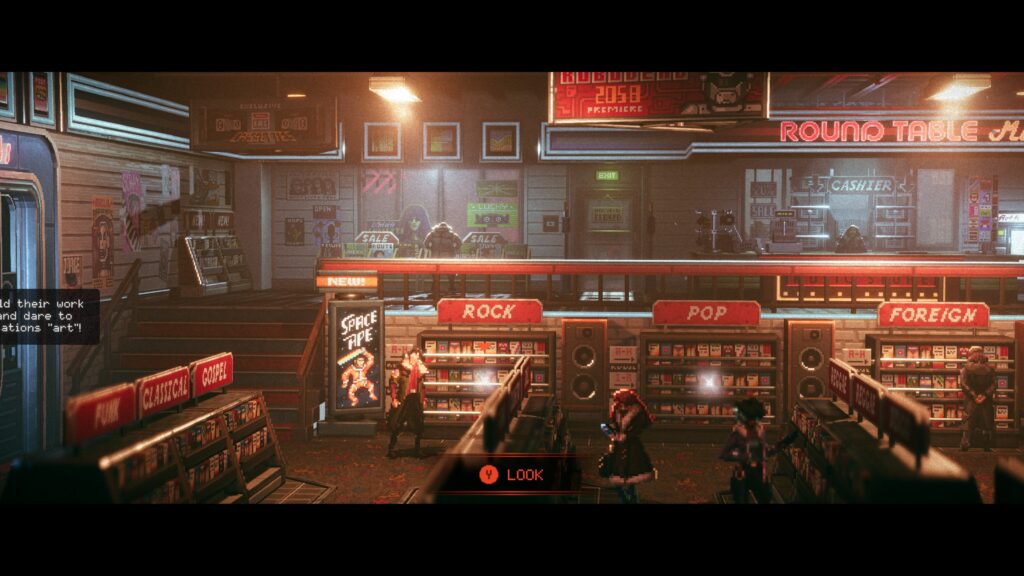
Go to the right of the theatre (purple lights) and you’ll see the Round Table Music shop, go inside. Head to the left and down the stairs. You can check all the racks, but you want the one on the right, at the end, where you’ll find the music.
Scan – Veronica Concert Poster
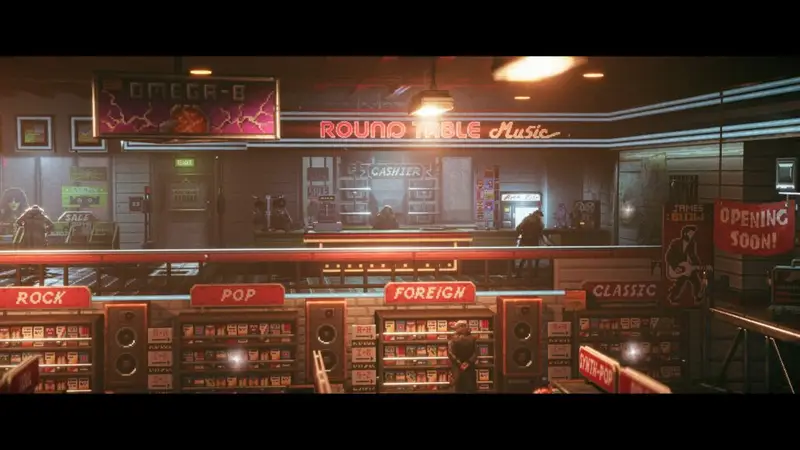
Head back up the stairs and go to the right, past the cashier. The collectible is on the wall.
Music – Rust
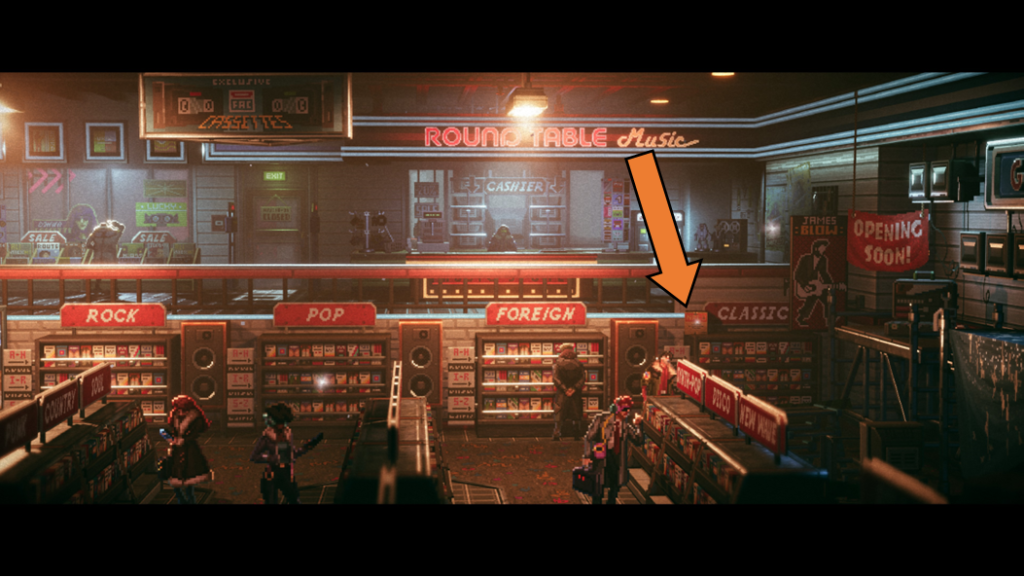
You’ll go back out and start a task to round up four technicians so you can get past a drone patrol. Head back into the music store and speak to the chap on the left of the entrance. You’ll then go down the stairs and search the racks for Veronica’ s music. When you can’t find it, Reach suggests talking to the cashier. After doing that, he’ll guide you to the deadbox, it’s near where you picked up the previous music pickup.
Scan – PCPD Celebration + Weather Forecast + Election News Article
Leave the record store and go back to the left, hiding in the crowds to avoid the now patrolling drone. Go down the stairs and head right. You’ll hack a console to release the second technician from his thirst bind. To the right of that is a ‘News’ terminal where you can pick up the three scans. Just select everything in the terminal.
Scan – How to Deal with a Loss
Next to the ‘News’ terminal, there’s a guy you can talk to. He will give you a leaflet.
Quick Pointer – Mortgage Technician
I add this purely because I missed this entirely for a long time! To the right of the leaflet guy, you’ll find a technician you need to round up. He says he needs to pay his mortgage and then he’ll join but he’s got a long wait. Reach says he thinks he could hack and needs to follow the yellow cable.
Head back to the left and up the first set of stairs. Go to the railings on the left and Reach will jump over allowing you to carry on – don’t know why it took me so long to spot this.
Scan – Bodycam Recording
As you carry on, you’ll be crawling through a vent, and fall down into an arena with lots of enemies. Once they’re defeated, head to the left and you’ll find the collectible on a computer console.

Scan – Central Tower Mini-Model
You’ll go back to the room where you fought the enemies and climb down the ladder. Head to the right and you’ll be in the sewers. Push the moveable air unit to the right so you can jump up to the platform and carry. On after shimmying across a pipe, dodging steam, you’ll drop down.
Once you land on the platform above the water, head to the left, jumping across the platforms. Turn off the steam with the valve and jump across to the collectible.
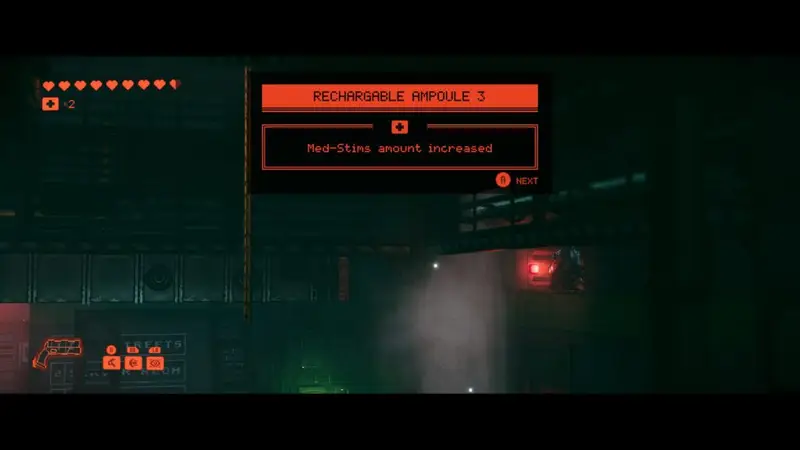
Health Upgrade – Rechargeable Ampoule 3
Once you’ve gotten across the water, you’ll be in a smaller room. There’s a moveable air unit, push it all the way to the right. Climb up and jump up to the ledge to grab the pick-up.
Scan – Commercial Clinic Leaflet
You’ll use the air unit to grab a ladder and climb up. Climb up on the ledges to the right first and climb into the next room. Head all the way to the right to find the collectible.
Health Upgrade – Genetic Profile 9
As you head back to the surface, from the last collectible you’ll jump across a shaft, climb up and enter a room with three bars to swing across. In the next room, there’s a gap to jump across, don’t. Instead drop down to find this sneaky health upgrade.
Music – Dusk
After you have got out of the sewers and rounded up the four technician (the last guy is on the way out of the sewers through the door you have to hack to leave). You’ll head back to the checkpoint and have to push a crate with the technicians. You’ll get to the other side and get told to wait with the crate.
You’ll be able to leave them and climb the crate to get onto the scaffolding above. Head all the way to the left once on the scaffolding to find the music.

Music – Stranger in the Mirror
Once you arrive at Warren’s apartment, head into his workshop. Next to the main computer is a smaller one with a green screen. Use that to get the music track.
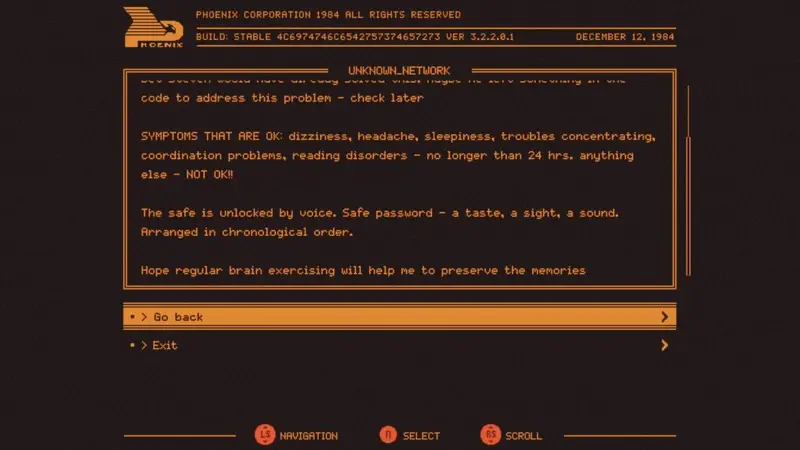
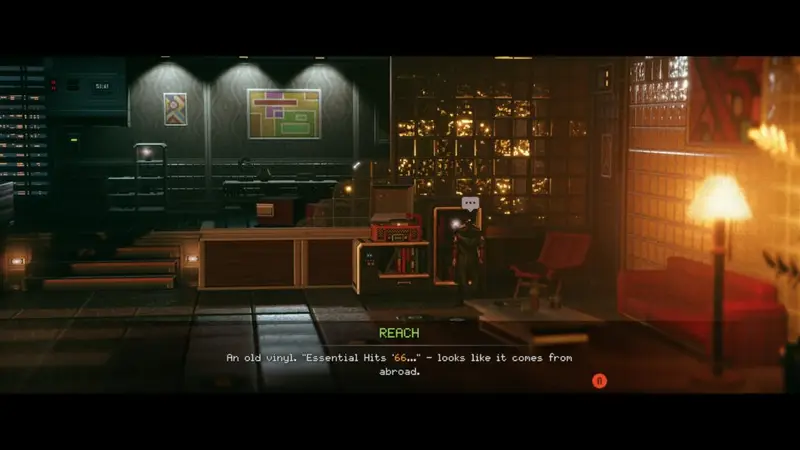
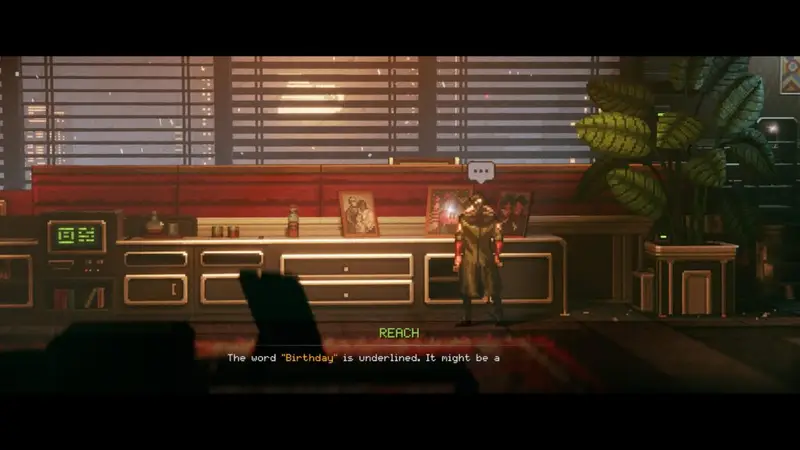
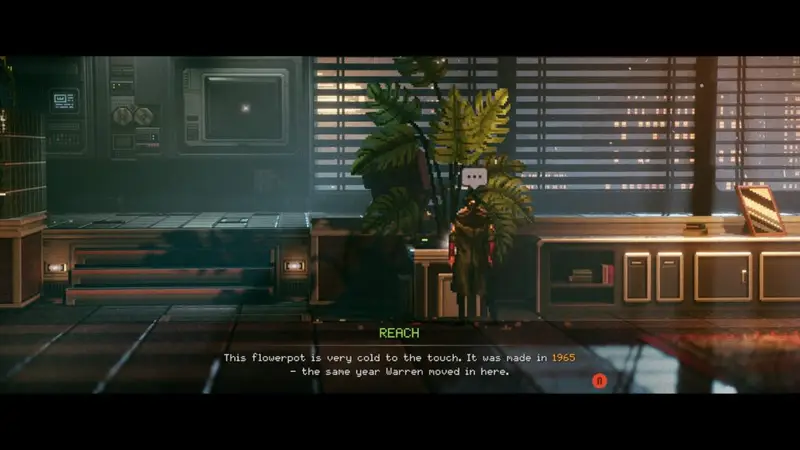
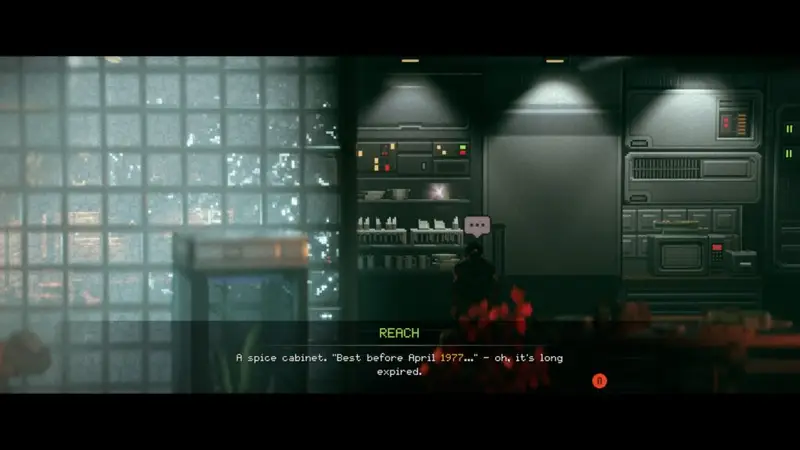
Safe Puzzle
If you need the answer to the safe puzzle, go around the room the main room and look at all the glowing white objects. The answers you need, in order, are:
- Birthday
- Substitute
- Cayenne
Chapter 9
You’ll reach chapter 9 when you get the “Night and the City” achievement for completing Chapter 8.
Scan – Secret Orders
Before entering the Station, head to the left of the building and keep going till you spot the collectible on the floor.
Music – Ash
Once inside the Station, head to the right and go down the steps. Head to the right and grab the music from that corner.
Scan – Makeshift Task Board
Once you’ve regained control after the boss fight, head to the left and following the cutscene with Ironwood and Veronica, you can grab the collectible from the task board in the centre of the room.
Scan – Medical Journal
From the last collectible, head into the next space on the left. The collectible is on a crate.
Music – Milky Way
When you meet Yo-Yo with Excalibur, after talking to him, head to the left, past the the Station main entrance. The music track is on the floor on on your way to the station platform.
If you have followed this guide, you’ll unlock the “Music Sounds Better With You” achievement.
Chapter 10
You’ll reach Chapter 10 when the “Lend a Hand” achievement pop for completing Chapter 9.
Scan – On the Subject of Disposals
Once you gain control after the intro cutscene, head right into the room with Ironwood and the others. After the cutscene, go up the small steps and all the way to the right. Grab the collectible from the computer console.
Scan – Elite’s Diary
From the last collectible, return to the steps and go down. Head to the right to find a dead Elite with the collectible sat in front of him.
Scan – Exquisite Menu & Health Upgrade – Genetic Profile 10
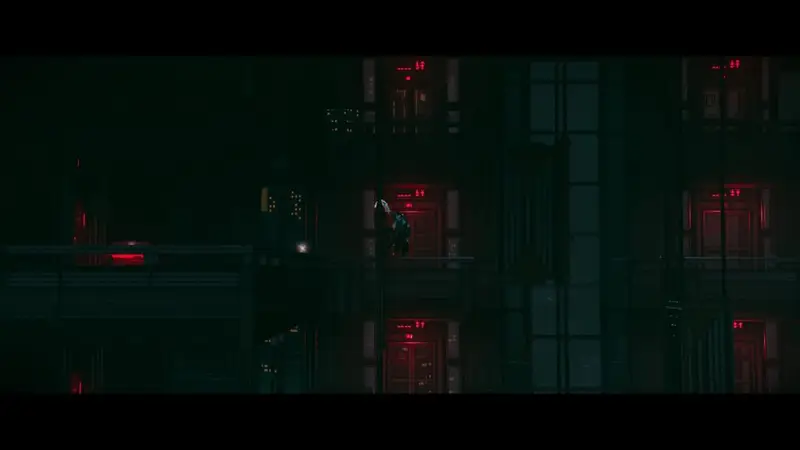
You’ll go through a climbing section as you go up an elevator shaft and then fight several rooms of enemies. Once you’ve defeated the enemies you’ll do some more climbing in a tall lobby of the building. You’ll ascend several floors, as you reach floor ‘04’ (look at the red doors on the either side of the centre, look to the left to see a balcony with two collectibles on it. Swing over and jump to the balcony.
If you have followed this guide then you will unlock the “My Body is a Machine” achievement.

Scan – Interview for Editing
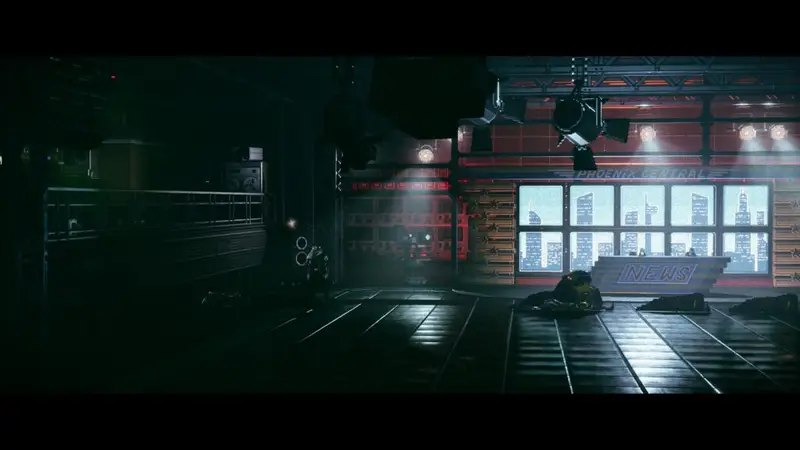
After the combat section in the News studio, head to the left and sat on top of the speaker is a collectible.
Scan – Black Widow Letter
Before jumping up on the left, head to the right of the News studio and climb up the railing. The collectible is in the corner.
Scan – Letter Dropped from the Trash
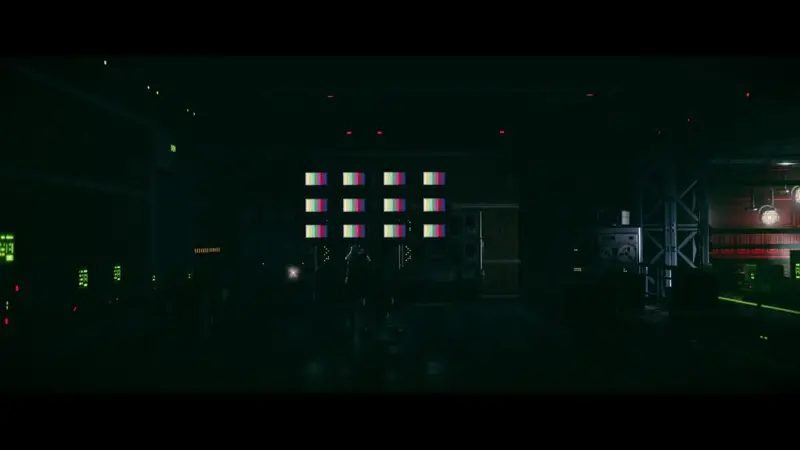
Head back to the left of the News studio and carry on and up. In front of the multicoloured monitors is the collectible.
Scan – Doctor’s Journal
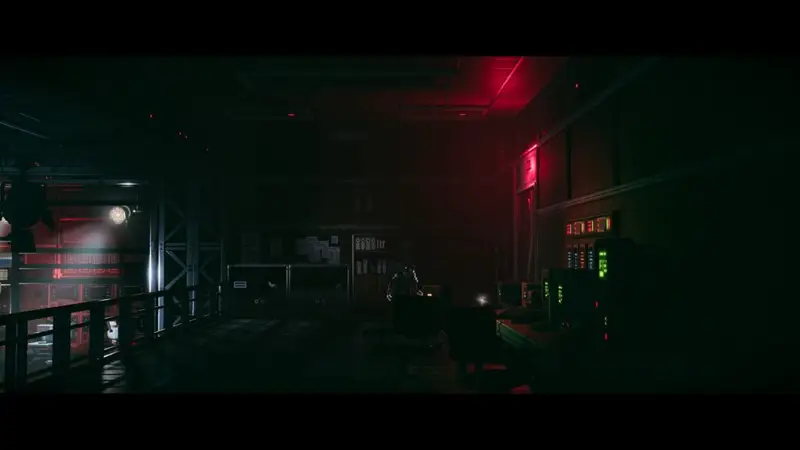
When you drop into the room with large windows that all have shutters on them, head to the right to grab the collectible.
Scan – Matriarch’s Profile & Corporate Wars
After the trap room with all the electric, you’ll head to the left and see a terminal that you can interact with. Select both options in the computer to add two scans to your log.

If you have followed this guide then you’ll unlock the “This is the World We Live In” achievement for finding all the collectible.
I hope you’ve found this guide helpful.