

Sophia may be cursed with inexplicable visions of Minotaur Island, but she was raised as a plunderer. And what plunderer wouldn’t have the curiosity to loot every nook and cranny within the island, learning more about its past and retracing the steps of her comrades?
In Resonance: A Plague Tale Legacy, nothing is missable as each checkpoint is replay-able and every progress or collectible gained is saved within one save file. This means that you can be in Chapter 9, go back to Chapter 2, already having everything you’ve earned so far, then go back to Chapter 9, holding on to whatever it is you picked up in Chapter 2. Play this game with ease and focus on the narrative whenever possible, especially during chase scenes, because you can always go back to get what you missed!
OR, follow along our guide, going through all the Blade locations per chapter!
Here is our guide for the Plunderer trophy!
Plunderer Trophy Guide
Most of the Blades to be found within Resonance are hidden inside a cache, protected by a puzzle. However, the first three you’ll encounter are tied to the story, or are completely unmissable. This guide will cover the blades starting from Chapter 5 onwards, giving you 5 new blades for Sophia to play with.
Chapter 5 – Greek Sword
Starting from Chapter 5’s part 3, The four symbols, take the right door from the pedestal and cross the broken down bridge. You won’t be able to get up there using a direct route, so make a left through a side path and defeat any soldiers that stand in your way.
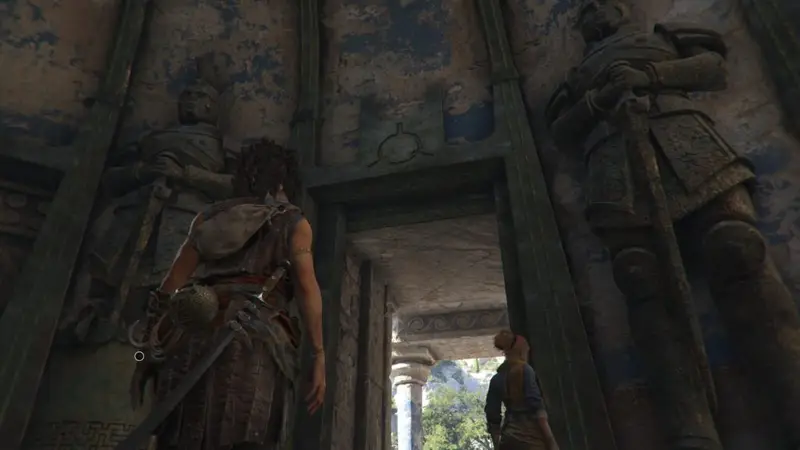
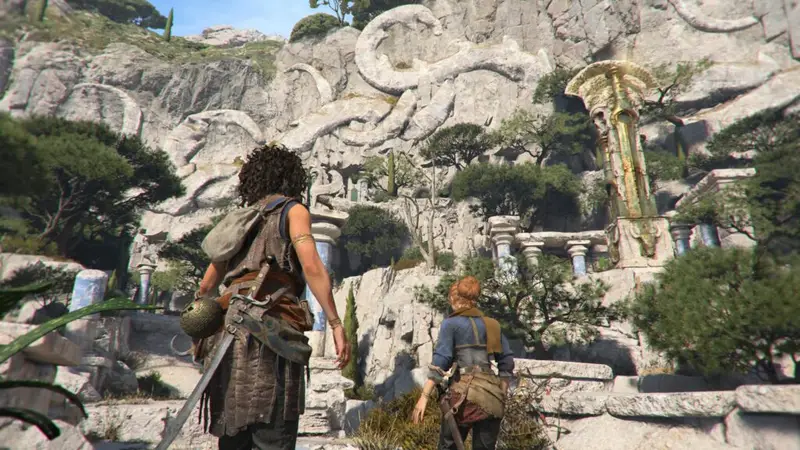
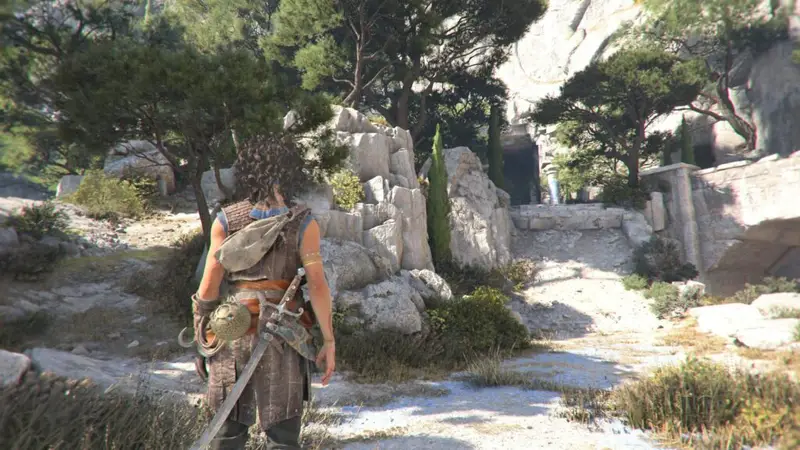
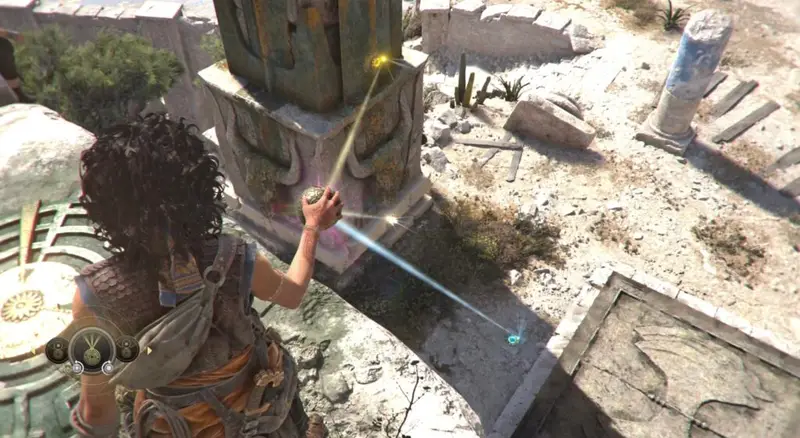
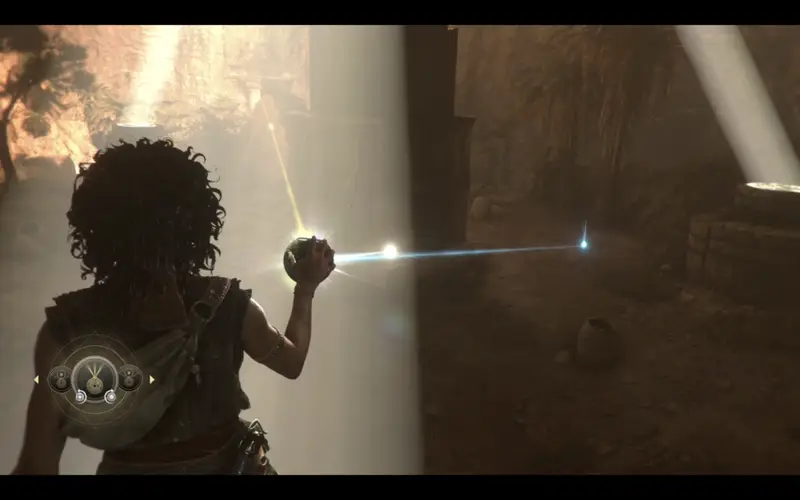
Once there, you’ll see the entrance on the ground of the make-shift camp, as well as the statue that indicates the location of the blade. However to open the entrance, you’ll need to match up the three coloured beams using your sphere, which means you’ll need to location the place to stand that’ll allow you to alight the lights properly.
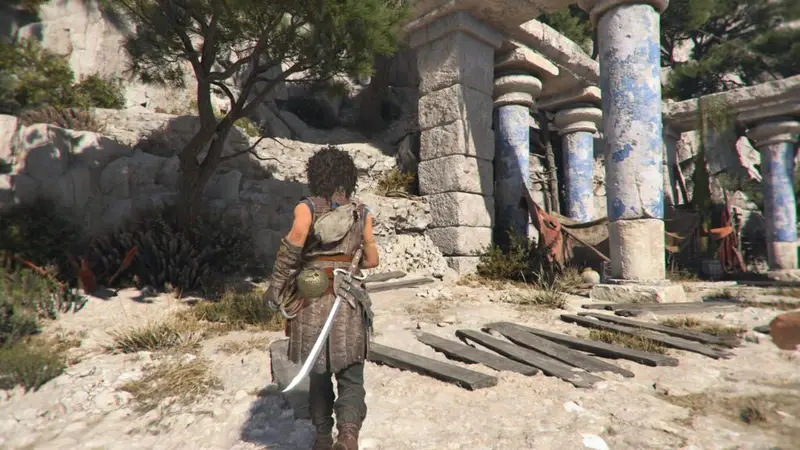
Climb from the left side of the camp until you reach the top of the broken down pillars and you’ll see a the eye symbol that tells you where to stand. From there, it should be simple to just point and rotate the sphere in order to open the way to the blade.
Chapter 6 – Sica
After acquiring the Daedalus Key during Chapter 6’s part 5, The architect, open the first door you see on the right side using the key.
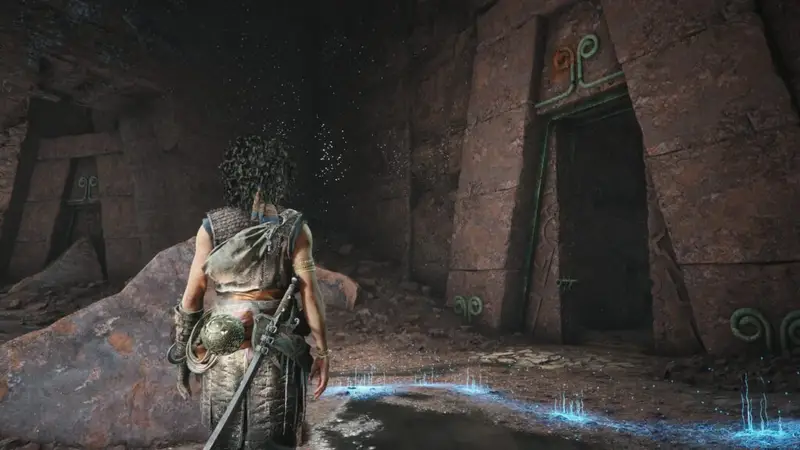
Once through, make your way through the first crack on the wall you’ll see on your left side.
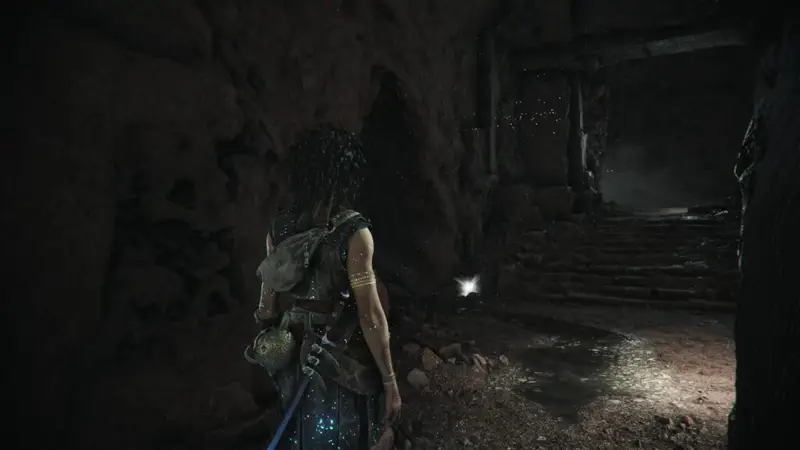
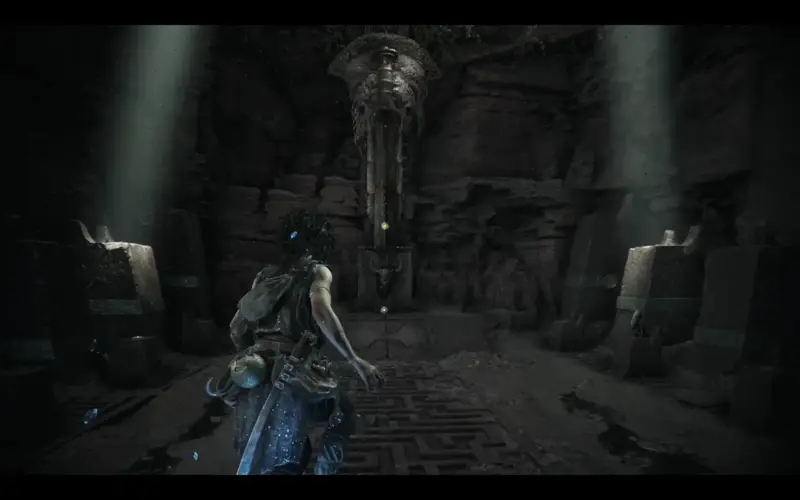
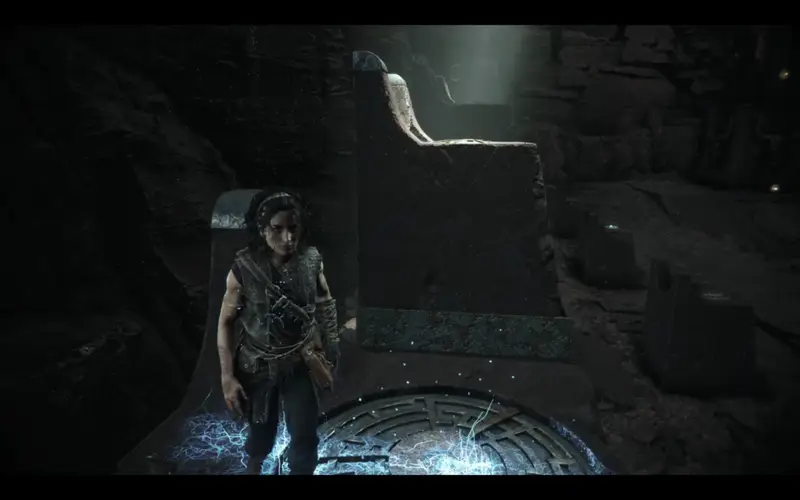
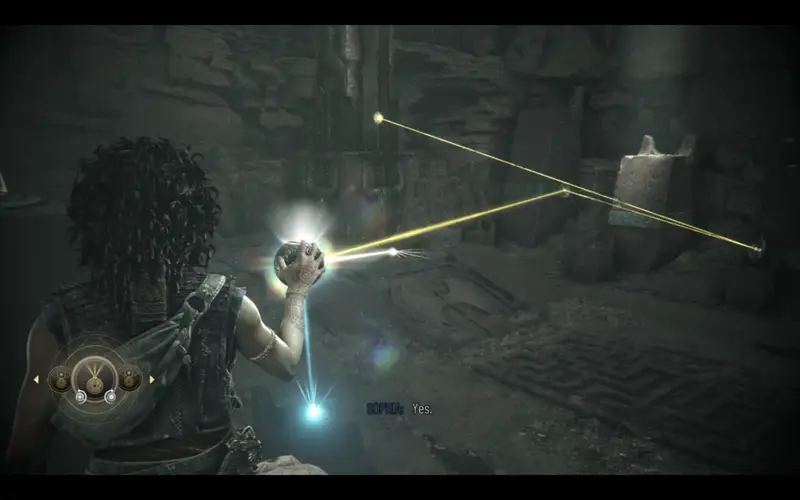
You’ll see the room with the statue and the barred entrance to the next gate. As with the previous chapter, you’ll need to align your beam of light appropriately for the door to open. As you may have noticed, this beam will only work on spots that are lit, and typically, the ground will also have a circle with an eye symbol on it.
The place you’ll want to head towards is the first pillar on the left side of the room that’s lit. Focus your beam as shown on the image and the door will open.
Chapter 7 – Khopesh
Starting from the chapter’s part 2, The whole damn army, you’ll see many white-grey broken down pillars. Look towards the left side and you’ll see the statue that typically indicates the location of the blade.
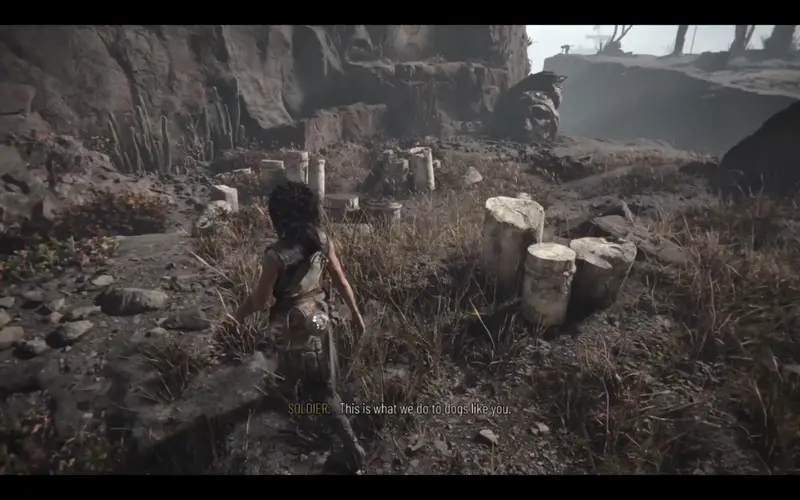
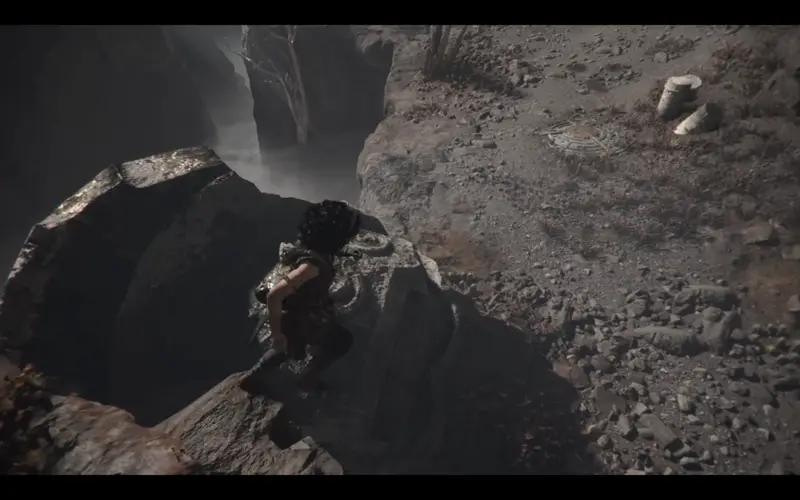
As with the previous blades, you’ll once again need to find a spot that you’ll need to step on in order to perfectly align your beams of light. This one is much simpler, as with the others, the spots are marked with a green circle with the symbol of an eye on it.
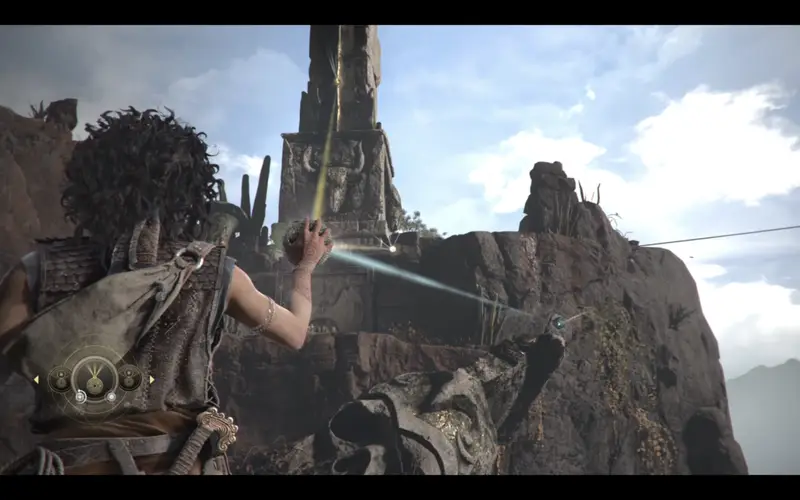
Chapter 9 – Broken Spear
Right after seeing the cutscene with the creature turning the poor solider into a petrified, during Chapter 9’s 4th part, Hunted, make a left.
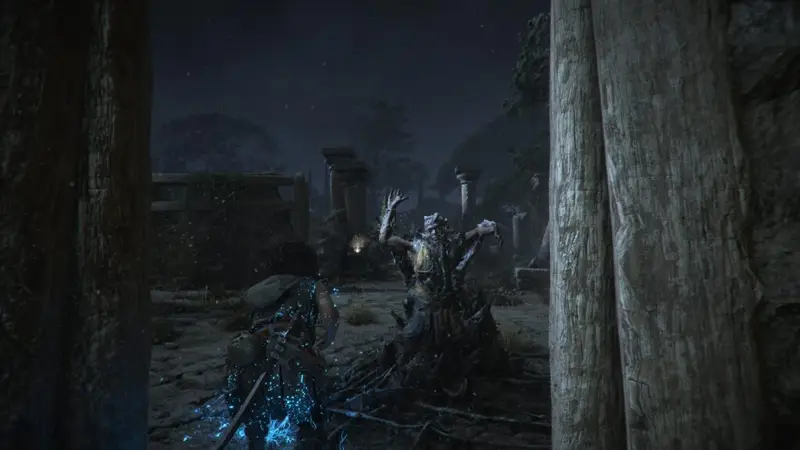
This blade doesn’t require a puzzle. The task is just finding the blade’s location while the creature is hunting you. After making a left, you’ll see a brazier that you can break. However, it’s not necessary, make a left after seeing it and you’ll see a well lit area up a set of stairs and the statue we are looking for!
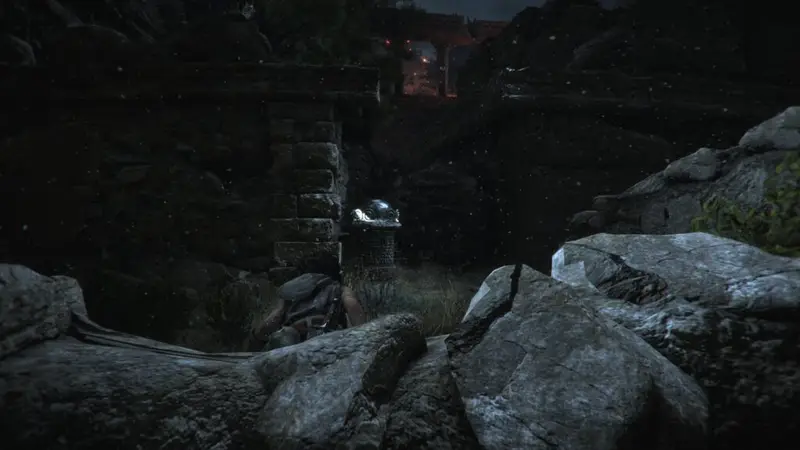
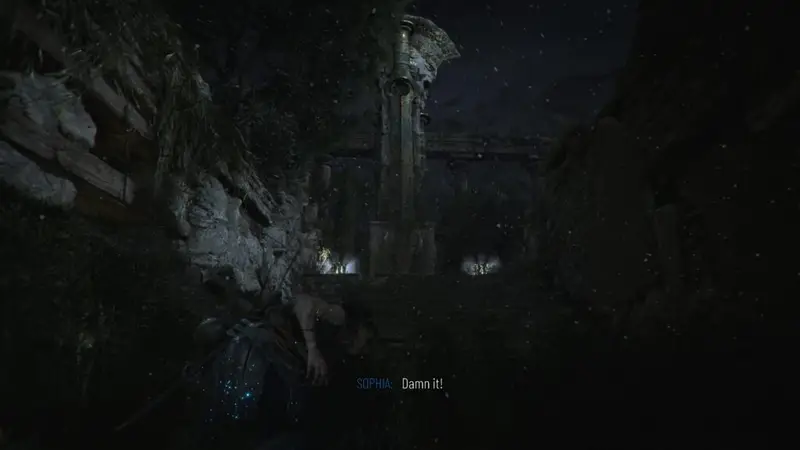
And luckily, it’s already open!
Chapter 10 – Xiphos
While trying to solve the story puzzle with Faro in Chapter 10’s 2nd part, In the plunderer’s wake, you’ll encounter a shallow stream as well as the location for the light source you’ll need to solve the puzzle. Once you turn it on, you’ll see the beam highlight a crack on the wall. Following that, you’ll see the statue that leads up to the statue and the final blade.
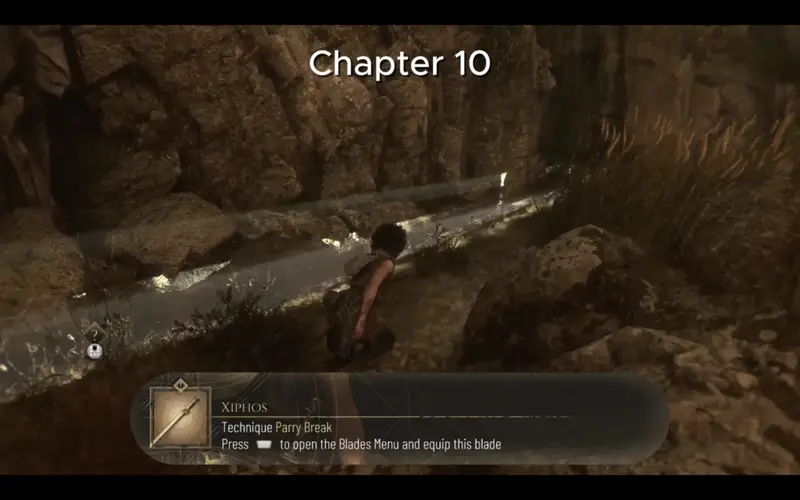
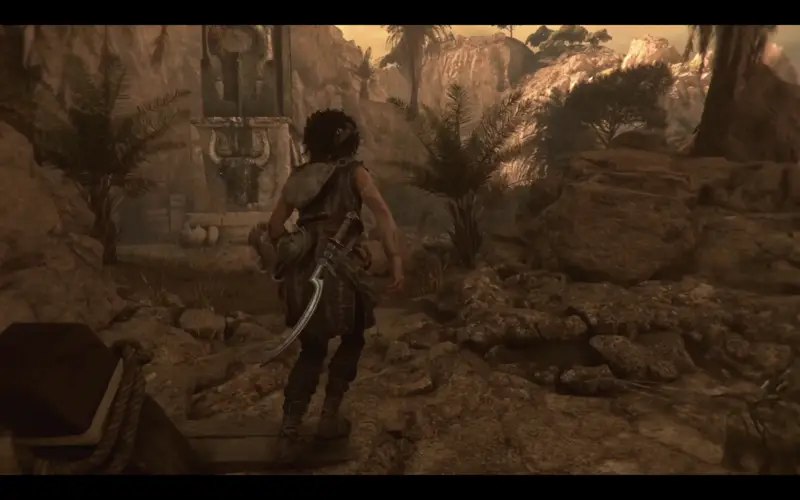
You’ll need to place your sphere on the pedestal first, revealing light sources for you, for a chance to shine your light on the gems. However, the blue gem is missing. It’s conveniently hidden underneath some vases.
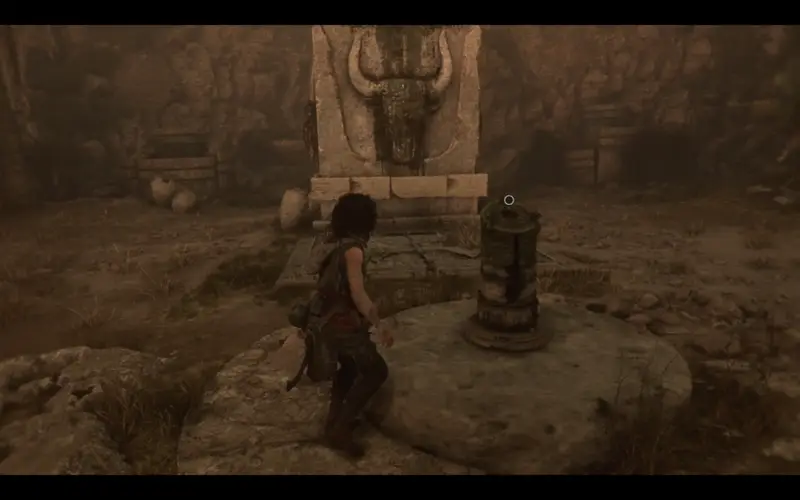
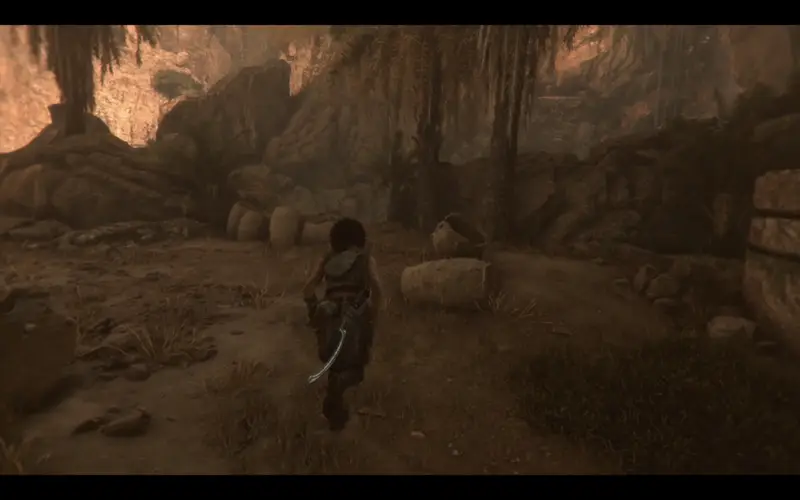
Once you’ve revealed the hidden blue gem, climb up a broken pillar with a light source that’s located behind the statue. Shine the light here and you’ll open up the final blade location and receive your Plunderer trophy.
That was our Plunderer Trophy guide for Resonance: A Plague Tale Legacy! We hope this helped you get through your night shift. Check out our other guides for Resonance below.
Are you struggling with a particular trophy/achievement in Resonance: A Plague Tale Legacy? Let us know in the comments below, and join the Gamer Social Club Discord to chat about your favourite games, play in community game nights, take part in giveaways, and more!
And of course if you need anymore Resonance: A Plague Tale Legacy guides, head down below for all our content.