
Sophia may be cursed with inexplicable visions of Minotaur Island, but she was raised as a plunderer. And what plunderer wouldn’t have the curiosity to loot every nook and cranny within the island, learning more about its past and retracing the steps of her comrades?
In Resonance: A Plague Tale Legacy, nothing is missable as each checkpoint is replay-able and every progress or collectible gained is saved within one save file. This means that you can be in Chapter 9, go back to Chapter 2, already having everything you’ve earned so far, then go back to Chapter 9, holding on to whatever it is you picked up in Chapter 2. Play this game with ease and focus on the narrative whenever possible, especially during chase scenes, because you can always go back to get what you missed!
OR, follow along our guide, going through all the relic locations of the present and past per chapter!
Here is our guide for the Hoarder trophy!
Hoarder Trophy Guide
While Resonance: A Plague Tale Legacy is a linear game, it’s still difficult to accurately describe where everything is without a map. This guide will do its best to do so, using landmarks during a chapter and most of these relics are listed in order that it was acquired. We do have a video guide available for this trophy as well, if you prefer.
As this guide will cover all the relics in the game, it’s quite lengthy. Just click on the chapter that you need help in to jump directly there. Also, yes, these images are just screenshots of the video guide 🙂
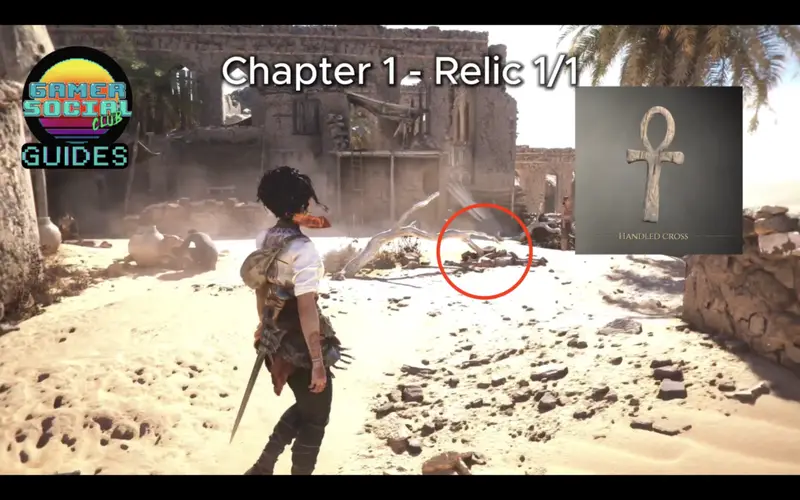
Chapter 1 – 1 Relic
This first one is difficult to miss. Once you have control over Sophia during “The search for the key”, after a mild time skip, you’ll get to roam this small area.
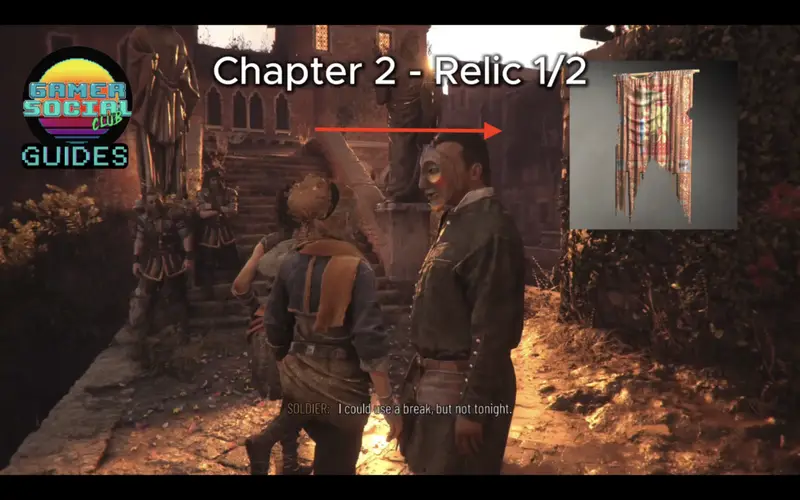
Chapter 2 – 2 Relics
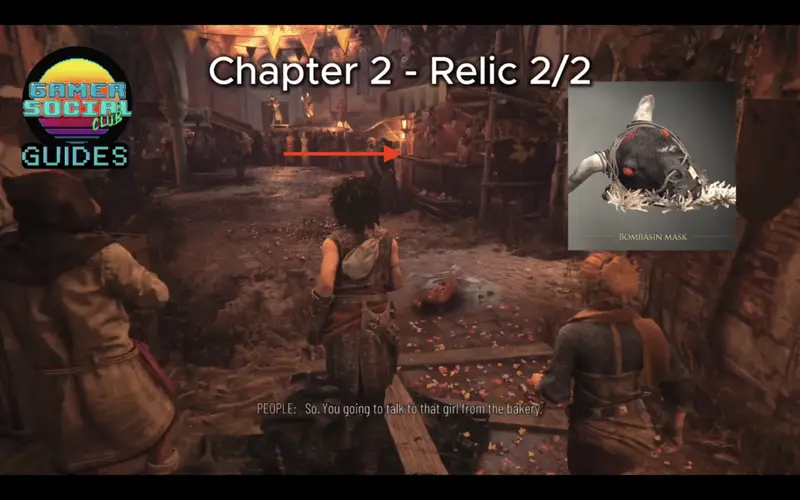
For the first relic of the chapter, continue on through the city until you see this bridge with two guys loitering in front of it. Make a right around the corner and you’ll see the relic on the ground.
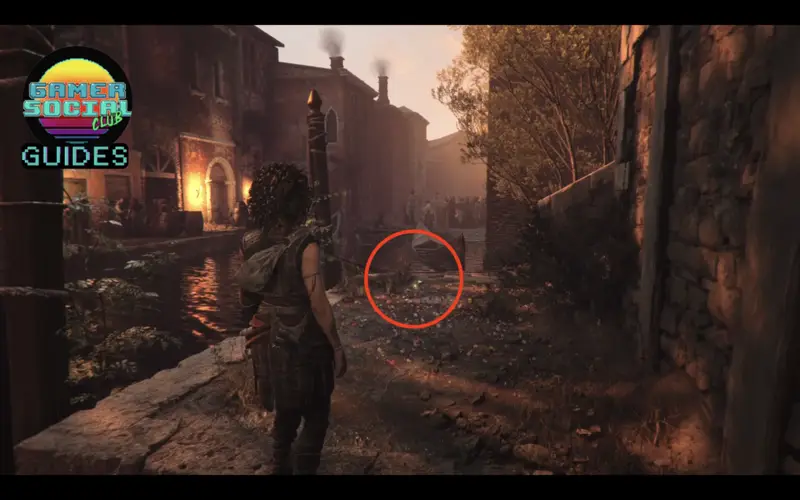
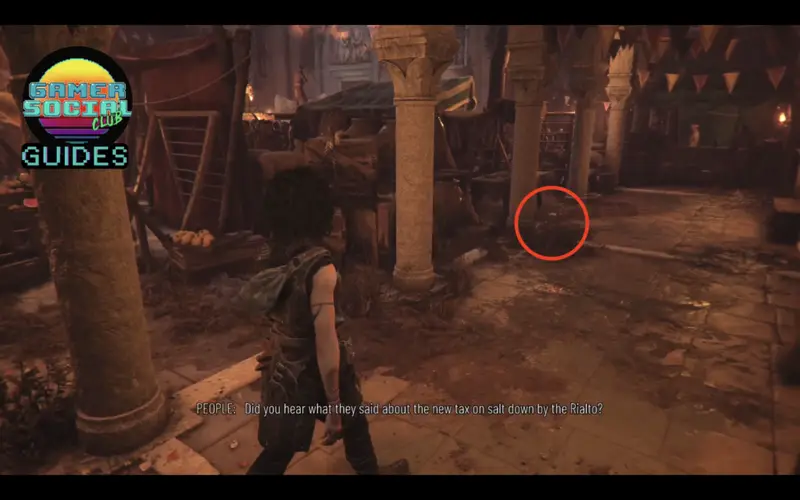
The 2nd relic of the chapter is just around the right side of the opening, before where that huge crowd is gathering.
Chapter 3 – 6 Relics
This chapter is all about using our notebook to find out way into the heart of the island. It has multiple moments where it’s a bit less linear, so pay attention to the landmarks shown on the images provided.
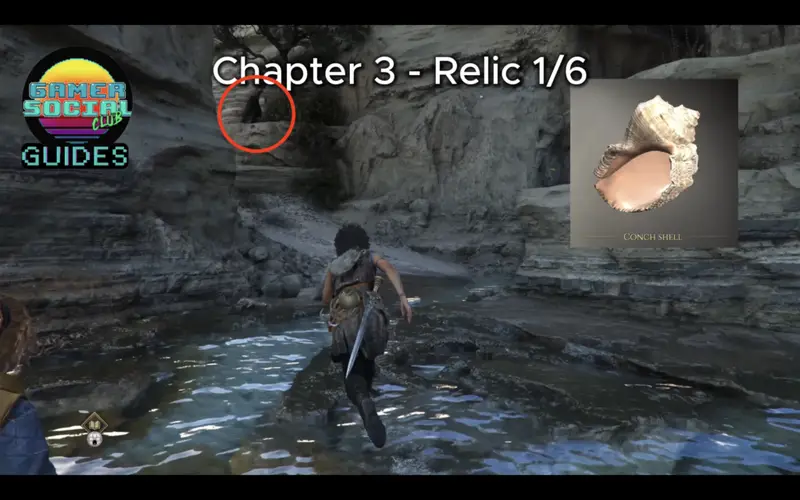
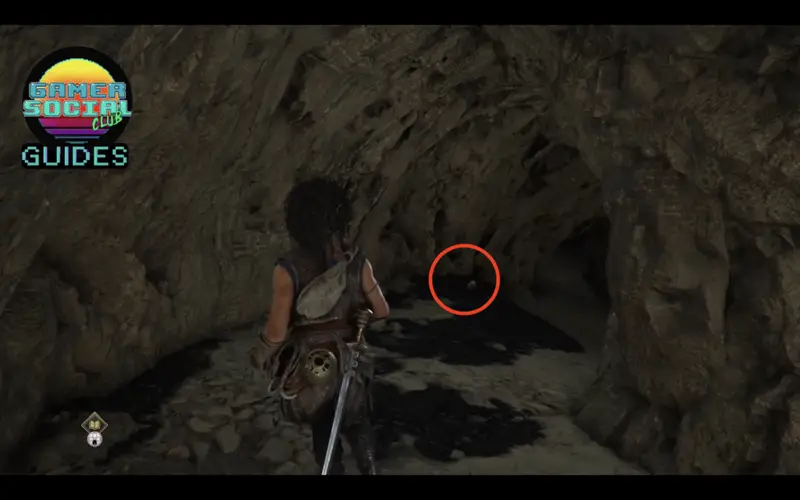
The first one is right after you’ve arrived at the shore. There is a ledge you can climb up that can lead you to this opening on the cliff. Enter the cave and you’ll see the relic on the ground.
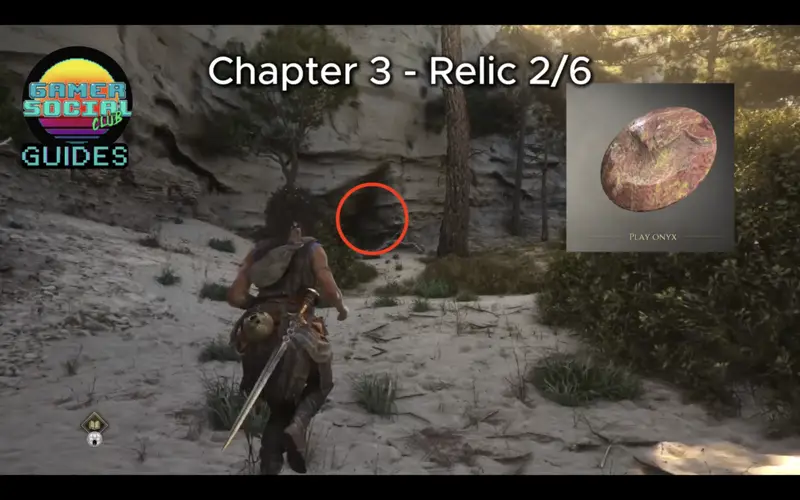
As you progress to the next area, you’ll come across another opening. On the left side, you’ll see a small cave along the cliffside. The 2nd relic out of 6 is inside it.
On the notebook, you’ll need to look for broken pillars by an archway. Once you get there, instead of making your way and jumping towards it, make a left and go behind it first. After going left, follow the path to the right leading you underneath the arch structure and the location of the 2nd relic of the chapter.
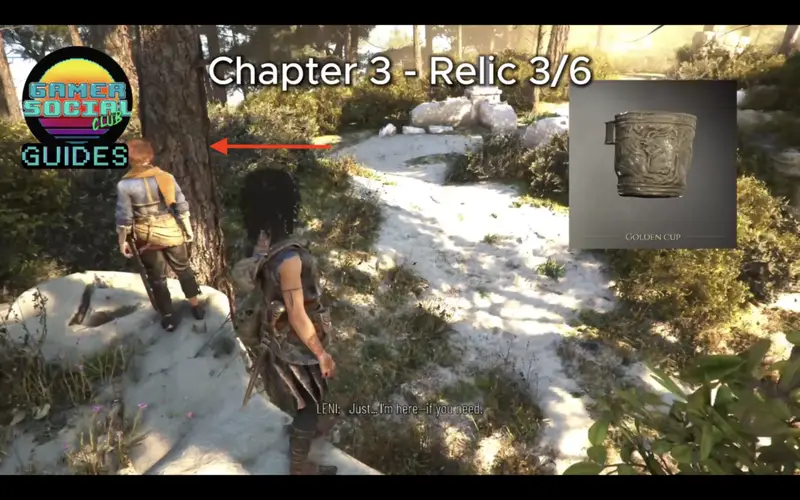
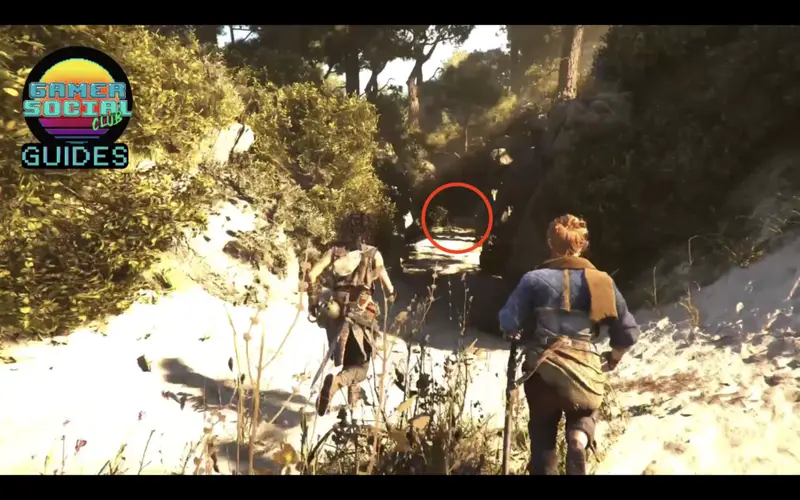
In the next area, where the book tasks you to look through a building’s window, find this structure from the image and on top of it is another relic.
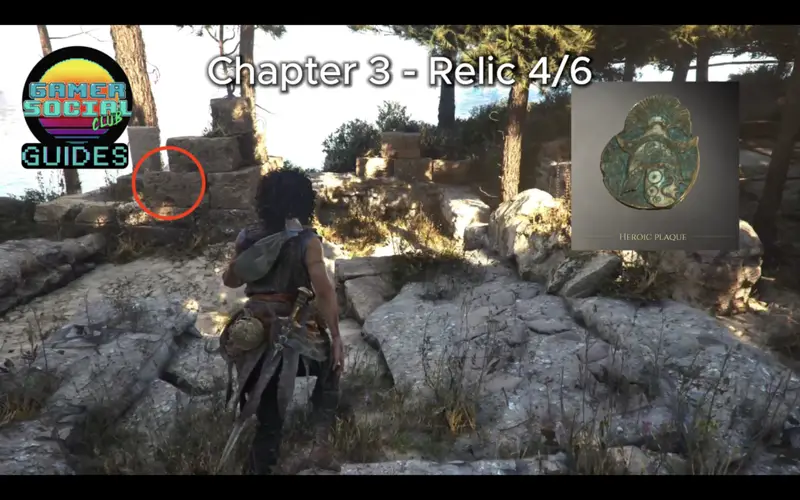
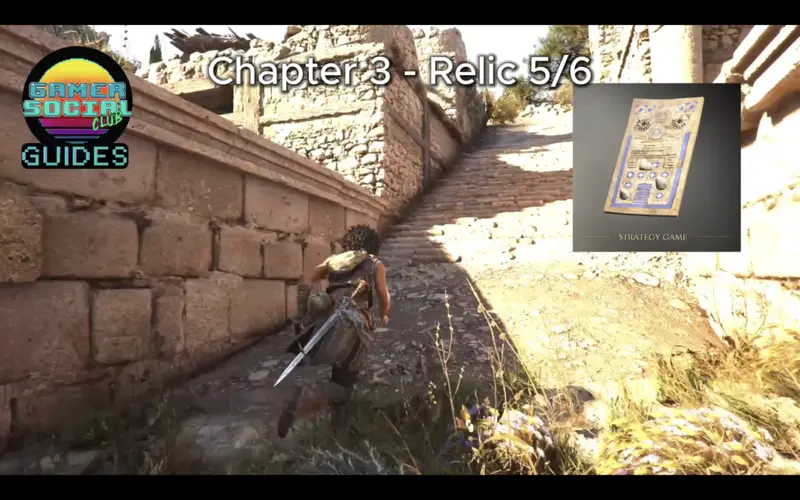
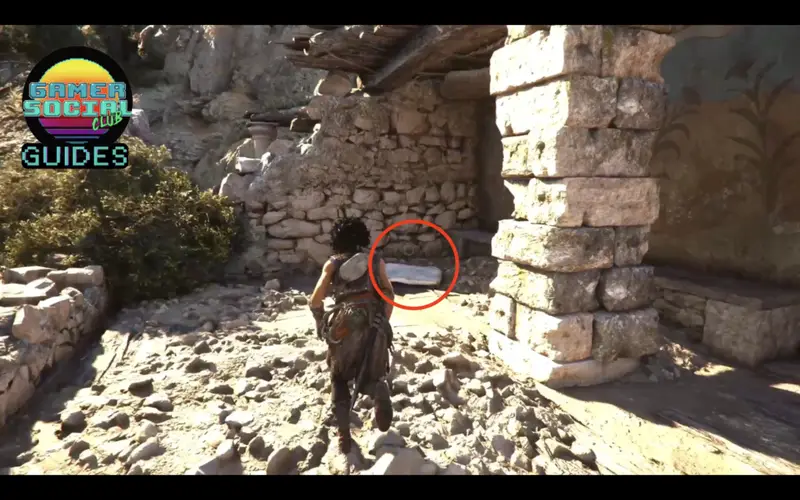
The 5th relic is around the area with the giant statue in the middle of it. There is an incline that you won’t be able to make your way to the top, but in the middle of it, you can jump up on a ledge to the left. Do so and you’ll see a slab of stone on the ground. Underneath it is the relic.
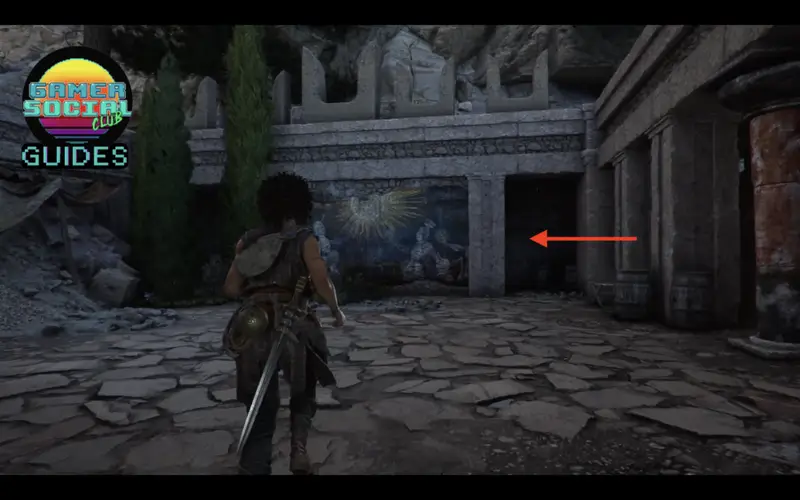
For the final relic of the chapter, you’ll encounter this blue-ish mural. Right behind it is the relic.
Chapter 4 – 3 Relics
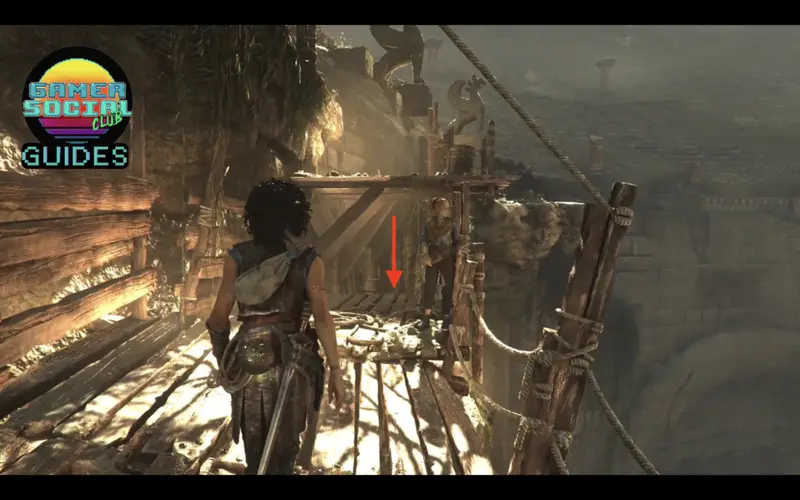
It’s time to head through some scaffolding! At the beginning of this part, you’ll jump down and move forward to continue. Before doing so, turn around first, and climb down a ladder to reveal the first relic of Chapter 4.
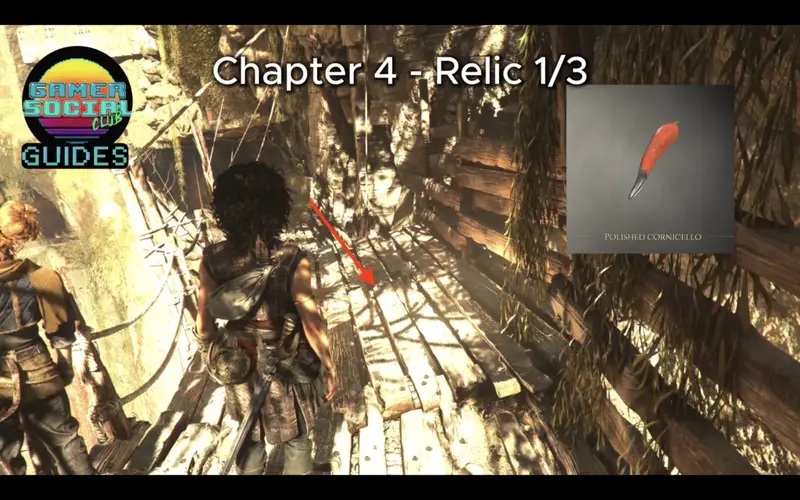
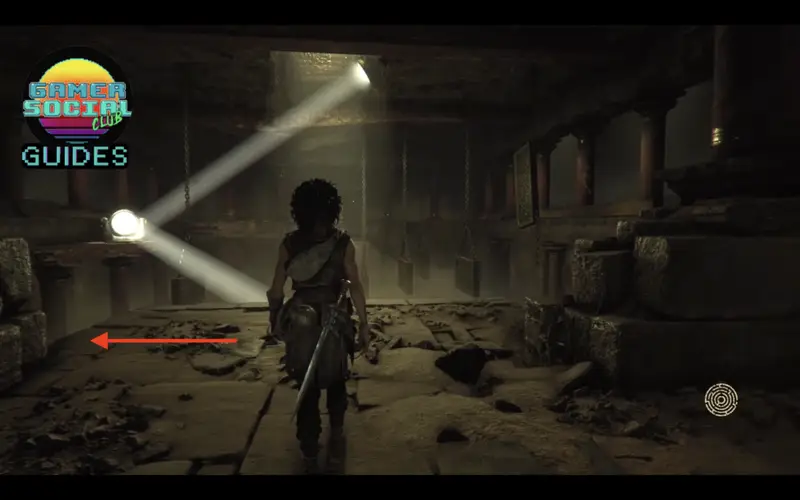
There will be many light related puzzles going forward as you go through the trials. Before doing this one, make a left and you’ll see the 2nd relic.
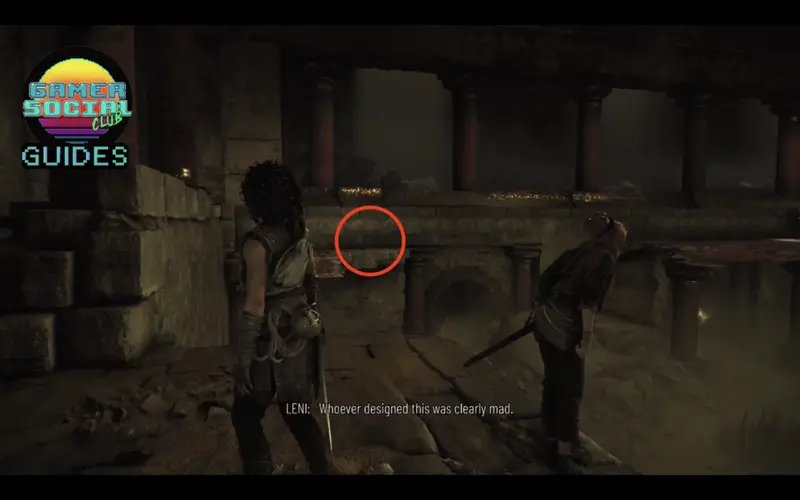
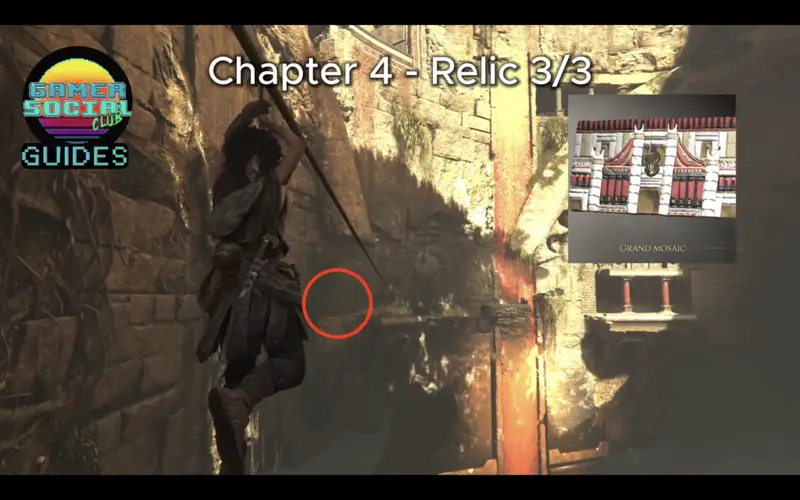
The last relic is right after this zip line as you descend further down the trials. After landing the zip line, jump over to the left in order to reach the final relic of the chapter.
Chapter 5 – 5 Relics
Chapter 5 is another area that is linear but there are many twists and several ways to get to the same location, so it’s important to pay attention to the landmarks.
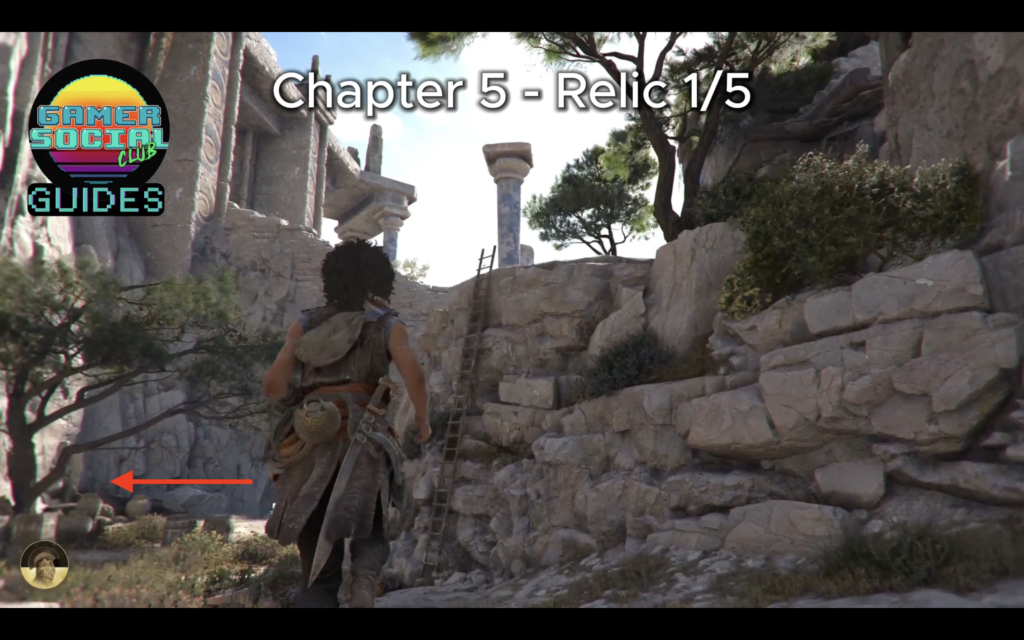
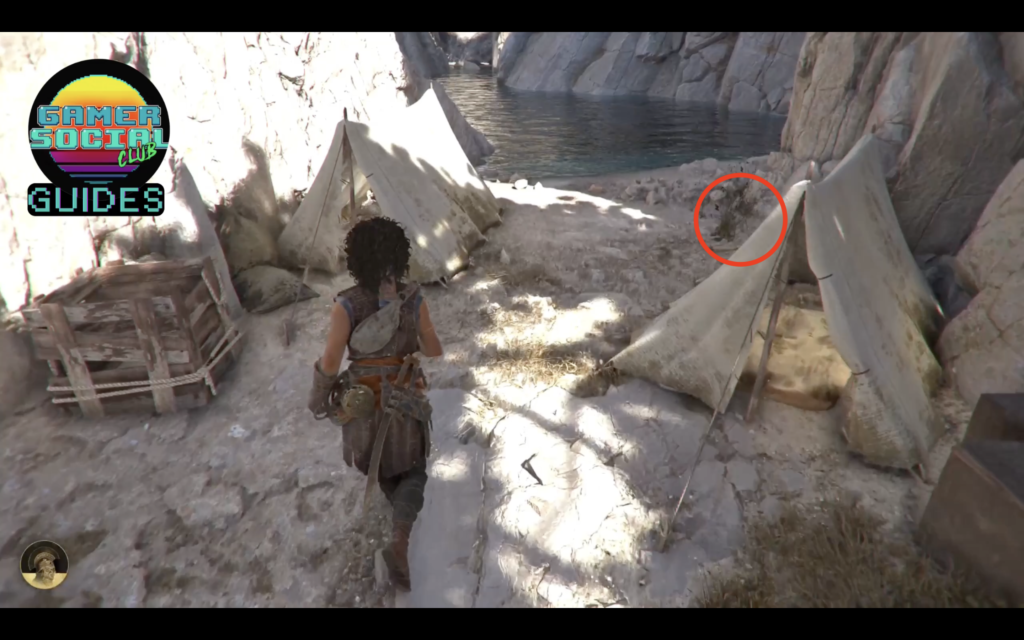
You’ll come across an opening with several enemies hanging out and around them are some tents by a body of water. Behind one of the tents is the first relic of Chapter 5.
Inside one of the structures, you’ll see a single dude that looks like he’s peeing into a bed of spikes. Kick him and go into the room. Hug the wall to cross more spikes to reach an area that looks like a storage room which also has the 2nd relic.
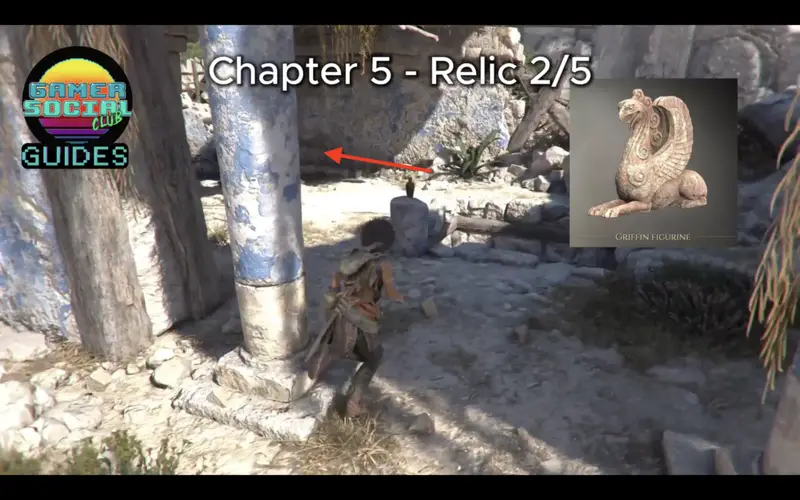
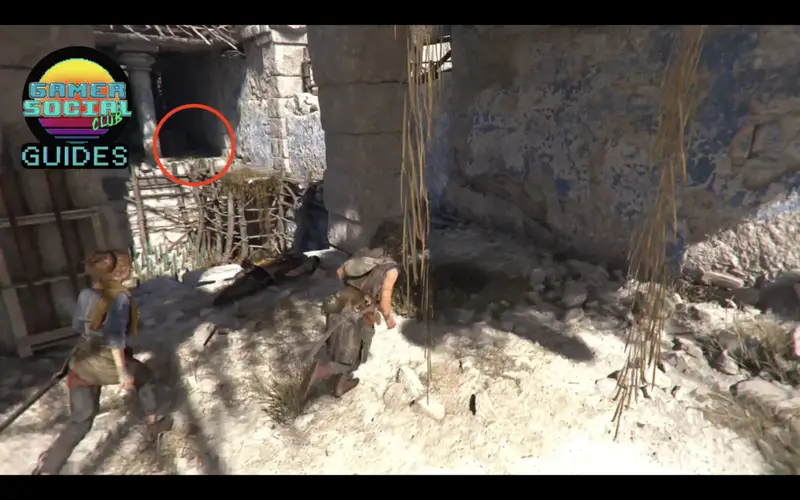
The next three relics are located through the four different symboled doors you need to solve in order to progress the story (5-3 “The four symbols”).
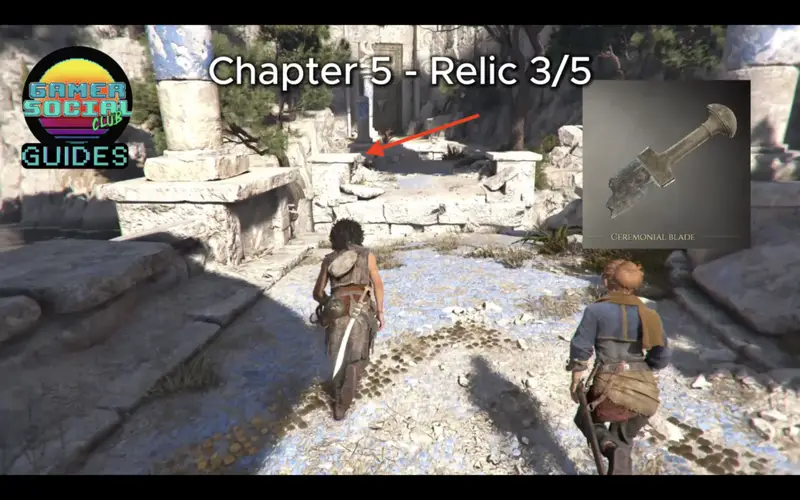
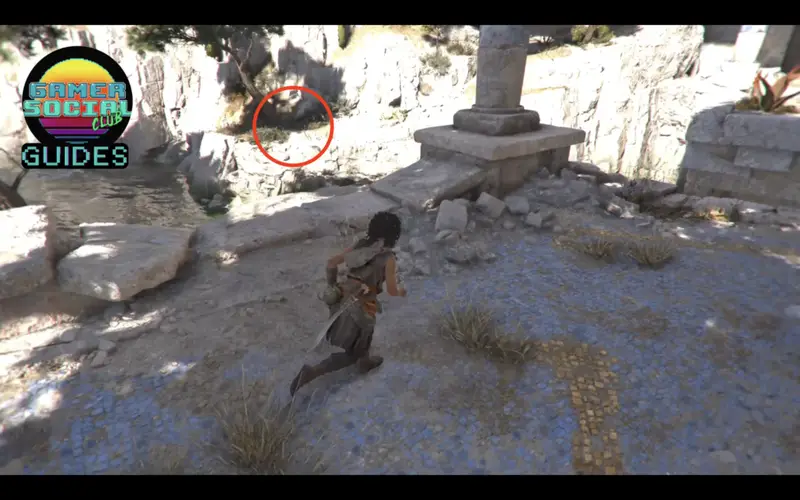
This relic is through the doorway with the circle on top of a box-type symbol. Run across the bridge until you jump over the first gap. Before jumping over the 2nd gap, you’ll see a path on the left side you can drop down on. Go there and follow that path. Underneath the tree is the relic.
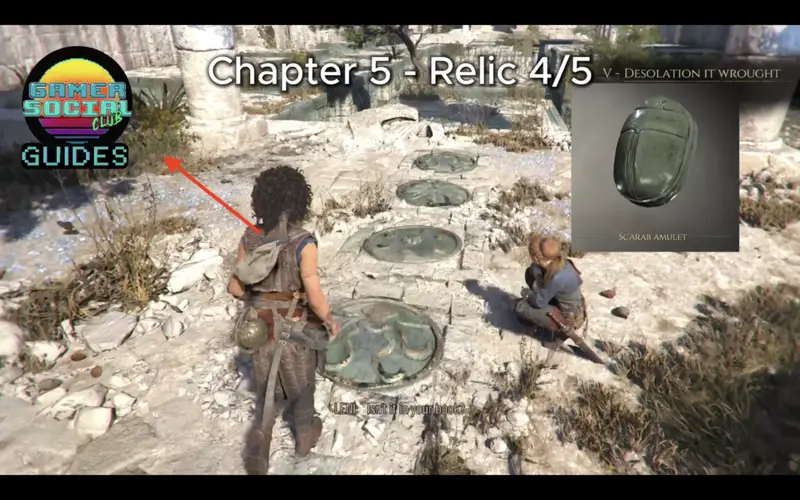
This one is located through the doorway with the symbol that looks like a dice. Run through the bridge and complete the first part of the room until you make your way up. On the book, and on the floor, you’ll see a set of symbols. You’ll need to jump onto platforms that corresponds to a pattern of you’ll die from spikes.
The pattern is “dots, octopus, dots, flower, octopus”.
You can make your way through this puzzle in two ways, however if you follow this pattern with the focus on going as left as you can, you can reach the relic that’s off to the left of this area (as indicated on the 3rd image.)
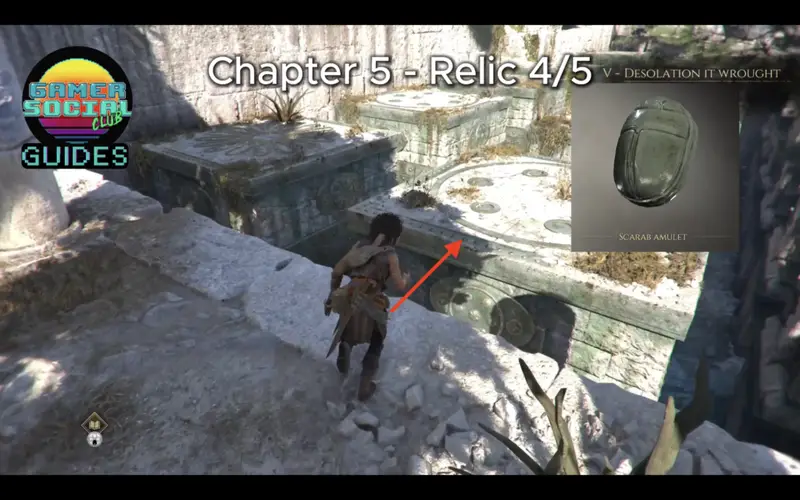
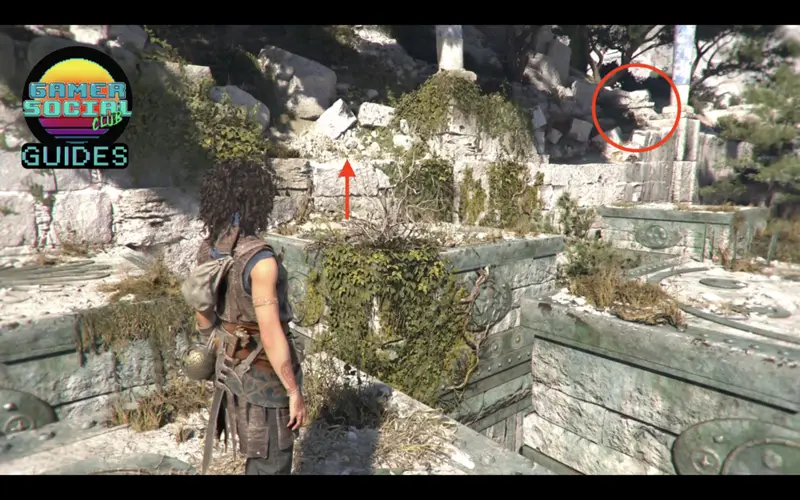
For this relic, you’ll want to head towards the statue that marks the entrance to a blade location. The earliest you can get here is by going through the doorway with the circle with three lines symbol. Before making your way into the puzzle, make a right and you’ll see the camp. As shown on the image, by the doorway into the blade, there is a set of stairs and following it will lead you down to the relic.
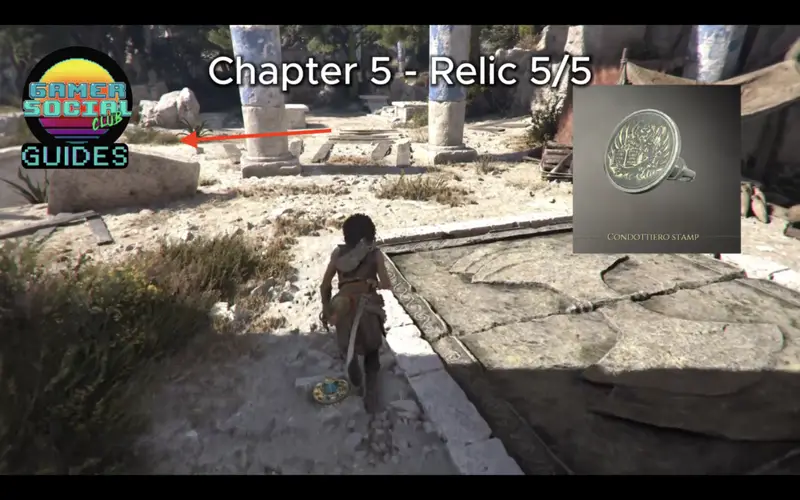
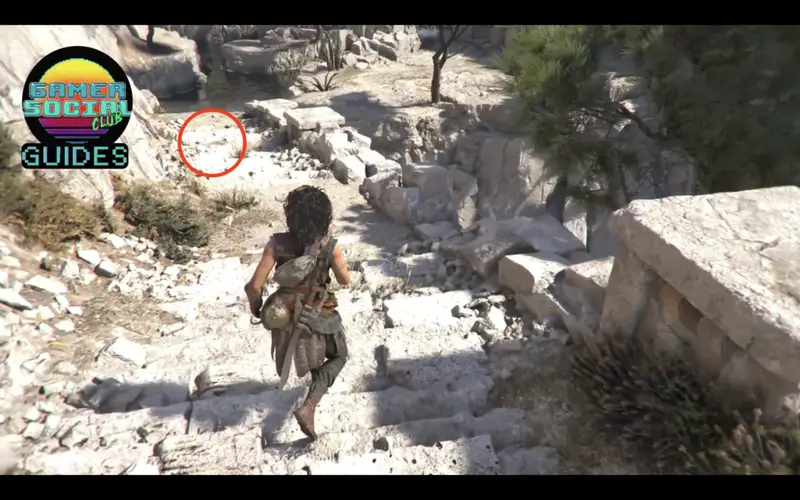
Chapter 6 – 2 Relics
This chapter finally introduces you the plague in Resonance. Luckily, the game will rarely ask you to be curious while you’re getting chased by the creature. You won’t get your first real adventure area until 6-3 “False Hope”.
Once you see that indicator telling you to grapple upwards, as you pass by a waterwheel, make a right and around the corner you’ll see your first relic.
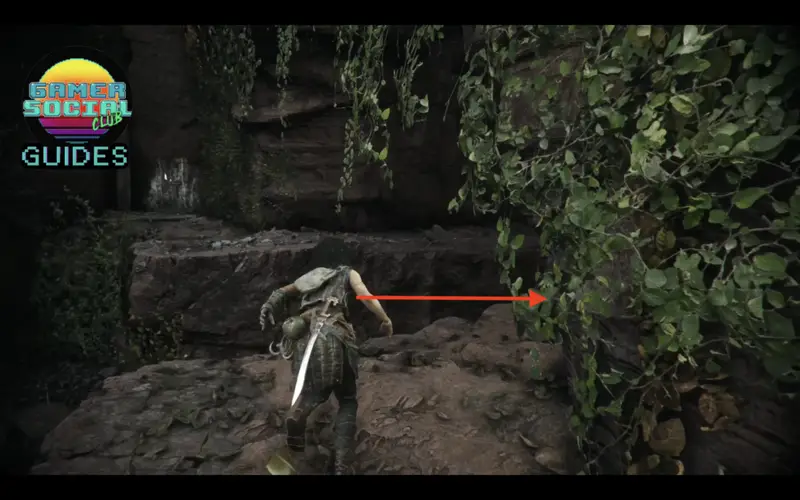
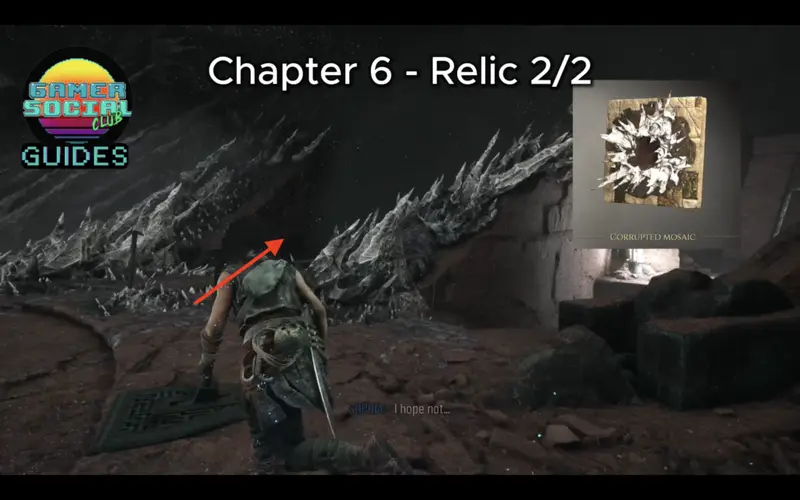
During the last part of the chapter, you’ll see a miniature version of the labyrinth. Face in the direction of the miniature while standing from the stairs you originally came from. Make a right, follow the dark path and you’ll see a doorway that is slightly ajar. Go through it and you’ll see the 2nd relic.
Chapter 7 – 4 Relics
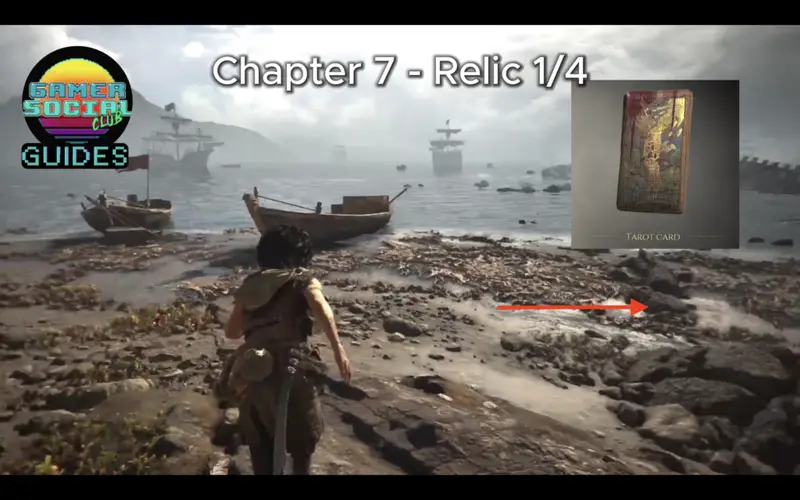
As you progress through the early part of this chapter, you’ll see a body of water on your left side, Head down and to the right of a couple of boats on the shore, you’ll see a poor dude with your 1st relic.
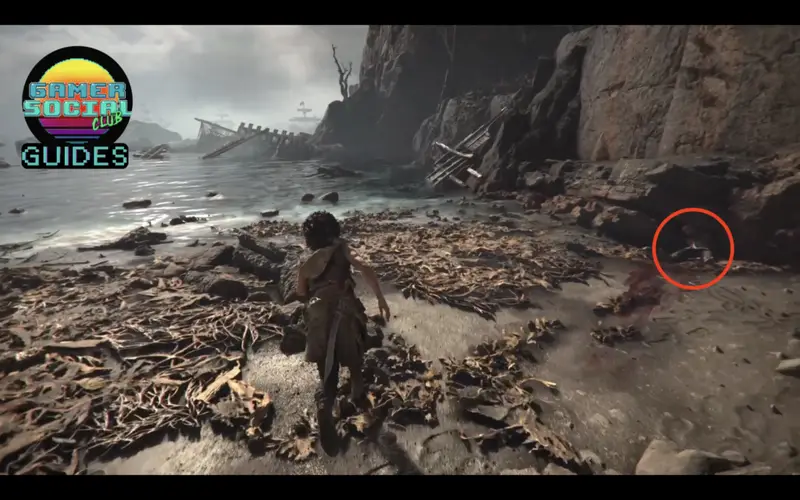
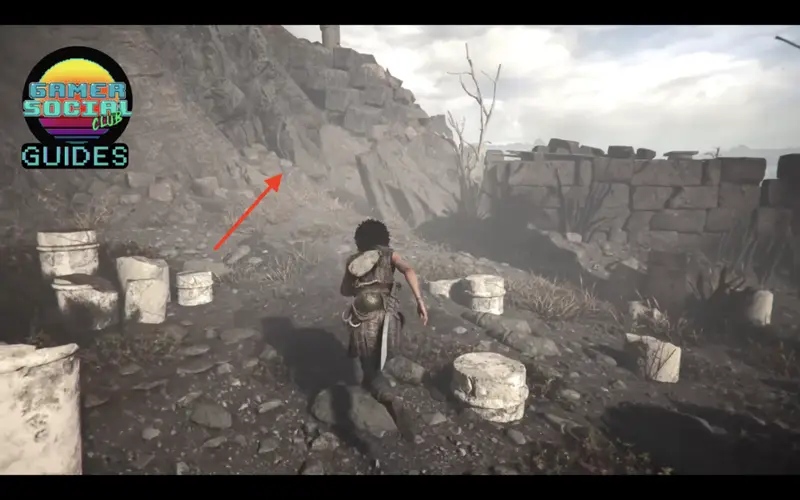
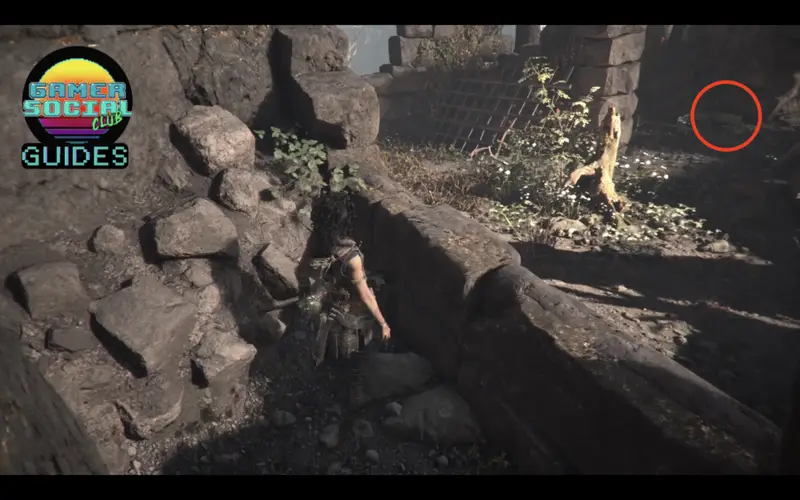
AS you progress literally up and down this area, you’ll end up in an opening with a bunch of broken pillars. Go towards the right and turn around. Hugging the slope, you’ll see a small opening. Follow that narrow path, ducking and vaulting over, you’ll see the 2nd relic.
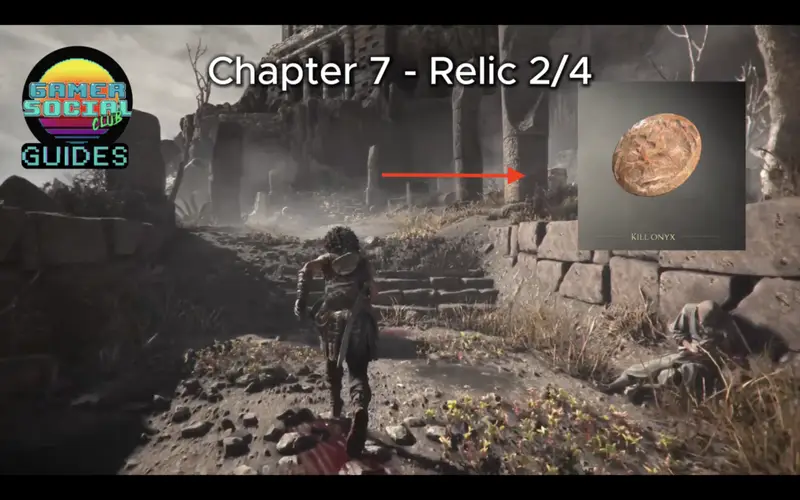
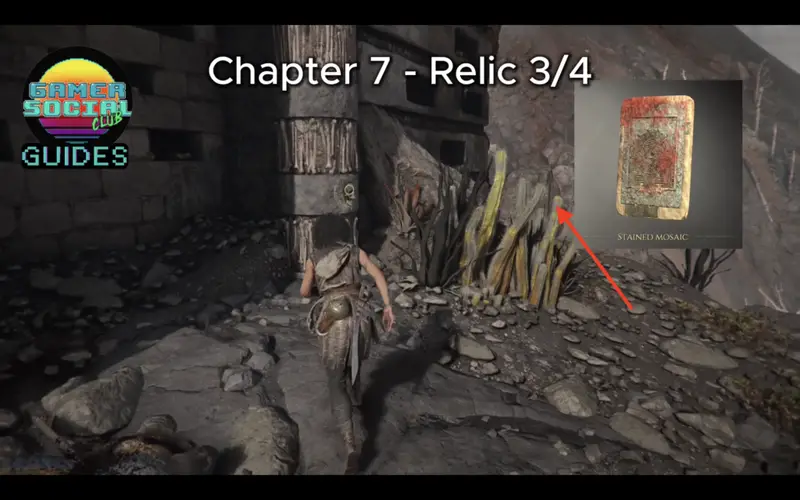
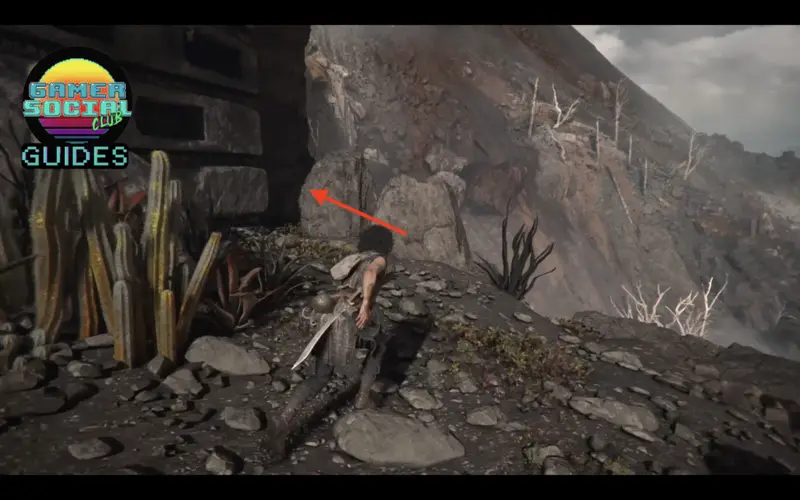
Before opening the door to the next trial, make a right to go around this pillar. Follow the hidden path for the 3rd relic.
The final relic can be found while you’re making your way to the middle of this room. You’ll see some broken platforms you can jump onto, as shown on the image below.
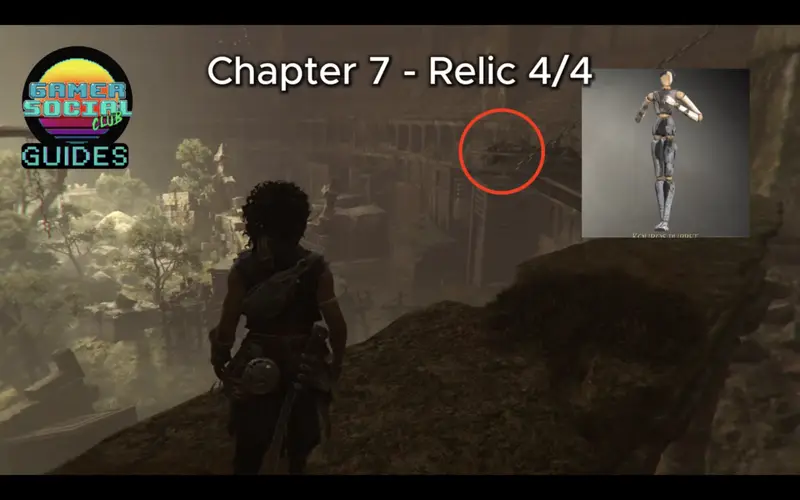
Chapter 9 – 3 Relics
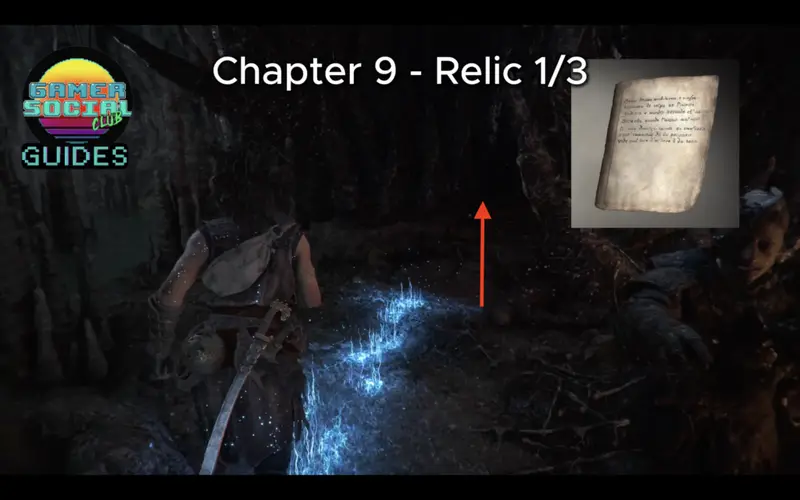
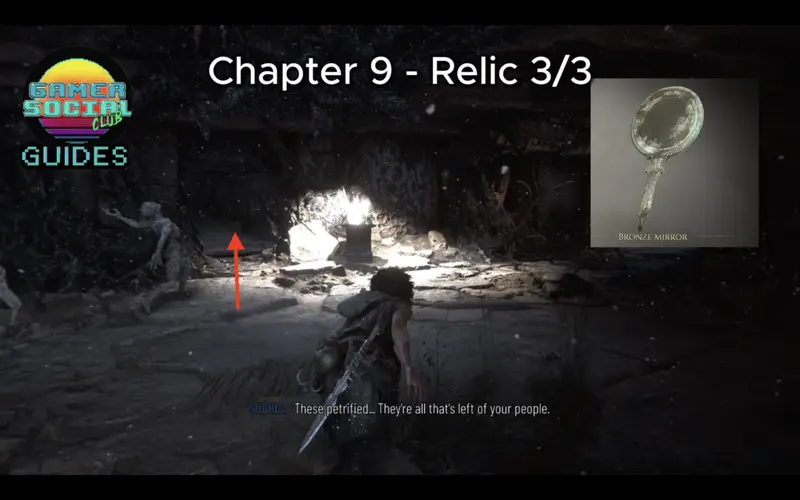
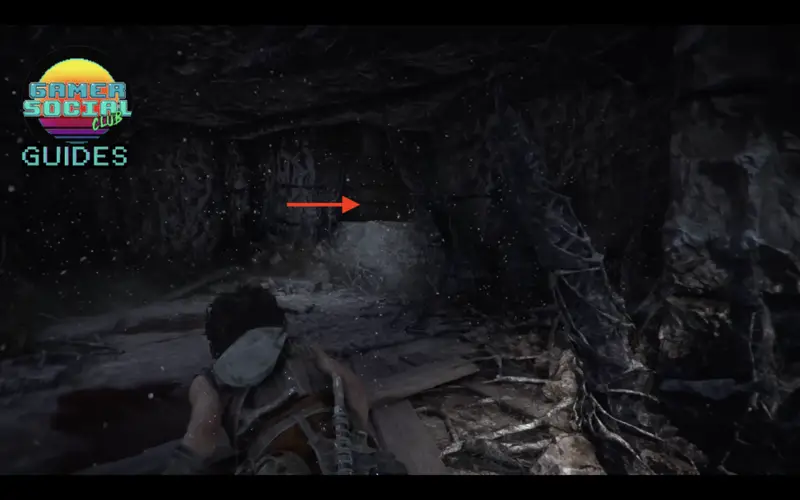
After spending the beginning of this chapter getting chased everywhere, you’ll get some respite after landing into this cave. After walking past a group of recently petrified soldiers with a torch on the ground, make a right, going behind them. This will lead to a narrow opening with the relic.
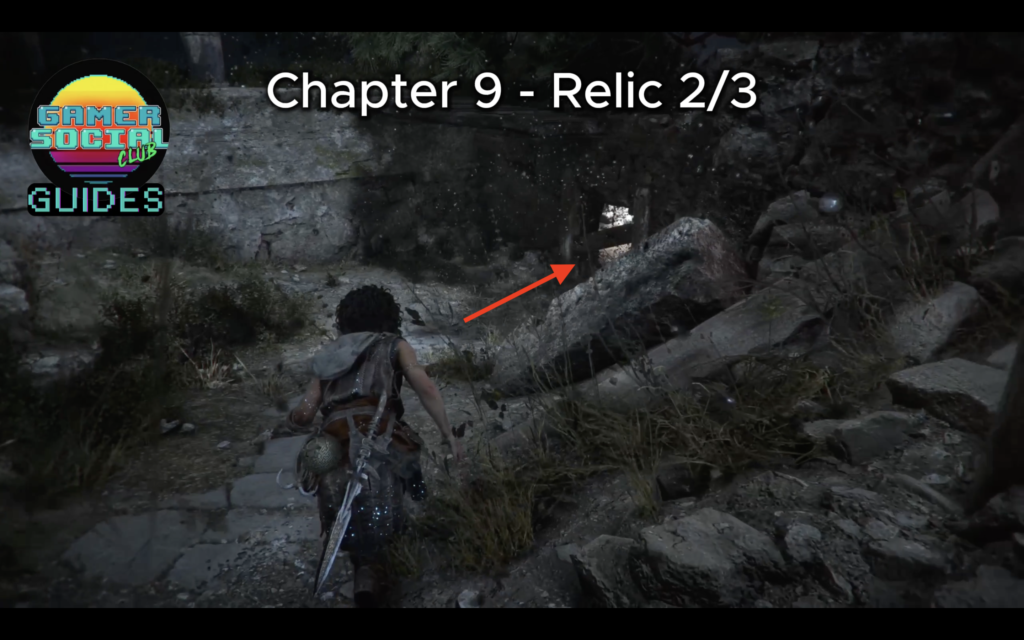
While creeping around the broken down city, avoiding the creature, look for an opening that looks red. Once you go through, you’ll see an area that’s been set ablaze. On the right side on the ground, you’ll see the relic.
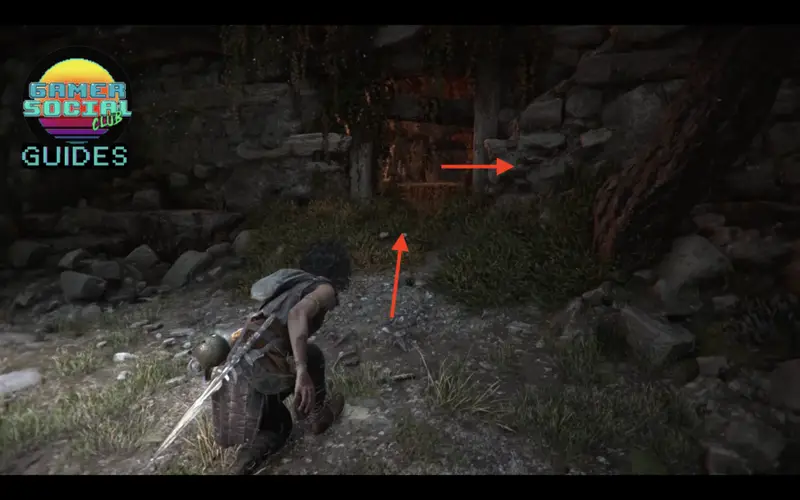
Finally, underneath a structure, you’ll be in a room with several petrified around you. Go past that brazier, in a room with an opening that you need to vault over on the right side. Look inside that small dark area for the relic.
Chapter 10 – 4 Relics
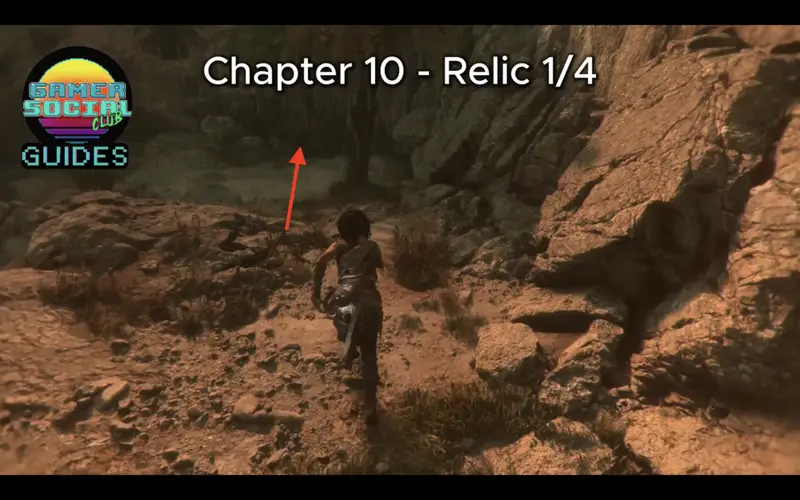
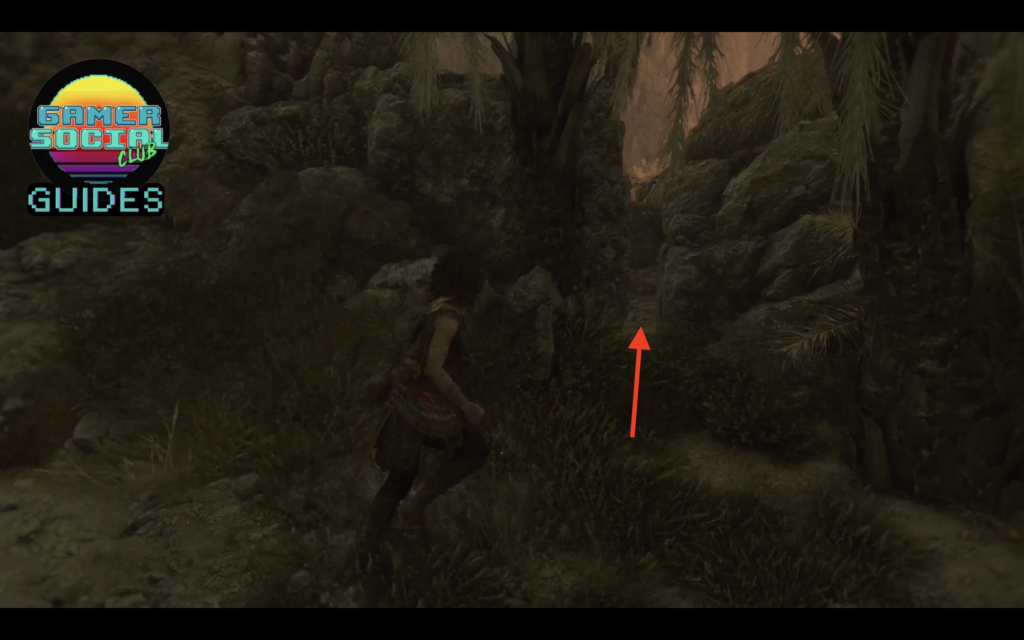
At the very beginning on the chapter, you and your companion are headed to the bridge. However, keep your eyes open for some palm trees on the right side of the wall as you make your way. There’s an easy to miss crevice leading to the 1st relic. Took me a while to realize this was here, ngl.
While trying to decipher the notebook to find the location of the next part of the story, you’ll find some vase with the 2nd relic right in front of it.
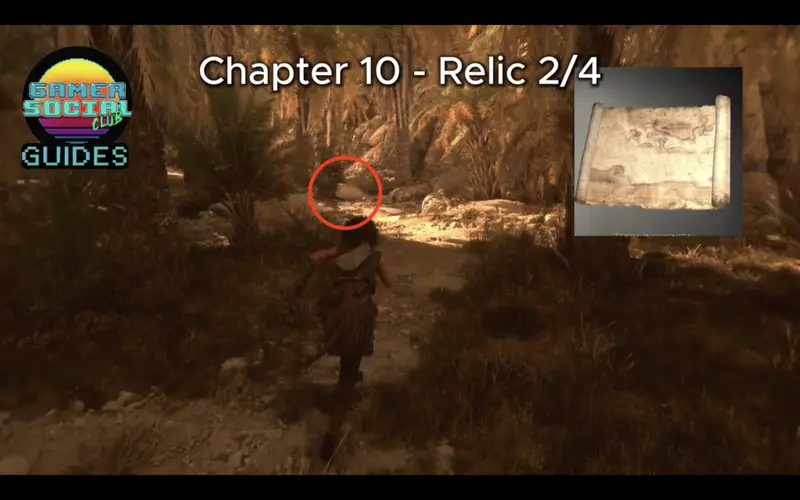
While trying to complete the puzzle to open up the doorway that your dad couldn’t solve, you’ll see this wooden structure. Make a left, hugging the wall, and it’ll lead you to a stream. Right in front of the stream is the 3rd relic.
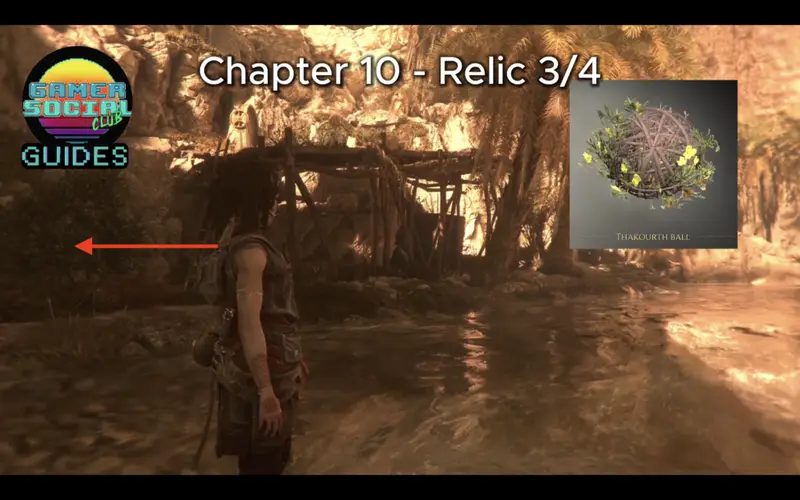
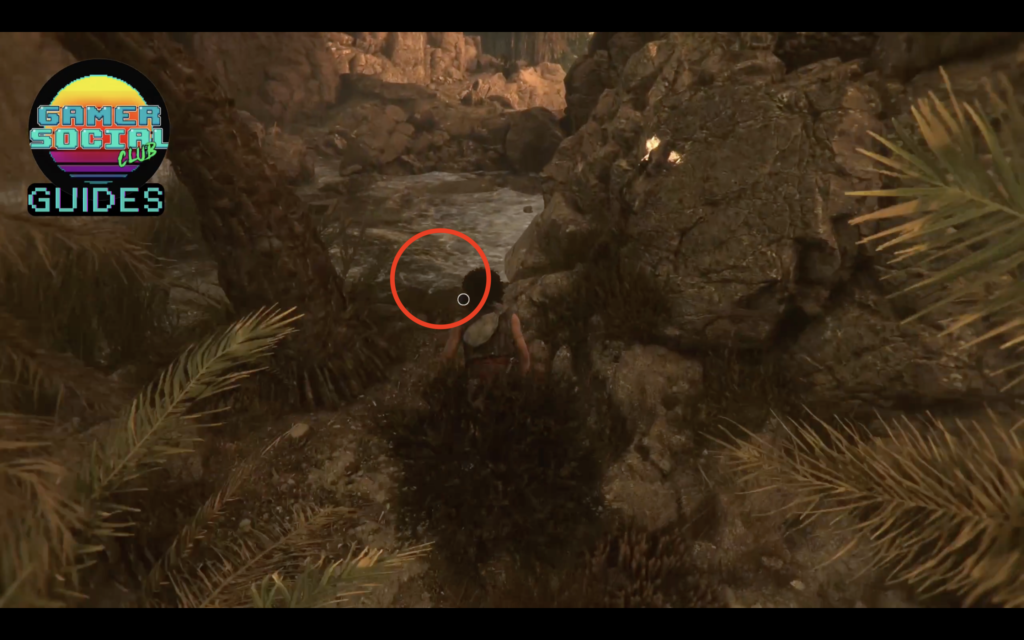
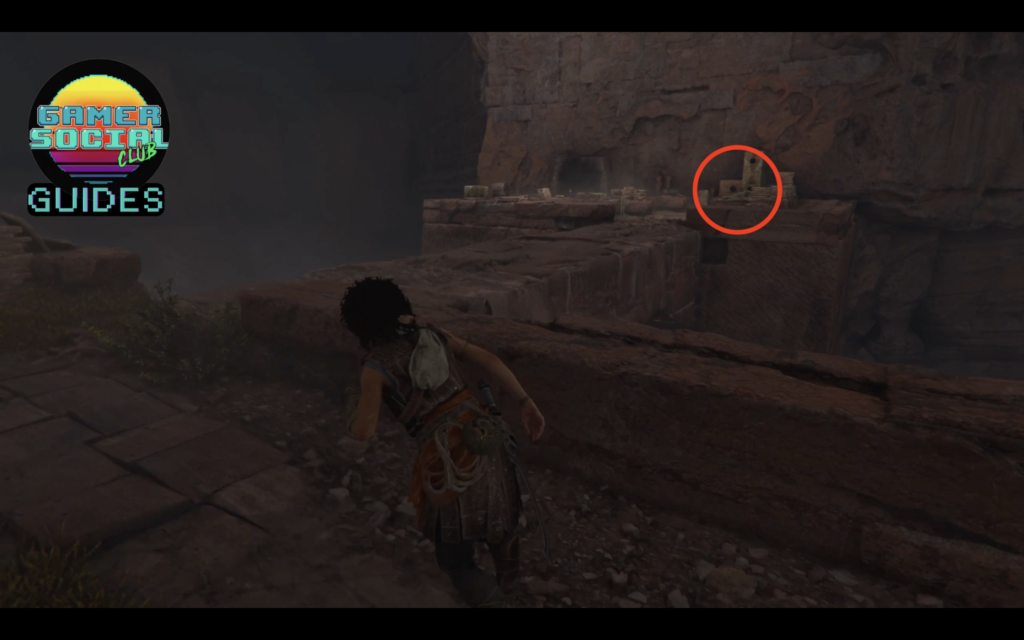
After solving the puzzle, you finally arrive inside Daedalus’ workshop. In one area of the workshop, you’ll see where they were experimenting with spheres. You’ll also find the final relic of the chapter here.
Chapter 11 – 3 Relics
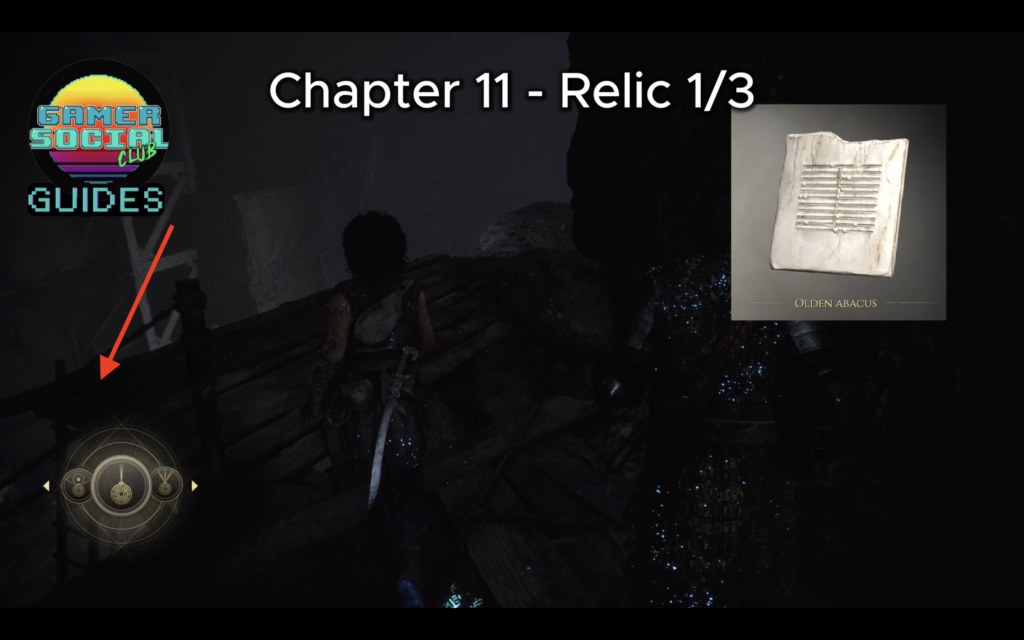
Early in the chapter while trying to make all the lens align, you’ll go down a set of scaffolding. Instead of going forward, head down a set of ladders, then jump over to reach a platform with the 1st relic.
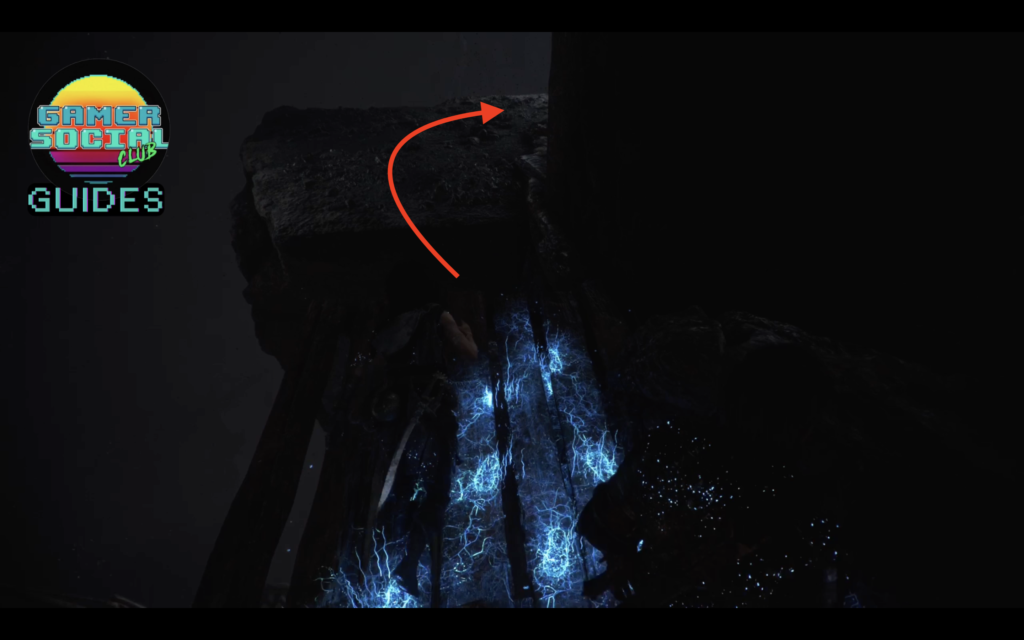
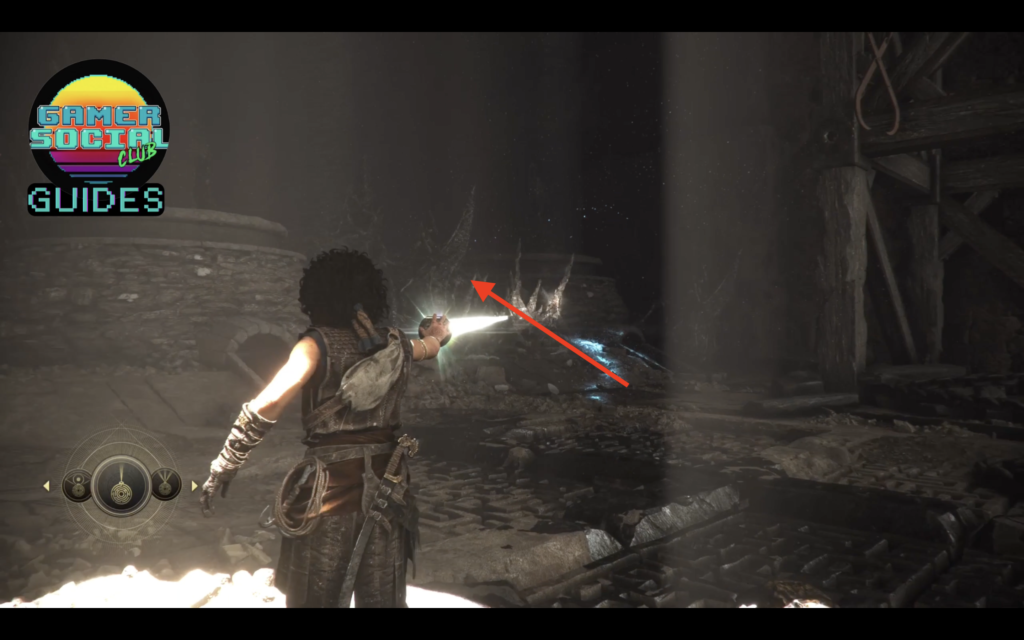
You’ll encounter some kiln/oven looking things. Behind the one of the right is the relic, however it’s blocked by petrified spikes. Use the beam from your sphere while standing underneath a light source to burn it away.
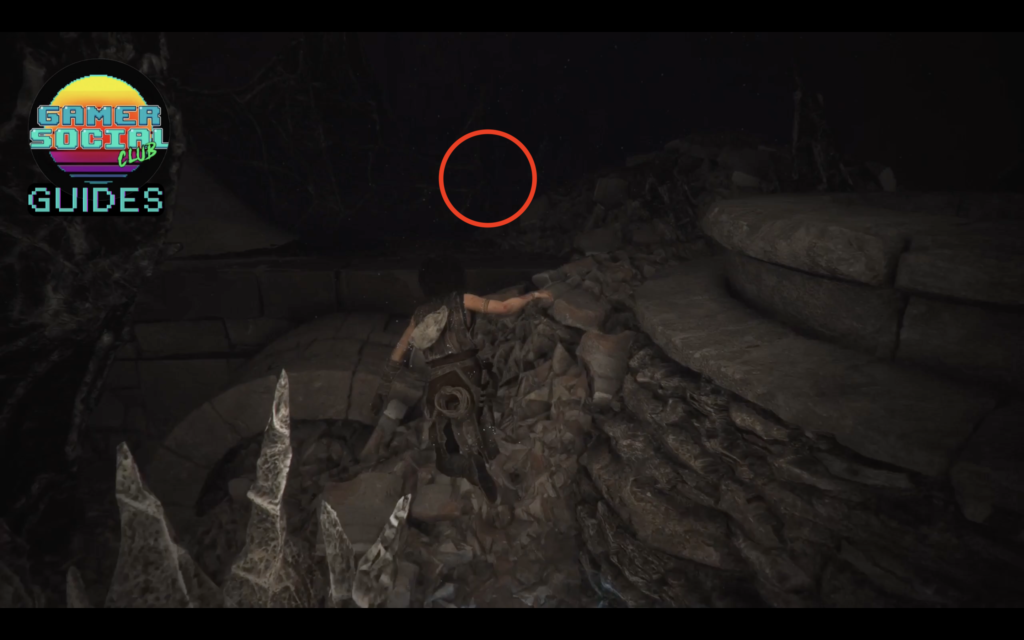
In the last part of this chapter, Faro tells you that you’ll need to go through a mine. While doing so, you’ll encounter a camp with a map. On the other side of the map in this opening, you’ll see the final relic.
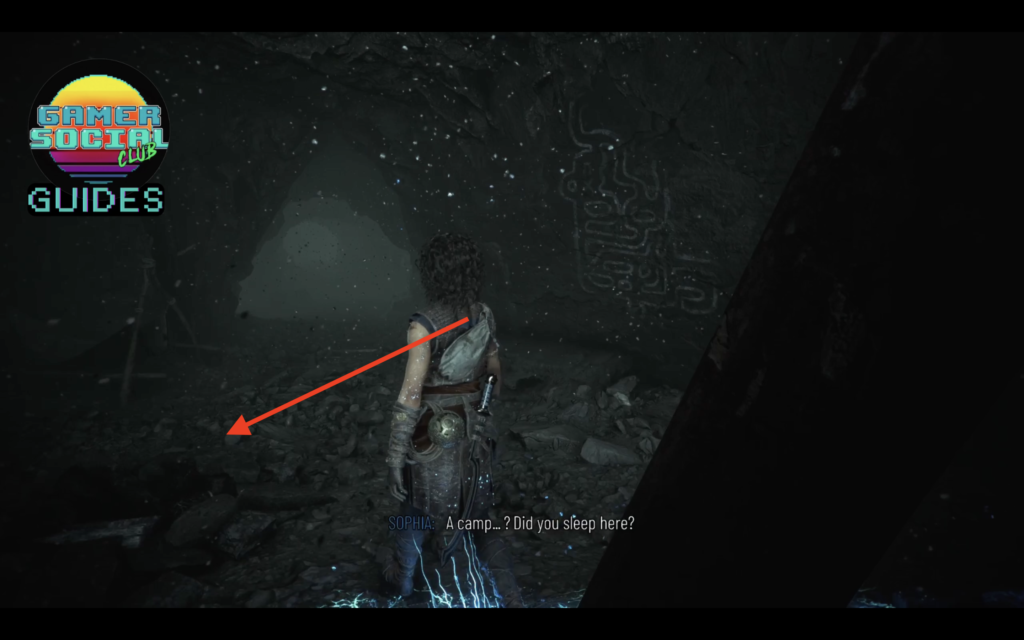
Chapter 12 – 2 Relics
This chapter is pretty linear. As you make your way through, you’ll come across this opening. The correct way to progress is left, but of course we want to go the wrong way first to get some goodies, so go the opposite way, you’ll see the relic directly to the right on the ground.
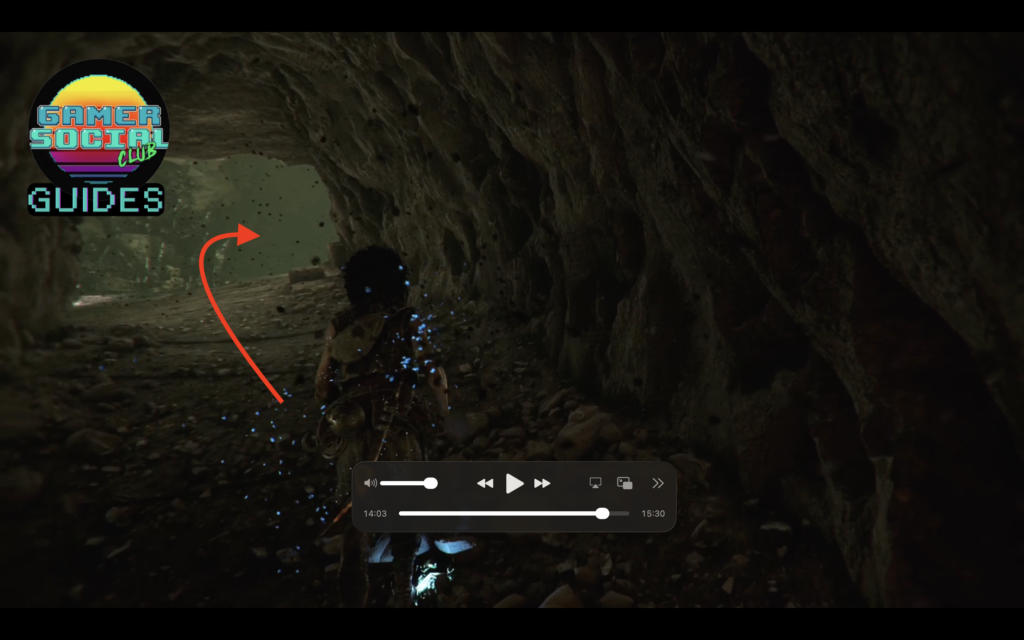
The final trial door is just past there. After grappling to the next platform, jump to the right side to reach the 2nd and last relic of the chapter.
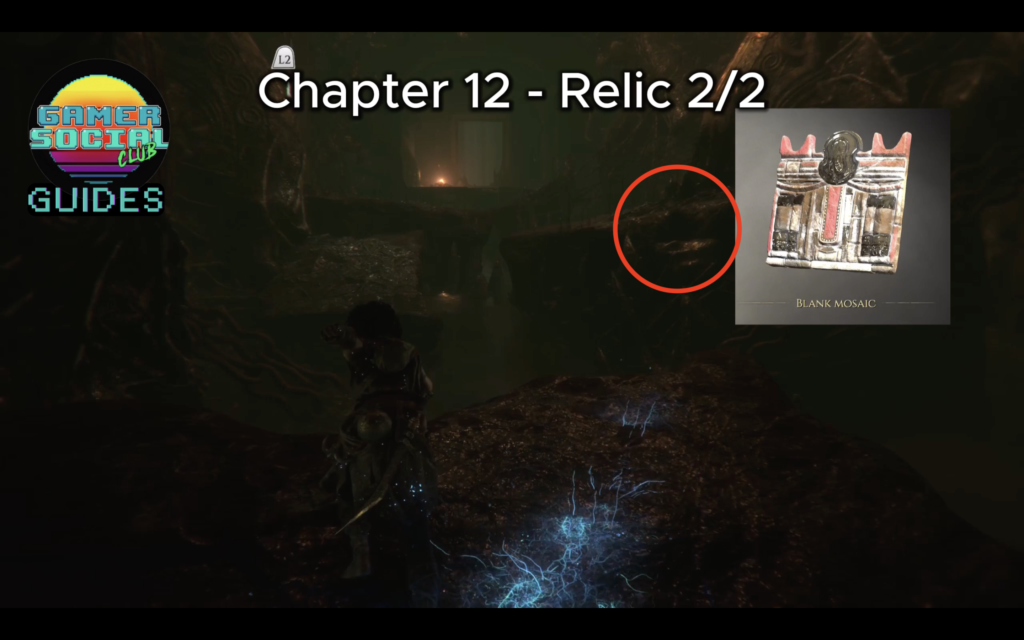
Chapter 13 – 2 Relics
Chapter 13 is a large labyrinth, separated by moments where Sophia will encounter visions as she attempts to open doorways to let the beam get through. As you make your way through the maze, before the first doorway, you’ll encounter this brazier that triggers a checkpoint. Walking towards it will trigger Sophia and going left down a short set of stairs, you’ll see some petrified that you need to burn away. This will reveal the first relic.
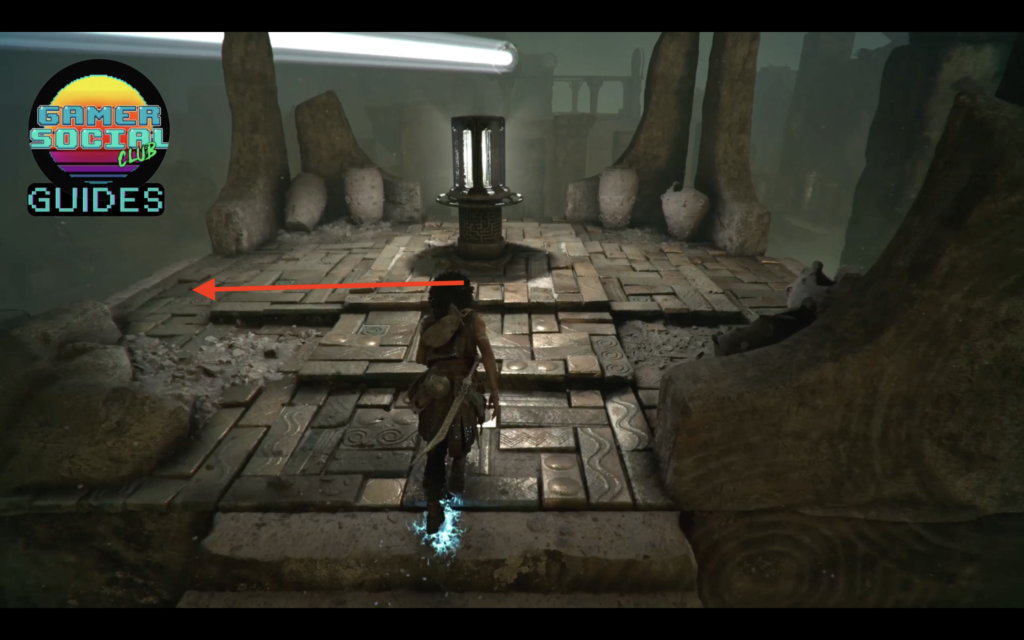
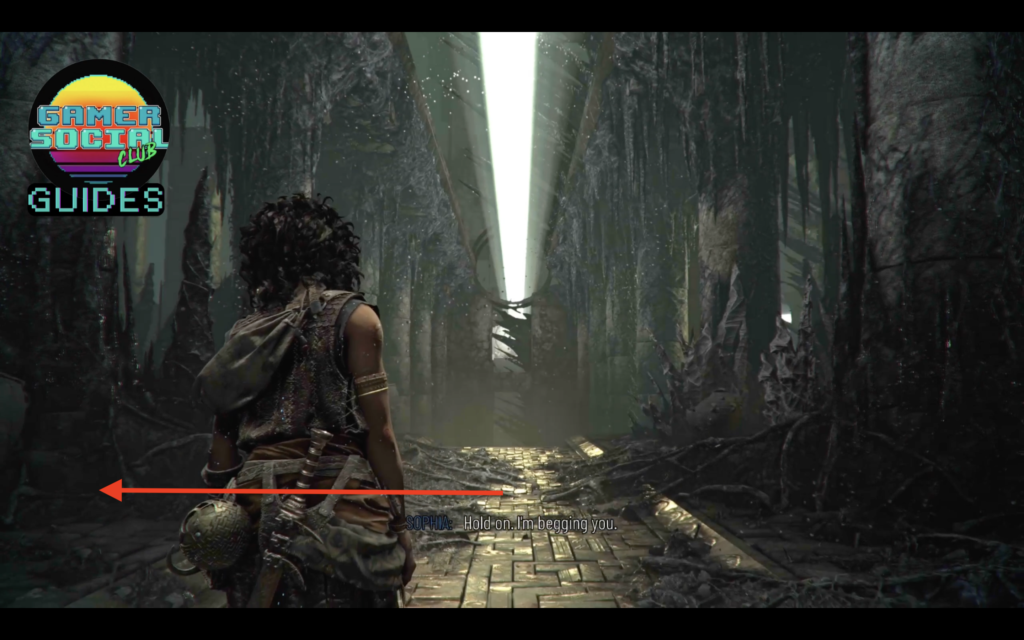
The final relic is just to the left, before walking through this hallway!
And with that, all relics of past and present has been collected as well as your Hoarder trophy! It’s time to get some help. Congratulations!
That was our Hoarder Trophy guide for Resonance: A Plague Tale Legacy! We hope this helped you get through your night shift. Check out our other guides for Resonance below.
Are you struggling with a particular trophy/achievement in Resonance: A Plague Tale Legacy? Let us know in the comments below, and join the Gamer Social Club Discord to chat about your favourite games, play in community game nights, take part in giveaways, and more!
For more Resonance: A Plague Tale Legacy guides head on down below!