
Sophia may be cursed with inexplicable visions of Minotaur Island, but she was raised as a plunderer. And what plunderer wouldn’t have the curiosity to loot every nook and cranny within the island, learning more about its past and retracing the steps of her comrades?
In Resonance: A Plague Tale Legacy, nothing is missable as each checkpoint is replay-able and every progress or collectible gained is saved within one save file. This means that you can be in Chapter 9, go back to Chapter 2, already having everything you’ve earned so far, then go back to Chapter 9, holding on to whatever it is you picked up in Chapter 2. Play this game with ease and focus on the narrative whenever possible, especially during chase scenes, because you can always go back to get what you missed!
OR, follow along our guide, going through all the charm locations per chapter!
Here is our guide which will earn you both the Superstitious and the In the Name of my Kin trophies!
All Charm Locations
While Resonance: A Plague Tale Legacy is a linear game, it’s still difficult to accurately describe where everything is without a map. This guide will do its best to do so, using landmarks during a chapter and most of these charms are listed in order that it was acquired. We do have a video guide available for this trophy as well, if you prefer.
Although, if you prefer a written guide, continue below. Although all the images below was taken directly from our video guide.
Chapter 2 – 2 Charms
You can find this as soon as Leni shows you a sneaky way to get through the bouncers blocking your progress.
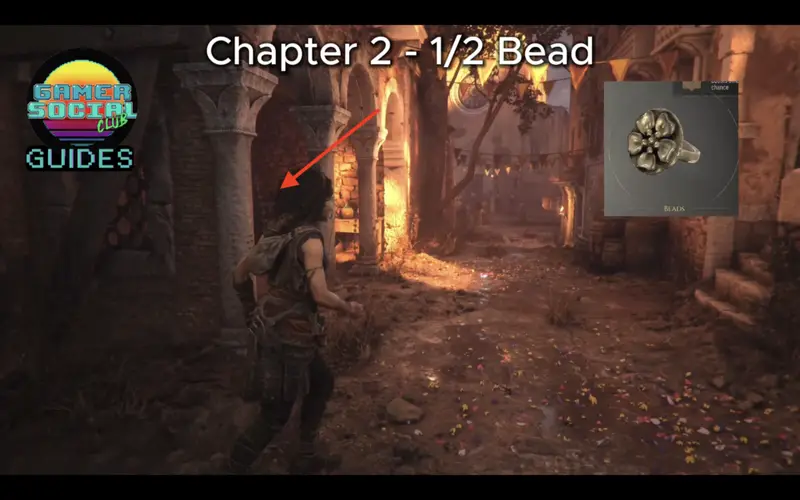
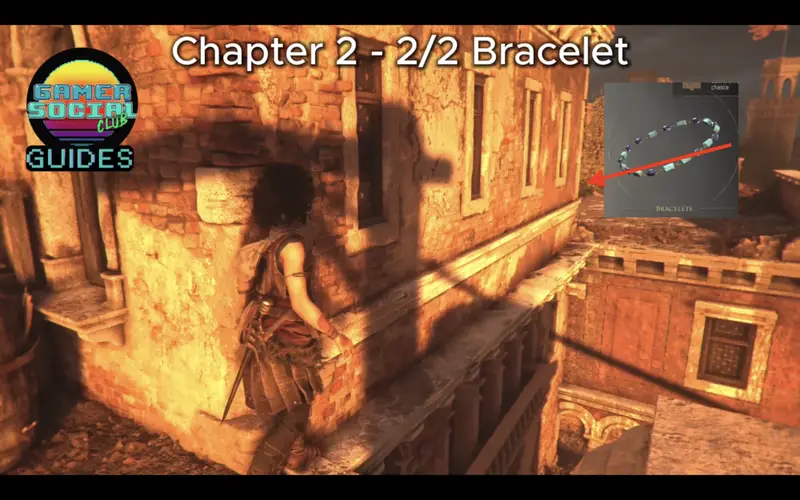
Mid way the chapter when things starts to go wrong, you’ll come across this building where you’ll need to shimmy your way across. Around the corner on the left is the charm.
Chapter 3 – 4 Charms
This is the first chapter where, while still mostly linear in progression, there are different ways to get to the same destination. It’s important to look at the landmarks shown on the images. Also, there are many areas throughout the game where if you enter a door, or slide down an area, will block you from back-tracking, so proceed with caution. You might need to replay part of a chapter or checkpoint if you progress by accident.
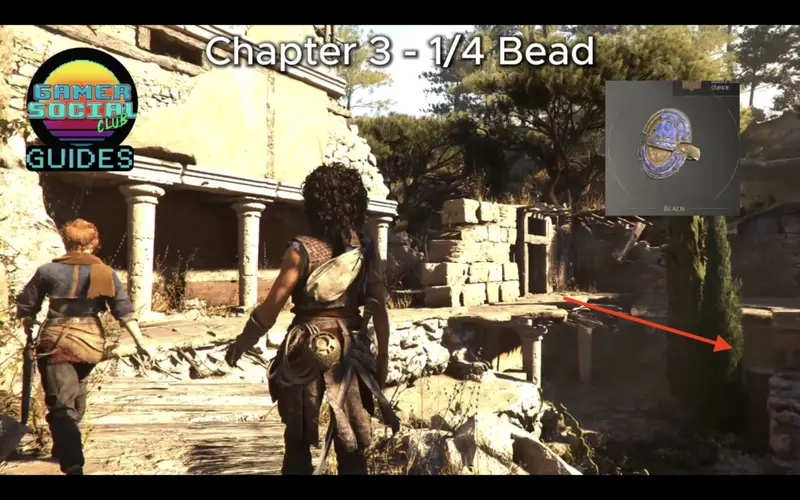
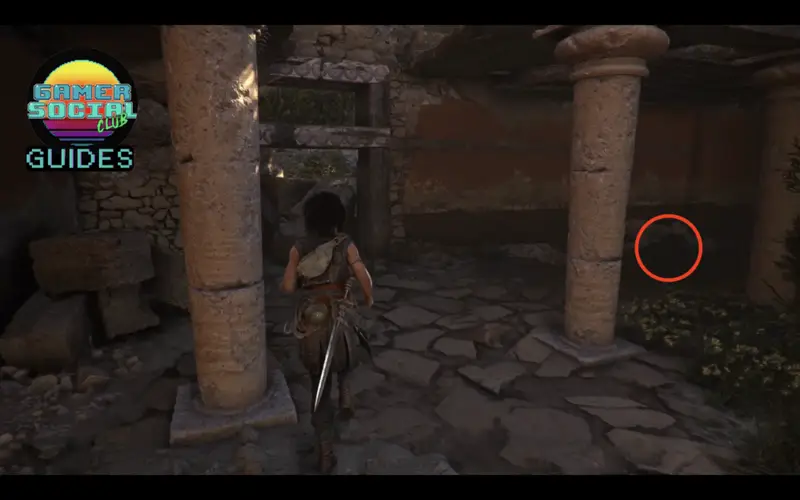
After progressing more through the island, you’ll drop down into some broken down buildings. Down on the right side corner, as shown in the image below, is the first charm for the chapter.
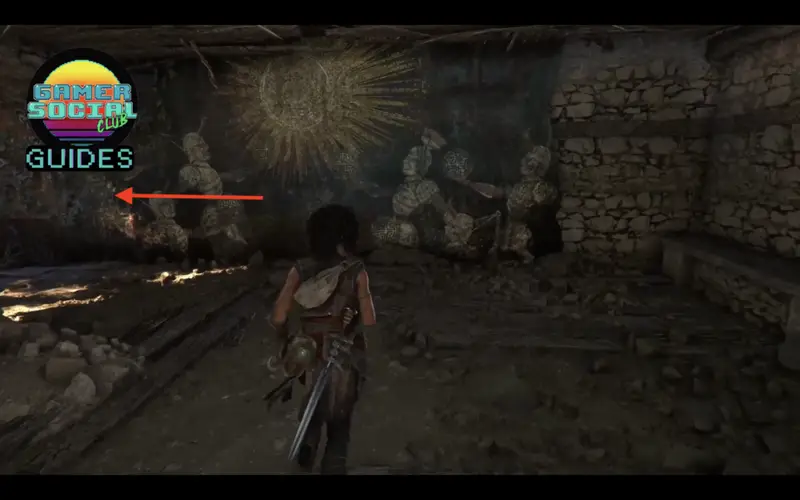
You’ll come across a room with this mural. Head to the left and you’ll see a hole on the ground. Enter it and follow the path that leads to the next charm.
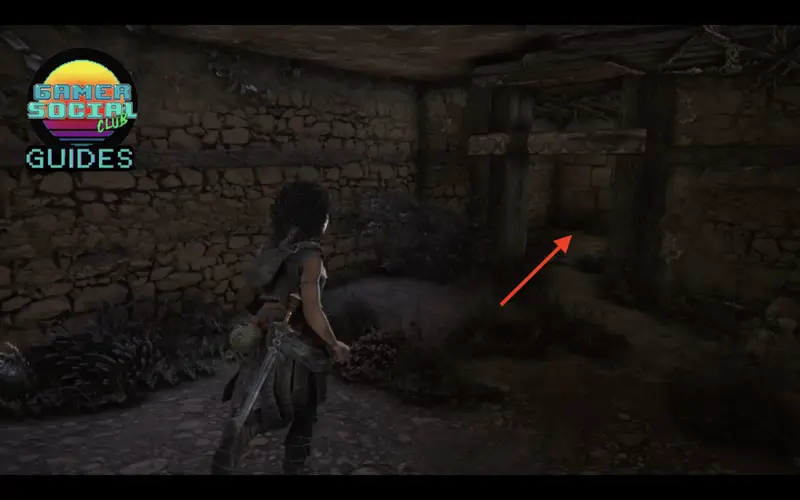
Once you’re finally in the area with a big statue in the middle, your next goal is head up towards a slippery slope where you’ll need to take a detour to progress. Once up top, you’ll see the building with the flag that marks the right way. Go inside and make a left. Follow the path to the next charm.
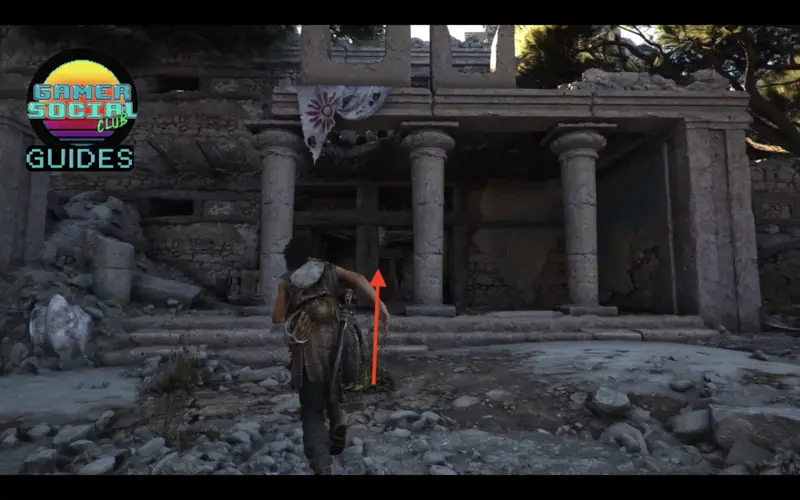
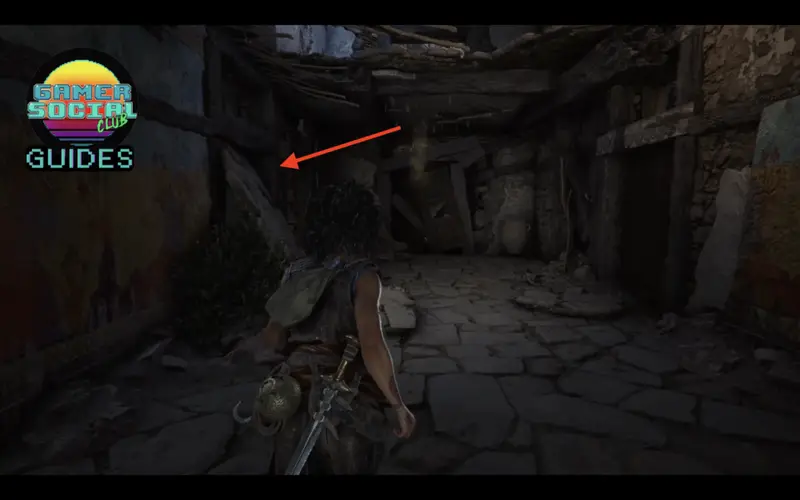
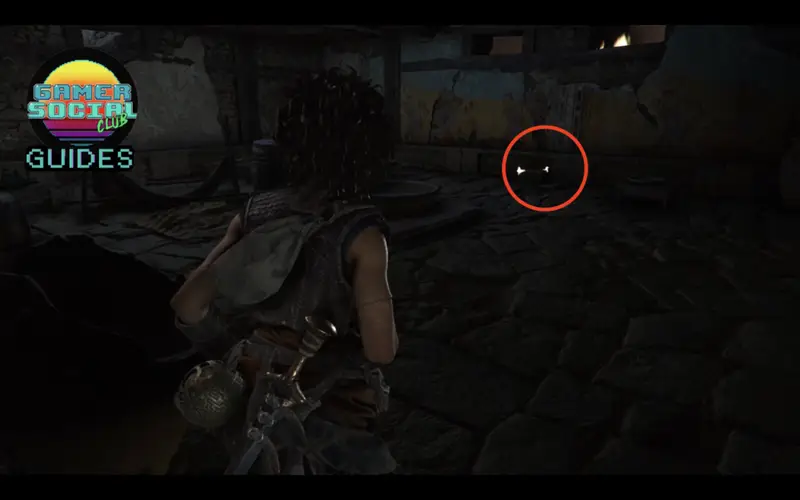
Past this hallway, the charm is around the corner, on the ground, to the left.
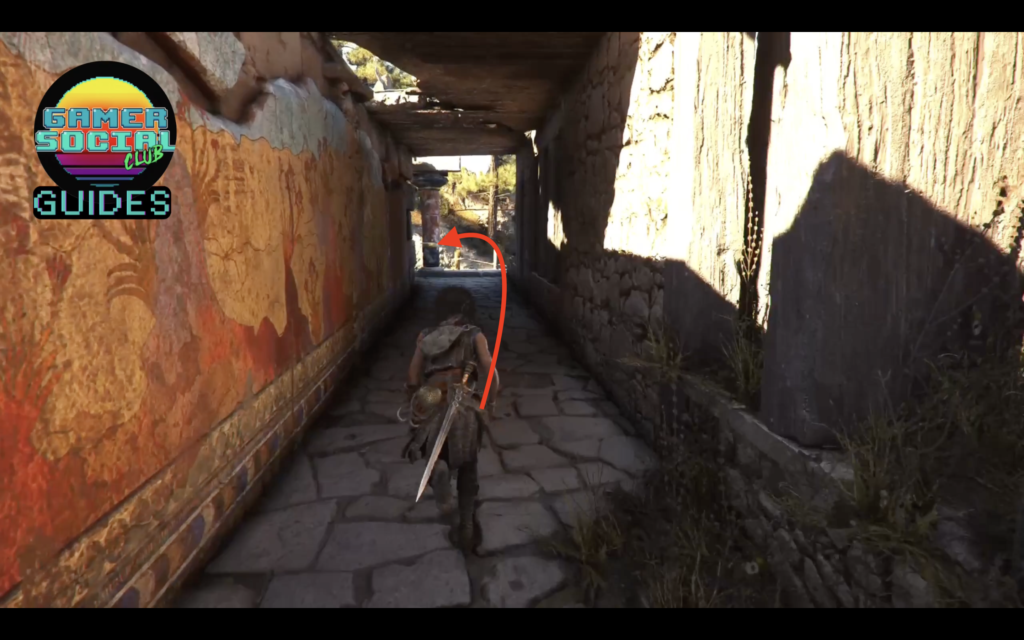
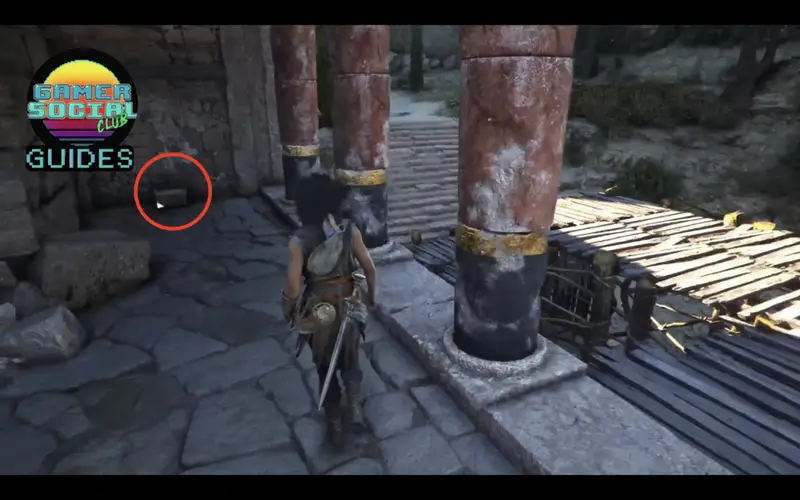
Chapter 4 – 2 Charms
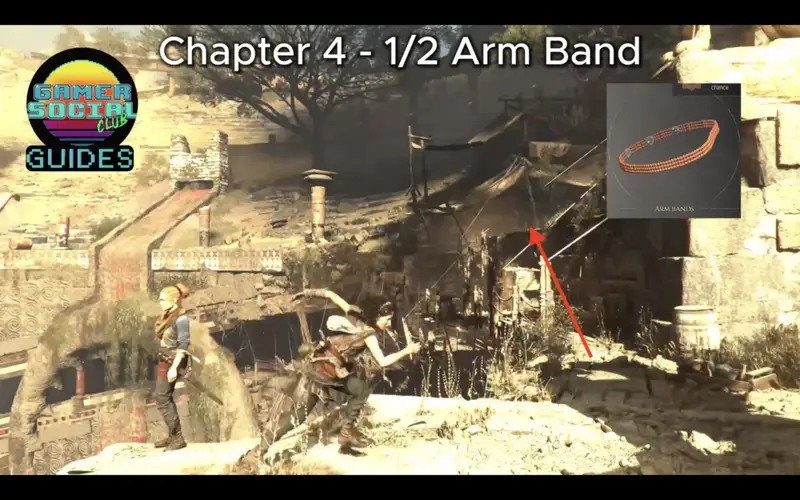
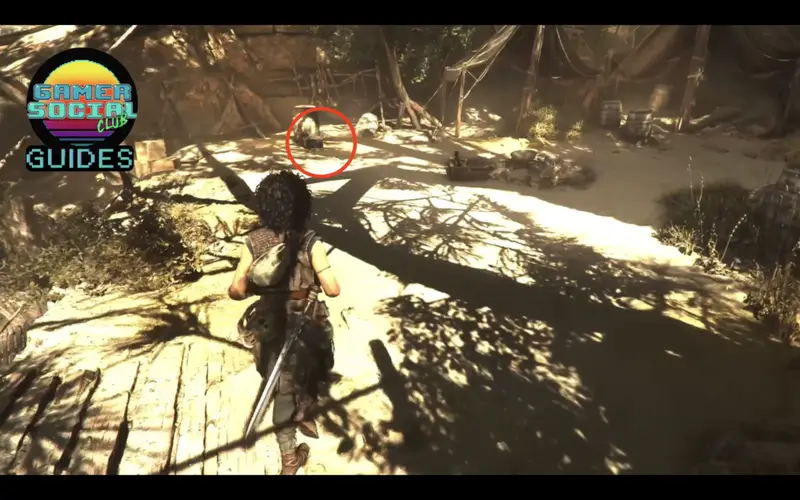
Before heading down these scaffolding, go up on the right side to check out the camp. The first of two charms is here.
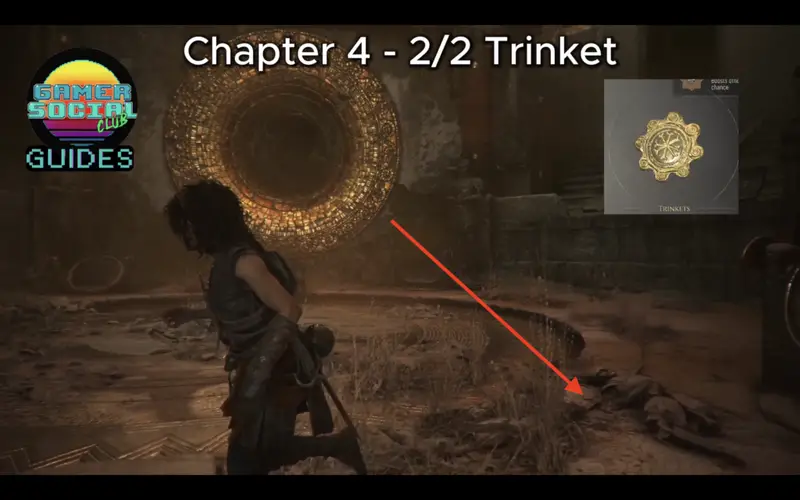
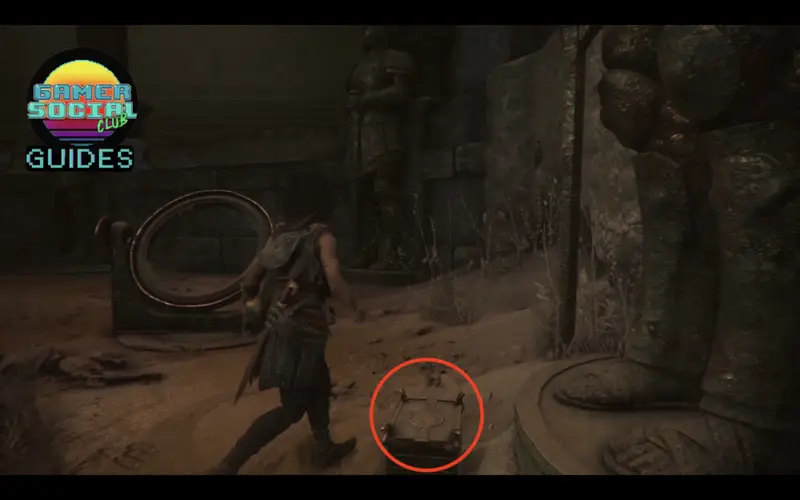
In one of the rooms with a giant hole on the wall, turn around and look at the foot of the soldier statue, and you’ll see another charm.
Chapter 5 – 5 Charms
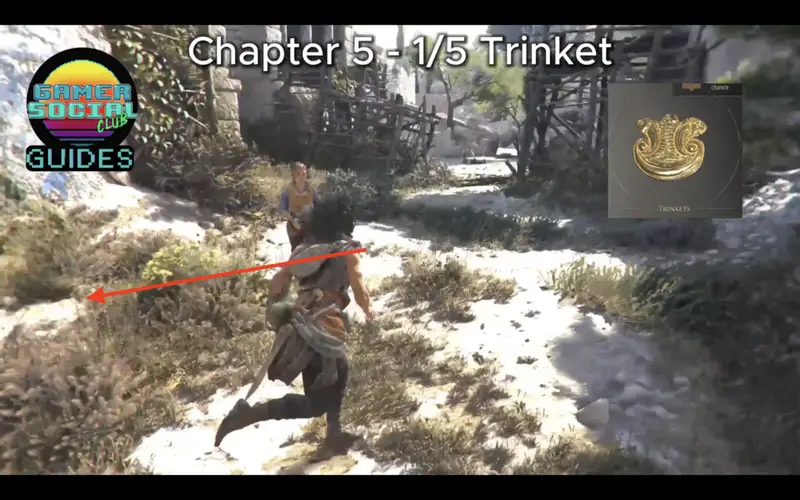
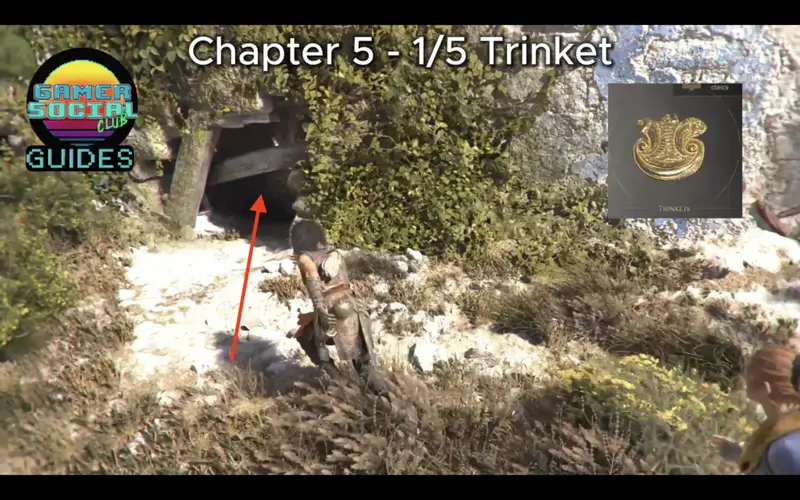
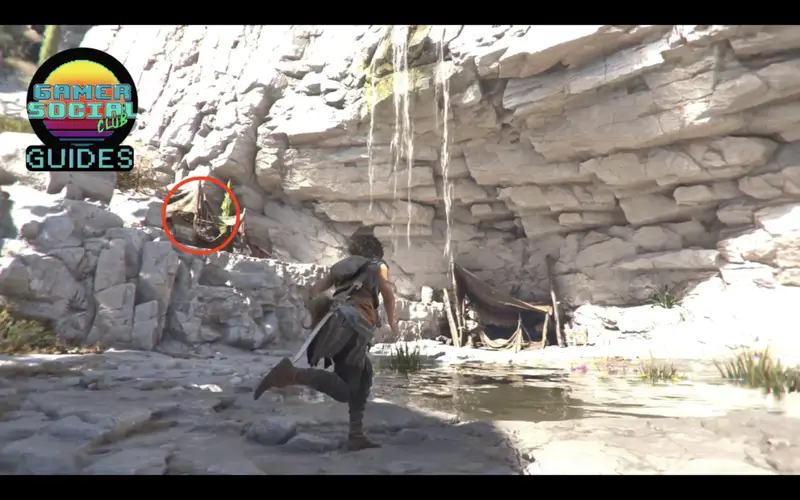
Early in this chapter, you’ll notice that it’s another one of those where you can take different routes that leads to the same place. For the first charm, look for a small opening covered in greenery and go through it. Follow that path until it leads into an opening with a camp at the top left corner. Check it out for the first charm.
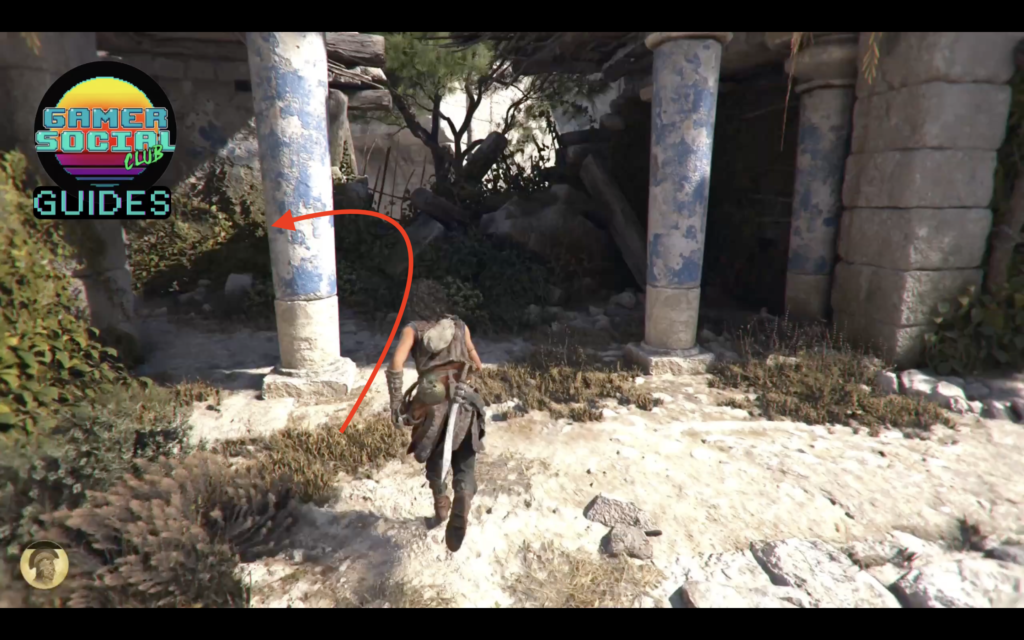
Once you see these two blue pillars, go around it to the left side, and you’ll see another charm box on the ground.
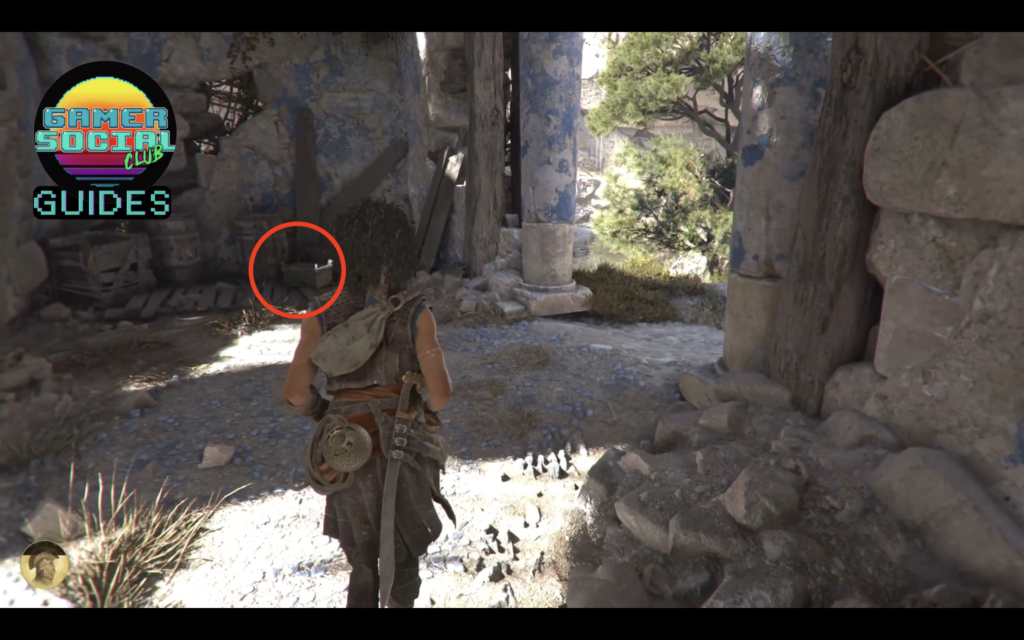
This next charm is during the four symbol doors part of the chapter. This one is through the door with the symbol that looks like a dice. After completing the first part of the challenge where you got separated from Leni, before going up to meet up with Leni, you can turn around and you’ll see a charm in one of the broken platforms.
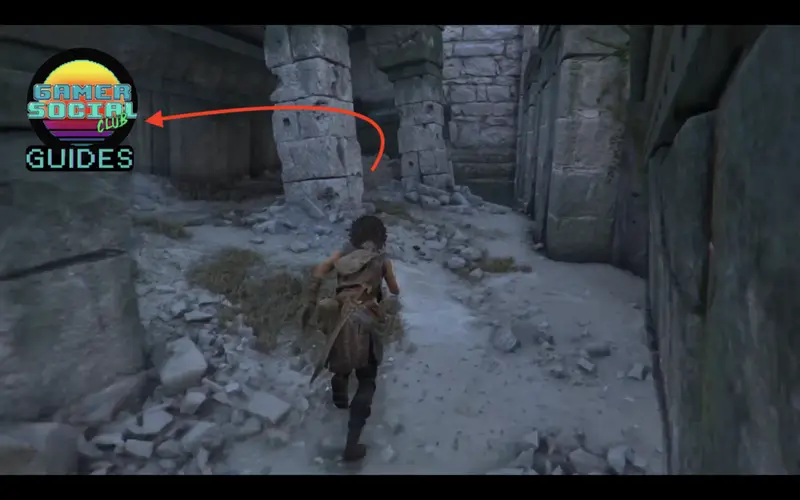
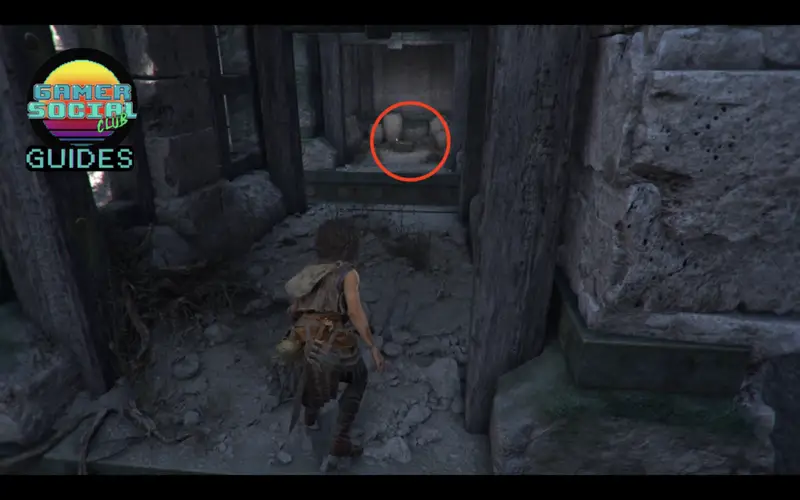
After completing the area and getting the symbol in order to open up the door for the dice symbol, you’ll zip line down towards a beach. You’ll fight some enemies, but before you head back up the stairs to progress the story, head right and you’ll see a charm around the corner.
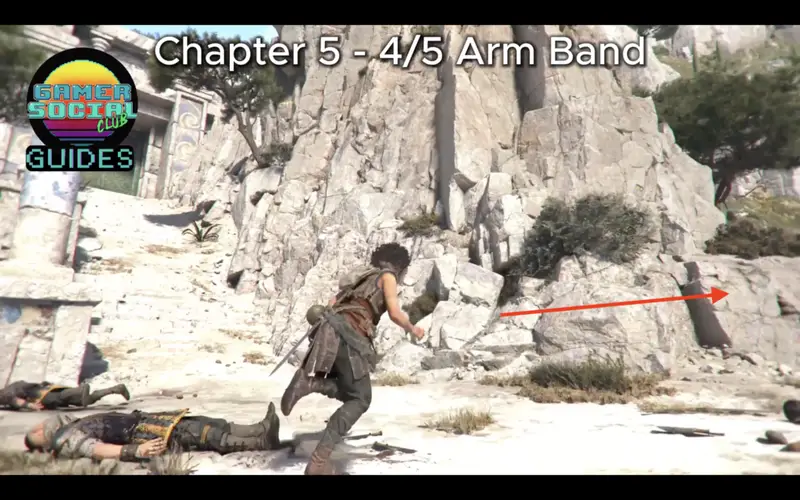
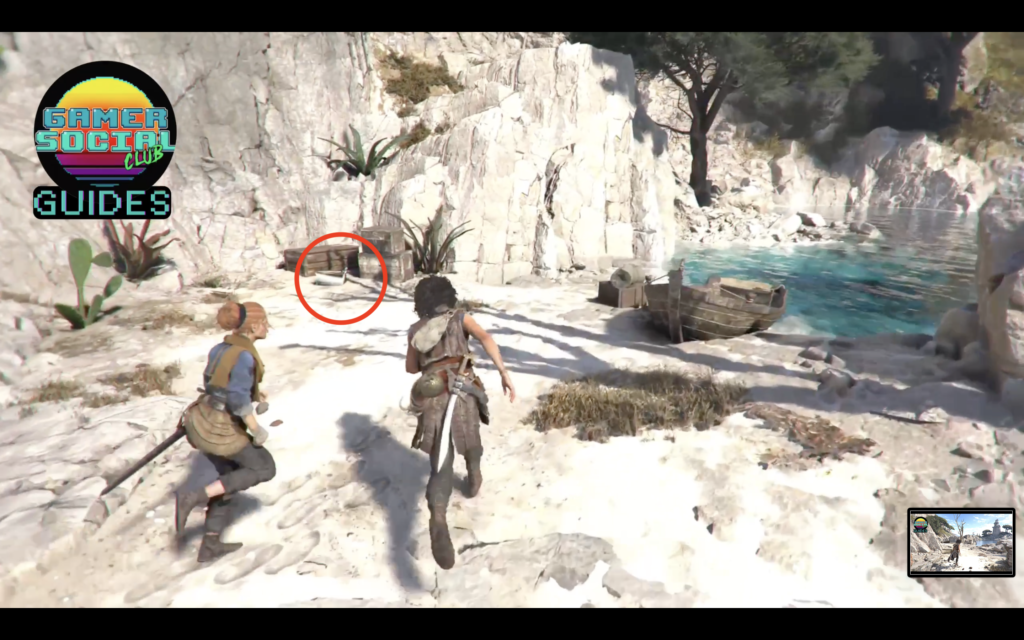
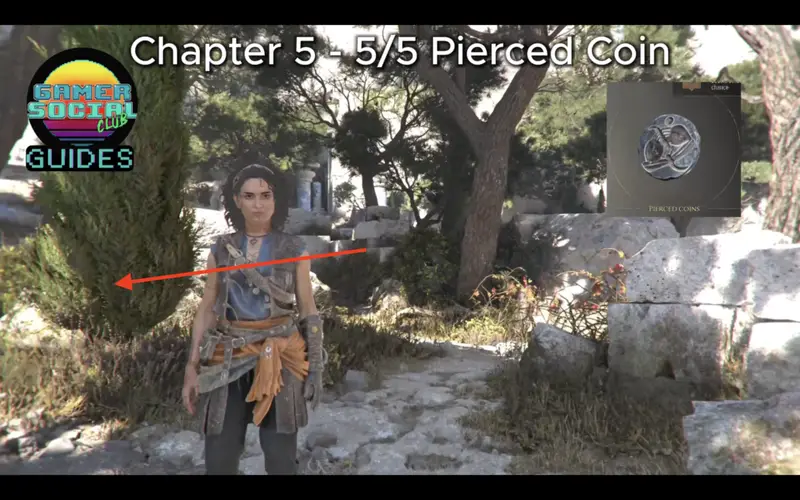
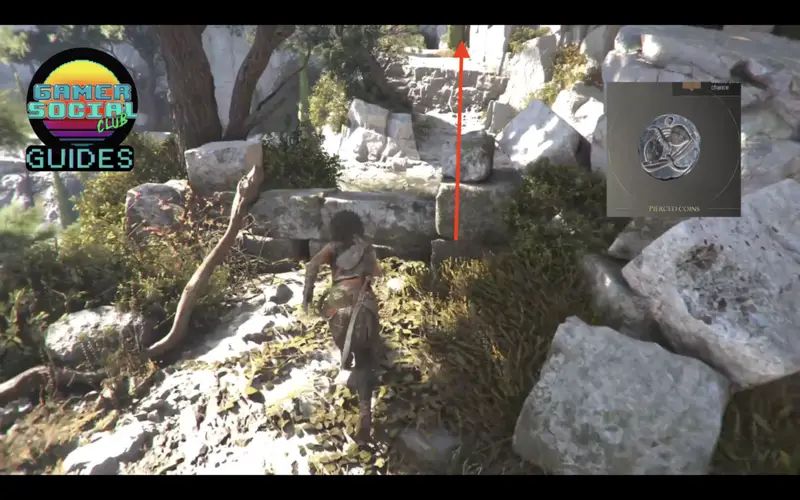
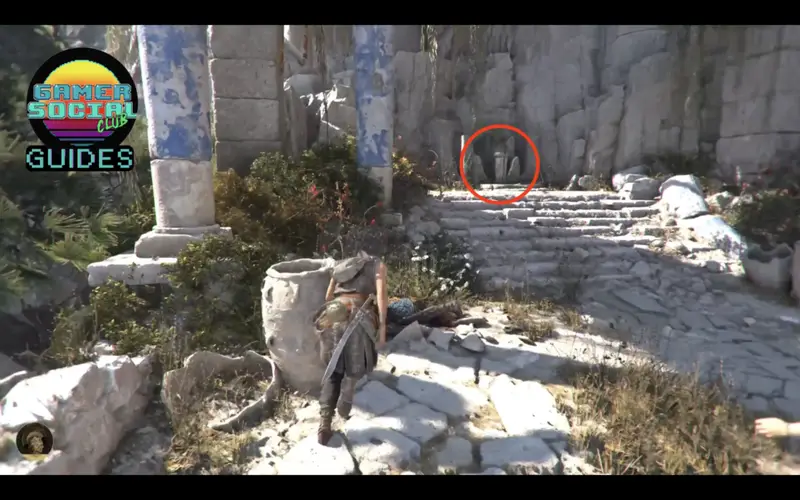
This next one can be found by going through the door with the circles and three lines. Once you’ve gone past the bridge, focus on going left until you see a tall ladder up. After defeating some enemies, look towards the left and you’ll see a shrine for a pierced coin.
Chapter 6 – 3 Charms
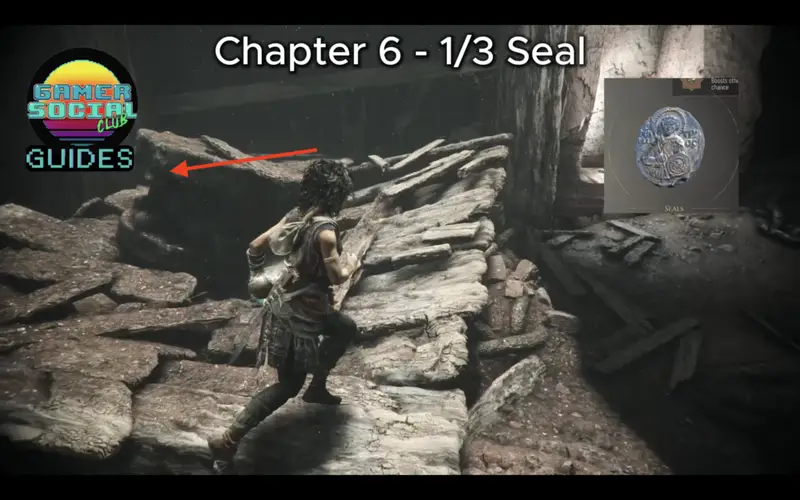
Once you finally get a breather and enter this broken down hall, you’ll see some crates just past some rubbles. Break this one down, as shown on the image, and a charm chest is hidden underneath! You best believe that I started breaking all breakables after this realization that they’ve been hiding stuff here! lol.
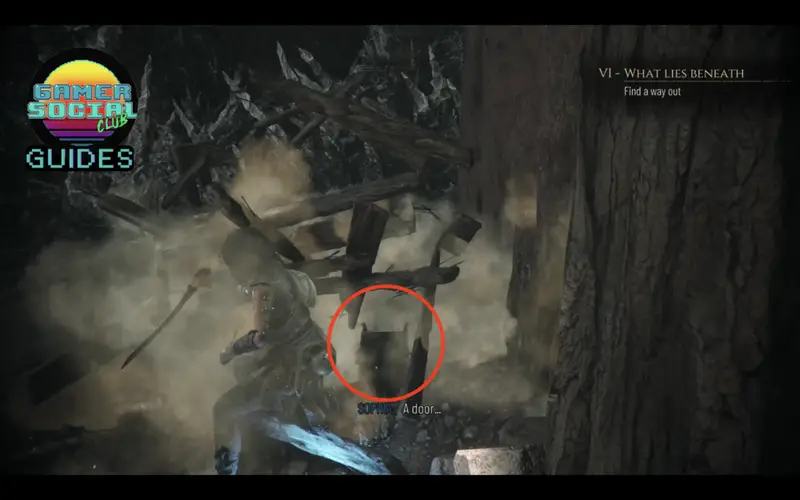
After receiving the Daedalus key, facing away from the stairs we came from, look to the left as shown on the image and follow that path to find the next charm.
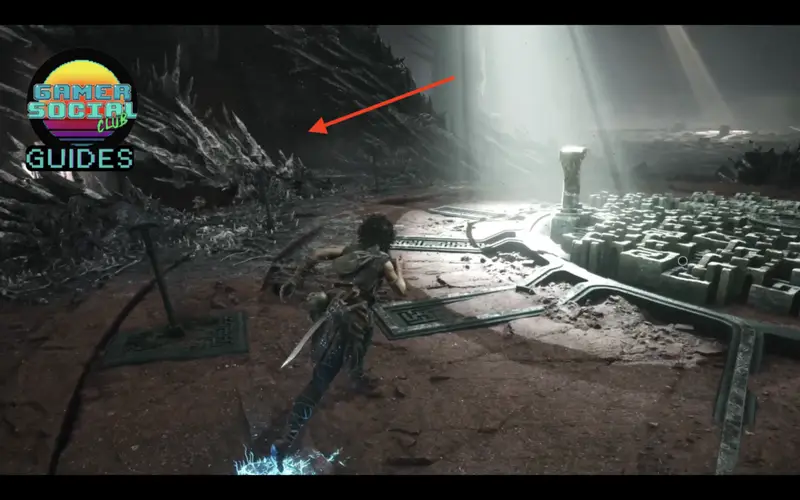
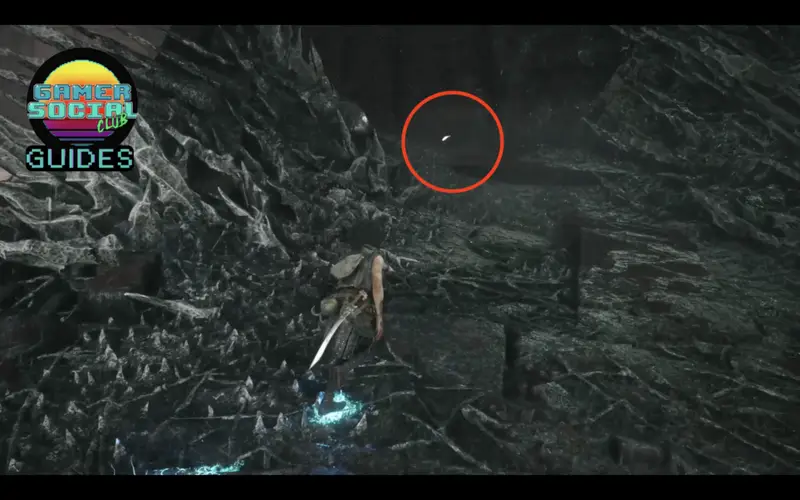
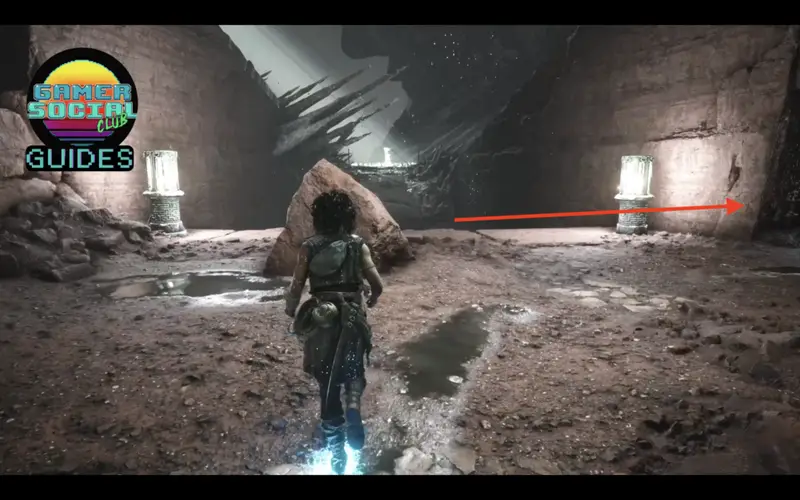
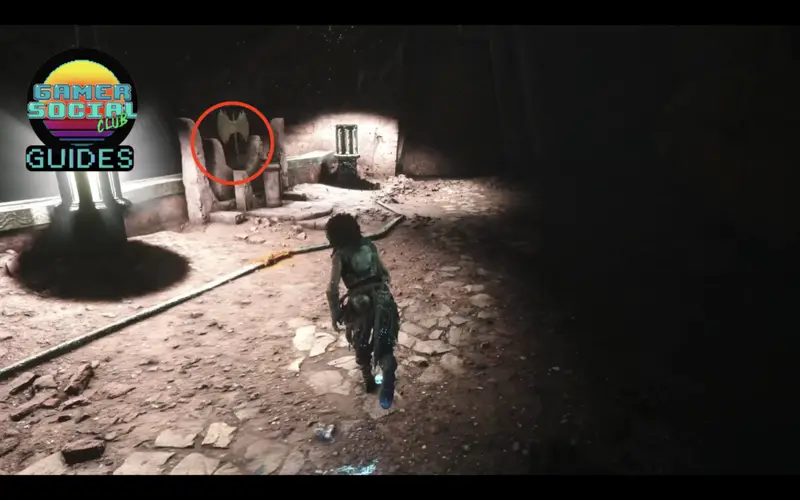
The final charm can be found just past the 1st set of doors that you can open with the Daedalus key. Look to your left.
Chapter 7 – 5 Charms
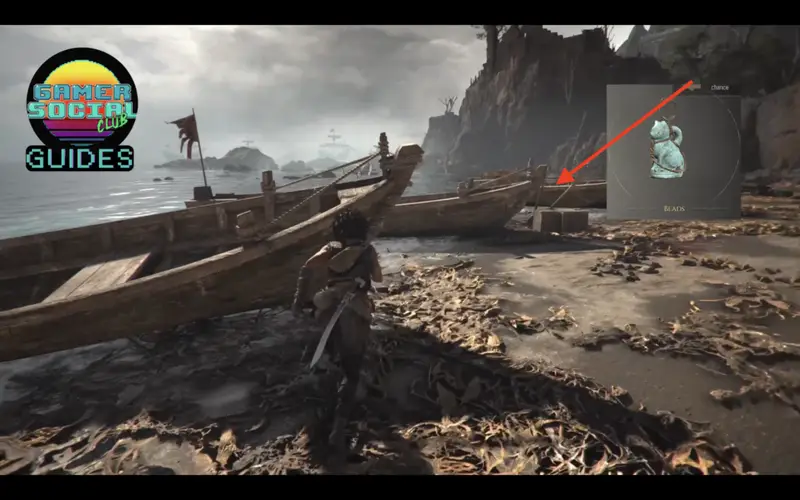
Near the beginning of this chapter, look towards the shore and you’ll see a charm box by beside one of the boats.
After you progress a bit through the chapter, you’ll zip-line through to the next part. Before moving forward, it’s easy to miss this small path down. Follow it through and you’ll see the charm around the corner on the left side.
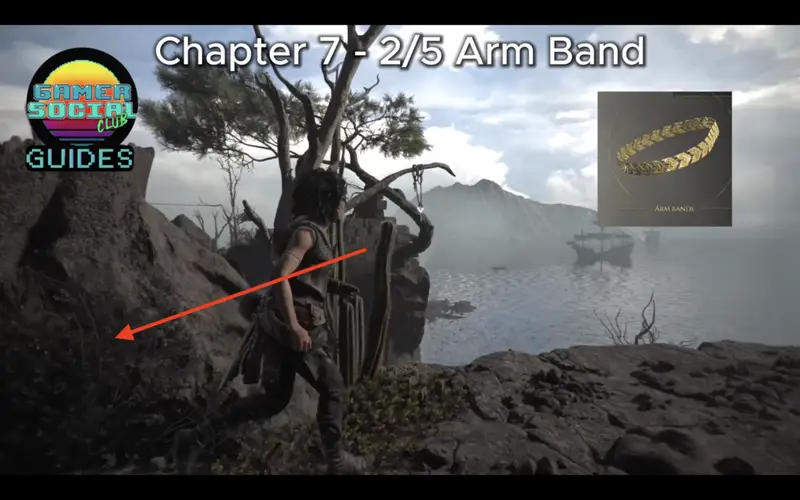
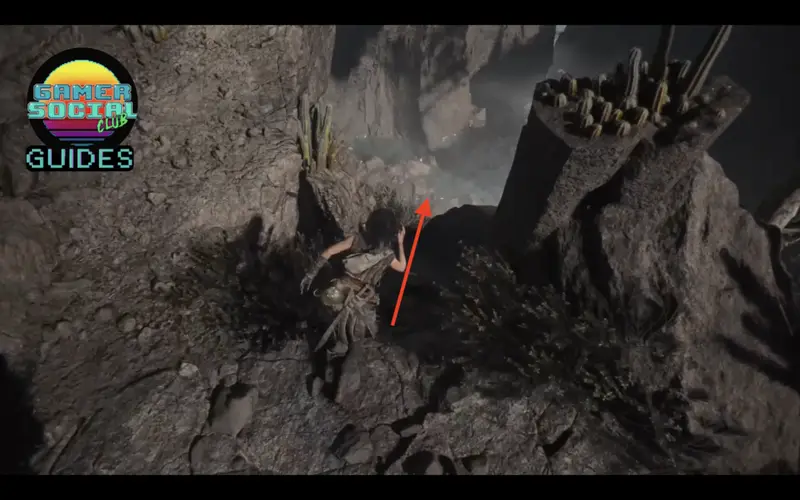
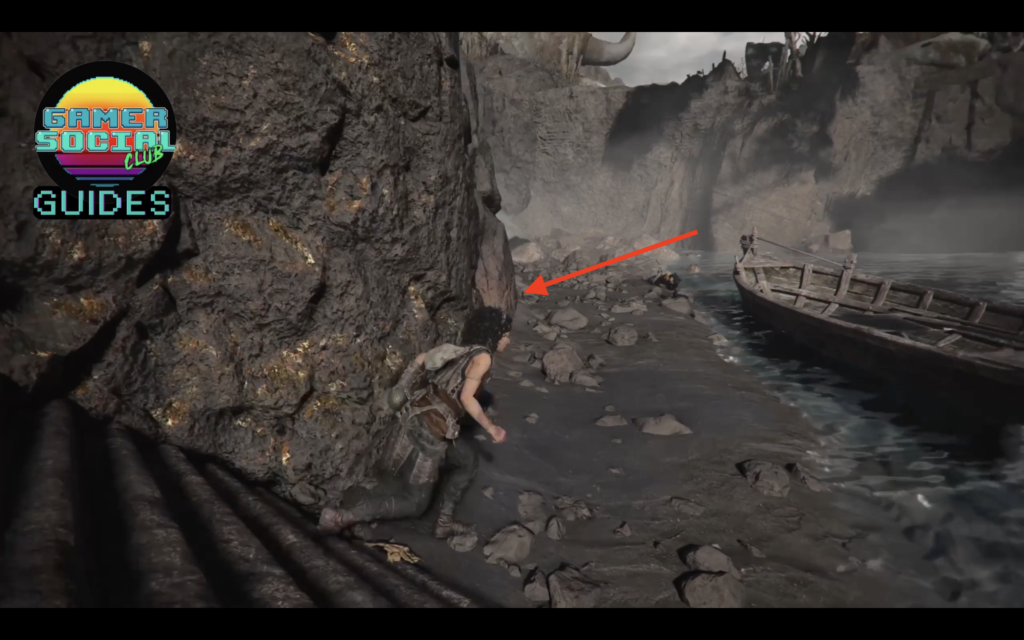
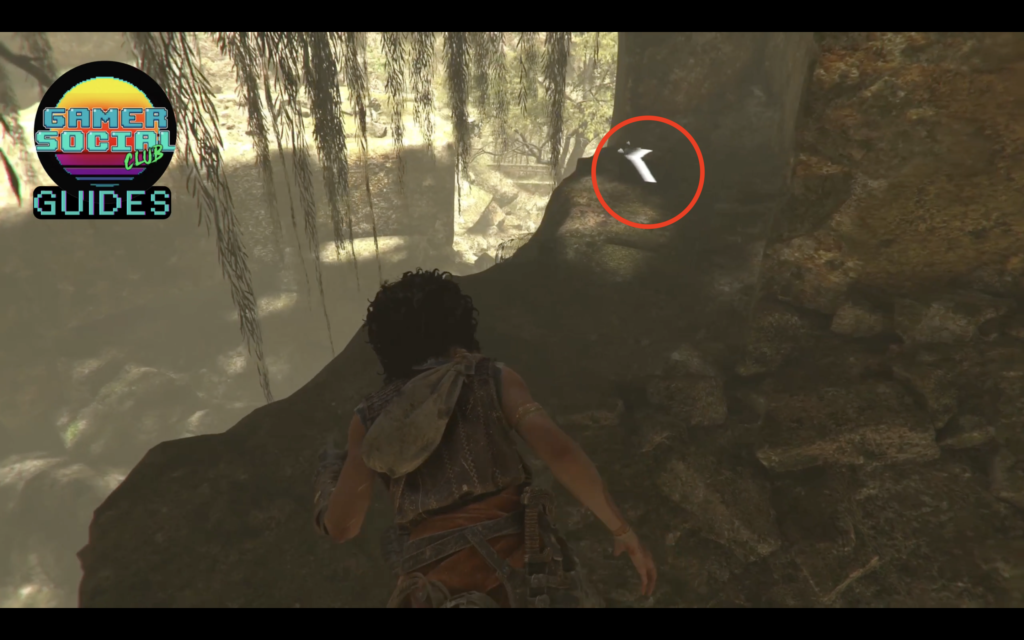
You’ll need to perform some acrobatics in this area, jumping from broken platform to broken platform. Take note of places you can jump to as it’s not always obvious and it’s easy to miss the next two charms. See the images below to get some landmark ideas for the location of these charms.
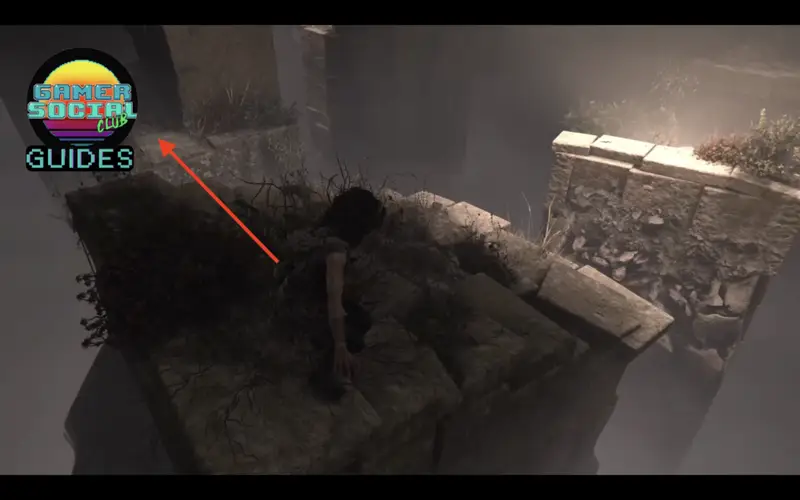
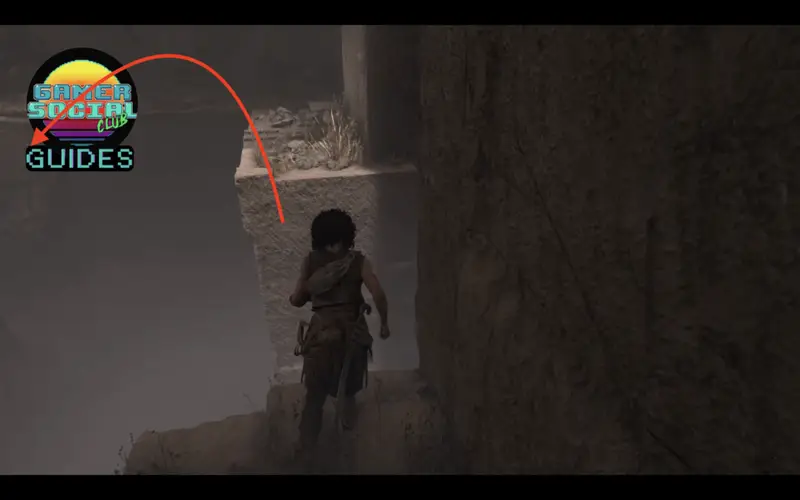
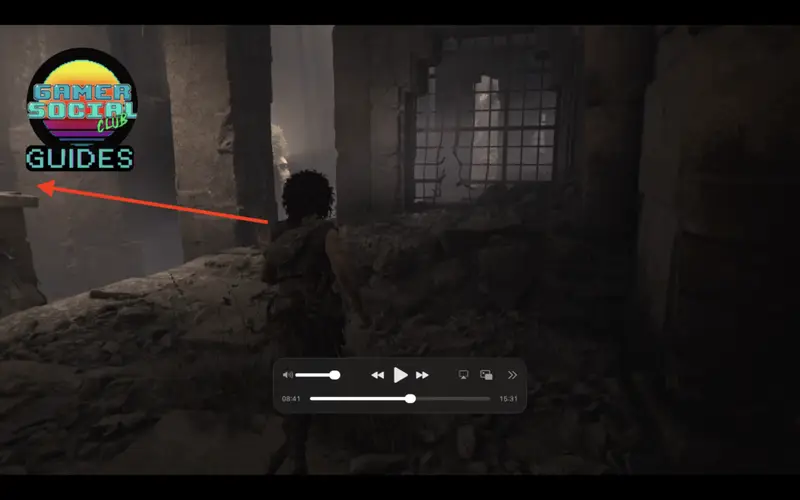
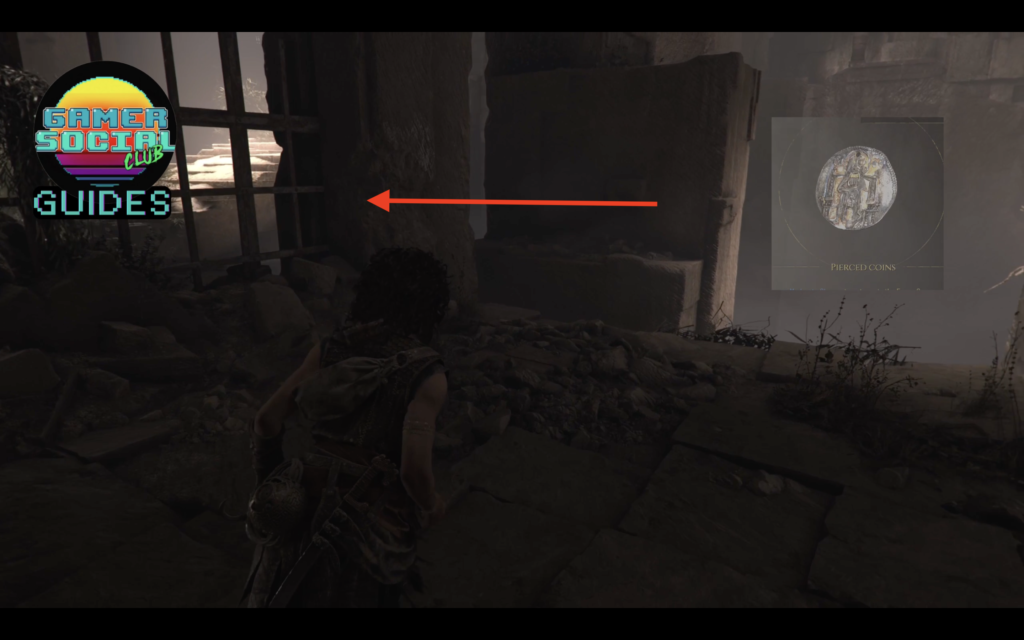
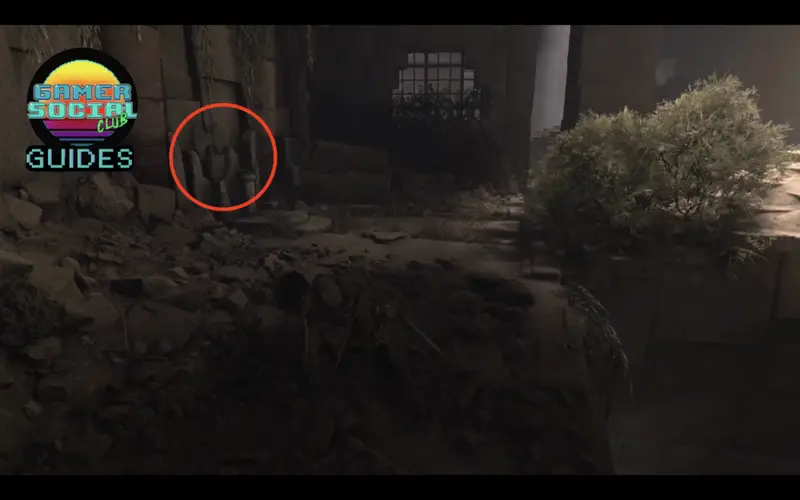
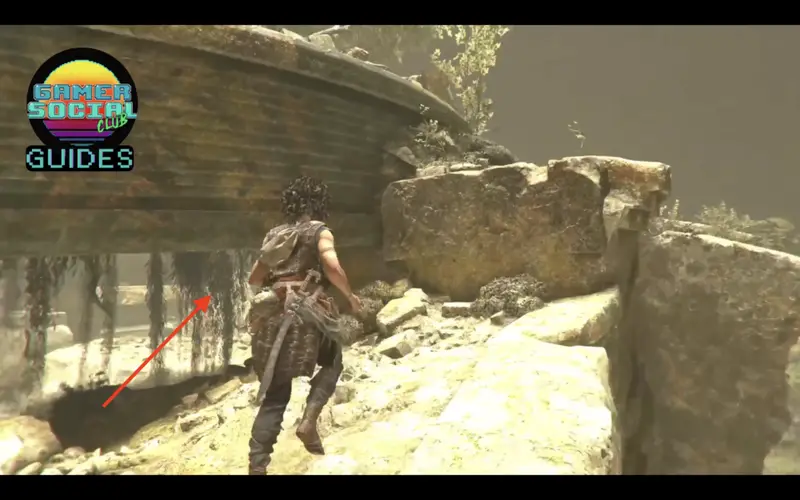
For the final part of this chapter, before heading up to the middle of this area, duck down under and you’ll see a sneaky charm.
Chapter 9 – 2 Charms
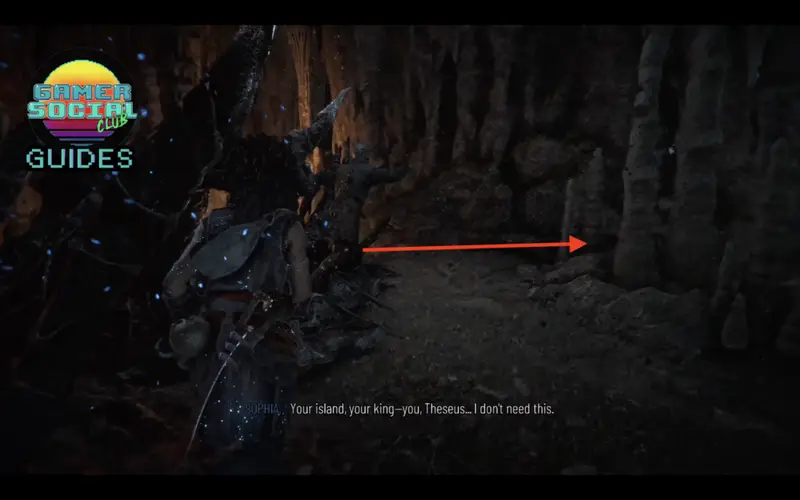
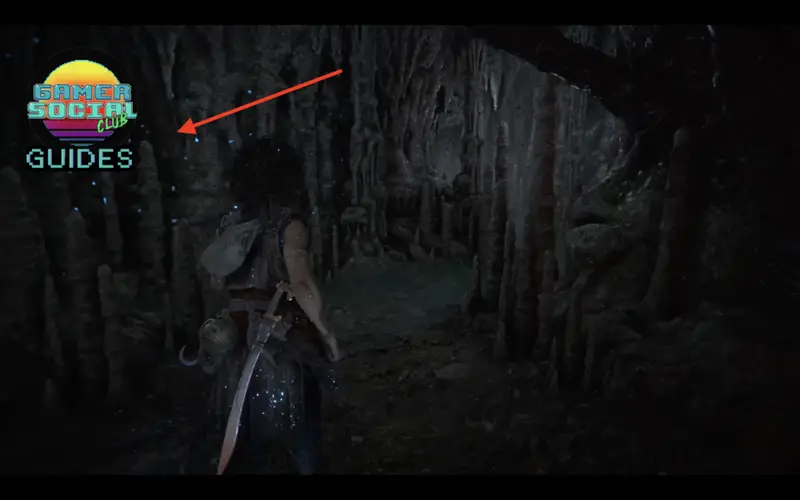
After arriving into this cave after getting chased, you’ll see these newly petrified dudes. Make a left (if you’re facing them) and another left and you’ll see a small space you can squeeze through to get to this charm. In the image below, I’m facing the back of the petrified.
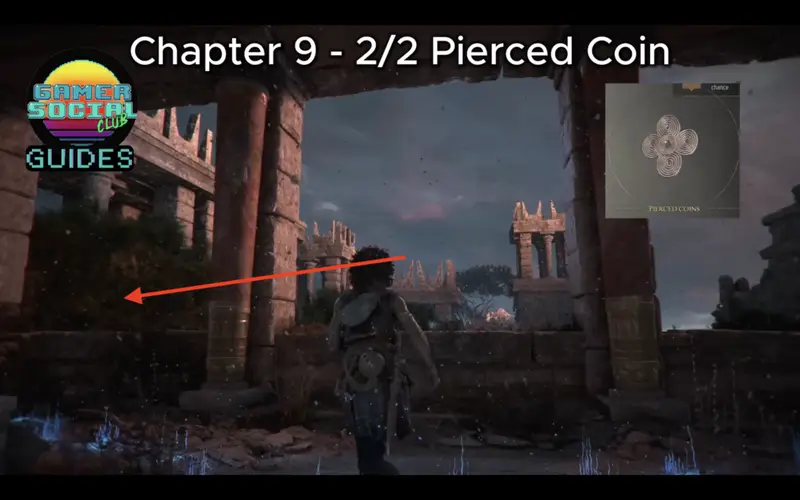
Once you get to this balcony, there’s a small hole you can duck under of. Follow the path through for another pierced coin.
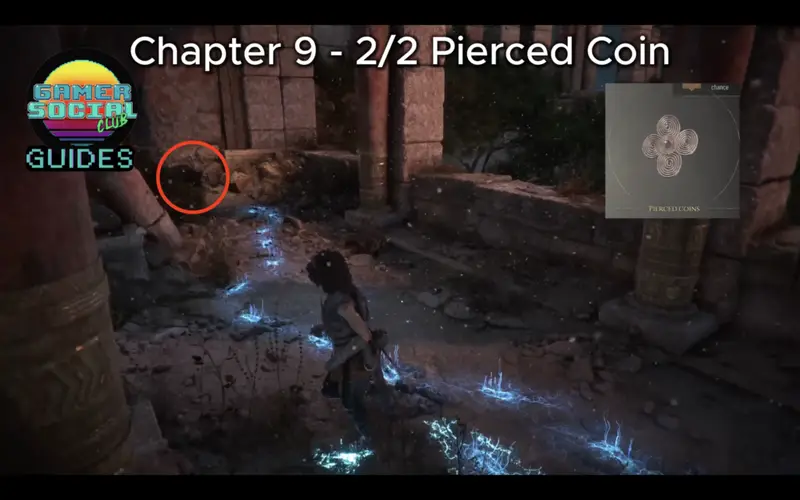
Chapter 10 – 3 Charms
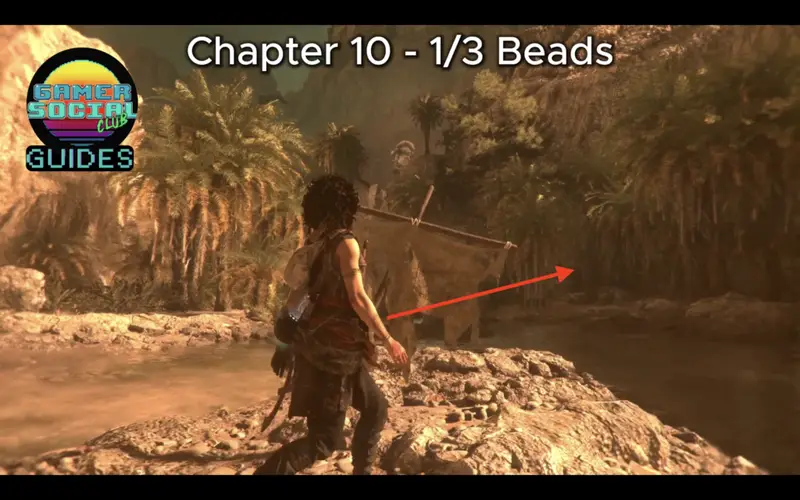
After surviving the ambush on the bridge, you’ll need to use landmarks and your notebook once again to find the location to progress the story. One of these landmarks is this mast in the middle of a stream. Cross the stream to the right, then go around some trees and you should see a charm by some vase.
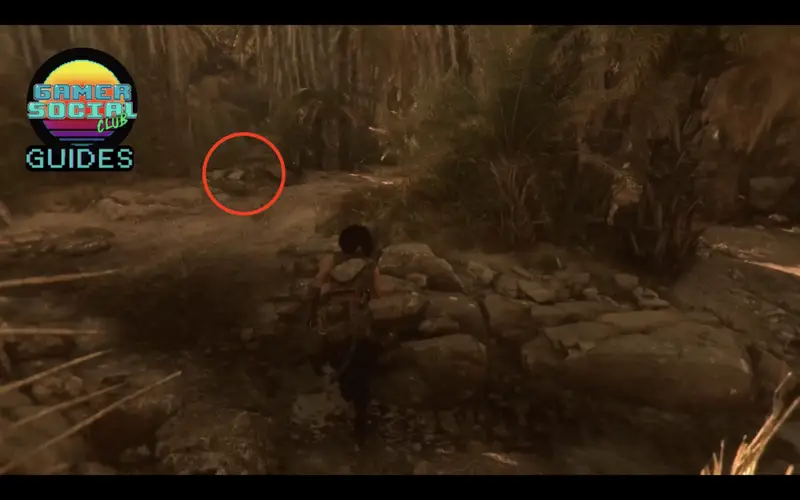
You’ll arrive at a camp, while walking extremely slow. Faro will stop and talk to you for a bit while you walk through this. Right by where he’s standing, will be another charm. Get it and move on to another maze.
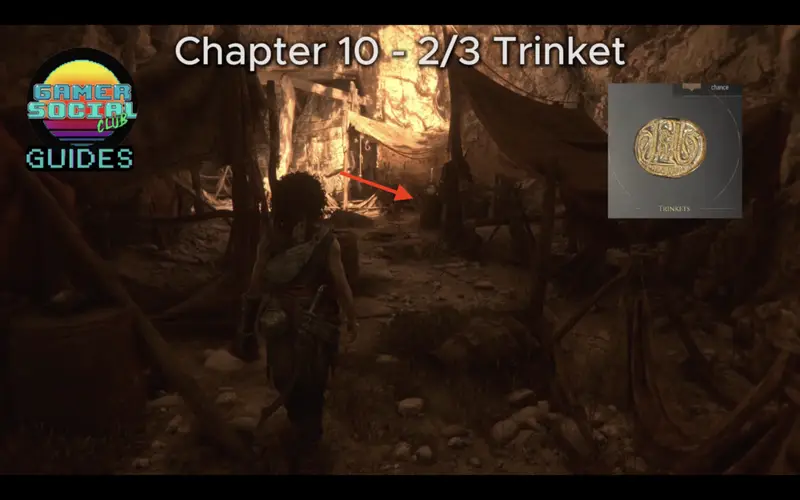
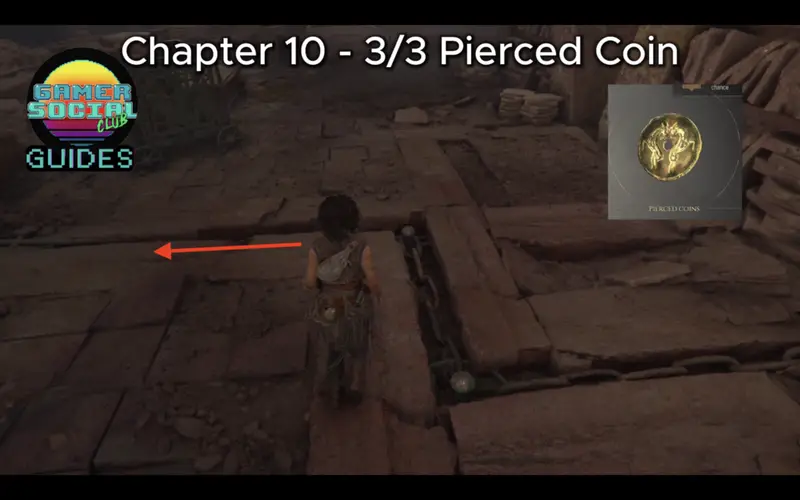
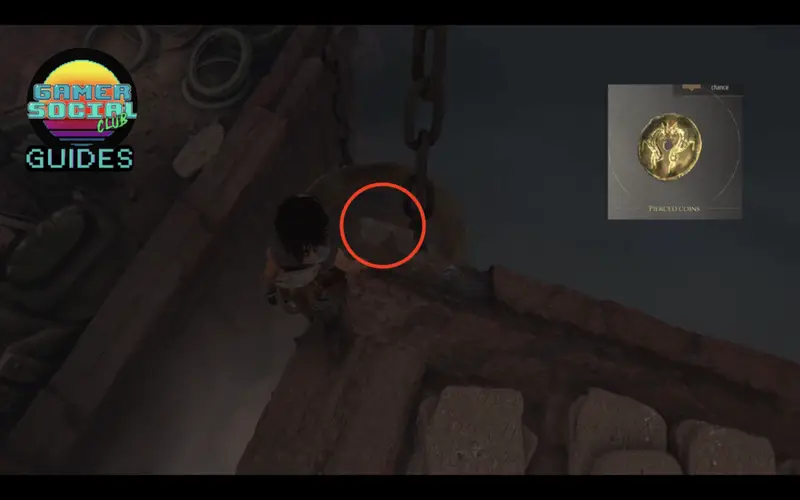
Once you’ve arrived in Daedalus’ Workshop, you’ll see some books that both Sophia and Faro will comment on. On the ground, you’ll see a chain leading you off a ledge. Follow it, and jump down onto a floating giant lens. There will be a switch you can grapple onto. Let your curiosity flow by pulling on it and you’ll hear it open up a door. Follow the chain back, and you’ll see the path that it revealed.
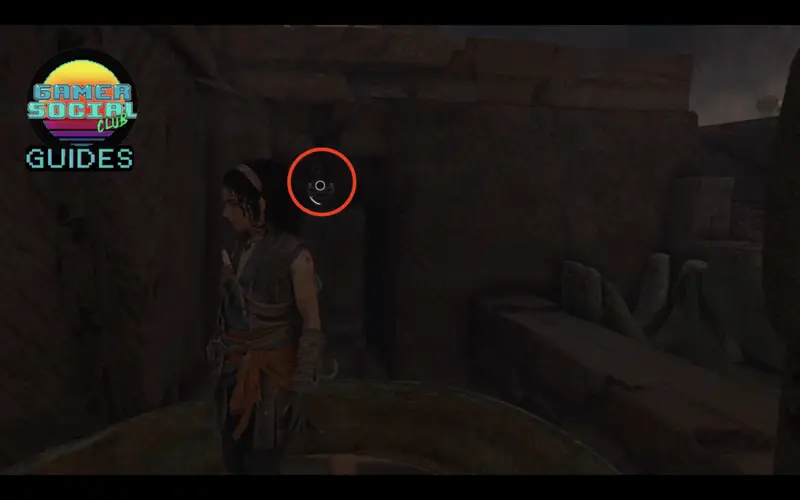
The charm in this hidden chamber is the final pierced coin, rewarding you with the In the Name of my Kin trophy. Congratulations!
Chapter 11 – 2 Charms
While trying to alight the lens and beams of light, you’ll come across the part where you’ll walk along a giant lens. Once you cross it, make a left and you’ll see a room with two bad guys talking it out. Kill em and grab the charm in that room.
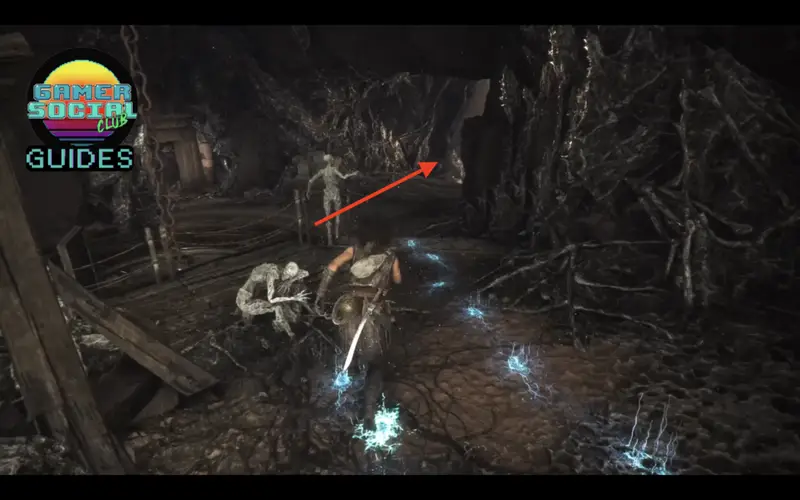
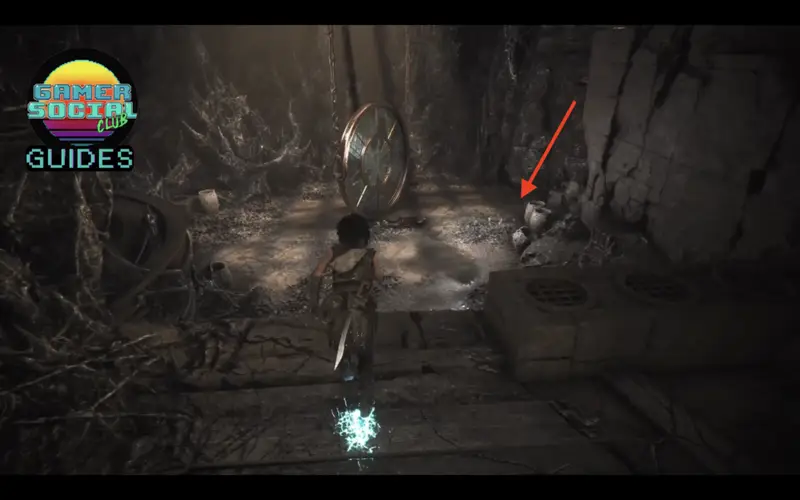
Behind one of these oven/kiln things, is a charm.
Chapter 12 – 1 Charm
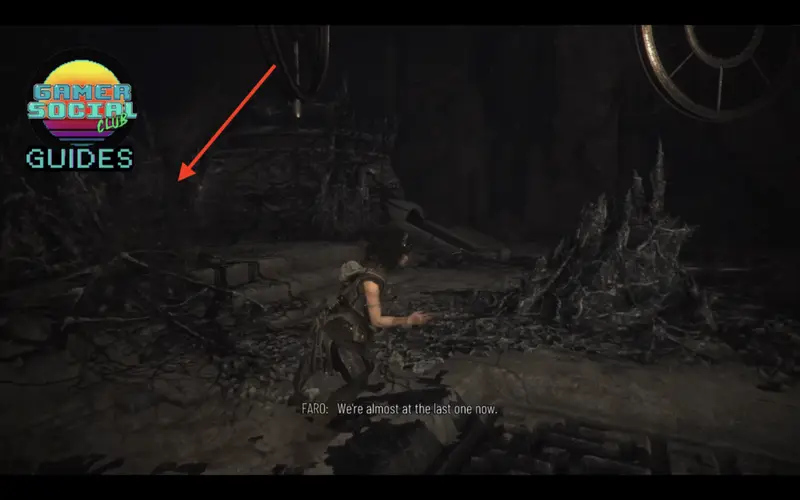
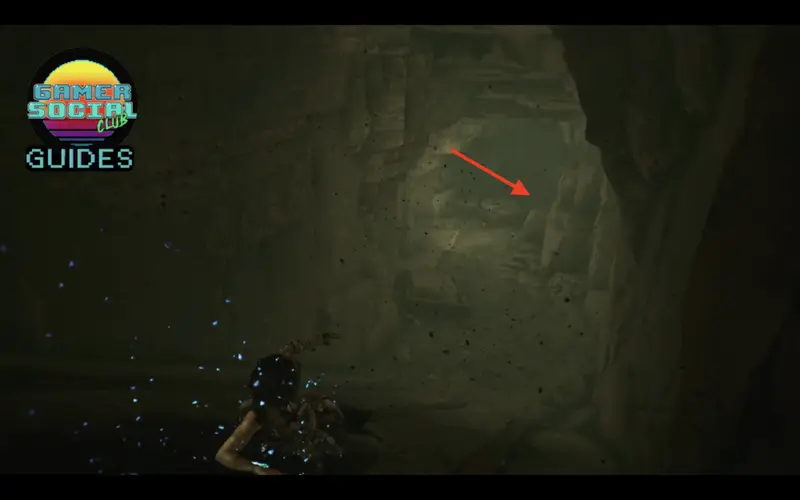
After you perform a slip and slide down a slope, walk past the exit and on the ground to the right is the only charm of this chapter.
Chapter 13 – 1 Charms
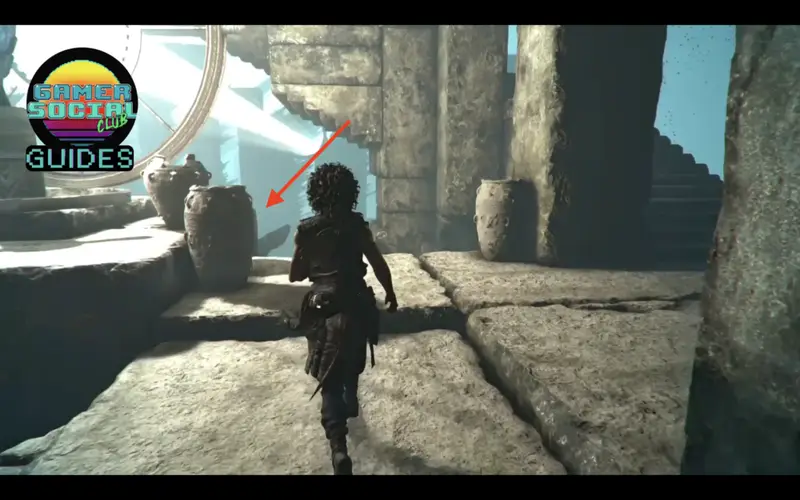
The final charm of the game is difficult to miss. Before making all the up these stairs, stop by to pick up the charm sitting beside this lens. Congrats on the charm and the trophy Superstitious.
That was our A Guide to all Charm Locations rewarding you with both the Superstitious and In the name of my kin trophies for Resonance: A Plague Tale Legacy! We hope this helped you get through your night shift. Check out our other guides for Resonance below.
Are you struggling with a particular trophy/achievement in Resonance: A Plague Tale Legacy? Let us know in the comments below, and join the Gamer Social Club Discord to chat about your favourite games, play in community game nights, take part in giveaways, and more!
And of course if you need anymore Resonance: A Plague Tale Legacy guides, head down below for all our content.