

Defeat the Grimnir boss battle in Spirit of the North 2 with this guide.
Spirit of the North 2 has just released and brings our furry fox friend back to save some lost animal Guardians. By mending their pain, through the medium of a boss battle, you’ll help heal the land. Not only that but you’ll gain an ally to take on the final boss, Grimnir, the Shaman. Now that we’ve defeated the previous five bosses, it’s time for the final showdown with Grimnir, the Shaman.
Defeat the Grimnir Boss Battle
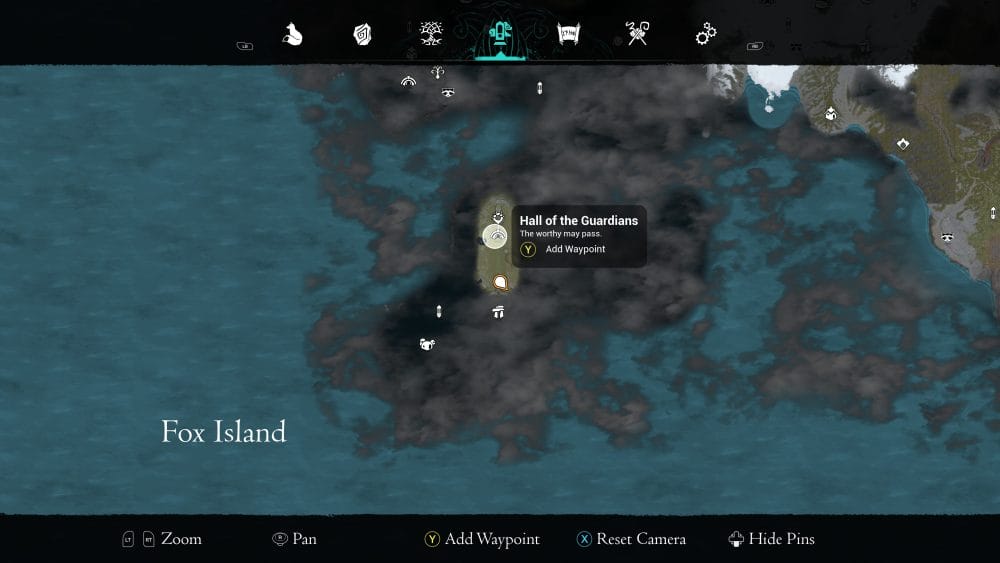
To defeat Grimnir, you must first get to him. You’ll do that on Fox Island. That’s the very first area of the game, where you get chased away, after awakening Grimnir. Now that you’ve freed the lost Guardians, you can return to face Grimnir. You’ll face him in the Hall of the Guardians. Use a fast travel portal to travel back there.
You’ll make your way through the Hall of Guardians, and as you arrive a cutscene will play where you see your Guardians assemble, Avengers style, ready to do battle with Grimnir. Alas, he is prepared and will lock your Guardians in treasure chests at the other side of the arena.


Grim-ming from Nir to Nir
If you’d rather watch a video, check out this one of me (almost) defeating the boss:
To defeat Grimnir, you must release each of the six Guardians from the chests they are captured in. They’ve been sealed in little stone totems (see picture above) and you’ll get to grab one at a time from a chest. This means traversing a changing boss arena to get to the chests, and then returning back to where you started to place the totem on the correct pedestal to release the Guardian.
This means you must do this six times. If you die, you’ll have to start over. Be sure to make use of the abilities that fit best. I very much liked the Spirit Jump rune, alongside the glide jump.
Phases
- Phase 1: The arena fills with water, and you must use the platforms to get across. Watch out for his spinning disc attack and his airborne fireballs.
- Phase 2: Ice platforms appear on the water. Navigate the slippery surfaces to get to the chest and retrieve the next totem. Avoid running straight forward throughout this boss to avoid his disc and fireball attacks.
- Phase 3: Wind tunnels will appear and you must use your glide ability to dodge the glowing jellyfish-type enemies to get to your next totem.
- Phase 4: Use Spirit Fox to travel across the large gaps. Be sure to use the dream catcher to take your body across. Be quick, you take damage if you take too long to move your physical body. Keep your spirit energy up.
- Phase 5: Simpler phase, cross using the platforms and use the bugs to restore your health. Stay moving diagonally to dodge his attacks.
- Phase 6: For the final phase, you must lure Grimnir into the electric attack he uses. He’ll continue to follow you, catch him in the attack as it hits the floor to stun him, which gets rid of the wind barrier. Run as far as you can and repeat until you reach the final stone totem. Don’t attack him directly.
Congratulations! You’ve beaten the final boss of Spirit of the North 2. Now to carry on exploring until you’ve got all the collectibles!
Be sure to check out our other Spirit of the North 2 guides.

Spirit of the North 2 Guides
- Spirit of the North 2: Beginner’s Guide
- Ancient Tree Locations
- “Children of Eona” Guide
- Fox Den Locations
- Light Trader Location Guide
- Obelisk Locations
- Portal Locations
- Raccoon Traders Locations
- Rune Locations
- Skill Point Locations
- Snake Shrine Locations
- Unlock the Ashlands Snake Shrine
- Defeat the White Raven Boss Battle (Misthaven)
- Defeat the Stag Boss Battle (Mosswood)
- Defeat the Ram Boss Battle (Stormvale)
- Defeat the Wolves Boss Battle (Frigid Peaks)
- Defeat the Bear Boss Battle (Ashlands)
- All Lore Scrolls Locations Guides
- The Fox Tribe Lore Scrolls Locations Guide
- The Raven Tribe Lore Scrolls Locations Guide
- The Stag Tribe Lore Scrolls Locations Guide
- The Ram Tribe Lore Scrolls Locations Guide
- The Sun Wolf Tribe Lore Scrolls Locations Guide
- The Moon Wolf Tribe Lore Scrolls Locations Guide
- The Bear Tribe Lore Scrolls Locations Guide


2 Responses
😠I’ve stubbornly decided to beat the Sun Wolf trial and I hate it
Ah, this is interesting, because I never got the wind tunnel jellyfish round but I did get one you didn’t include.
I also found, through dying many times, that it seems that while there are always six phases, they’re all dependent on which totem you put in, which allows you to choose the order.
There’s six rounds, including the first one, which is always the same.
After that, the others seem dependent on totems/Guardian freed.
Ram is the electric thing where you lure Grimnir.
Stag is the spirit jump course.
Bear is the round with the fireflies to heal yourself.
Sun Wolf is a round with rolling rows of thorns, similar to what the Stag used in his boss fight. While this happens, Grimnir will throw fireballs at you and there are lightning bolts going on at the same time.
Moon Wolf is the round with the Ice Platforms.
That makes me think that the White Raven, the last totem I put in and the one that signaled Grimnir’s fall for me, is the jellyfish one, because I never saw that one. I always went Ram, Sun Wolf, Bear, Stag, Moon Wolf.
I like this, because it allows you to skip one of the rounds that you might have been really struggling with. Had I known this, I’d have skipped the goddamn Ram round every time. I put it first because I struggled so much with it.