
Check out our Mouse P.I. For Hire Collectibles Guide to find all the Baseball Cards, Newspapers and Comic strips, Schematics and Collectibles in the game.
The first-person shooter detective game inspired by the comic stylings of the 1930s is finally with us and we’ve been super excited for this for a long time.
Playing as Jack Pepper, you’re exploring and sleuthing to uncover the mysteries of Mouseberg. During your adventure, you’ll come across a range of collectibles.
- Baseball Cards – there are 41 Baseball cards to find. You can use these in the Baseball Card Match games. Winning these games will net you prize tokens which you can swap for rewards at the Little and Big Bar (where your offices are ).
- Newspapers – there are 38 newspapers to find, giving you an insight into the lore and seedy underbelly of Mouseberg.
- Comic Books – there are 29 comic strips to find. These will tell a graphic novel story as you unlock the sections of the comic.
- Secret Collectibles – there are 10 collectibles to find on top of the others, such as Figurines.
- Schematics – you’ll use these to upgrade your weapons at Tammy’s B.A.N.G workshop. This become available after Bendel’s Lab level. Tier 1 costs 1 schematic, Tier 2 costs 3 schematics and Tier 3 costs 5 schematics.
- Clues – although these may be part of the story, there is an achievement for pinning all clues to the evidence board, so we will also include any clues and ‘points of interest’ into this guide.
- Side Jobs – there’s also a number of side quests to complete. We’ll add these in where they were picked up, including the solution.
Achievements / Trophies
There are several achievements / trophies associated with seeking out the various collectibles:
- Starter Deck – Collect 5 Baseball Cards.
- Babe Got Bat – Collect 10 Baseball Cards.
- Card Shark – Collect all Baseball Cards. A real gathering, innit?
- Comic Relief – Collect 5 comic strips.
- Extremely Graphic Novel – Collect 10 comic strips.
- The Prequel – Collect all comic strips. Some things never change.
- Dime Novel Sleuth – Complete 5 side jobs
- Real Deal Gumshoe – Complete every side job. Dot those i’s, detective.
- Paper Person – Collect 5 issues of the Mouseberg Herald
- Cover to Cover – Collect 10 issues of the Mousenberg Herald
- Extra! Extra! – Collect all issues of the Mousenberg Herald. Even the weird ones.
- This is my Boomstick – Upgrade one weapon to Tier 3.
- We’ll B.A.N.G., ok? – Upgrade every weapon to tier 3.
Mouse P.I. For Hire Collectibles Guide
Below are the collectibles found to date. They are listed in the order discovered, not necessarily the most efficient way.
This guide now contains a way to get every newspaper, comic book and Baseball Card. Any missed ones in a level were purchased from P.I. Office or a Roadhouse. If we locate the missing ones in the level, we will update the guide, but this doesn’t stop you getting the collectibles and the achievement / trophies.
If you miss a comic book, newspaper or Baseball card they will be available to buy from the ammo store at the P.I. Office or any of the Roadhouse locations. This doesn’t apply for any given as rewards for completing side jobs. This is not the rule for schematics or the secret figurines. You lose access to the shop for the last two missions, so any missing in those levels won’t appear in the shop. There isn’t a level select unfortunately.
The last chance you have of using the stores is after Bandel’s Mansion, you can use a Roadhouse on the map as you drive around.
- Der Hazerburg (Prologue)
- Vaudeville
- P.I. Office
- Mouseburg Opera
- P.I. Office (Again)
- Roadhouse
- Bandel’s Lab
- Clergy Row
- Old Subway
- Return to P.I. Office
- Tinsel Avenue
- Back to P.I. Office
- Opera Ruins
- Return to P.I. Office (Again)
- Wallop Bay
- Back to P.I. Office (Again)
- Far Wetlands
- P.I. Office – After Far Wetlands
- Curdsville
- P.I. Office – After Curdsville
- Mangia & Mangia Secret Show
- P.I. Office – After the Secret Show
- The Depths
- P.I. Office – After The Depths
- Western Backlot
- P.I. Office – After Western Backlot
- River Fever Line
- P.I. Office – After River Fever Line
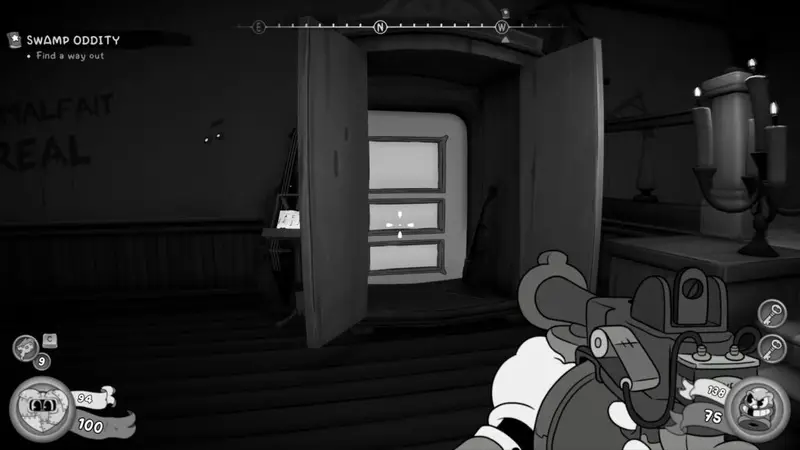
- The Quagmire
- P.I. Office – After The Quagmire
- The Reel Deal
- P.I. Office – After The Reel Deal
- Curdsville Nuthouse
- The Unknown
- P.I. Office – After The Unknown
- Fart Harbor
- P.I. Office – After Fart Harbor
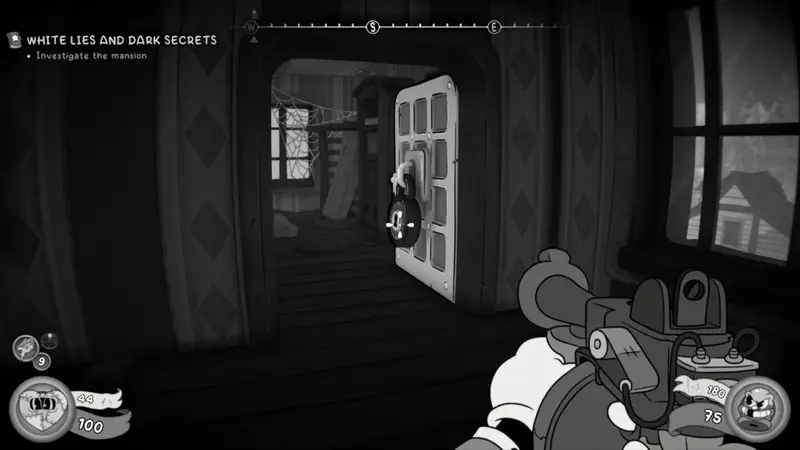
- Bandel’s Mansion
- 1934 World’s Fair
- Der Harzerburg (Again)
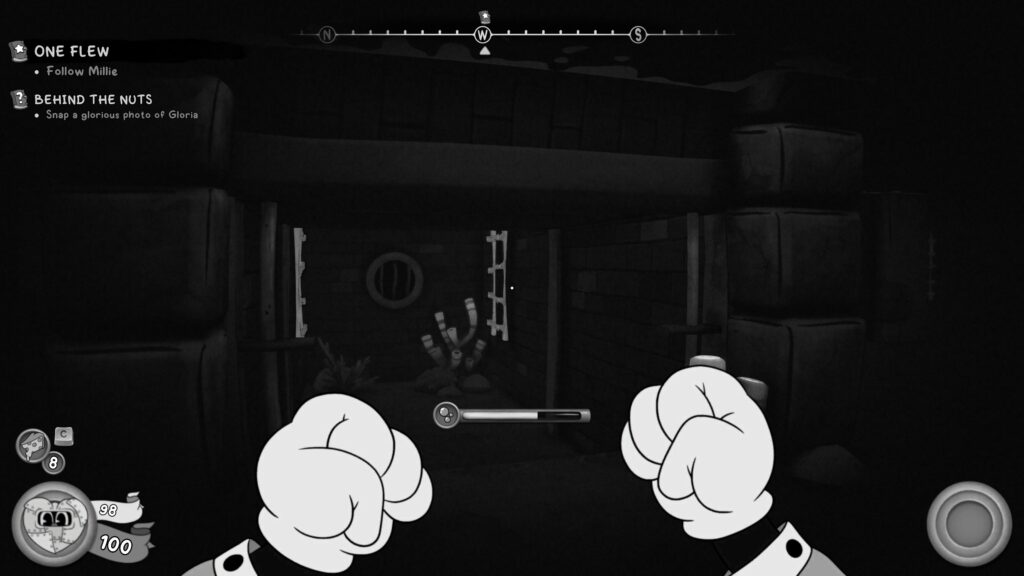
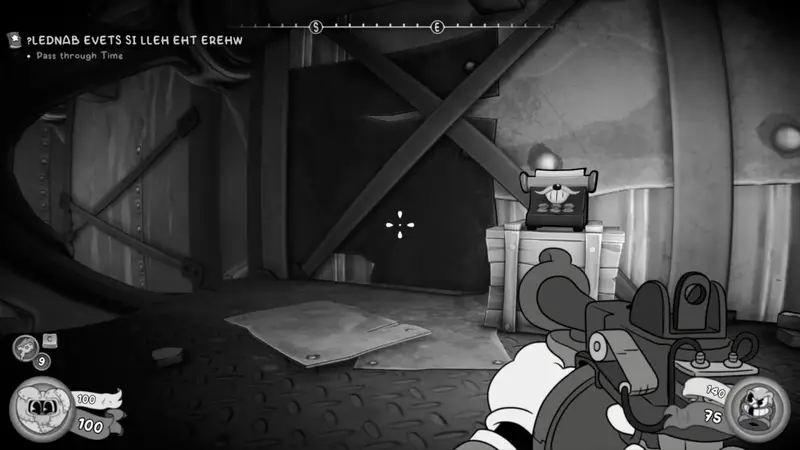
Der Hazerburg
This is the opening area of the game, the first place you play.
Comic Book (1 / 29)
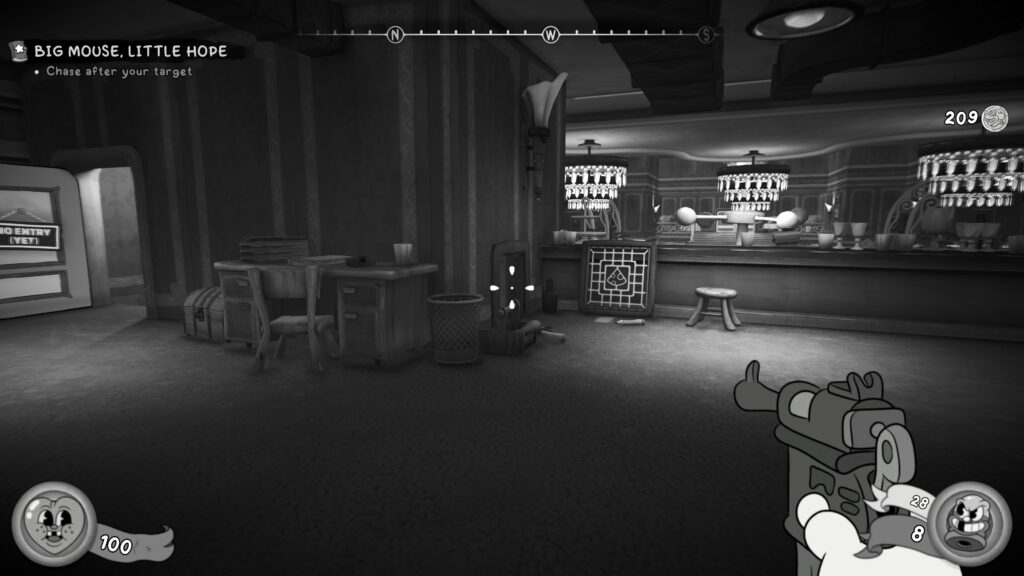
This collectible can be found in the first section of the game. You’re chasing some low-life criminal through a casino zeppelin (I think). As you progress, you’ll reach a large room with a giant roulette wheel in the centre. There’ll be several enemies to take out.
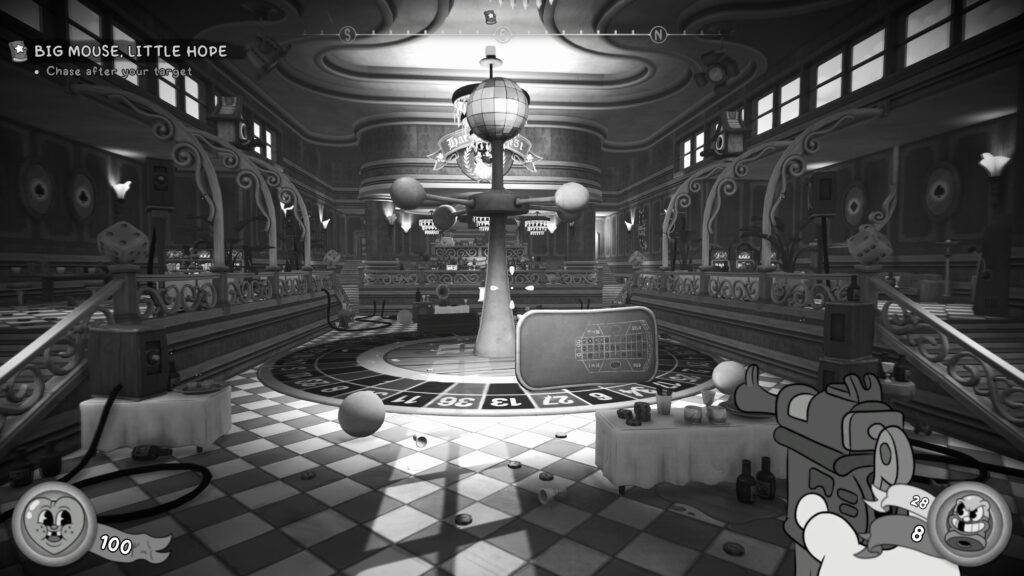
Head to the back of the room and you should be able to see a small grate low down on the back wall. In there is some cash and the comic book. To get to it, head to the right of the room and head up the stairs.
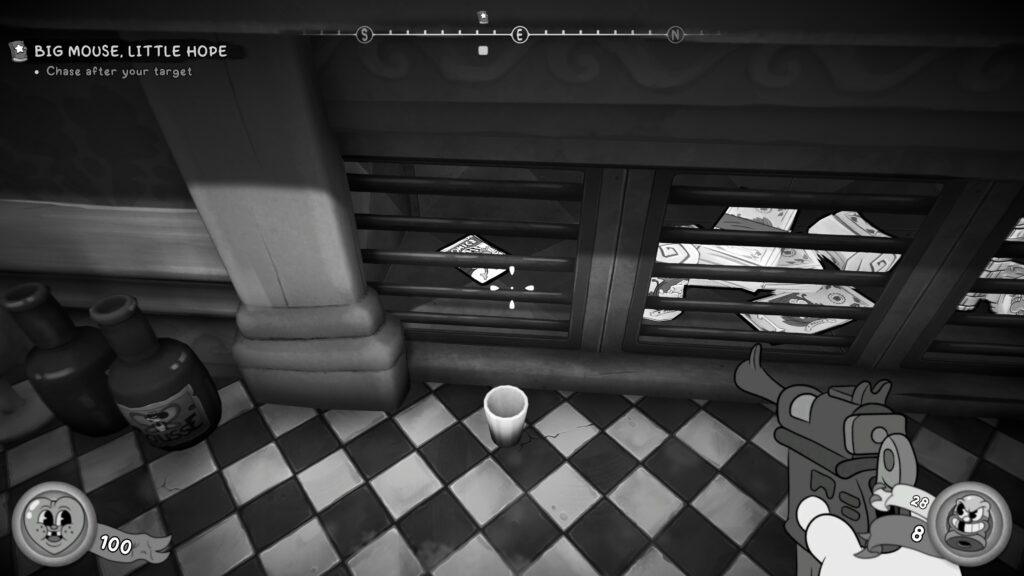
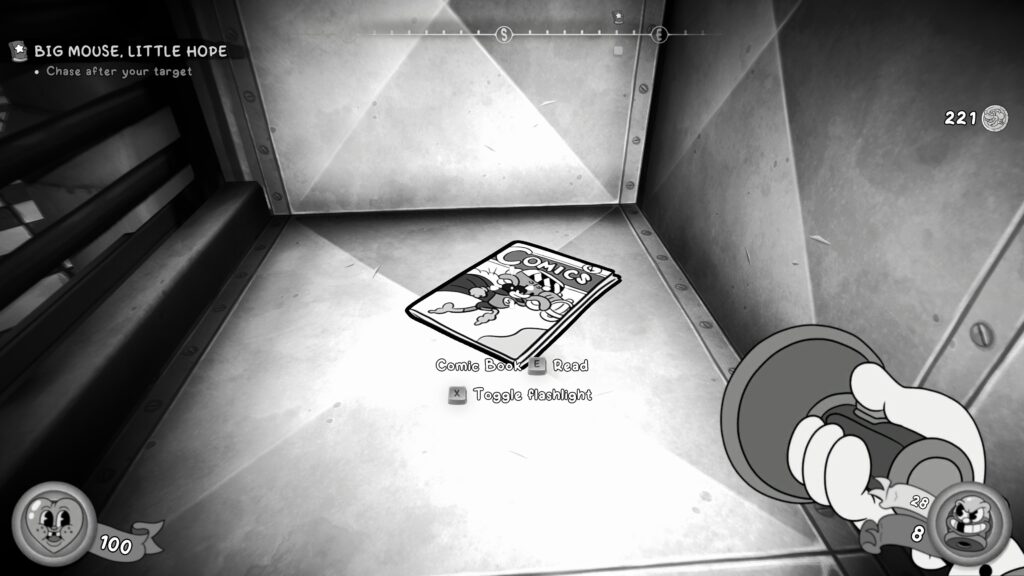
After heading up the stairs, head to your left to spot a vent you can crawl through. Activate your flashlight to see better. Follow the path round until you climb down and reach the comic book.
Comic Book (2 / 29)
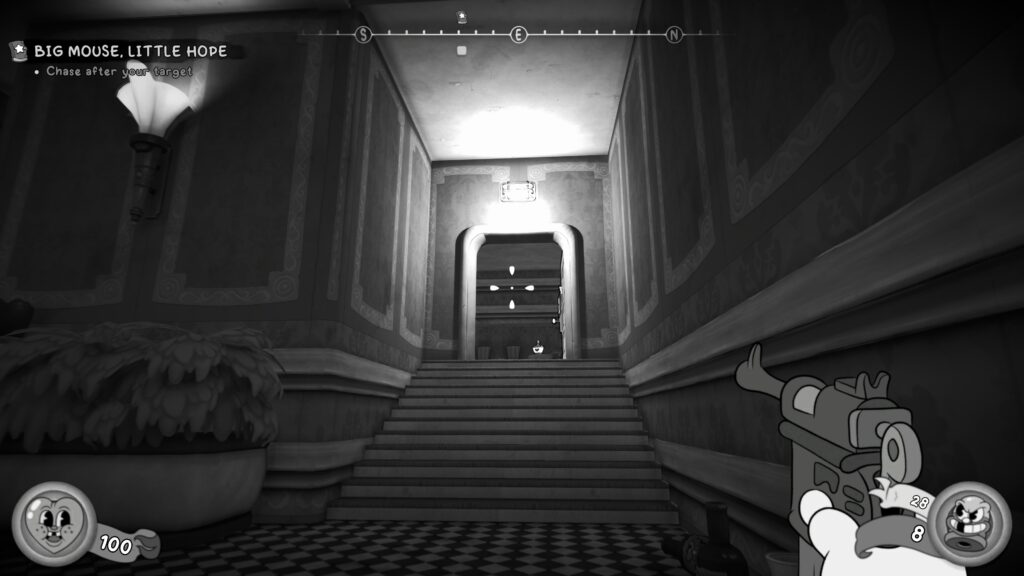
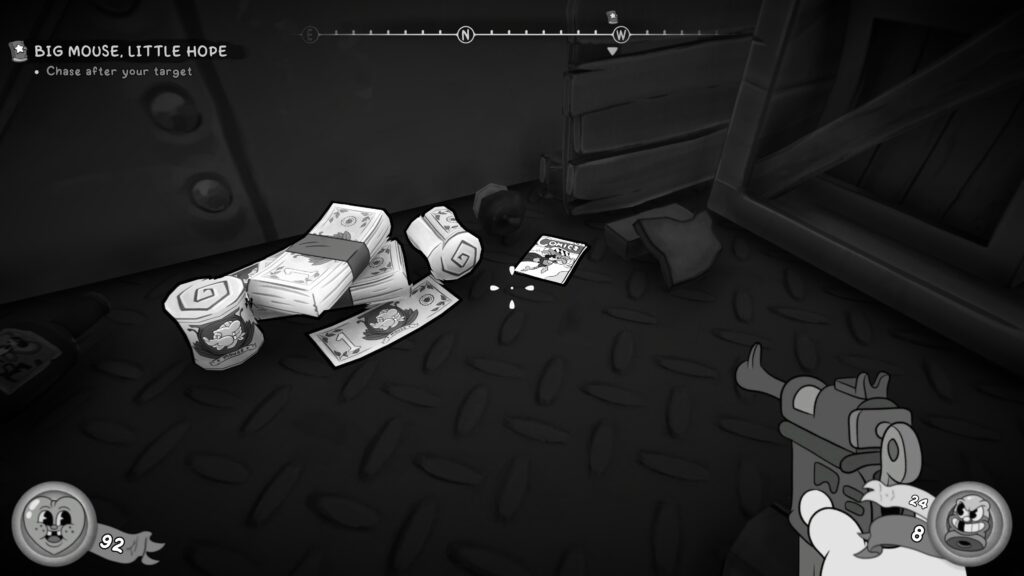
You’ll continue chasing the low-life criminal scumbag until you reach a point where he goes down an elevator. You can only follow by going some stairs.

But don’t yet, head up the stairs on your right, not down, and at the top of that set you’ll see some cash and the comic book.
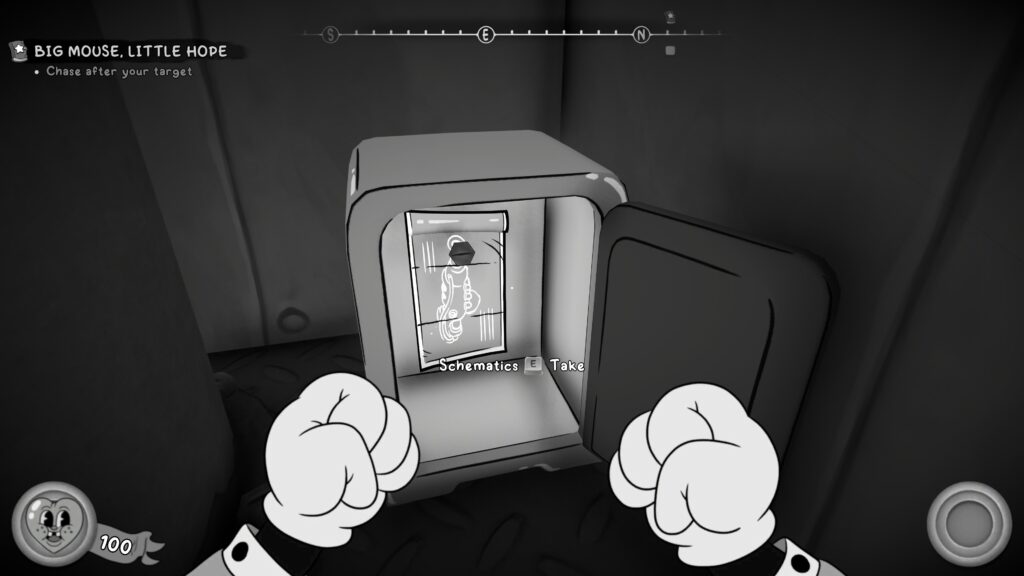
Schematics
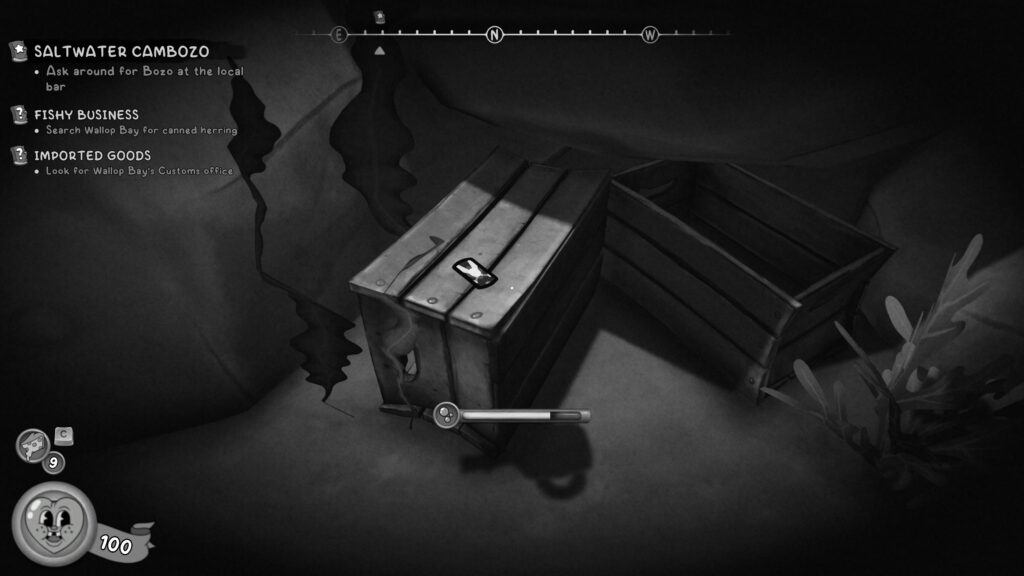
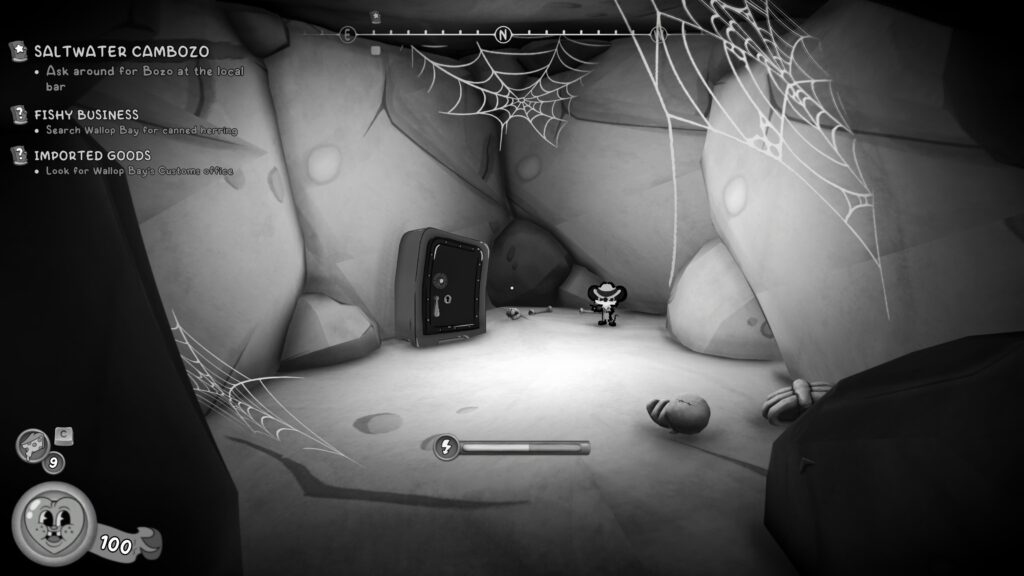
After the criminal escapes in the elevator, as above, you’ll head down several flights of stairs to continue the chase. At the bottom, you’ll be attacked by some enemies and go through a door that has “D-1” over the top.
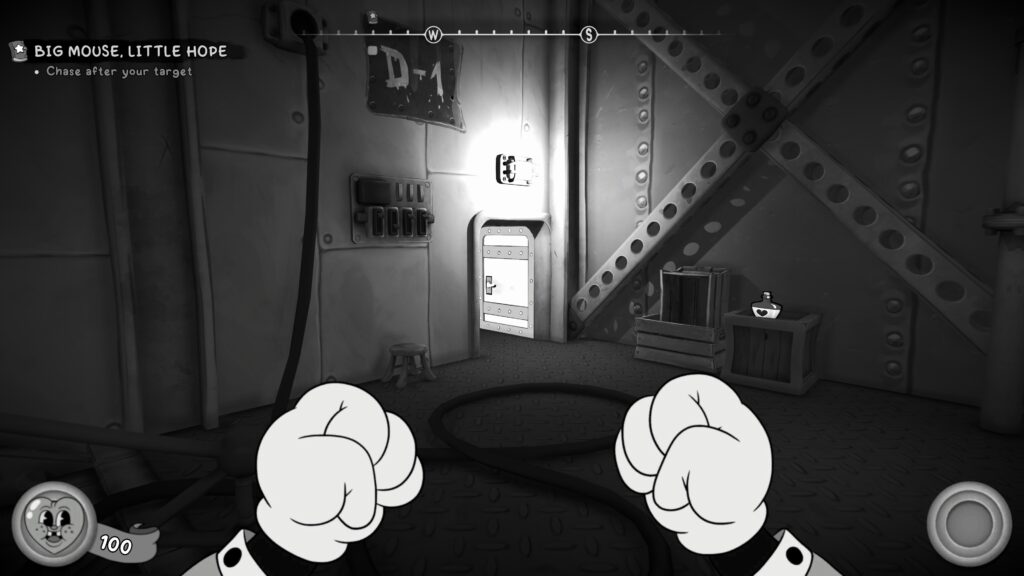
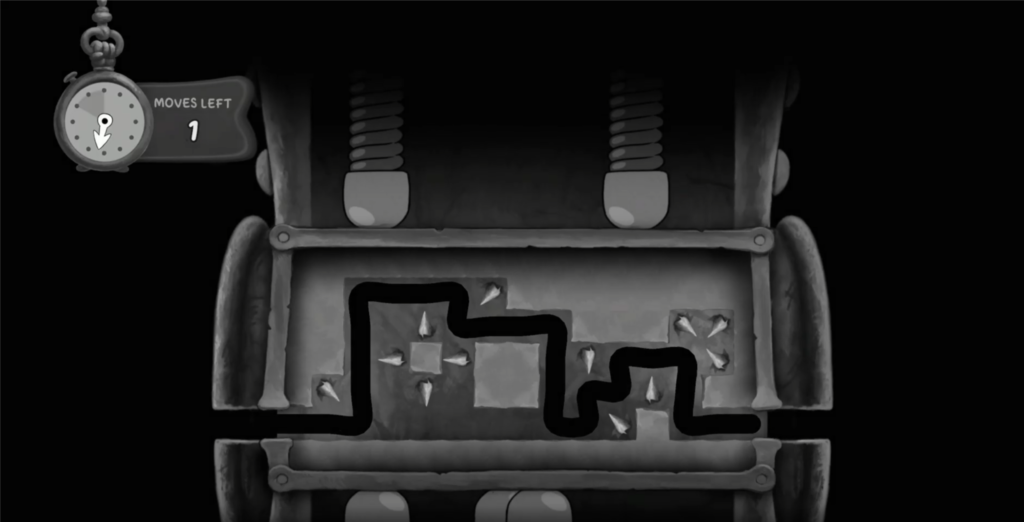
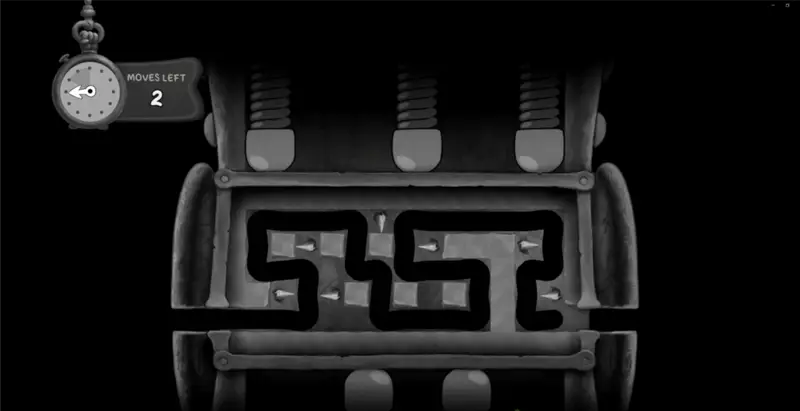
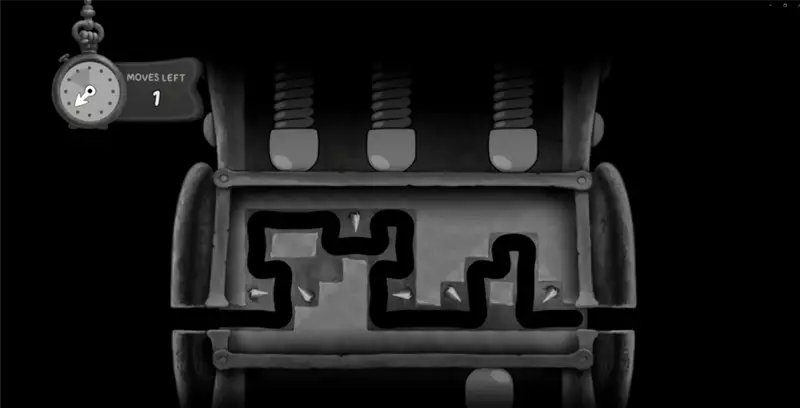
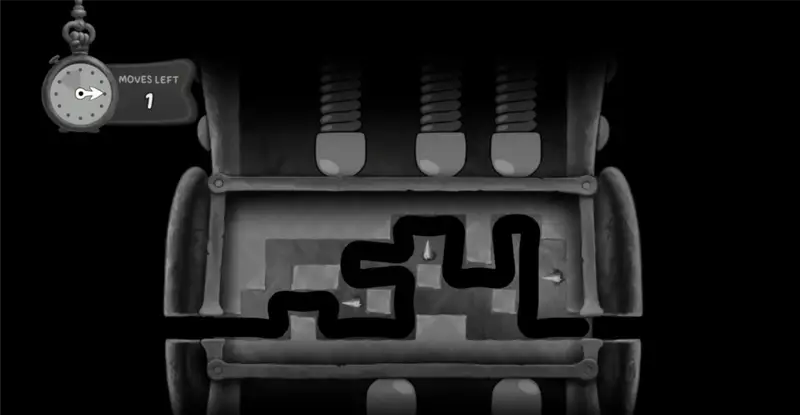
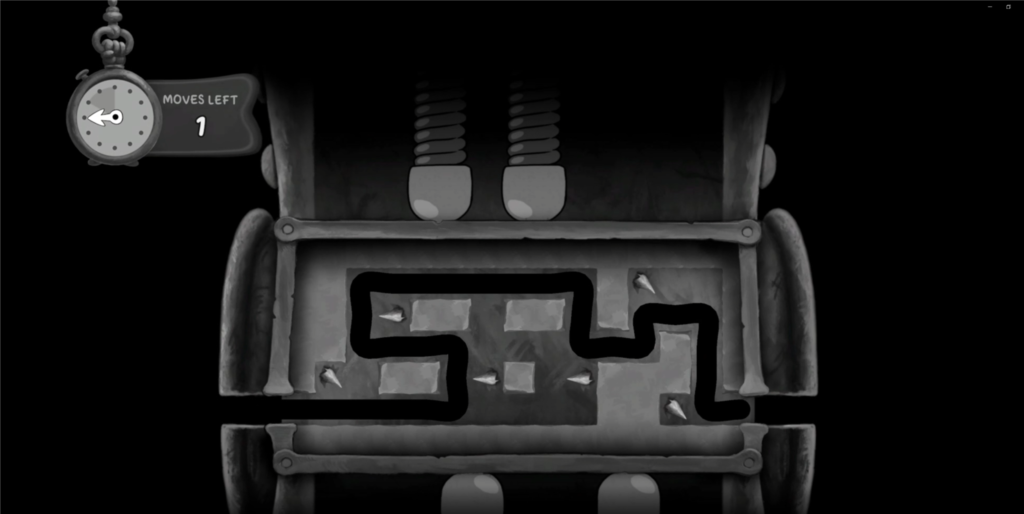
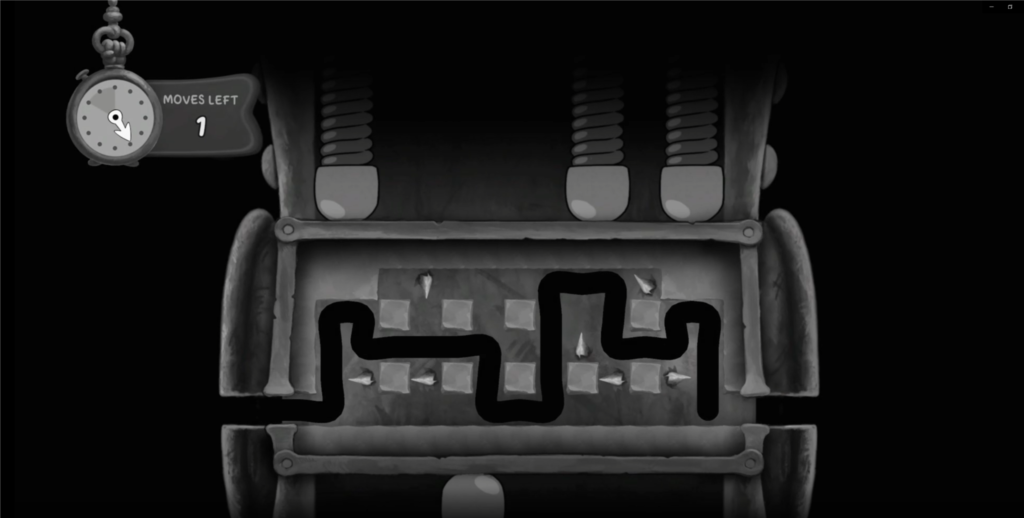
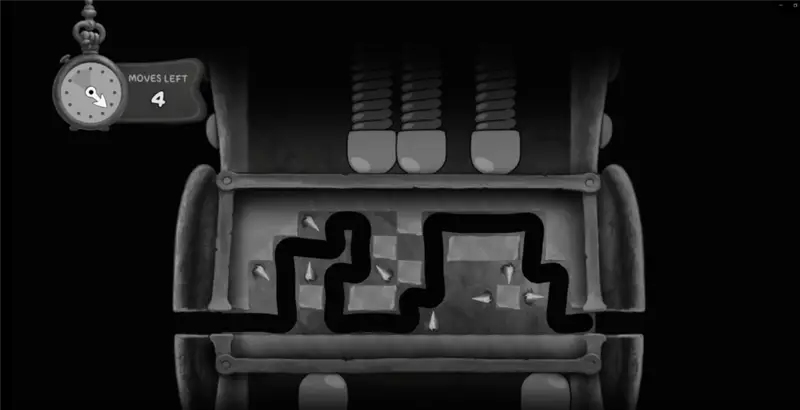
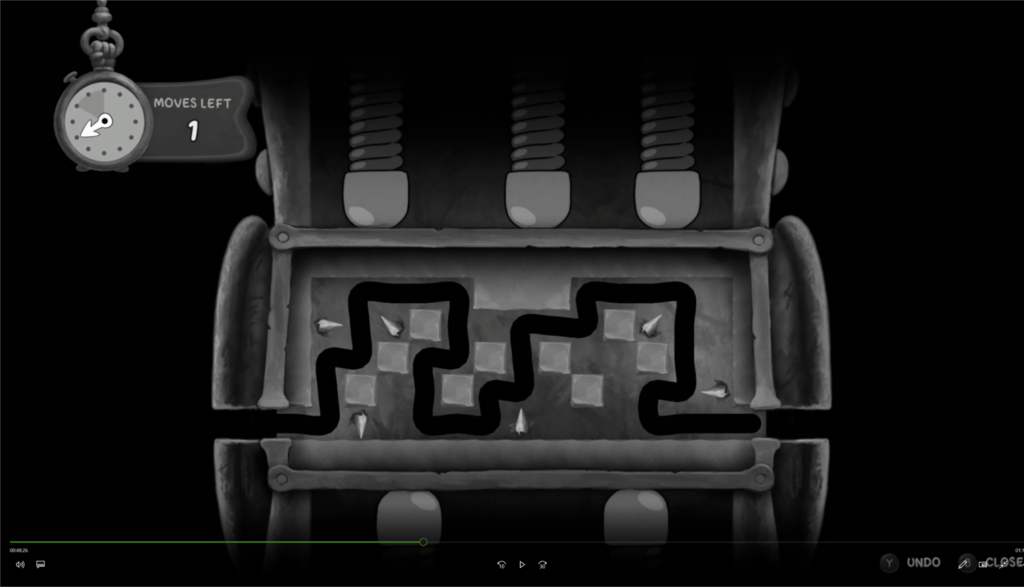
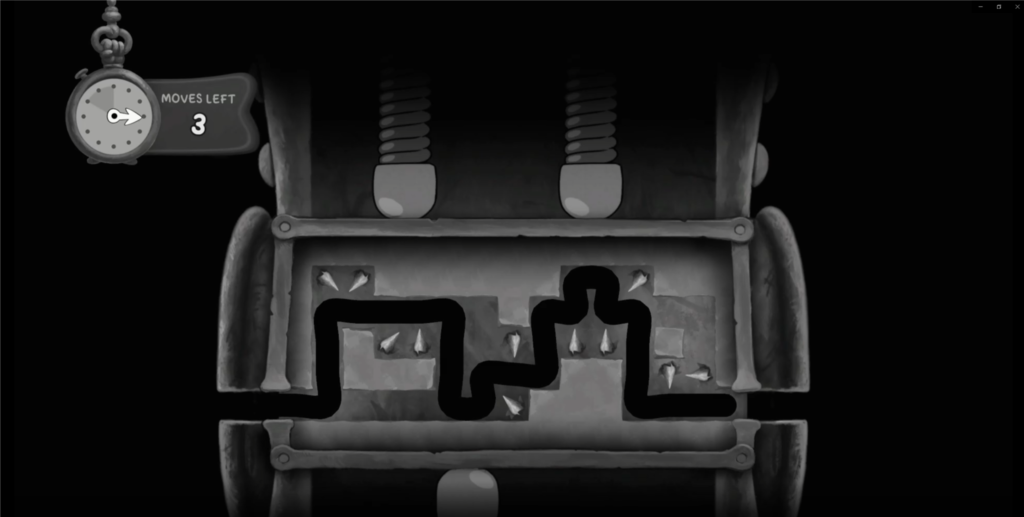
Once you head through the door, to the back left of the room, left of the barrels you can see is a safe. Here you will need to tailpick it (use your tail to pick the lock, of course!). Be careful you have a set number of moves to unlock it. You can undo your atttempt but if you back out the safe will be jammed. If you do jam the safe, you can reload your last save and try again.
Check out the solution below:
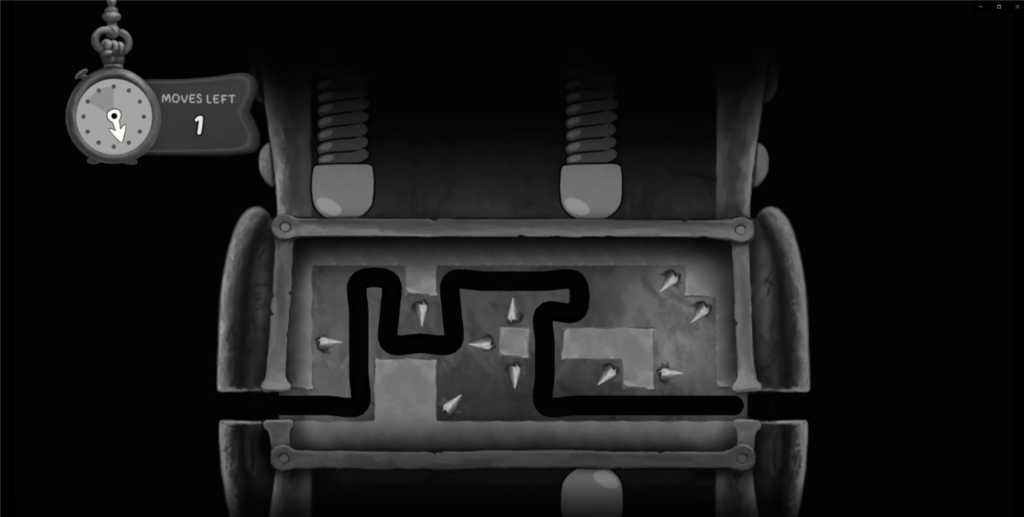
If you’re successful the safe will open and you’ll grab the schematic for your troubles.
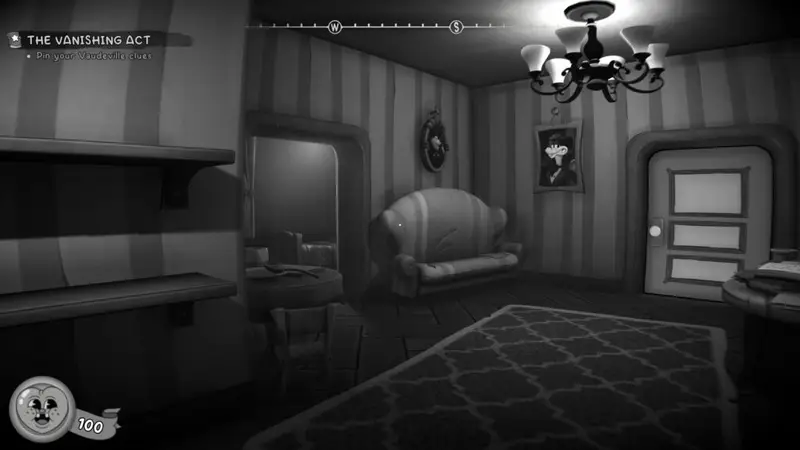
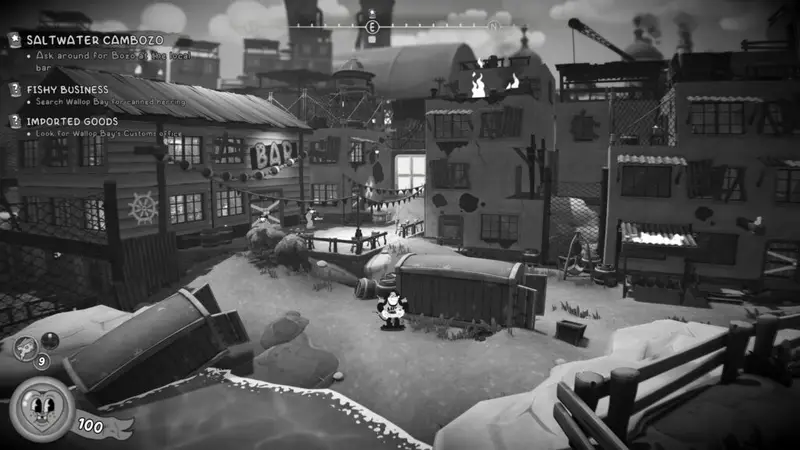
Vaudeville
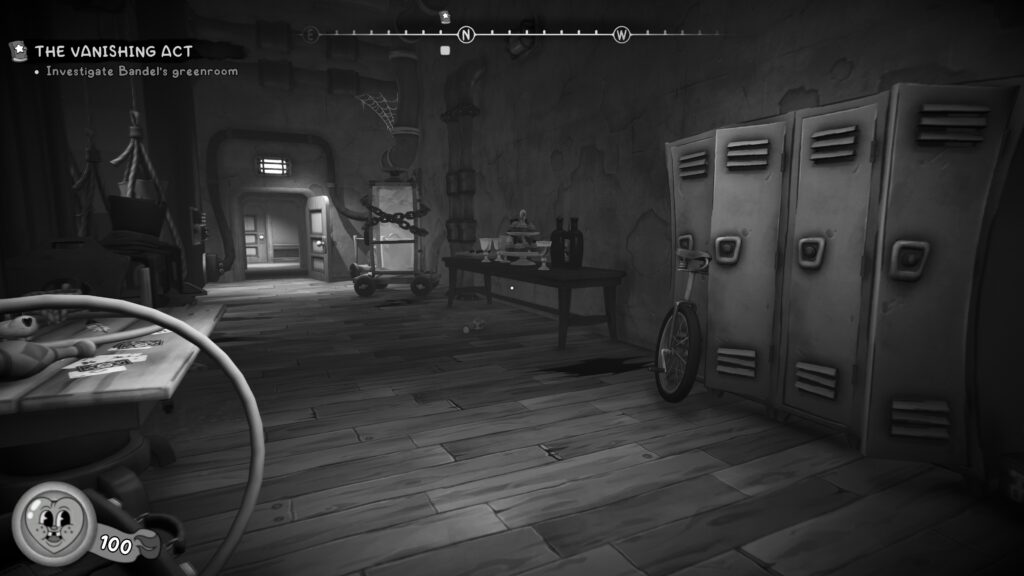
Following the opening cutscene proper, with the title of the game and intro to the cast, you’ll start your first investigation “The Vanishing Act”. This starts in an alley way and asks you to take to Wanda Fuller to begin the investigation proper..
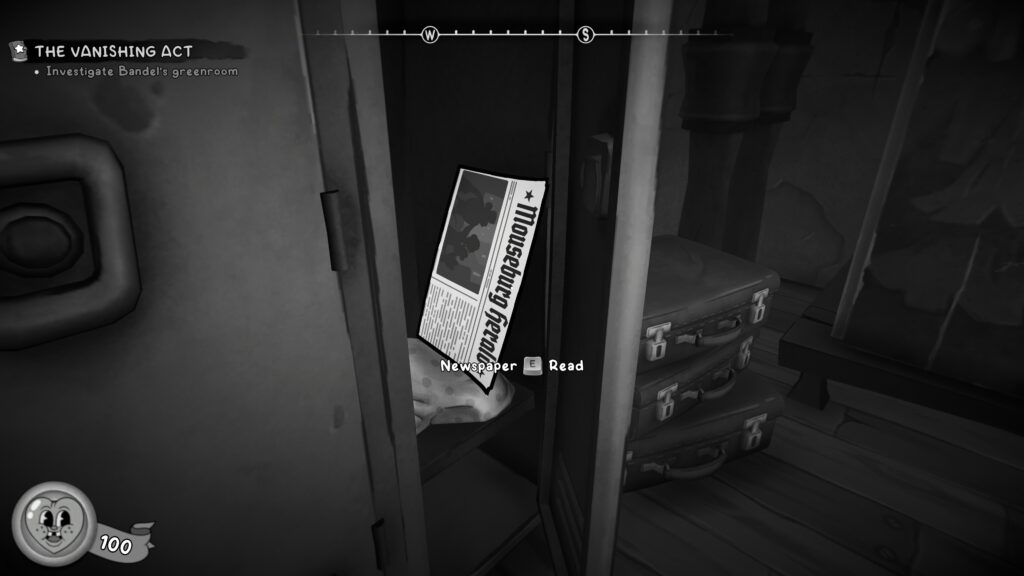
Newspaper (1 / 38)
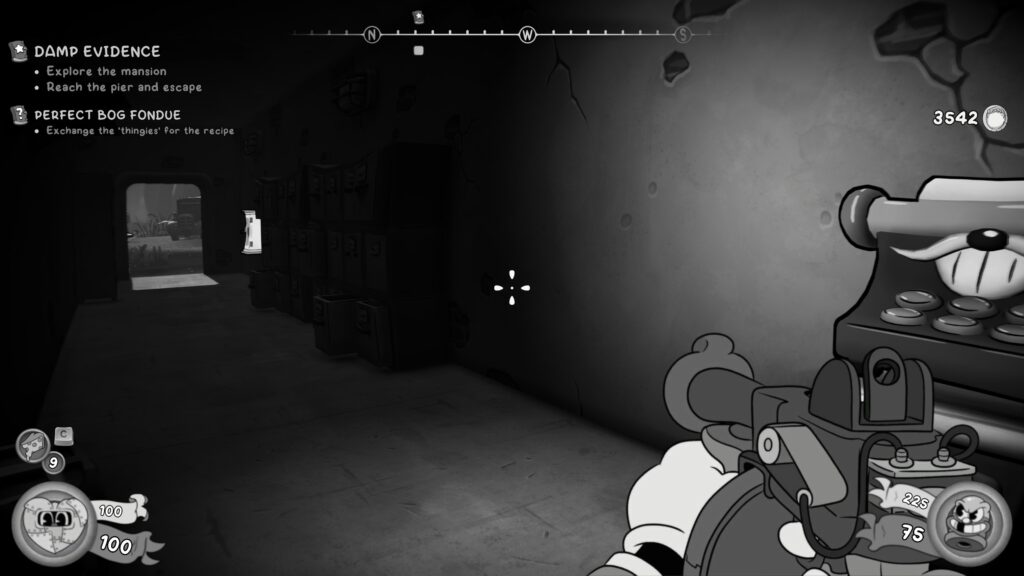
Go into the building on your left after talking with Wanda. You’ll present ‘your ID’ to the Lieutenant who will let you through into the next room. Immediately to your right are some lockers. In the open one, the furthest to the right is the newspaper.
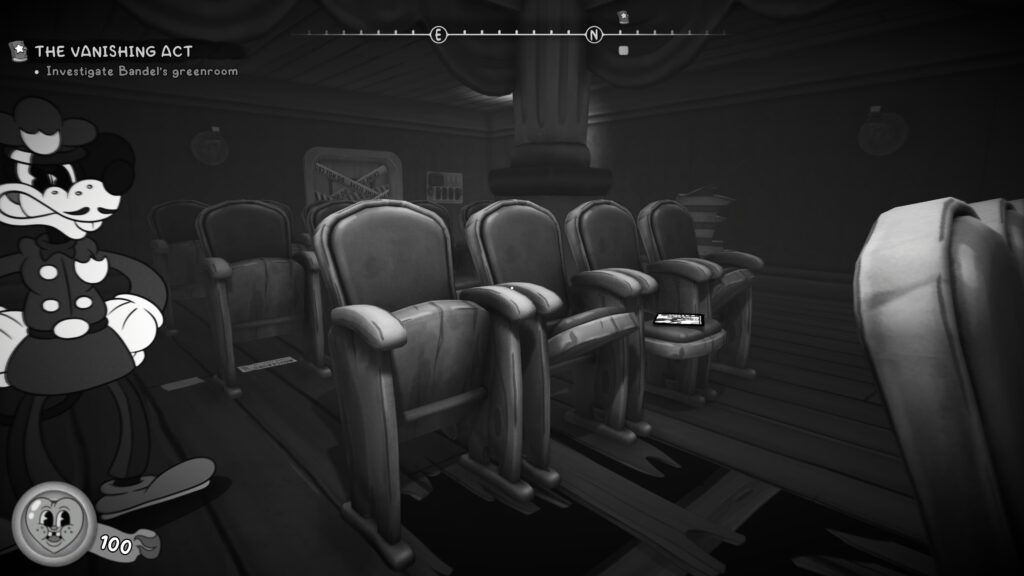
Comic Book (3 / 29)
Continue your exploration of the theatre and you’ll enter an auditorium with rows of seats. There is a big tank of water with a key in it on the stage you enter from. Down the centre aisle is another police officer.
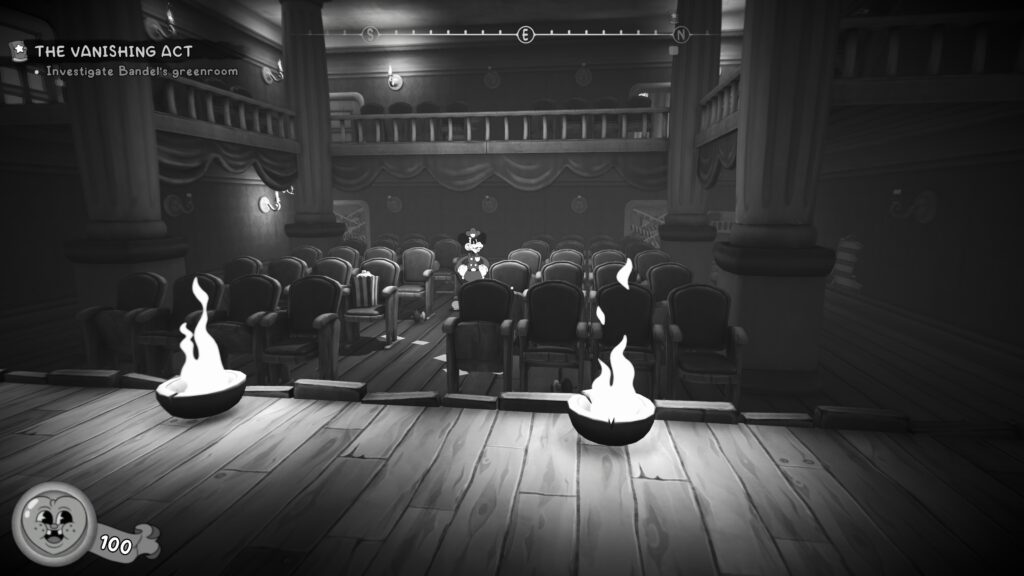
To the right aisle of the police officer, on one of the theatre seats, is the comic book.
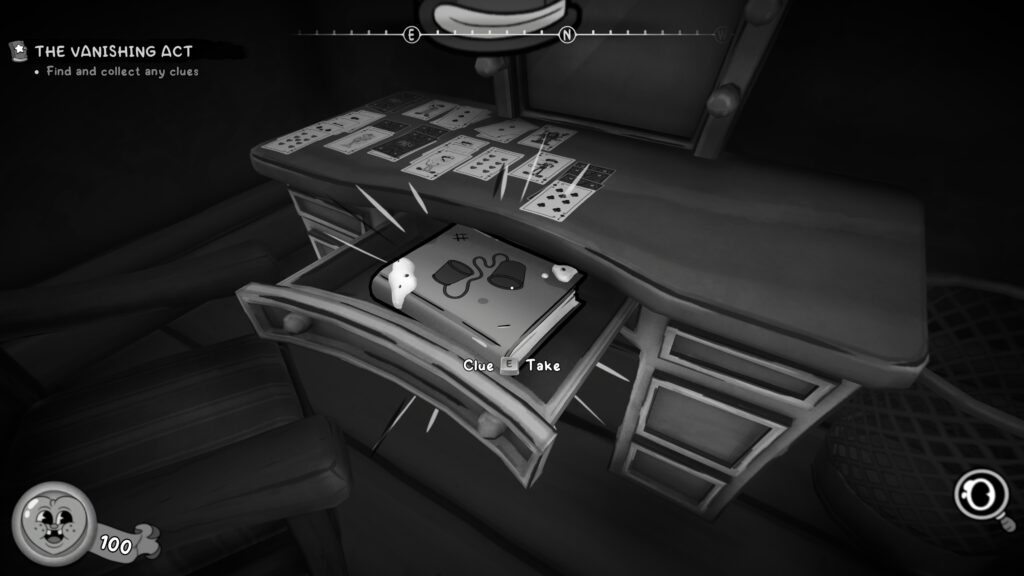
The Vanishing Act – Case Clue
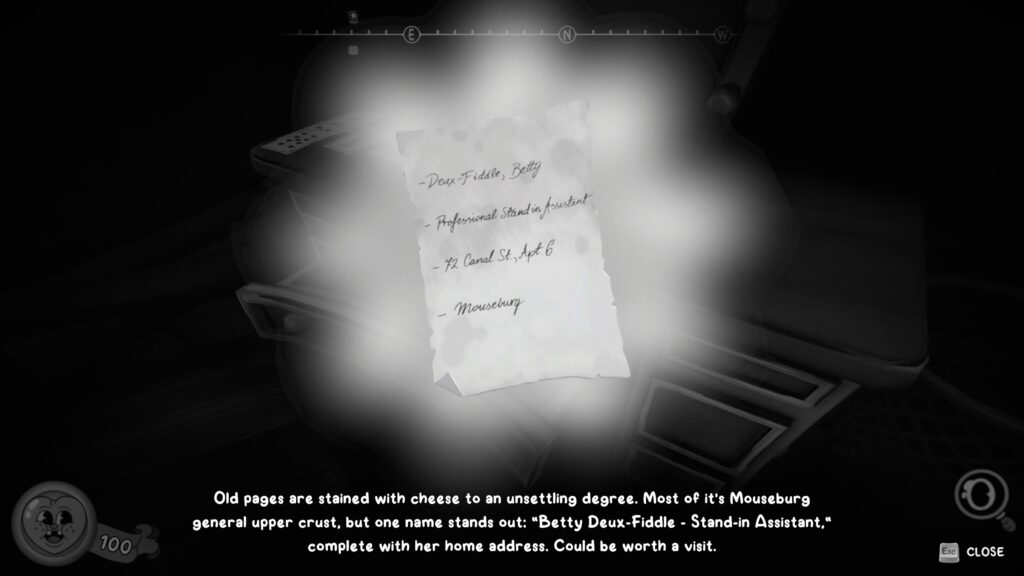
Following the main objective, you’ll enter the magician’s green room, you need the key from the water tank to enter. In the dresser draw, look for the objective marker, is a journal, with the clue.
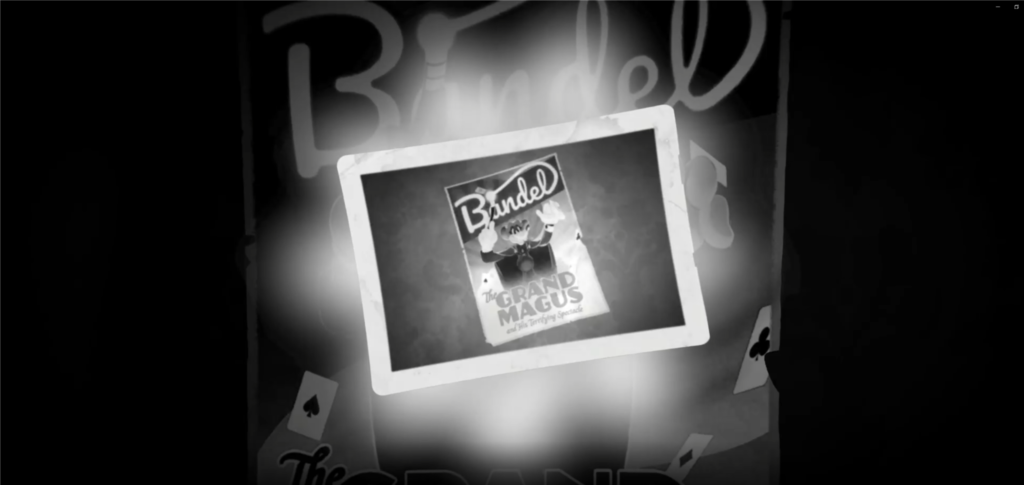
The Vanishing Act – Case Clue – Object of Interest – Photograph
To the right from the clue above, look to your right to spot a poster on the wall with the writing “Bandel. The Grand Magus”. As you approach, you’ll be prompted to take a photograph.
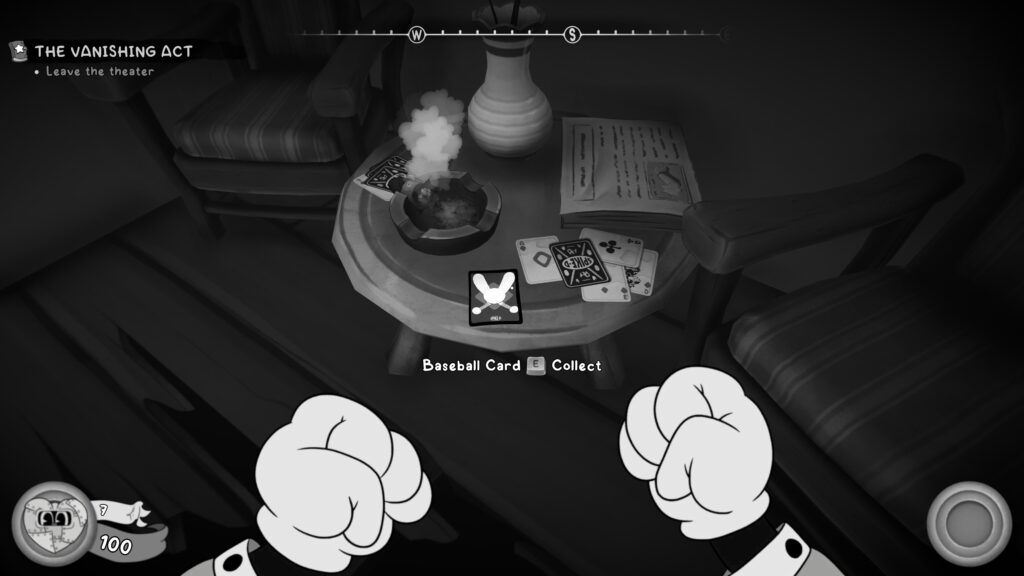
Baseball Card (1 / 41)
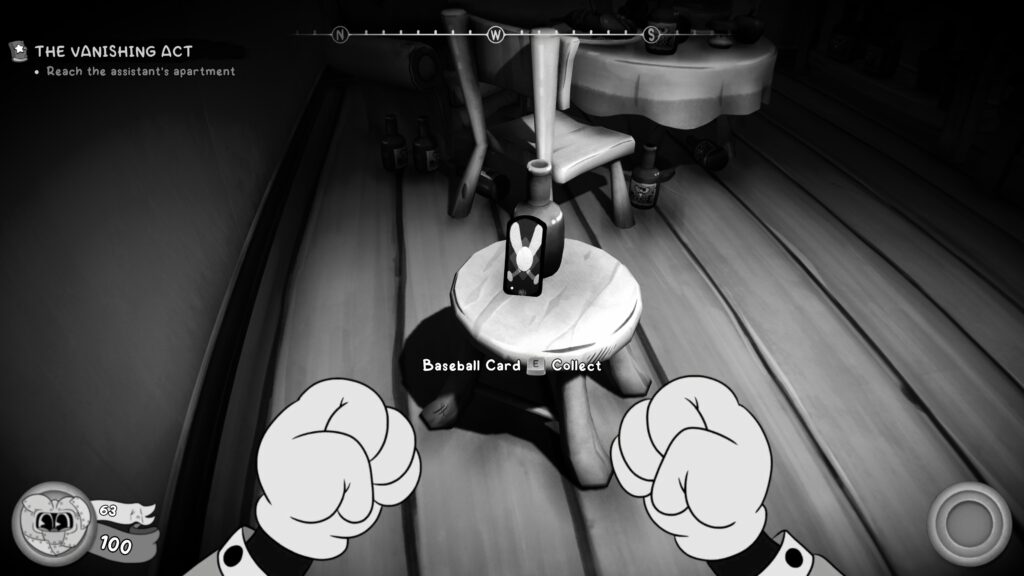
You’ll continue onwards with the mission until you enter a room, the doorway partially covered with police tape. In there will be some enemies to take out. Across the room through another doorway will a short set of stairs to go up. At the top of the stairs, on the right on a small table, is the Baseball Card.
Baseball Card (2 / 41)
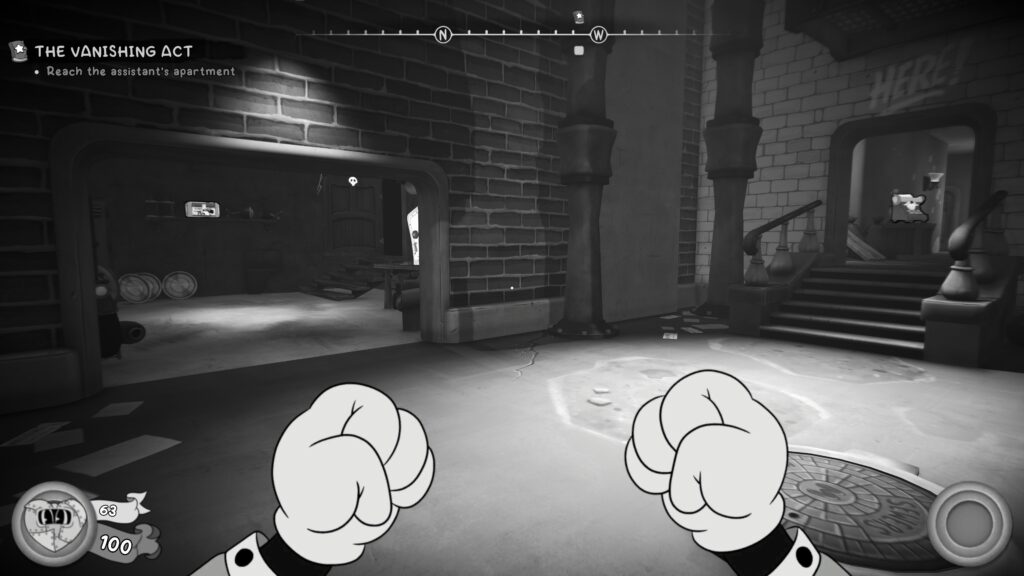
Your next objective is to “reach the assistant’s apartment”. You’ll leave the first building you entered and move through the alleyways, behind where Wanda was stood at the start. You’ll enter a building a with a typewriter in front of you (for saving your game). Head in and follow the stairs up one floor until you reacha window in front of you.
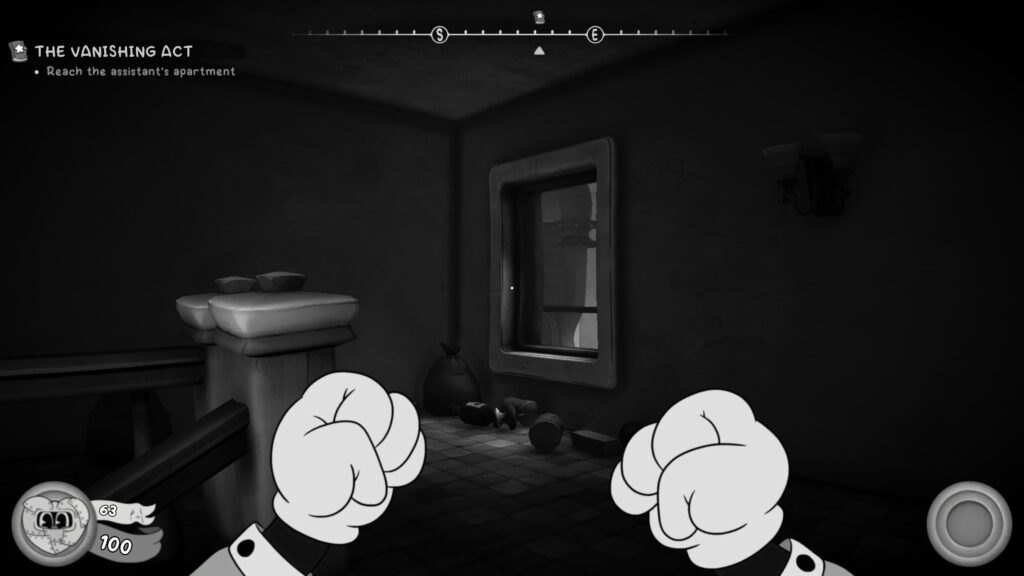
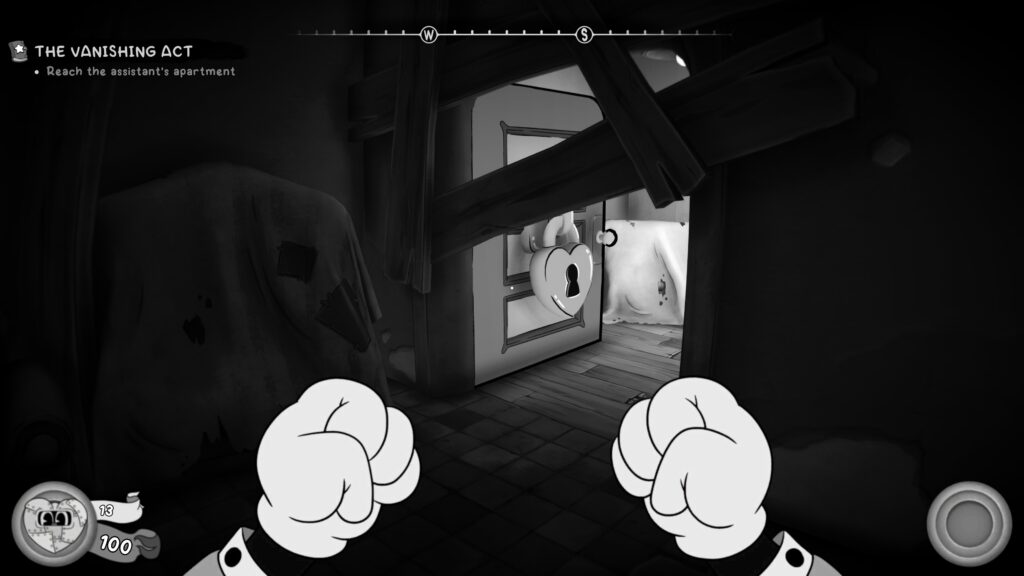
Punch the glass and climb through. Use the outside walkway to enter the room on your left. You’ll know you’re in the right room as you’ll spot the macabre birthday party.
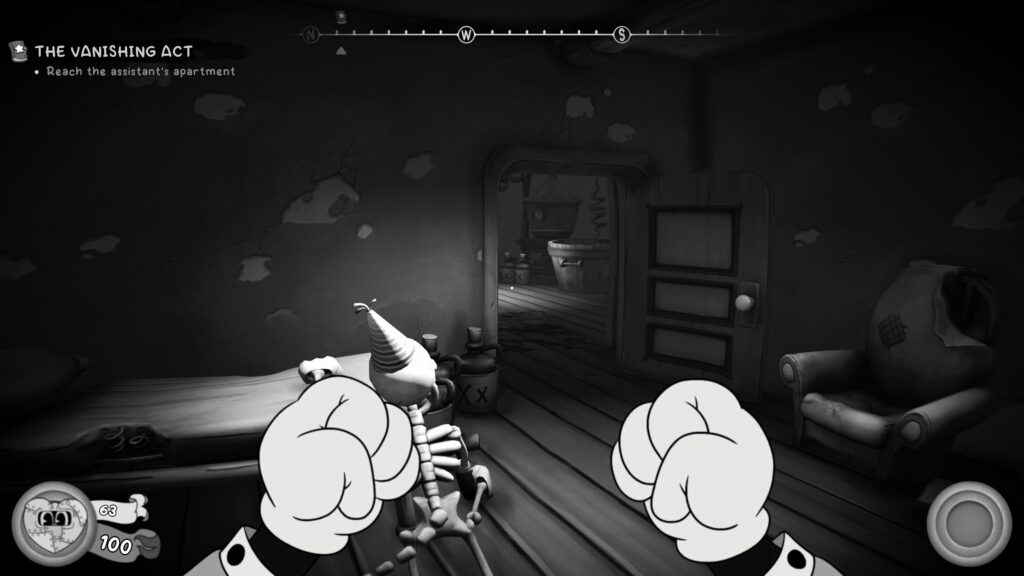
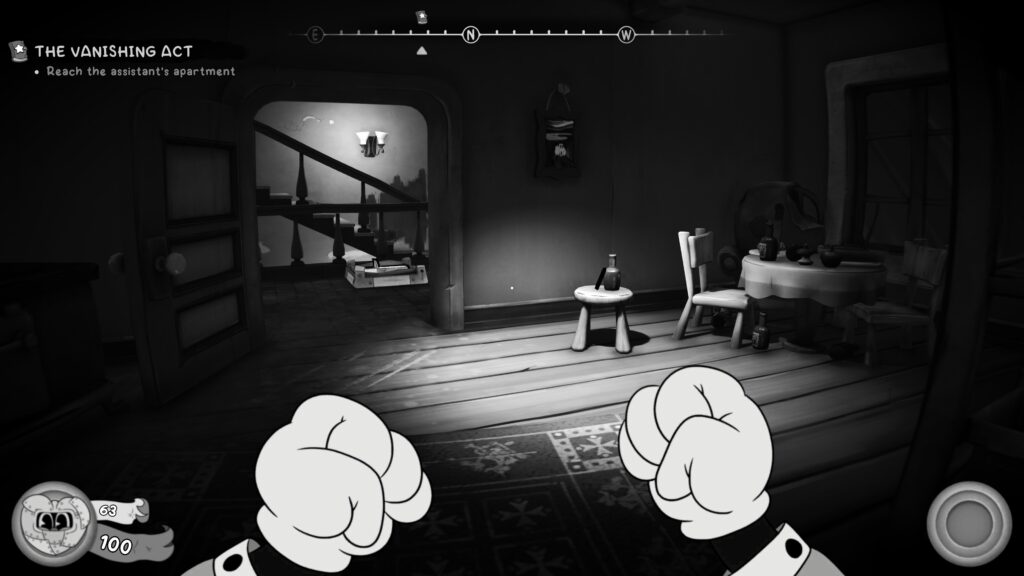
Go through the doorway into the other room. You’ll spot a crate blocking the door out, to the right of the door is a small table with the Baseball Card on it.
Schematic
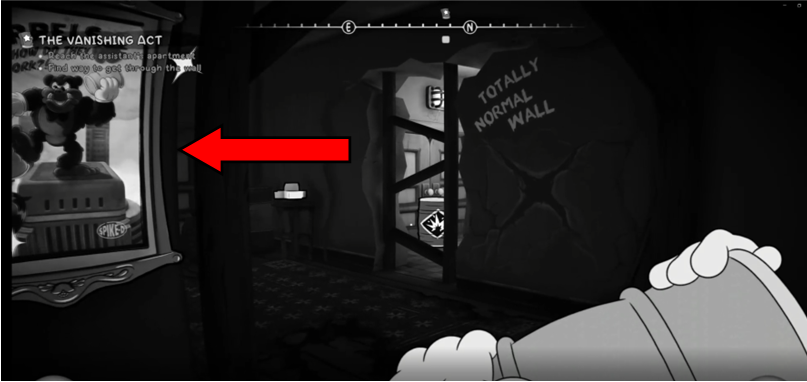
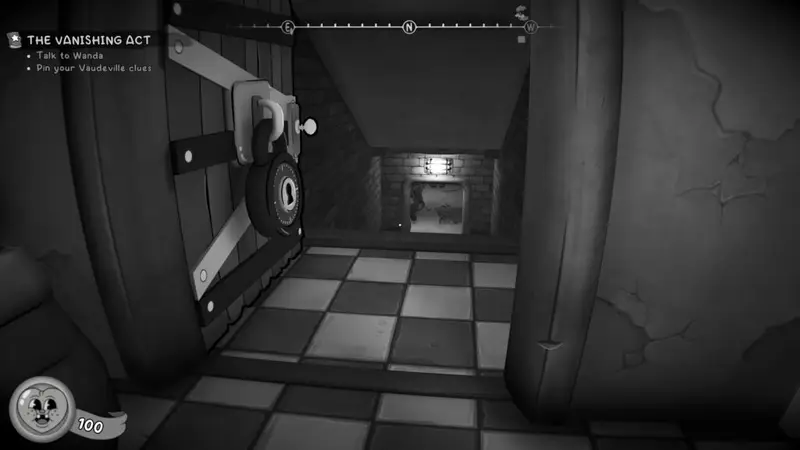
When you get to the top floor, you’ll spot a door with a padlock on it. It tells you you need the ‘loft key’. To get this, use you’ll need to head across the hall into the bathroom looking area, where you get the tutorial about explosive barrels. There’s a room wedged open, blocked by a crate on the other side. Round the corner is a gap you can look through. I punched the crate to break it and get in. The ‘loft key is on the sink in that small room.
Return to the locked door and enter. The schematic is on a table on the right of the long room.

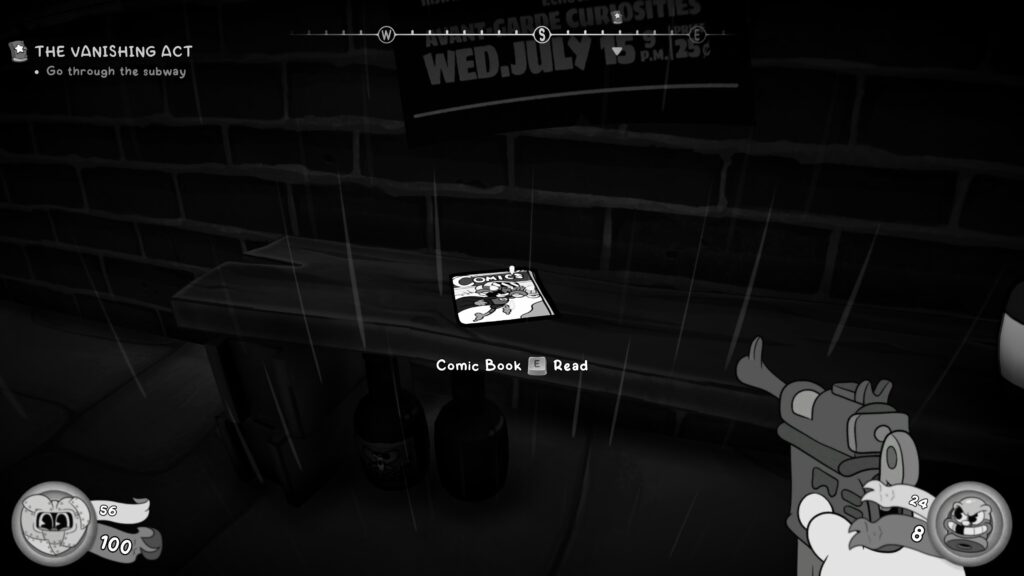
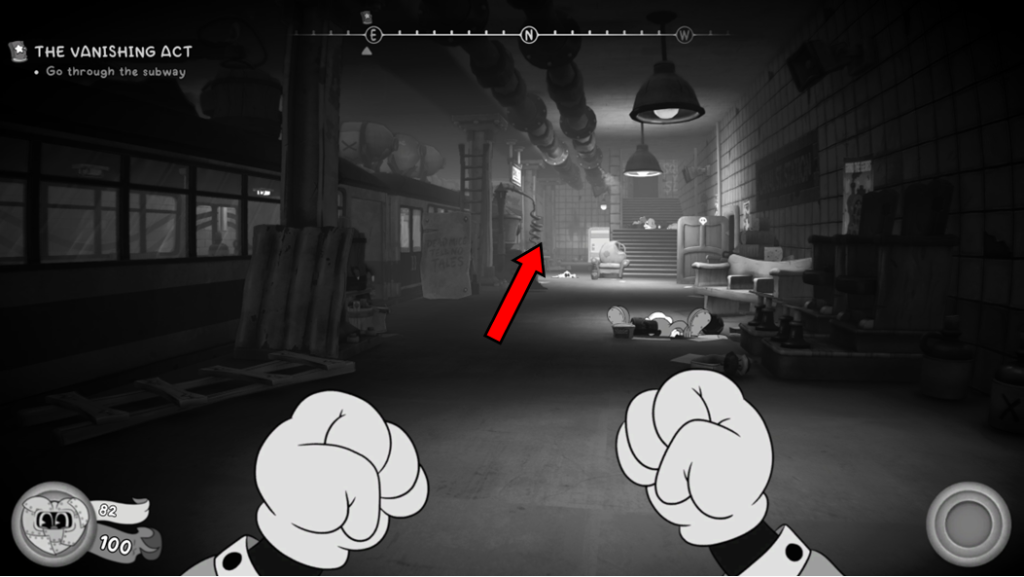
Comc Book (4 / 29)
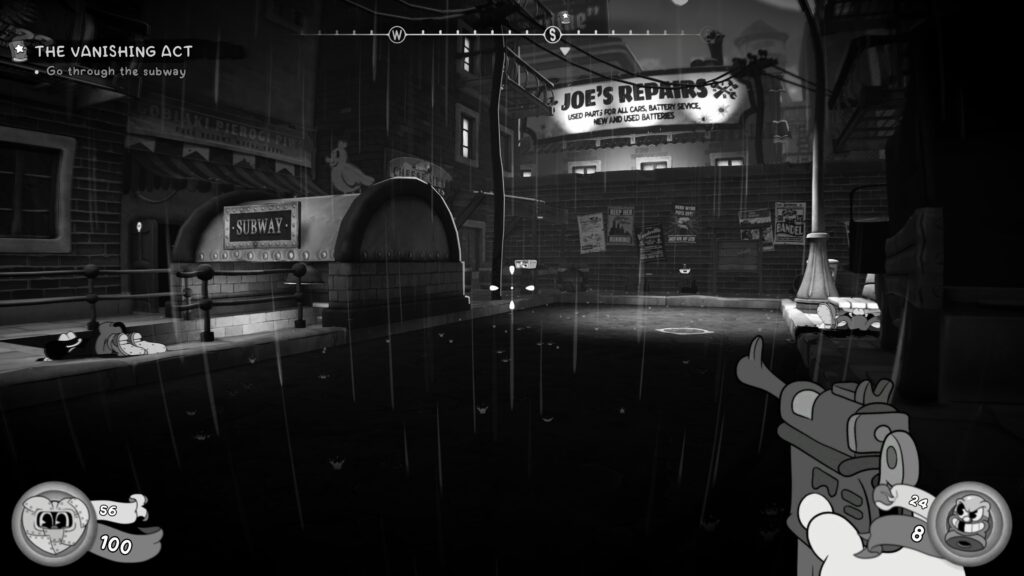
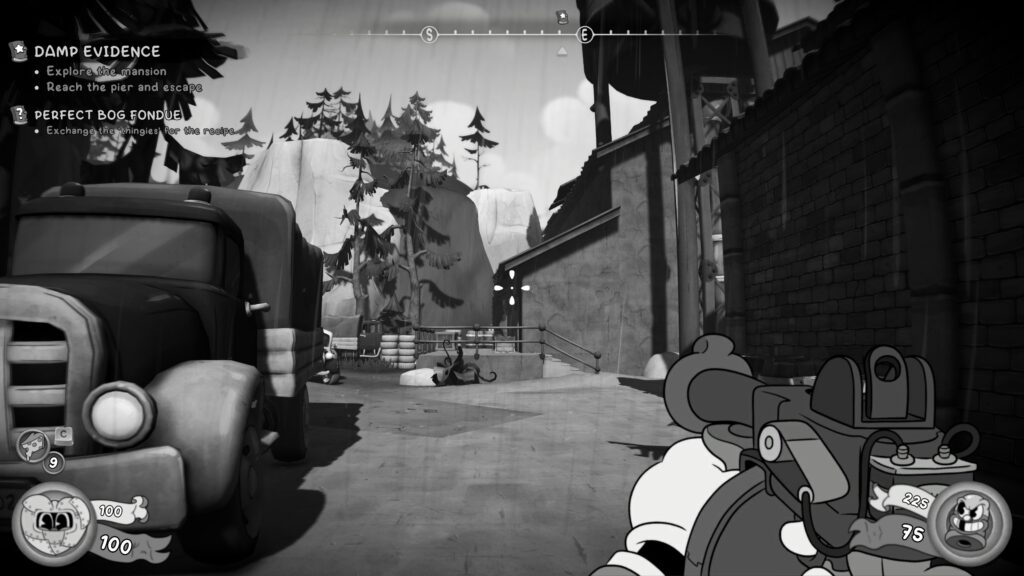
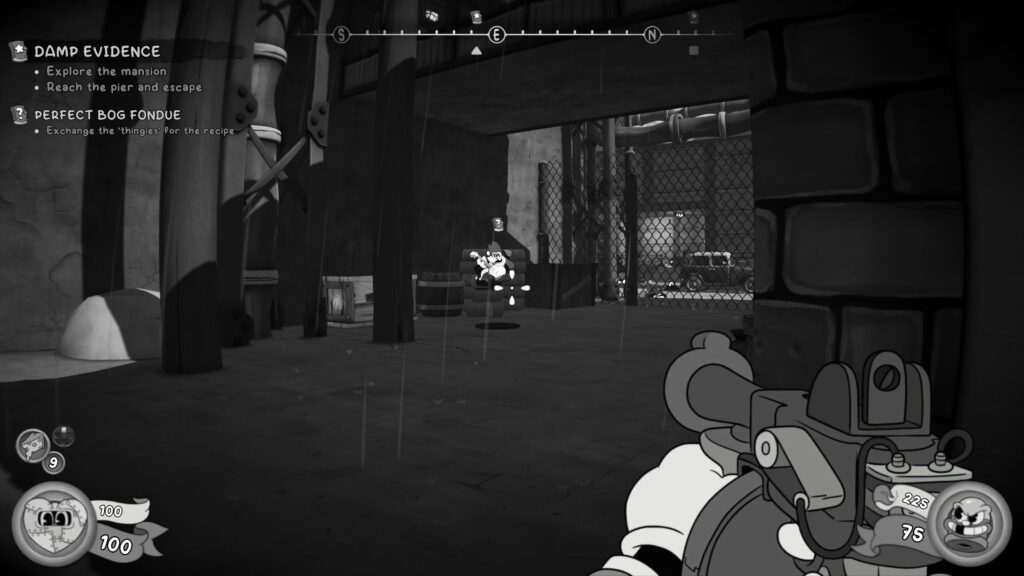
You’ll eventually leave the building you’re in and arrive on the streets where a number of enemies will attack you. Once you’ve defeated them all you will need to enter the subway to continue. Before you do, head to the back of the area (behind the entrance to the subway). You’ll spot a bench with the comic book on it.
Schematic
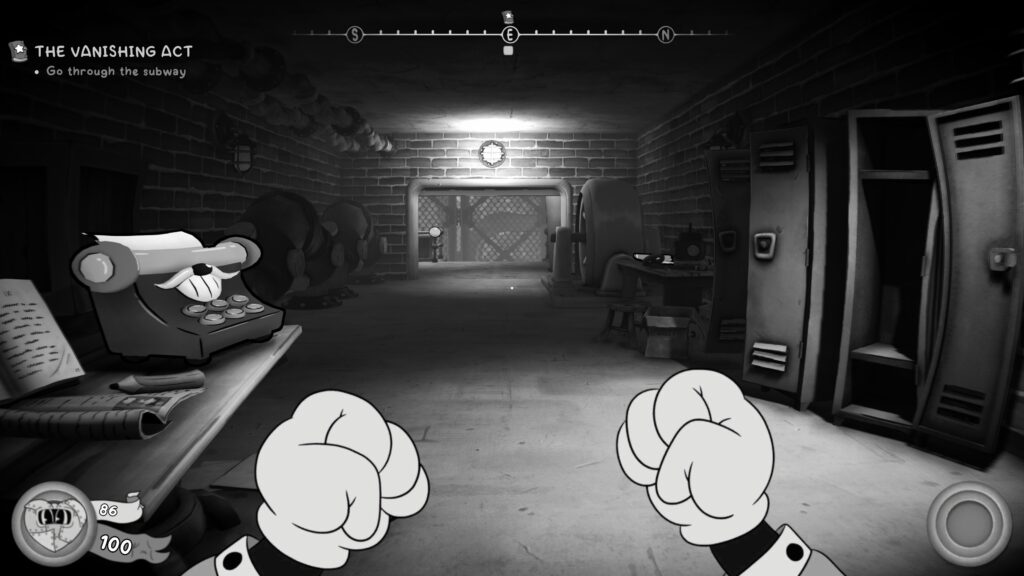
In the subway, after you’ve gone through the first area with all the pedestrians, in the room with the typewriter, on a table to the right.
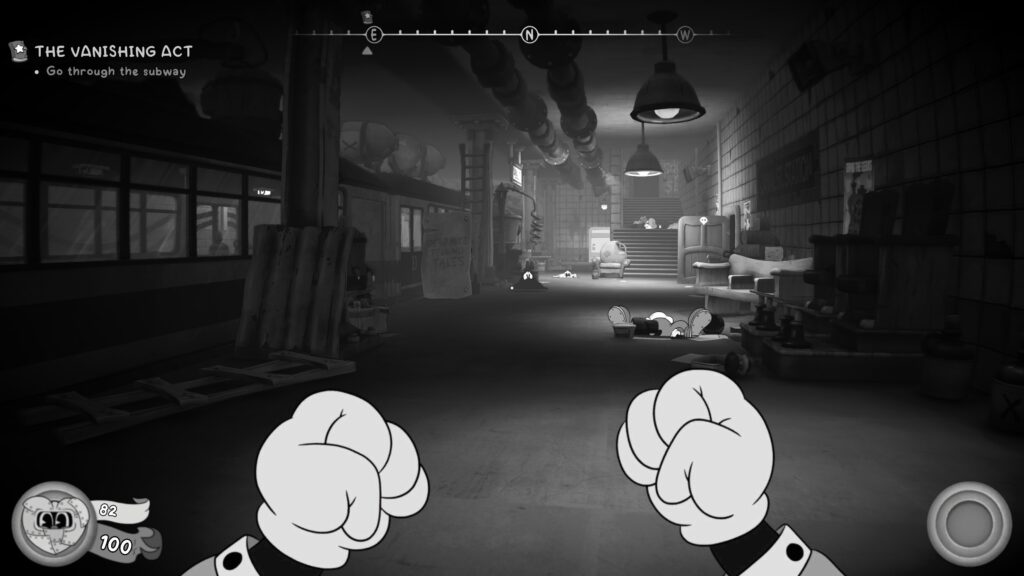
Schematic
Later on you’ll enter a subway platform. A train will pull in on your left and enemies will attack you on the platform. Once you’ve taken them all out, head into the train and go to the very end and look for an entrance to your left to leave the train. Turn left and you’ll see a safe at the end of the path. The schematic is in there.
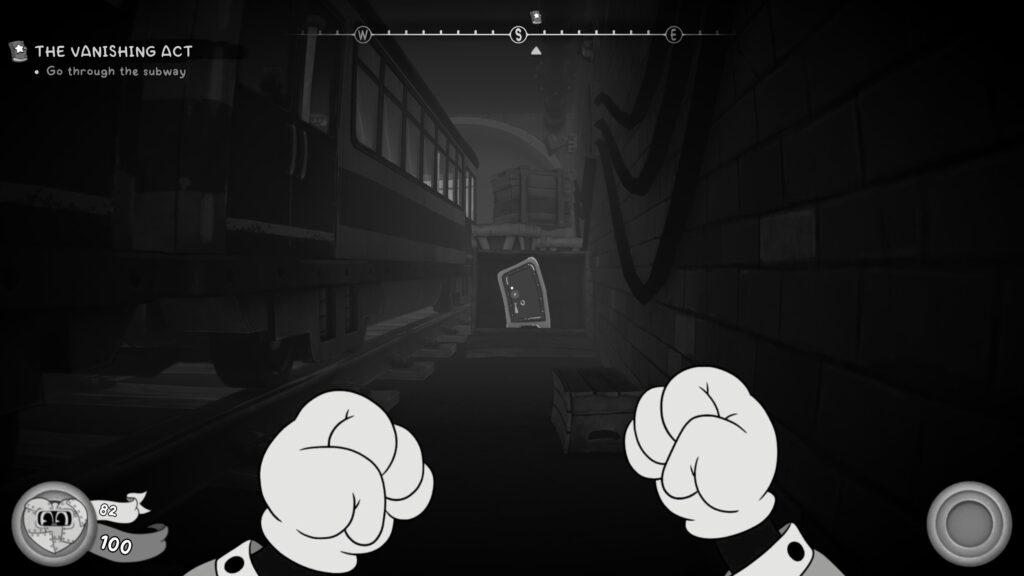
This safe needs to be tailpicked and has a certain number of moves to unlock it, here’s the solution. Bear in mind that there is a timer that will lock you out too if it runs down. You can reload from your last save to try again:
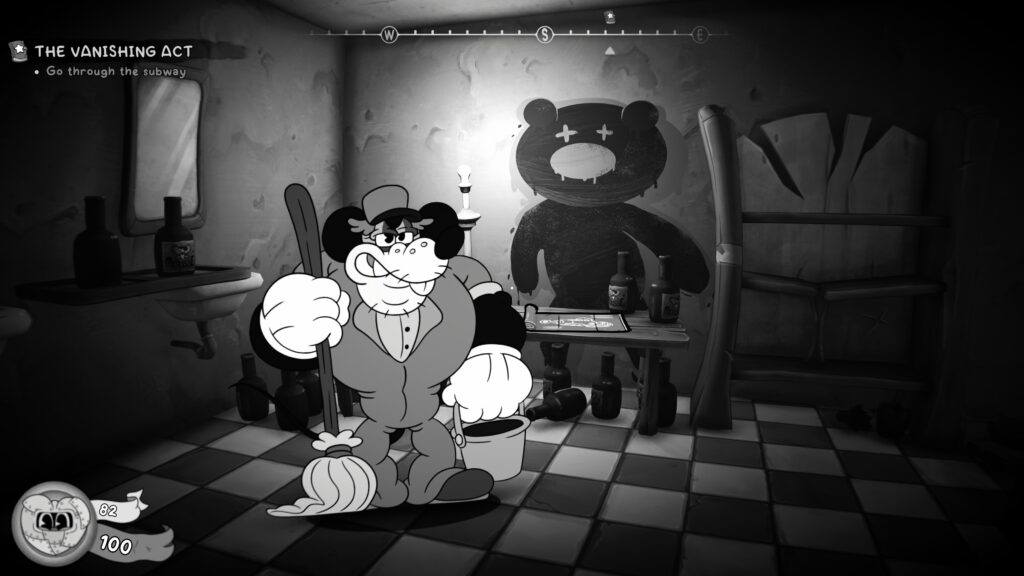
Schematic
Return to the train platform and head to your left, not going up the stairs. You’ll come to the end of the platform and find a door you can go through. In the the bathroom, you’ll find Mike Maple and the schematic on a table behind him.
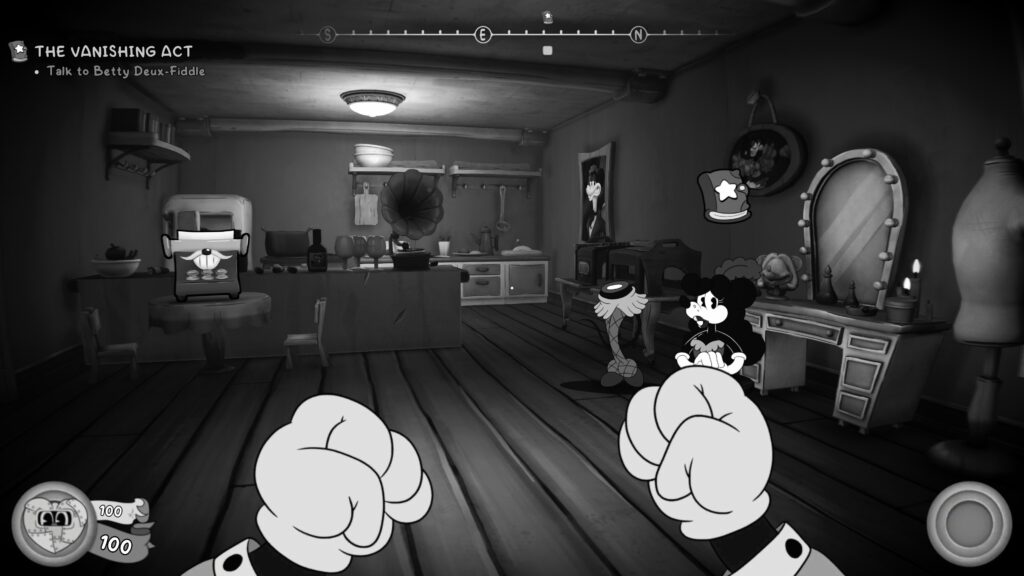
Newspaper (2 / 38)
In Betty Deux-Fiddle’s apartment (your objective location), at the back of the apartment room. On the counter in the kitchen (behind the typewriter).
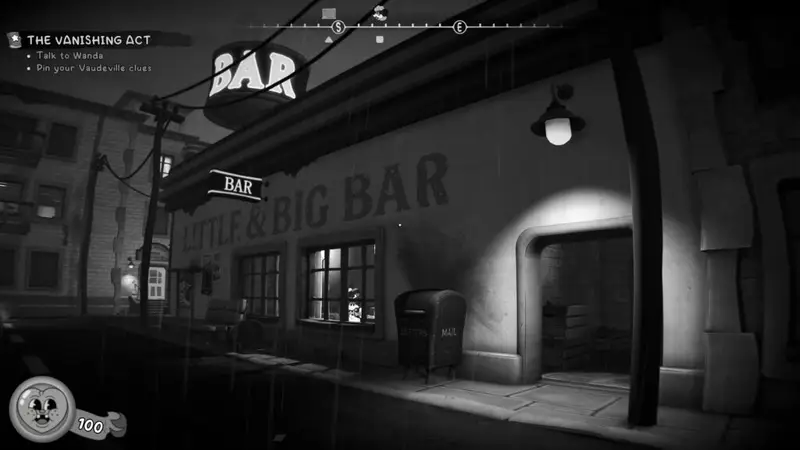
P.I. Office
You’ll come here after doing everything you can in Vaudeville.
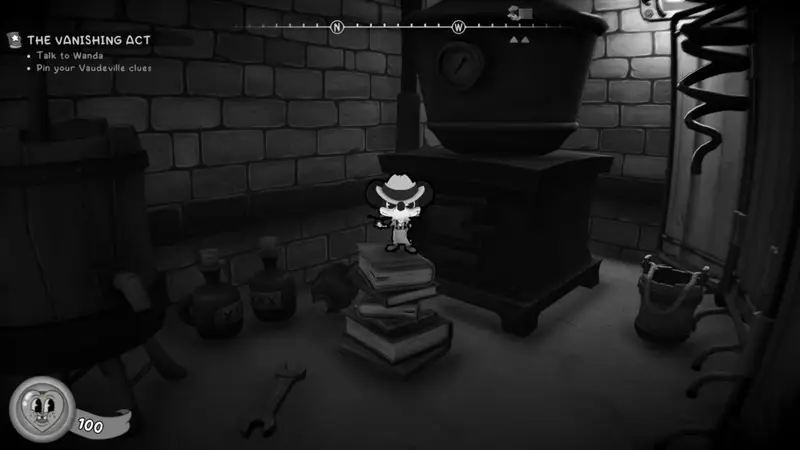
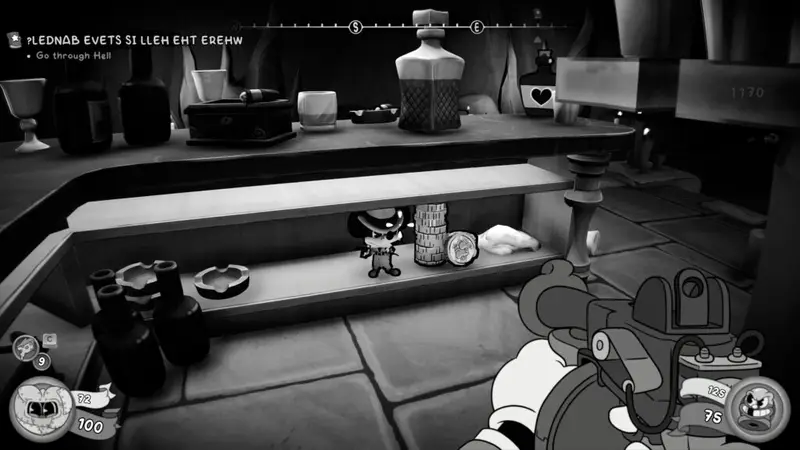
Collectible (1 / 10) – Figurine
In the Little & Big Bar, on your right as you start the area. Head into the back room. Tailpick the lock on the door in the back and go down the stairs into the basement. The Figurine is behind a screen, stood on some books.
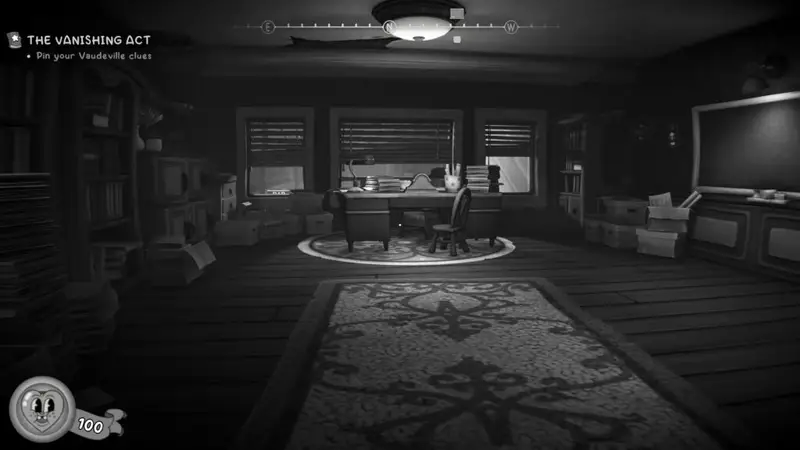
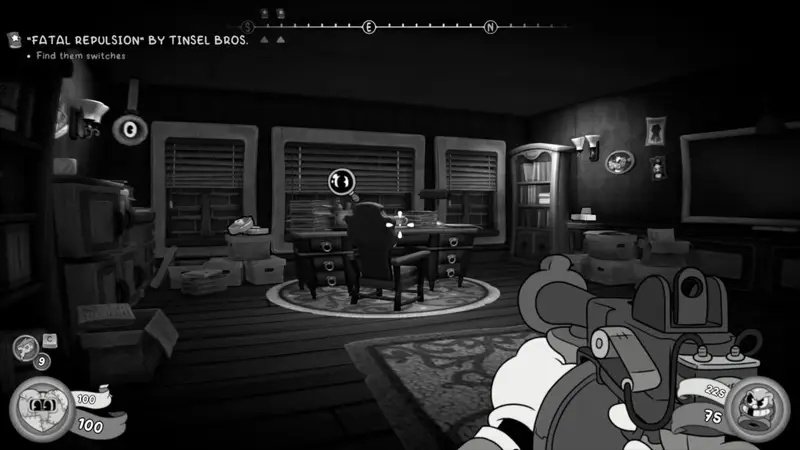
Baseball Card (3 / 41)
Enter you offices and go up the stairs. When you enter your office, head to the right into the back room and then turn left into the bedroom. The cast is sat in drawer in a chest of drawers.

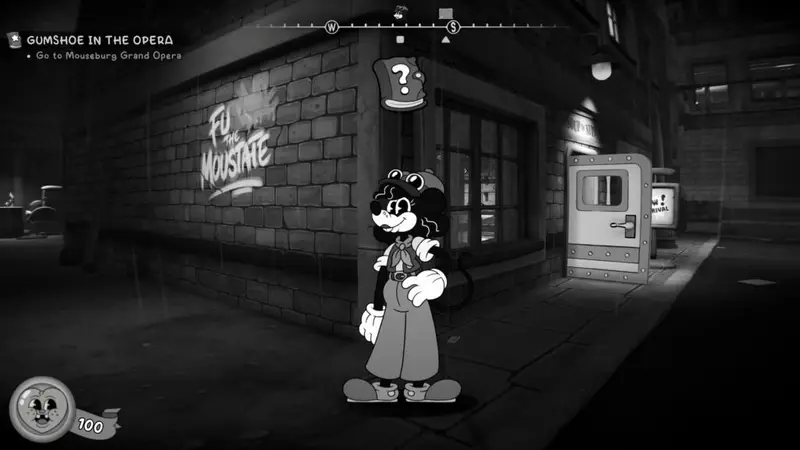
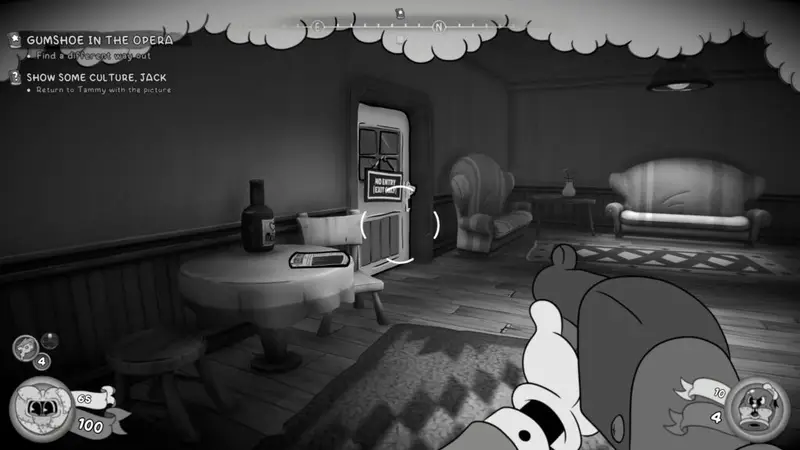
Side Job – “Show Some Culture, Jack”
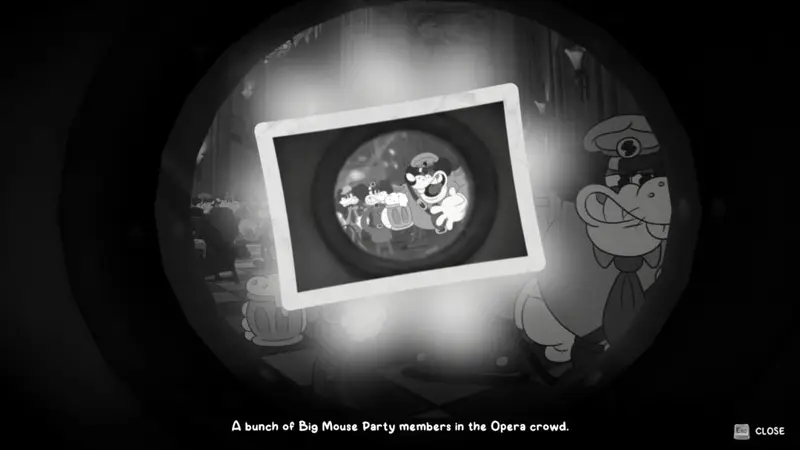
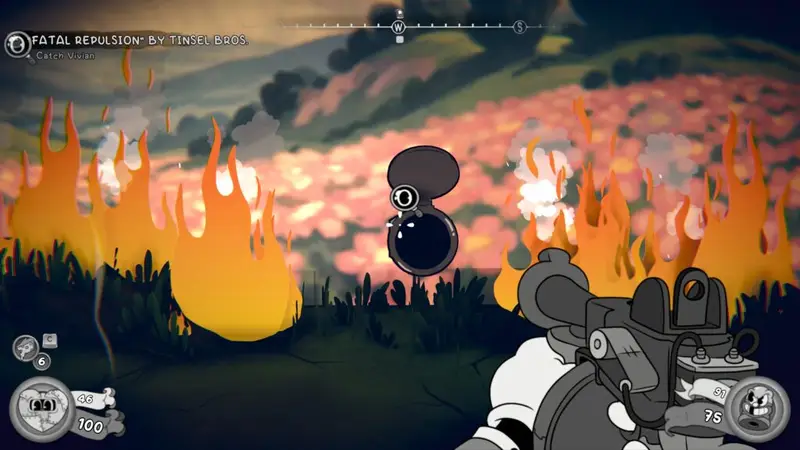
Before heading to the Opera to continue your investigations, be sure to talk with Tammy who is stood on a corner opposite from the bar’s entrance. She’ll give you the side job to take an interesting photo of the opera. This quest is fairly easy, you’ll get prompted to take the photo as you progress through the Opera when it’s on fire. Take the photo and return to Tammy when you return to the area to complete the quest.
Mouseburg Opera
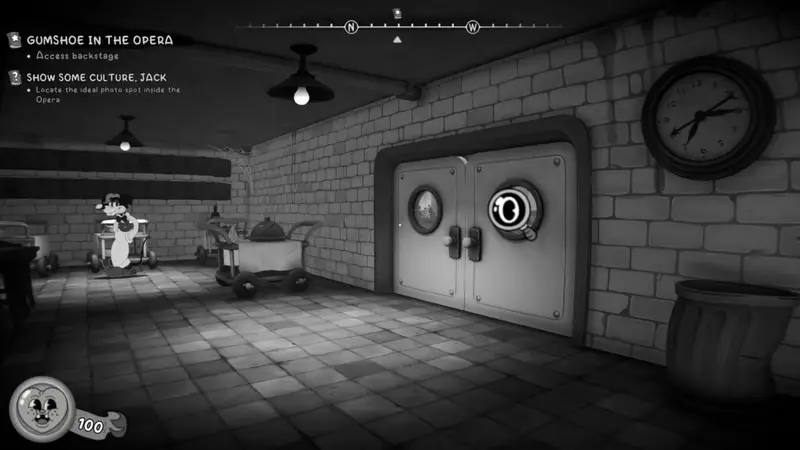
Investigation Clue – Object of Interest – Photograph
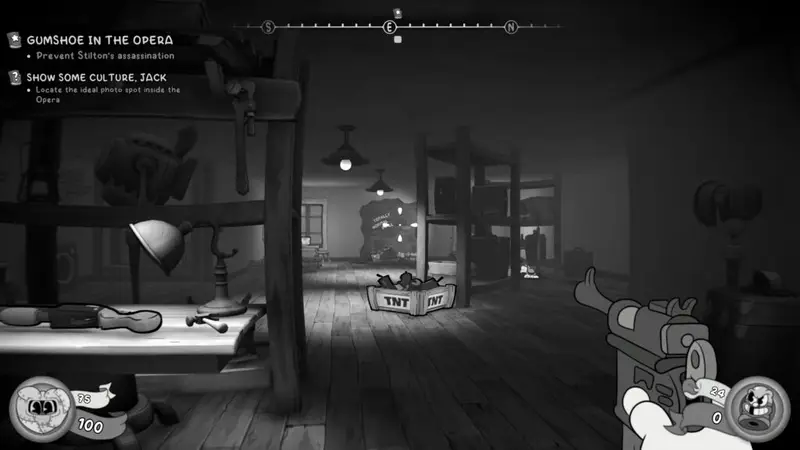
In the first section of the opera, you’ll enter the kitchen area. You should spot some double doors with circular windows in them towards the back right of the kitchen area. Approach the righthand door to get the prompt to take the photograph.
Baseball Card (4 / 41)
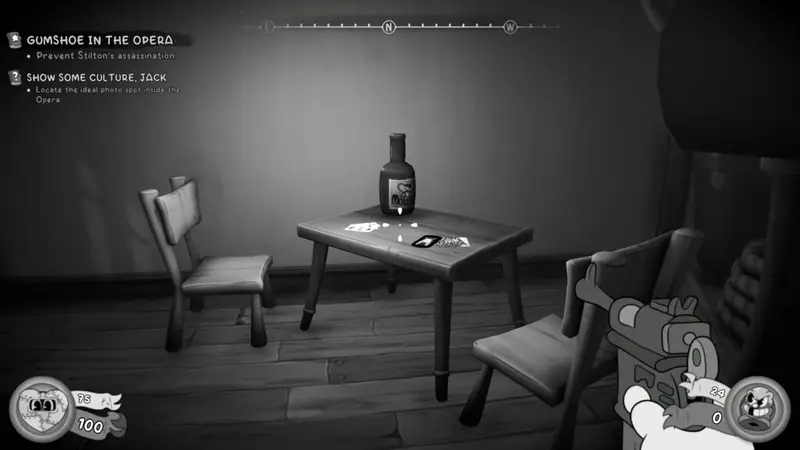
In the large room after freeing the Stage Designer, you’ll fight a number of enemies. To progress, you’ll need to blow a hole in the “totally normal wall”. Before doing that head to the back right, the Baseball Card is on a table there.
Schematic
After acquiring the double jump ability from the old rat stuntman, you’ll need to use your new ability to cross to the next area. You’ll jump on to two platforms before jumping to where you need to climb up some crates to continue. Turn left before you do, and grab the schematic on the barrels.
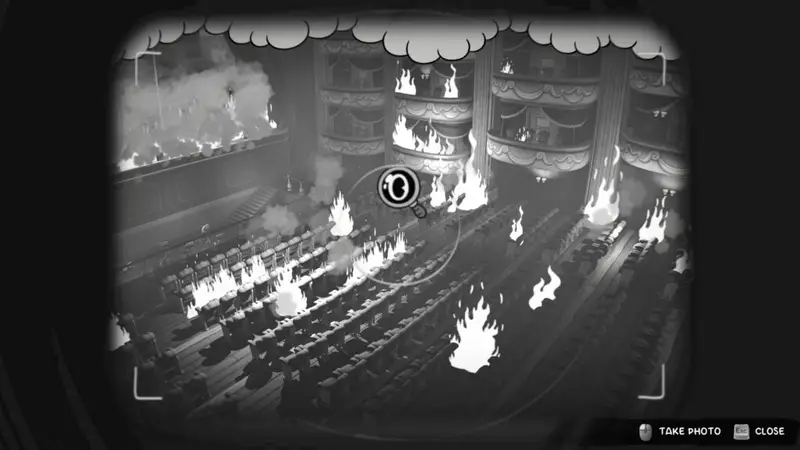
Side Job – Photograph
Don’t forget to grab the photograph for Tammy for your side job. The game does prompt you. It’s as you’re escaping the burning opera.
Newspaper (3 / 38)
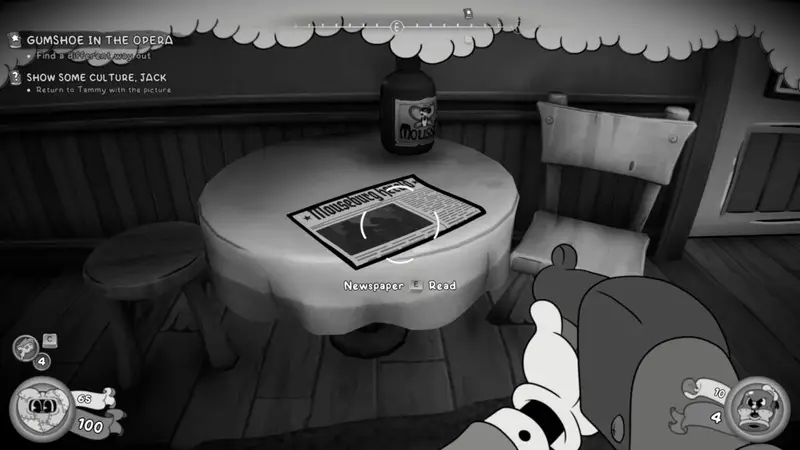
As you’re escaping the opera, as you enter the room you pretty much started in, you’ll spot a newspaper on the table to the left of the door.
P.I. Office Again
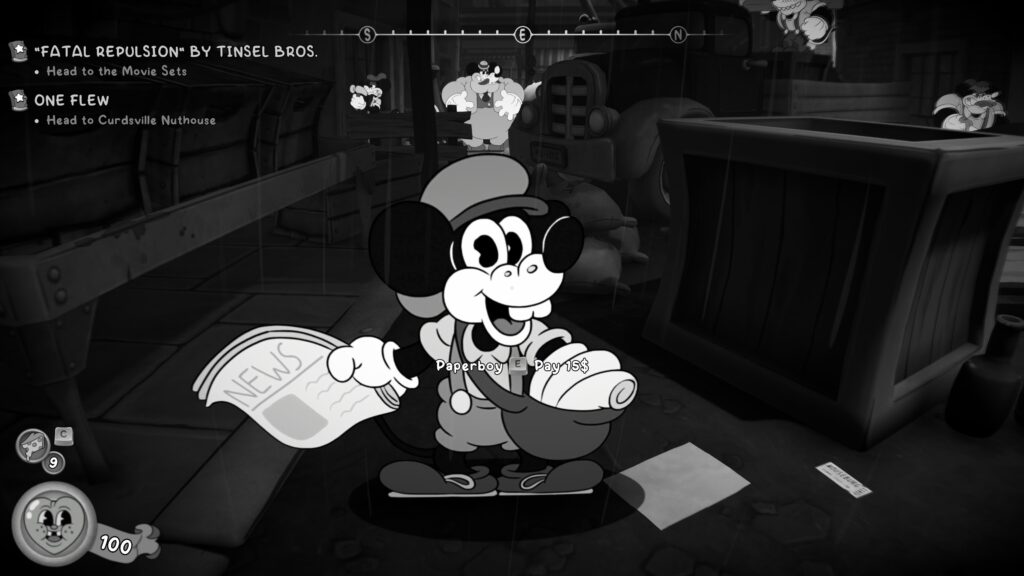
Newspaper (4 / 38)
Just before you climb the stairs to enter your office (on street level), look to your right. Where there’s a blockade, you’ll spot a paper boy brandishing a paper. You can buy it off him for $15.
Side Job – Complete Tammy’s Job
Don’t forget to speak with Tammy and complete the side job. She will be in the same location you got the quest from her.
Roadhouse
On the map, just before you reach the secret underground lab bit for the next location of your investigation, there is a small building you can enter called ‘Roadhouse’.

On entering the building, go to the left and speak with the ammo vendor, he has a newspaper, two comic strips and a Baseball Card to buy.
Newspaper (5 / 38)
Costs $50 from the vendor. If you’ve followed this guide, you’ll unlock the “Paper Person” achievement.
Baseball Card (5 / 41)
Costs $100 from the vendor. If you’ve followed this guide, you’ll unlock the “Starter Deck” achievement.
Comic Book (5 / 29)
Costs $50 from the vendor. If you’ve followed this guide, you’ll unlock the “Comic Relief” achievement.
Comic Book (6 / 29)
Costs $50 from the vendor.
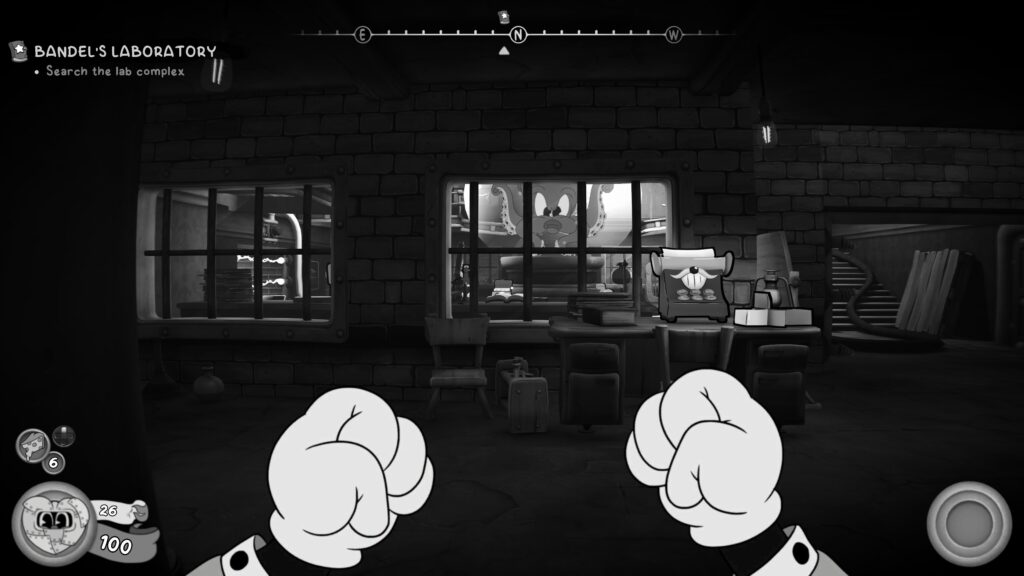
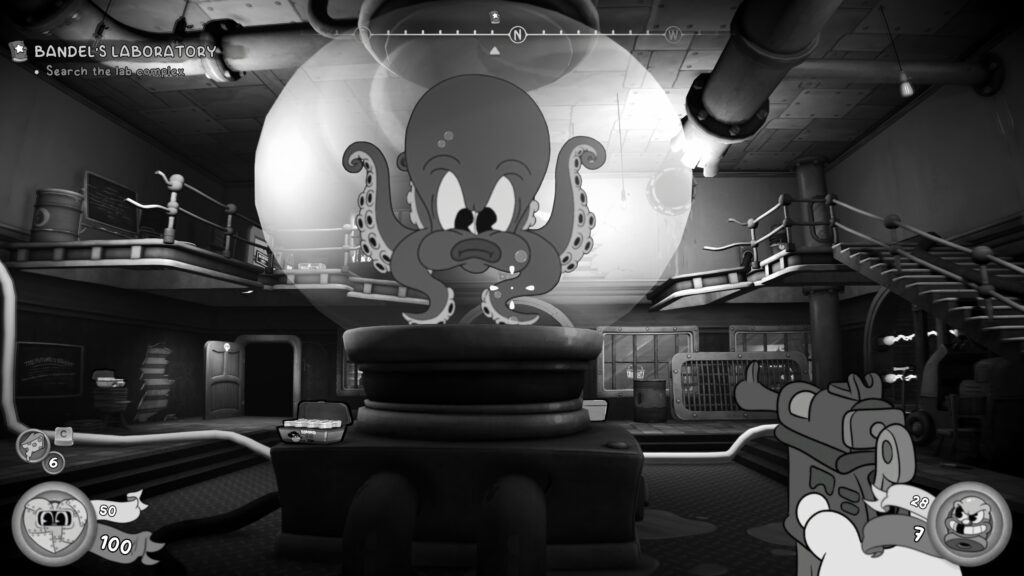
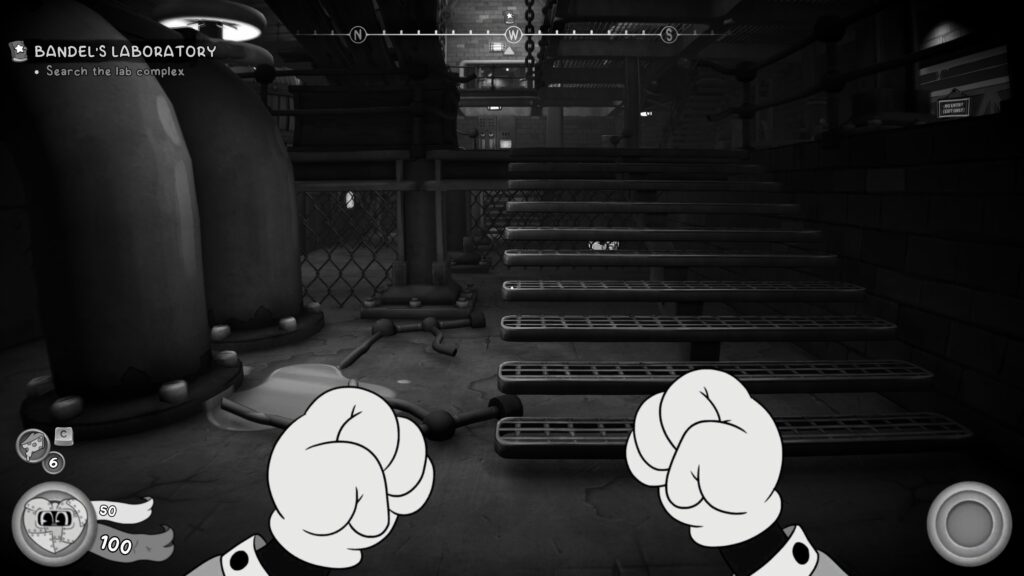
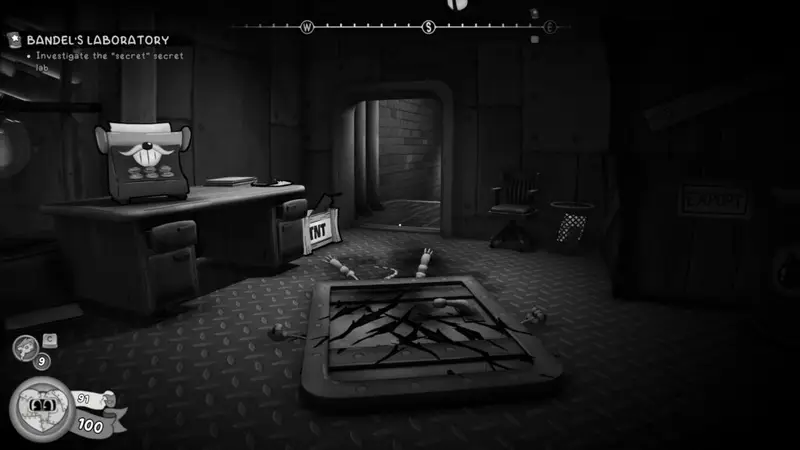
Bandel’s Lab
Investigation Clue – Cultists
Pretty soon after the beginning of the mission you’ll fight some cultist enemies. This will add ‘Cultists’ to one of your clues automatically.
Schematic
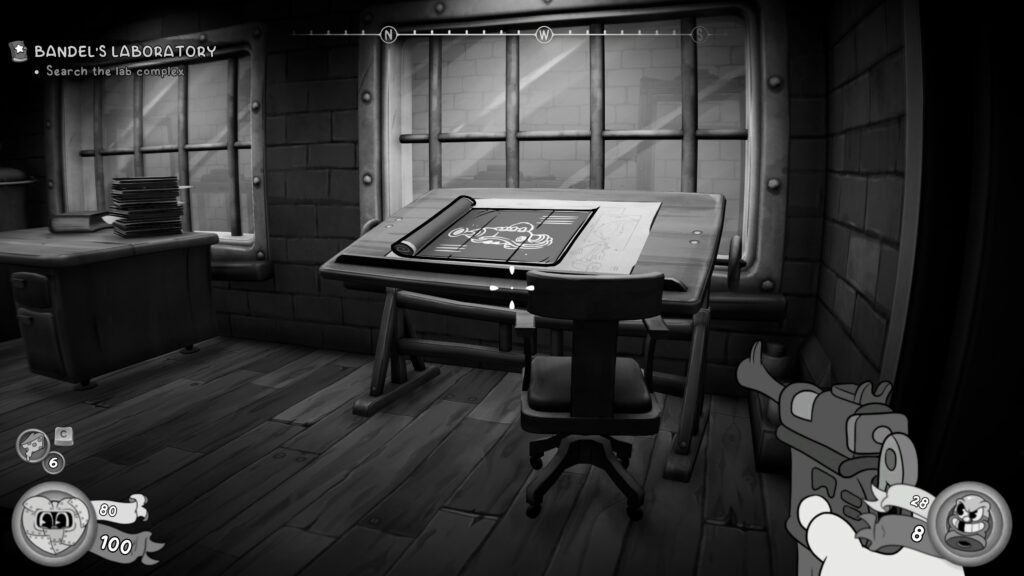
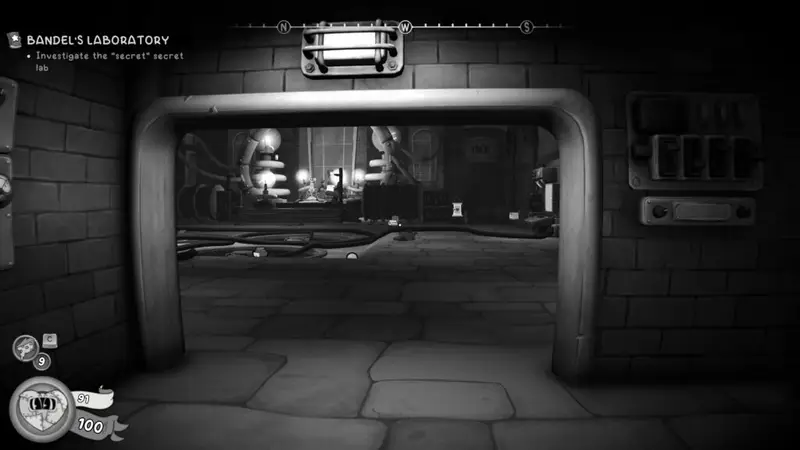
As you enter the lab, you’ll enter a room where you can see into a larger room with giant Octopus charadcter in a large vat. Turn to your left and go down to the end of the corridor. The schematic is on the floor under a wooden pallet.

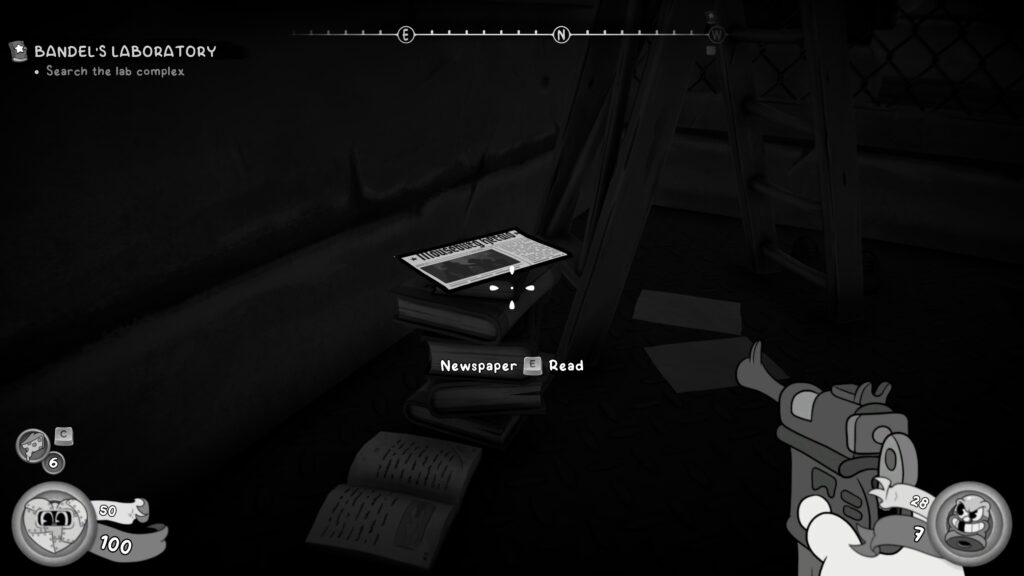
Newspaper (6 / 38)
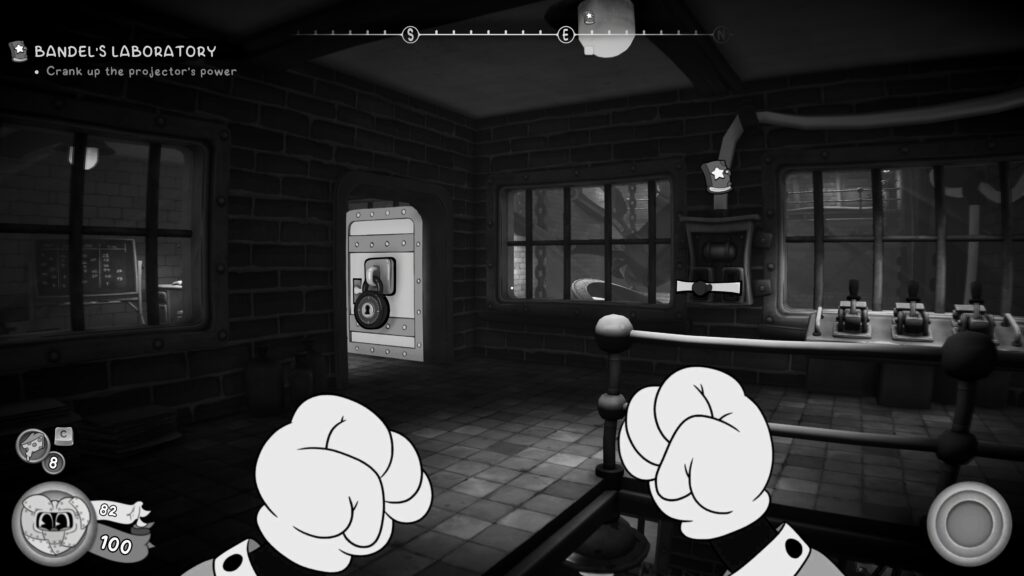
Enter the large square room and fight off any enemies. Climb the stairs to the right of room and jump across the gap.
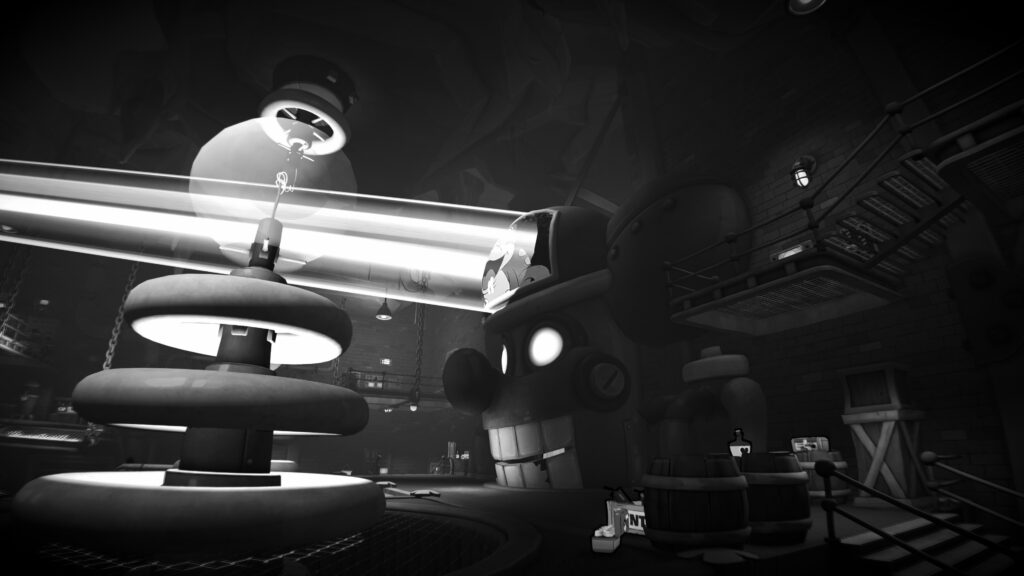
To your right is another room with some big electric pylon type things going off. To the left of the control panel in the centre is a newspaper on a stack of books.
Investigation Clue – Ze Research Pact
In the same room as the newspaper above, on the wall to your left in a frame.

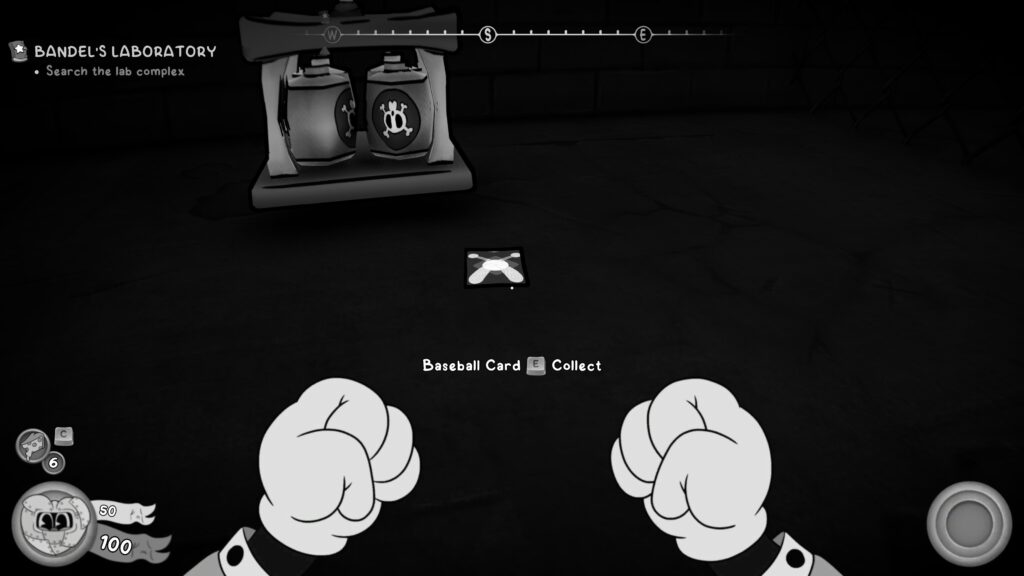
Baseball Card (6 / 41)
You’ll enter a big room that activates a small cutscene showing a mouth machine stop working. You’ll then fight a wholeload of enemies.
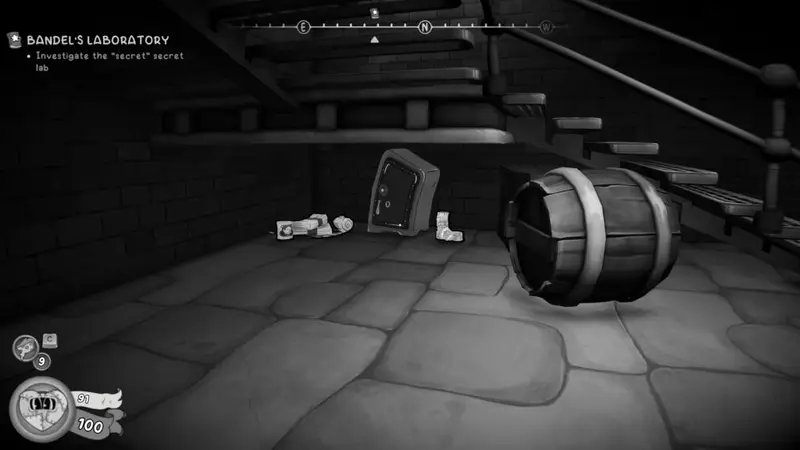
Once you’ve dealt with all the enemies, head to hte back left and go down the short metal steps. You can crawl underneath the steps and follow the path round to find some cash, Devarnisher ammo and the Baseball Card.
Newspaper (7 / 38)
After defeating the Robot Betty, head to the back room (below where Igorrr is) and you’ll find the newspaper
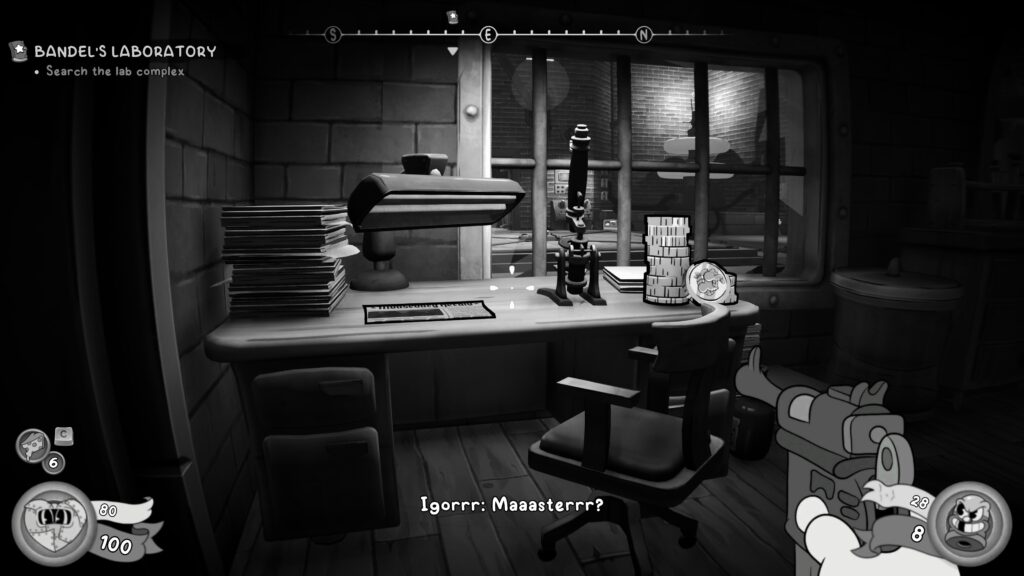
Schematic
Turn around from the newspaper above to find the Schematic on a table.
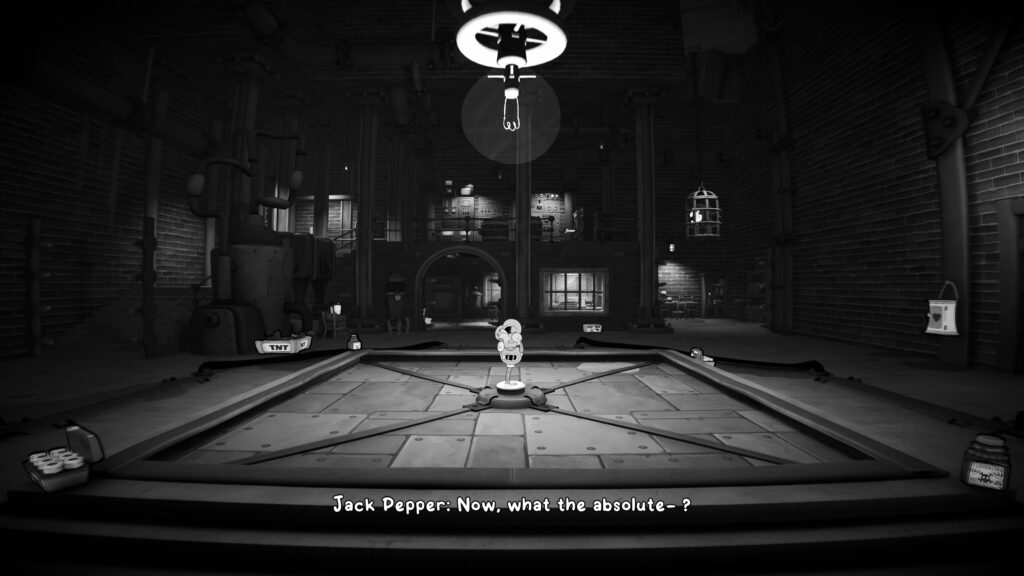
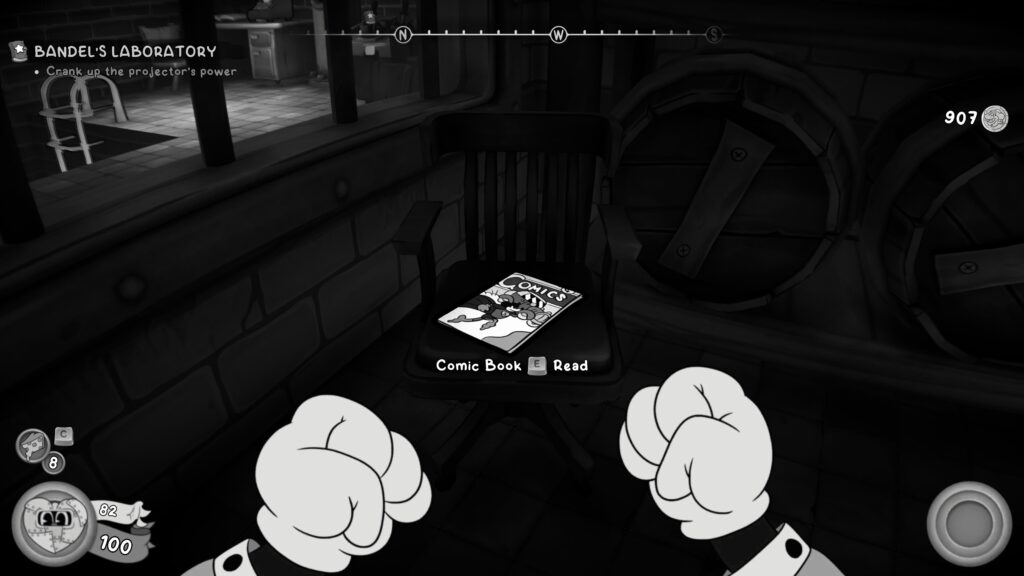
Comic Book (7 / 29)
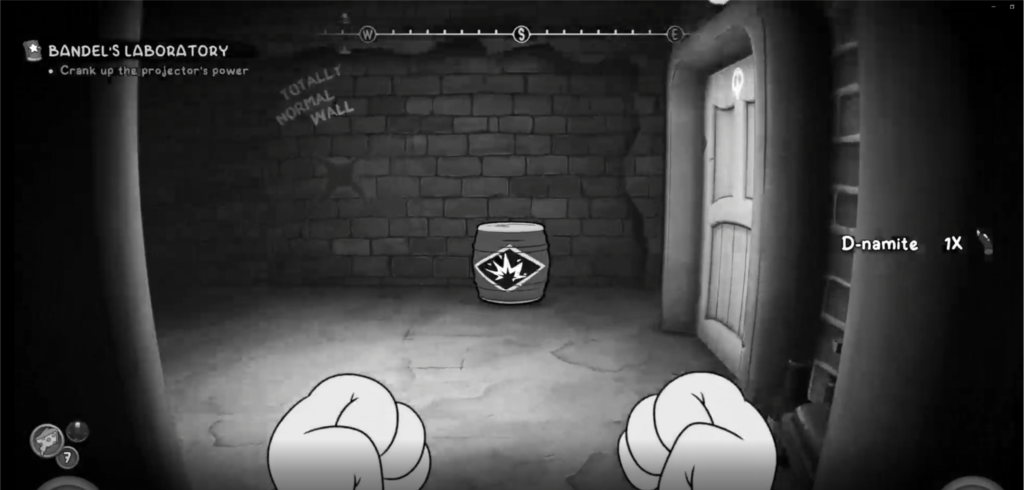
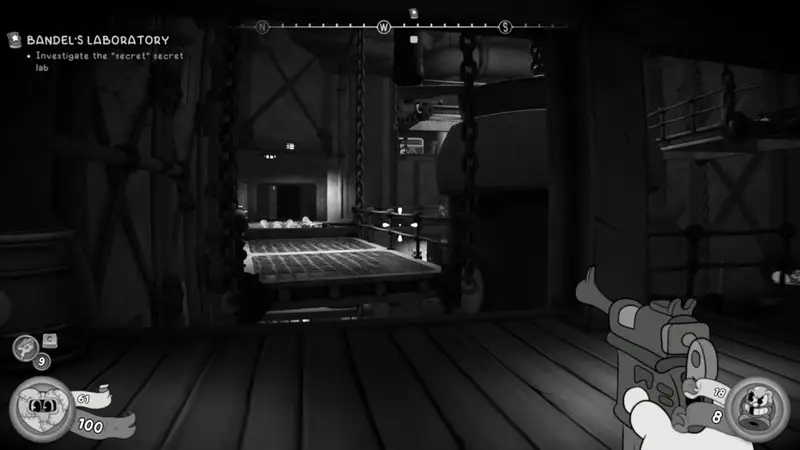
After chatting with Igorrr, you’ll head down some steps and then enter a large room where some enemies will attack. Clear out the enemies and head up the stairs at the back to reach a power switch which will lower a walkway for you to cross (this is a main objective, so follow the marker on your map).
As you pass through the room, you’ll see an explosive barrel next to a wall. Shoot that and blow up the wall. Head into room it opens up and hit the switch the left of the room to clear your way to progress.
Jump across the platform and head up the ladder. Once up, there’s a typewriter and a locked door.
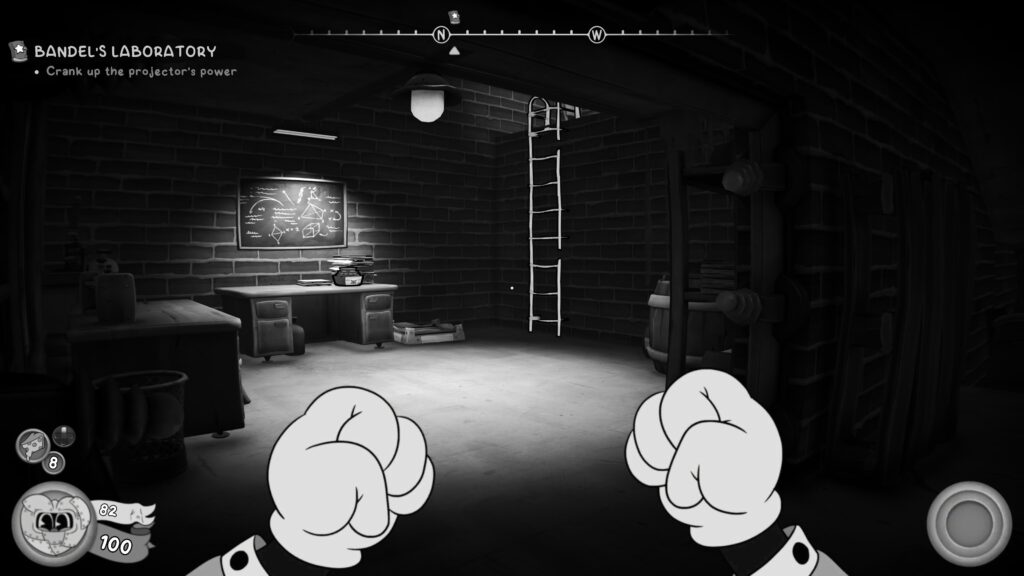
Tailpick the lock and head in, the comic book is on a chair to the left as you enter.
Comic Book (8 / 29)
You’ll enter a large area where there’s a lot of water on the floor and it’s electrified.
Make your way across the top walkways, taking out any enemies you encounter. When you reach the other side, you’ll enter a room with a typewriter in the centre, on the right, and a locked door at the back of the room. Tailpick the lock, and the comic book is in the room on your right on a table.
Schematic
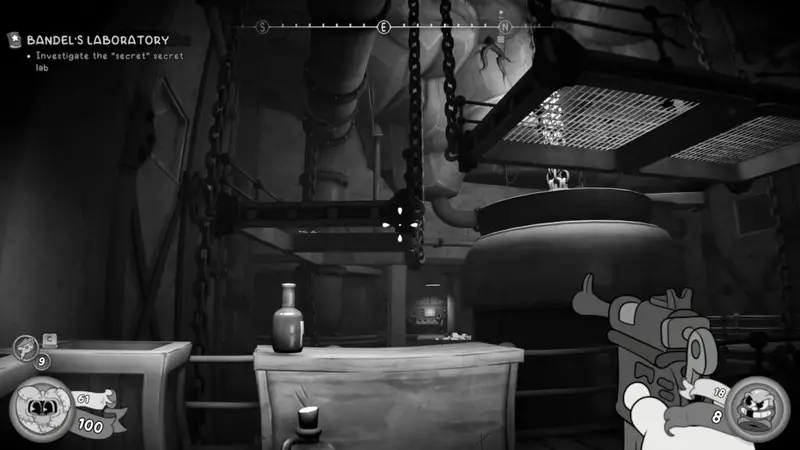
You’ll progress through the level a bit further and enter a room with a big metal cylinder in the centre. You’ll have a metal walkway to cross (watch out for enemies).
Once across look to your right and up and see a platform that you can double jump to. On there is the schematic.

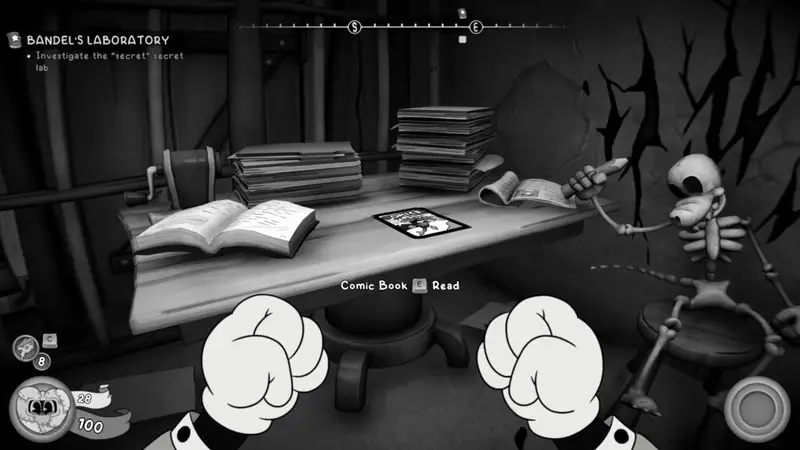
Baseball Card (7 / 41)
In the same location as the schematic above, in the hand of the skeleton.
Newspaper (8 / 38)
You’ll reach the room that overlooks the boss room. To your right is a typewriter on a table to the left. The newspaper is in a bin on the right.
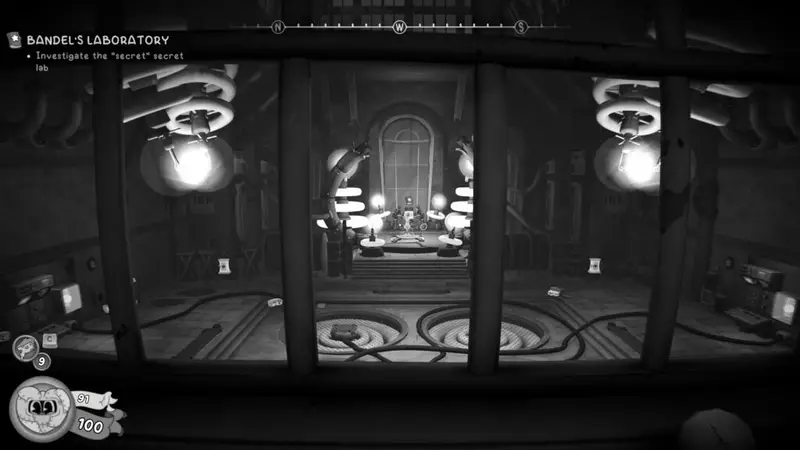
Schematic
Head through the door and down the stairs. Before entering the room with the boss in, head to your right and spot a safe under the stairs.
The safe is a limited move one, here’s the solution below:

Investigation Clue – Coast Guard Arrival Card
Part of the main objective. On the console where the boss was stood.
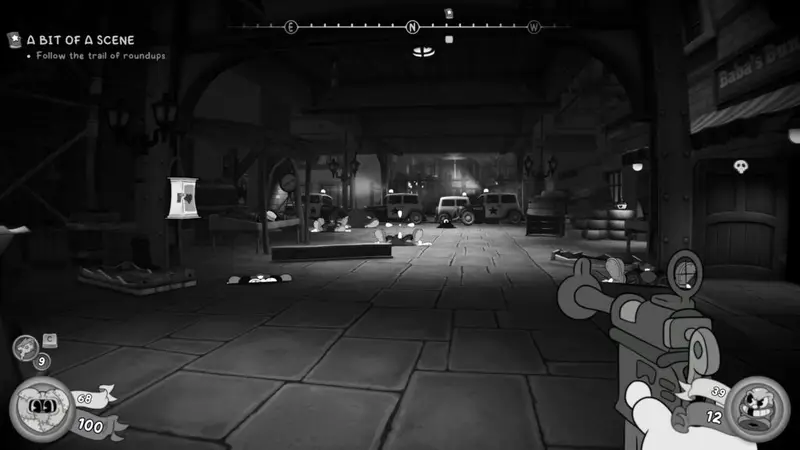
Clergy Row
After a visit pack to P.I. Office, you’ll be asked by Stilton to look into strange goings on at Clergy Row.
Schematic
As you start in Clergy row, you’ll chat with a fleeing Shrew. After that some enemies will attack breaking down a wall. Once you’ve defeated the enemies, head through the hole in the wall and climb the ladder to your right. At the top, you’ll go through a window into a room, the schematic is on the left on the floor underneath a large barrel.
Baseball Card (8 / 41)
After you’ve gone through that building, you’ll exit into a wide alley where lots of enemies will attack you. Head to where the cop cars are parked and look to your left. There are some steps down and at the bottom is the Baseball Card.
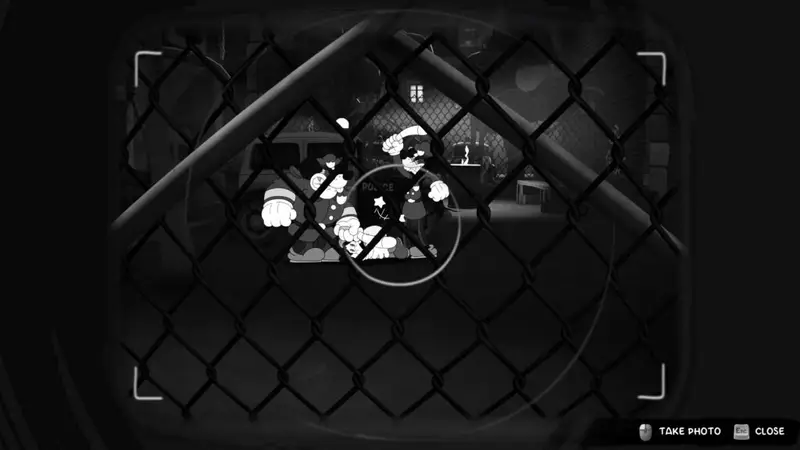
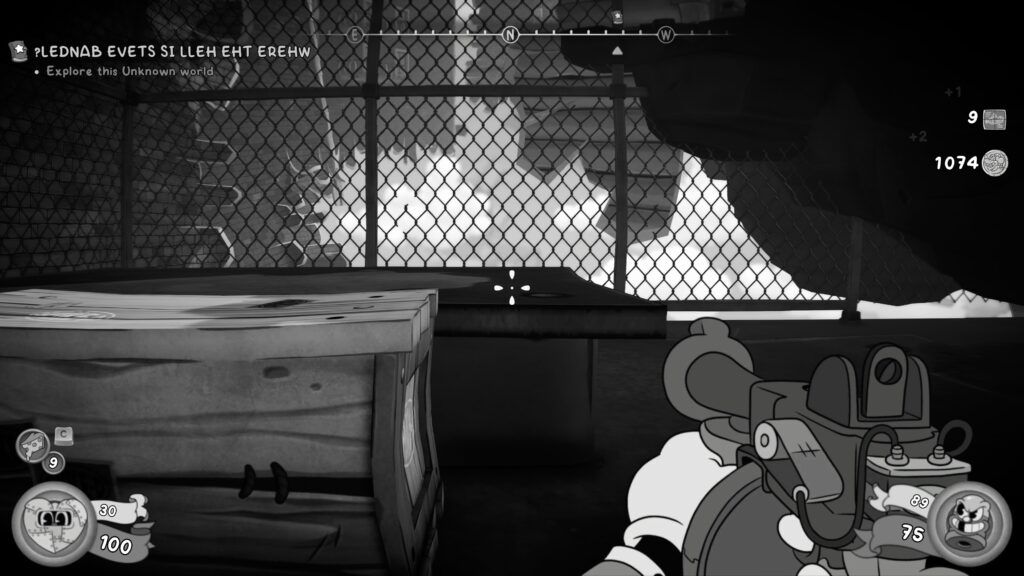
Investigation Clue – Object of Interest- Photograph
You’ll carry on after the alley shootout and spot a large chainlink fence to the left. There should be a marker appear, head towards it and take a photograph of the mobsters beating up a civilian
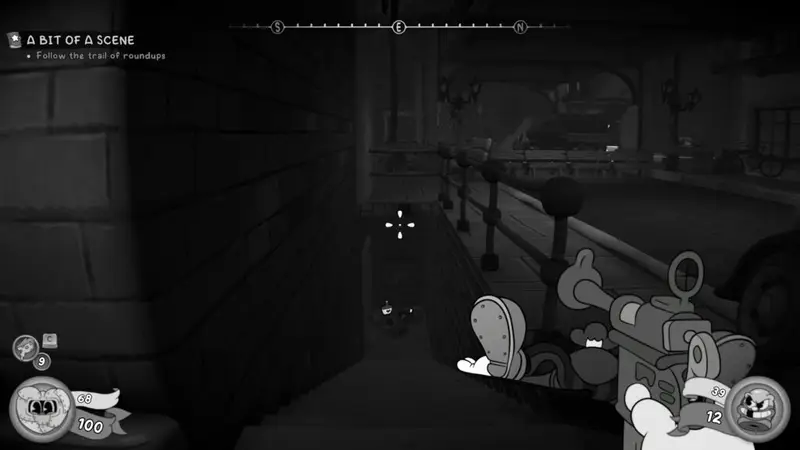
Newspaper (9 / 38)
You’ll head up some stairs where you’ll have to fight some enemies, whilst avoiding the train that occasionally crosses on the tracks. Head down the stairs on the otherside and you should see a wall to your right with a huge poster on the wall behind it. Double jump over that and you’ll find the newspaper in front of you on the floor.
Tailock Padlock
Head on from the newspaper, you’ll head down an alley and to your right you’ll spot some steps that go down. On the door is a timed and limited move padlock. The time is very short for this. You can reload your save to retry but it takes you back a short way. Make sure you pick up the newspaper above again as it doesn’t save until you reach the next checkpoint.

Here’s the solution below. There aren’t any collectibles per se in here, but there are four rooms with ammo and money in them.
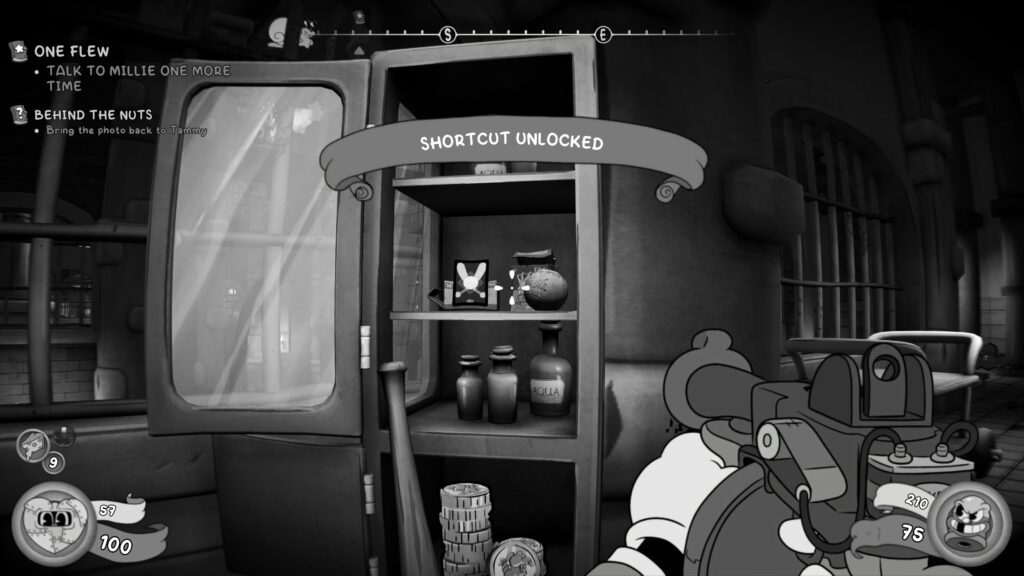
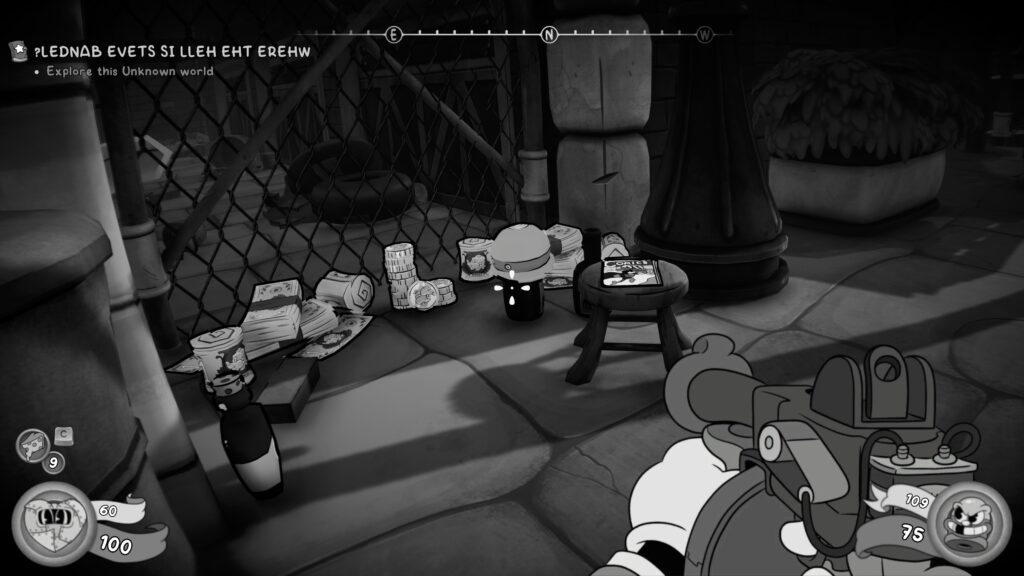
Newspaper (10 / 38)
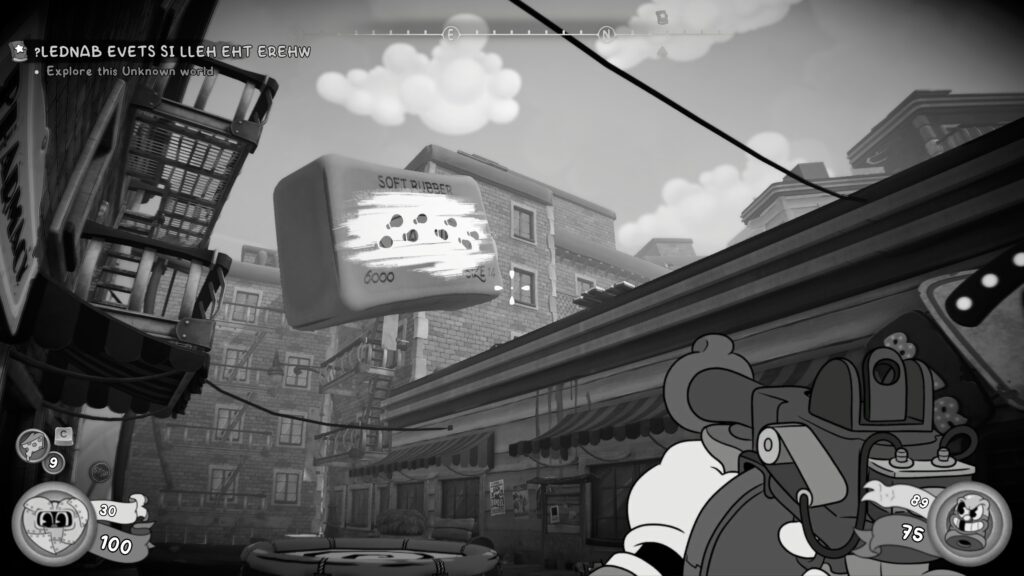
As you progress through the level, you’ll enter a shop after throwing a barrel at a backpack in a basketball court (yes, really). As you head up and leave the building you’ll have to jump on a trampoline to reach the next building.

After jumping across, climb through the window and look to your left. The newspaper is on the left on a chair. If you’ve followed this guide correctly, you should unlock the “Cover to Cover” achievement here.
Schematic
Head up to the floor above. Go to window and jump through, shoot the target on the building across to drop the pipes to create a bridge. Head across and kill the enemy in the room. In the wardrove where he came from is the schematic.
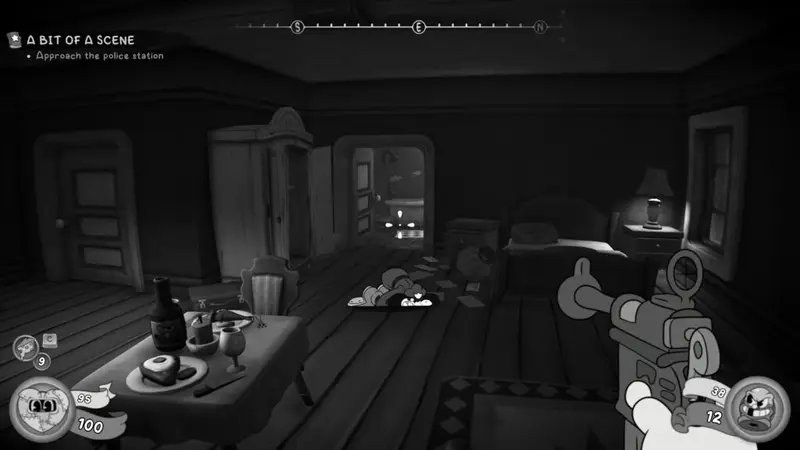
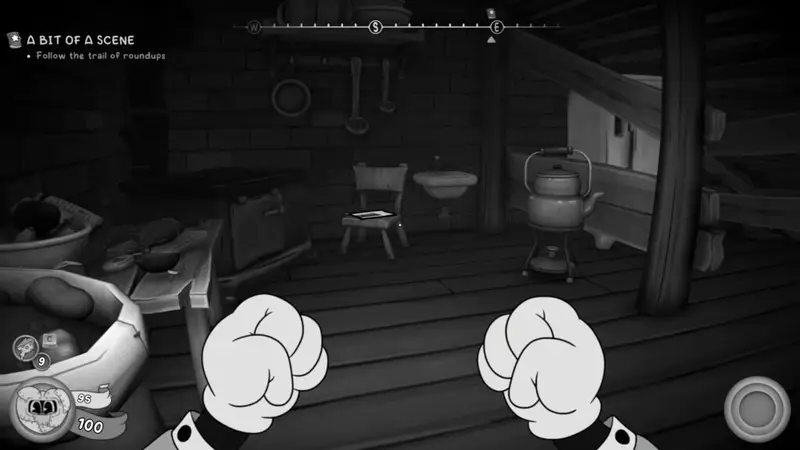
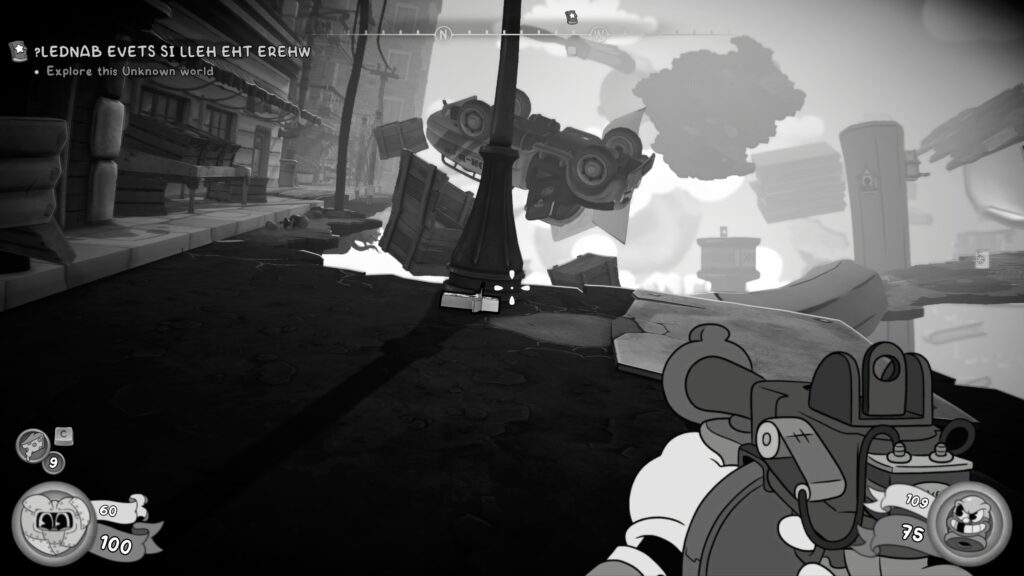
Comic Book (9 / 29)
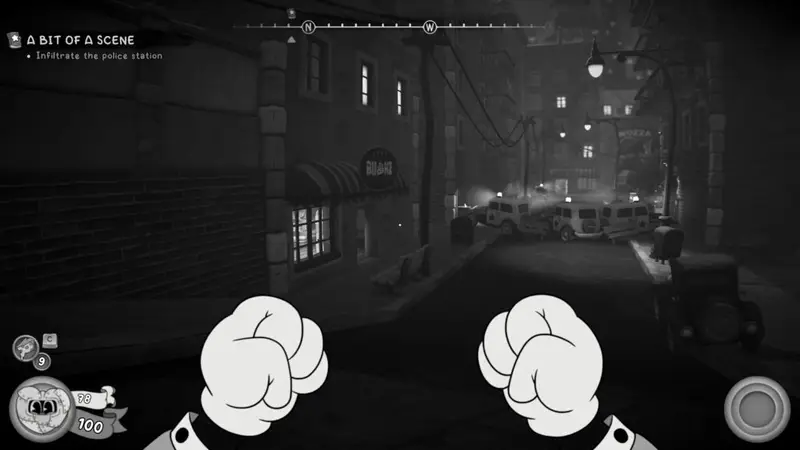
You’ll return to the main road, in front of the police station. When you do, head to the right, down the road.
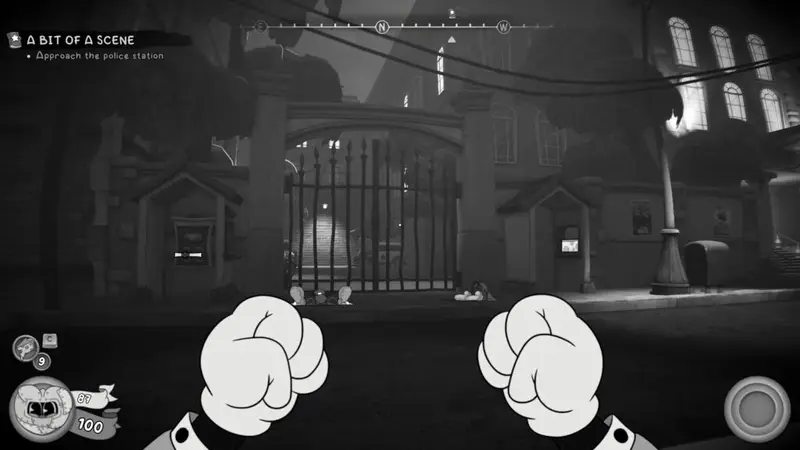
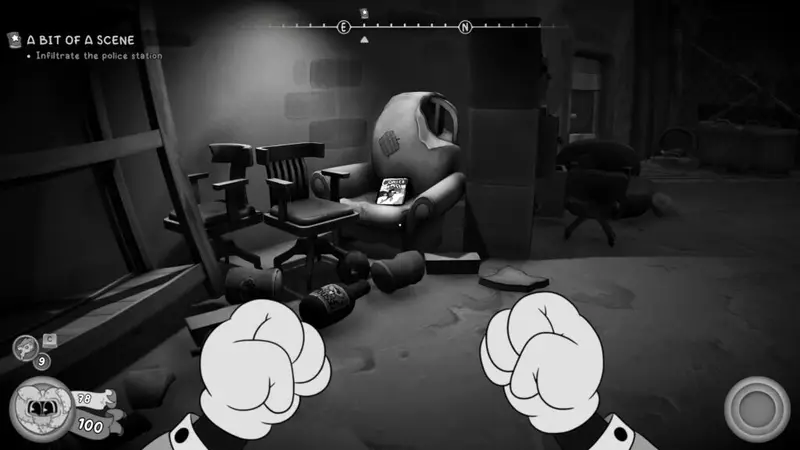
Go through the shop on the left, and leave through the back door, taking you into the alley. Follow the path round and look up. Shoot down the plank of wood being held up. This creates a place for you to jump up.
Once you’ve jumped over, the comic book is on an armchair.
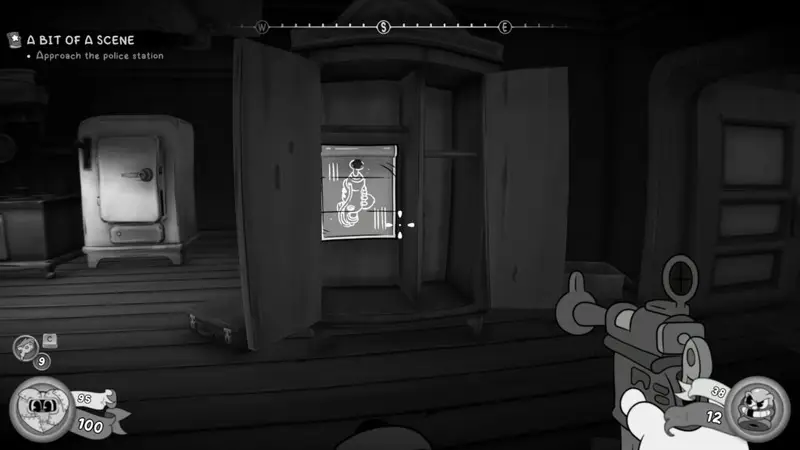
Schematic
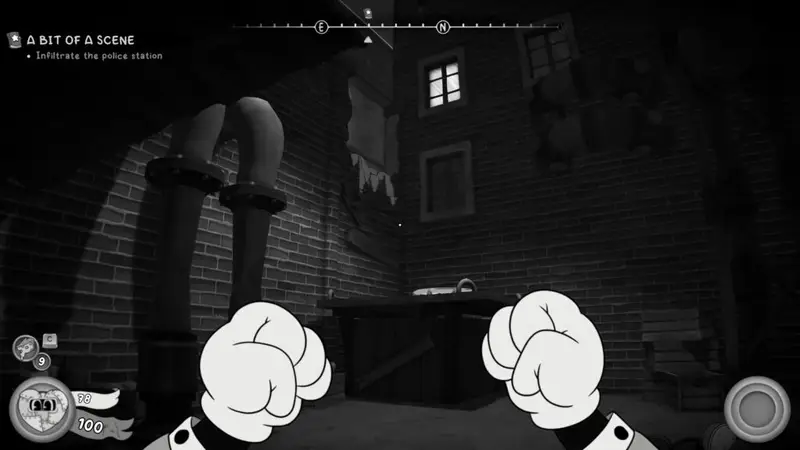
On teturning to enter the police station, don’t enter through the front door. Head to the left and activate the switch to open the gate.
At the back right of the car park you’ll spot some crates, behind which is an air vent to crawl through. You’ll enter a storage room with a typewriter in. Go through the door to the right of that to enter the jail.
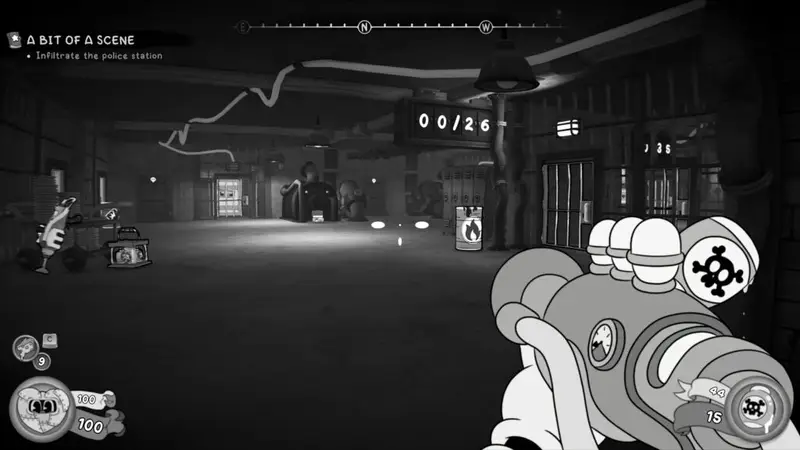
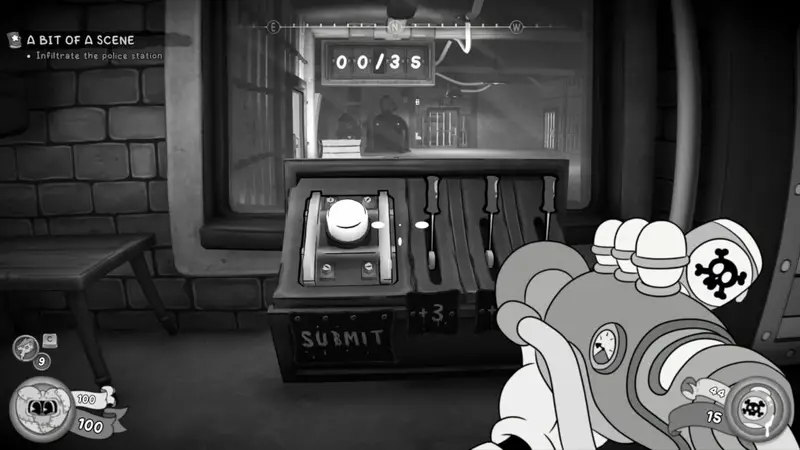
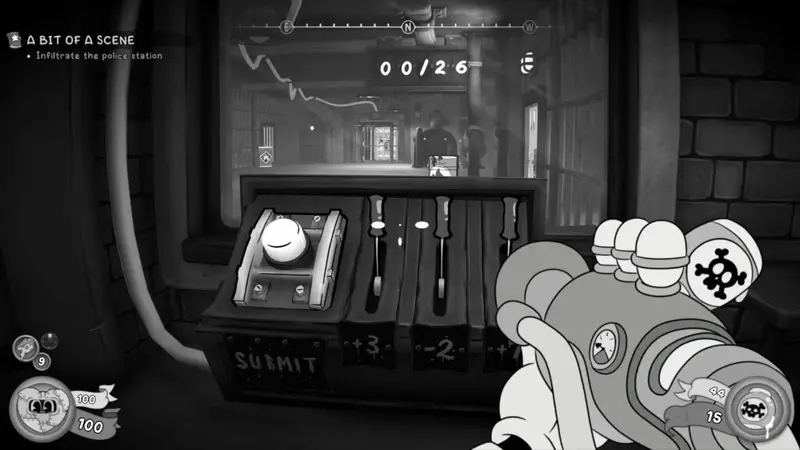
Head into the small room on the right to spot two control panels with levers and numbers in front of them. You need to use the levers to add up to the numbers shown on the display.
To reach 26 (left panel), pull:
- +3
- +7
- +7
- +3
- +3
- +3 then press big button
To reach 35 (right panel), pull:
- +6 five times to give you 30
- +3
- -2
- +3
- -2
- +3 then press big button
Use the one on the left to open up the main path. The one on the right will give you access to a safe at the back of the room on the right (watch out for enemies as you head over).
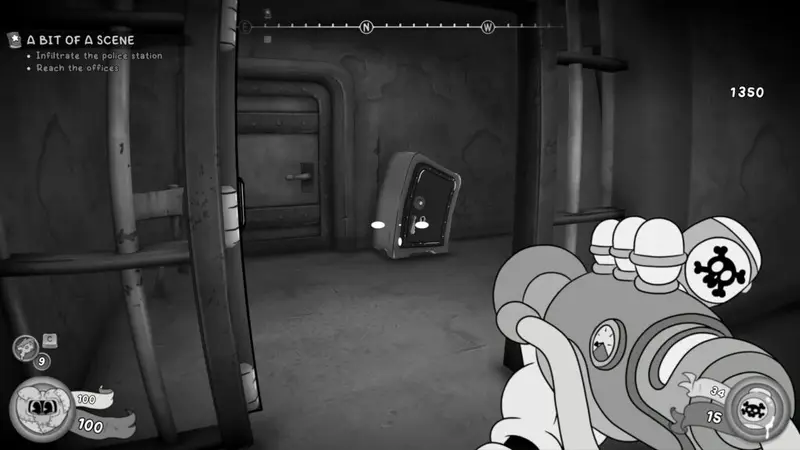
The tailpick is a timed and limited move one, here’s the solution below:
Baseball Card (9 / 41)
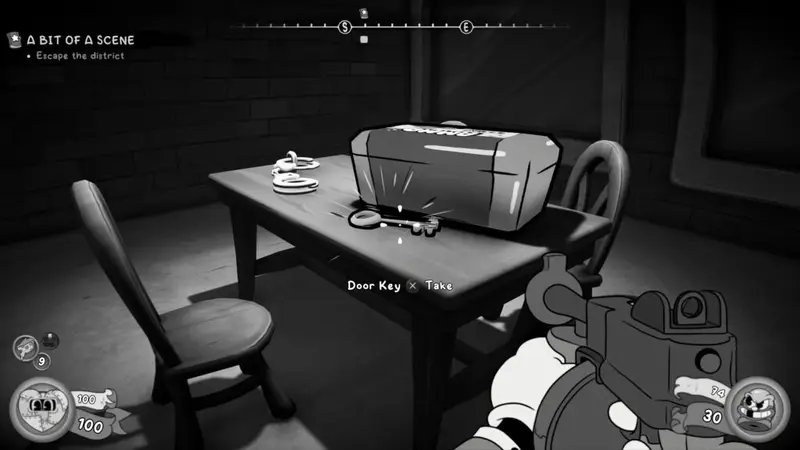
You need the prison key to unlock the jail cells. To get this return to the control panel where you had to total 35. From there, turn right and look for a door in the corner.
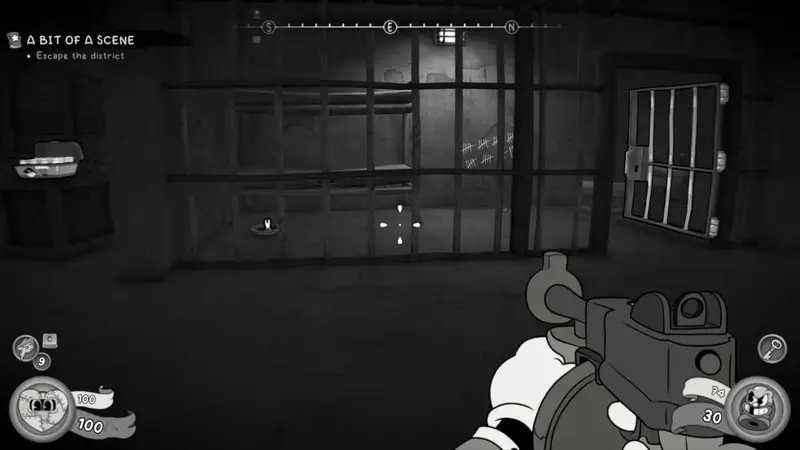
In there you’ll find an enemy and the prison door key on a table. From there, you can head to the far left cell and open it to get the Baseball Card.
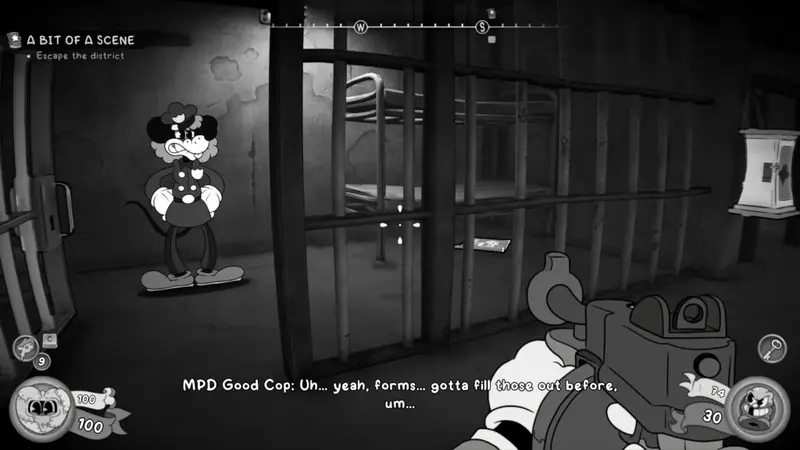
Schematic
With prison key in hand, you can head over to the top right cell. Right from where the safe is. A ‘Good Cop’ is in the cell, the schematic is under the bunk bed.
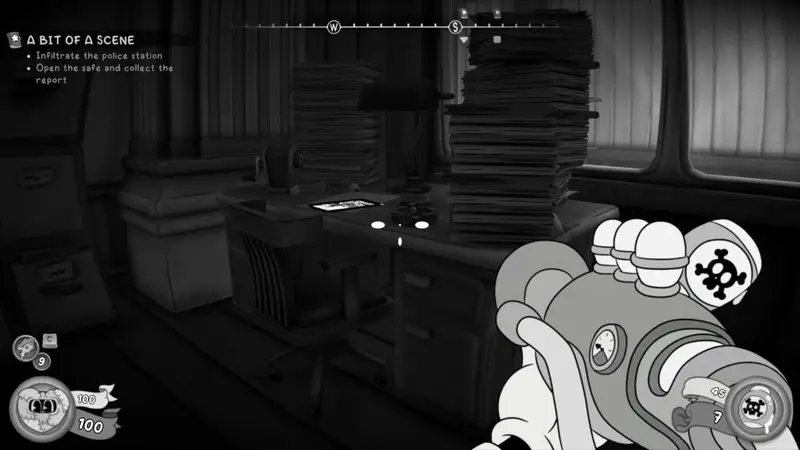
Comic Book (10 / 29)
Head up the stairs through the door you opened with the number 26. You’ll enter some corporate police offices. To your left you’ll spot some boxes stacked up. If you’ve been following this guide you should unlock the “Extremely Graphic Novel” achievment.
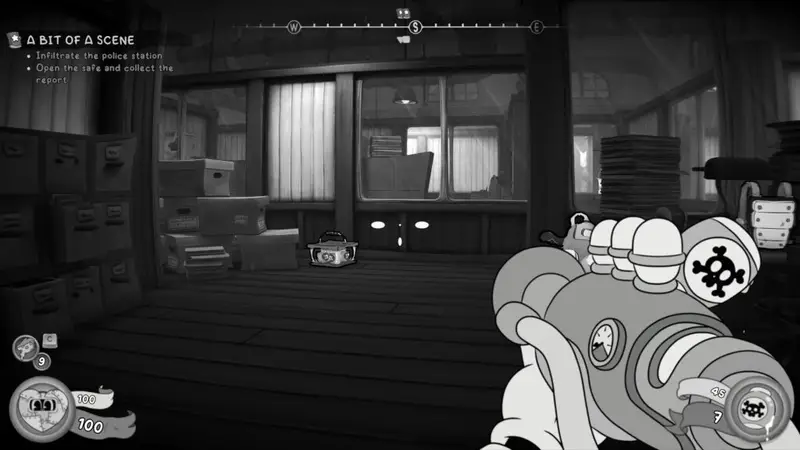
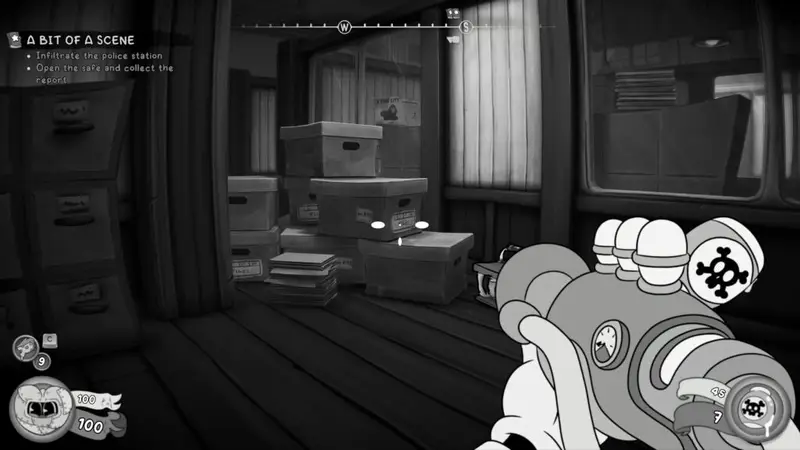
Double jump over and head to the left. To the right on a table is the comic book.
Investigation Clue – Map of Mouseberg’s Sewer System
You’ll collect this as part of your main objective.
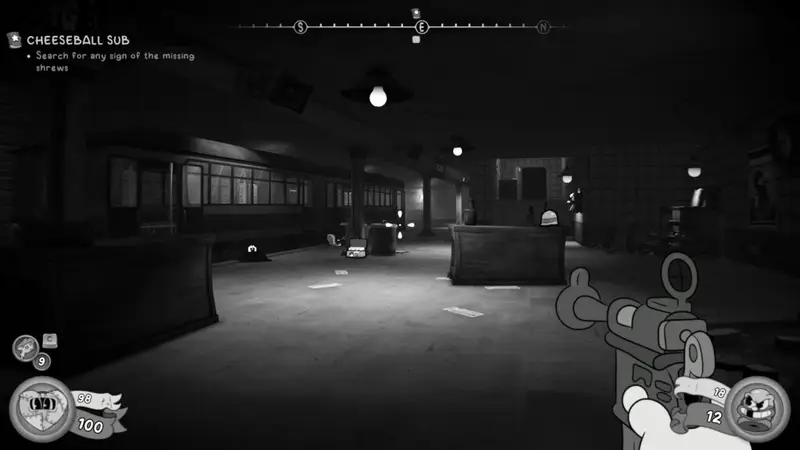
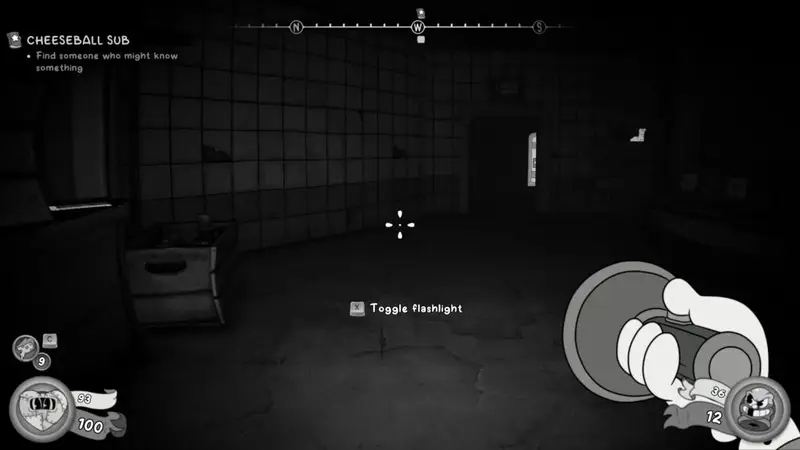
Old Subway
Investigation Clue – Cheeselggers
Will unlock as part of fighting the enemies in this level.
Schematic
You’ll head down some steps as part of the path you need to follow. This will take you to a subway platform where a train will arrive and enemies will arrive. Once you’ve dealt with the enemies take a left back down the platform. A door key can be found on a box.
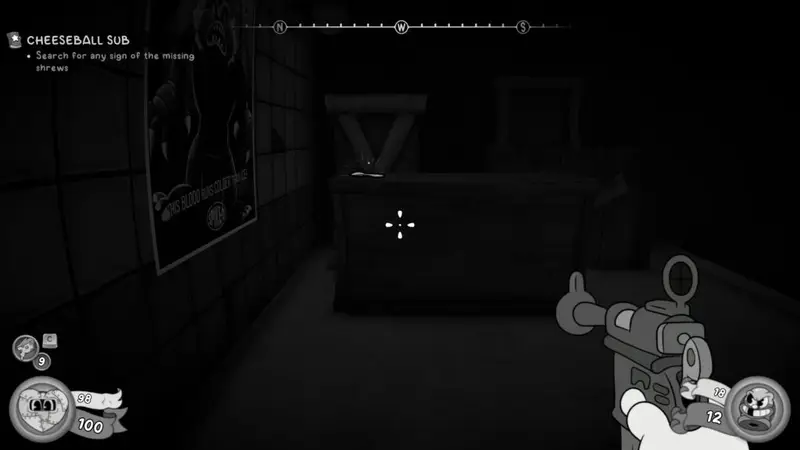
Head down the platform and use the key to unlock the door on the right. Get your flashlight out and follow the path up until you reach a room up some steps. To the back left in t he room with a safe is the schematic on top of a bunk bed.
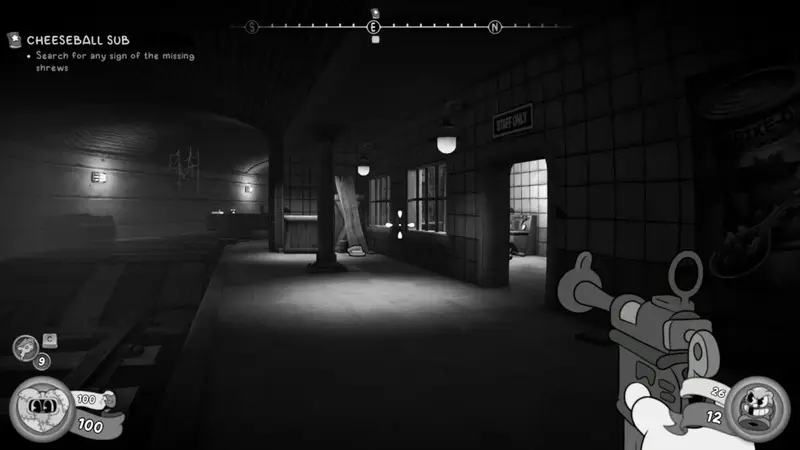
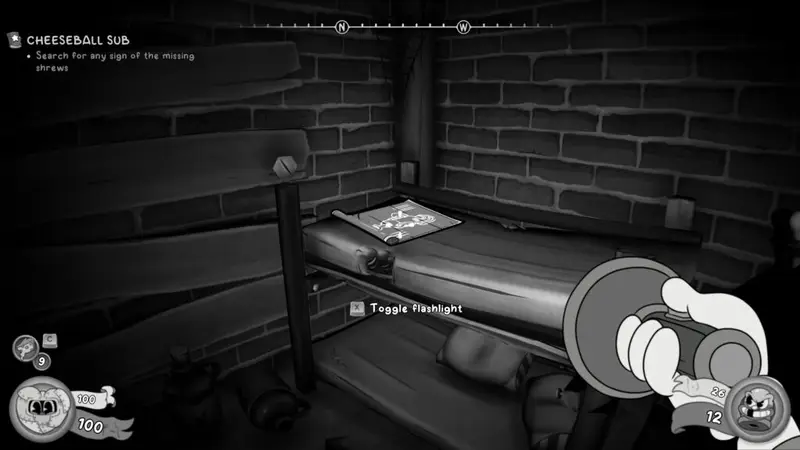
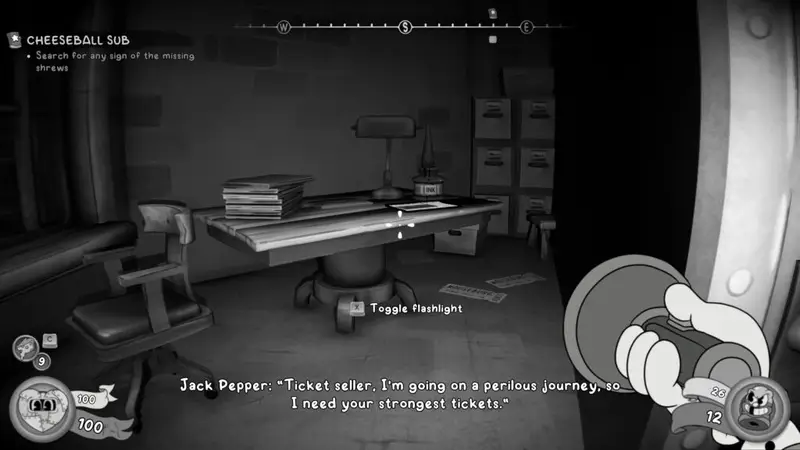
Newspaper (11 / 38)
Go forward and into the ticket office from the schematic above. On the right is the newspaper on a table.
Investigation Clue – Shrew Hat
Part of the main path, a hat will be hung on a door knob.
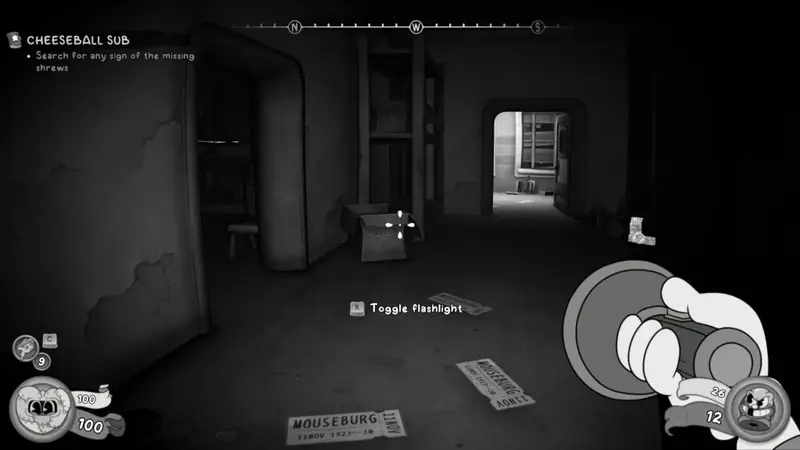
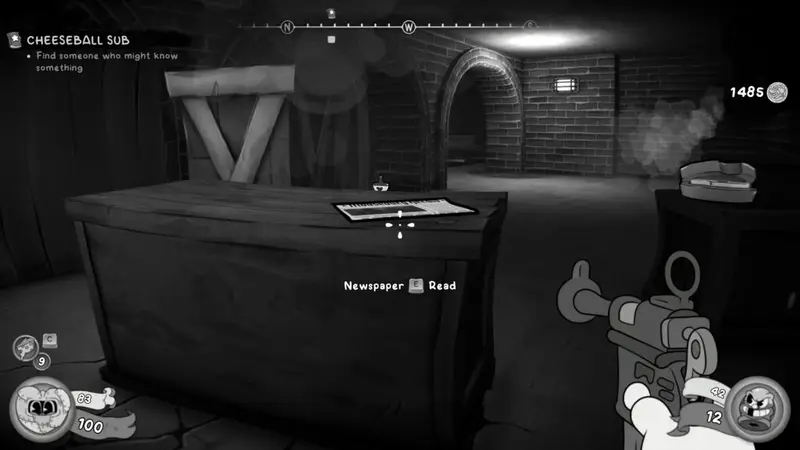
Newspaper (12/ 38)
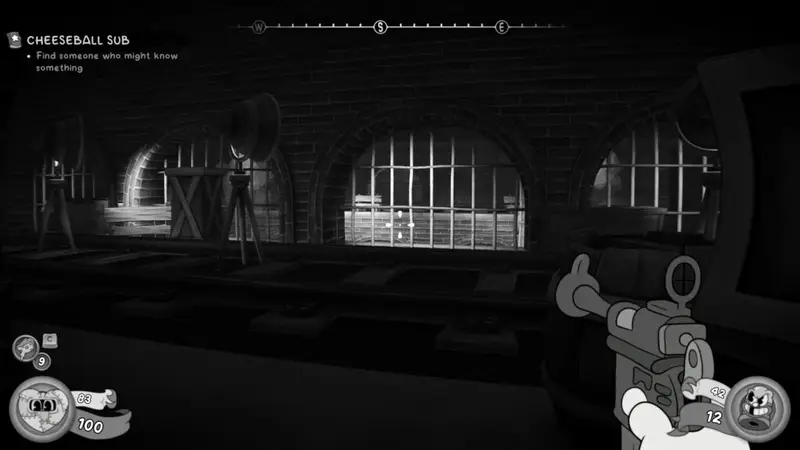
You’ll enter a long room with arches and many enemies in it. Take them all out, then head to the back left, still in the centre. Climb up the crates to the next level.
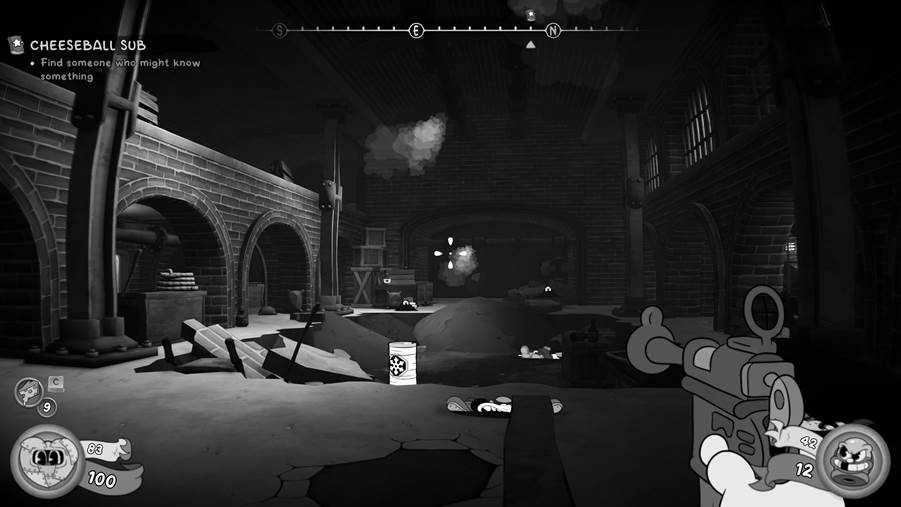
On the next floor, go through the archway you can see and to the right. The newspaper is sat on a crate.
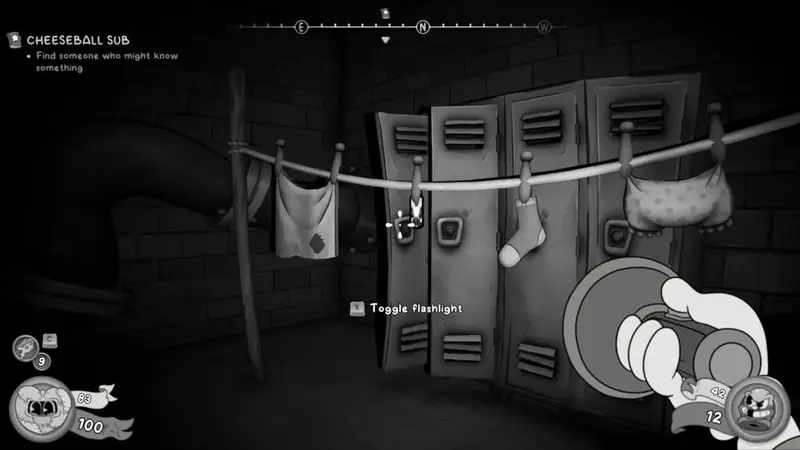
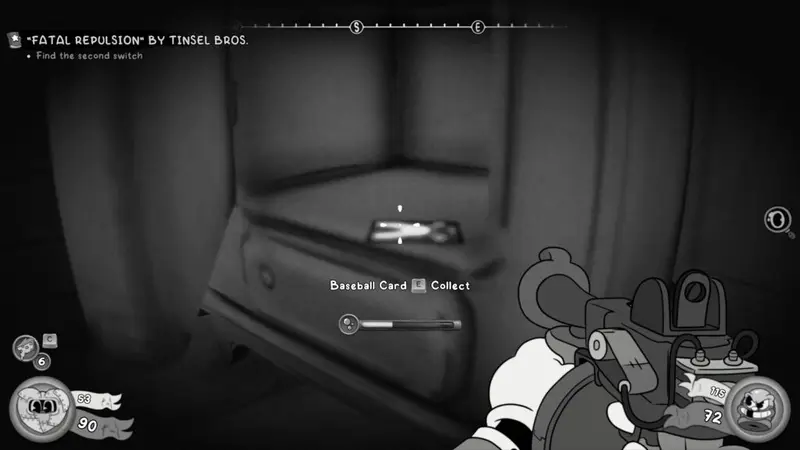
Baseball Card (10 / 41)
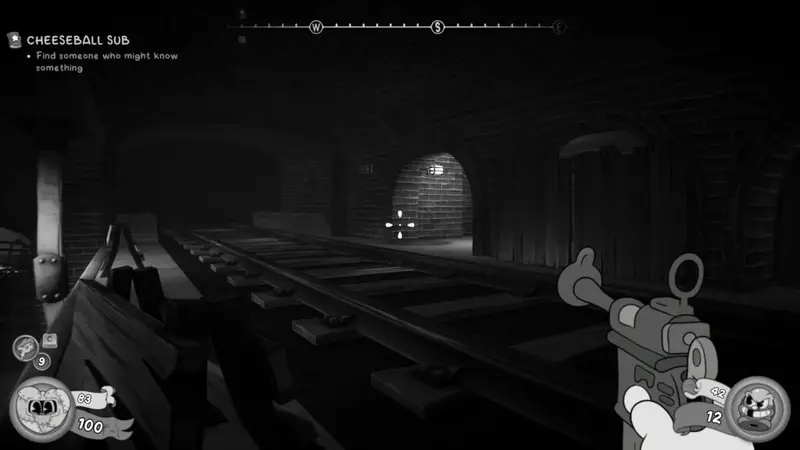
As you progress, you’ll leave the room with arches and go past a typewriter and climb some stairs. At the top take a left and go to the door you can see on your left. Unlock the door and head down the stairs, activating your flashlight.
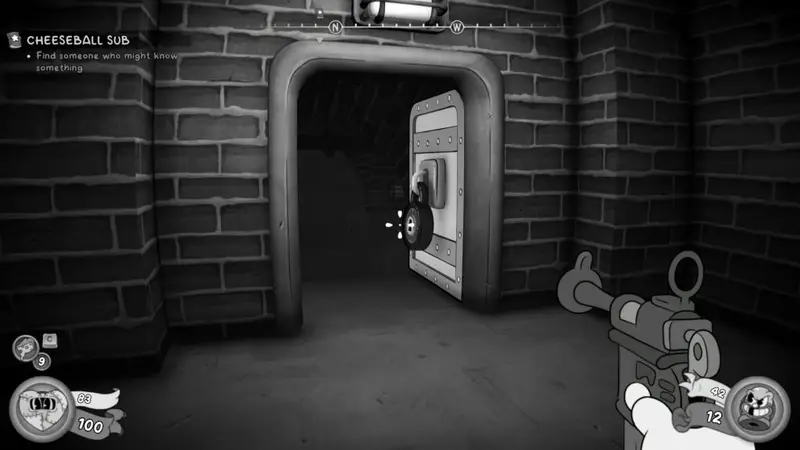
To your right is a gap to crouch under, which will take you into a room full of lockers. On the right hand side is a washing line with a Baseball Card hanging from it.
Newspaper (12 / 38)
A fair bit later, you’ll climb up a ladder that takes you to a typewriter. As you progress, you’ll enter a dark room full of crates. There is a newspaper on a crate to the left in this room. Use your flashlight to see better.

Investigation Clue – Briny Britches
Will be unlocked after talking with the Ticket Collector.
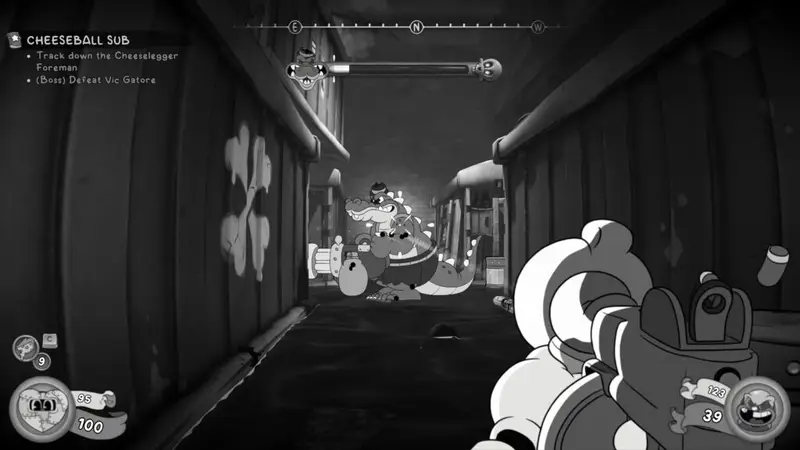
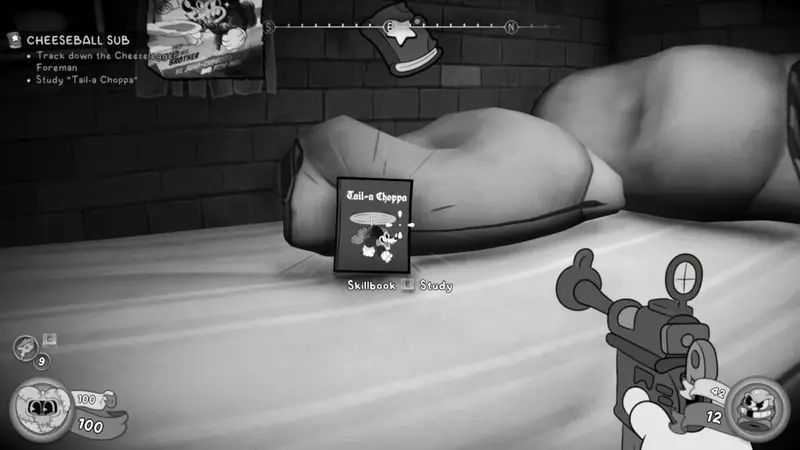
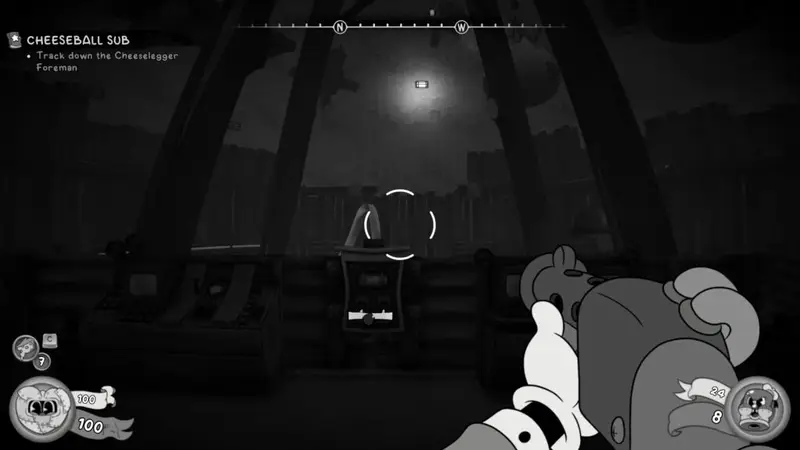
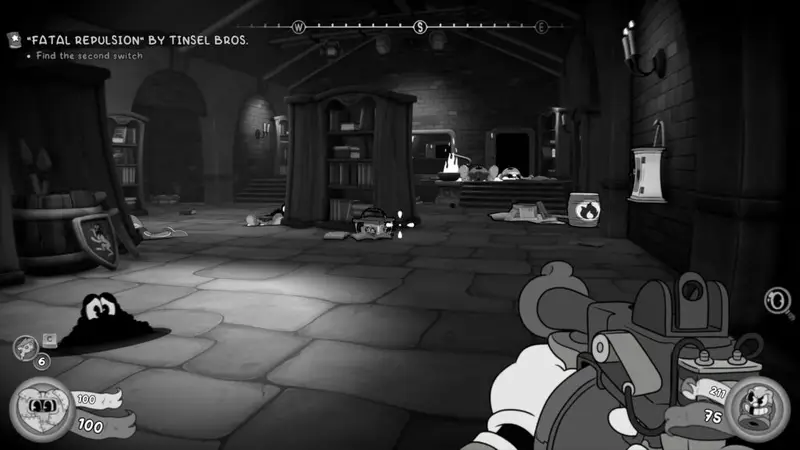
Comic Book (11 / 29)
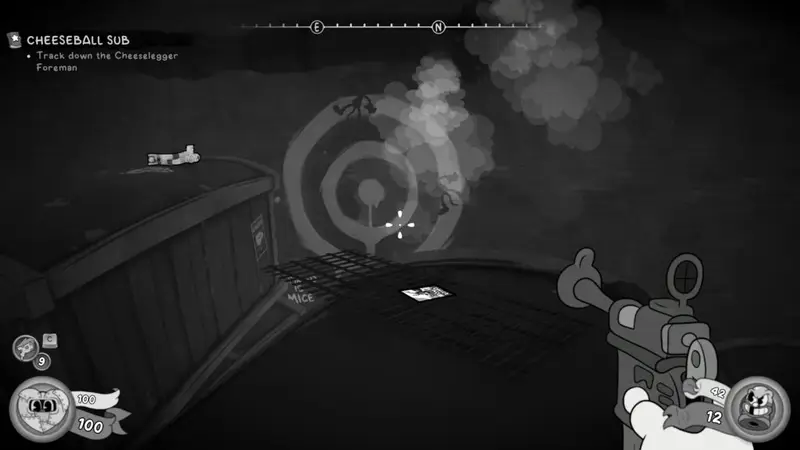
After you have defeated Vic Gatore in a boss battle you will go forward and get the skill book which gives you the ability to Tail Chopper. After flipping the switch to activate the jet stream go back into the arena where you fought the boss and climb up the crates / train cars to the top. On top of one of them is the comic book.
It can be a bit finicky but a combination of your double jump and the Tail Chopper can help you get up.
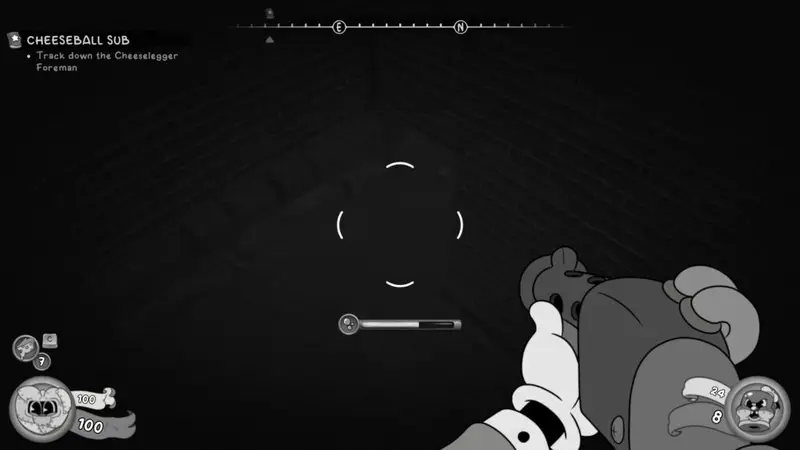
Schematic
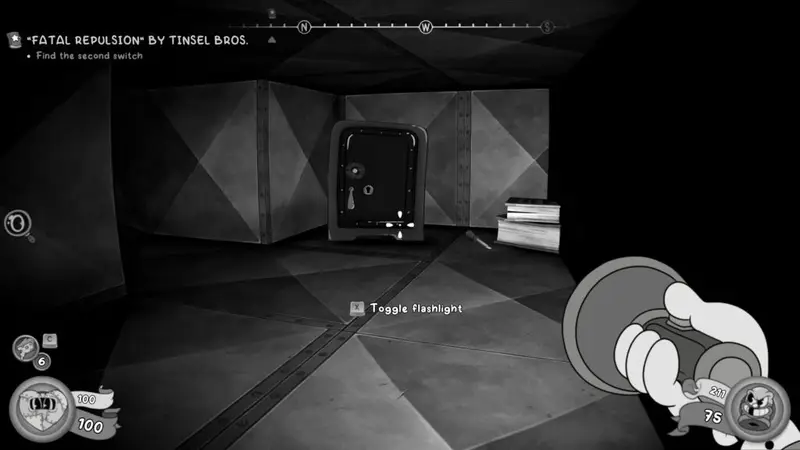
A fair while later, you’ll arrive in a room with a typewriter on a table and a locked door to your left and a ladder up to the right.
Unlock the door on the left and head through. You’ll be in a large, tall room with a pool of water in front of you. Jump into the water and dive down, following the underwater passage through to the other side where you’ll find a safe. Unlock the safe to get the schematic.
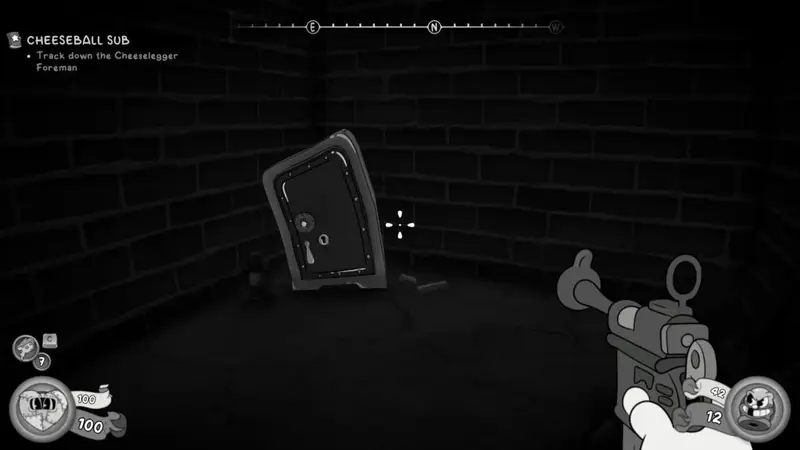
The safe has limited number of moves and a time limit. Here’s the solution below:
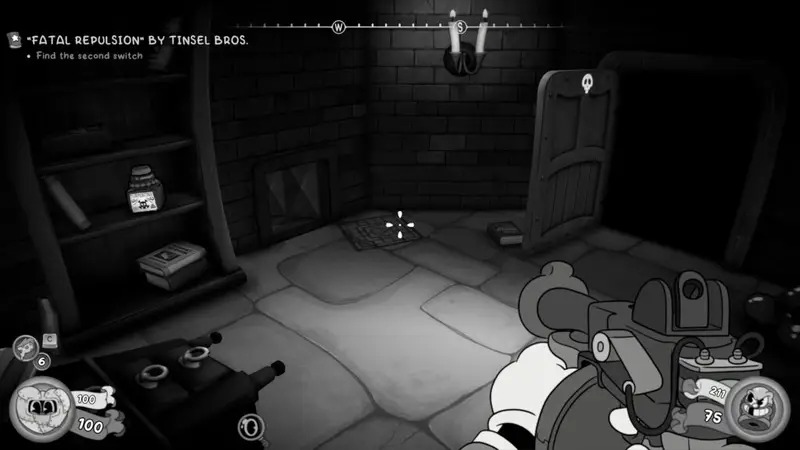
Collectible – Figurine (2 /10)
Return to the main chamber after the safe above. From there, you’ll want to flip the switch intthe centre (just after you enter from the door you unlocked). This will activate stream of air that you can use Tail Chopper to get higher. Use this to get to the top.
Land on the platform with four barrels with fire in them and jump across. Pick up the explosive barrel and throw at the “totally a normal wall” to reveal a hidden room with the Figurine in.
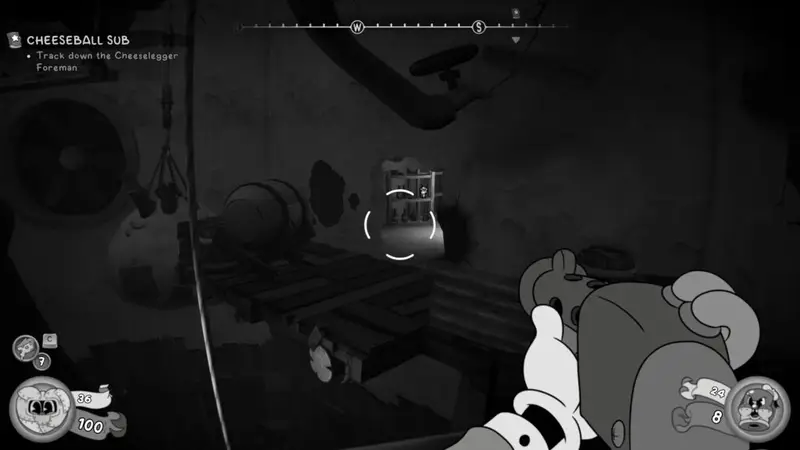
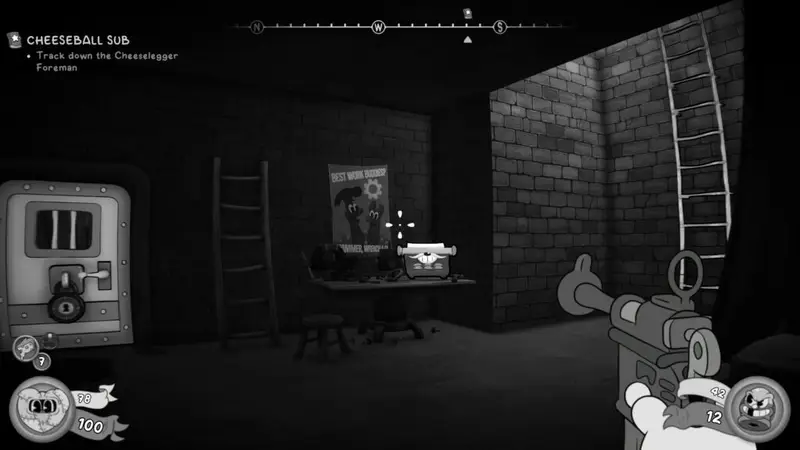
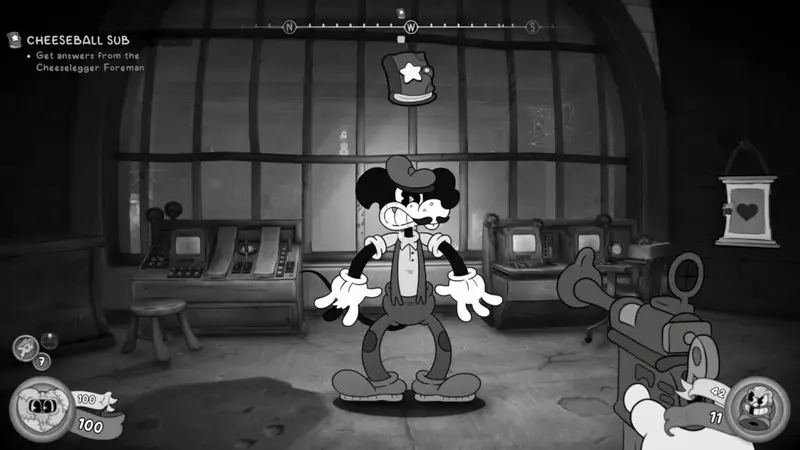
Investigation Clue – Wallop Bay, but Where?
Part of the main objective, you’ll get this after talking to the Cheeselegger Foreman.
Return to P.I. Office
Side Job – The Things We Need
Before you head off to Tinsel Avenue, be sure to speak with Wanda who is in the entrance way to the Little & Big Bar across from the entrance to your office. She will give you a side job that you can do in Tinsel Avenue, your next location.
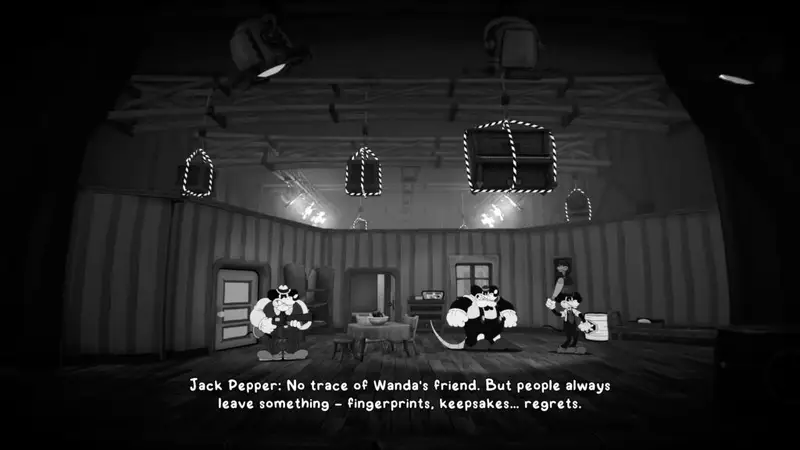
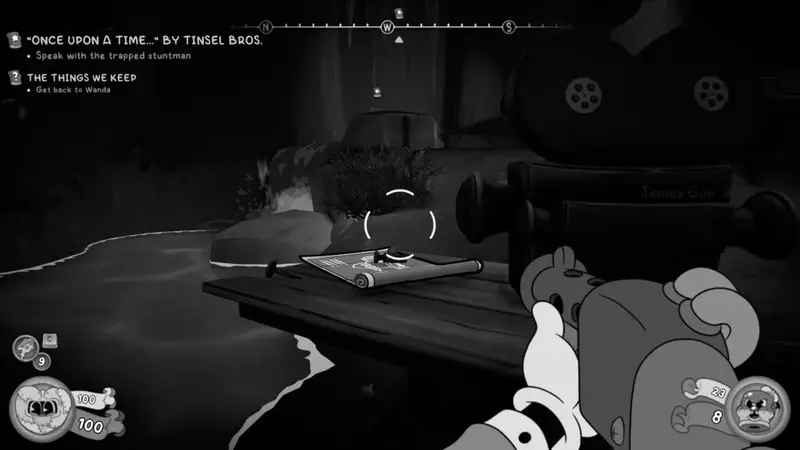
This job requires you to search for evidence of a friend of Wanda’s. You’ll find this evidence when you get to a part of the Tinsel Avenue level where you are exploring a “Family Set”. You’ll know you’re in the right place because there’ll be mini cutscene where enemies appear on a stage and there’s a few heavy things hanging above them.
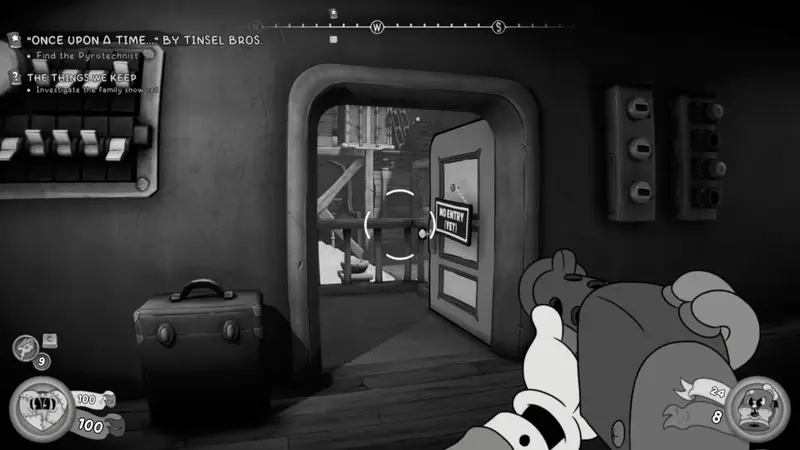
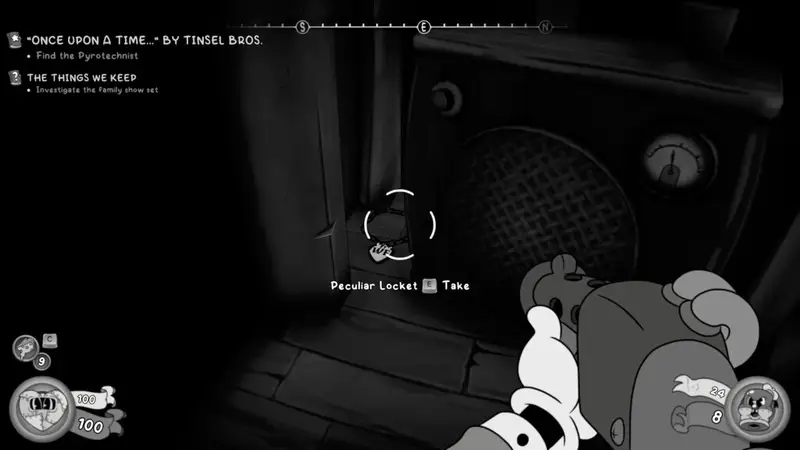
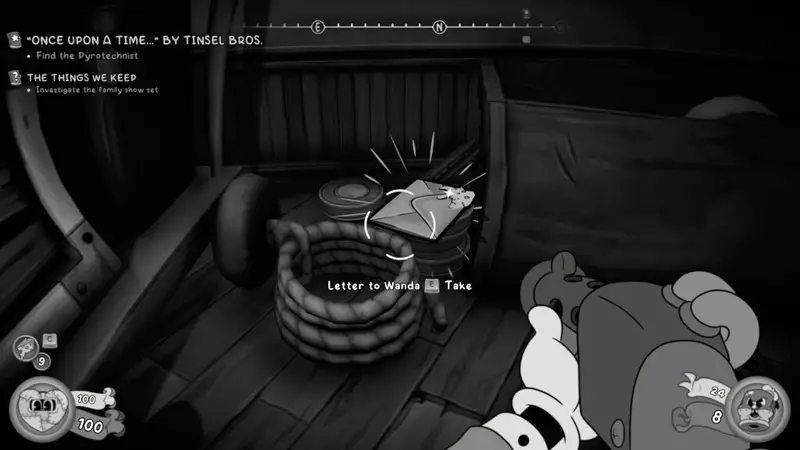
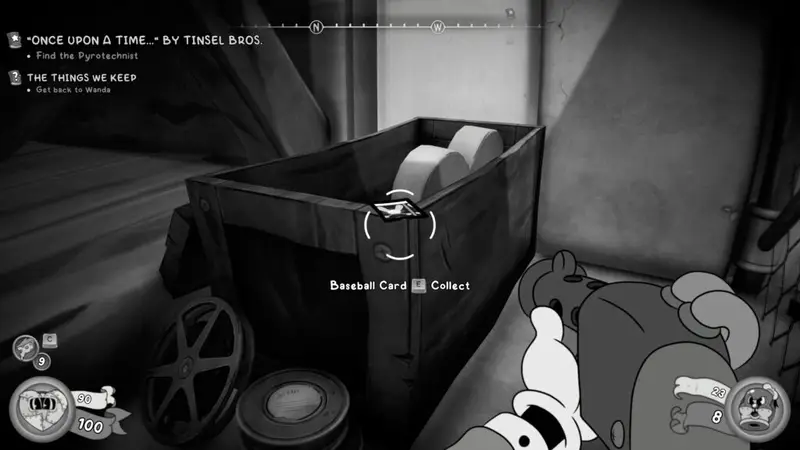
Fight your way through the set until you reach a door where it looks like you can leave. Before you leave, head to the right and look behind a crate at the end of the path to see a “Peculiar Locket”. Pick it up and go back and head straight to the other side (as if you were turning left before leaving). There should be a “Letter to Wanda” to collect. Grab these and return them both to Wanda when you’re next at the P.I. Office location.
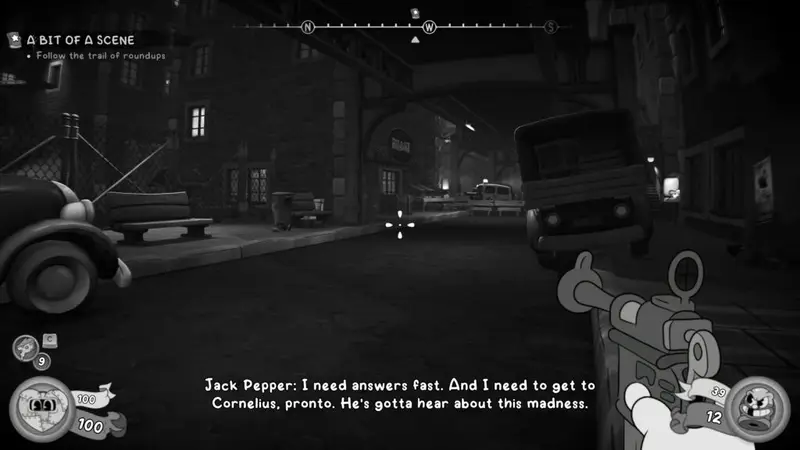
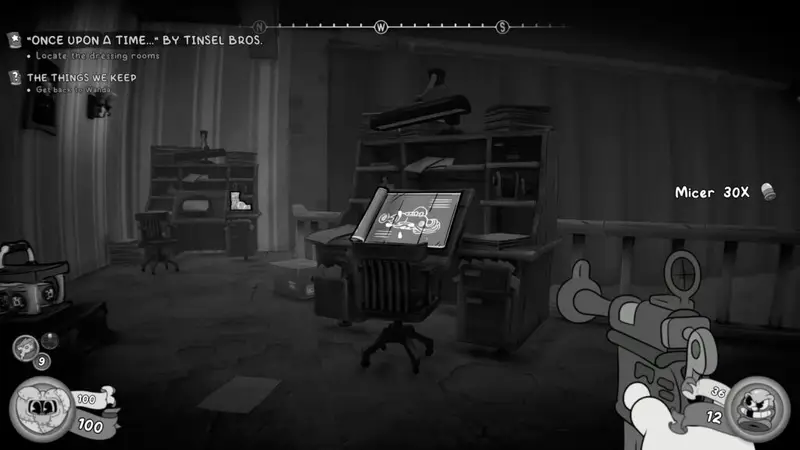
Tinsel Avenue
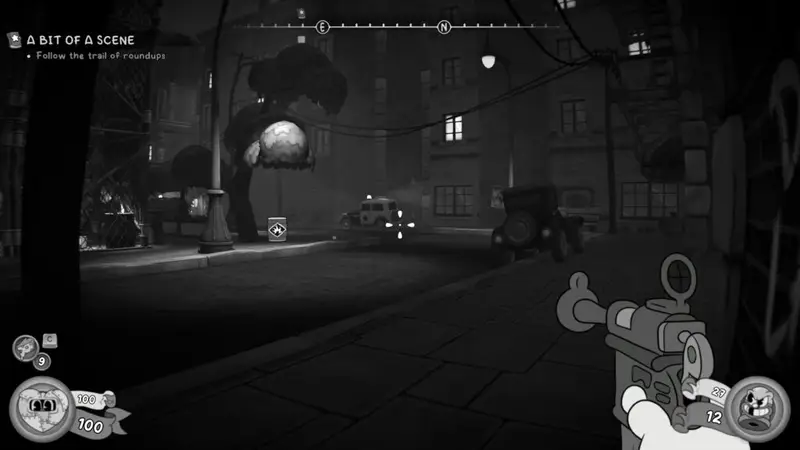
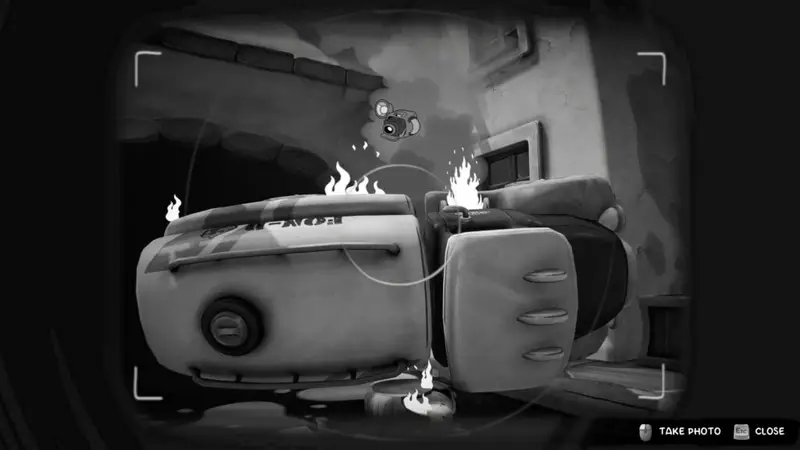
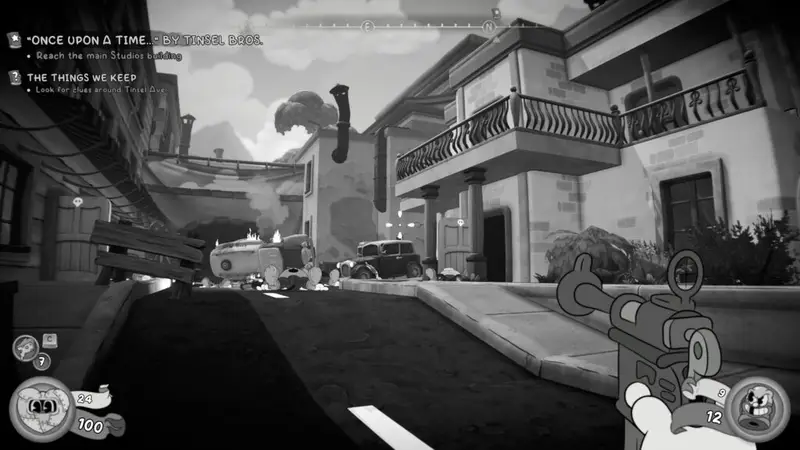
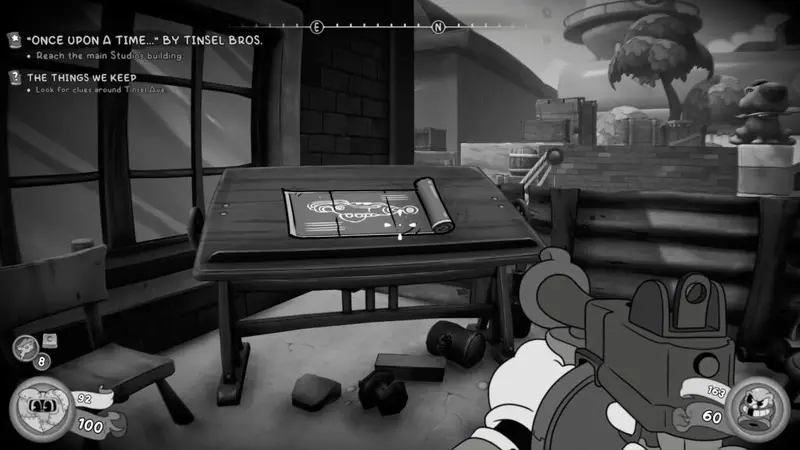
Case Investigation – Object of Interest – Photograph
As you fight down the main street at the beginning of the level. You’ll turn to the left and take on more enemies. Once they’re all done, head to the tunnel at the back of the road where there’s an overturned truck on fire. You’ll receive a prompt to take a photo.
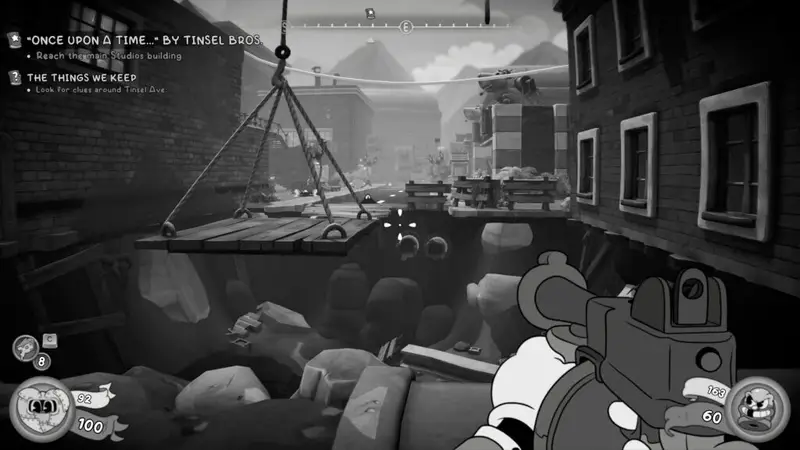
Schematic
Later on, you’ll arrive at section where you have to lower a platform to jump across a large gap. Once across, take out all the enemies and head up the stairs to the back left of this area. At the top of the stairs on the right are some schematics on a table.
Baseball Card (11/ 41)
Progress through the level until you get into a room with a character called Gabe Clarke. He’ll tell you that your next objective is to find the Pyrotechnist. Head through into the next room where you’ll see a typewriter on your left. To the right is a “totally normal wall” and some dynamite. Be sure to blow up the wall.
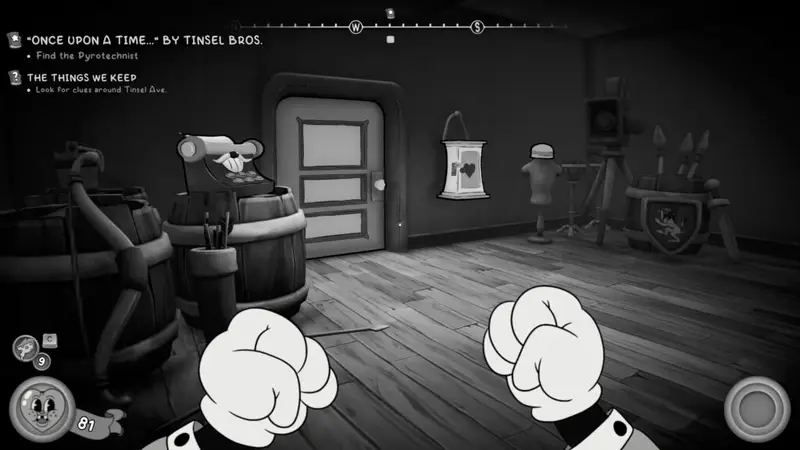
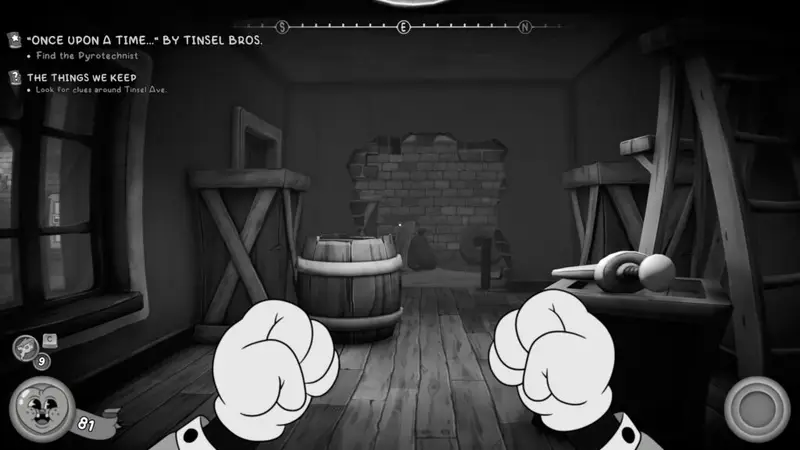
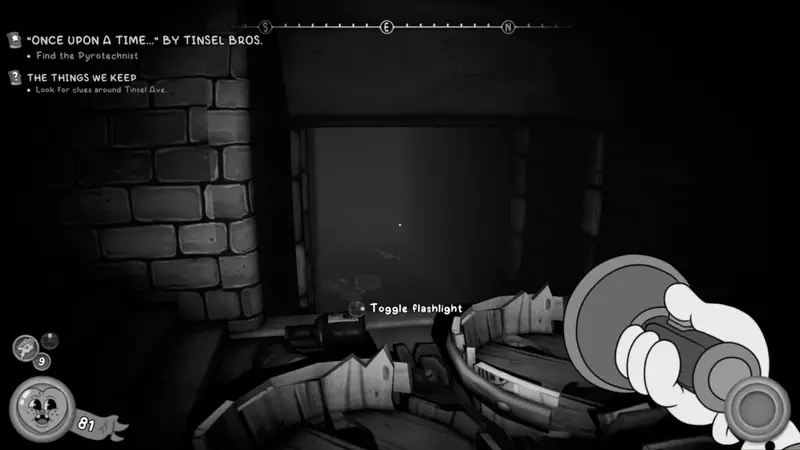
Head through and into the dark and take out quite a large number of enemies. Once defeated head to the end of the alley and you should a Baseball card resting in the dark on a crate.
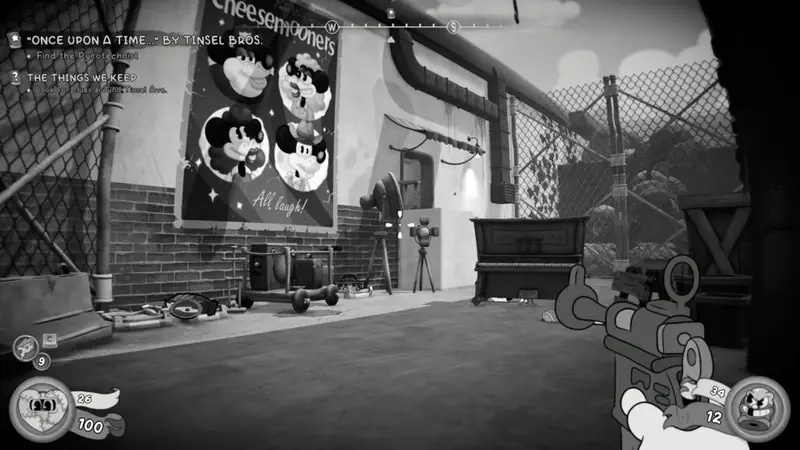
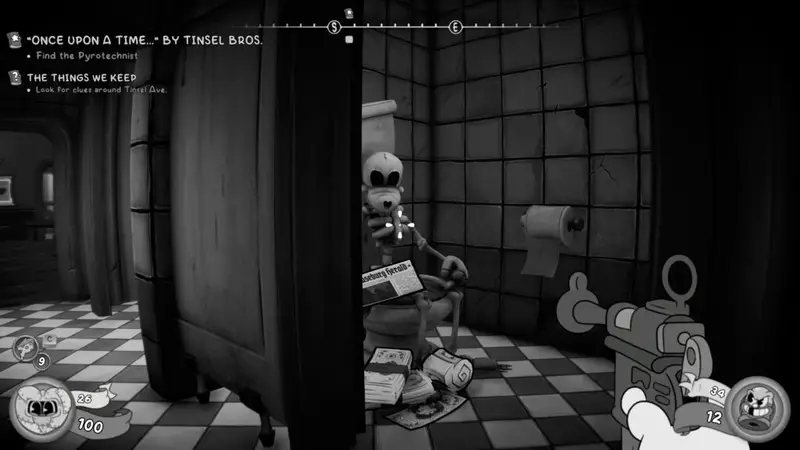
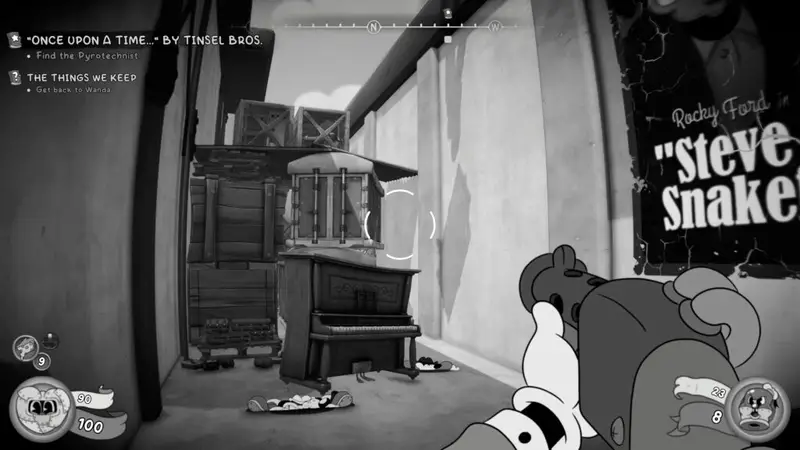
Newspaper (13 / 38)
Go past the typewriter and carry on. You’ll enter an outdoor space where you can drop a piano on two enemies. Defeat the enemies and go up the stairs on the left. You’ll enter a room with some toilets on the left side. Head into the first door on the left and in the far booth you’ll find the newspaper chilling with a skeleton.
Side Job – The Things We Need
Reminder to get the side job evidence. You’ll find this evidence when you get to a part of the Tinsel Avenue level where you are exploring a “Family Set”. You’ll know you’re in the right place because there’ll be mini cutscene where enemies appear on a stage and there’s a few heavy things hanging above them.
Fight your way through the set until you reach a door where it looks like you can leave. Before you leave, head to the right and look behind a crate at the end of the path to see a “Peculiar Locket”. Pick it up and go back and head straight to the other side (as if you were turning left before leaving). There should be a “Letter to Wanda” to collect. Grab these and return them both to Wanda when you’re next at the P.I. Office location.
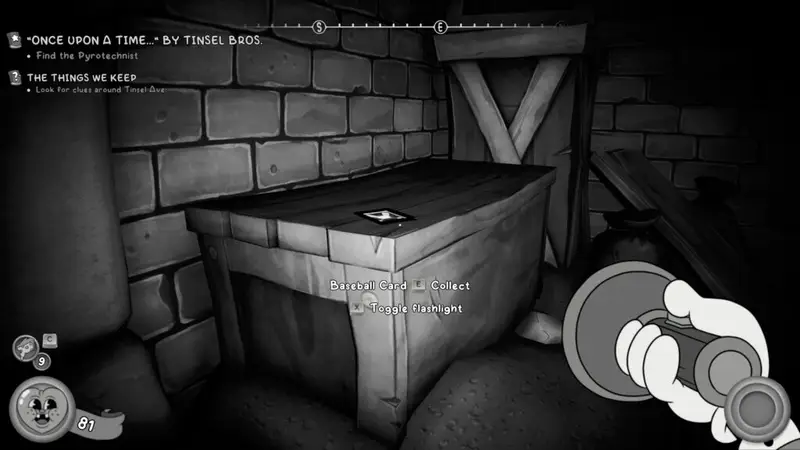
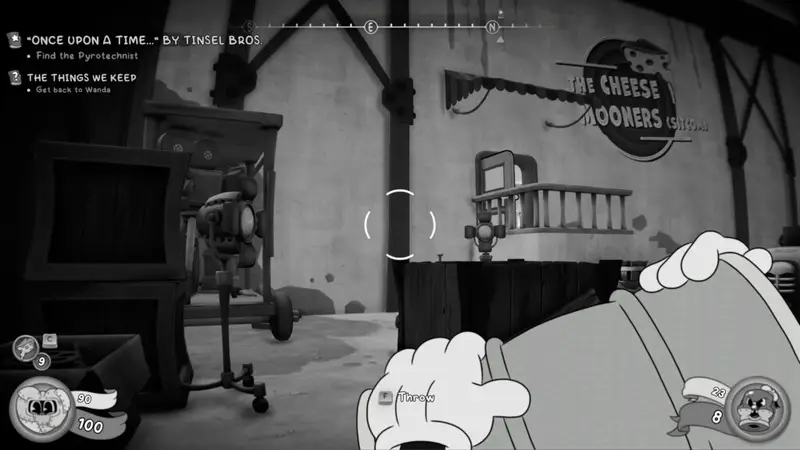
Baseball Card (12 / 41)
After collecting Wanda’s items, head out and take out the enemies on the left (there’s a piano to drop on them). The Baseball Card is behind that tall stack of crates behind where the enemies just were.
To get up there, turn to your right and look against the wall. You should spot some ledges to jump to that will get you high enough to make a double jump and Tail Chopper to get to the top of the crates. Once you’ve dropped down, the Baseball card is on the right on a small crate.
Schematic
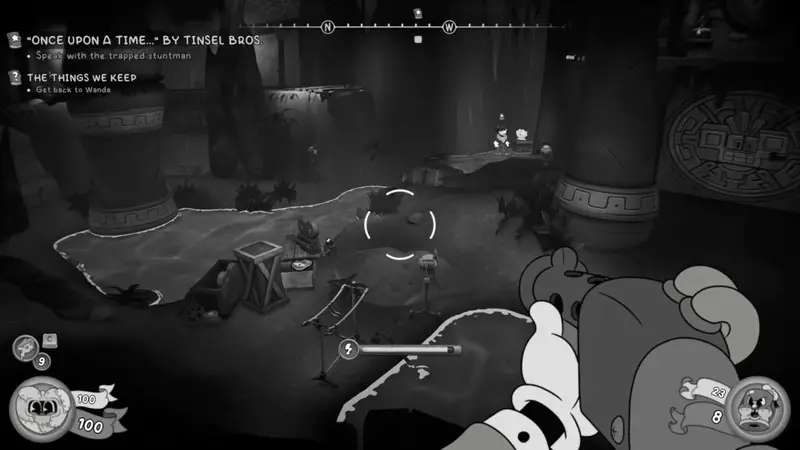
You’ll arrive in an Indiana Jones inspired set, with crocodiles down below and some artifact, ancient ruins in place. Jump down and to the left towards the left-hand pool of water. The schematics are on a table with a video camera on it.
Investigation Clue – Tinsel Scrub
Received after talking with the Pyrotechnist as part of the main objective.
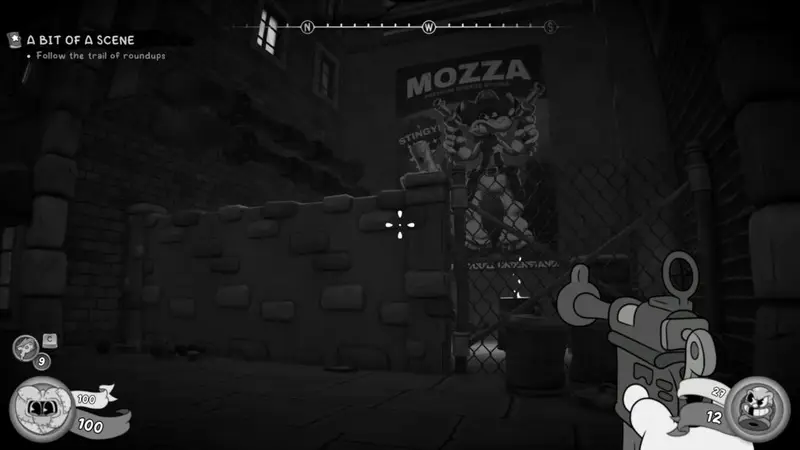
Comic Book (12 / 29)
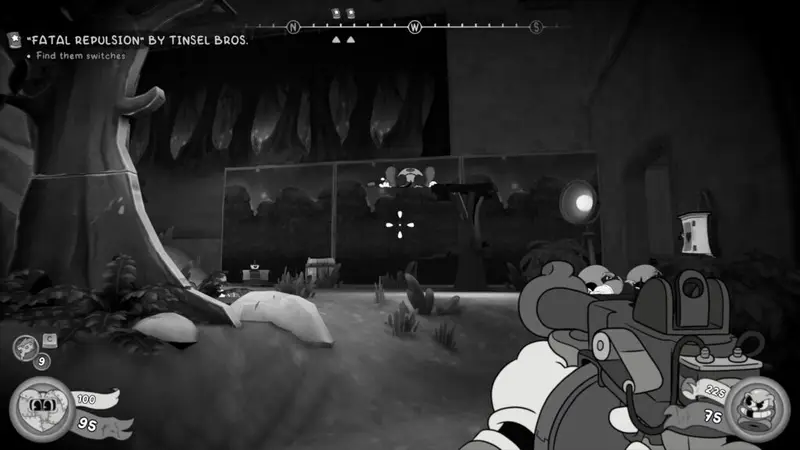
After speaking with the pyrotechnist, you’ll be in a forest set where enemies will ‘storm’ the set with towers that reminded me of Lord of the Rings. Make your way across the room until you arrive on a large platform area with a bit of a bridge in the centre. Head to the left and take out the enemies that appear in the siege tower. The comic book is in that tower, pinned to the wall with an arrow.

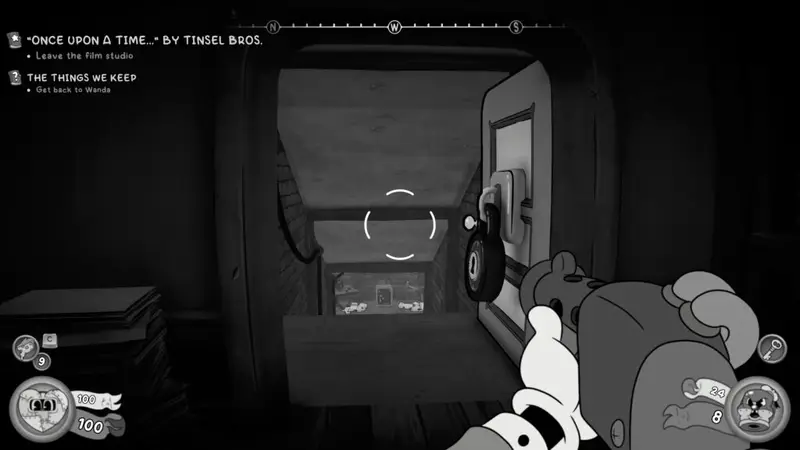
Schematic
Carry on through the level. You’ll meet an actor character, there’s a target you need to shoot above him. Make your way up to the floor above, and enter a building from earlier, but now on the upper floor. Tail Whip (woo new ability) across the space and take out the enemies. The schematic is on a desk to the right.
Investigation Clue – Picture of Mayoral Candidate and Betty Lynch
Part of the main objective, follow the marker.
Schematic
Where you collected the piece of evidence is also a door key. Make sure you collect that and use it on the door to the left of where the evidence is located, “Actress Dressing Room”. Head up the stairs and Tail Pick the padlock to get to the safe in the room at the bottom of the steps.
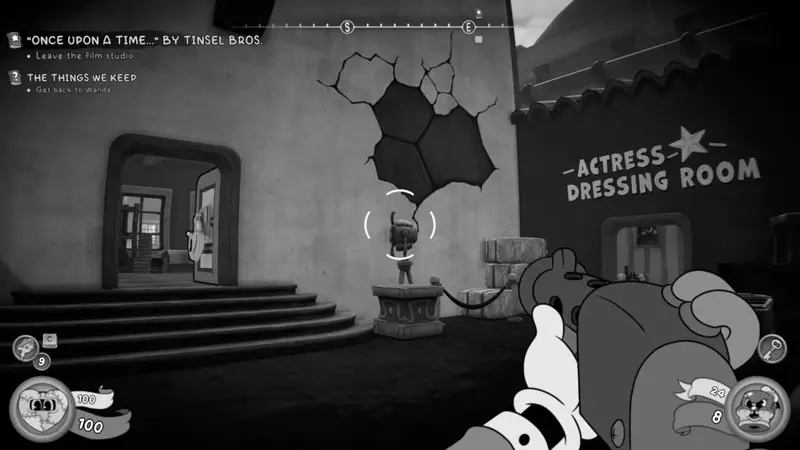
The safe is limited moves and limited time. Here is the solution below. Don’t forget to reload your save if it gets jammed. You’ll need to recollect the schematics above if you do.

Back to P.I. Office
Side Job – The Things We Need
Be sure to return to Wanda and complete the side job.
Newspaper (14 / 38)
Head into the ammo store on the left of the P.I. Offices and there should be a newspaper on sale for $50.
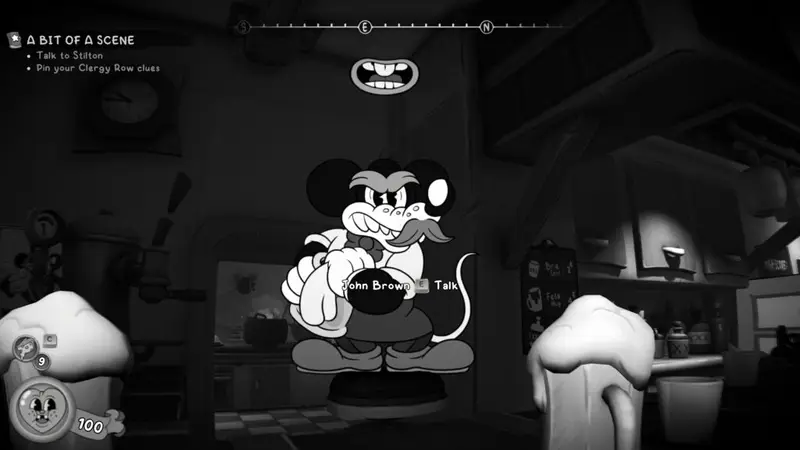
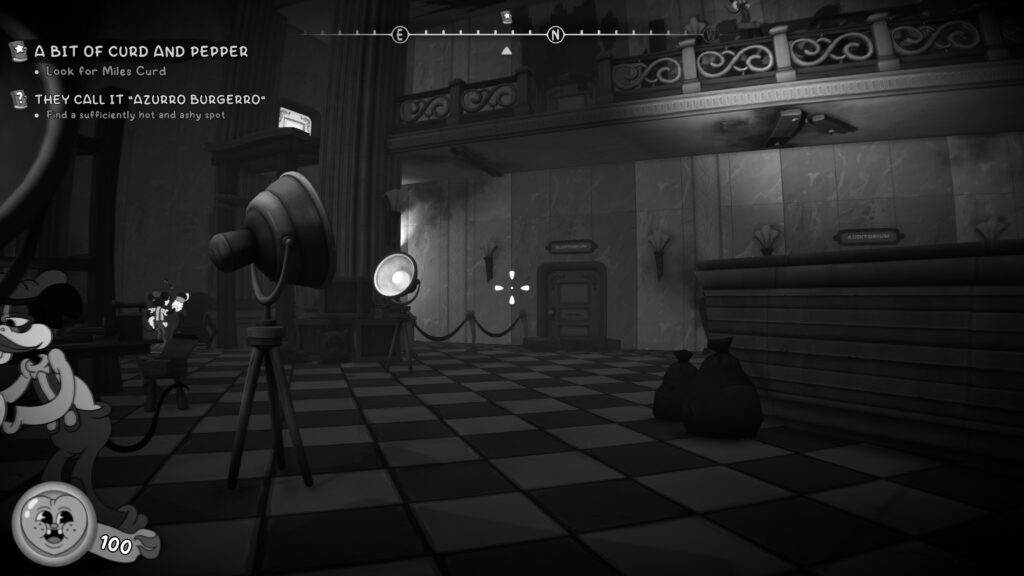
Side Job – Try Call it Azzuro Burgero
After you have returned to your offices and spoken with Vivian, head into the Little & Big Bar and speak with John Brown, the bar manager. He’ll give you a side job that requires you to take it to the Opera Ruins and find a suitable place to cook the Azzuro Burgero.
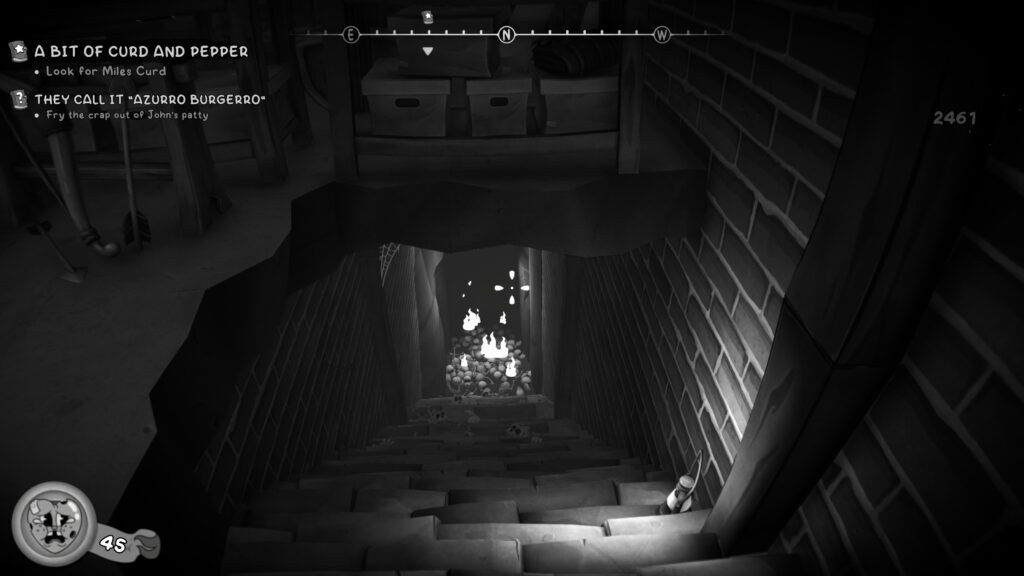
ross for the floor to collapse, go around again and jump across. Ignore the locked door for now and turn to your left. Use your Tail Whip to get across the gap the wooden structure. Do so again to reach the next one. To you left, on the right hand wall, you should see an opening with a wooden plank on it. Jump and into the room there.
You should see a hole in the floor and some steps down. Head down to the bottom of the stairs and use the prompt to cook the burger on the fire.
Be sure to remember to return to John Brown at the P.I. Office location to complete the side job.
Opera Ruins
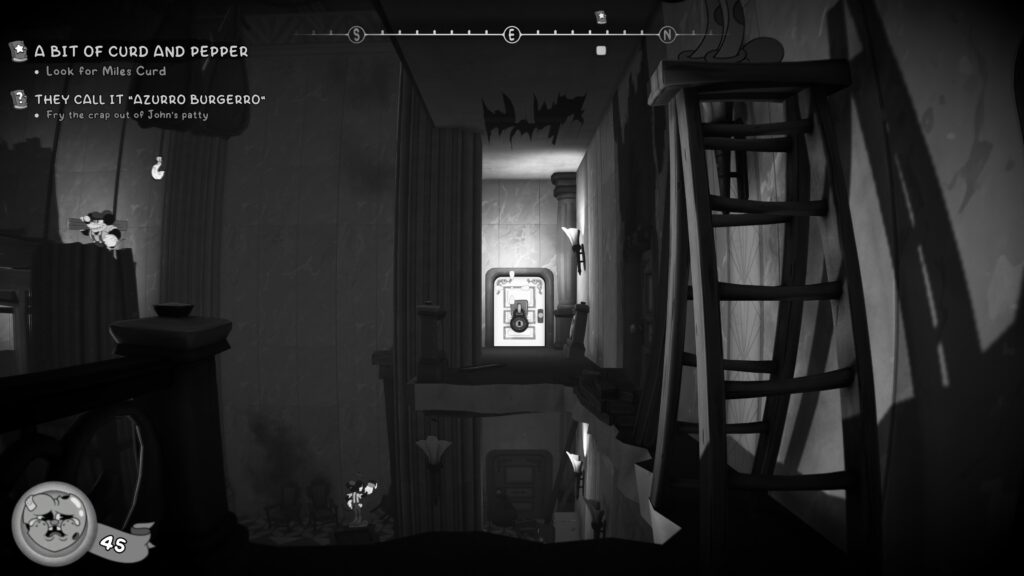
Schematic
Right at the start of the level, head to the back left corner of the beginning area. Behind a pillar, in a safe is the schematic.
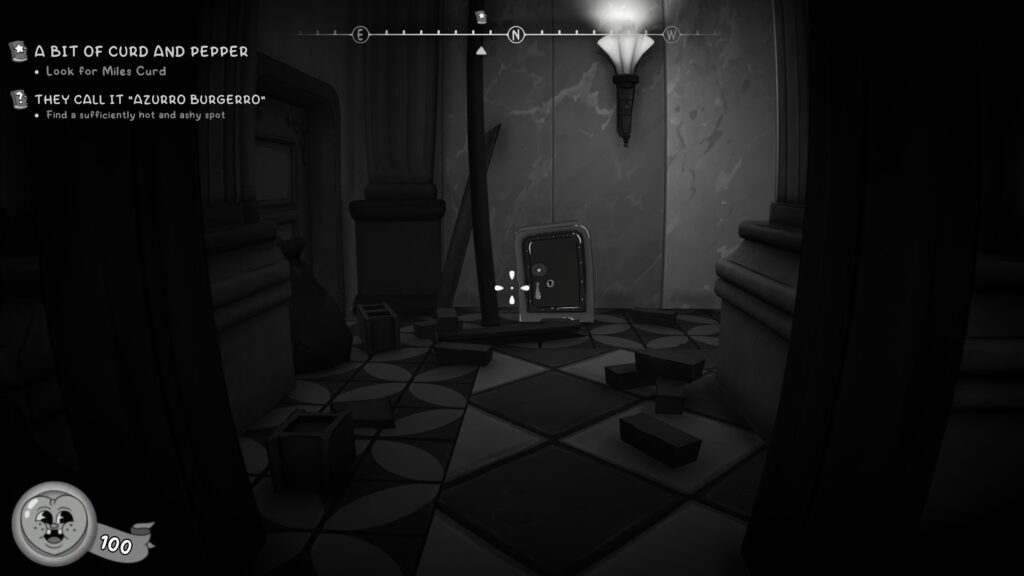
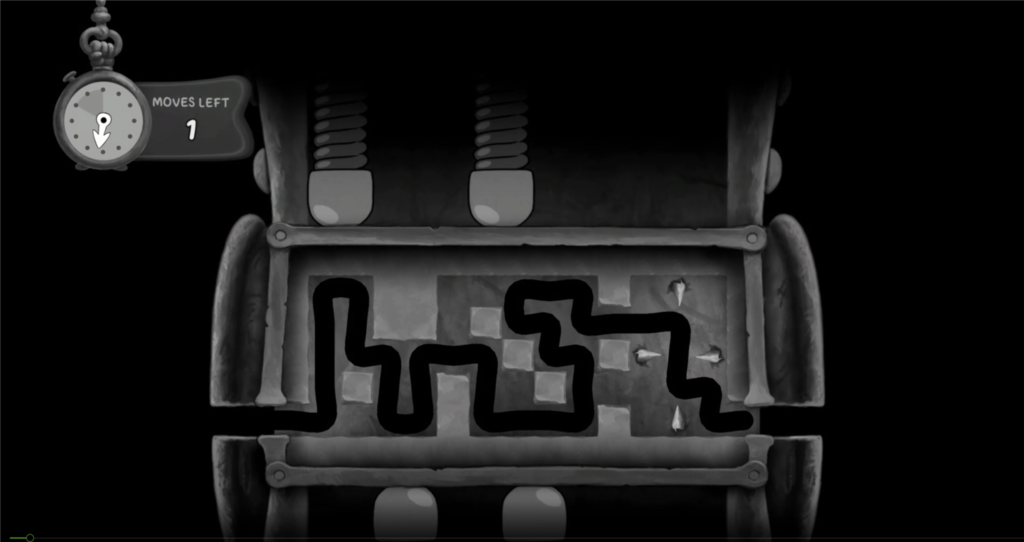
The safe is a time and move limited one, below is the correct solution. If you make an error it will jam the safe, but you can reload your last save to try again.
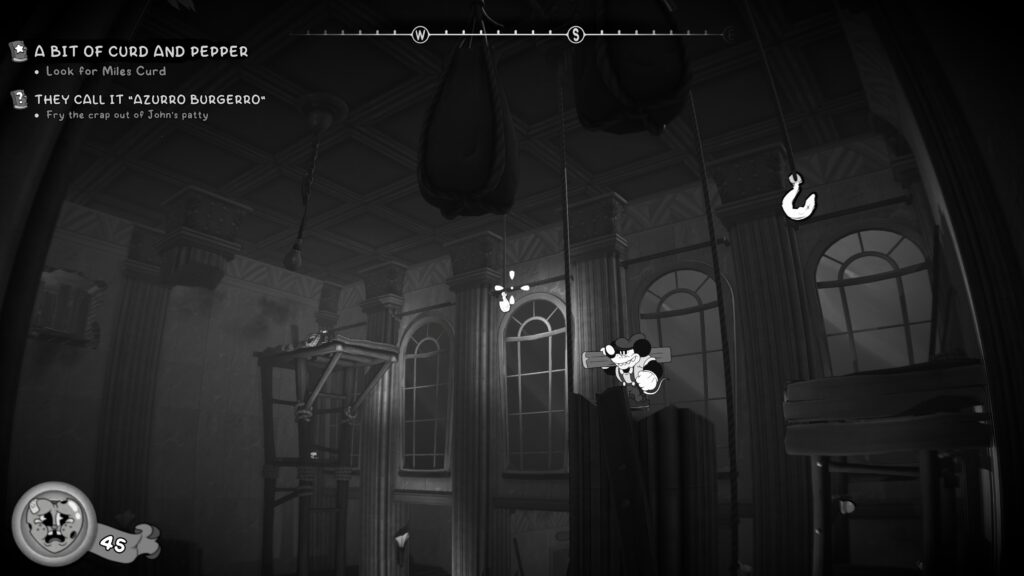
Side Job – Try Call it Azurro Burgero
From the ground floor of the opera, take the stairs to the right to go up to the next floor. You’ll walk across for the floor to collapse, go around again and jump across. Ignore the locked door for now and turn to your left. Use your Tail Whip to get across the gap the wooden structure. Do so again to reach the next one. To you left, on the right hand wall, you should see an opening with a wooden plank on it. Jump and into the room there.
You should see a hole in the floor and some steps down. Head down to the bottom of the stairs and use the prompt to cook the burger on the fire.
Be sure to remember to return to John Brown at the P.I. Office location to complete the side job.
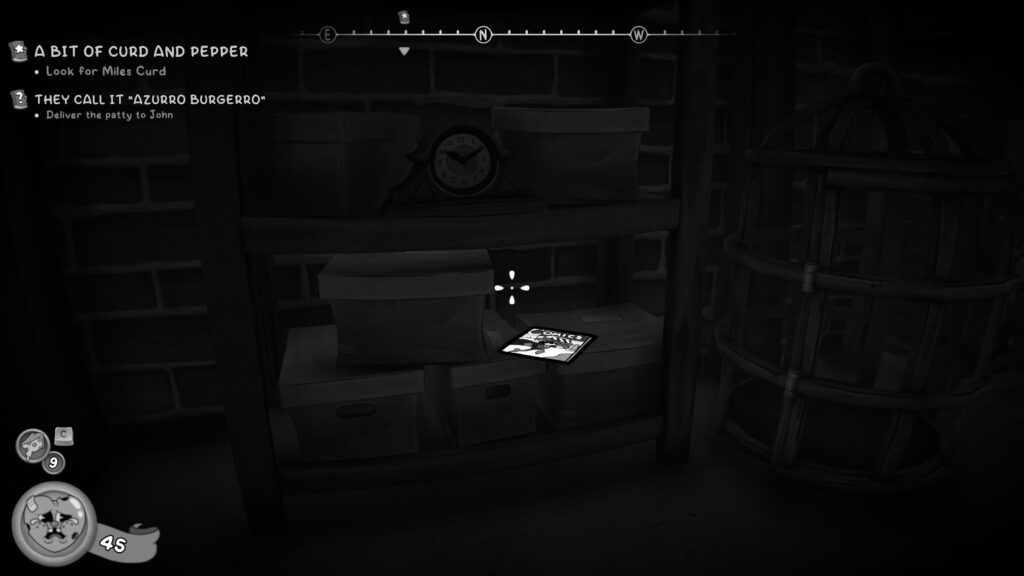
Comic Book (13 / 29)
In the same room where complete the side job objective, look to the left of the room and you’ll spot the comic book on a shelving unit.
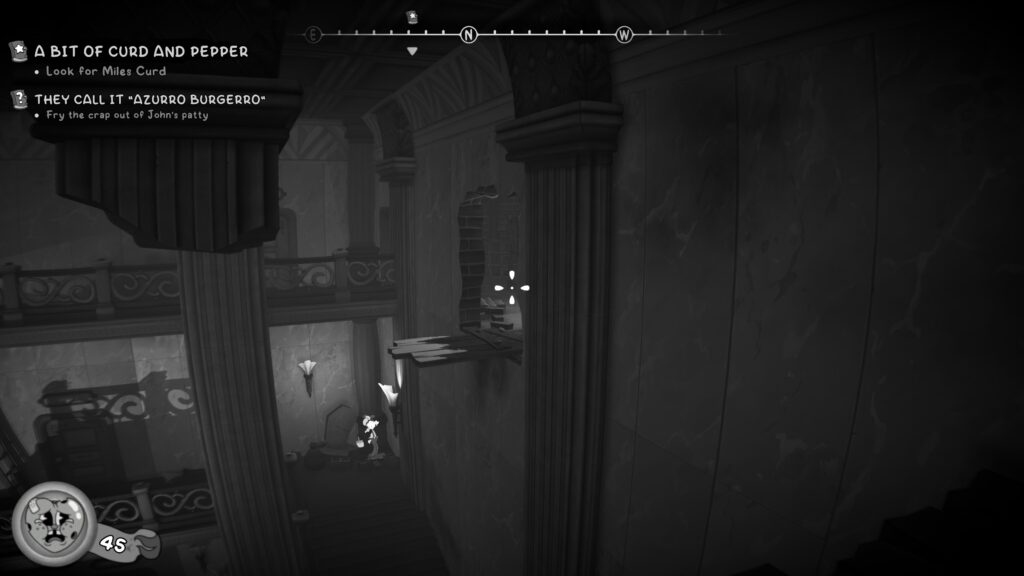
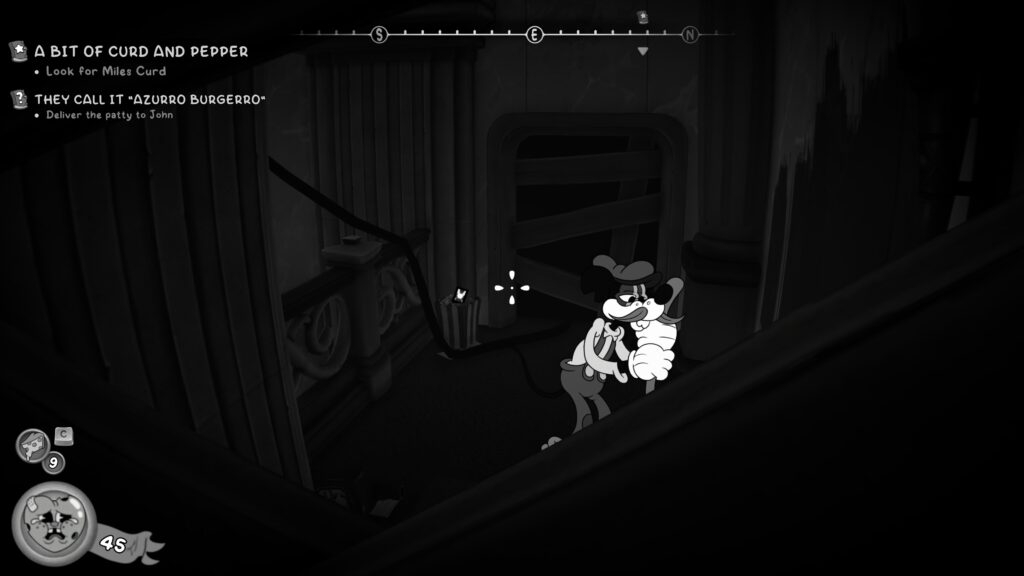
Baseball Card (13 / 41)
From the room you entered turn to the left and across the walkway. You should hit a wooden barricade with a worker on the other side. You should also be to see the Baseball Card through there. To get to it, double jump and Tail Chopper, if needed, around the barricade.
Investigation Clues – Two clues from Miles Curd
This is your main objective here.
Return to P.I. Office (Again)
Side Job – Try Call it Azurro Burgero
Don’t forget to visit John Brown in the Little & Big Bar to hand-in the side job.
Side Job – Fishy Business
After you’ve returned to your evidence board, and are planning to head back out, head back to John Browm in the Little & Big Bar to pick up a new side job. This time he has you seeking out some pungent herring. You’ll get this in Wallop Bay.
You’ll drop down into an area where there is a workshop and a pharmacy on your left and the path forward is on your right. Defeat all the enemies and head through the gate that opens at the back right of the area.
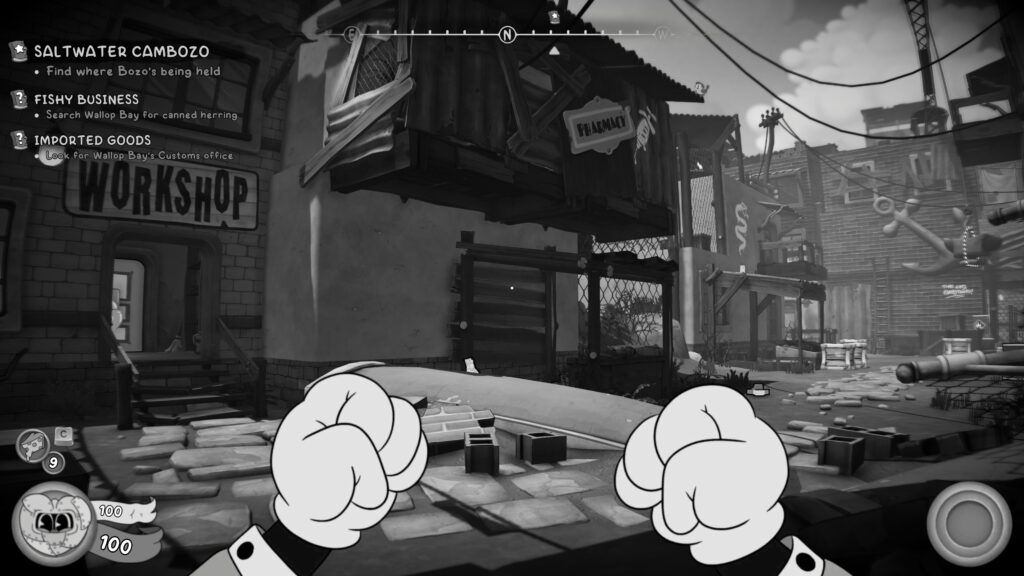
In the next area, head into the house in front of you (where the big enemy came from) and head upstairs. Once upstairs, head to the outside area where there’s a gap in the floor and look down, you’re side job objective is below. Jump to the wooden beam and grab the Reeker.
Be sure to return to him when back at the P.I. Office location.
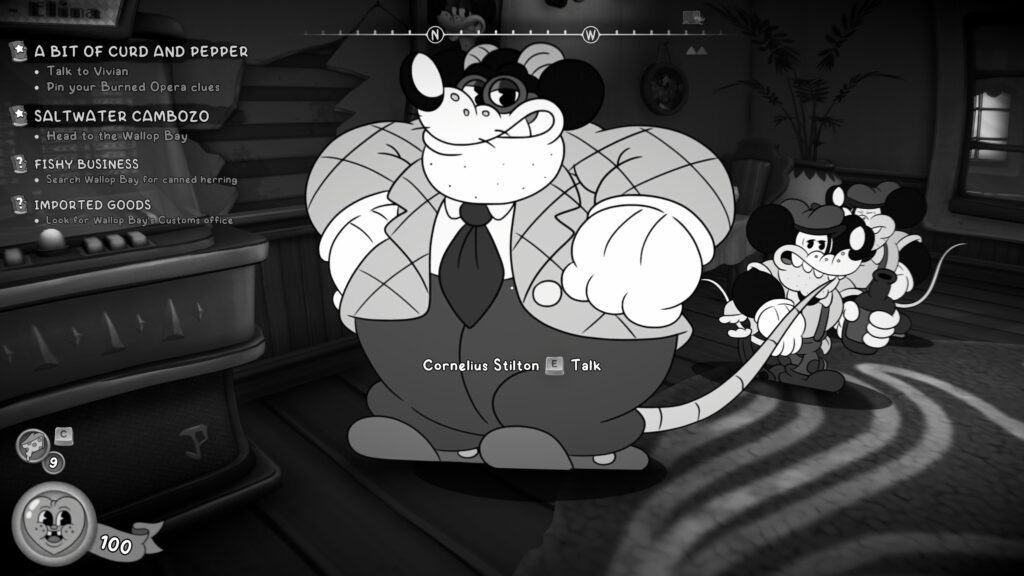
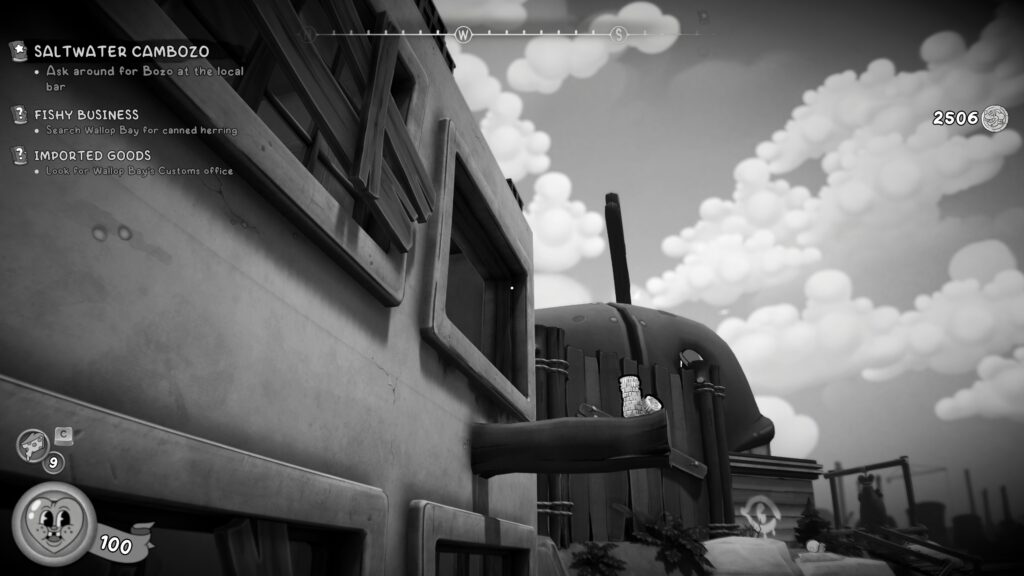
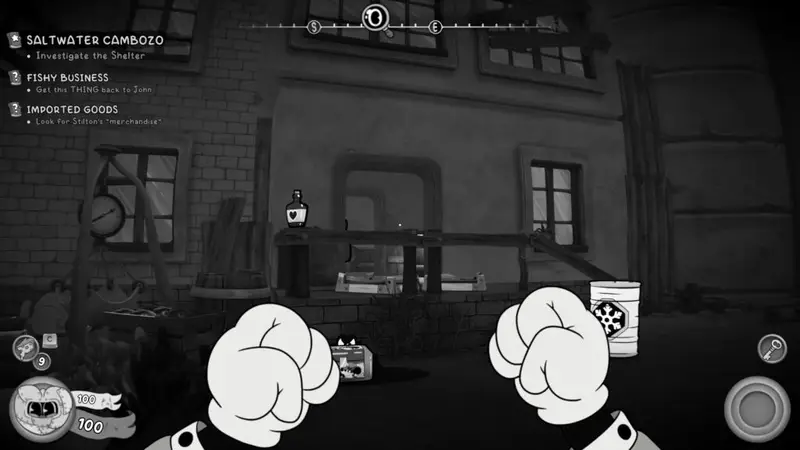
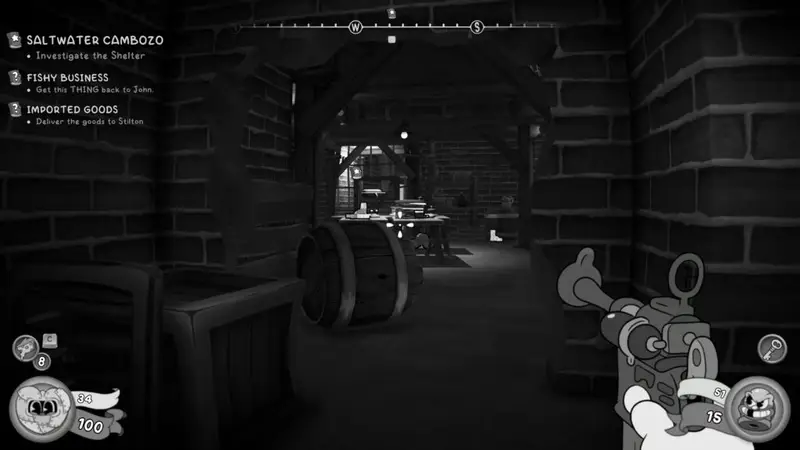
Side Job – Imported Goods
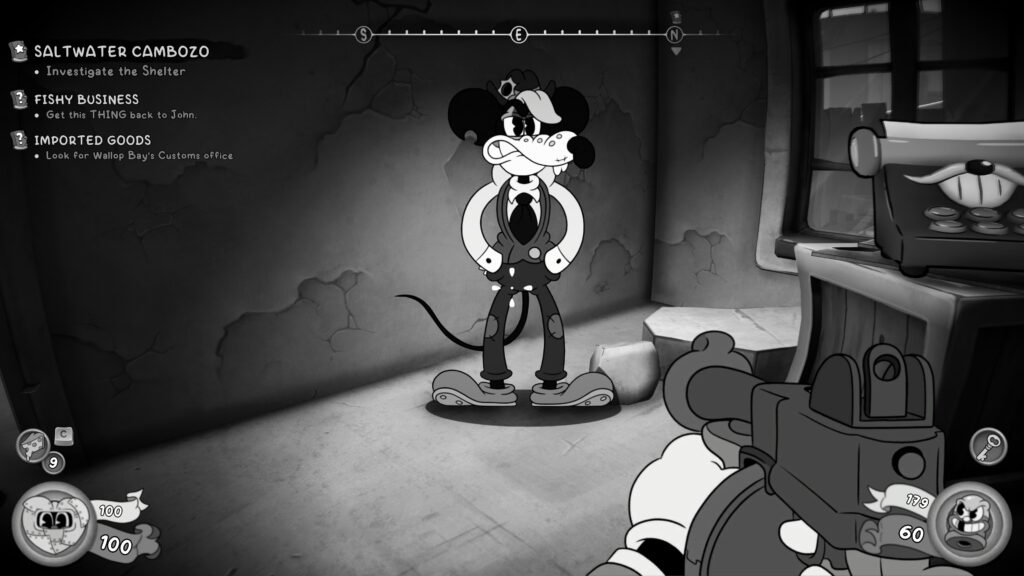
Speak with Cornelius Stilton, also in the Little & Big Bar, to pick up this side job. It requires you to retrieve some cheese sticks that had been confiscated in Wallop Bay.
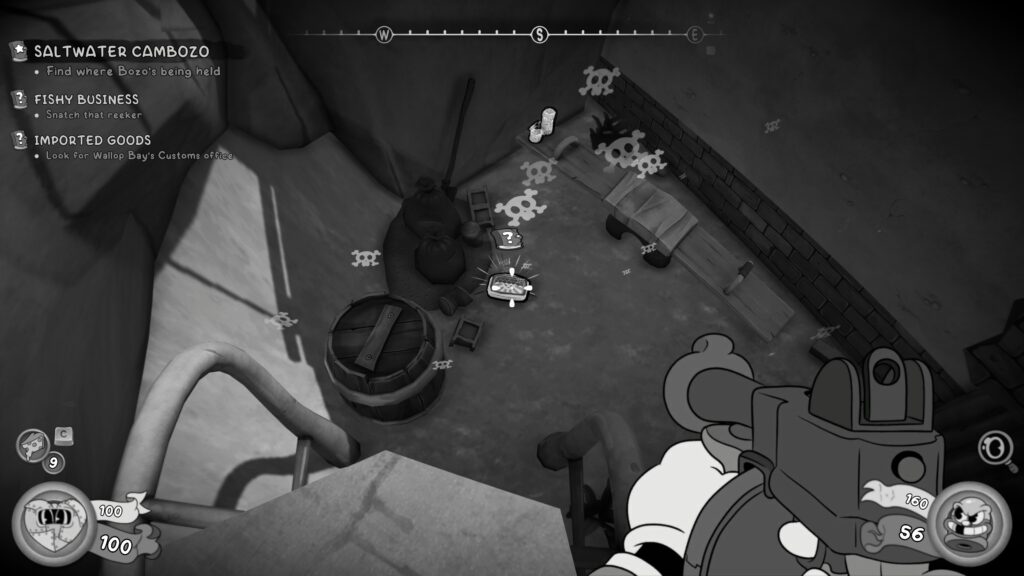
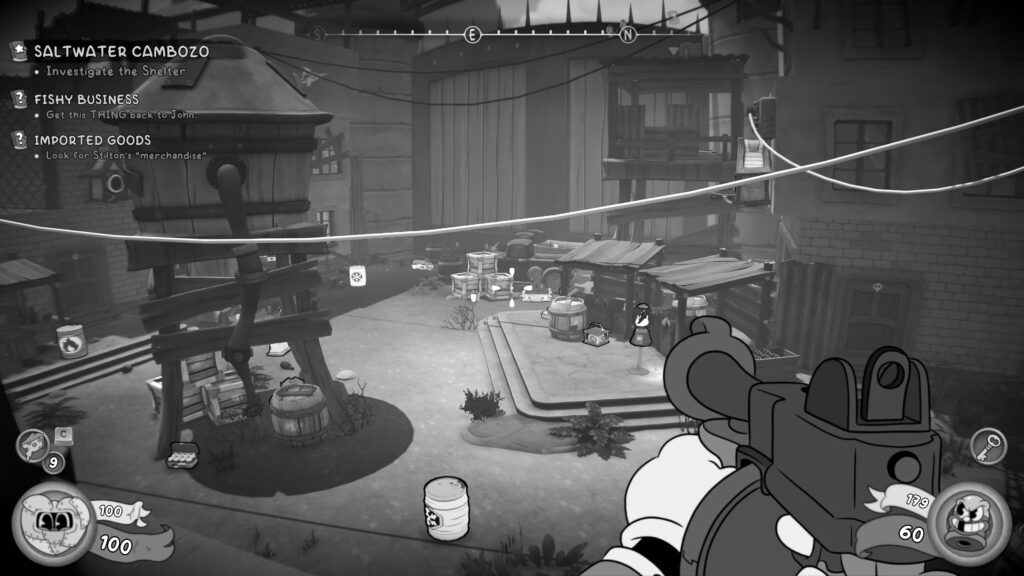
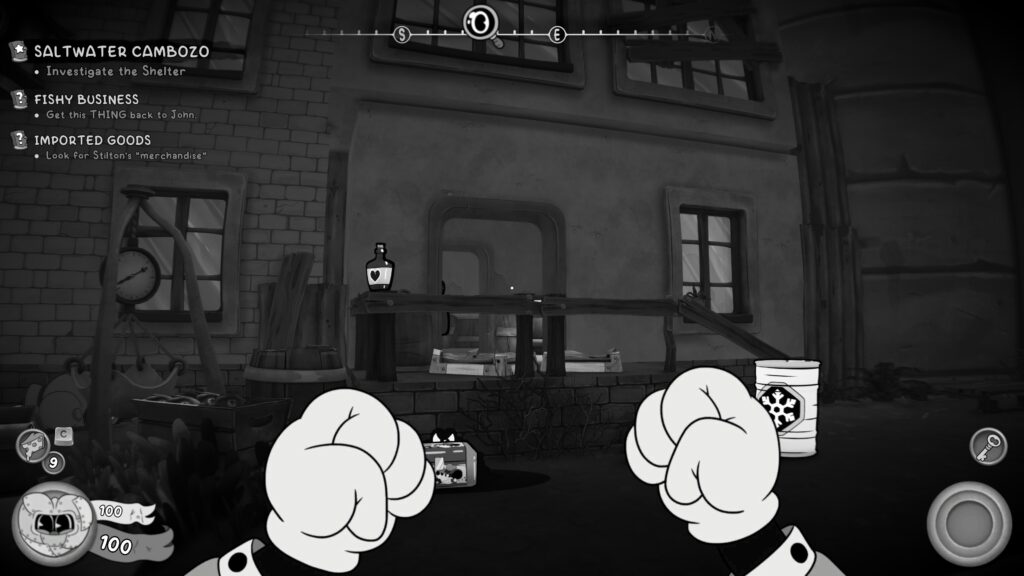
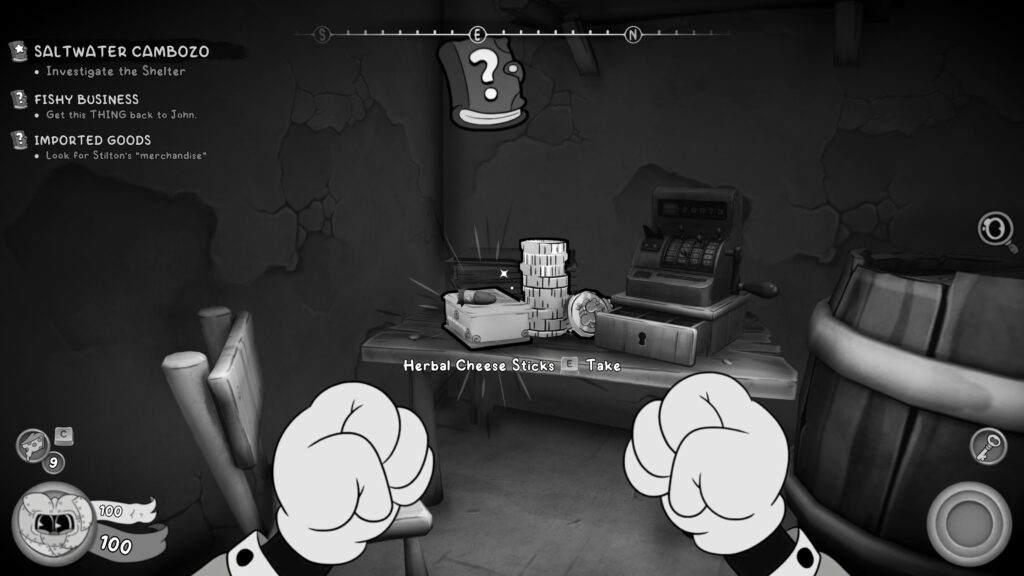
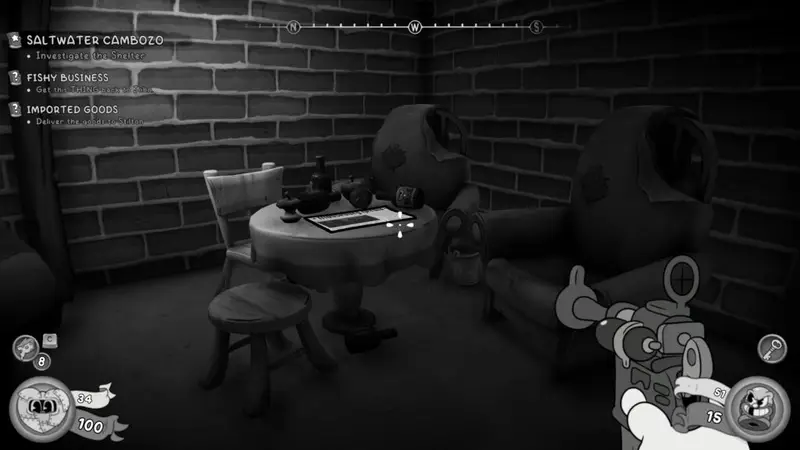
You’ll come to an open area where you’ll need to fight a lot of enemies. This is after speaking with Cameron Bozo as part of the main objective. Take out all the enemies and head to the padlocked door at the back left of the area. Tailpick the door and head into the backroom where the item for Cornelius is on a table.
Be sure to return to him when back at the P.I. Office location.
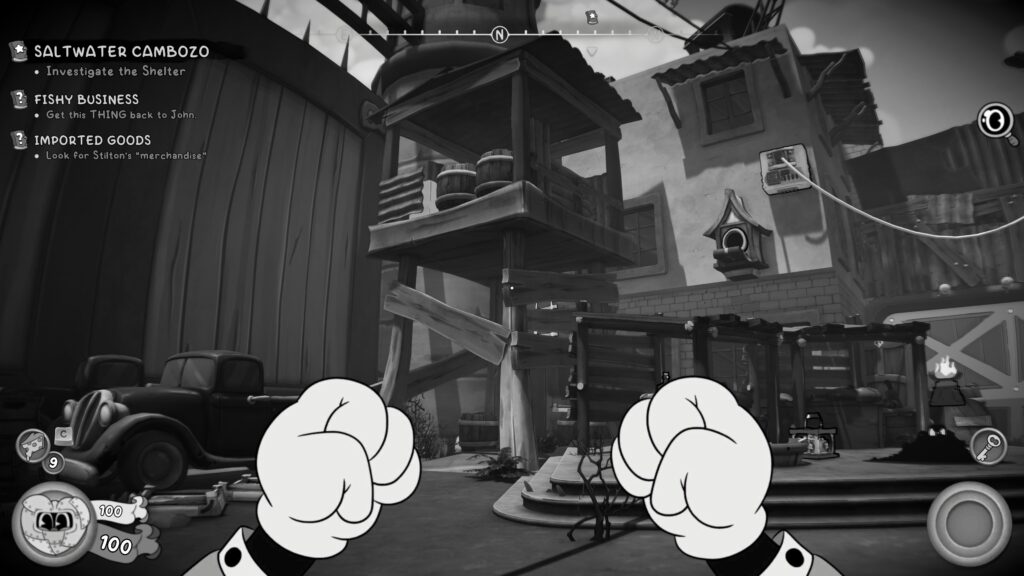
Wallop Bay
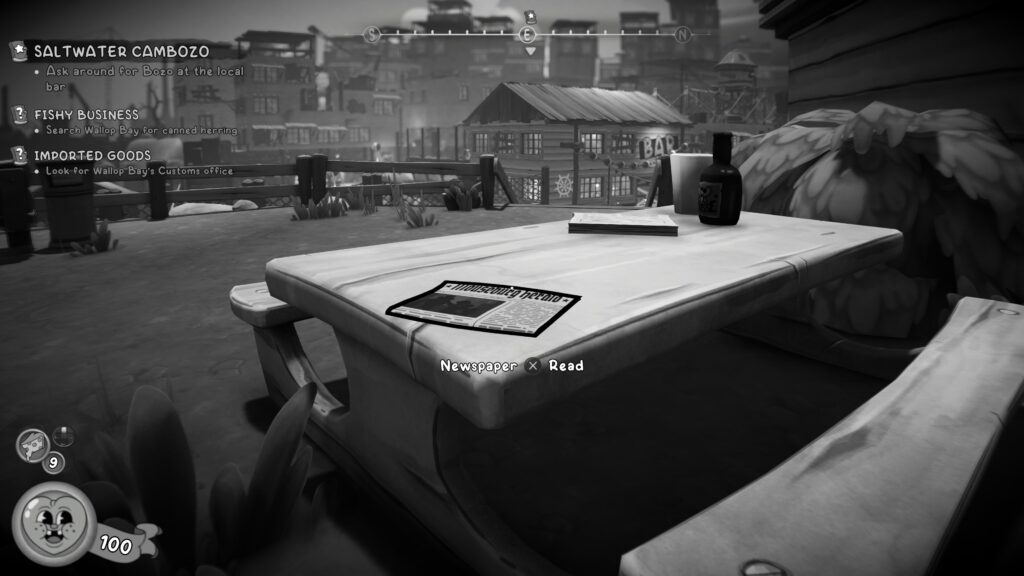
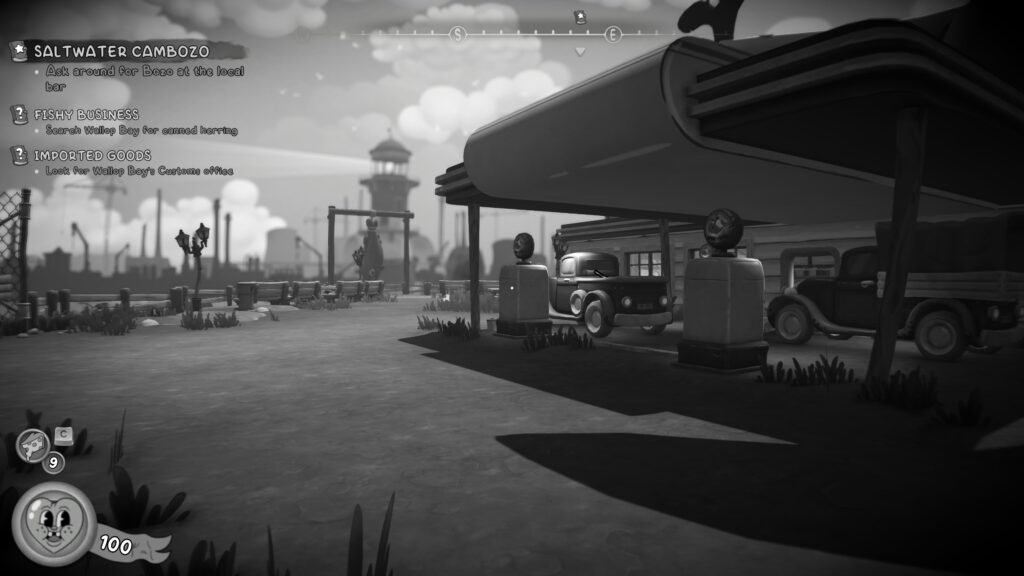
Newspaper (15 / 38)
At the beginning of the level, head forward past the gas station and look to the benches. The newspaper is sat on one of them.

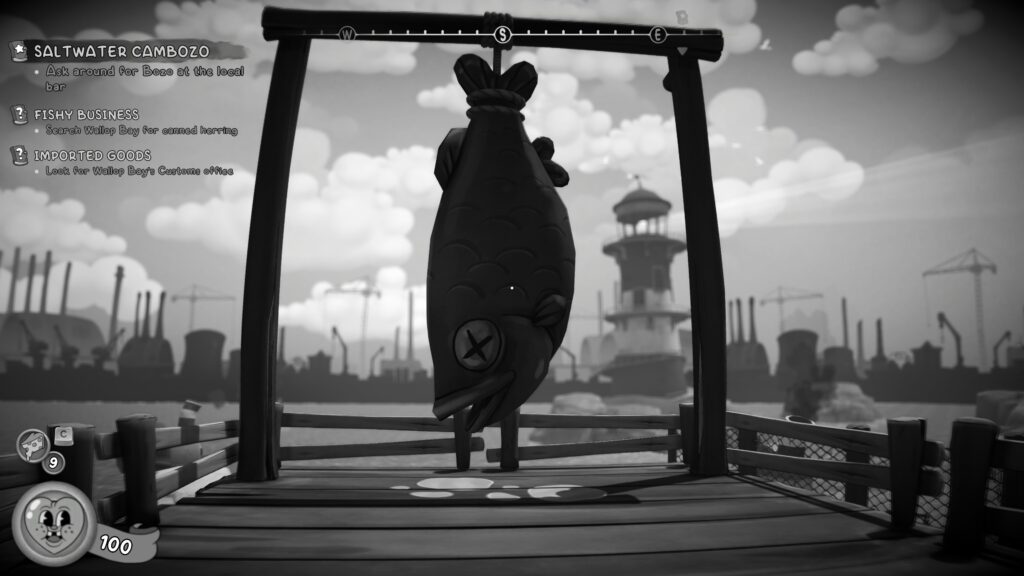
Achievement – “Quint’s Delight”
Head over the big shark you can see on display. Press B (Xbox controller) to give the shark a kick. A licence plate should fall out of its mouth, giving you the achievement.
Baseball Card (14 / 41)
Carrying on down from the gas station, you’ll enter a small area on the coast, with some water to your left, and some houses in front of you. Head to the left and jump across the rocks that are on the right of the water. Look to your left and you’ll see where you’ve just come from (and a sneaky cave below the wooden structure with the shark on it, we’ll be heading there in a sec).

Jump in the water (be careful not to go past the buoys, or you’ll be eaten by sharks), and you’ll find a Baseball Card under the water on a crate.
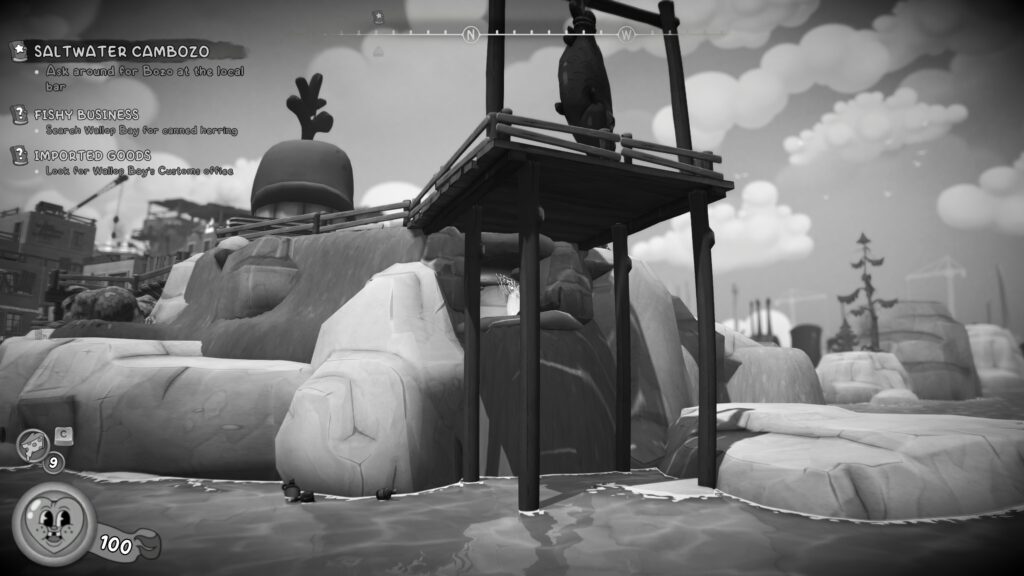
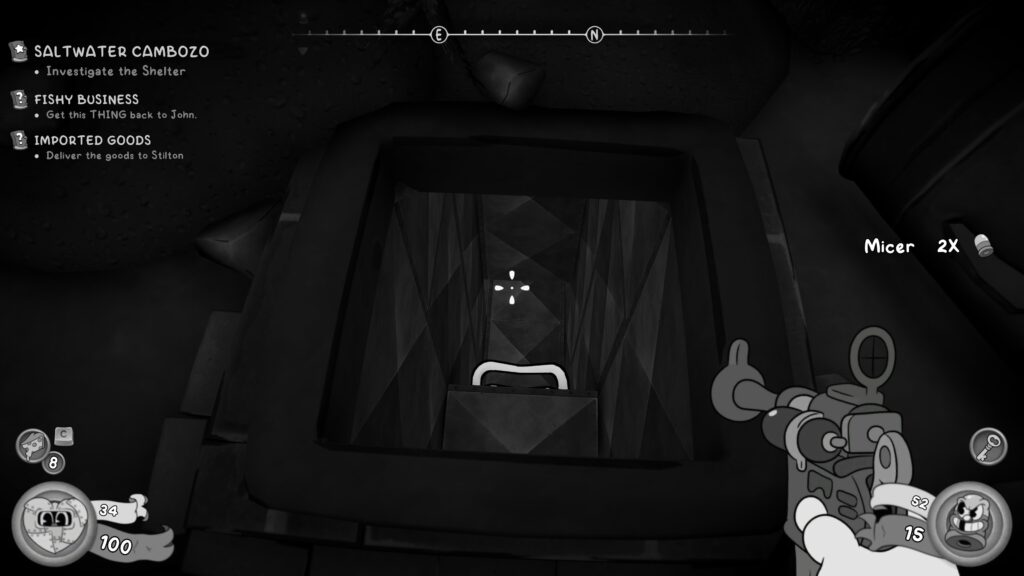
Secret Collectible – Figurine (3 / 10)
Return to the wooden balcony where the shark is on display and jump over the side. Use your Tail Chopper to glide downwards and aim for the secret cave. In there you will see the Figurine.
Schematic
In the safe in the secret cave with the Figurine.
The safe has a time limit and a limited number of moves to successful Tail Pick it. Here’s the solution below. If you get it wrong, reload the save to try again (you may need to recollect other collectibles, be sure to check their location to make sure).
Schematic
Return to the town type area and use the ledges and wooden beams to jump upwards and enter the window on the right hand side building. The schematic is on a crate when you enter the window.
Newspaper (16 / 38)
A fair bit later (after defeating the crooked cop with the Loose Cannon weapon, and a bit more exploring and wall destroying), you’ll come to a gate with a padlock on the door. The sign on the door tells you to come back in five minutes. Open that door, and before activating the tantalizing pile of TNT, look to the left to grab the newspaper sat on a long crate.
Side Job – Fishy Business
You’ll drop down into an area where there is a workshop and a pharmacy on your left and the path forward is on your right. Defeat all the enemies and head through the gate that opens at the back right of the area.
In the next area, head into the house in front of you (where the big enemy came from) and head upstairs. Once upstairs, head to the outside area where there’s a gap in the floor and look down, you’re side job objective is below. Jump to the wooden beam and grab the Reeker.
Schematic
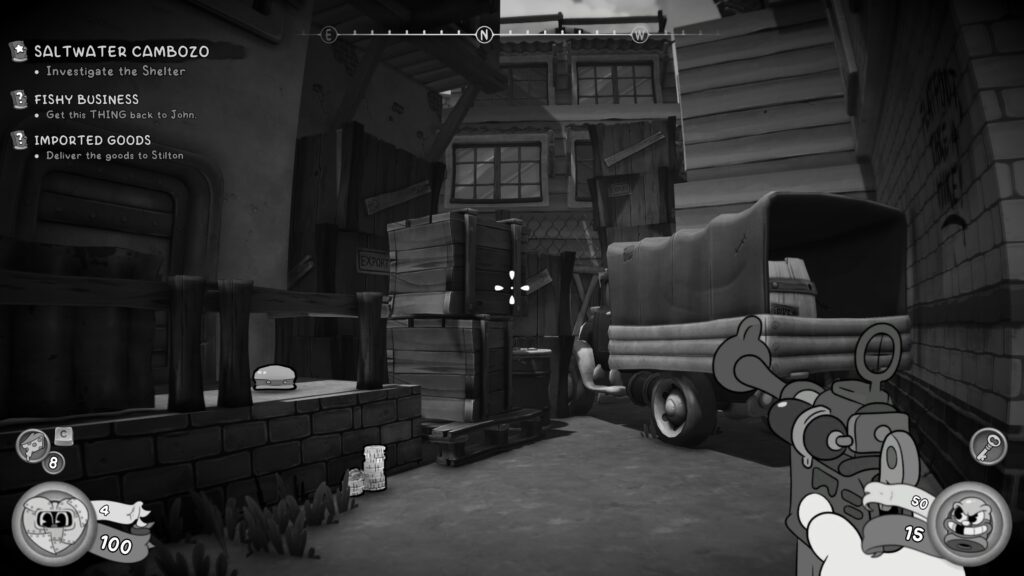
After speaking with Cameron Bozo, you’ll drop down in a large area with a lot of enemies. Take them all out then look to the back right corner of the area, you’ll spot a wooden tower, head underneath that.

You’ll spot some barrels / crates to smash that reveals a gap in a wooden fence to crawl under. Once inside, turn around to see some ladders that take you up to that wooden tower. Up there is a safe and the schematics on the left.

Side Job – Imported Goods
Take out all the enemies and head to the padlocked door at the back left of the area. Tailpick the door and head into the backroom where the item for Cornelius is on the table.
Be sure to return to him when back at the P.I. Office location.
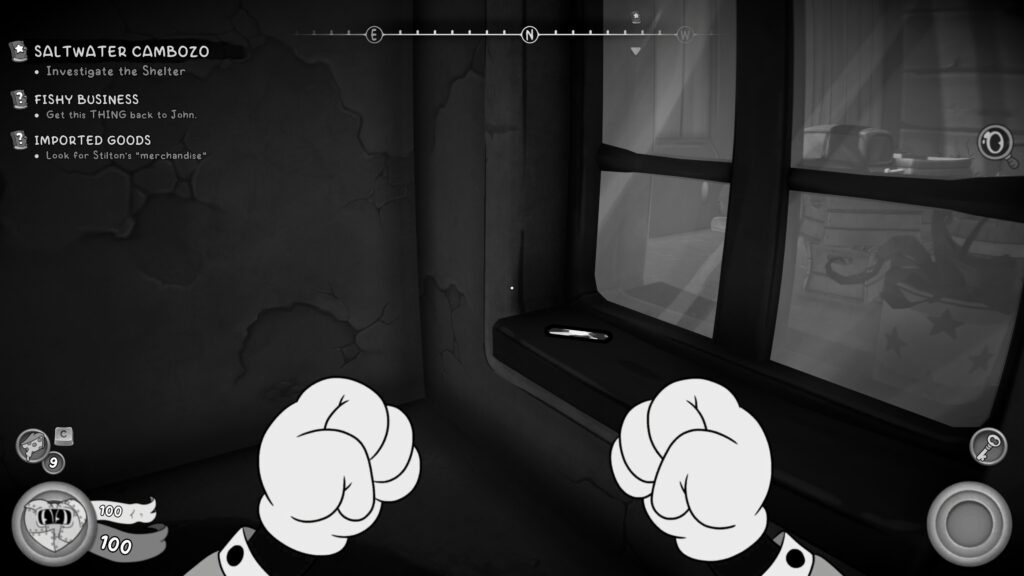
Baseball Card (15 / 41)
In the same room as the side job objective item for Cornelius. As you’re heading out, take a quick left, and on the window sill is the Baseball Card.
Schematics
After opening the big gate by shooting the three generators head into the next area. Head to the back of area and jump over the crates, you’ll find a vent to climb down. Follow the vent around to find the schematic (watch out for the jet streams).

Newspaper (17 / 38)
If you follow the vent from the schematics, you’ll enter a room with a “totally normal wall”. Blow that up to enter the location of the main objective. To the back left, on a circular table is the newspaper.
Investigation Clue – Trade Renewal Agreement
This is the main objective, it’s in the same room as the above newspaper, on a table in the centre.
Investigation Clue – Prescription
Found in the pharmacy, you’ll have to go that way as part of the main objective.
Investigation Clue – Shrew Manifesto
In the workshop, part of the main objective. You go here after getting the workshop key in the pharmacy.
Investigation Clue – Ze Crooked Collab
Main objective, added after you spot Simms and Ze Professor at the end of the level.
Back to P.I. Office (Again)
Side Job – Imported Goods
Don’t forget to head to the Little & Big Bar and hand in the side job with Cornelius.
Side Job – Fishy Business
Don’t forget to head to the Little & Big Bar and hand in the side job with John Brown. If you’ve been following this guide, you should unlock the “Dime Novel Sleuth” achievement.
Comic Book (14 / 29)
Go to the Ammo store and grab this comic strip for $50.

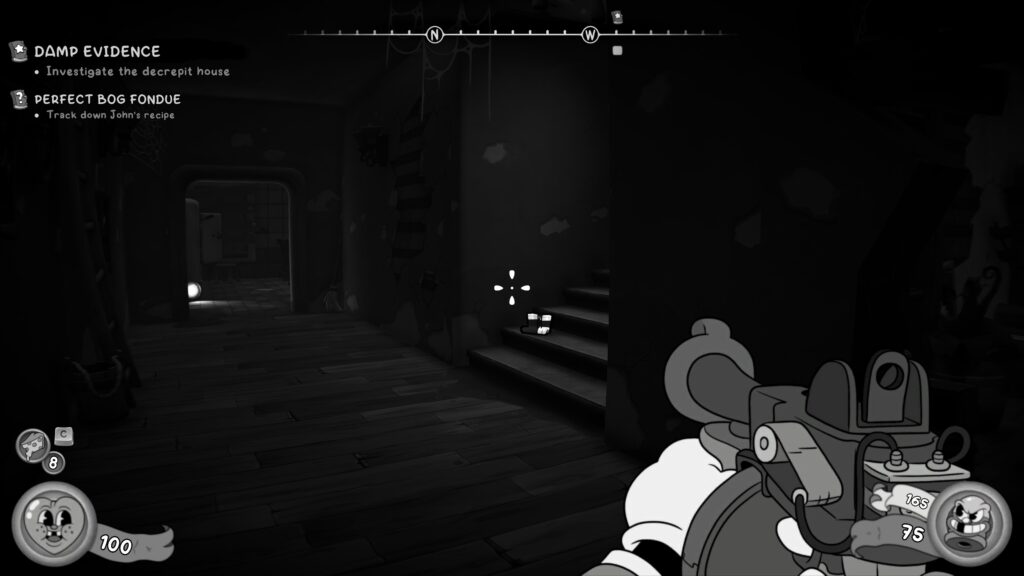
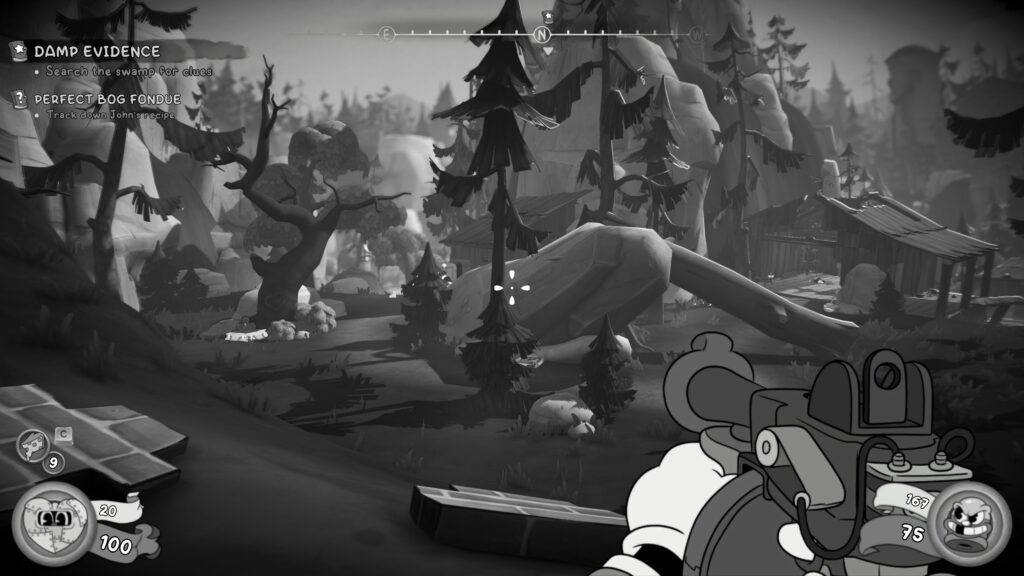
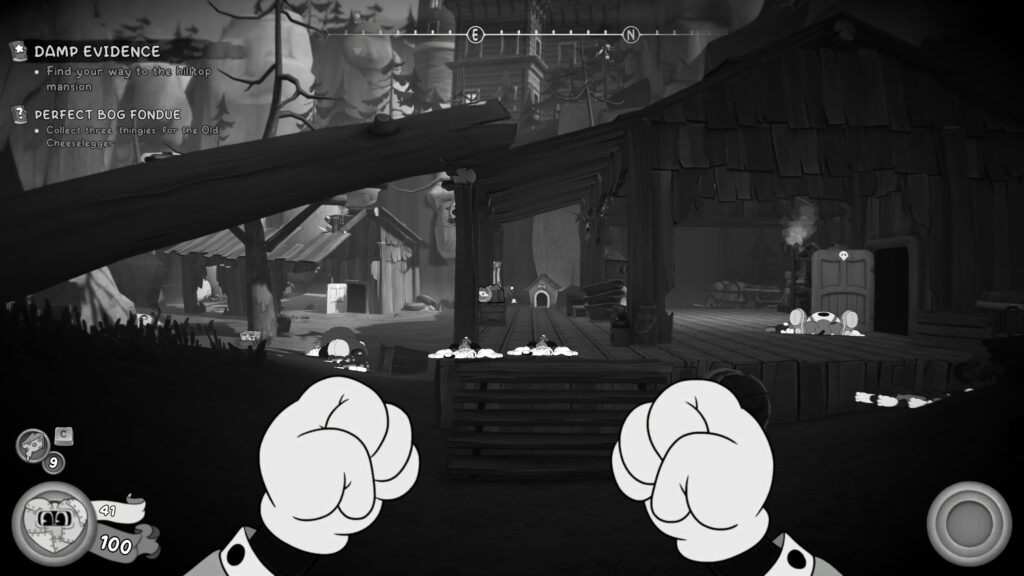
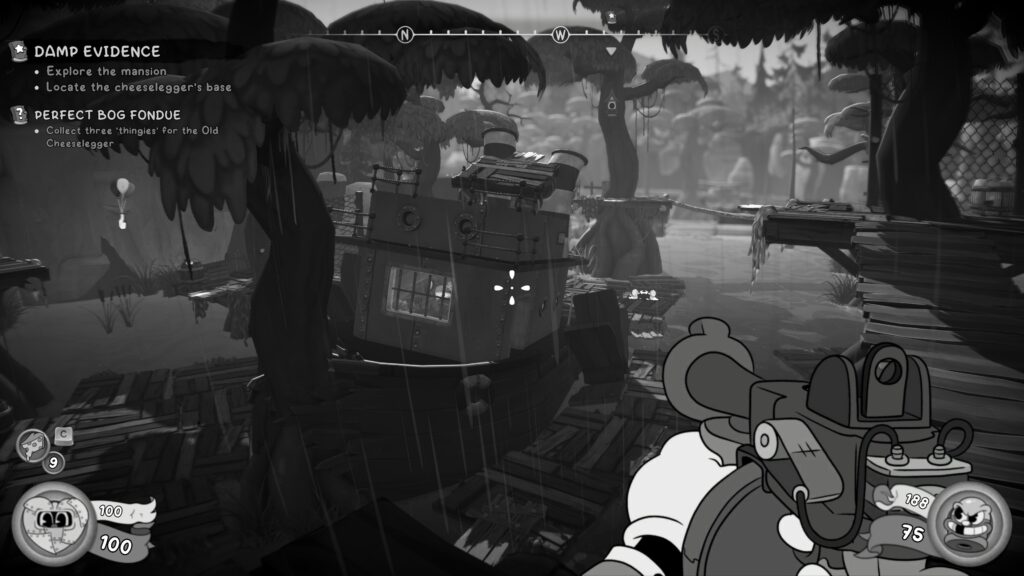
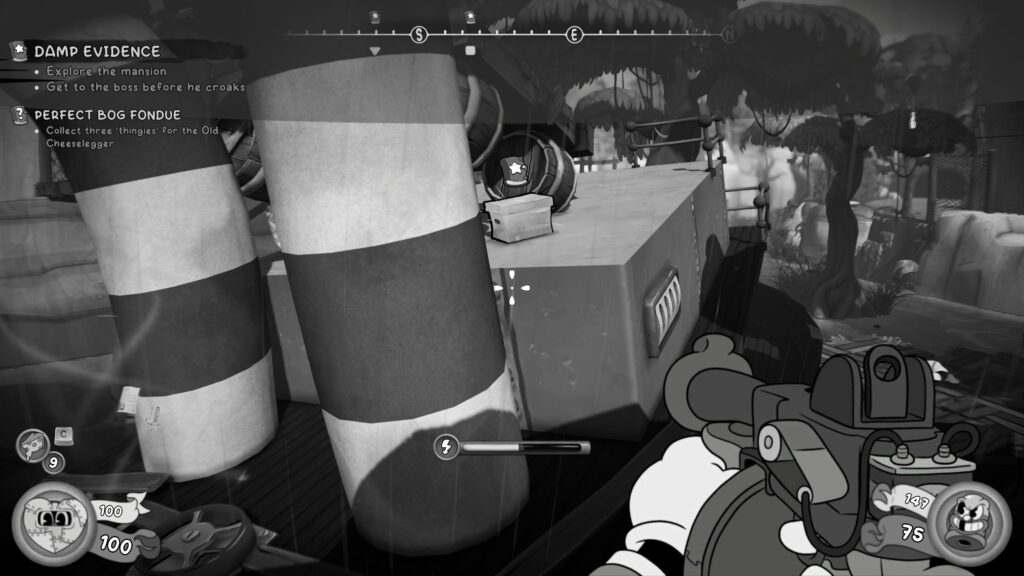
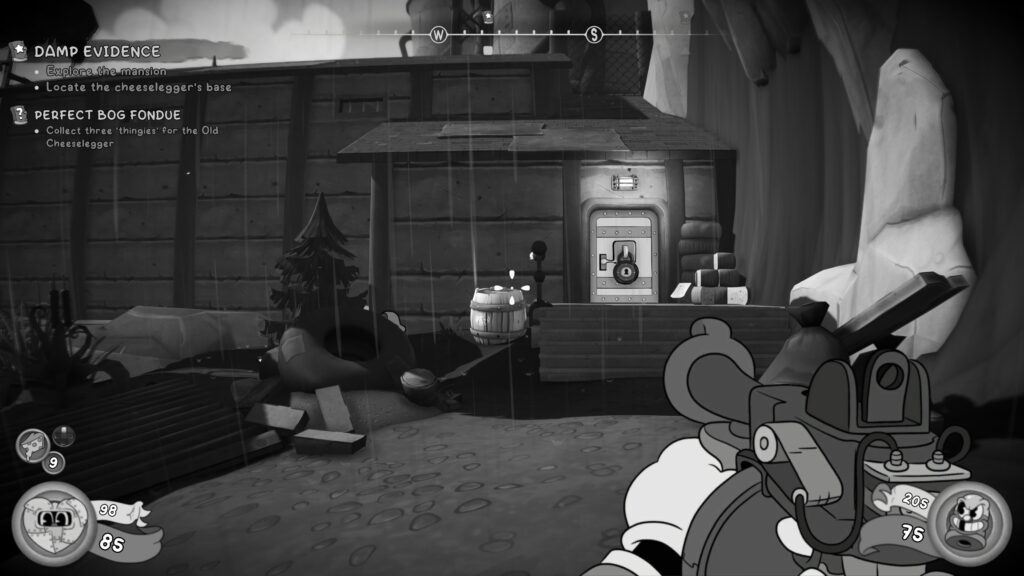
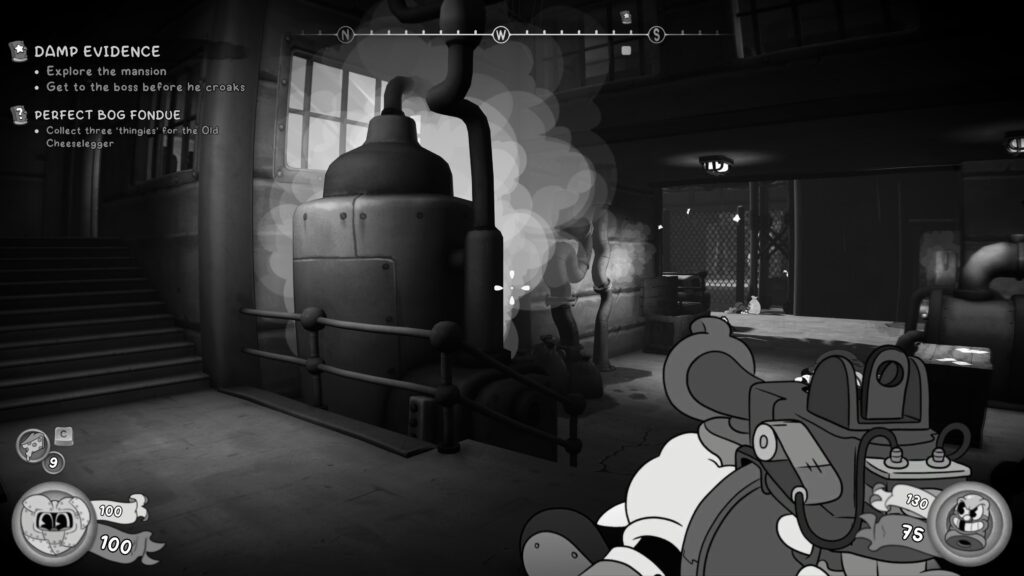
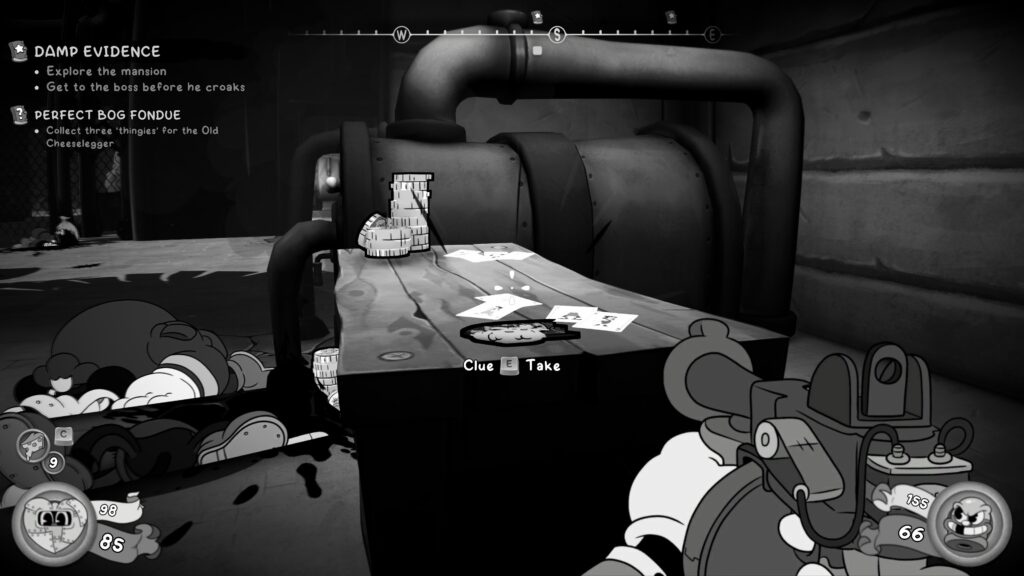
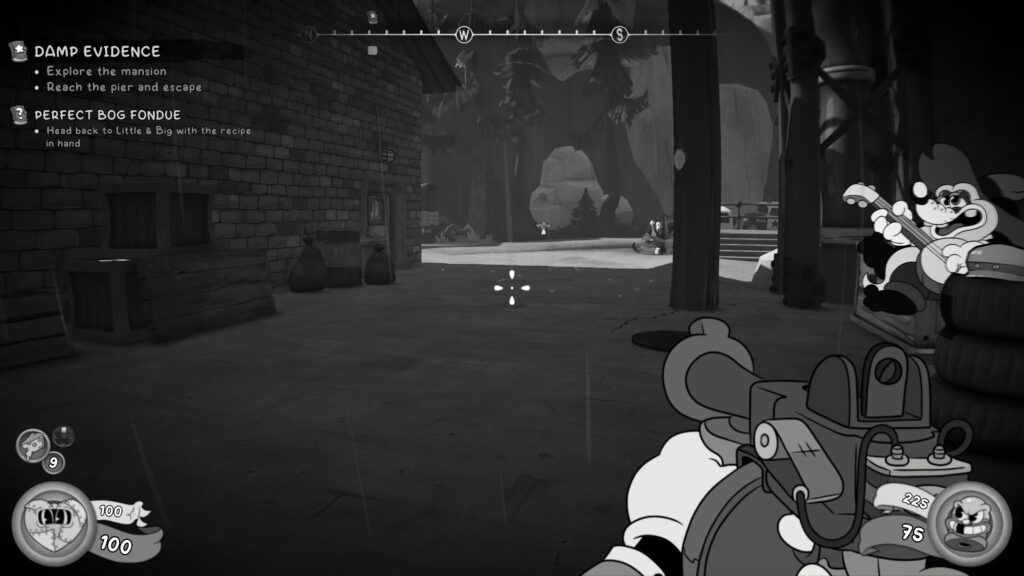
Side Job – Perfect Bog Fondue
Head to John Brown for a new side job. He’s in the Little & Big Bar. This will take you to Far Wetlands and has multi-steps, so will describe below.
Far Wetlands
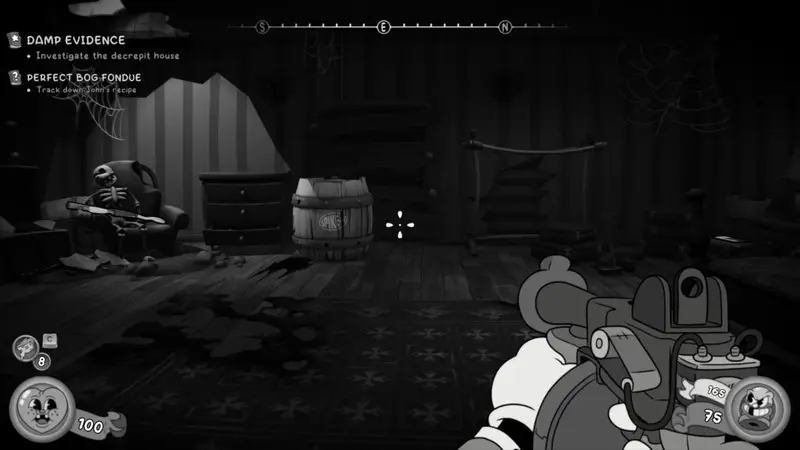
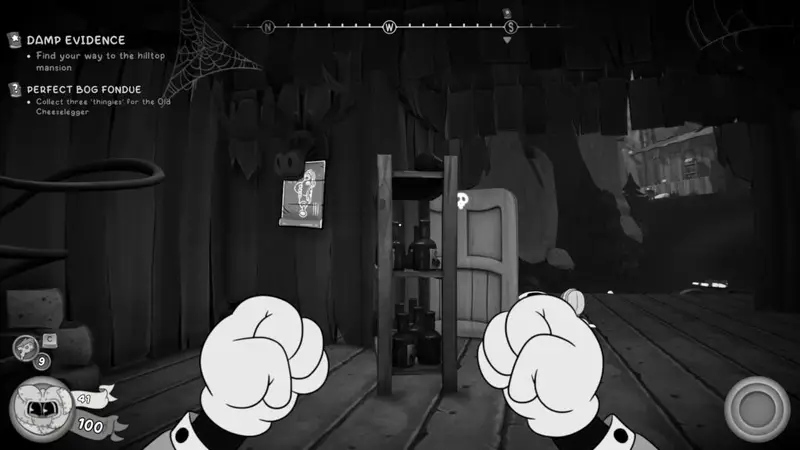
Newspaper (18 / 38)
In the building you start in, you’ll enter a hallway with some stairs going up on your right. Head up and at the top of the stairs take a right. The newspaper is in the right corner of the room on a chair.
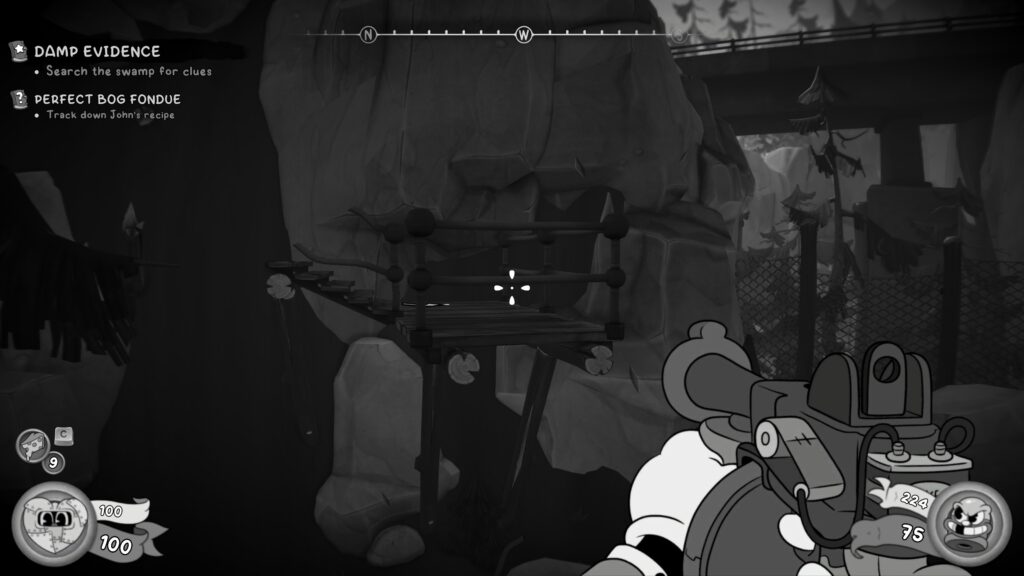
Schematic
You’ll leave the building and enter an outdoor area. Head forward and take out the enemies that are swarming over all the wooden structures. Climb to the top of one of them and look to the back wall (with your back to the building you were previously in). You’ll see some wooden steps and a walkway. The schematic is on there.
Investigation Clue – Note
I think this one is very easy to miss. Before heading into the mines, look behind you in a wooden structure. The clue is pinned against a wall.
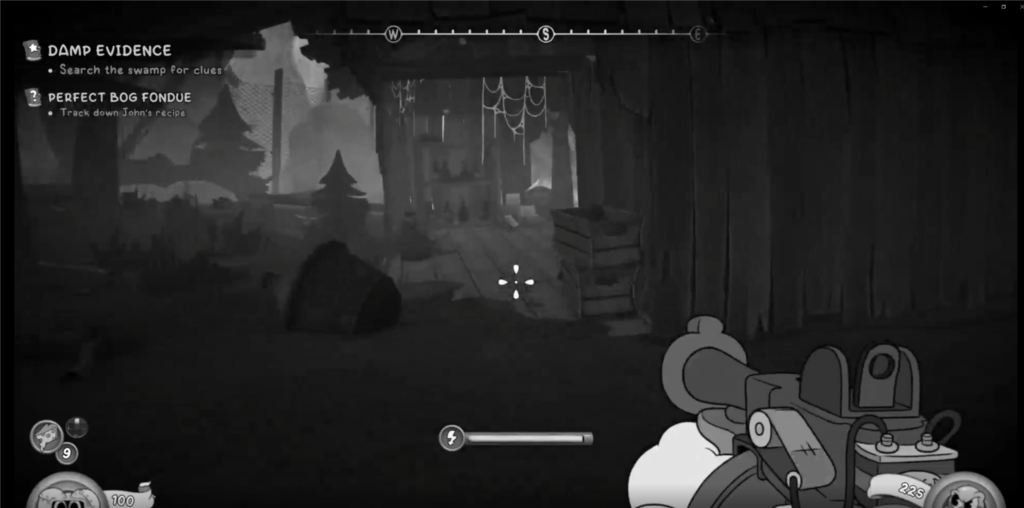
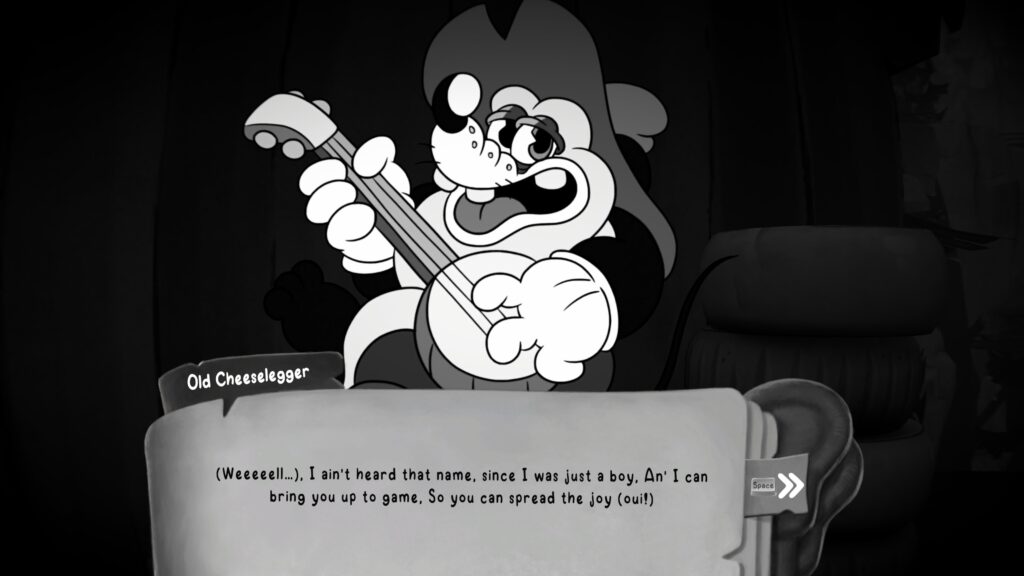
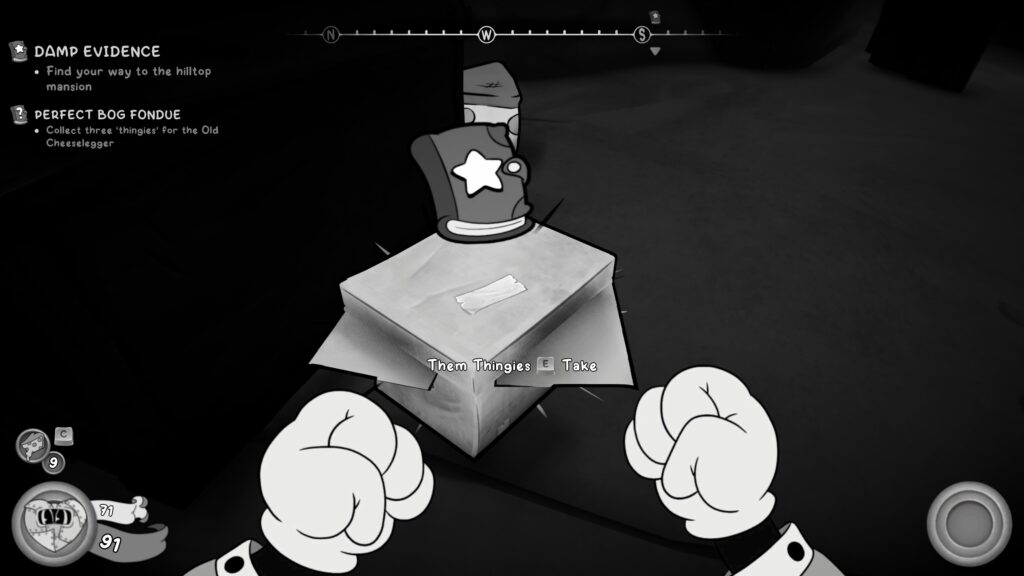
Side Job – Perfect Bog Fondue
After working your way through the cave, you’ll exit into another outdoor area. To your left is some wooden structures, including some money in a cage and a safe. Go round into the building to find the Old Cheeselegger who’ll help you with your side job. You need to find three “Them Thingies” for him. These appear later on in the level.
Schematic
Down the slope from where the Old Cheeselegger is you’ll arrive at this long area.
The schematic is in the building on the right attached to a wall.
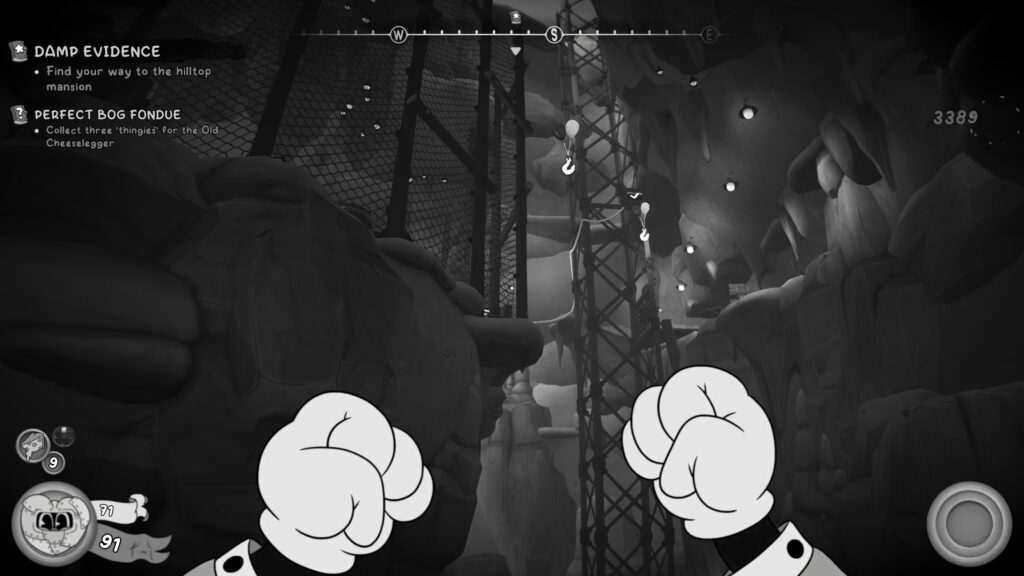
Side Job – Perfect Bog Fondue – Them Thingies (1 / 3)
After fighting the enemies outside, you’ll head into the mines again and interact with an elevator. This causes the path behind you to disappear and some hooks to drop down. You’ll need to Tail Whip across them to the lower level. Once across, you’ll carry on forward and the “Them Thingies” is in front of you, indicated with an objective marker.
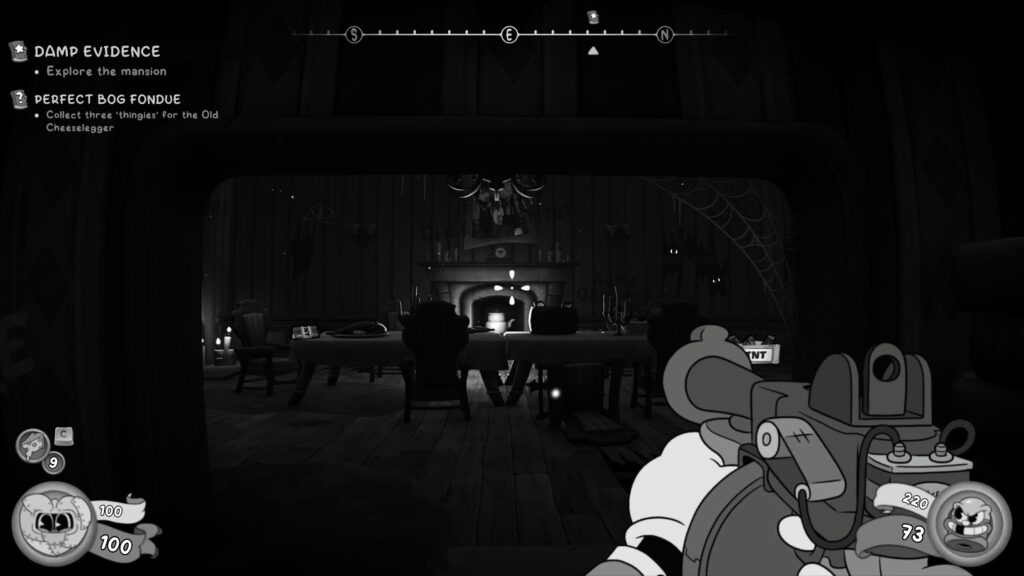
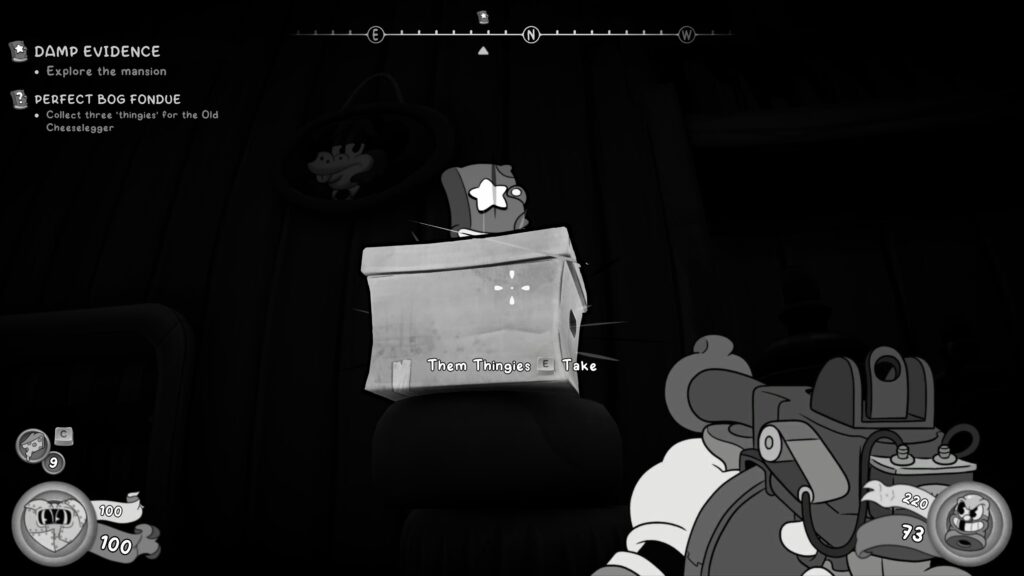
Side Job – Perfect Bog Fondue – Them Thingies (2 / 3)
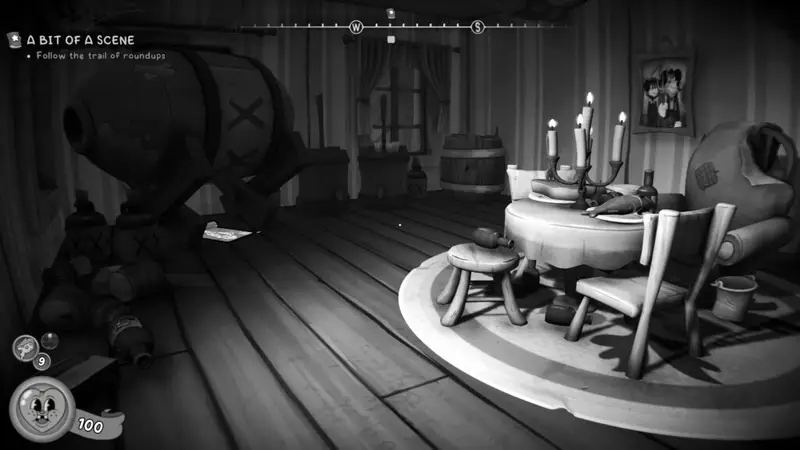
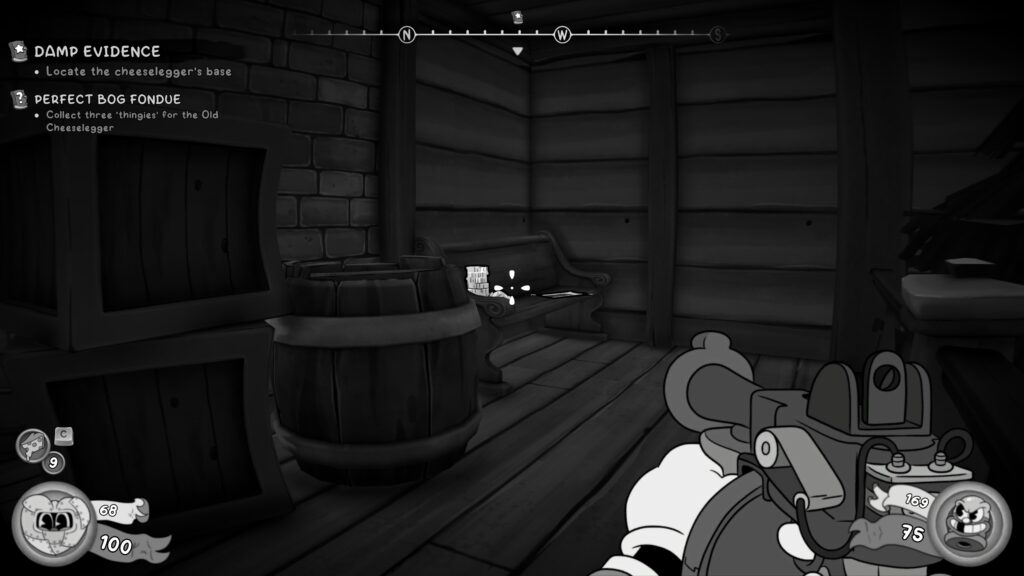
Some time later, you’ll eventually end up in the mansion. As you explore, you’ll end up in a dining room with a long table and a fireplace. As you enter the room, look to your right and up, the “Them Thingies” is stacked on some boxes.
Secret Collectible – Figurine (4 /10)
After collecting the second ‘Them Thingies’ head out the door of the dining room and take the spiral staircase on the left. Go down the long corridor to your left at the top of the stairs. On your right is a door to a large room, you’ll be on the upper balcony. Follow the balcony round to the room that is open on your right to enter the room with a typewriter in the corner.
You’ll spot a key on the table. DO NOT pick this up yet. To your right, above some filing cabinets is a vent. Jump in and follow it through to find the Figurine. Picking up the key will cause the floor to collapse and making the Figurine inaccessible.
Newspaper (19 / 38)
After defeating the boss in the Foyer. You’ll leave through some double doors back outside. There’ll be a lot of enemies outside. Once you’ve beaten them all, head left from the exit and turn left at the end of the porch to find the newspaper on a bench.
Investigation Clue – Doll
From the exit of the building, turn right and head down. Head into the wooden building in front of you, using the window on the left. In front of you, on the floor should be the clue.
Schematic
Carry on across the water until you reach several wooden platforms on the water and in the trees, as well as a grounded boat. Turn around to look towards where you’ve just come from and make your way up the platforms in the trees. The one furthest away has a schematic nailed to a tree trunk.
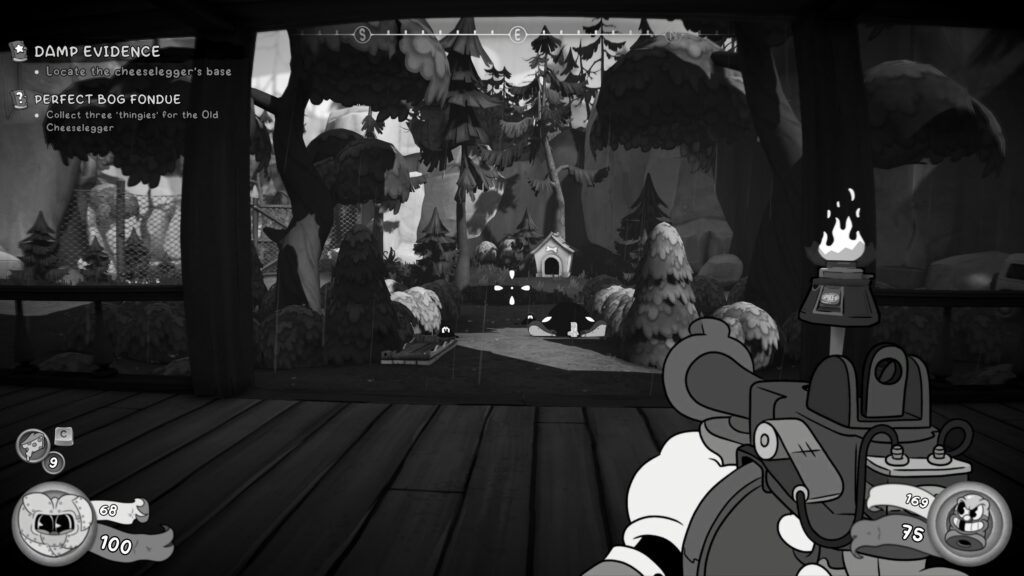
Side Job – Perfect Bog Fondue – Them Thingies (3 / 3)
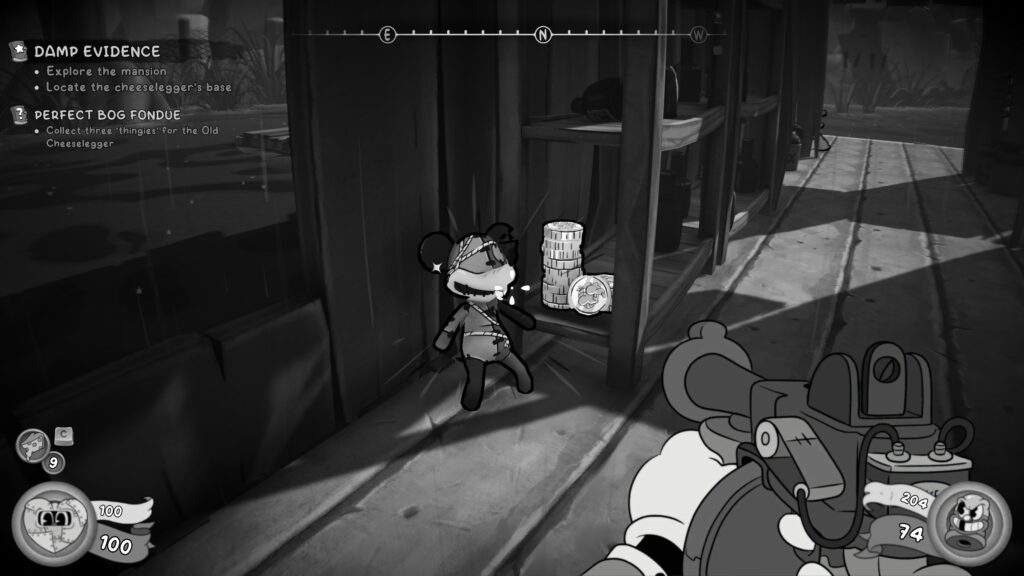
From the schematic above, look towards the boat and jump to its roof. The last “Them Thingies” is on the front roof of the boat.
Investigation Clue – M.P.D. Badge
Head forward, jumping and Tail Chopper-ing across the water, sticking to the right side. Go through the padlocked door (once unlocked of course). The clue will be in the room on your right on a table, watch out for the enemies.
Baseball Card (16 / 41)
Go back a little bit form the clue and to where you entered. Now take a left and go up some stairs to find a room on your right. Use the pipe to warp to another location. You’ll be in the bottom of a vat or something with some cash and the Baseball Card.

Schematic
Returning to where we entered the room again. Head forward, past where we got the M.P.D. badge clue and head to the right. Kill the enemies and do a 180 to see a safe against the wall. Unlock the safe to get the schematic.
The safe is one of limited moves and a time limit. Below is the solution. If you make a mistake you can reload your last save, you will have to recollect any collectibles since that save.
Side Job – Perfect Bog Fondue
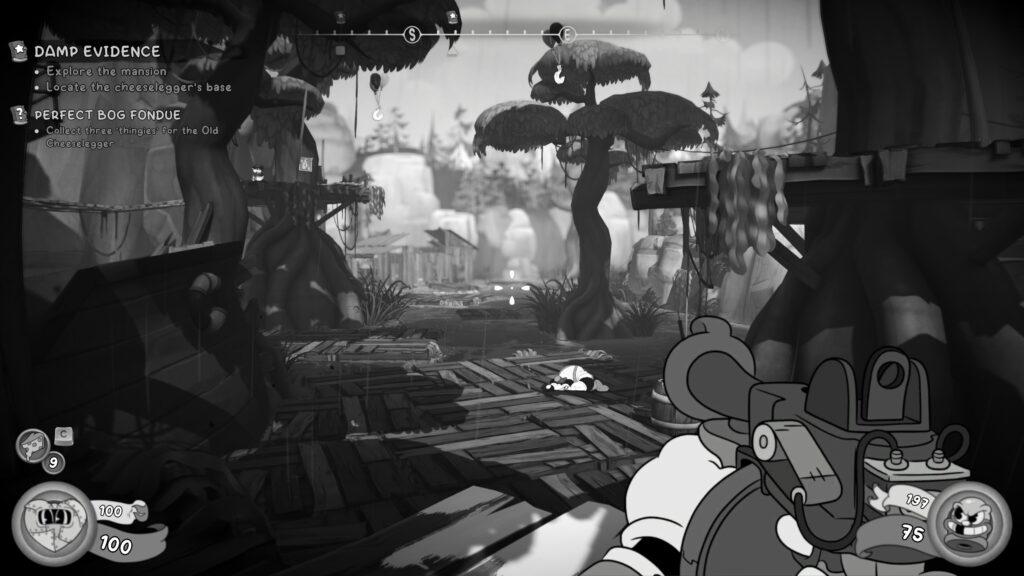
You’ll eventually come to a typewriter that then leads down a long corridor back outside. Once leaving, take a right and head back towards the main building (but outside). To your right, you should spot the Old Cheeselegger. Speak to him to finish the side job.
Don’t forget to return to John Brown when you get back to P.I. Office.
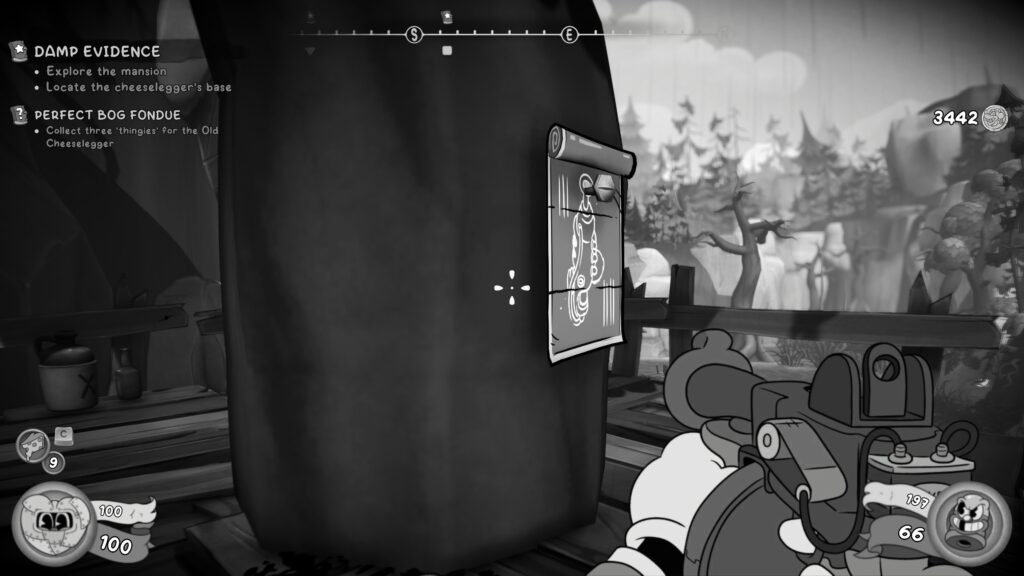
Comic Book – (15 / 29)
Across from the Old Cheeselegger, the comic strip is on a crate.
Investigation Clue – MiceGuffin’s Notes
You’ll get this on the airboat after defeating MiceGuffin in the boss fight.
P.I. Office – After Far Wetlands
Baseball Card (17 / 41)
The ammo store has a new character Baseball Card for $100.
Side Job – Perfect Bog Fondue
Don’t forget to visit John Brown and hand in the side job. He’s at the Little & Big Bar.
Baseball Card (18 / 41)
Purchased ‘Power Swing’ from the ammo store for $500.
Baseball Card (19 / 41)
Purchased ‘Pitch Focus’ for $500 from the ammo store.
Baseball Card (20 / 41)
Purchased ‘Power Swing’ for $1000 from the ammo store.
Curdsville
Schematic
After you get the Kiss Kiss weapon, you’ll be in an open area where you fight a lot of enemies. Once you’ve beaten them all, head into the building on the right, but don’t drop down the hole in the centre (where you’re meant to go). Turn to the right and follow the path round to find a schematic pinned to a door.
Baseball Card (21 / 41)
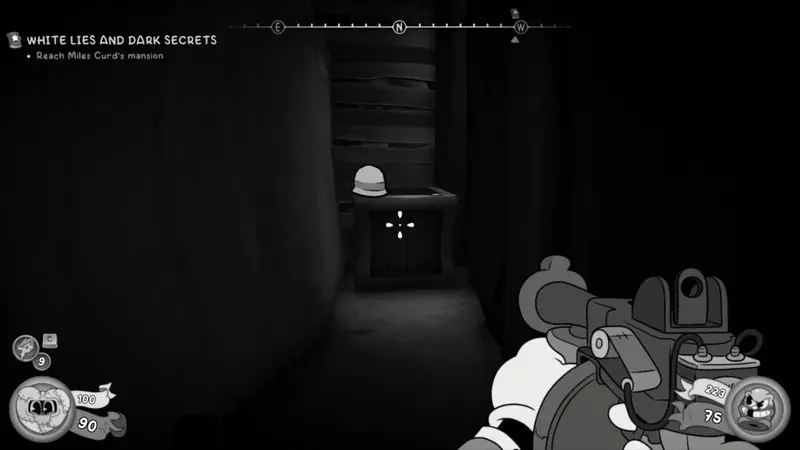
You’ll go through some underground caves and then up an elevator. Once you’re back outside, take out the enemies and then head to the right, towards the big wooden building. Climb the stairs and take a left at the top, going round the outside of the building. Keep going all the way until you reach the back of the building and you find the Baseball Card resting on a crate.
Investigation Clue – 2nd Place for Betty Lynch Award
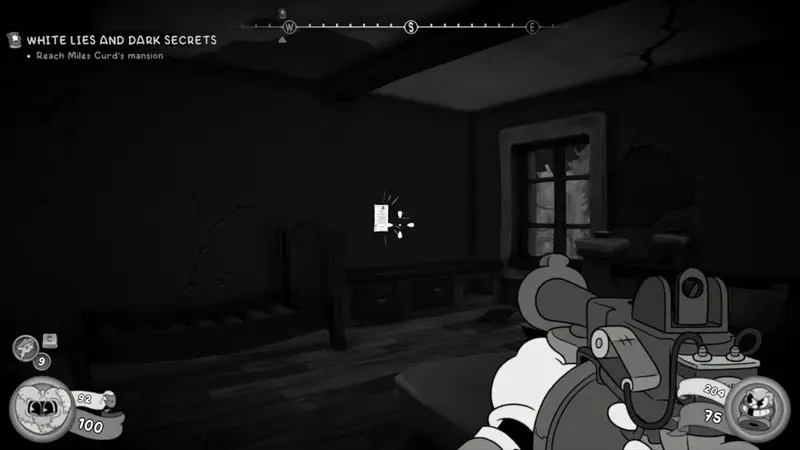
Go speak with the Caretaker at the gates by the mansion. He’ll tell you to go away. The Southern accented witch woman beckons you, telling you to find the three wedding rings. After speaking with her you’ll be attacked by enemies. Take care of them and then enter the building that the open up (not far from the big building where you got the Baseball Card). Head up stairs and turn back on yourself. On the wall is the clue.
Secret Collectible – Figurine (5 / 10)
To unlock find this collectible you must shoot three bells. One is in the centre of the area with other hanging items. One is hanging over the porch of the building you enter to get to the next floor and reach the first wedding ring. The final one is high up in the church bell tower.

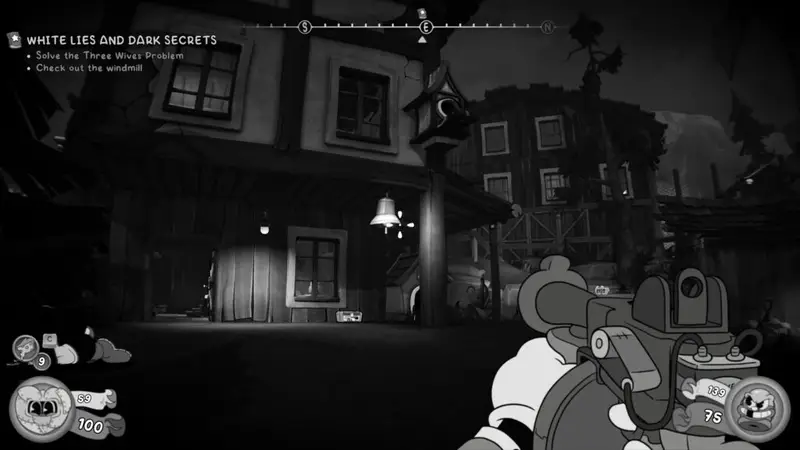

Shoot all three and you’ll get access to the church. Head to the back of the Church and go through the door at the back left and you’ll see the Figurine to collect.
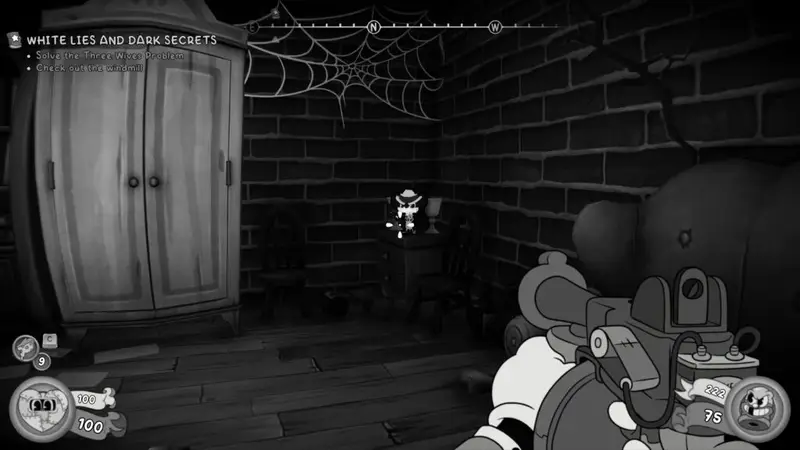
Comic Book (16 / 29)
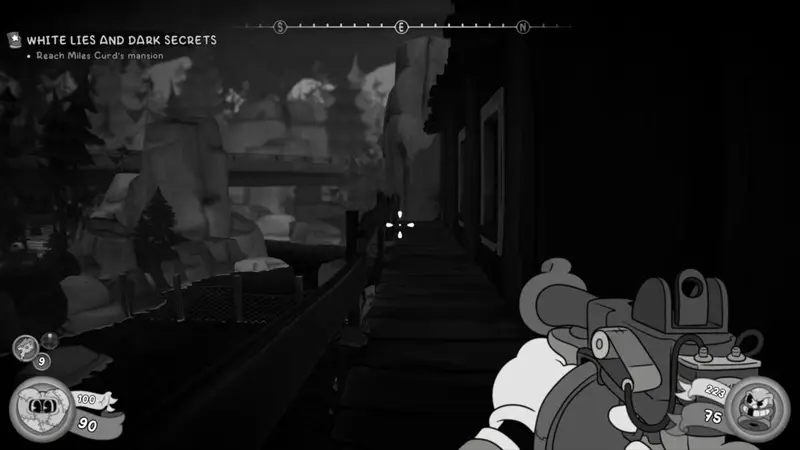
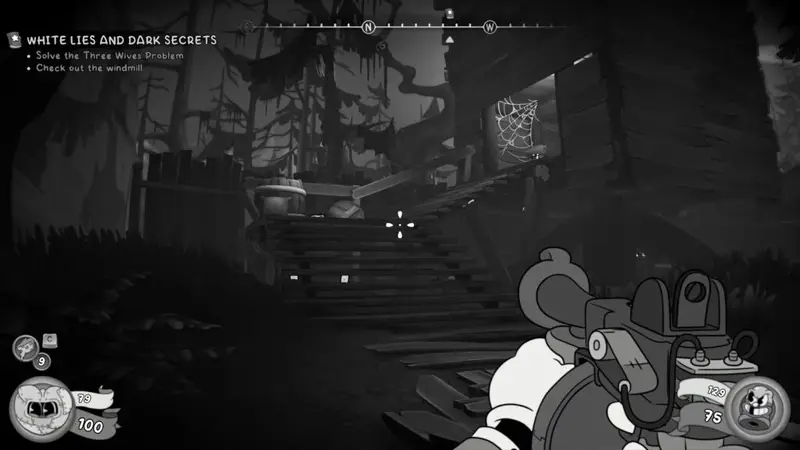
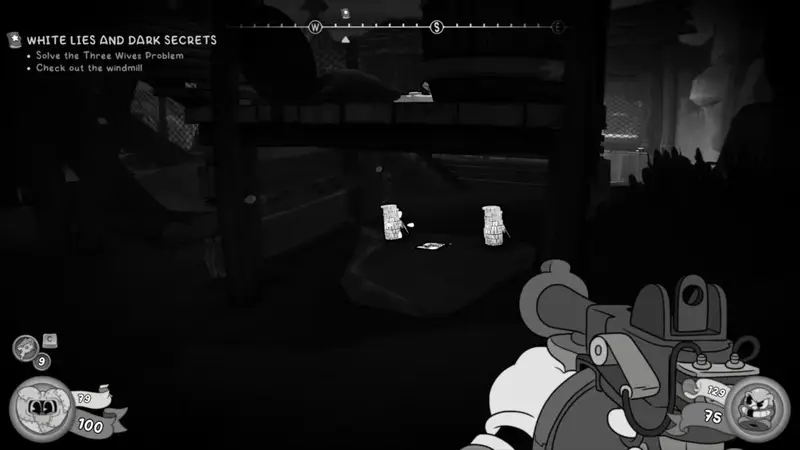
On your way to get the second ring (this is your main objective), you’ll need ascend the Windmill. Before you go up to enter the windmill, you’ll jump across a gap and then you’ll see some wooden stairs in front of you going up to the windmill. Go to the left around the back and crouch to grab some cash and the comic strip.
Investigation Clue – Map of Mouseberg Sewers
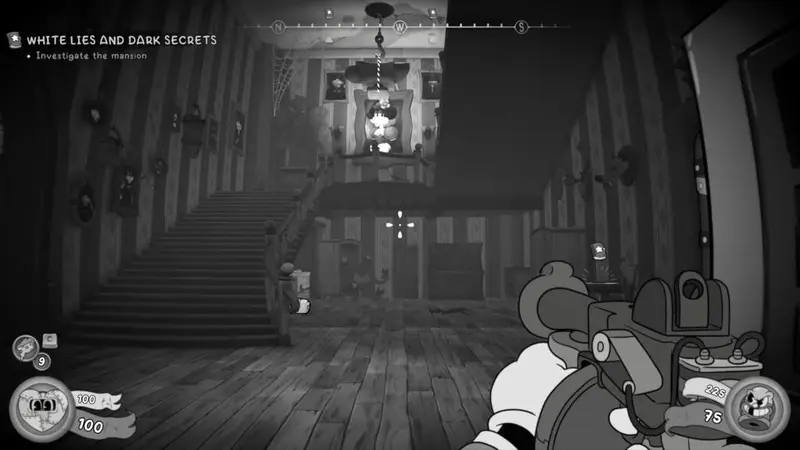
After you have gained access to the Mansion, on entering look to your right, the clue is on a table.
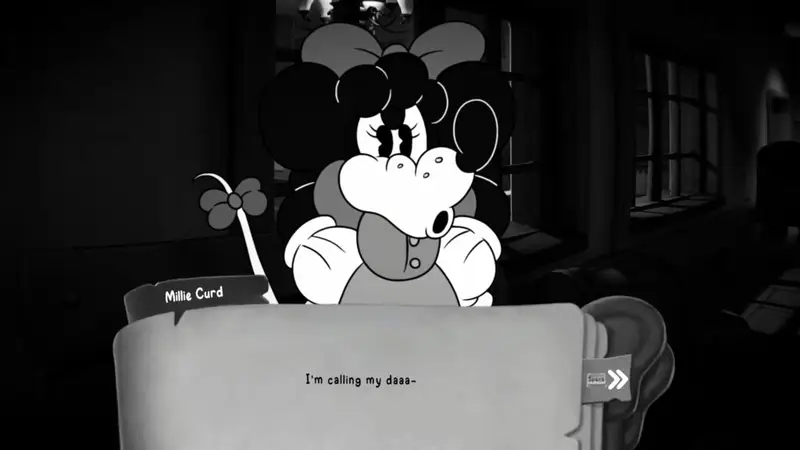
Investigation Clue – Photo of Millie and Curd
From the entrance of the mansion turn left and look above the fireplace, the clue is there.
Investigation Clue – Cultists Surveillance
From the fireplace, go to the right and up stairs to the next level. The clue is on a table to the right at the top of the stairs. (Note that I don’t mean the large staircase in front of the door where you enter the Mansion).

Schematic
Go up the big staircase in front of the entrance to the Mansion. At the top of the stairs on the left is a padlocked door. Tail Pick it and enter. There is a safe with the schematics in.
Investigation Clue – Death of Miles Curd
Given on completion of the level.
P.I. Office – After Curdsville
Baseball Card (22 / 41)
New Character card available at the ammo store for $100.
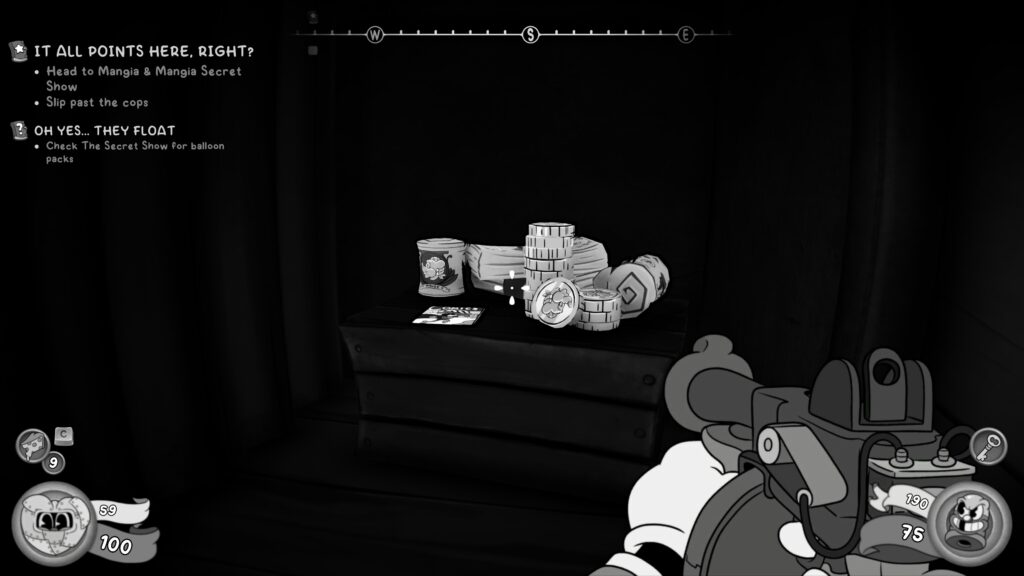
Side Job – Oh Yes… They Float
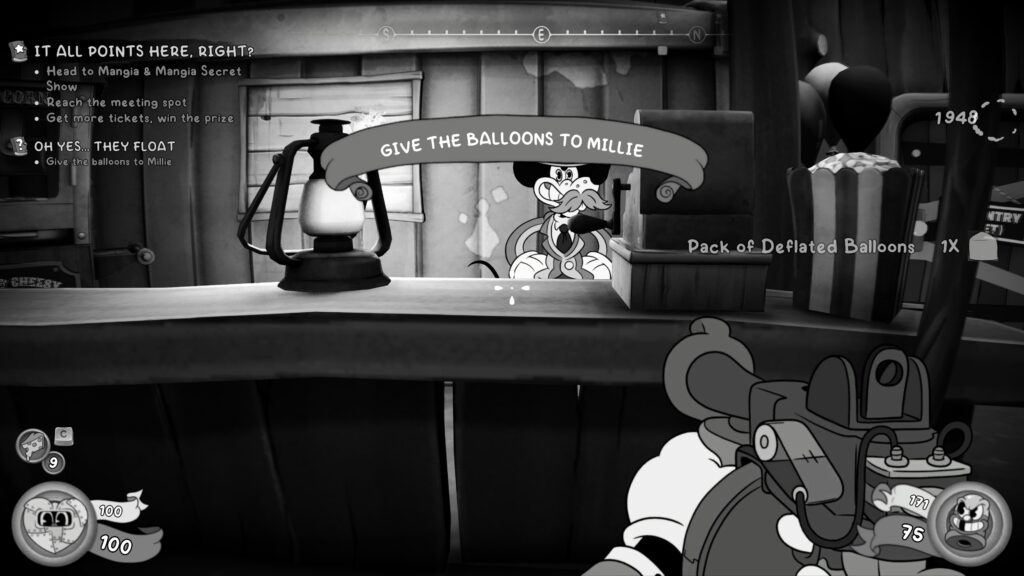
After pinning your clues to the noticeboard, speak with Millie who is on the street outside the Big & Little Bar.
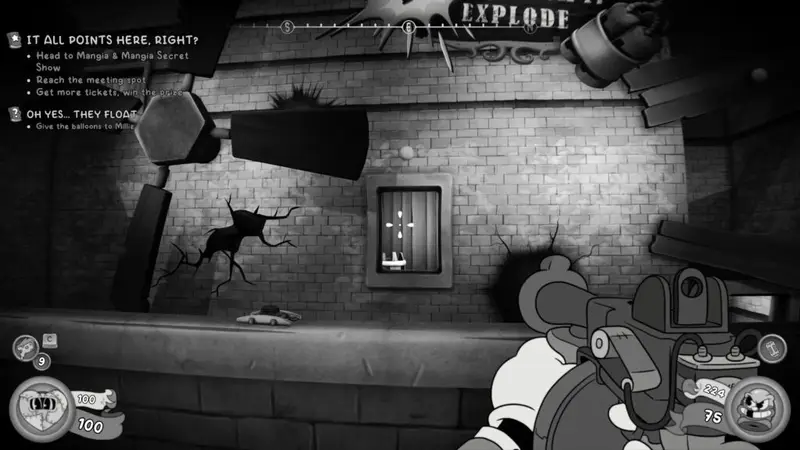
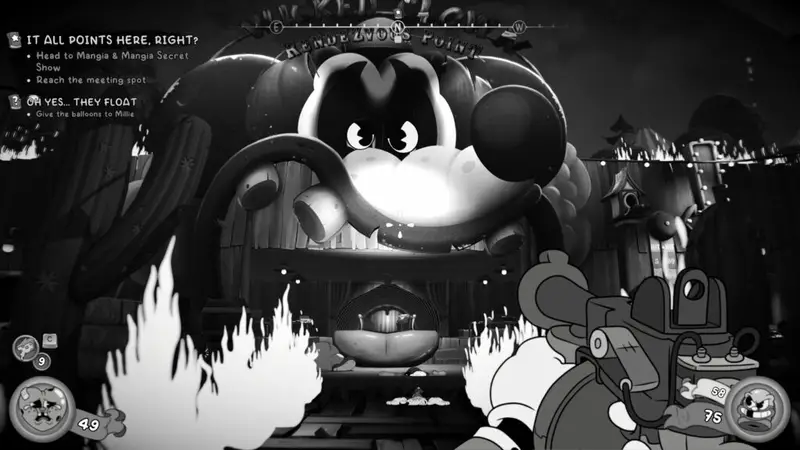
She wants to you to get her some balloons from the Mangia & Mangia Secret Show. They cost $25 to buy and you get them from a vendor in a big arena where you fight lots of enemies towards the end of the level. It’s the area where you need to complete two games to get Tickets to progress. The vendor is in the back left of the area from where you come in. Left of the dynamite game.

Mangia & Mangia Secret Show
Schematic
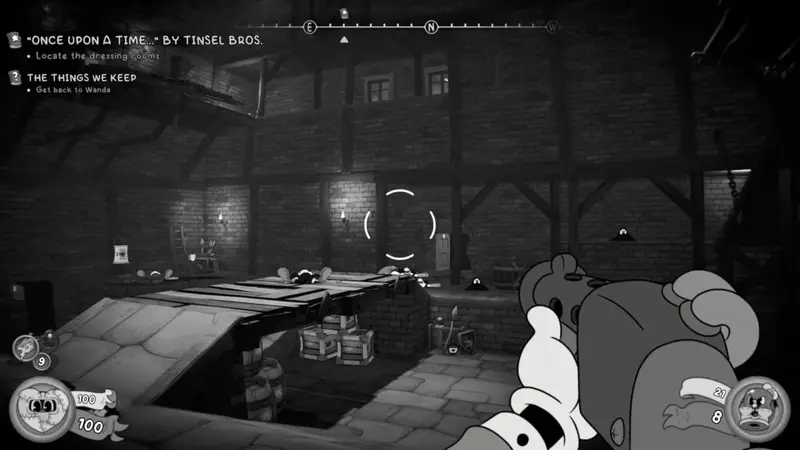
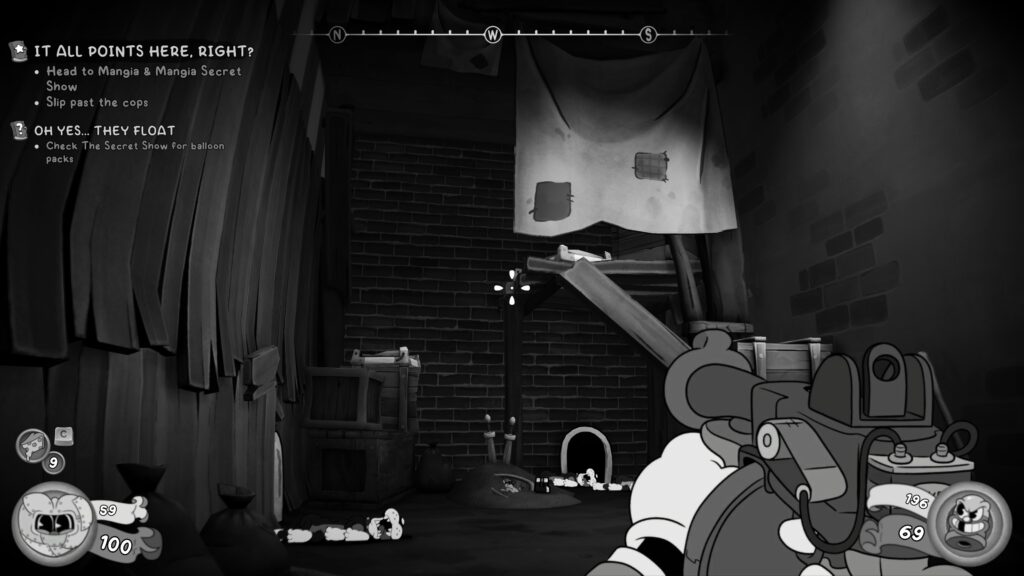
Near the start of the level you will have to get in to the Secret Show by jumping over a wall to ‘sneak past the cops’. When you get over the wall, you’ll be attacked by some enemies. Deal with them and then blow up the ‘totally normal wall’. This reveals a path.
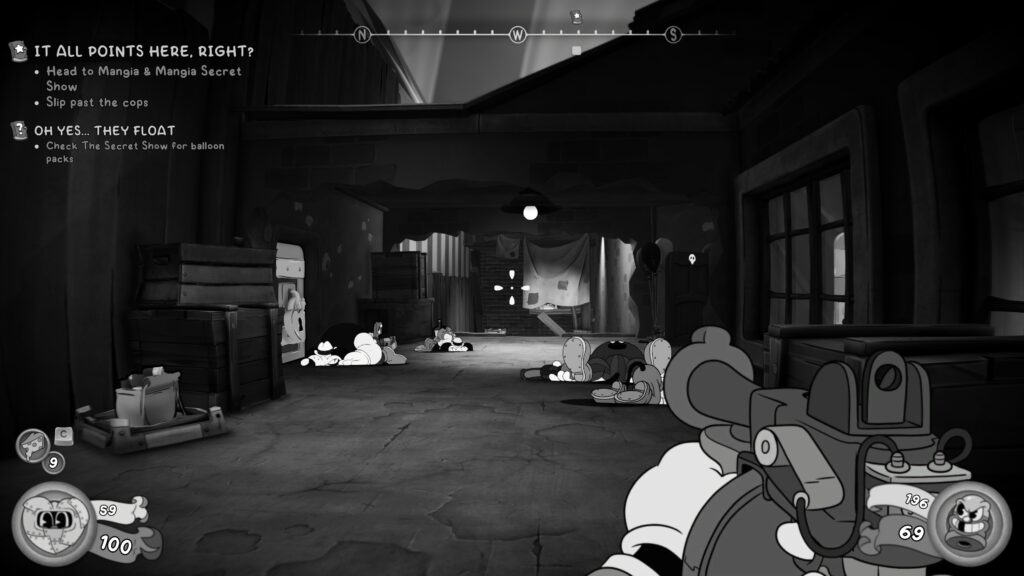
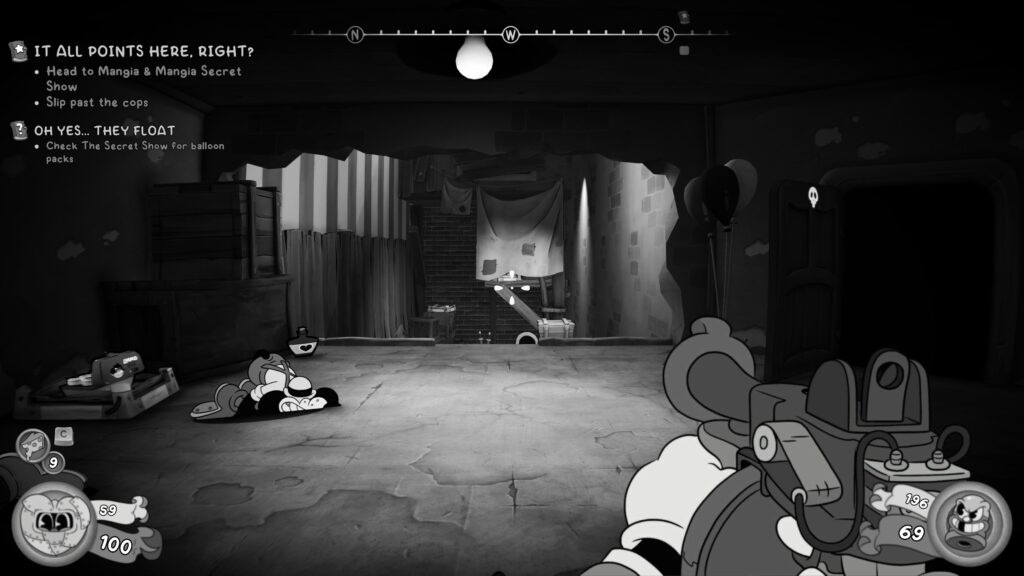
Head to the very back of the alley and look up and right. A schematic is on a table on the structure that is hidden by a sheet.
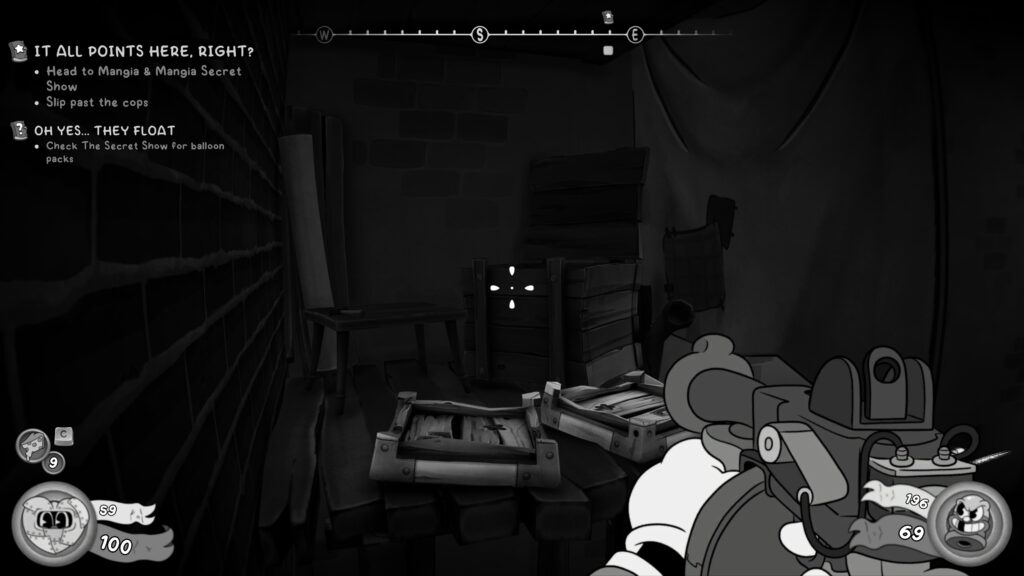
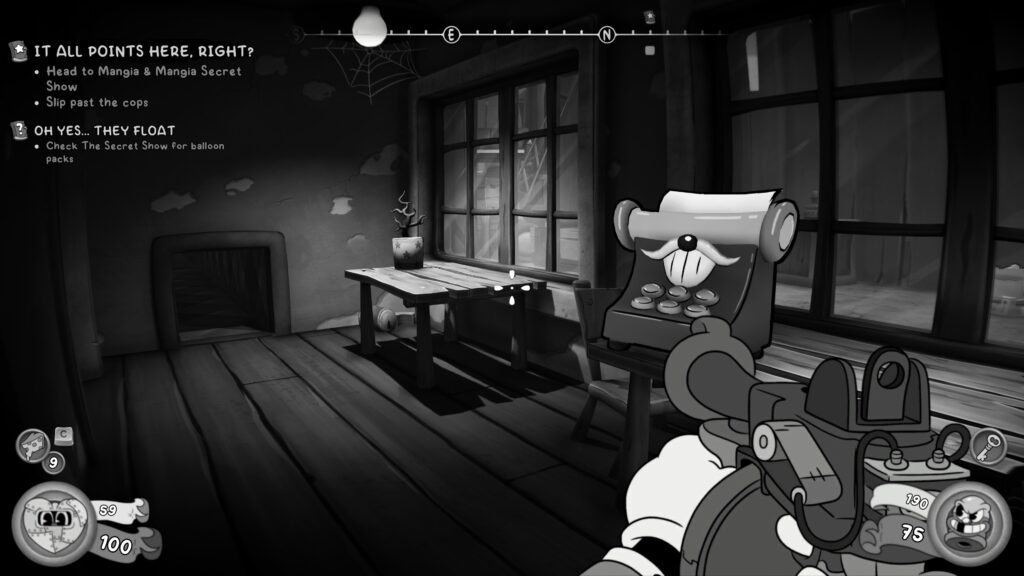
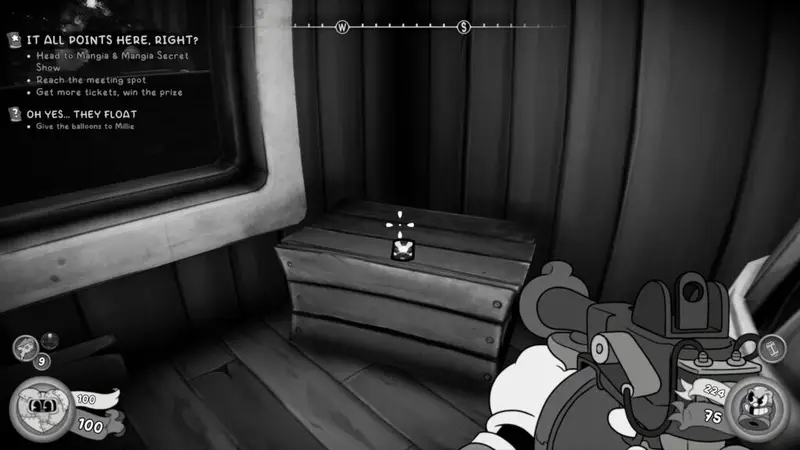
Comic Book (17 / 29)
From the schematic, jump down and crawl through the vent you need to in order to progress. You’ll arrive in a small room with a typewriter. On the left is another vent you can crawl through. Follow this round and it will take you to the comic strip.
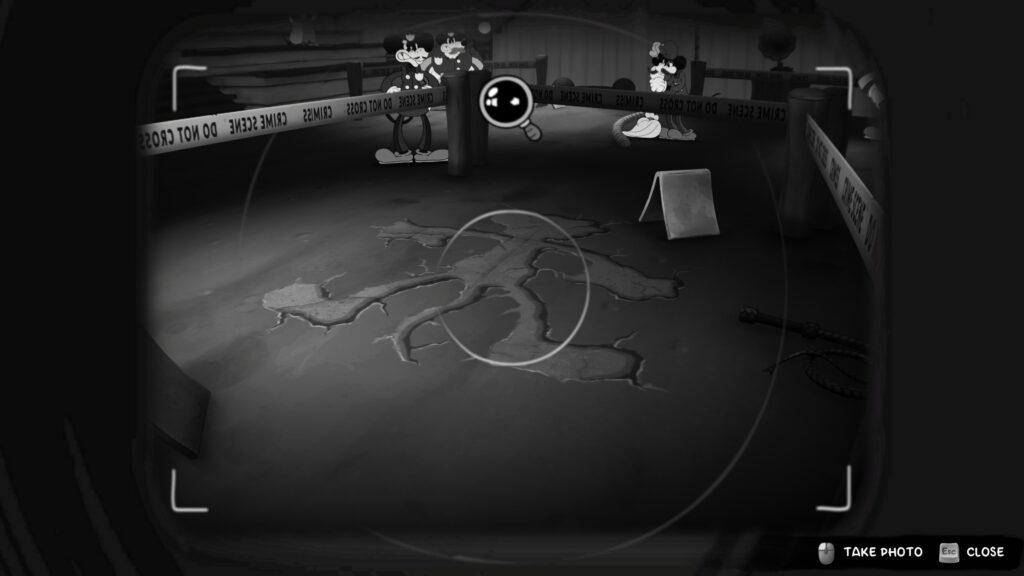
Investigation Clue – Object of Interest – Photograph
When you enter the Secret Show area, head down the steps and you’ll see the crime scene. You’ll be prompted to take a photo.

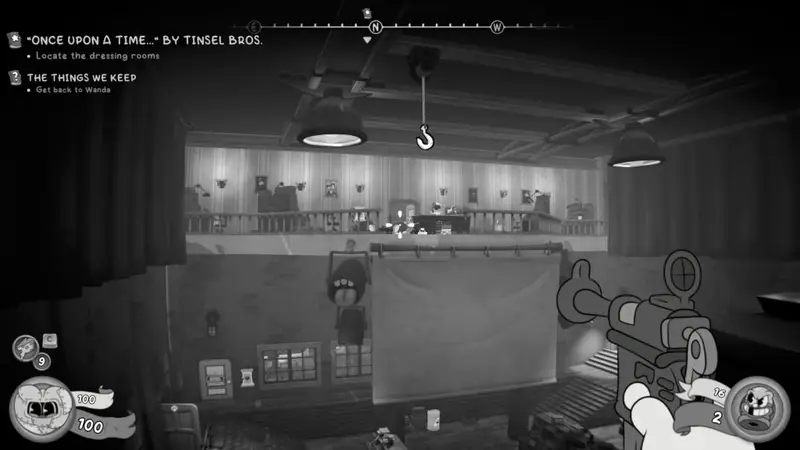
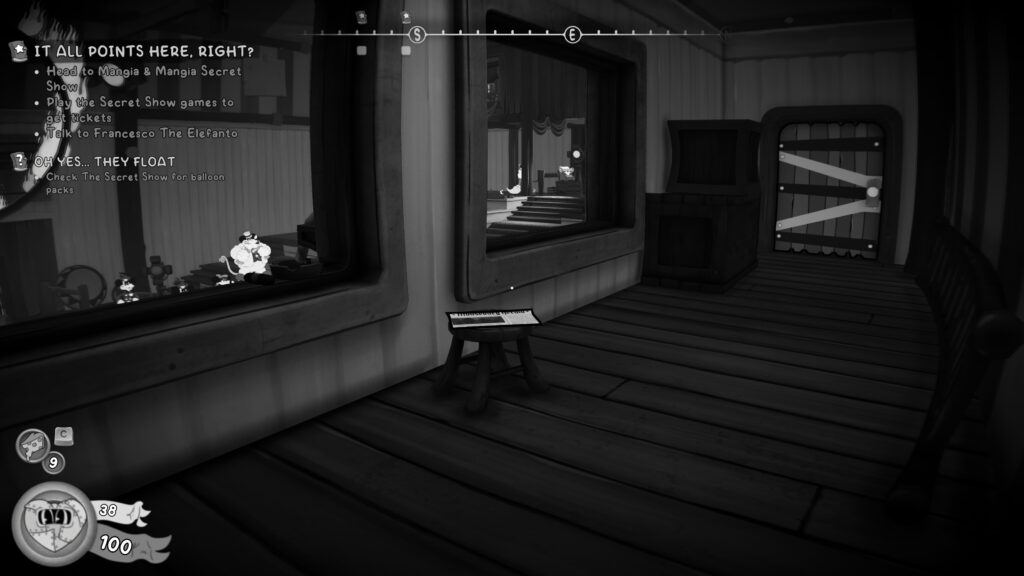
Newspaper (20 / 38)
Head up the otherside of the Secret Show theatre space and take a left at the top of the stairs. Go past the machine asking for Theatre Tickets and you should see the newspaper sat on a stool.
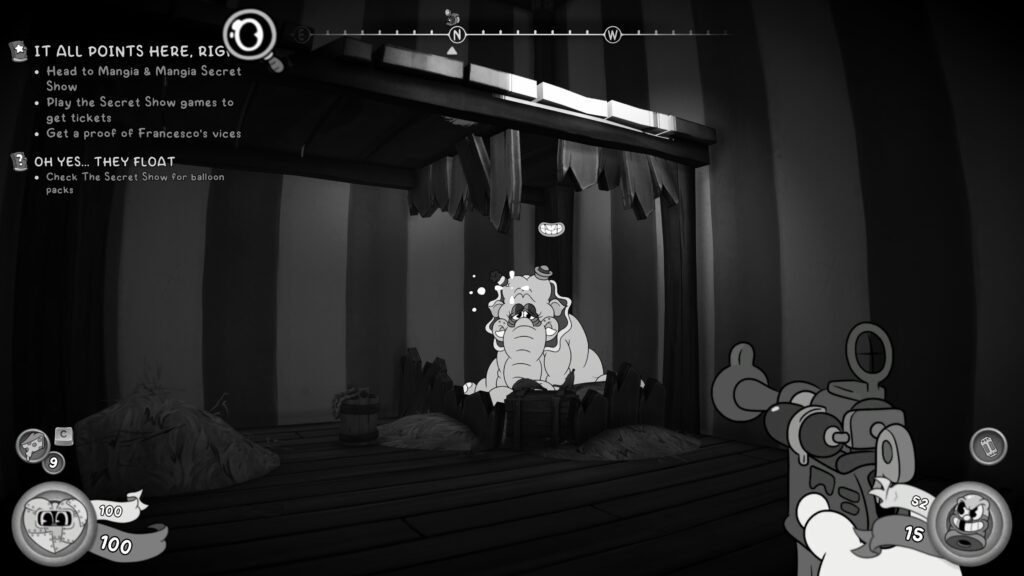
Investigation Clue – Object of Interest – Photograph
Following the main objective, you’ll need to speak with the Elephant suspect. After initially speaking with it, use the wall run ability you’ve just learnt to get to the platform above the Elephant. On your left you’ll be prompted to take a photo of the blue cheese bucket of incrimination!

Newspaper (21 / 38)
Right next to the object of interest photograph.
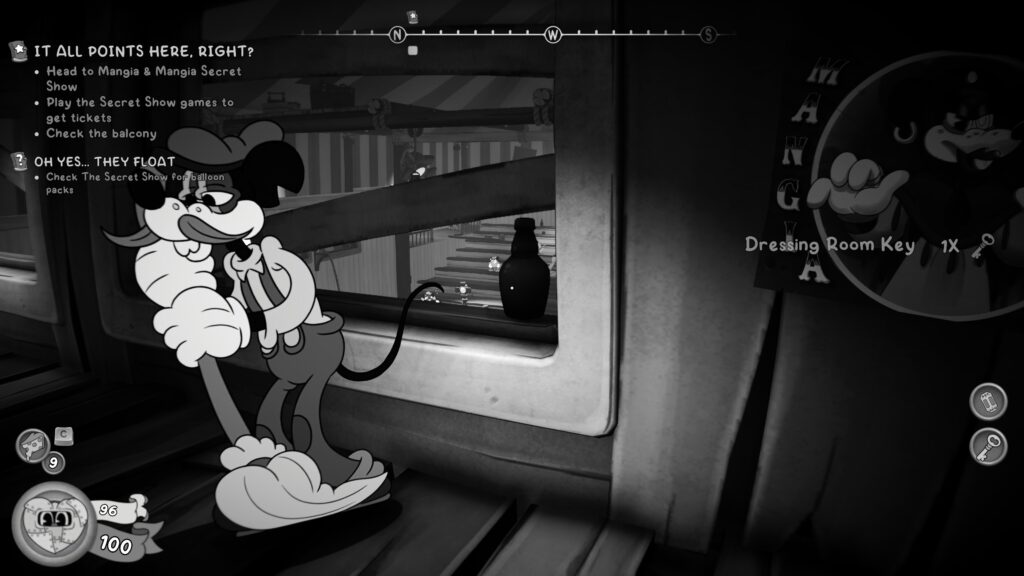
Investigation Clue – Dame at the Show
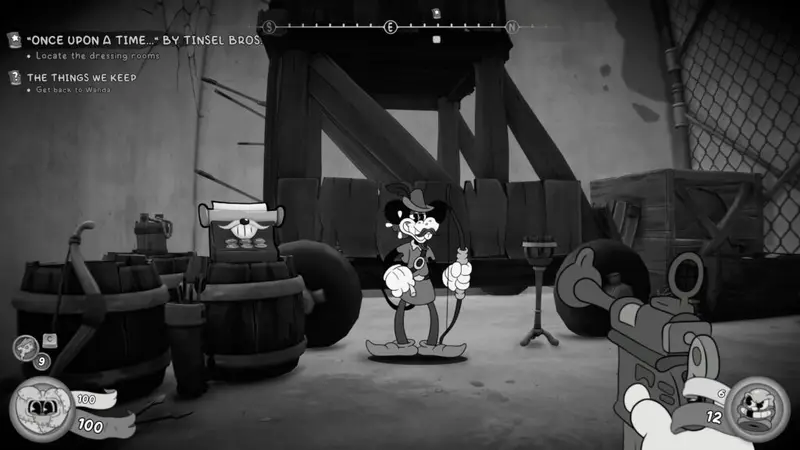
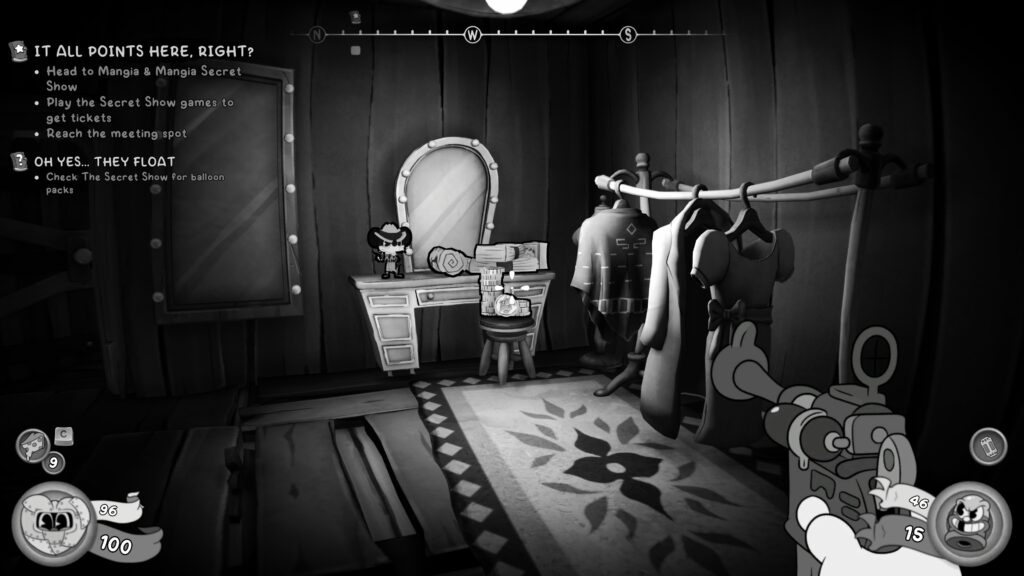
After speaking with the Elephant, you’ll use Tail Whip to get to the floor above. After killing the enemies, look to the left of the windows and you’ll see a vent to crawl through. On the other side in the small room will be the ‘Dressing Room’ key and the clue in a handbag on a table.
Secret Collectible – Figurine (6 / 10)
Make sure you picked up the Dressing Room key in the room with the clue above. Open the gate and across the room. The padlocked dressing room door should be on your right. Open it and head in. The Figurine is in the right corner of the room on a dresser.
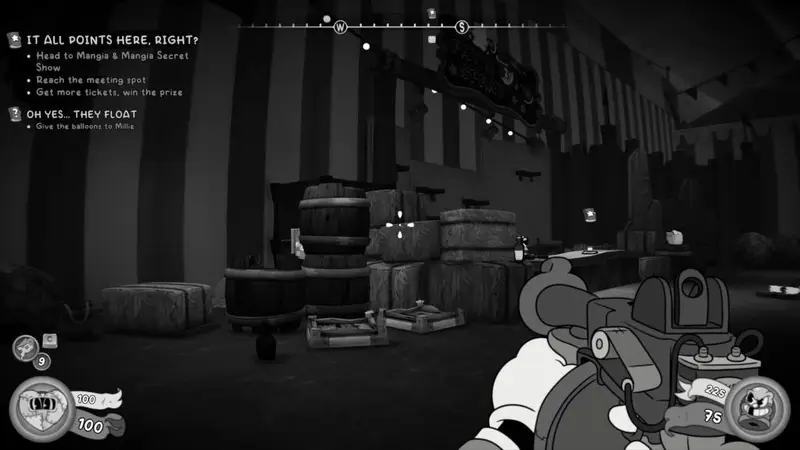
Side Job – Oh Yes… They Float
Don’t forget to get Millie her balloons. They cost $25 to buy and you get them from a vendor in a big arena where you fight lots of enemies towards the end of the level. It’s the area where you need to complete two games to get Tickets to progress. The vendor is in the back left of the area from where you come in. Left of the dynamite game.
Schematic
Near where you enter the big arena with the mini-games. Look to the right, where the bottle shooting mini-game is. Head to the left of the stand and the schematic is pinned on the side of the booth.
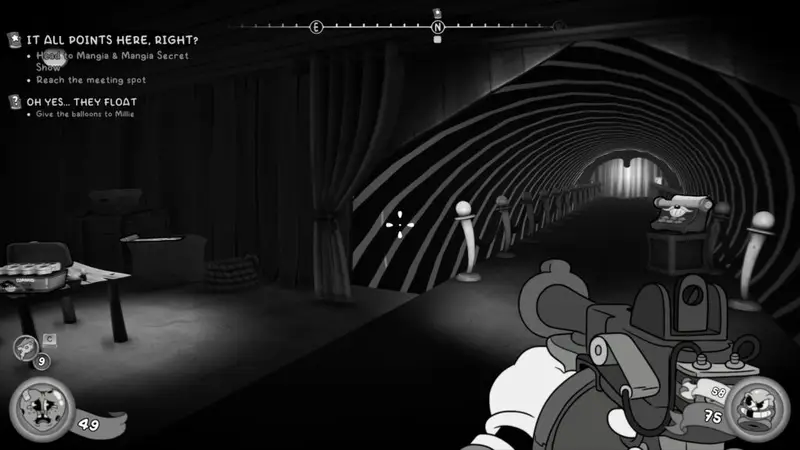
Newspaper (22 / 38)
From the entrance to the big arena with the mini-games. Look to your left for bales of hay and some crates. Jump up and the newspaper is sat on a bench.
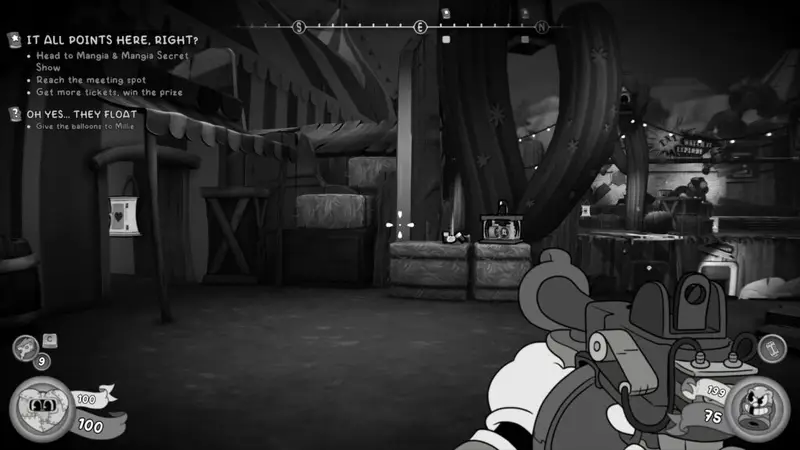
Baseball Card (23 / 41)
Head to the dynamite mini-game at the back of the area. Aim for the window in the middle and jump across and in. The Baseball Card is in there on a crate.
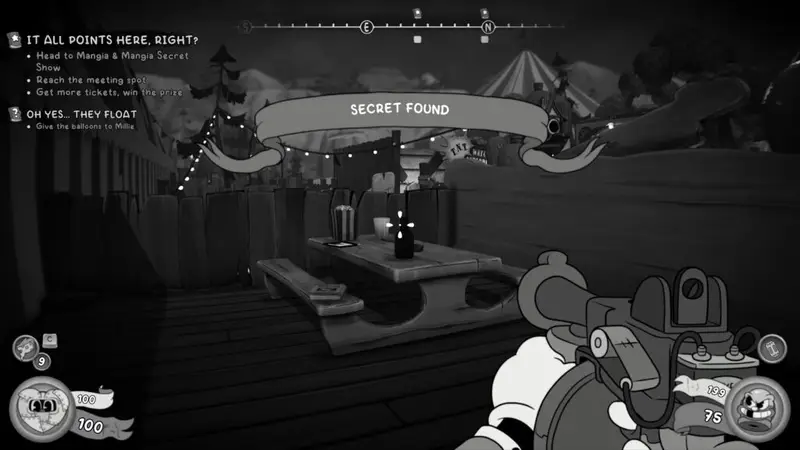
Schematic
Once you’ve played the two mini-games. You’ll create a walkway to continue progressing forward. You’ll approach a tunnel with trippy hypnotic lighting. Before you enter, there’ll be a typewriter on the right. Head to the left, in the corner, and you’ll see the schematic on a crate.
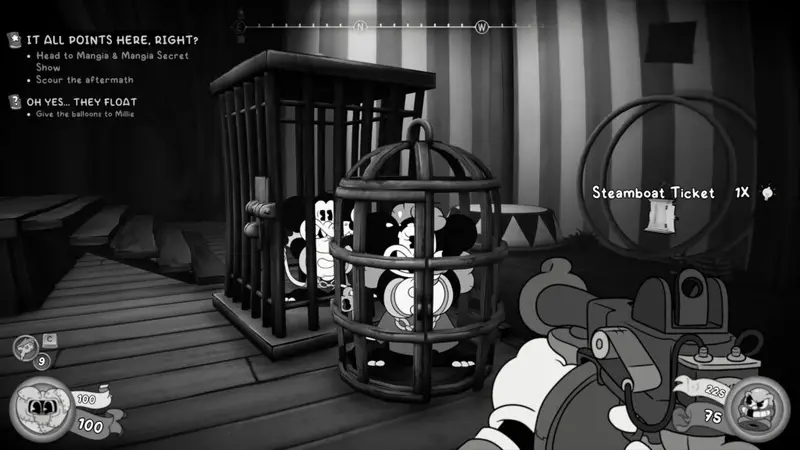
Investigation Clue – Steamboat Ticket
After defeating the Hitman boss, on the right of the piles of ashes are two cages with Shrews in them. Speak with them to receive the clue.
Investigation Clue – Strange Keycard
In the pile of ashes after defeating the Hitman boss. Right in the centre of the arena.
P.I. Office – After the Secret Show
Side Job – Oh Yes… They Float
Don’t forget to speak with Millie and complete the quest.
Baseball Card (24 / 41)
The reward for completing the “Oh Yes… They Float” side job.
Baseball Card (25 / 41)
Bought new character card from ammo store for $100.
Baseball Card (26 / 41)
Bought a ‘Pitch Focus’ from the ammo store for $1000.
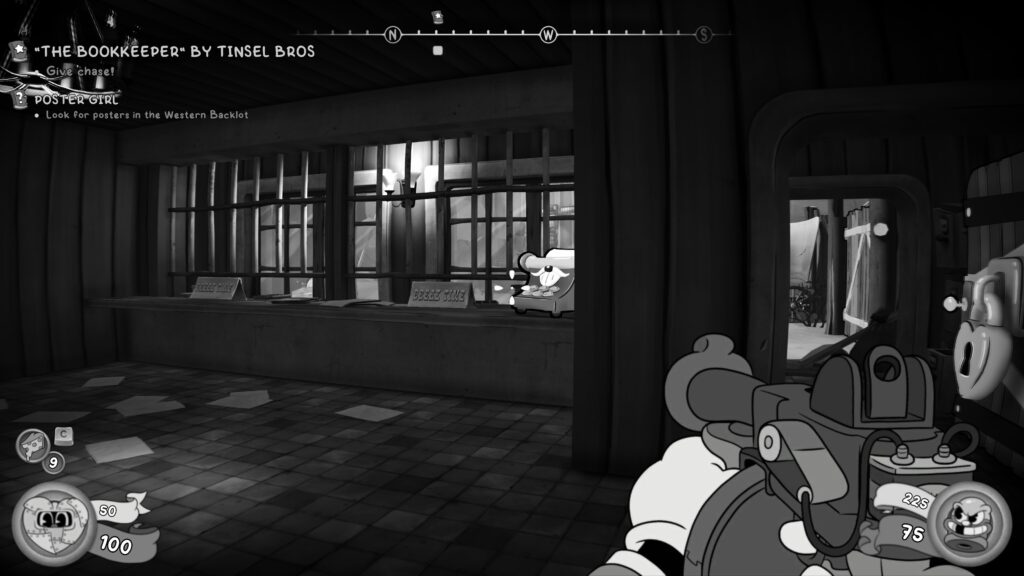
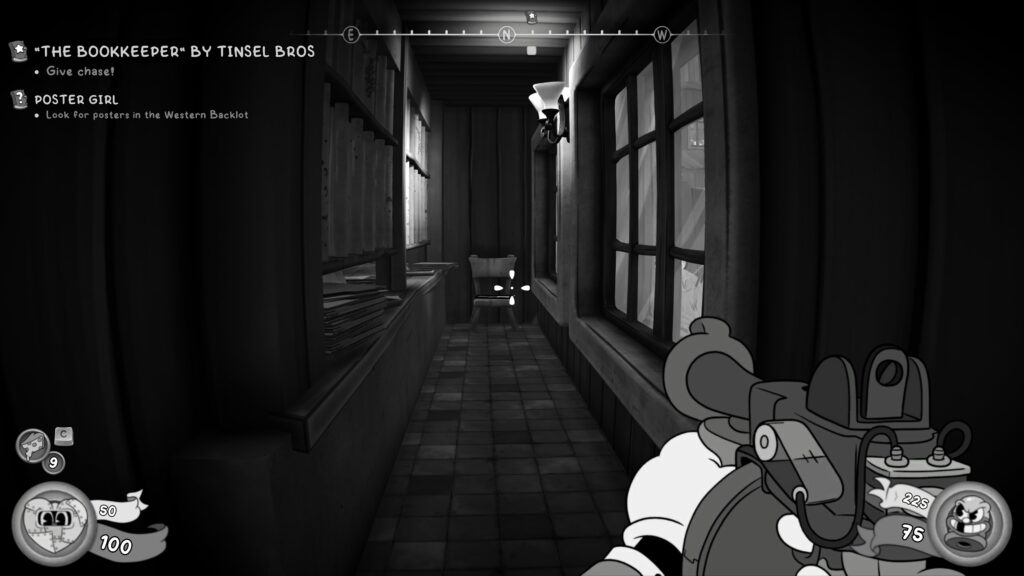
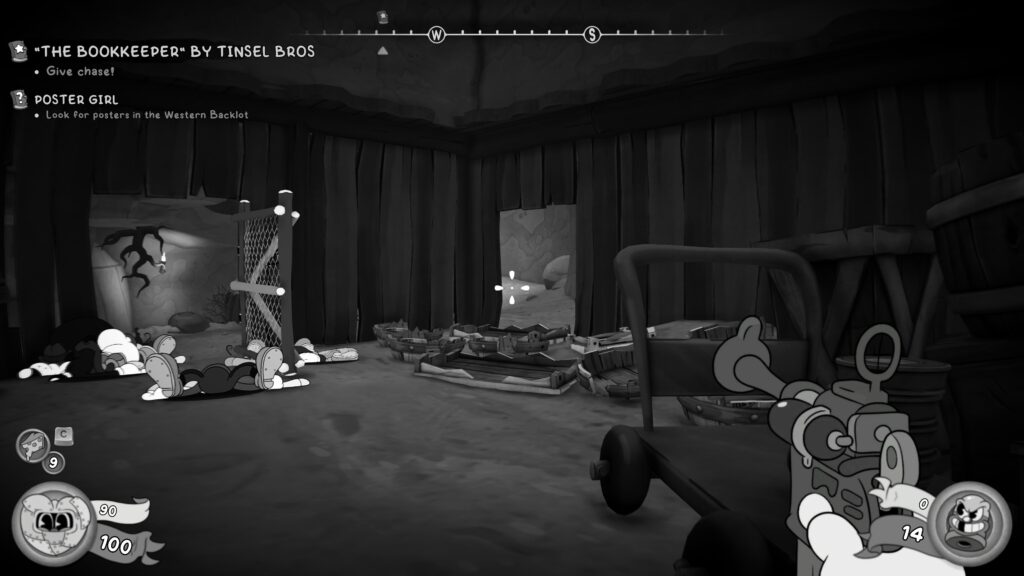
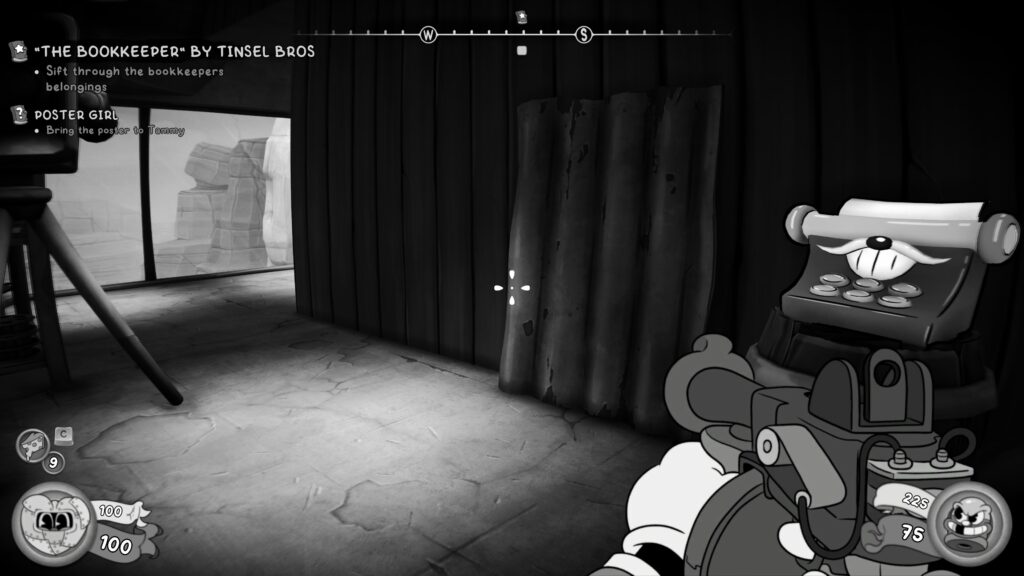
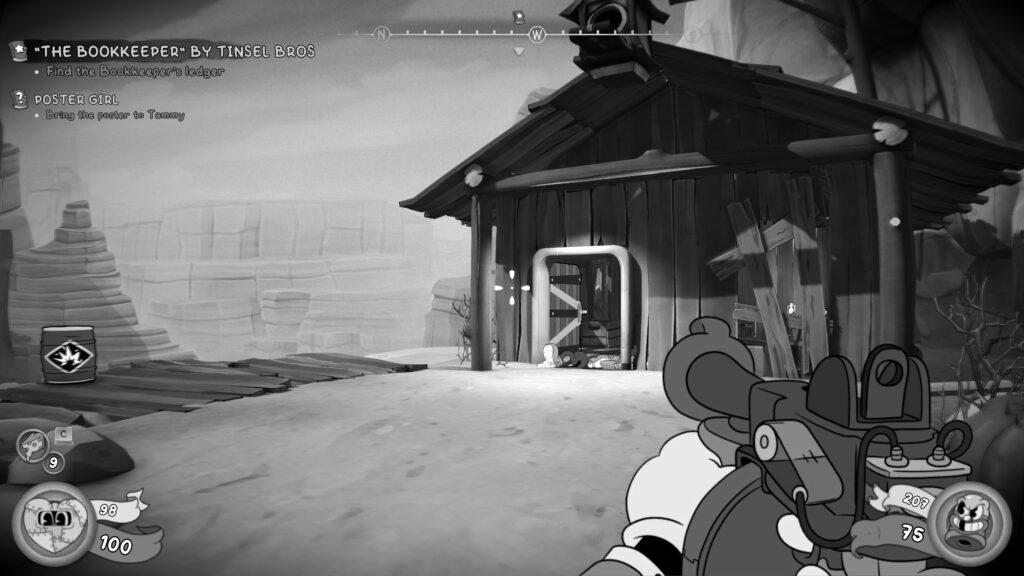
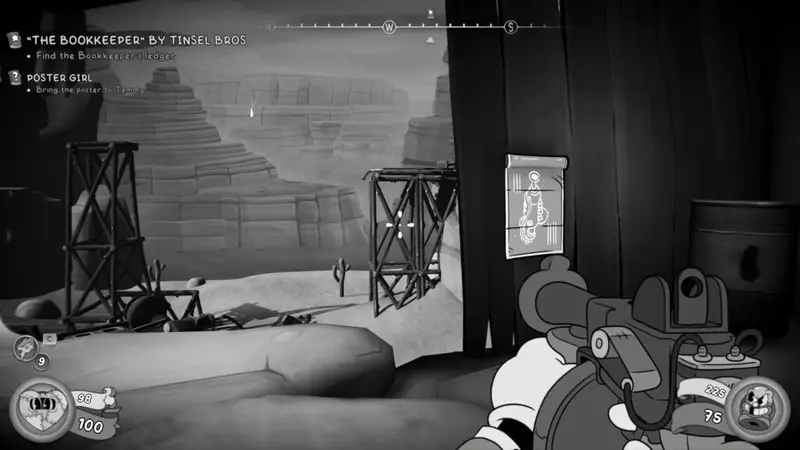
Side Job – Poster Girl
Speak with Tammy in the workshop. She will give you the side job for getting a signed poster from the Western Backlot.
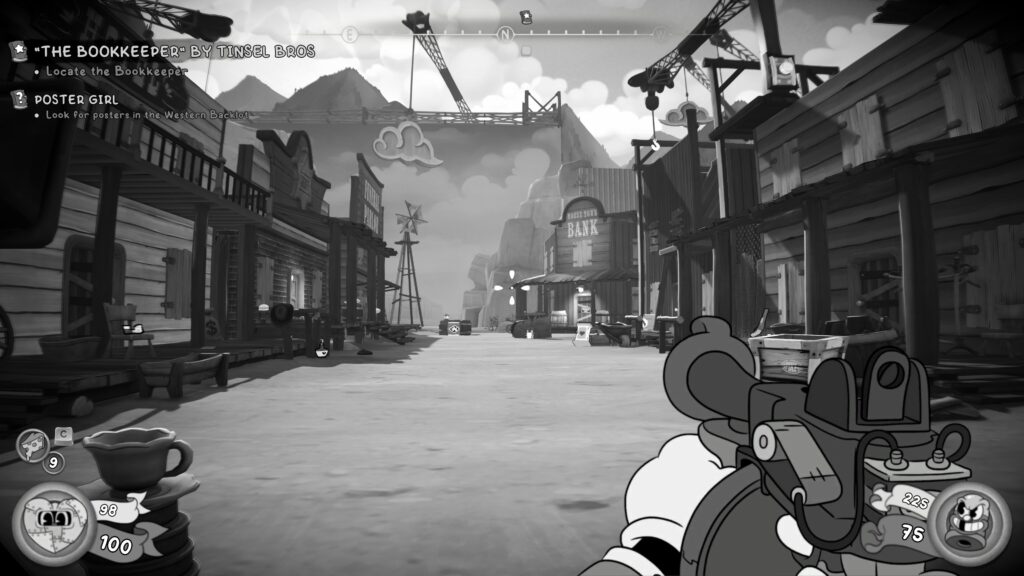
You’ll continue chasing the Bookkeeper through the level. After jumping and climbing through some sets, you’ll arrive outside and encounter an ‘Extra’. Go past her and to the left on the wall is the poster for Millie.

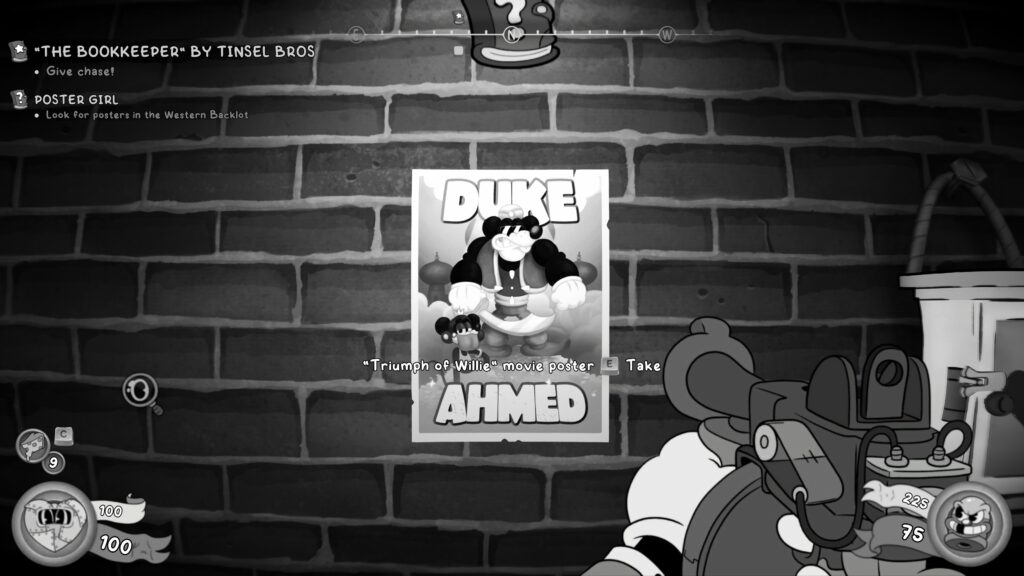
You’ll get rewarded with three schematics.
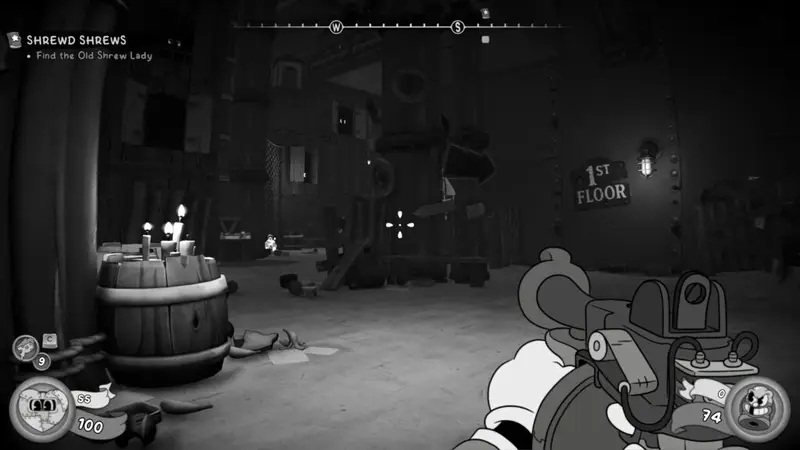
The Depths
Investigation Clue – Object of Interest – Photograph
After you’ve opened the gate with all the warning signs and dropped down into the water. On the right side are some cages. A prompt will appear to take a photograph.
Schematic
From the object of interest, do a 180 and face the waterfall. Now for the classic, what’s behind the waterfall. Head through and follow the path round to see a narrow tunnel with some pipes to walk on. On the other end on a table is the schematic.
Schematic
In the big room where you fight lots of enemies. You’ll have to activate levers to progress. This will activate the mechanism on the back wall. Once you’ve activated all three levers, there should be a hole in the left side of the fence in front of said mechanism. Watching for the machinery, jump through and climb under and over to reach the schematics in the middle.
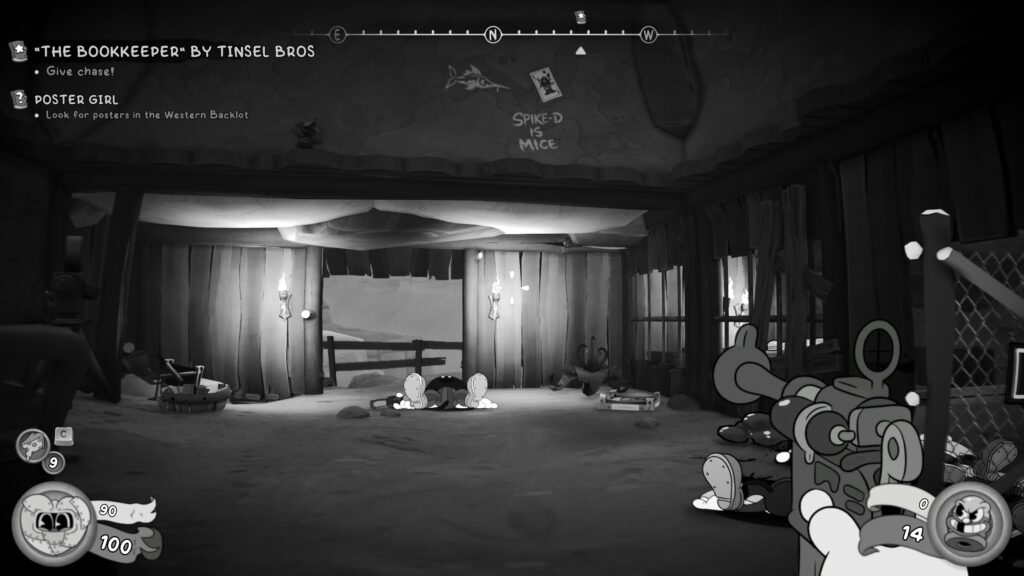
Baseball Card (27 / 41)
Once you’ve entered the underground city, head forward and take a left. Head forward until you see a wall with the wording “Spike-D is Mice” on it. Jump up to the right here. From there, jump onto the barrel (you won’t take damage) and double jump across the gap to get over the chain link fence.
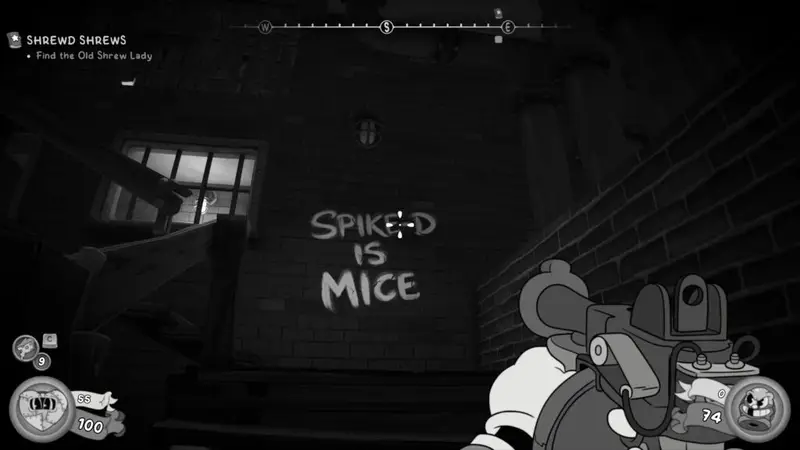
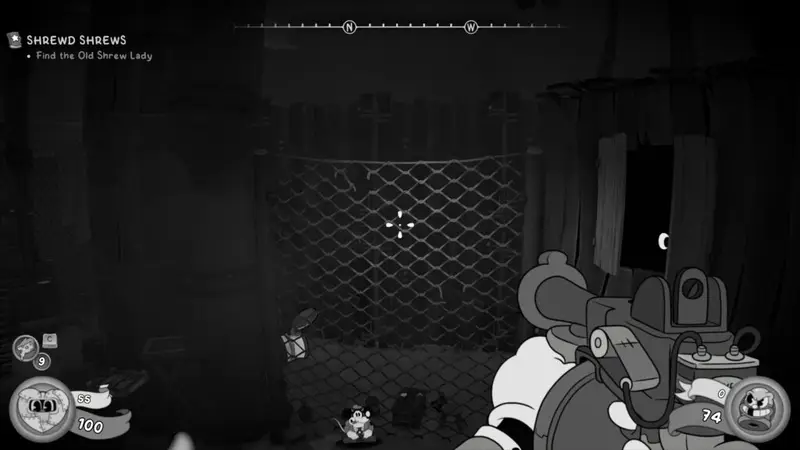
The Baseball Card is on a crate once you’re on the other side.
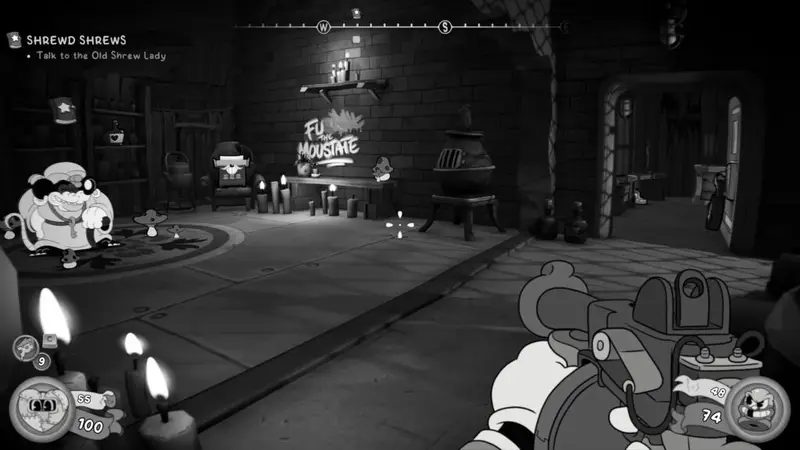
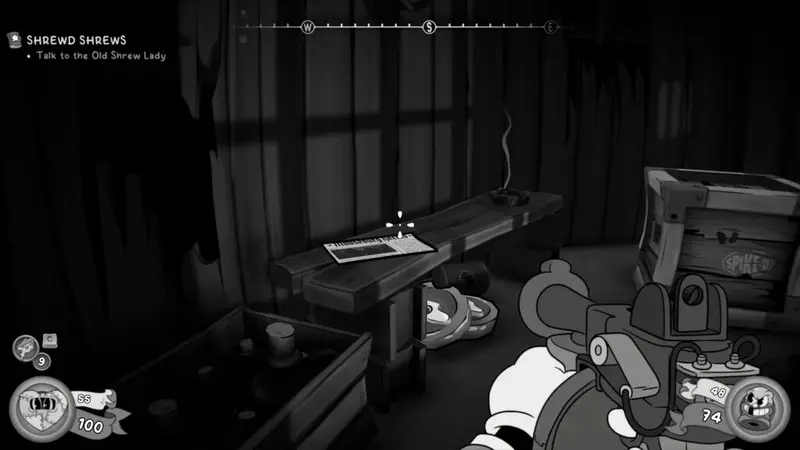
Newspaper (23 / 38)
You’ll progress through the level until you reach the Old Shrew lady. Before you speak to her, Tail Pick the padlocked door on the right of the room with her in it. The newspaper is in there on a bench.
Investigation Clue – Object of Interest – Photograph
After speaking with the Old Shrew lady, you’ll progress to a point where you need to blow up a ‘totally normal wall’ to progress. As you’ve gone through the newly created hole you should see the prompt to take a photograph.
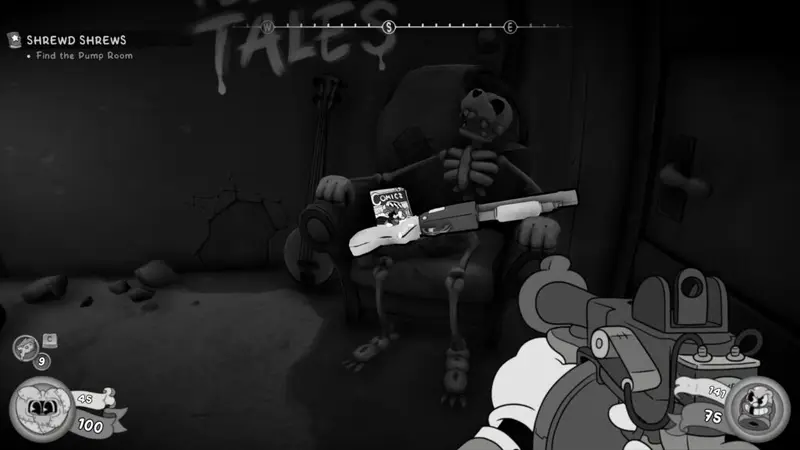
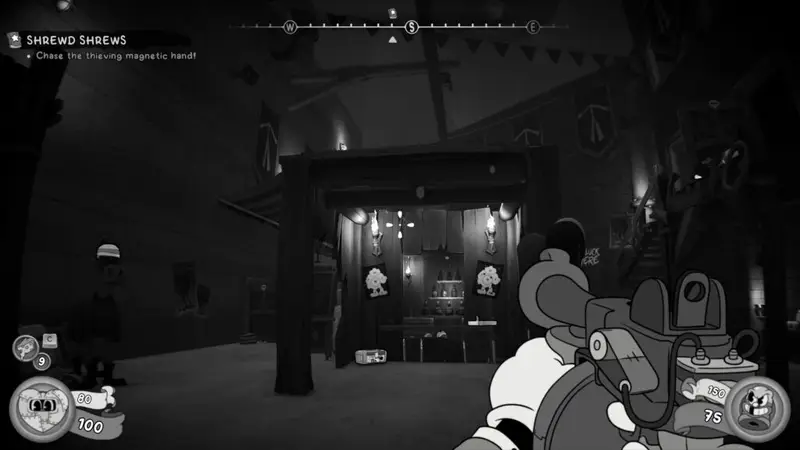
Comic Book (18 / 29)
From the object of interest photograph, take a left and go through the door. The comic book is set on a chair with a skeleton and a shotgun.
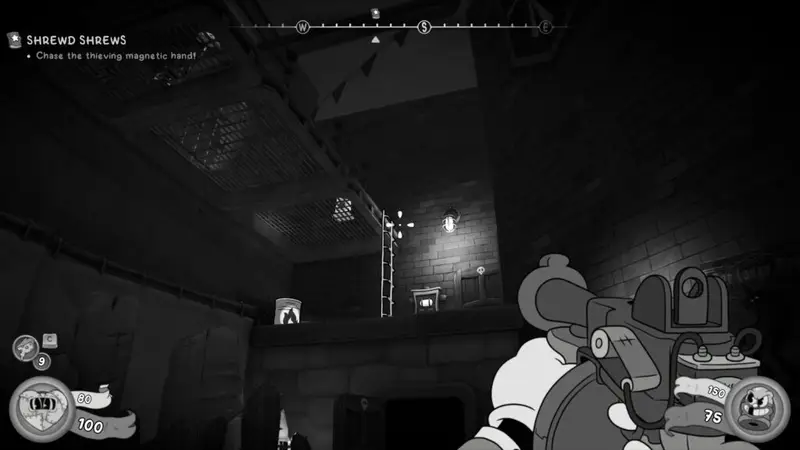
Schematic
You’ll end up chasing a big magnet that holds a valve you need for your main objective. As you progress through this bit, you’ll enter an area with a wooden structure in the middle, with a trampoline in the centre of it. Use that to bounce up and progress and then climb up a ladder on the back wall. At the top of the ladder on your left is the schematic on a table.
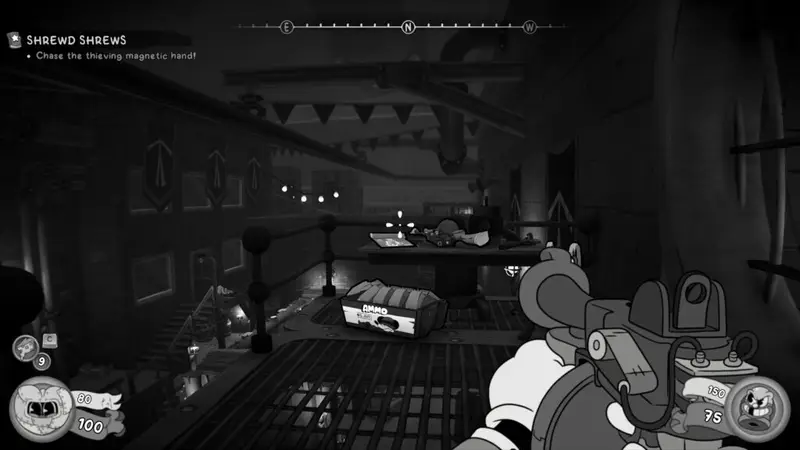
Investigation Clue – Cage Trail Map
After the big fight in the arena (where you eat the spinach and punch a lot of enemies), leave through the only exit and the clue will be on a table just to the right of leaving, next to a typewriter.
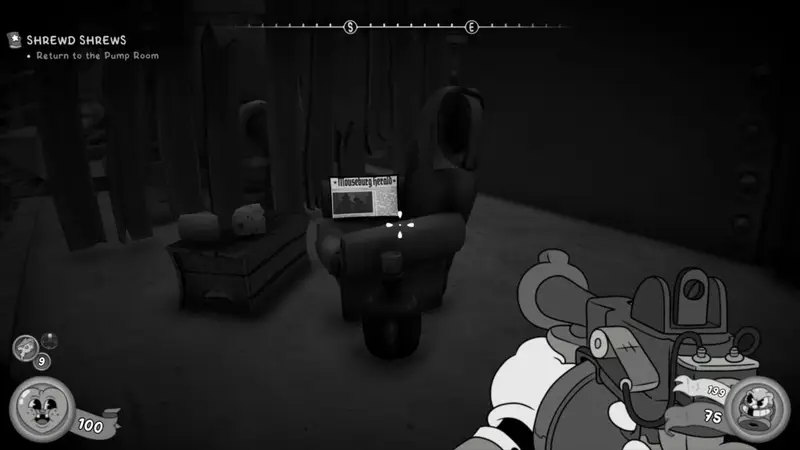
Newspaper (24 / 38)
After leaving the arena, you’ll go up some steps. Immediately to the left at the top, on a chair is the newspaper.
Schematic
After getting the newspaper above, turn left and go back on yourself to the end of the path. On the left is a safe with a schematic in it.
The safe is time limited and movement limited. Here’s the solution below. If you fail, you can reload your save, just make sure you re-pick up the newspaper (above) again.
P.I. Office – After The Depths
Newspaper (25 / 38)
Bought from the ammo store for $50.
Baseball Card (28 / 41)
Bought character card from the ammo store for $100.
Western Backlot
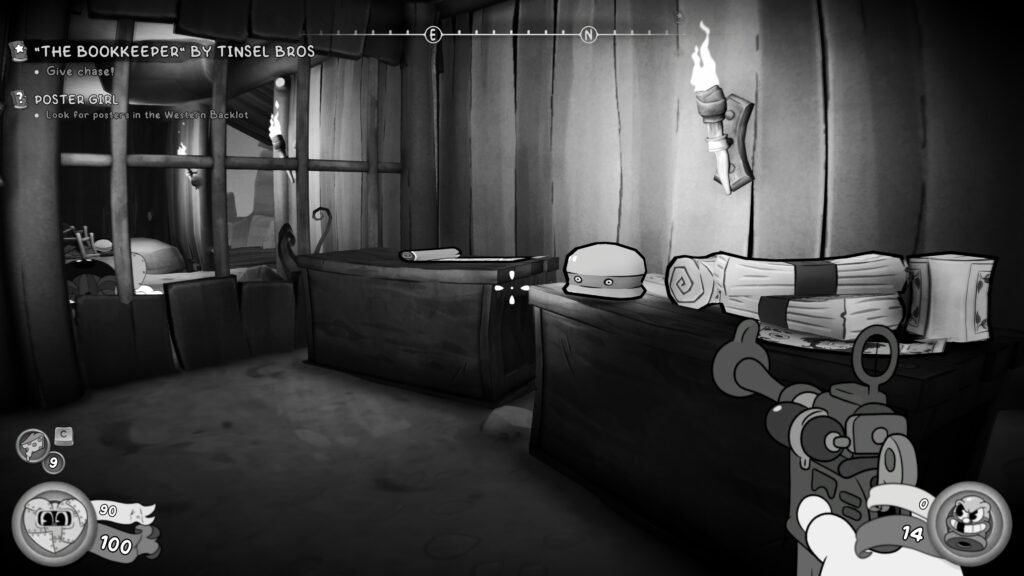
Newspaper (26 / 38)
You’ll make your way through a very fun shootout section in a Westen town set. Afterwards, you’ll head into a building to speak with the Bookkeeper. After he runs away, pick up the key on the counter where you were speaking to him. Open the door on the right and go behind the counter where the bookkeeper was stood. On a chair is the newspaper.
Schematic
After some fighting of enemies, chasing the bookkeeper and getting turned around by an errant train, you’ll end up jumping across the roofs of the Western set you walked through. You’ll eventually enter a room where the floor collapses (a number of times). Once you’re on the floor, kill any enemies and turnaround. Break open the crates and barrels to reveal a path into a small cave.
The schematic is on a crate to the right of the door that will open as you approach it.
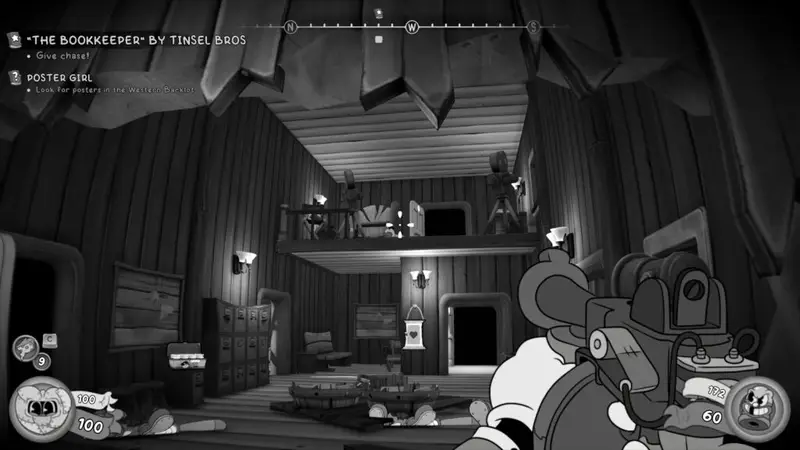
Comic Book (19 / 29)
After leaving the building that you fell through the floor of, you’ll wall jump, jump and Tail Chopper across some platforms and rise up the floor above. Here, you’ll fight some enemies in a room. After defeating them, use the furniture in the room to get higher and then double jump to the ledge above. The comic strip is on the bottom shelf of a bookcase.
Side Job – Poster Girl
You’ll continue chasing the Bookkeeper through the level. After jumping and climbing through some sets, you’ll arrive outside and encounter an ‘Extra’. Go past her and to the left on the wall is the poster for Millie.
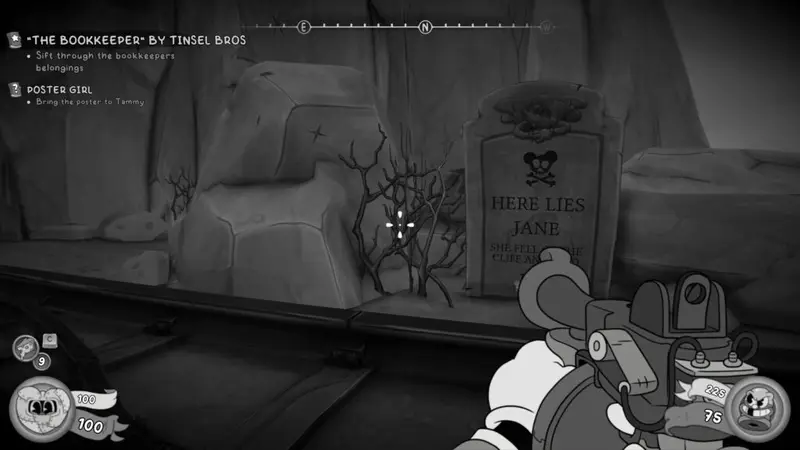
Baseball Card (29 / 41)
You’ll have a big shootout in a room with a cart that circles the area (it has a Hot Pepper power up on it). After defeating the enemies, carry on and you’ll enter a house where you can see the Bookkeeper running away until he faces the music. This is a room with a typewriter. After leaving this room turn to the left and head forward.
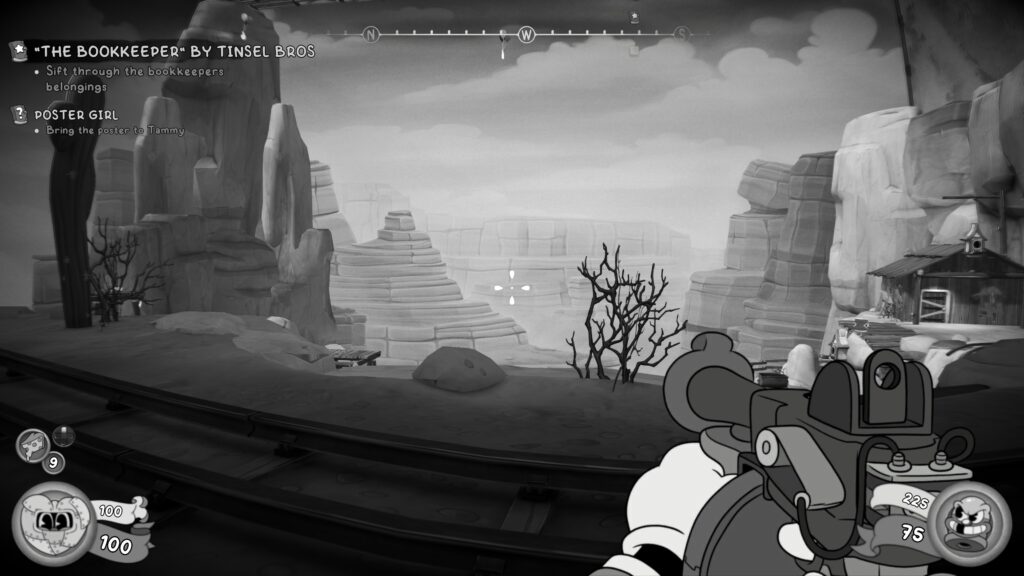
As you walk forward you’ll see a grave stone. To the left, behind the grave stone is the Baseball Card.
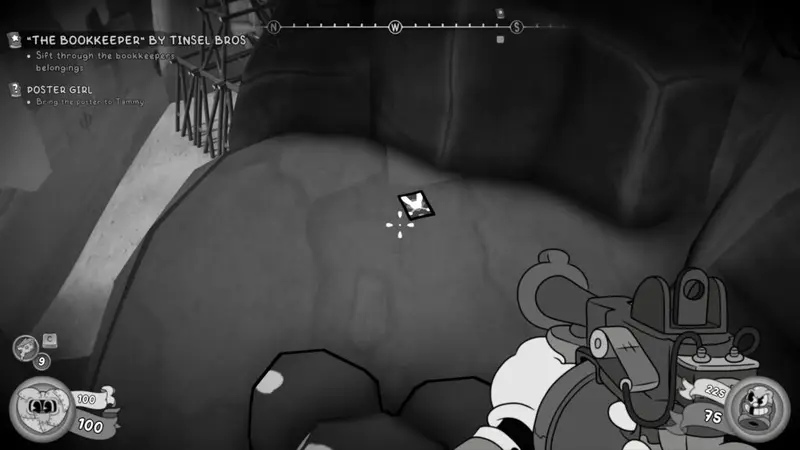
Investigation Clue – Bookkeeper Note
Where the bookkeeper was squished by the piano. On the floor.
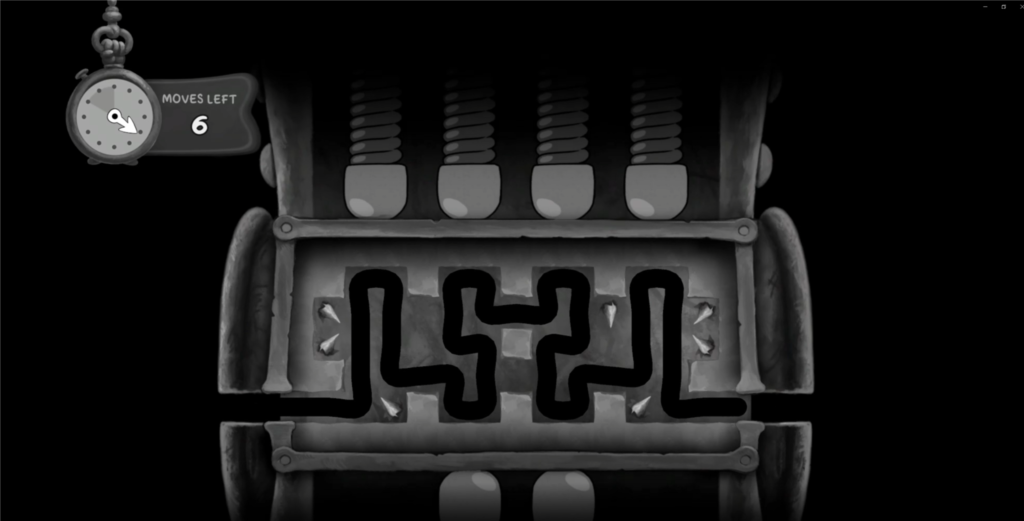
Schematic
From the squished bookkeeper, after defeating any enemies, head down the slope to the left and look out across the ravine and you’ll see a safe in the distance on a platform. There are two targets you can shoot to lower grapple hooks where you can Tail Whip across. Do so to reach the safe. The schematic is in the safe.
The safe is time limited and move limited. The solution is below, if you make a mistake, reload your last save and try again.
Schematic
Tail Whip back across from the safe and head to the right. You should see a ledge you can jump to. Turning right, when across, you’ll enter a small cave with a number of enemies. Take them out and head to the right to the opening of the cave. The schematic is pinned to a wooden board.
Schematic
As you continue, you’ll head down a train track inside a cave. This is after the fight in the cave where you have to pull the switch to activate the combat. There’s a voice line about a killstreak. You’ll eventually arrive at a “totally normal wall” on your left. Blow it up with dynamite and enter. On your left is the schematic under a plank of wood.

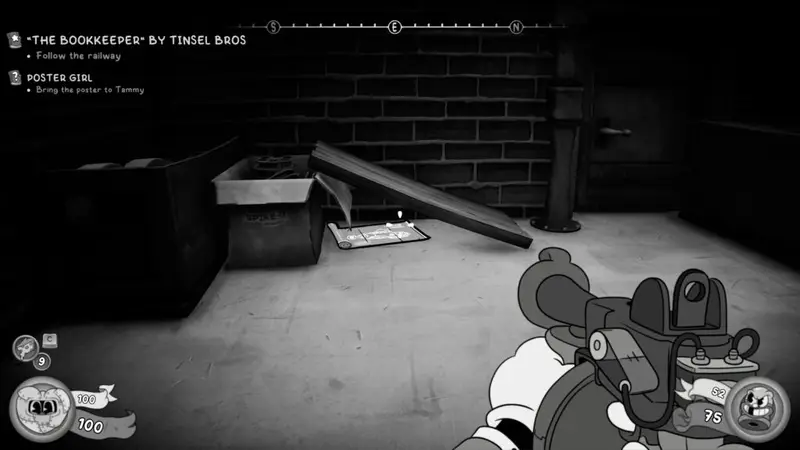
Investigation Clue – Bookkeeper’s Ledger
As part of your main objective. You get this after you get chased by the train.
P.I. Office – After Western Backlot
Side Job – Poster Girl
Head to Tammy to hand in the side job. You’ll get rewarded with three schematics.
Baseball Card (30 / 41)
New character card bought from ammo store for $100.
Investigation Clue – Vivian
You’ll receive this automatically after speaking with Vivian outside your offices.
Baseball Card (31 / 41)
Bought a speed boost card from the ammo store for $500.
River Fever Line
Object of Interest – Photograph
Not sure if this counts as a side job or adds to your clue, but a newly married couple ask you to take their picture.
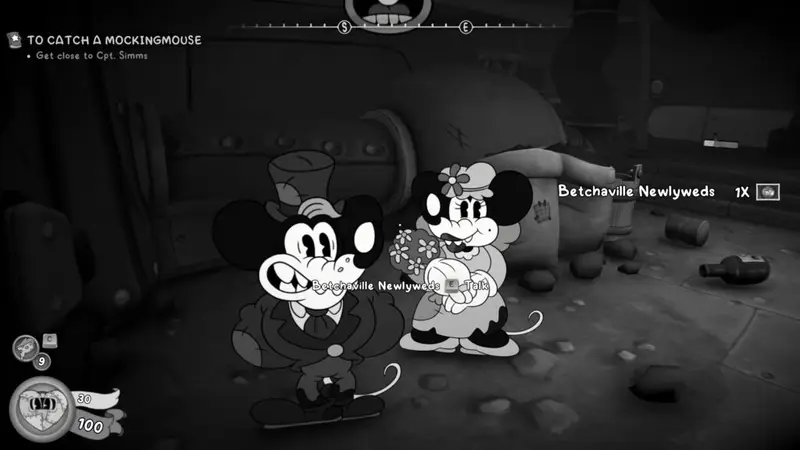
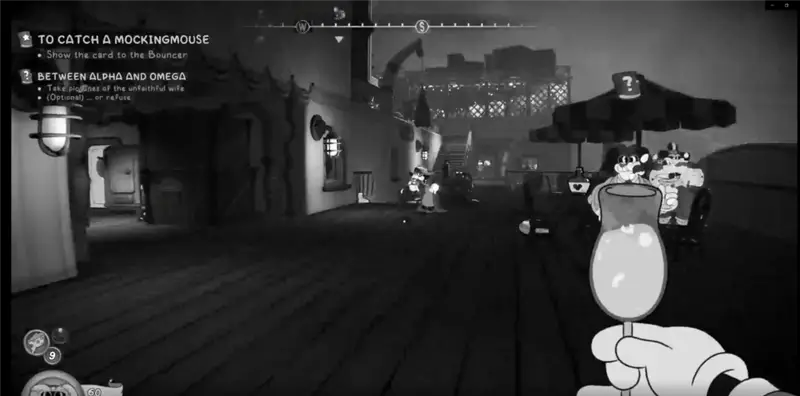
Side Job – Between Alpha & Omega
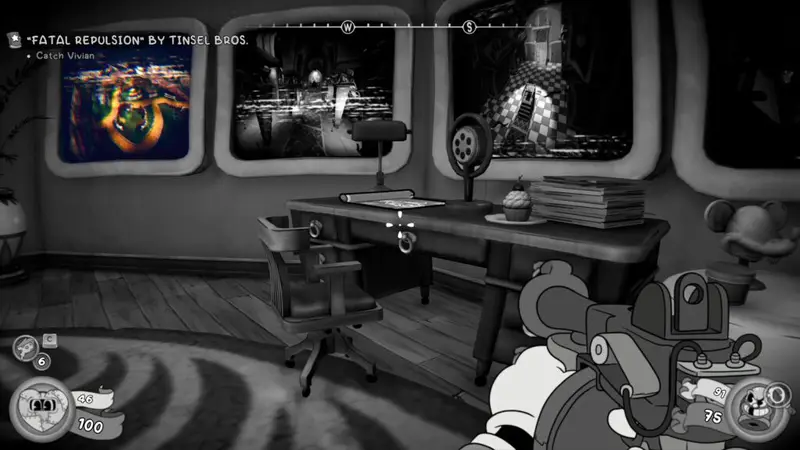
When you sneak into the cigar lounge (part of the main objective) to find a BMP membership card, you’ll spot a BMP Yes Man. Speak with him and he’ll ask you to take a photo of his wife whom he suspects to be having an affair.
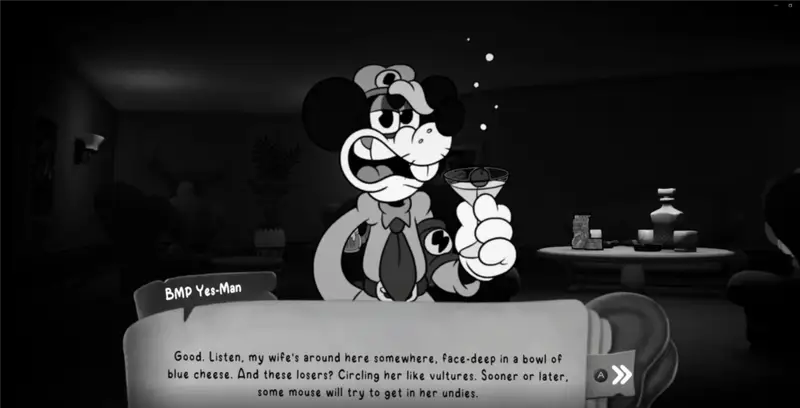
Turn around and head up the large staircase and out the double doors upstairs (where the typewriter is). Take a right, and go down the stairs, walk past the Double Agent (there’s a quest marker over his head) and go down the stairs in front of you. Double back on yourself and head to the window on the back right of the wall. Pretty easy to find if you follow your camera quest marker at the top of the screen.
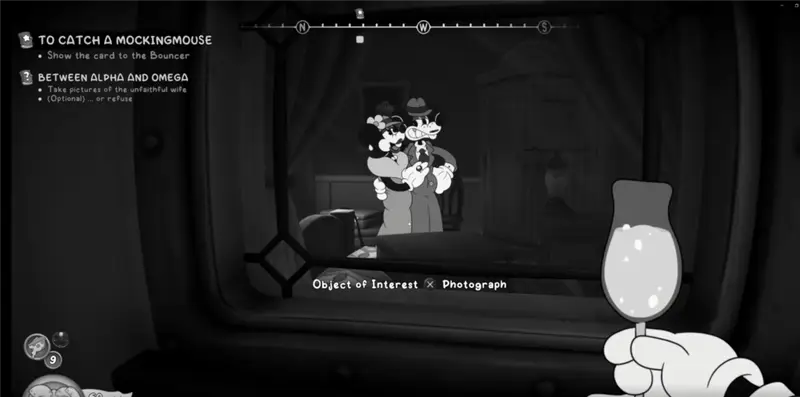
Take the photo back to the Yes Man and he’ll reward you with $50.
Side Job – Mouseberg Confidential
Return to where you spotted the Double Agent and speak with him. He wants you to take a photo of the BMP presence on the boat. From the Double Agent, head forward and up the stairs on the left. At the top, take the wide stairs on your right into the covered area. The BMP members you want to snap are on your left (again follow the quest marker at the top of your screen).
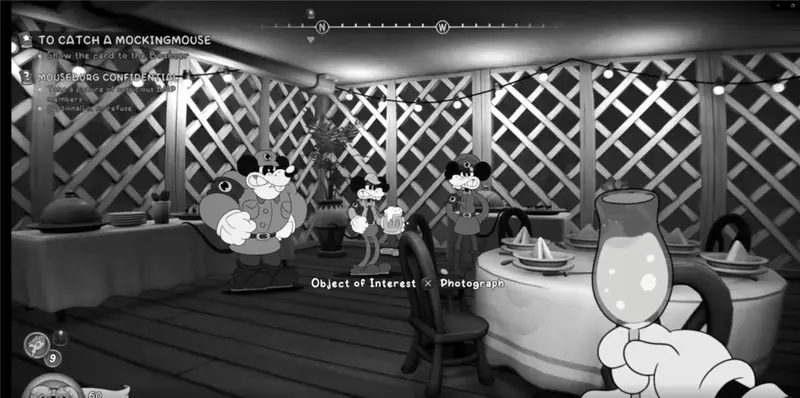
Return to the Double Agent and he’ll graciously reward you with $2…
Schematic
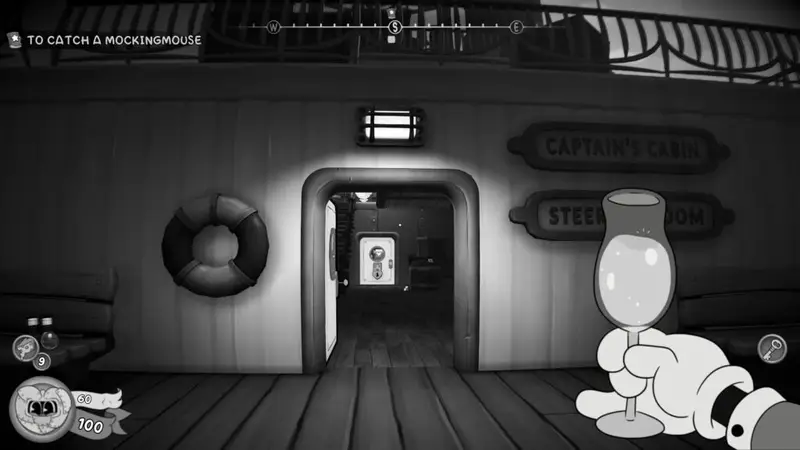
Once you’ve got the BMP membership card and shown it to the guard who was blocking you originally, head in and into the kitchen area. The only way to move out of the kitchen is through the warp pipe. Once you’ve gone through there, look to the right to see a padlocked door that requires the Storage Room Key. The key, is hung on the back wall to the left of the locked door. Grab the key, open the door and go through the warp pipe that is in there.
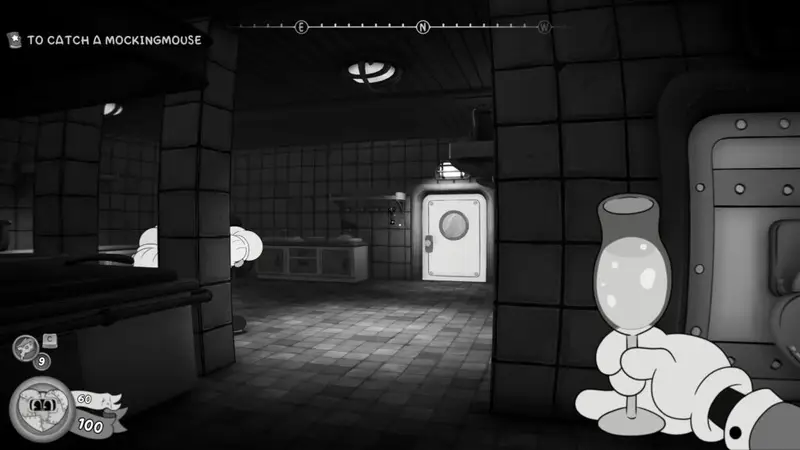
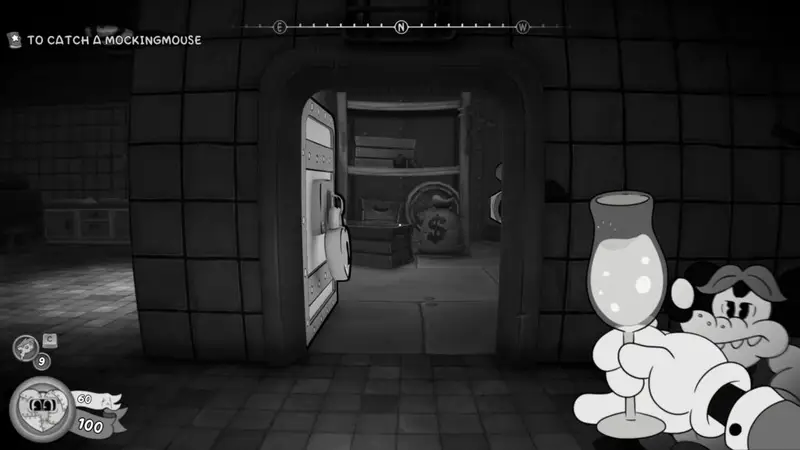
Once you’re through, the schematic is on the table in front of you.
Schematic
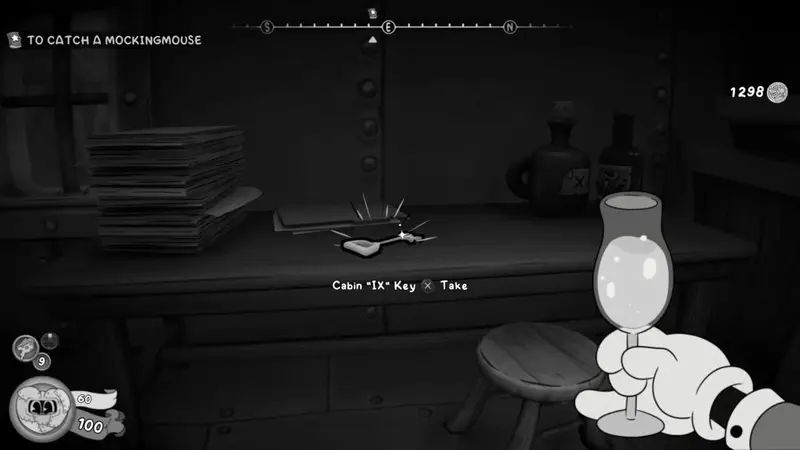
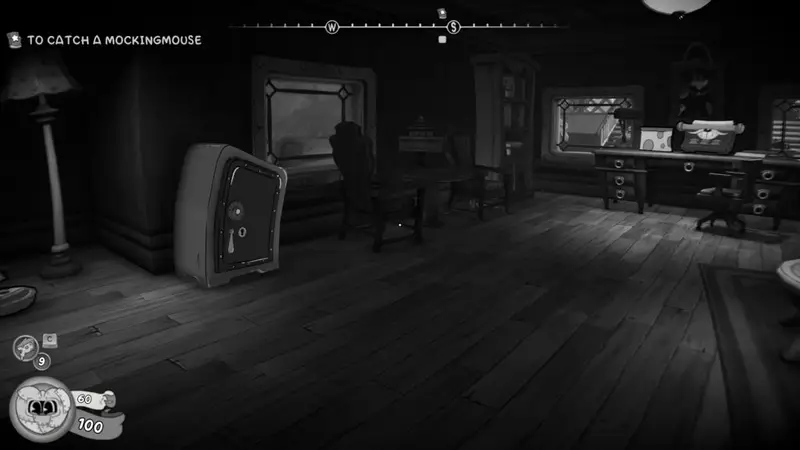
In the room with the last schematic, keep circling the rooms and you’ll find a safe. To the room that’s on the right of the safe is a key for Cabin IX on a table, grab that. Then you need to head back out the way you originally came back into the kitchen where you grabbed the Storage Room Key. Go to the door to the right of where you grabbed the key and head through. The door to Cabin IX will be on your left. Go through and drop through the whole in the floor, after climbing through the vent, to grab the Captain’s Key.
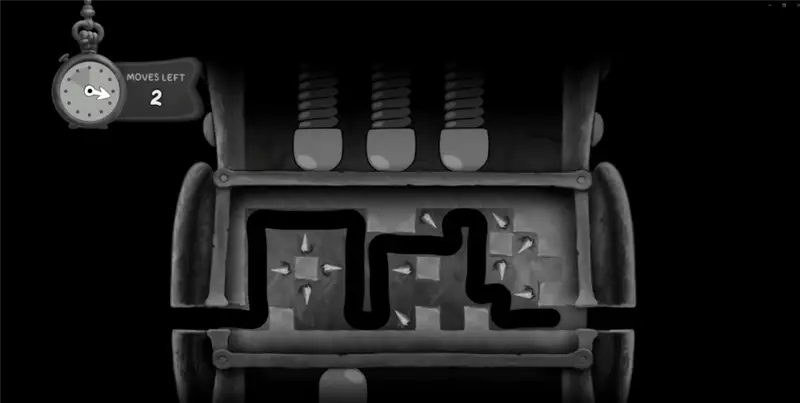
Head out the door of the room you’re in and head to the left out of the double doors. Head right and up the stairs. Double back on yourself and head forward, going up the stairs that are on the left wall. At the top take a left and you’ll spot the corridor that leads to the Captain’s Cabin. In there is a safe on your left with the schematics in it.
The safe is one of limited moves and a time limit. Here’s the solution below, if you make a mistake and the safe gets jammed, you’ll need to reload your last save to try again. Note you may have to pick up any items that were collected since the last save to make sure they aren’t missed.
Investigation Clue – Photo of Pepper
This is your main objective.
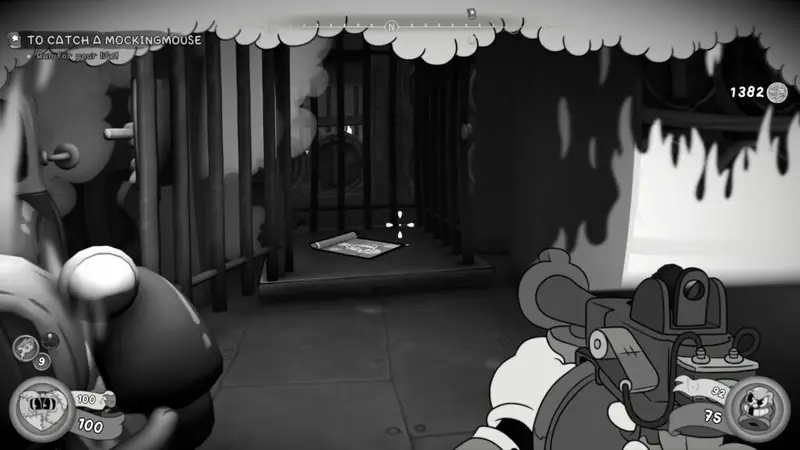
Schematic
After the boss fight with Pepper, everything catches on fire. As you make your way through the linear path you’ll spot a schematic in a cage. Grab it.
P.I. Office – After River Fever Line
Comic Book – (20 / 29)
Purchased from the ammo store for $50.
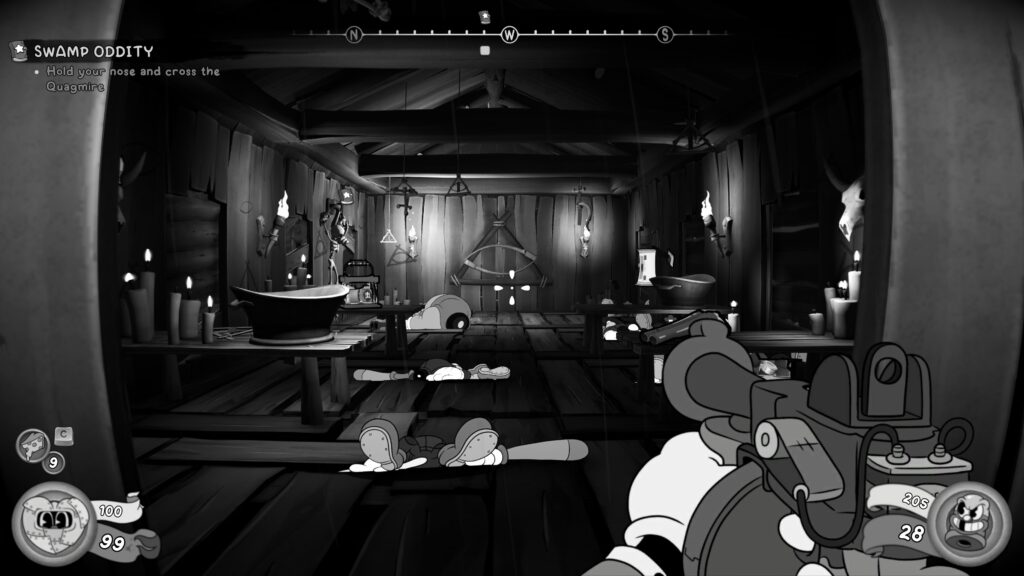
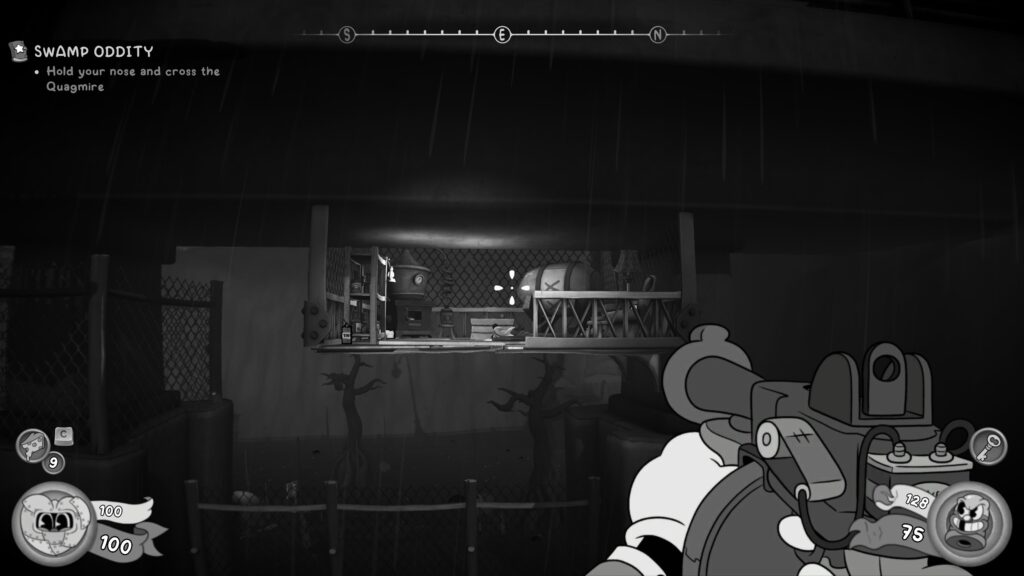
The Quagmire
Investigation Clue – Crooked Blockade
Will unlock automatically after the first fight with enemies.
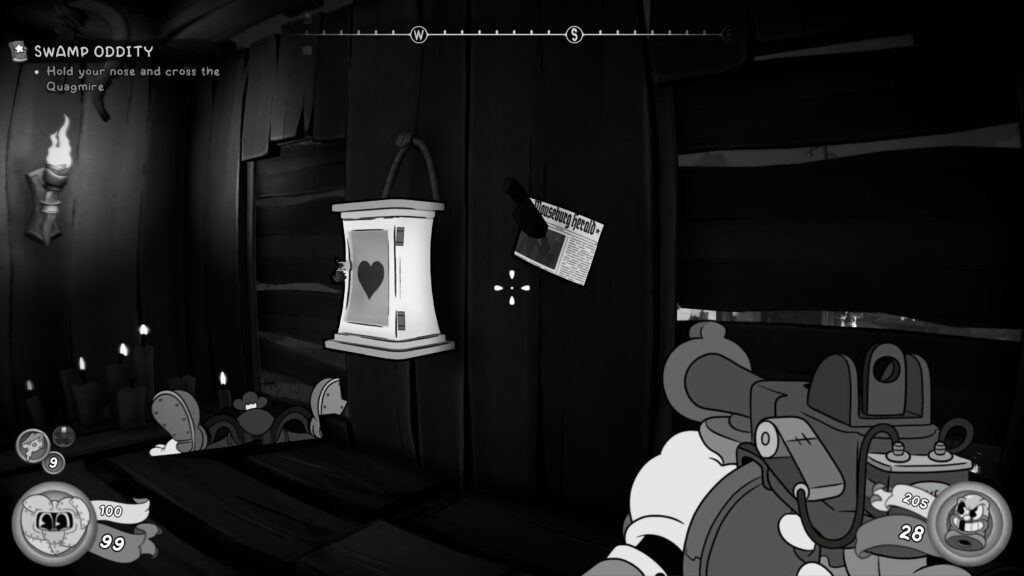
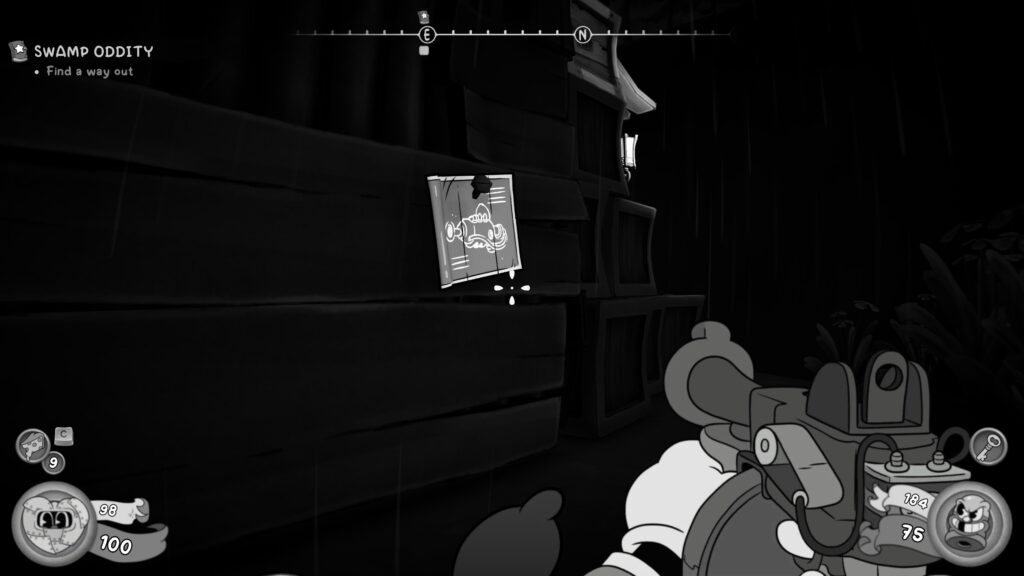
Newspaper (27 / 38)
After travelling across the swamp in the boat, you’ll fight off some enemies and climb a ladder. You’ll need to go into the wooden hut to collect a key. In this room on the back right wall, next to a health cabinet is the newspaper pinned to the wall with a knife.
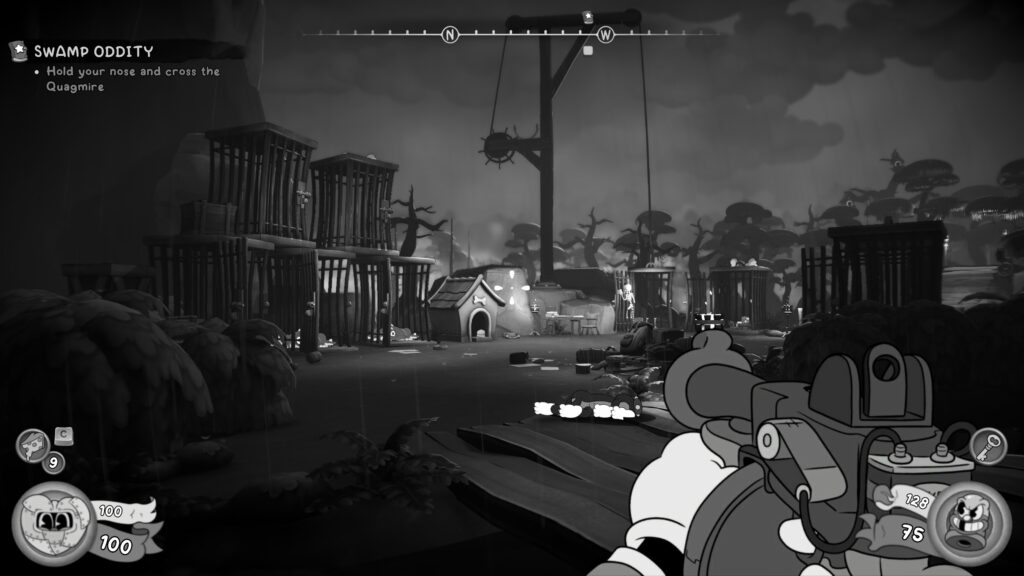
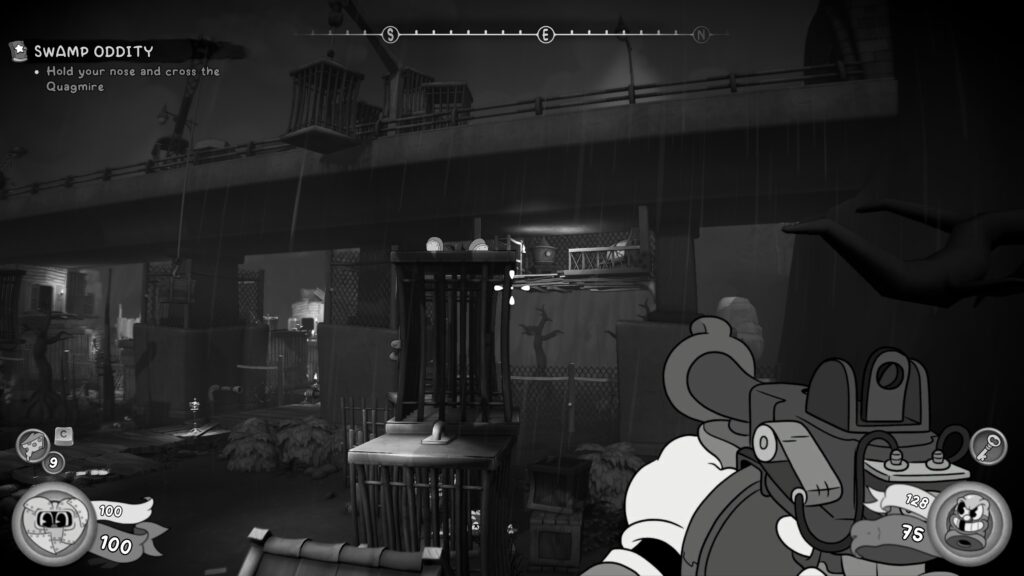
Schematic
After crossing back over the swamp, you’ll head forward and face a couple of waves of enemies. After you progress you’ll enter a clearing with lots of cages in it (you can kick these to open them if you want to break the crates open). Jump onto the cages and look back towards where you came from and you should see a platform hanging under the bridge. The schematic is on chair in the right corner of this platform.
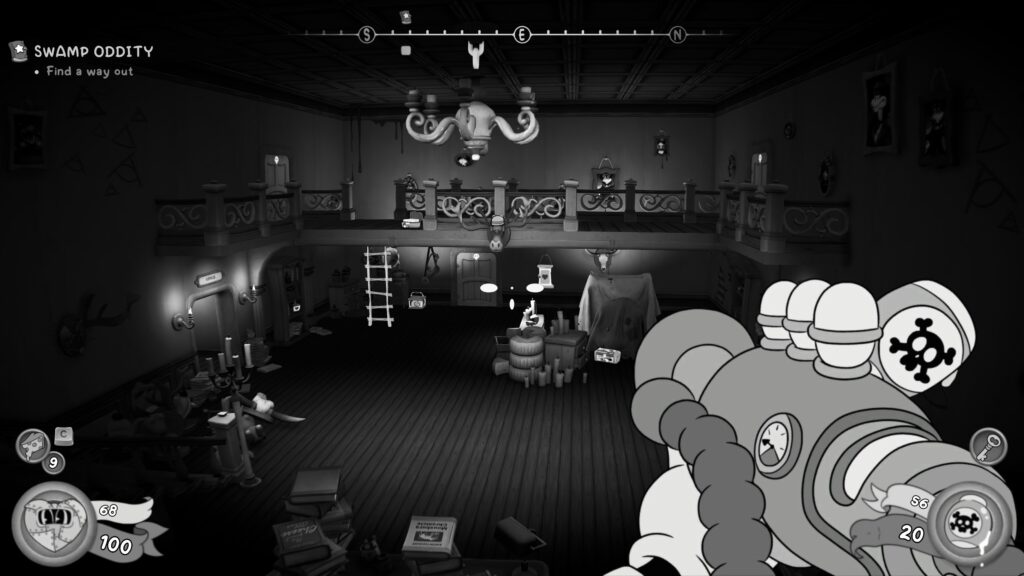
Schematic
After speaking with the Old Shrew, you will head into a large where enemies attack. After you have cleared them out, take the left-hand door on the ground floor. You’ll enter another room where enemies will break through the wall. The schematics are sat on a set of books in the right corner.
Investigation Clue – Snuff Box
In the dark room where you get the Dining Room Key, right next to it on the table is the Snuff Box.
Schematic
Carry on exploring the Tardis house and you’ll end up outside where you’ll be attacked by many enemies. There’s a statue in the centre of the grounds. Go around the outside of the house you’ve just exited to the back wall. There’s a couple of enemies there and a schematic pinned to the back wall.
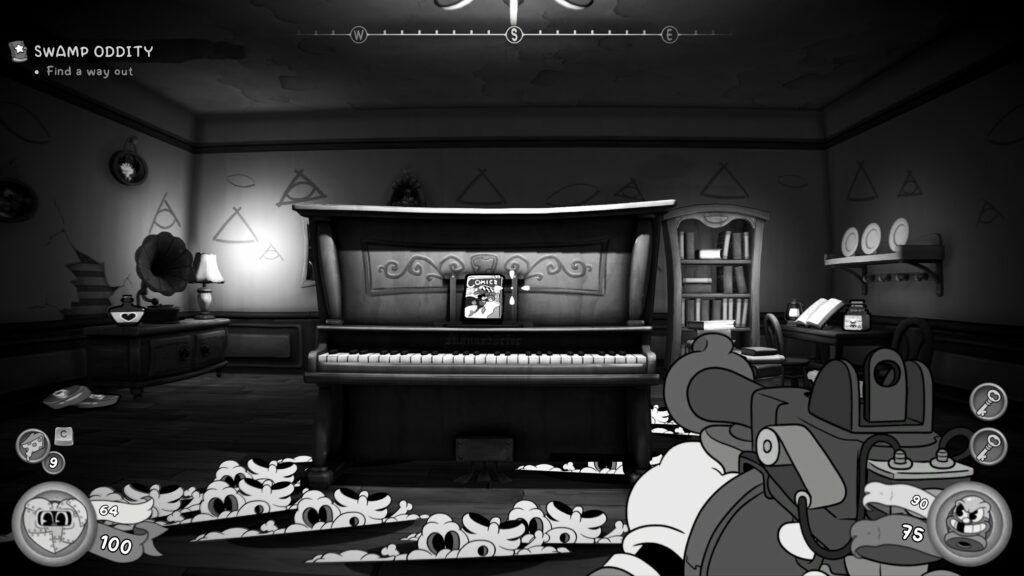
Comic Book (21 / 29)
After leaving the outside area, you’ll end up back in the main room where you met the Old Shrew. Take a right and go back to large hall you were in before. Now, take the right-hand door to the music room. In there on the piano is the comic book.
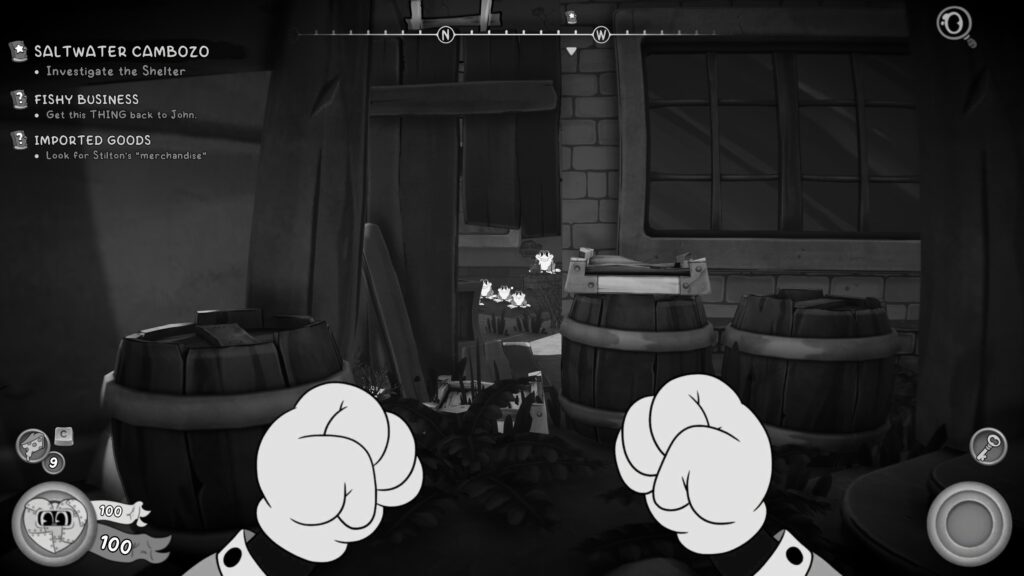
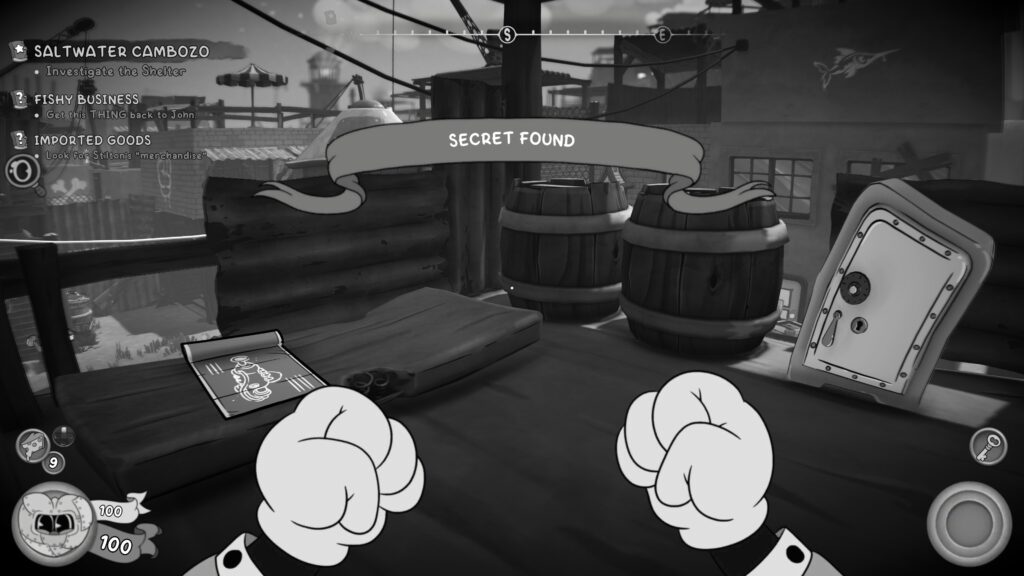
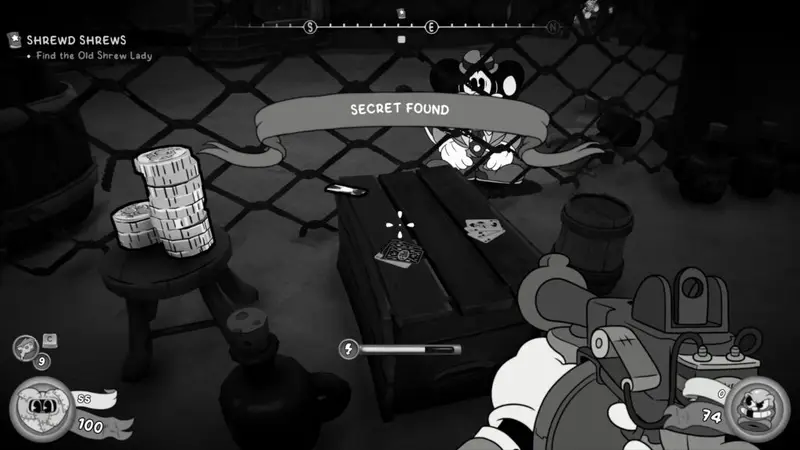
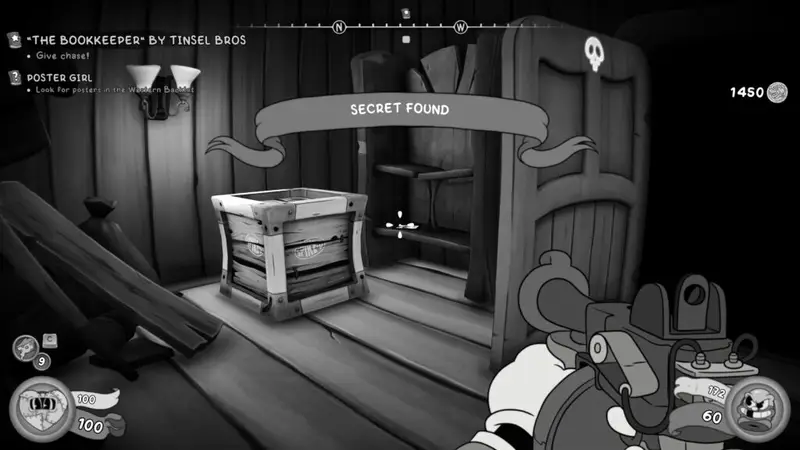
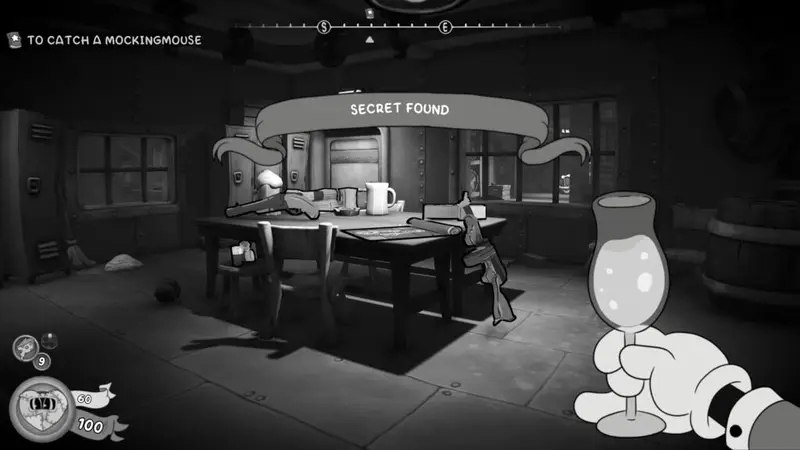
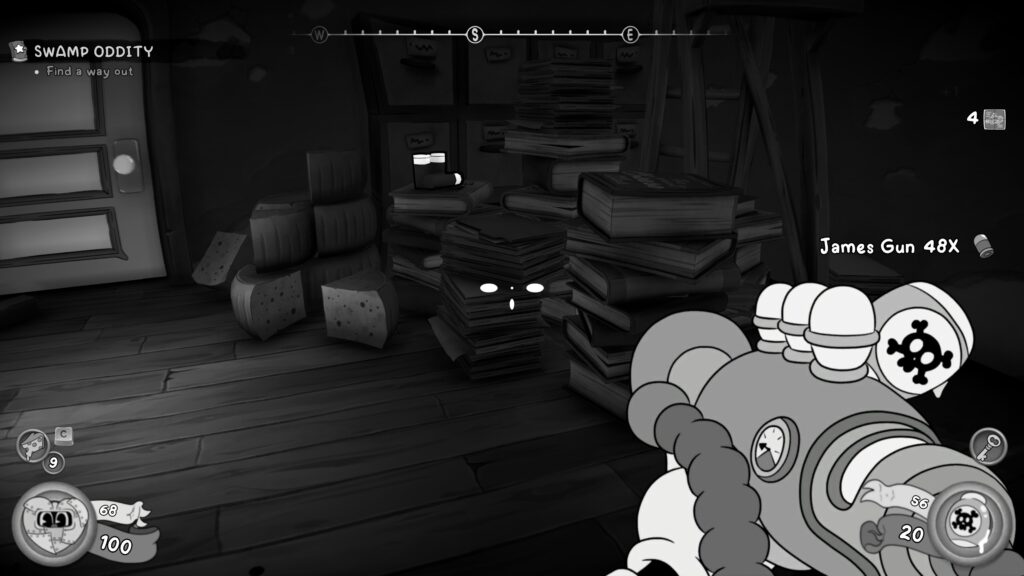
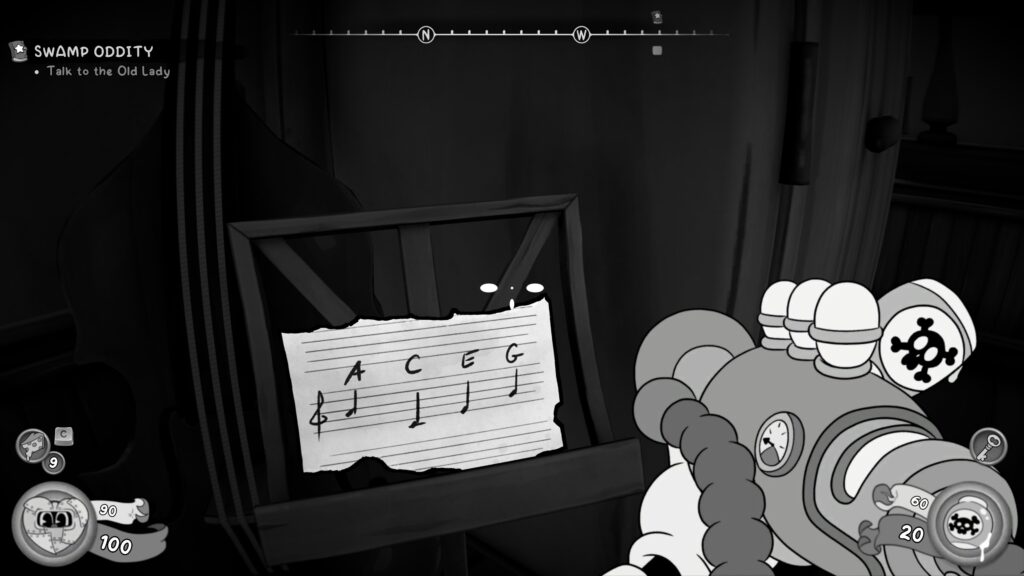
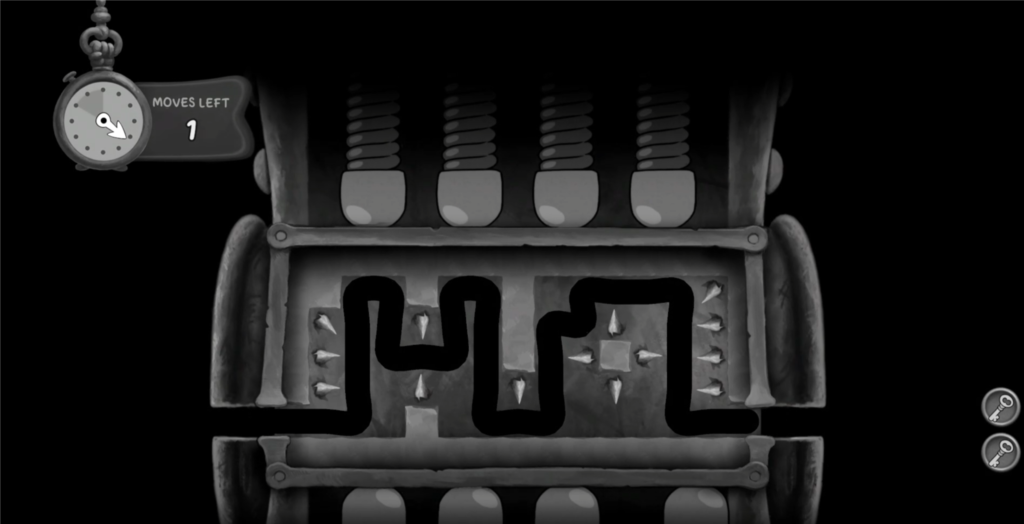
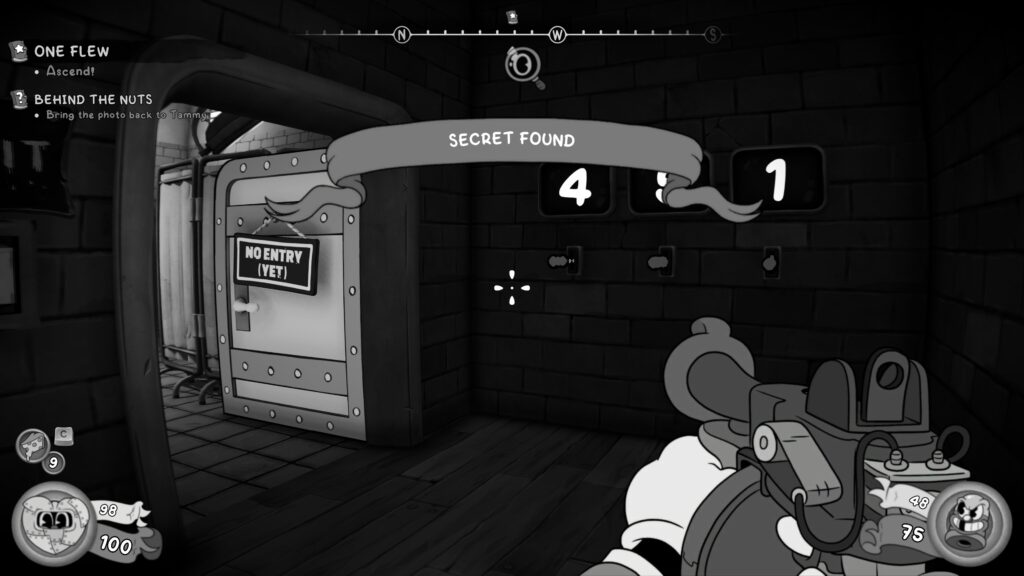
Schematic
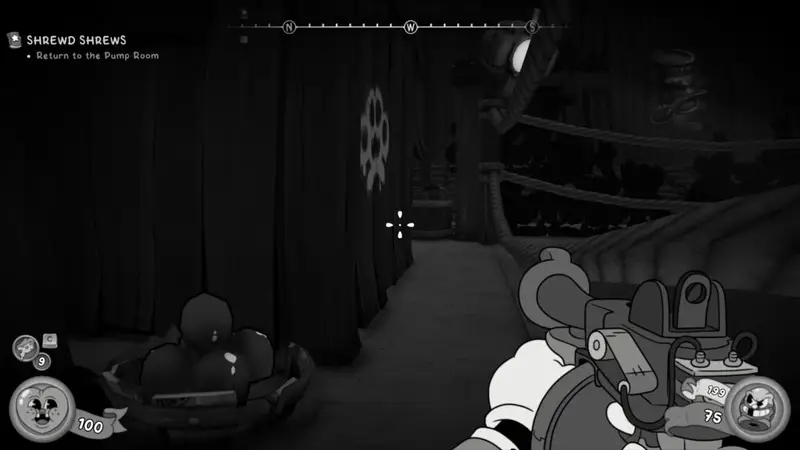
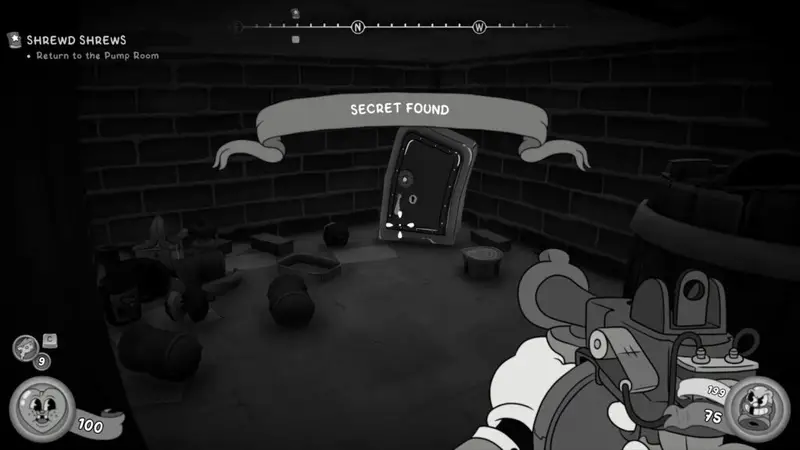
Still in the music room, approach the piano and play the keys A, C, E, G (the prompt will tell you what you are about to play (E is on the left of the piano). Play the correct order and you’ll get a notification saying ‘Secret Found’. Go back to the main hall where the Old Shrew lady was and you’ll see a door has opened (next to where the sheet music is that you might have noticed.
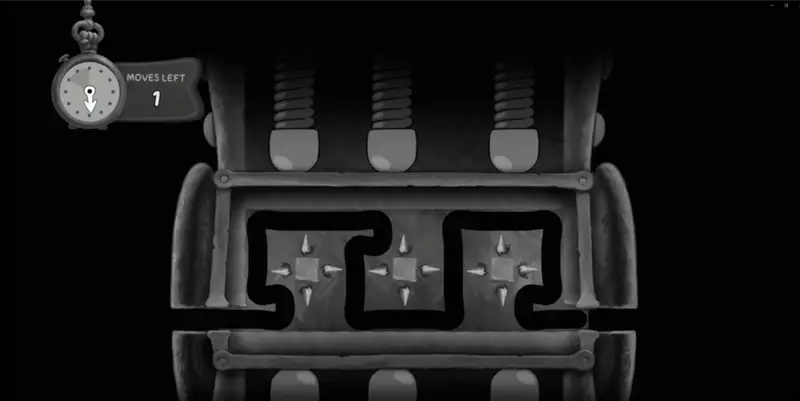
Head through the door and you’ll find the schematic in a safe. The safe has a move limit as well as a time limit. I’d recommend saving the game in the room where you met the Old Shrew so you can just reload if you make a mistake and it gets jammed. Below is the solution.
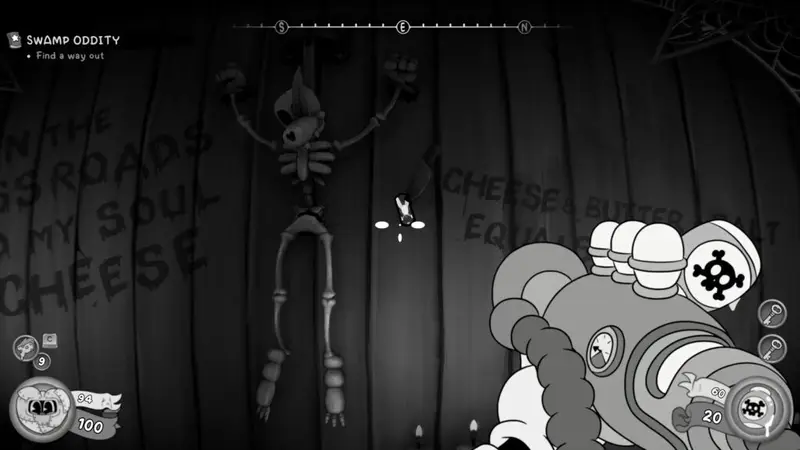
Baseball Card (32 / 41)
In the same room with the safe, turn around and look to the wall. Pinned to the wall is a Baseball Card.
Investigation Clue – Nuthouse
At the end of the level you’ll automatically receive this clue. You should unlock the “Secret of the Shrew Shortage” achievement at this point too.
P.I. Office – After The Quagmire
Newspaper (28 / 38)
The paper boy to the right of your offices has a new newspaper to buy.
Newspaper (29 / 38)
Bought a newspaper from the ammo store for $50.
Baseball Card (33 / 41)
Bought a ‘Fielding Play’ Baseball Card for $500 from the ammo store.
Side Job – Behind the Nuts
Speak with Tammy in the workshop who will give you the this side job to complete a the Nuthouse location.
The Reel Deal
Baseball Card (34 / 41)
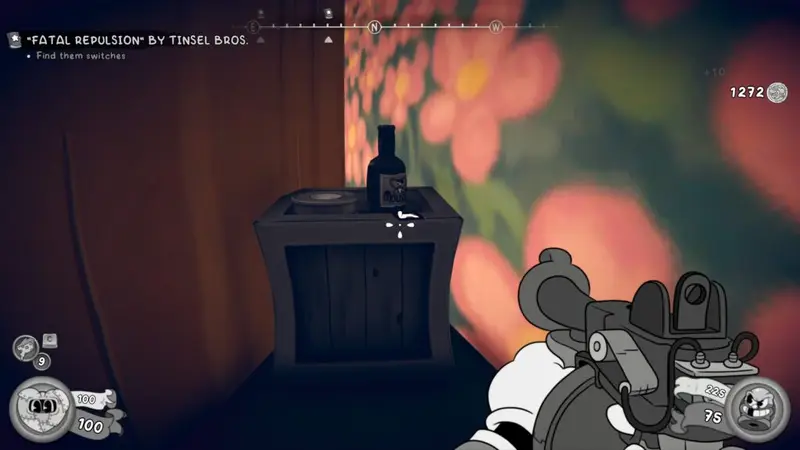
In the Technicolor Studio, you’ll see a door ahead of you and left turn. Head up the yellow brick road to the left and look to the trees on the right. You can walk through the trees.
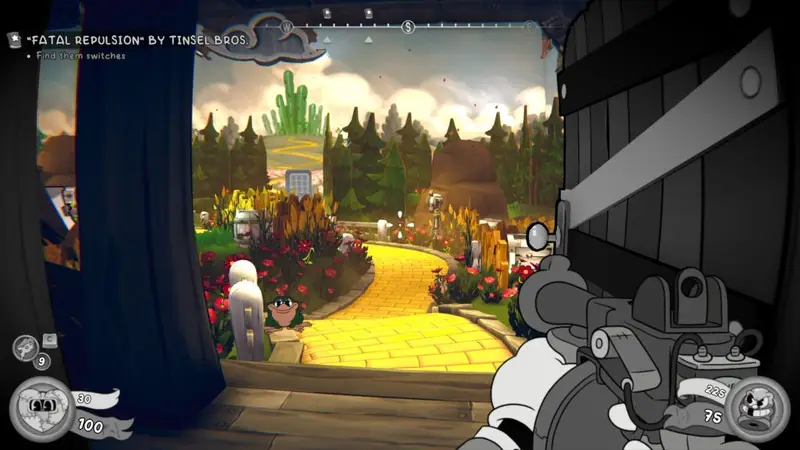
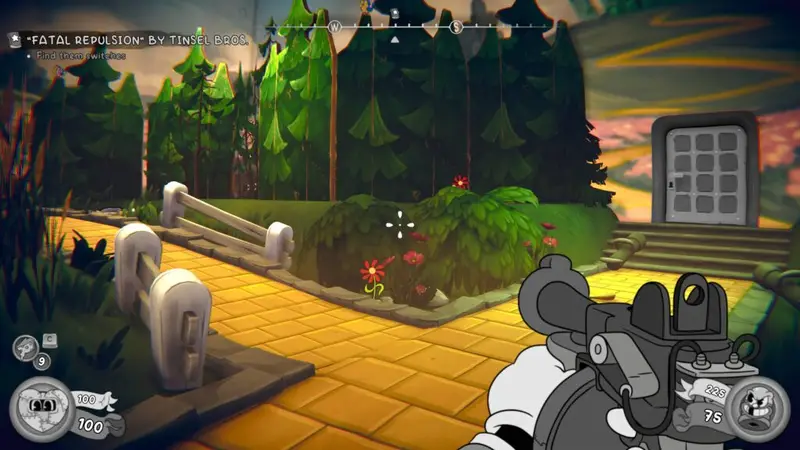
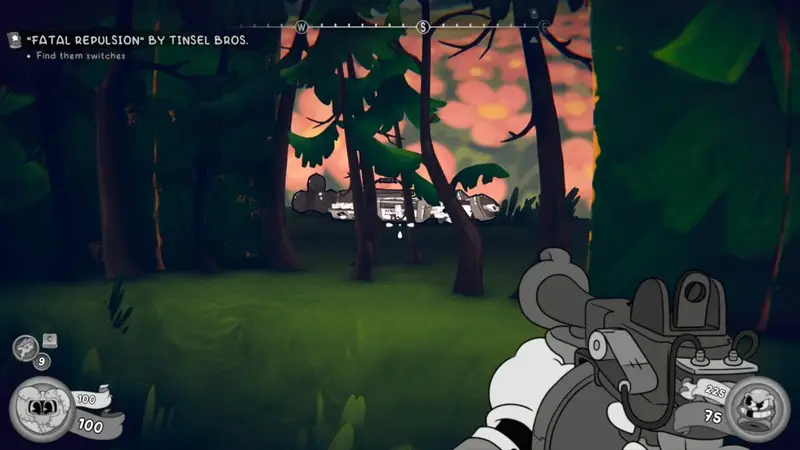
The Baseball Card is on the back left on a crate.
Newspaper (30 / 38) + Investigation Clue – Bad Press for BMP
Take the back left exit out of the Technicolor Studio (not the one shown above) and you’ll enter a studio recreation of your own P.I. Office. The Newspaper is on the desk (and is a clue).
Schematic
From “your office”, head into the bathroom and crawl through the vent into the area. You’ll land in some water and then be attacked by enemies. Take out the enemies and look to your right where two enemies burst out. The schematic is in there on a wall.
Baseball Card (35 / 41)
A fair while later, after the Judge Fatale boss fight, you’ll return to the Technicolor studio and need to head through the door we saw previously. You’ll fight a few enemies in the big space and a door to the back right will open up. Head down and defeat the enemies in there. The floor will then flood with water. From where you enter the room, head to the right to the back room, the Baseball Card is sat on the bottom shelf of the open fridge door (make sure you don’t drown).
Schematic
You’ll enter a long room with lots of bookcases. Head to the back of this area and look for a vent to crawl through. In here you’ll spot a safe with a schematic in it.
The safe has a limited number of moves and a time limit. Here’s the solution below, you’ll need to reload a save if you make a mistake and it gets jammed.
Schematic
After defeating Reginald in the boss fight, you’ll need to enter a warp pipe to carry on. It will take you into a control room with lots of monitors. The schematic is on the right on a table.
Investigation Clue – Letter from Vivian
You’ll get this at the end of the level. You should unlock the “Tinsel Boulevard” achievement here.
P.I. Office – After The Reel Deal
Newspaper (31 / 38)
Bought from the ammo store for $50.
Comic Book (22/ 29)
Bought from the ammo store for $50.
Baseball Card (36 / 41)
Bought Fielding Play from the ammo store for $1000.
Curdsville Nuthouse
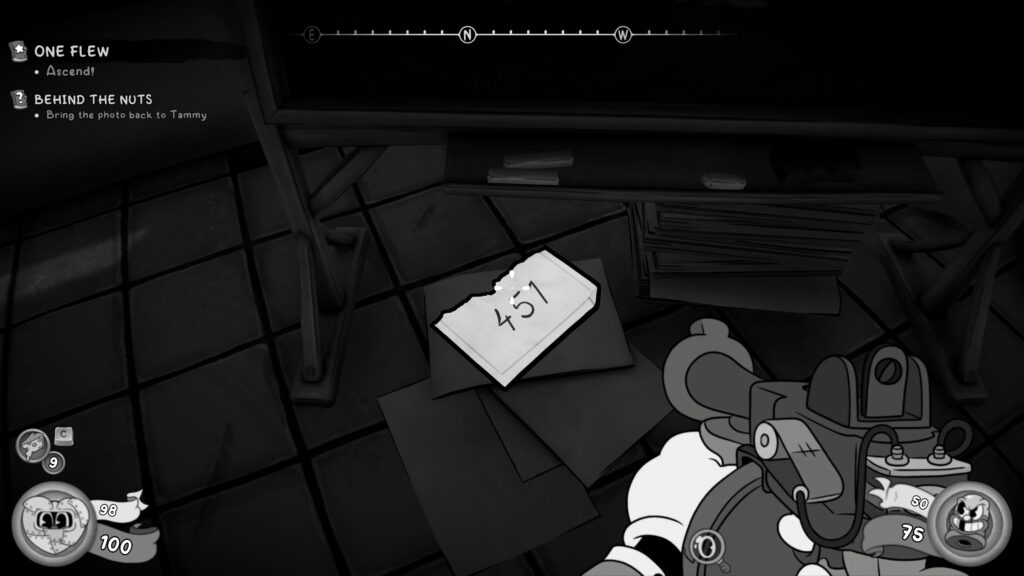
Unlock the Numbered Door
Near the start of the level in the underground section, if you go to the left you should come across a locked room and a number of handles. You need to enter the right code and hit the button next to the door to open it. The code is 451 and you get that number right at the end of the level before taking the elevator out.
Investigation Clue – Von Harzer Letter
In the room where the objective marker takes you, before you blow the hole in the floor, on a desk is the clue. You should unlock the “Burden of Blue Betty” achievement.
Schematic
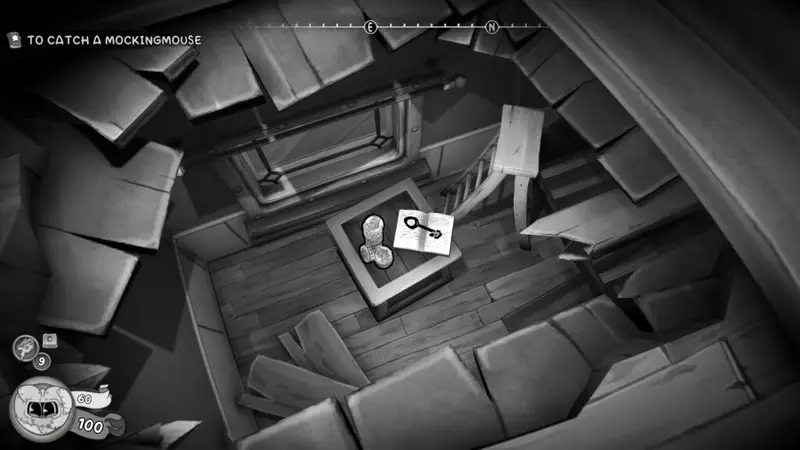
You’ll enter the bottom floor of the main building that has multiple floors. It’s flooded at the bottom and you’ll have to shoot targets to lower wall run boards to get you around. Complete the circle nearly and do the third wall run, then jump in the water.
Underneath the bridge you landed on after the wall run is a secret underwater passage. Swim up the other side to take you inside the central pillar. Follow the path round, defeating any enemies, and you’ll spot the schematics on a pile of crates.
Schematic
You’ll enter a room with a brain in the centre of the room. To the right on a whiteboad is the schematic, in the corner.
Schematic
As you progress, you’ll interact with Millie when she talks about a talking gun, and it being a load of fun! To the left of her a little back from the entrance is a warp pipe with the number 1 on it. Jump in and a double gate will open on your right as you walk forward. Head in, taking out any enemies. Climb the ladder and over the crates and the schematic is at the end of the corridor on a crate.
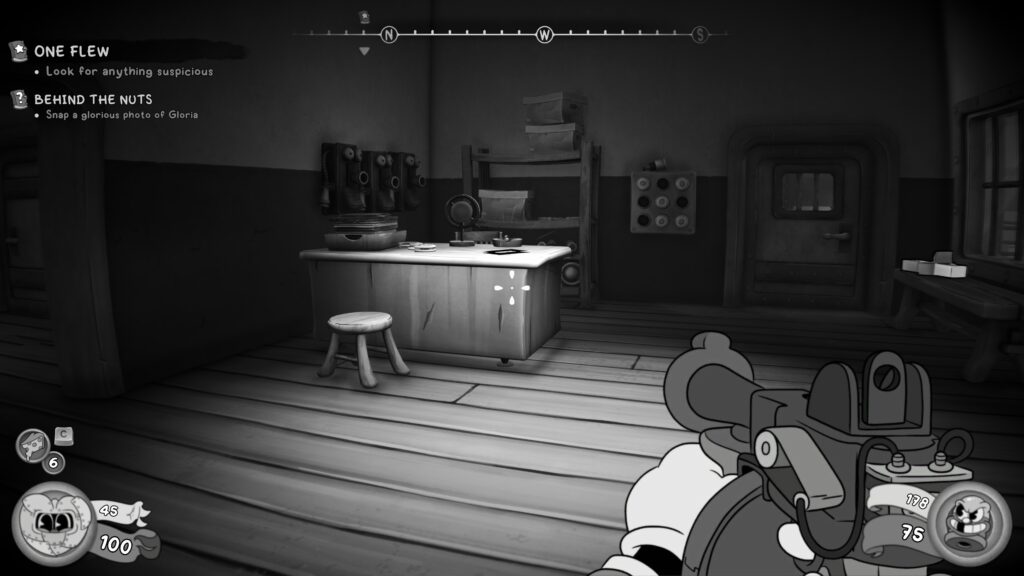
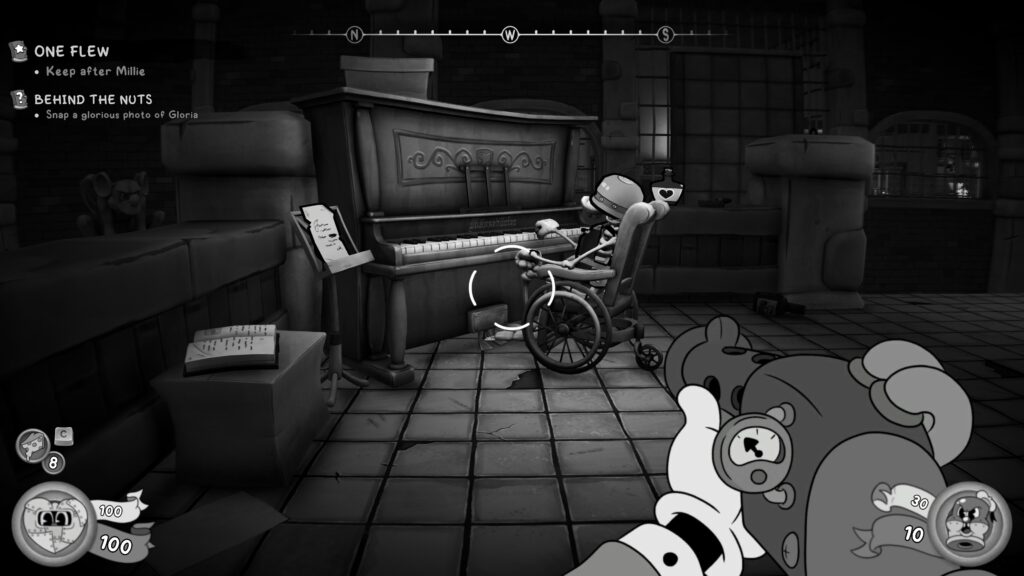
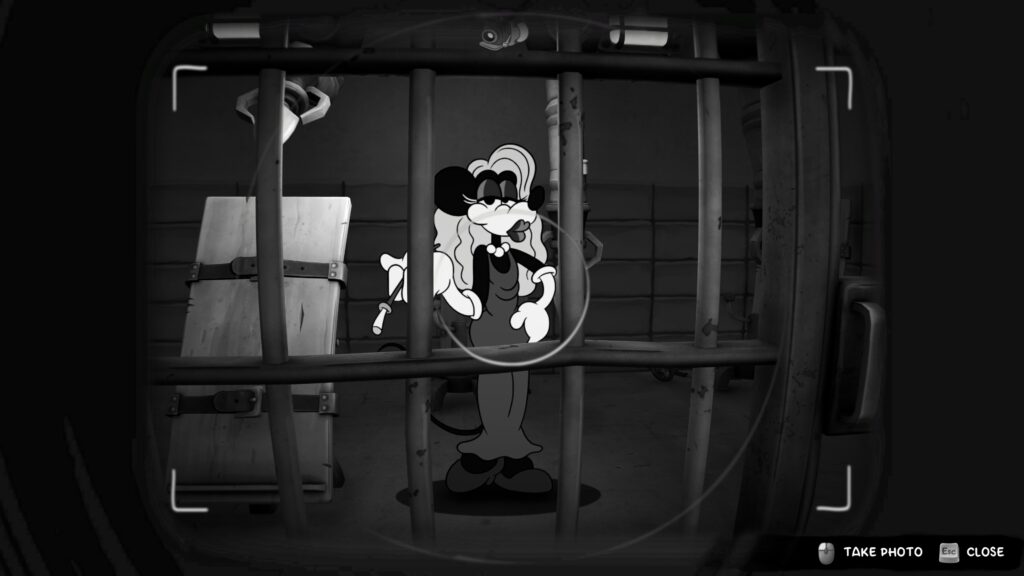
Side Job – Behind the Nuts – Photo of Gloria
Return back to where you were through the warp pipe (it’ll say 2 on it on your way back). Head forward into the central platform, and on your left you’ll see a piano. Play C, A, G, E on the piano (the prompt will tell you which key you’re playing. This will lower a walkway, cross over and head forward. You’ll eventually arrive at Gloria in a cage, snap her pic. Be sure to return to Tammy when you get back to P.I. Office.
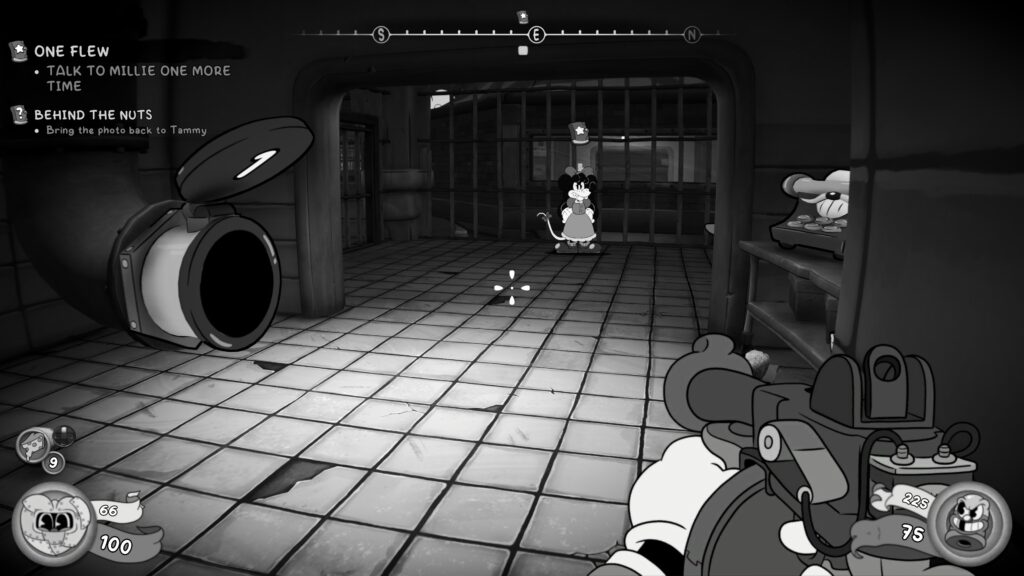
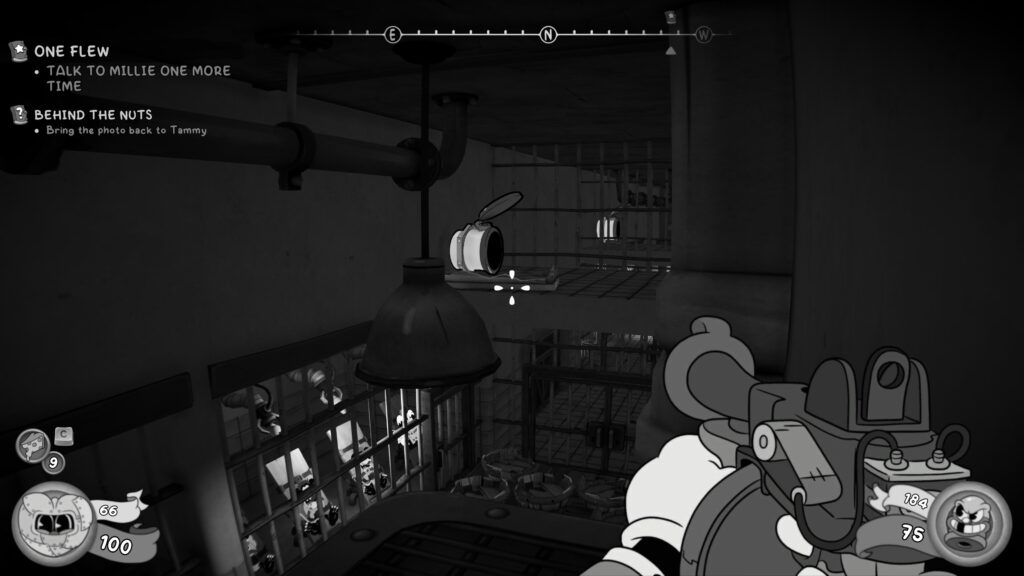
Baseball Card (37 / 41)
After the objective changes to “Talk to Millie One More Time”, this is after the room with the eyes in the ceiling, a pipe will open up to the left of the corridor (across from the typewriter). Head in and the gates to your left will open. Head forward, taking out the enemies. Look up and jump to the platform above to continue forward, jumping into the warp pipe above at the end of the corridor. Once through the pipe, carry on forward and go to the end of the corridor, the Baseball Card is on a shelf in a cabinet.
Schematic
After speaking with Millie, you’ll need to enter the elevator in the centre of the room. As you open the gate by shooting the target, walk through until you walk out onto a balcony, take out any enemies, then double jump across to the roof of the central building. You’ll see a safe at the top. The schematic is in there.
The safe is one of those pesky movement limited ones, with a timer. The solution is below. Don’t forget to reload your last save if you make a mistake and jam it.
The Unknown
You’ll go straight here after Curdsville Nuthouse, so no returning to P.I. Offices yet.
Schematic
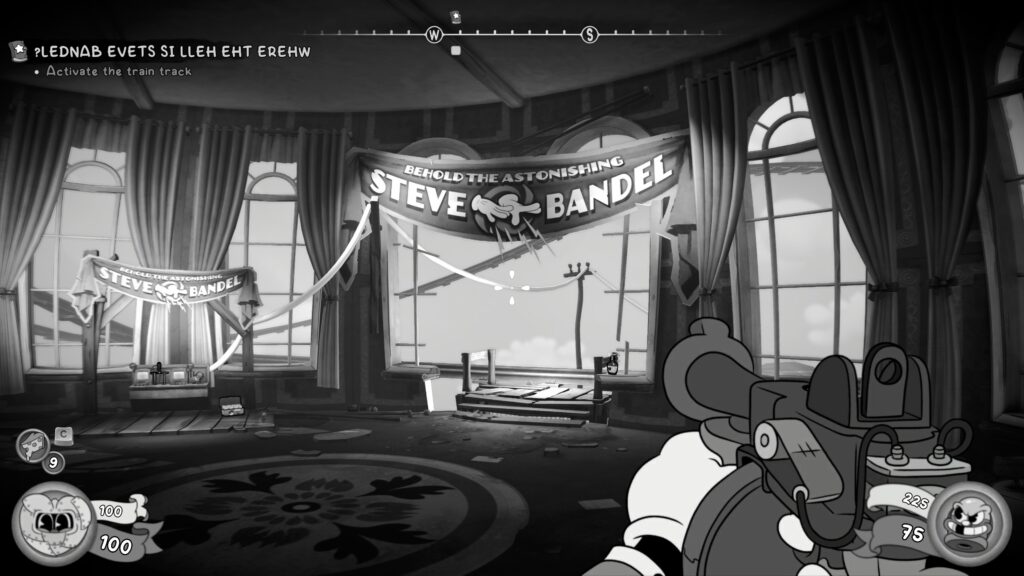
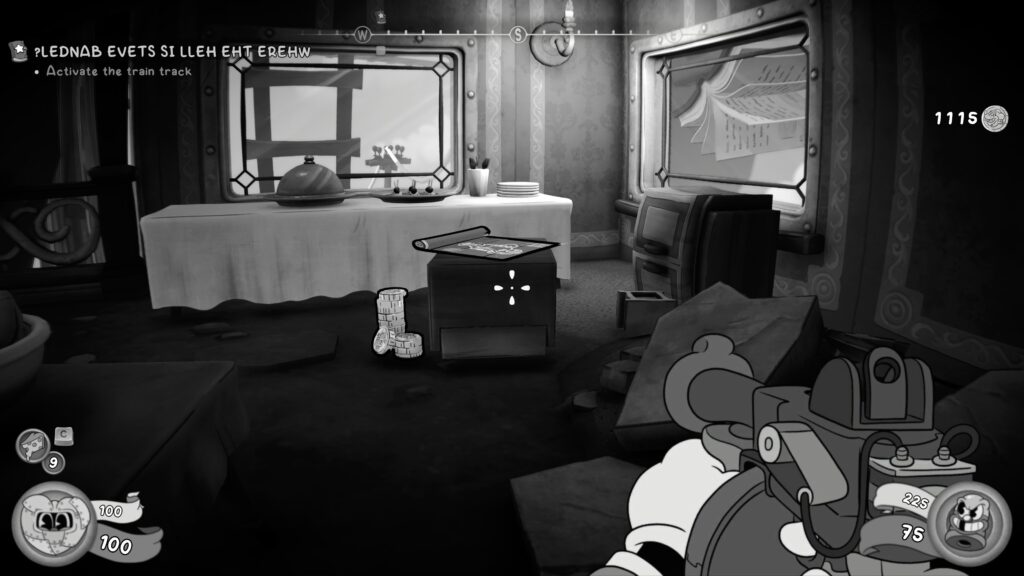
When you enter the street of The Unknown, you’ll need to jump on a trampoline and wall run a board to get to the roof of a building. Go to the left and stay to the right of the magician’s water tank and you’ll see the schematic on a crate.
Comic Book (23 / 29)
From the roof you’re on, go up the big slope in the middle onto the road above. Take out the enemies and head forward, staying to the left, go up the narrow alleyway on the left and you’ll see the comic book say on a stool.
Schematic
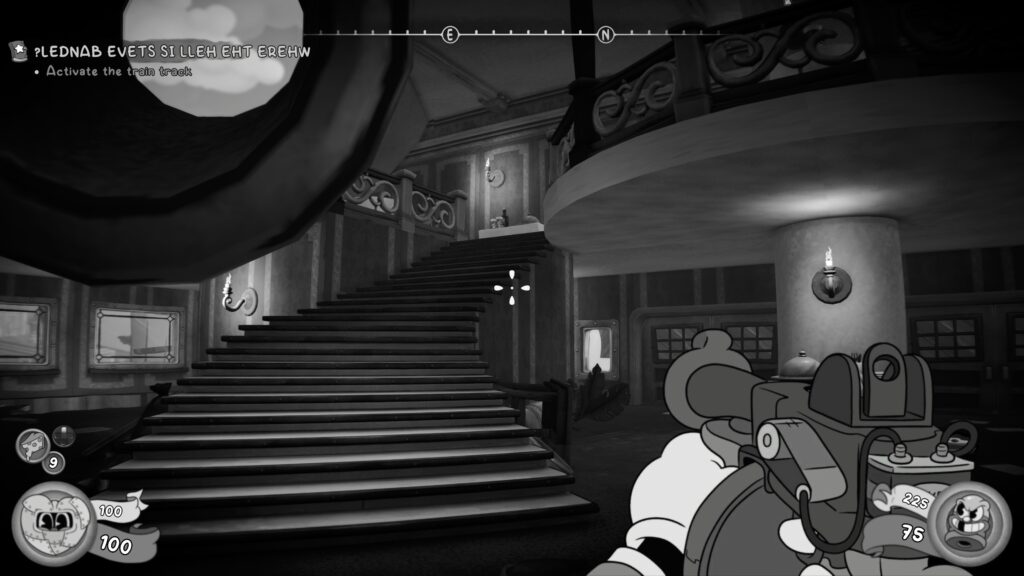
After going into a big pipe, you’ll be told to activate the train track in a hall with a large staircase on the left and right. Head up the staircase lefthand and turn left, the schematic is sat on a crate.
Schematic
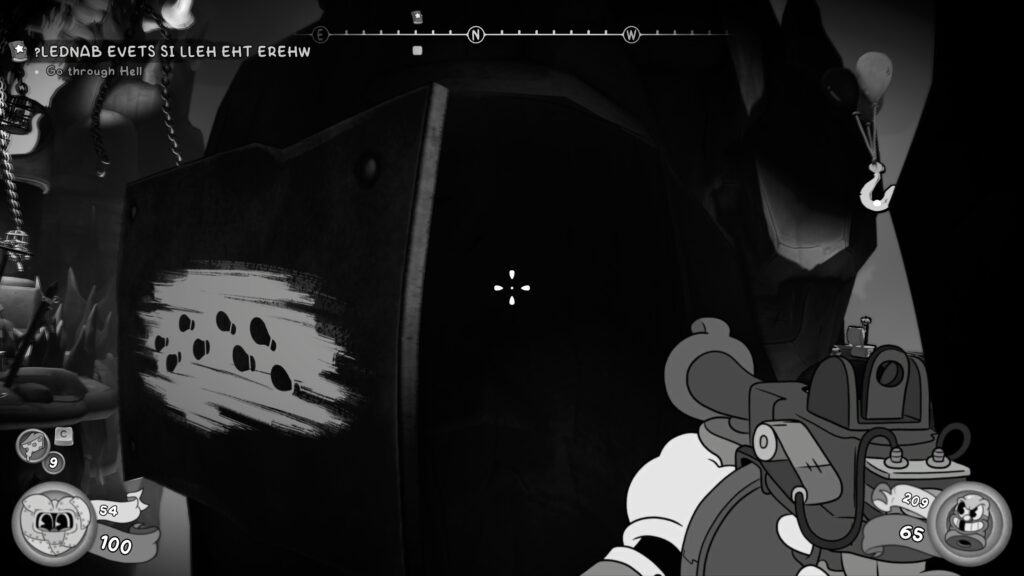
When you realise you’re in Hell, you’ll move forward and before doing the wall-run and taking the grappling hook straight in front of you, look to the right slightly and spot another one. Take that and you’ll find the schematic in a safe.
The safe is a timed one with a limited number of moves. Here’s the solution below, don’t forget to reload your last save if you fail and jam the safe.
Newspaper (32 / 38)
Once you’ve jumped across the way you were meant to, you’ll enter an indoor cave with a bar in the centre. The newspaper is on the counter (after you’ve taken out the enemies).
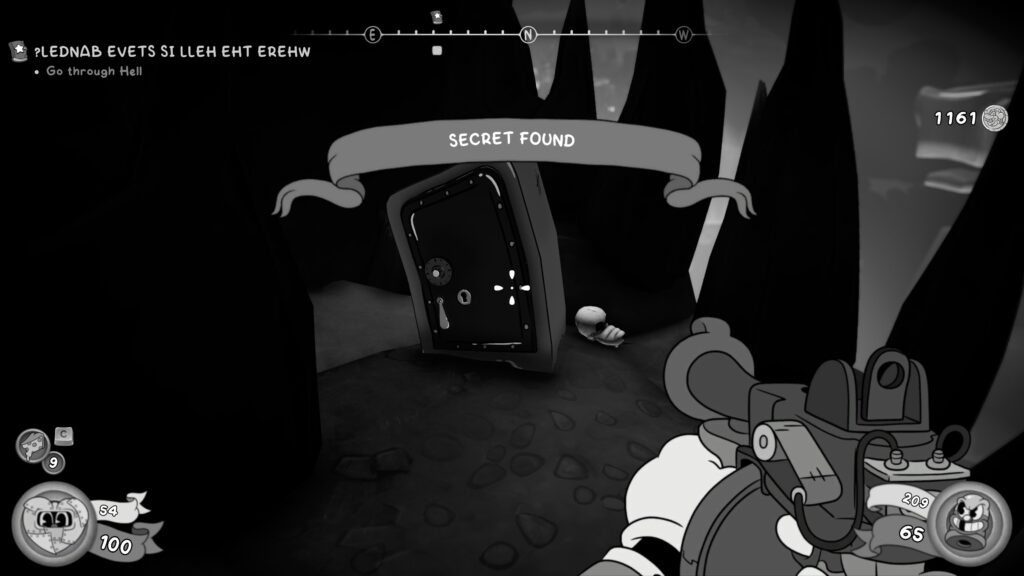
Secret Collectible – Figurine (7 / 10)
Jump to the other side of the bar to find the Figurine on a shelf near the floor.
Schematic
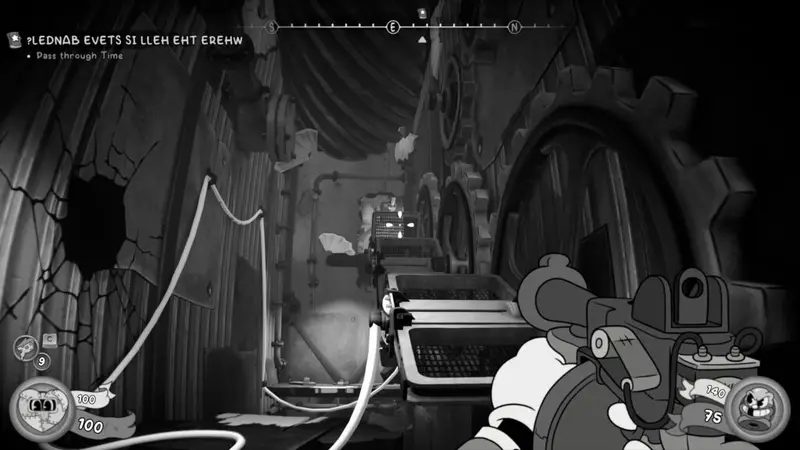
Much later, you’ll enter a room with lots of cogs and clockwork items, Jack will make a comment about “Gear of…what?”. Once you’ve activated the platforms to turn and you can make your way up, you’ll enter a space with a typewriter straight in front of you on a crate. Turn left and head forward. You’ll need to jump through the cogs and onto the trampolines to cross to where the schematic is.

Investigation Clue – Bandel’s Confession
You’ll get this at the end of the level.
P.I. Office – After The Unknown
Side Job – Behind the Nuts
Head to Tammy and hand in the Side Job. You’ll be rewarded with three schematics.
Comic Book (24 / 29)
Bought from the ammo store for $50.
Baseball Card (38 / 41)
Bought ‘Speed Boost’ card from the ammo store for $1000.
After pining the clues to the noticeboard and speaking with Wanda
Side Job – Friends in Deep Places
Cameron Bozo will give you this job outside of the Little & Big Bar.
Side Job – Slugs in the Shell
Speak with John Brown in the bar and he’ll give you this job.
Fart Harbor
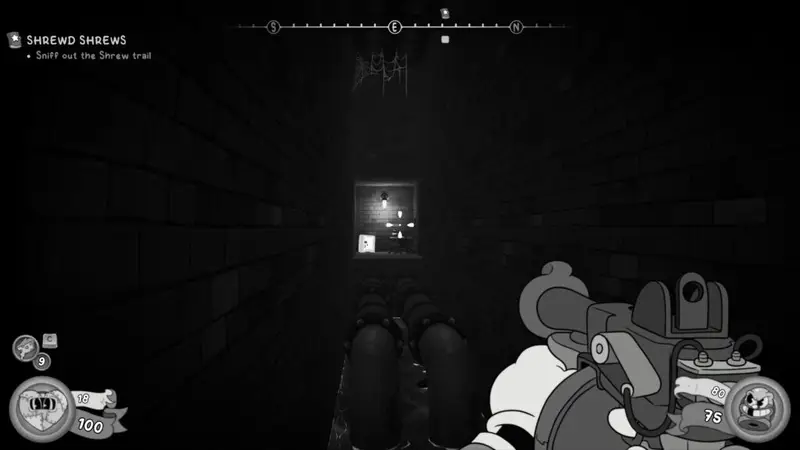
Schematic
From the beginning of the level, head forward and jump onto the crates on the left of the alley. Look to your right to see a warp pipe, jump towards it and enter the pipe mid-air. It’ll pop you on top of a pipe in front of a window. Turn around and head into the room, the schematic is on the table.
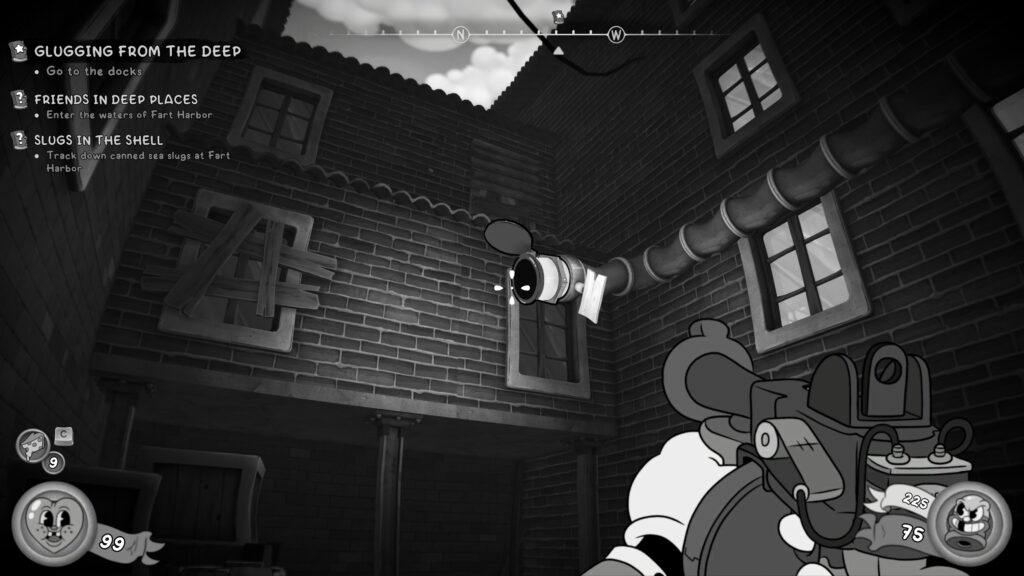
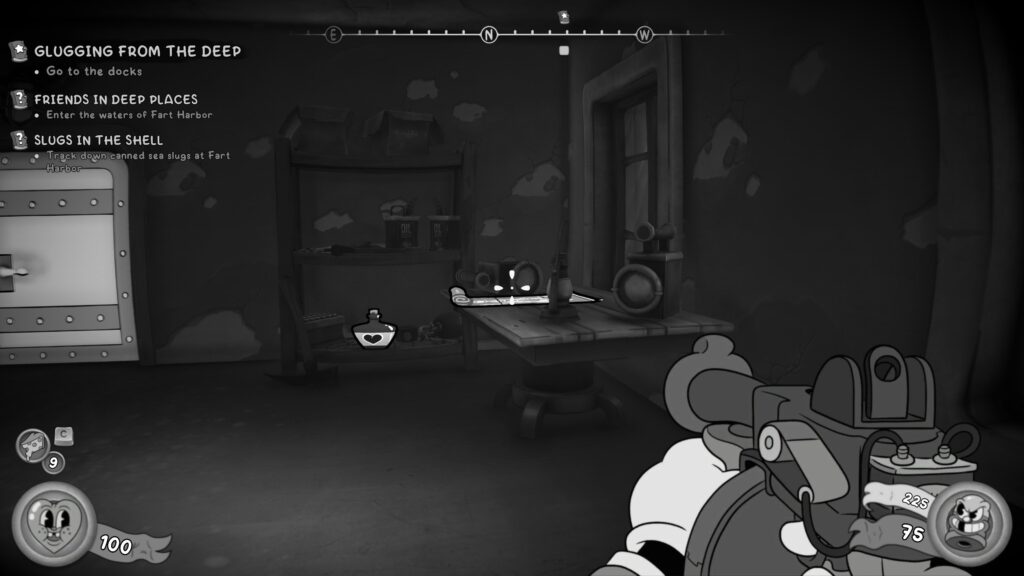
Baseball Card (39 / 41)
Open the shortcut in the room with the schematic if you want, but jump back down to the start of the level and head through the door to the right of the start, down a small set of steps.
Take out the enemies that appear and head to the back left of the long large room. You should enter a room with a trampoline. To the right under the walkway, is a vent. Head in and follow it round till you reach a dead end (literally) and find the Baseball Card.
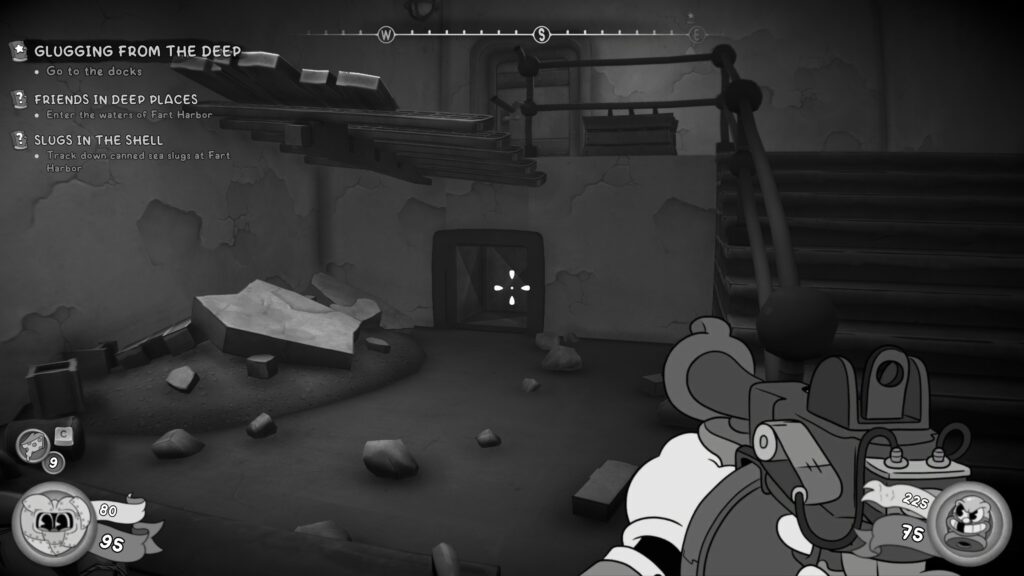
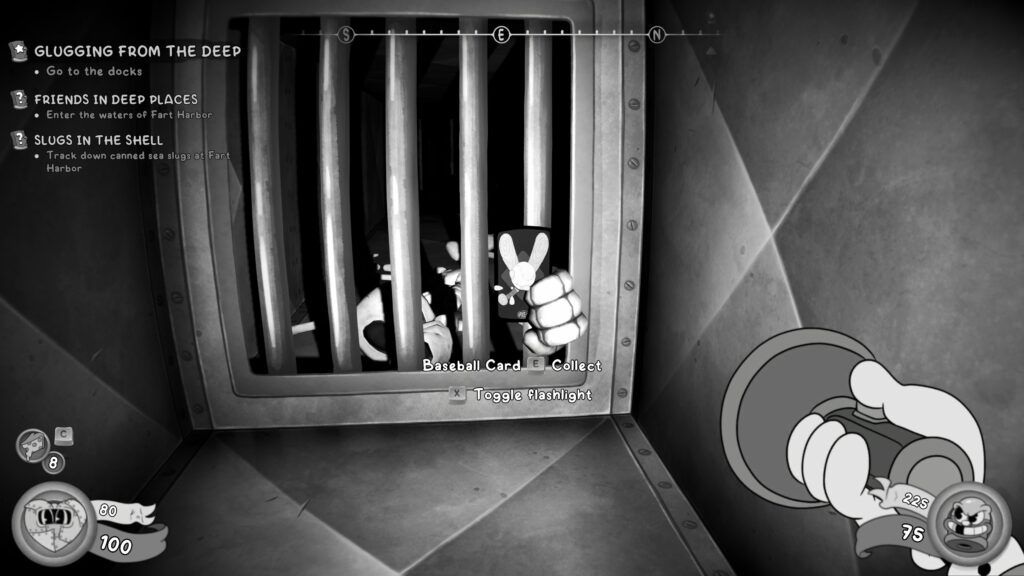
Side Job – Can of Sea Slugs
You’ll continue forward until you enter the Harbor area, and a submarine will escape in front of you. Take out all the enemies in the area then head to the left of where the submarine was. In a shipping container, sat on a crate are the Sea Slugs.
Don’t forget to return them to John in the Little & Big Bar when you return to the P.I. Office.

Comic Book (25 / 29)
After speaking with Tammy in the Harbor area, you’ll need to go find the diving equipment so you can chase the submarine. Head back out to the open area bit where you were previously (where the submarine escaped), and look for a train carriage just as you come outside.
Once you’ve taken out all the enemies, the door will open so you can speak with Eddy. Before doing so, jump inside the carriage and look to your left, the comic book is sat on a crate in there.
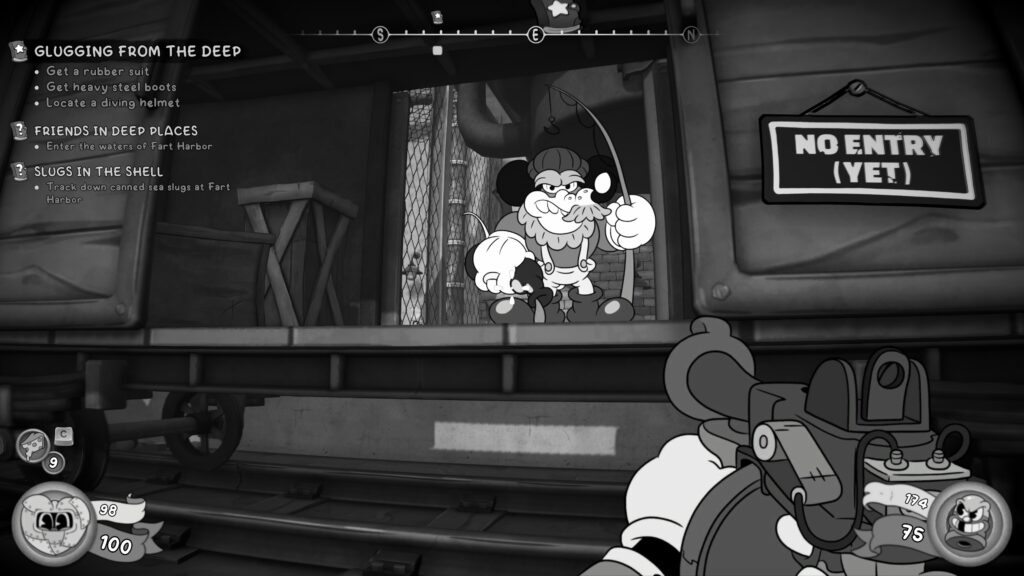
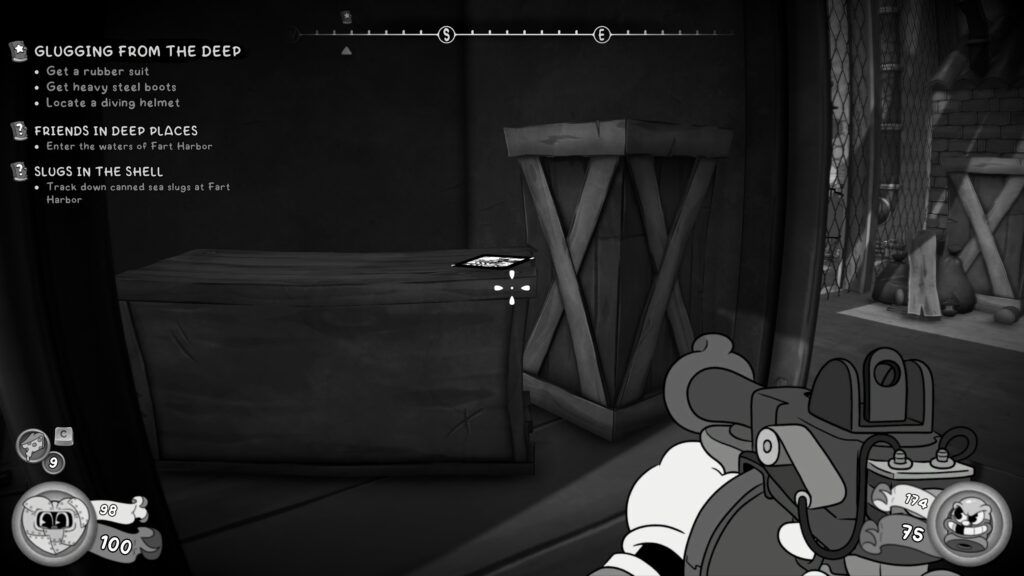
Newspaper (33 / 38)
Turn around from where Eddy is, and go to the water front and look to your left, you should see a piece of wall that can be destroyed by explosives / dynamite. Blow it open to reveal a warp pipe. Head inside to grab the newspaper that is on a crate, behind a fence.
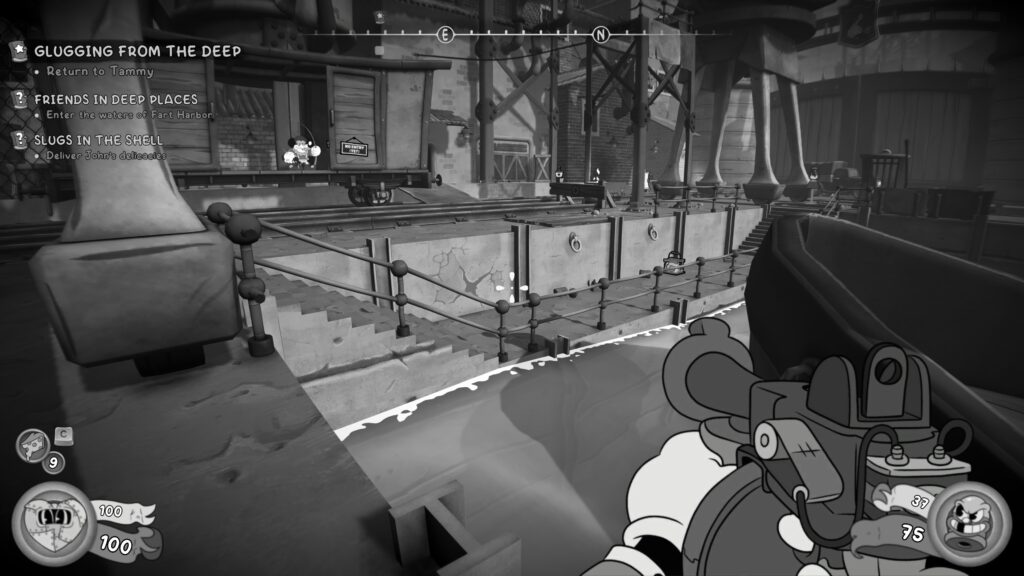
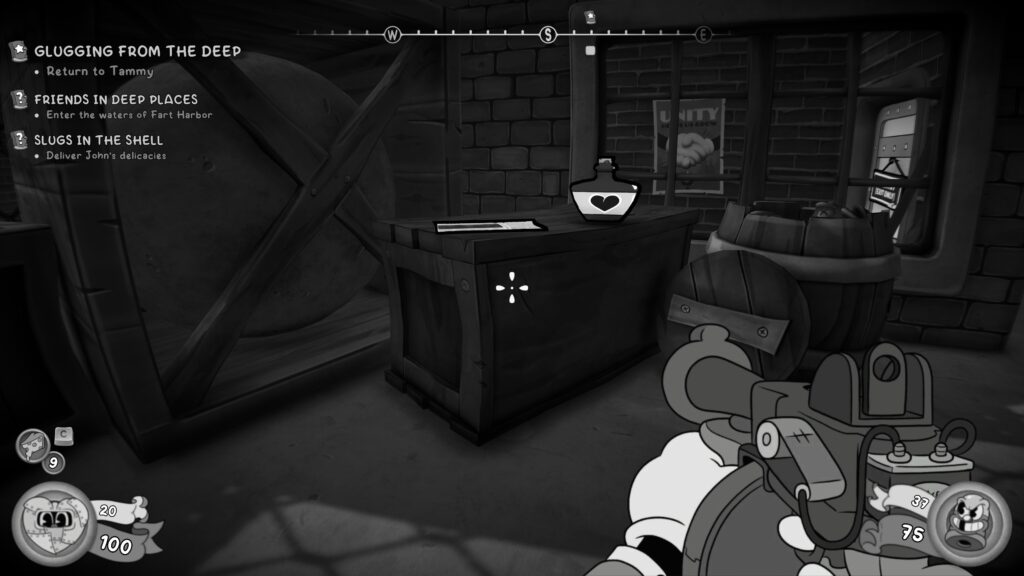
Schematic
You’ll now need to get on top of the fence of the area where you just got the last newspaper.
Head back out through the warp pipe and get yourself to the top of the fence. I used a combo of double jumping and tail whip to jump and glide over to the fence.
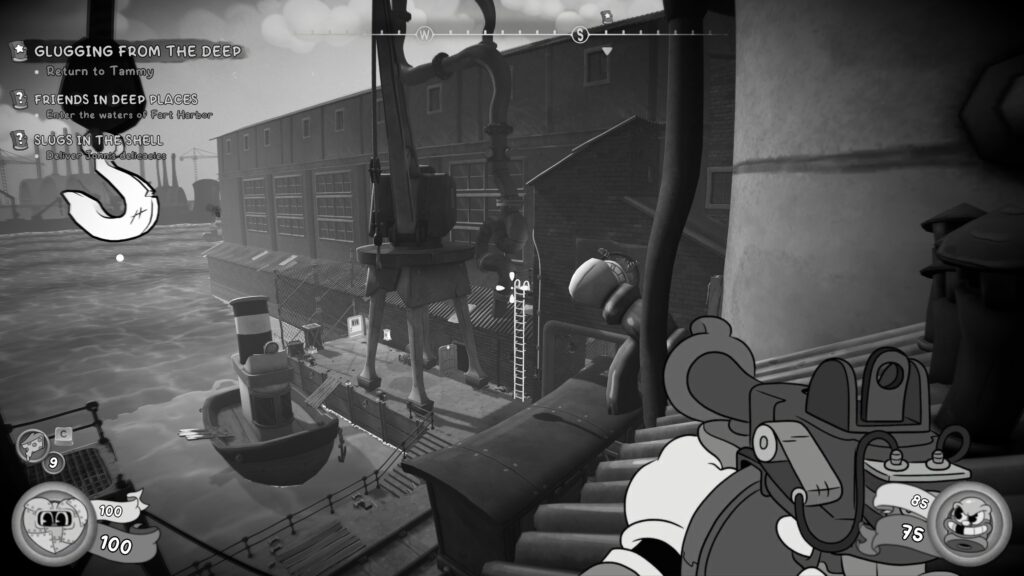
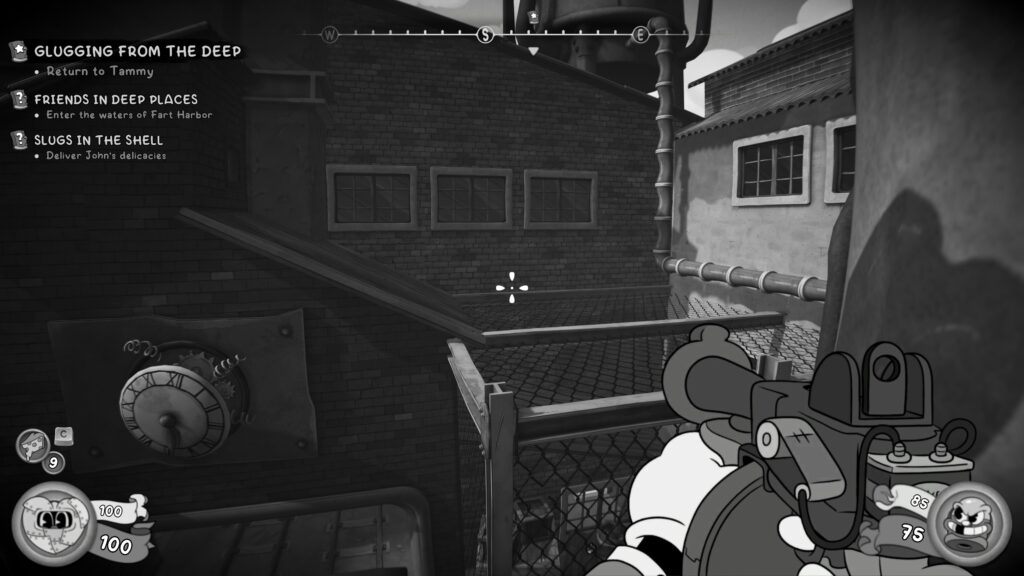
Once on the fencing, look to the left and you should see a vent you have to jump and crouch into. Head in and you’ll spot the schematic on the wall with a hiding character who’ll give you some cash to stay quiet.
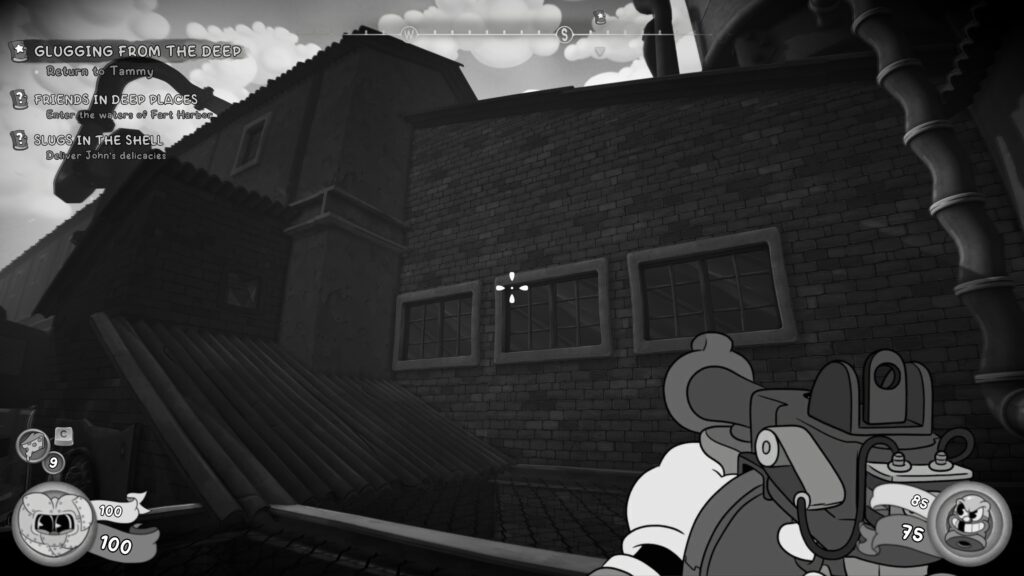
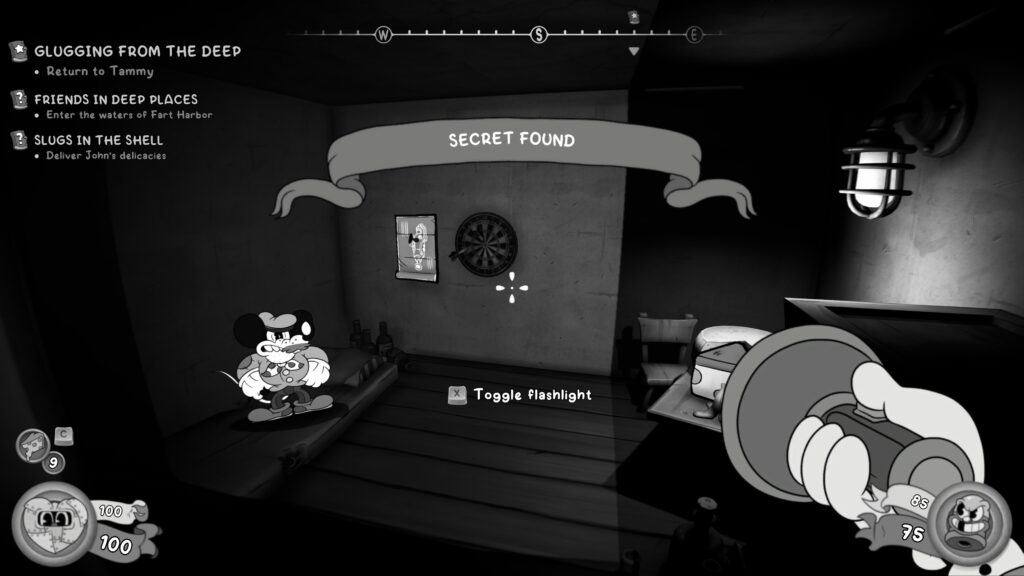
Secret Collectible – Figurine (8 / 10)
Head down to the open harbor area and climb up the ladder that took you to the power switch. Jump over to the roof and jump over the fence.
Head all the way to the end of the metal roof and drop down at the end to land in a secret room. You’ll be rewarded with the Figurine after some humorous dialogue.
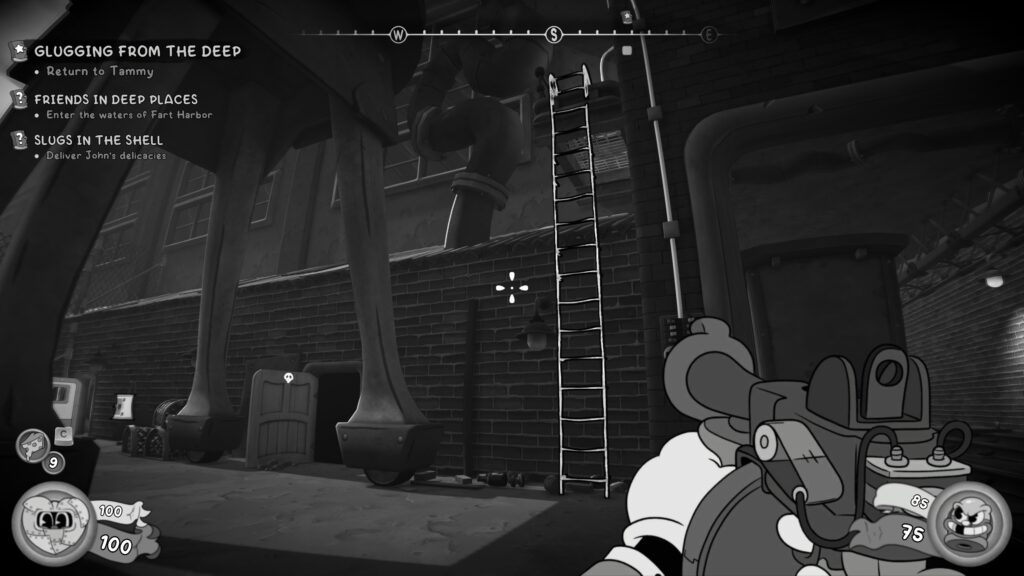
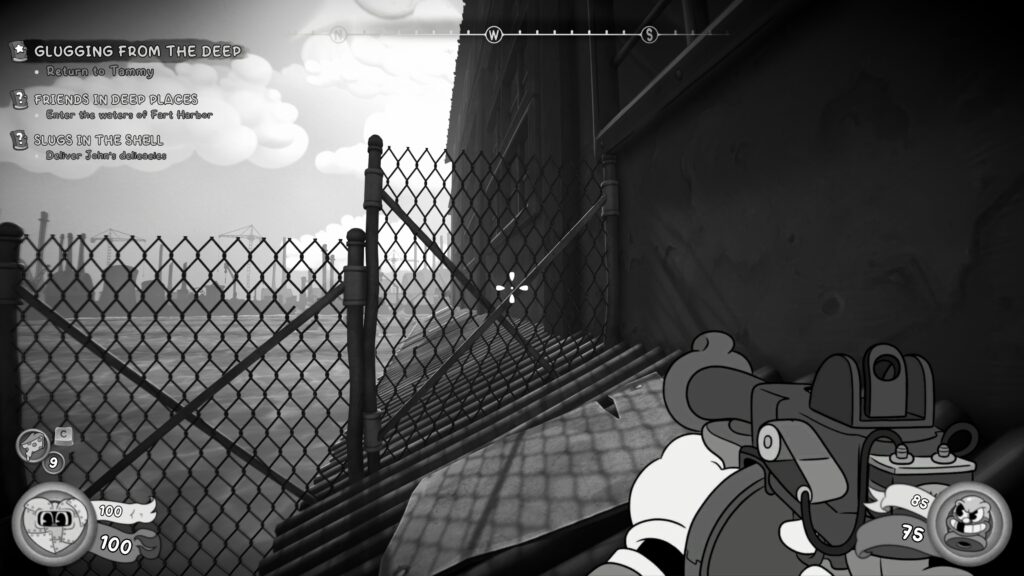
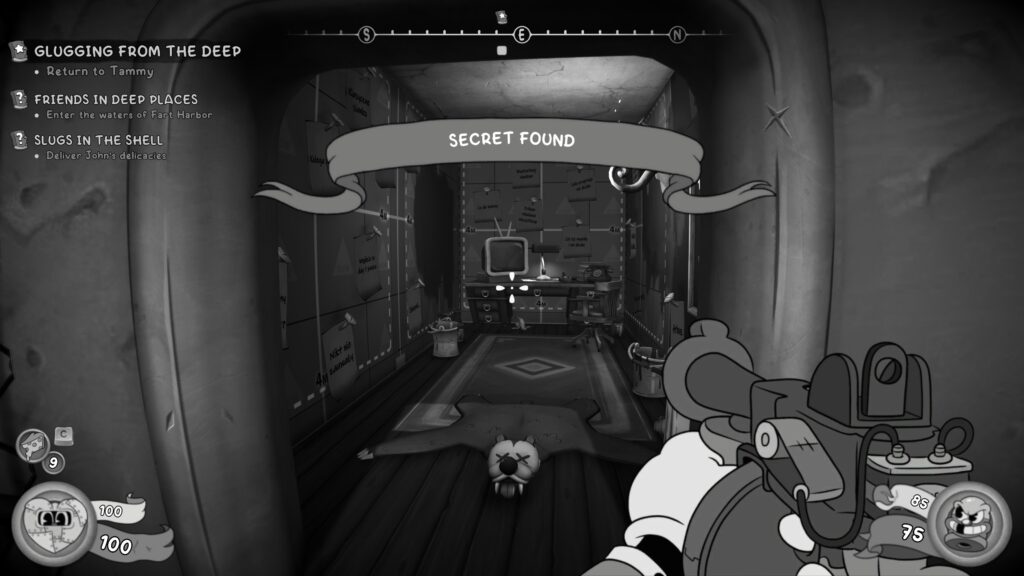
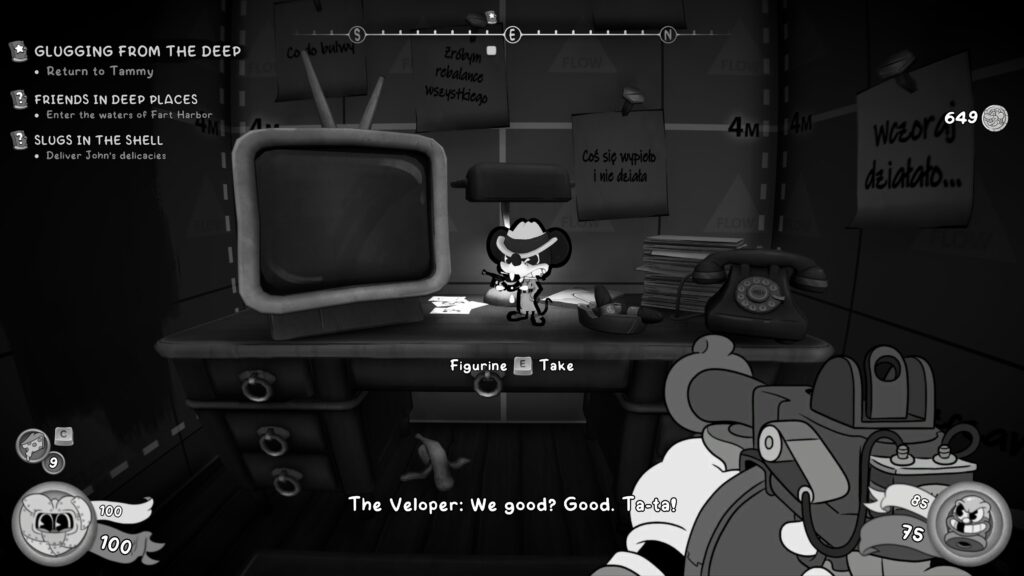
Baseball Card (40 / 41)
Whilst searching for the Rubber Suit as part of the main objective you’ll head into the structures on the left of the inside section of the area (opposite the room where Tammy is). Head and fight your way through enemies.
You’ll eventually arrive on the upper floor of the ship (it overlooks the room where Tammy is). Jump across the gap, taking care of any enemies and looking for a shipping container on your right. The Baseball Card is pinned to a wall in there.
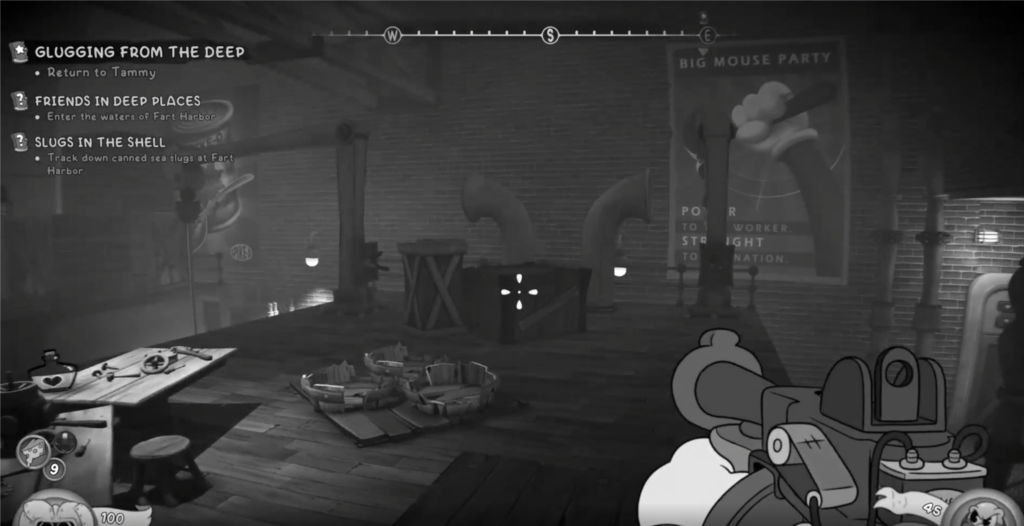
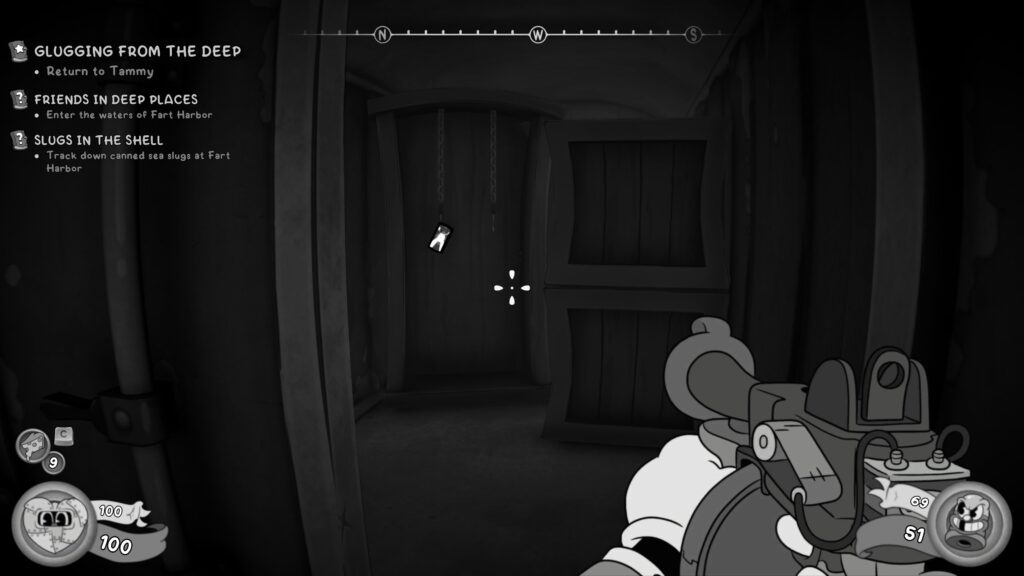
Schematic
In the underwater section, make your way through until you reach a more open area, with the submarine clearly in view on your right as you enter. To the right, when looking at the submarine, you should see a set of ladders.
Head up and into the cave to find a safe with the schematics in it.
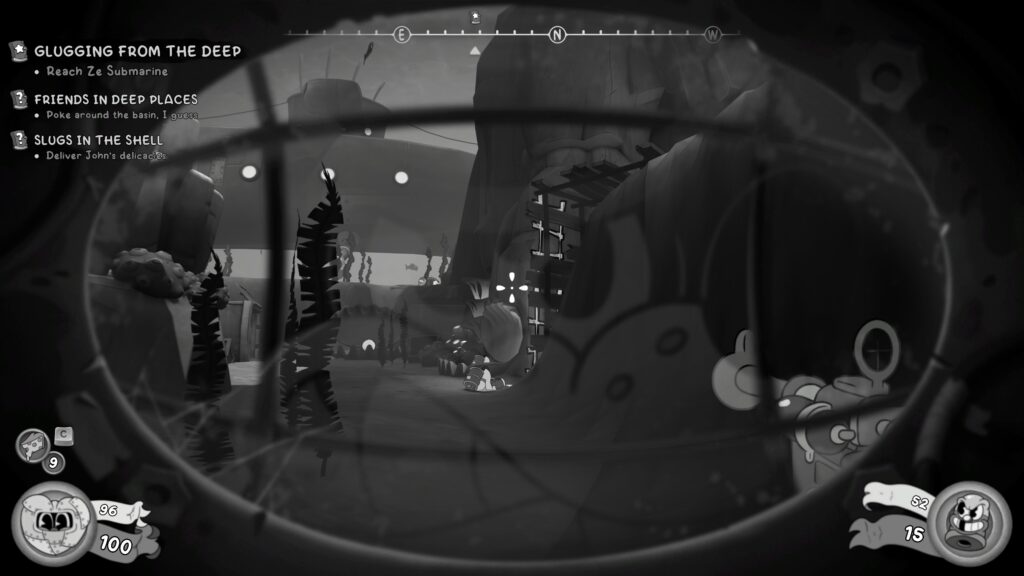
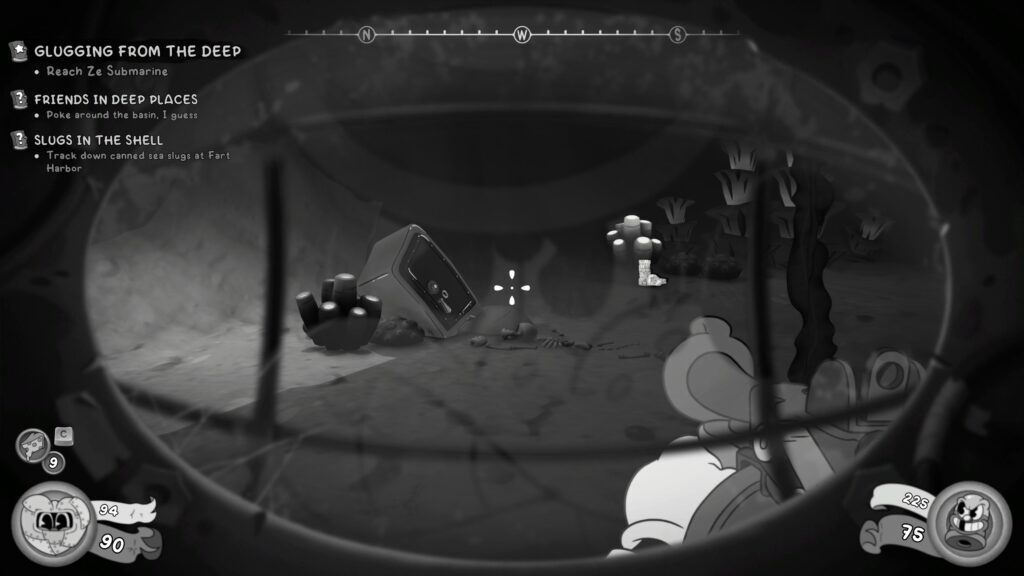
The safe is one with limited moves and a time limit. Here’s the solution below, if you jam the safe, reload a previous save.
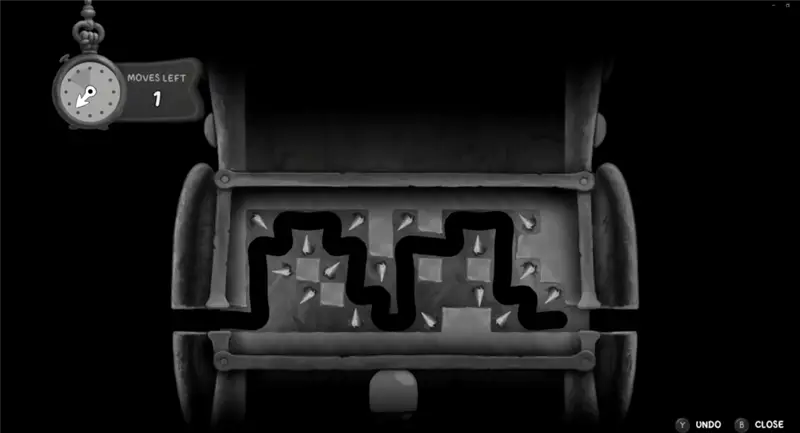
Side Job – Sleeping with the Fishes
From the safe above, head to the right and go across a short bridge into another cave where you should see a mouse snoozing on a bed. Chat with him to get an update and finish the job.
Be sure to chat to Bozo when you return to P.I. Office (he’s stood outside the Little & Big bar, not far from the entrance to your office).
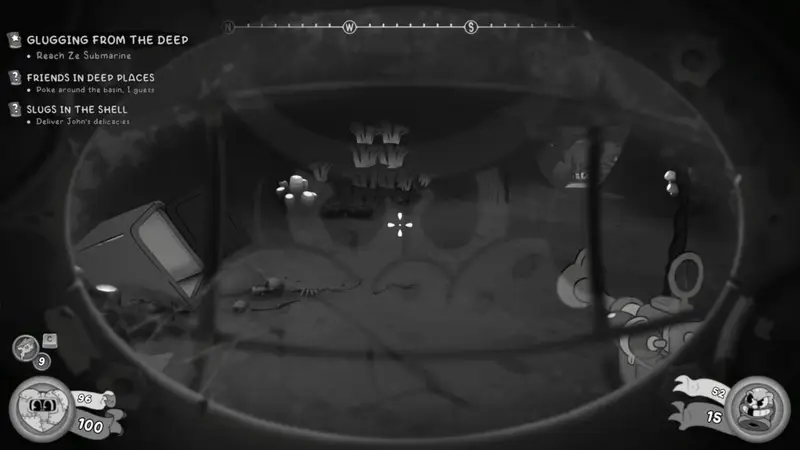
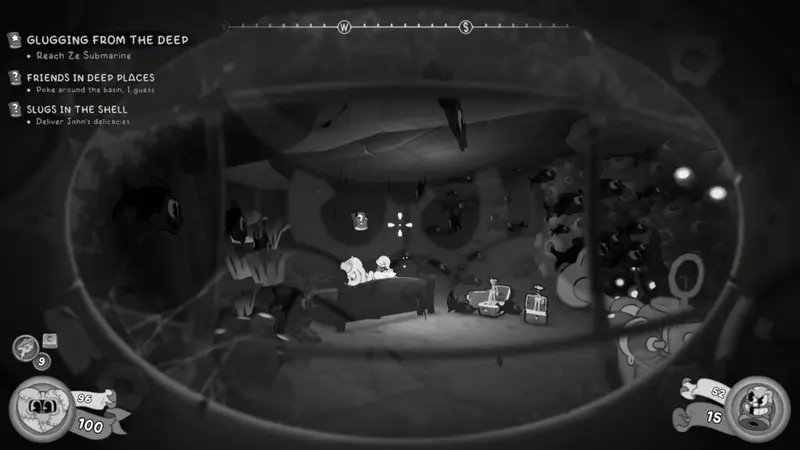
Investigation – BMP Honorary Membership Card
After defeating Ze Professor, you’ll have to collect this from his body before you can continue.
Schematic
After you’re back outside, still underwater, after escaping the submarine. Take out the few remaining enemies, before leaving the level, look for a dead big fish. The schematic is on the floor next to it.

P.I. Office – After Fart Harbor
This is the last time you’ll be able to check in with folks, play Baseball cards matches and hand in your side jobs.
You’ll still get an opportunity to drive to a Roadhouse where you can buy ammo, missing collectibles and such, before heading to Bandel’s Mansion.
Side Job – Slugs in the Shell
Give John the Sea Slugs. He’ll reward you with a Spike-D token.
Side Job – Friends in Deep Places + Baseball Card (41 / 41)
Speak with Bozo outside the bar to finish the side quest. He’ll reward you with a Baseball Card. If you’ve been following this guide you’ll receive the “Card Shark” achievement for finding all the Baseball Cards.
D-Mousifier Weapon
If you already have played enough games to get enough Spike-D tokens I’d recommend opening the super-secret prize box in the Little & Big bar. If not, play a few games of Baseball Cards to get you up to the total you need.
Getting 20 tokens allows you to open the prize box and you’ll be rewarded with the D-Mousifier gun, also netting you the “Everybody Loves Rayguns” achievement.
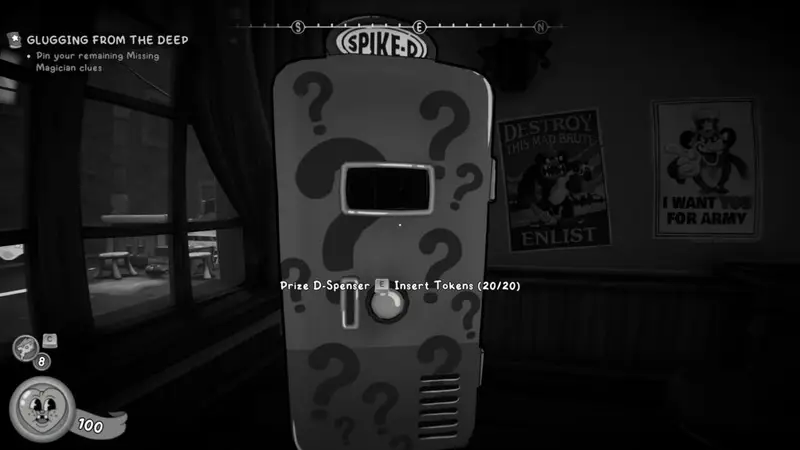
“So, Whodunnit” Achievement
If you have followed this guide, returning to your evidence board and adding the BMP Honorary Membership card should be everything and net you the “So, Whodunnit” achievement.
Office Ruins
Resting in your office will trigger the next level, everything’s on fire!
Schematic
You’ll fight through the level and end up outside, after a fight in doors where the walls blow open. The schematic is on the wall of Tammy’s shop.
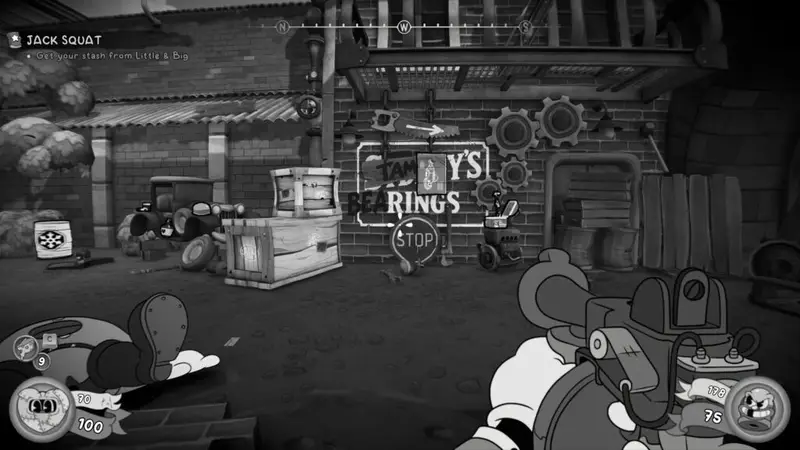
Schematic
You’ll continue through the level and wind up fighting a number of enemies in a large room in a wine cellar type area. In the next room after the fight is a typewriter and behind it on the wall are the schematics.
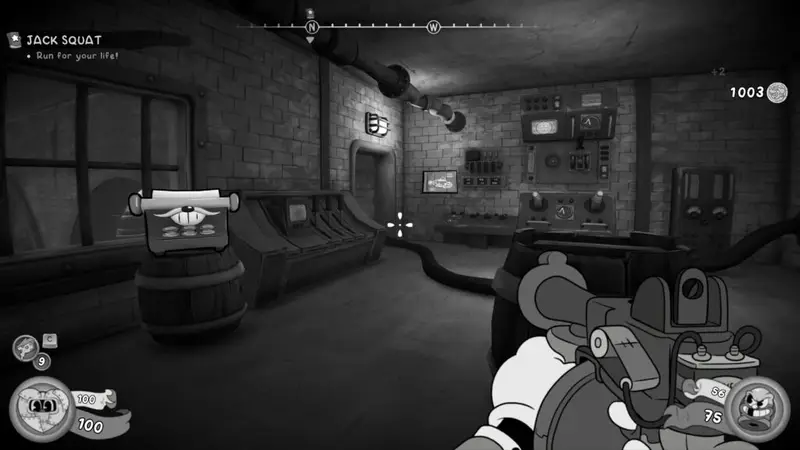
Comic Book (26 / 29)
After the last collectible, you’ll jump down and have to run away from a wave of water. Once you’ve succeeded in getting past, you’ll jump up a trampoline on to a set of ladders. At the top, through the doors, you’ll see a typewriter straight in front of you. Walk up to it and turn around to your left, the comic book is on a pallet there.
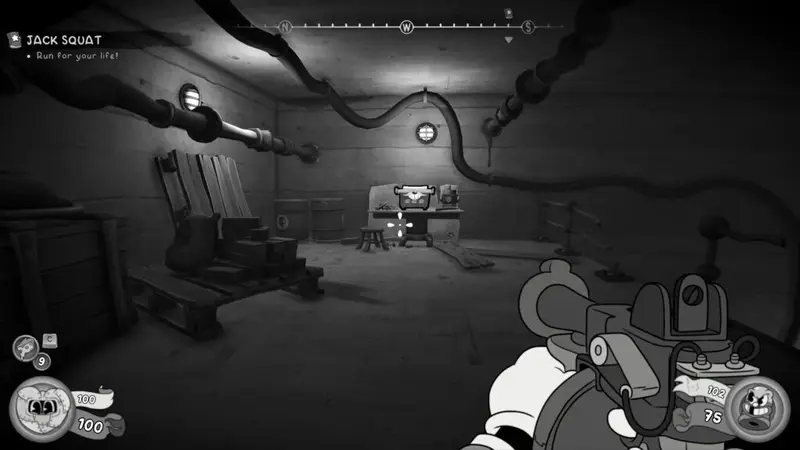
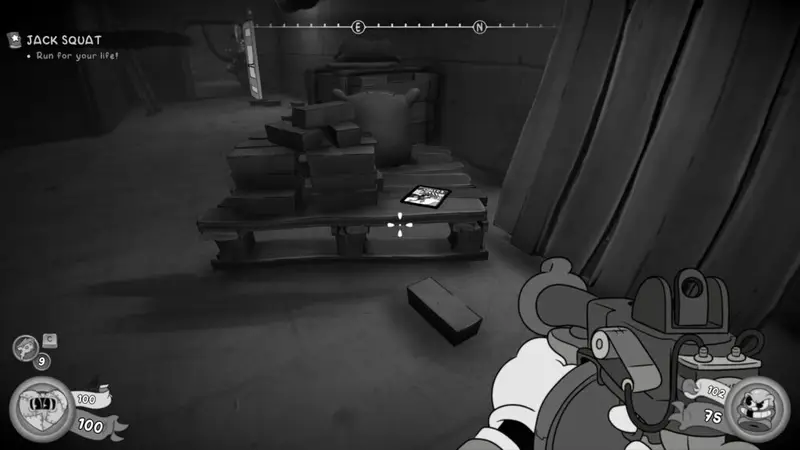
Schematic
From the comic book and typewriter, look out to where you should drop down. Don’t drop down yet. You should see a safe on a platform across the gap. Double jump and tail whip to get across.
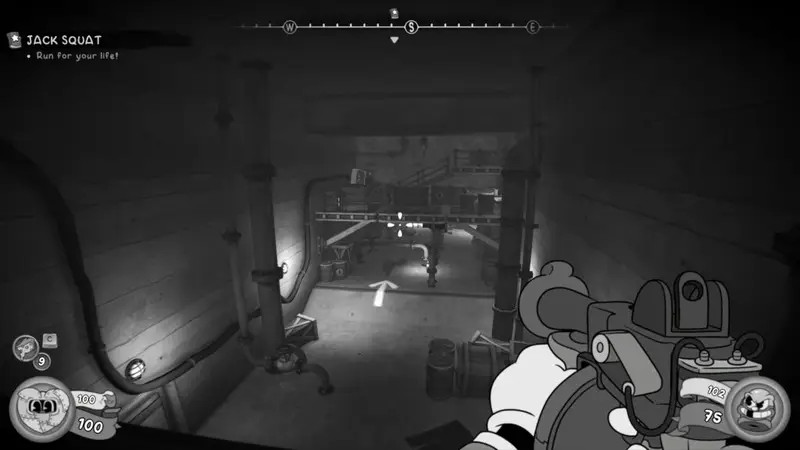
The safe is timed and has a limited number of moves. Here’s the solution below, don’t forget you can reload your last save if you fail / jam the safe.
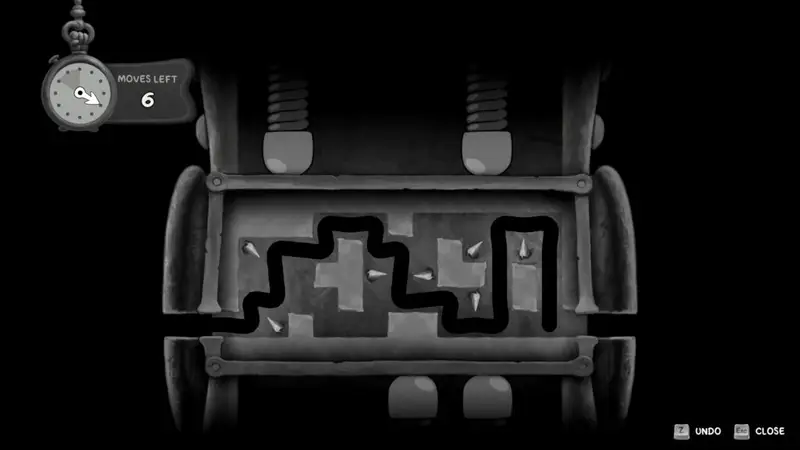
Bandel’s Mansion
Schematic
Head to the right of the gardens of the mansion. You’ll see a typewriter underneath a statue. Head to the left of the typewriter into the maze. At the back of the maze are some steps. Jump on the balcony and use that to get onto the roof above the steps. On the right of the roof is a wooden platform being held up by rope. The schematic is on there.
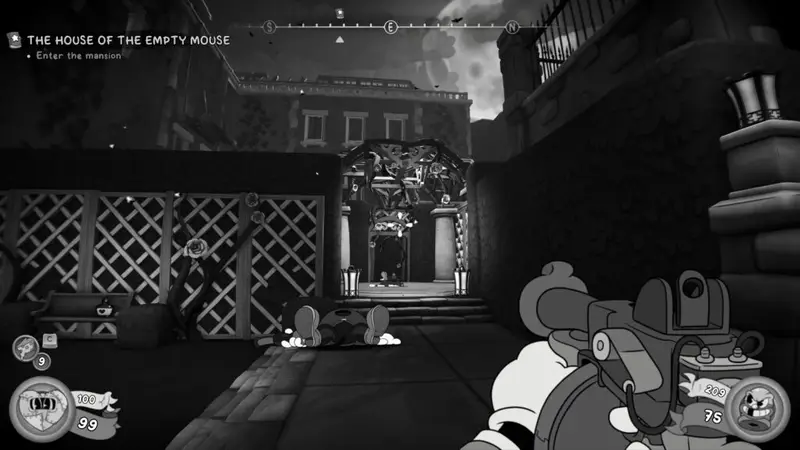
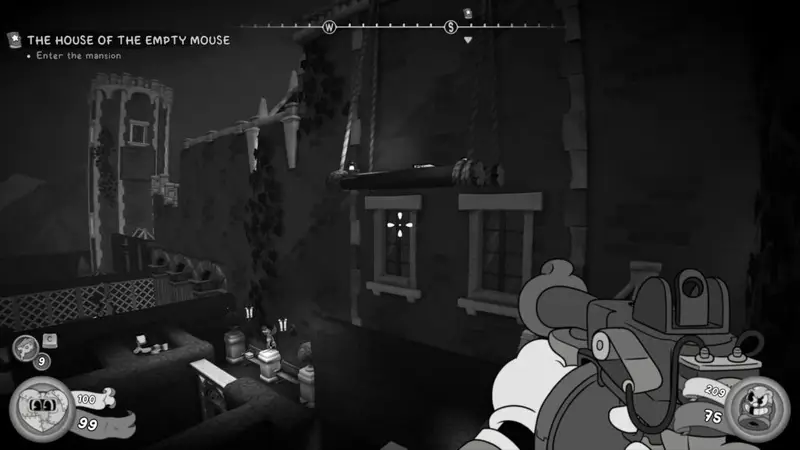
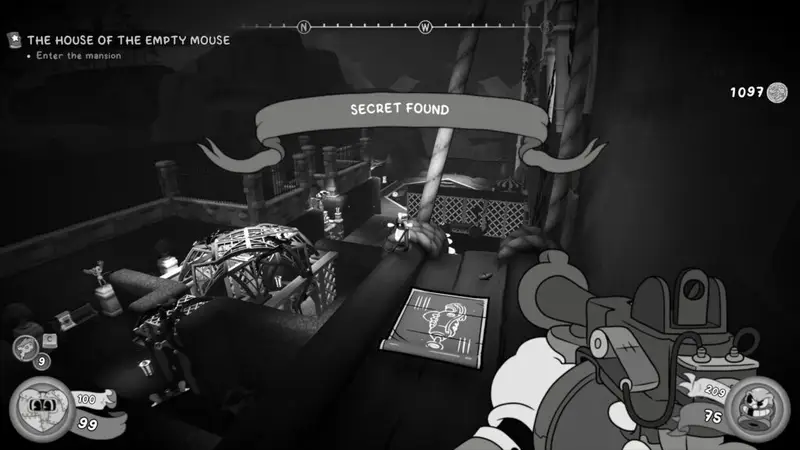
Comic Book (27 / 29)
You’ll head into the mansion. Use the trampoline to the right of the typewriter to bounce up to the balcony above the entrance (behind you as you enter). Head to the right and go through the wall that an enemy will breakdown.
Head into the next room, walking across the wooden board over a hole in the floor. You’ll head round the room to the left and flip a switch which lowers said wooden board. As you return to the room enemies will attack. Take them out and head towards the fireplace near the entrance to this room.
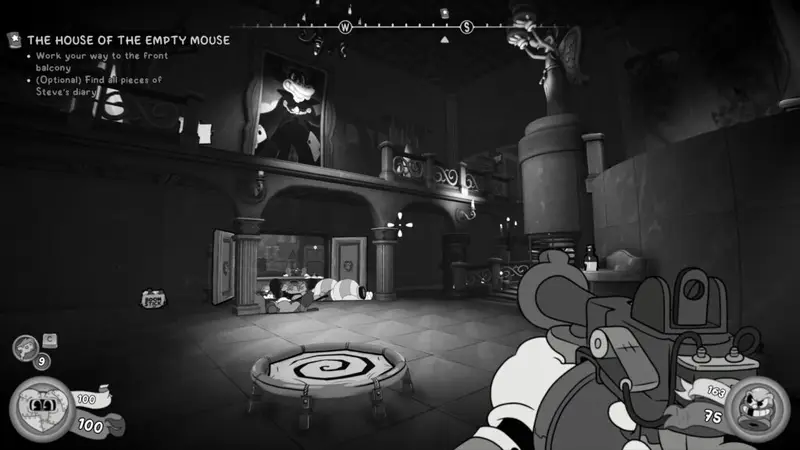
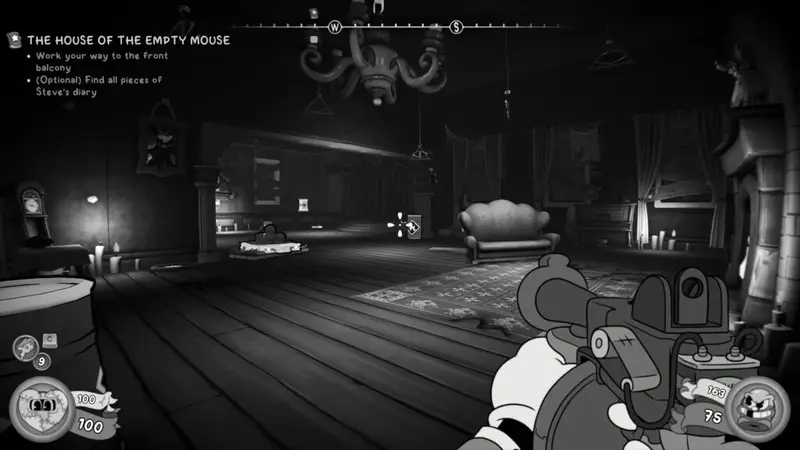
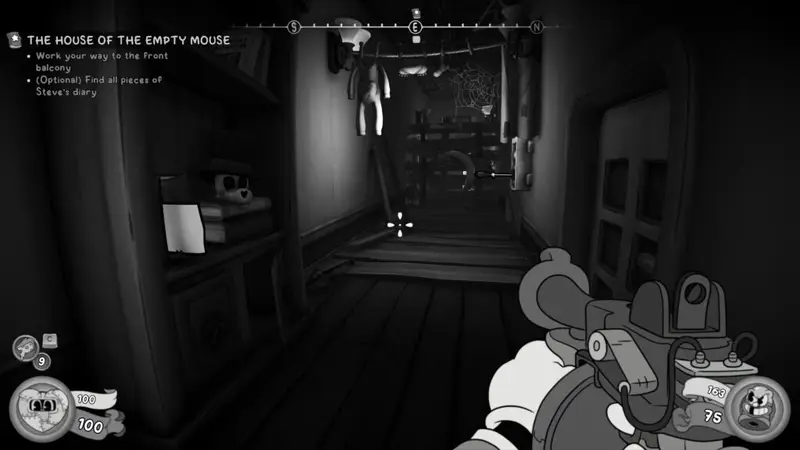
The fire is out and you can crouch through it to reach the comic book.
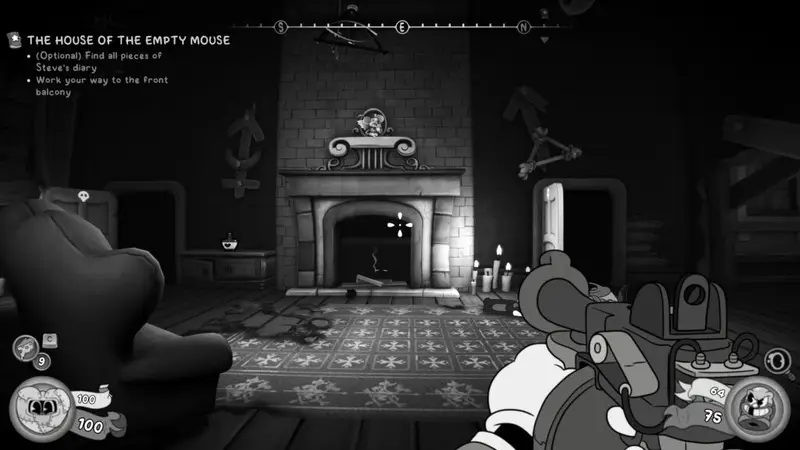
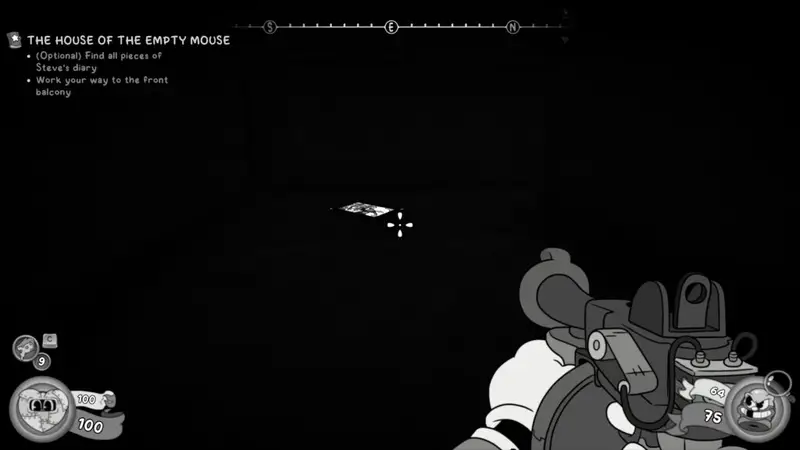
Golden Mon-Keigh (1 / 3)
You’ll need to grab each of these mon-keigh statues and take them to the library, placing them on pedestals. This will reveal a secret room where you can grab a collectible.
To get to the library, return to the main entrance and head up the stairs to the left of the typewriter. Stay on the path going forward and you should see a large room ahead of you.
In that room, deal with the enemies, and head to the back left. The room where the statues need to go is there.
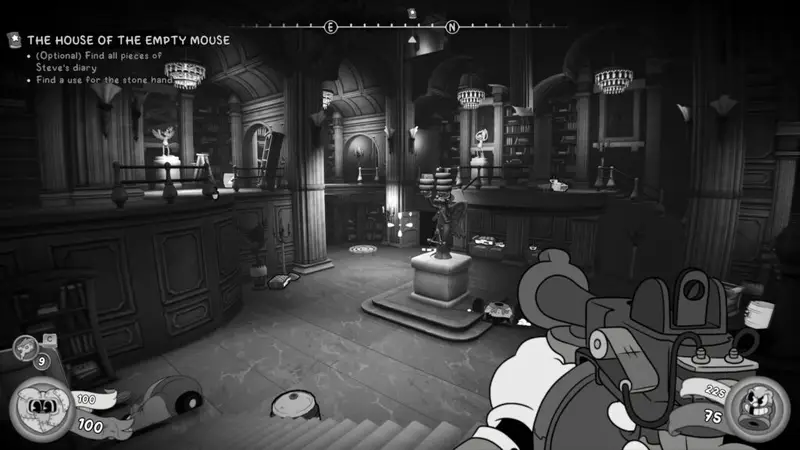
The first one is in the room you just grabbed the comic book from, turn back around and head to the back right of the room. The statue should be pretty visible on a bead
Schematic
In the room where you get the Portable Freezer weapon, behind the weapon ona crate is the schematic.
Schematic
After dropping down the big hole in the floor you revealed by flipping that switch, you’ll shoot a barrel which crashes a metal bar through an entrance back in the garden. You’ll return there after completing the next section where you have to grab a lever to work the console.
Return outside and head to the new hole in the wall. You’ll spot a trampoline, behind it, crawl under the boxes to grab the schematic, sat on some crates.
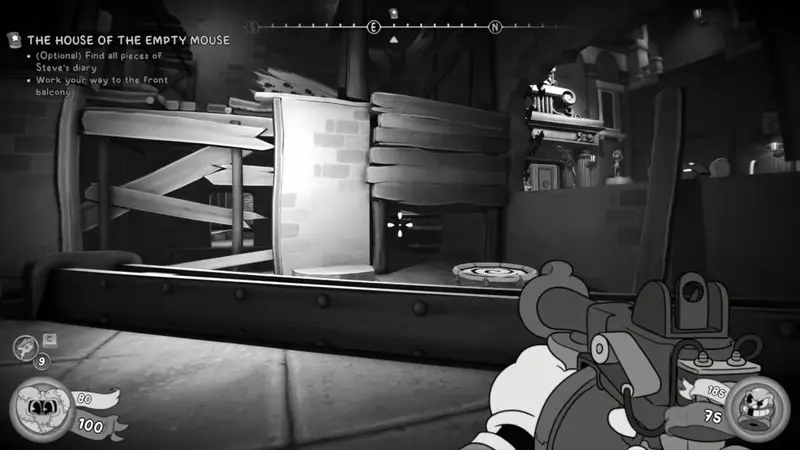
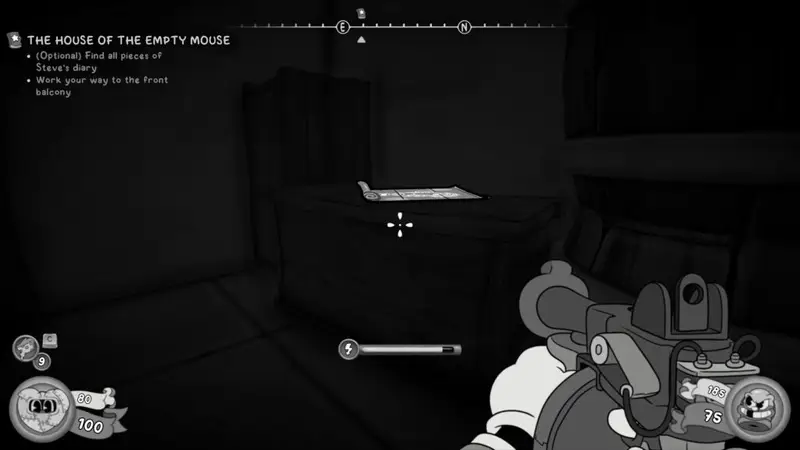
Golden Mon-Keigh (2 / 3)
After the last schematic, you’ll bounce up the trampoline to get higher to get to a switch that lowers a wall with another trampoline on it, to the right of the entrance to the mansion.
In the room that is revealed by the wall dropping down is the second statue you need to take to the library.
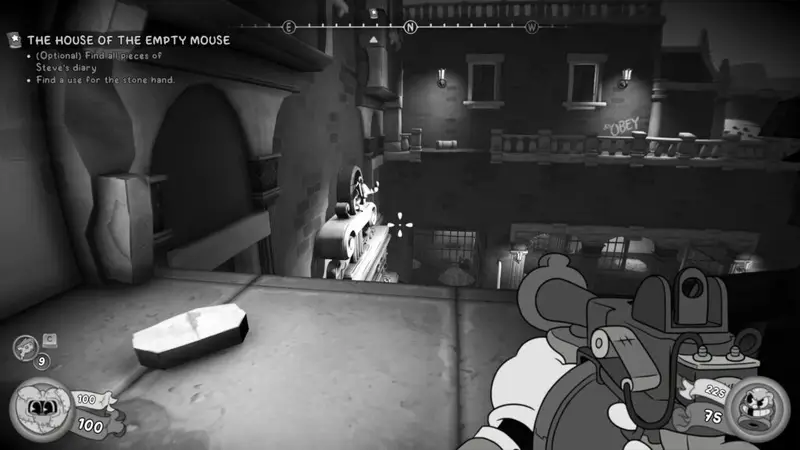
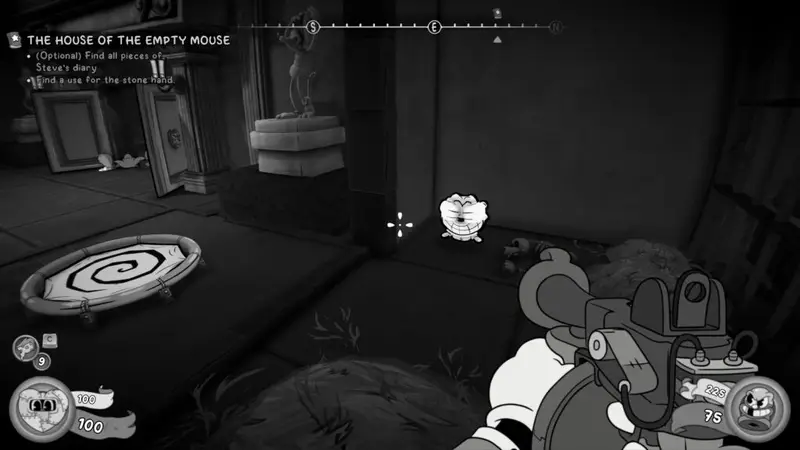
Golden Mon-Keigh (3 / 3)
Head in to the mansion, through the front door (or return to the main hall. You’ll want to head up the spiral staircase at the back of the main hall. At the top, kill the enemies and go down the long corridor. At the end on the right, crouch under the wooden slats and you’ll find the last statue to the left on a crate.
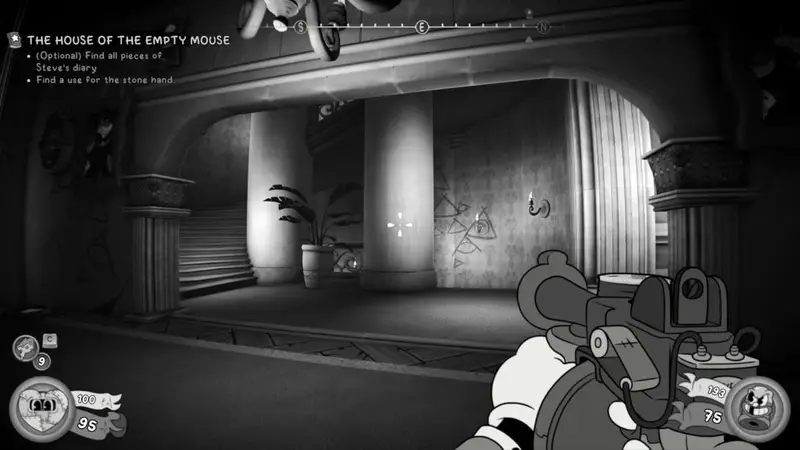
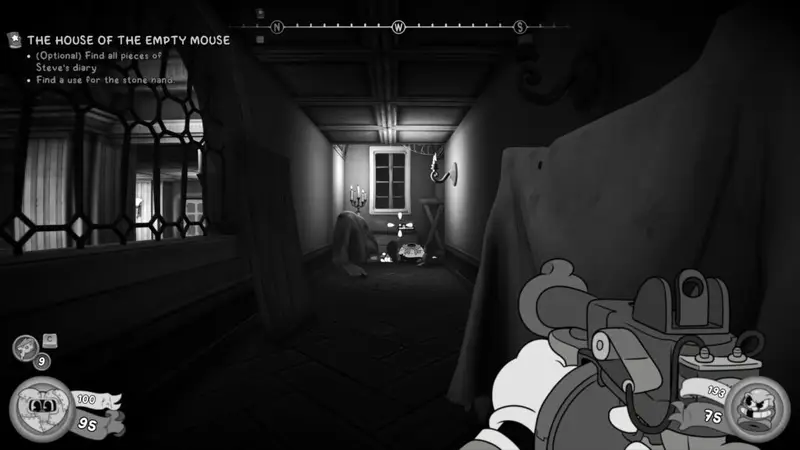
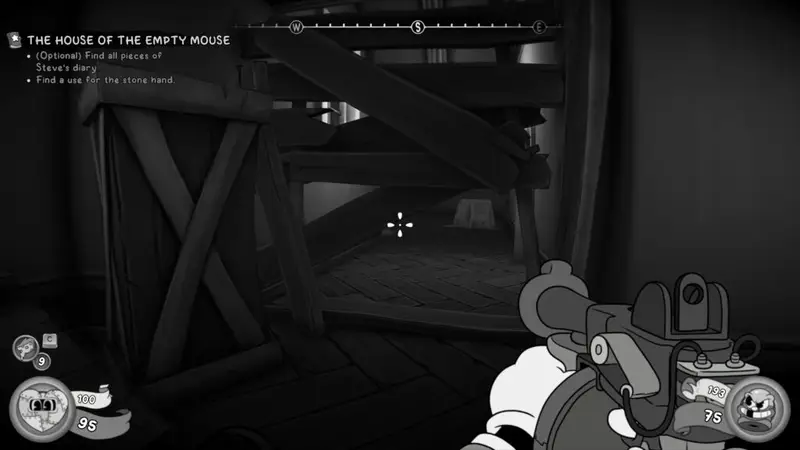
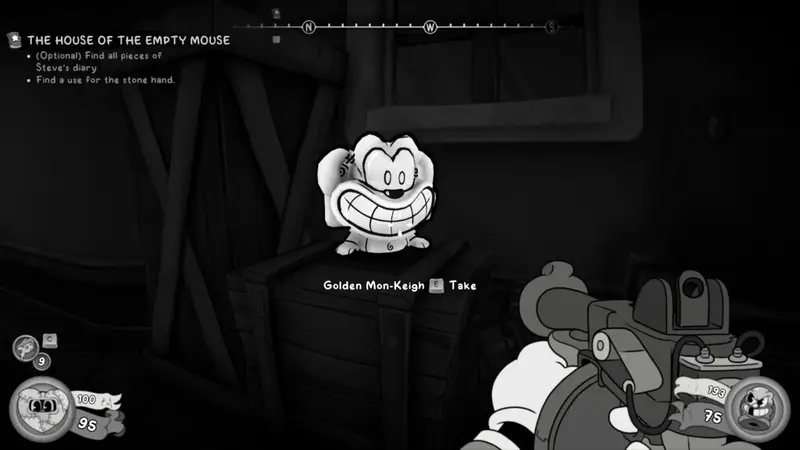
Secret Collectible – Figurine (9 / 10)
On taking the last statue to the library, a door will open on the right of where you place them all. Head down the stairs into a secret room with lots of ammo and weapons. You’ll spot the Figurine at the back of the room on a crate.

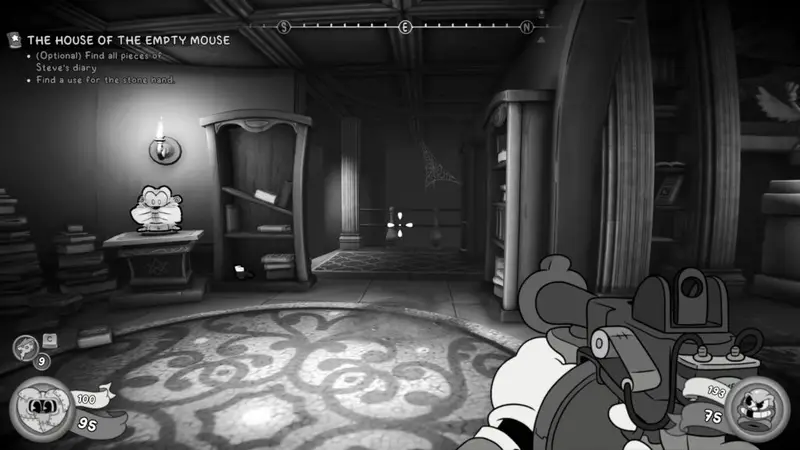
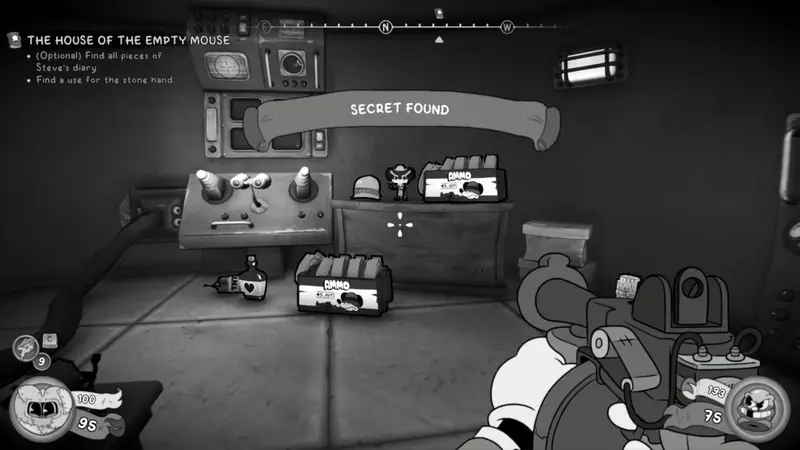
Point of No Return
After finishing Bandel’s Mansion you will still have access to the map to drive around. Here you can go to a Roadhouse and pick up any collectibles you haven’t bought from the store (comics, newspapers, Baseball cards). You can also play games of Baseball Cards at the Roadhouses too if you’re wanting to get the 30 matches achievement.
If you start 1934 World’s Fair, you will not be able to access these.
1934 World’s Fair
At the start of the level is a B.A.N.G machine so you can upgrade your weapons. If you’ve followed this guide you should have enough schematics to upgrade all your weapons that are upgradeable. If you do so, you’ll unlock the “We’ll B.A.N.G. OK?” achievement.
There are more schematics to find, and we’ll list them here if you need anymore. There’s an upgrade station available at the start of the final level and just before the last boss too.
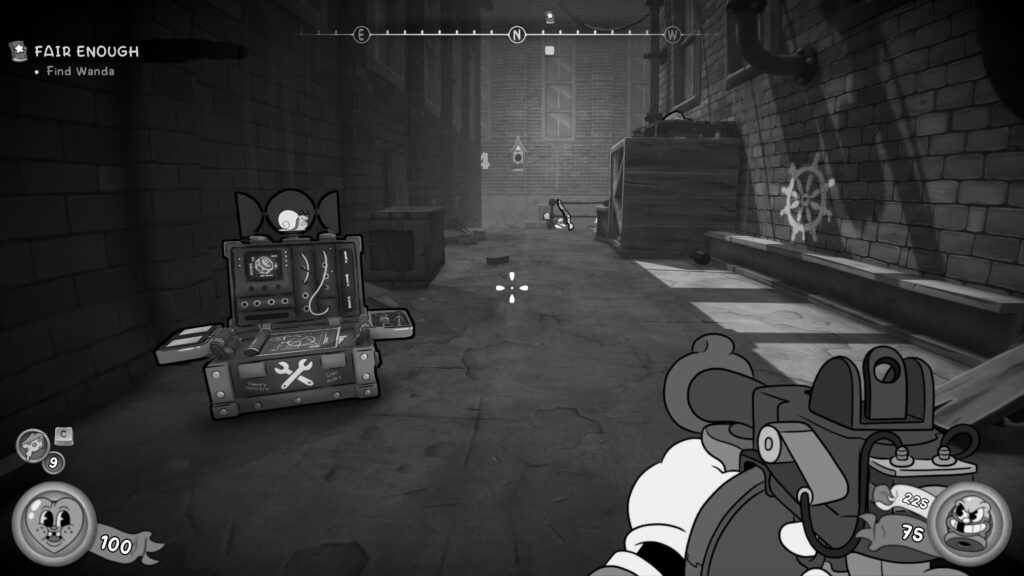
Schematic
You’ll enter an area where there are several boats, not far from the start of the level. Before crossing over any boats, look to the right and spot a “totally normal wall”. Blow it open to reveal a warp pipe inside on the left. To get it to work, head back out and look above the entrance you’ve created to see a target that needs shooting. Head in the pipe and find the schematic on a crate.
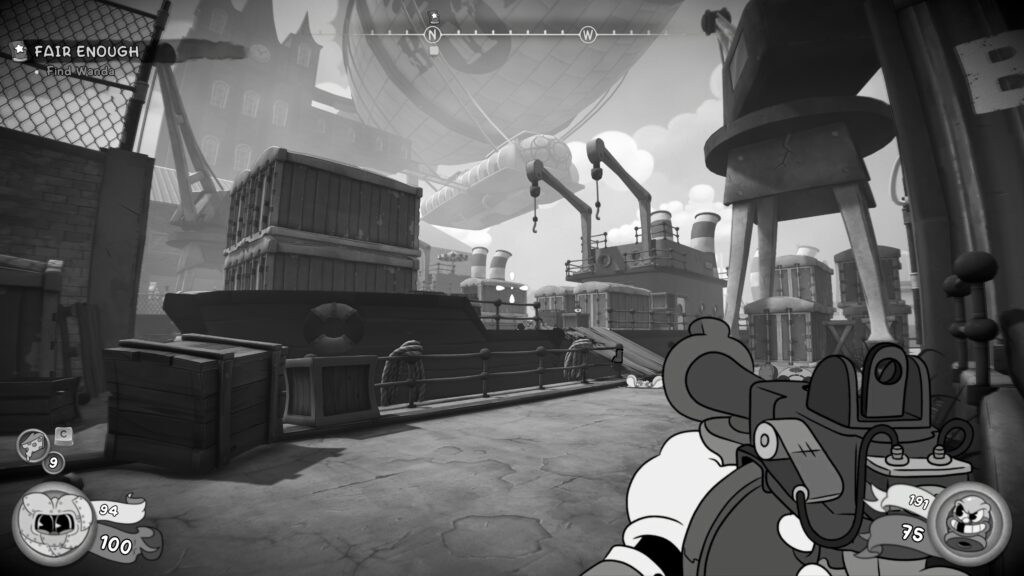
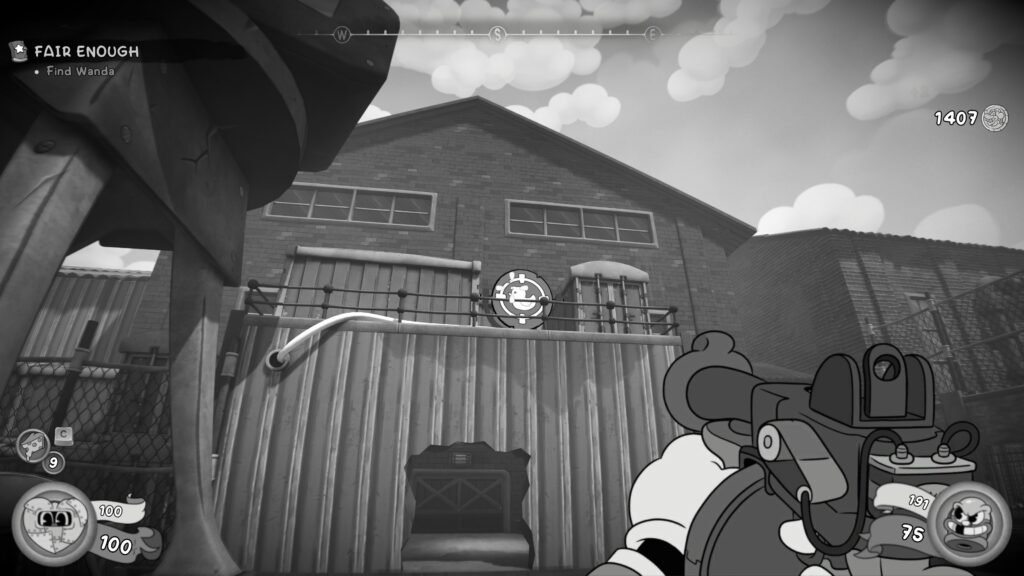
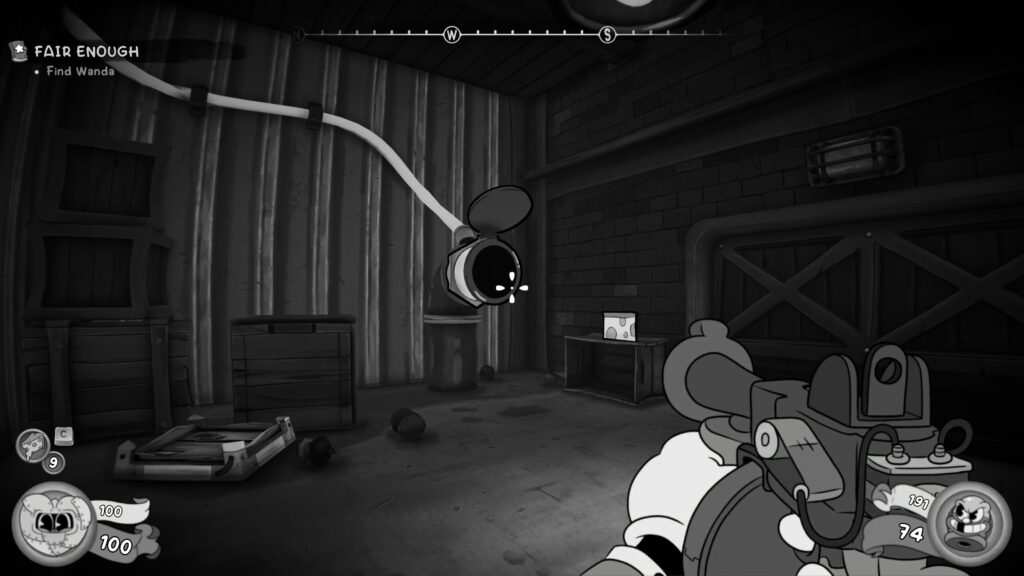
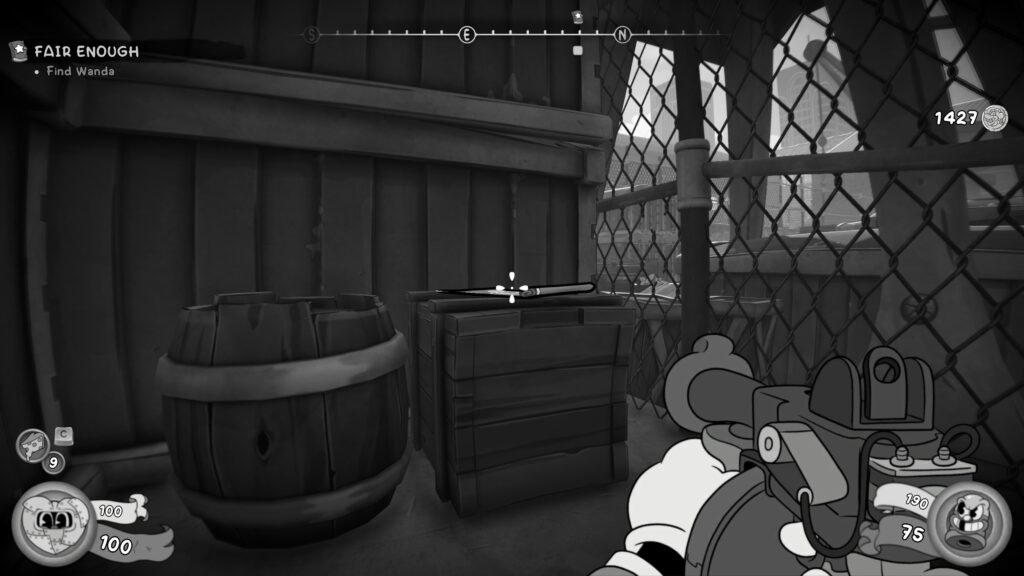
Comic Book (28 / 29)
After you’ve crossed the boats and taken out all the enemies, a gate will open to the left of where you stepped off the last boat. Go through and head into the building on the left. At the back of the room, you’ll see a padlocked door. Tail Pick it to open it up and find the collectible in the room.
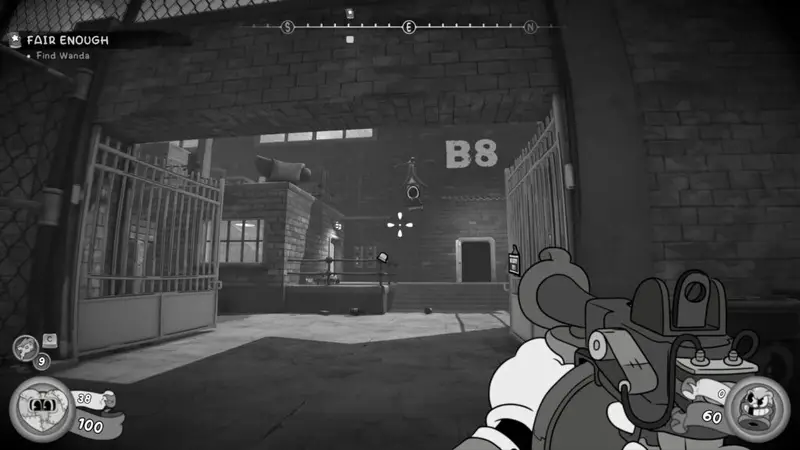
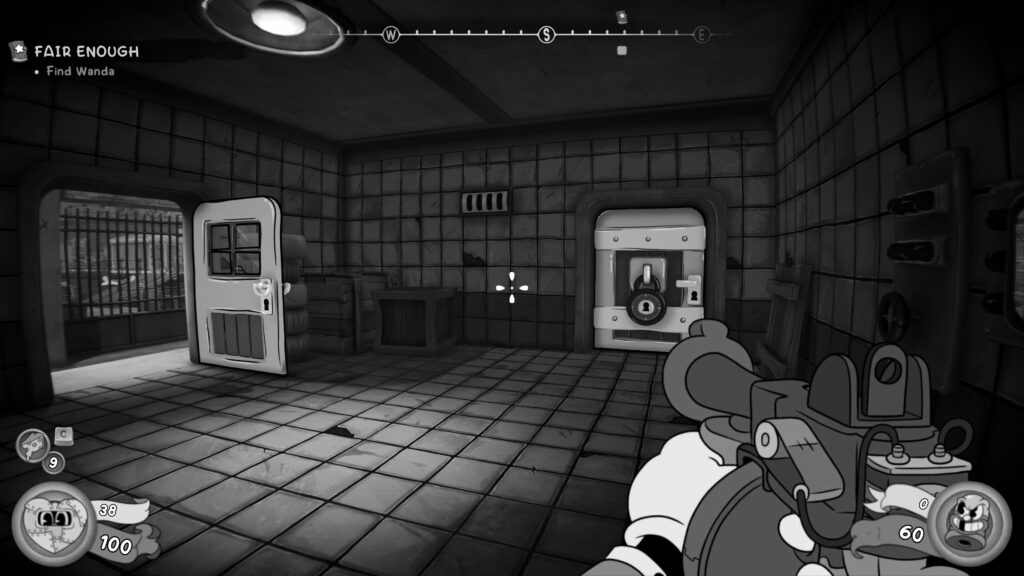
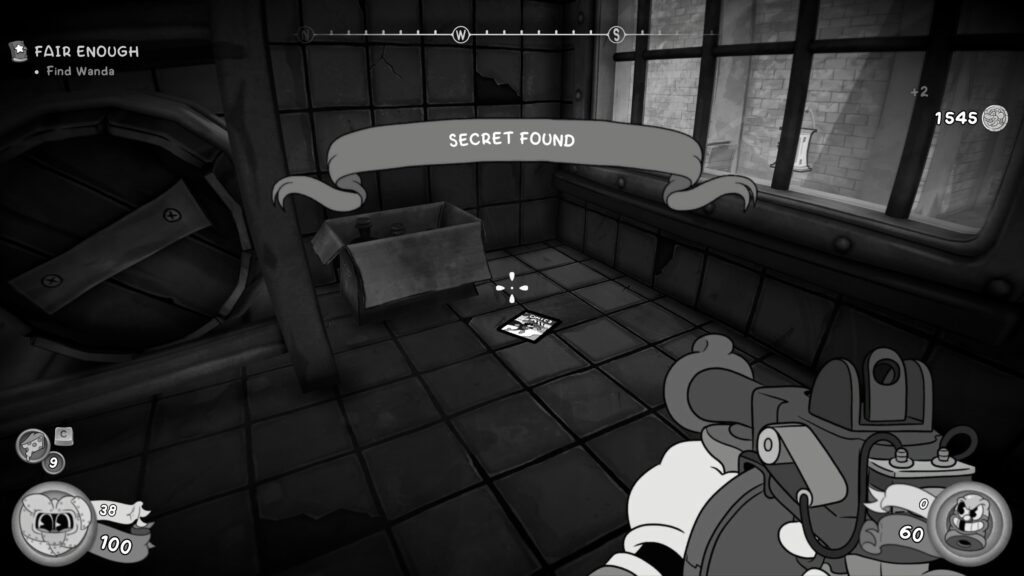
Newspaper (34 / 38)
You’ll enter a big warehouse, where you’ll need to speak with a Shrew Docker. You’ll learn the climbing ability and then need to navigate the warehouse to get to the next floor. You’ll enter a room with a typewriter, the newspaper is on the table next to the typewriter.
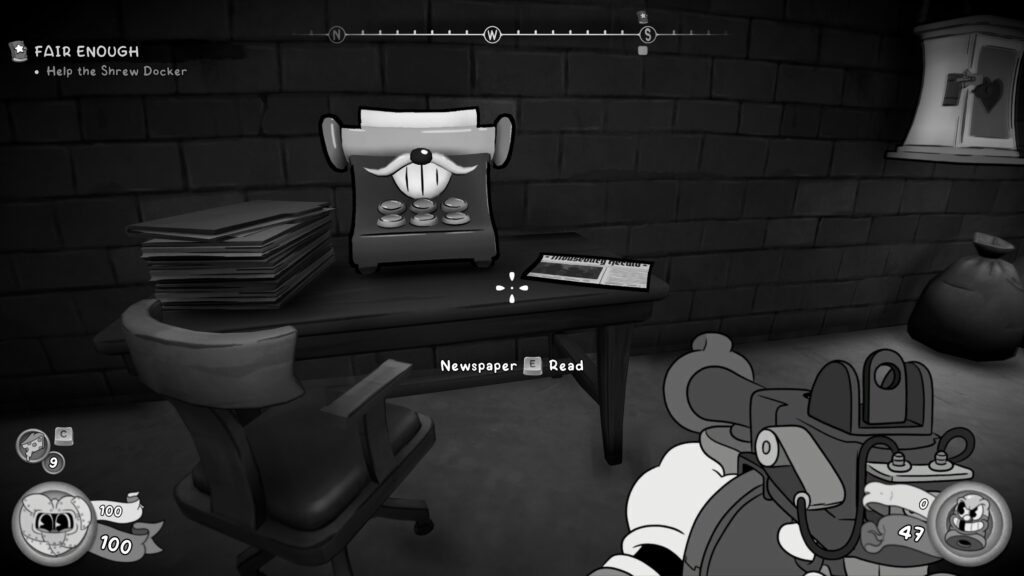
Newspaper (35 / 38)
You’ll enter a courtyard where there’s a big topiary dinosaur looking thing in the centre. Once you’ve taken out all the enemies, head up the stairs through the metal gate that is now open. Take the stairs to the left and turn left at the top. The newspaper is on a bench.
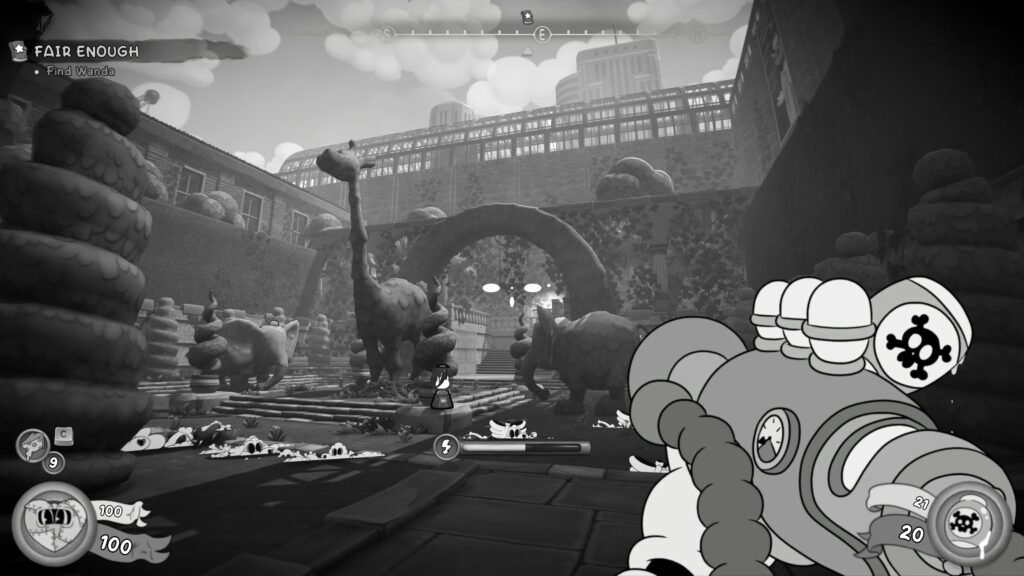
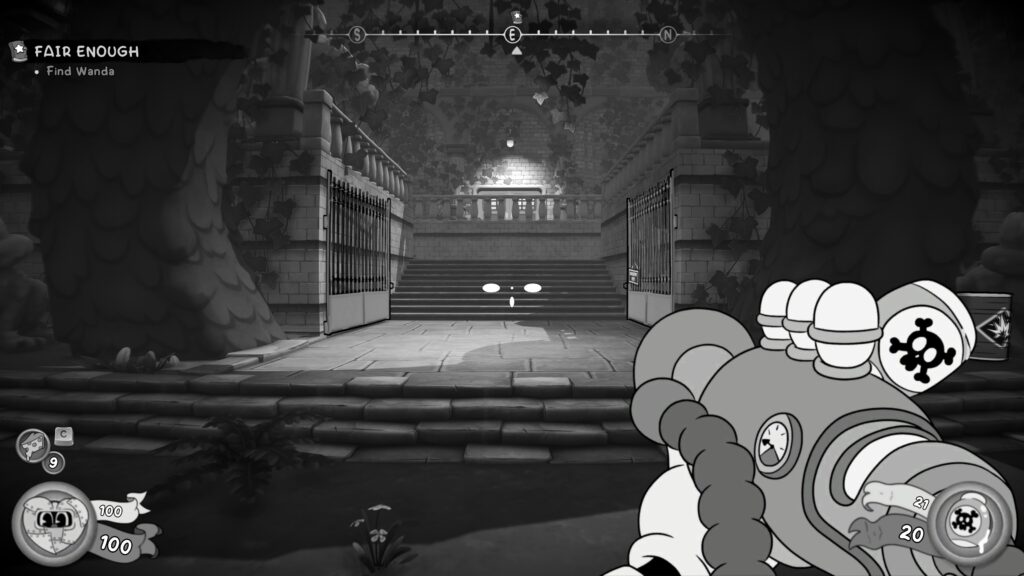
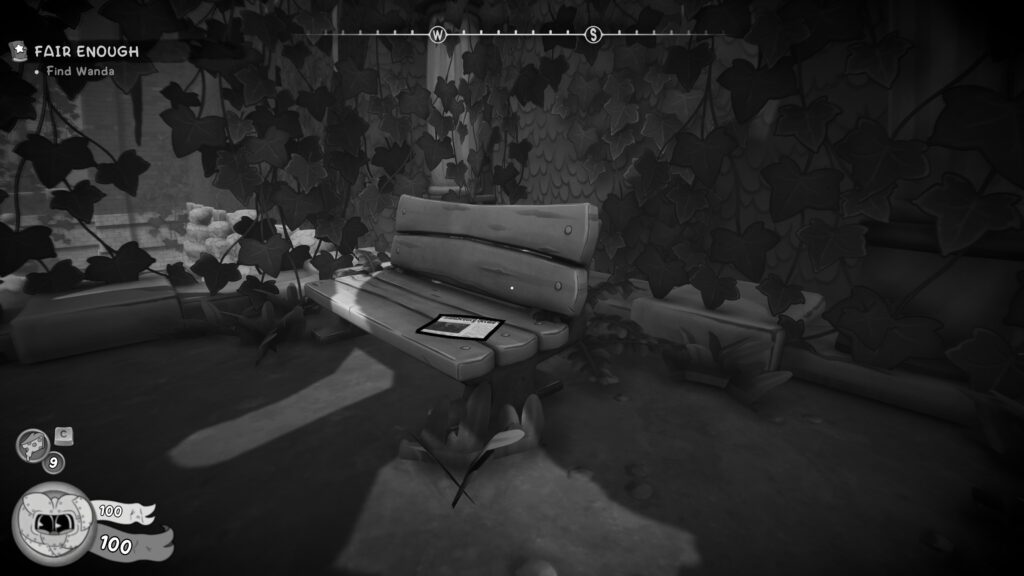
Schematic
You’ll enter a large museum and speak to Wanda. Head to the left to the end of the room and take the staircase on the right side. At the top of the stairs, on your left is the schematic on a plinth.
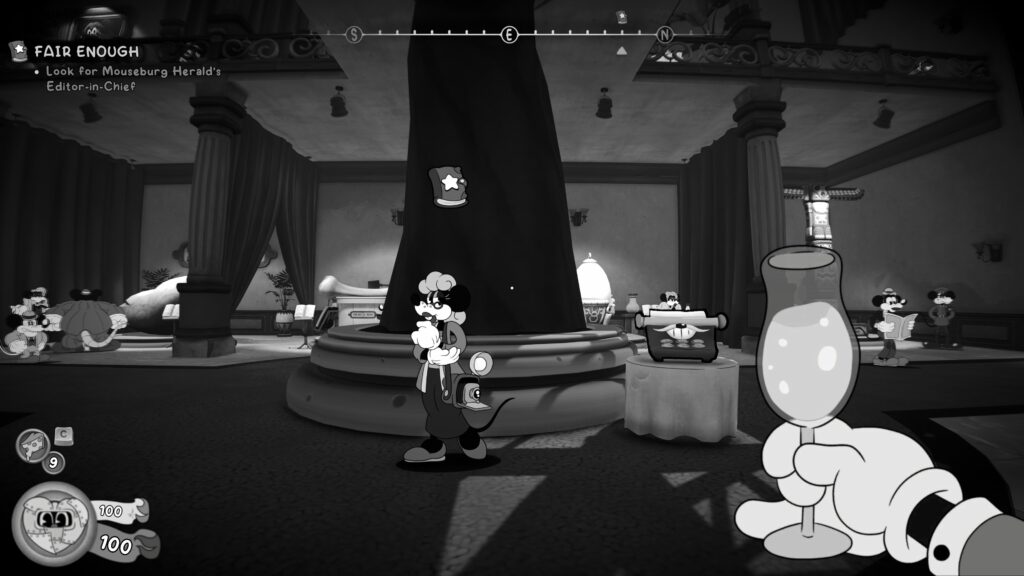

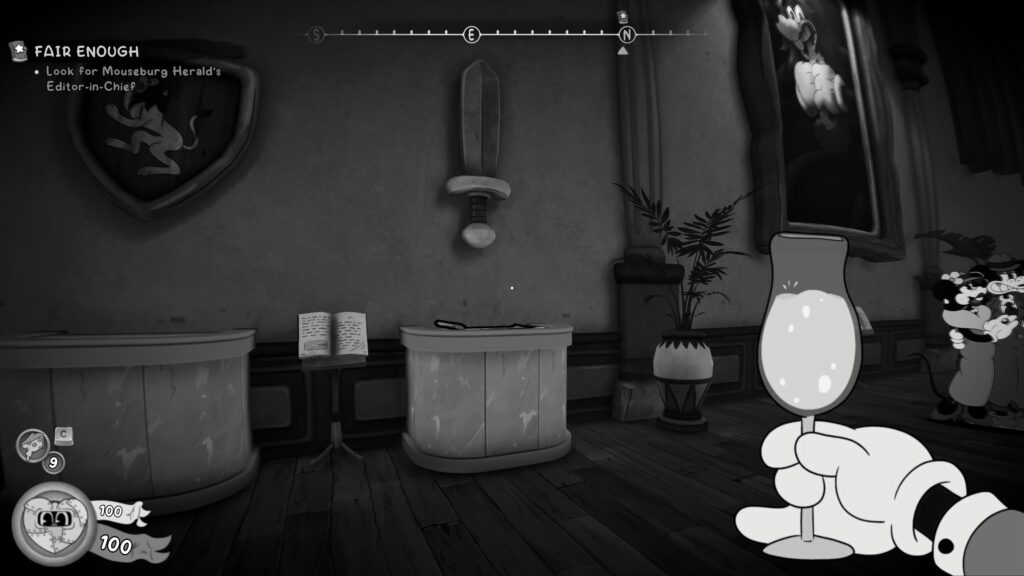
Schematic
You’ll enter another courtyard a little later that has a circular structure in the centre, and a bridge you can walk underneath. Defeat all the enemies in this area and then head through the gate at the back of the area. Don’t head into the warehouse in front of you, instead turning left and jumping up the crate. You’ll then jump across up a climbing board. You’ll spot the schematic inside a crate.
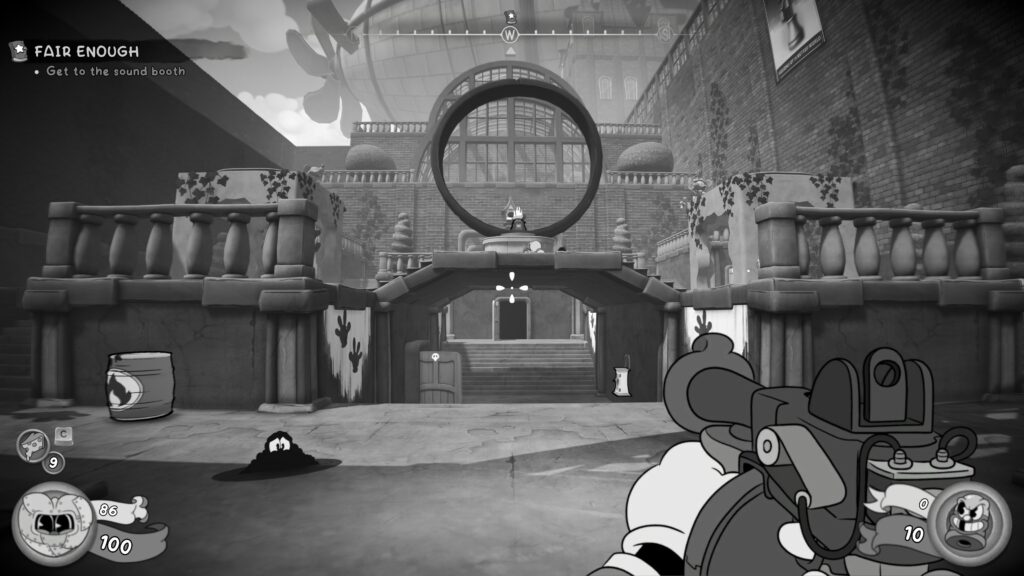
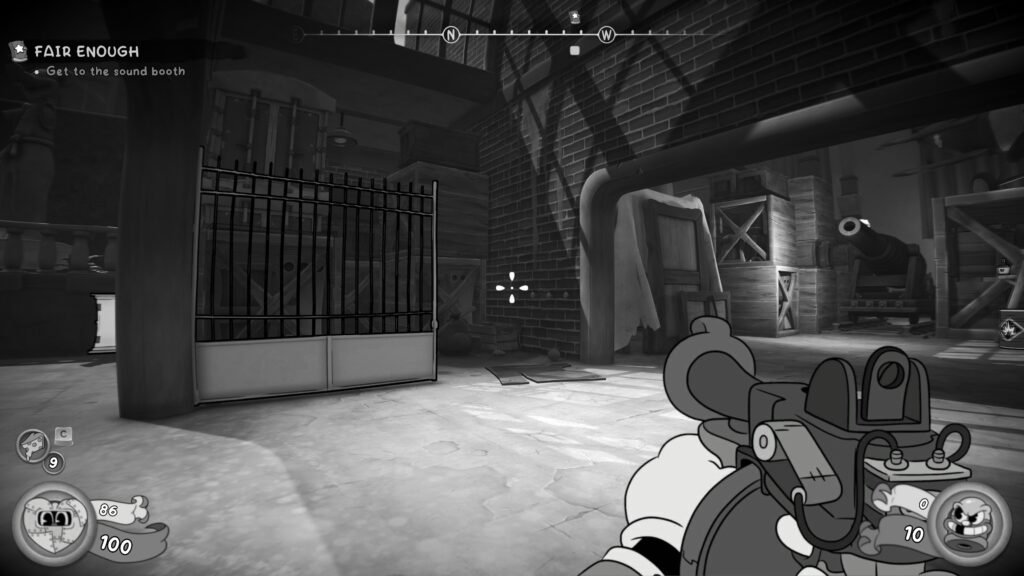
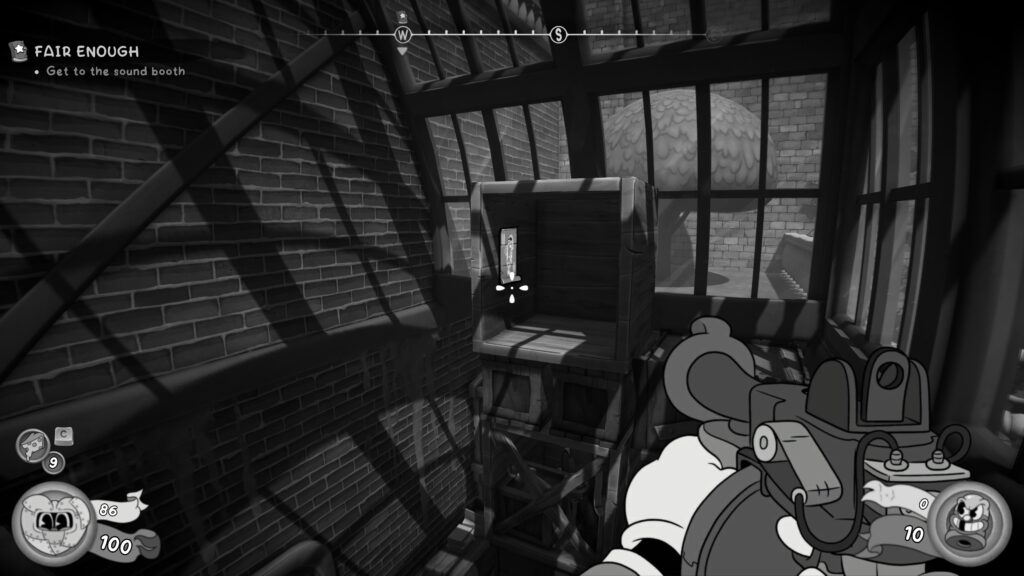
Schematic
In the next warehouse space (the one with the massive cannon as you enter). Follow the path round, killing all the enemies. When you’ve reached the back of the warehouse head to the left (as if you were walking back to the entrance (but on the other side of the crates) and then head right round some crates and a truck. In the alcove here is a safe with the schematic in.
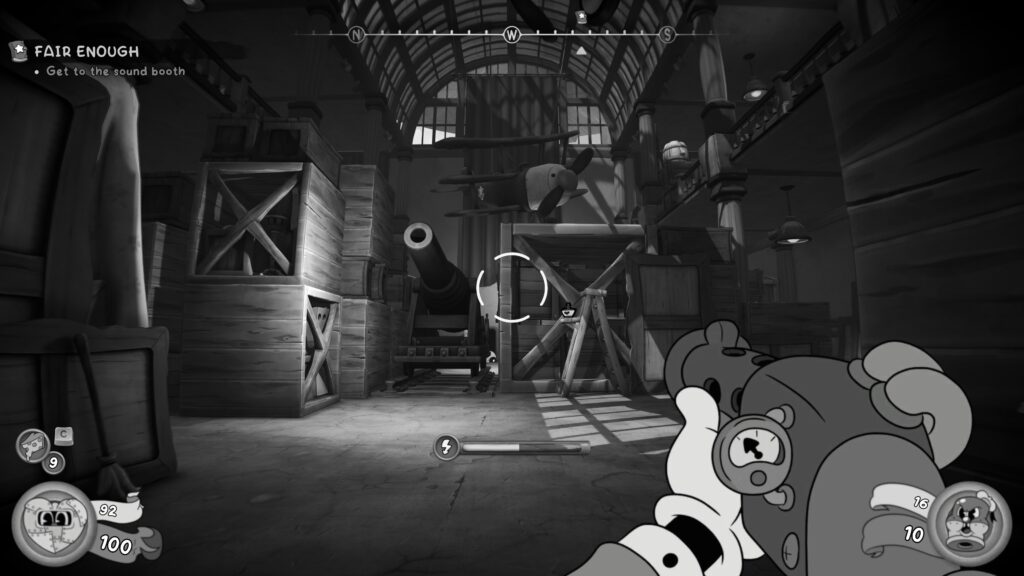
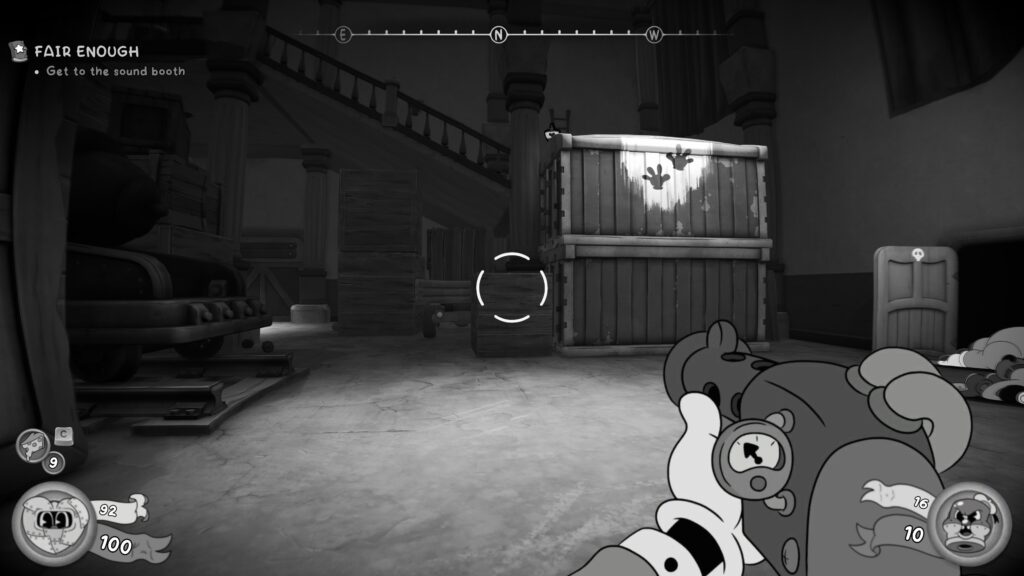
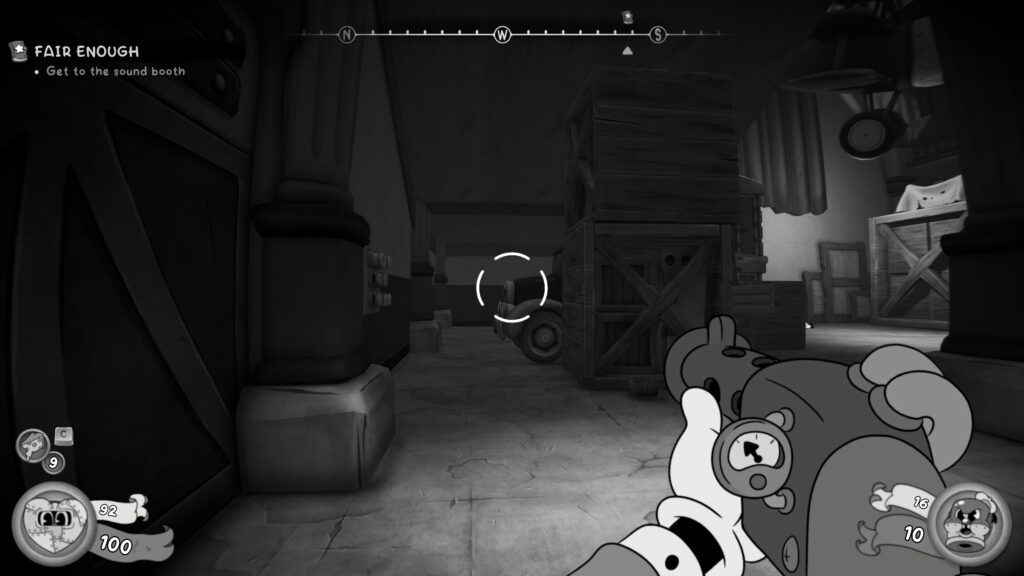
The safe has limited movements and a time limit. You can see the solution below, if you jam it, you can reload your last save.
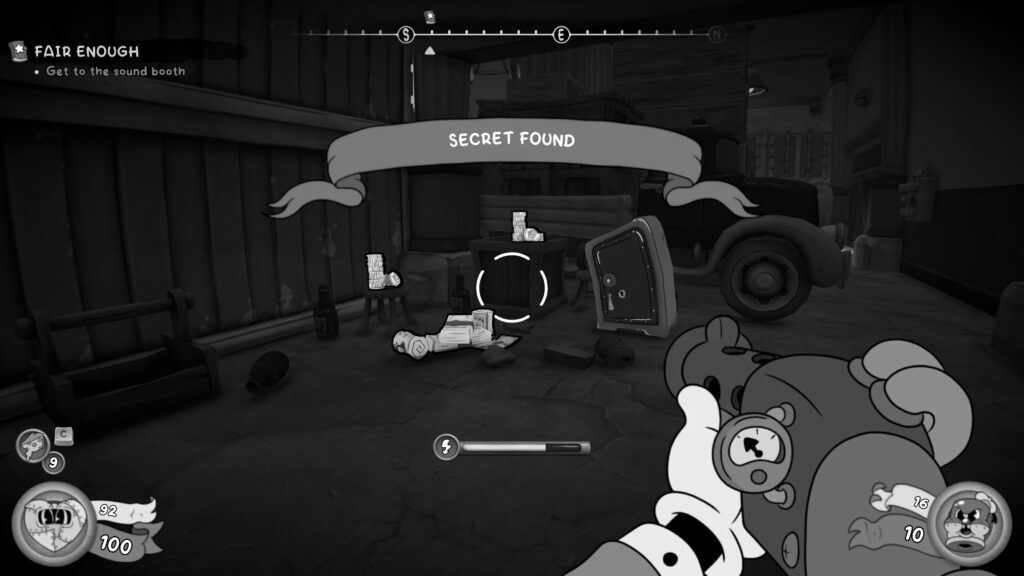
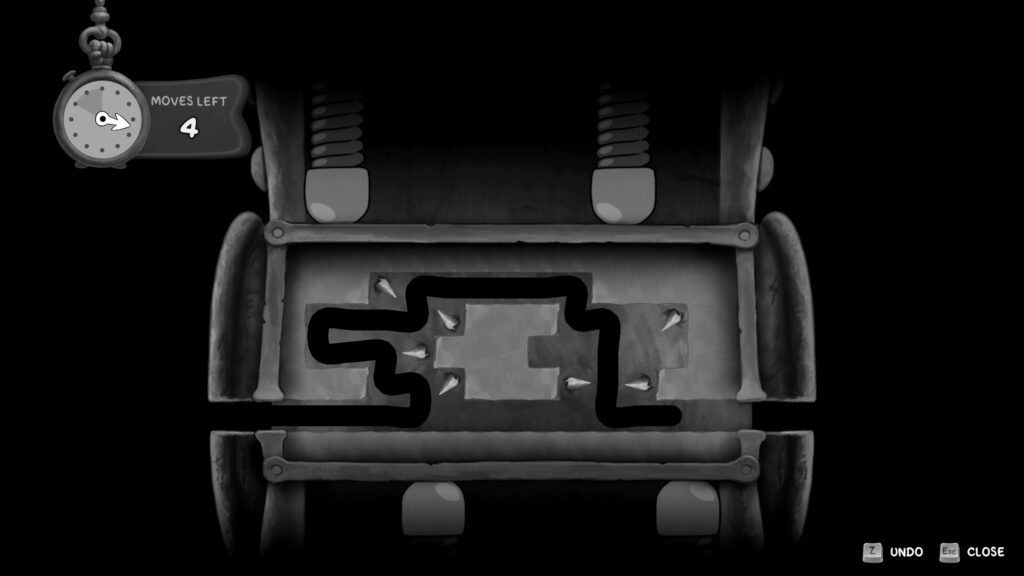
Newspaper (36 / 38)
As part of the main objective, you’ll enter a room where you have to play the evidence tape. On a desk in that room is the newspaper.
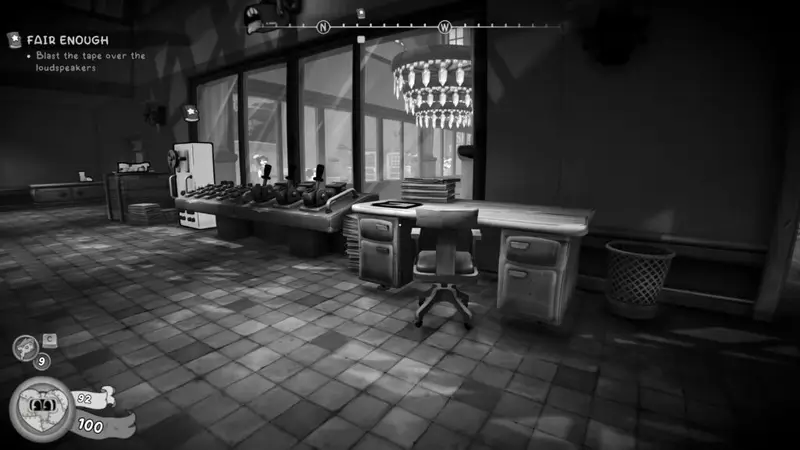
Der Harzerburg (Again)
There is a B.A.N.G. device to upgrade your weapons at the start of the mission.
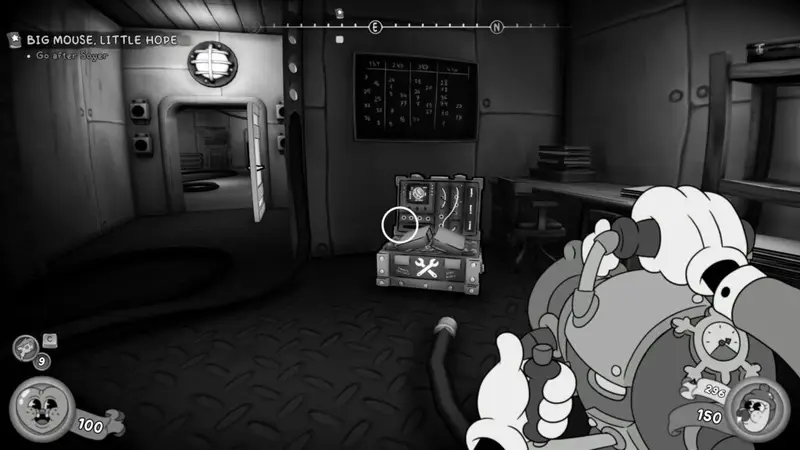
Comic Book (29 / 29)
This level should look familiar! When you enter the big open room, you’ll go through a door on your left, go up some stairs and then climb a ladder. Once at the top, look to the right across the open space and shoot the target. This will lower two hooks you can swing from. Swing across to the other side.
In front of you, you should see two platforms to wall run and then a fan in front of you. Behind the fan is another target, shoot the target to stop the fan and then wall run across. The comic book is sat in front of a warp pipe.
If you have followed this guide you will unlock “The Prequel” achievement for finding them all.
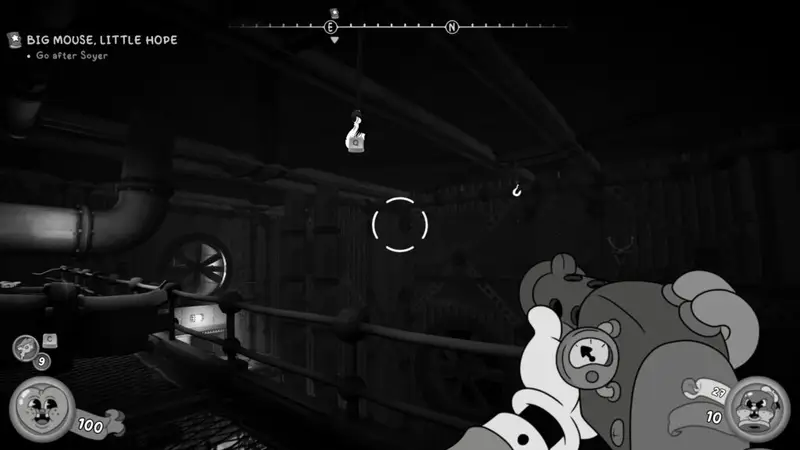
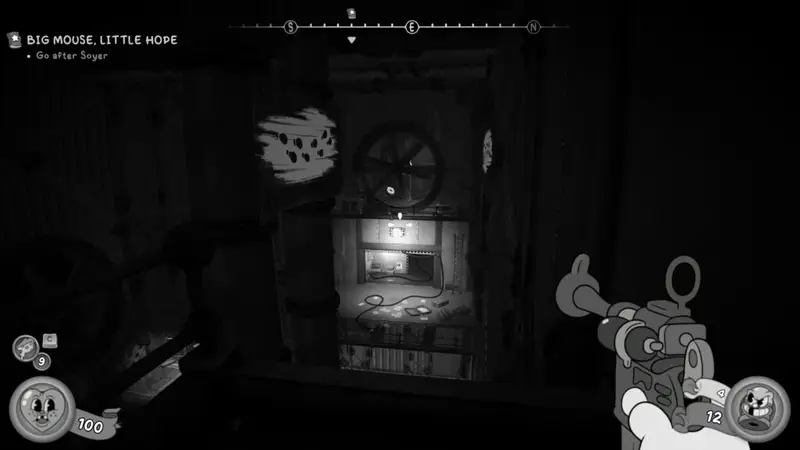
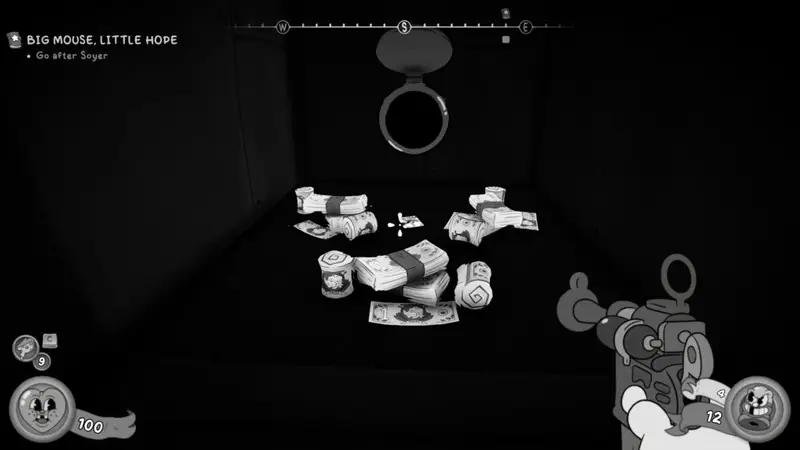
Newspaper (37 / 38)
After a typewriter, you’ll enter a large room with two floors and a ‘customer services’ booth in the centre. Kill all the enemies and head to the back of the room, behind the booth in the centre. Underneath a crate you can break, by a chair, will be the newspaper.

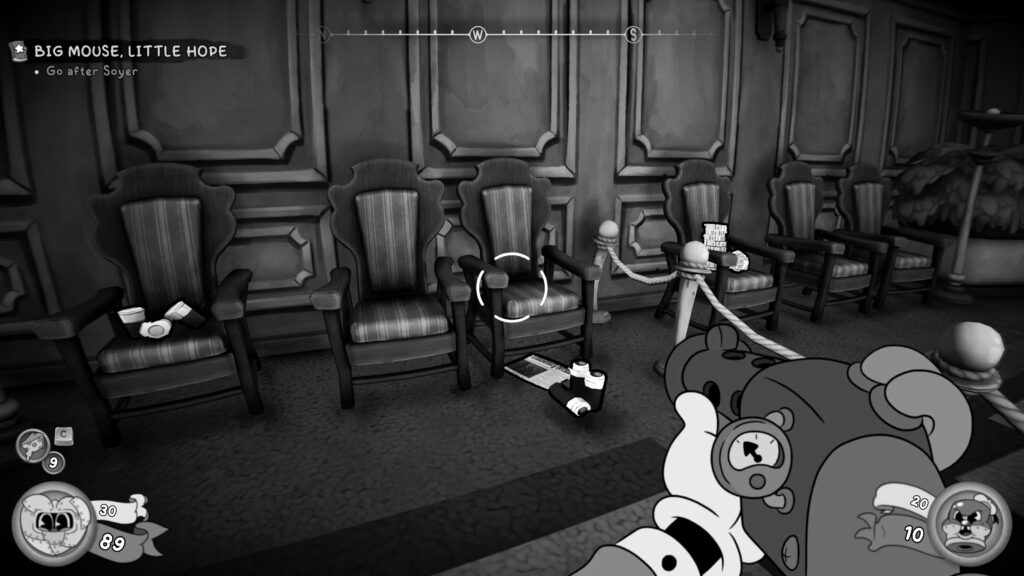
Schematic
Turn around from the newspaper and go to the booth on the right and smash the glass. Jump and crawl through to grab the schematic.
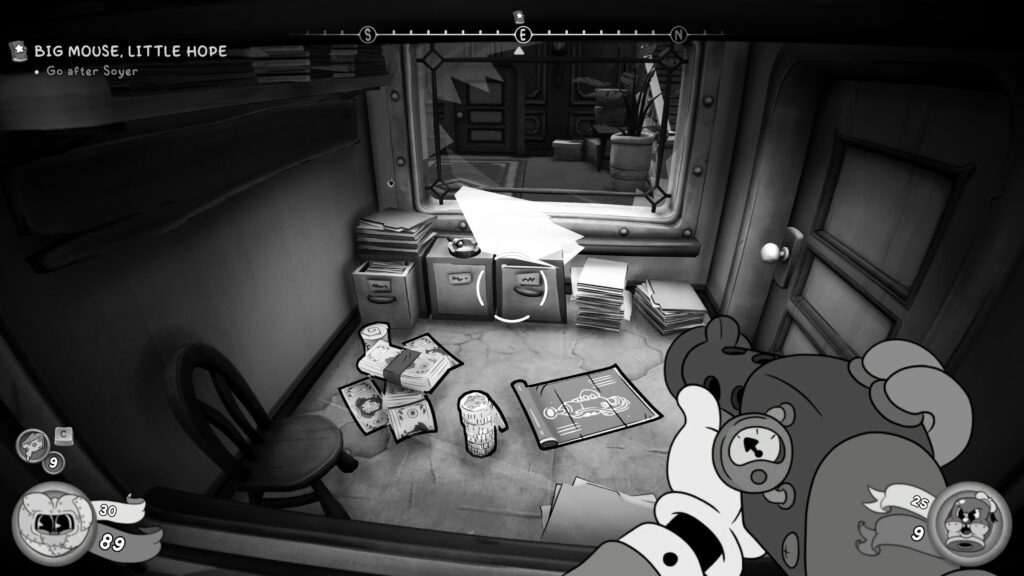
Newspaper (38 / 38)
After a typewriter, you’ll head down some stairs and enter a corridor that is blockaded by loads of crates. Navigate through to the other side, taking out any enemies along the way. You’ll enter a room at the end and head up some stairs. Look to the right at the top of these stairs to spot the final newspaper on the ground.
If you’ve followed this guide you will unlock the “Extra! Extra!” Achievement.
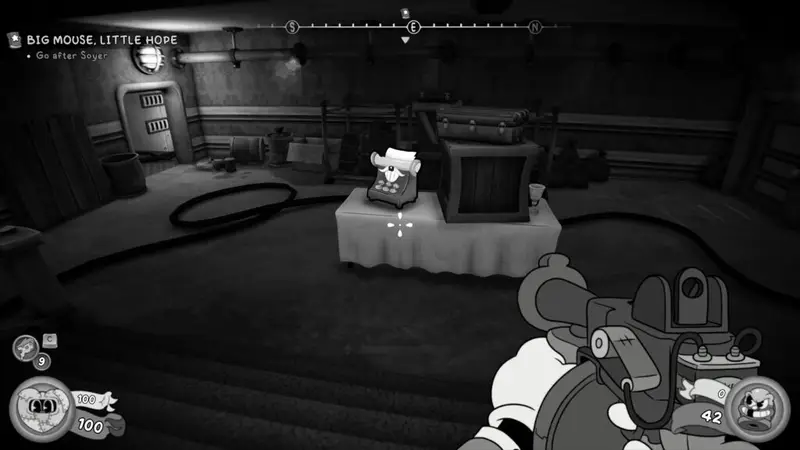
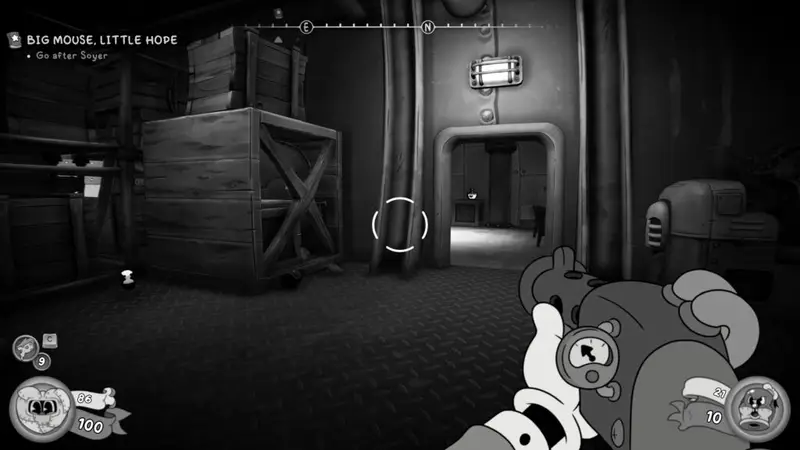
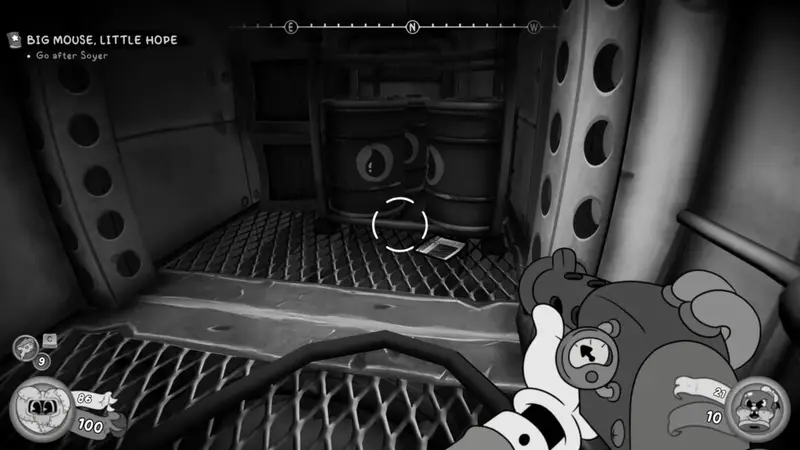
Schematic
After Soyer goes down the elevator, head down the stairs and you’ll spot a ladder. At the top of the ladder is a schematic.
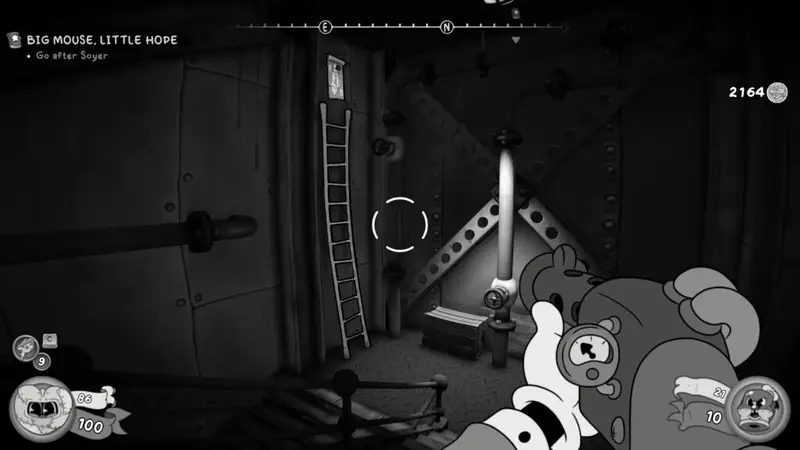
Schematic
Head all the way down the steps and kill the enemies at the bottom. Just like in the Prologue, in the same room there is another safe with the schematic in.
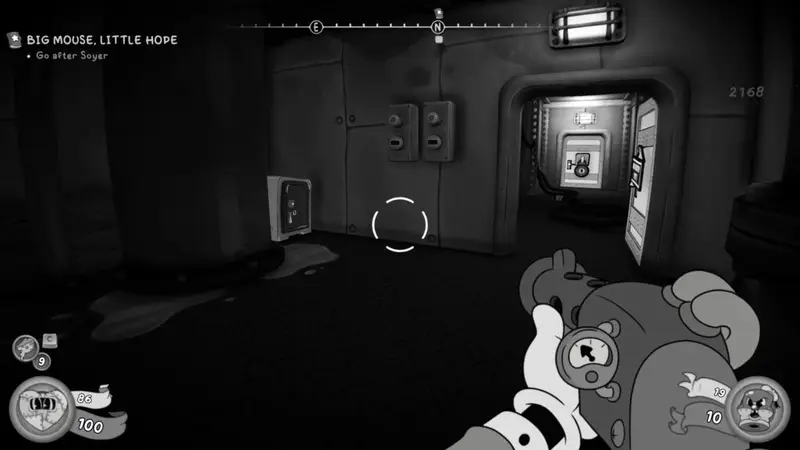
The safe has limited number of moves and a time limit. Here’s the solution below, if you jam the safe and need the schematic, reload your last save.
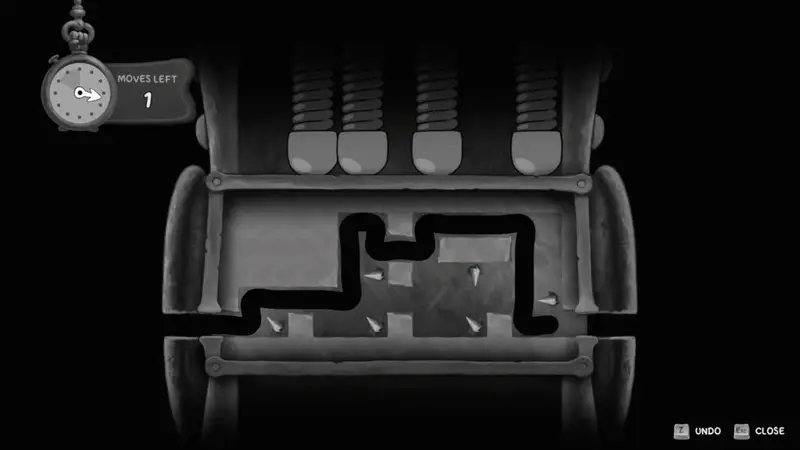
And that’s it! The complete guide! I hope you found it useful