

There are quite a few trophies/achievements to unlock while running around as P and Orbie in Motorslice, the atmospheric 3rd-person action game about traversing an inconceivably large megastructure and fighting giant construction vehicles. While you’ll get several of these just by playing through the game, we wanted to help with some of the other trophies/achievements you could miss. So, here is our All Drone Orbs Locations guide for Motorslice, helping you find every orb drone in the game!
This can also help you to unlock the Drone Orb trophy/achievement for successfully retrieving 30 orb drones.
Check out our Motorslice Review for our full thoughts on the game.
All Drone Orb Locations Guide
Throughout the world of Motorslice, or at least the incomprehensible megastructure that P is investigating, lost orb drones are waiting to be collected. P can spot them by using her scanner, with the orbs highlighted in cyan.
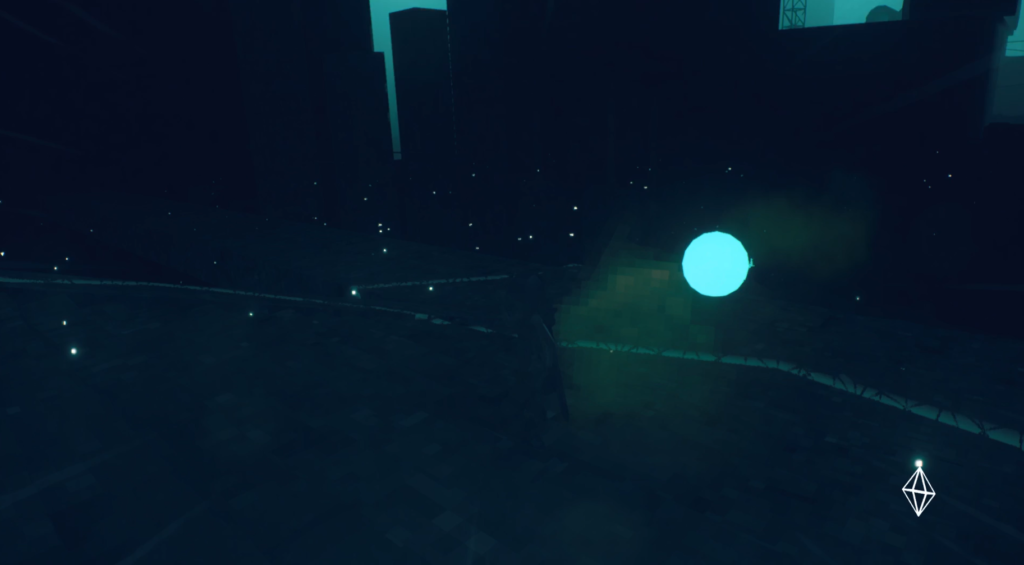
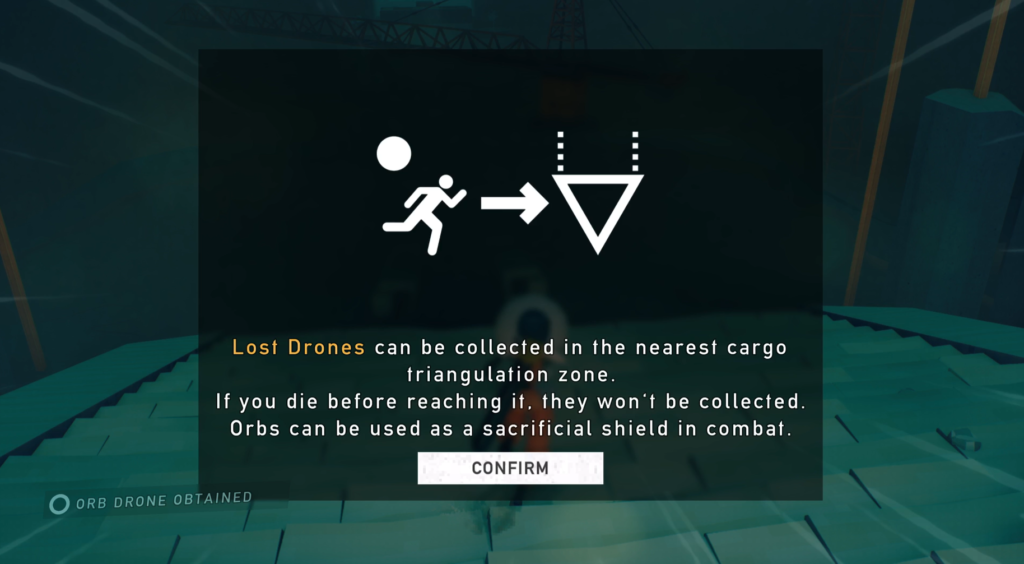
To collect a lost orb drone, you need to get close enough to it to activate it so it follows P, and then lead it back to the closest triangle checkpoint, which also shows up when using P’s scanner. There is no limit to the number of orb drones that P can have following her at one time, but any orbs still following her when she dies will be reset.
There are a few special orb drones that need to be collected in under a certain amount of time, which have yellow lights instead of the usual blue. Sometimes, you’ll need to collect several of these at once, normally involving figuring out what order to collect them in and reach the checkpoint.

Lastly, you can track which orb drones you have collected across each chapter by checkpoint in the Chapter Select menu.
- Prologue
- Chapter 1 – City
- Chapter 2 – Canal
- Chapter 3 – Falls
- Chapter 4 – Overpass
- Chapter 5 – Pillars
- Chapter 6 – Rig
- Chapter 7 – Quarry
- Chapter 8 – Desert
Prologue
Orb Drone 1
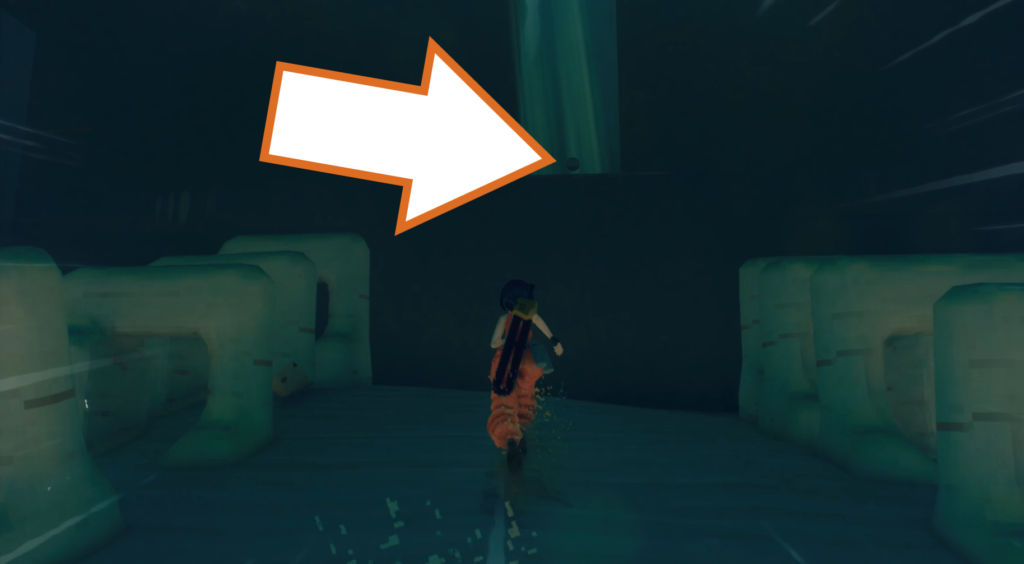
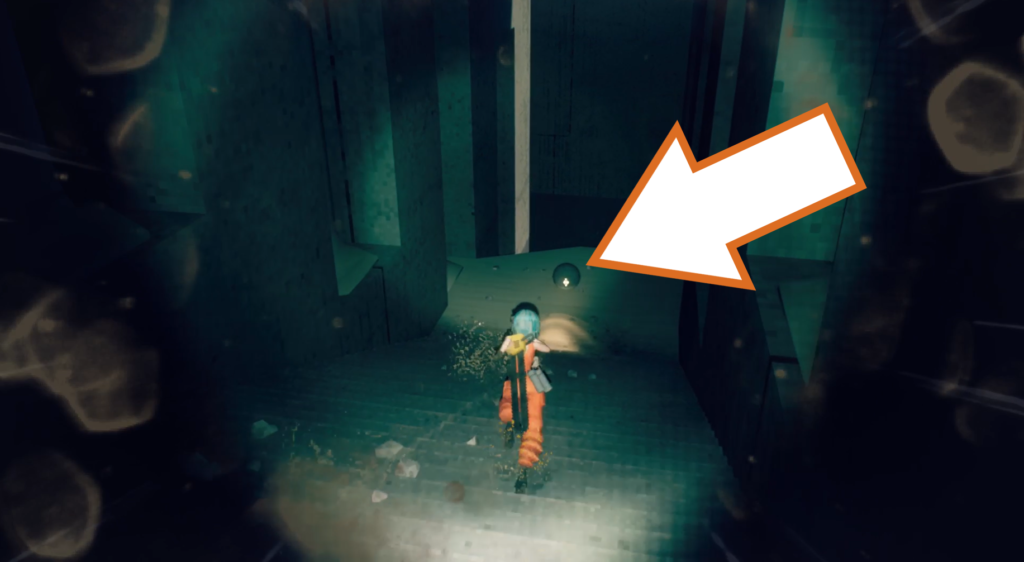
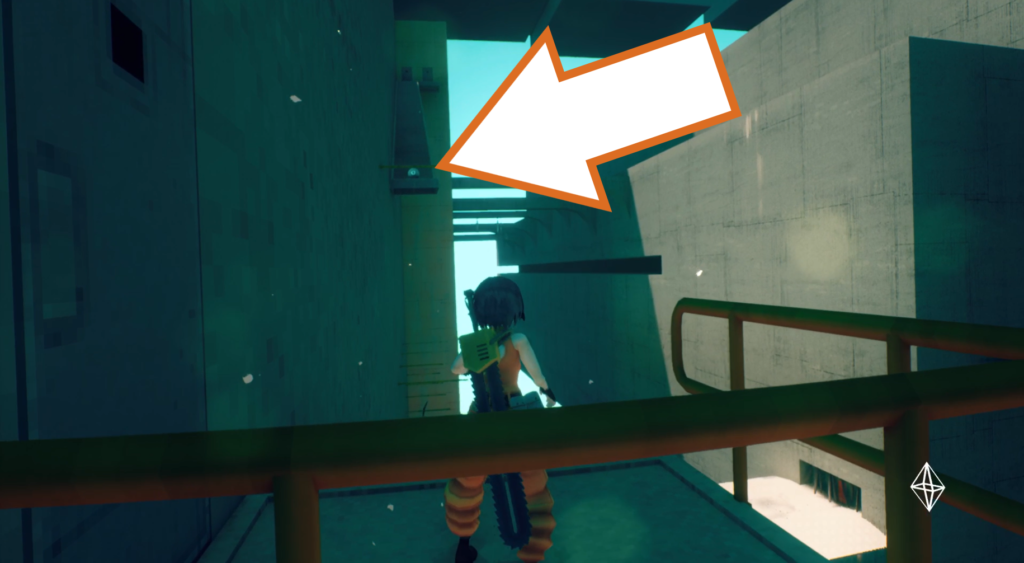
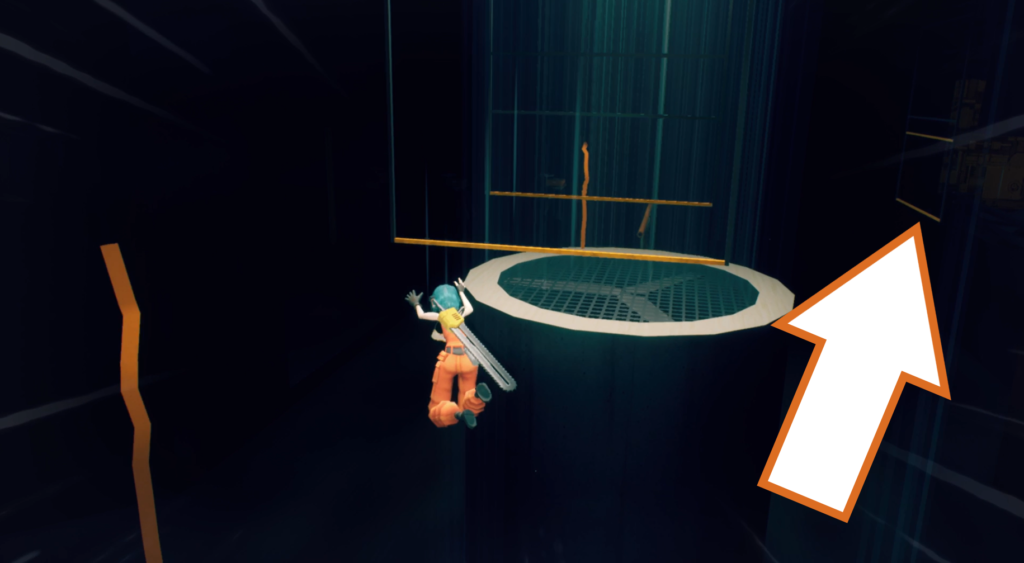
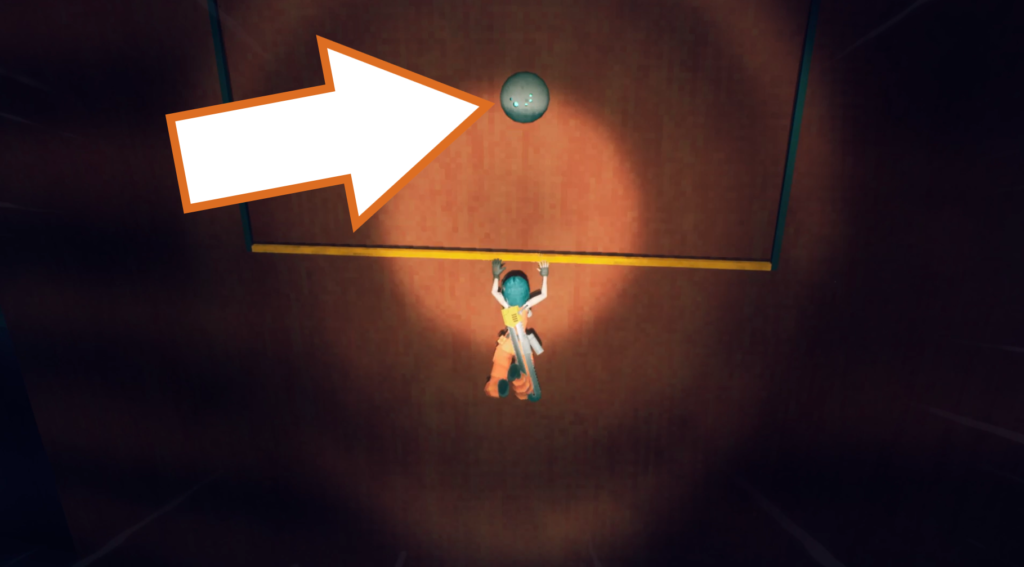
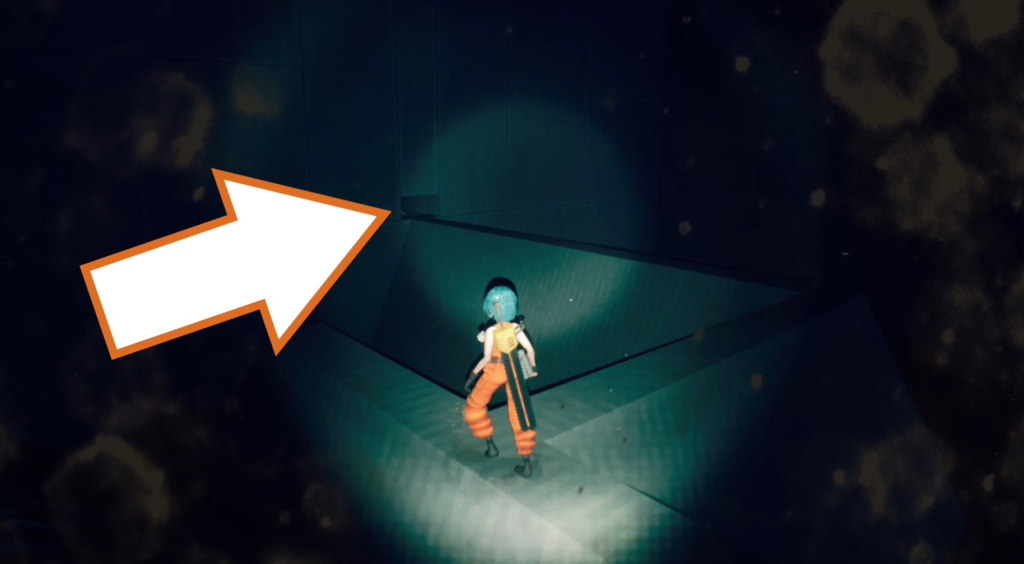
The first orb drone is found just after you learn to parry when facing the crane. Cross over its arm and enter the dark area to see the orb up high, backlit with godrays.
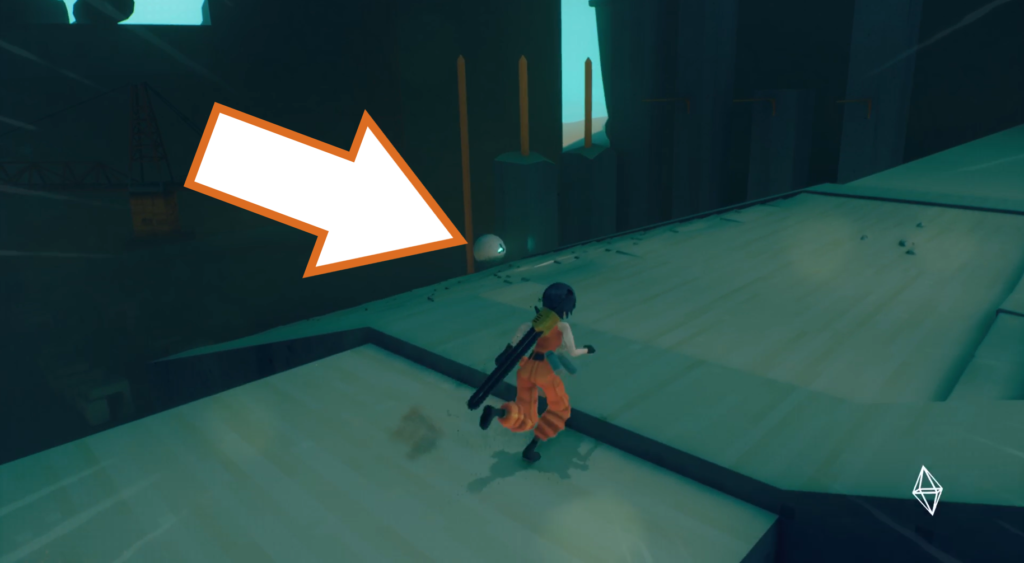
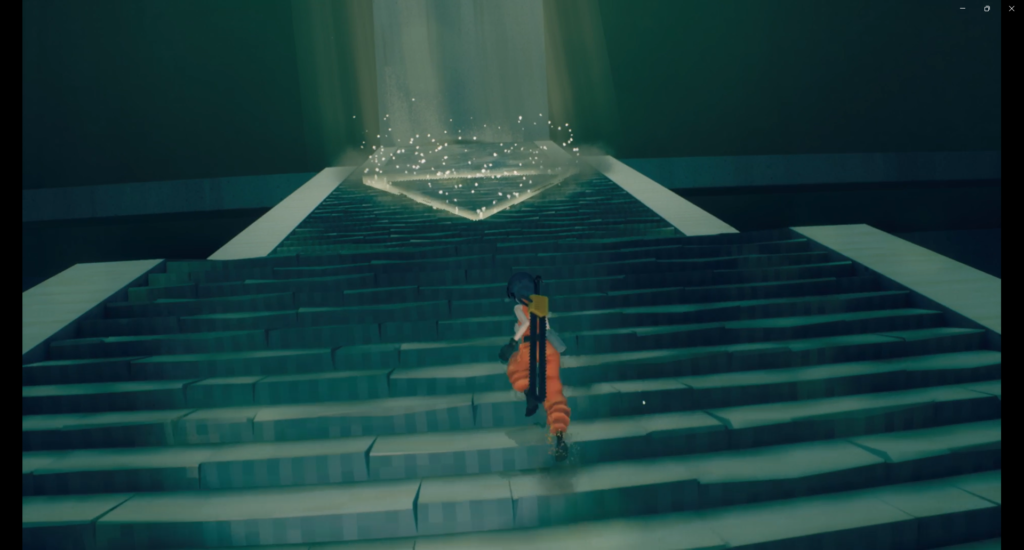
Climb up and jump between the orange girders and poles on either side of this dark room, and grab the orb drone once you’re on the stairs. Carry it to the Triangle up the stairs to send it away safely.
Orb Drone 2


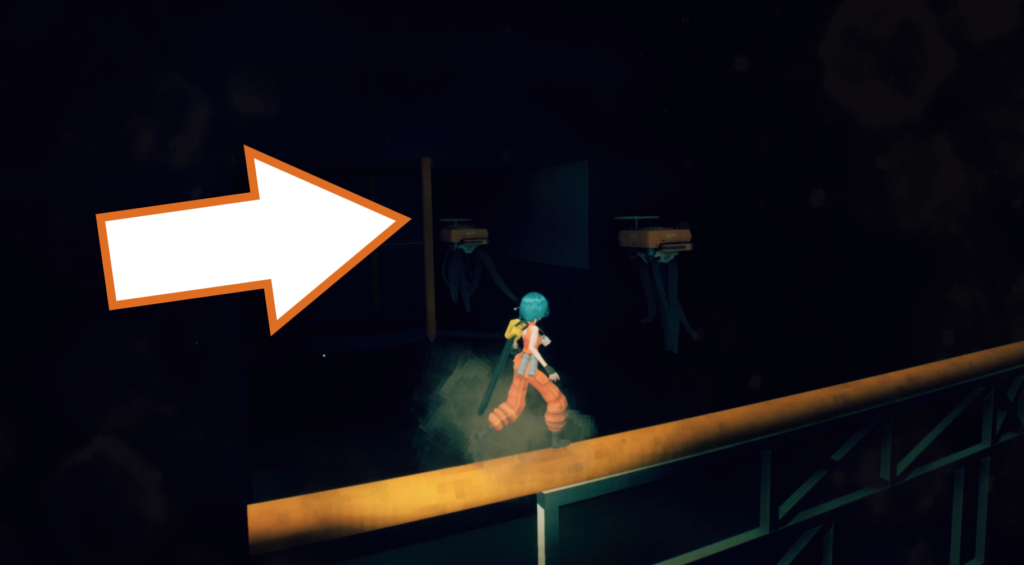
The other orb drone in the Prologue is found down a path to the right near the evac point, sitting on the gangway of a crane. Jump across to grab it and bring it back for a safe delivery.
Chapter 1 – City
Checkpoint_01
Orb Drone 3 & 4
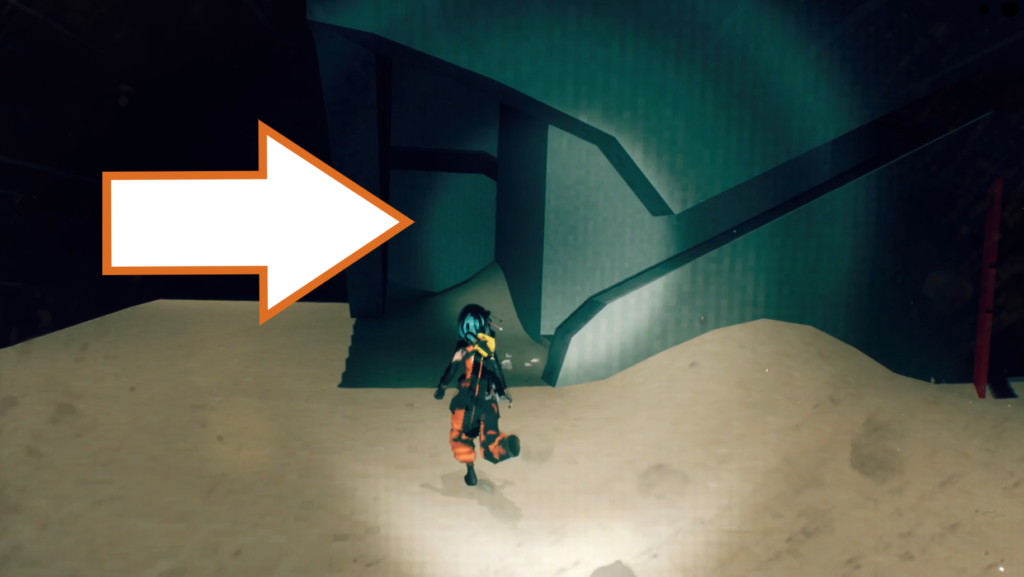
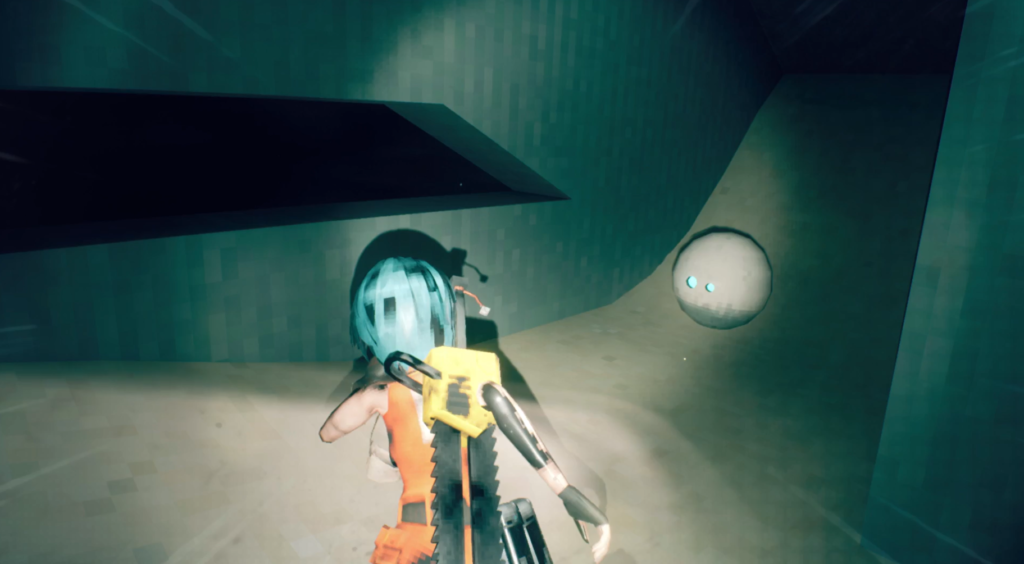
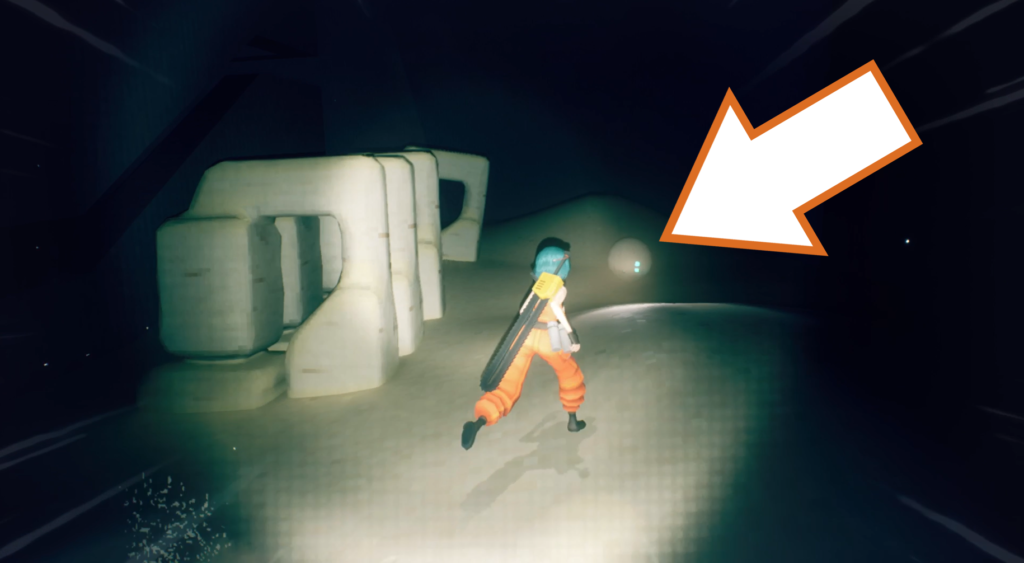
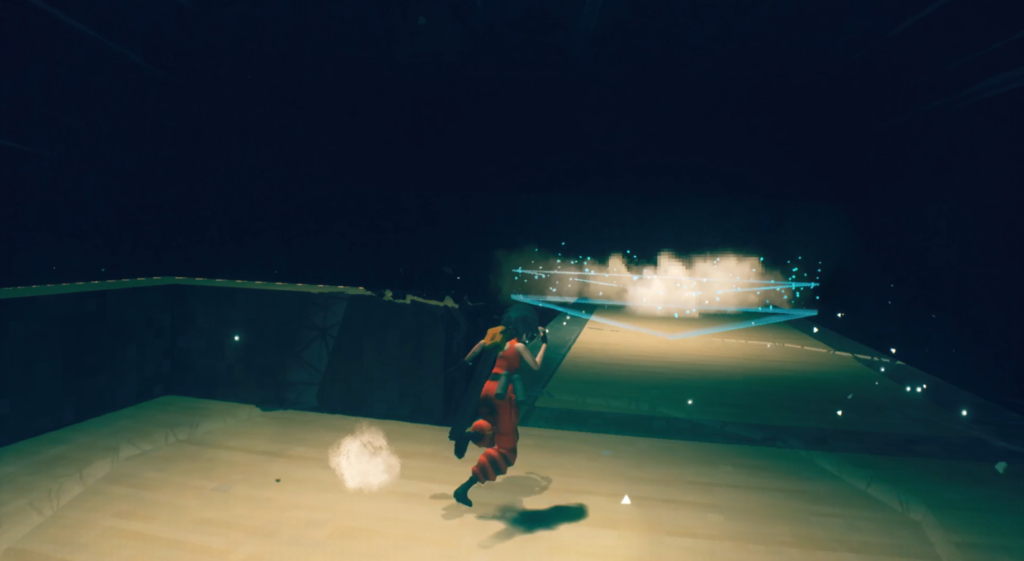
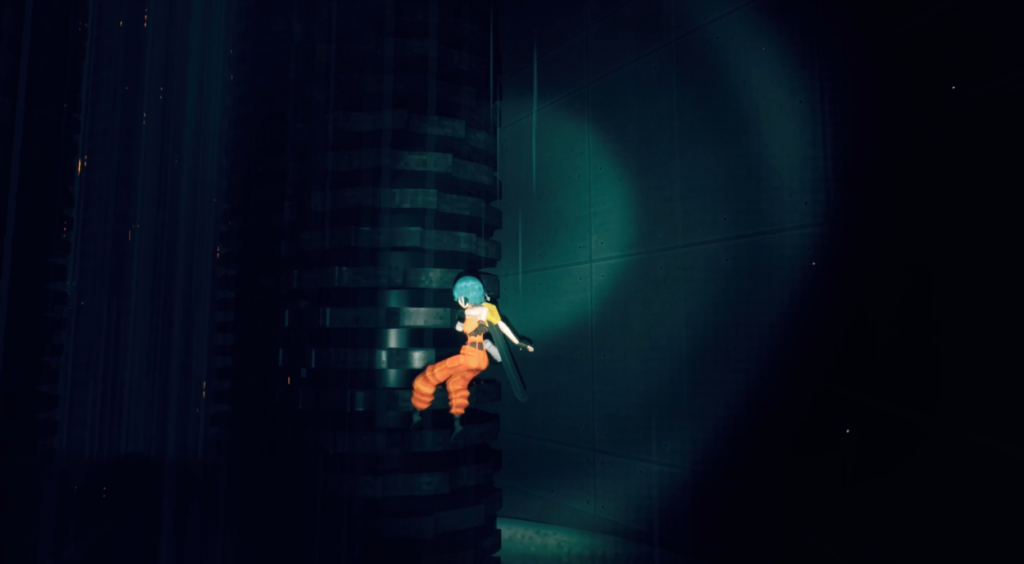
The first two Orb Drones are close together, with one hiding at the bottom of the tall building in the dark room you enter by turning a valve. Go through the hole in the wall and go around the bottom to find the first one, with the other one behind the building. Take them to the top of the structure to find the evac point.
Checkpoint_02
Orb Drone 5
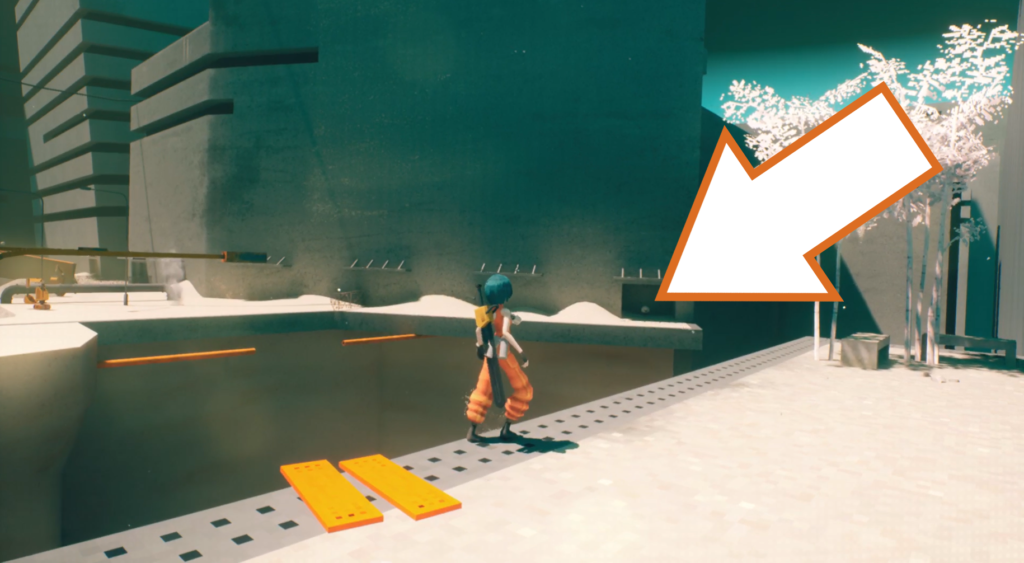
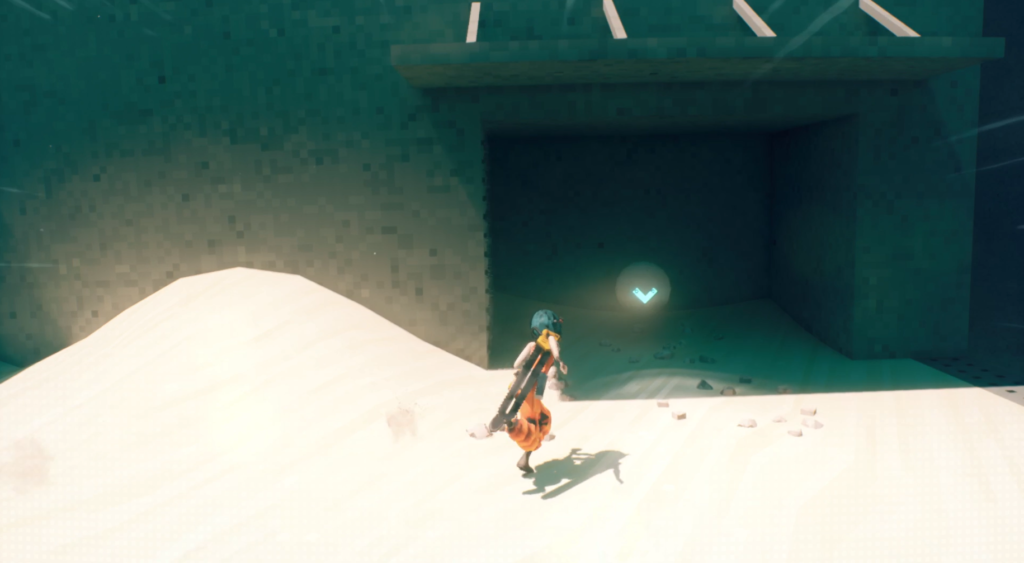
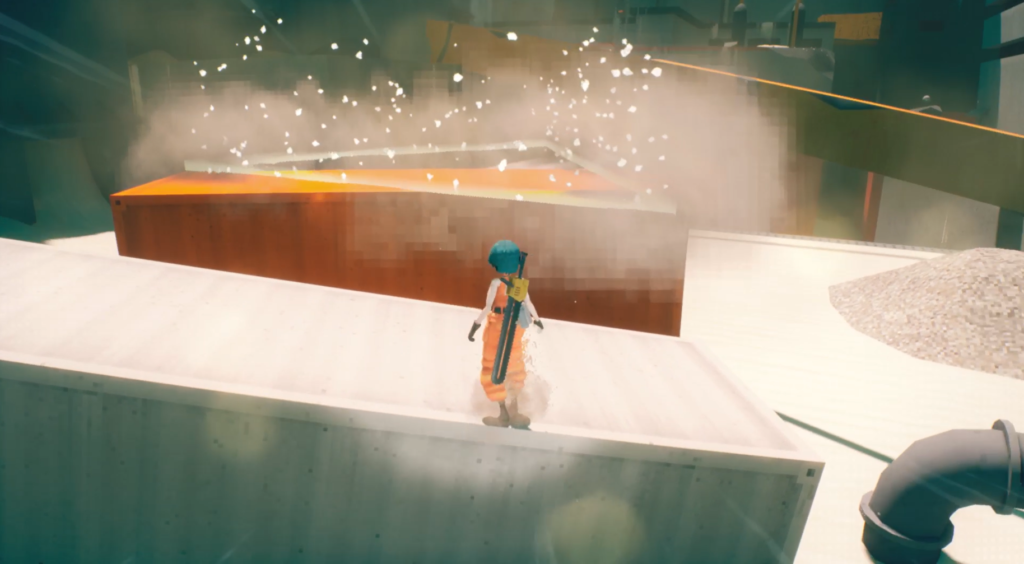
Several orb drones can be found in the area at the beginning of Chapter 1, where the “City” title card appears. Cross over the gap and go to the right, hopping over the fence and going to the end. Inside an alcove is an orb drone. Head back and take it to the evac point on top of the orange shipping container.
Orb Drone 6
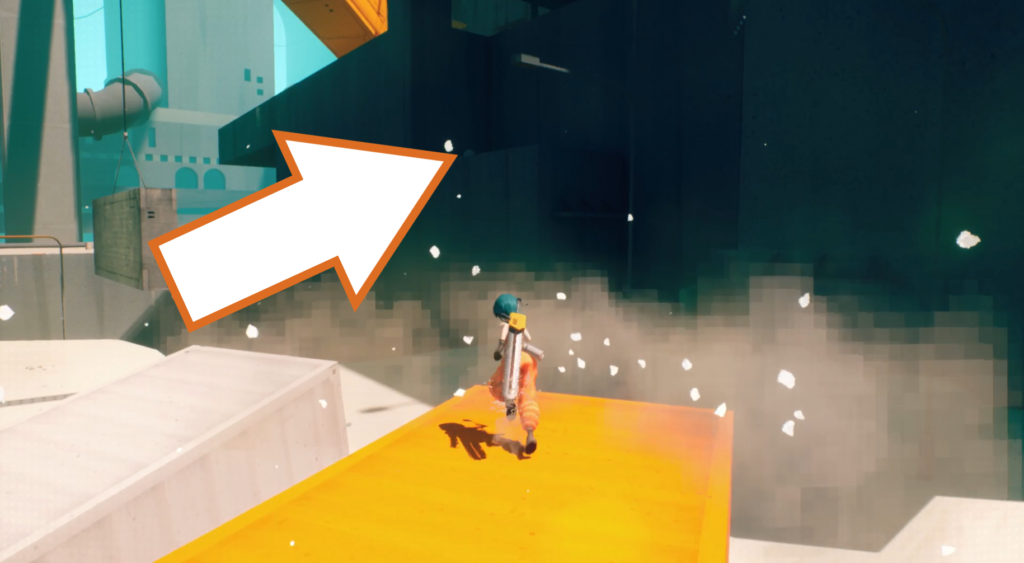
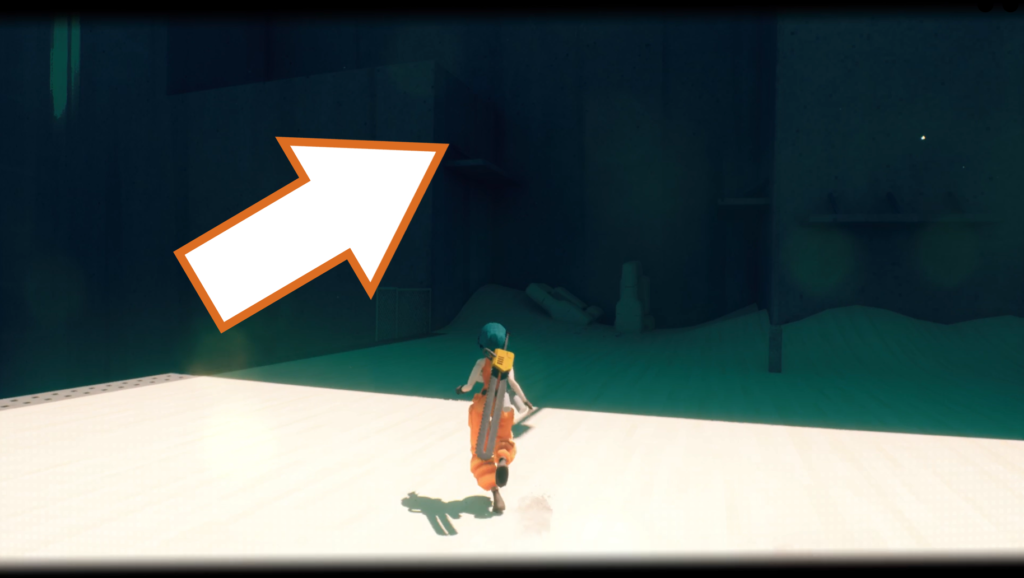
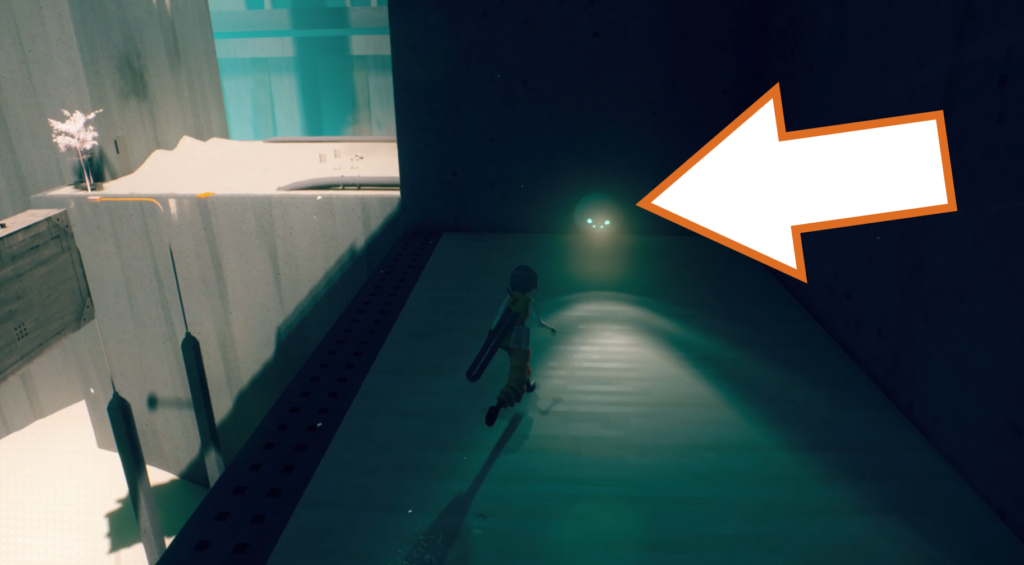
The next orb drone is tucked up in the shadows on the other side of the area. Wall run and jump onto the little ledge sticking out from the structure, and jump up to reach it. Take it back to the same evac point.
Orb Drone 7
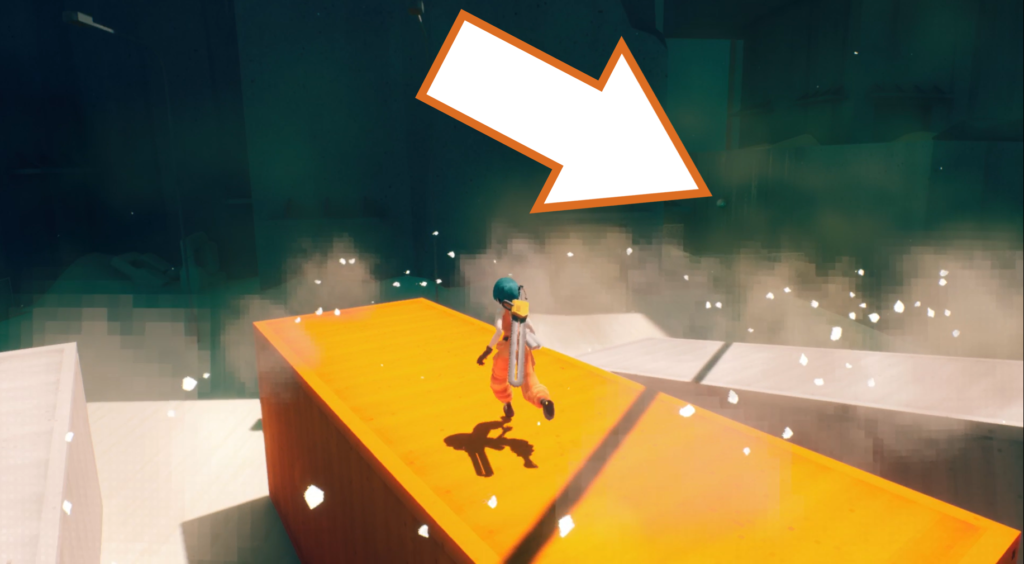
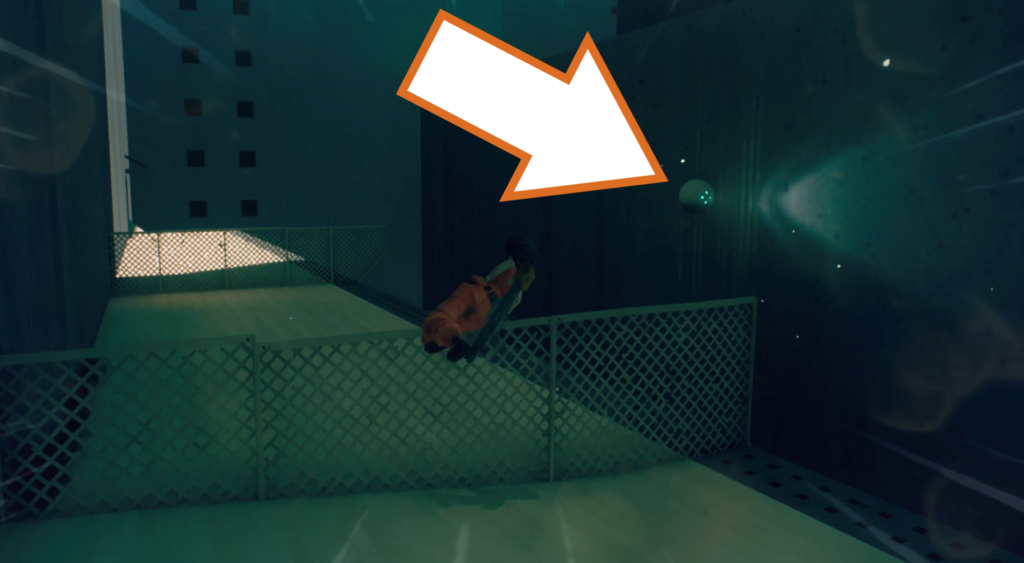
To get to this orb drone, hop over the two fences and then jump at the wall run up it, then jump back to collect the orb. Another quick run back to the evac point.
Orb Drone 8
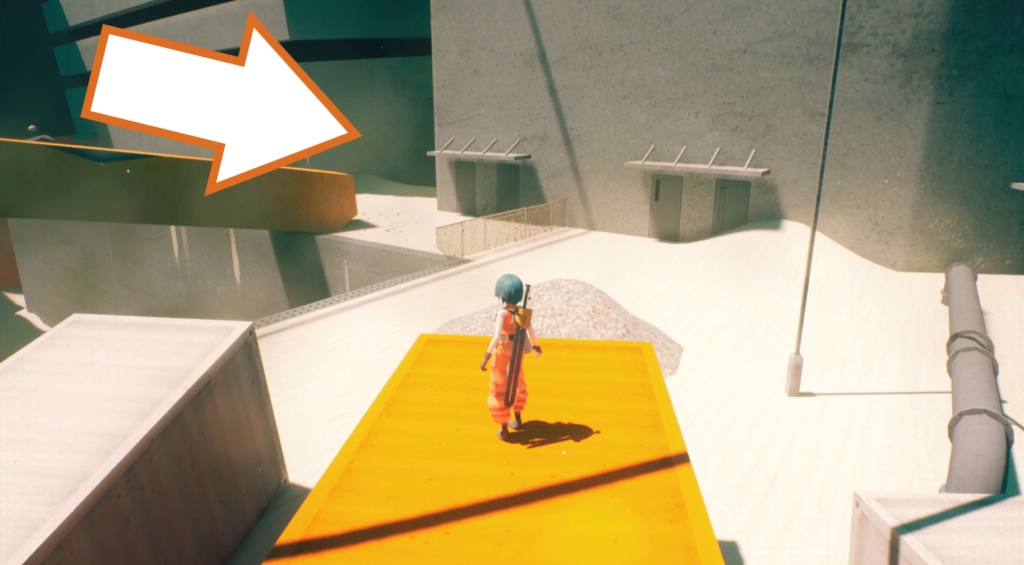
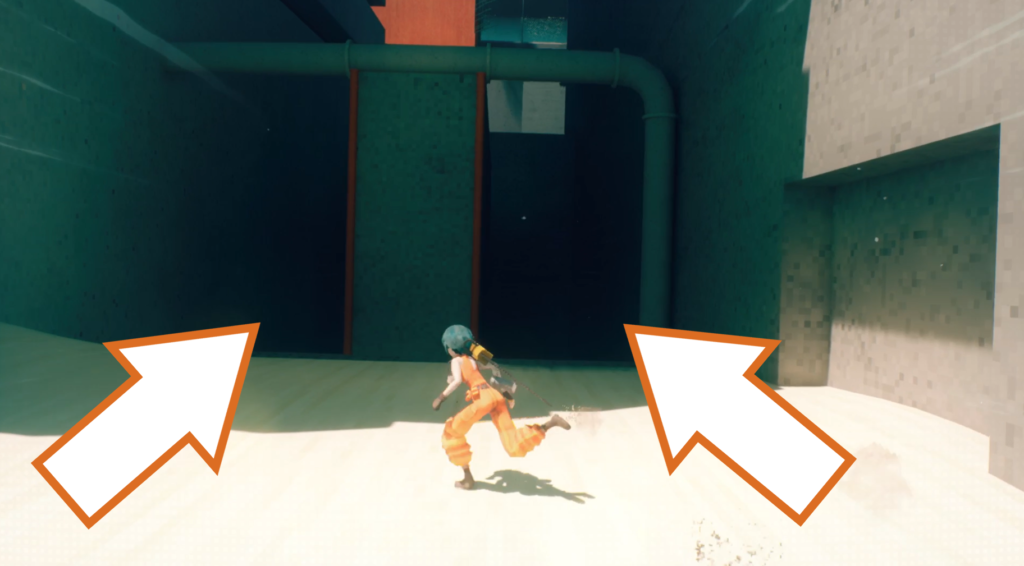
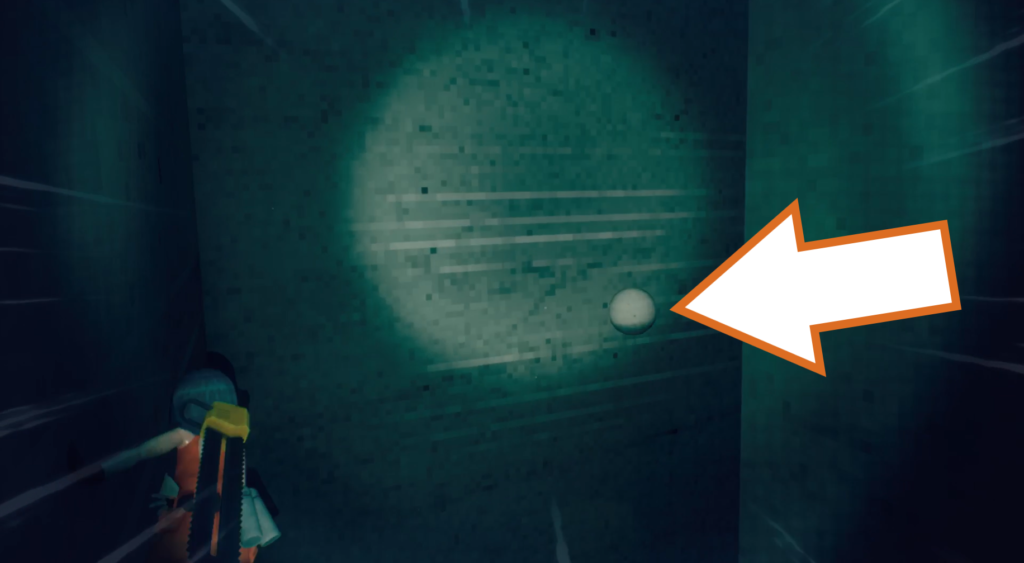
Opposite the yellow “bridge” is a shadowy alley. Turn on your torch and chain wall runs around one end of the U-shaped alley to pick up this orb drone at the back. You know what to do with it by now.
Orb Drone 9
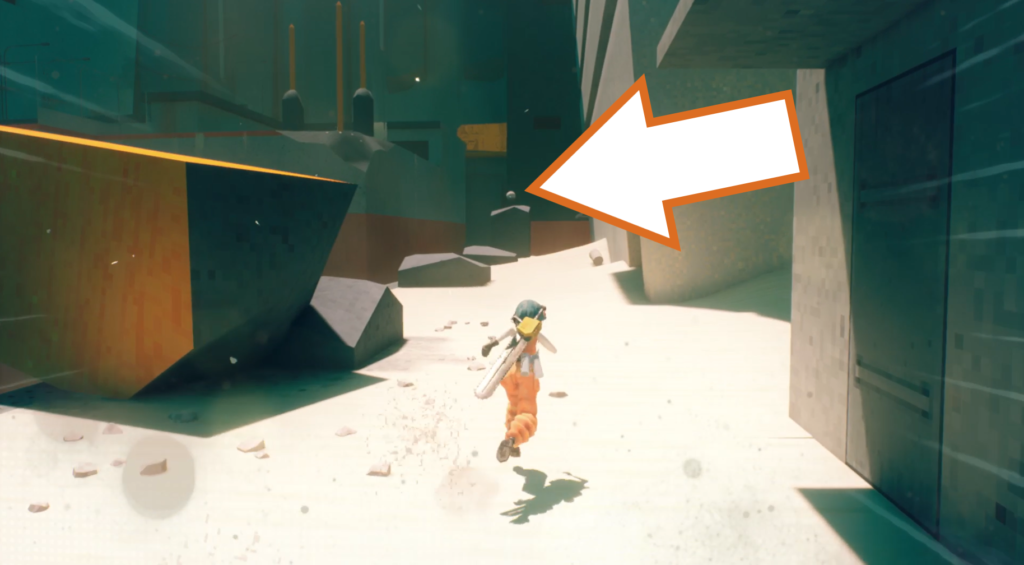
This orb drone is easy to spot, as it floats out in the open above a broken pillar. It’s passed the yellow “bridge” and alleyway. Another one for the evac point!
Orb Drone 10
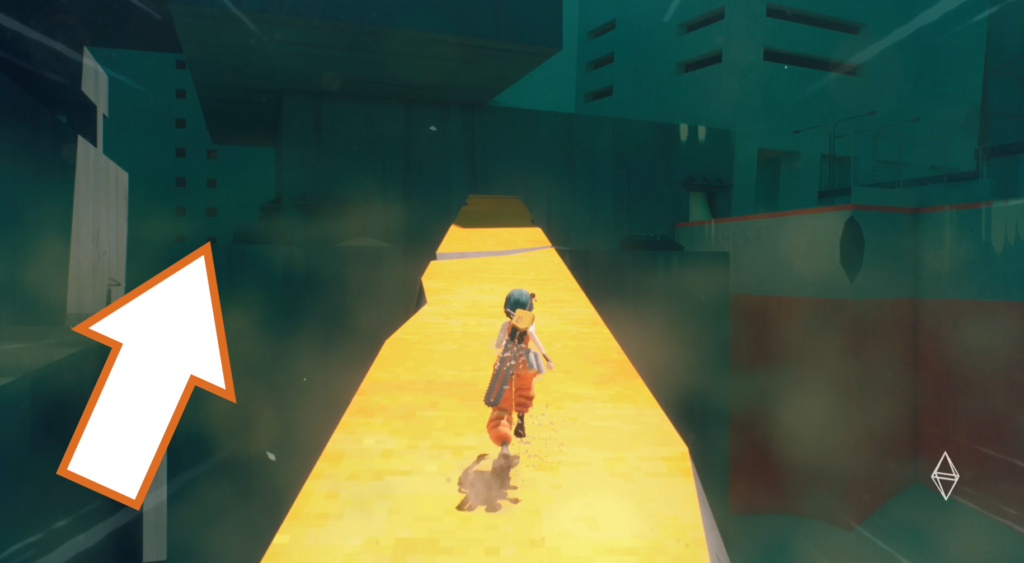
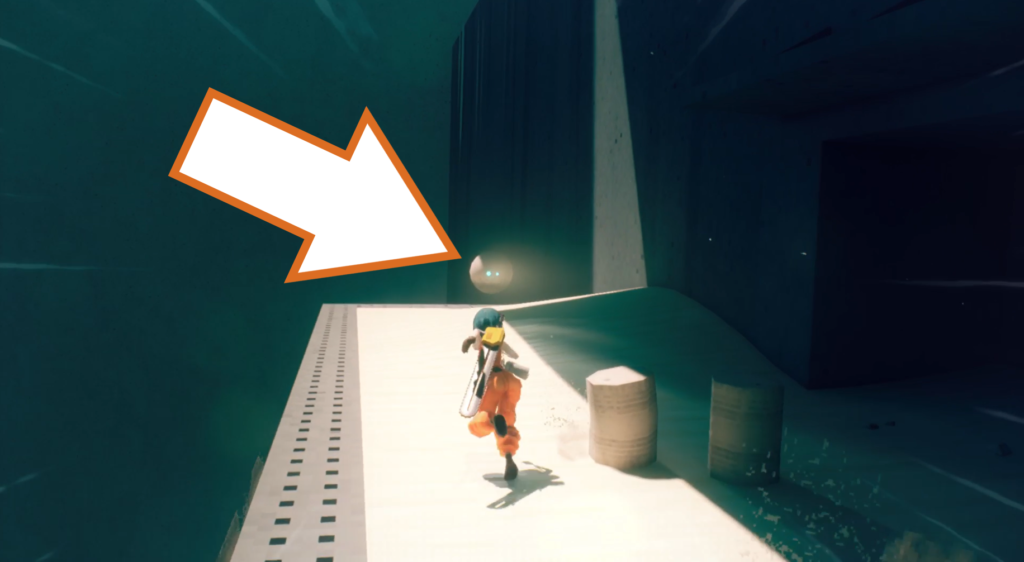
Cross the yellow “bridge” and head around the left side of the building in front of you. At the back of it is an orb drone.
Orb Drone 11
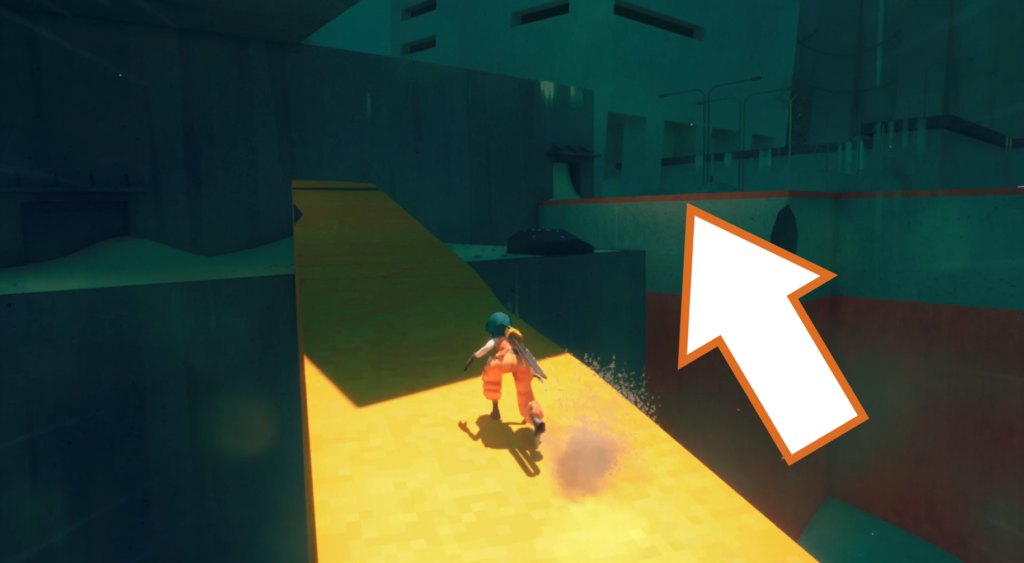
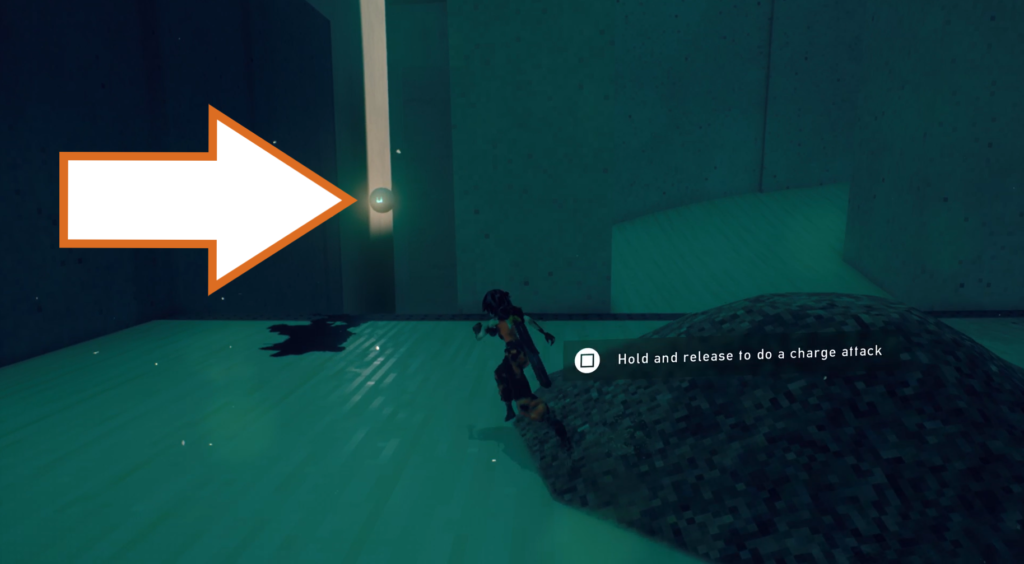
Cross back over and head to the right, jumping over the gap and slicing up the two machines on the other side. Tucked in the corner is the next orb drone, but make sure to jump at it from the side to jump off the wall back to safety. Cart it back to the evac point.
Orb Drone 12
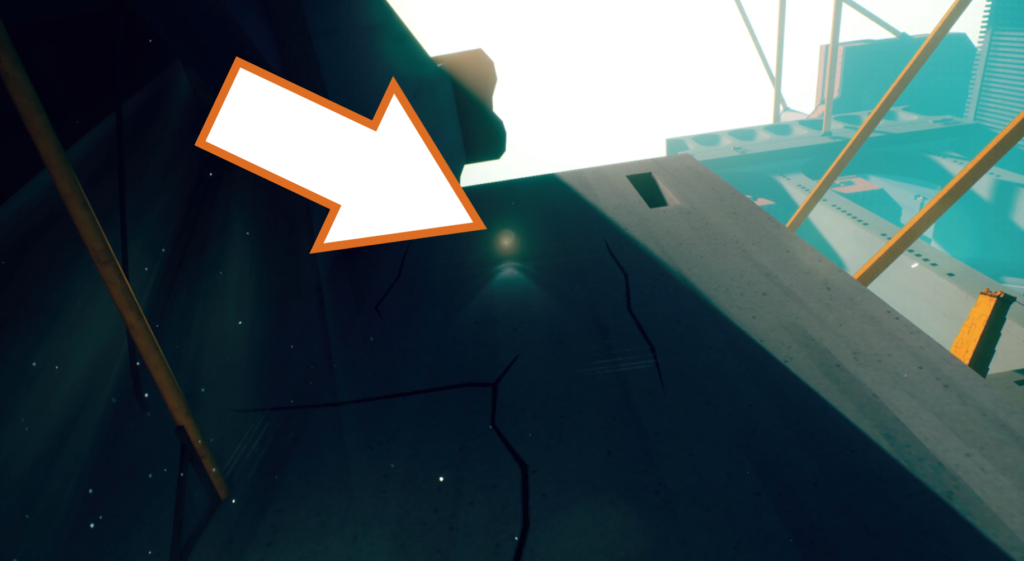
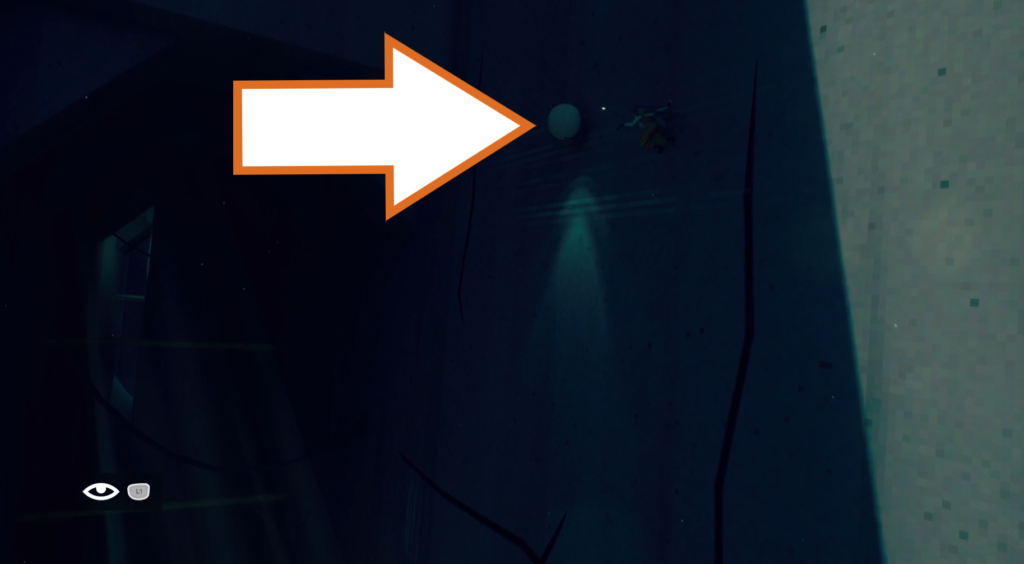
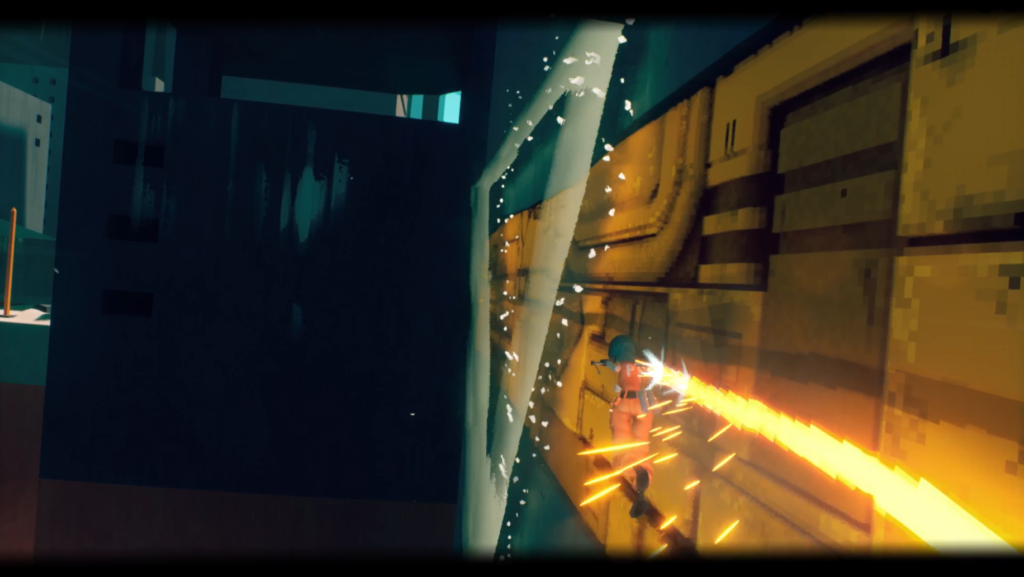
The next orb drone is after you have used the chainsaw to grind across a wall, reaching a long, dark chasm with yellow poles crossing it. Wall run up the other wall and climb up it using the cracks to find this orb drone at the top. The nearest evac point is a short distance back along the path you sliced through.
Checkpoint_03
Orb Drone 13
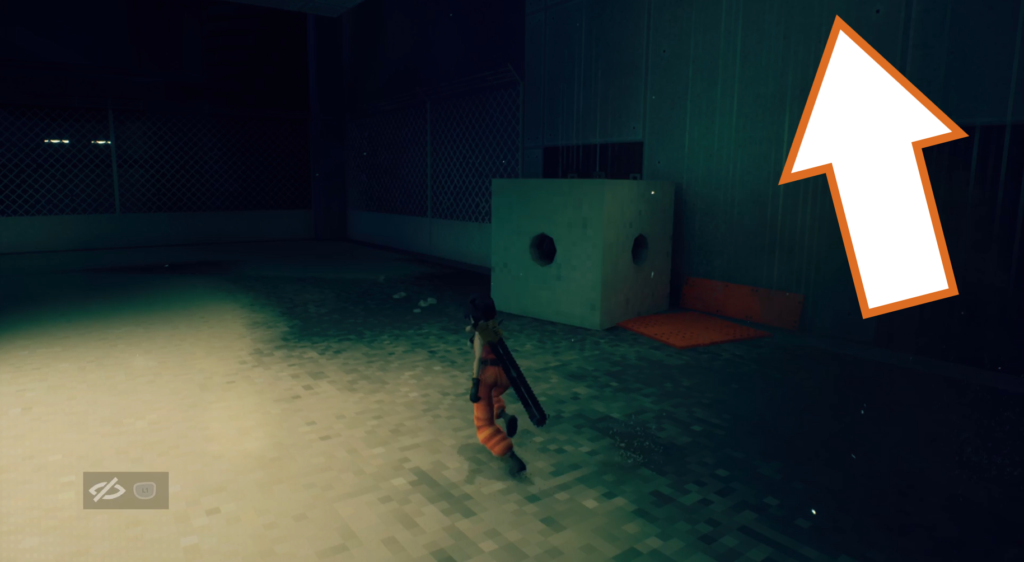
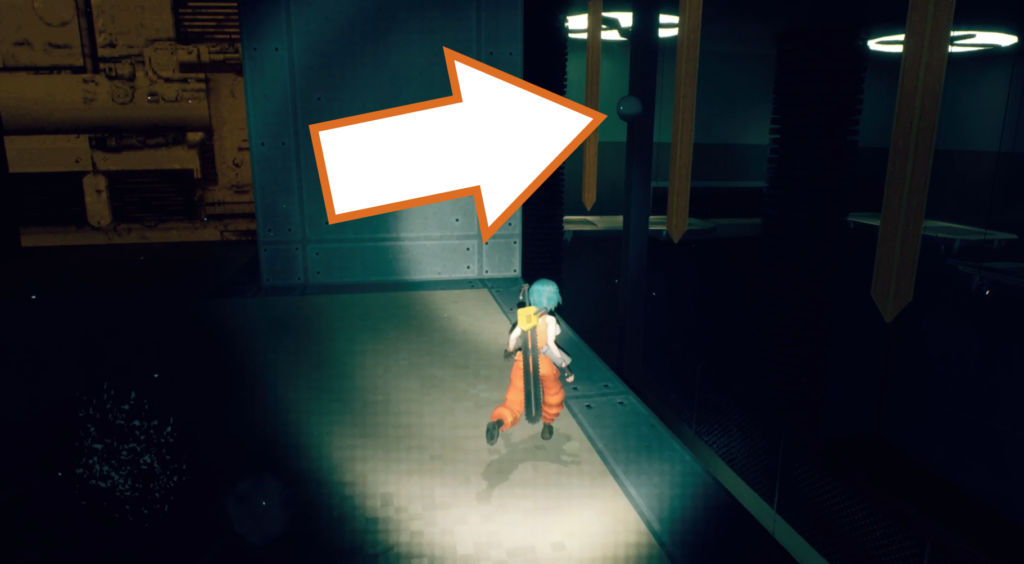
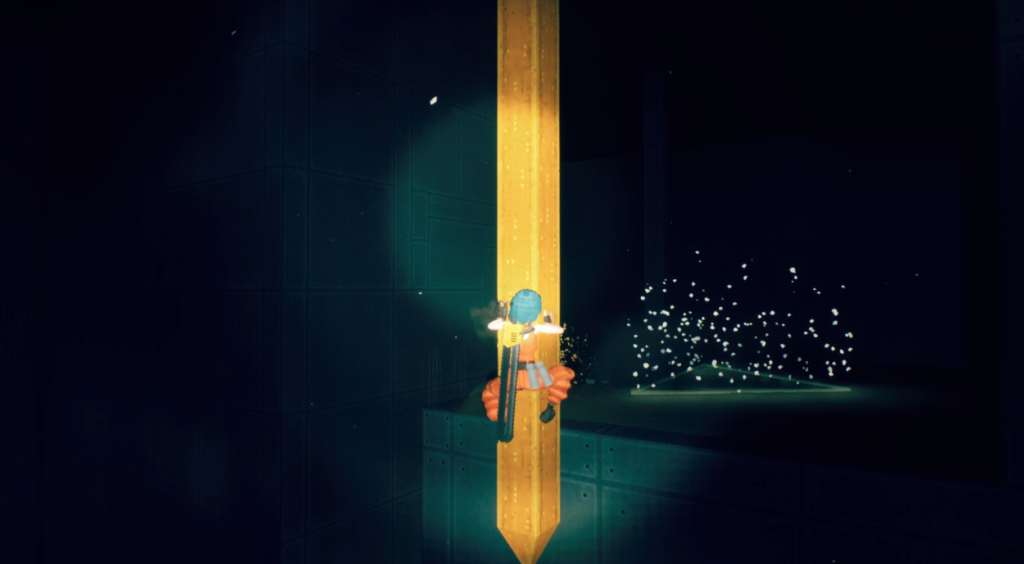
This orb drone is a bit further on in a large, dark chamber, after you have pushed a block against a wall to progress. On the next floor, there are some vertical yellow girders to your right that you can jump between. Grab the orb drone between the last two and then return to the platform where the evac point waits.
Checkpoint_04
Orb Drone 14
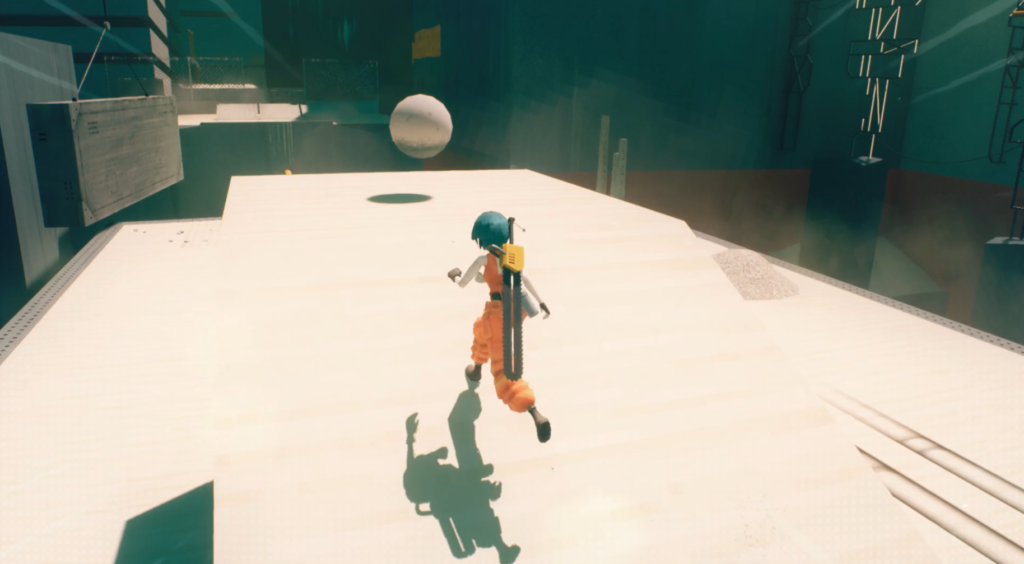
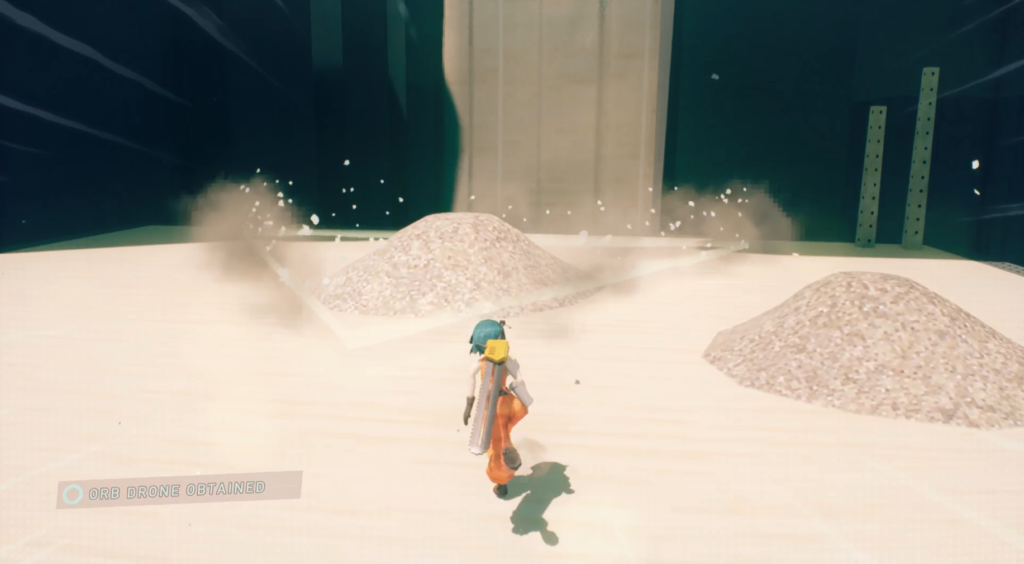
An orb drone is hiding above the roof access door through which you exit onto a roof. Run up the slope to grab it, and then take it to the evac point just a few steps away behind the door.
Orb Drone 15
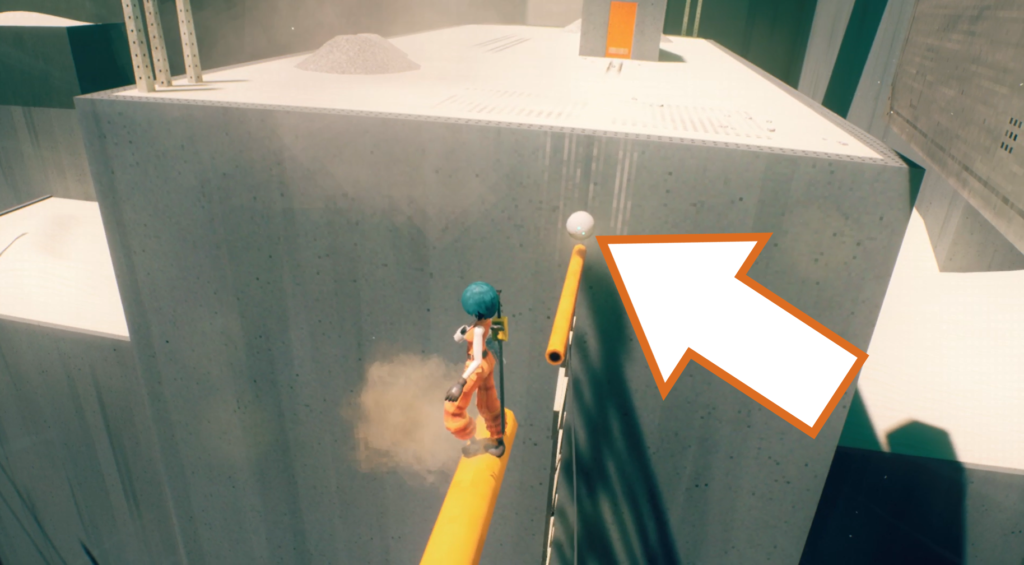
Another orb drone is hiding nearby, on a yellow pole just below the ledge in front of the roof access door. Take it back to the same evac point as the last one.
Orb Drone 16
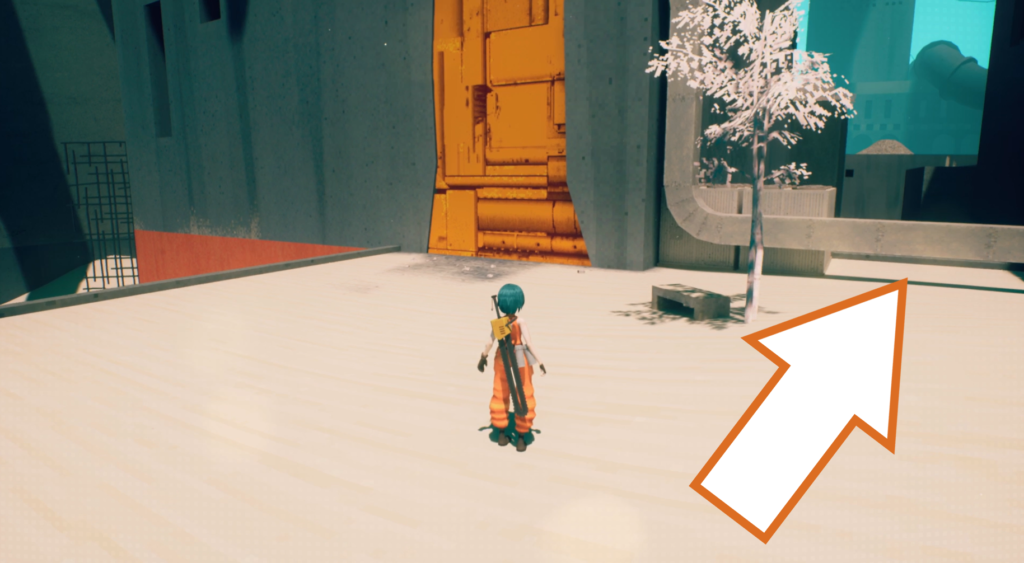
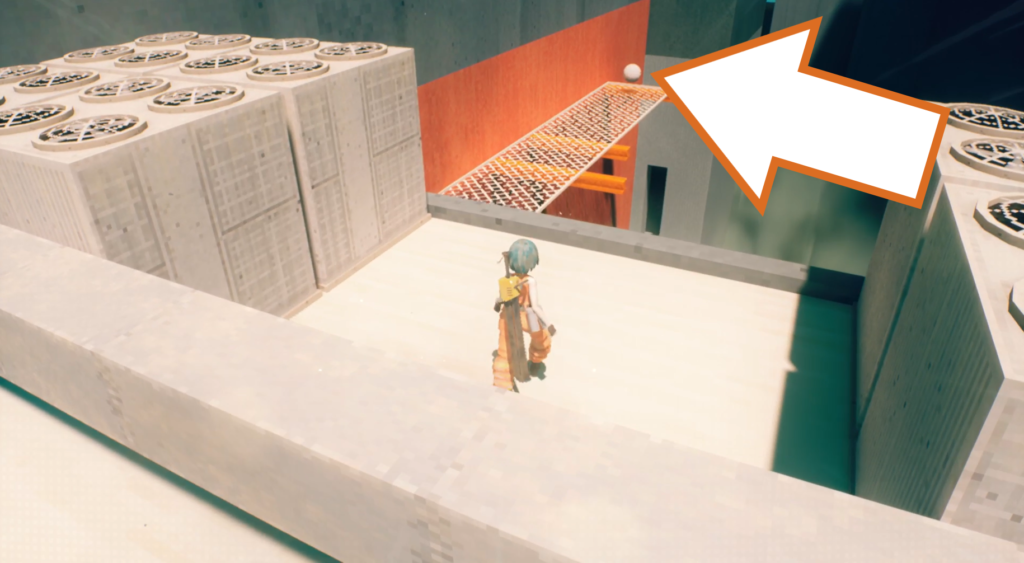
The next orb drone is near the “Slack Off” point. Slide or vault over the chute and grab it on the metal walkway. I recommend taking it back to the evac point on the first roof.
Orb Drone 17
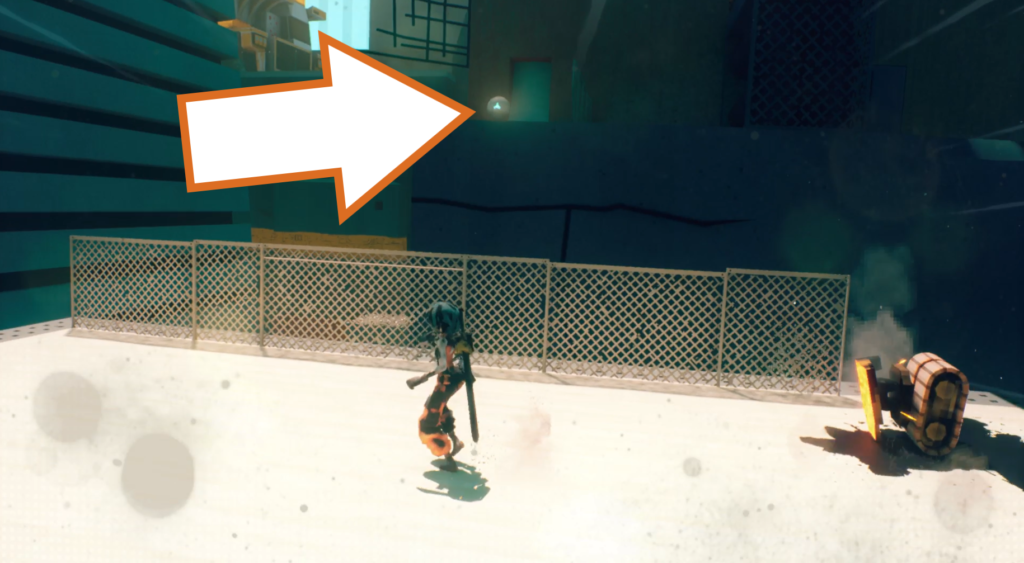
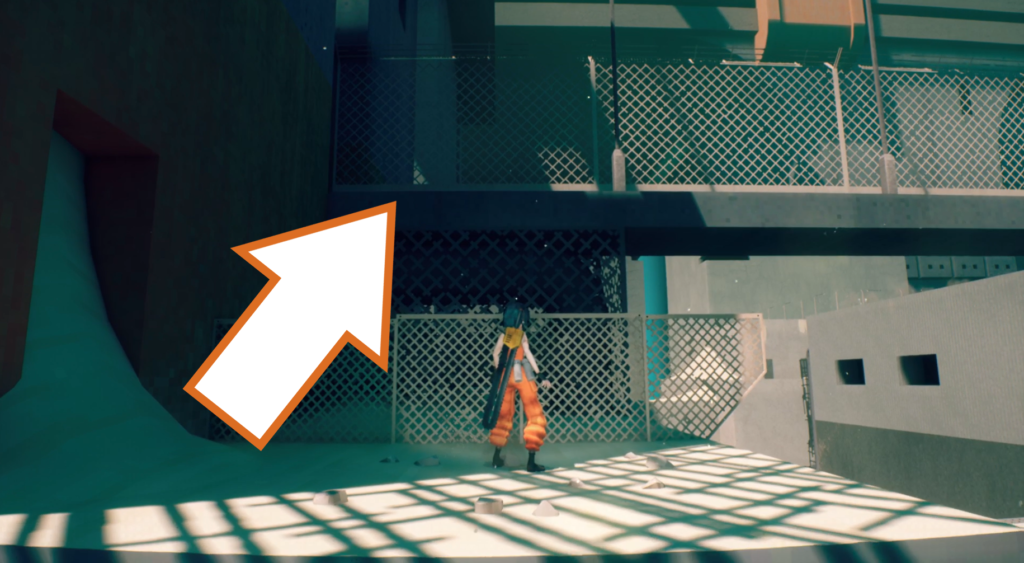
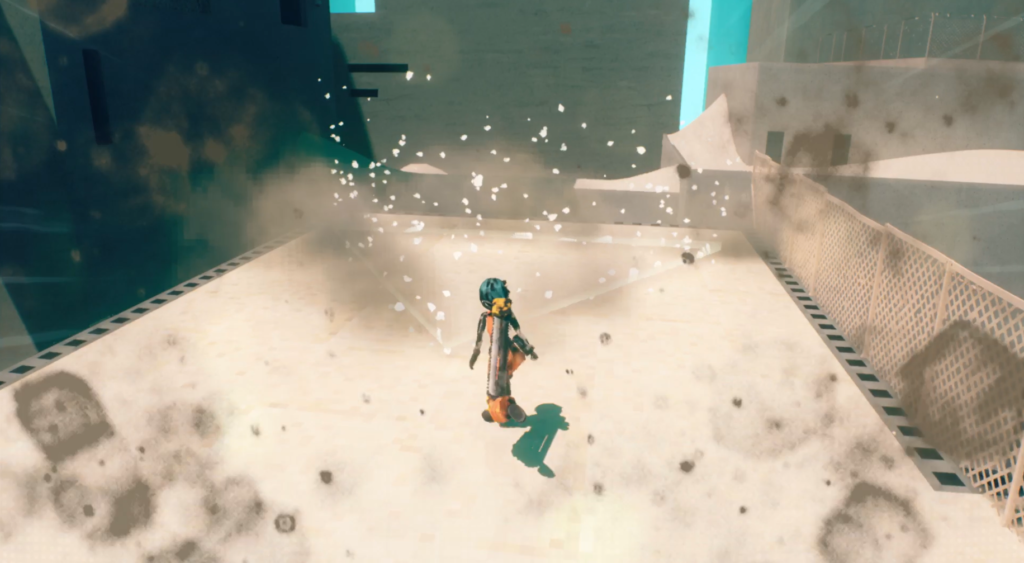
You’ll find this orb drone after jumping down to a lower rooftop and killing a machine. Look back across to the building you were on to see it on the other side of the walkway. Vault over and jump from the fence, then climb up the cracks to reach it. Mantle up to the walkway and run back along it to find the evac point at the edge of a roof.
Orb Drone 18
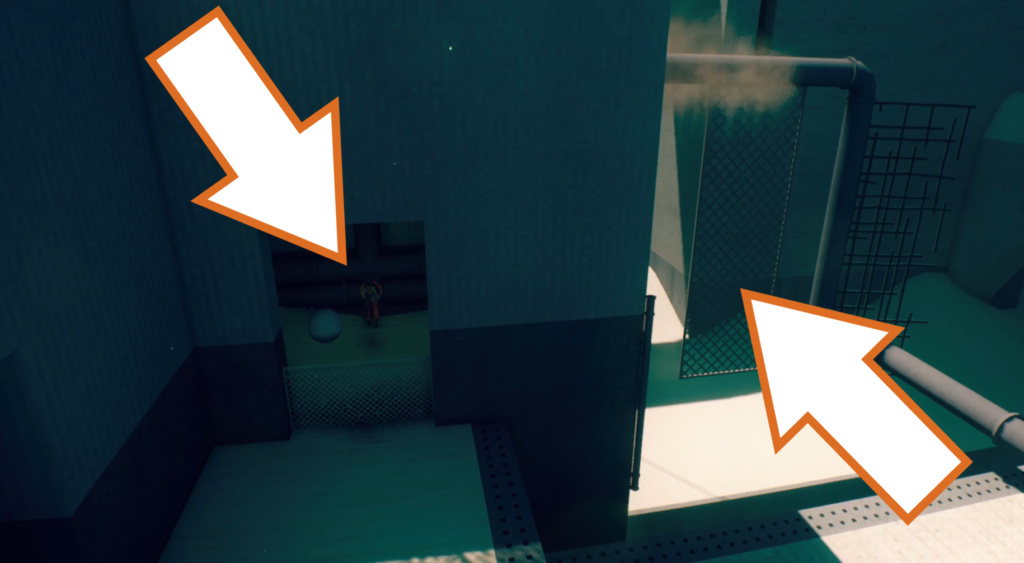
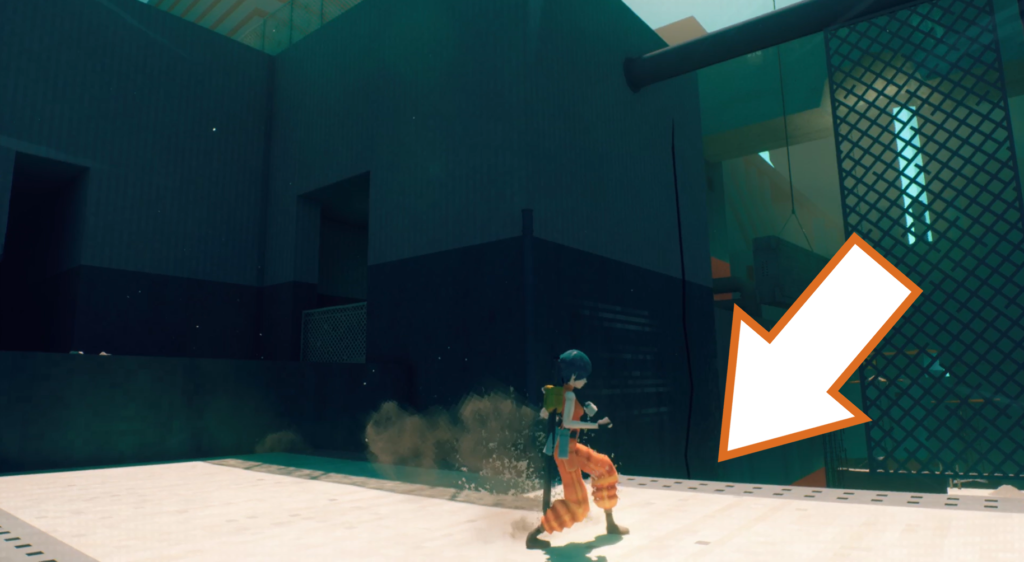
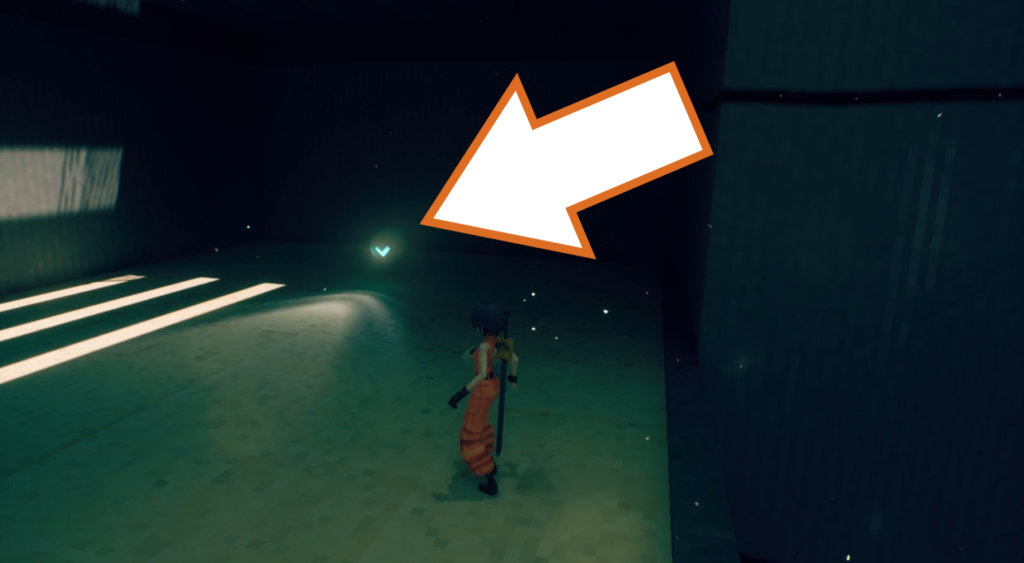
After fighting an excavator in a dark chamber with pillars, leave through the exit and use the valve to your left in the alcove to move the fence. Wall-run where the fence was to reach a crack in the wall. Slide down to the bottom and go left to find this orb drone.
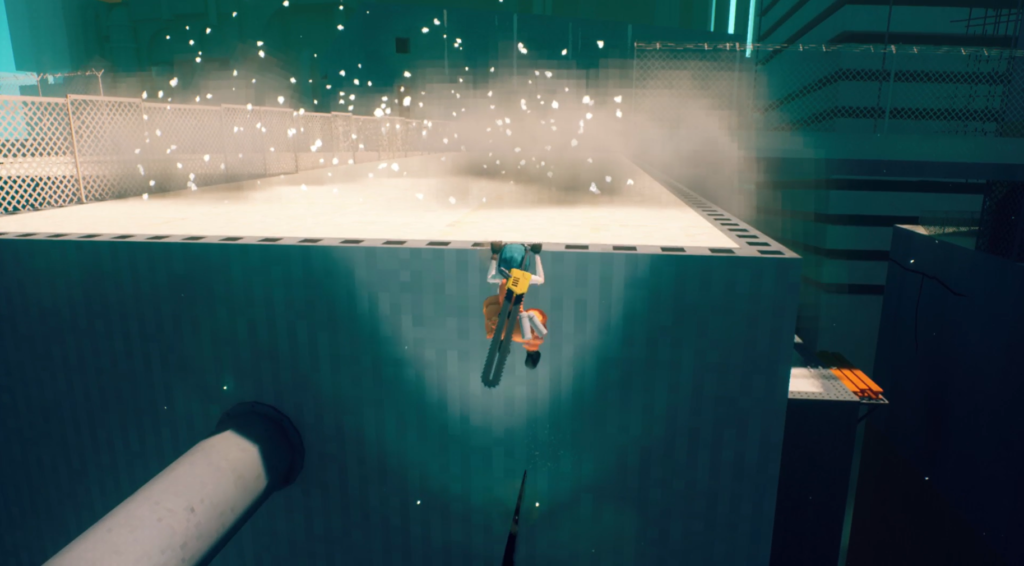
Use the crack in the wall to get back up and go to the top to reach the evac point.
Orb Drone 19
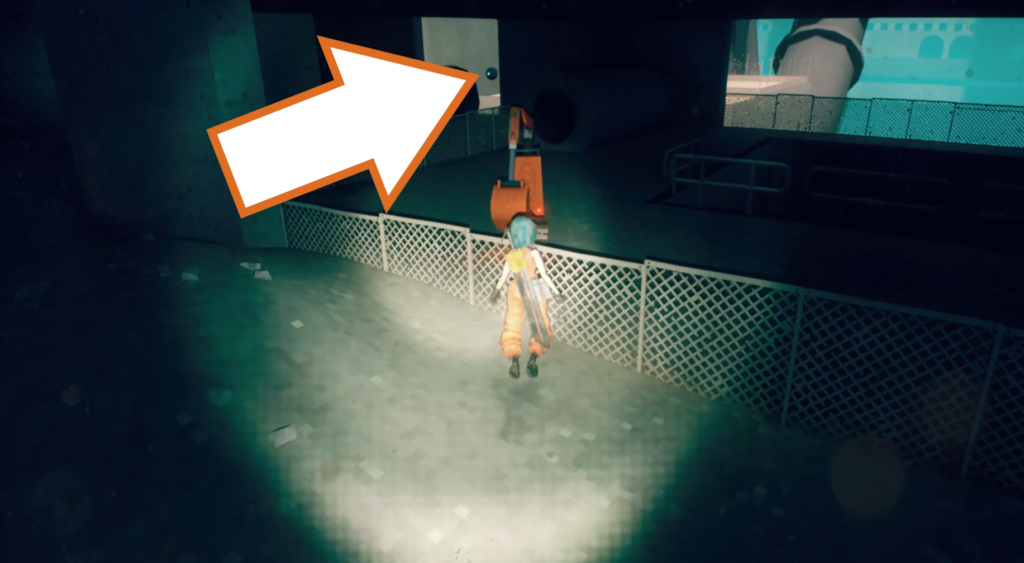
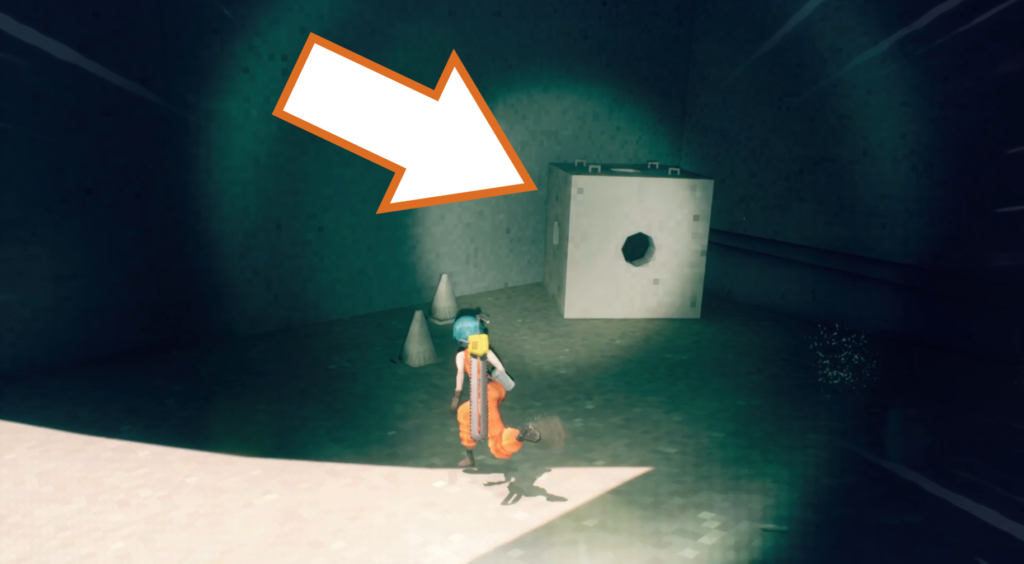
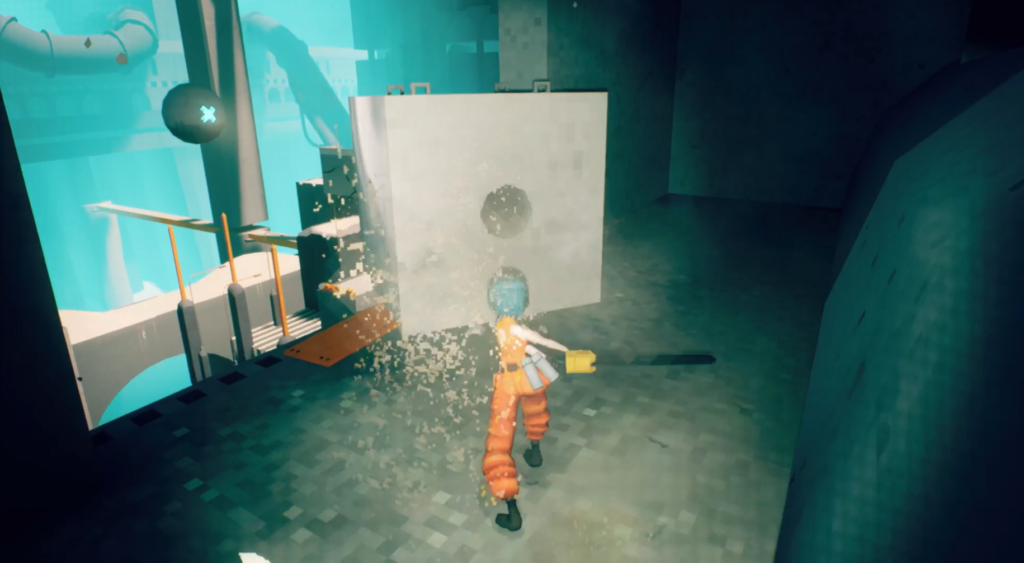
The next orb drone is floating near a ledge where an excavator is guarding some stairs. You need to use your chainsaw to knock the concrete block on the other side of the room to knock off the ledge and touch the drone so it follows you. Take it back to the evac point where you dropped into this area.
Checkpoint_05
Orbe Drone 20 & 21
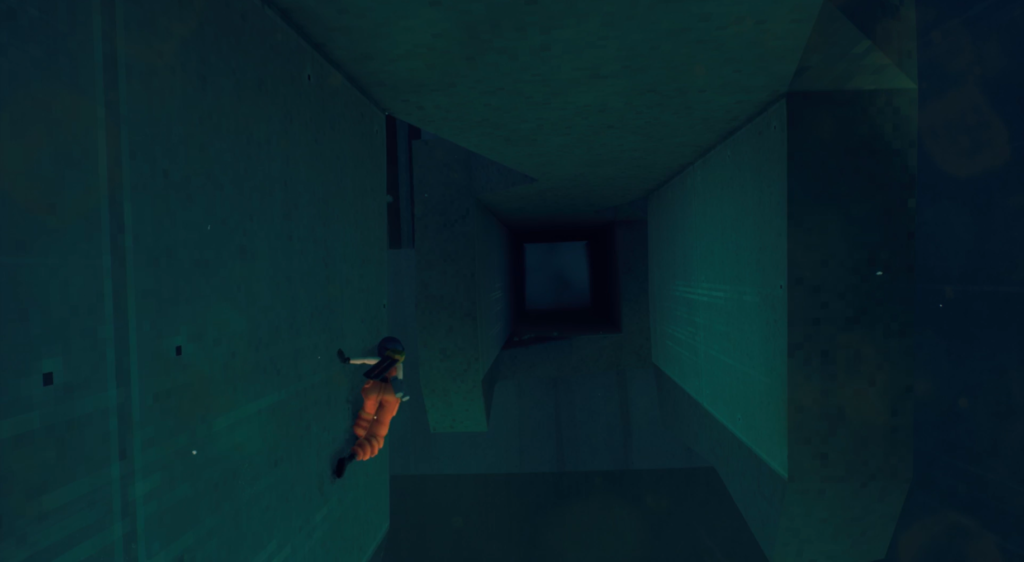
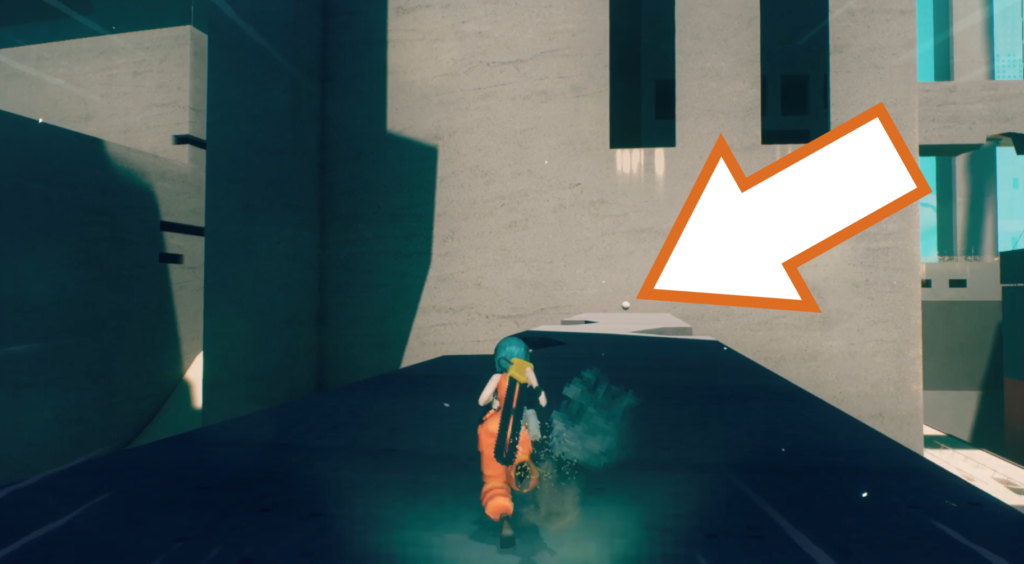
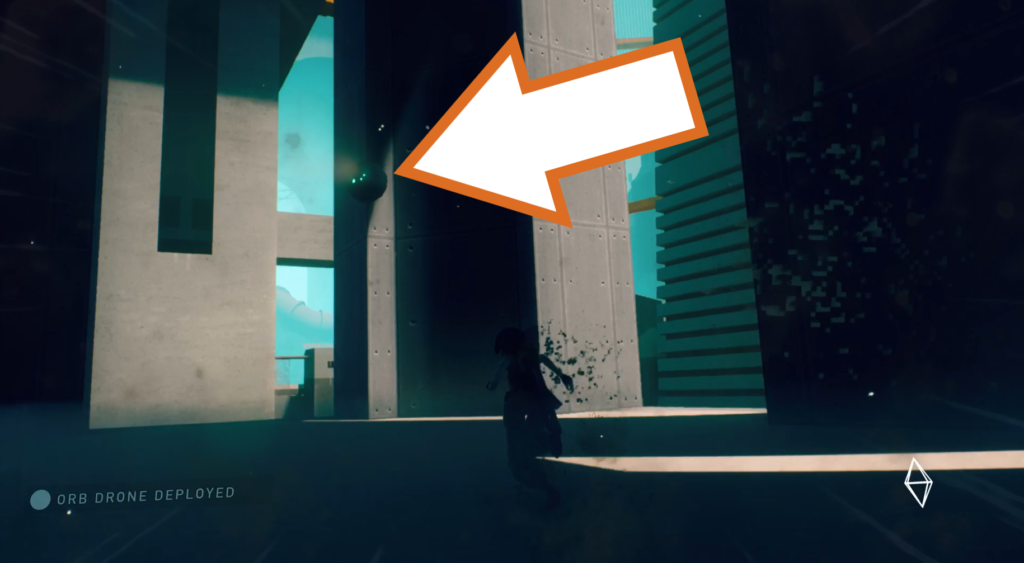
These two orb drones are found close to each other after you have chained some wall runs across a corridor with no floor. The first is on top of the corridor, so just jump up and grab it, while the second one is reached by running up and jumping off the wall near the stairs. Take them both to the evac point in the middle of this room.
Orb Drone 22
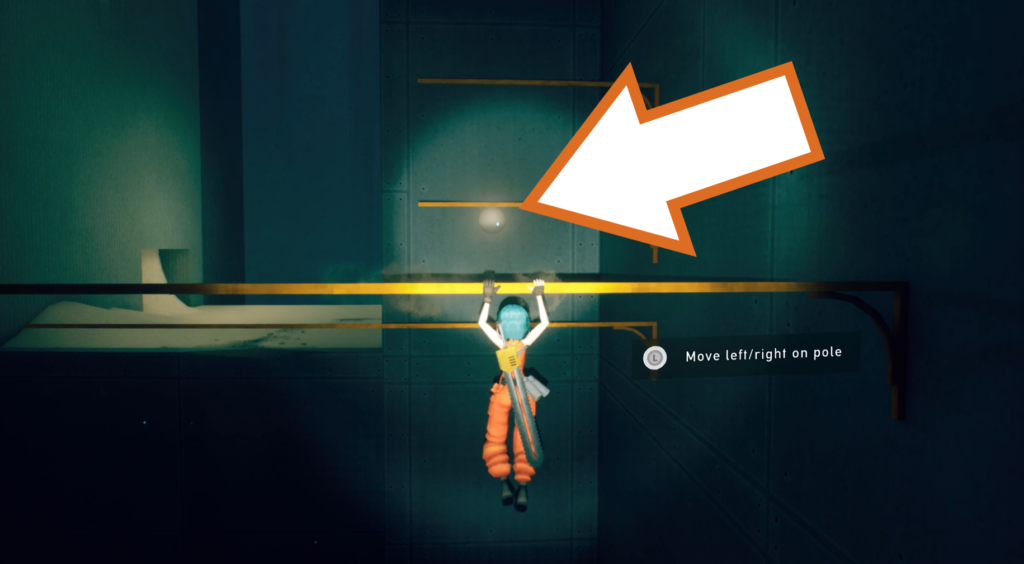
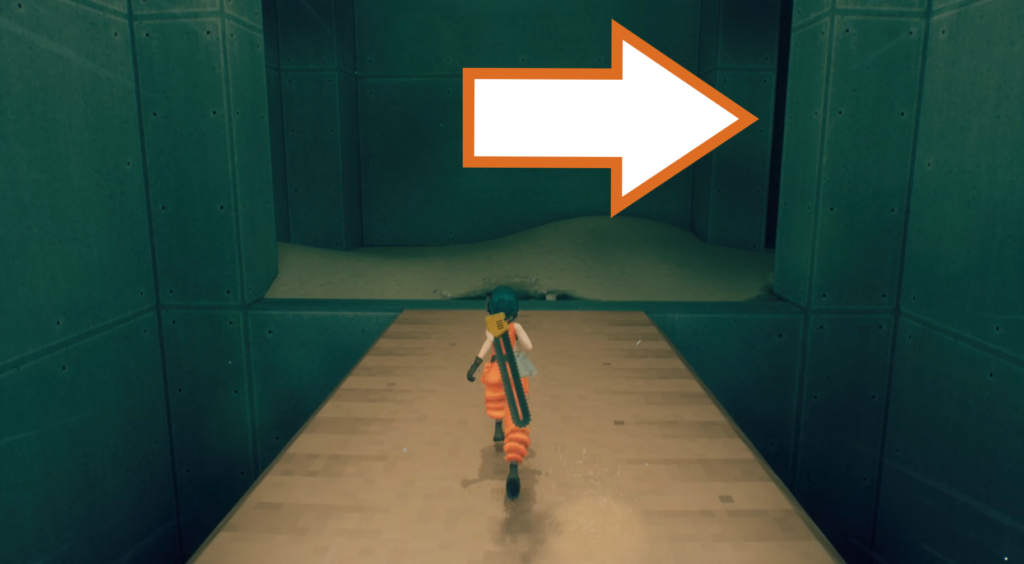
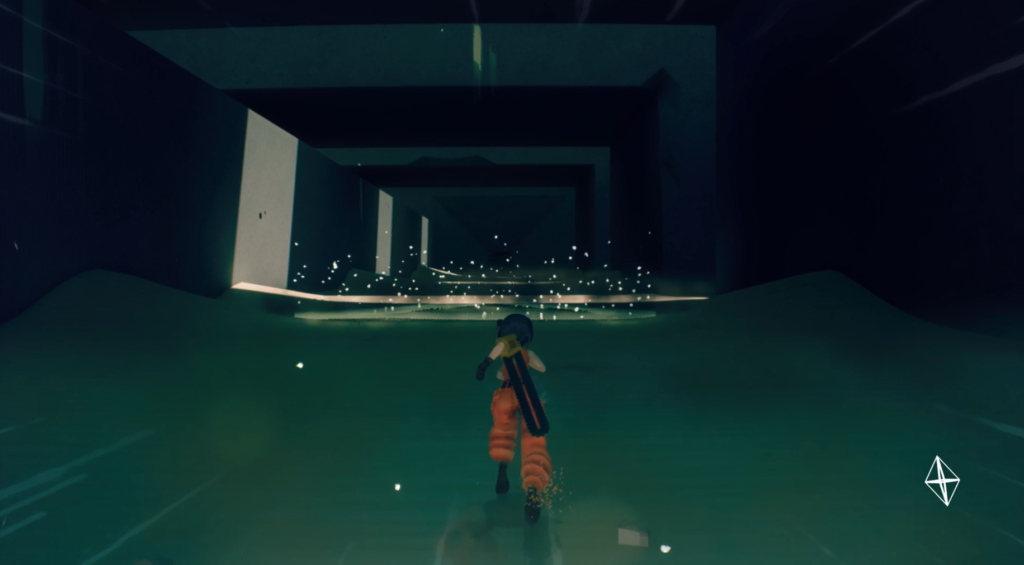
When you reach a dark room with poles you need to shimmy and swing onto reach the other side, look to the left and tucked against the wall is an orb drone. Use the poles to reach it, then continue forward through the short parkour sequence to reach the evac point.
Orb Drone 23
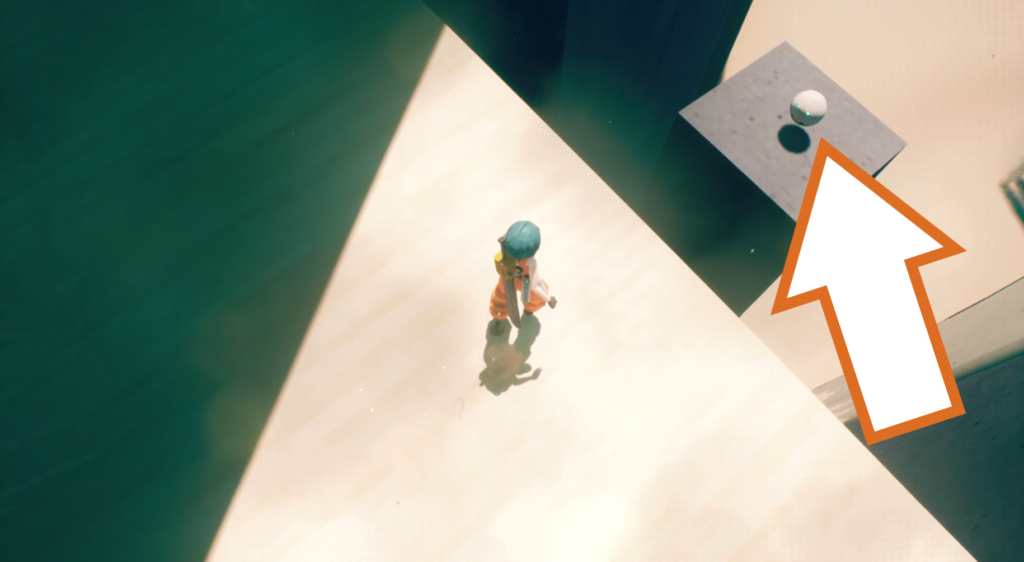
The last orb drone in Chapter 1 is just below the ledge near the Slack Off point you reach just after the evac point. Jump down to it and then wall run back up.
Chapter 2 – Canal
Checkpoint_01
Orb Drone 24
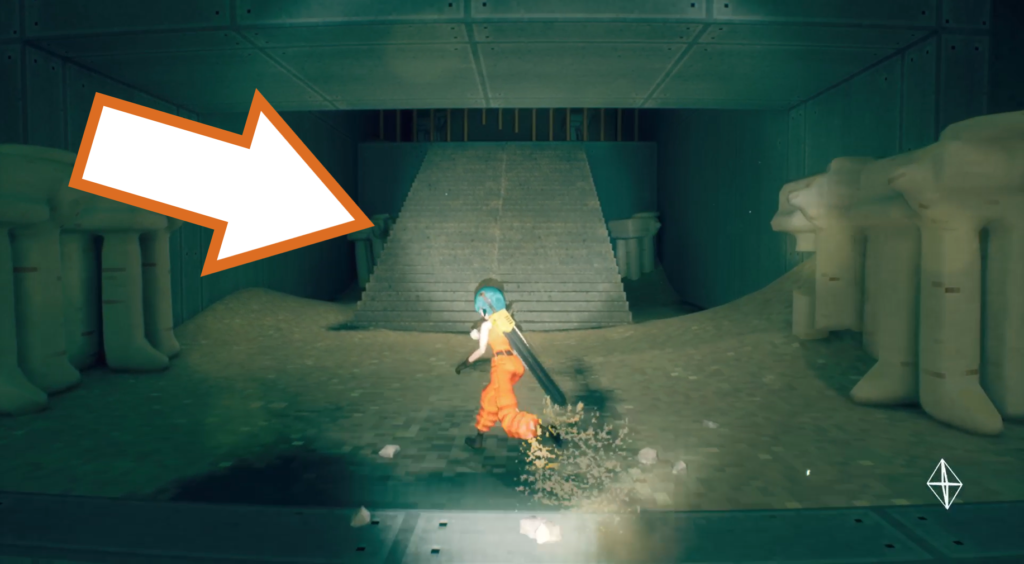
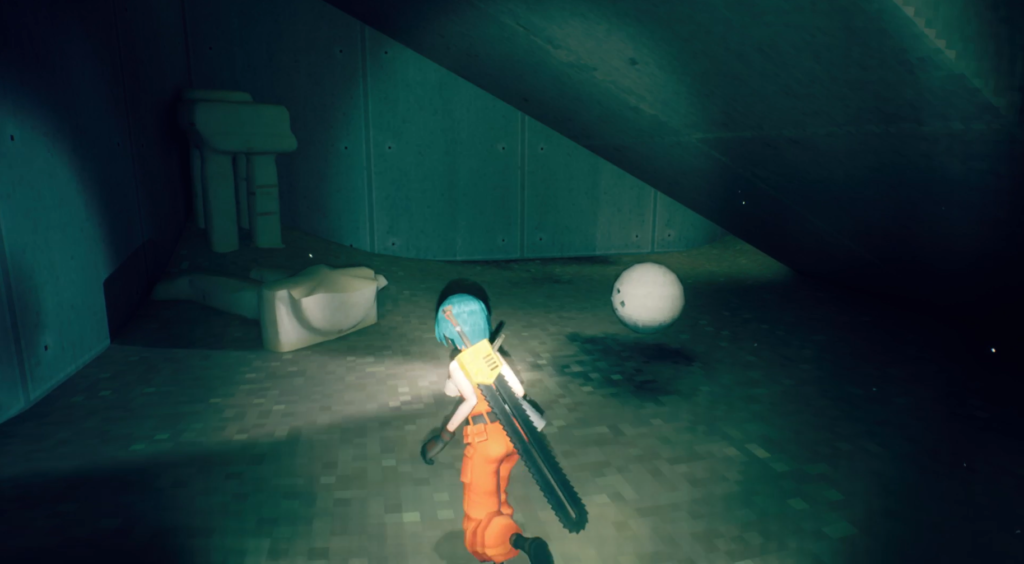
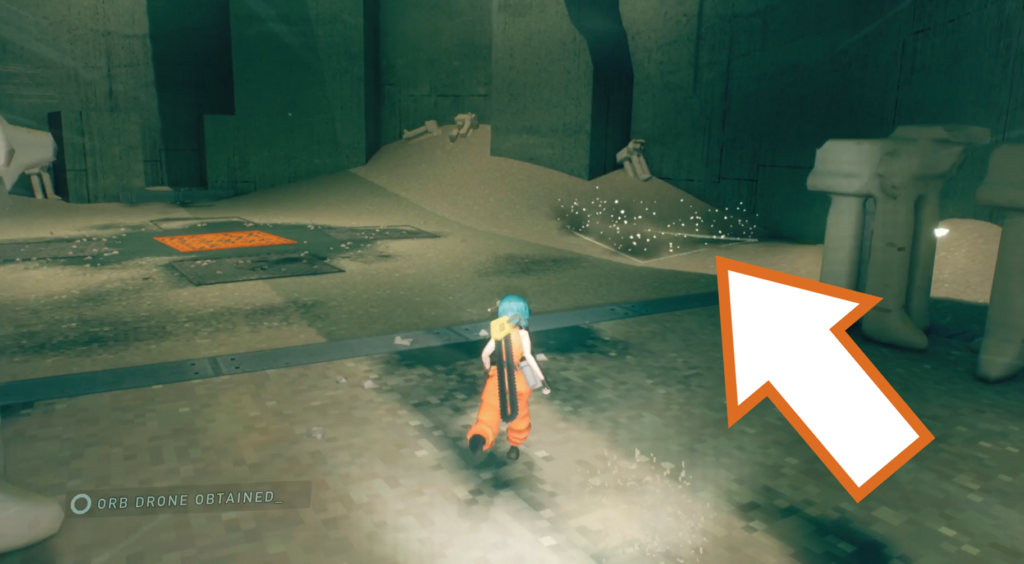
The first orb drone in Chapter 2 is hidden under the stairs just before the game introduces the flying machine enemies. Grab it and take it over to the nearby evac point.
Checkpoint_02
Orb Drone 25


The next orb drone is tucked in a corner near a splicable wall guarded by several excavators and buzzsaw launchers. Once you’ve collected it, ride your chainsaw up the wall and jump to the poles at the top. Swing along them and then run to your left.

Slide down the side of the canal and jump to the other side to reach the evac point.
Orb Drone 26 & 27
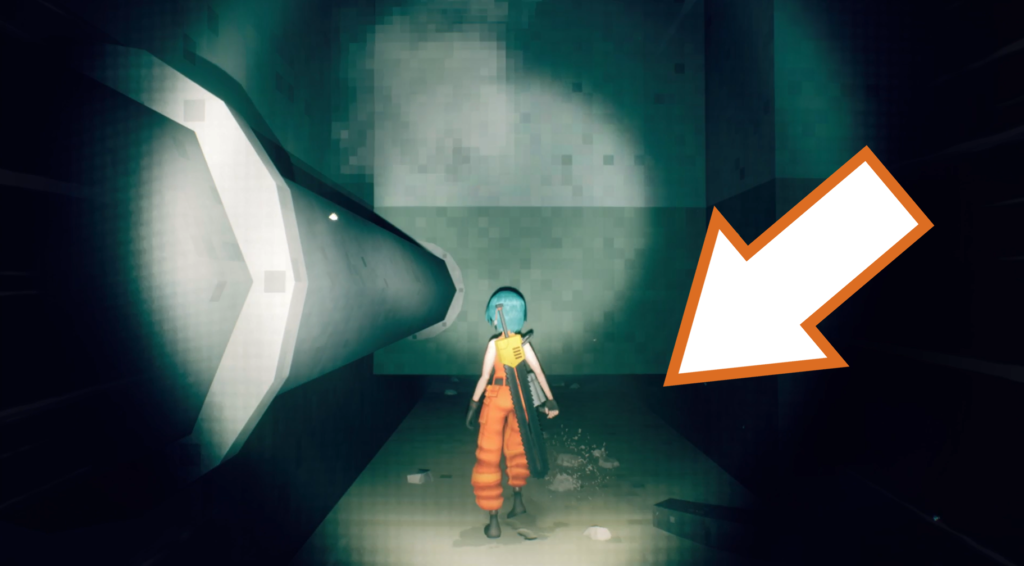
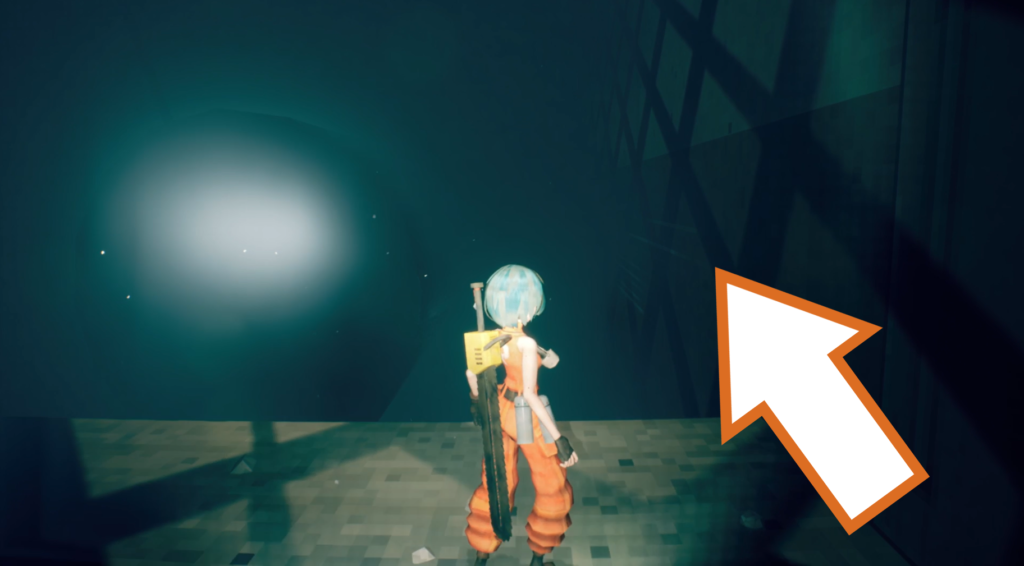
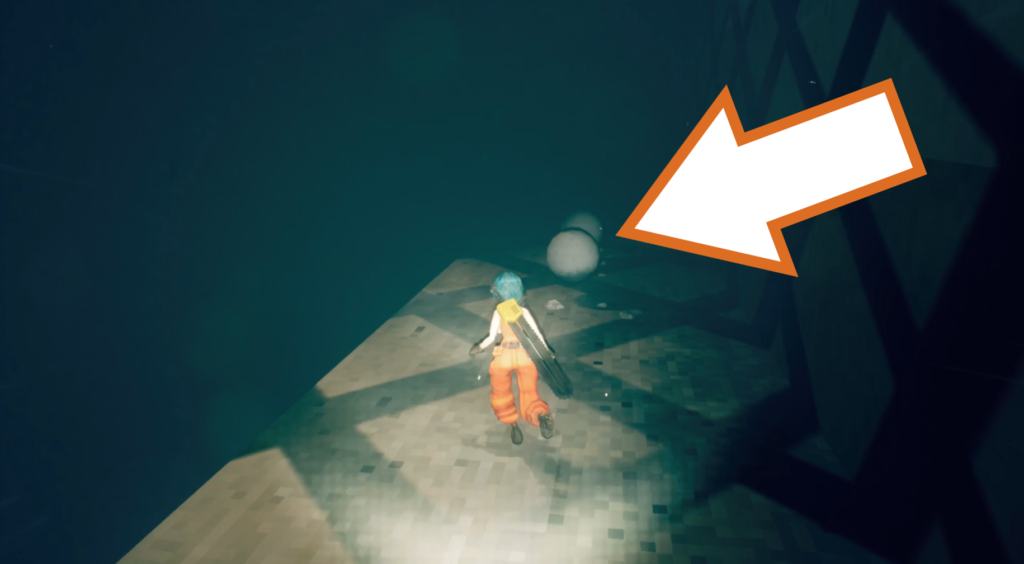
These two orb drones are hiding together for a 2-in-1. Go through the corridor full of mechanical tentacles and slide through the gap at the end on your right. In this room is a trap you need to wall run past to reach the two drones. Bring them back to evac point outside.
Orb Drone 28
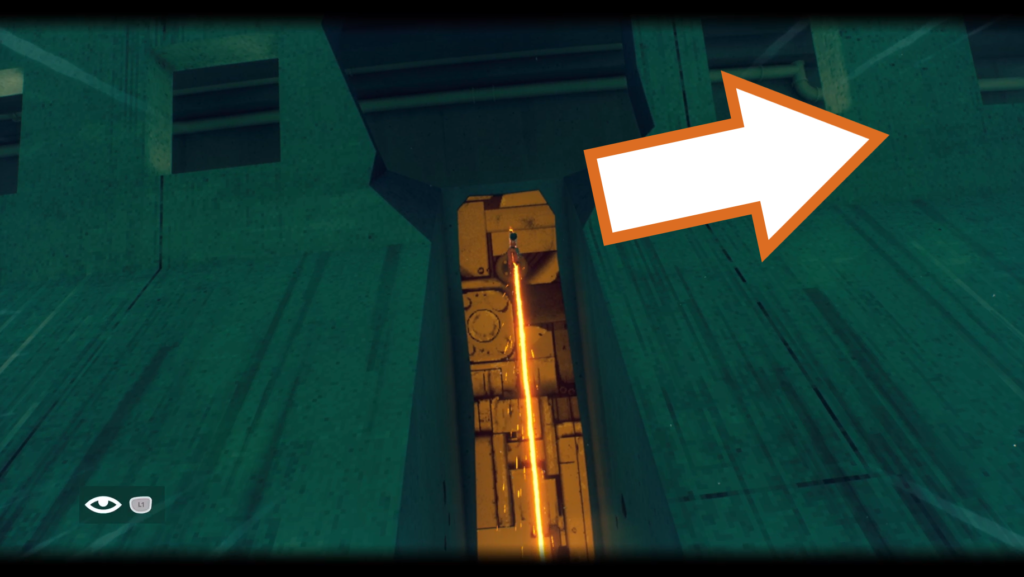
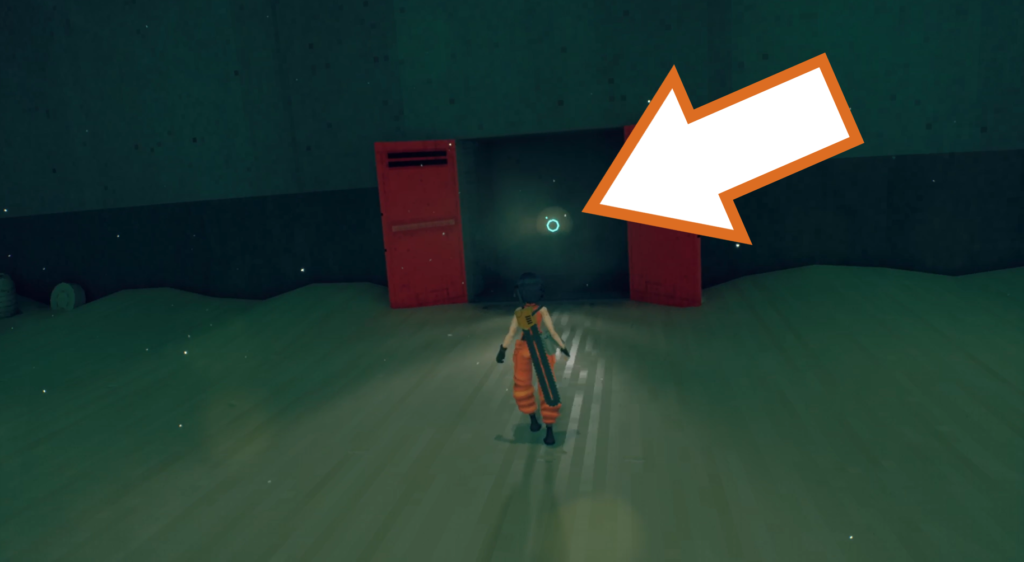
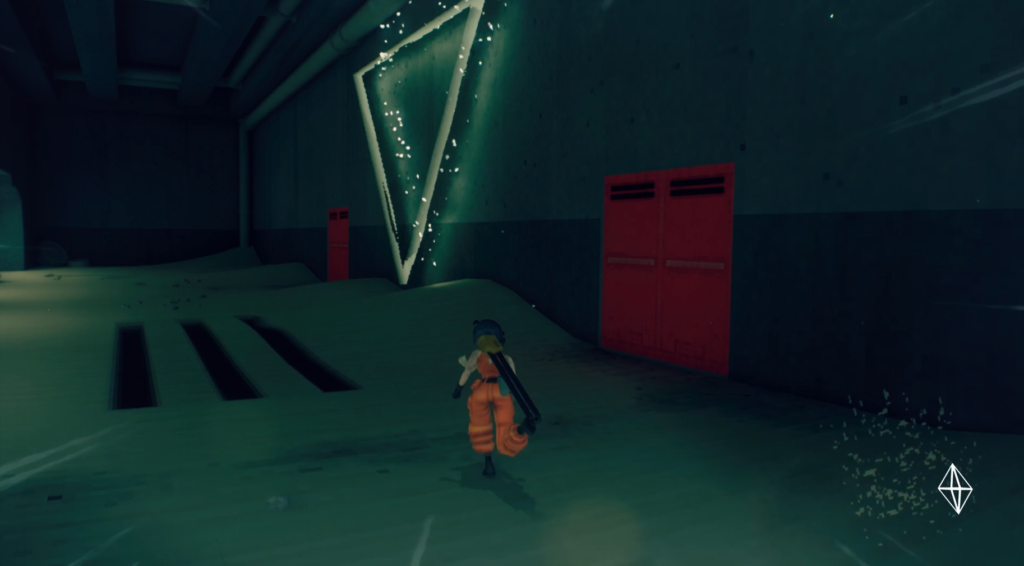
The next orb drone is found after riding your chainsaw up the wall of the canal to a higher area. Go to the right and run to the last set of red doors, which will open to reveal the drone. Escort it back to the evac point.
Orb Drone 29
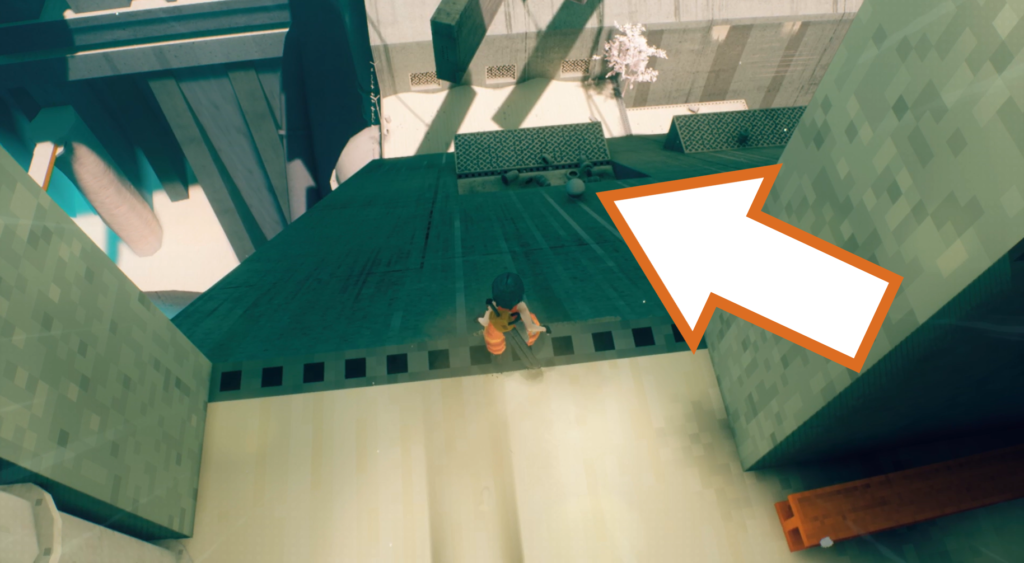
Run back past where you found the last orb drone and look down the side of the canal near an orange girder to spot this orb drone below you on a ledge. Slide down to collect it, then make your way back up via the long stretch of exposed metal to reach the evac point.
Orb Drone 30
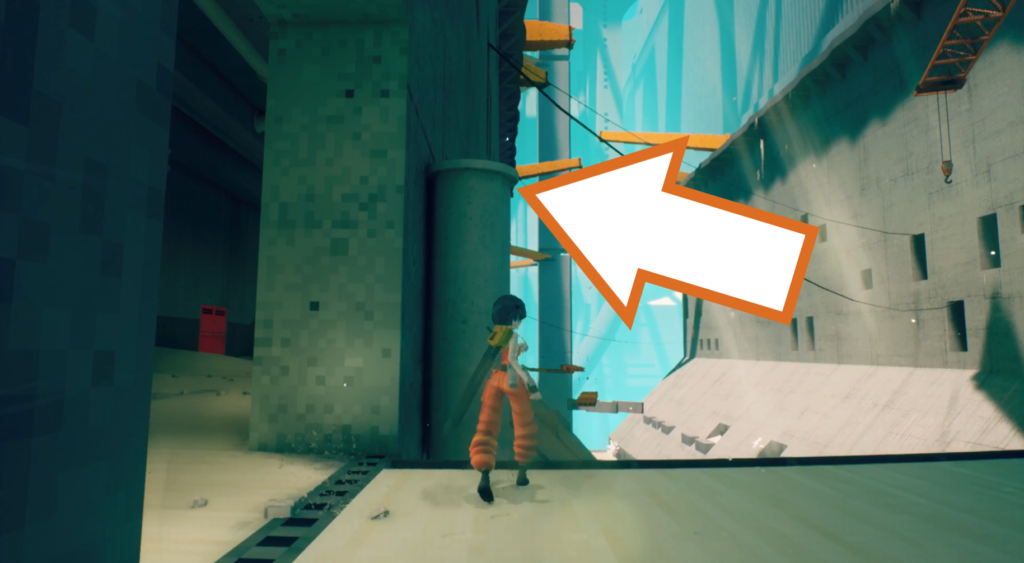
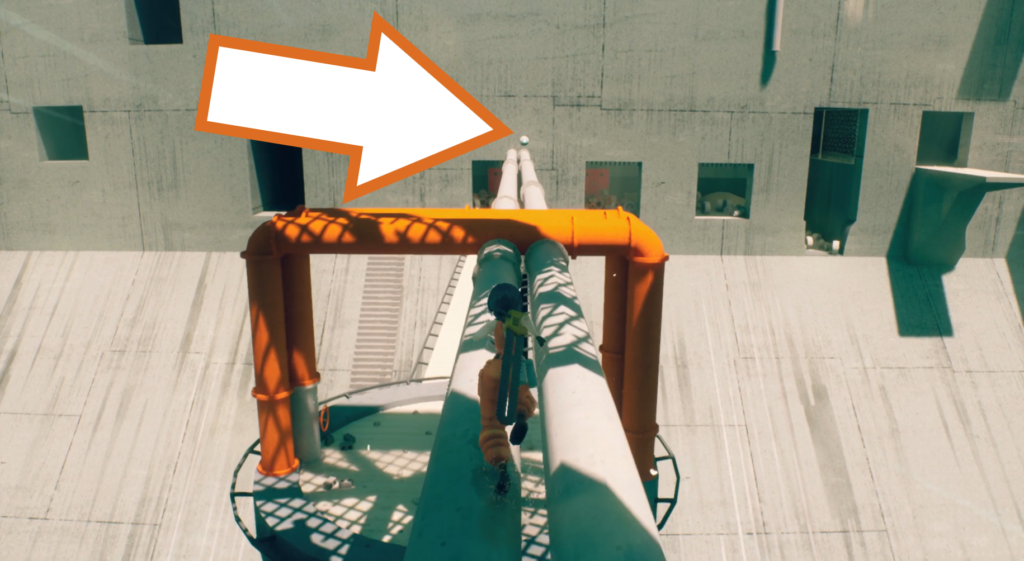
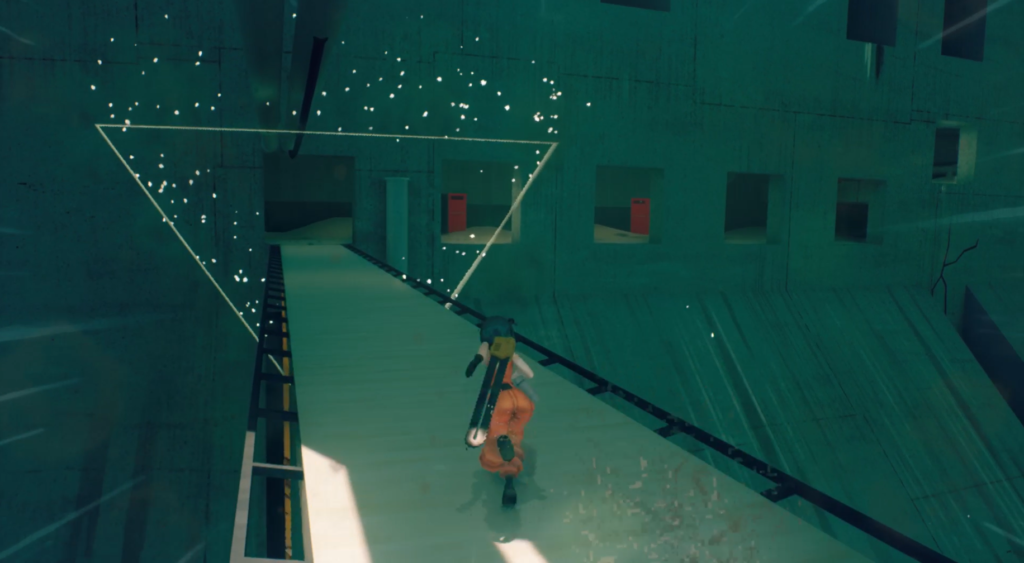
This orb drone is found where you twist the valve to let the cement start flowing down the canal. Use the vertical pipe by the entrance onto the walkway to get onto the pipes overhead. Run along them carefully to reach the drone at the other end. Drop down and take it to the evac point on the walkway.
Orb Drone 31
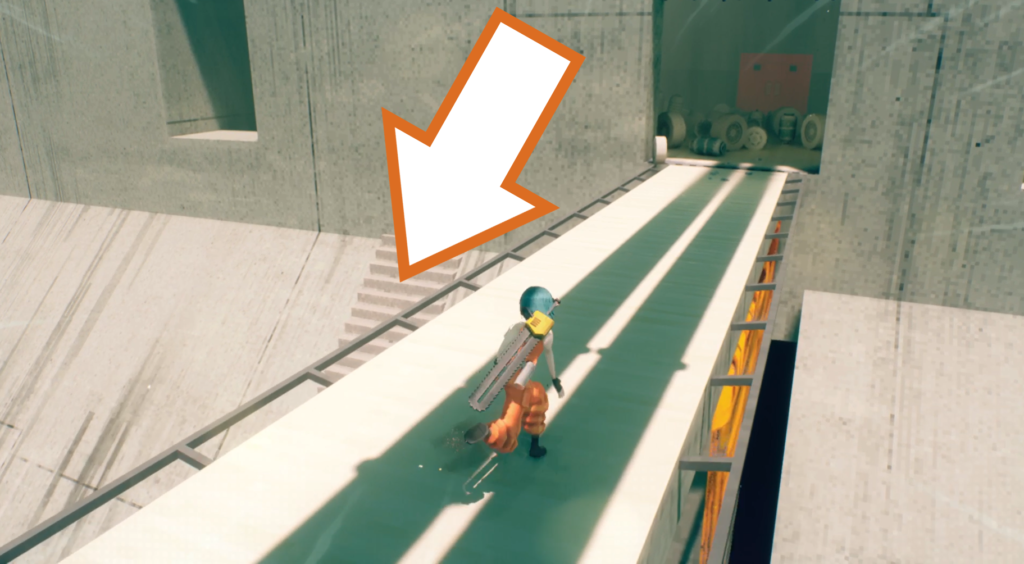
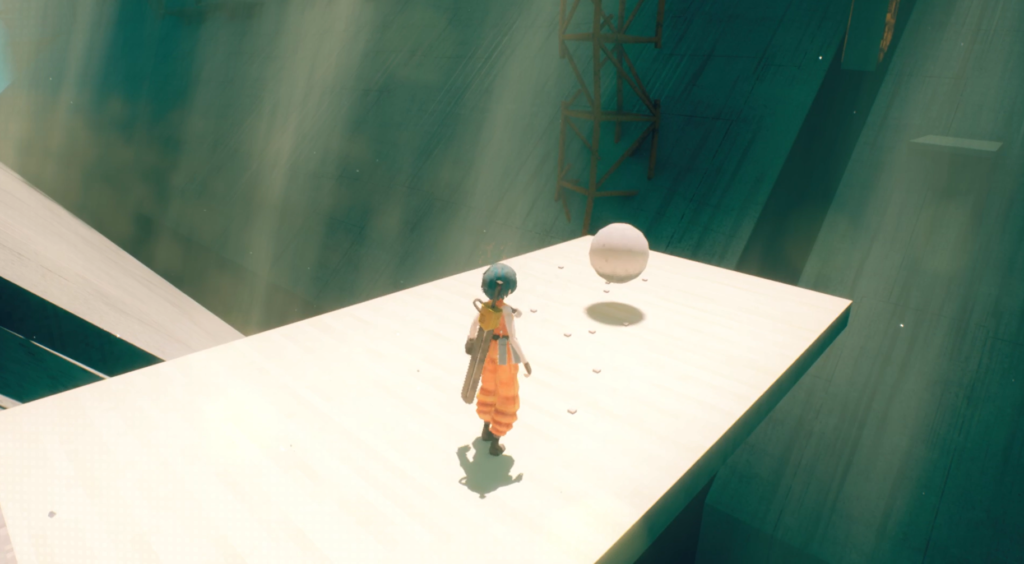
Run along the walkway and jump to the flight of stairs on your left. Go down the steps to find this orb drone, and return it to the evac point we used before.
Checkpoint_03
Orb Drone 32 & 33
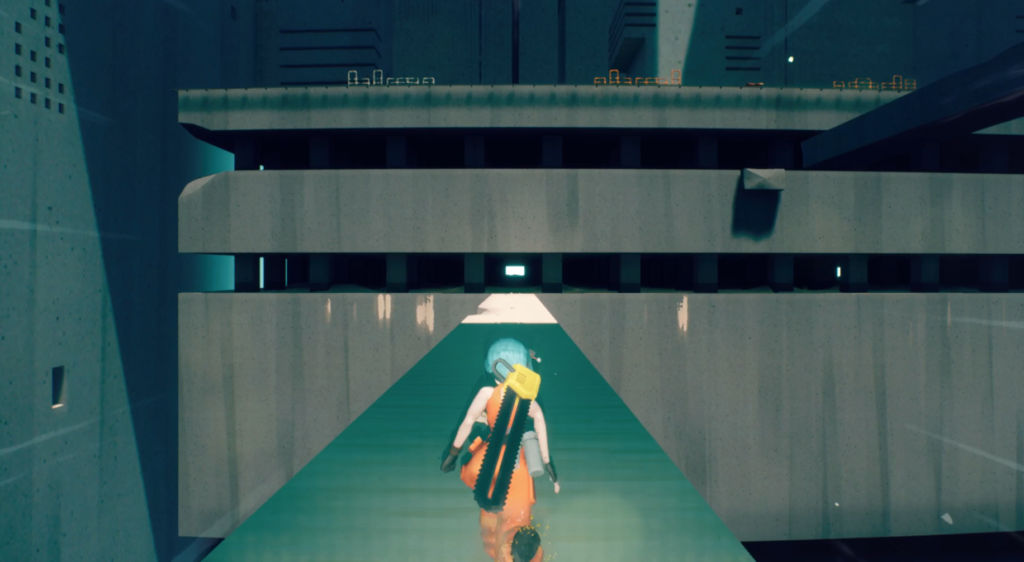
These two orb drones are situated on two floors of the structure in the above screenshot.
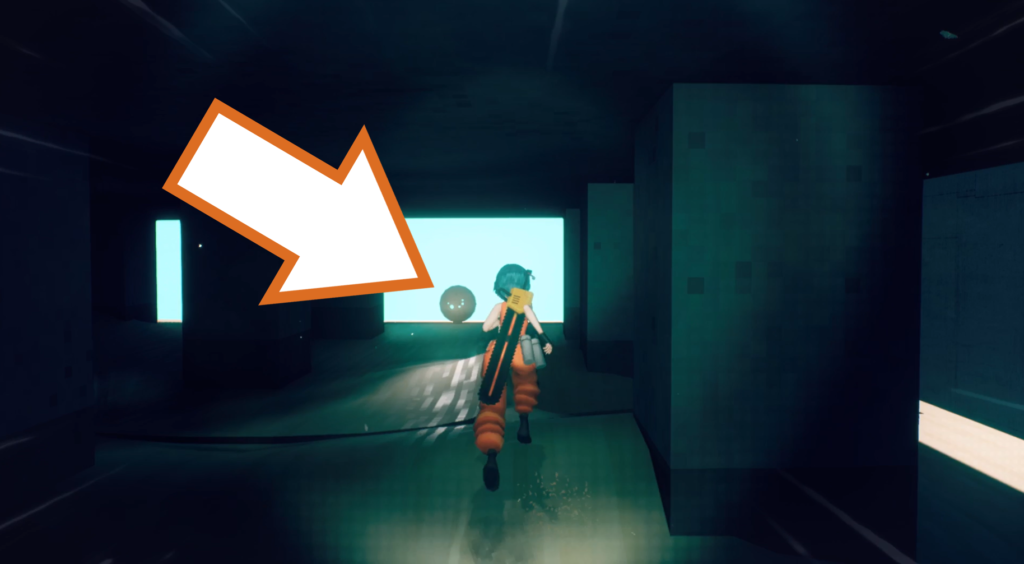
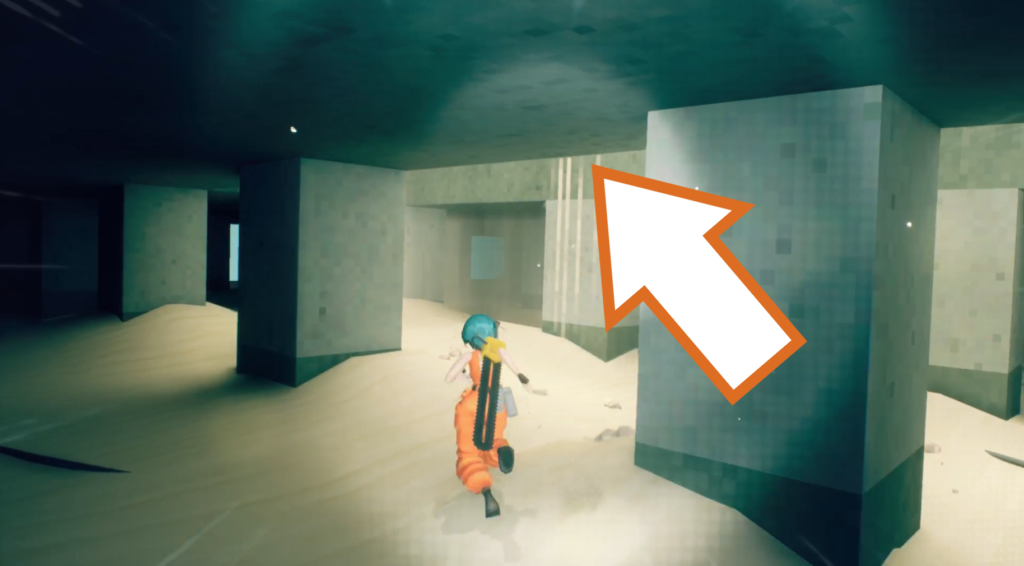
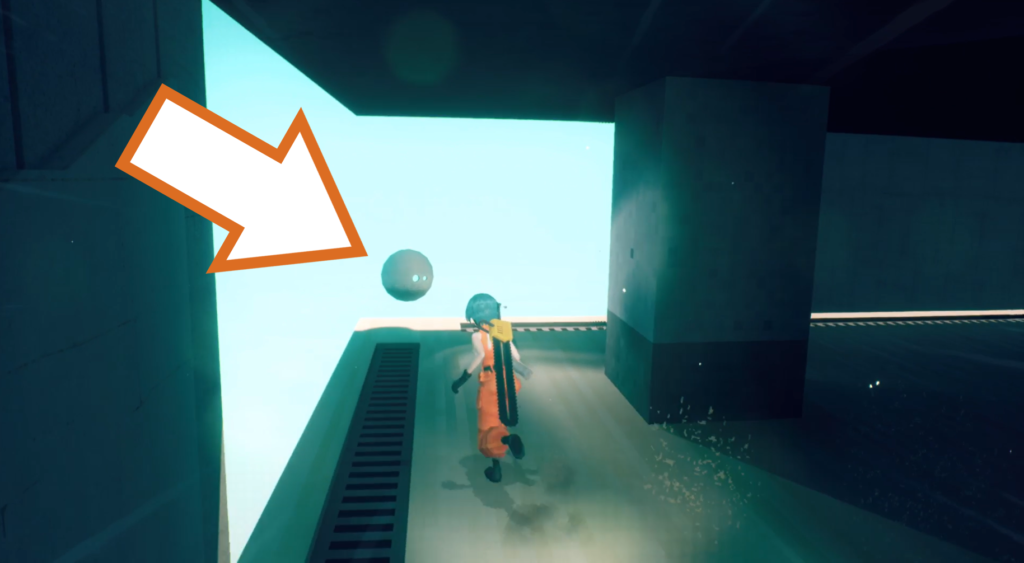
The first one is at the very edge to your right as soon as you enter the building. The second one is in the back right corner on the floor above.
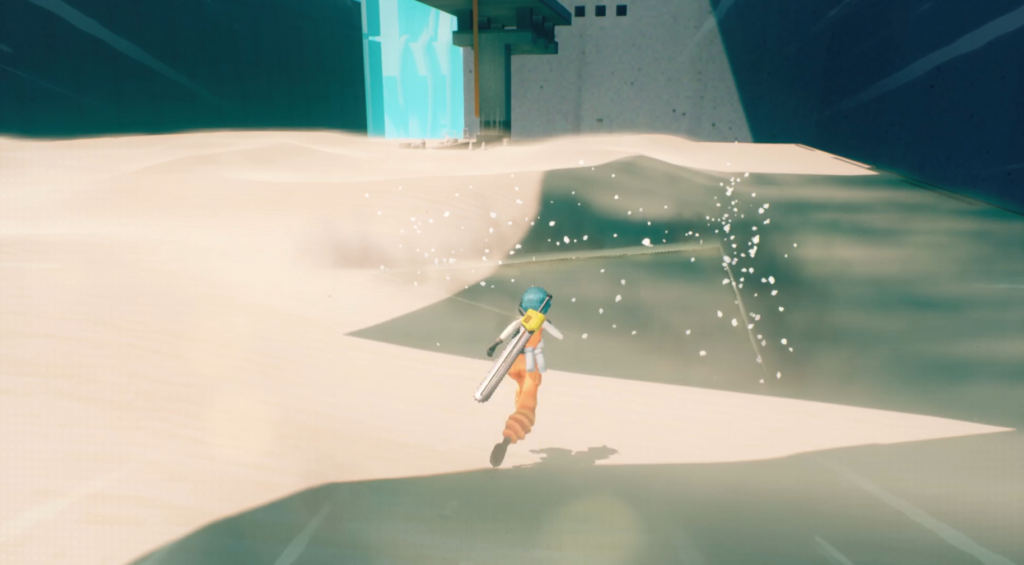
Climb up to the roof where three buzzsaw launchers float menacingly, and take your quarry to the evac point nearby.
Orb Drone 34 & 35
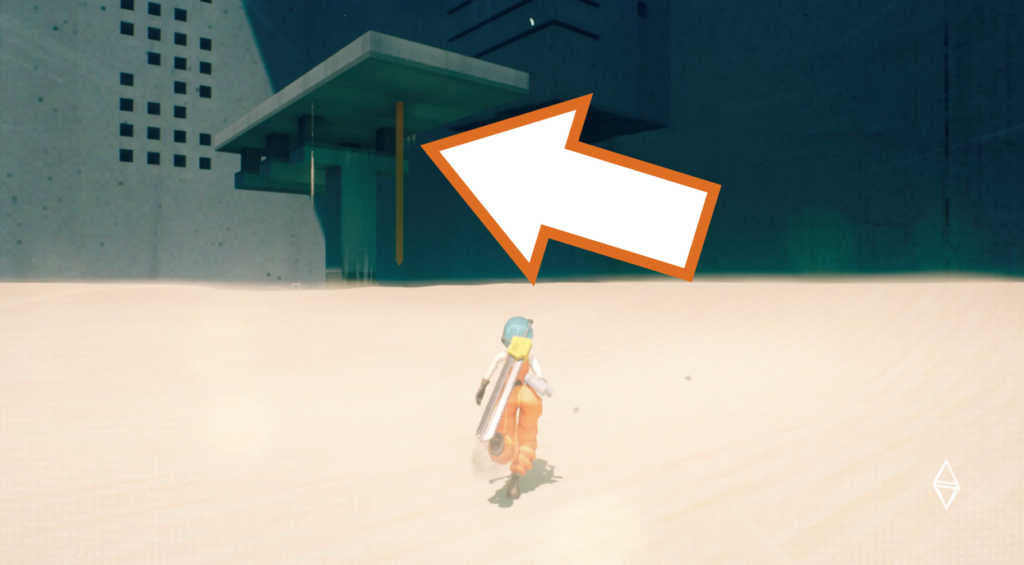
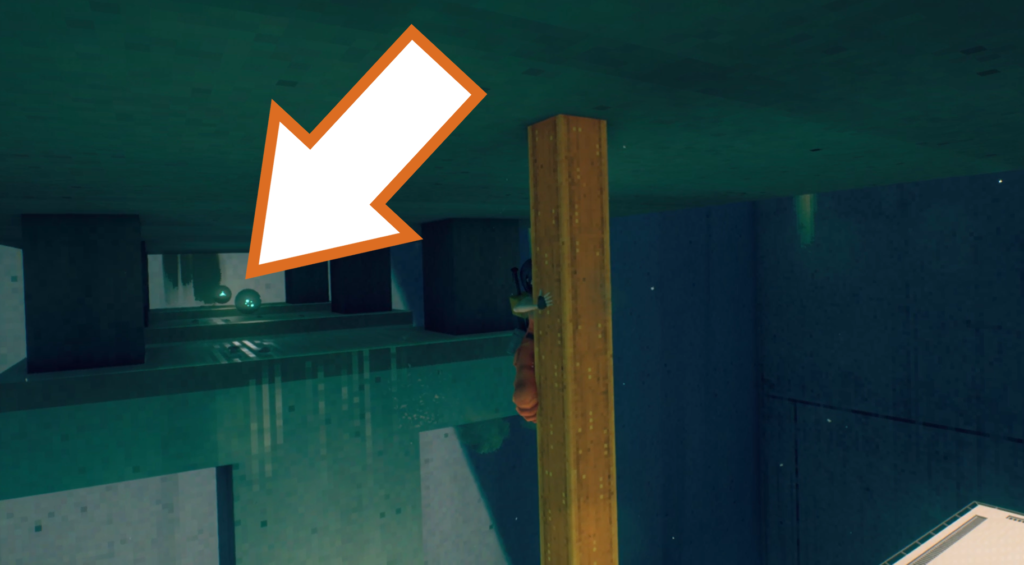
There’s another duo of orb drones on he structure on the roof. Wall jump onto the girder and then climb up it to reach the drones. Be careful when jumping between the beams. Take them back to the evac point.
Checkpoint_04
Orb Drone 36 & 37
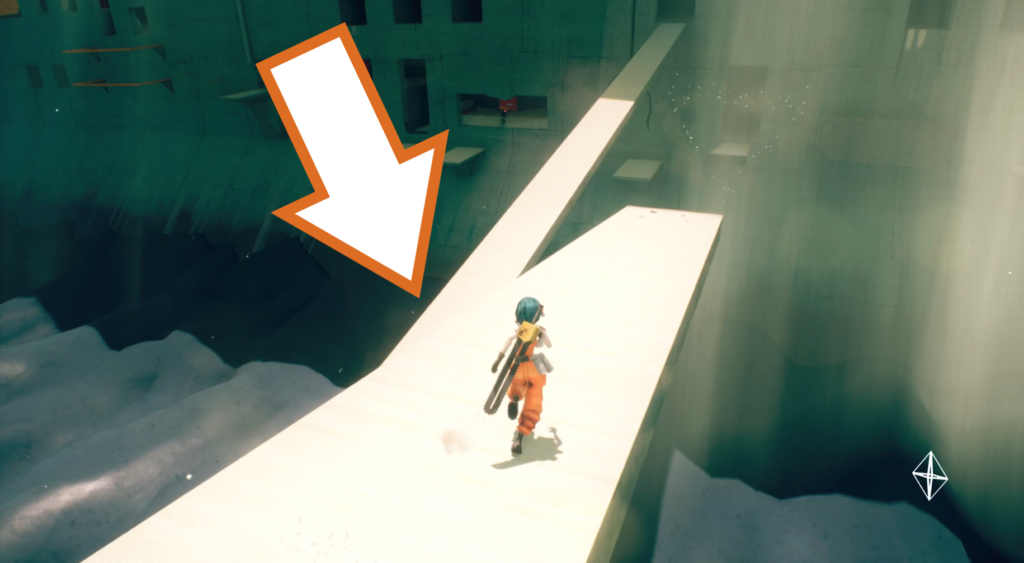
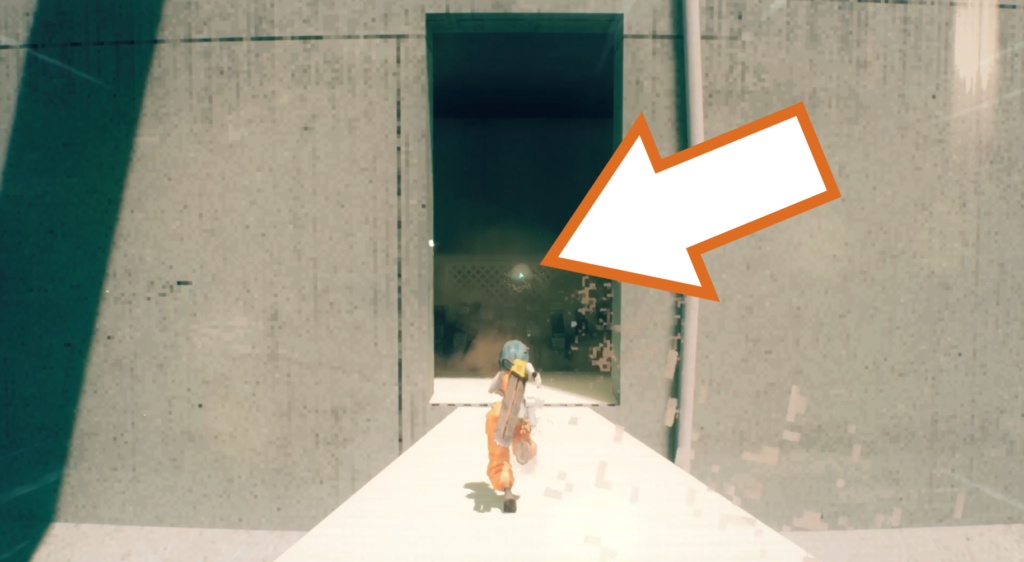
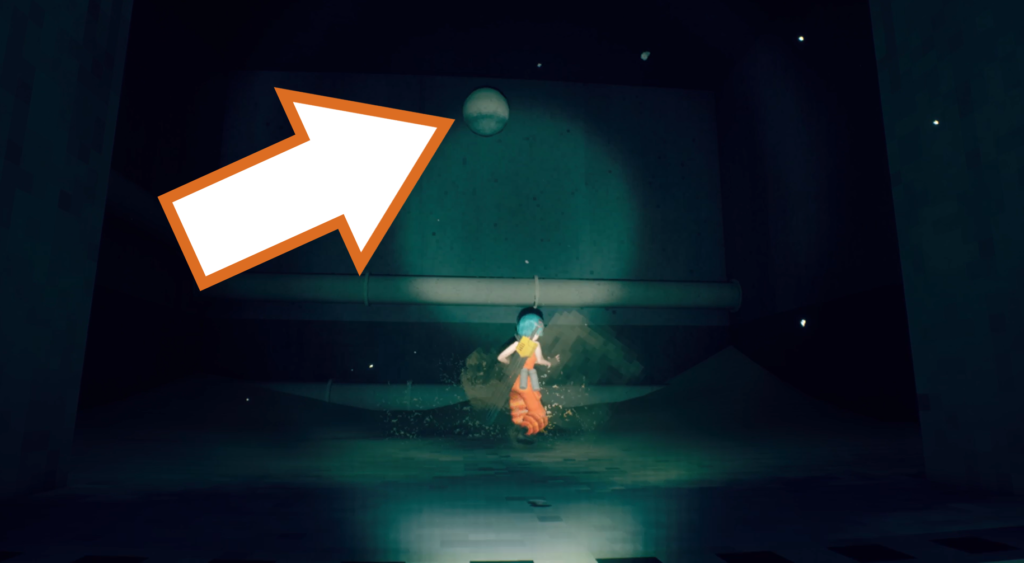
A third couplet of orb drones is next up, hidden where you have to jump down a lower walkway over the flowing cement. The first one is at the lower end, and you need to navigate over a grinder trap to get it, and the second one is at the higher end, and you need to climb the pipes to jump and reach it.
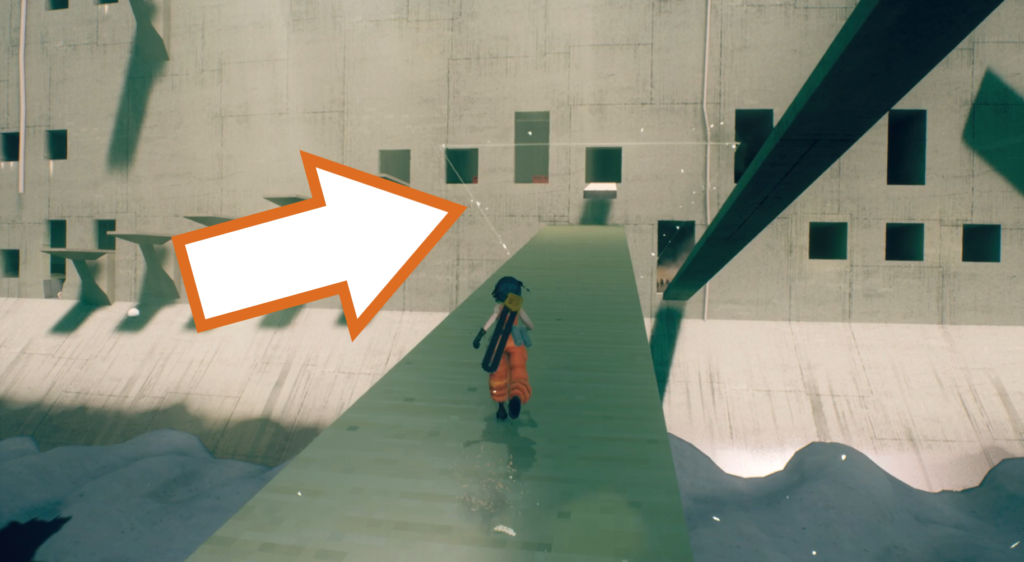
Jump down or use the crack in the wall to reach the broken walkway below and take the drones to the evac point at the end.
Orb Drone 38
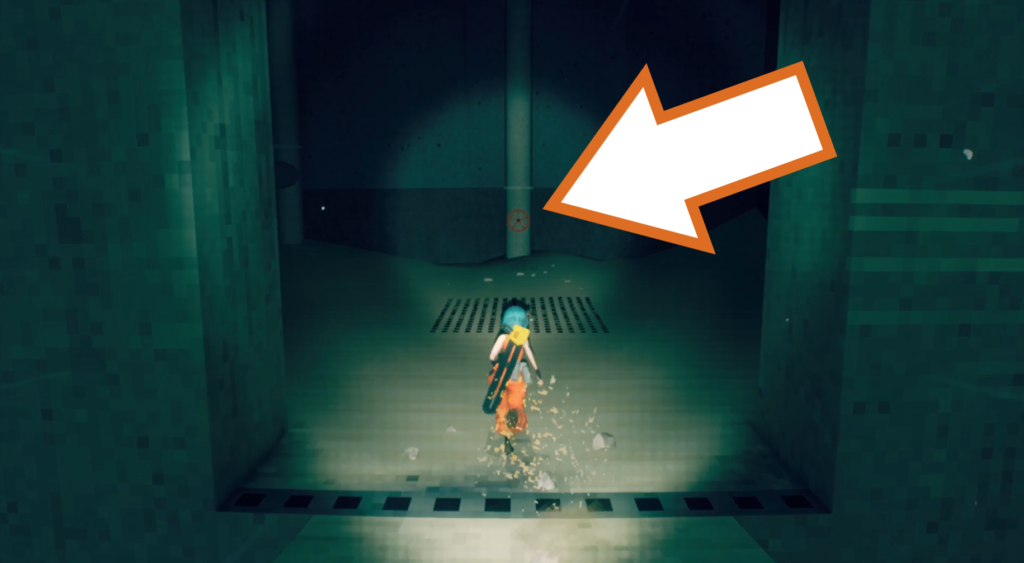
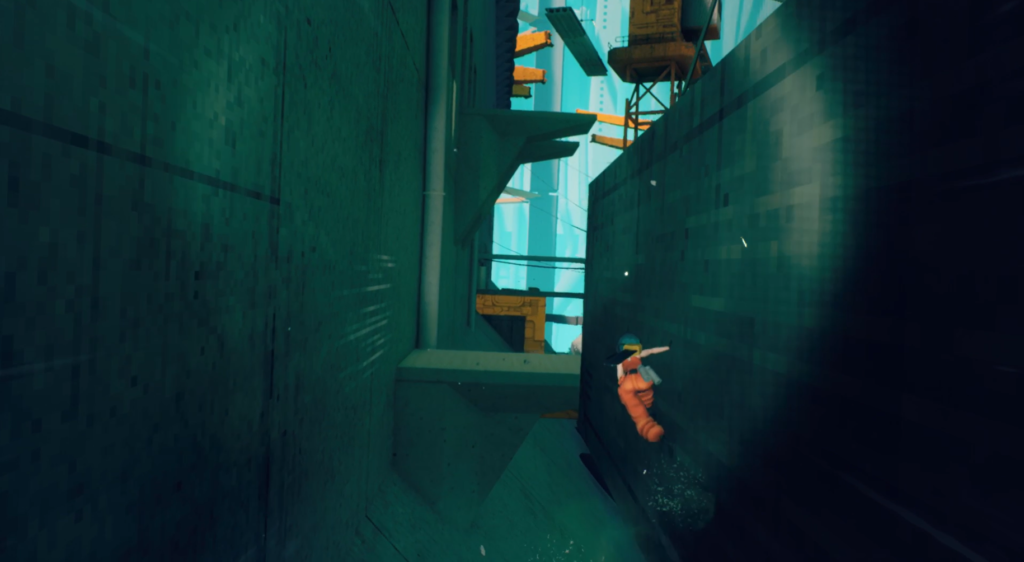
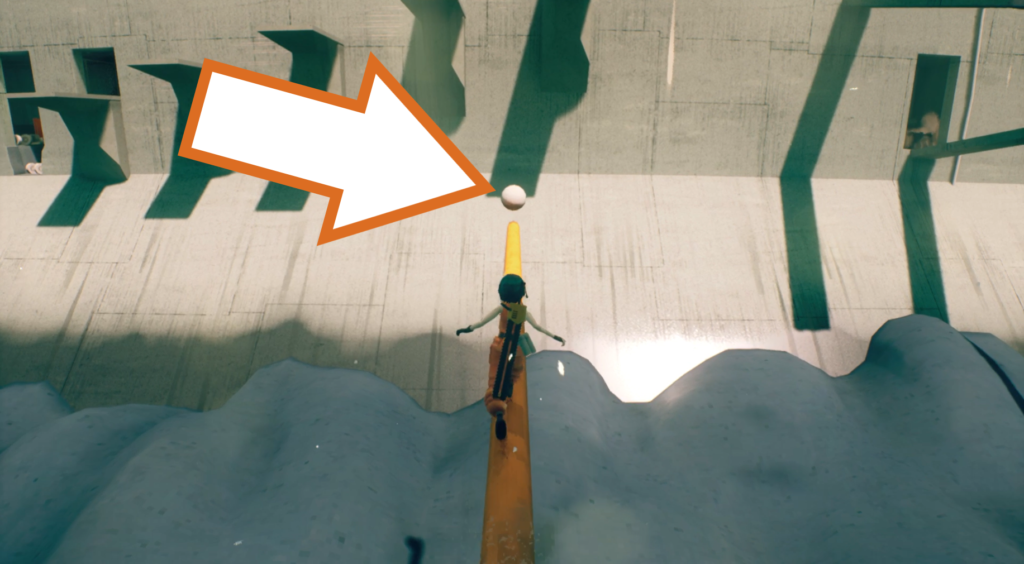
Turn the valve in the room opposite the evac point to extend the pole leading to the orb drone floating in the middle of the canal. Wall run to the bridge with the pole, collect the drone, and send it on its way.
Orb Drone 39
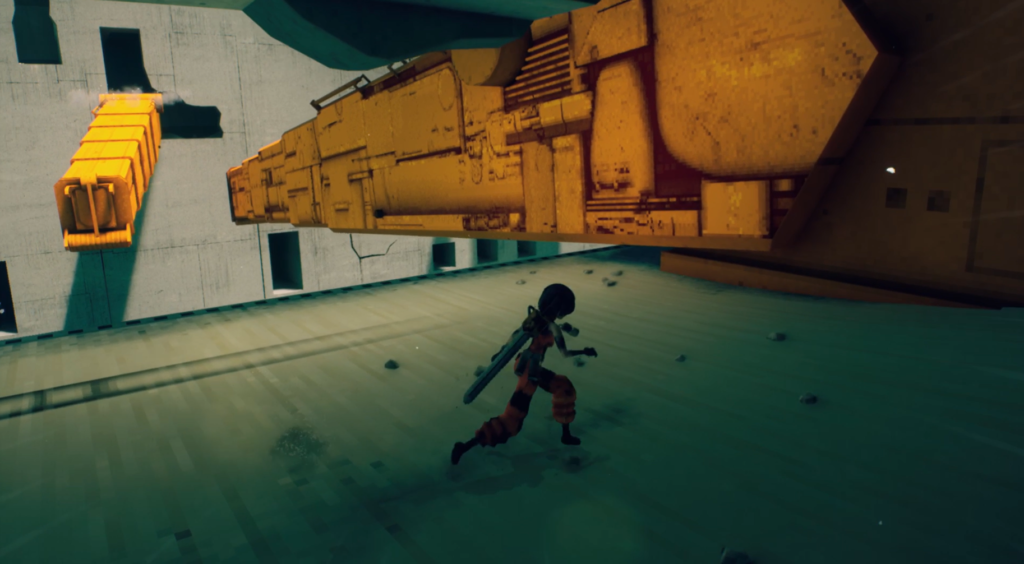
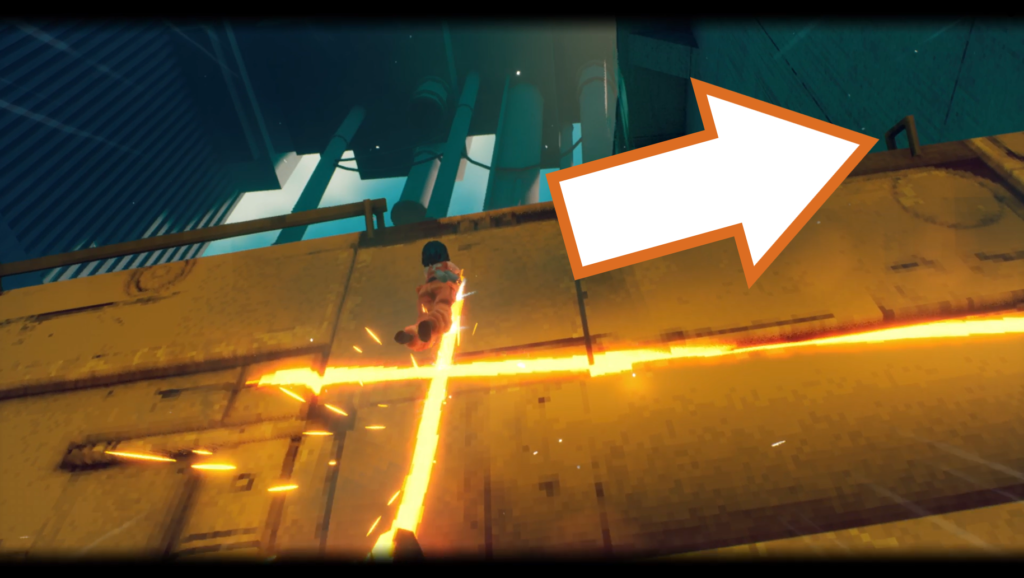
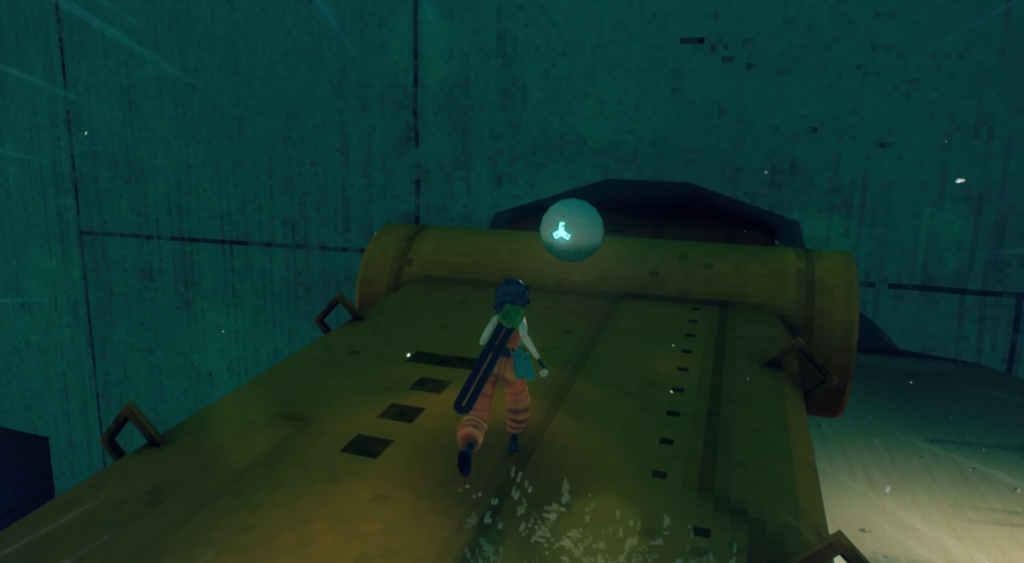
The next orb drone is found where you have to cross the canal using chainsaw traversal. Get on top of the first piece of orange metal, and run back to the wall to find the drone.
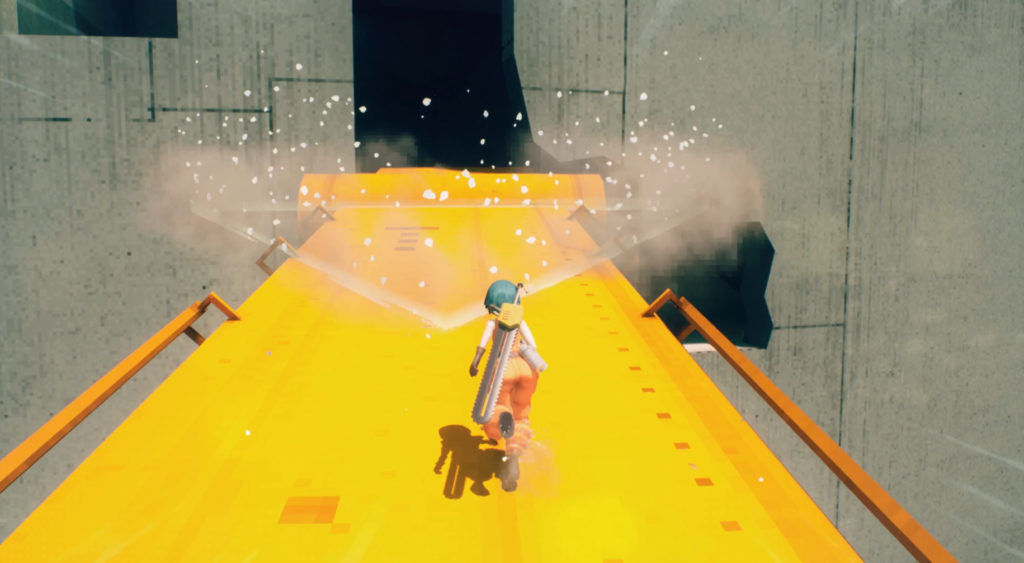
Continue forward to find the next evacuation point.
Orb Drone 40, 41 & 42
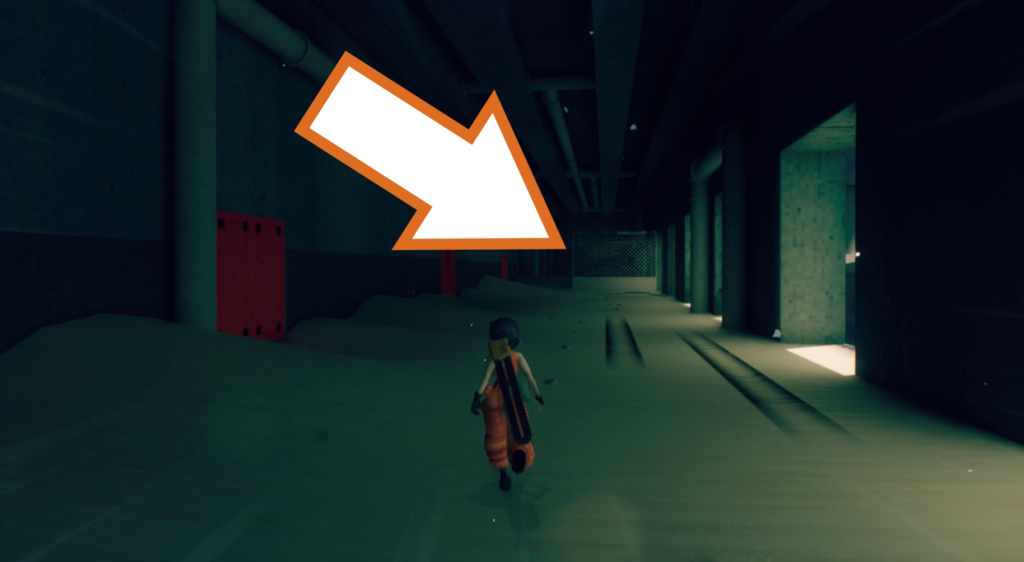
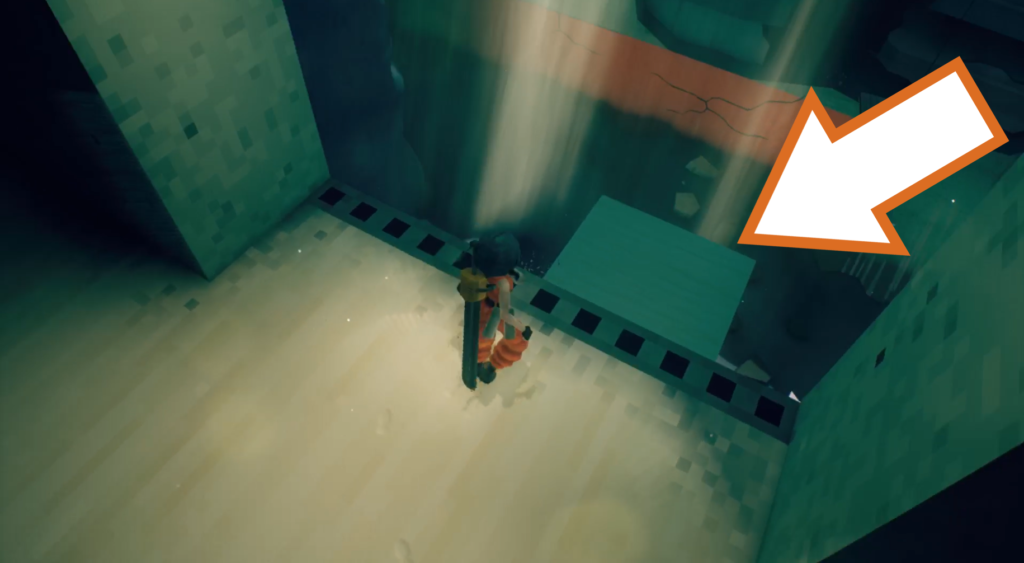

After the cutscene showing the Chapter 2 boss crashing through the wall of the canal, there are three orb drones to collect in one go. Run past the evac point and go around the chainlink fence to drop down to a ledge below. Jump along the ledges to your left to find the first drone.
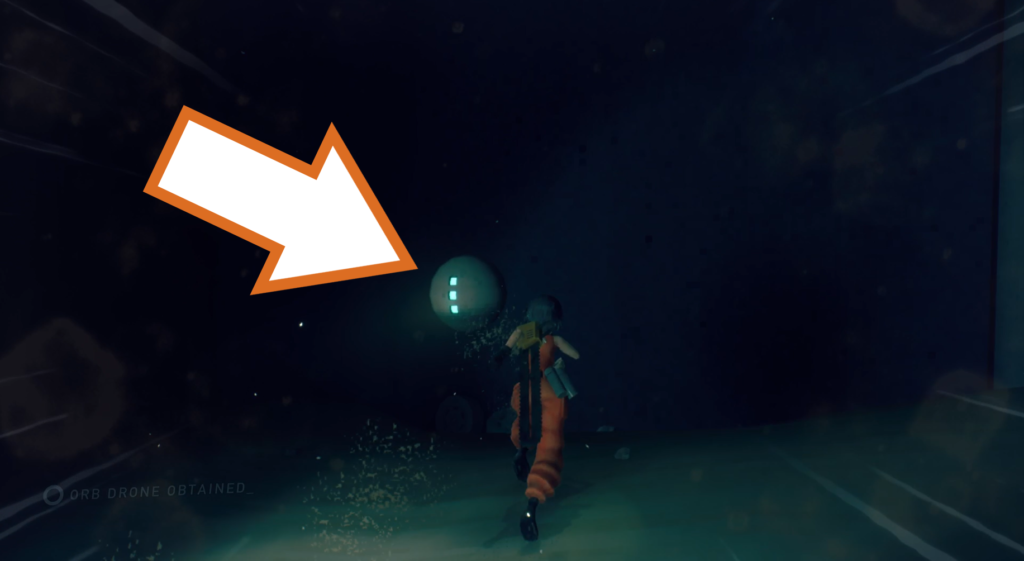
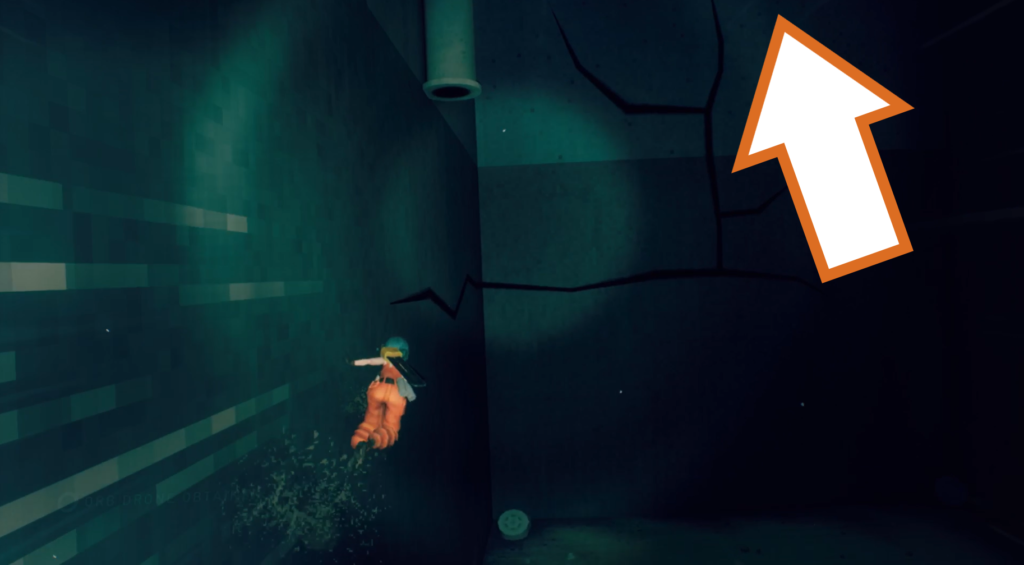

Drop inside the dark room and locate the second drone in the dark. Wall run and climb up the cracks in the wall to reach the third drone floating by some horizontal poles.
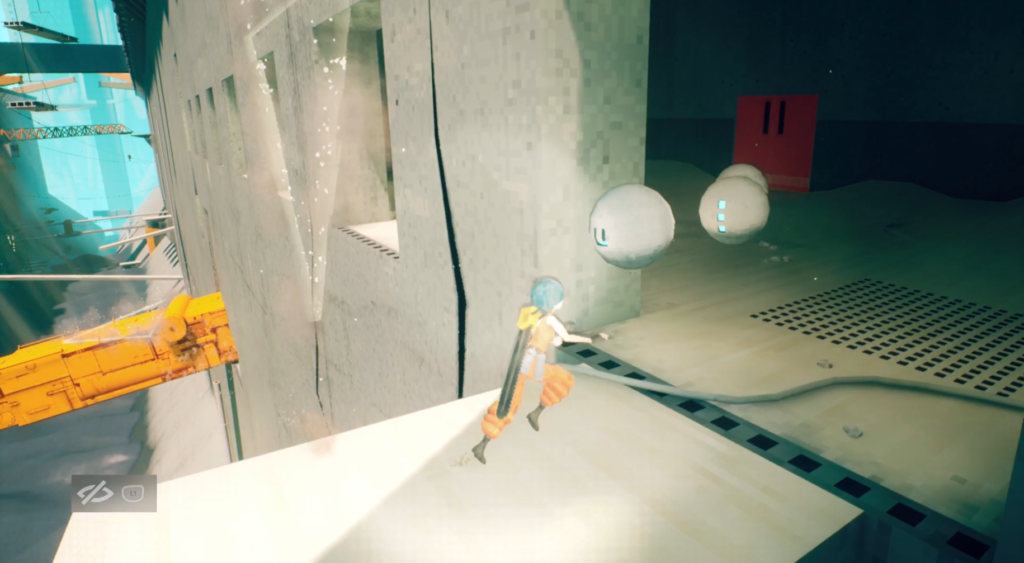
Swing back using the poles and take the trio of orb drones to the evac point on the outside wall.
Orb Drone 43
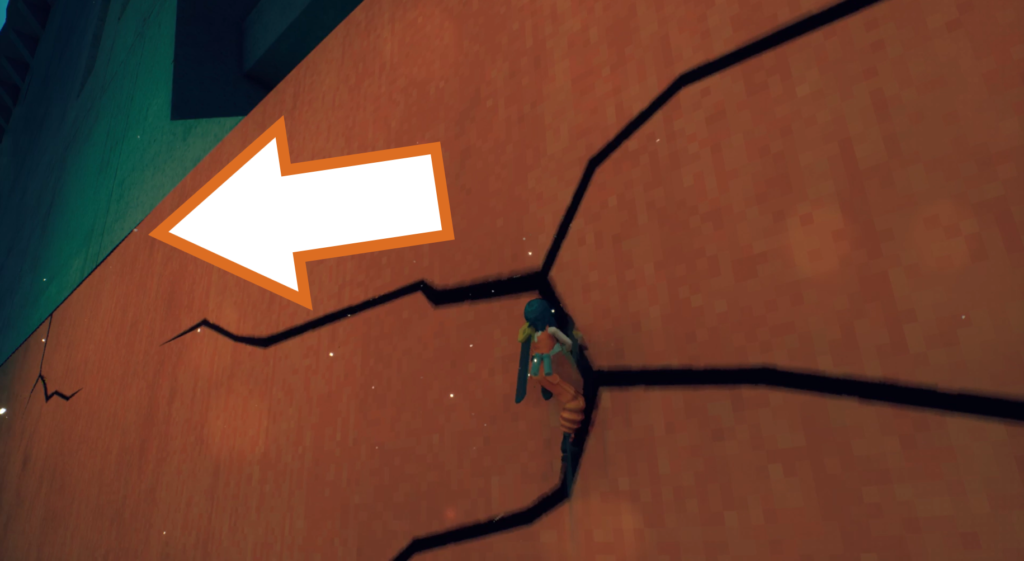
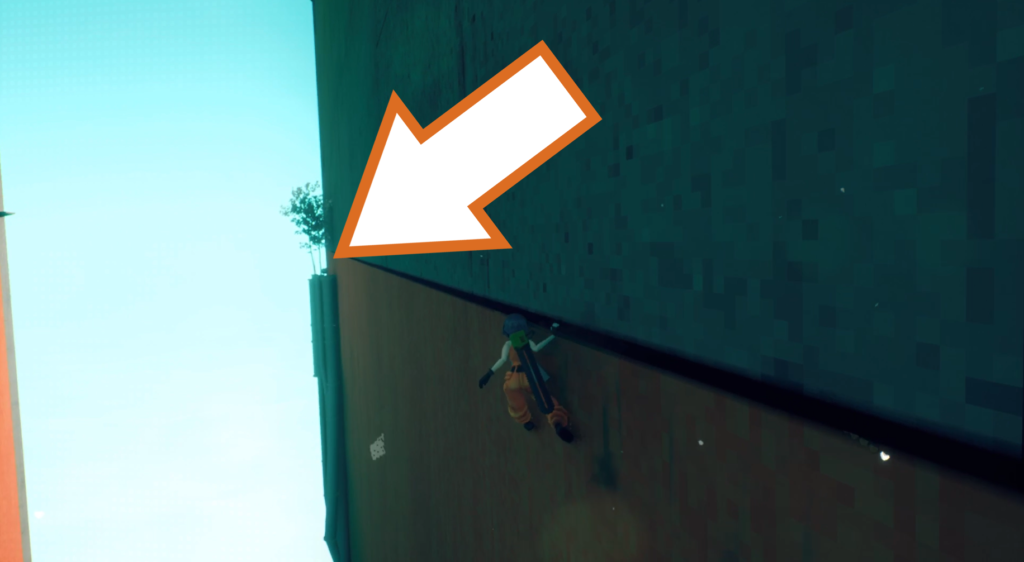
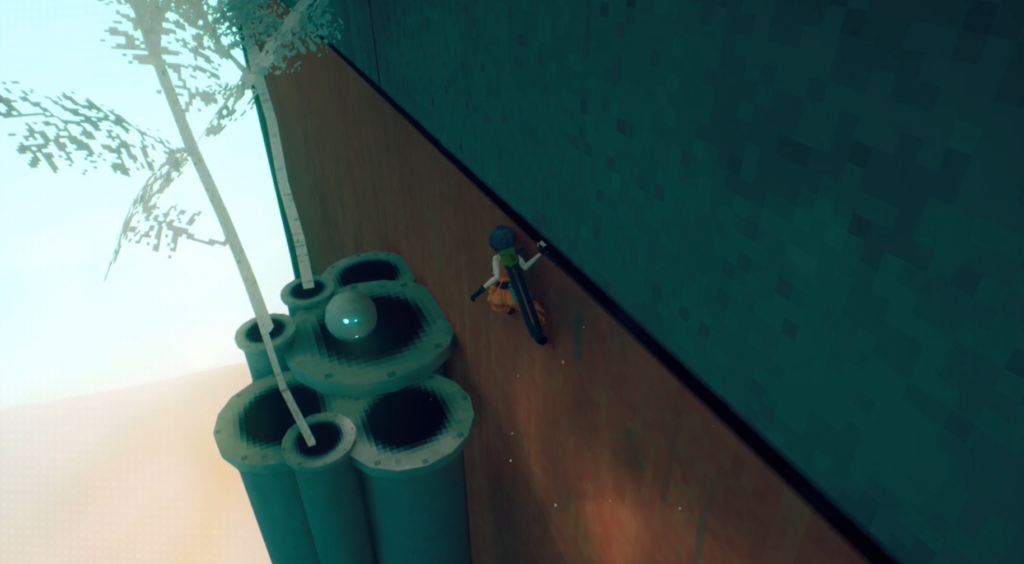
This orb drone is tucked out of the way, and one I missed my first time through. After crossing the cement river by jumping between the debris, jump to the crack in the wall and go to the left. Wall run to another crack and follow it aaaaaaall the way to find the orb drone waiting on some pipes.
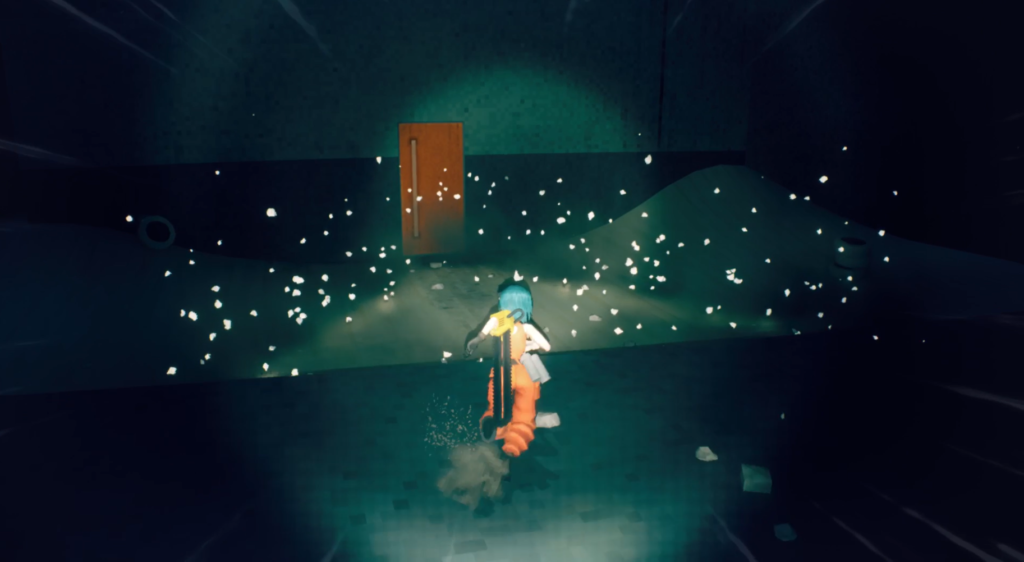
Return the way you came and climb up the cracks to the hole in the way to reach the evac point.
Orb Drone 44
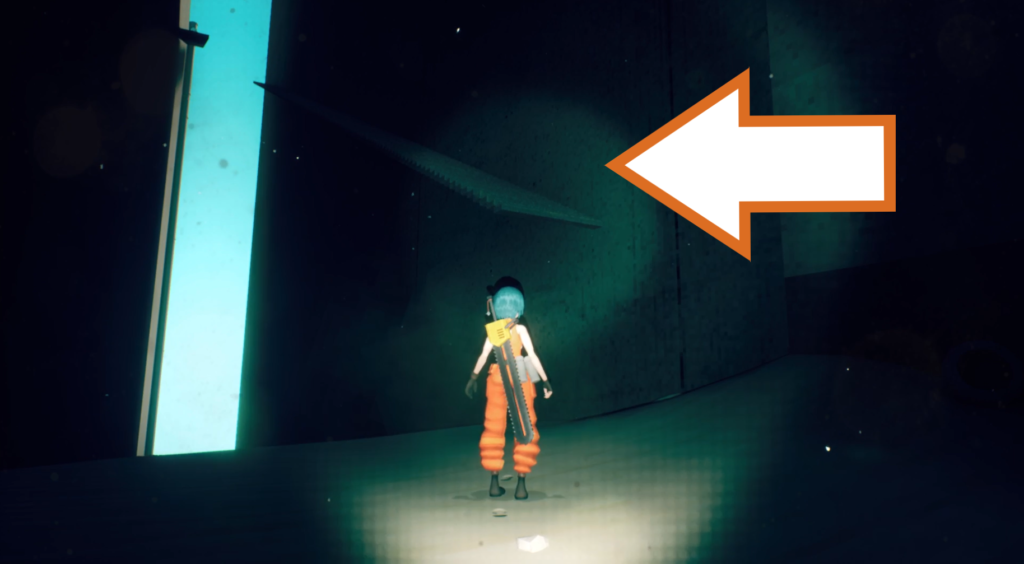
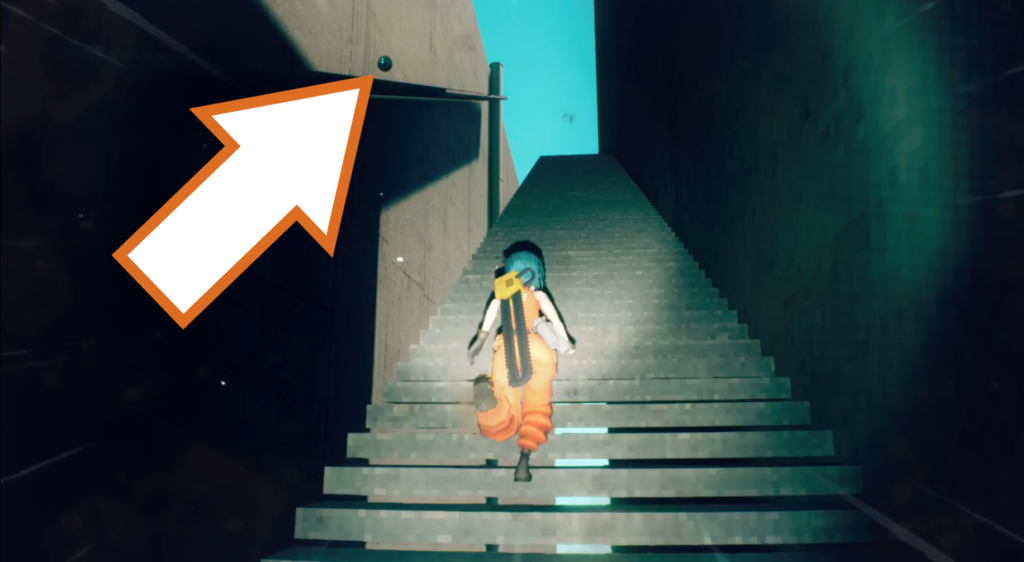
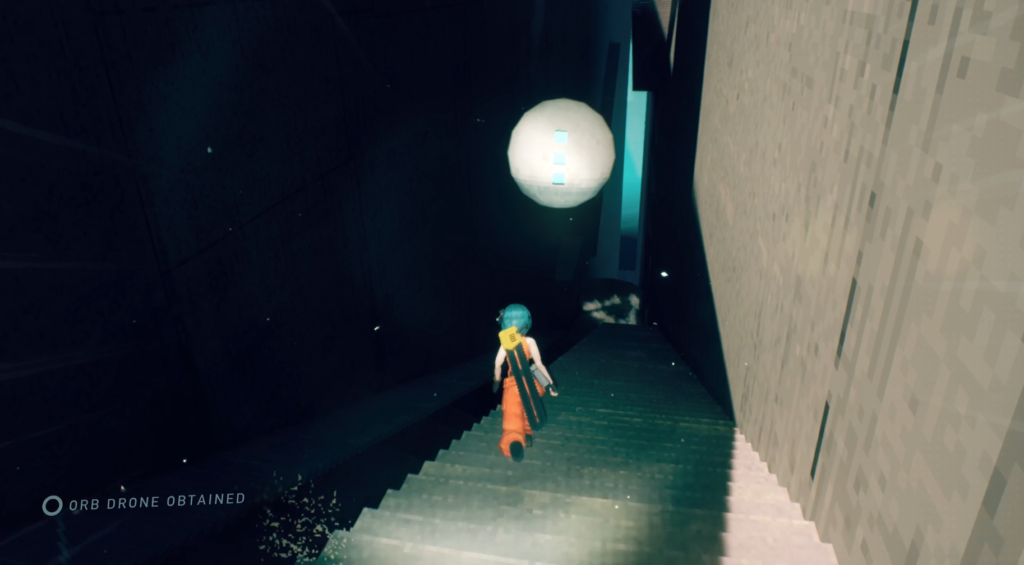
Go through the door by the evac point and then mantle up to the flight of stairs on the wall. You need to jump across to another flight of stairs to reach the orb drone at the top. Return it to the evac point back at the bottom.
Checkpoint_05
Orb Drone 45
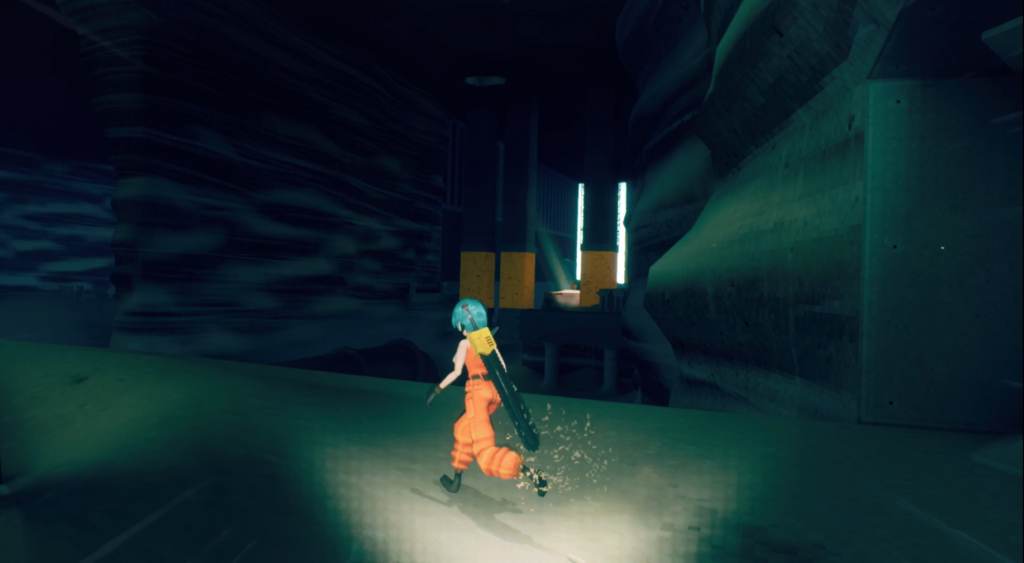
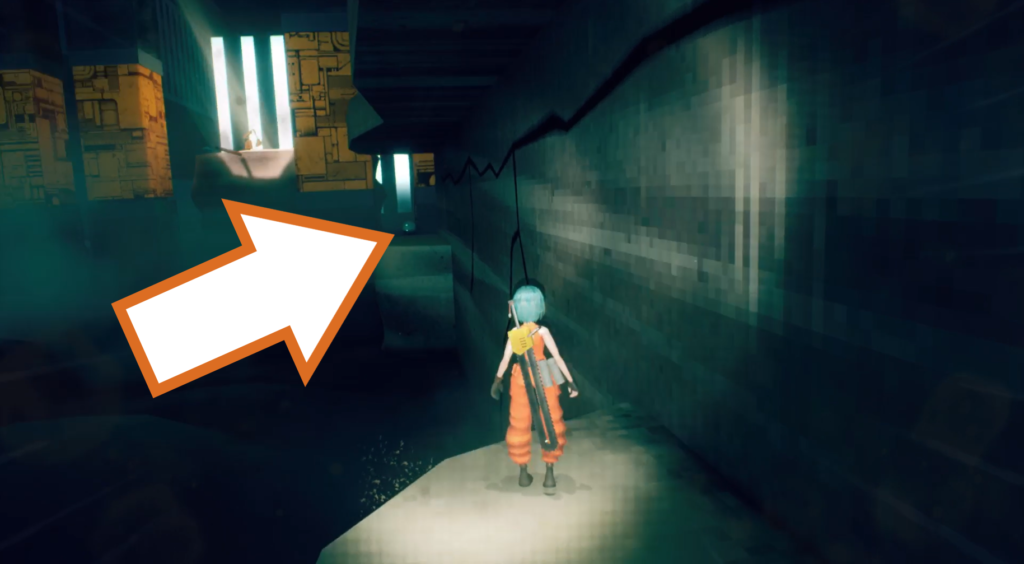
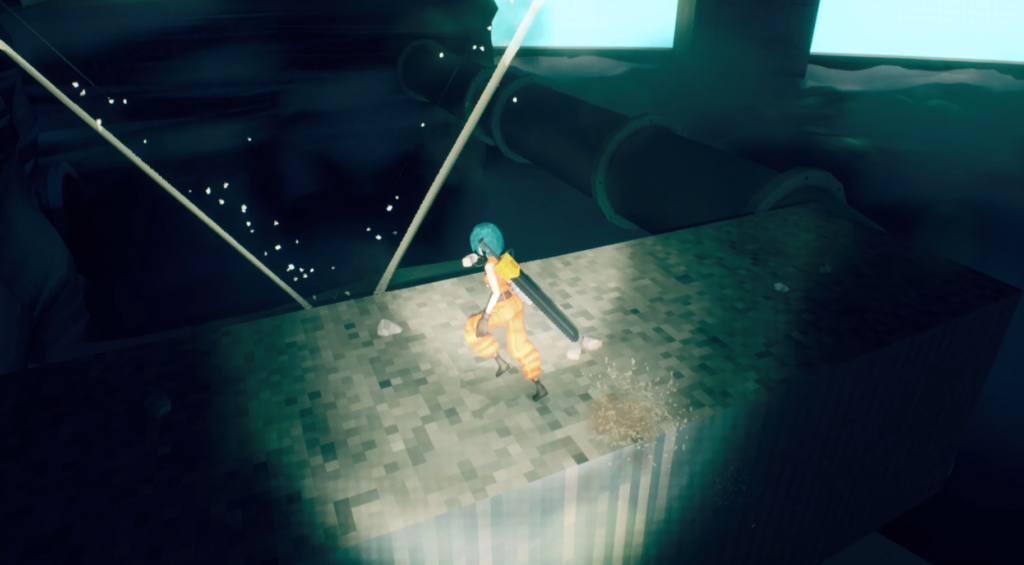
The next orb drone is found inside the large caverns. After jumping down from the large pipe, look for a crack in the wall to run along and reach the drone. The evac point is situated on the side of the ruin, back near the pipe.
Orb Drone 46 & 47
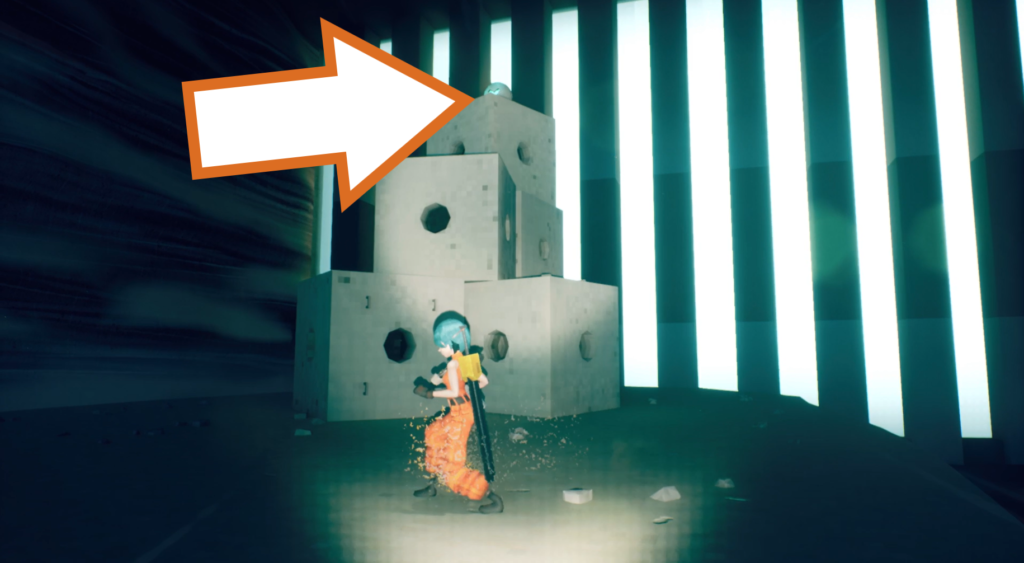
Later on in the caverns, you’ll come across a stack of concrete blocks after running along another large pipe. At the top of it is an orb drone.
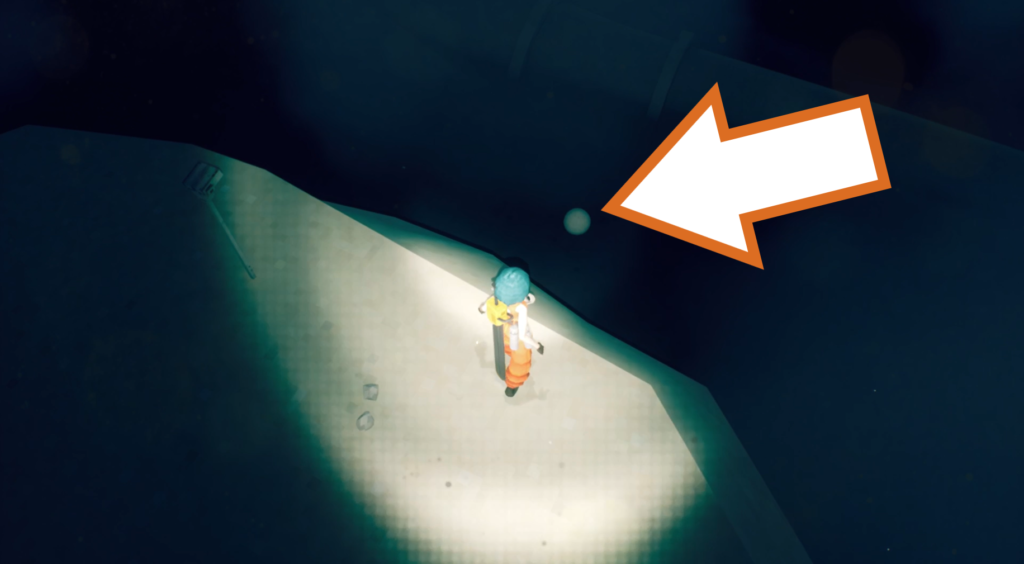
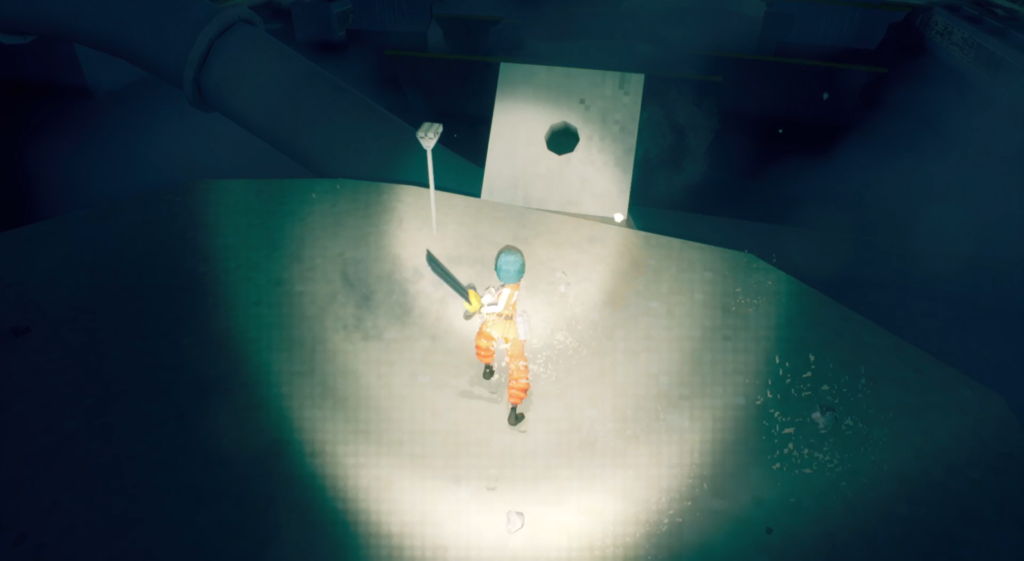
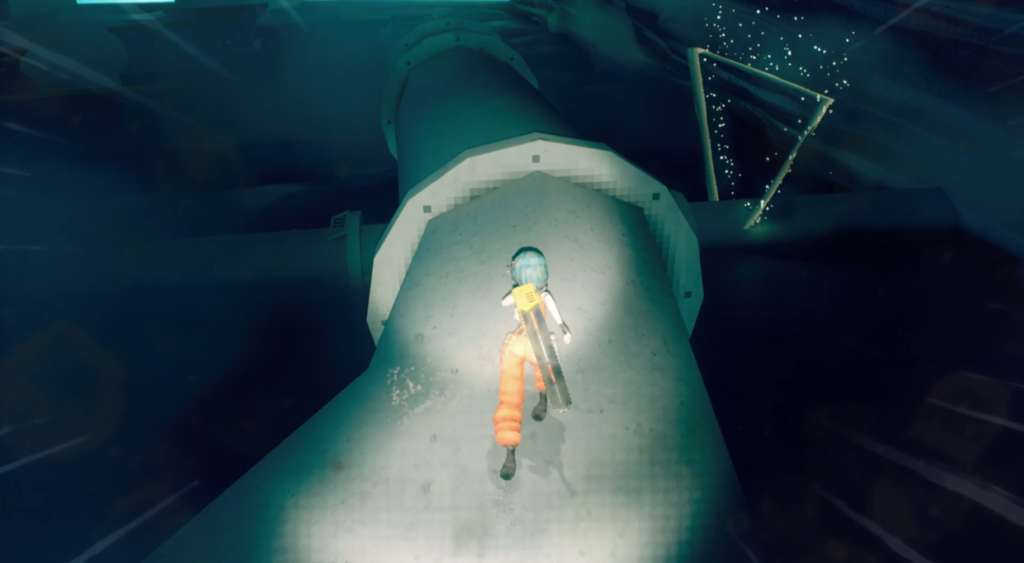
A second drone is also close by, and you need to knock one of the blocks down to touch it. Use the viewfinder as a point of reference. Take them both to the evac point on one of the large pipes.
Orb Drone 48


Continue forward until you reach a room with two swinging roller traps. There is an orb drone on the left-hand wall. Grab it and take it to the evac point past this room.
Orb Drone 49 & 50
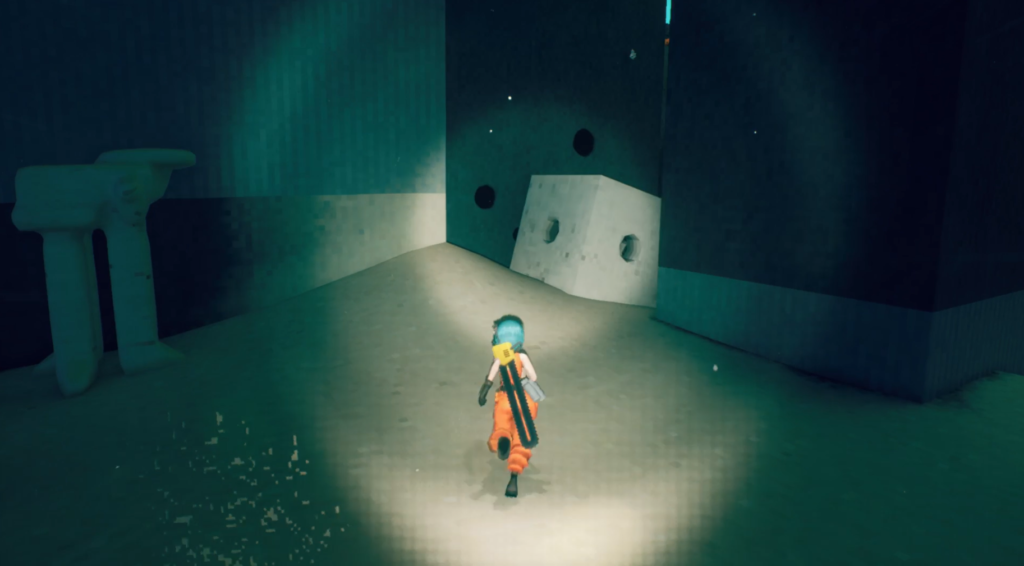
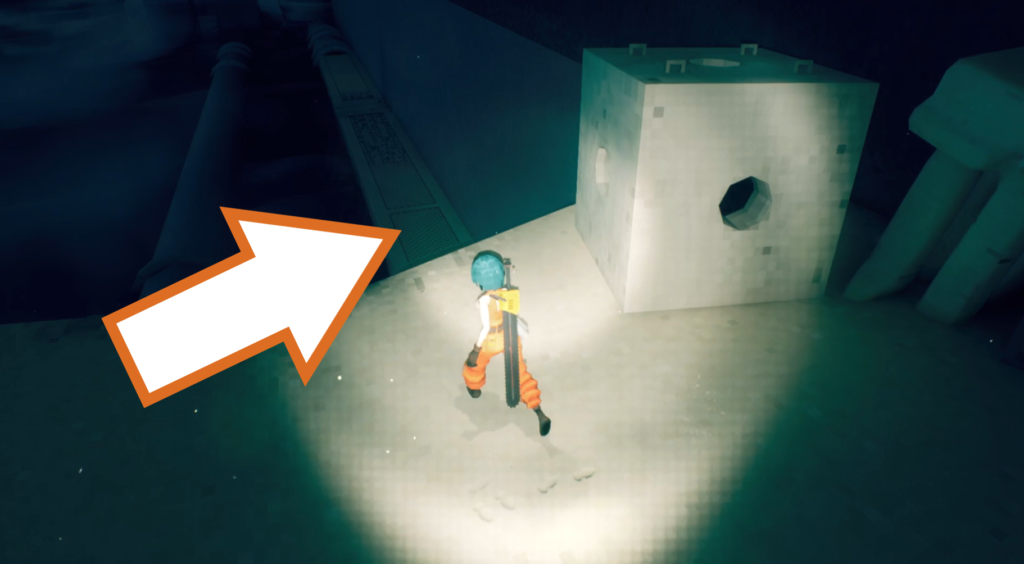
There are two orb drones to collect near the evac point you just used, but they are tricky to reach. Locate the concrete block near the edge and knock it over to the other side using your chainsaw. The goal is to knock it down onto the walkway below, next to the wall.
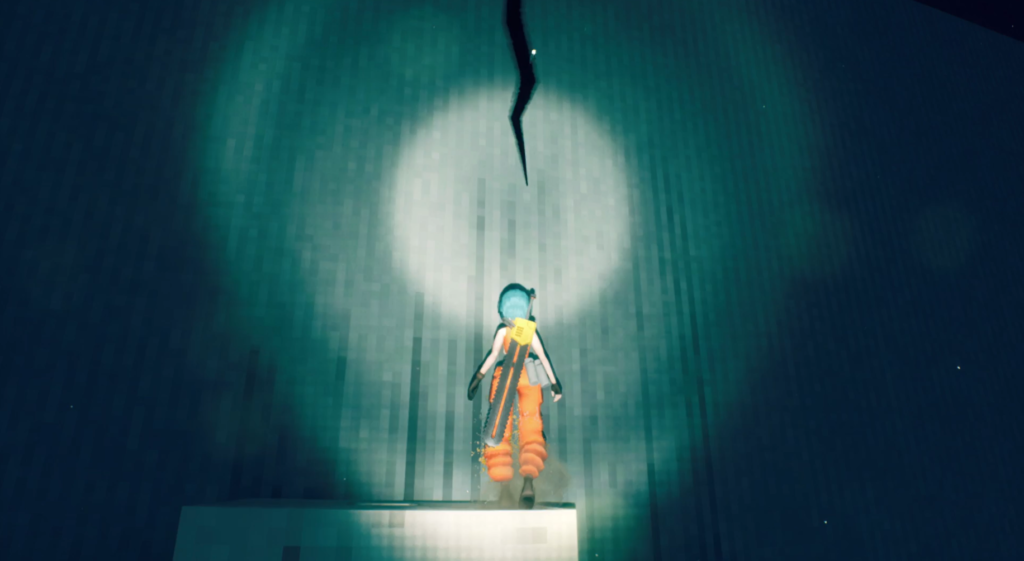


Drop down and knock the block along the walkway until it is under a crack, helping you reach it. Climb up the rack and along to the right to find the first drone hovering near the wall. The second drone is further along, on top of the archway near the evac point.
Orb Drone 51

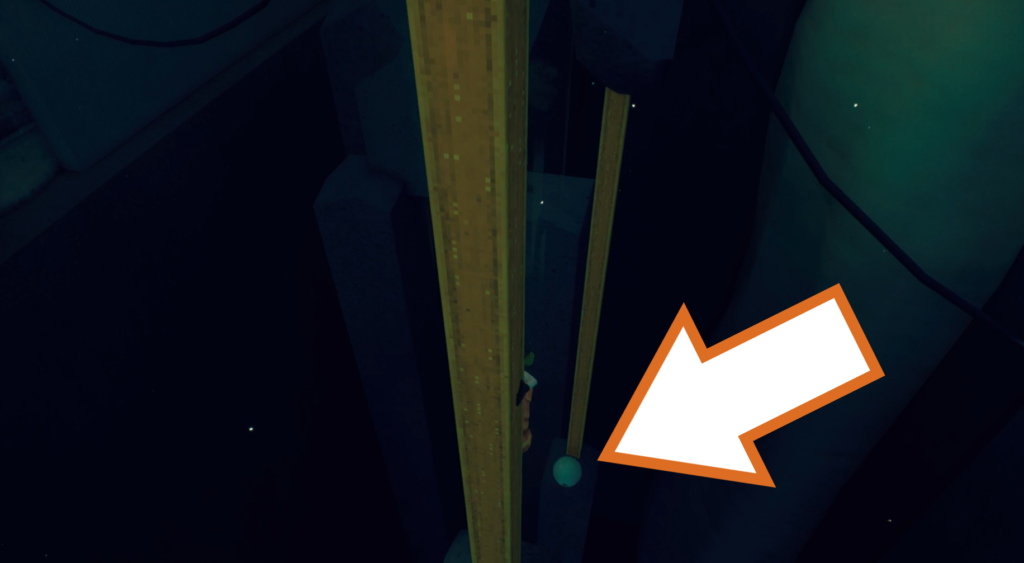
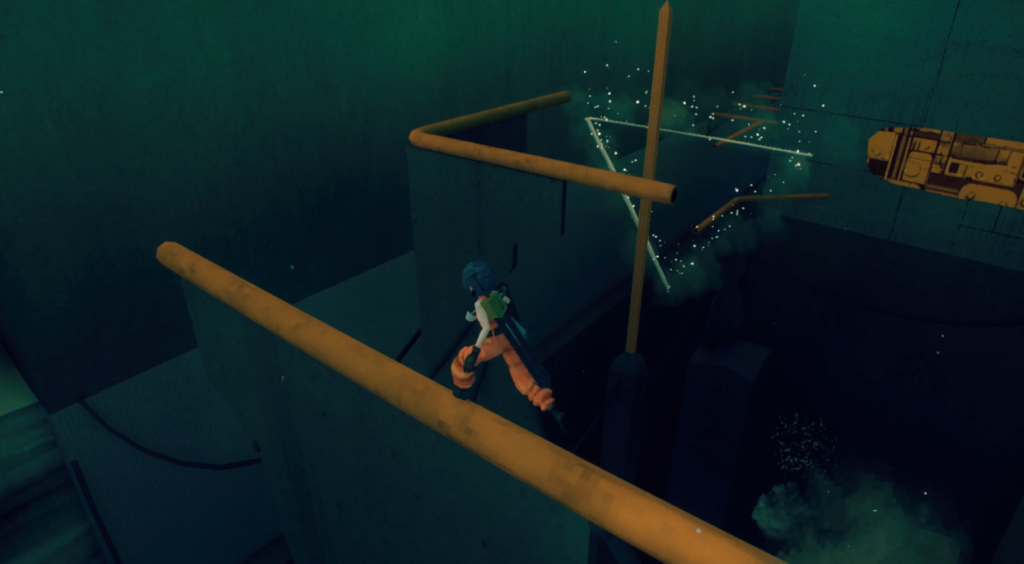
The next orb is found during the next platforming sequence. You need to slide down the first girder and then a second one to reach it. You can’t go back to the previous evac point, but thankfully, the next one is not far ahead.
Orb Drone 52
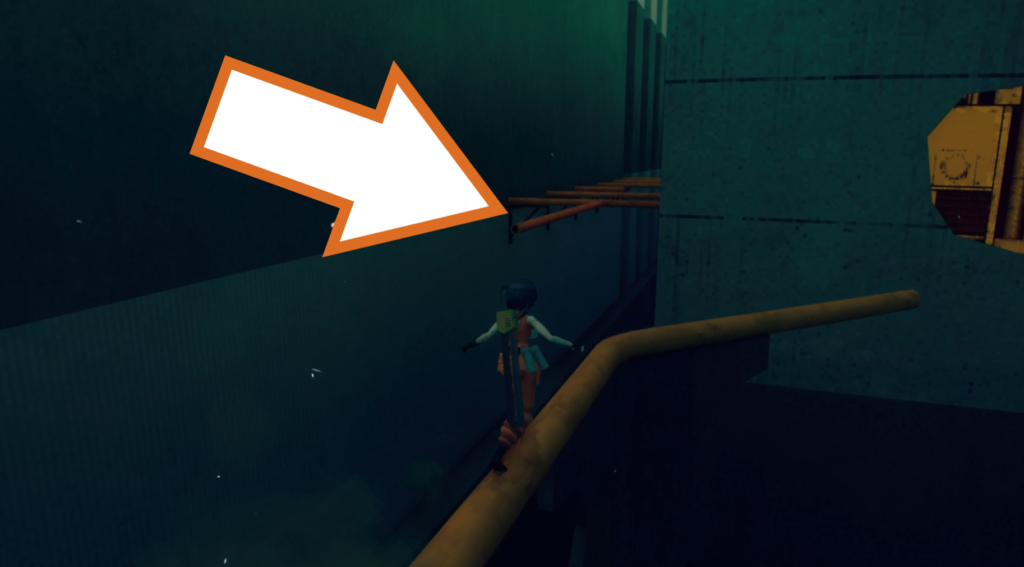
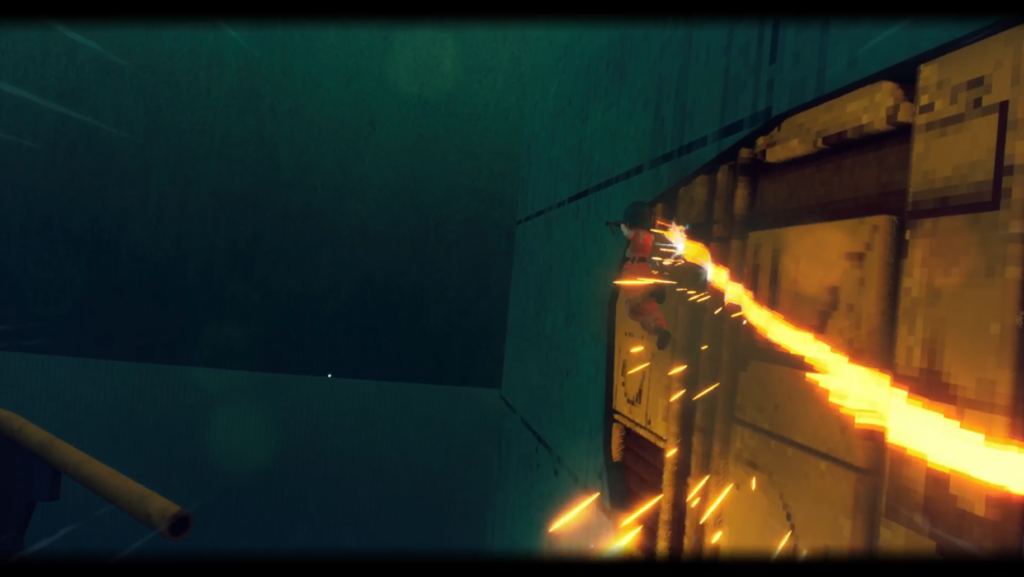
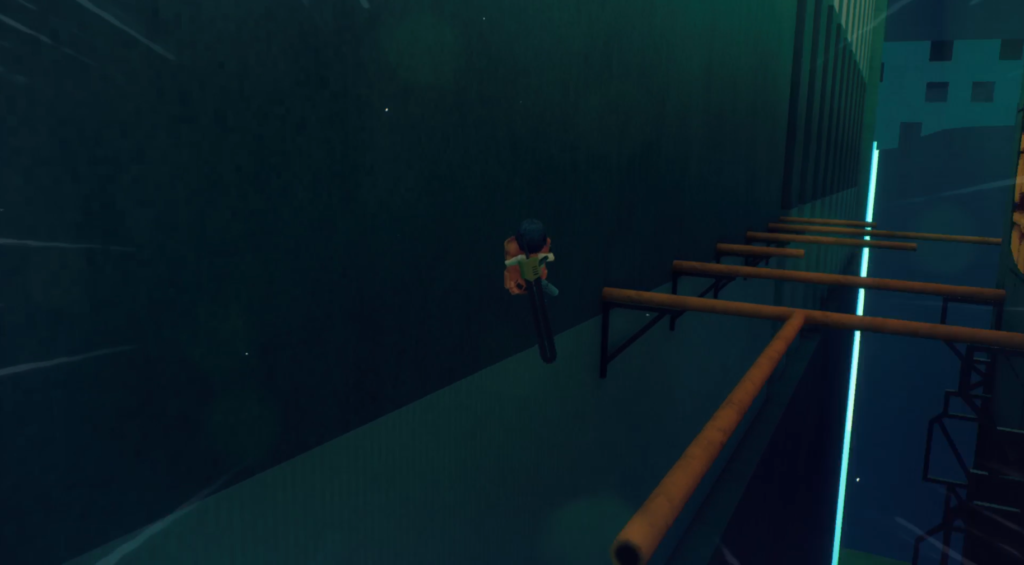
The last orb drone in Chapter 2 is one of the trickiest in the whole game, and it’s just after reaching the evac point with the last drone. The goal is to use P’s chainsaw to grind high along the exposed metal, jump at the end, and quickly tuck into a ball, allowing you to adjust P’s trajectory and turn towards the pipe to land. It may take more than a few attempts, but you respawn just before the boss fight, ready to try again.
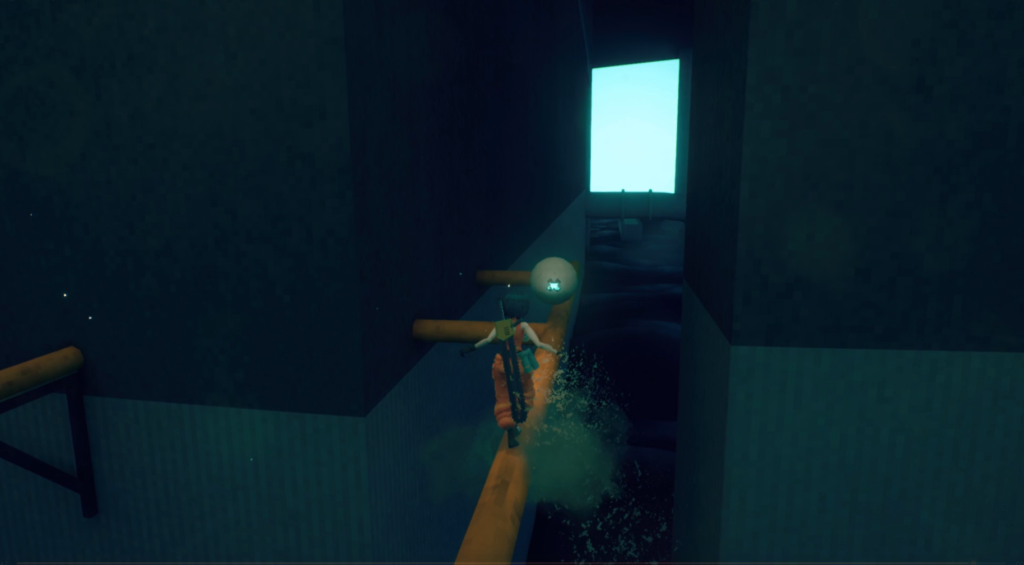
Once you’ve made it, jump along the pipes to find the orb drone hidden away, and bring it back to the evac point (don’t worry, the return journey is much easier.
Chapter 3 – Falls
Checkpoint_01
Orb Drone 53
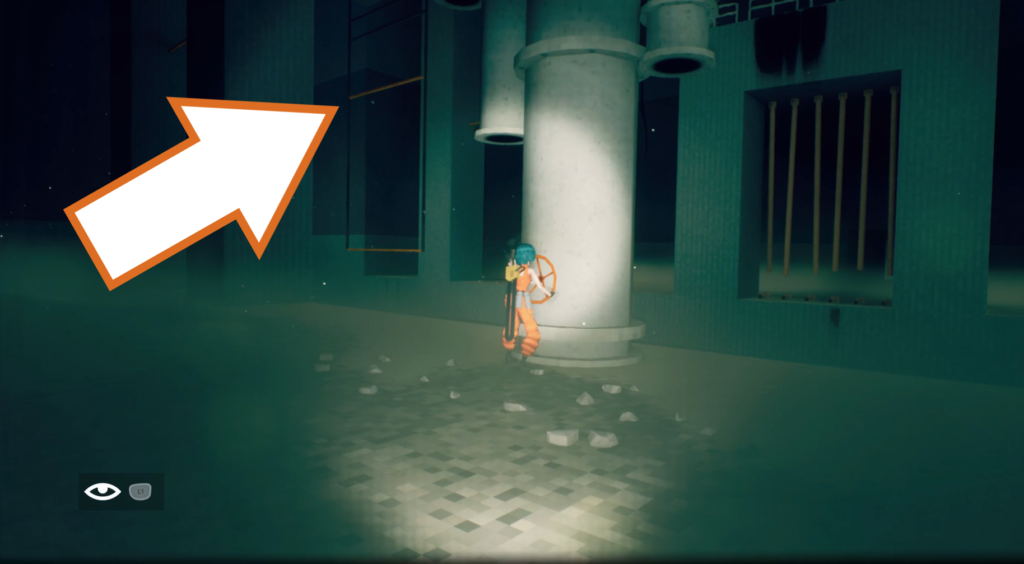
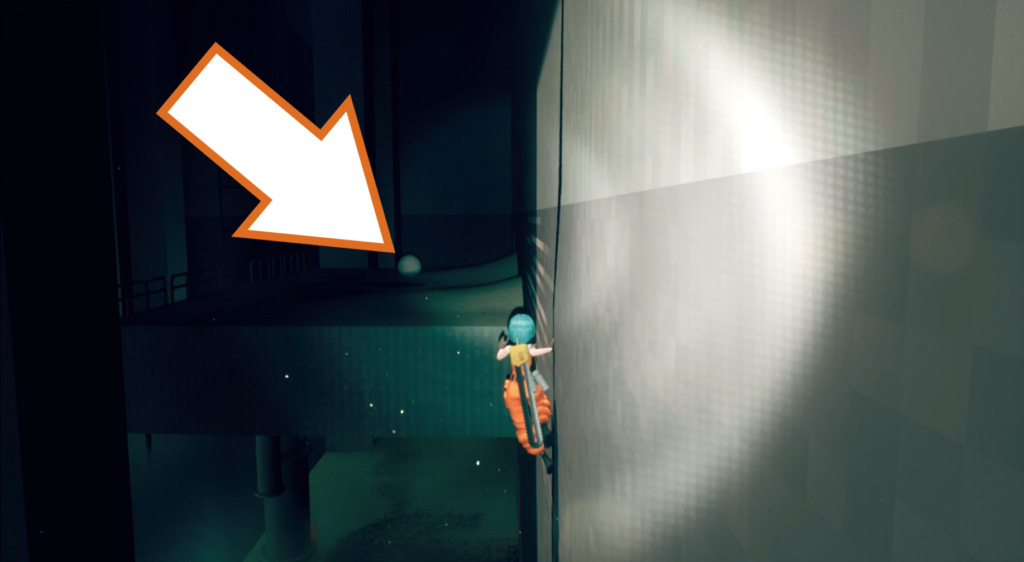
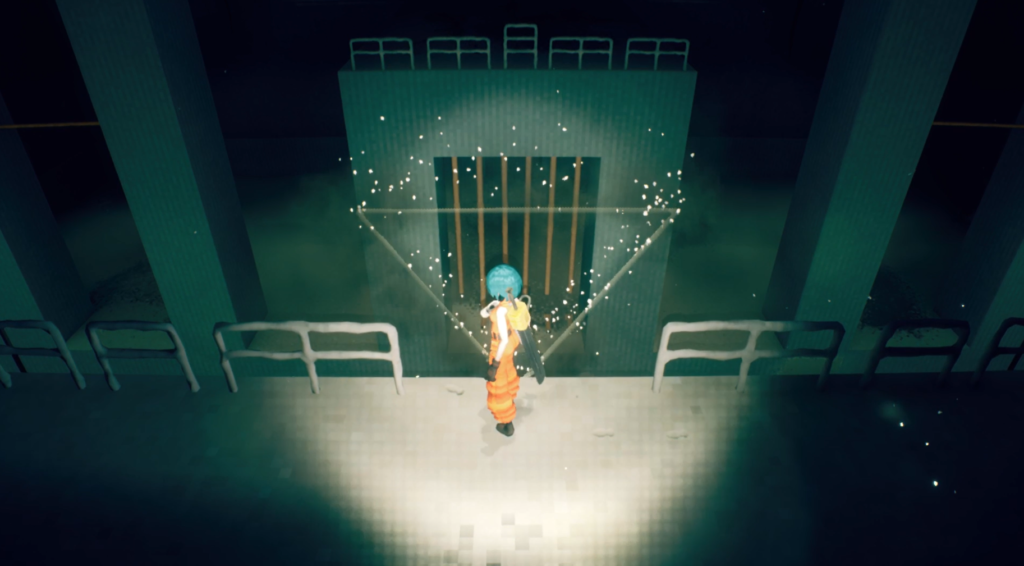
At the start of Chapter 3, swing across the gap in the first room and turn the valve to lower the horizontal poles. Grab onto the higher pole and ride it back up. Turn around and jump to the crack in the wall. Jump across to the raised platform to find the first orb drone. Return it to the nearby evac point.
Checkpoint_02
Orb Drone 54 (Timed)
You may have noticed I’ve labelled this one “Timed”. That’s because some orb drones need to be delivered to an evac point within a certain time. On occasion, several must be delivered at once, but for every orb drone you pick up, your time is increased.
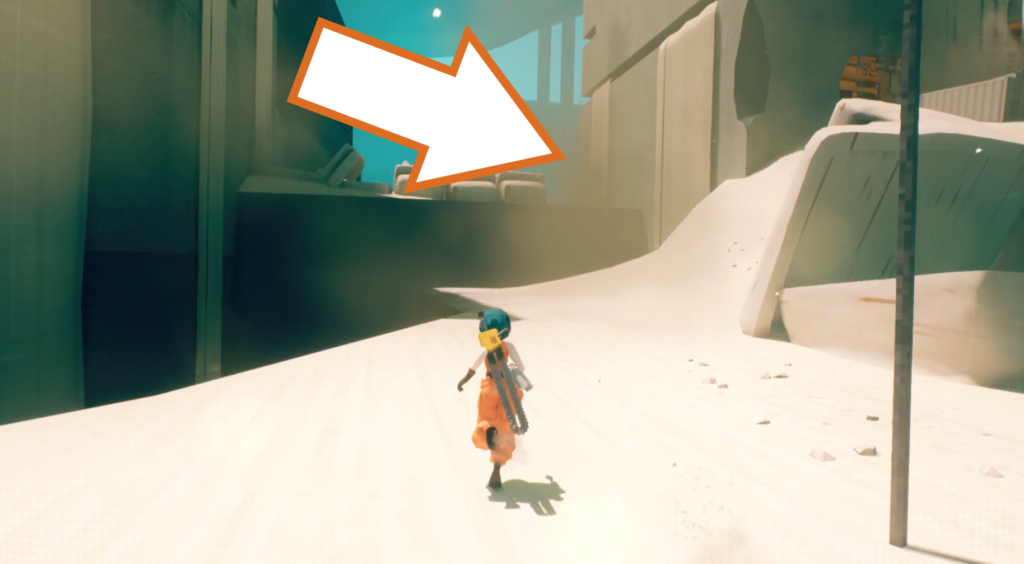
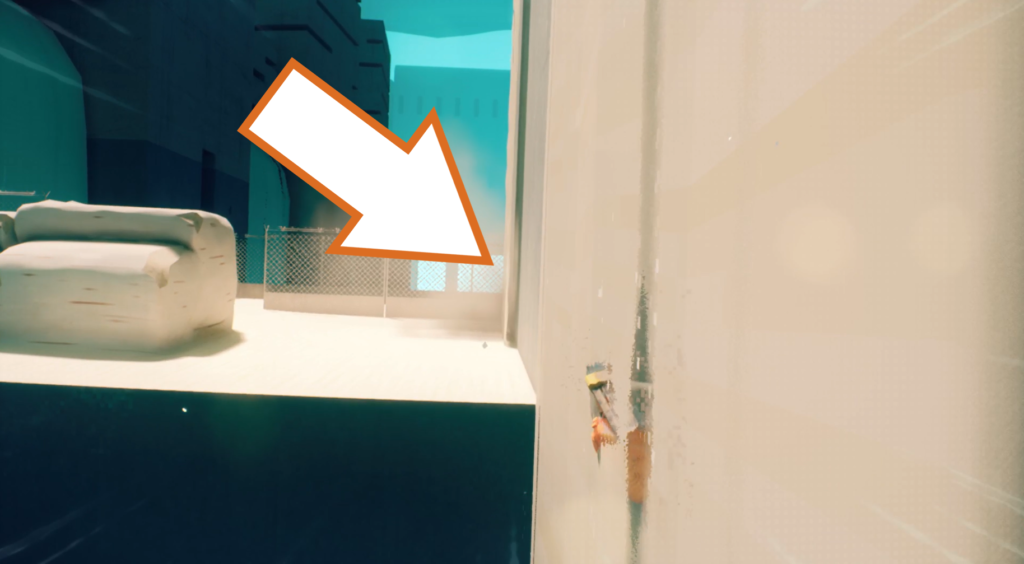
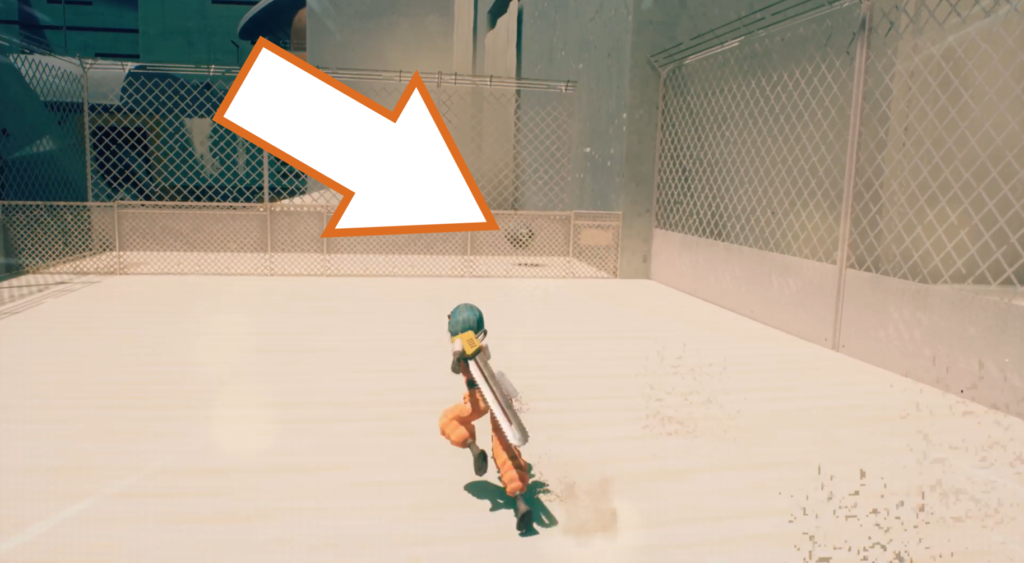
Later on, you’ll come to an open area with a “Slack Off” point. Go to the left of it and wall-run through the falling sand to the higher platform. Go through the wire mesh fence and grab the orb drone.
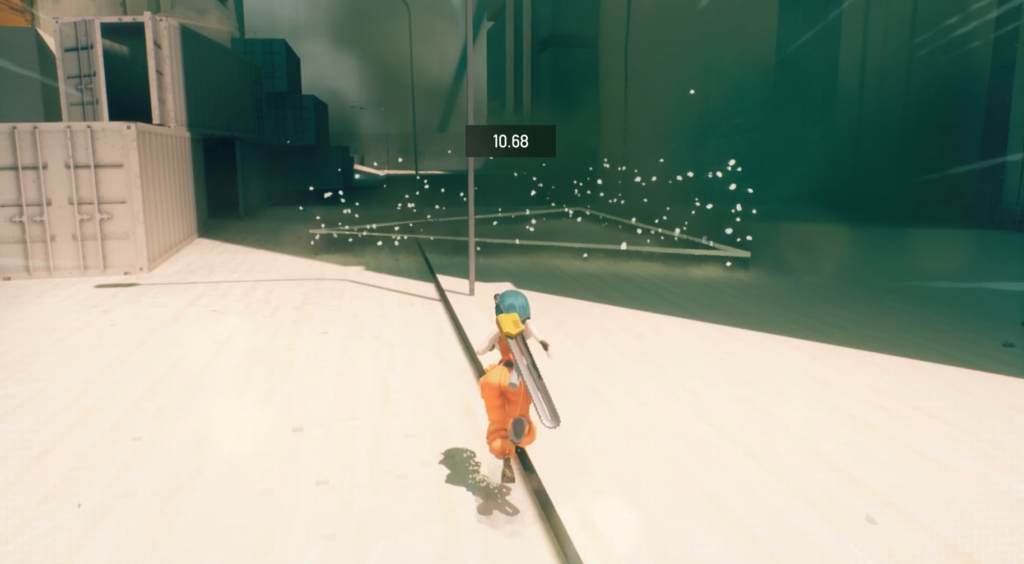
Quickly get back to the evac point near the “Slack Off” location.
Orb Drone 55 (Timed)
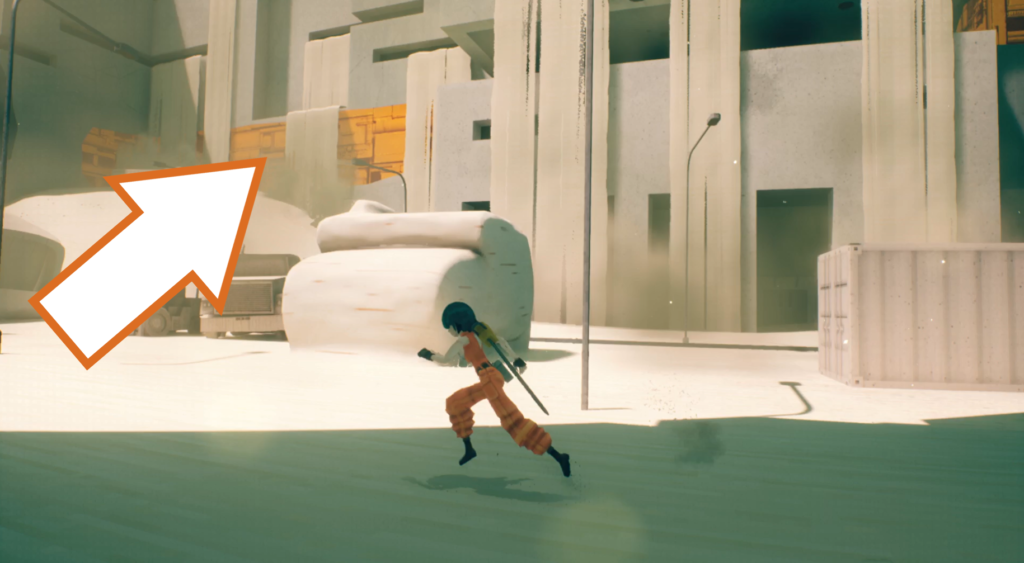
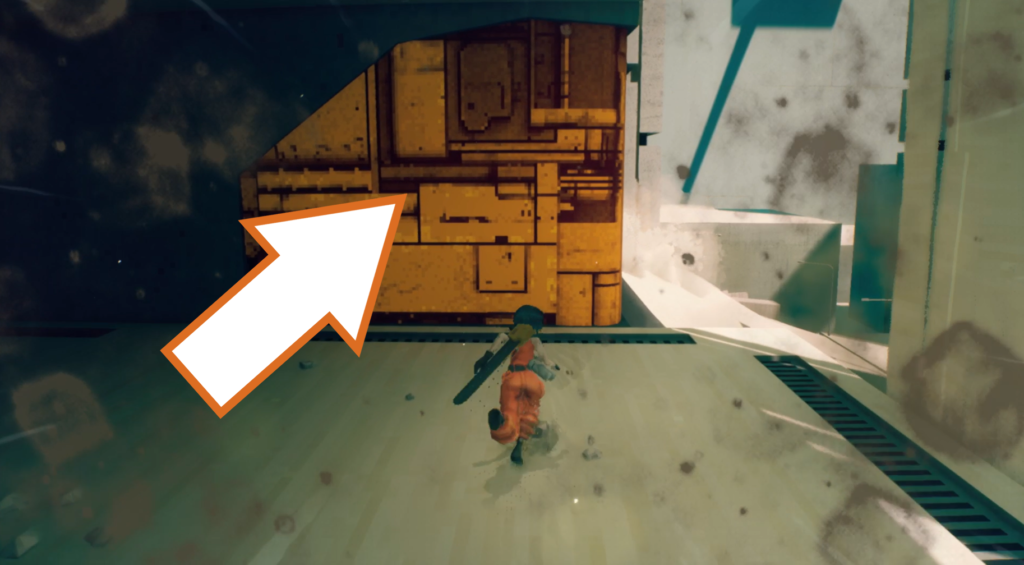
Still in the same area as the last orb drone, ride your chainsaw across the exposed metal and look for a second section of it to traverse and get over the gap near the evac point.
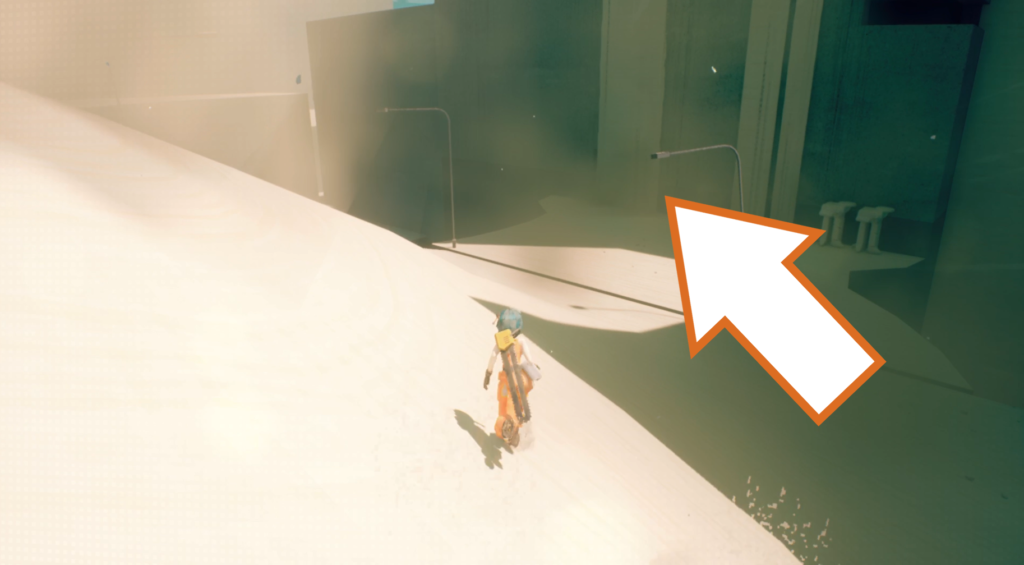
Once you’re back on solid ground, run over to and behind the second sand waterfall to find a hidden staircase with the orb drone waiting at the bottom.
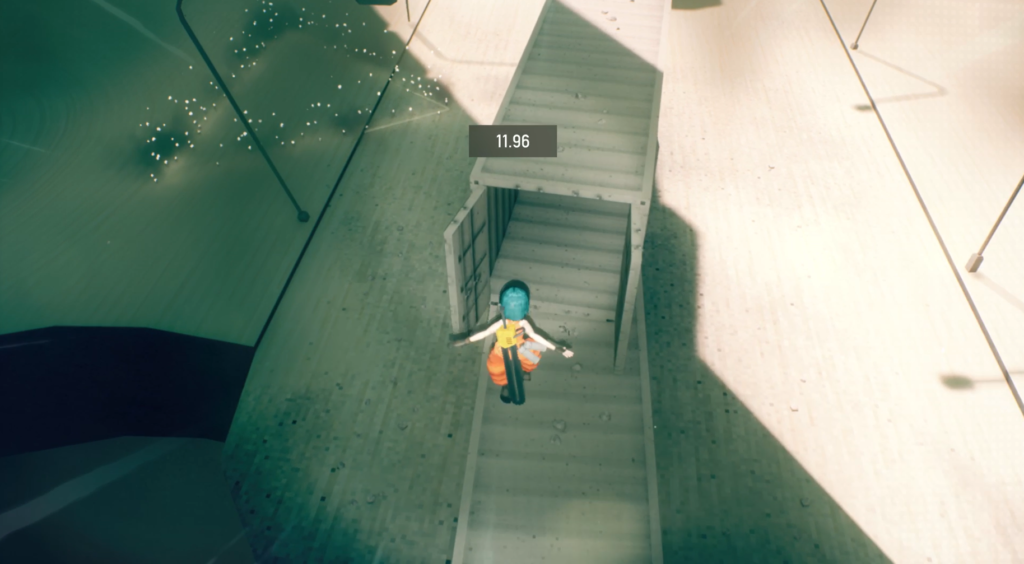
Nab it and run back, mantling up and jumping across the freight containers to the evac point.
Orb Drone 56, 57 & 58 (Timed)
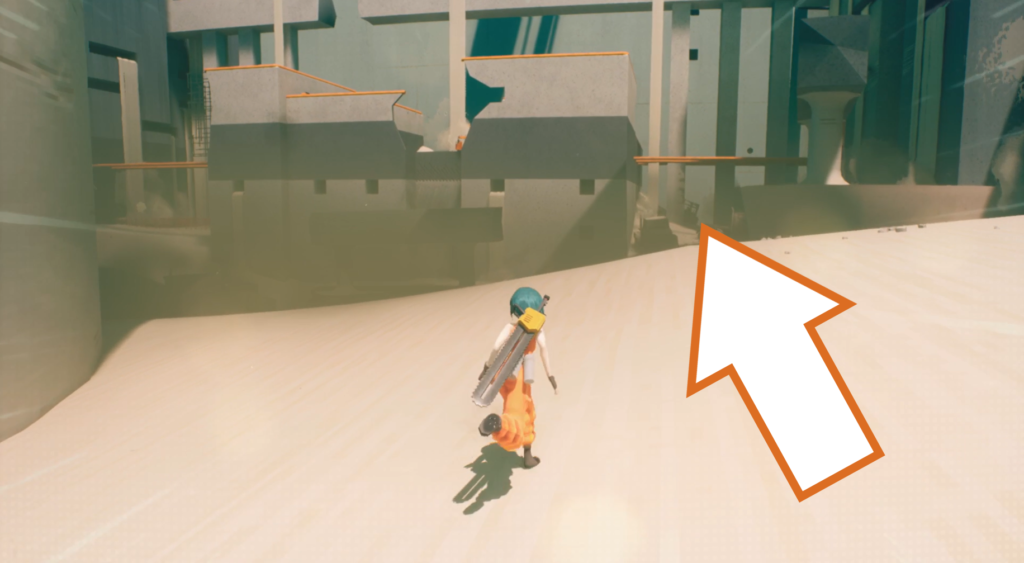
The next three orb drones need to be collected and delivered together within a time limit. Once you’ve reached the large area with the round pillar in the centre, go around and behind the square building with orange poles on it and climb up the dune at the back to get on the roof.
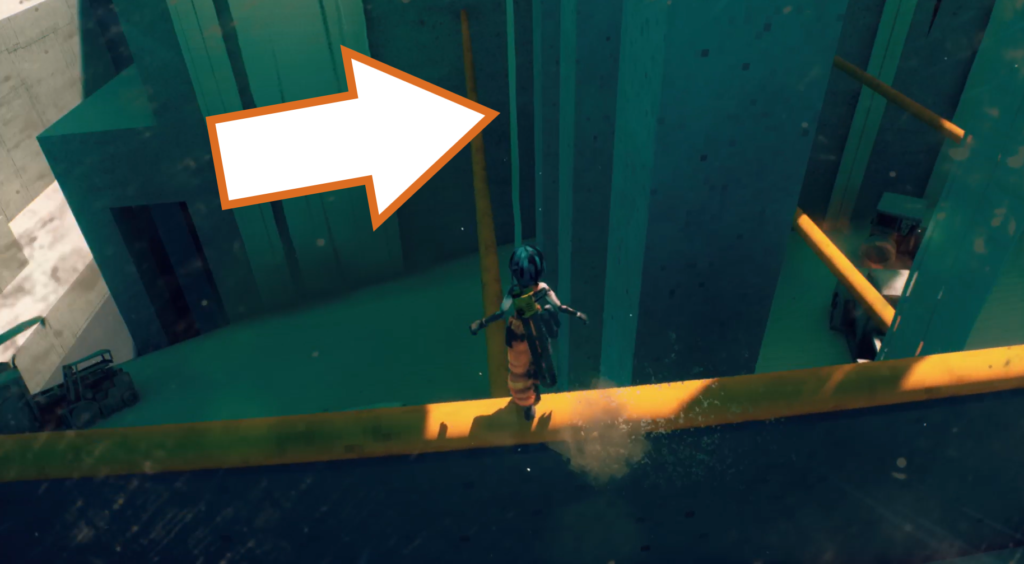
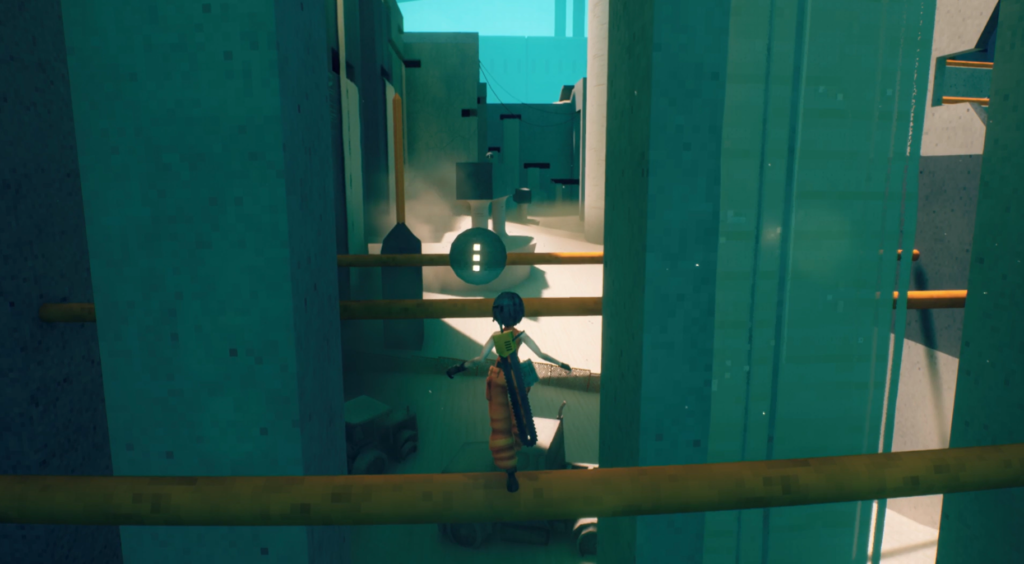
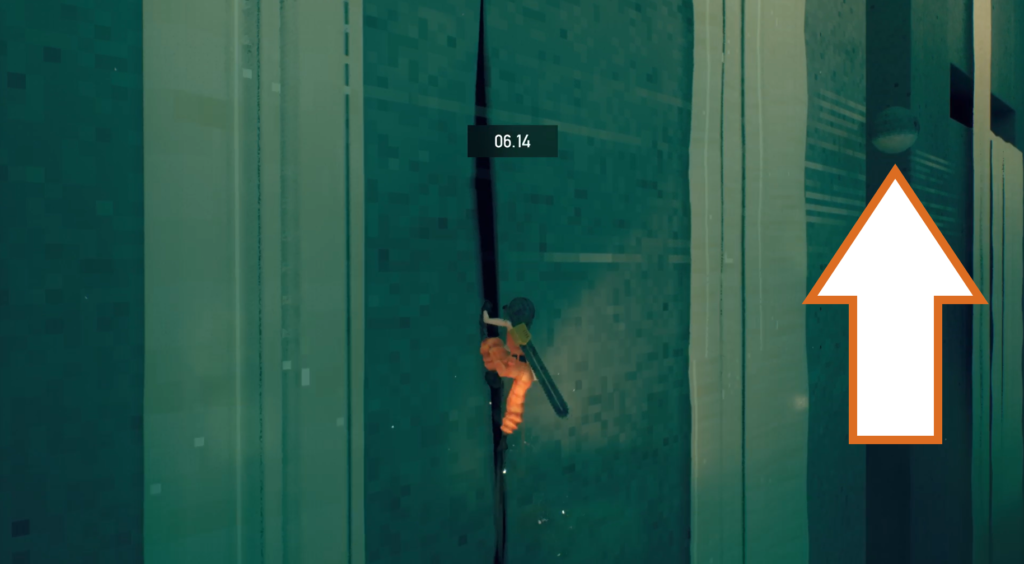
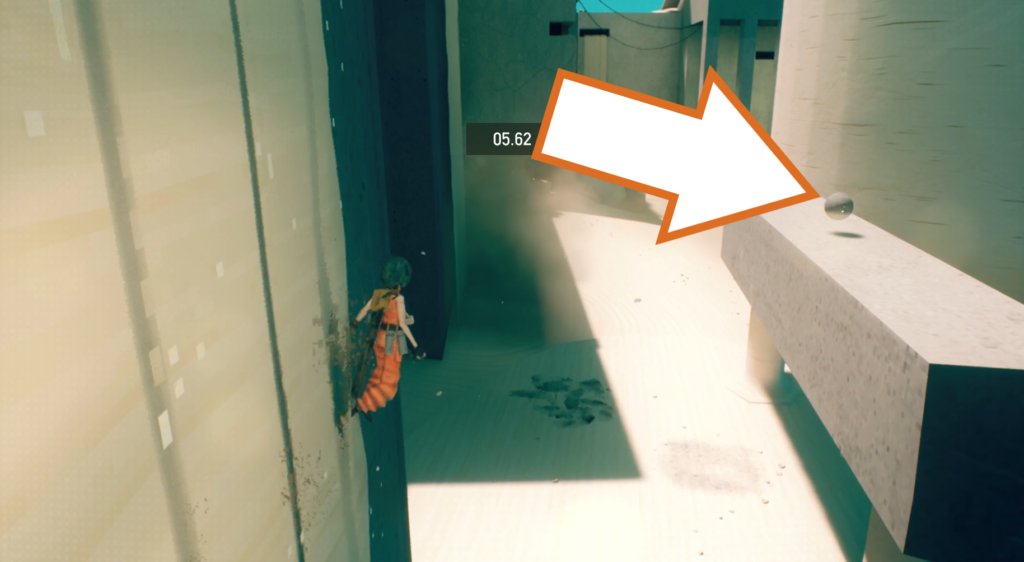
Get up onto the wall of the building near the rows of square columns and drop down onto the pole below nearest to the back of the building. Walk along it to find the first drone between two of the pillars. Jump across to grab it, and continue forward on the poles and then to a crack in the wall. Wall run to grab the second orb and then jump to the girder. Climb around to jump to the next wall, and then jump to the structure with the last drone on top.
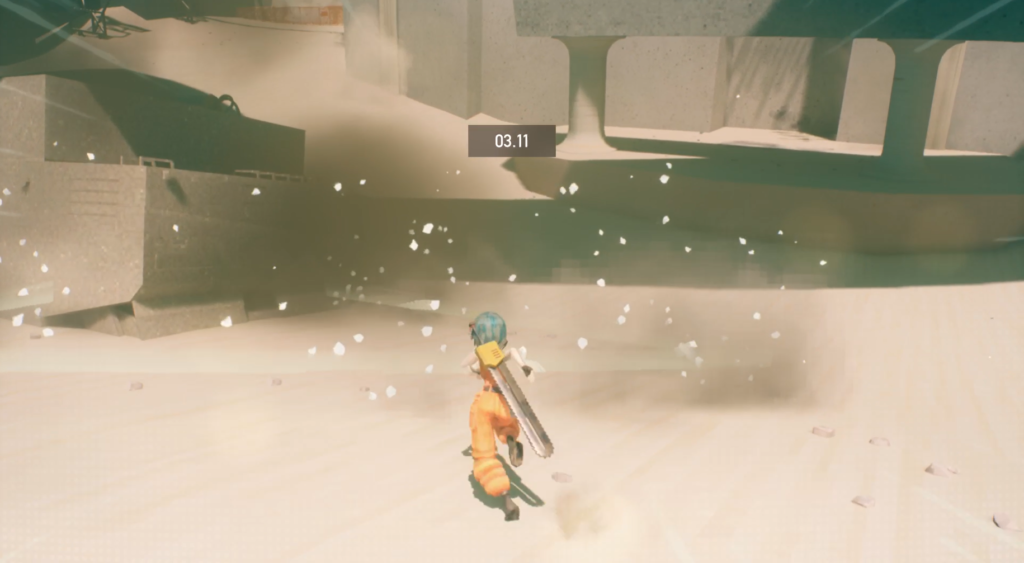
Run the drones over to the evac point in front of the square building.
Orb Drone 59
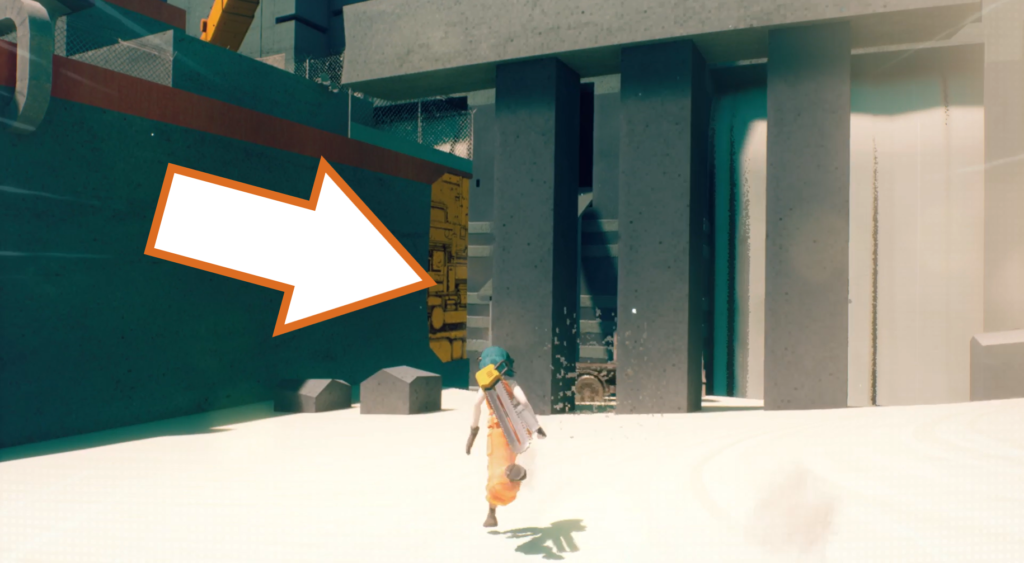
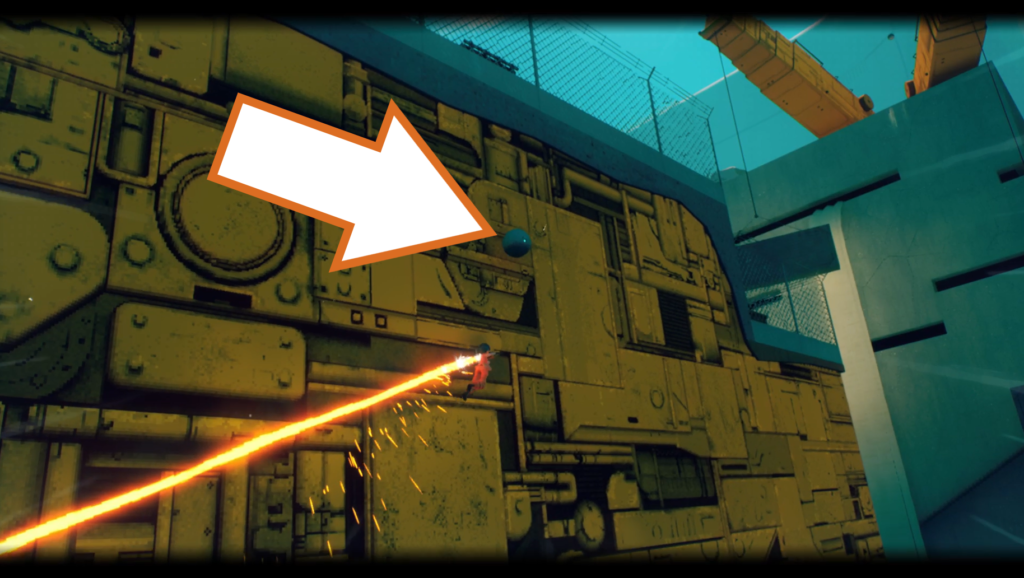
The next orb drone is at the back of the lower of the two buildings in this large area. On the right side of it is a patch of exposed metal you need to motorslice on to reach it. I used the nearby truck to make it easier. Ride your chainsaw around the corner and angle up to the drone. Take it back to the evac point.
Orb Drone 60
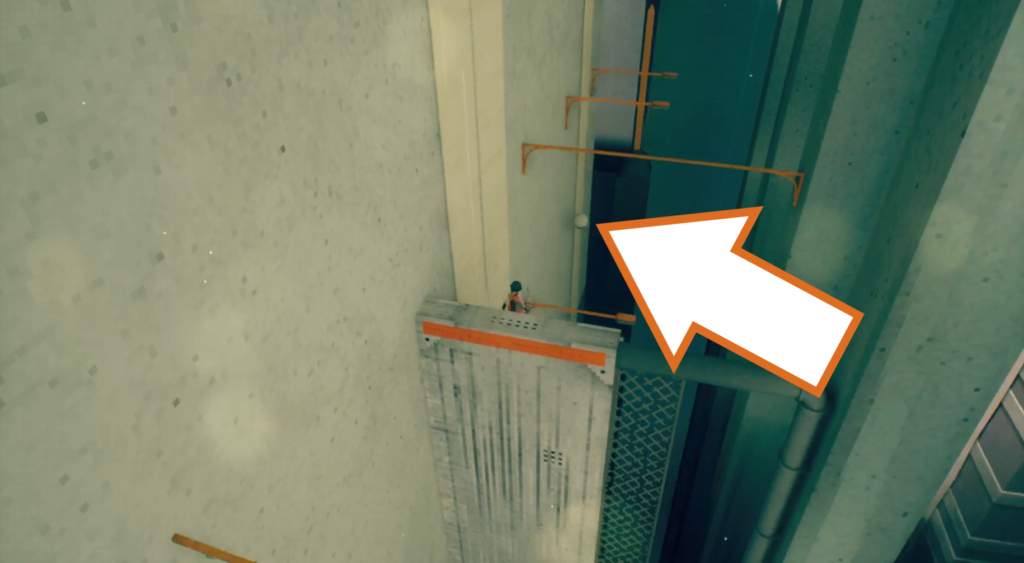
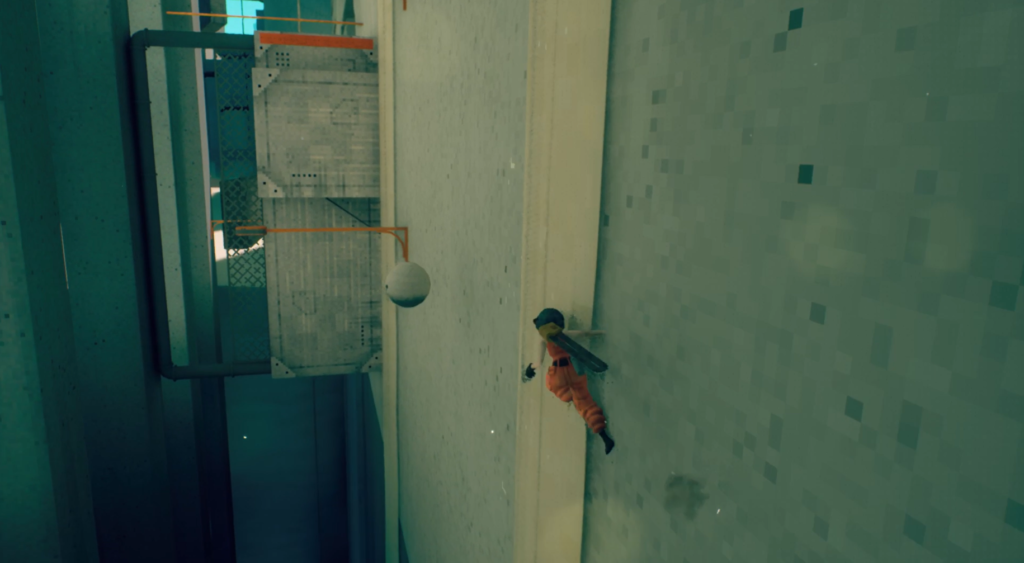
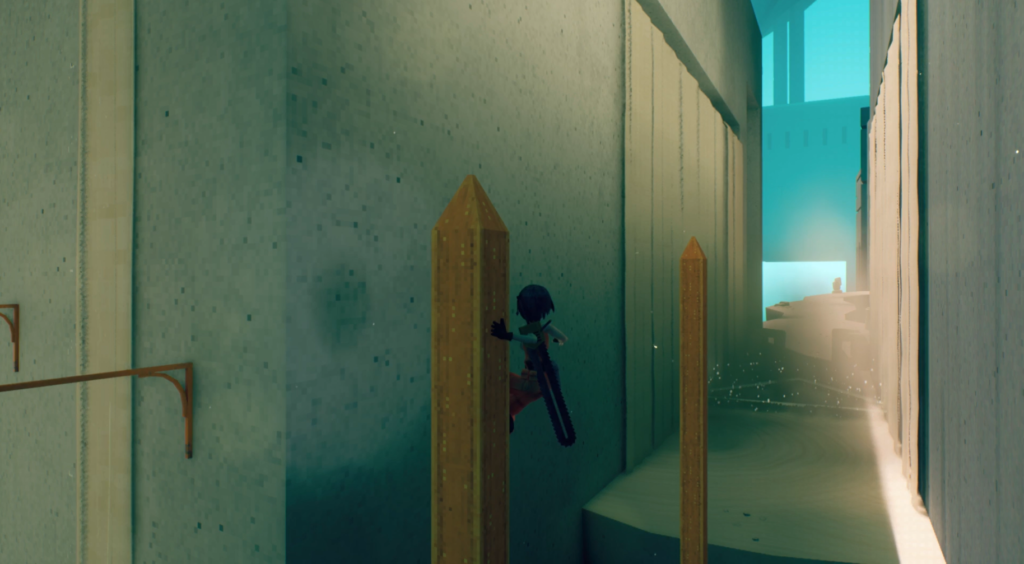
This orb drone is further on, when you have to chain together several wall jumps and pole swings to reach the top of a slab sticking out of the wall. Swing across to the girder and slide down in line with the drone. Wall run to grab it and reach the horizontal pole, turn around and wall run back to the girder. Deliver the drone to the evac point further on.
Checkpoint_03
Orb Drone 61
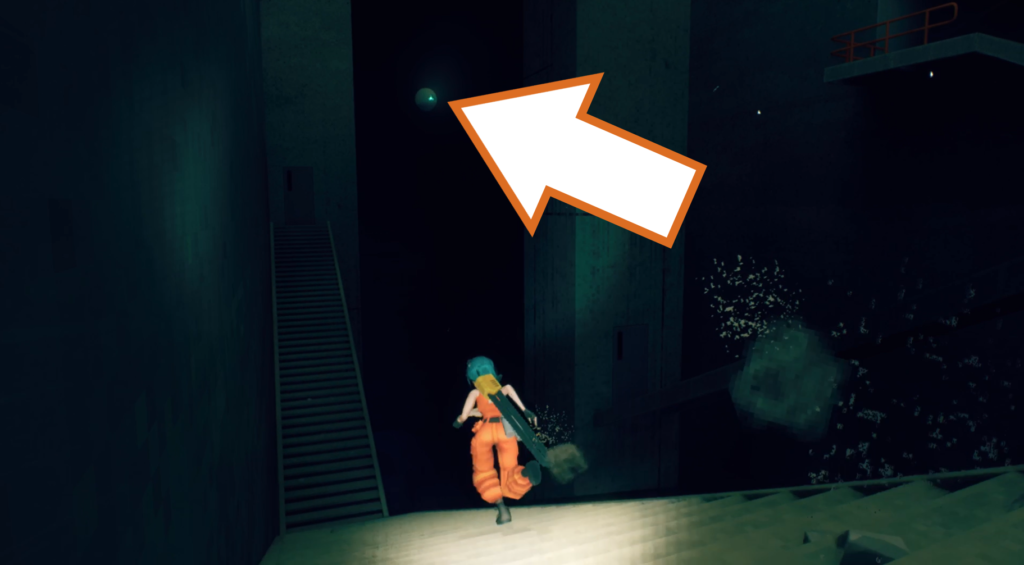
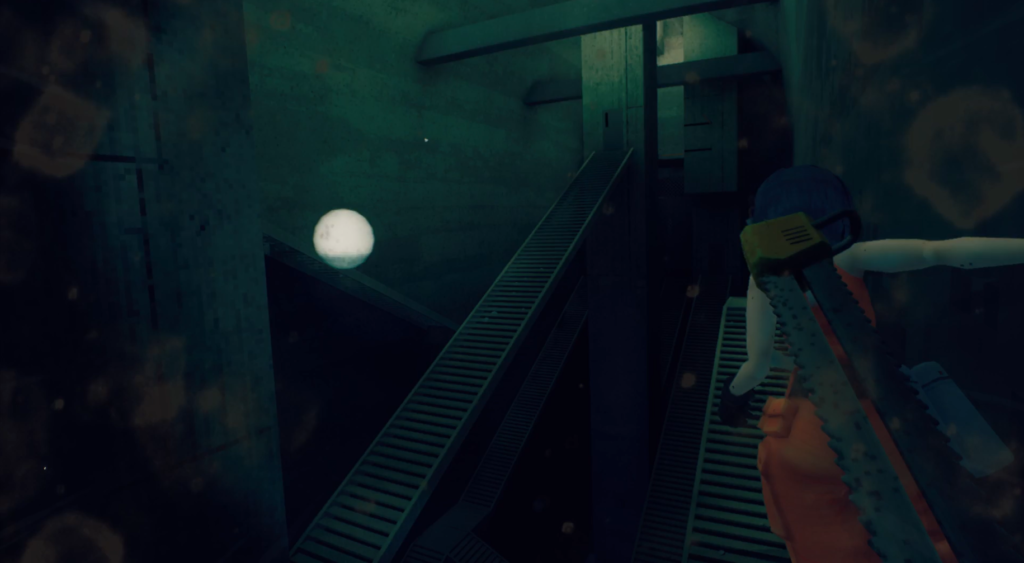
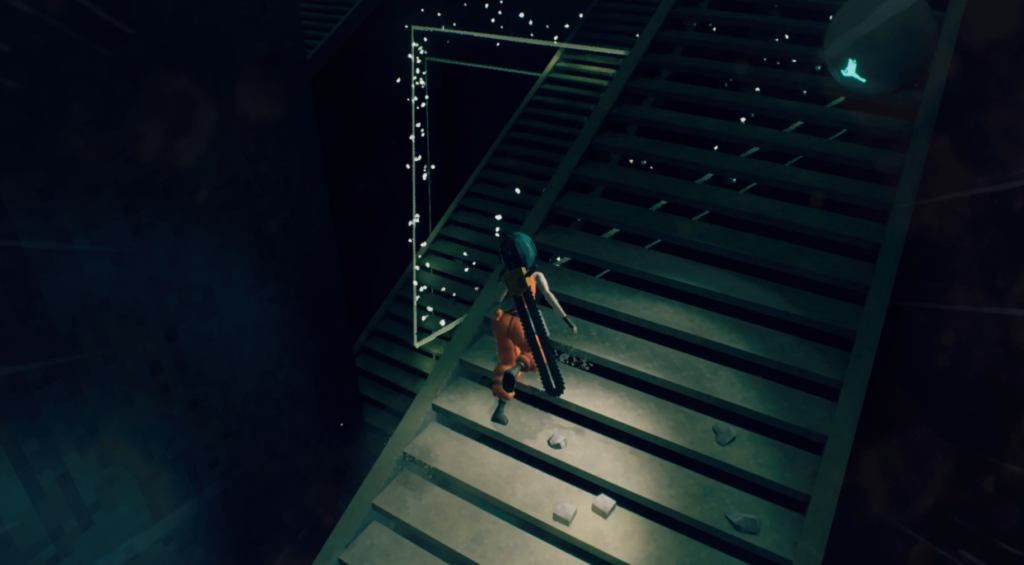
The next orb drone is in a long, dark room full of metal staircases. Get to the opposite side you entered from, and look for it hovering near a pillar at the top of some stairs (to the right when you came into this room). Wall run up the wall with the door, and jump to wall run across the long wall to reach the drone. If timed right, you should be able to land back on the staircase. Take it over to the evac point in this room.
Orb Drone 62 & 63 (Timed)
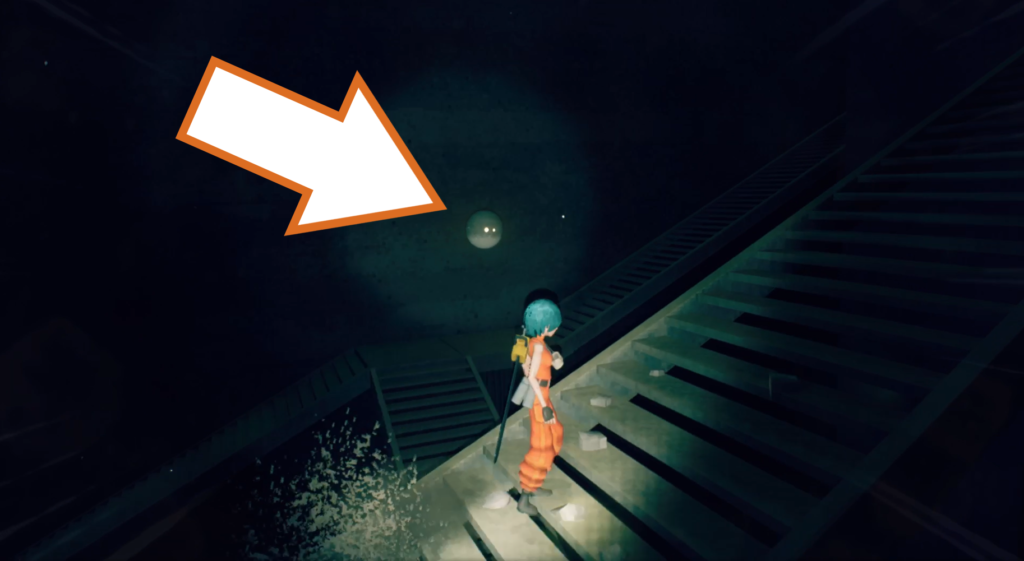
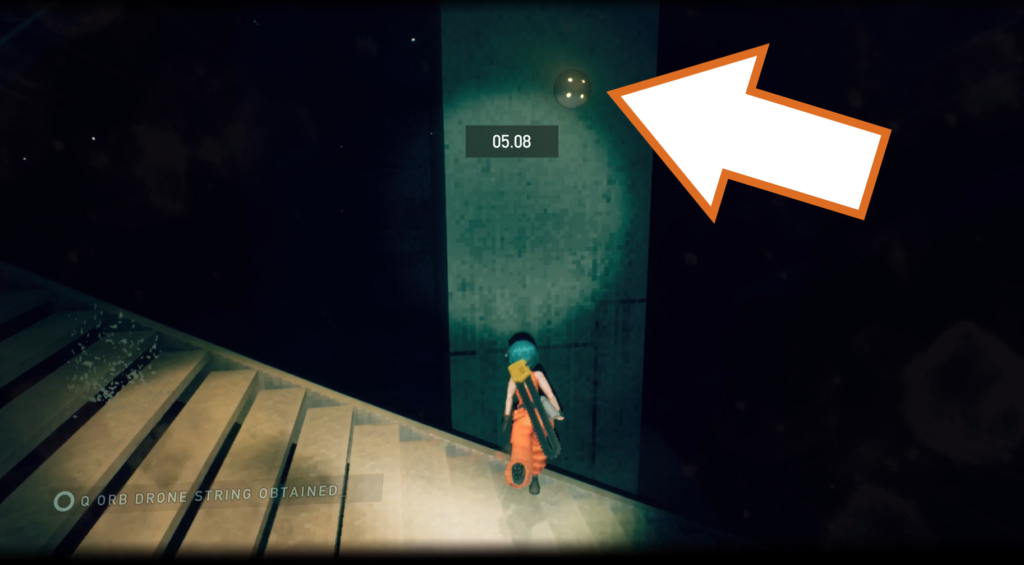
In that same dark room are two orb drones that need to be evacuated at the same time. The first one is floating to the side of a central staircase and floating over another. Jump to grab it and land on the stairs below, then look to your right at the pillar to find the second one. Collect this one and take them both to the evac point within the time limit.
Orb Drone 64
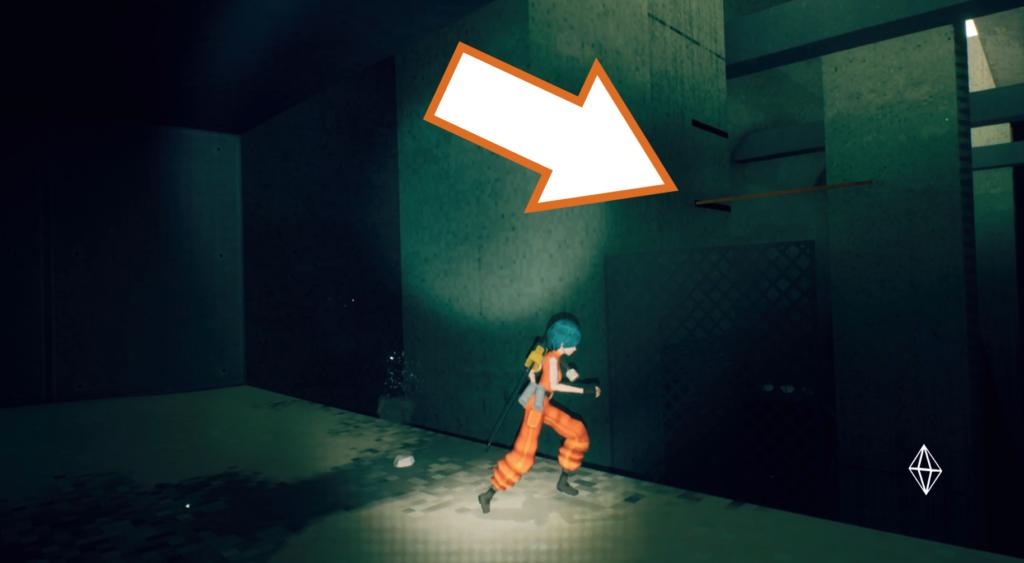
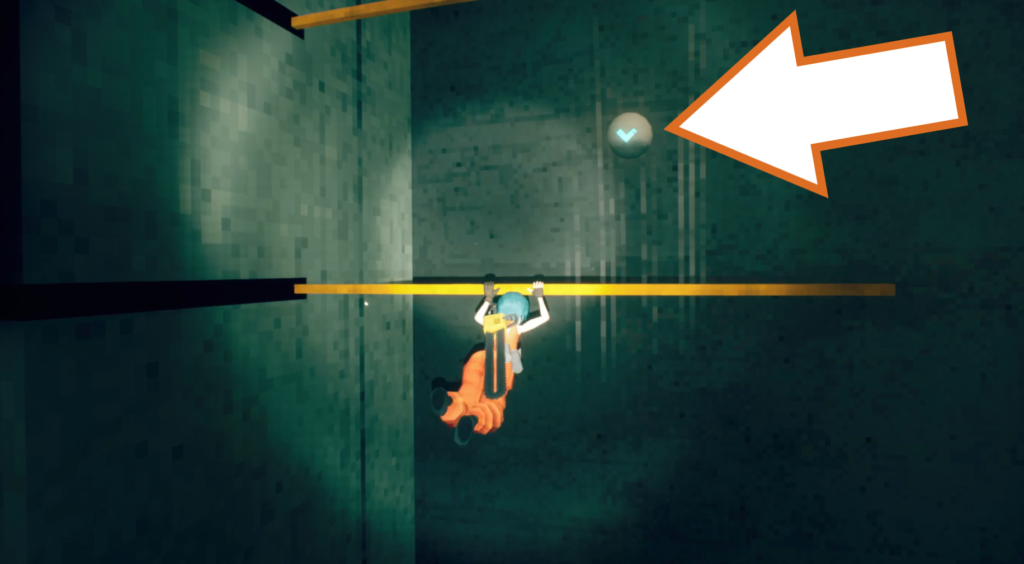
Get up to the exit out of this room and turn around to see a bar you can jump to from the wire mesh fence. Jump across and ride it around the corner to find this orb drone near the wall. Take it back to the evac point.
Orb Drone 65
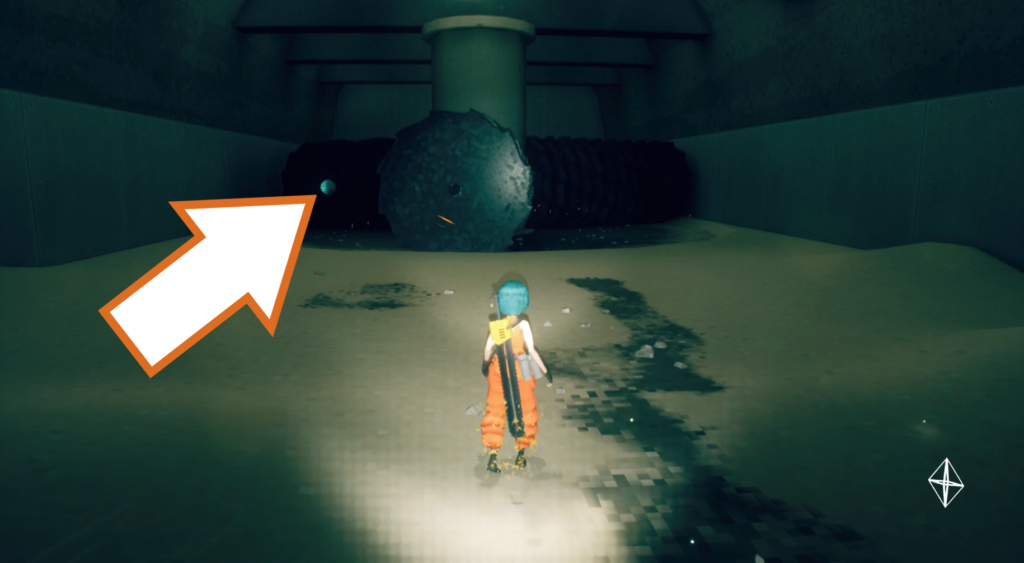
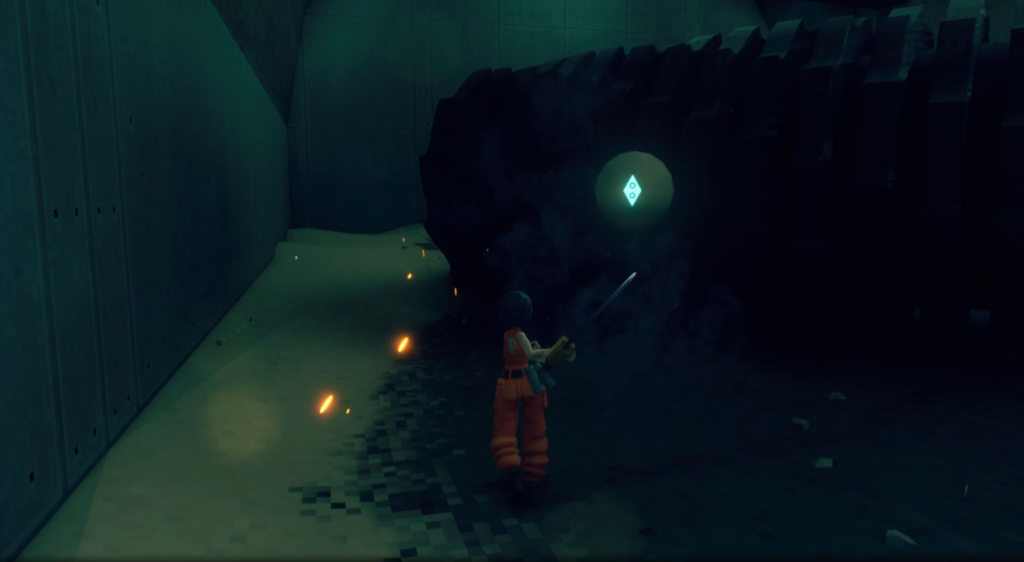
The next orb drone is within the rotating grinder trap in the next room. Parry the trap to give yourself time to grab it, then go through the orange door to proceed and find the next evac point.
Checkpoint_04
Orb Drone 66, 67, 68, 69 & 70 (Timed)
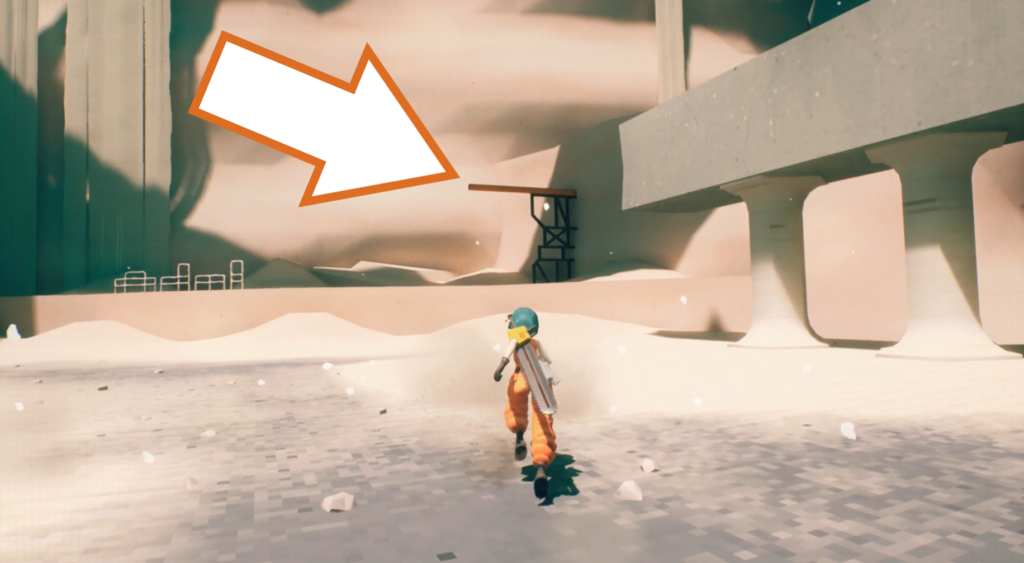
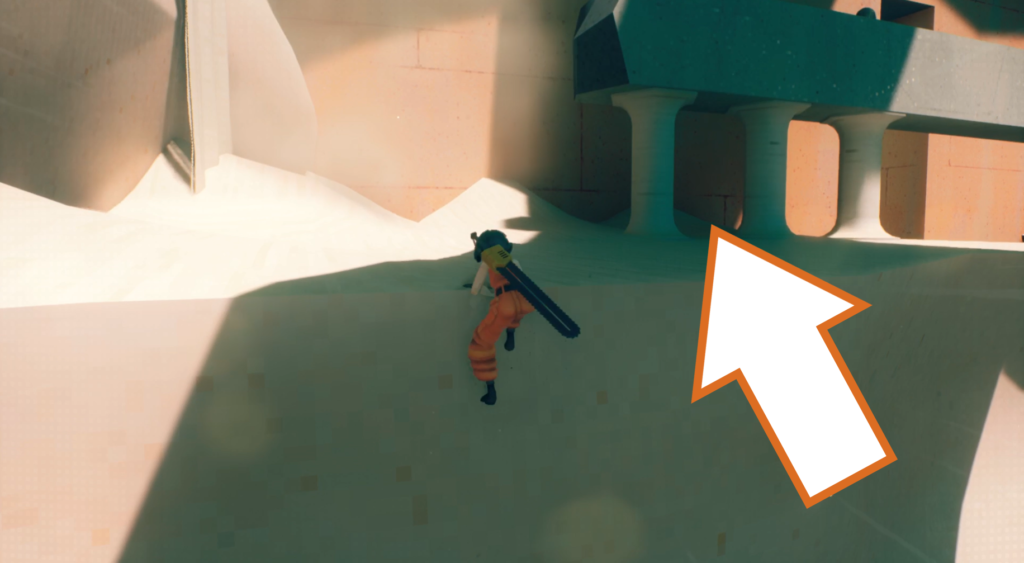
After navigating some canyons, you’ll reach a large arena with a building in the middle. Clear the enemies and then look for an orange pole sticking out of a wall below a ledge. Mantle up and head behind the long structure with pillars.
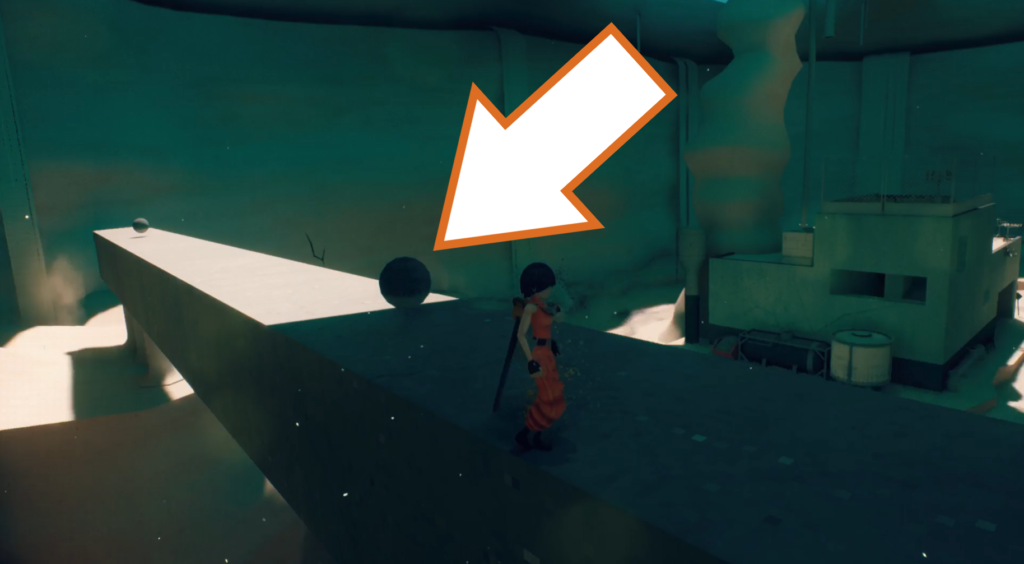
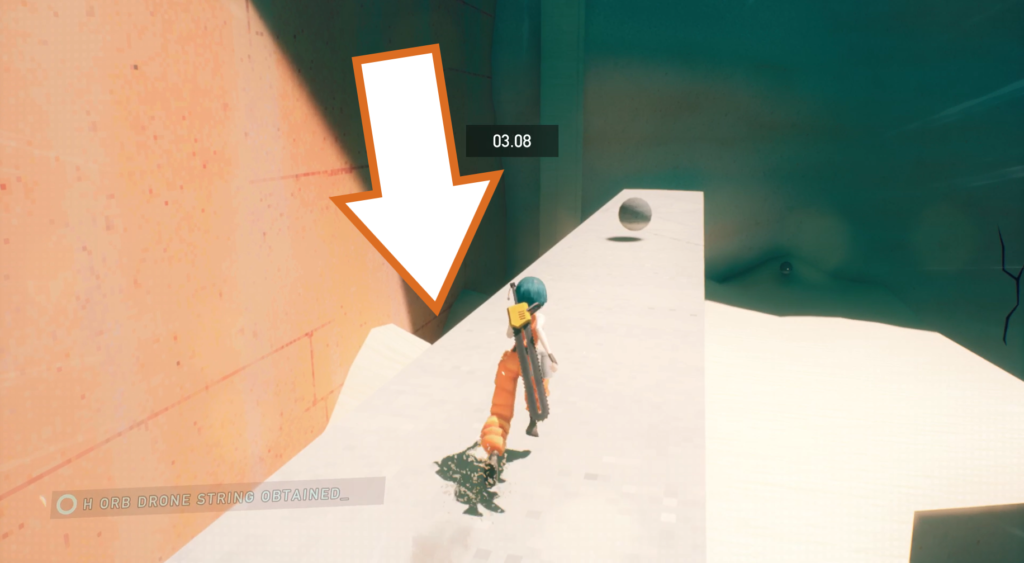
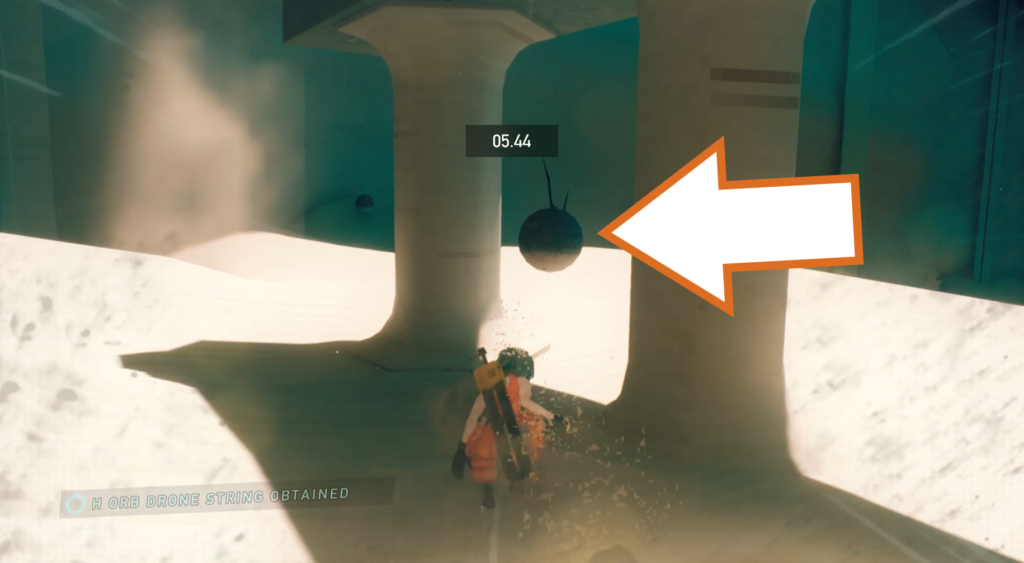
Wall run up onto the structure and grab the first orb drone of five. The second one is at the other end of the long structure, and the third is directly underneath it between two pillars.
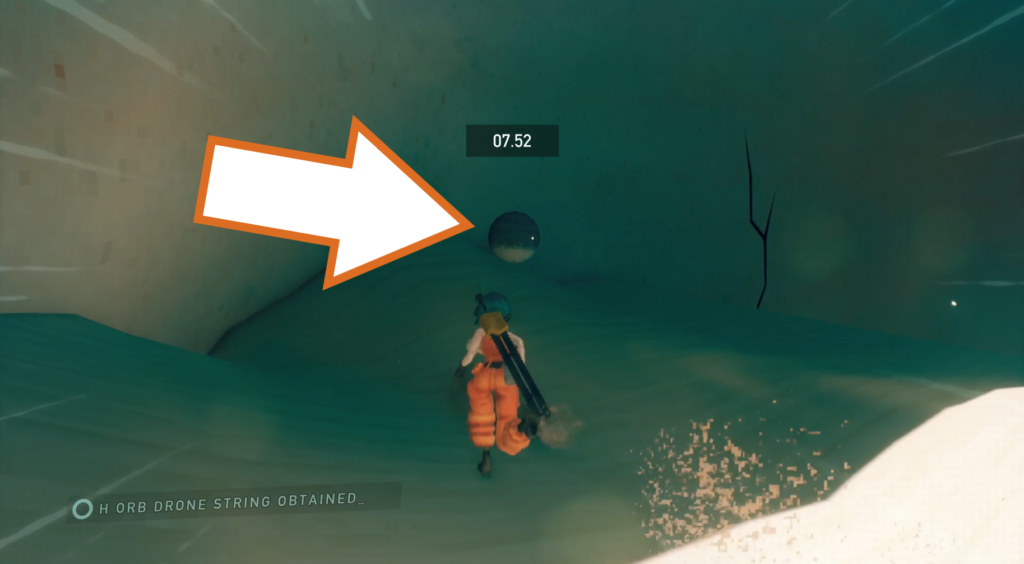
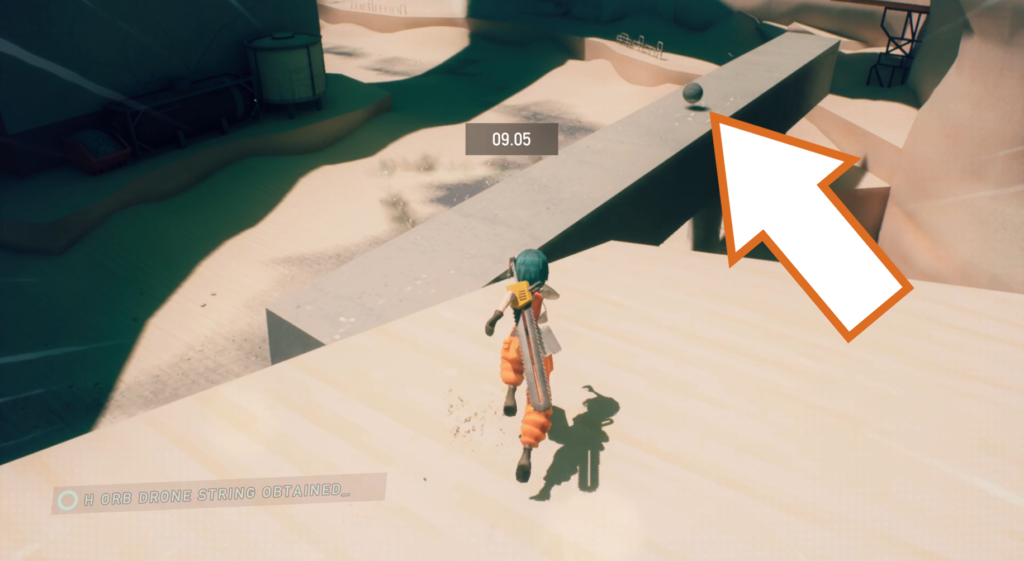
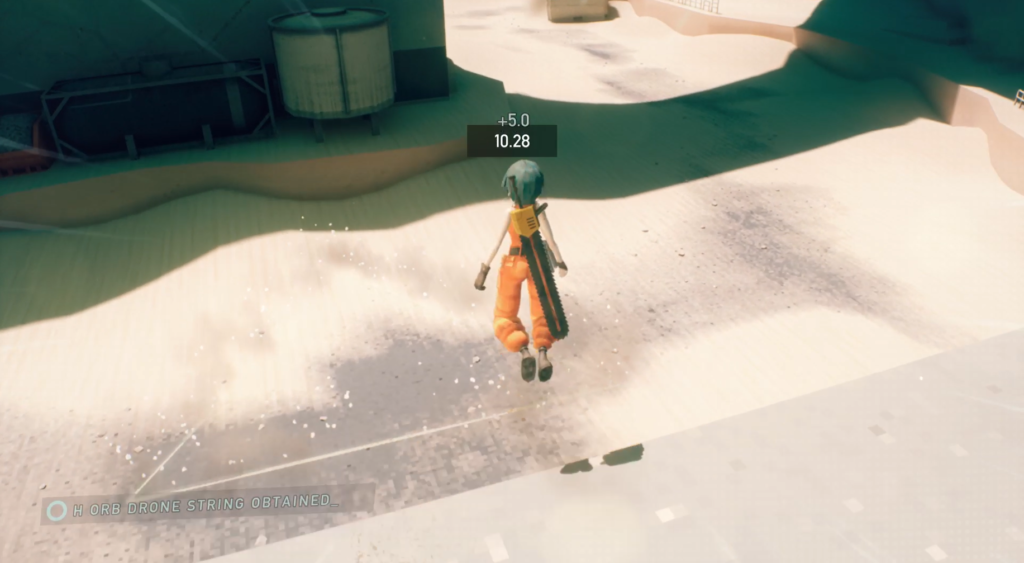
You should see the fourth orb drone by the wall, and you’ll find the last one on top of another long ruin below the ledge you are on. Jump down to the evac zone within the time limit to successfully deliver all five drones.
Orb Drone 71
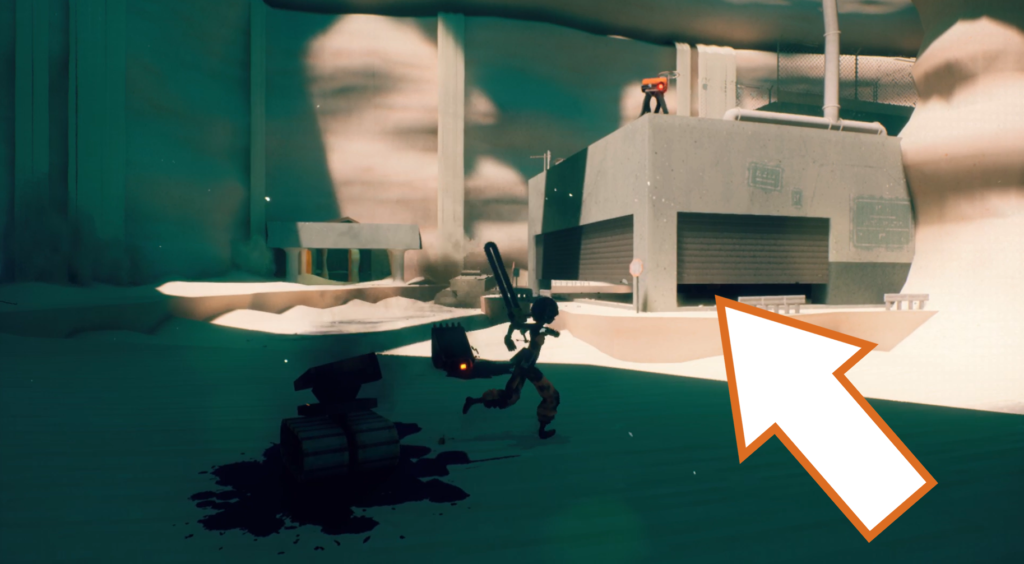
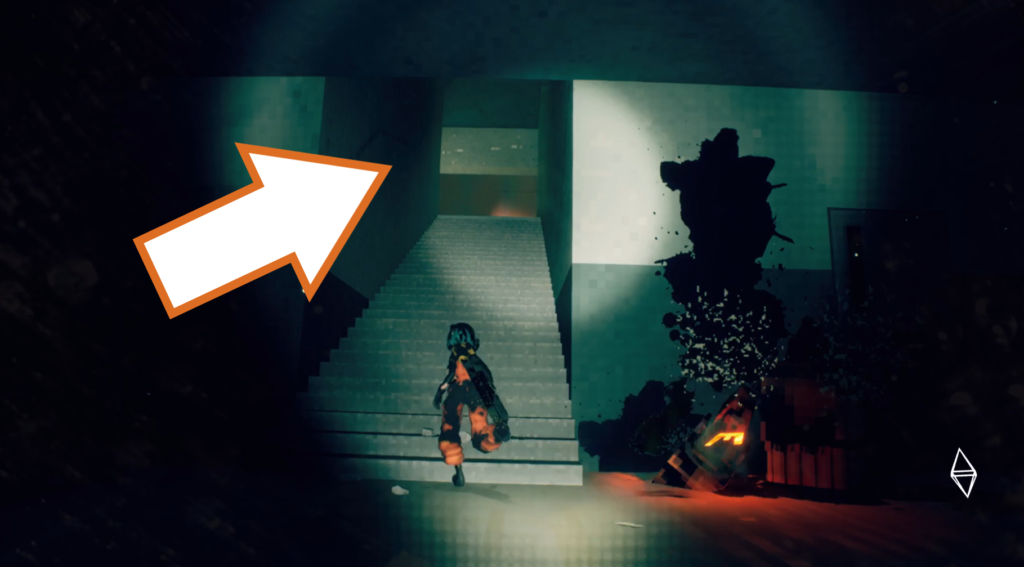
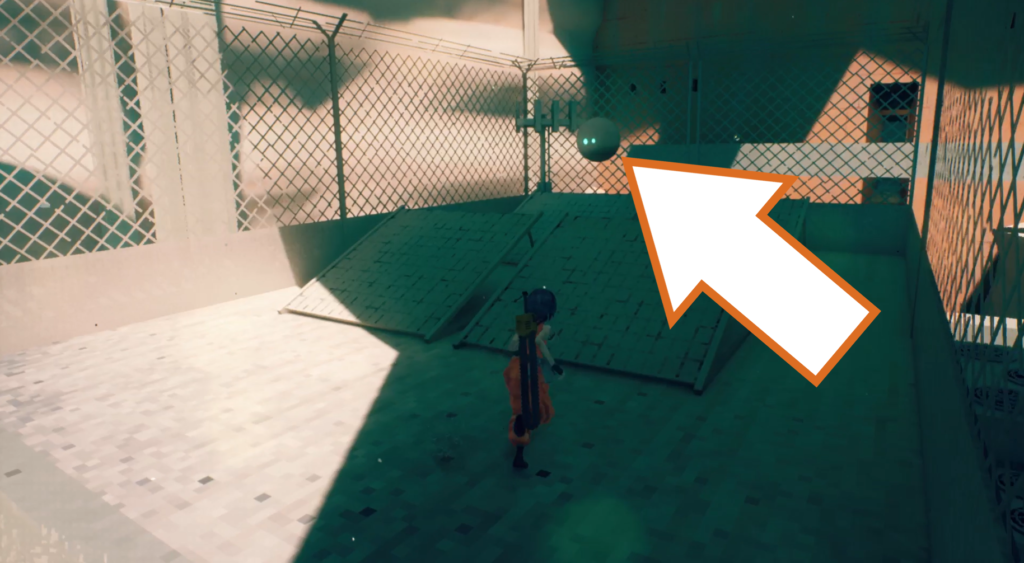
Slide under the shutter of the building in the middle and go up the stairs inside. Exit onto the roof and climb up the level behind you to find the next orb drone to be delivered.
Orb Drone 72
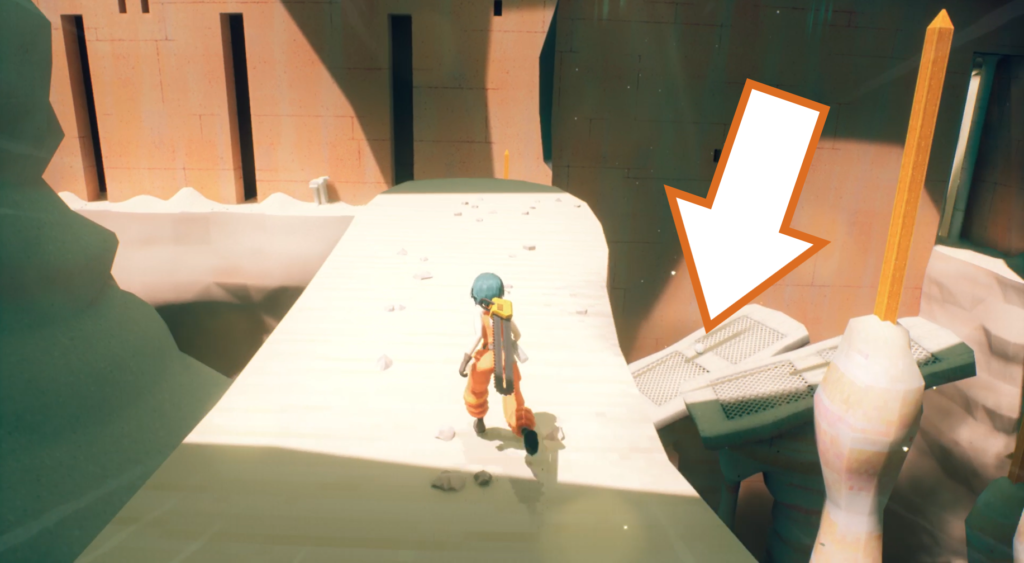
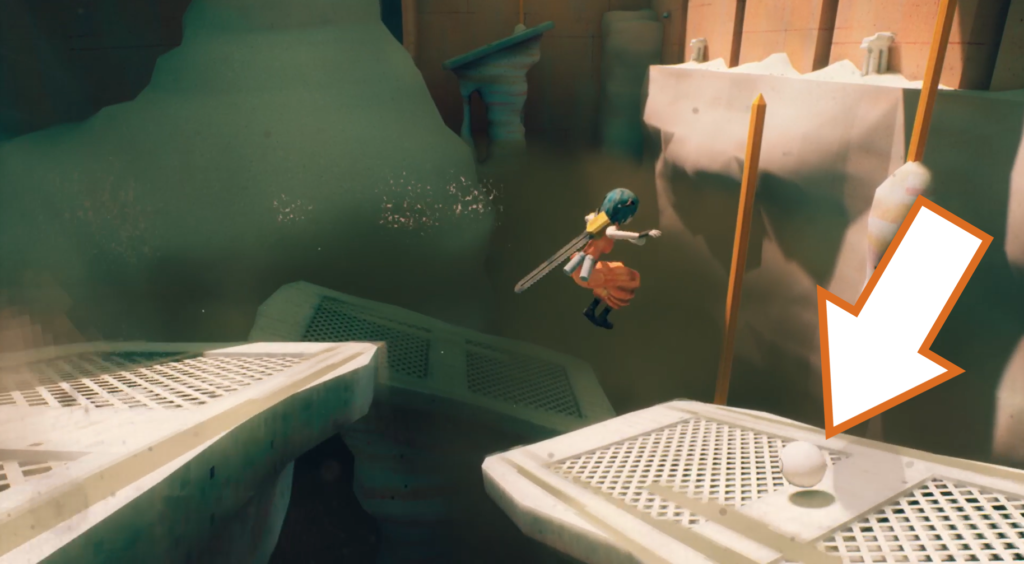
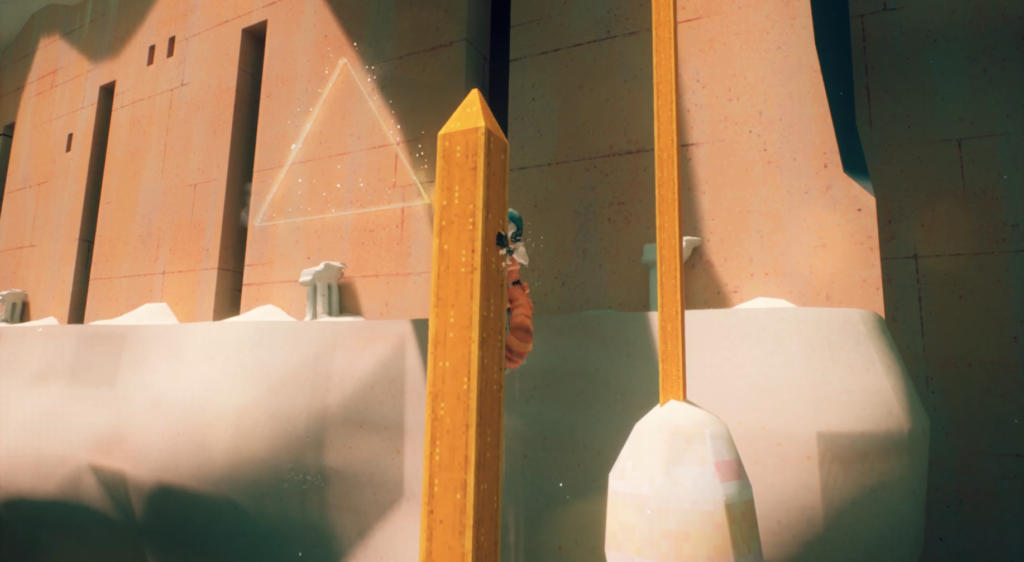
Continue forward into another canyon area with vertical orange girders and sloped platforms. The orb drone is floating above one of these platforms. Jump between the girders down to the nearest sloped platform and quickly jump across to the next one to grab the drone. Escort it to the evac point on the wall just ahead.
Orb Drone 73
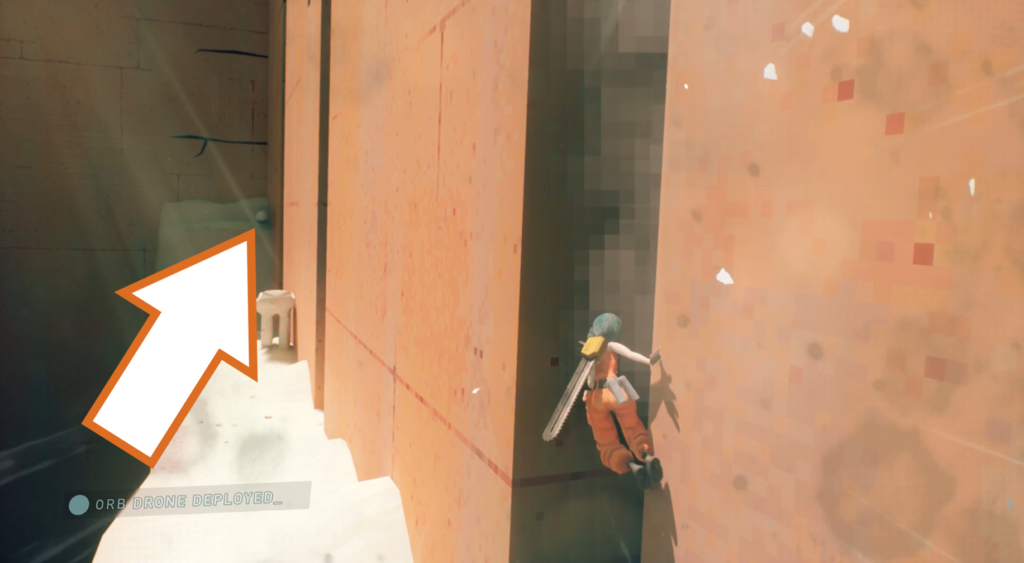
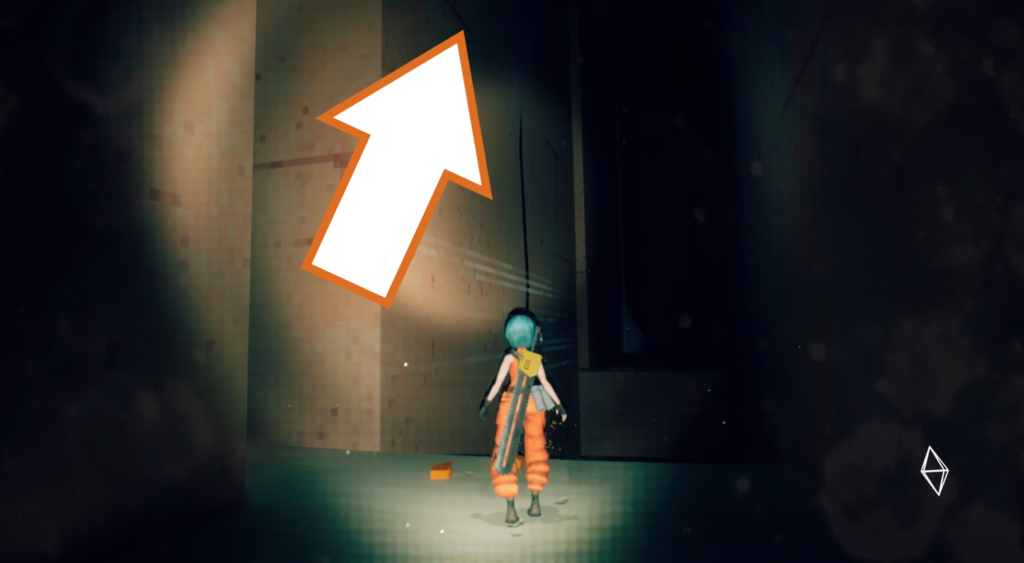
You’ll spot this orb drone just off the ledge you need to get up to. To reach it, go inside the dark area and climb up the crack in the wall, following it all the way up and out into the light again.
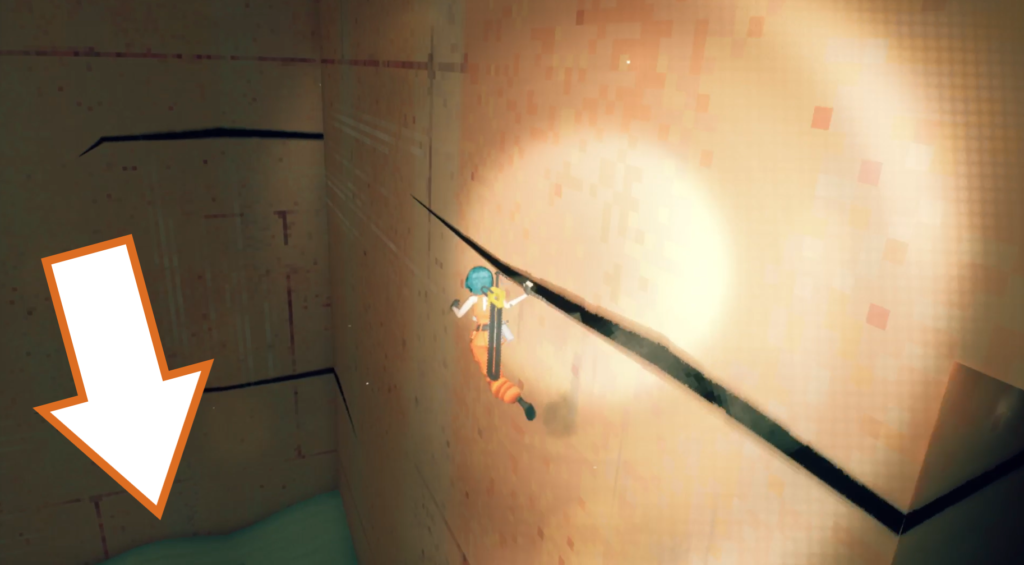
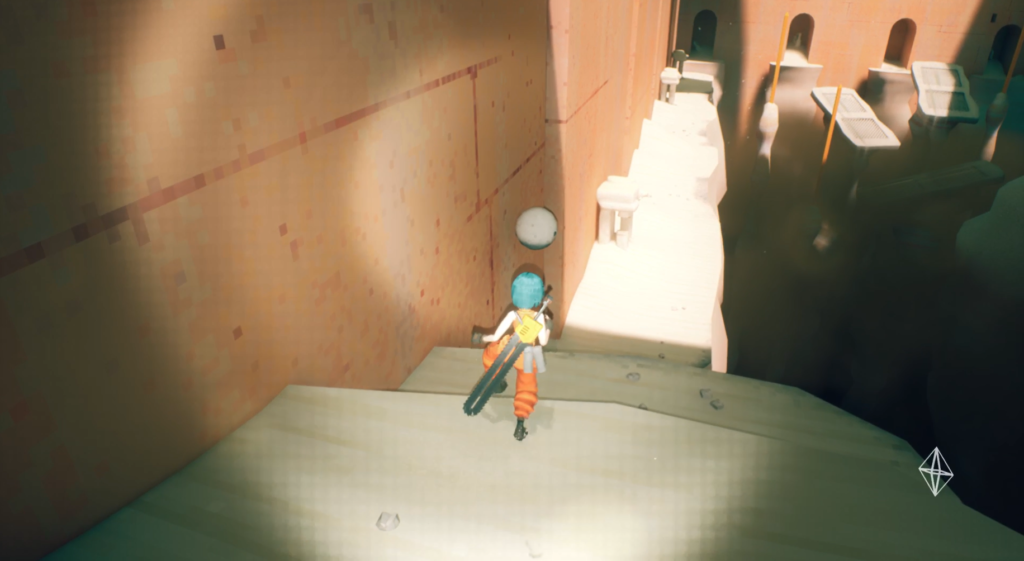
Drop down from the cracks to the ledge, jump off to grab the drone and take it back to the evac point.
Orb Drone 74
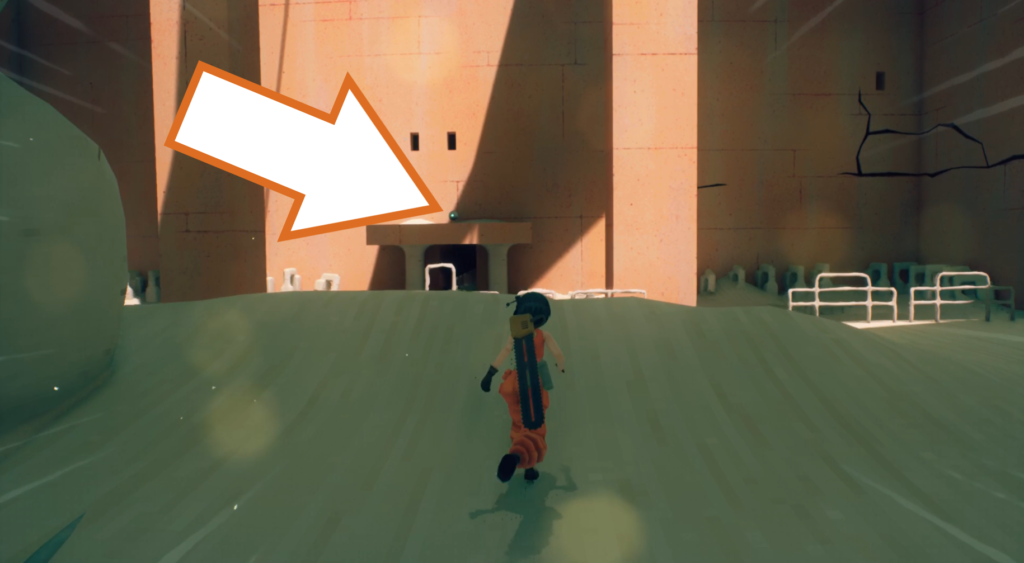
The next orb drone is hiding above the doorway you go through to reach a room with enemies and an evac point at the bottom. Get across to the other side of the upper area and look back to spot it above the archway.
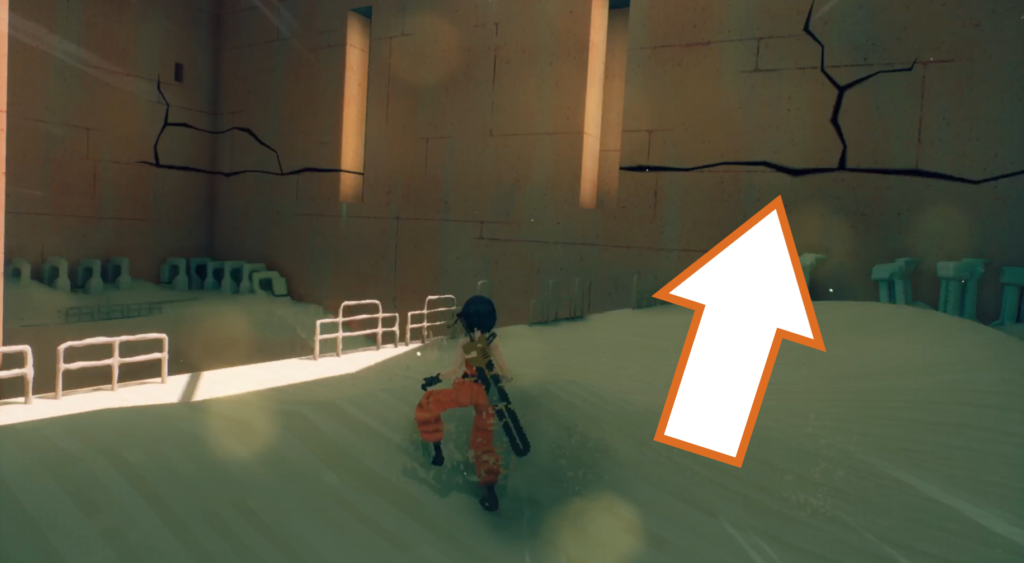
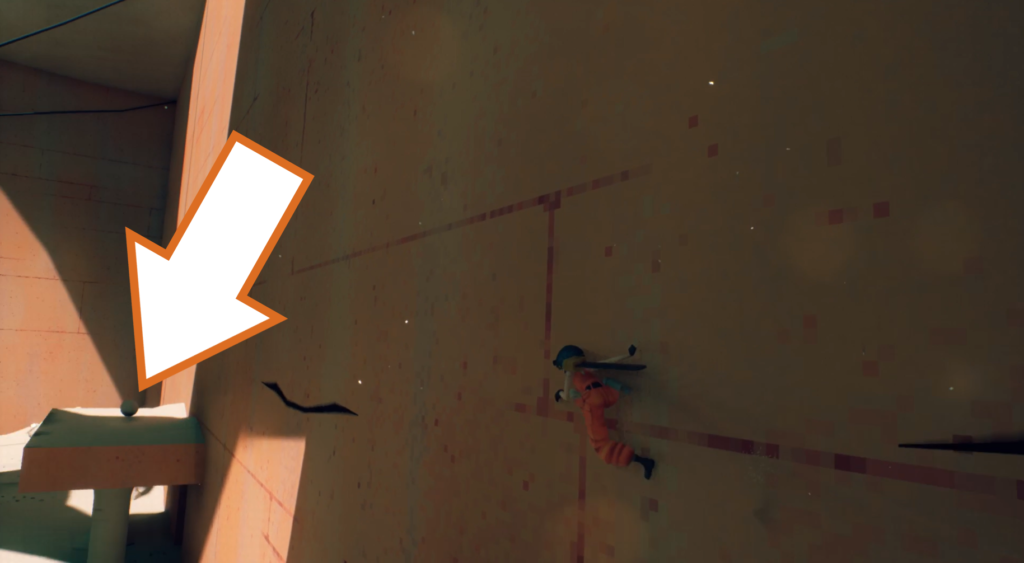
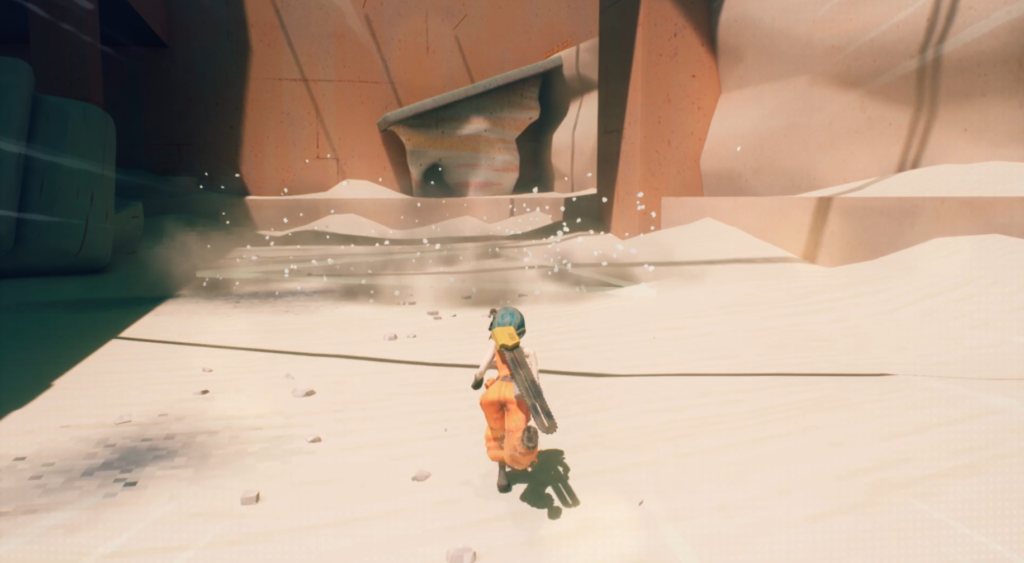
To your right is a long crack in the wall that goes through a gap to a small passage, which leads to another gap with another crack you can slide along. Follow it all the way around and then wall run to reach the archway and the drone. Drop down to the bottom to deliver it to the evac point.
Orb Drone 75
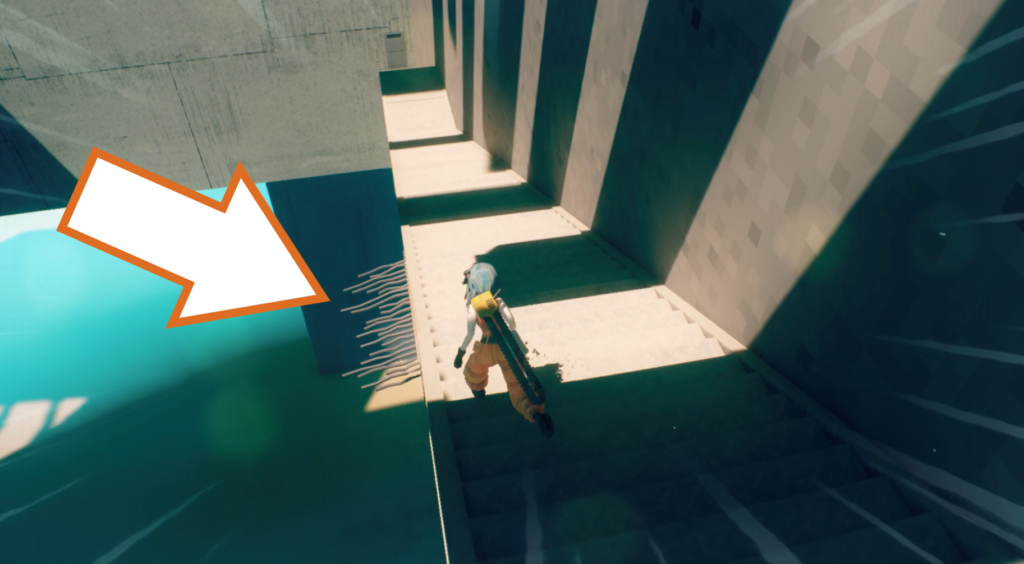
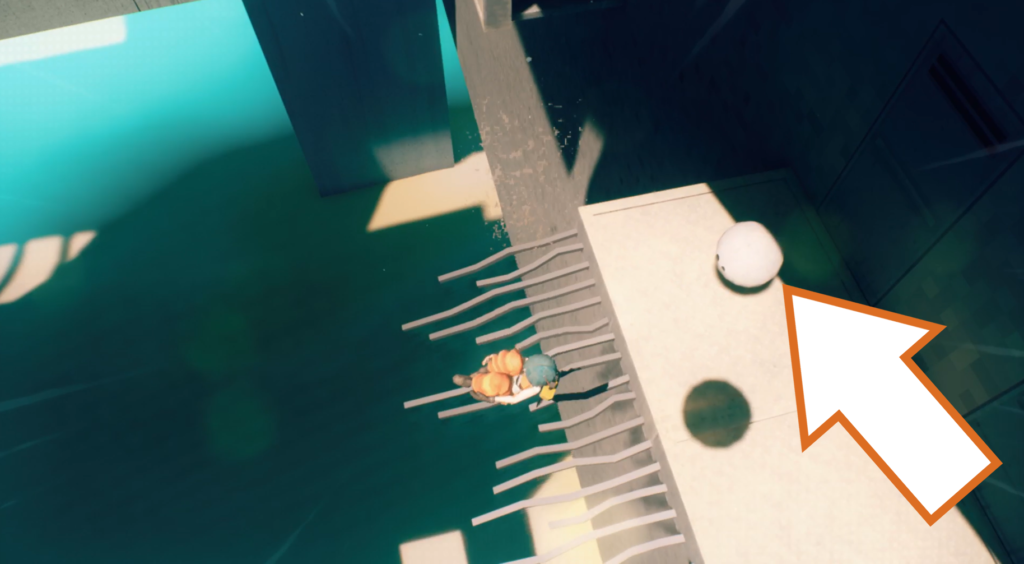
After dropping down onto a staircase, walk down it towards some rebar sticking out below it. Drop onto it to find the orb drone tucked under the stairs.
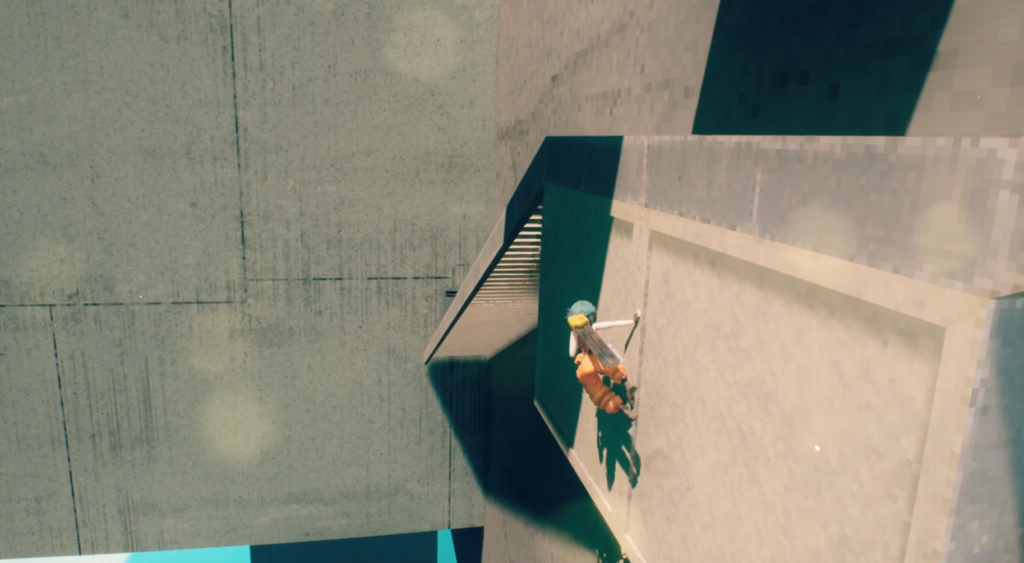
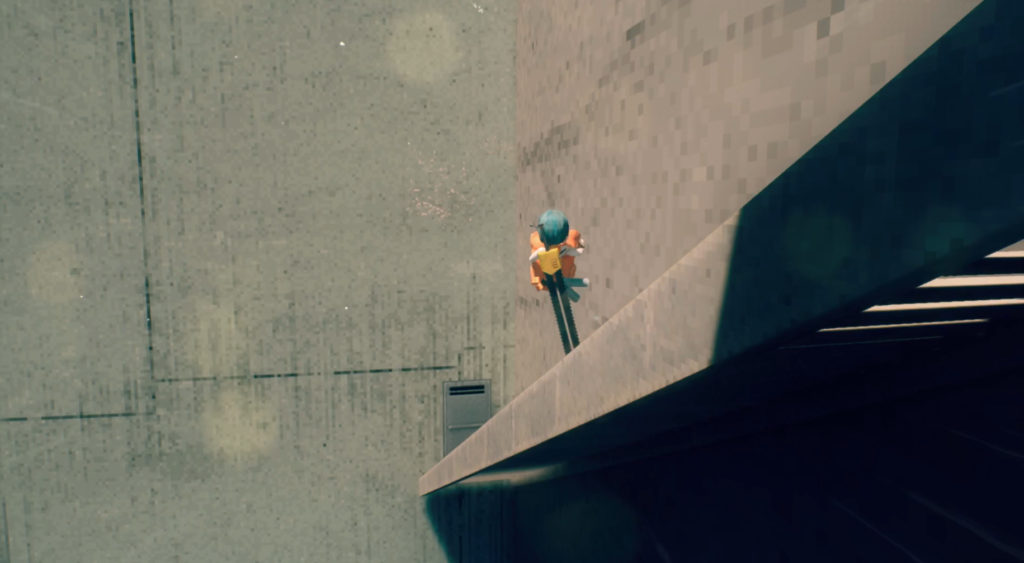
Wall run and jump on the side of the stairs, quickly tucking yourself into a ball so you can manoeuvre P onto the stairwell. Take it back to the evac point inside.
Orb Drone 76
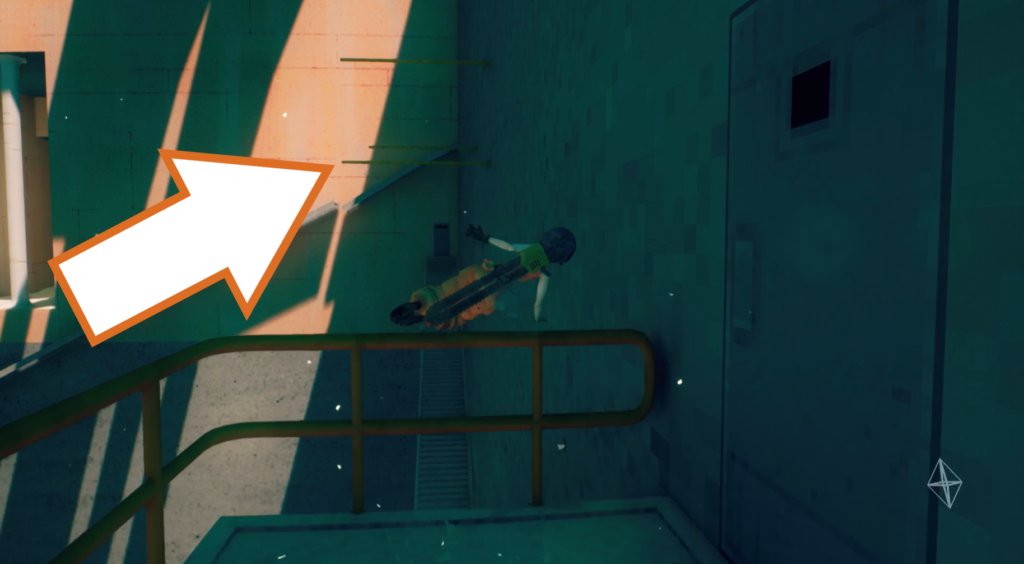
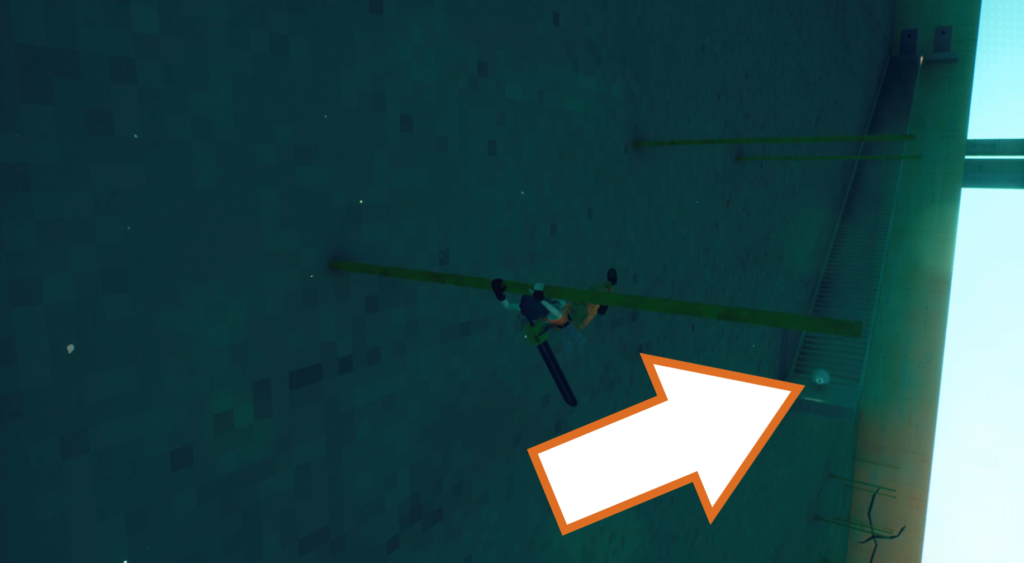
The next one is at the bottom of another staircase, which is reached by swinging on a bunch of poles. Wall run from the top of the stairs, just below the orb, back over the rail to reach the first horizontal bar, then work your way up and across to it.
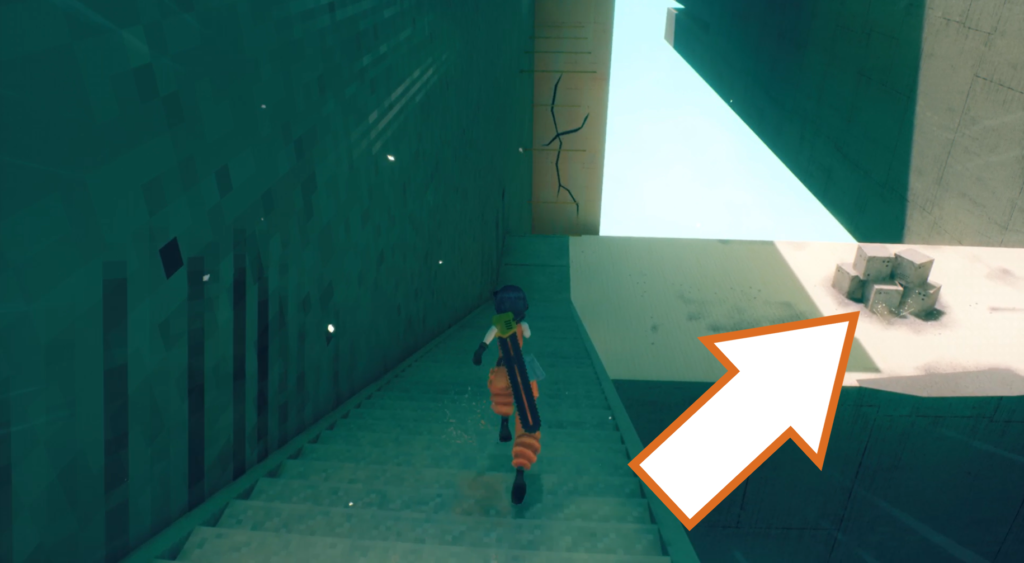
Drop back down and make your way to the next evac point, which is hidden by a bunch of concrete blocks.
Orb Drone 77
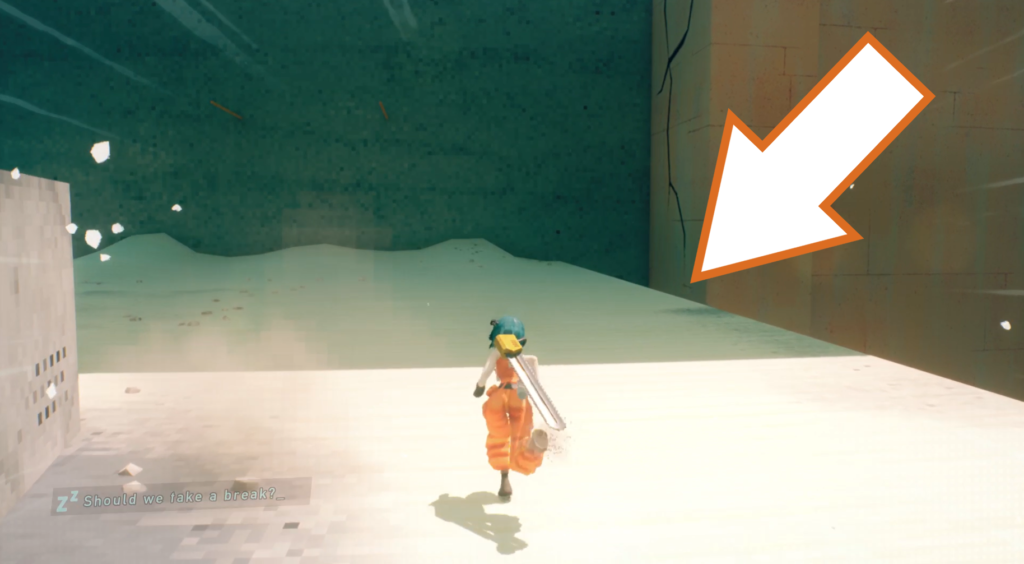
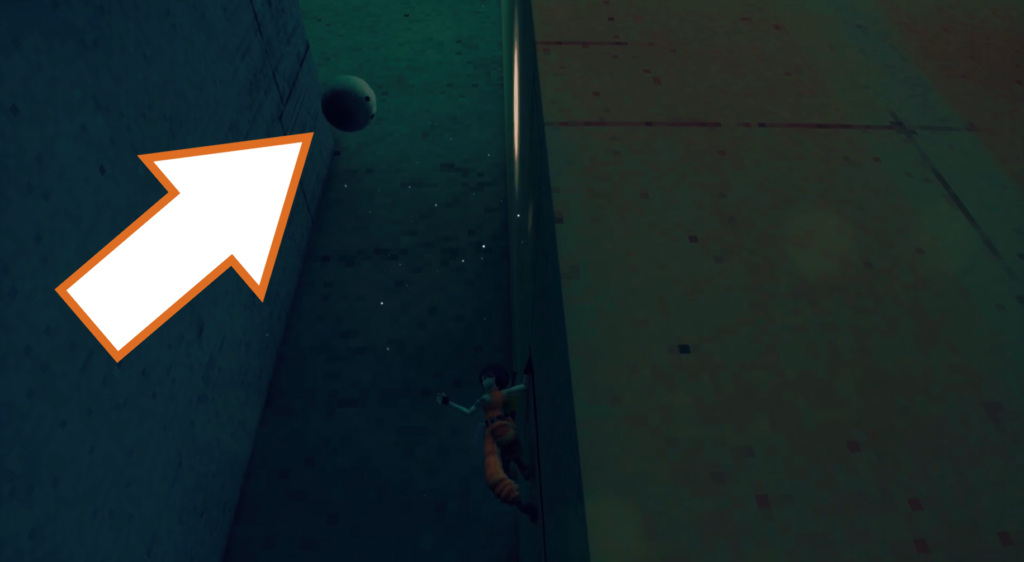
Use the crack in the wall near the evac point and slide down to find this orb drone, then drop down to another crack below the first one. Wall run off the opposite wall to grab it and head back to the evac point.
Checkpoint_05
Orb Drone 78
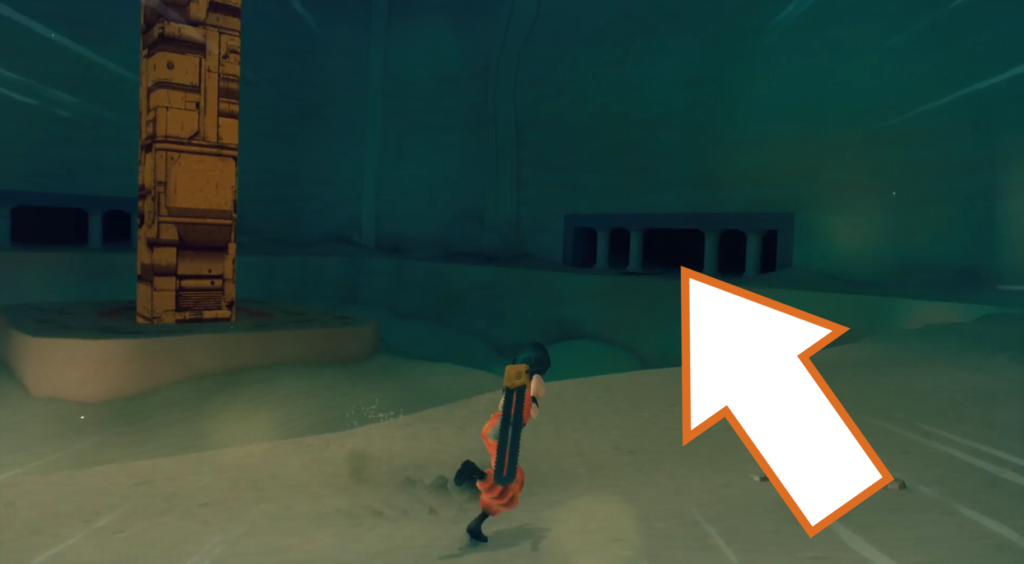
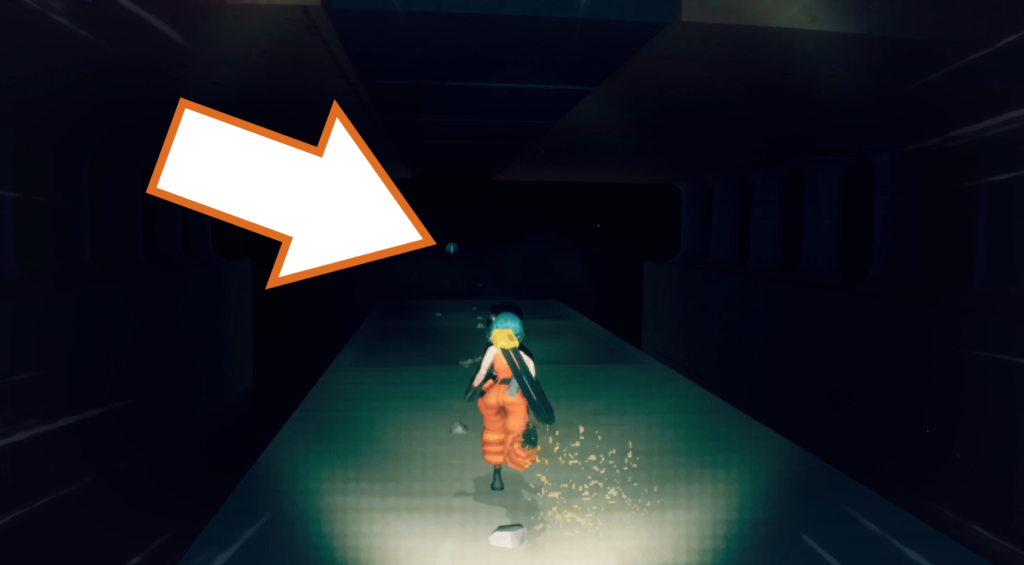
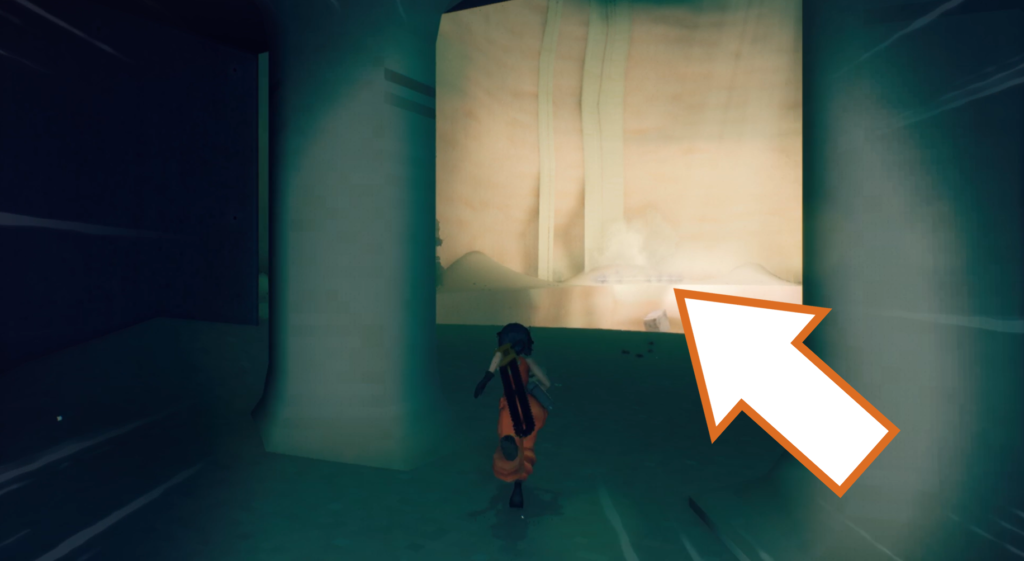
Head through the door and to the left side of this large room with a large metal pillar in the middle. Go into the dark and be careful when approaching the orb drone, as there is a row of crushing blocks leading to it. Time your run and grab the drone, before returning to the large chamber and taking it to the evac point on the other side.
Checkpoint_06
Orb Drone 79, 80 & 81 (Timed)
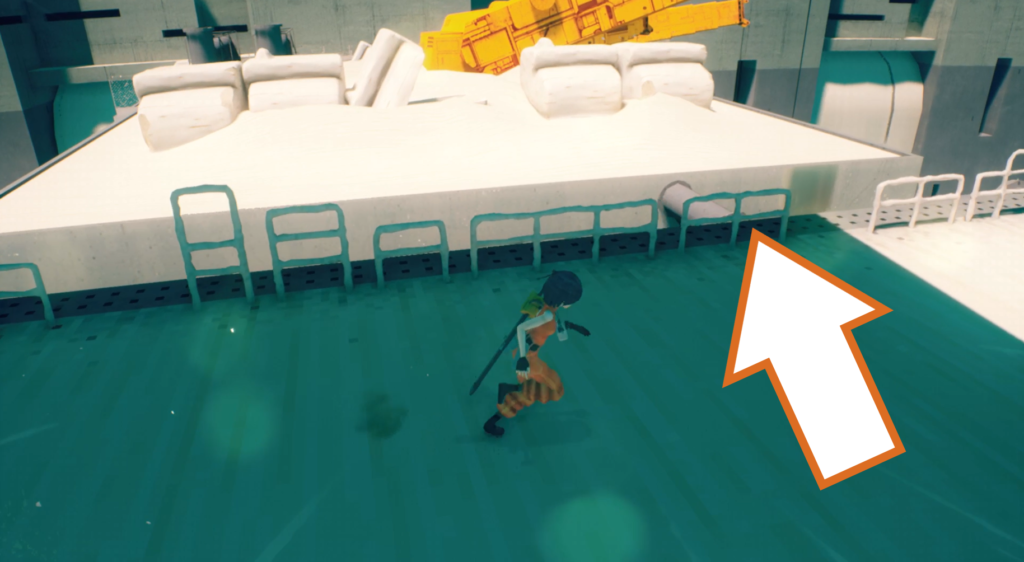
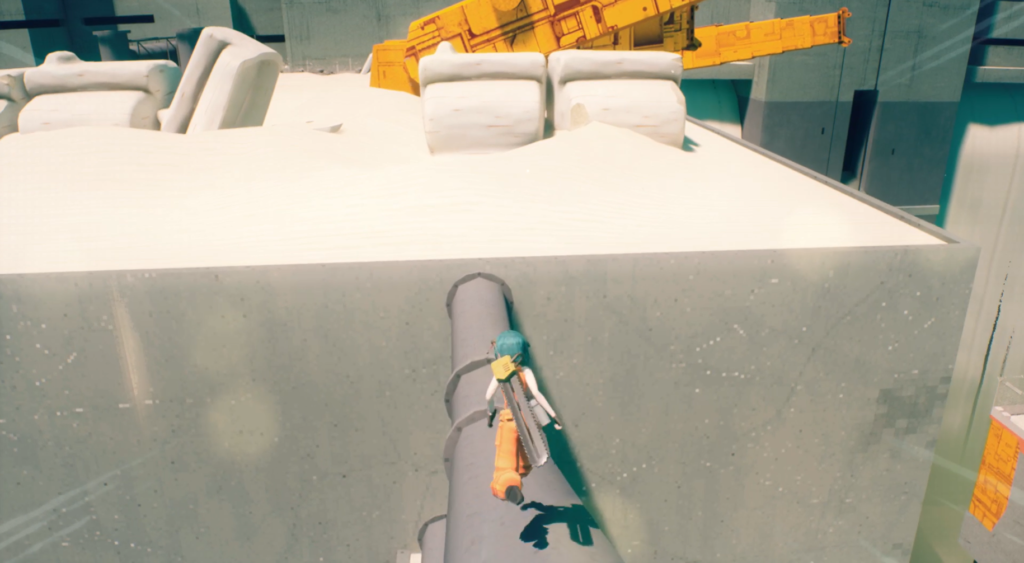
The last three orb drones are found after beating the boss of Chapter 3 and climbing up onto the roof using its remnants. They must be delivered at the same time within a time limit. You want to run along a grey pipe that connects to another roof with some orange metal structures on it.
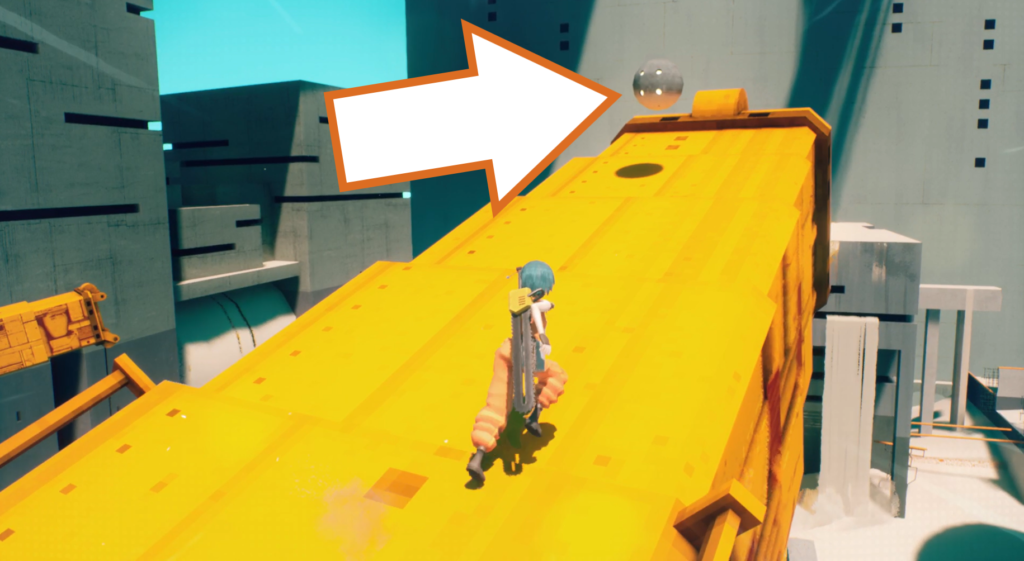
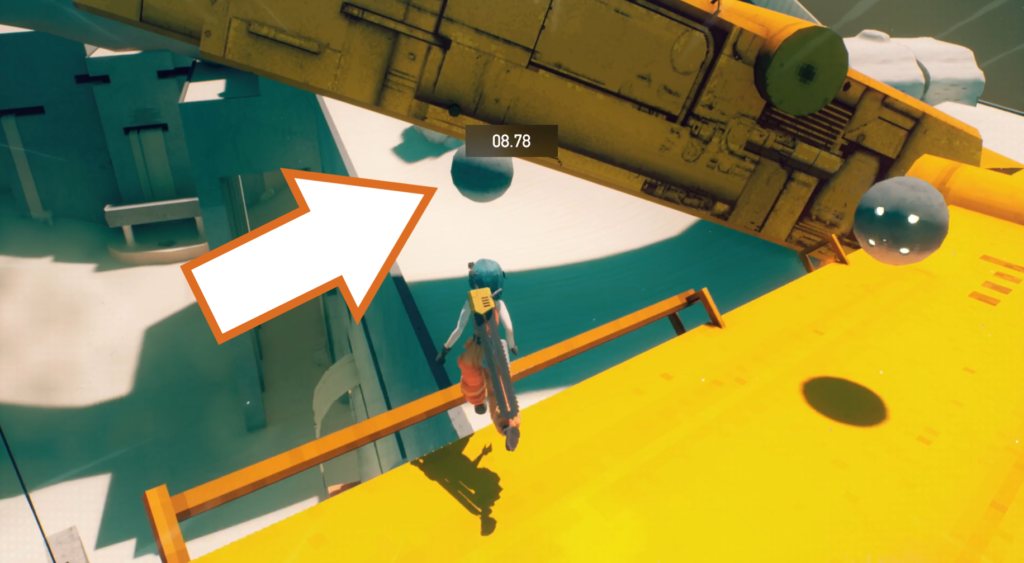
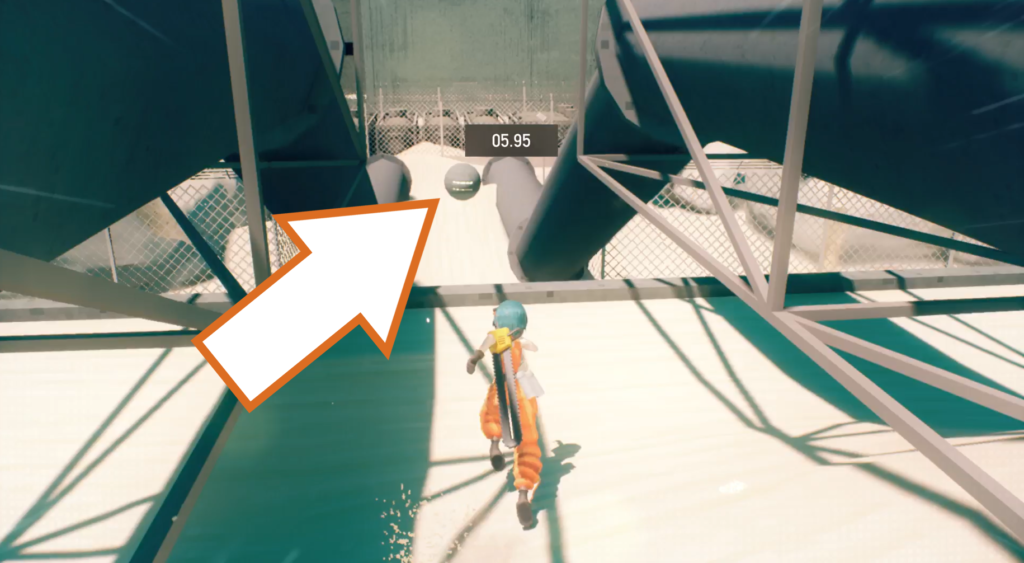
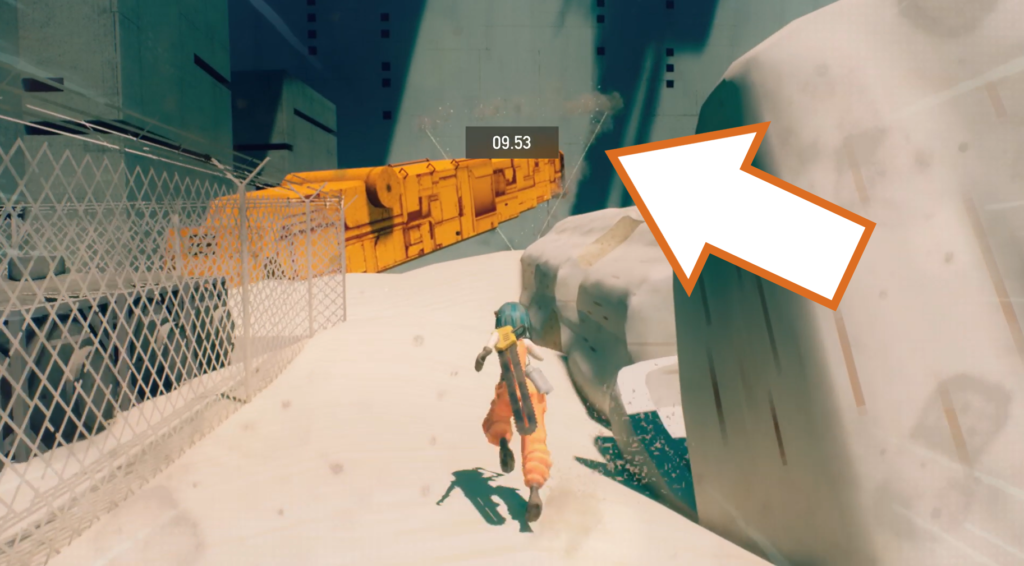
Start with the drone at the top of the nearest metal structure, and then jump across to the other one to make it safer to grab the second drone floating between the structures. Run over and between the two grey pipes to grab the last drone, and then run/motorslice up the further metal structure to the evac point.
Chapter 4 – Overpass
Checkpoint_01
Orb Drone 82
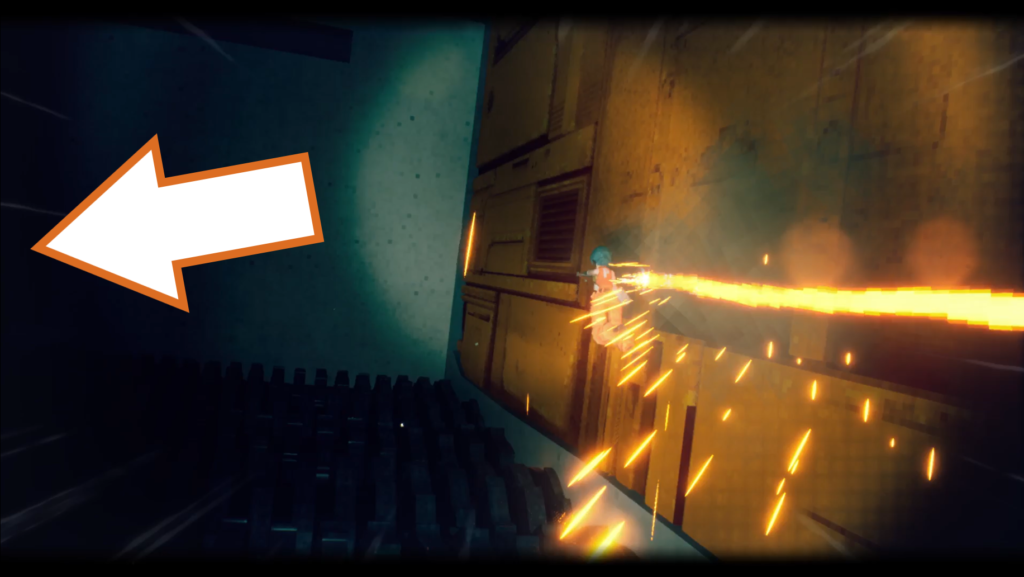
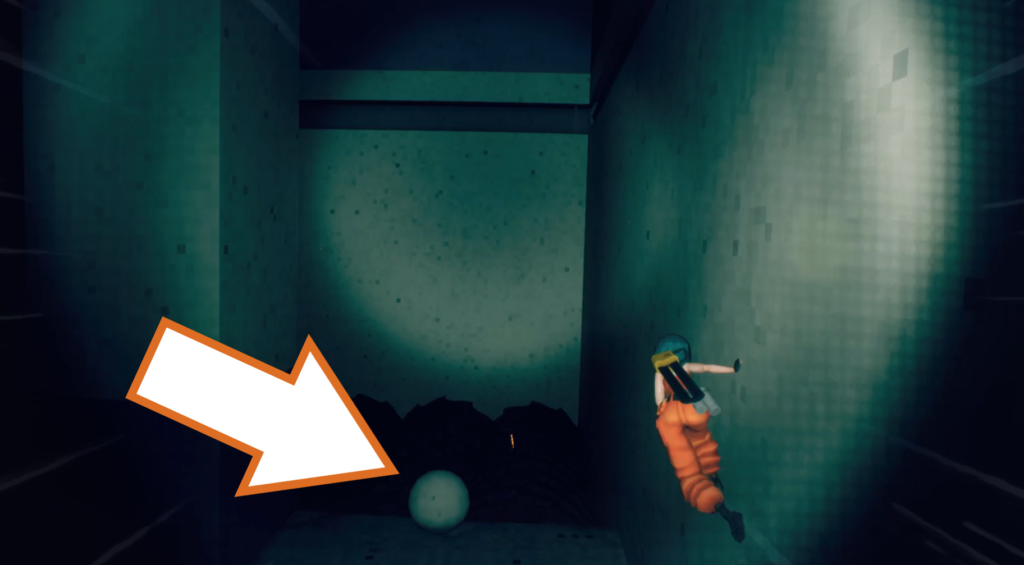
The first orb drone of Chapter 4 is found near the beginning when you have to motorslice across a wall over a pit of grinder traps. Instead of going up the wall and back to the right, when you reach the end of the exposed metal, jump/wall run to your left and drop down onto a narrow platform to find this drone.
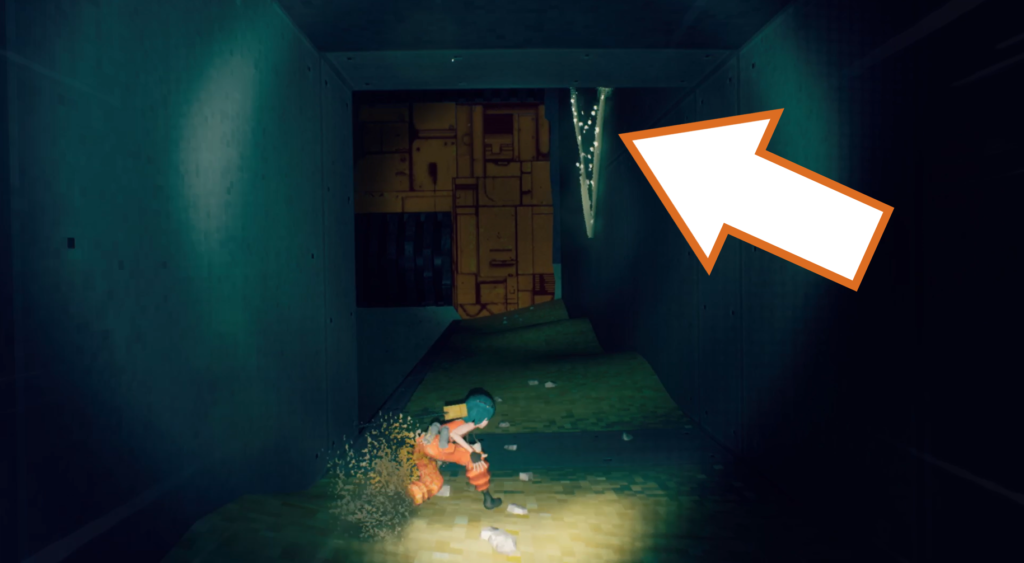
You’ll find the evac point to take it further on past more mine-filled corridors.
Orb Drone 83
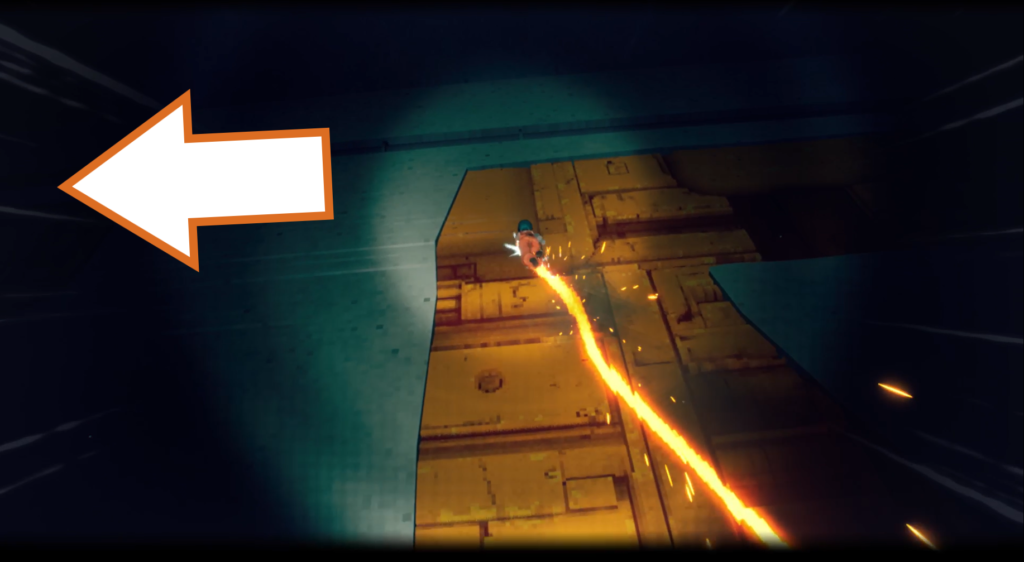
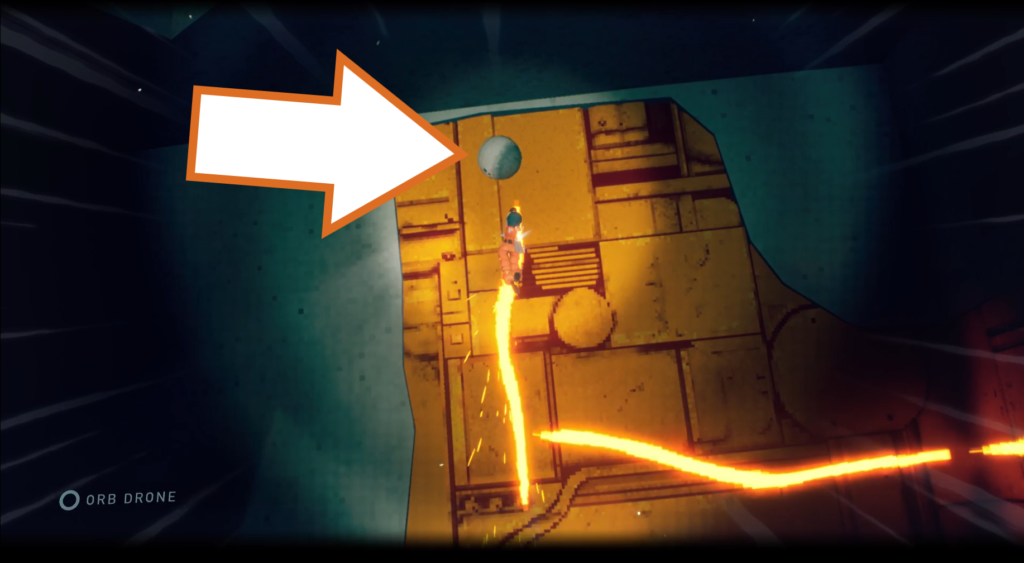
The next orb drone is found in the large room that you have to wall run/motorslice around. At the end of the sequence, when you ride your chainsaw up some exposed metal, instead of going right, wall run to the left to find more exposed metal. You’ll find this drone near the ceiling.
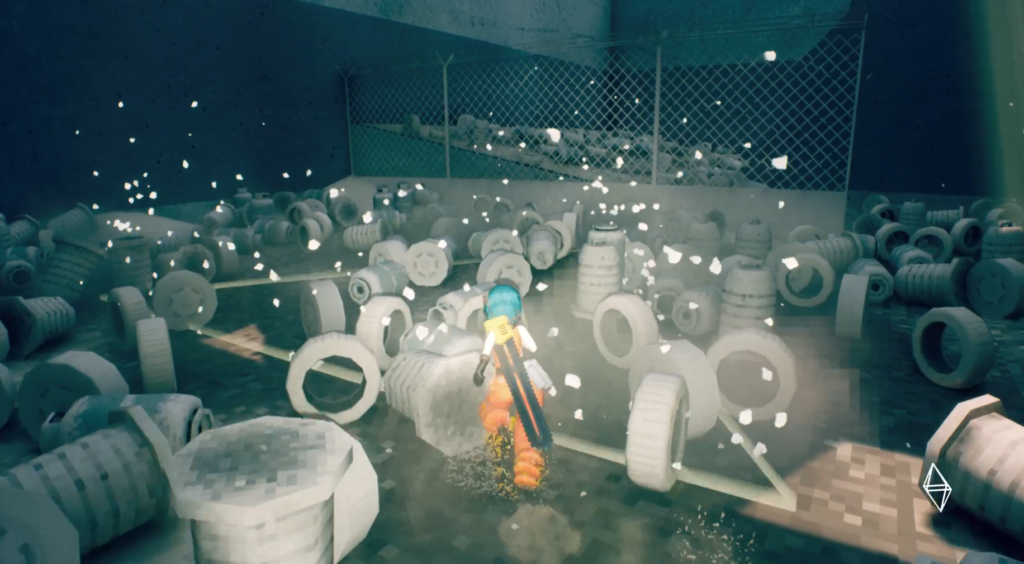
Continue forward to reach the next evac point in a room full of trash.
Checkpoint_02
Orb Drone 84
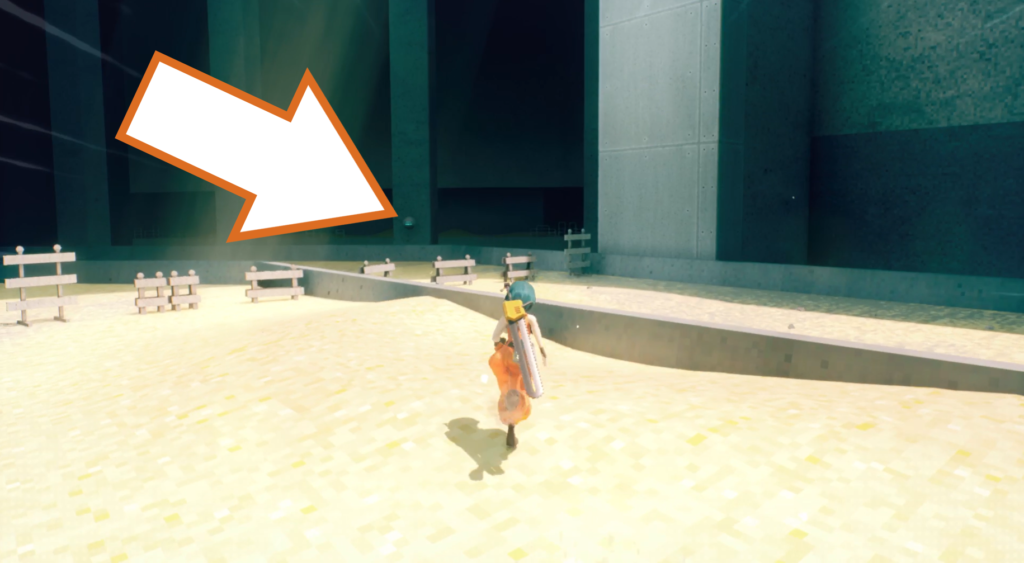
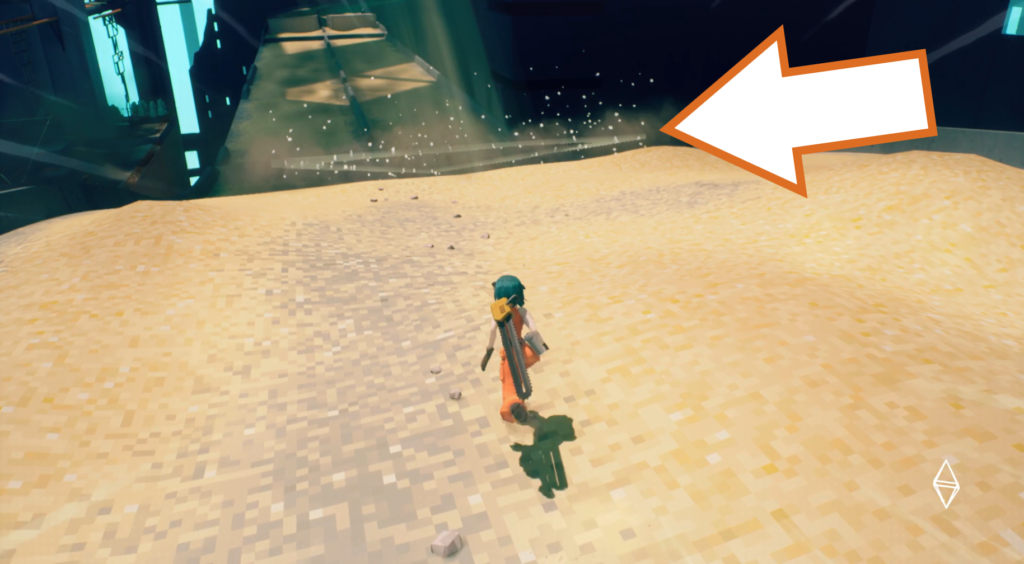
This orb drone is found as soon as you exit onto a wide road, where the OVERPASS text appears. Go inside the large tunnel and find the drone next to a pillar on the right-hand side. Grab it and take it to the evac point on the road.
Orb Drone 85
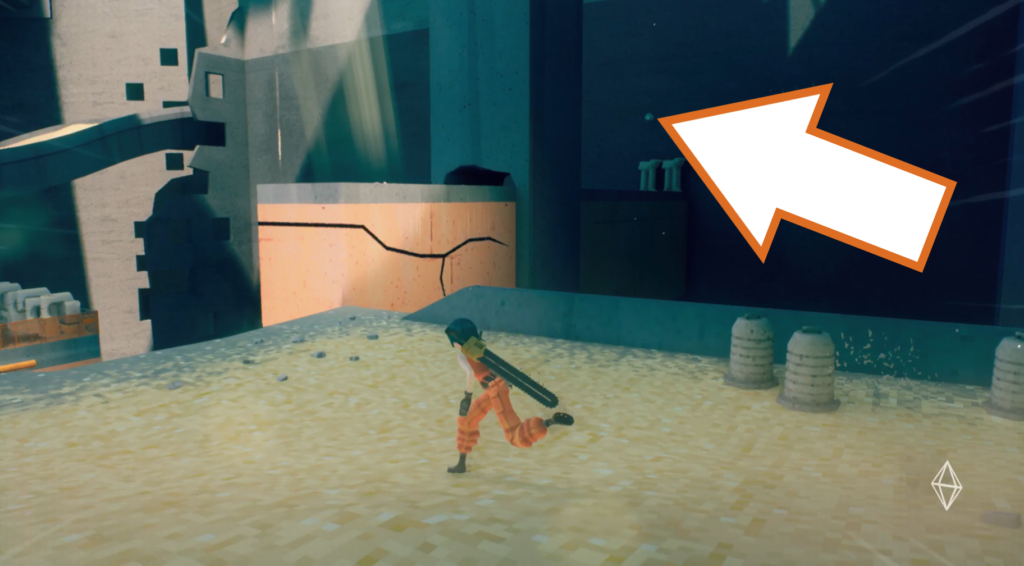
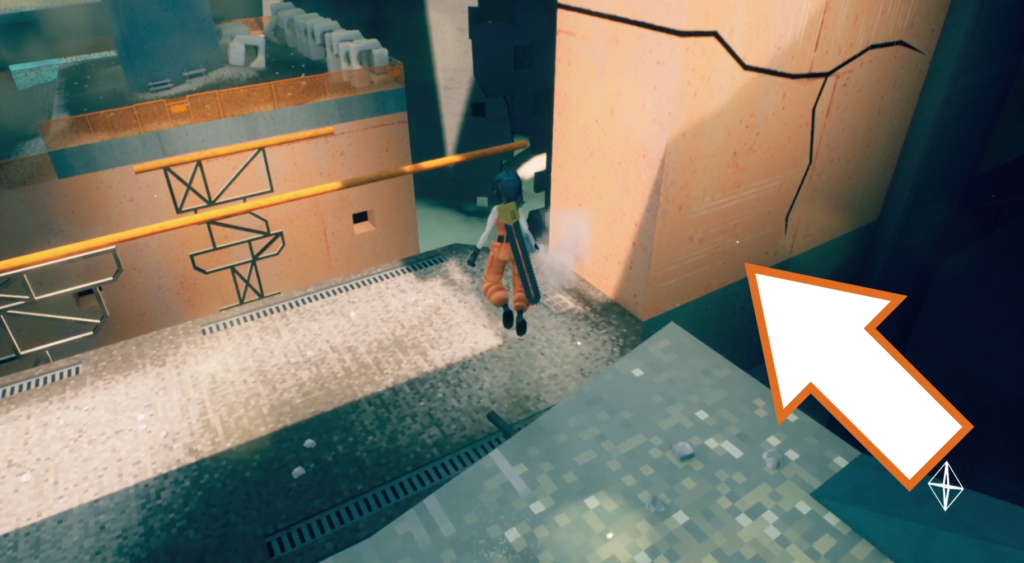
Continue forward until you jump to a narrow platform with a roller enemy. Wall run across the side of the wall at the end of the platform and climb the crack to reach the top. Slide under the pillar, then run up the wall to grab the orb drone.
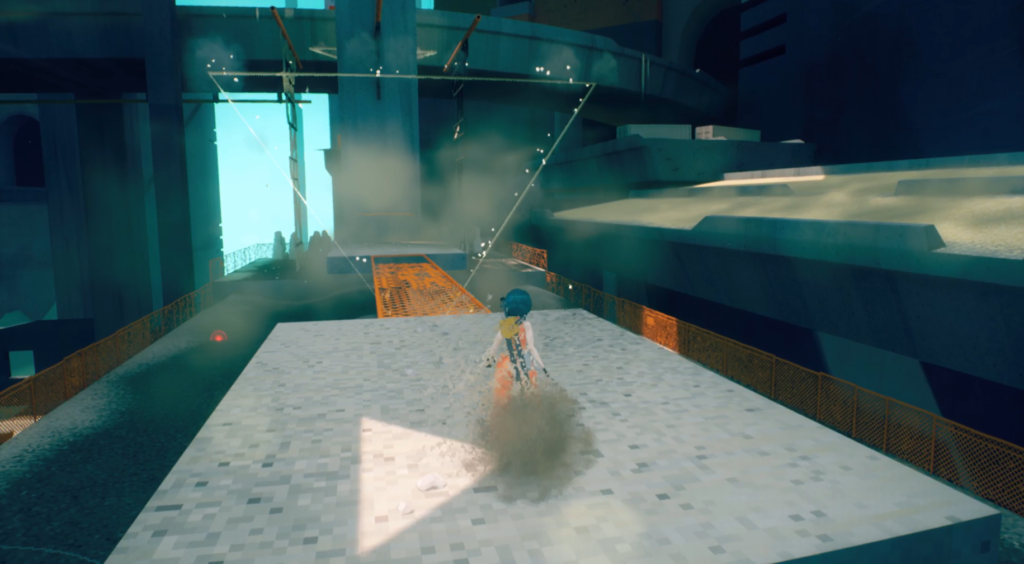
Hop back down and back to the previous platform with the evac point on the walkway.
Orb Drone 86
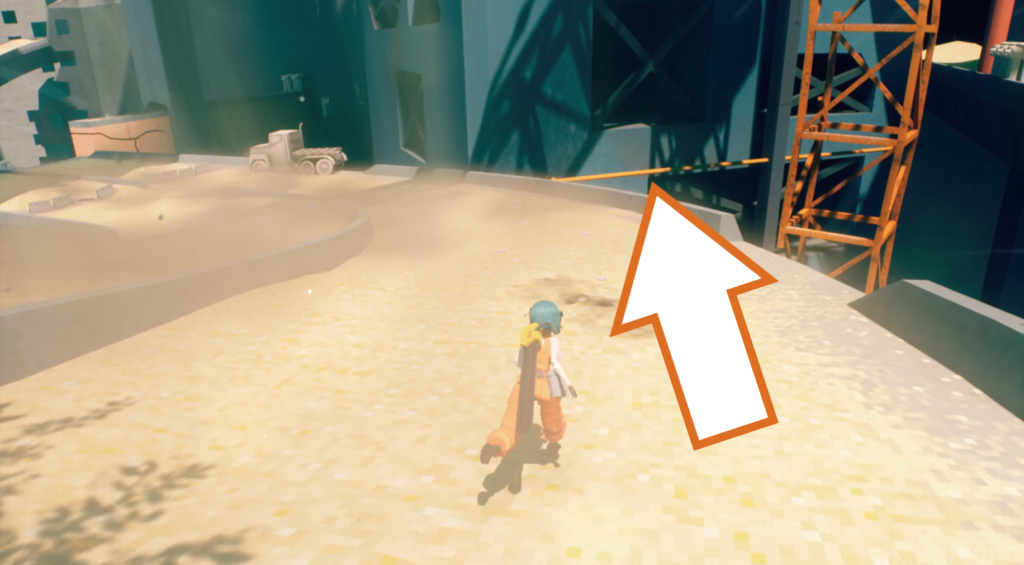
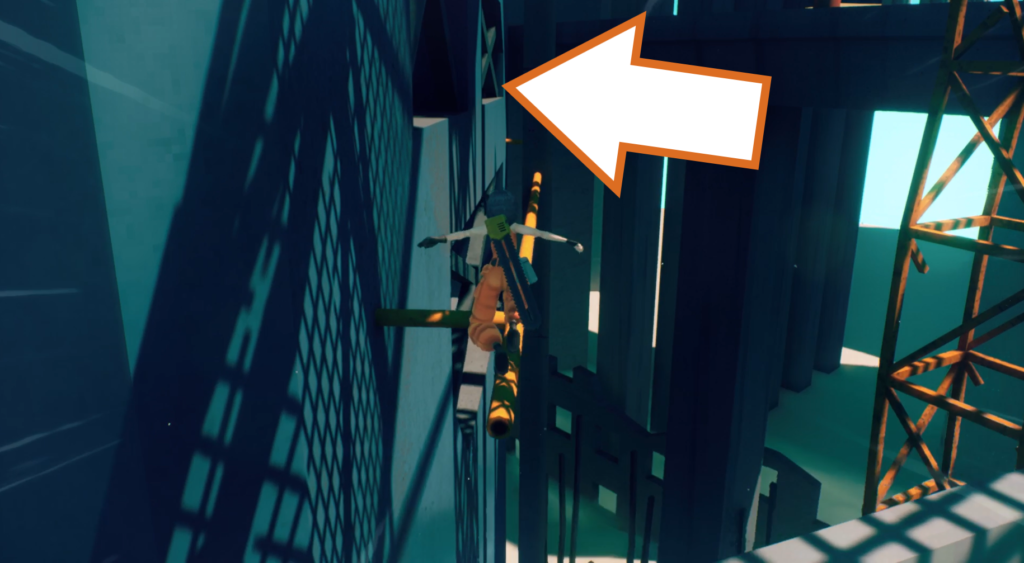
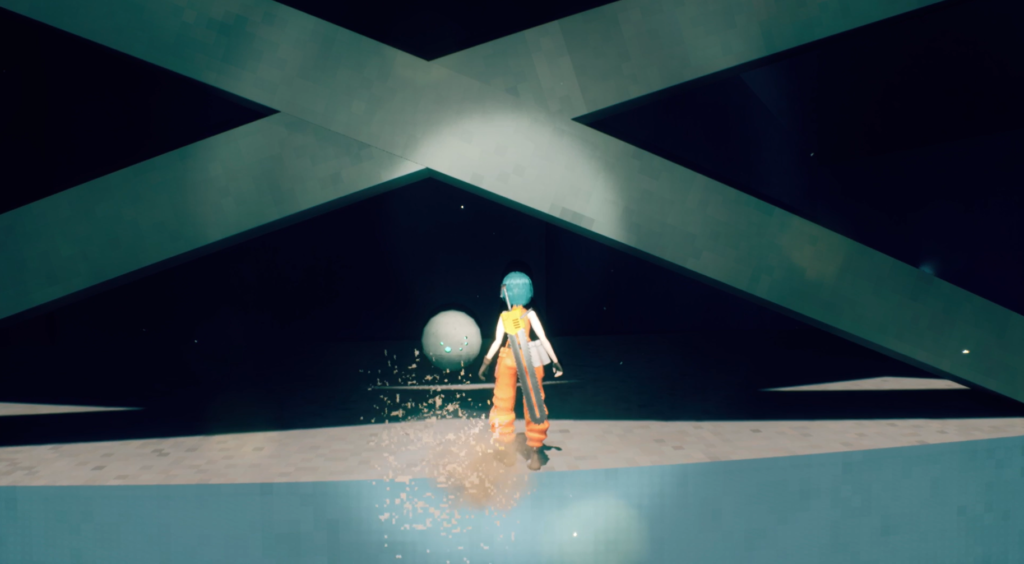
To the left-hand side of the sloping highway is a yellow pole you can jump to. Walk along it, wall run around the pillar to the next pole, and then mantle up onto the structure to find this orb drone in the dark. Take it back to the previous evac point.
Orb Drone 87 & 88
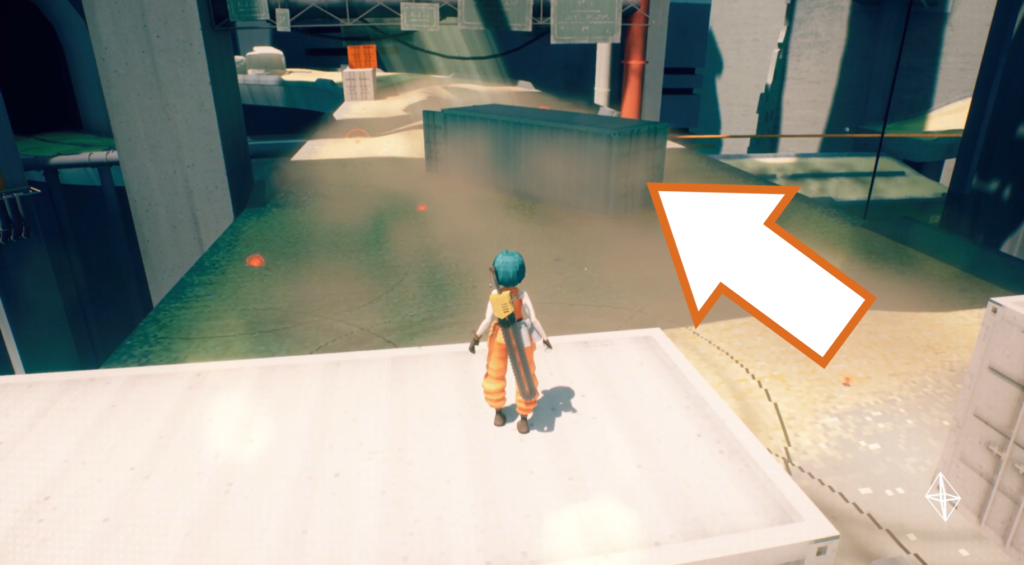
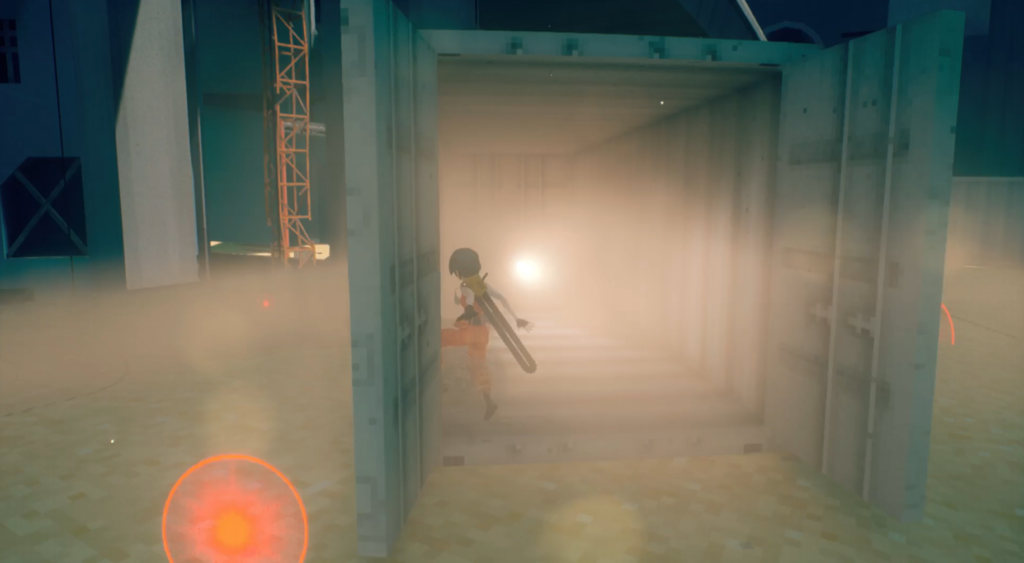
Time for another 2-in-1! The first orb drone is inside the freight container, so get to the open end and jump inside (don’t worry, the mines are not triggered once inside the container).
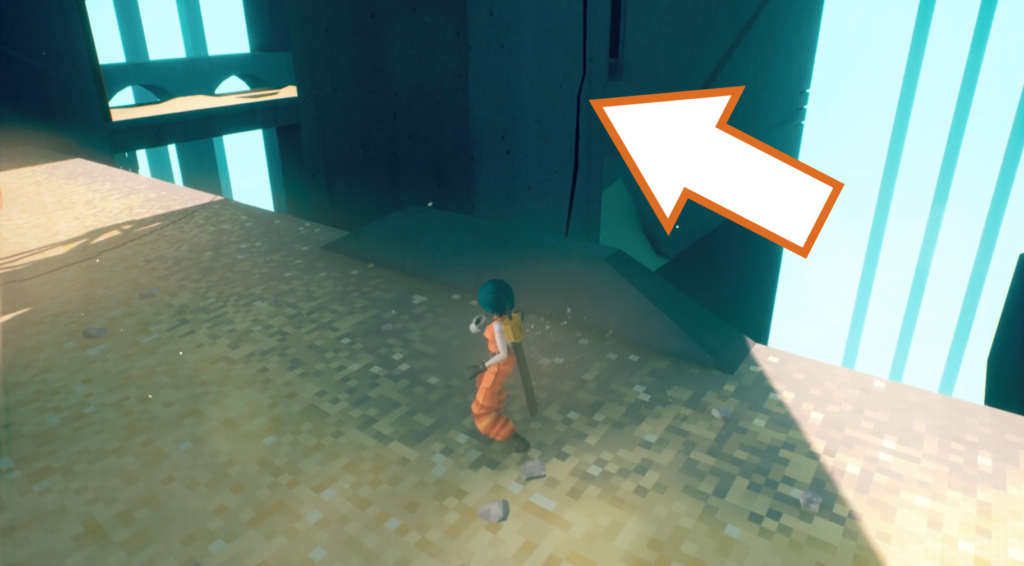
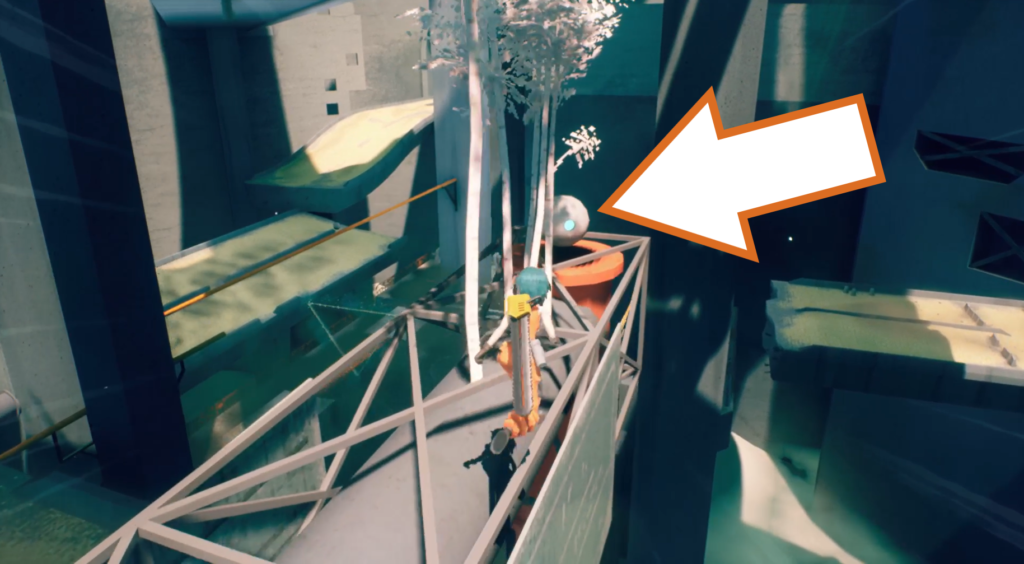
The second drone is above you, so look for a pillar close to the freight container with a crack you can climb up. Run along the road signs at the top, and find the drone at the other end.
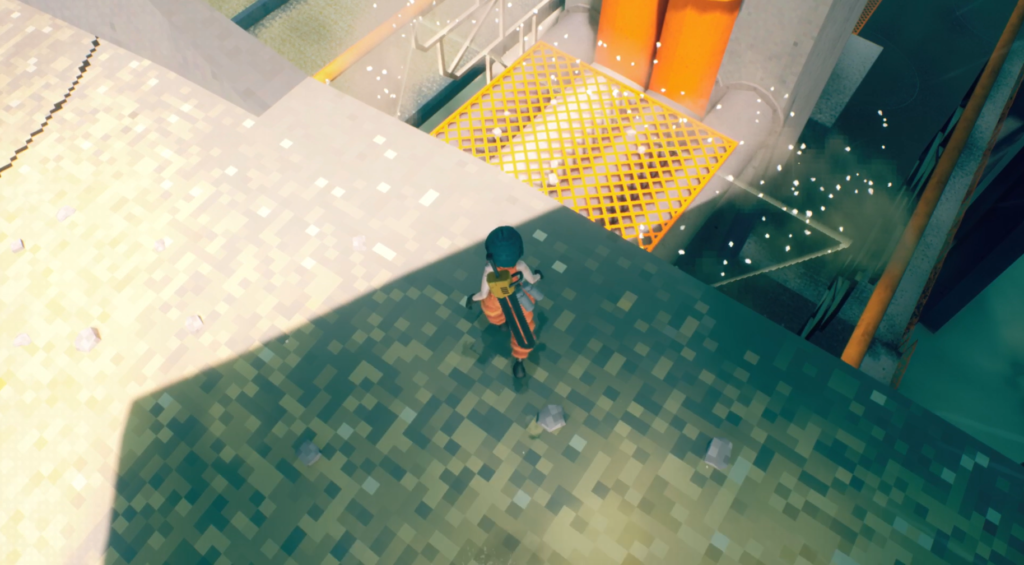
Take them both to the evac point on the ledge just a bit further ahead, on the right side of the highway.
Orb Drone 89
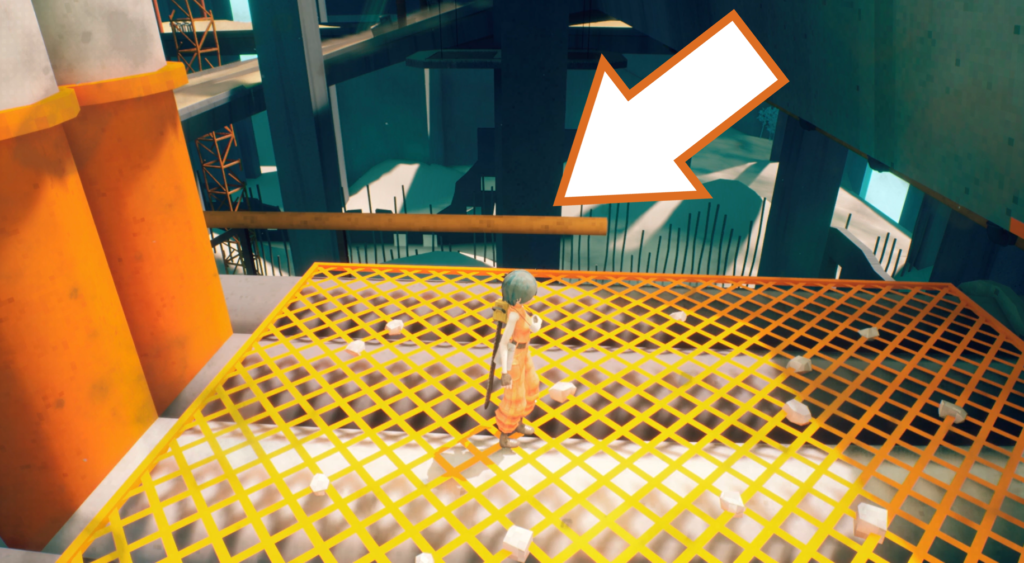
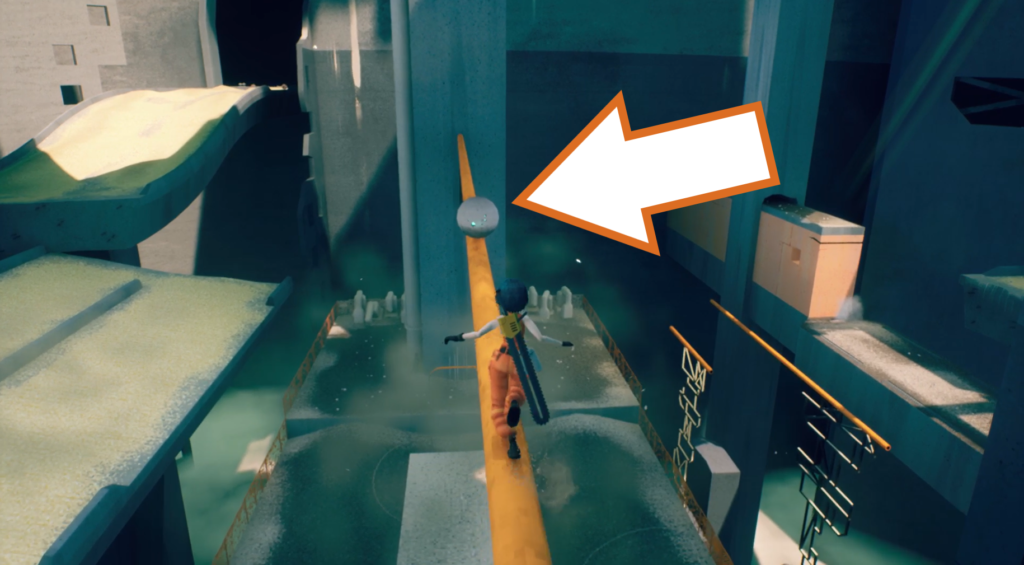
From the evac point, jump onto one of the pipes on either side of it, then onto a third pipe between them on the other side of the pillar. Walk along it to reach this orb drone, and return it to the evac point.
Checkpoint_03
Orb Drone 90 & 91
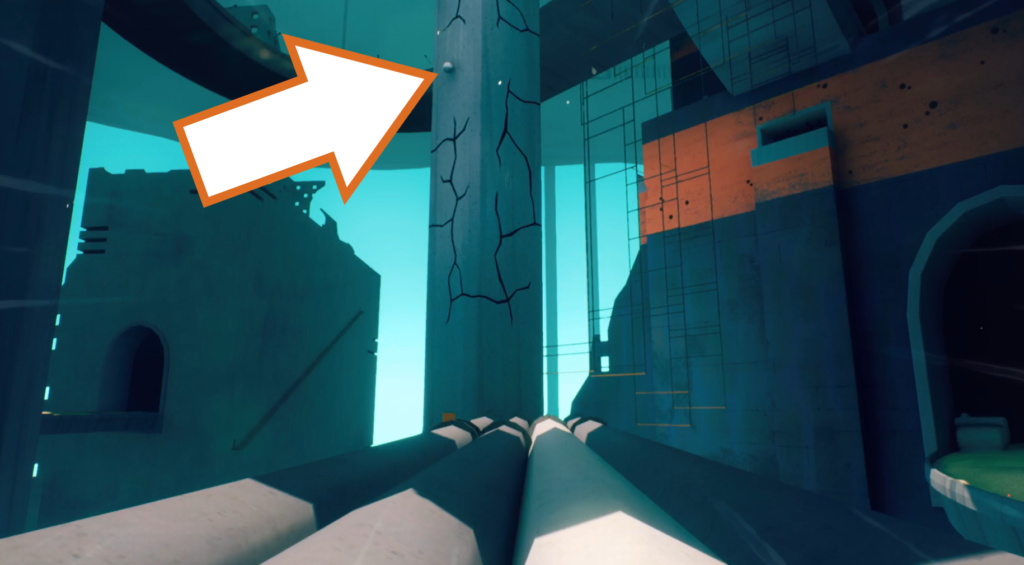
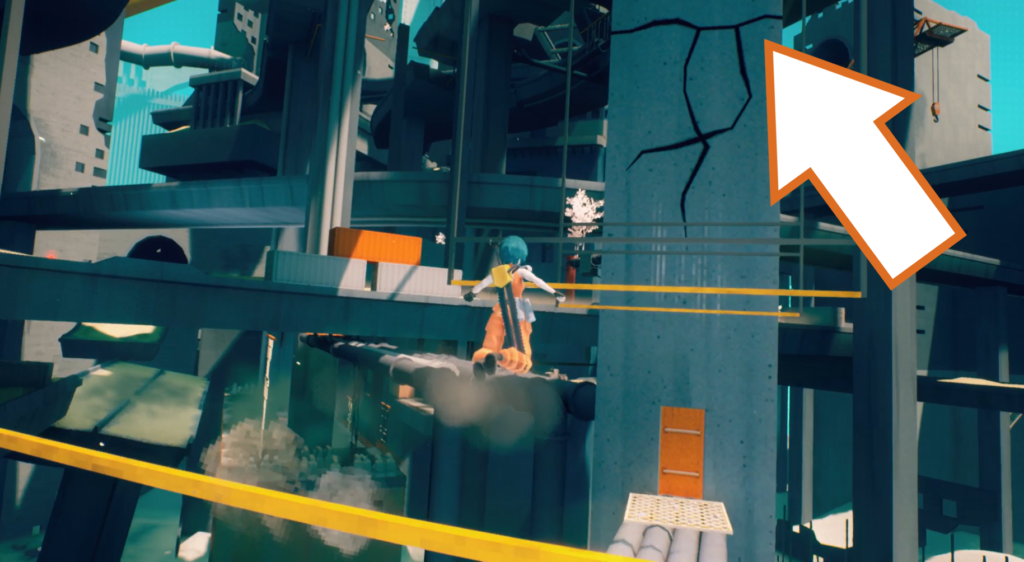
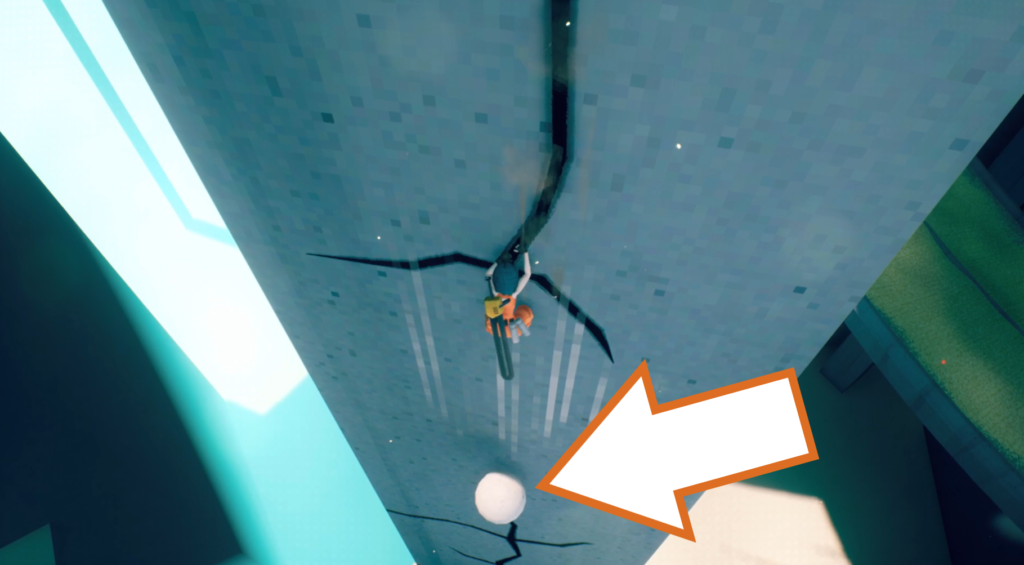
The next two orb drones are up the pillar you go through at the end of the pipes. Swing between the poles, and once you are back to the pillar, climb up the cracks around to the opposite side. You need to get above the first drone so you can drop down and get it, grabbing another crack below it.
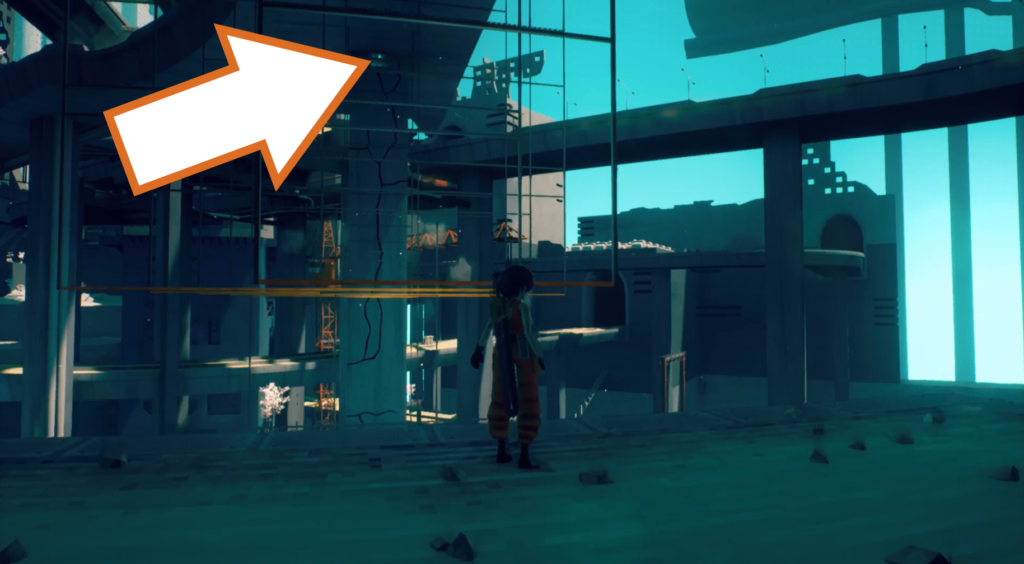
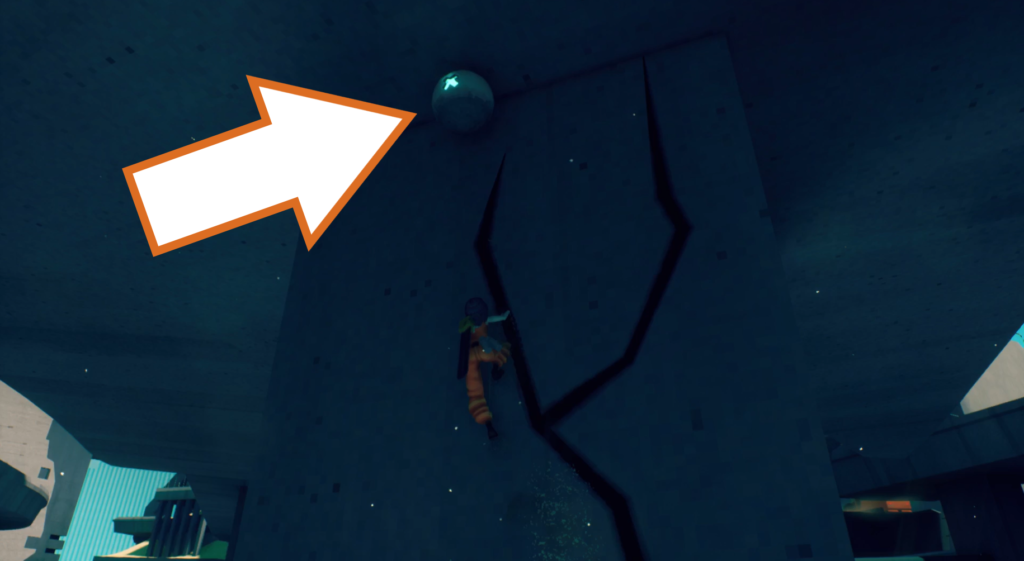
Climb back around to the side with the poles, and climb all the way up to the top to find a second drone under the overpass.
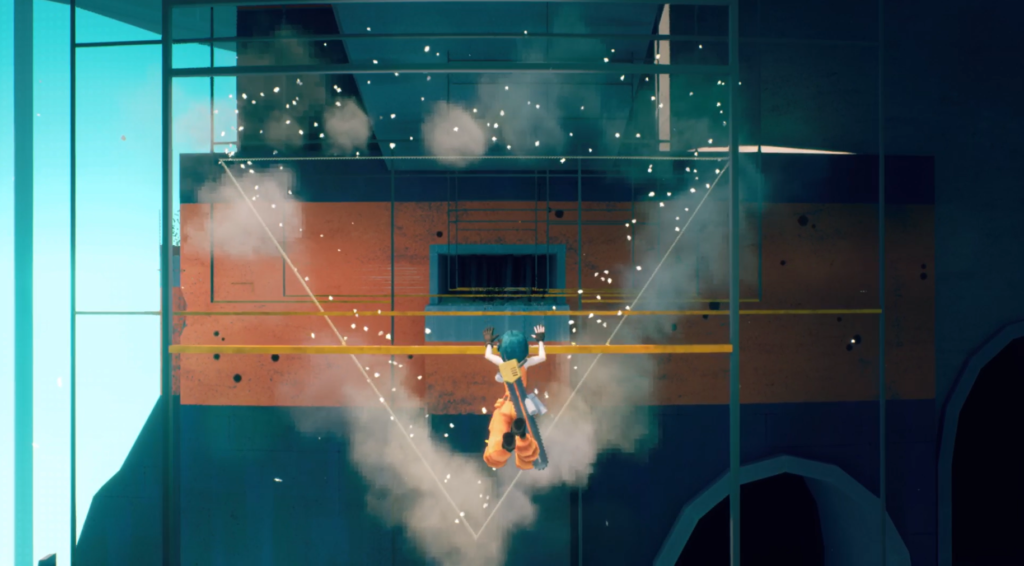
Slide back down to the higher row of poles and swing to the next evac point.
Orb Drone 92
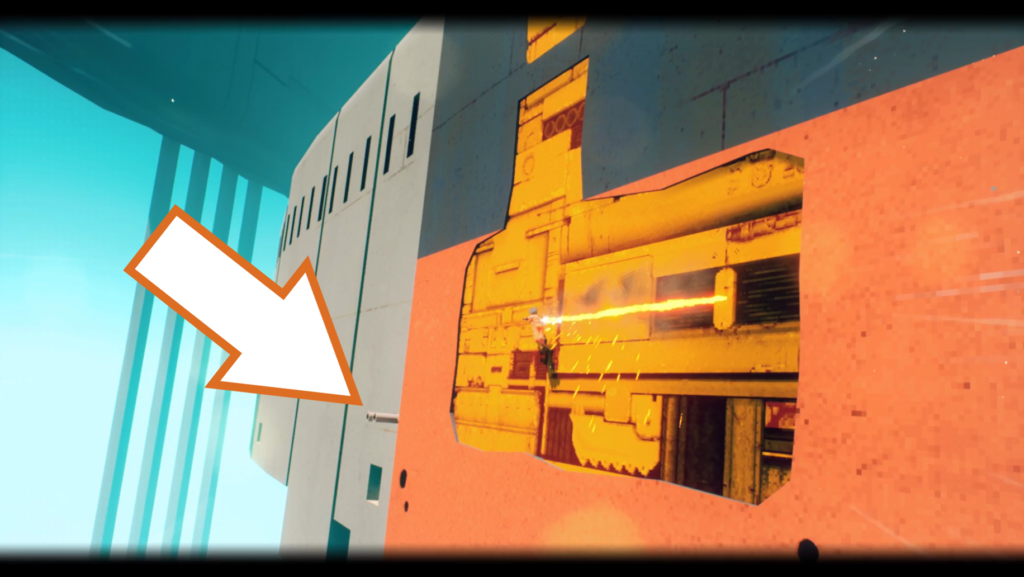
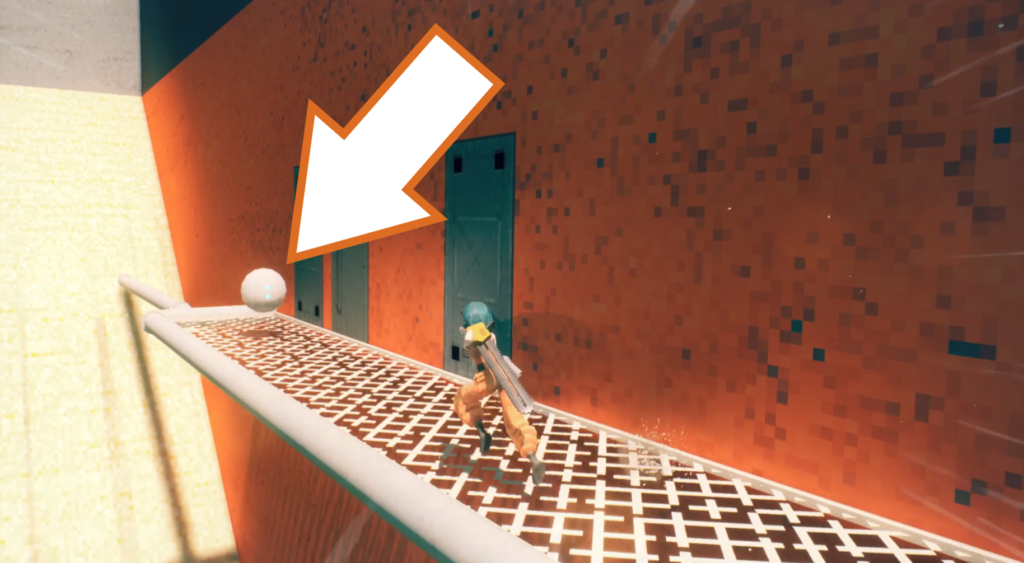
At the edge of the exposed metal area below the evac point is a narrow ledge made of some pipes. Land on this to reach a walkway with another orb drone at the end. Take it back to the evac point on the exposed metal wall.
Checkpoint_04
Orb Drone 93, 94 & 95 (Timed)
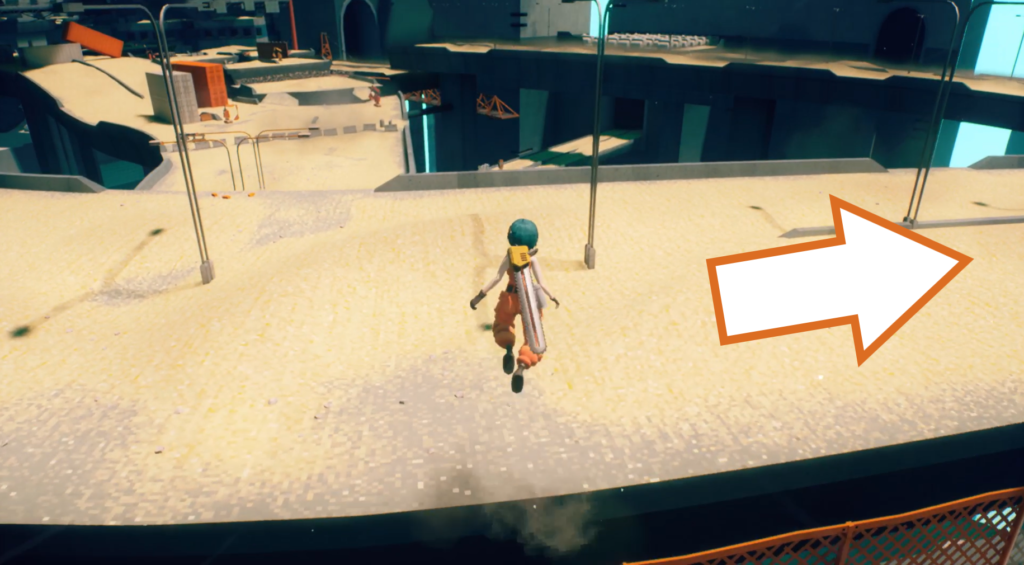
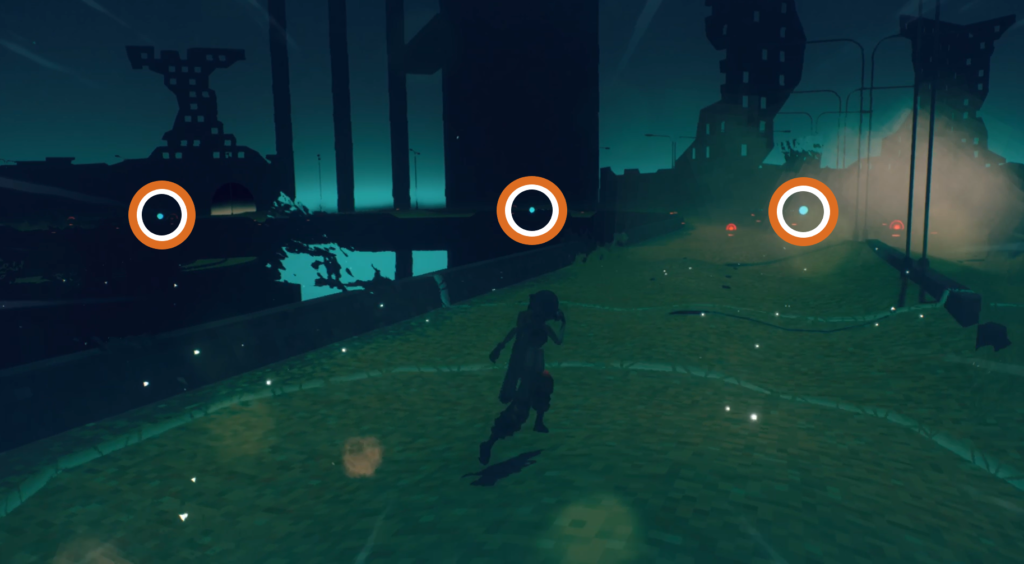
Once you’ve reached the next level of highway filled with enemies, there is another trio that needs to be delivered at the same time within a time limit. Jump down from the ledge after motorslicing up the exposed metal and go to your right along the riad.
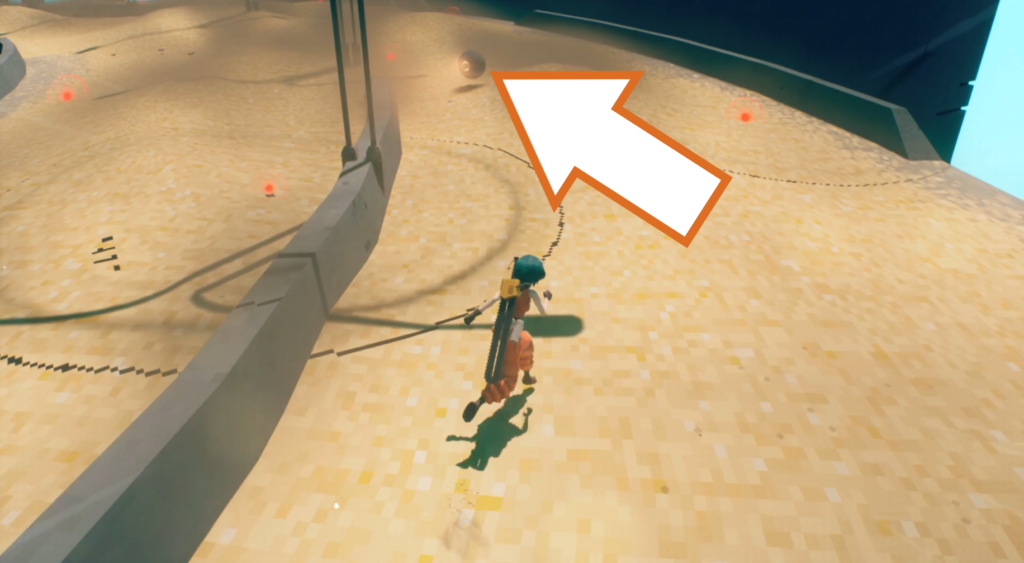
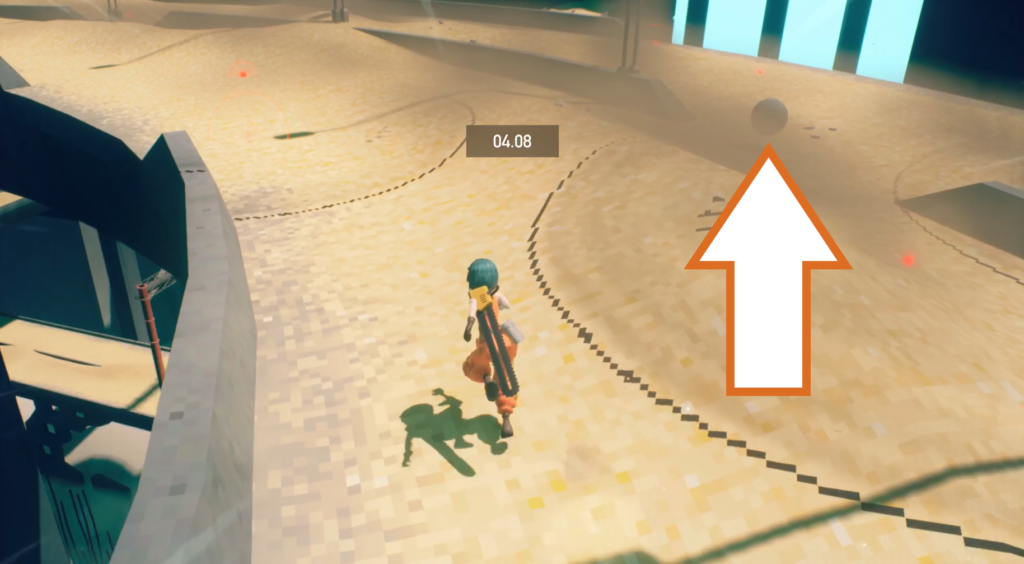
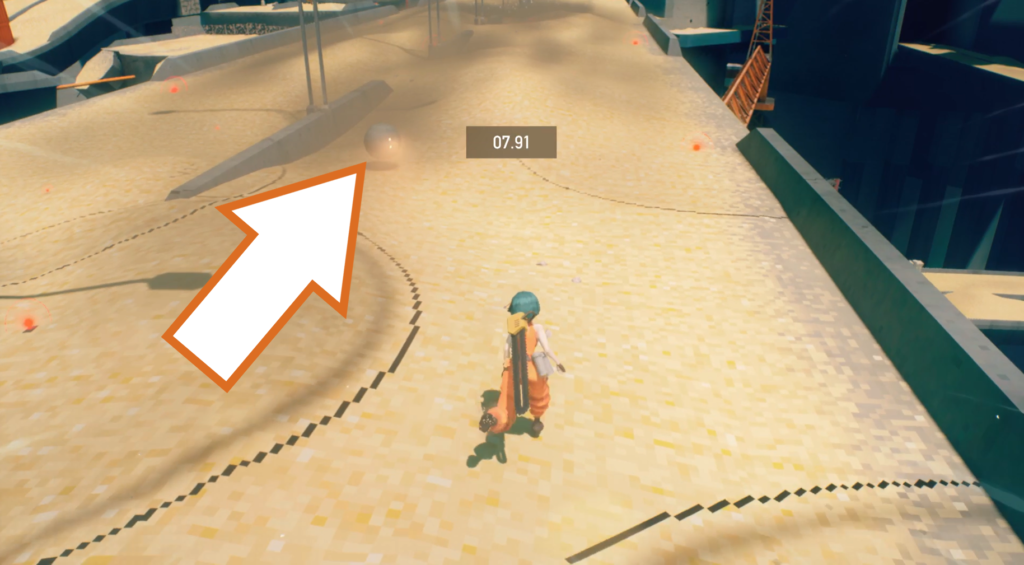
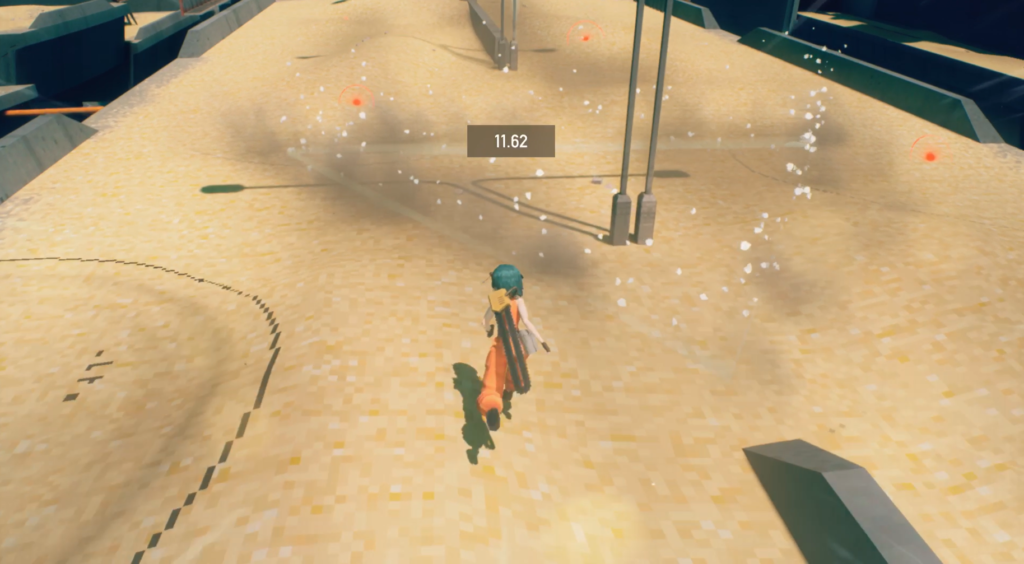
Navigate the mines and grab all three drones before delivering them to the evac point at the end of the road.
Orb Drone 96, 97 & 98 (Timed)
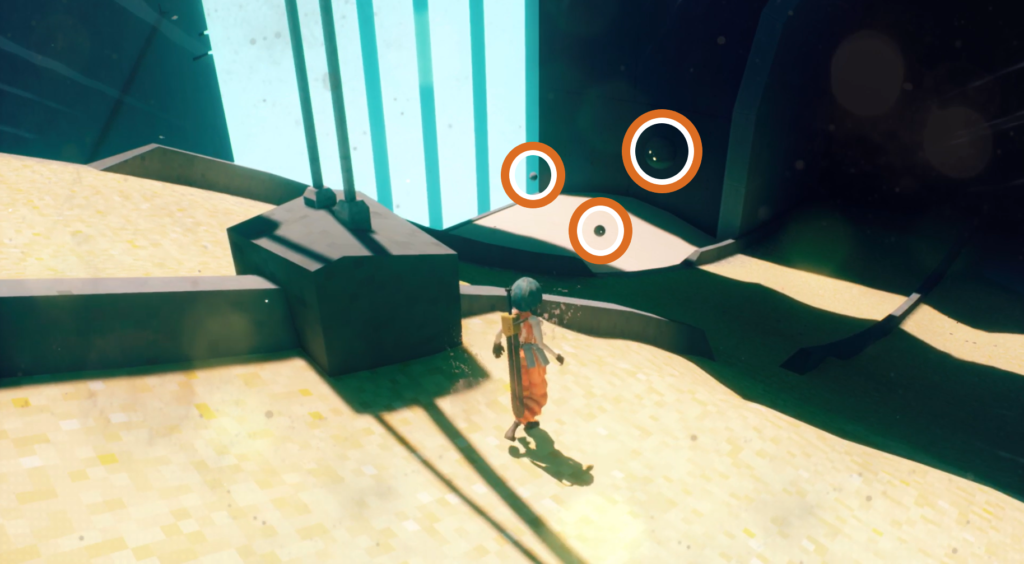
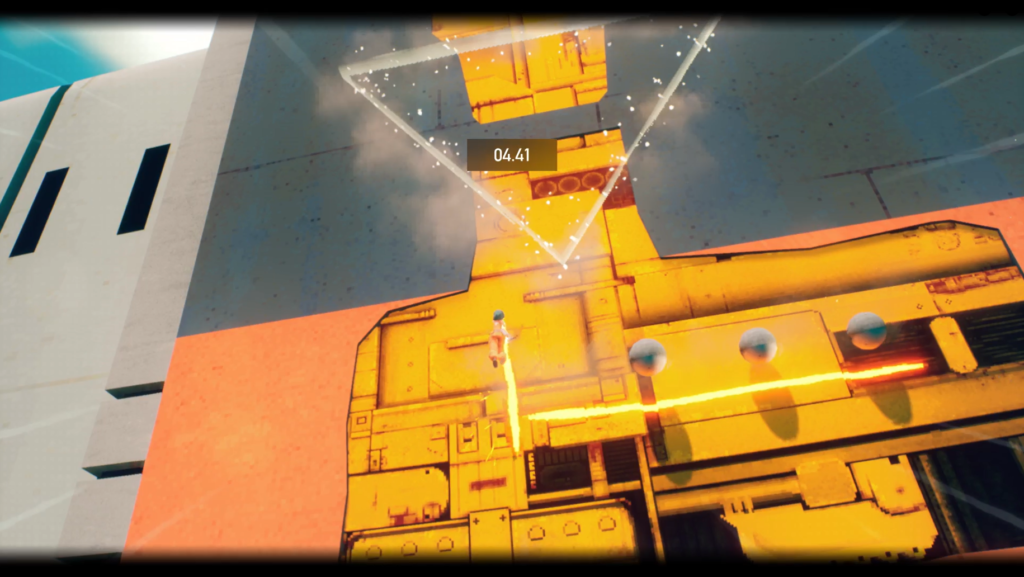
Another trio of orb drones with a time limit is under the road you jump down to enter this area. Grab all three, jumping down to the path you took to get up to the next area, and motorslice to the evac point halfway up the wall.
Orb Drone 99
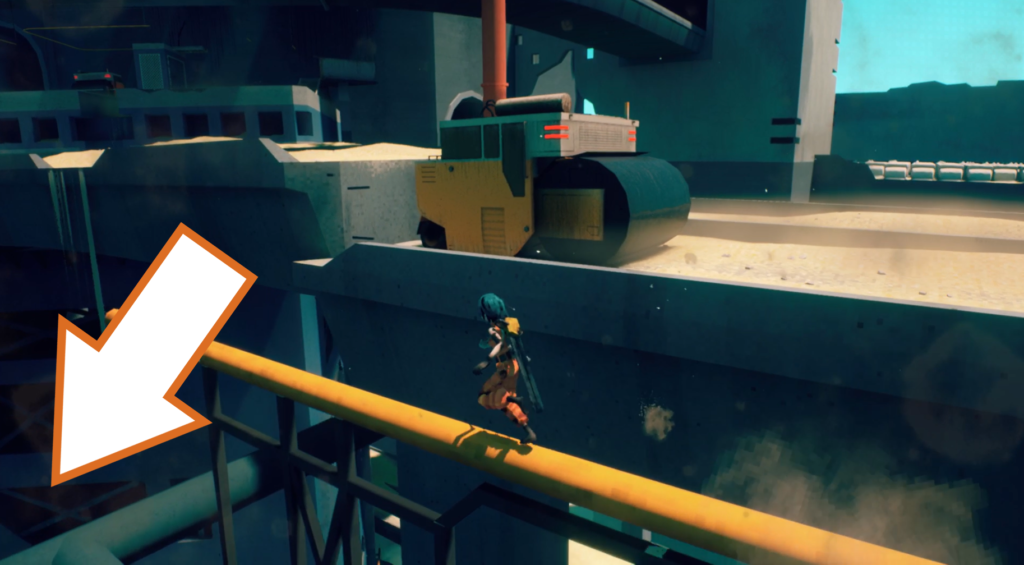
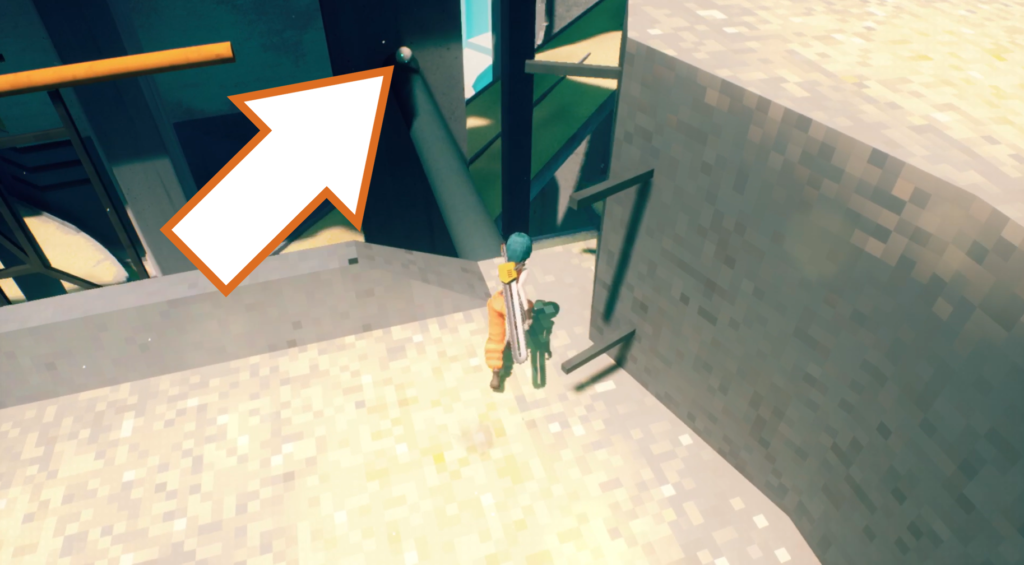
For this orb drone, I recommend clearing the area of enemies so you can access the next evac point. Below and to the side of the road where the two rollers were is a grey pipe you can walk on to reach this orb drone.
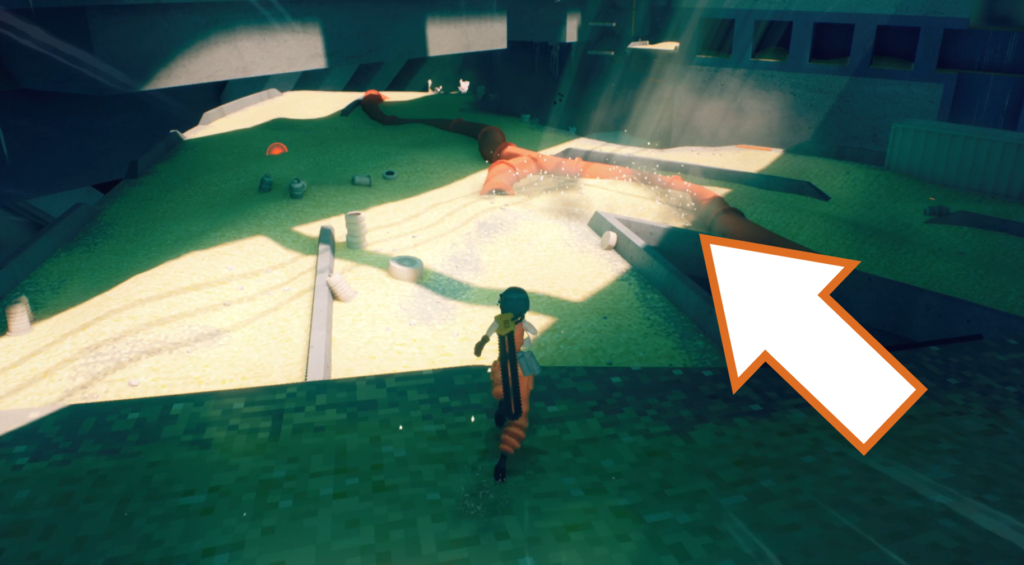
Take it to the evac point near the red pipe.
Orb Drone 100
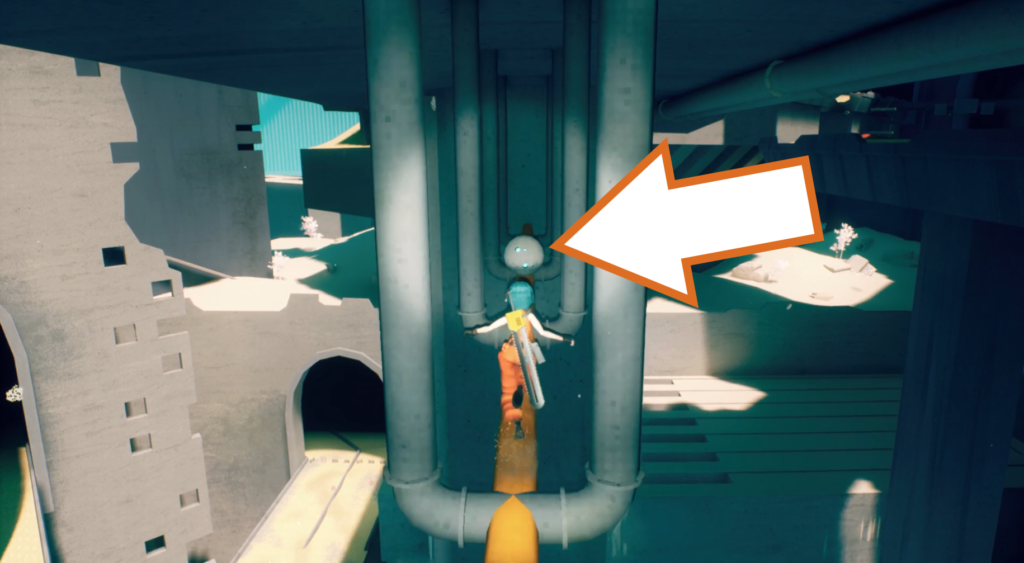
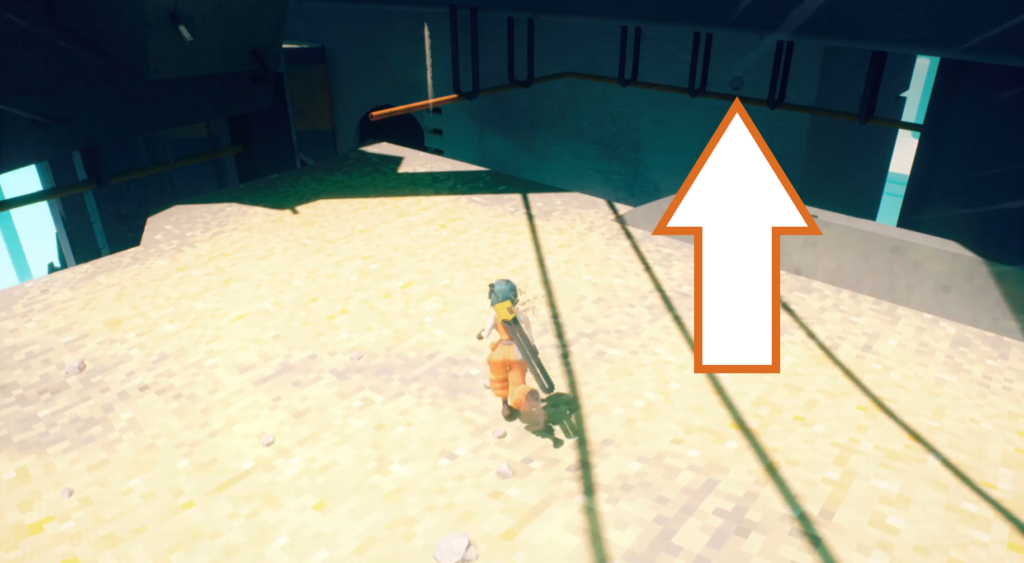
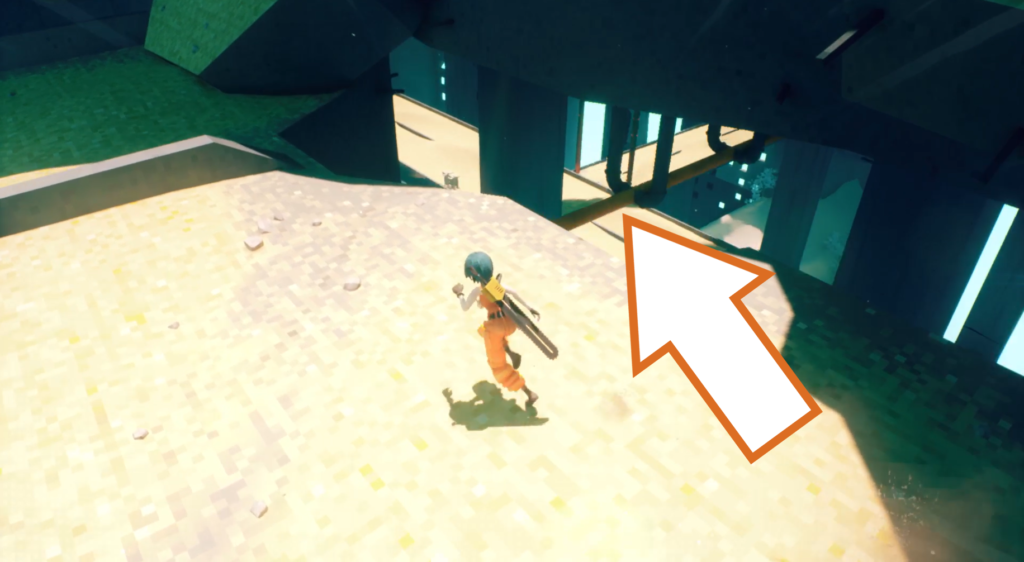
This orb drone is hiding under the roads and is accessible via a yellow pipe you can walk on near the evac point, where the road is broken. Follow the pipe to reach the drone.
Orb Drone 101
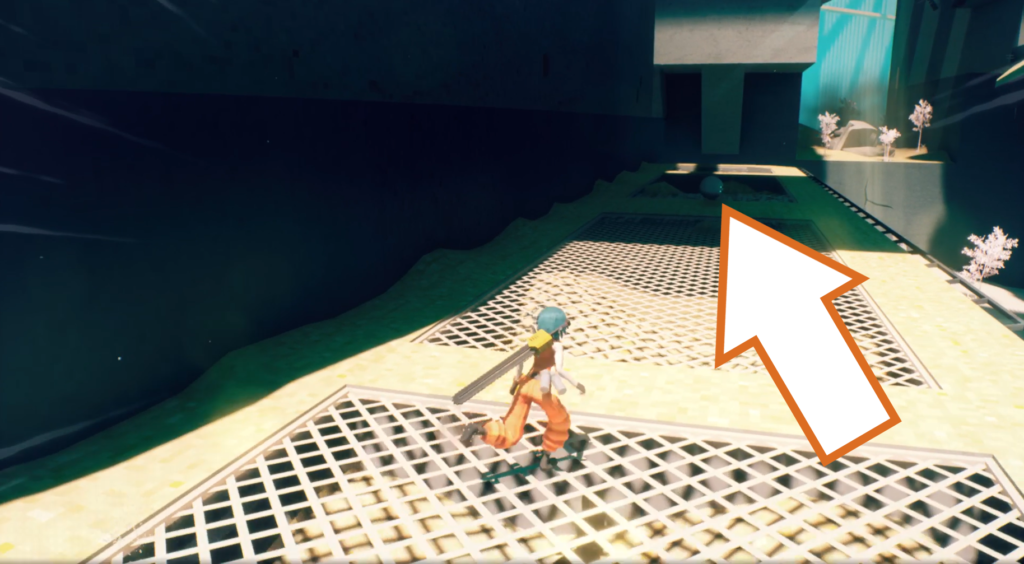
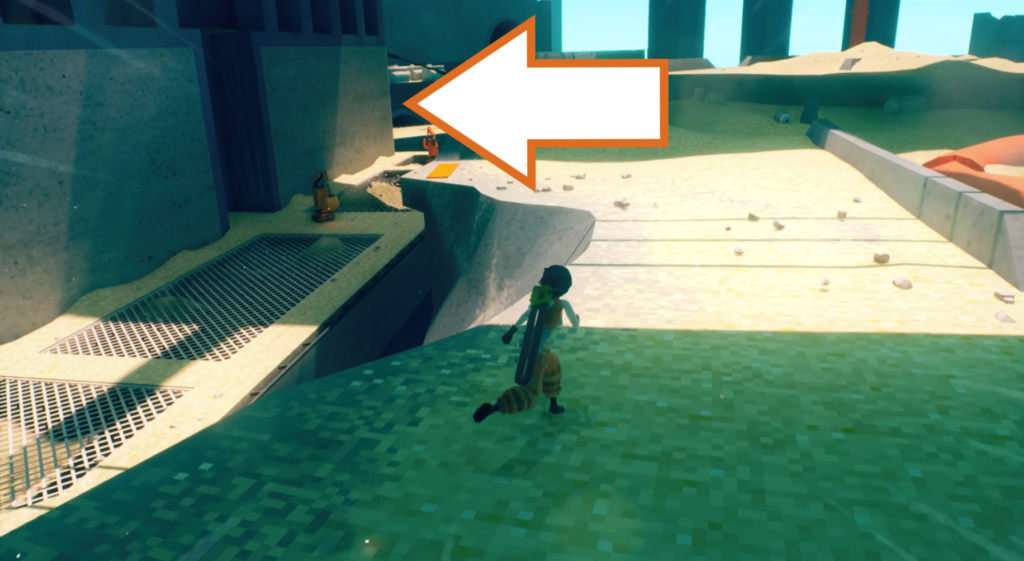
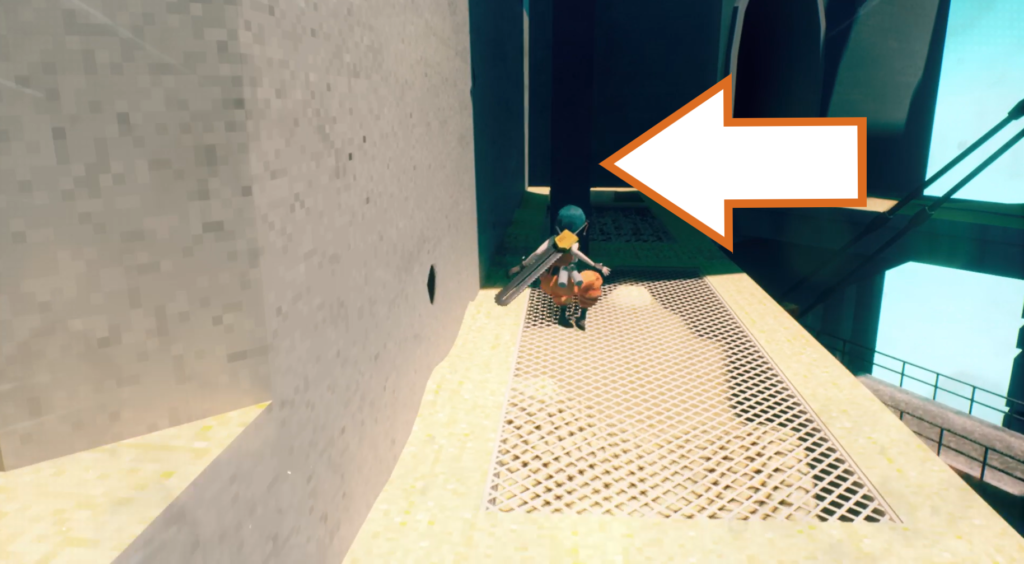
The next orb drone is a bit further on, just after dropping down to a platform with some enemies on it. Go to the end of the platform and drop onto another platform to go around the building. At the back is the drone.
Orb Drone 102
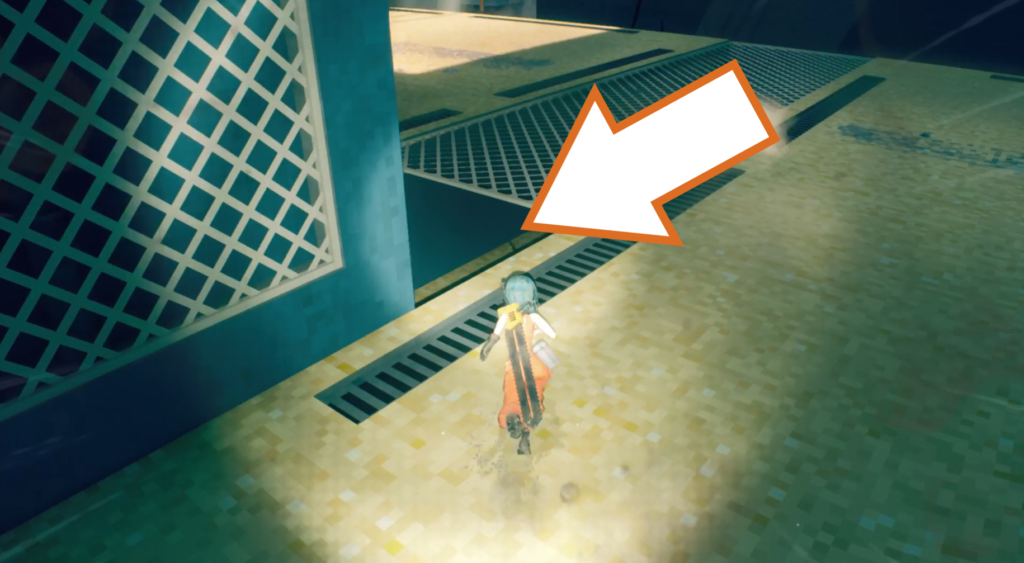
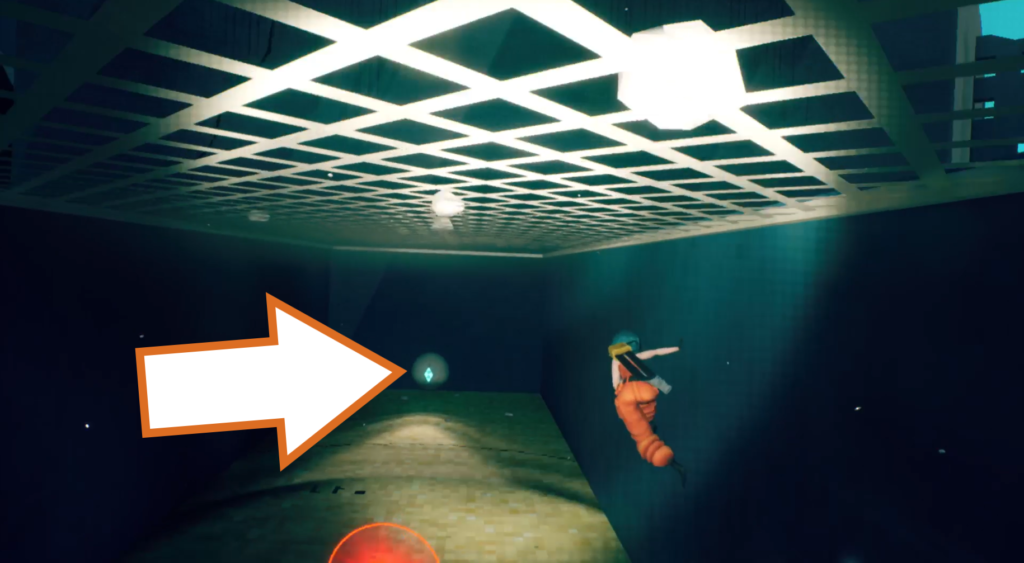
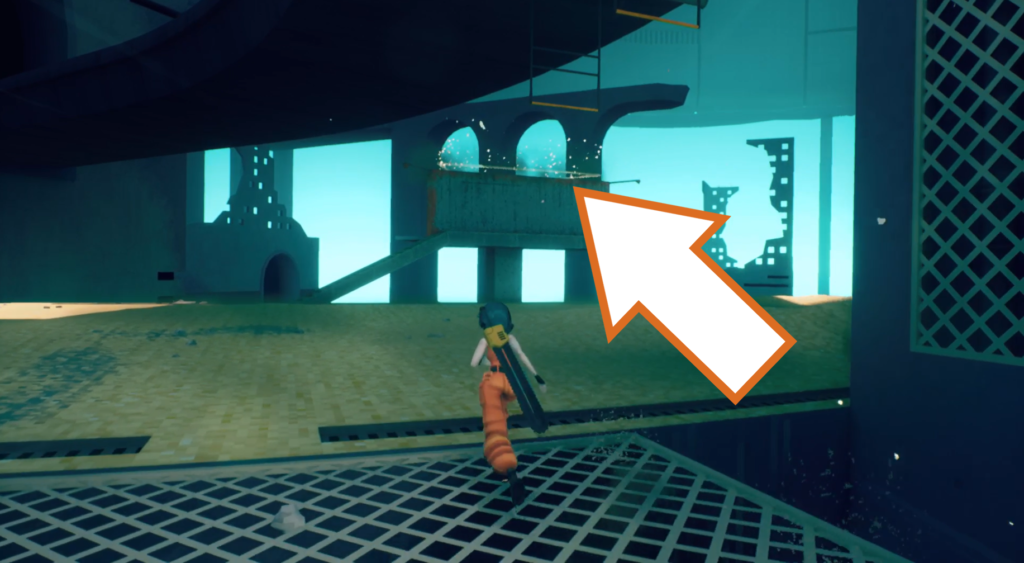
Get on top of the building and look for a hole at the base of the structure in the middle. Drop inside, and wall run past the mine to reach the orb drone (be careful not to go off the edge). Take it to the evac point on the raised triangular platform.
Orb Drone 103, 104 & 105 (Timed)
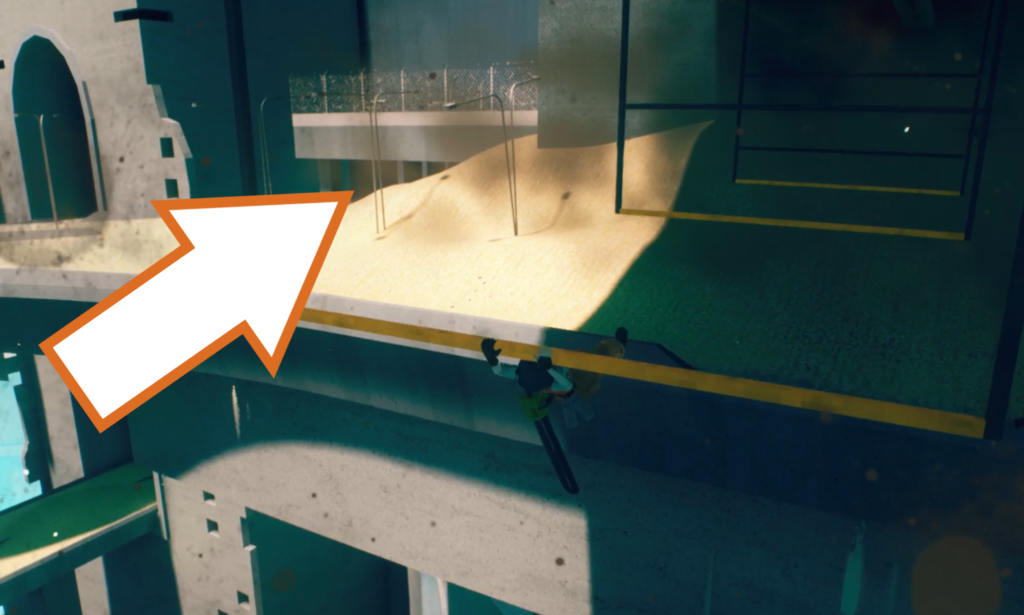
Carry on across the swinging poles to the other side, and round to the left under a partially submerged building.
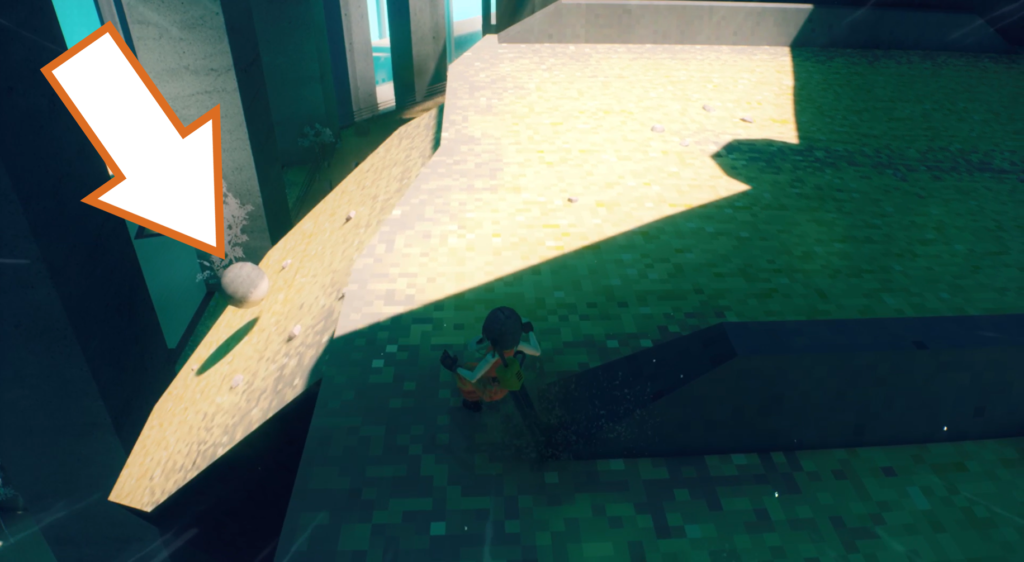
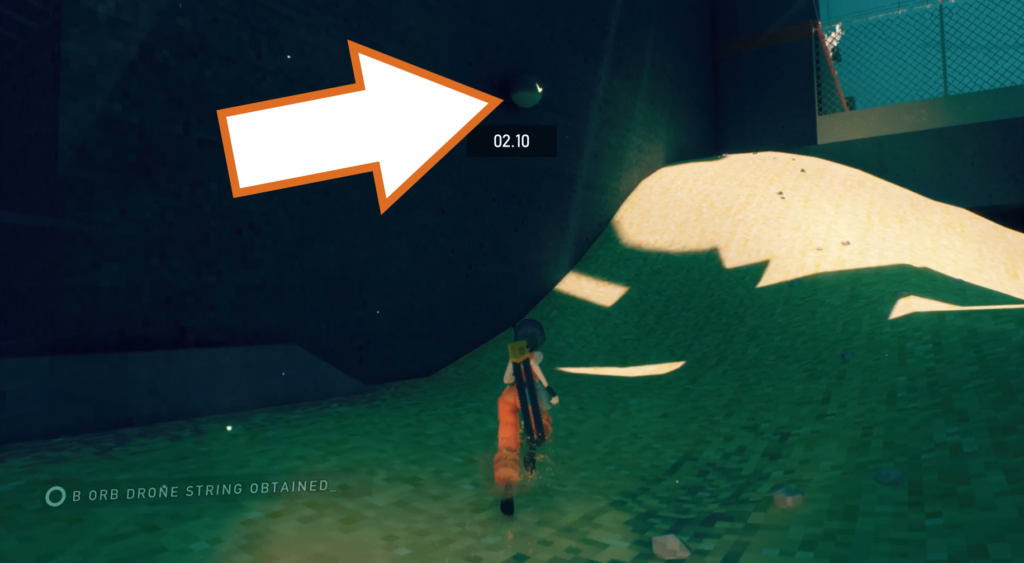
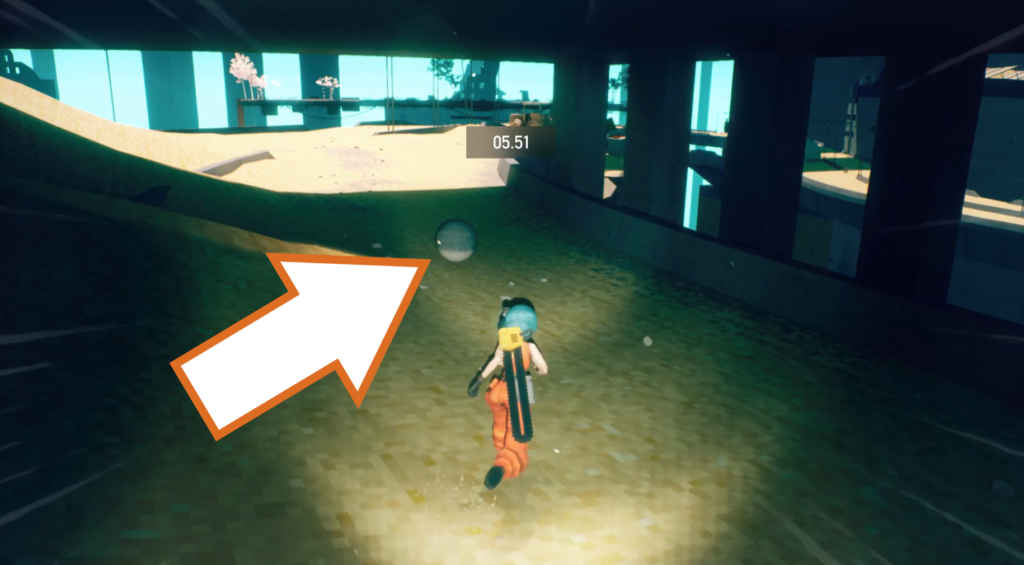
There are three orb drones to grab and deliver at the same time, one is on a little ledge, the second is high up on a wall, and the last one is hidden in the shadows of the building. Once you have all three, take them to the evac point in the middle of them.
Checkpoint_05
Orb Drone 106
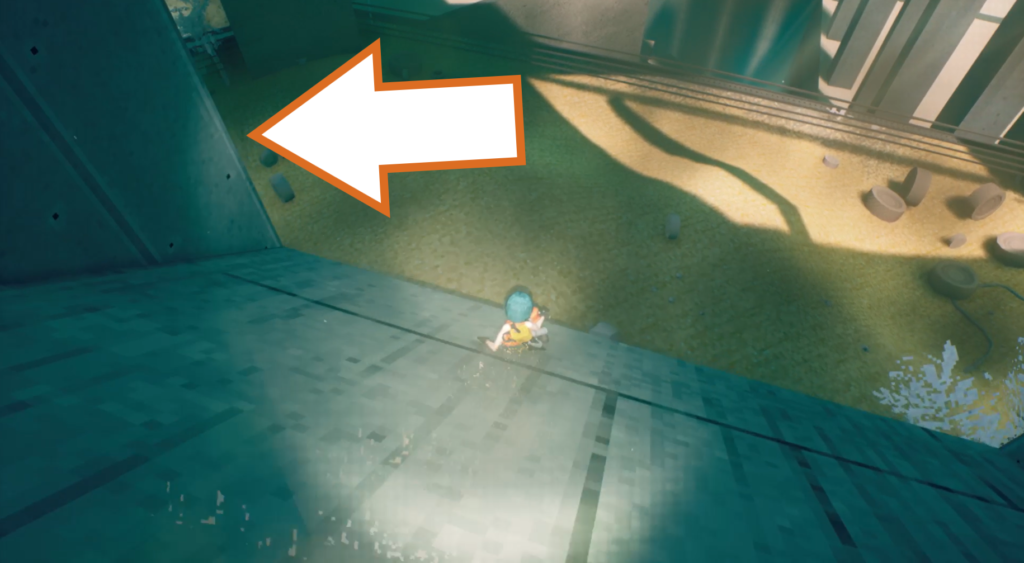
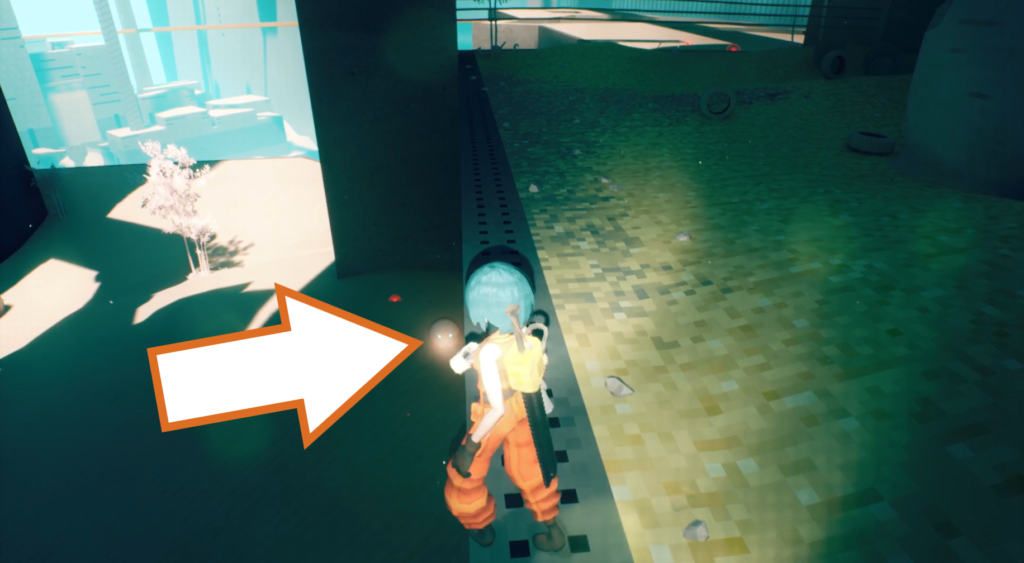
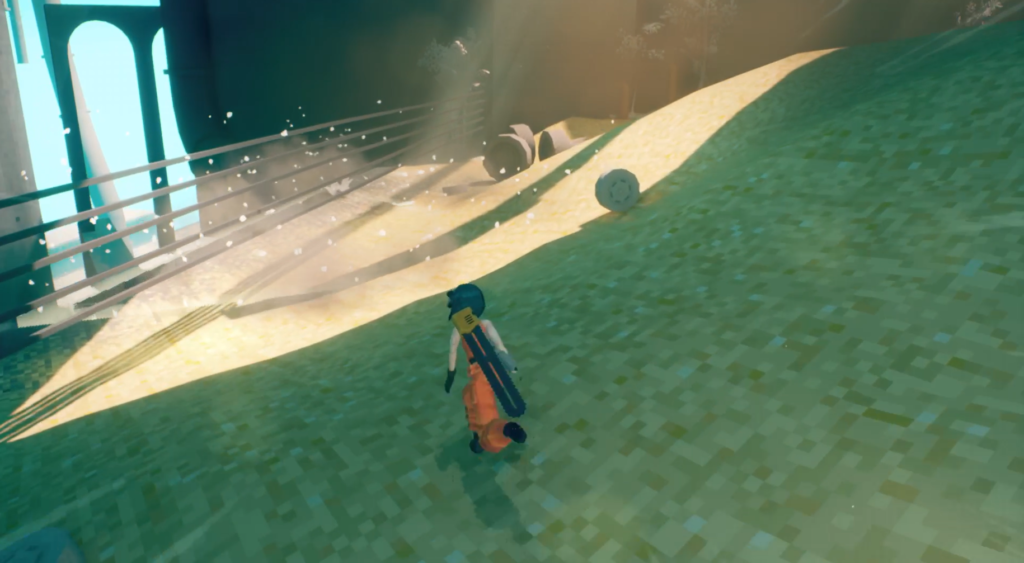
Continue until you slide down a long ramp. At the bottom, go to the left, and you’ll find this orb drone floating against an exposed metal wall below you, with mines lining the floor underneath it. You need to jump down so P has her side to the wall and use her chainsaw to motorslice, grabbing the drone and going back up. The evac point is back near the ramp.
Orb Drone 107
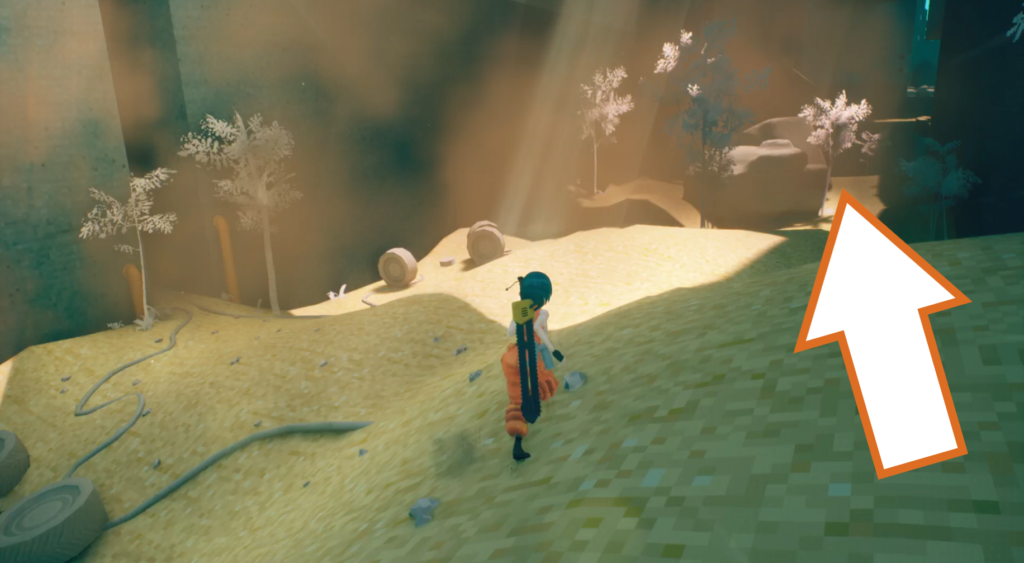
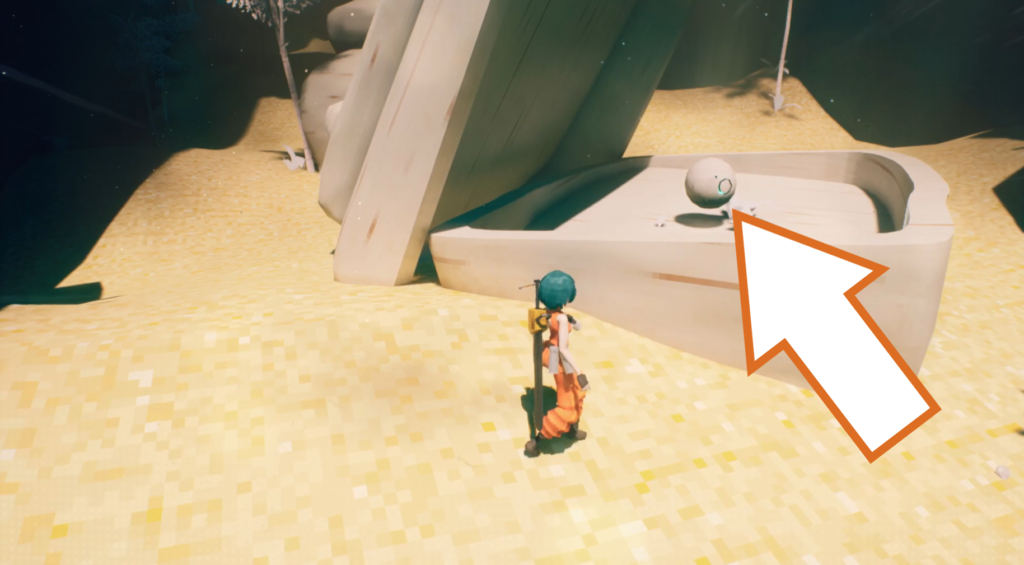
This orb drone is past the evac point, inside what looks like a partially open clam made out of rock.
Orb Drone 108
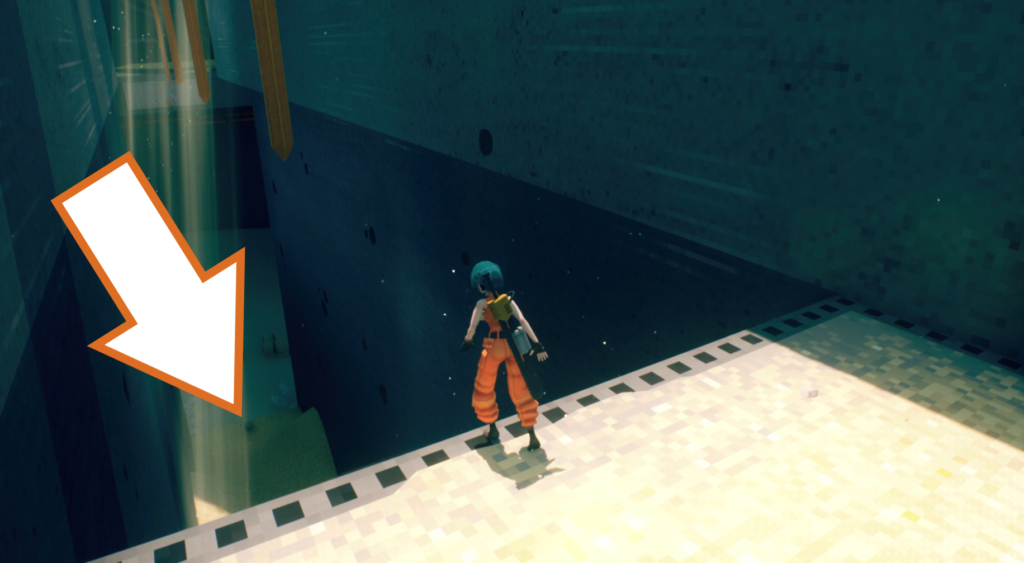
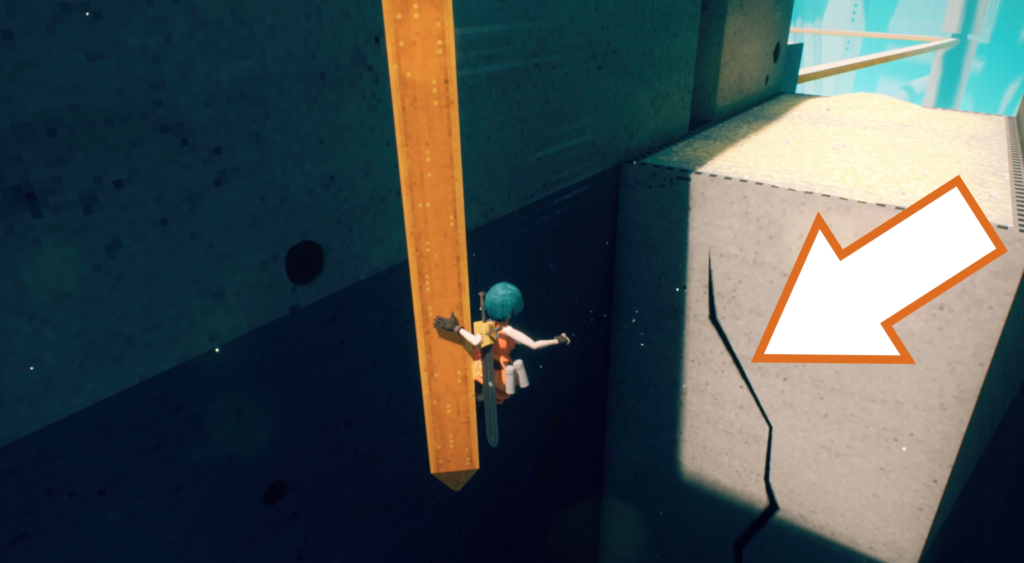
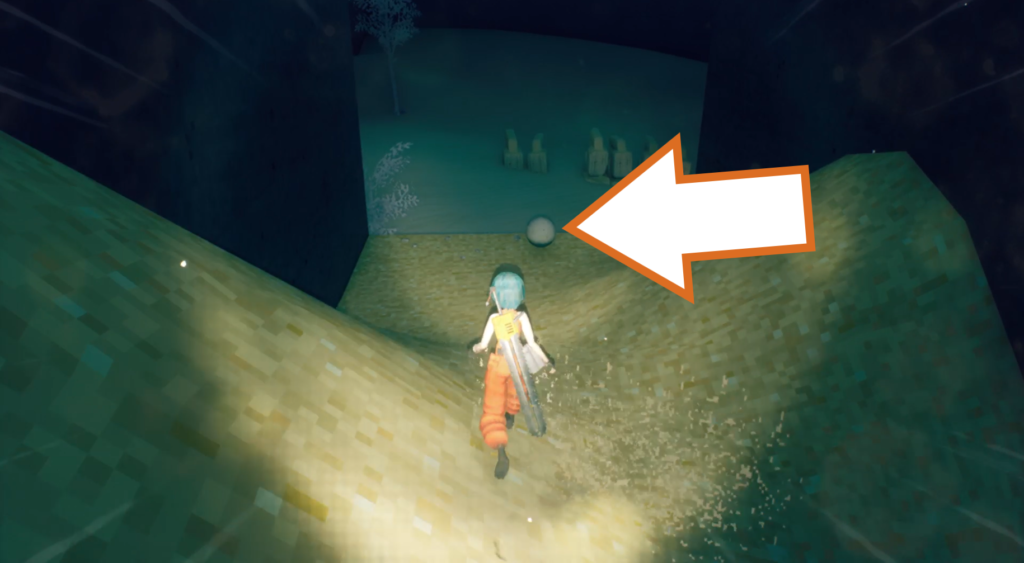
After you have made it up the retractable staircase, you’ll reach a long section where you have to wall run between yellow girders to get to the other end. Jump to the first girder and turn around to see a crack in the wall, jump to it, and slide down to the bottom. Run to the other end to find this orb drone, and head back the way you came to drop it at an evac point.
Orb Drone 109
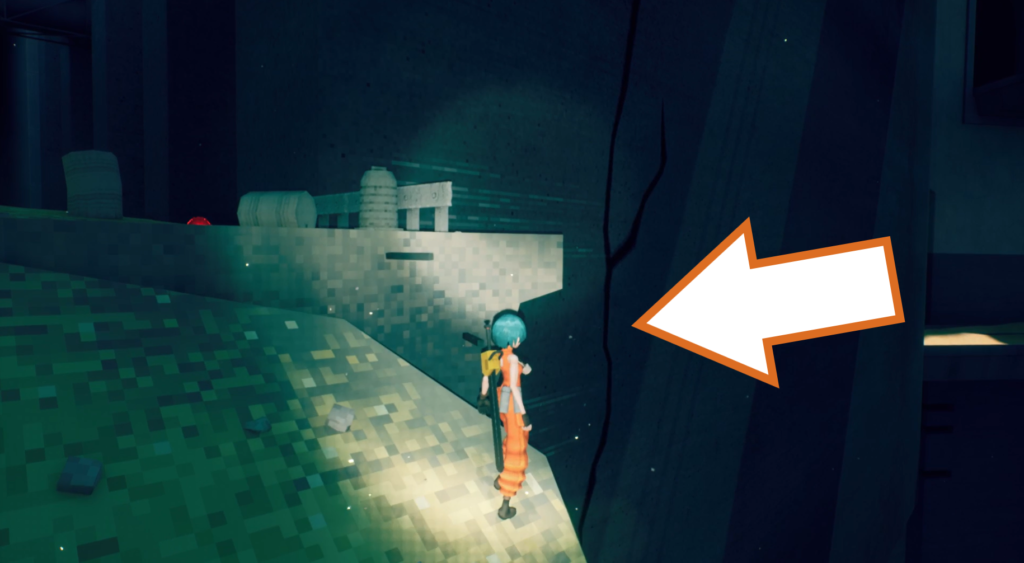
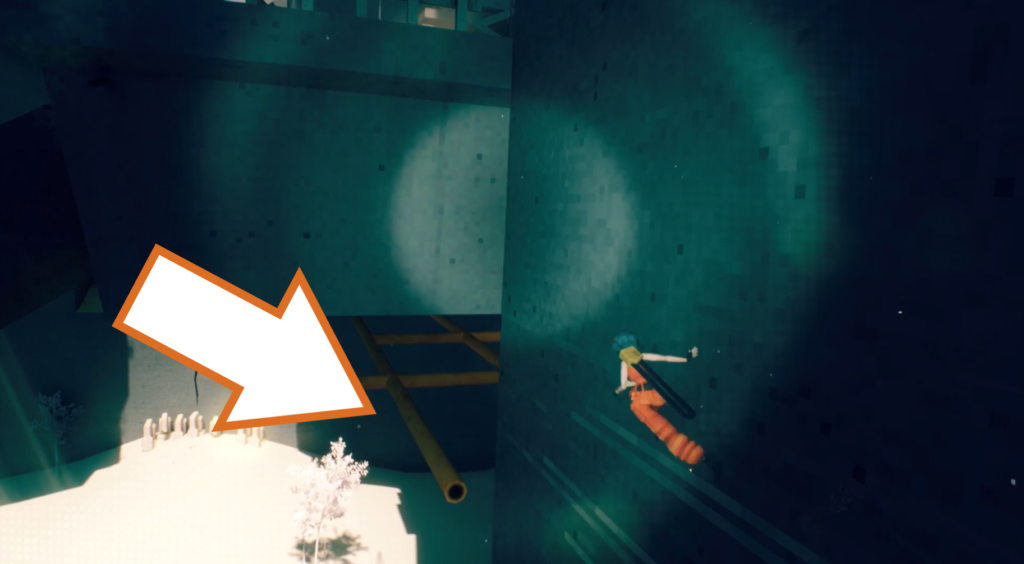
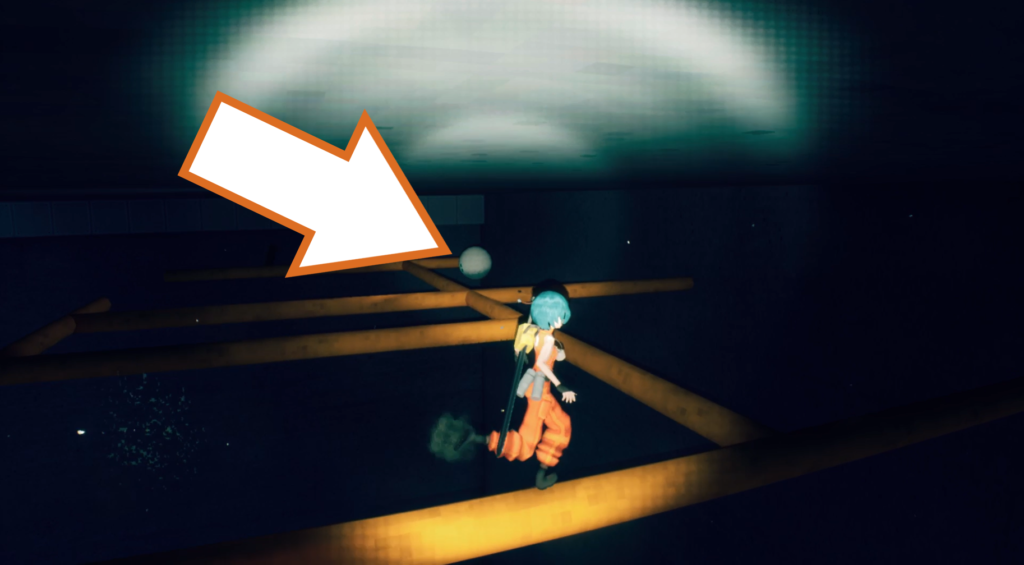
Make your way across the canyon with the girders and run to the right to the edge of the road. Look at the wall to your left to spot a crack to slide down, taking you under the road, where there is a network of yellow pipes you can walk on. Near the corner in the dark is an orb drone to collect.
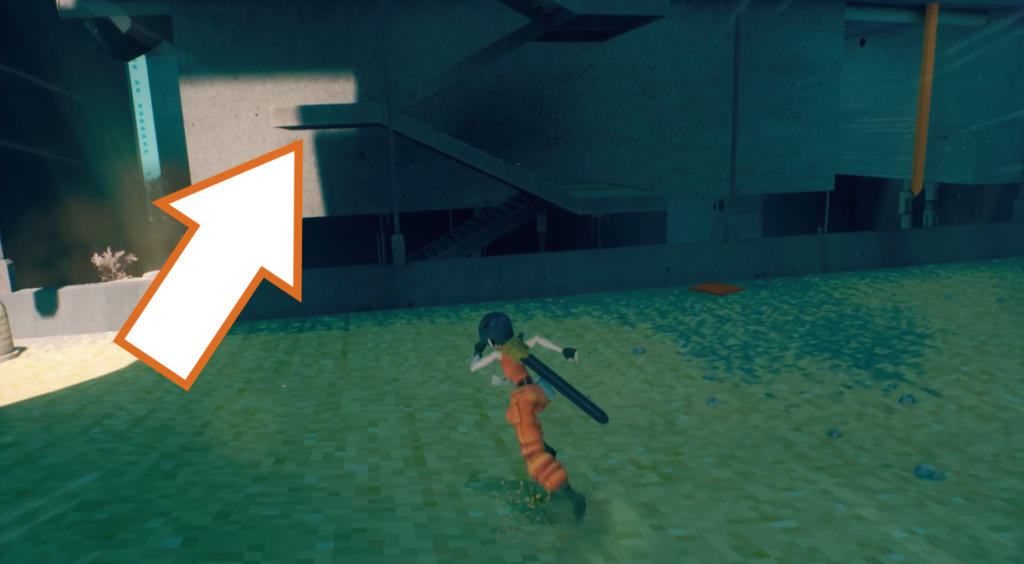
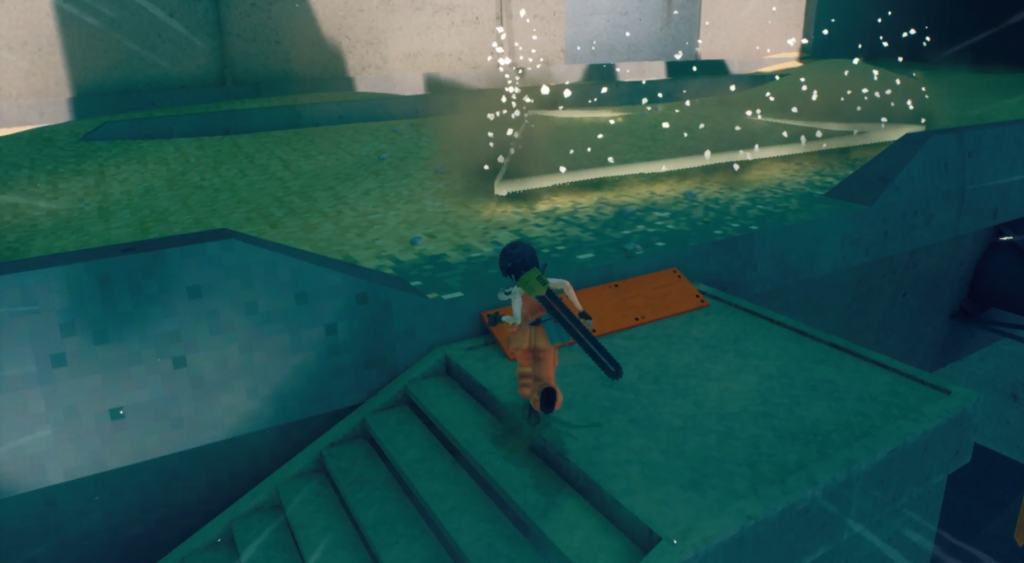
Climb back up the crack and go to the other side of the road and jump onto the stairway. Go up to the top to find the evac point.
Orb Drone 110
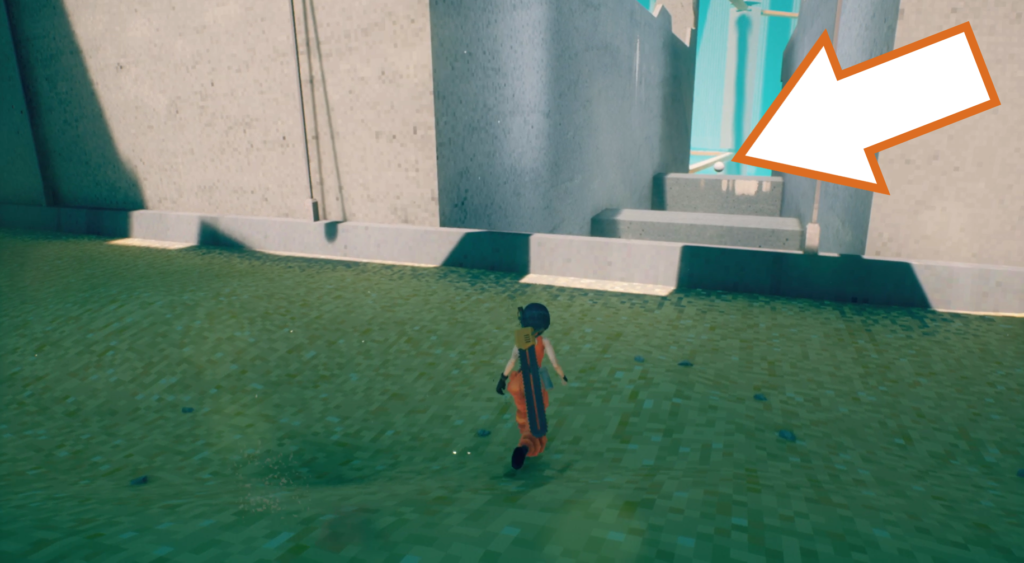
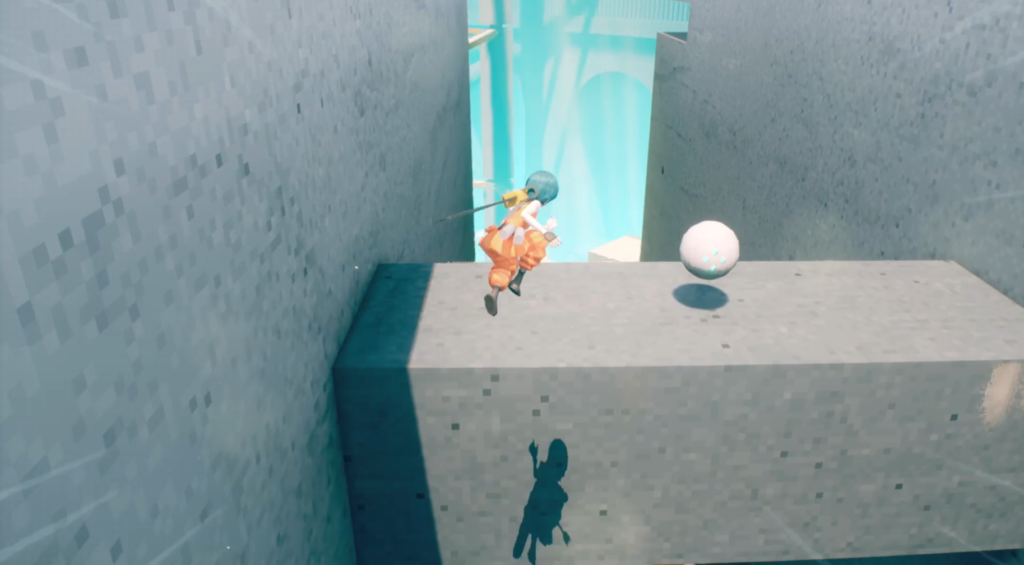
On the other side of the evac point is a gap in the wall, which is the area above the canyon with the girders. Wall run between the concrete platforms to reach the orb drone at the opposite end, and then return it to the evac point.
Orb Drone 111
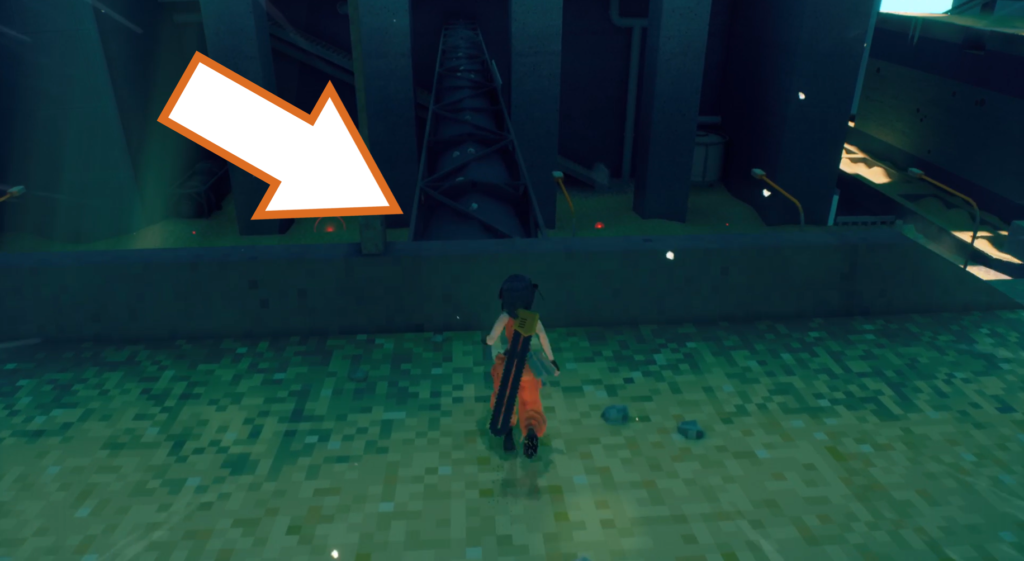
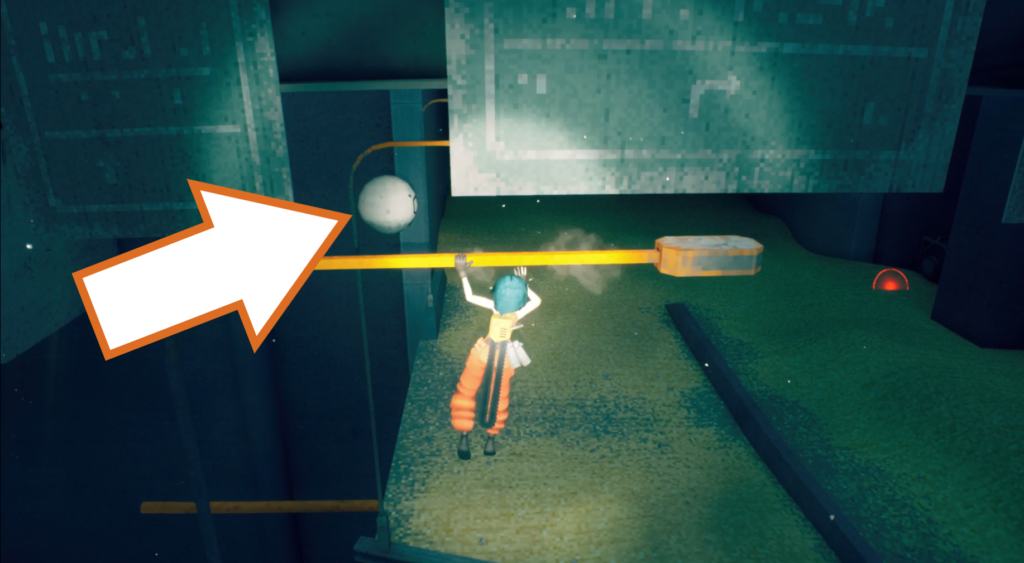
Near the evac point is a walkway with signs on it perpendicular to the road you’re on. Jump to one of the yellow lampposts you can swing on and grab the orb drone underneath the walkway, hidden by the signs.
Orb Drone 112
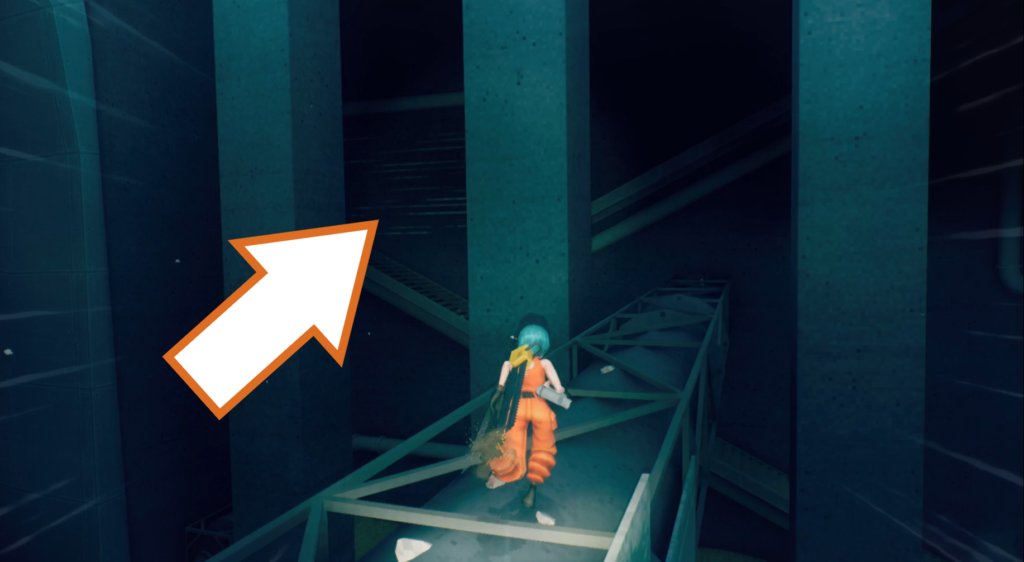
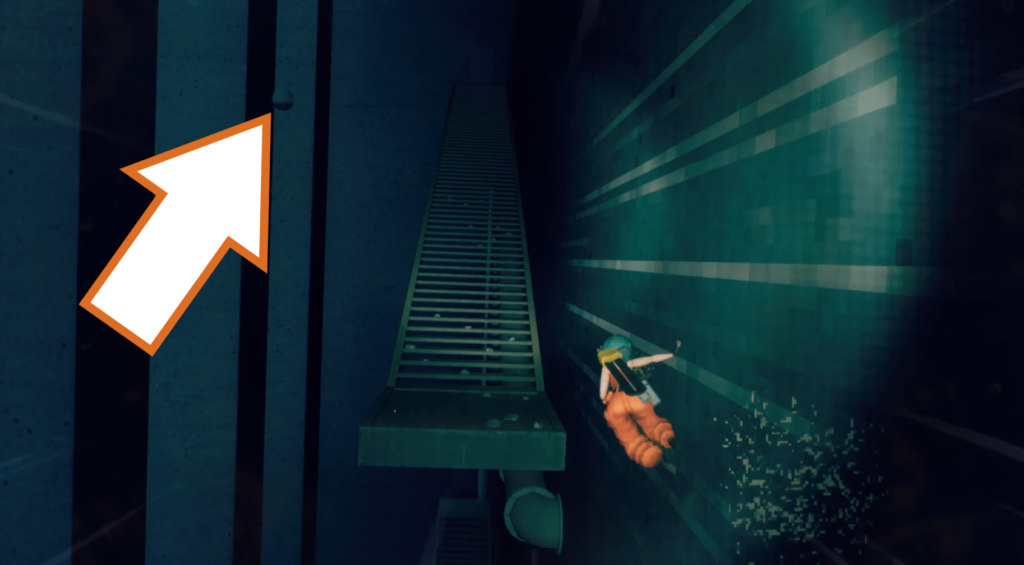
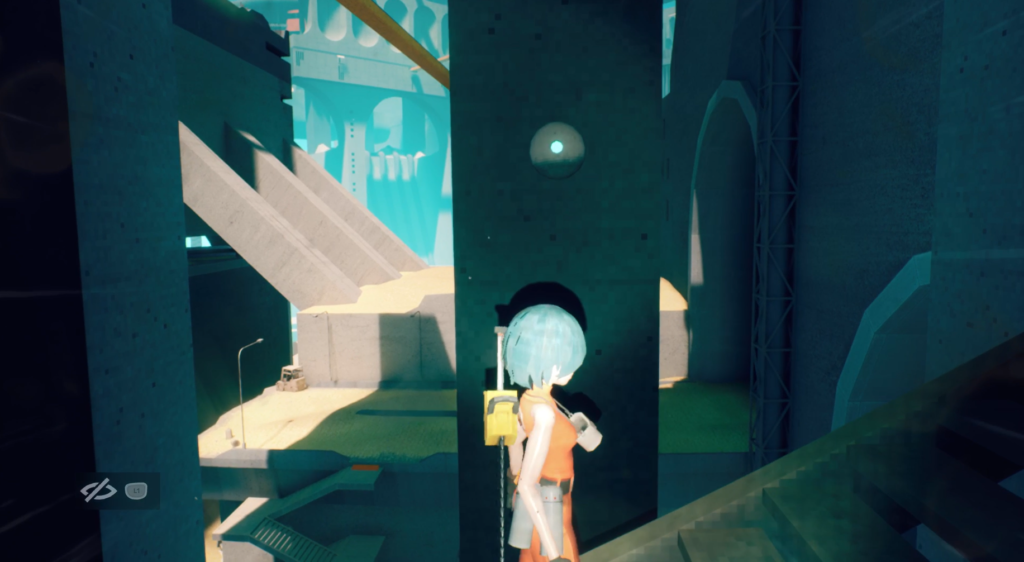
Jump back onto the walkway and run to the other end. Jump onto the stairwell behind the pillars and wall run across to the next one. Do this once more to reach a third staircase, and keep your eye out for the orb drone floating by one of the pillars. Jump off the pillar to collect the drone and take it back to the evac point.
Checkpoint_06
Orb Drone 113 & 114 (Timed)
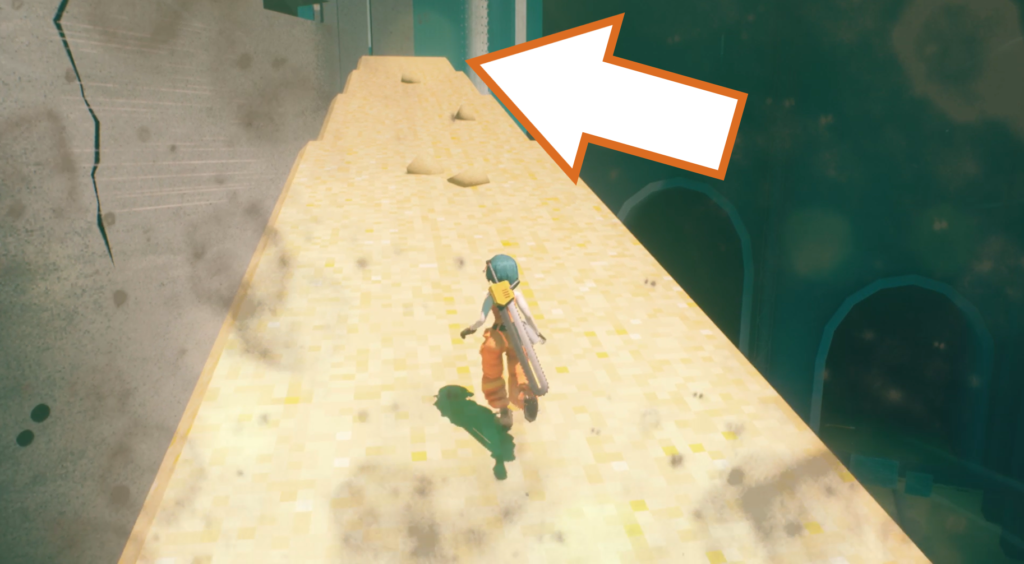
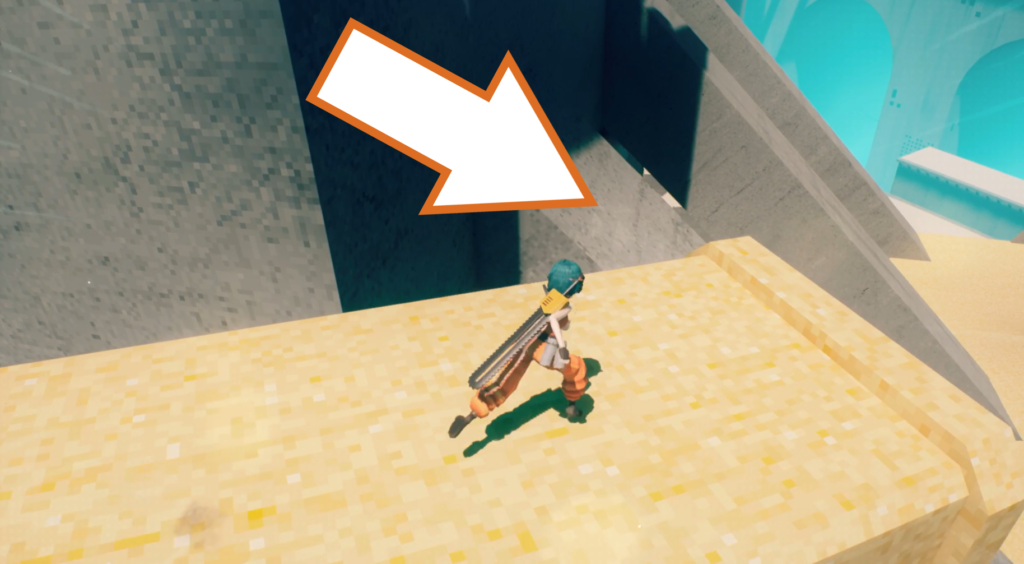
These two are collected after you’ve beaten the boss of Chapter 3. Instead of using their remains to reach the wall run point to proceed, go to the very end of the crane arm of sand, jump to the ramp and slide down.
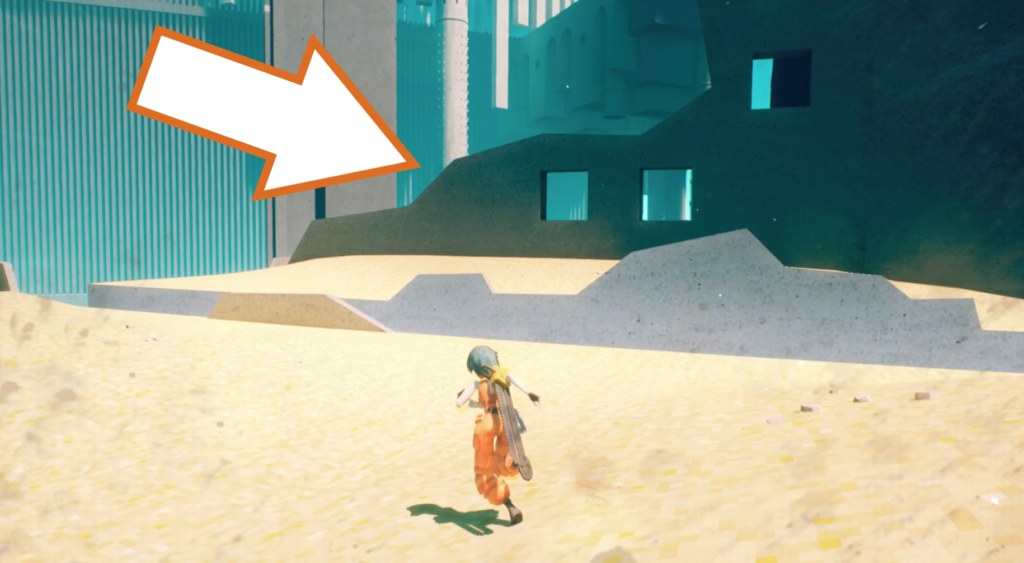
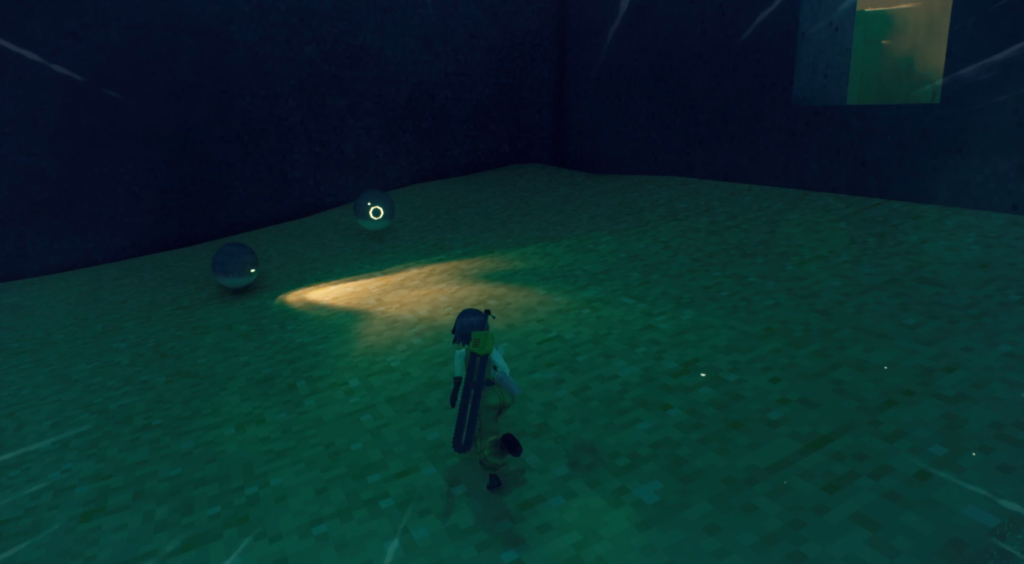
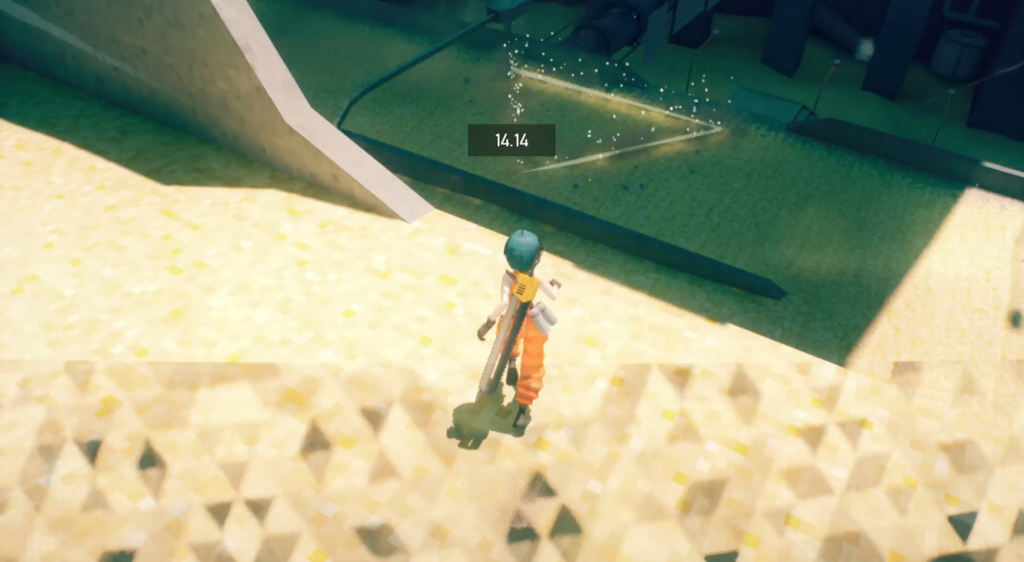
Jump across the gap and go around the ruins to find two orb drones that need to be delivered within a time limit. The easiest evac point to reach is the one you used for the previous orb drones.
Orb Drone 115
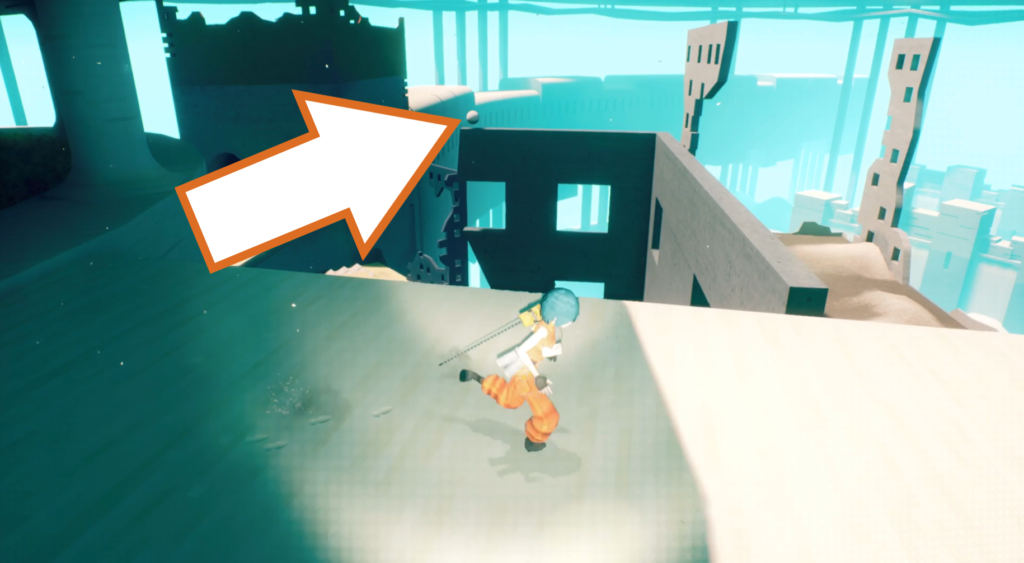
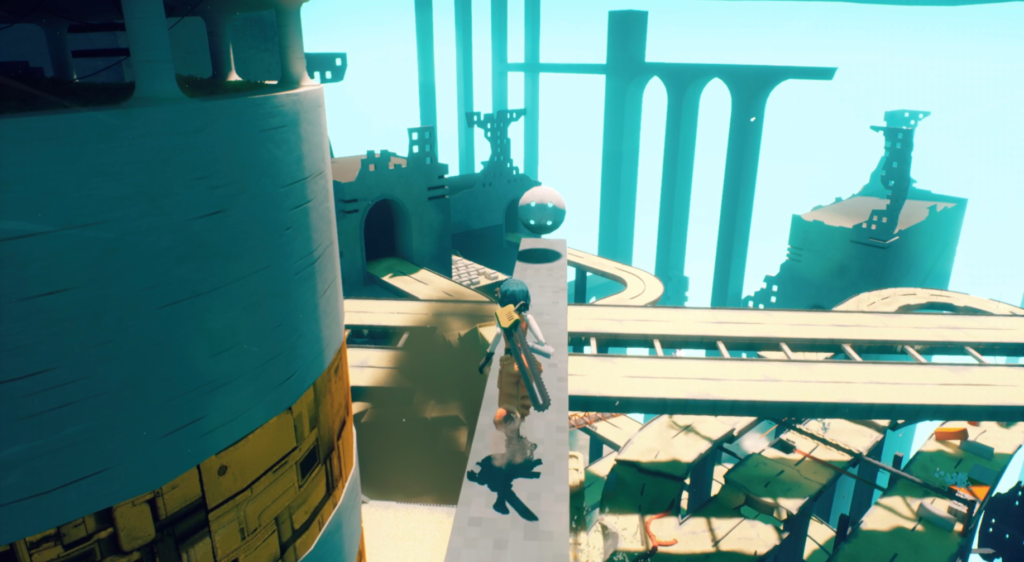
The last orb drone for Chapter 3 is found just after reaching the grassy area with the stone seat. To the left of the long path forward is the edge of a ruined building, with the orb drone on the other end of it. Carefully walk out to get it, and take it to the evac point back on the bridge.
Chapter 5 – Pillars
Checkpoint_01
Orb Drone 116
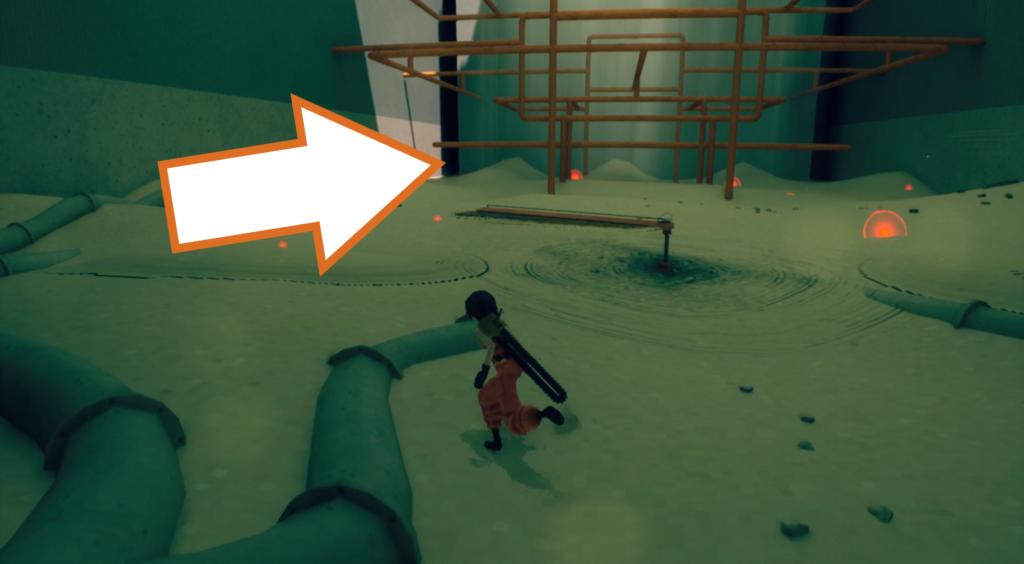
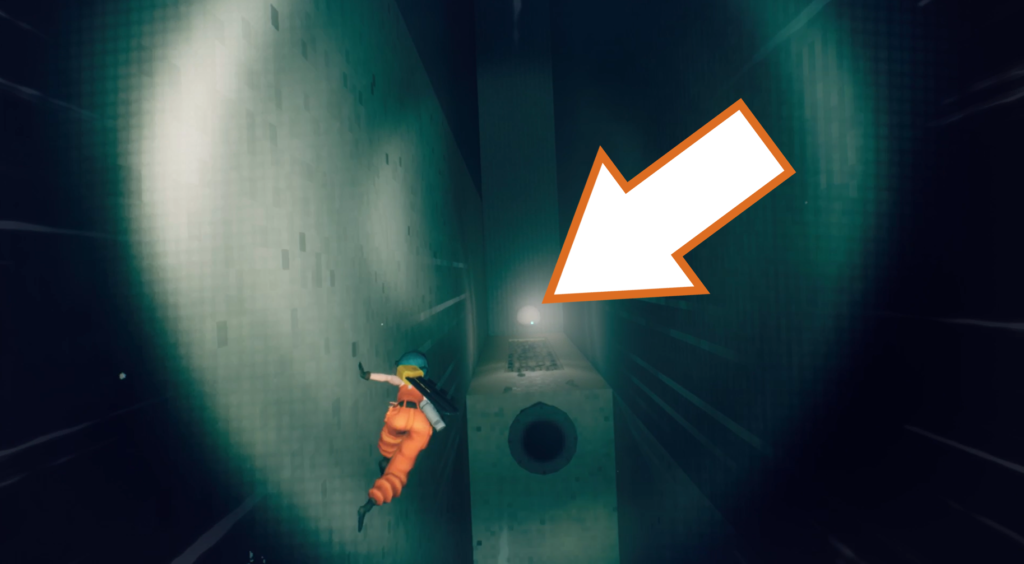
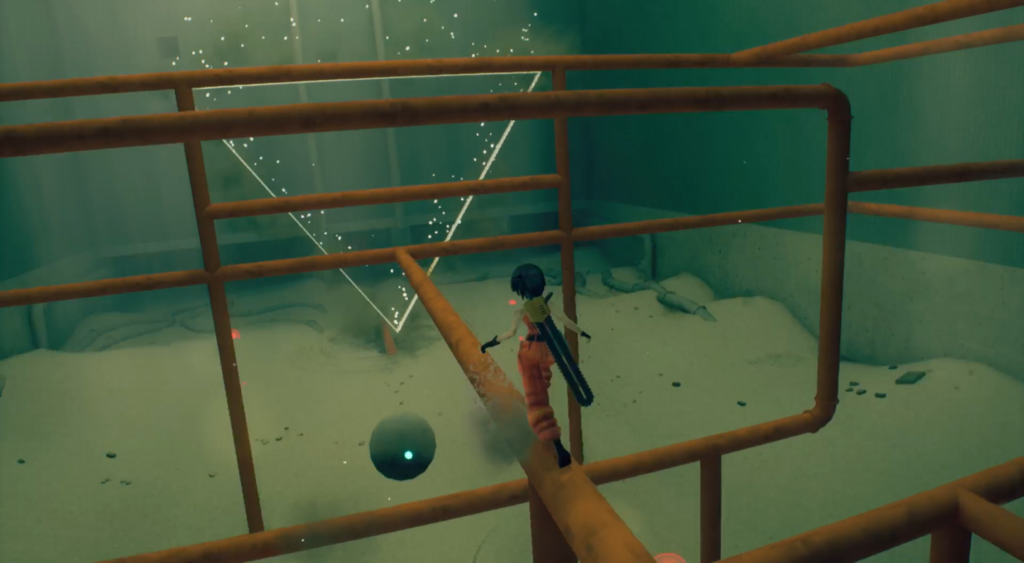
Head to the back left corner of the first room with the large metal climbing frame in the centre, and wall run along the dark chasm to find this orb drone. Take it back to the evac point by the climbing frame.
Orb Drone 117
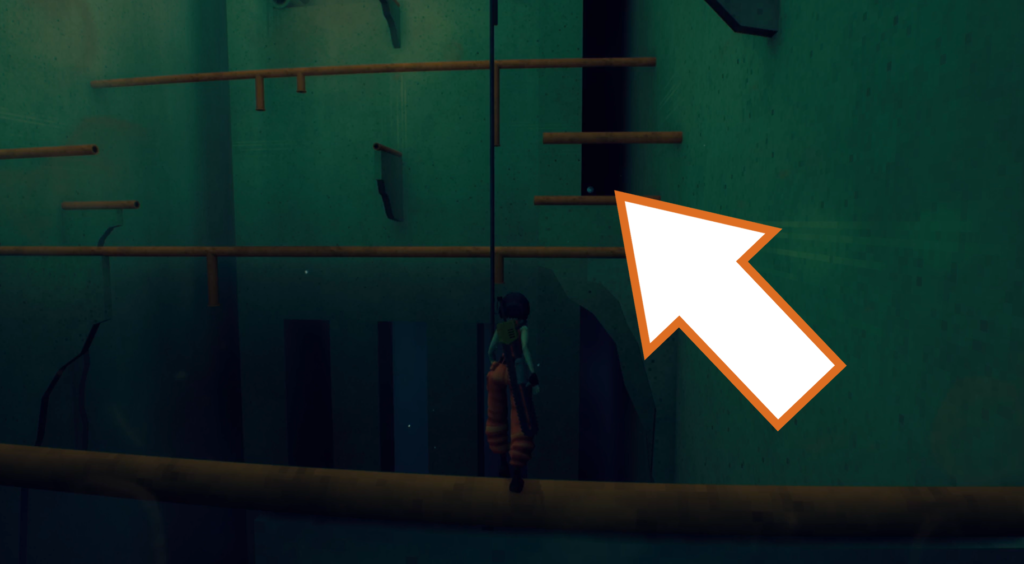
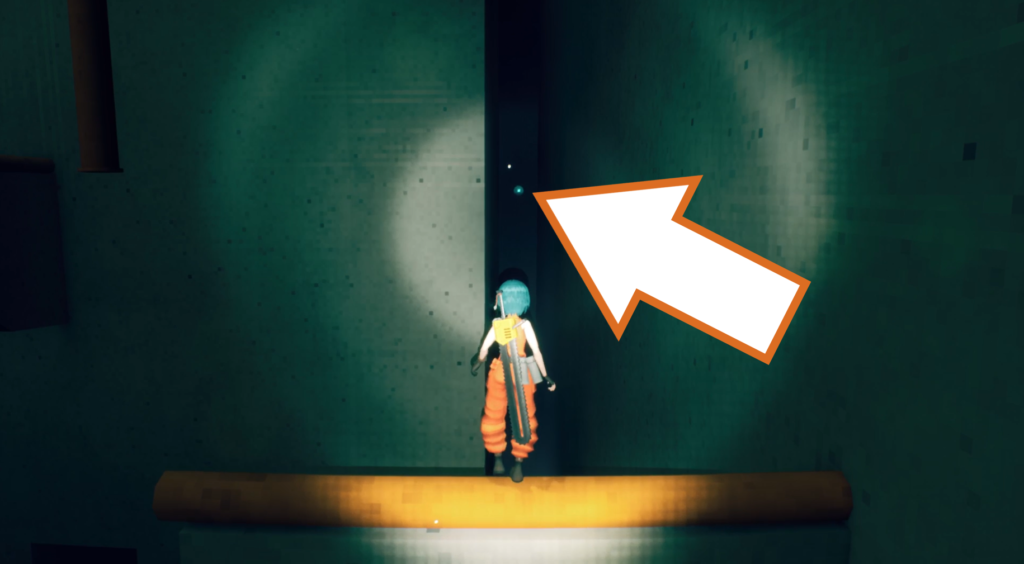
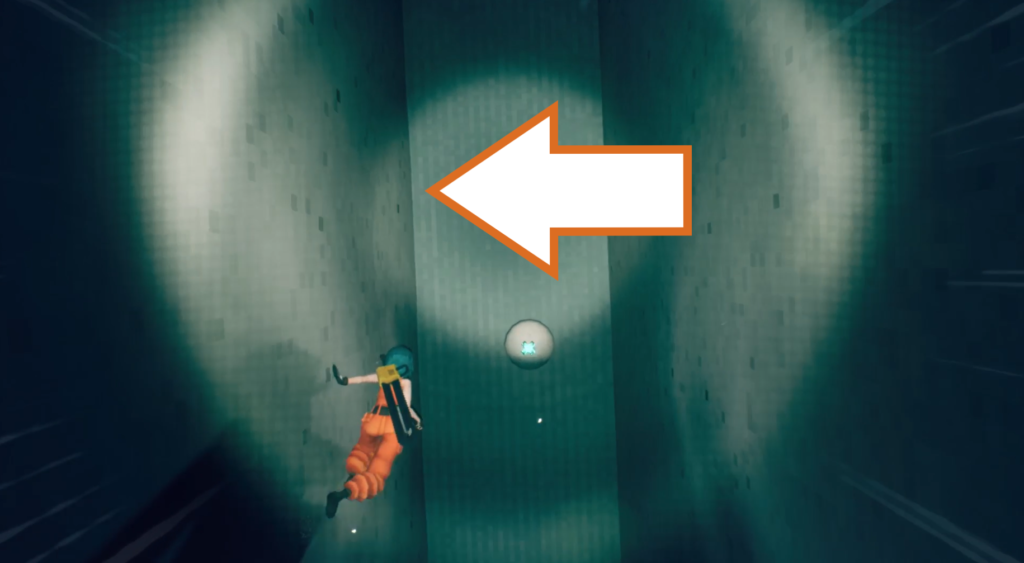
Continue to the next room with no floor and several orange pipes. Head to the back right corner to find another dark gap to wall run down. At the end is the orb drone, but you need to carry on round the corner and back the other side to get to safety.
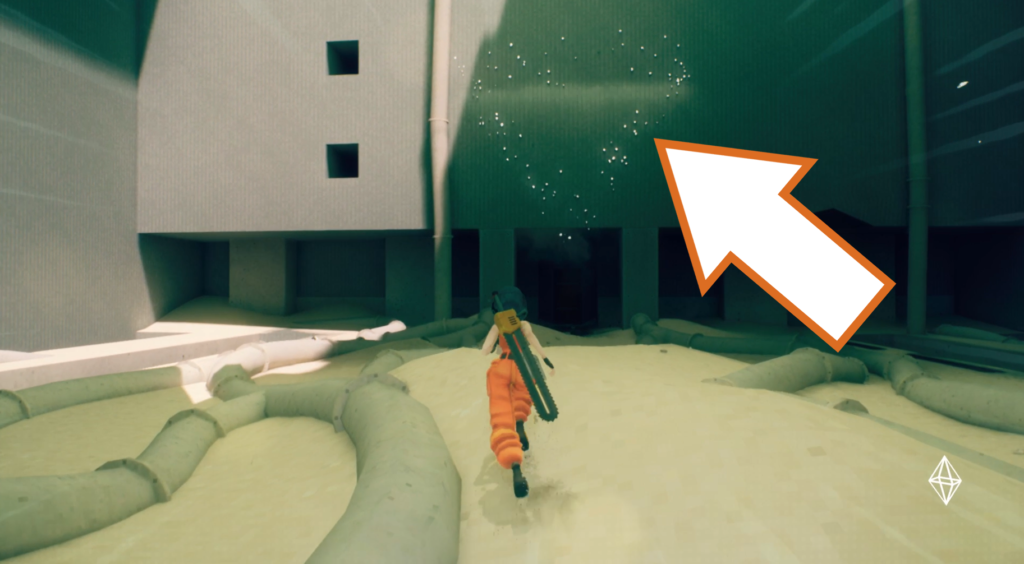
Continue forward and up the exposed metal wall to reach the next evac point.
Orb Drone 118 (Timed)
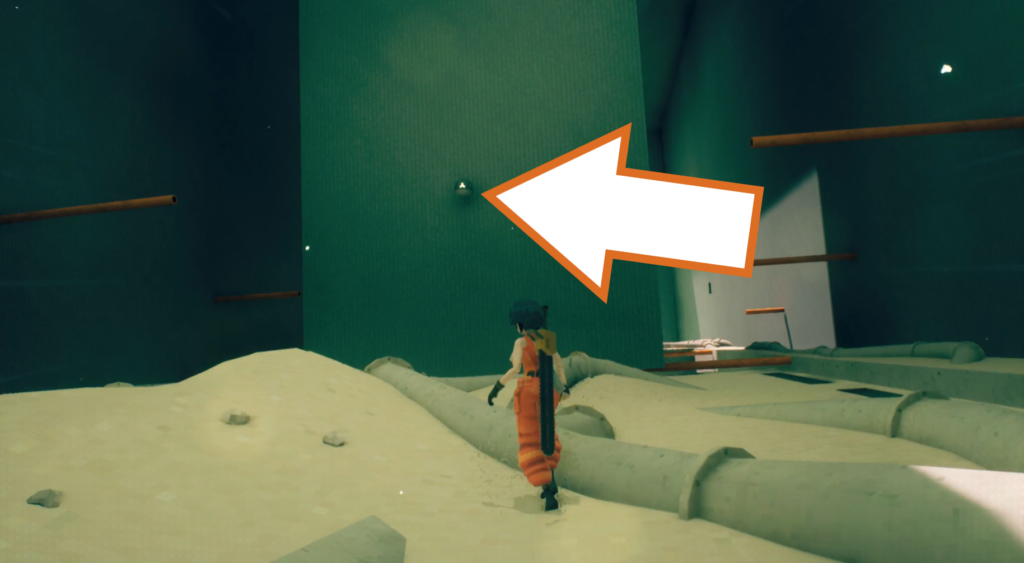
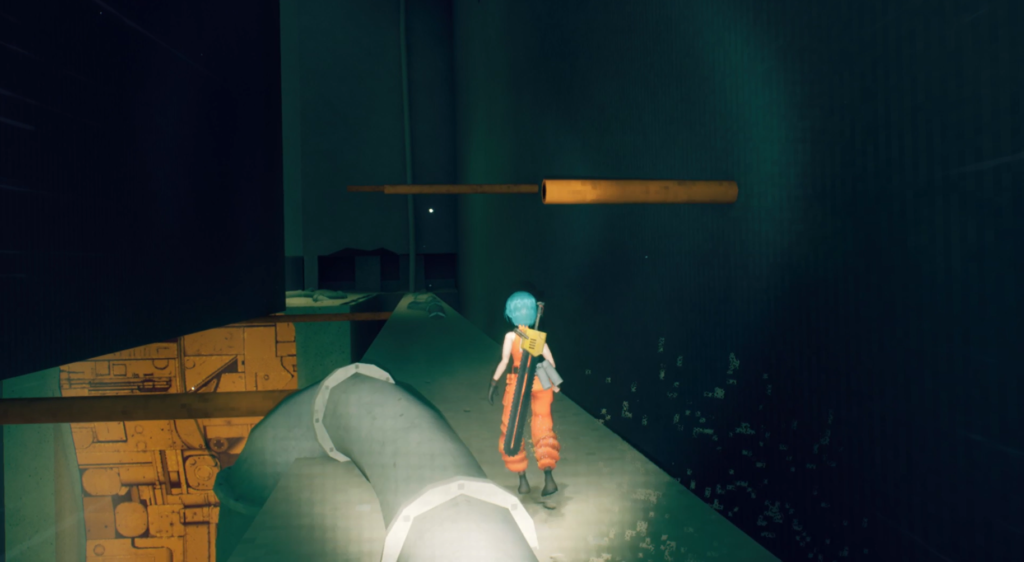
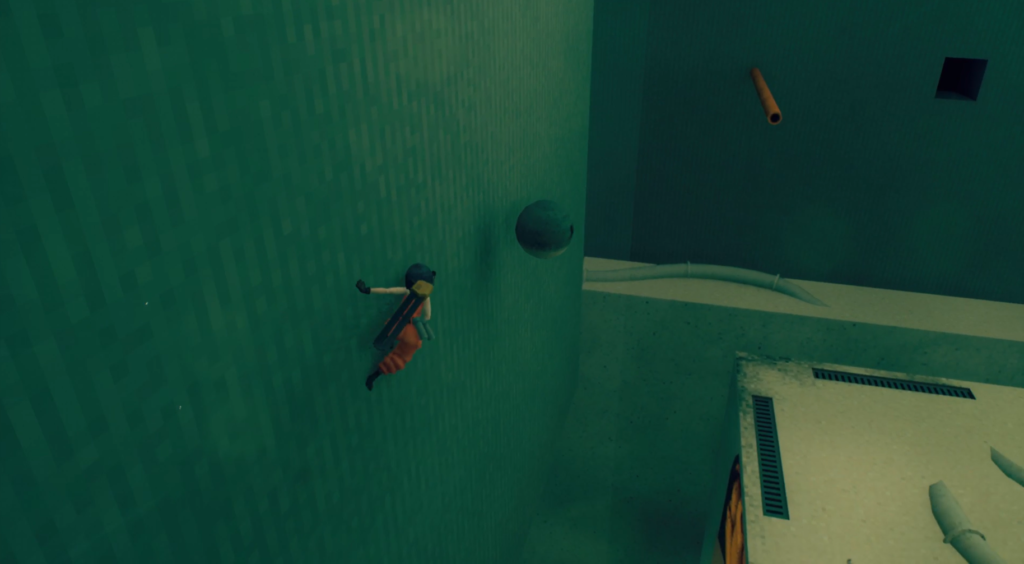
Opposite the evac point is an orb drone you need to deliver within the time limit. Go down one of the sides of the cube the drone is floating next to, and wall run between the orange pipes protruding from the wall to reach it.
Orb Drone 119
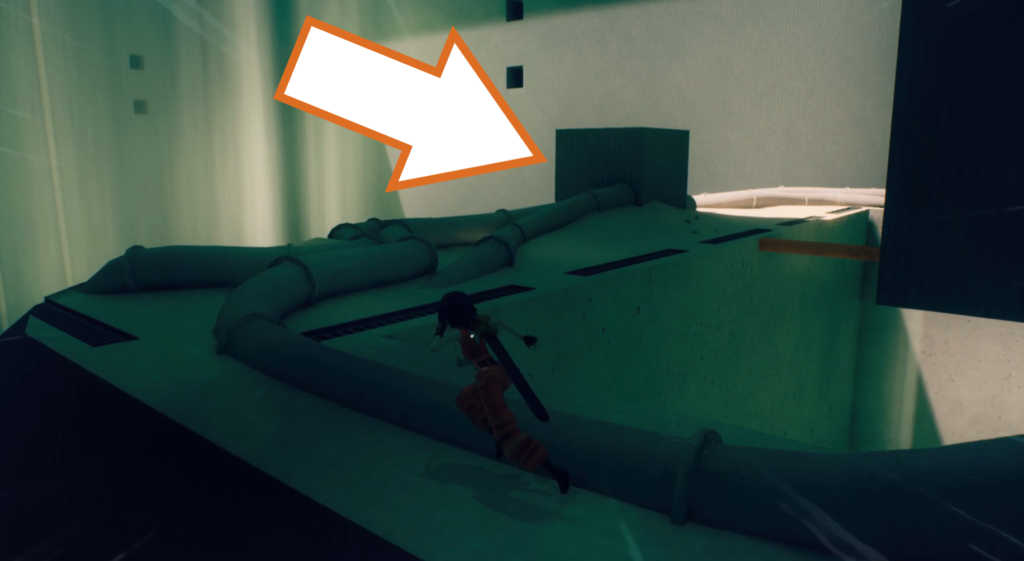
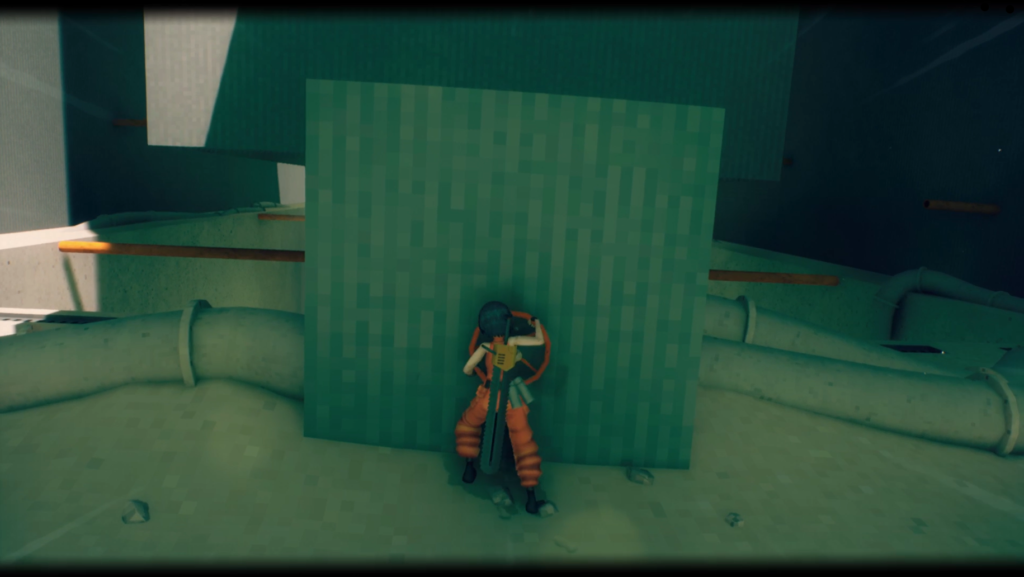
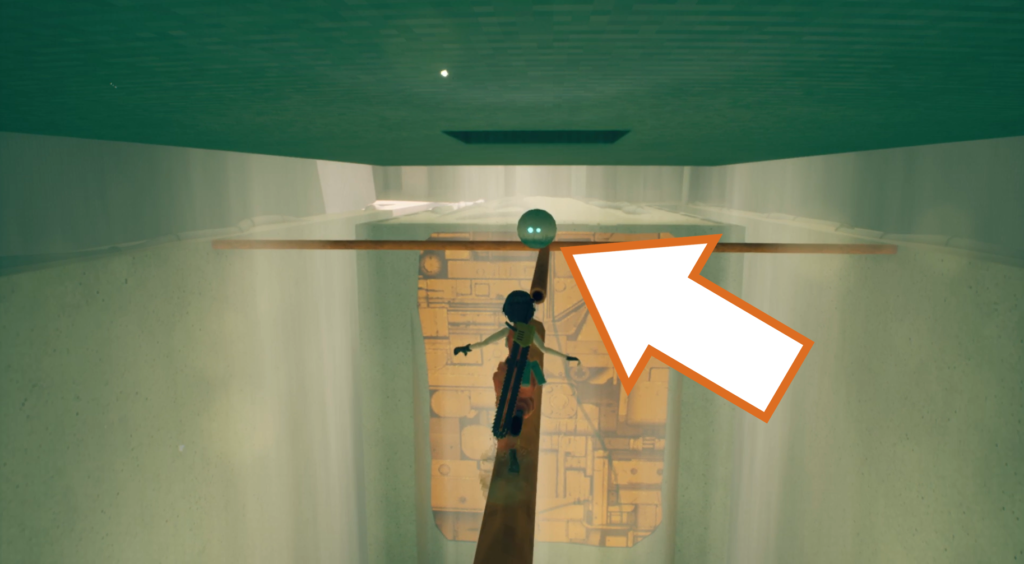
Go around to the other side of the large cube to find a hidden valve. Turn it to raise the cube and reveal some more pipes and the orb drone. Collect it and deliver it to the evac point.
Checkpoint_02
Orb Drone 120 (Timed)
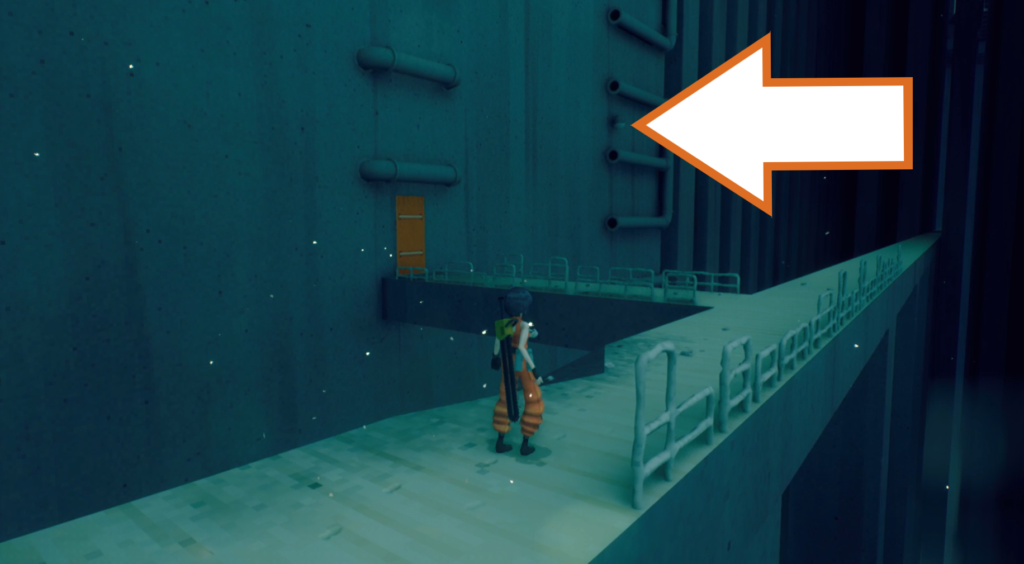
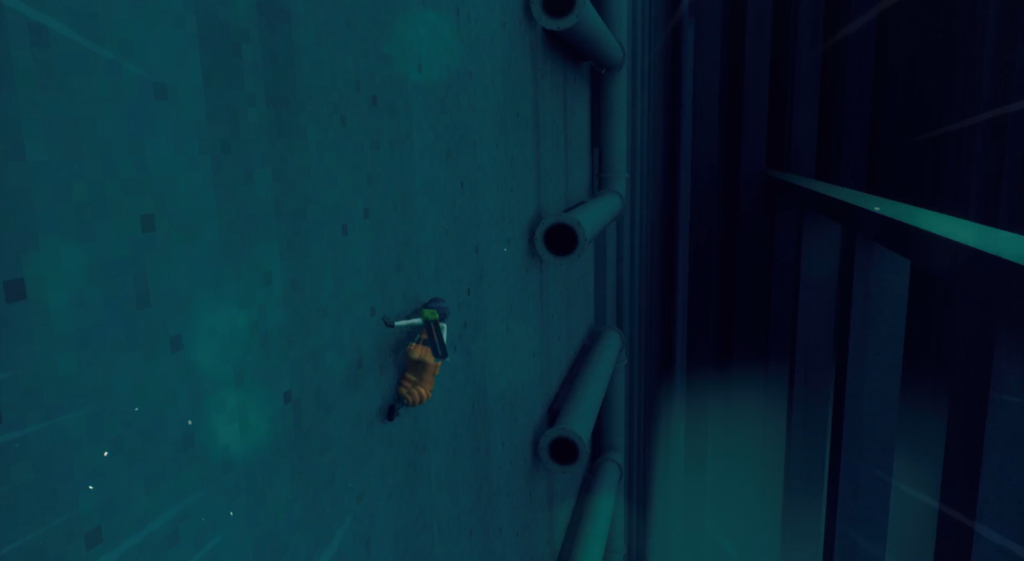
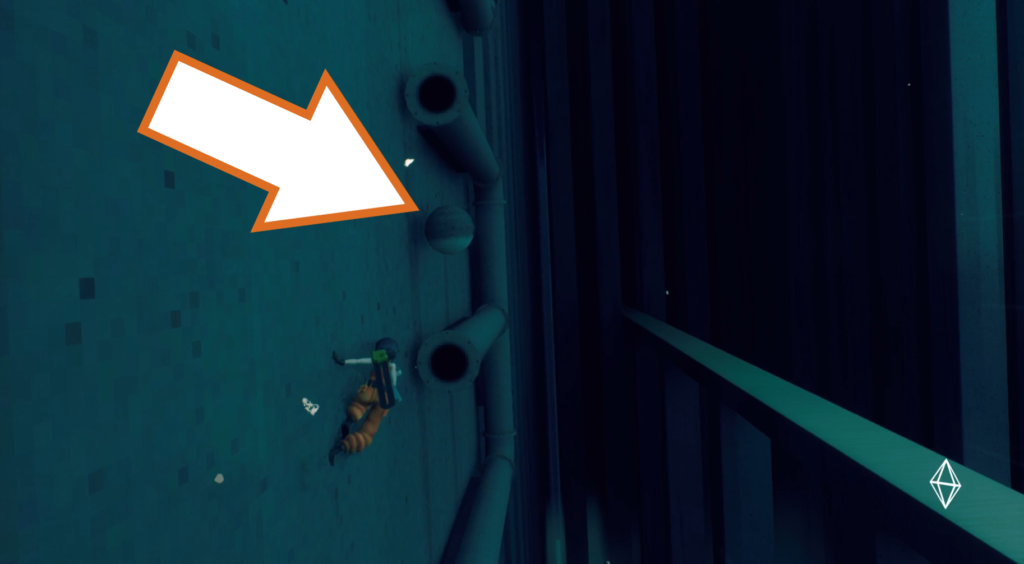
Continue forward, and you’ll reach an open area where you get a cutscene introducing the boss of this chapter. When facing the door you came through, there is an orb drone floating above one of the pipes to the right of it. Wall run from the door to the pipe below it, then back across to the pipe above the door. Do one last wall run to reach the orb drone, and then get back down to deliver it to the evac point back through the door.
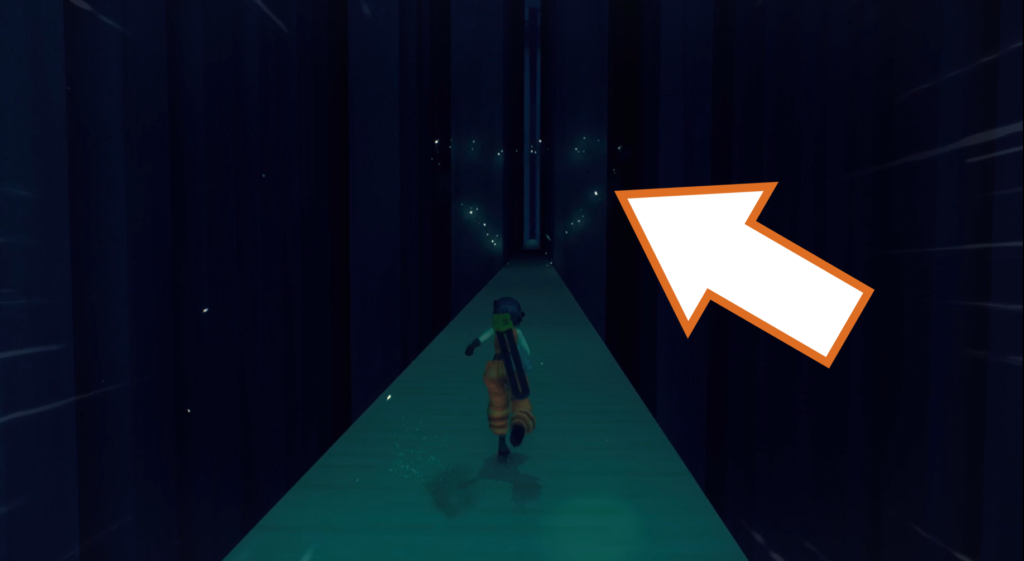
Or, you can use the evac point down the left-hand path, hidden amongst rows of ominous pillars.
Orb Drone 121
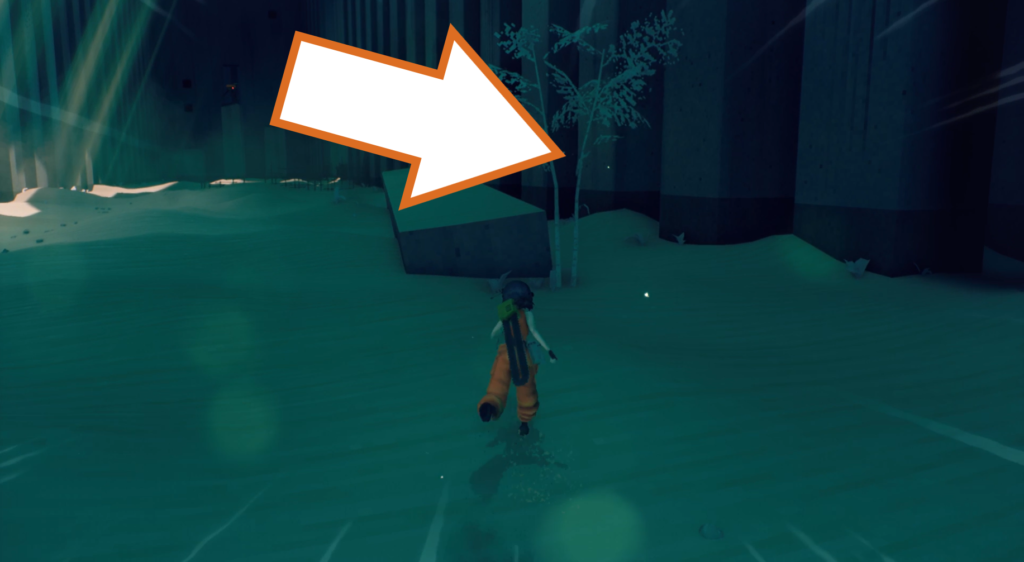
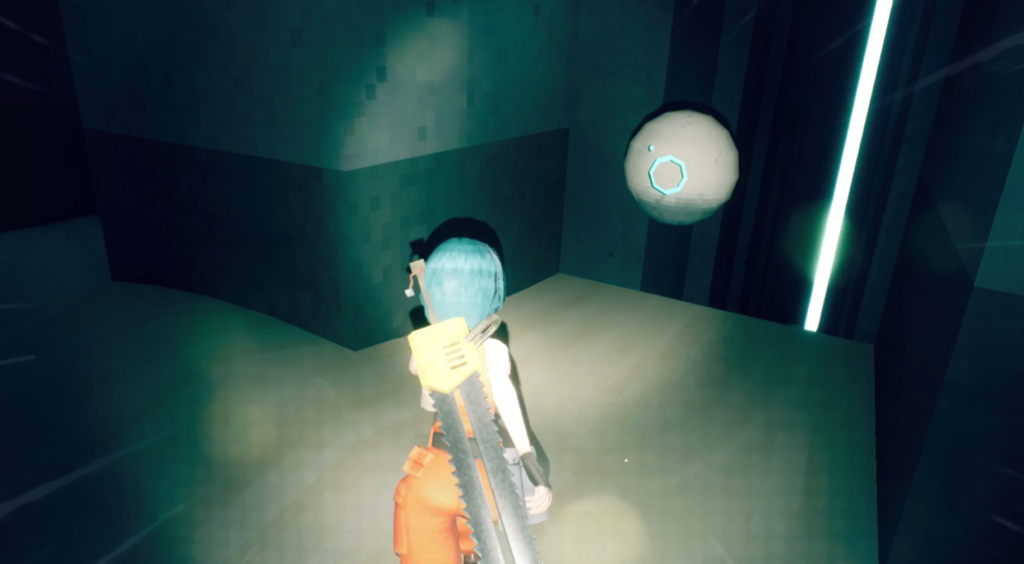
Head up the wide flight of stairs and go behind the collapsed pillar on your right. Amongst the pillars is the orb drone.
Orb Drone 122
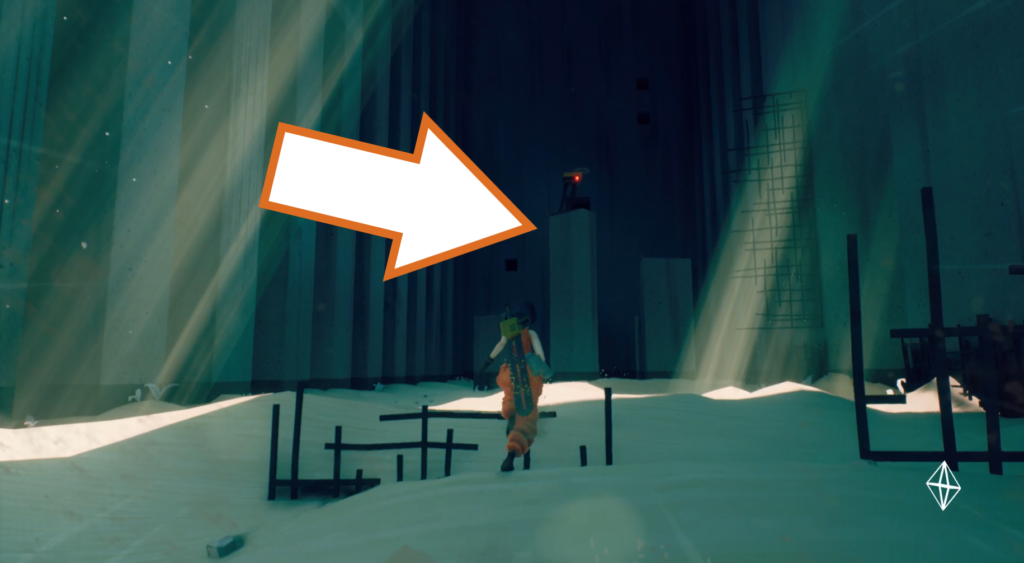
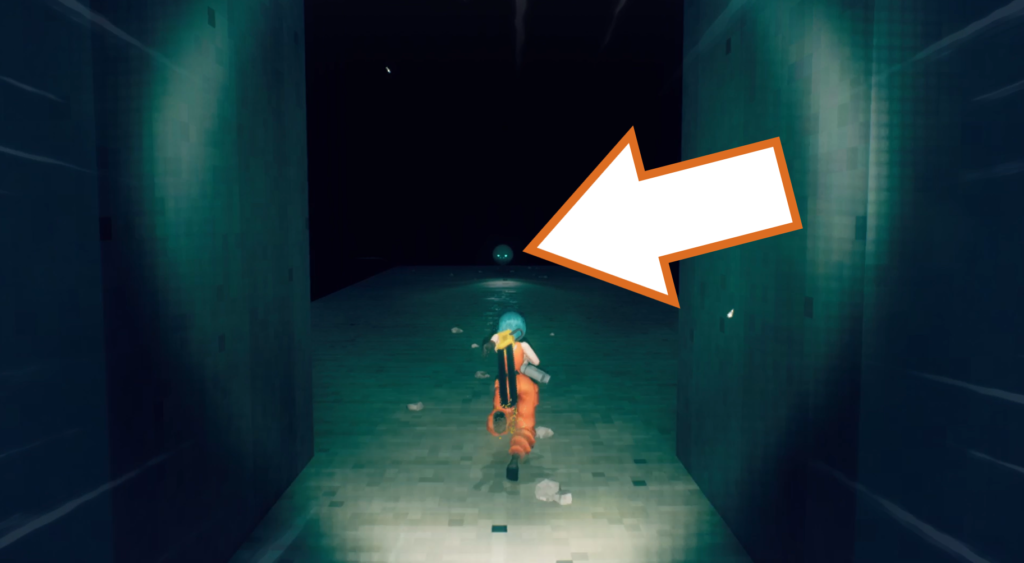
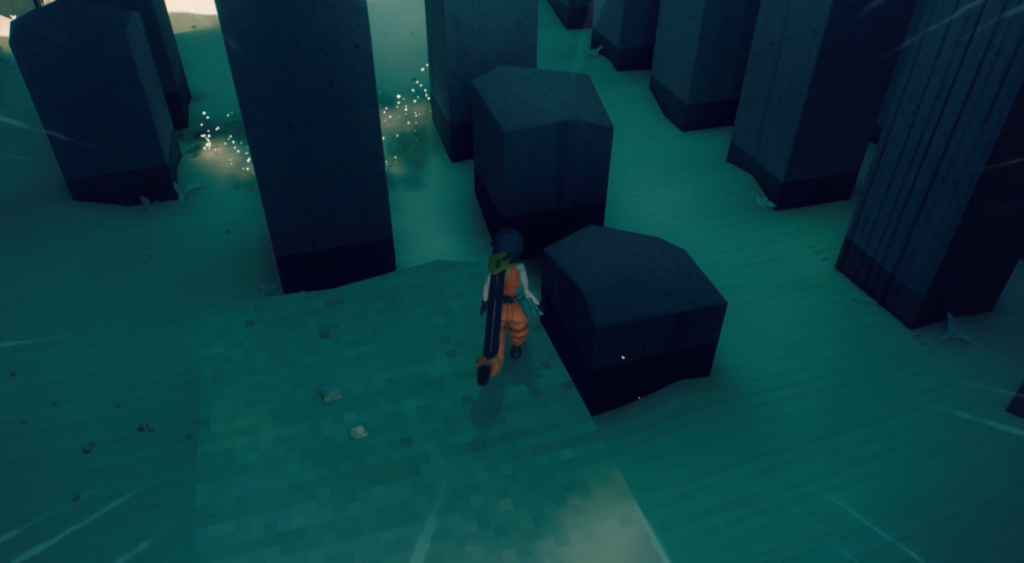
The next orb drone is just after the Slack Off point. You need to climb up the broken pillars that have a flying enemy above them. Jump from the tallest one to a narrow ledge and find the drone in an eerily large and dark room. Take it back to the evac point between the pillars.
Orb Drone 123
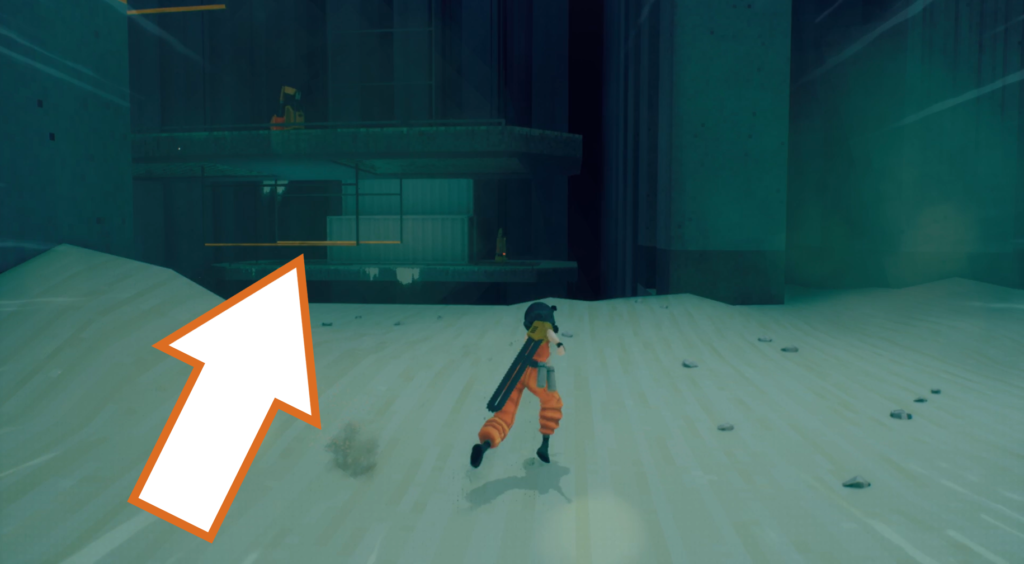
Continue past the swinging roller trap to reach an area full of enemies. You want to get across to the small platform using the yellow bars and then climb up onto the freight containers.
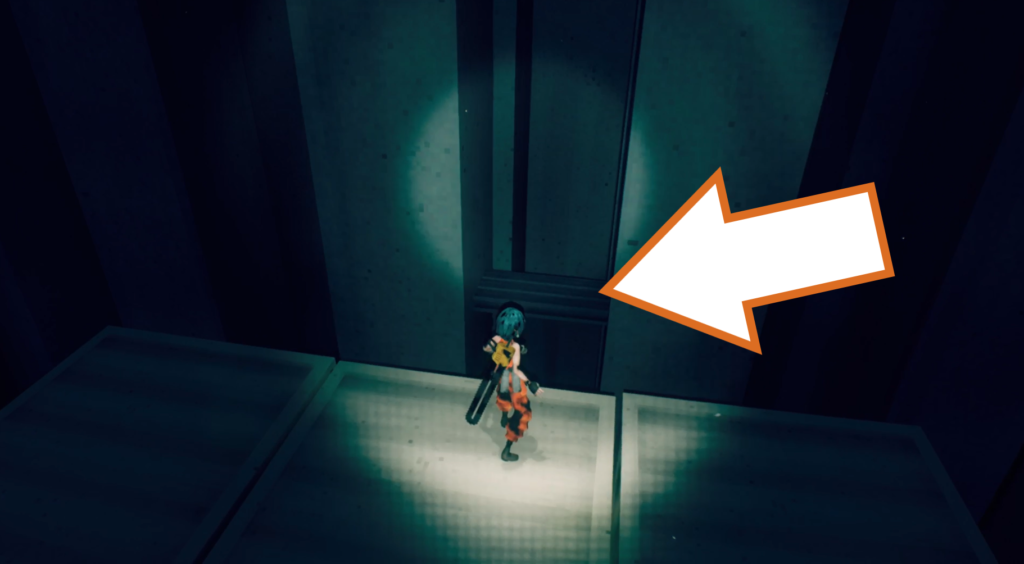
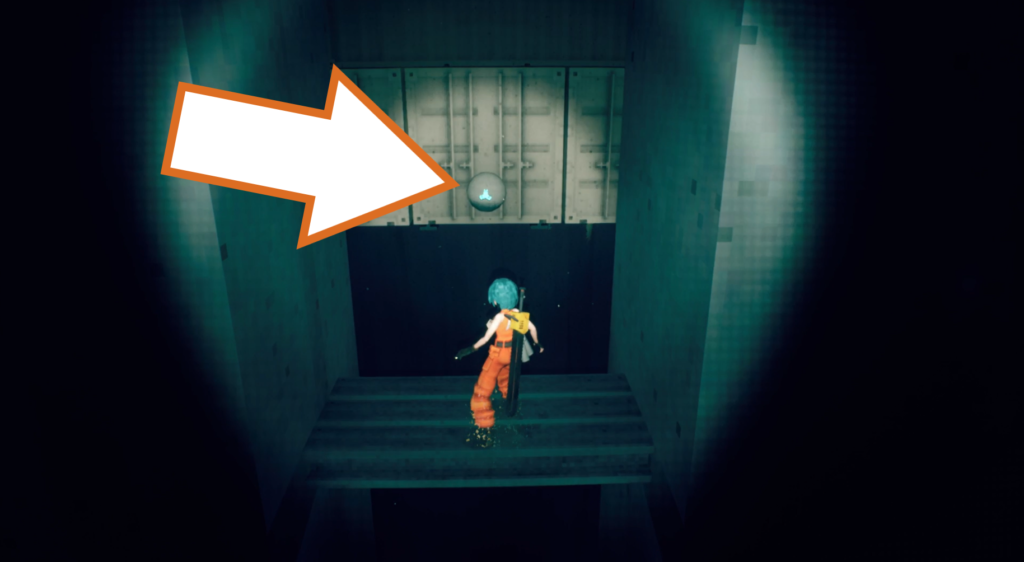
Use your torch to locate a narrow platform between two pillars you need to jump to, then turn around to find the orb drone. Run back up the containers and deliver the drone back to the evac point
Orb Drone 124
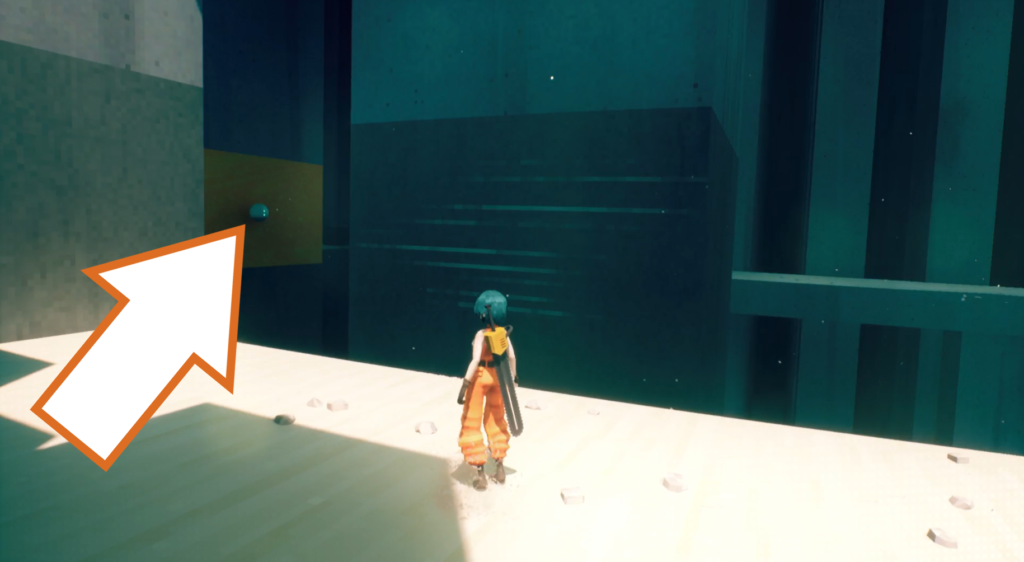
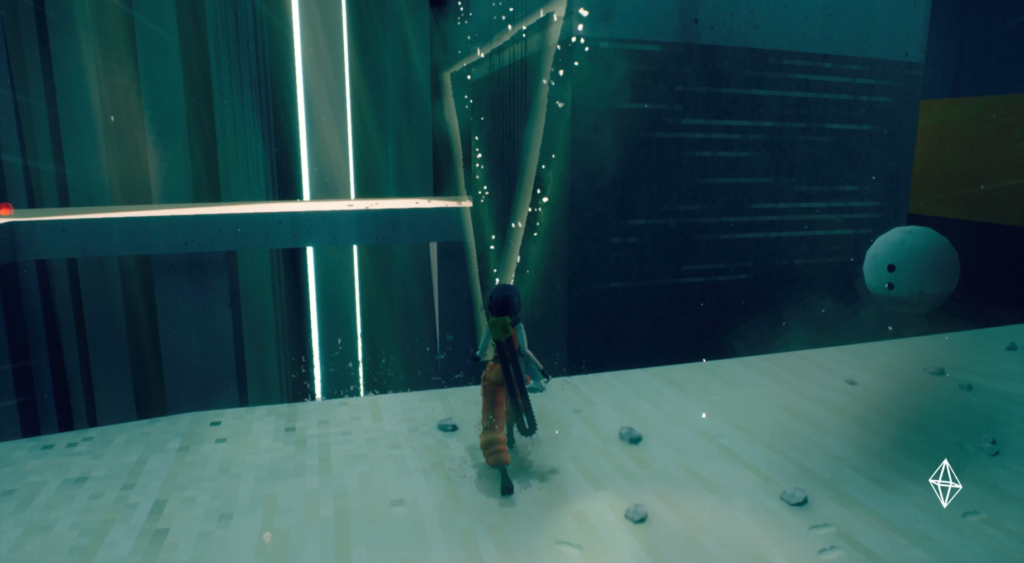
The next orb drone is tucked against a wall where you wall run to the next area. We suggest backtracking to get it and deliver it to the evac point against the wall in the next area.
Orb Drone 125
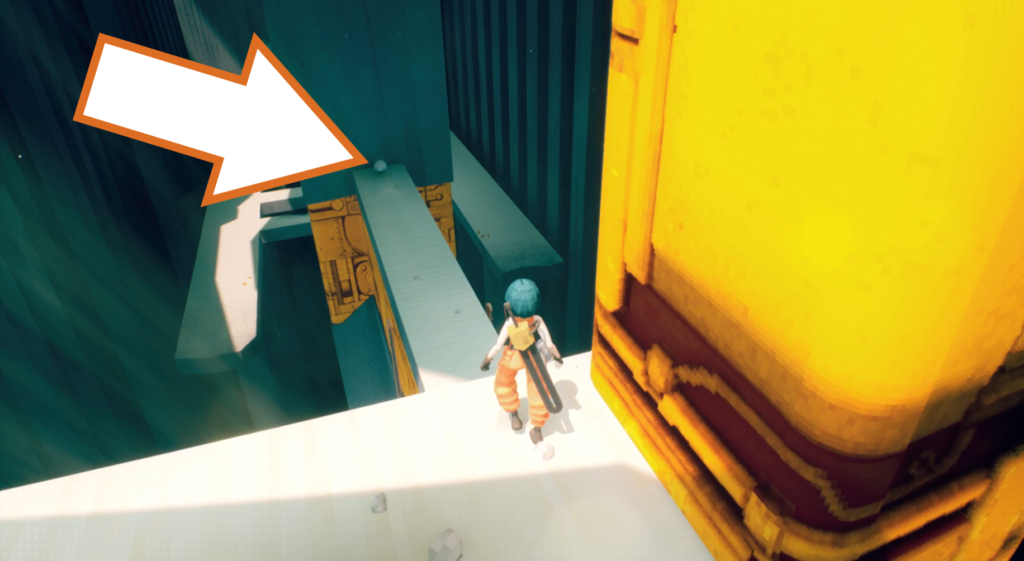
This orb drone is hidden above the exposed metal you use to progress. Reach the narrow walkway with the buzzsaw traps, and look back the way you came to see it. Jump down to get it and then continue forward.
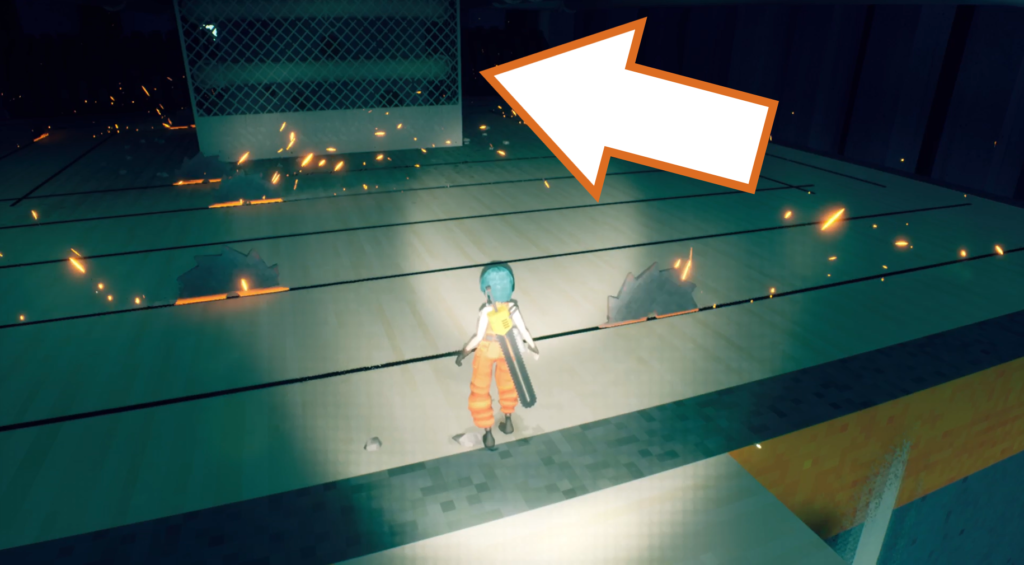
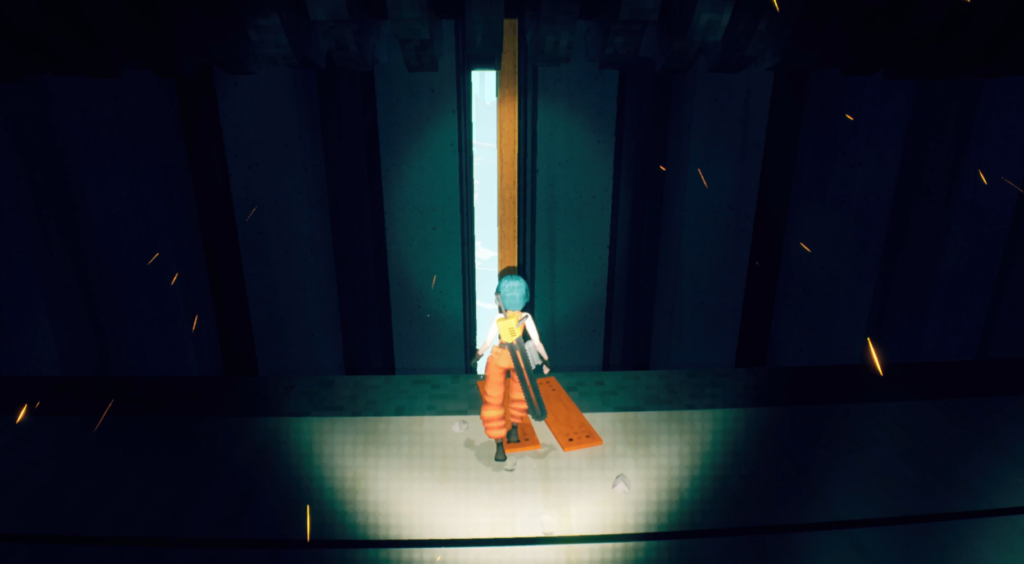
Make your way through the buzzsaw traps to the other side of the platform, and jump to the vertical orange girder when the grinder moves out of the way.
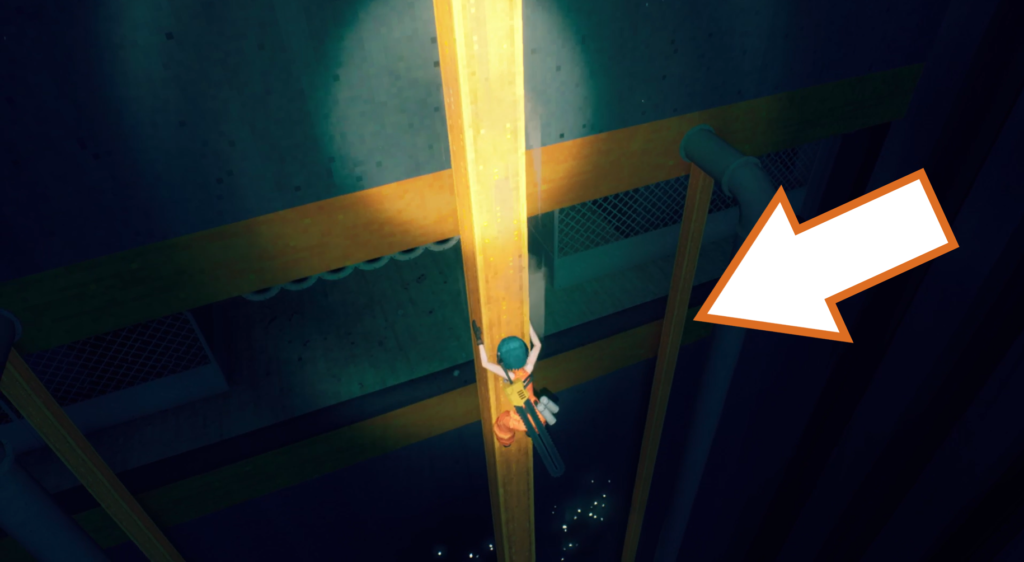
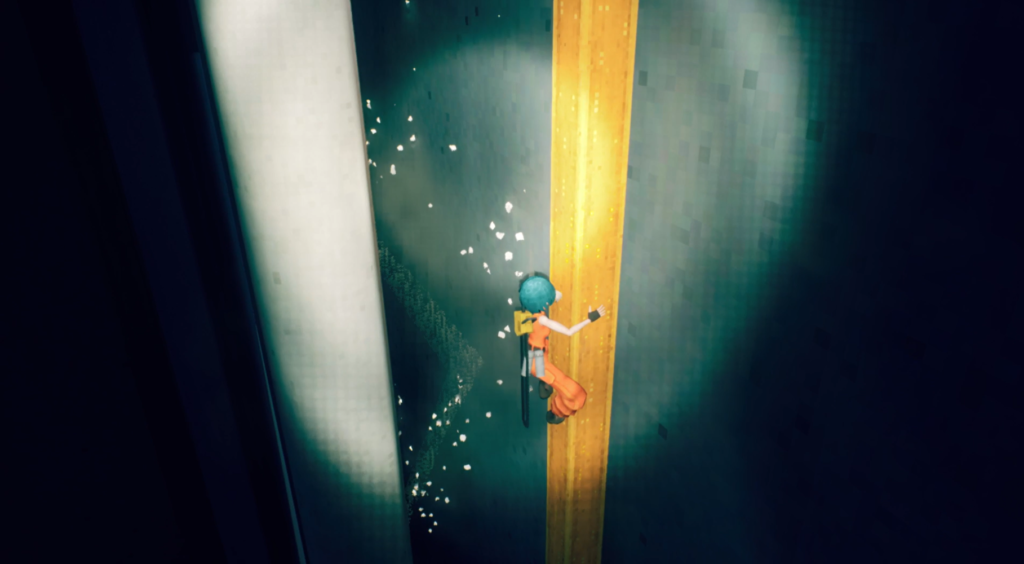
Slide down the girder and jump to the platform below. Then slide down one of the other girders to find the evac point on the wall below the ledge.
Orb Drone 126 & 127
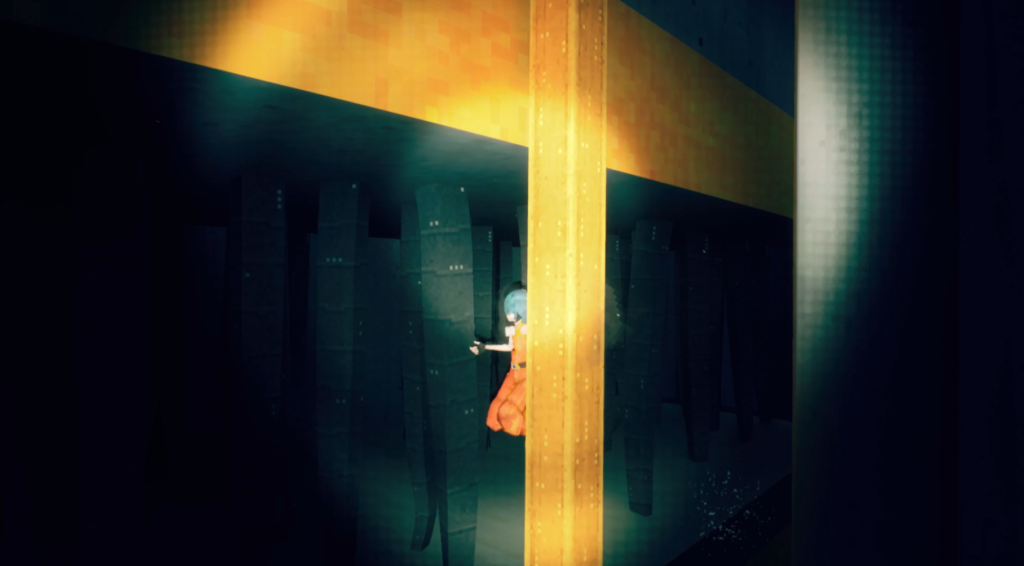
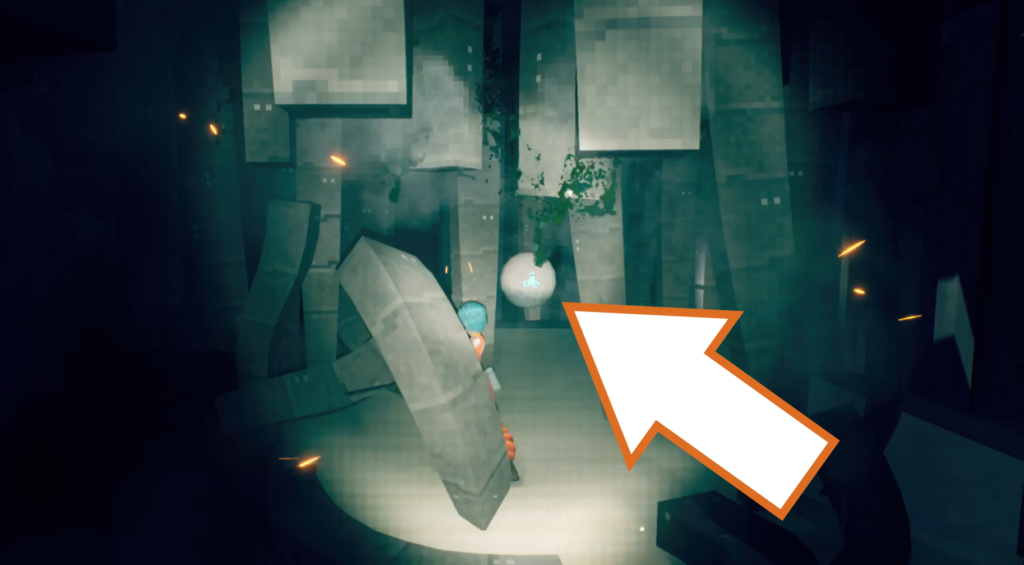
Continue sliding down one of these girders to reach another area covered in hanging tentacles. Work your way to the back left to find an orb drone hidden amongst the metal tendrils.
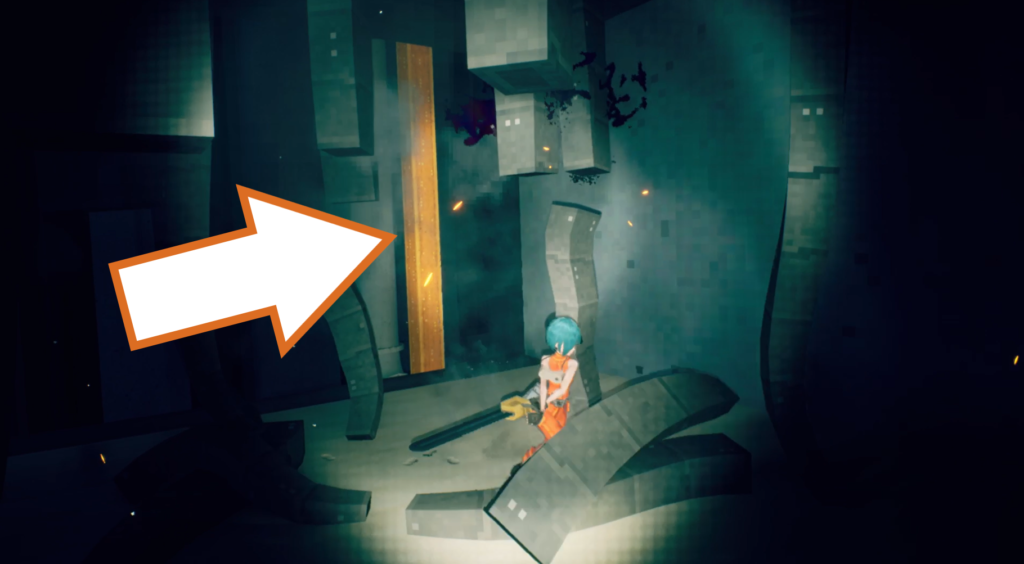
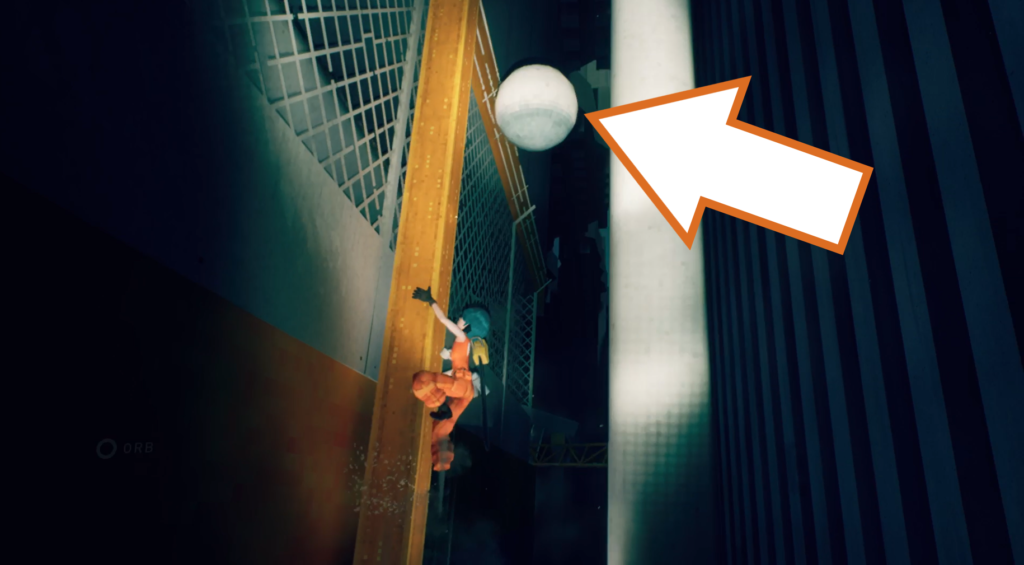
Head over to the ledge on the opposite side of where you found the previous orb drone to find another girder you can climb up. It takes a while, but at the top is another orb drone. Slide back down, head back to the girder you took to get to this floor, and head back up it to the evac point.
Orb Drone 128 & 129

Continue forward through the various traps along the narrow walkway, then turn around to jump to the crane that crosses overhead. Run along it and carefully drop down to the sands below.
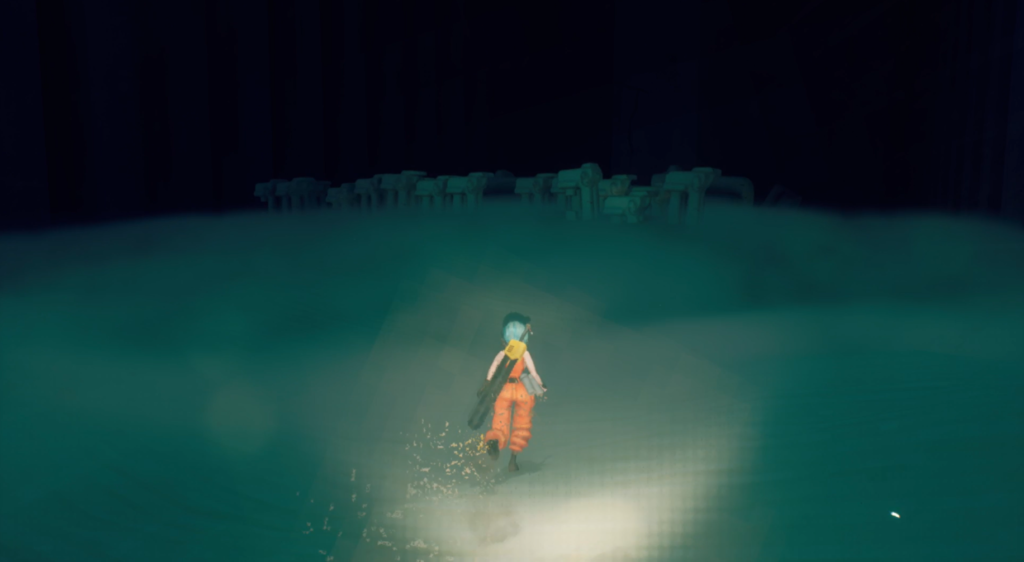
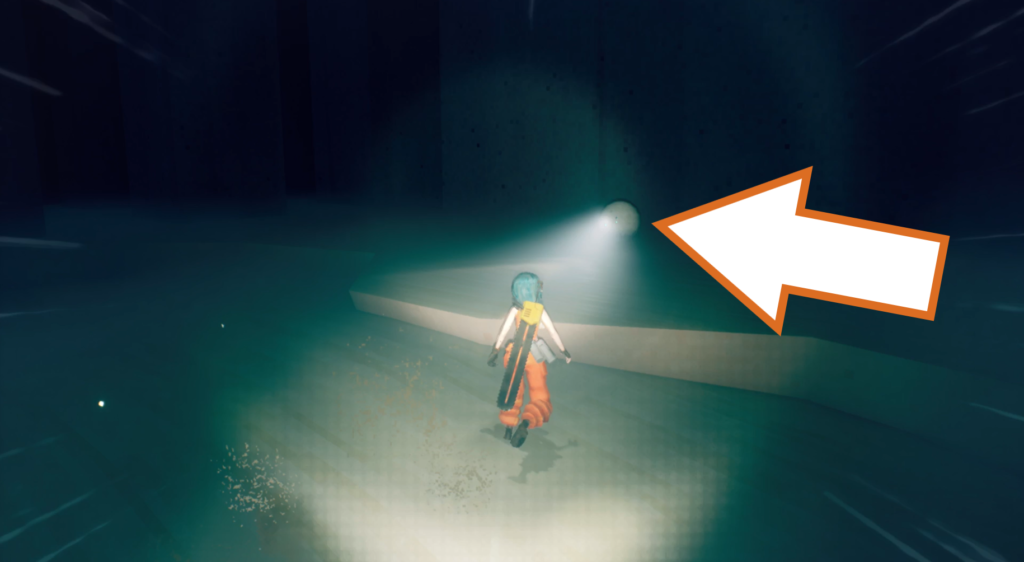
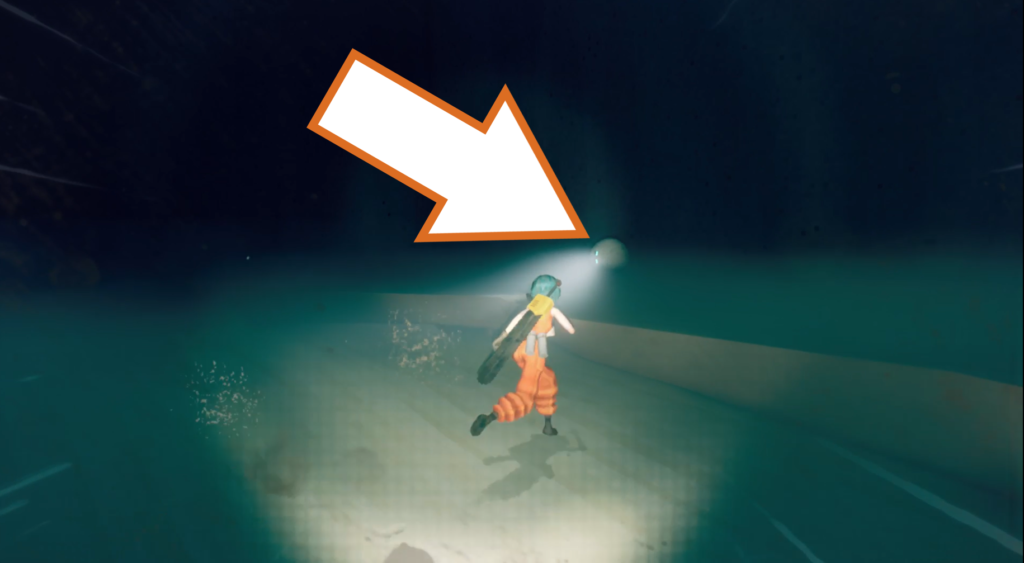
Tucked away in the darkness, behind rows and rows of sandy vehicle remains, are two orb drones waiting to be picked up. (Use your scanner to find them)
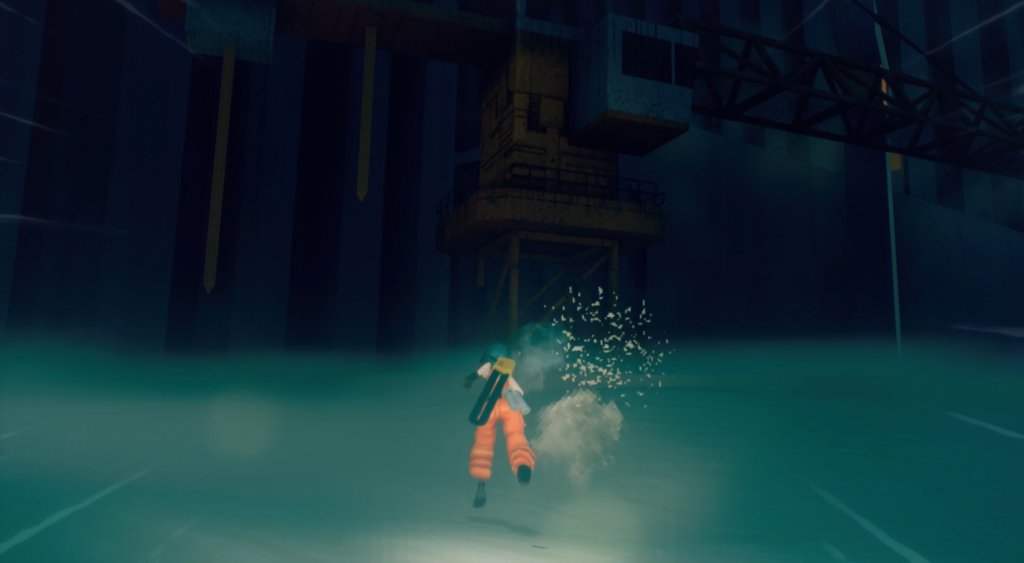
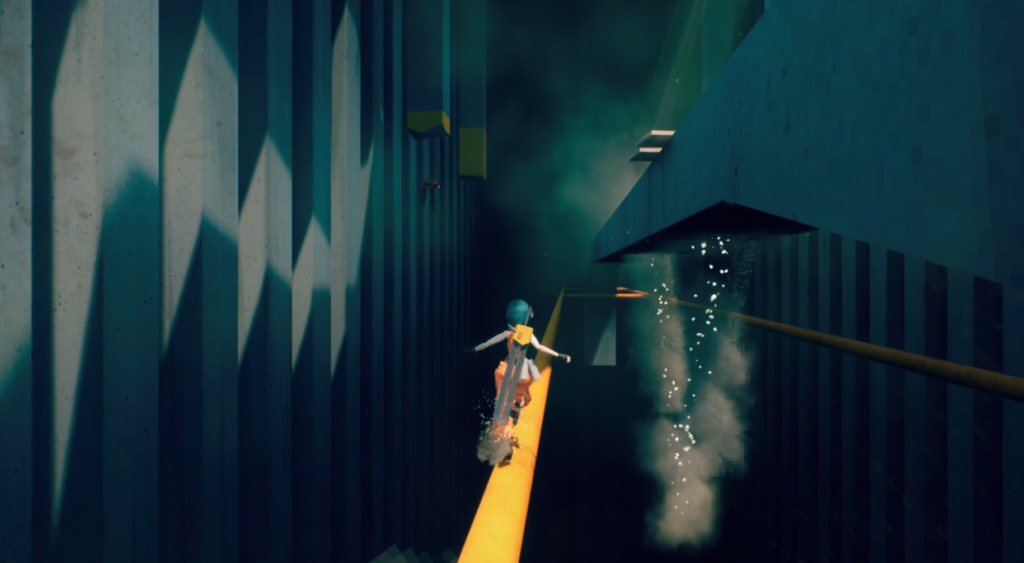
Return to the crane and run up one of the pillars to reach the vertical girders. Drop back down to the stairwell and reach the top. Look below the walkway on either side to see a pipe you can walk on to find the evac point. Just be careful of the flying enemies.
Checkpoint_03
Orb Drone 130 (Timed)
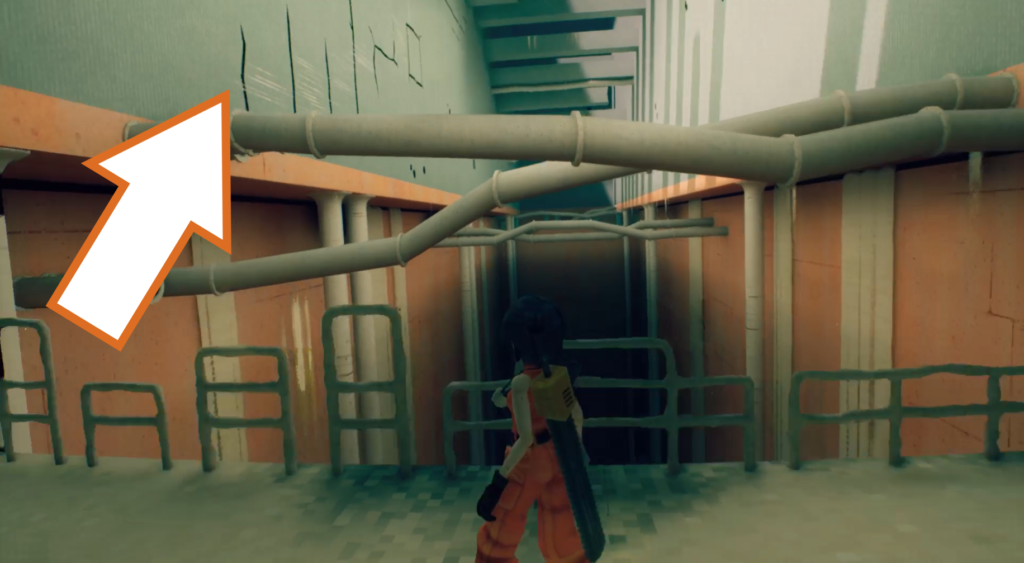
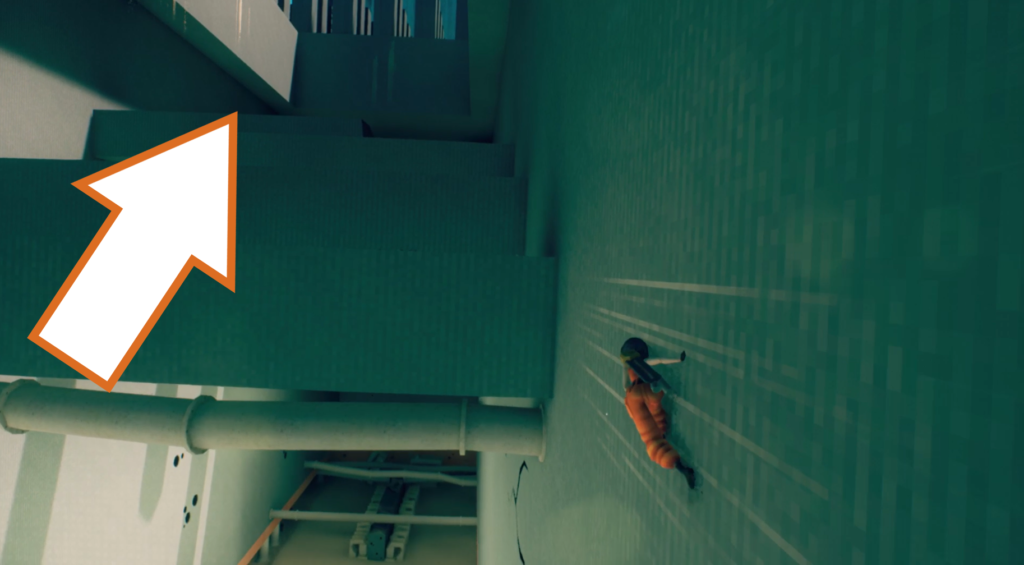
The orb drone is found in the large area crisscrossed with pipes. Once you have climbed up the cracks in the wall to get on top of the concrete walkways, turn around and wall run/jump across them.
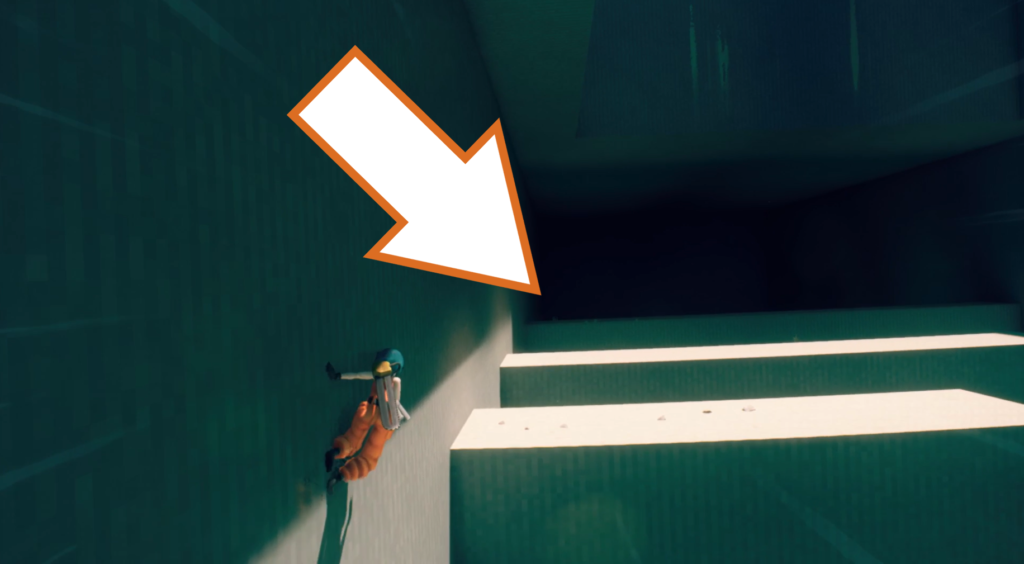
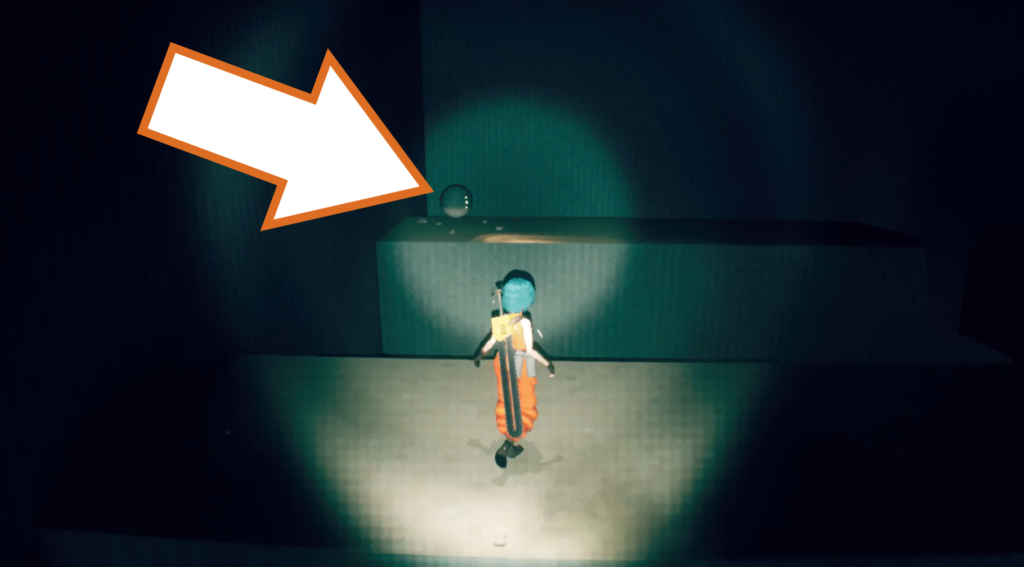
On the last concrete beam, in the left-hand corner of this area, is the orb drone. It needs to be taken to the evac point within the time limit.
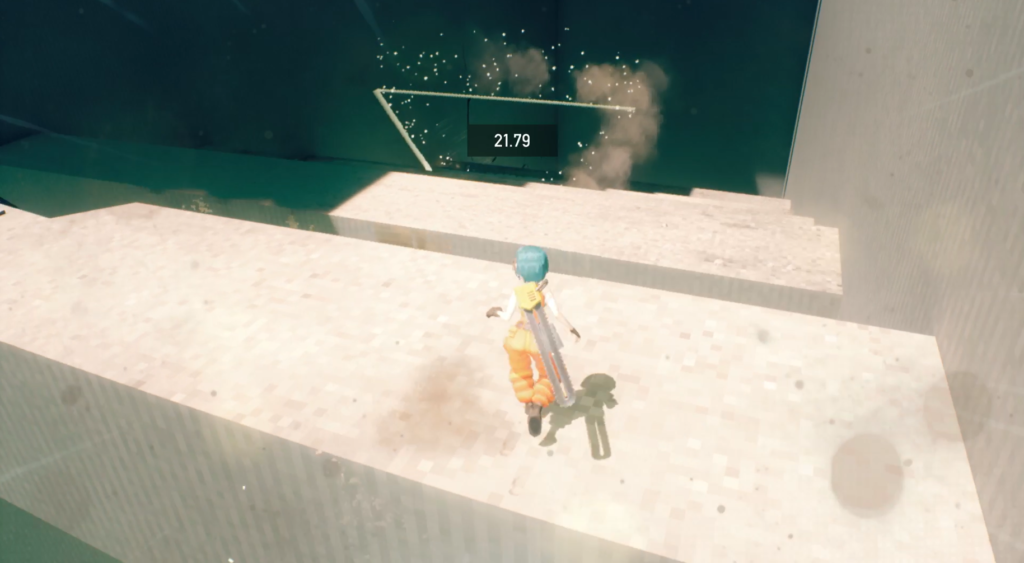
The evac point is back the way you came, between two of the beams.
Orb Drone 131 (Timed)
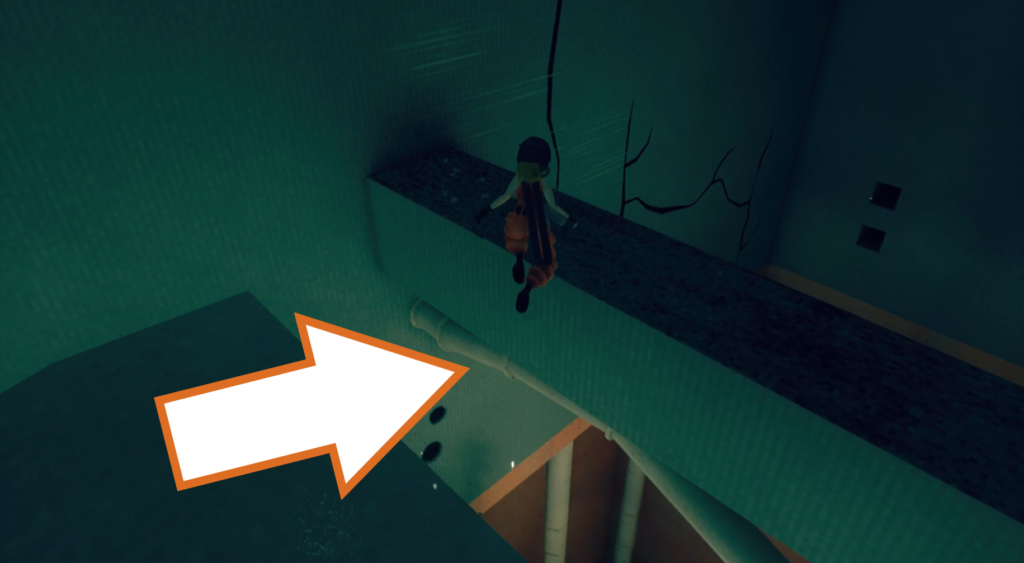
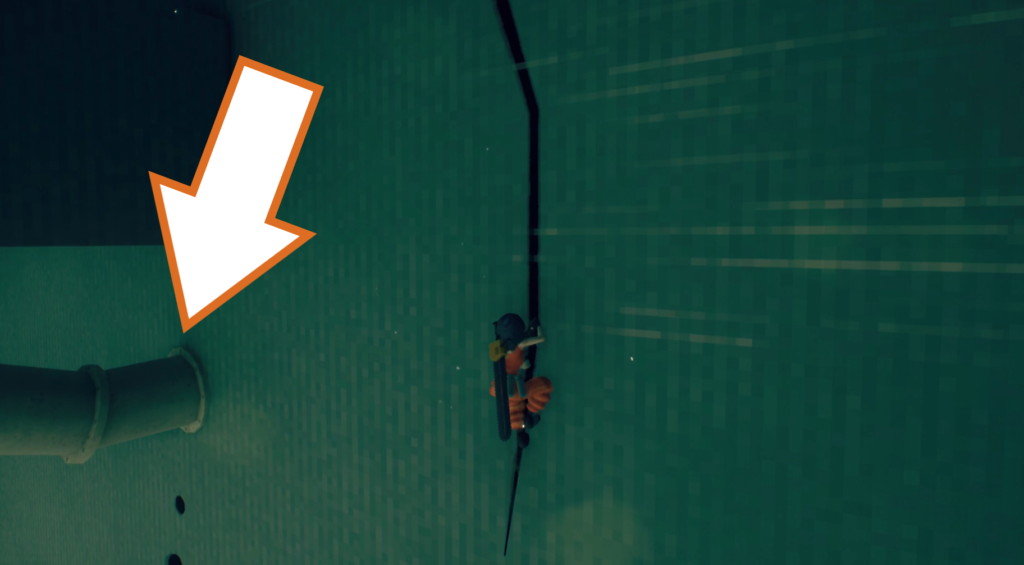
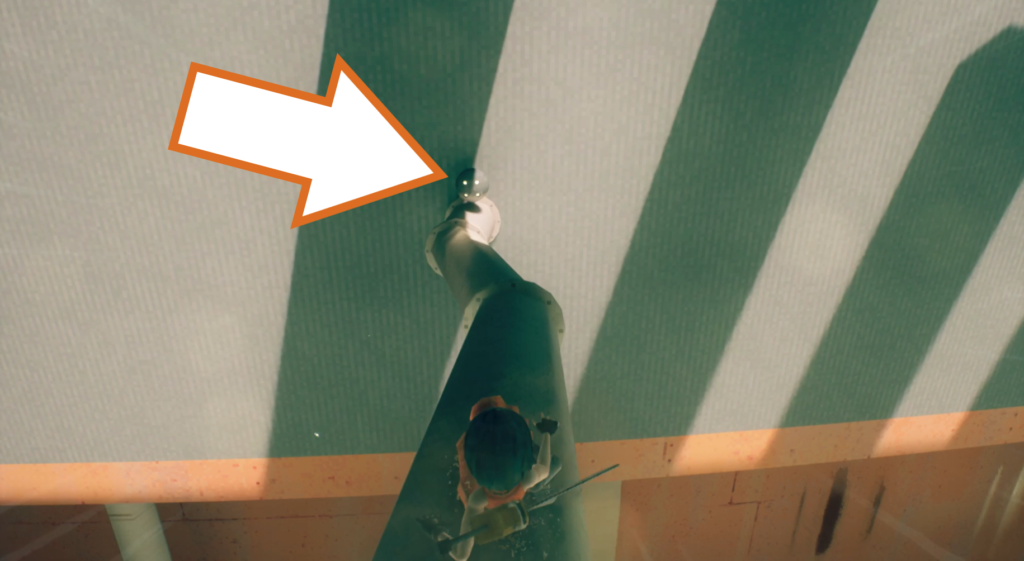
The next orb drone is also under a time limit and is tucked under the concrete beam with a pipe running beneath it. Use the crack in the wall to reach the pipe, and slide long it to reach the drone. Go back up the way you came to reach the evac point.
Checkpoint_04
Orb Drone 132
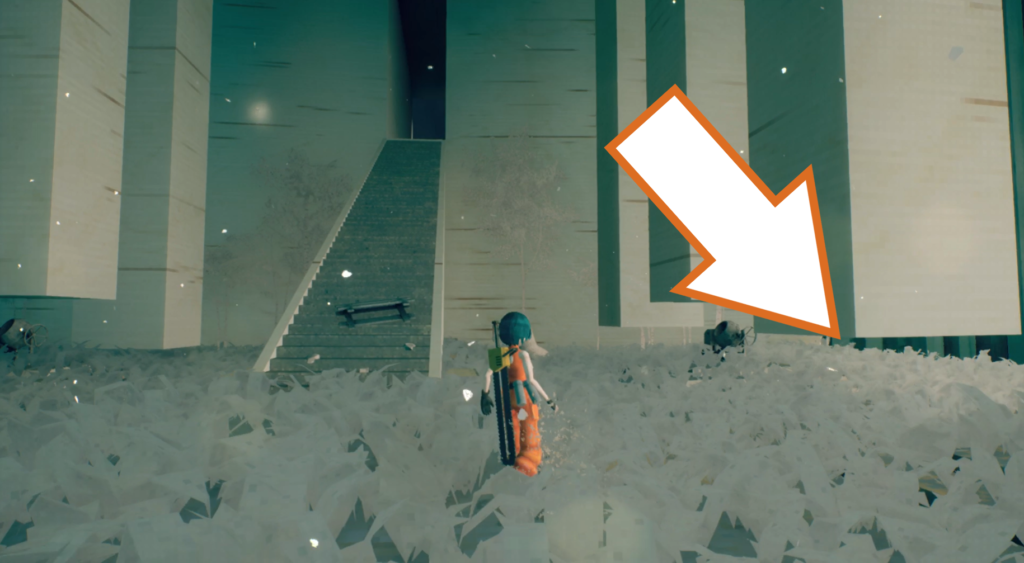
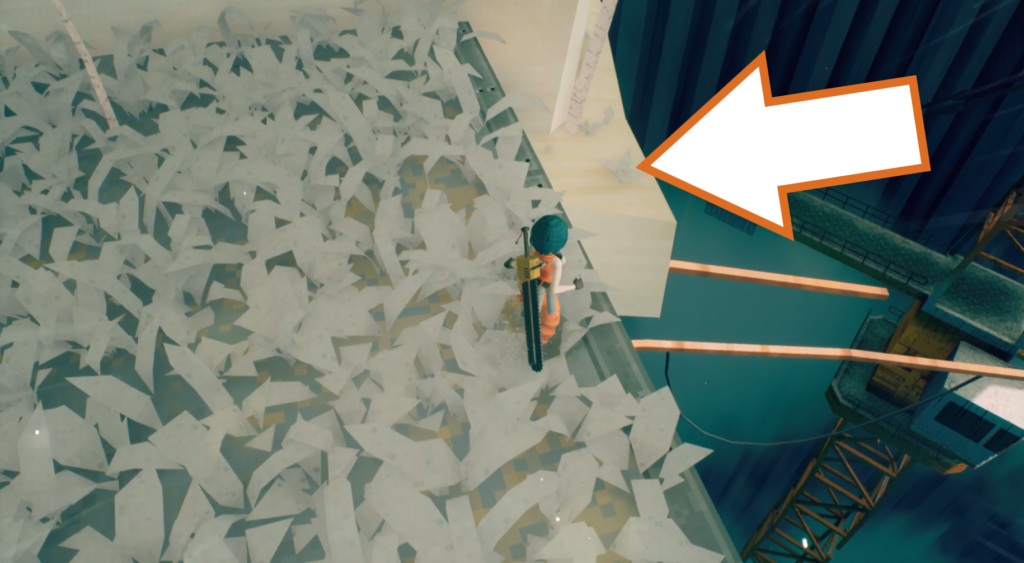
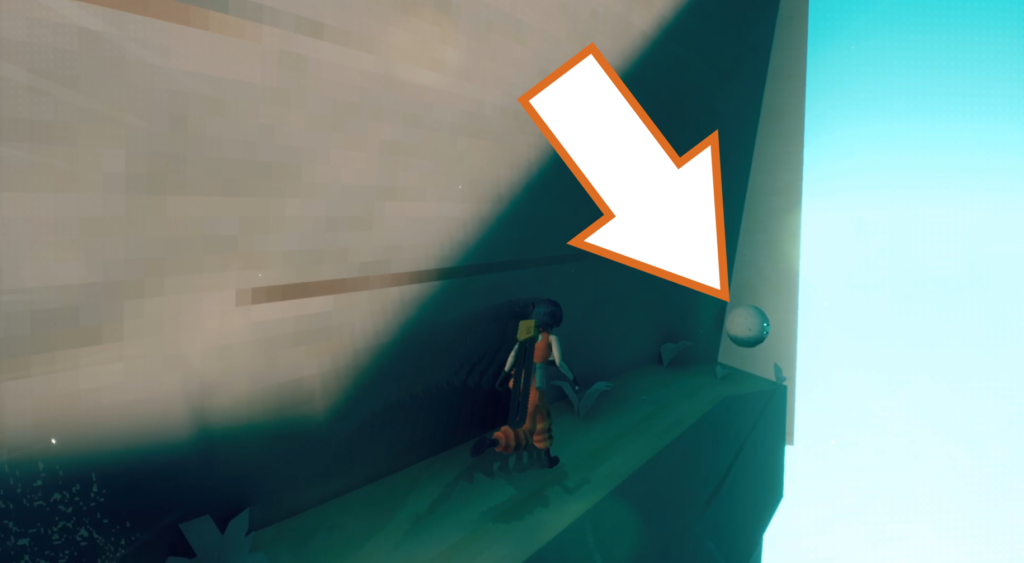
Continue forward to the next large outdoor area with lots of hanging pillars. To the right of the stairwell you enter from is a little ledge you can drop down to. Follow it around to find the drone, then head back.
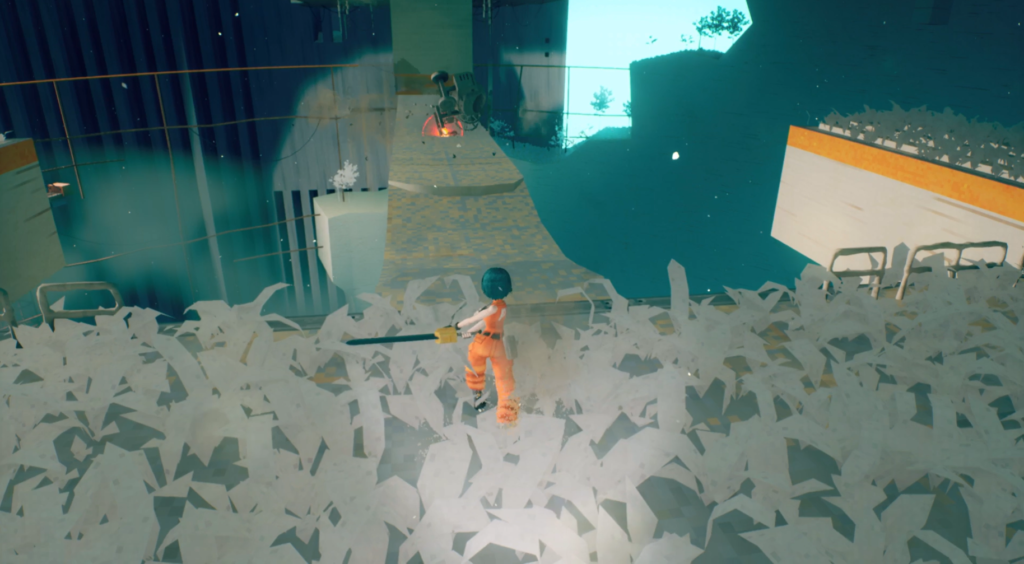
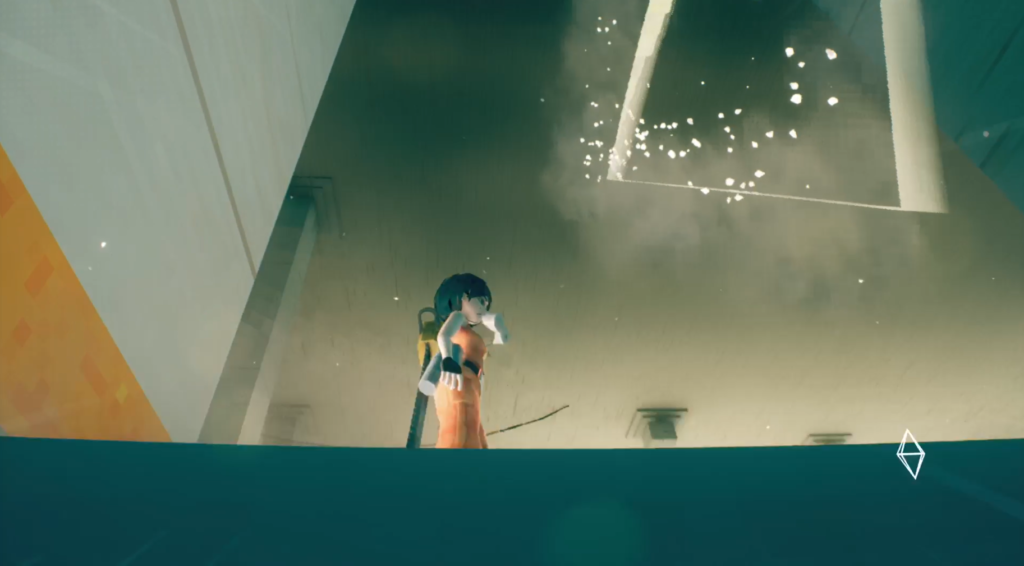
The evac point is between two of the hanging pillars along the path ahead. Use P’s Motorslice to smack one of the bits of trash at the mine to clear the path, and slide under the gap to reach it.
Orb Drone 133 (Timed)
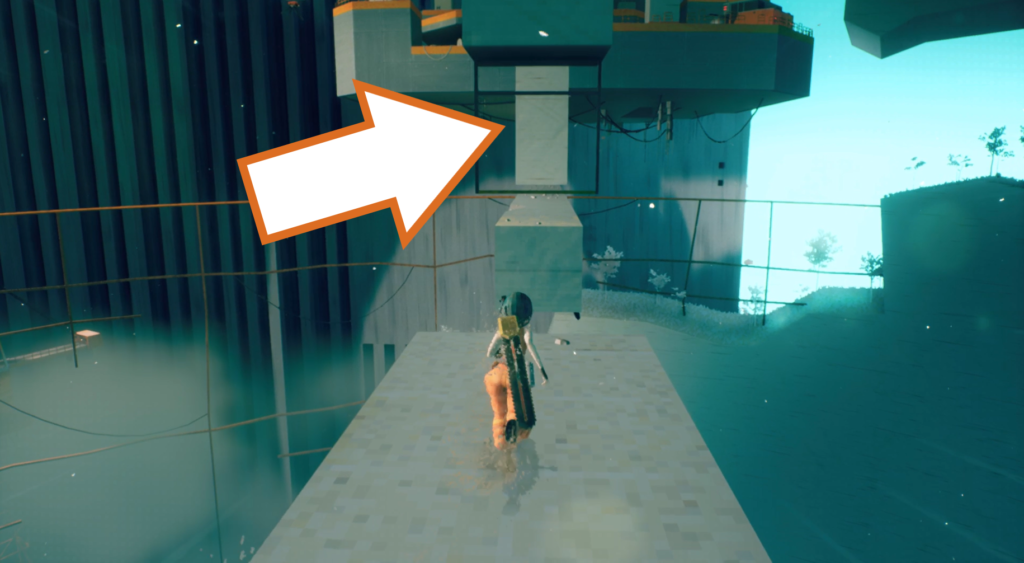
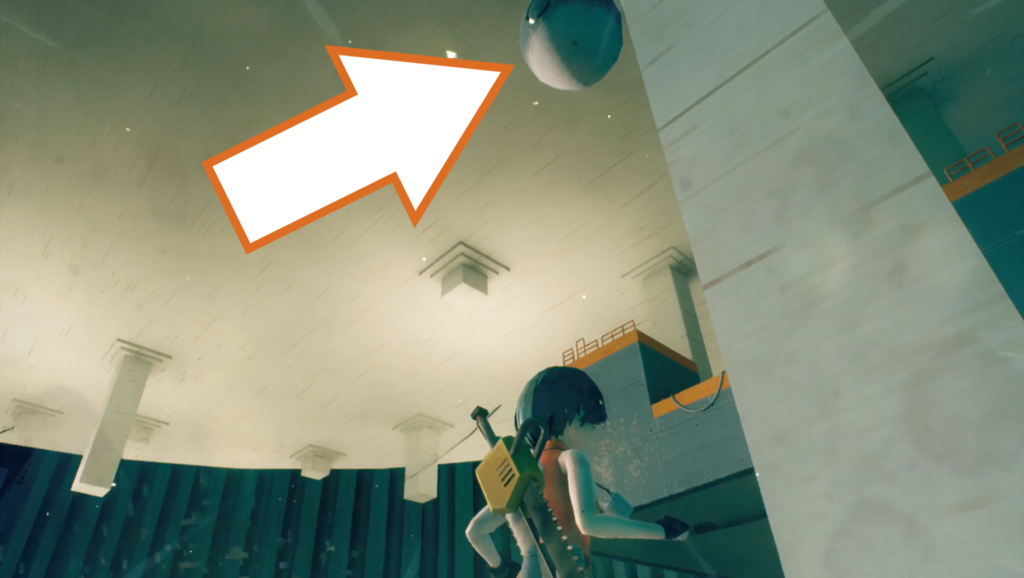
The next orb drone is just passed the evac point, across the gap with the horizontal bar and up between the next two pillars. Get it back to the evac point within the time limit.
Orb Drone 134 & 135
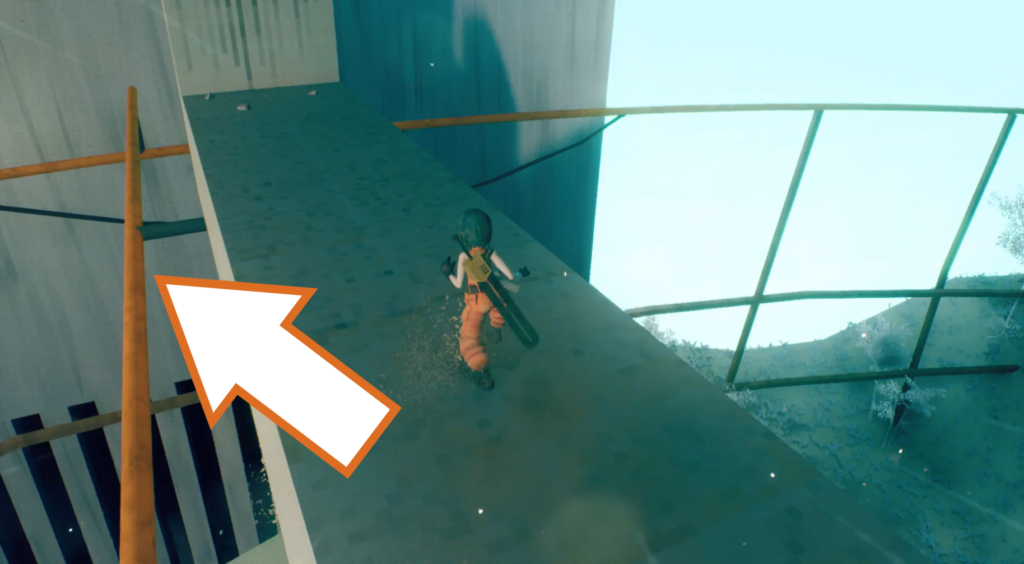
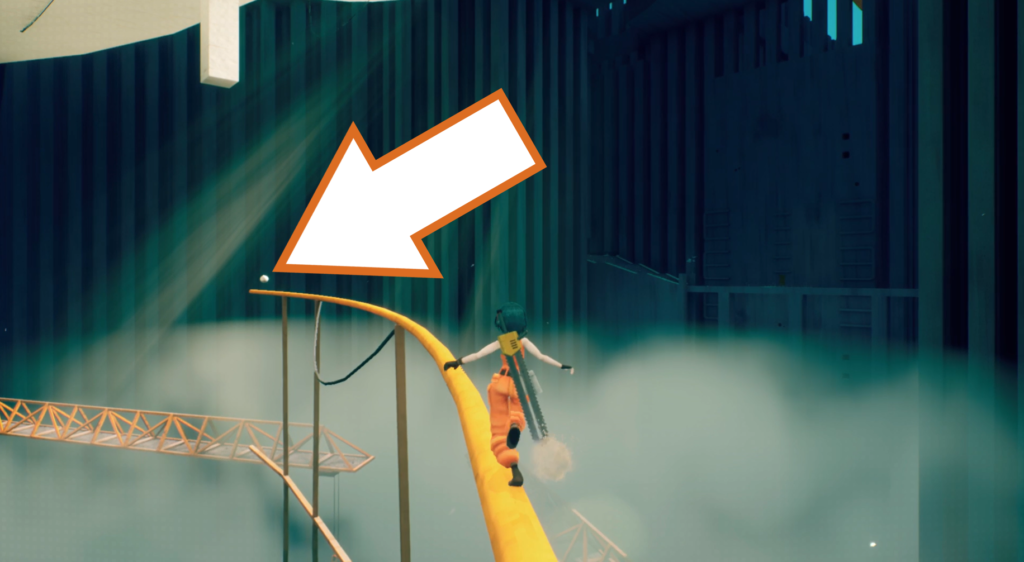
Continue to the end of the walkway, and instead of climbing up the girder, jump onto one of the orange pipes on either side of you, then jump onto the long, curved pipe. At the left end is an orb drone.
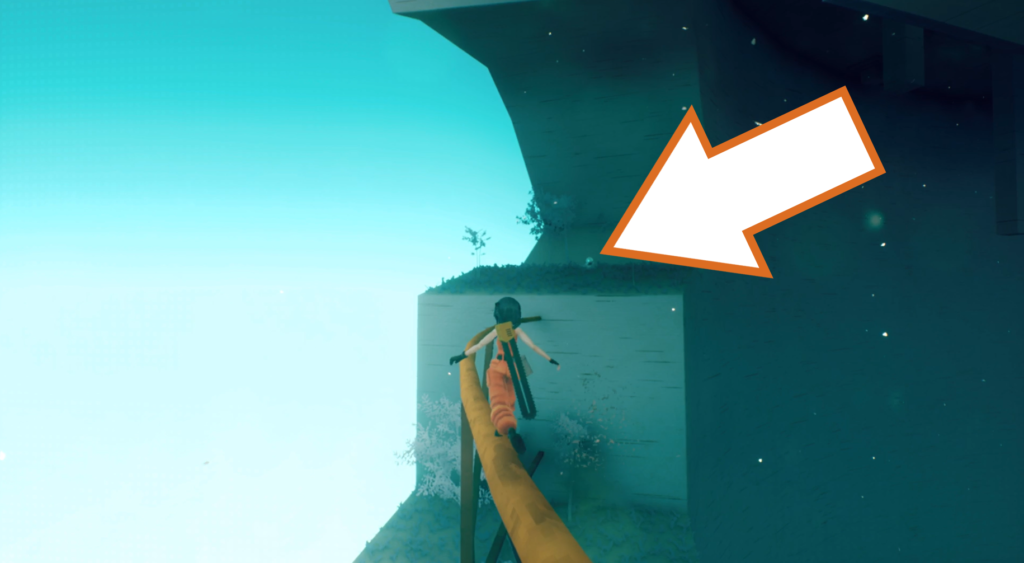
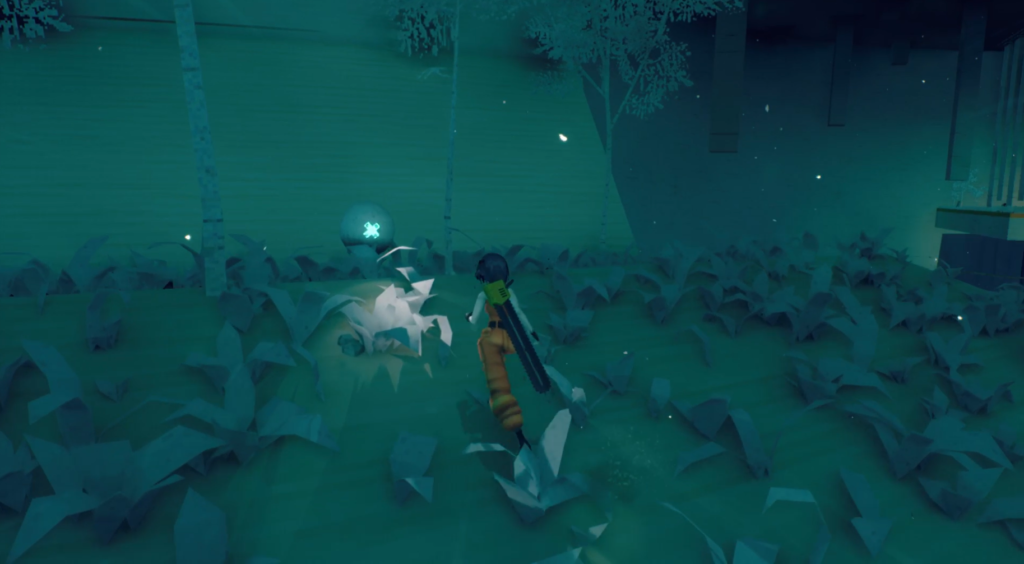
At the other end, up on a ledge hidden by greenery, is another orb drone. Take them both back to the evac point on the bridge.
Orb Drone 136 & 137 (Timed)
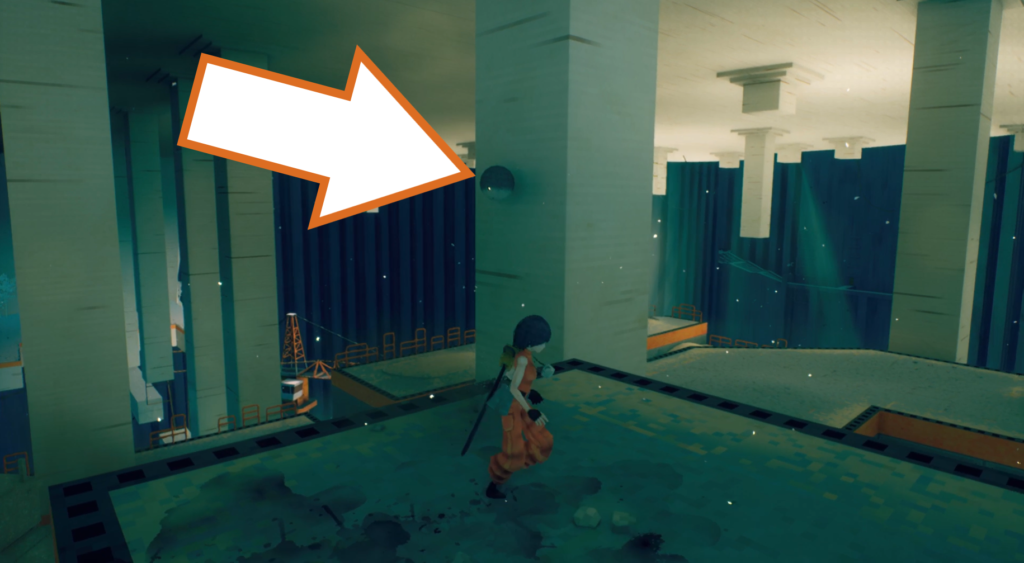
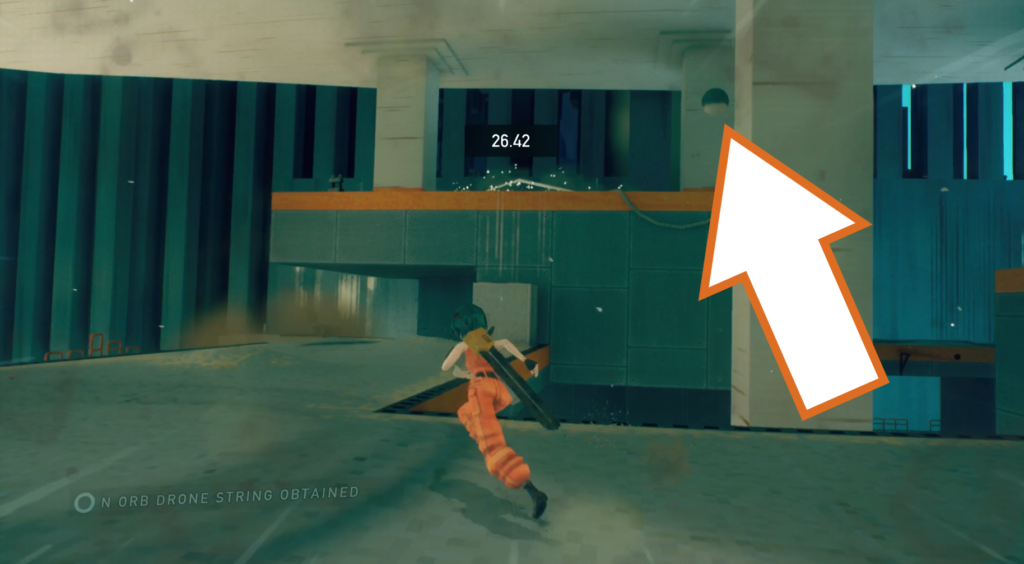
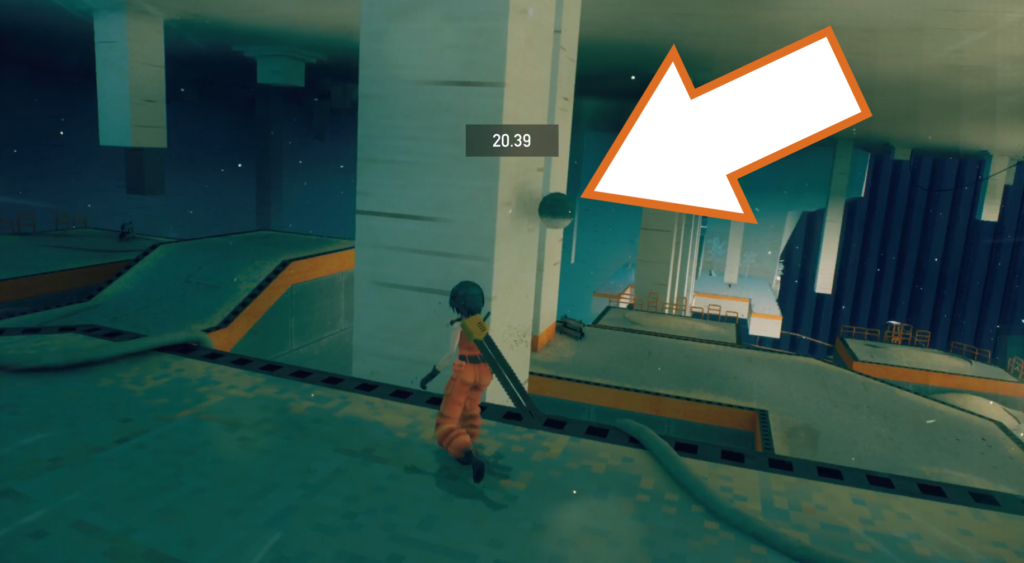
Climb up the girder and deal with the enemies on this platform. Two orb drones need to be collected and delivered within a time limit, and they are both hovering next to pillars. Start with the furthest one from the evac point, nd then mantle up to its platform to reach the second one.
Checkpoint_05
Orb Drone 138, 139 & 140 (Timed)
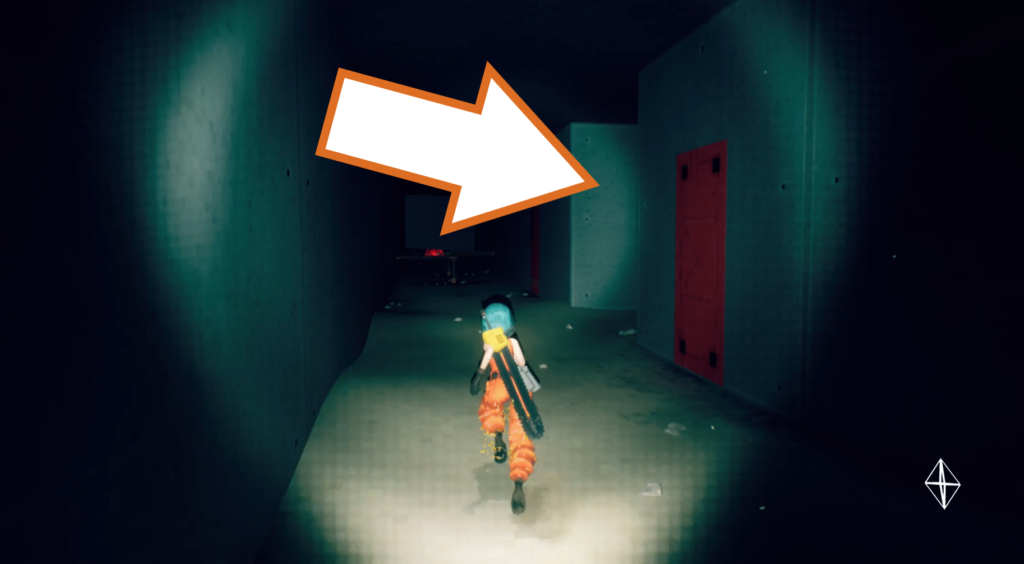
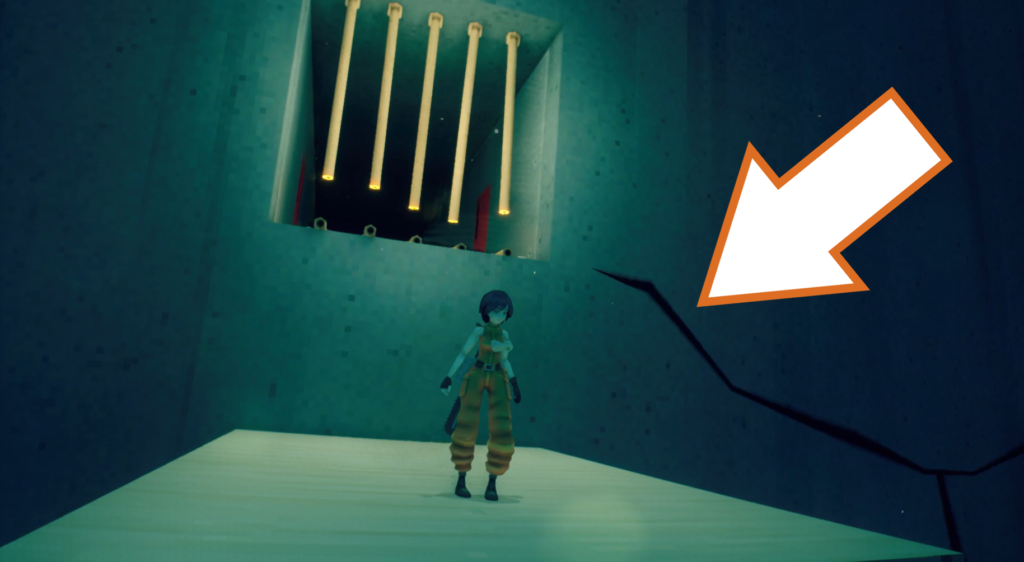
Go through the door and take the right turn in the dark corridor. Cut through the pipes at the end and drop down onto the ledge. Turn around to find a crack in the wall you need to slide down.
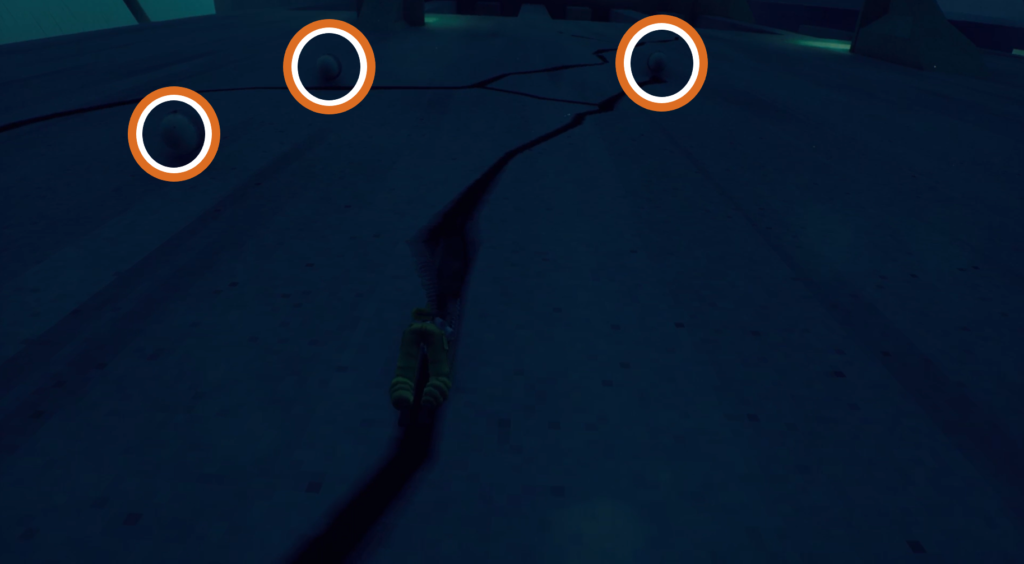
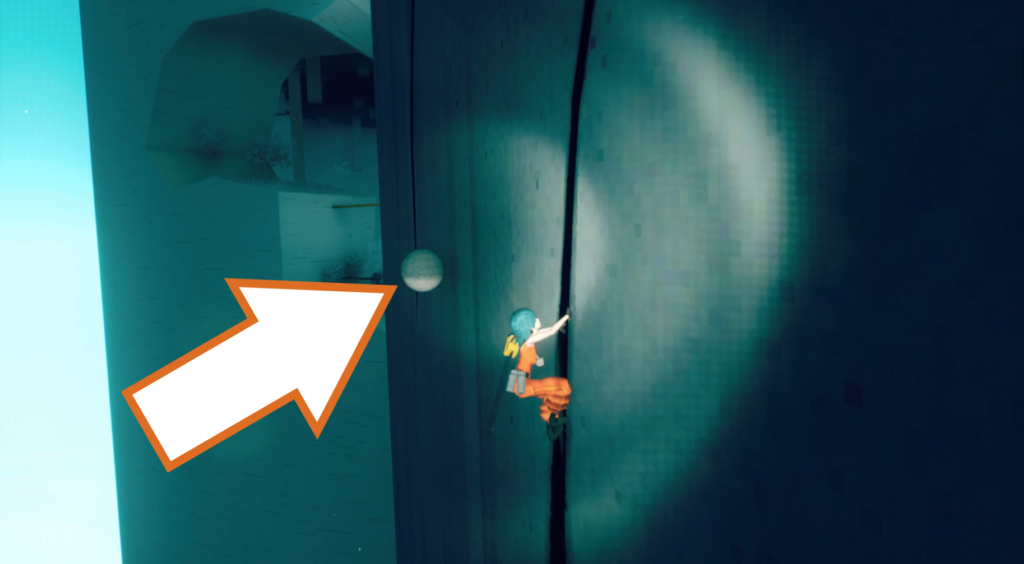
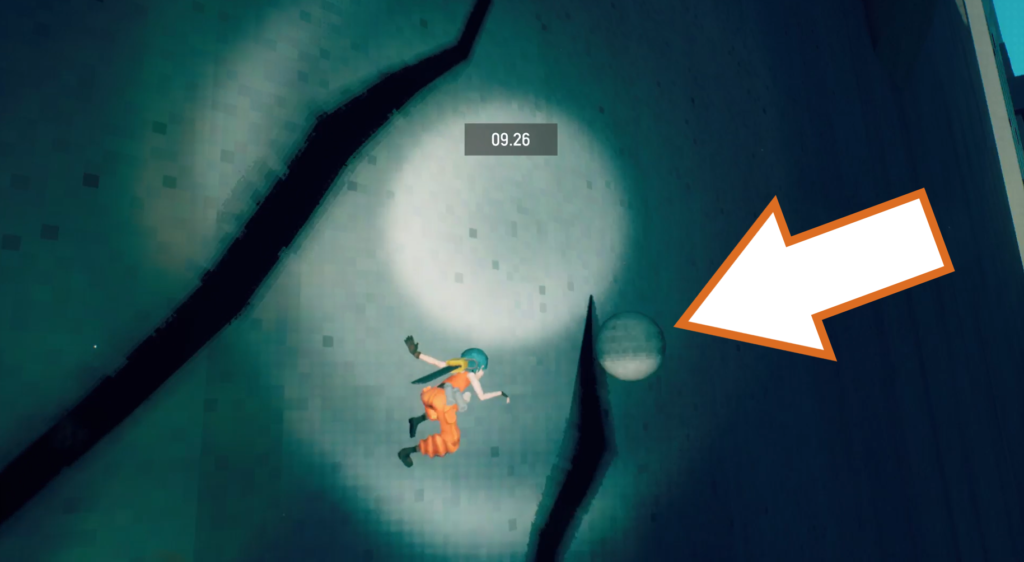
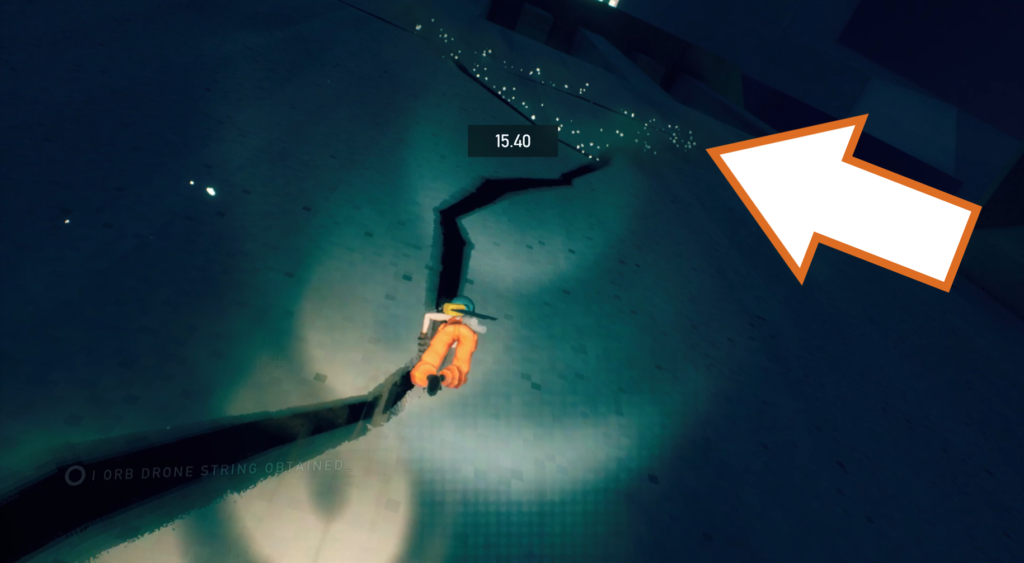
Slide all the way to the bottom so you are in line with the lowest of the three orb drones. They need to be collected and taken to the evac point at the same time, and fast. Wall run across to grab the first one, then climb up the crack to get the second drone. Wall run across and back to get the third one, and continue climbing up to reach the evac point.
Orb Drone 141
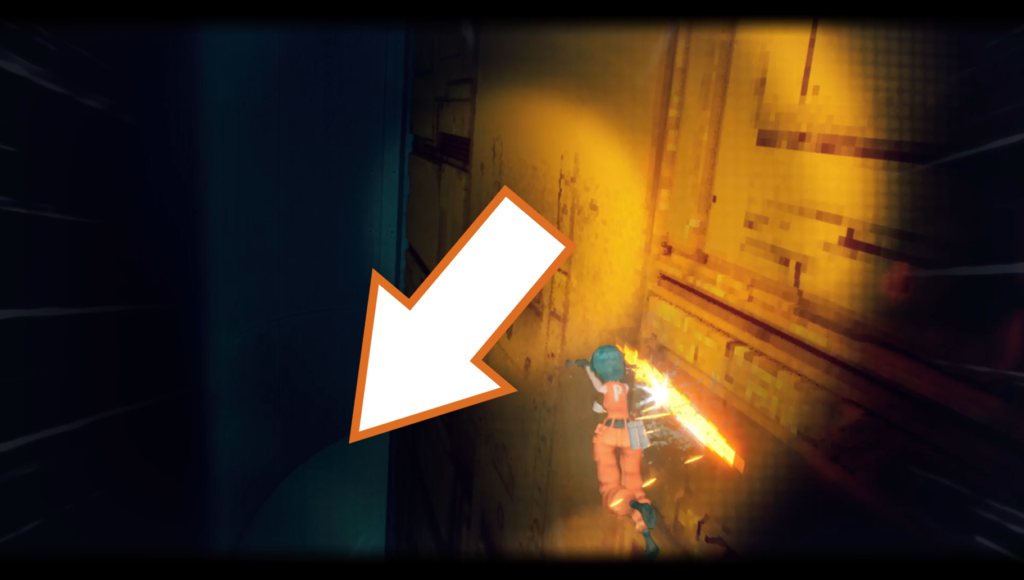
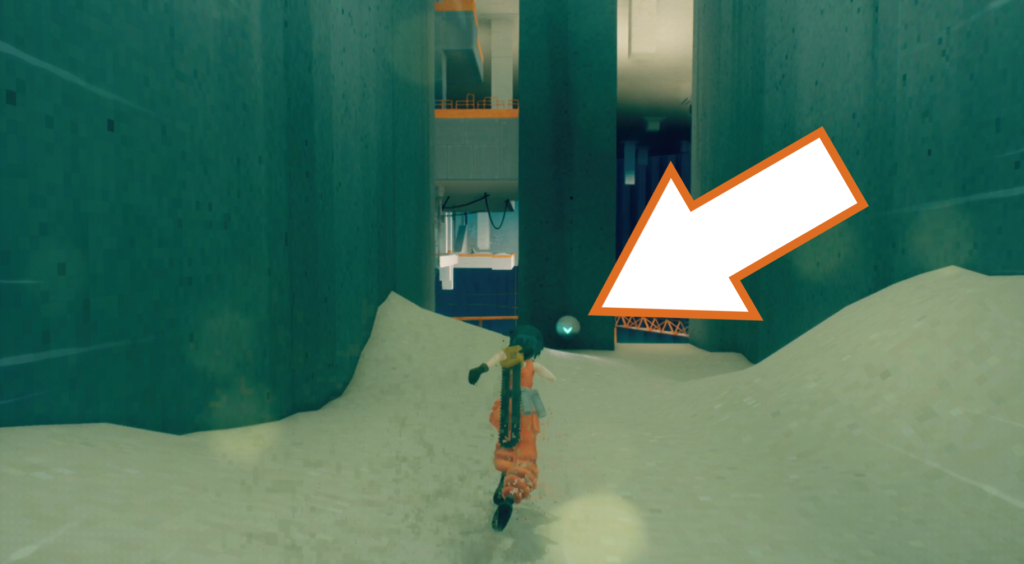
This orb drone is sneakily hidden during a parkour section. Just after getting past the saw traps and mines, you’ll reach some exposed metal you need to motorslice on. Angle down after the grinders below to drop down to some sand and run around the corner to find the drone at the end.
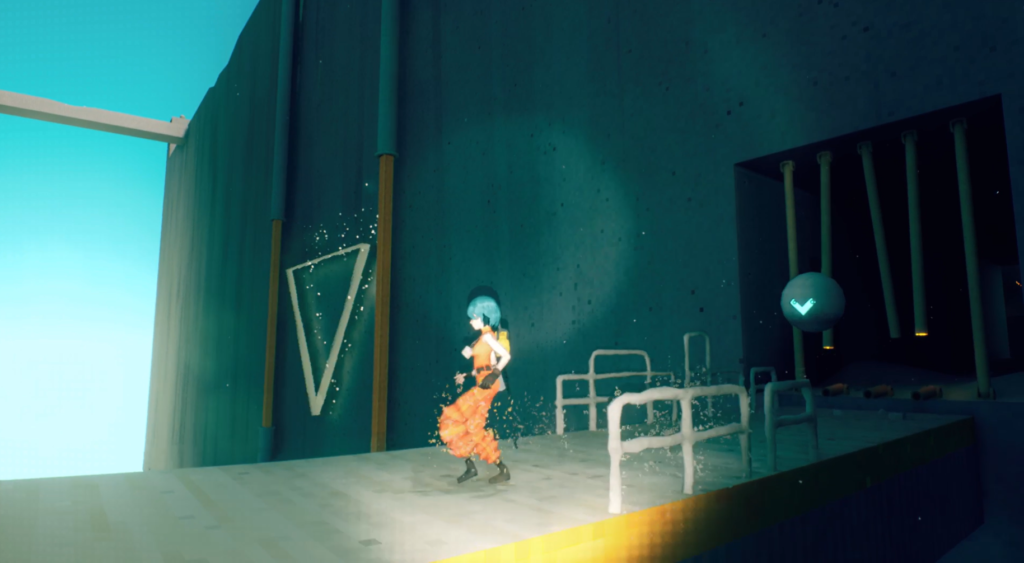
Use the exposed metal wall to return to the parkour section and finish it. Go through the open exit and look for the evac point on your right, against the wall between two orange girders.
Orb Drone 142, 143, 144, 145 & 146 (Timed)
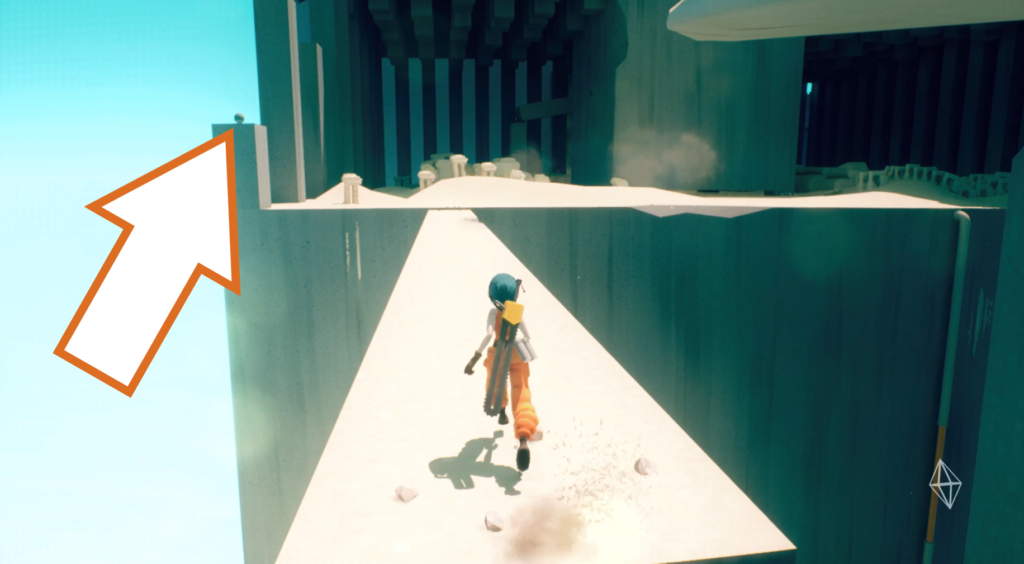
After climbing up and between several broken pillars, you’ll reach a partially covered area with loads of vehicle remains. There are five orb drones to deliver within a time limit, starting with the one on the pillar near the bridge you cross to reach this area.
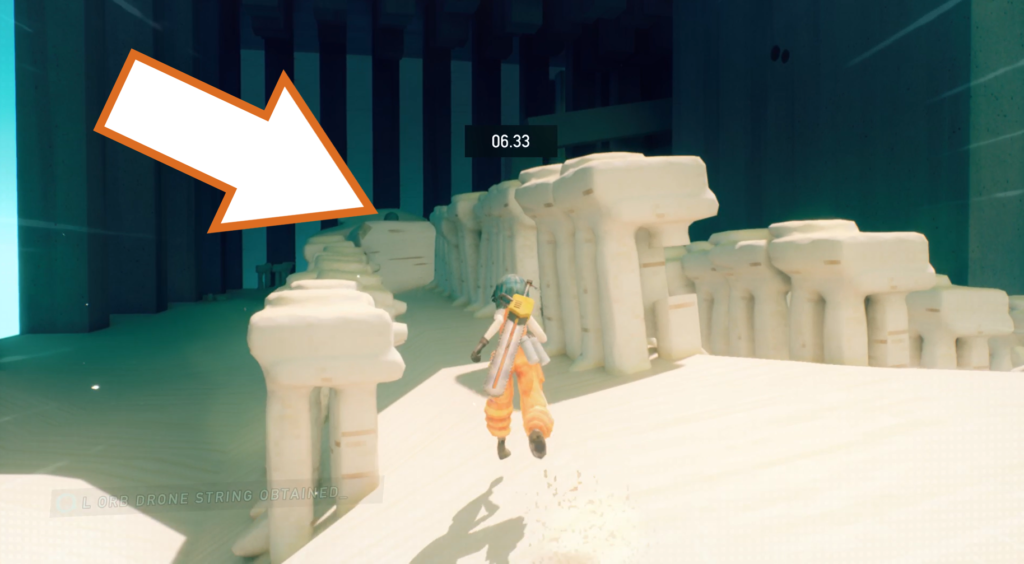
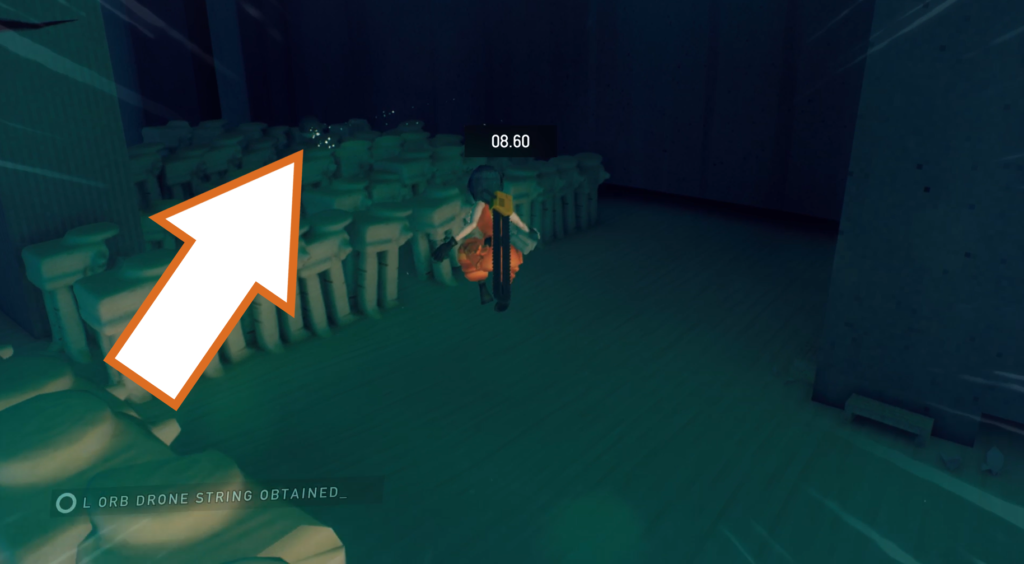
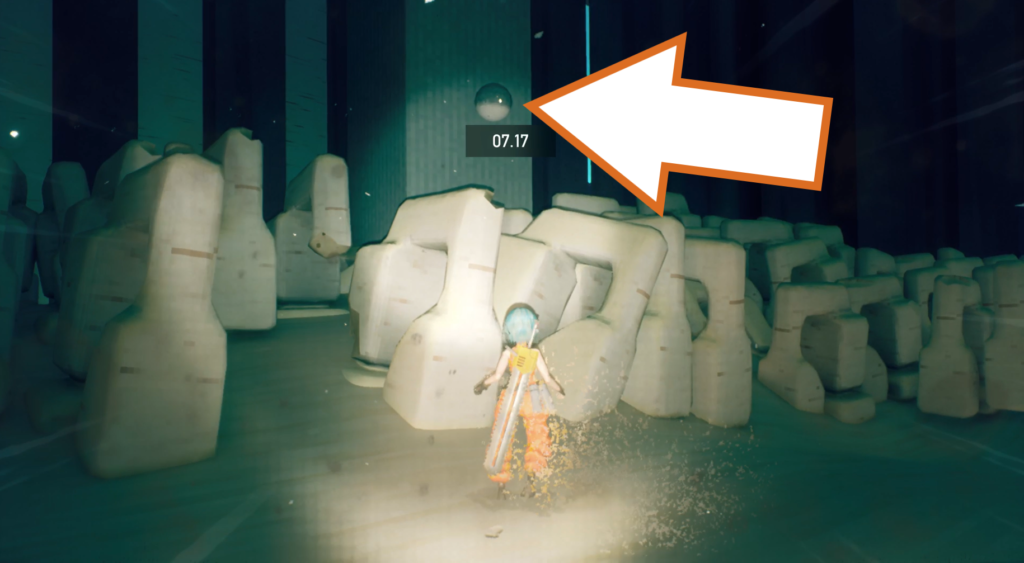
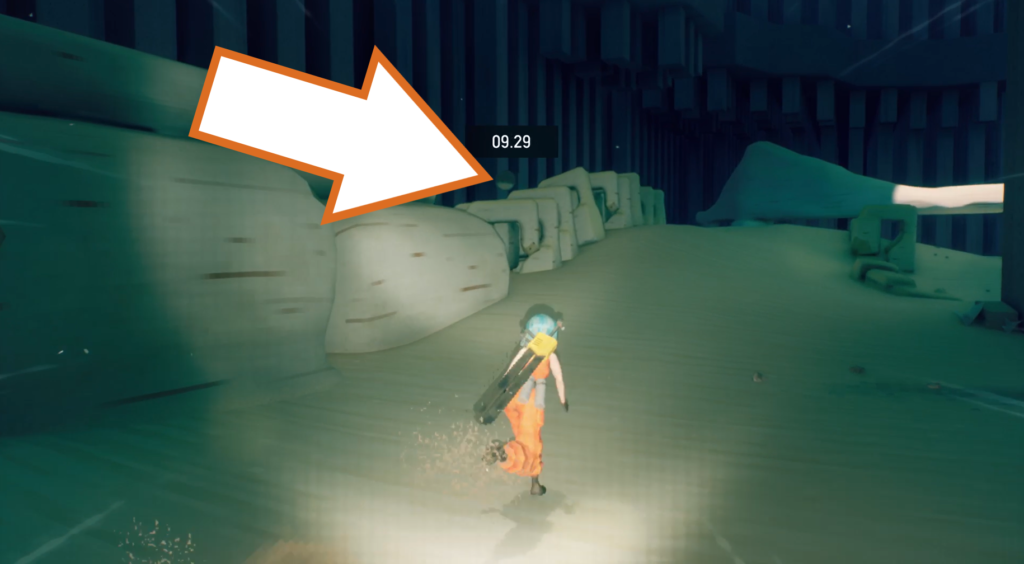
The second drone is on top of a roller sandpile near the edge of the rows of vehicle remains, and then the third is behind the large pillar in the shadows. Slide under the gap in the wall to your right, and look for the fourth drone next to a pillar nearby, then turn around and look for the last one amongst the sandy remains.
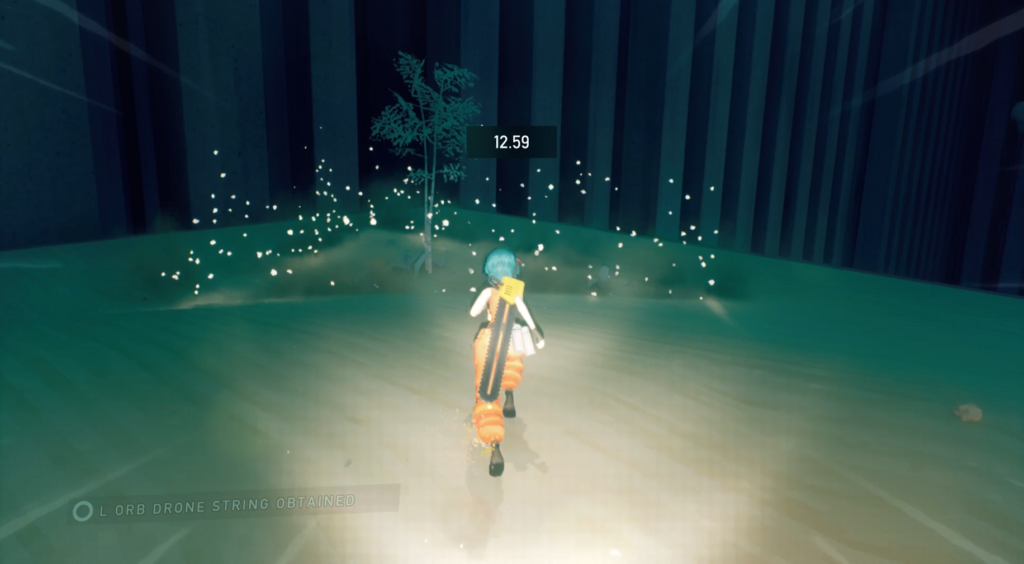
The evac point is just a bit further past the fifth orb drone by some trees.
Checkpoint_06
Orb Drone 147
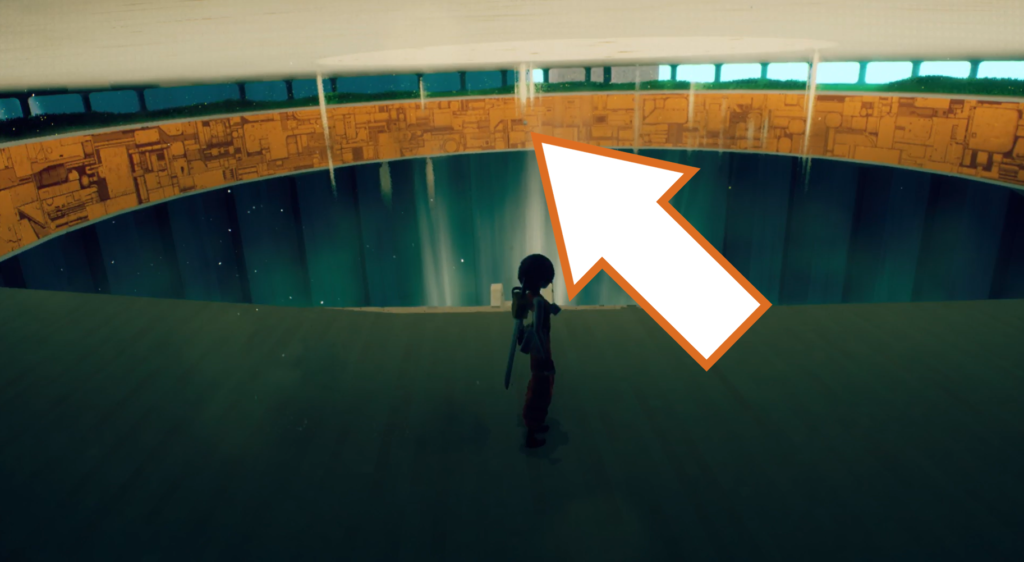
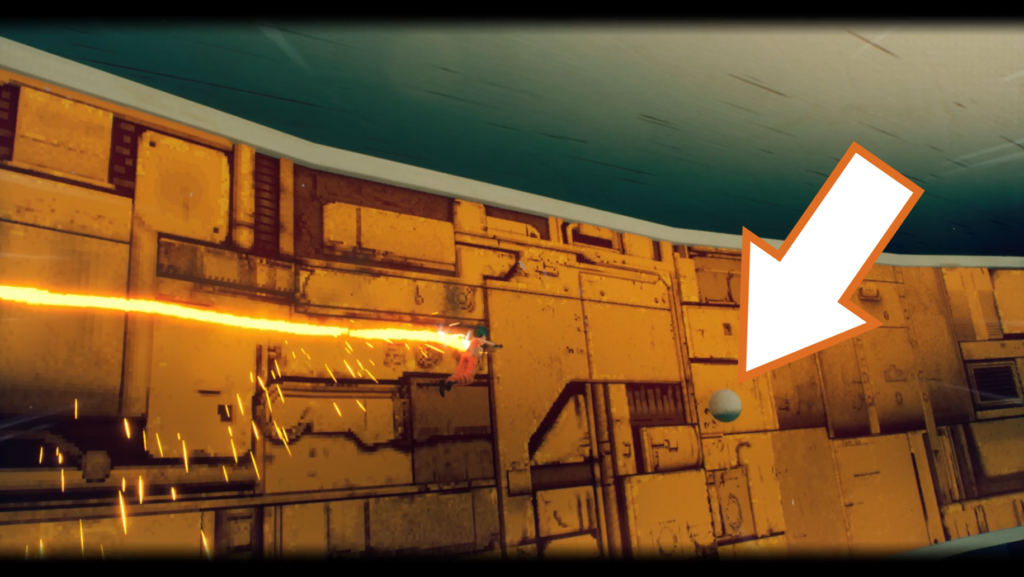
The last orb drone for Chapter 5 is found after beating the boss. Climb up its arm to reach the top of the arena, and look across to see the drone floating against the exposed metal that encircles the top.
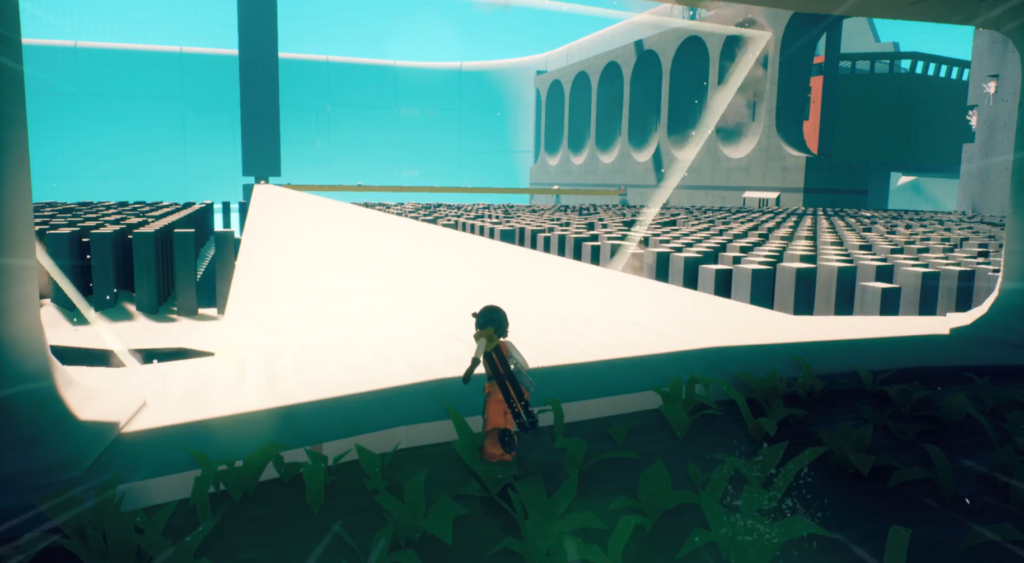
Motorslice around to pick it up, and escort it to the evac point on the bridge past the Slack Off location.
Chapter 6 – Rig
Checpoint_01
Orb Drone 148
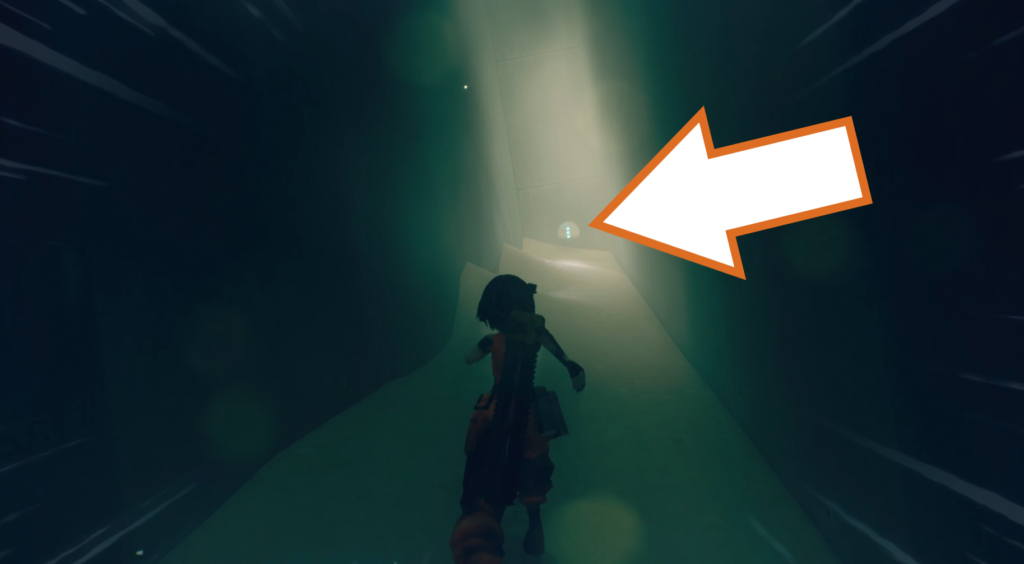
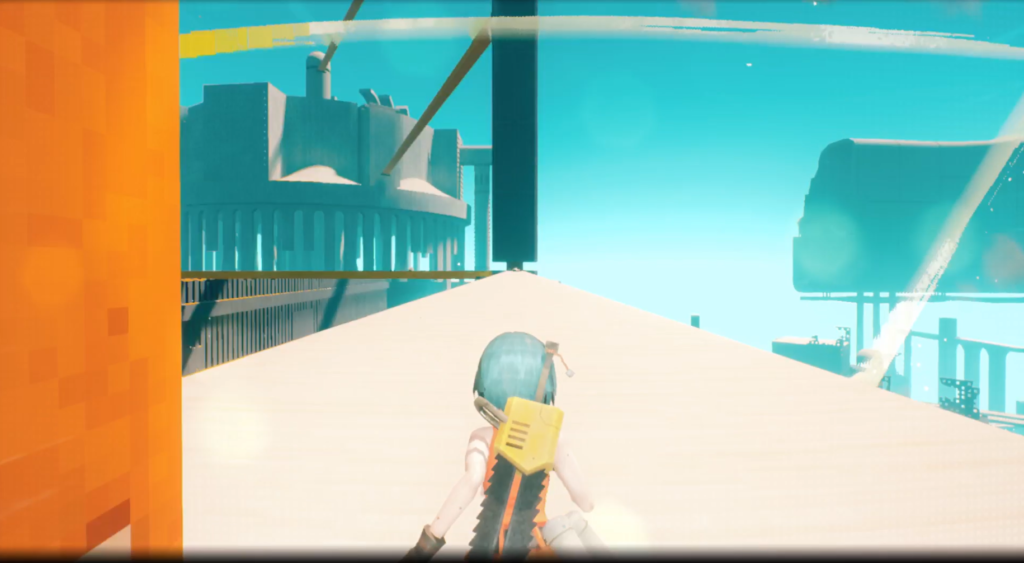
The first orb drone in Chapter 6 is found at the end of the narrow, angled corridors near the beginning. Escort it to the evac point back through the door on the bridge leading to this area.
Orb Drone 149
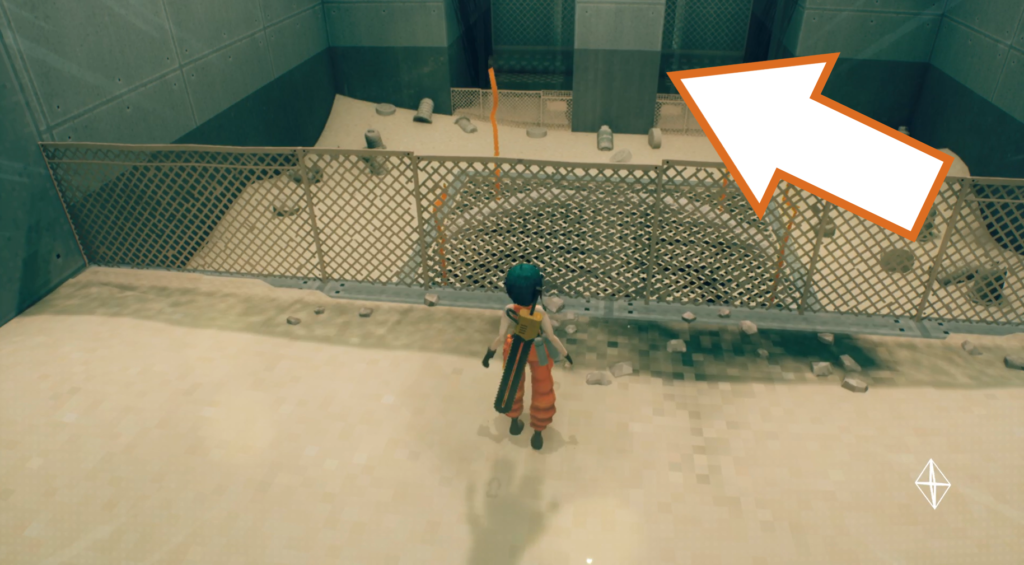
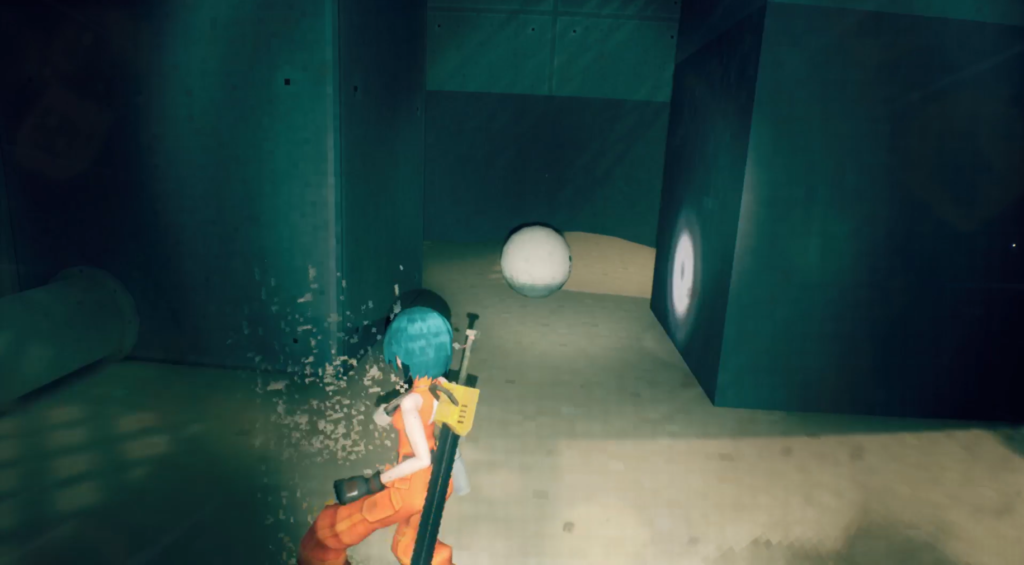
The next orb drone is tucked behind the pillar past the fan that is set into the floor. Drop down and run around the back to grab it, then climb back up and use the fan to cross the gap.
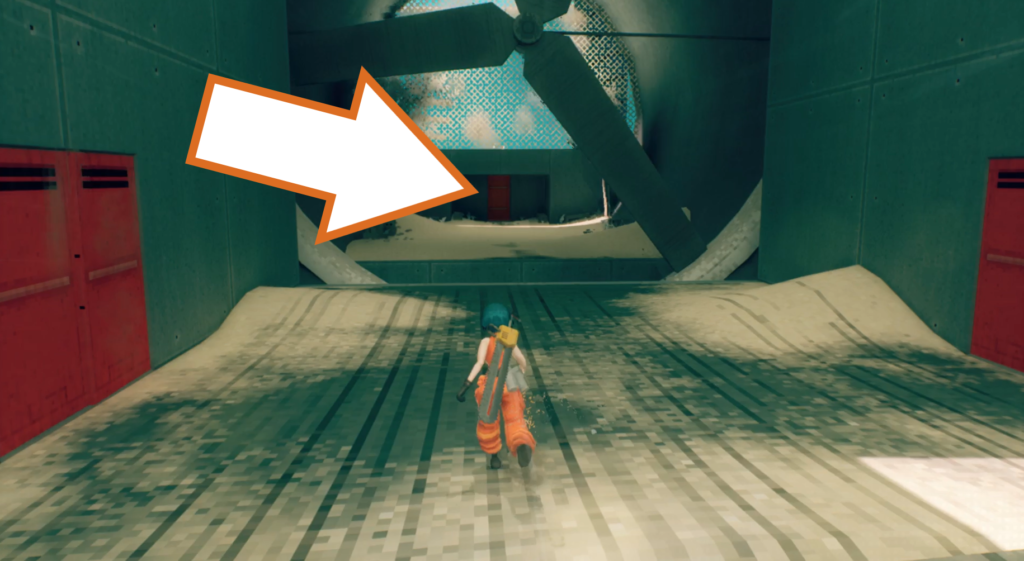
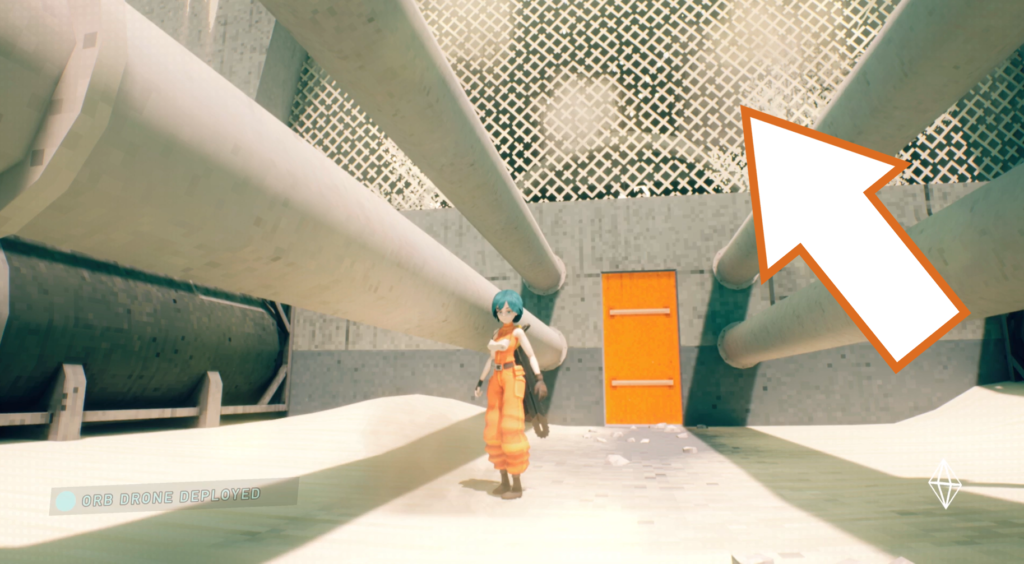
Continue forward and go through the door past the large rotating fan blades. The evac point is above the door n the wall.
Orb Drone 150
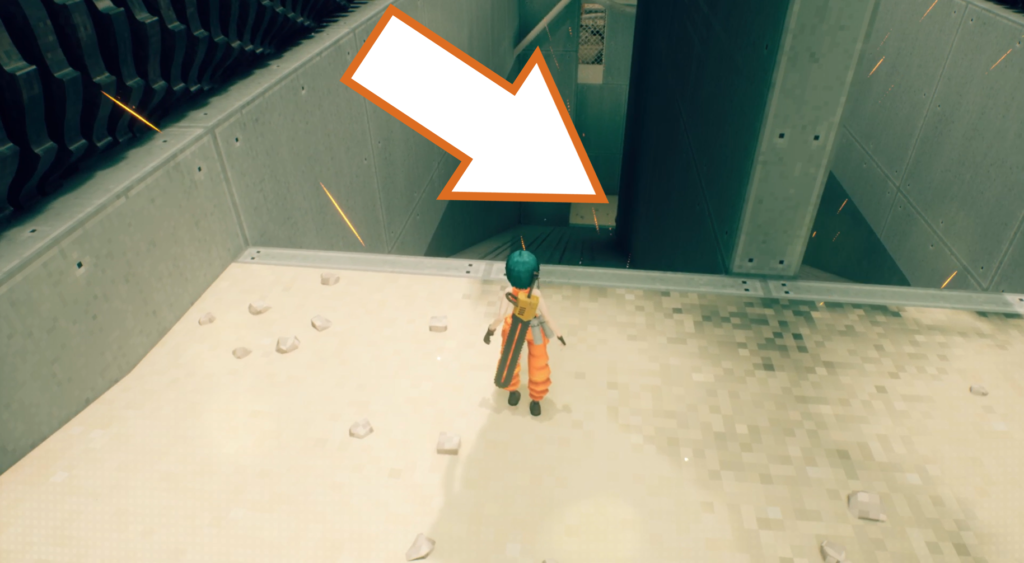
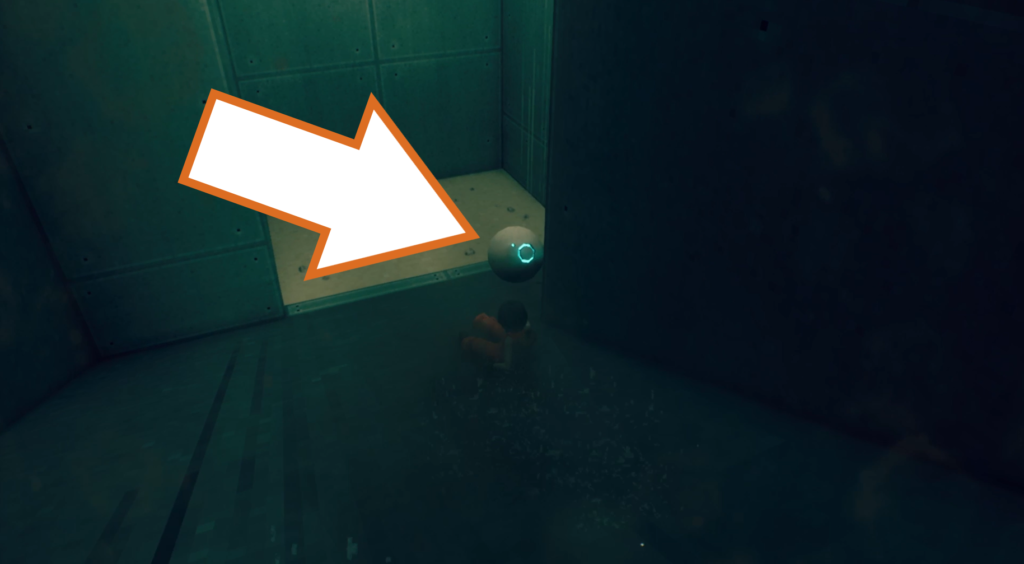
Go back through the door and slide down the ramps to find another orb drone at the bottom. Climb back up and take it to the evac point.
Orb Drone 151
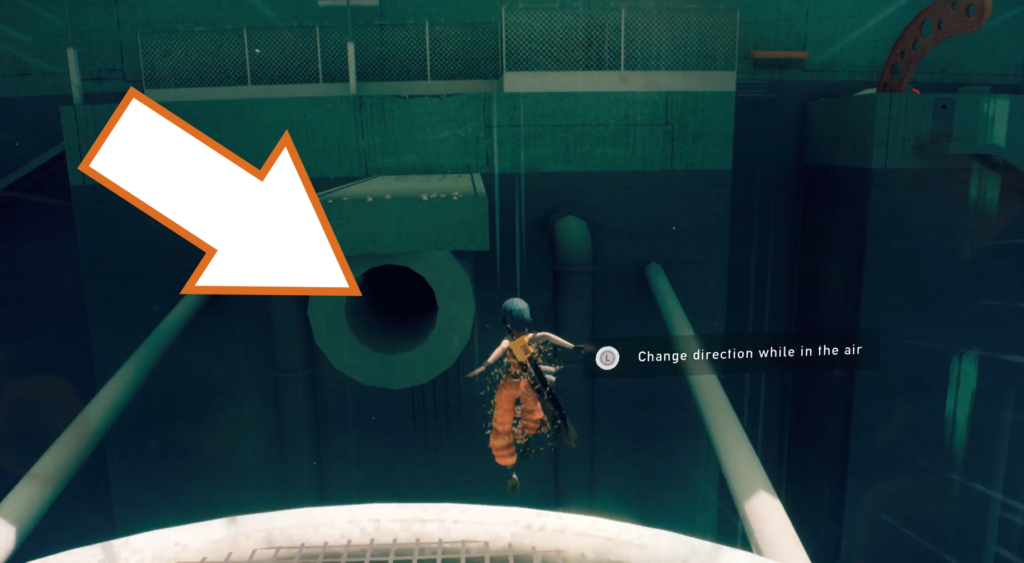
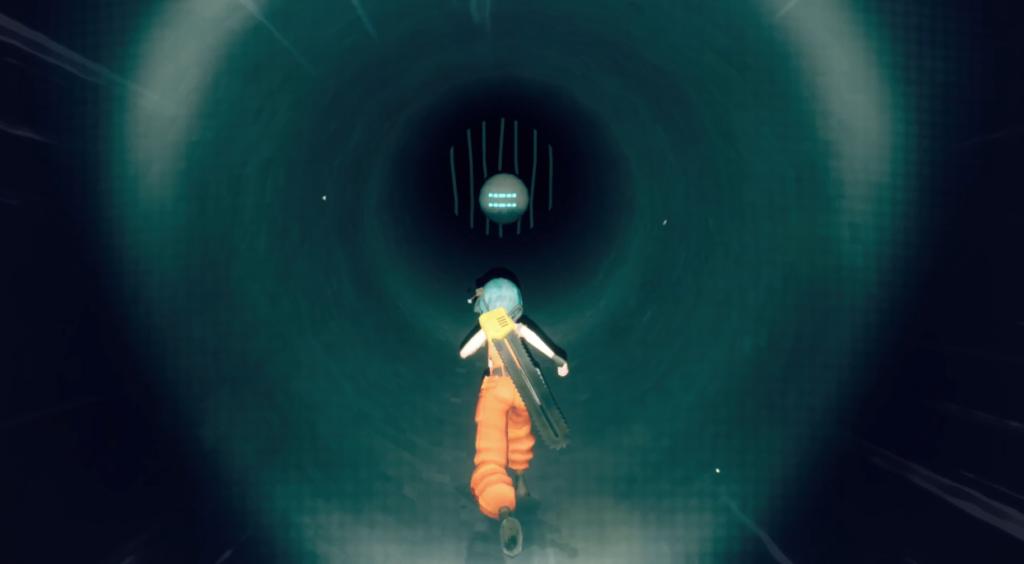
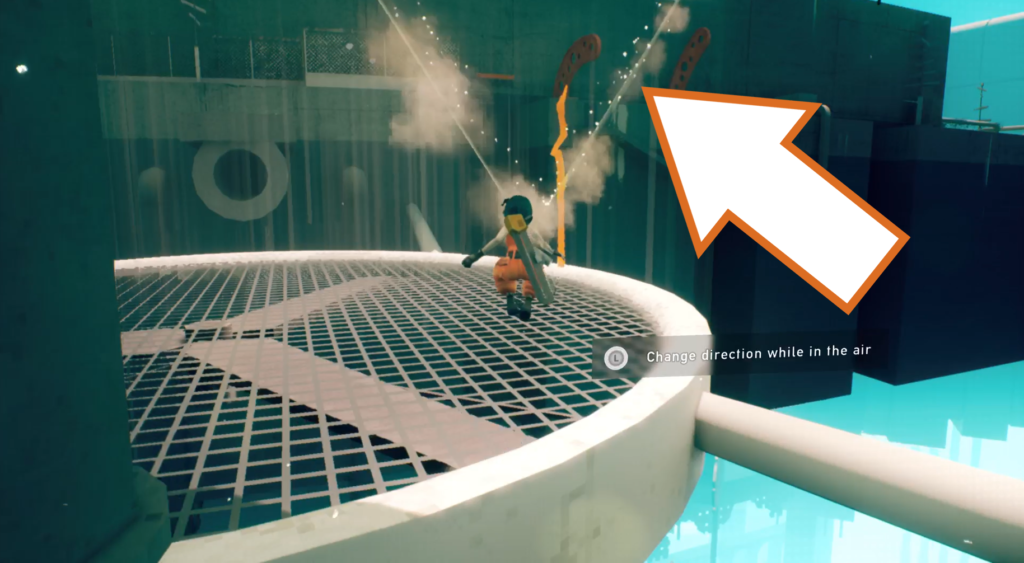
After working your way through a fenced area with mines, you’ll reach another fan blowing up, which you need to cross to continue. Instead, use the air current to lift you into the pipe under the ledge, and find an orb drone at the back. Escort it to the evac point above the fan.
Orb Drone 152 (Timed)
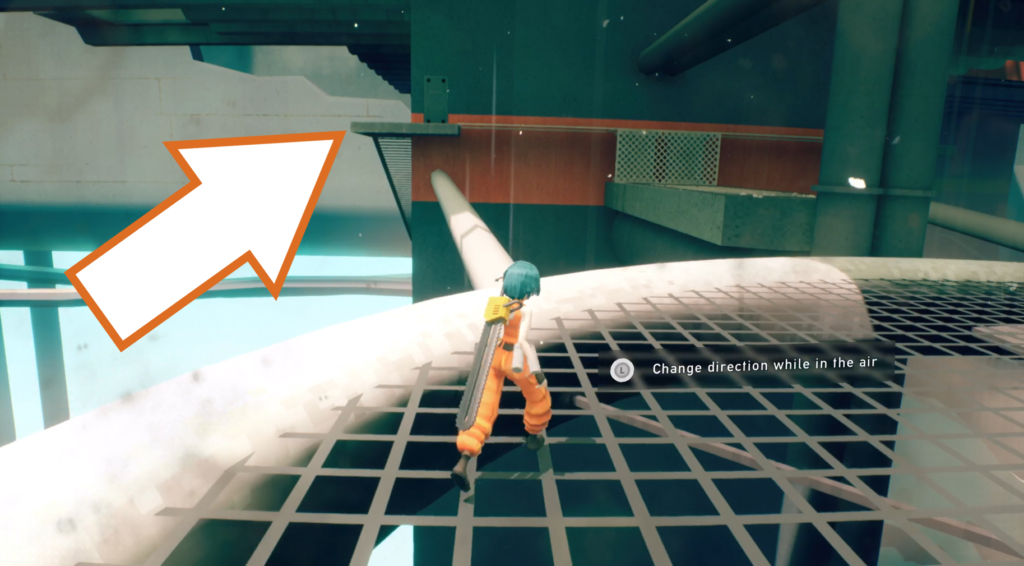
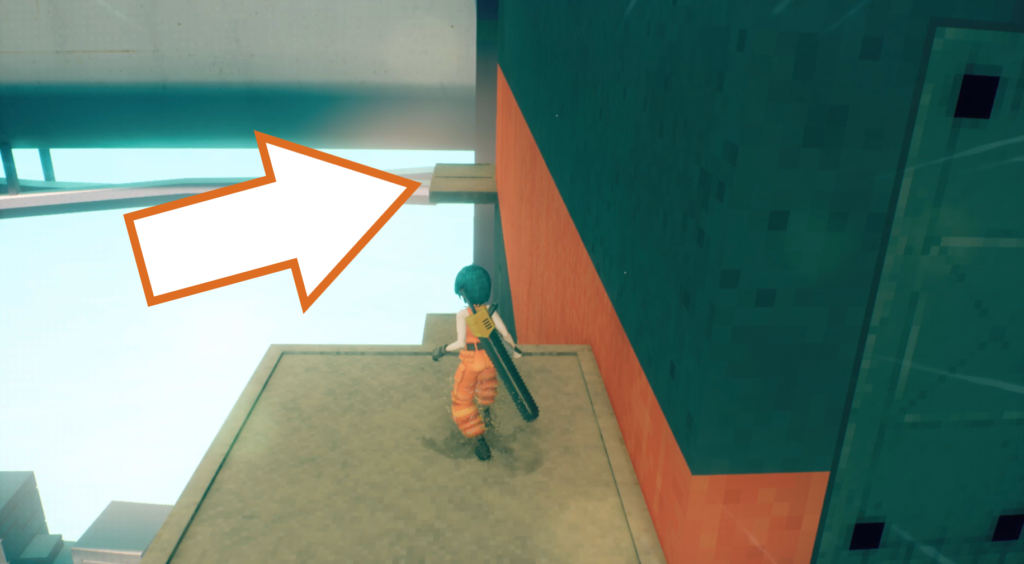
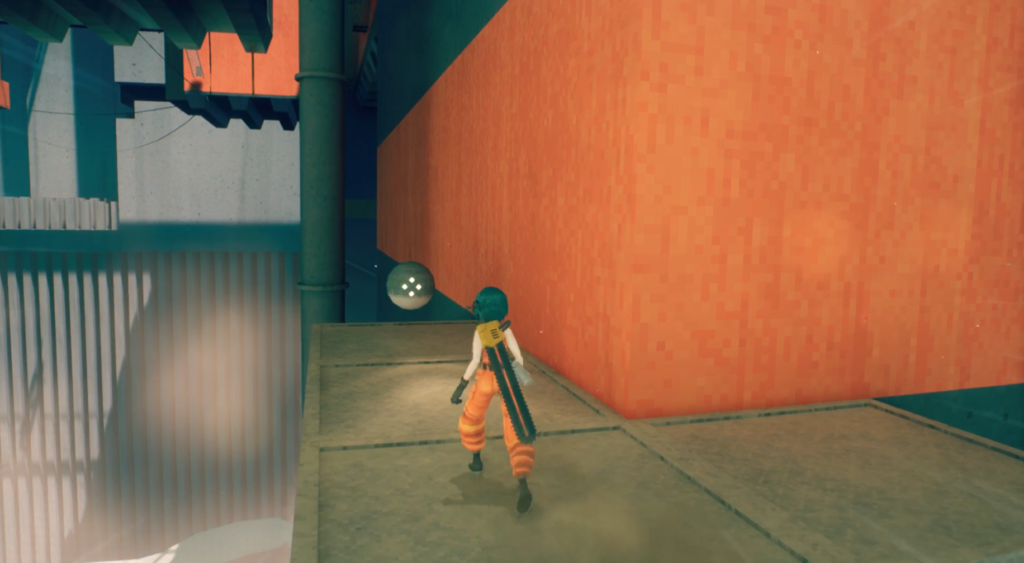
Take the left path after the fan and wall run across to the far platform above the stairs going down. Grab the orb drone around the corner and take it back to the evac point within the time limit.
Checkpoint_02
Orb Drone 153
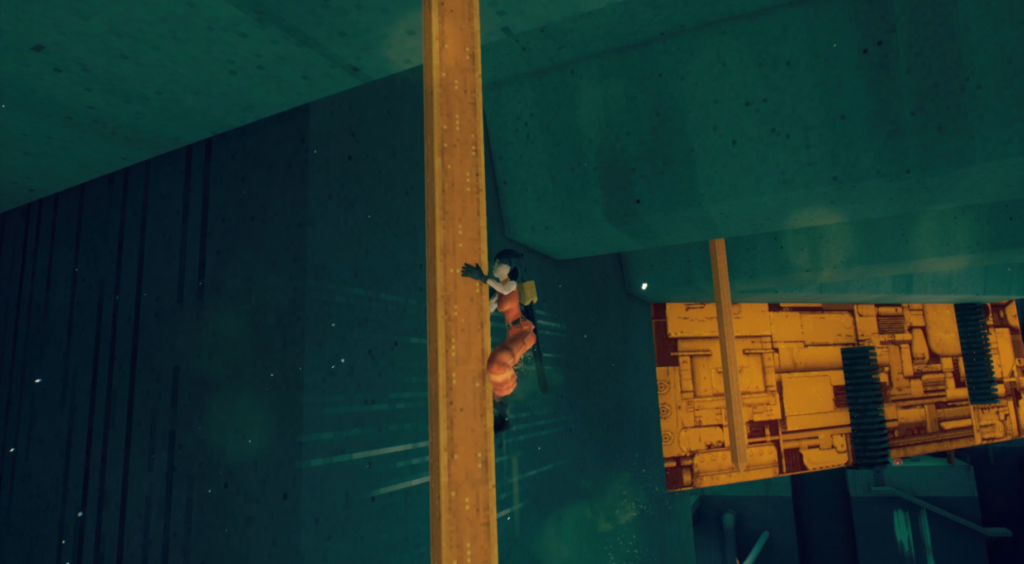
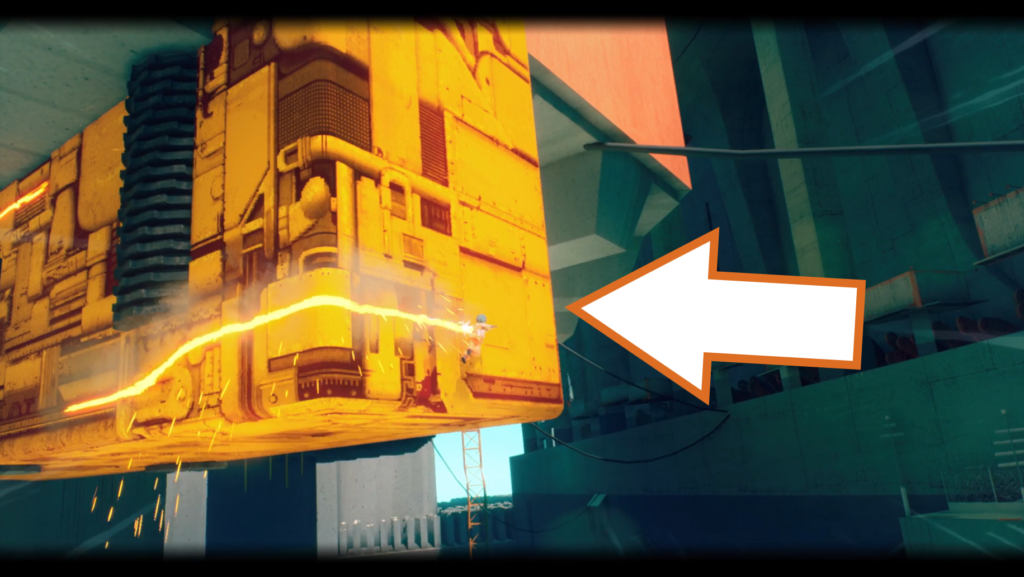
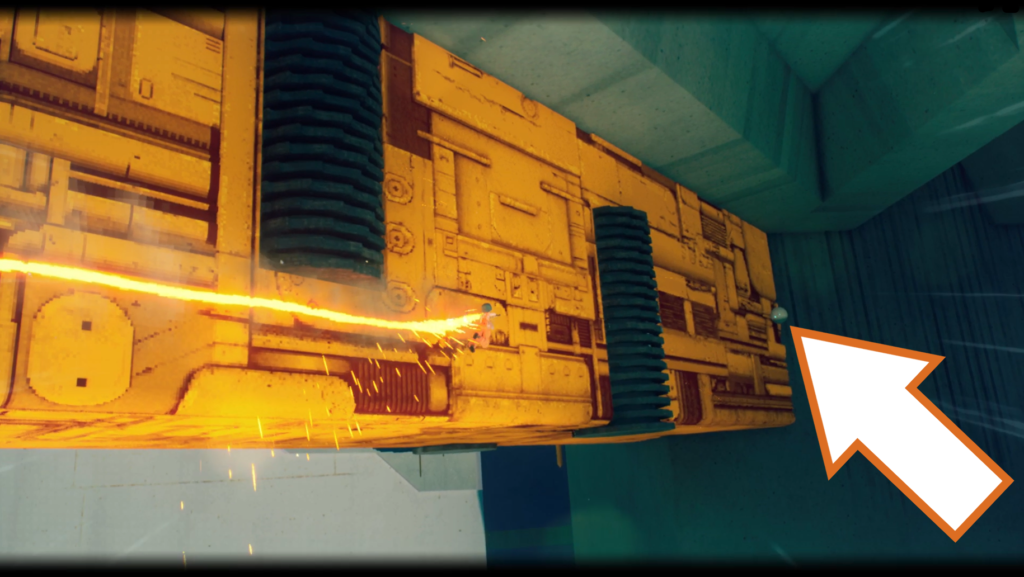
This orb drone is a tricky one to reach and get to the evac point. You will reach a parkour section where you start with a fan lifting around a barrier to reach a vertical girder. After wallrunning to a second girder, you will reach a wall of exposed metal to motorslice across to the end. Instead of going up at the end to continue, carry on around to the other side to find the drone at the far end behind some grinder traps.
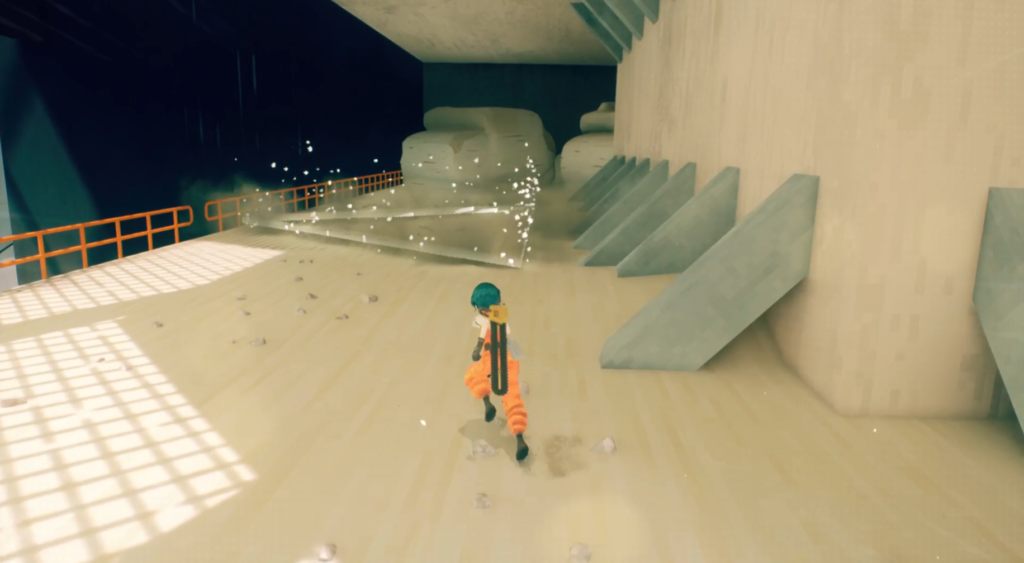
Grab the orb and motorslice back to the tip to go up to the level above, where the evac point is waiting on your left.
Orb Drone 154 (Timed)
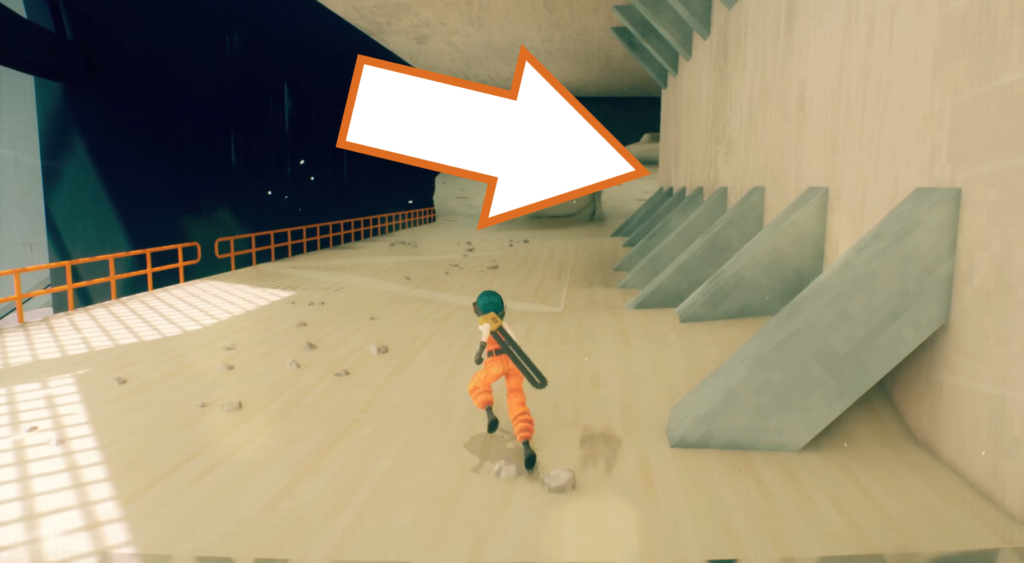
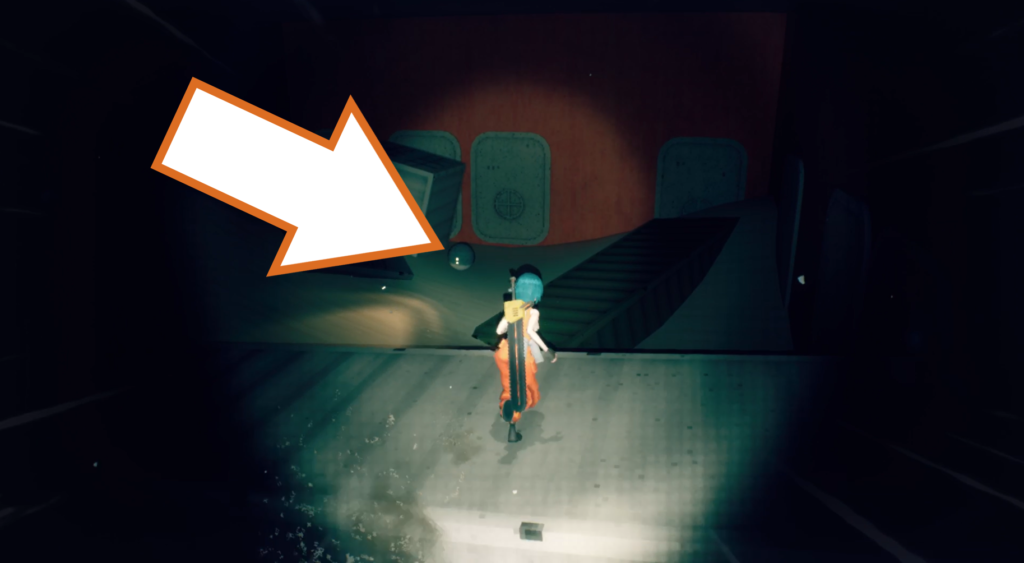
This orb drone is found past the evac point, tucked away in the dark amongst the sandy remnants of your enemies. Get it back to the evac point within the time limit.
Orb Drone 155
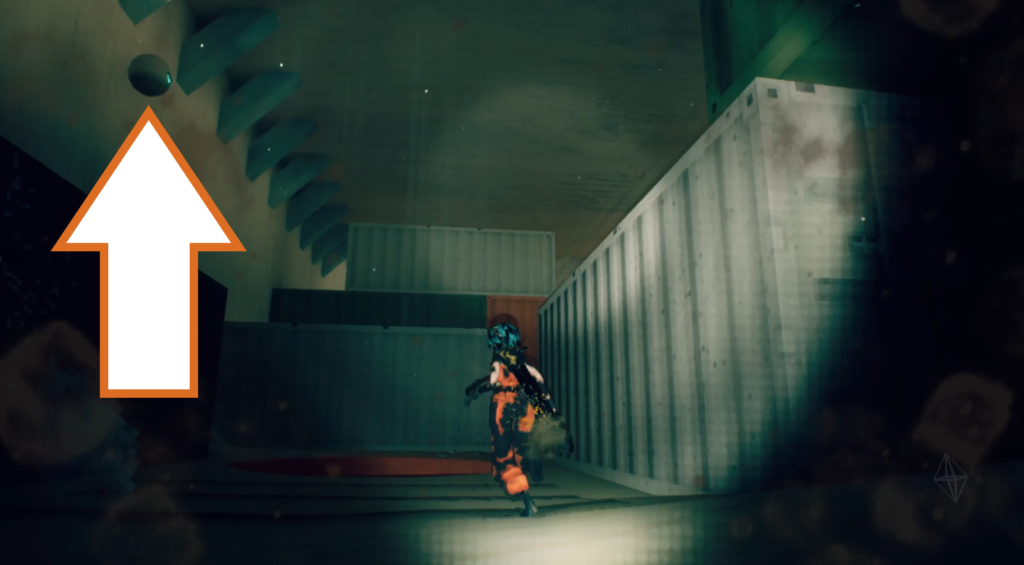
Another orb rone is close by, floating above a freight container against the wall where some enemies lie in wait.
Orb Drone 156
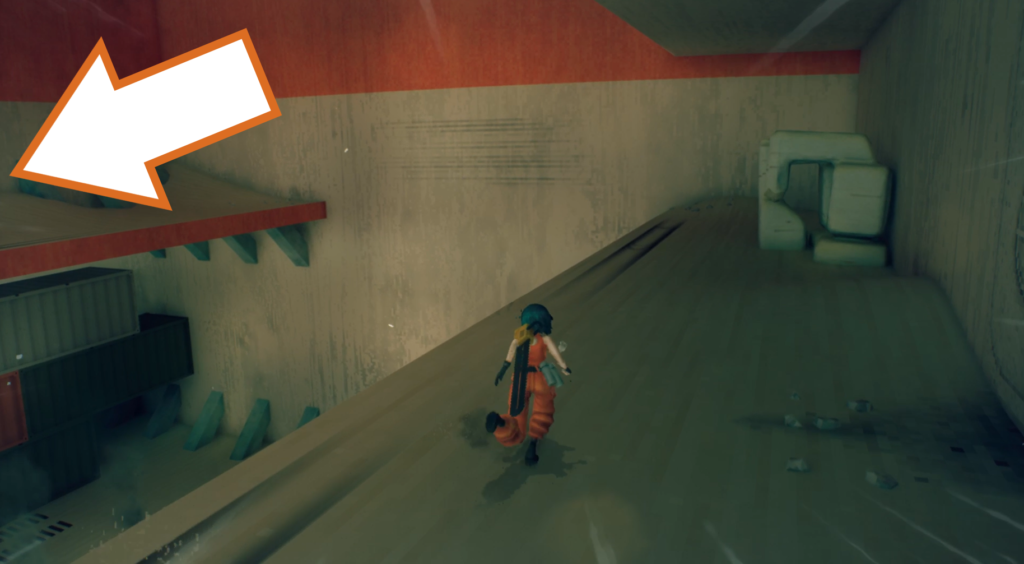
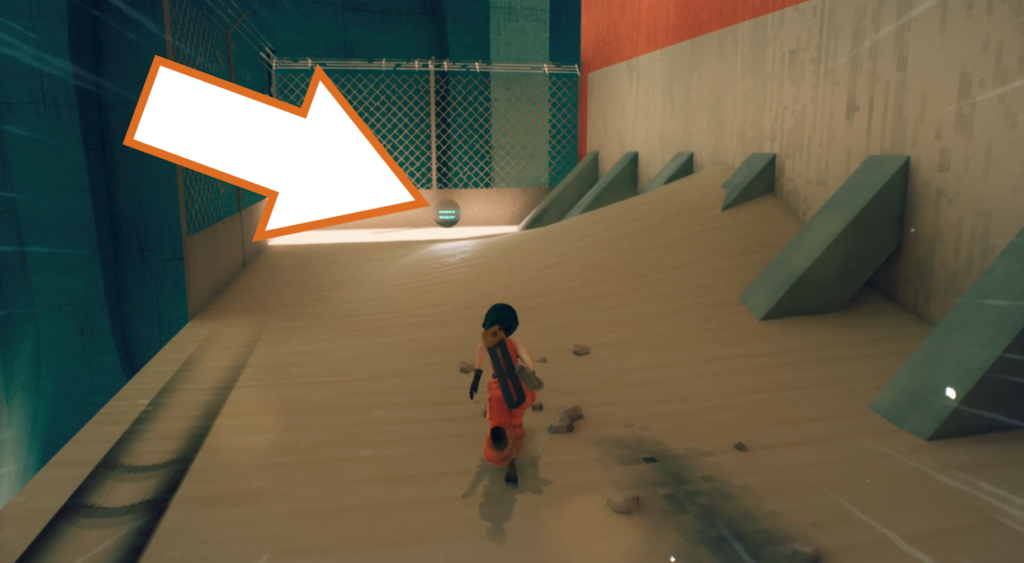
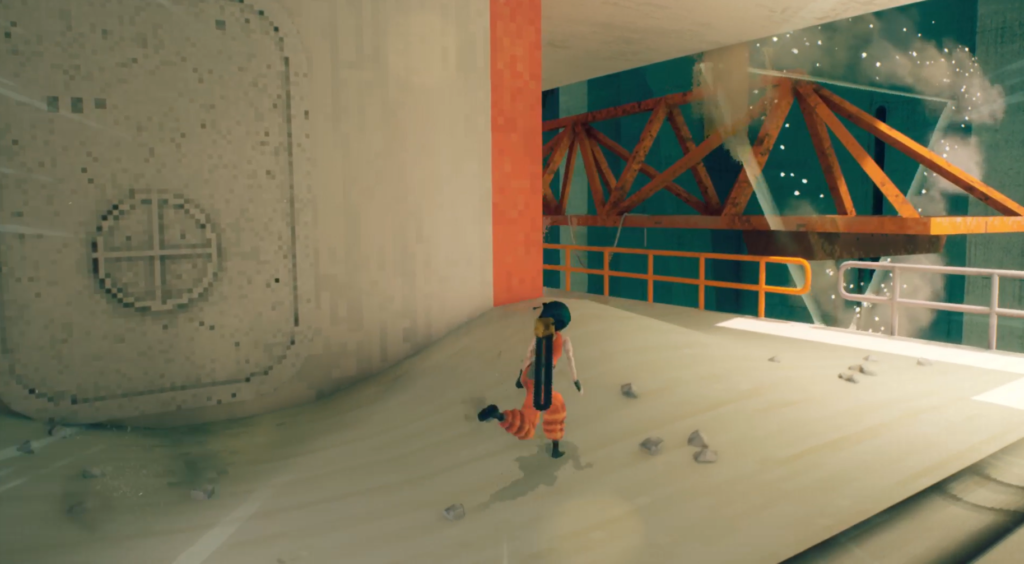
Continue forward and go up both flights of stairs next to the crane. Go around the corner and wall run across to the other balcony to reach the orb drone. Take it back to the evac point at the end of the crane arm.
Orb Drone 157
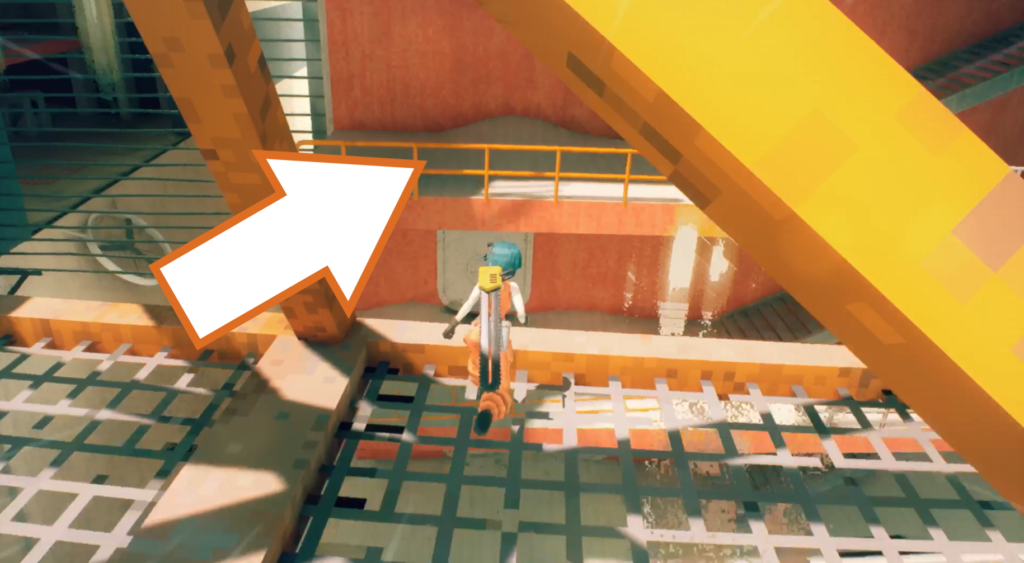
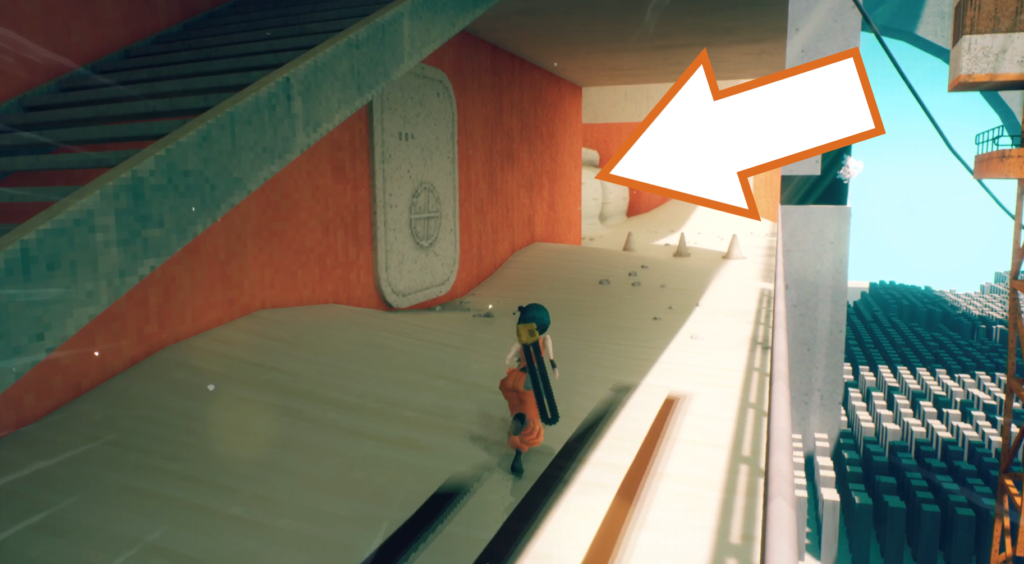
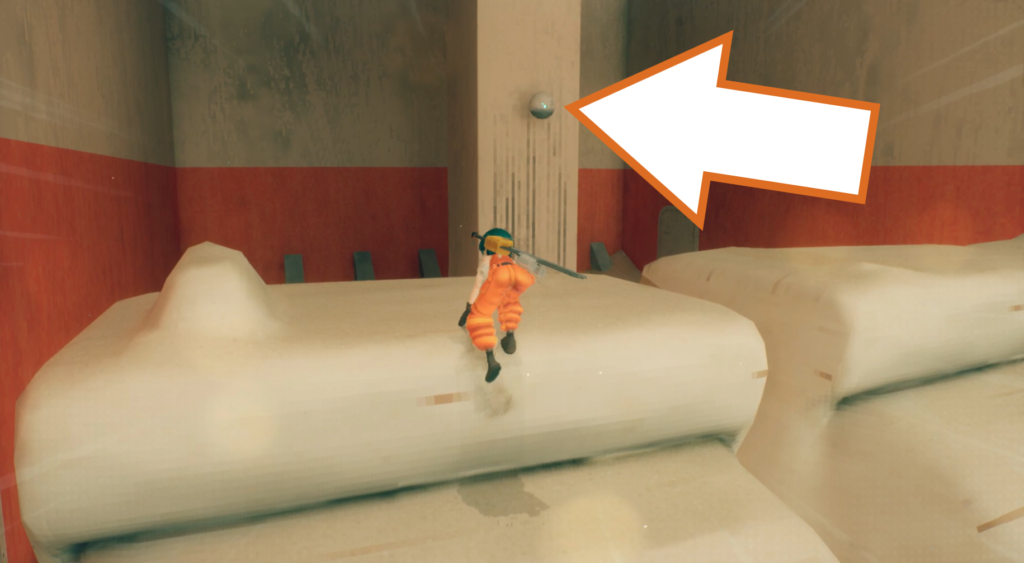
Run down the crane arm and jump to the other set of balconies. Go down the flights of stairs to the bottom, and go behind them to find some more sandy remains. High up on the pillar is an orb drone. Return it to the evac point on the crane.
Orb Drone 158 & 159
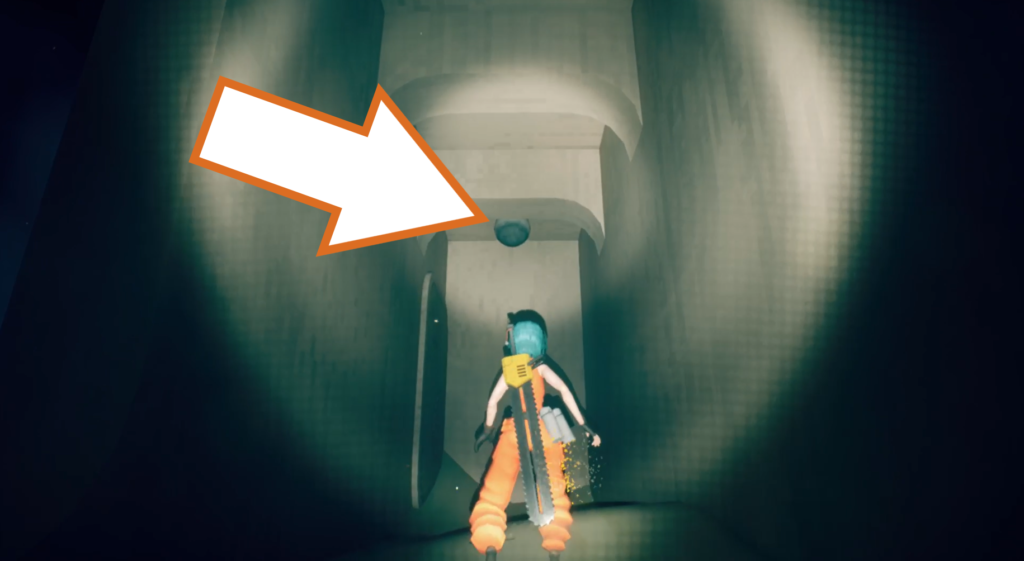
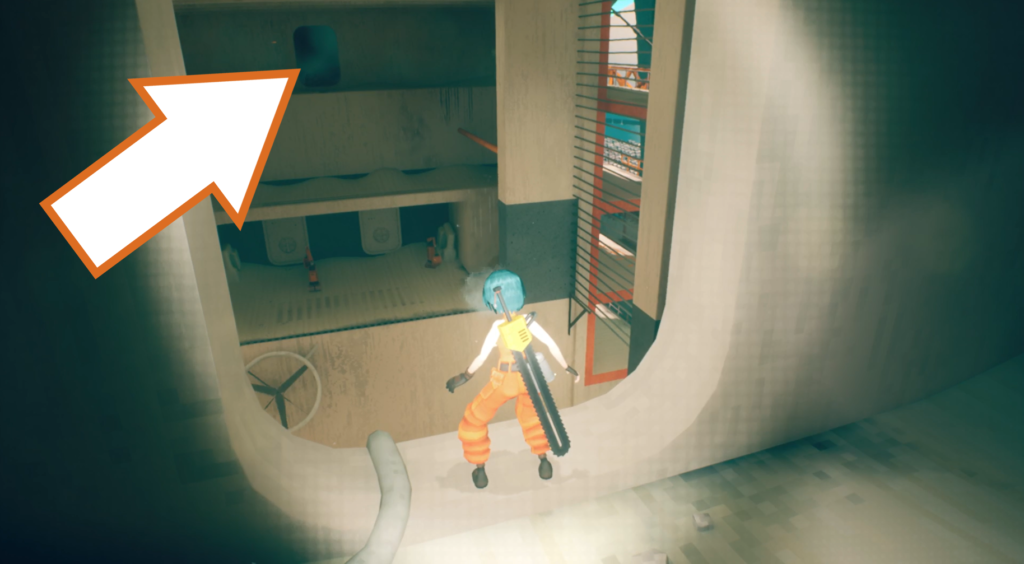
The next two orb drones are found in the narrower, dark corridor sections at the end of this section. The first is high up against the back wall of the first corridor you run down, before the little room.
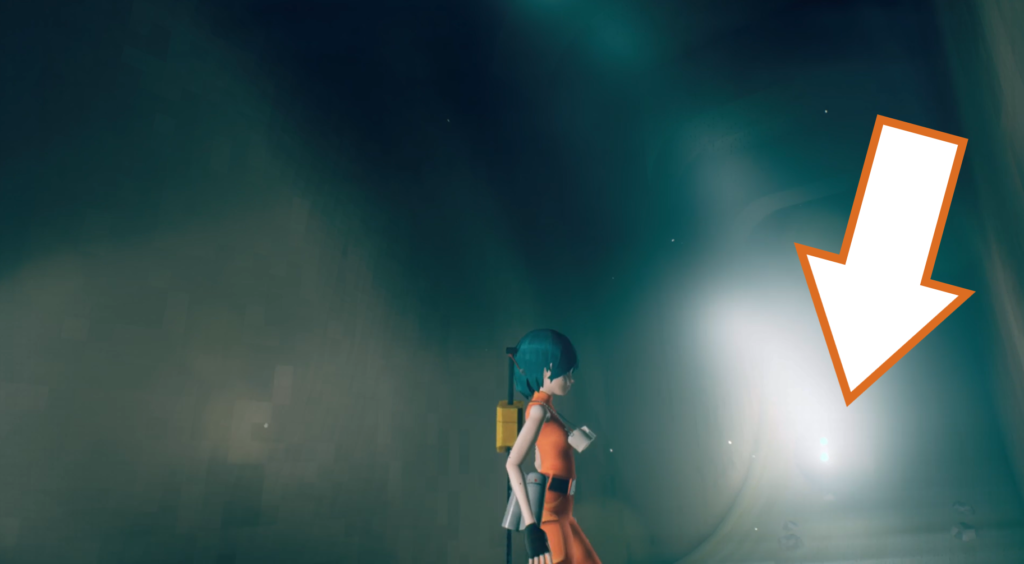
The second drone is found once you’ve made it through the first set of corridors and used the fan to blow you across to the other side. Climb up and enter the second section of corridors, and when you reach the exit on the other side, go past it and find the drone at the end.
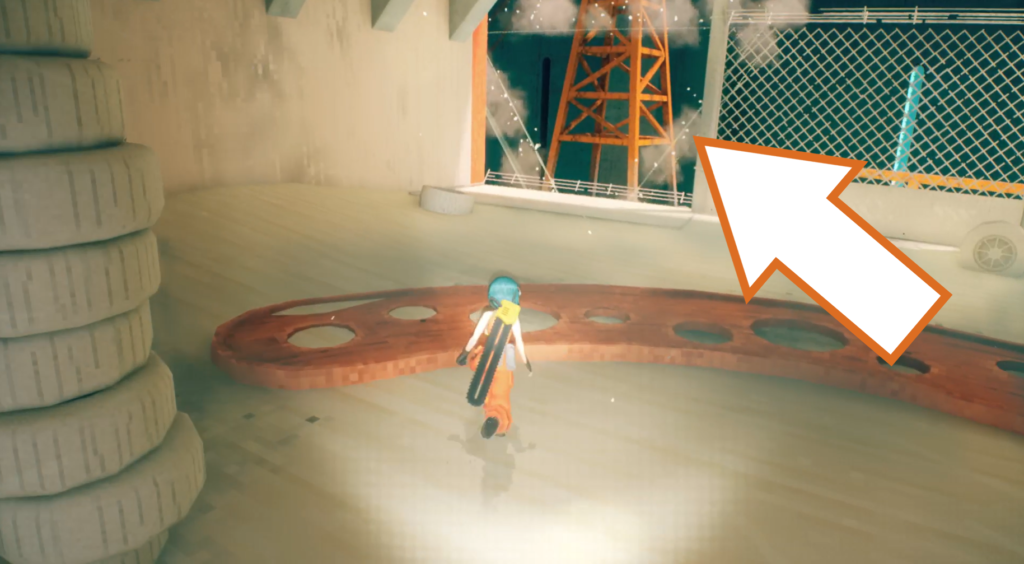
The evac point is off a ledge to the right of the door that is hidden by stacks of tyres.
Checkpoint_03
Orb Drone 160
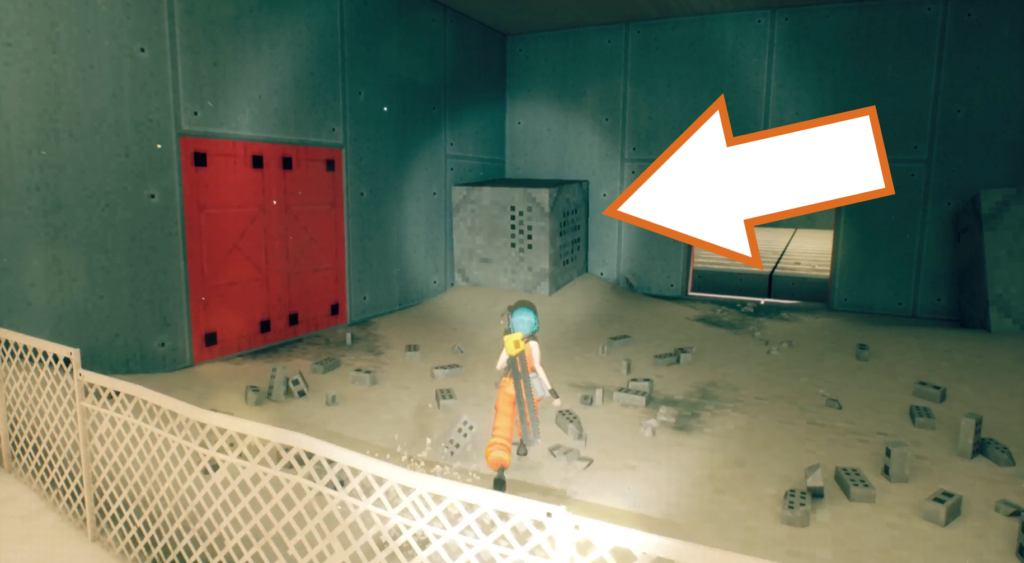
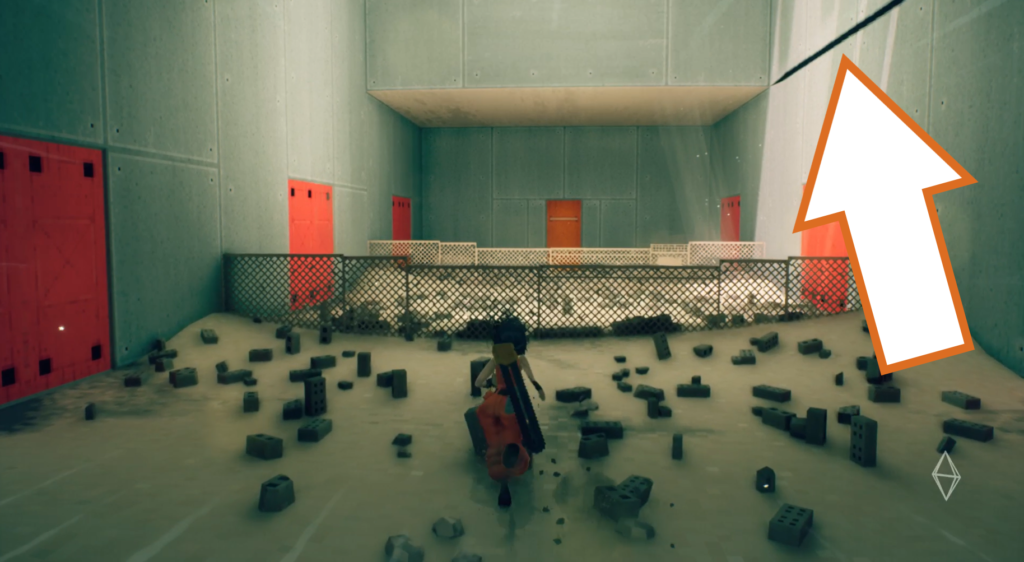
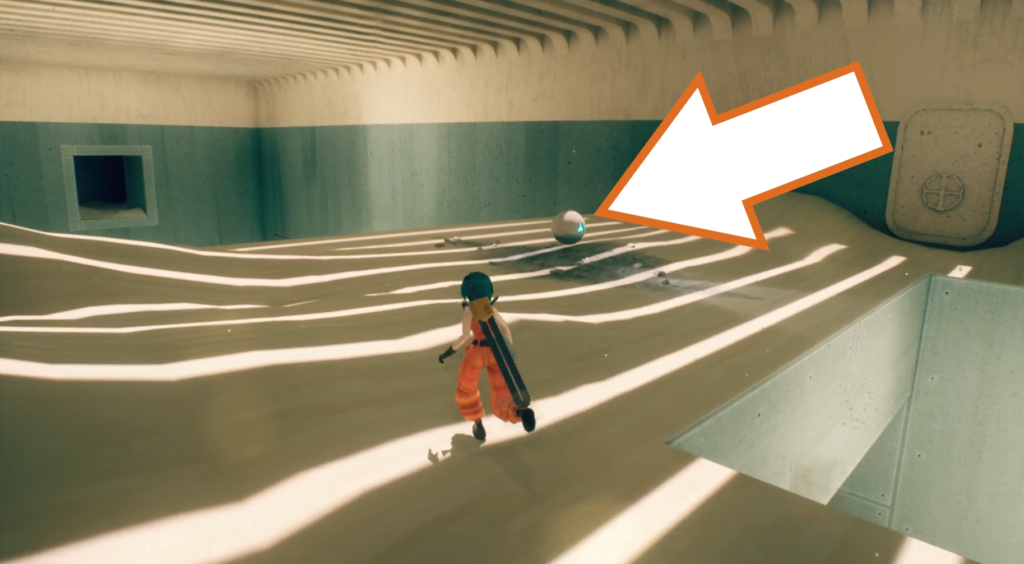
This orb drone is found after going through the grinder trap room. In the next room, use one of the blocks in the corners to reach the crack in the wall. The drone is up here in plain sight, and the evac point is on the floor in the room below.
Checkpoint_04
Orb Drone 161
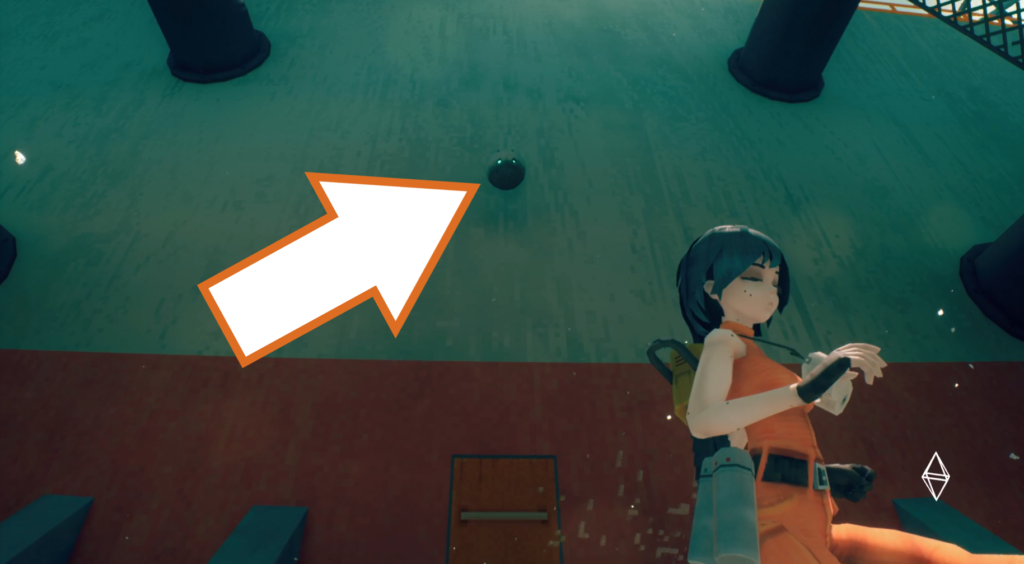
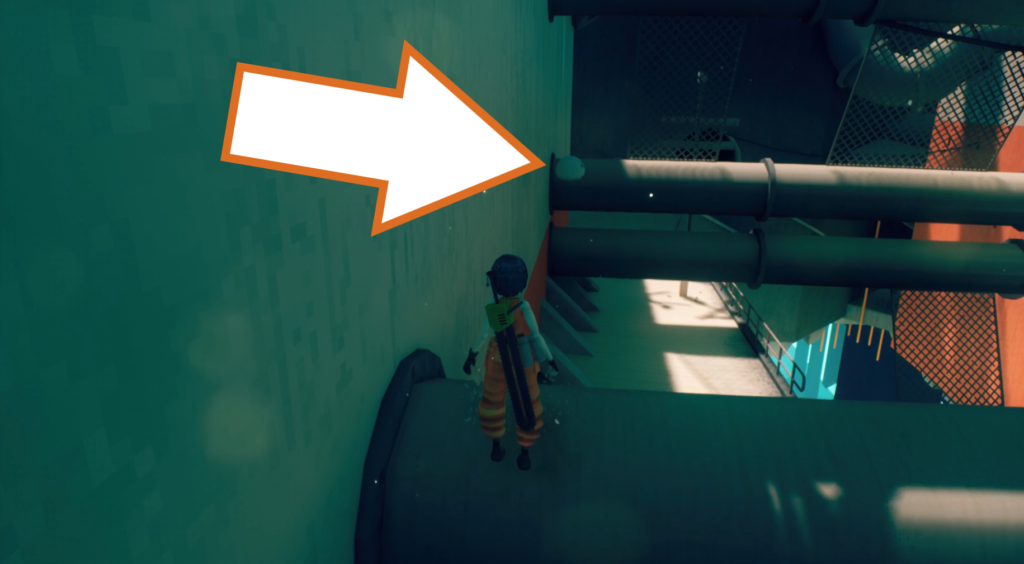
The next orb drone is through and above the door. Use the large pipes on either side of it and wall run to reach it, then take it back to the evac point in the previous room.
Orb Drone 162
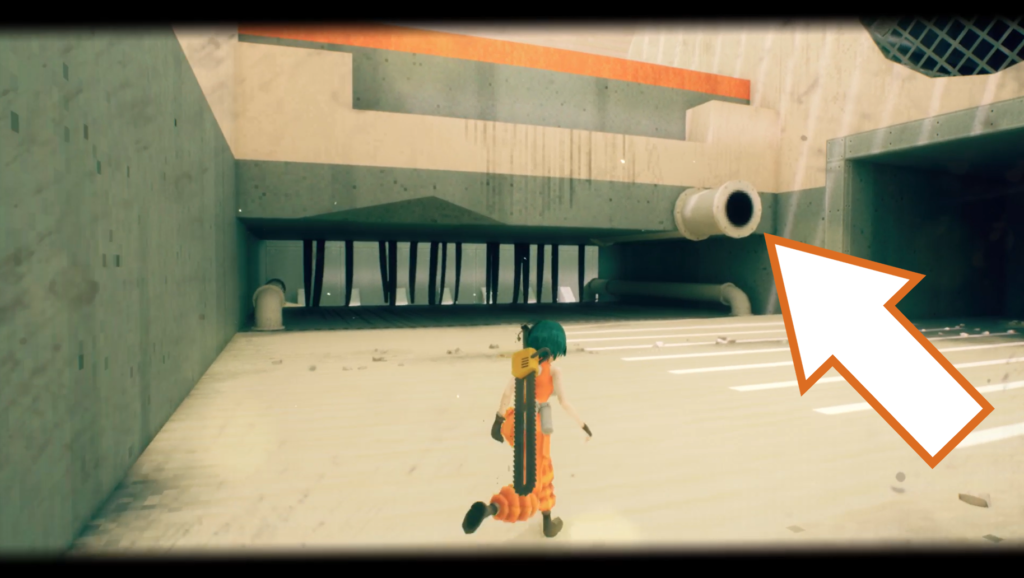
Continue until you reach a room with two roller enemies waiting in ambush. Defeat them, and then use the short pipe to climb up onto the ledge.
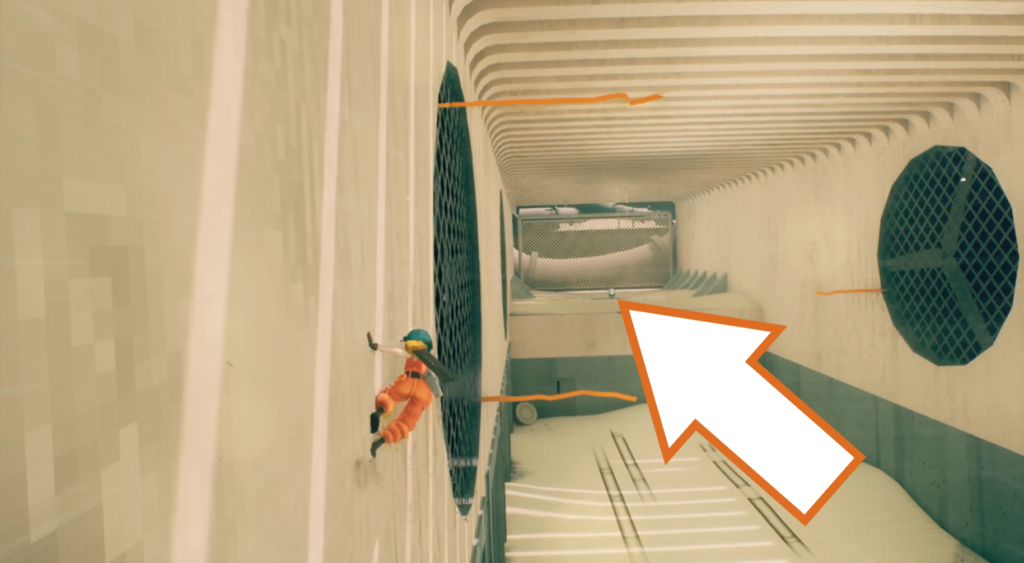
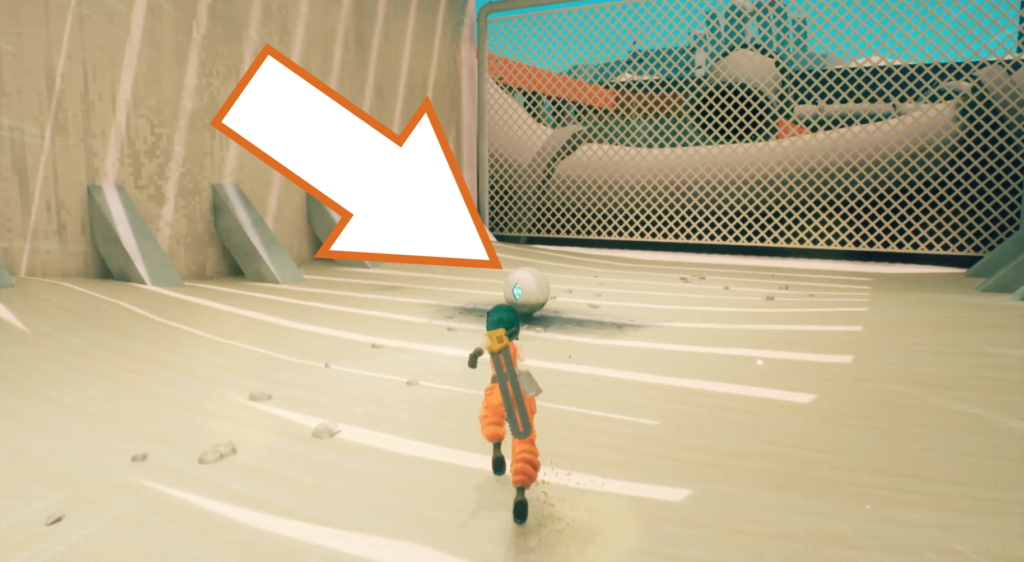
Turn around and use the large wall fans to launch you from one side to the other as you wall run across to reach the orb drone at the far end.
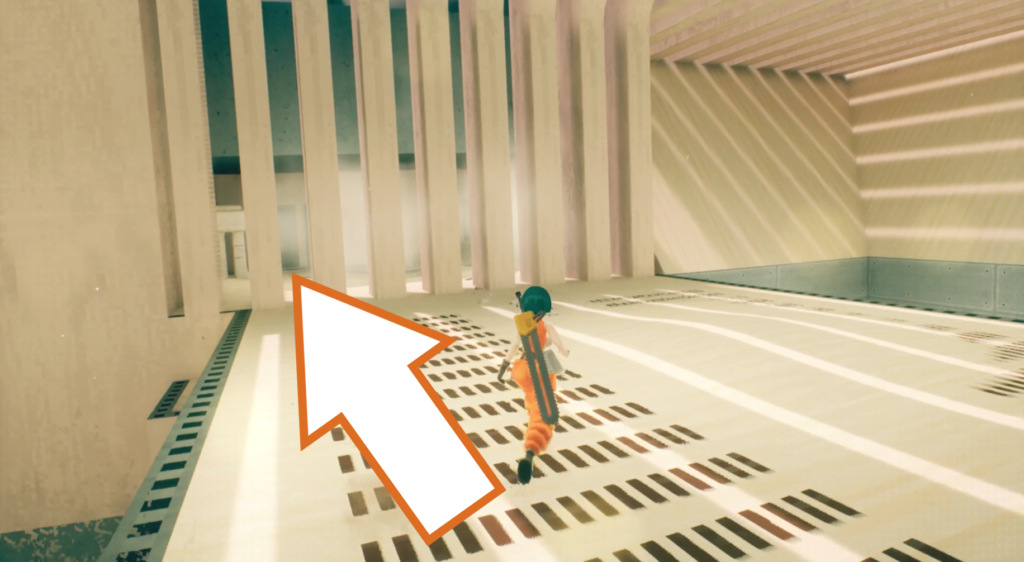
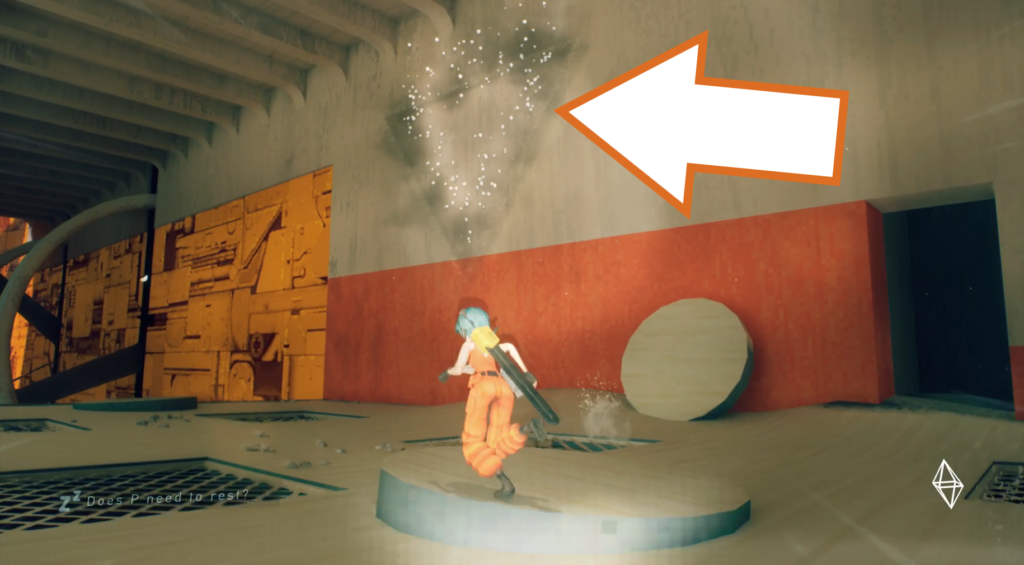
Go back to the first ledge, and go through the narrow stone pillars and down the dark, sloped passage to reach the next area. The evac point is on the wall near the entrance.
Orb Drone 163
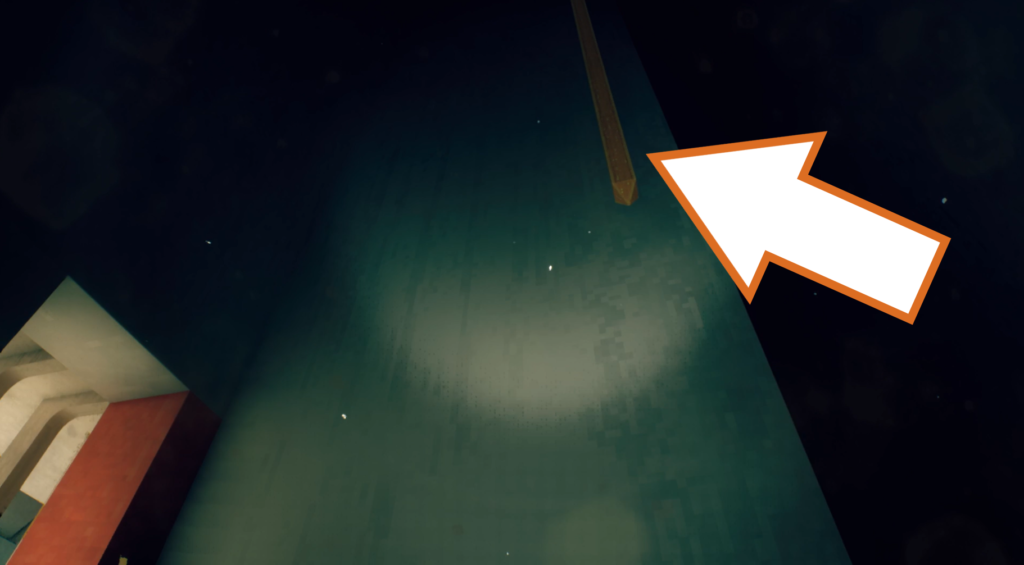
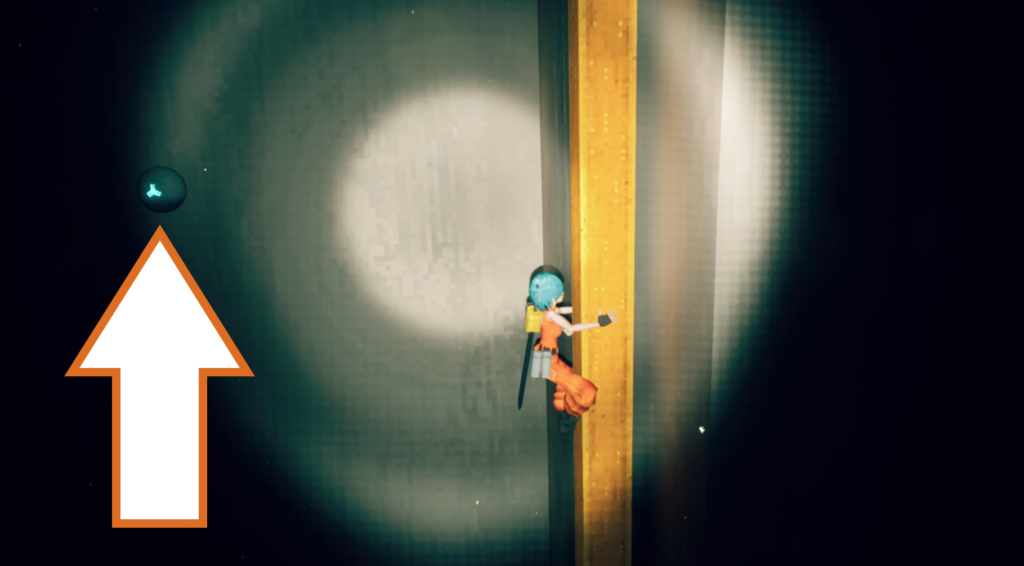
Back in the dark of the corridor is a vertical girder you can climb up just before the entrance to the next area. At the top of it is another orb drone you can wall run to reach.
Orb Drone 164
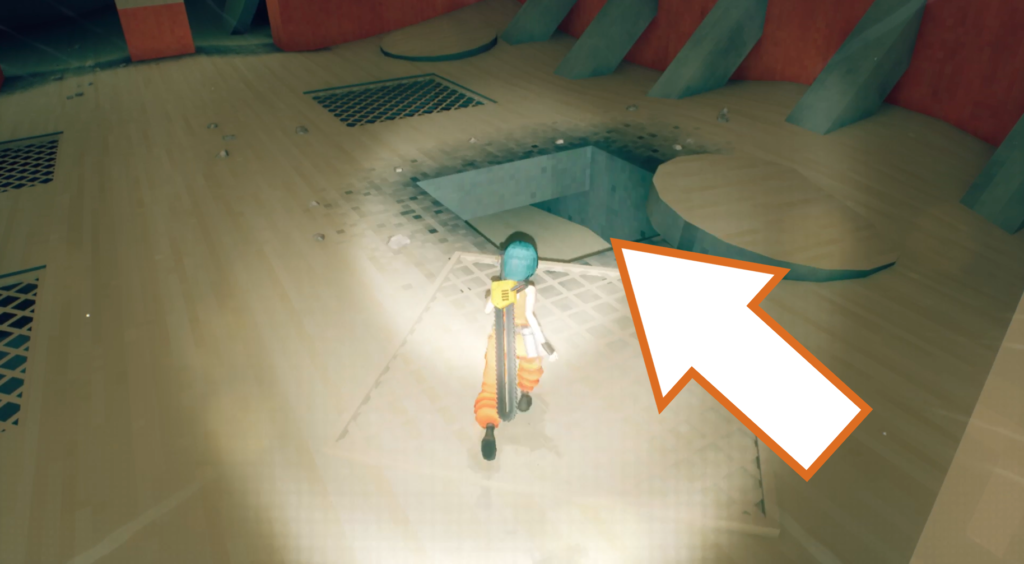
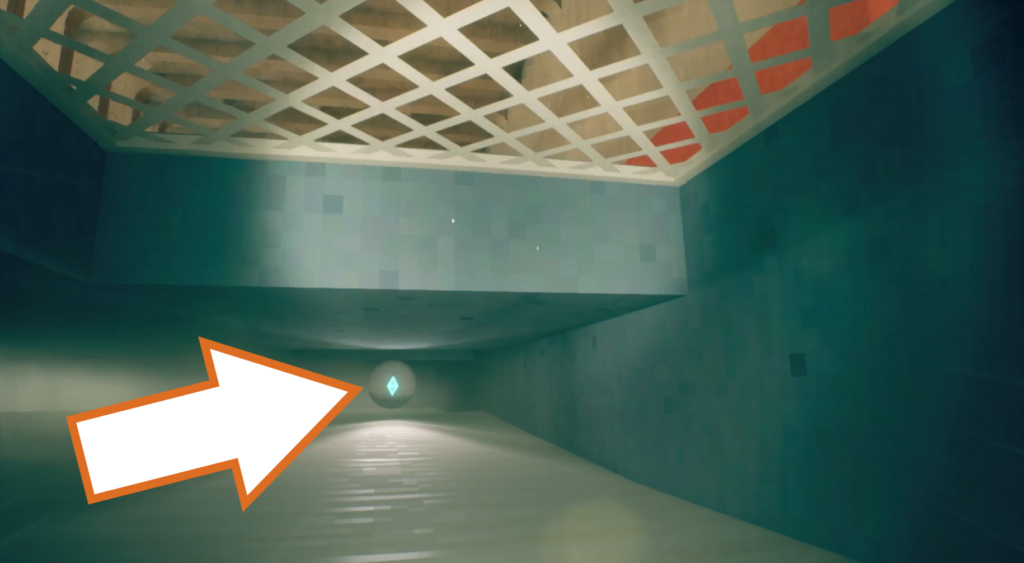
Locate the hole in the floor near the evac point, and slide under the floor to find this orb drone.
Orb Drone 165
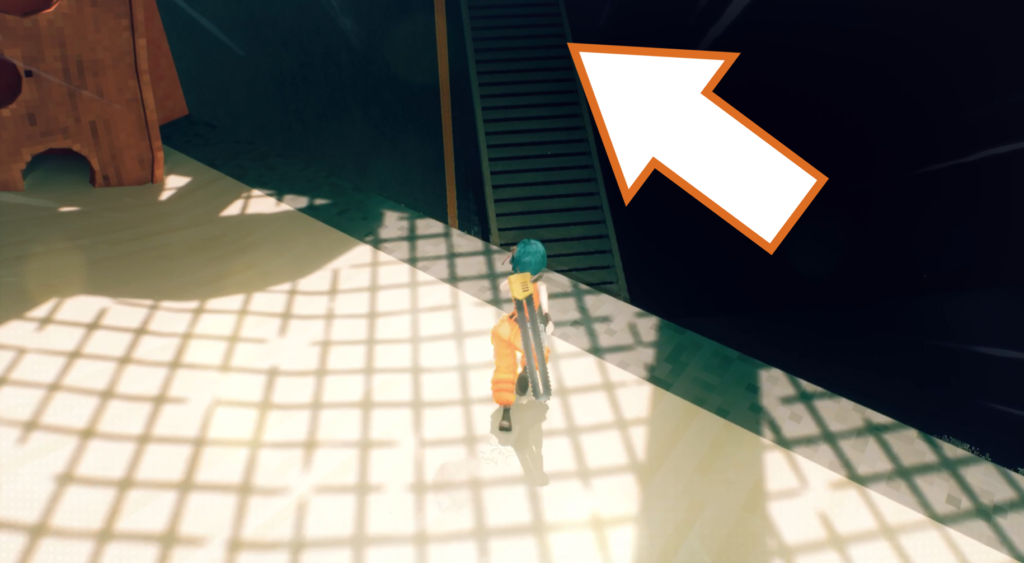

This is another tough one. Drop onto the stairway below the ledge and go to the top where the vertical girder is situated. You need to wall run across to the further stairwell, so try to measure your jump at the end so as not to overshoot.
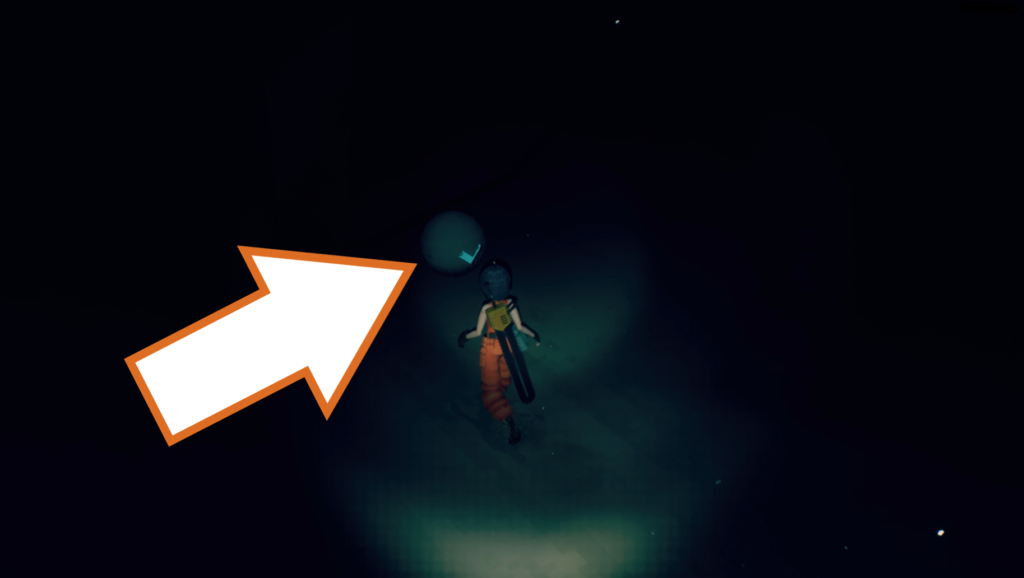
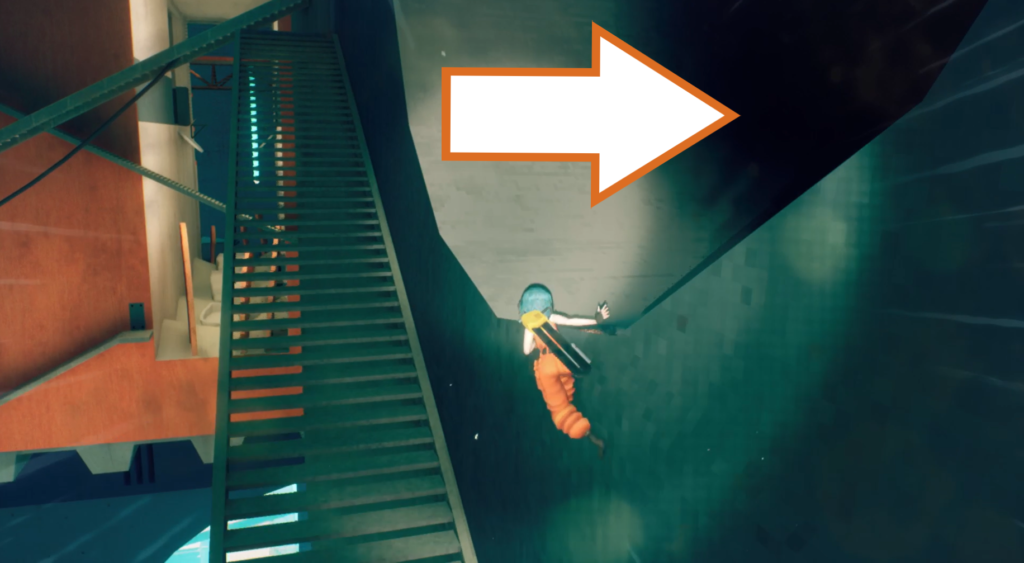
Go up the stairs and climb up into the large, dark tunnel. Make your way slowly forward and grab the first orb drone you see. Be careful, there is another drone right behind it, but they are separated by a spinning fan that will kill you.
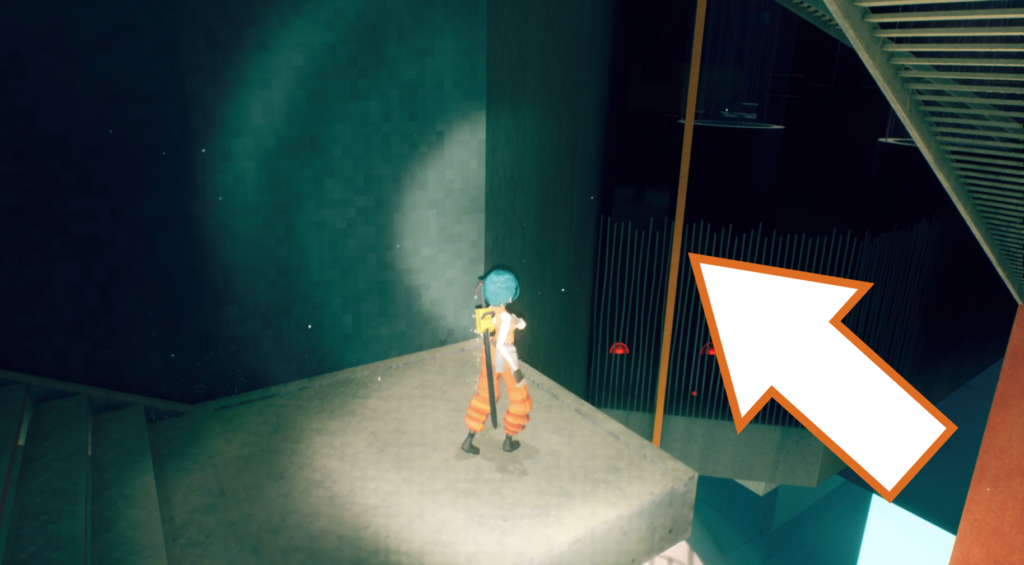
Leave the tunnel the way you came, and follow the lower staircase down to the bottom. From here, wall run back to the girder and climb up to return to the evac point.
Orb Drone 166
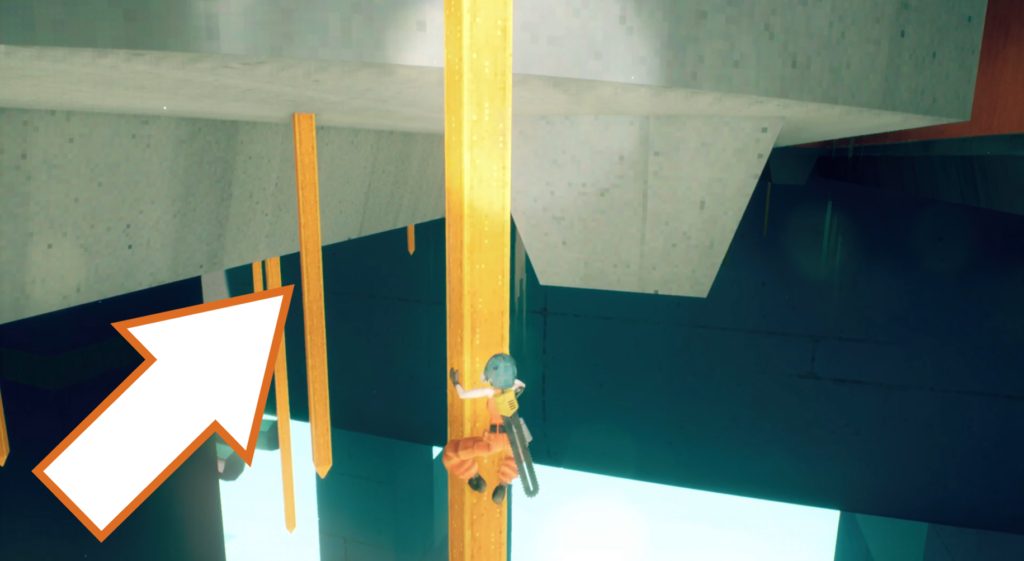
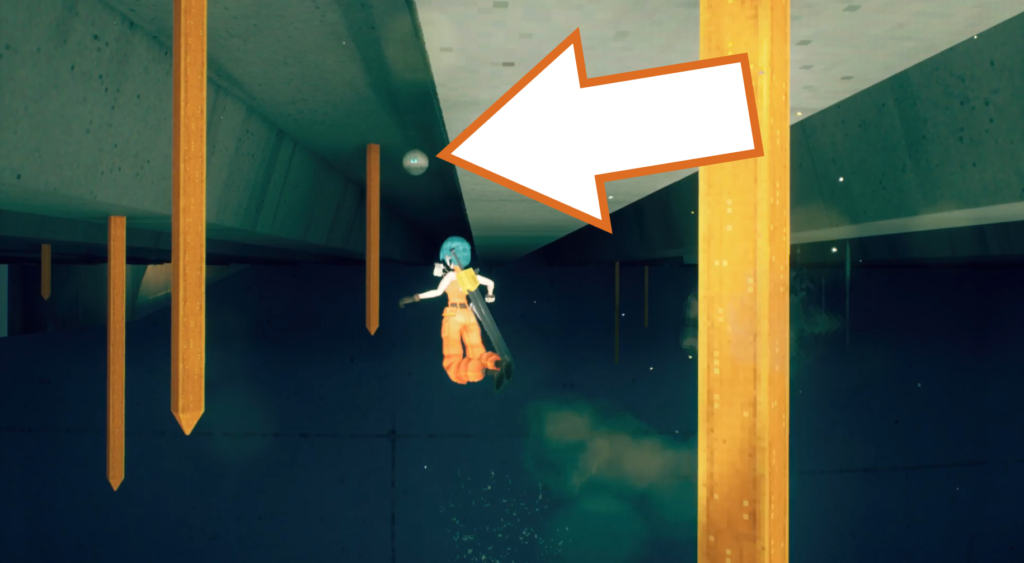
For the next orb drone, go back to the girder and slide all the way down, find several other vertical girders sticking out of the bottom of the structure. Jump between them to locate the drone in an upside-down trench. Wall run between the girders using the sloped wall to reach it, then return to the evac point via the original girder.
Orb Drone 167

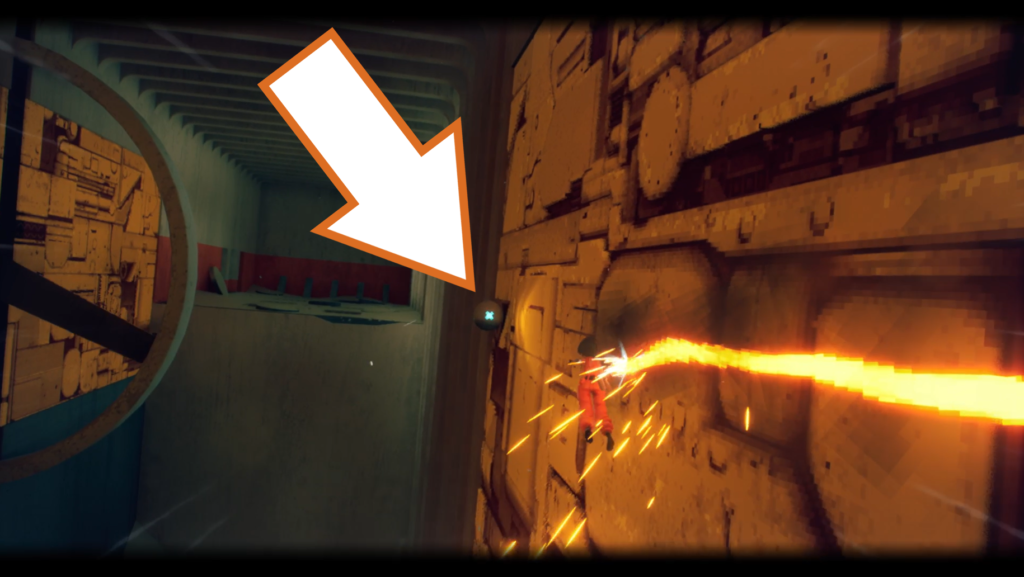
To reach this orb drone, you need to motorslice across the exposed metal wall near the evac point through the rotating blades and around to the other side. Remember to slow your speed if you need to, and be quick at turning around at the end for the return journey to the evac point, so you don’t fall off.
Orb Drone 168
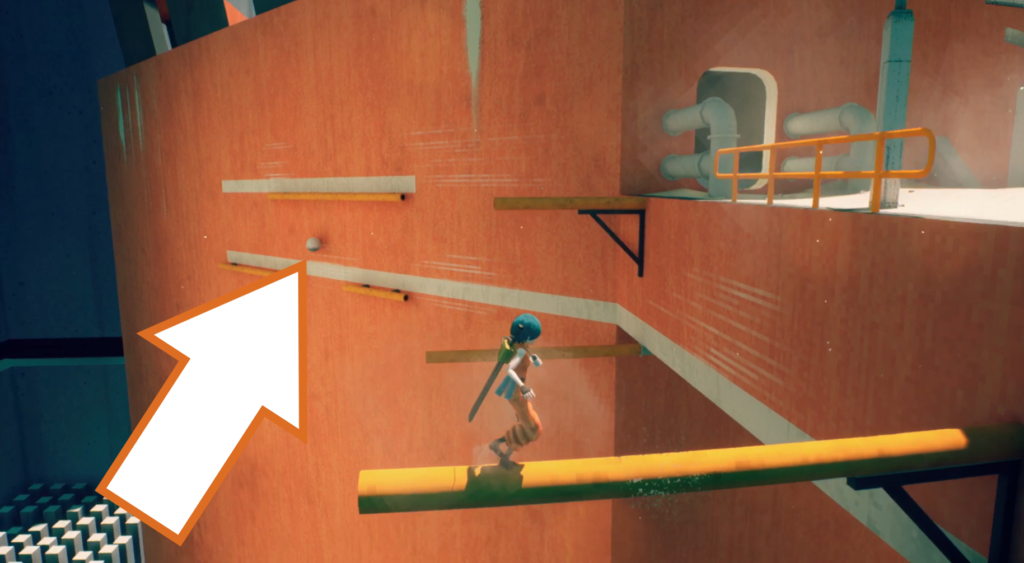
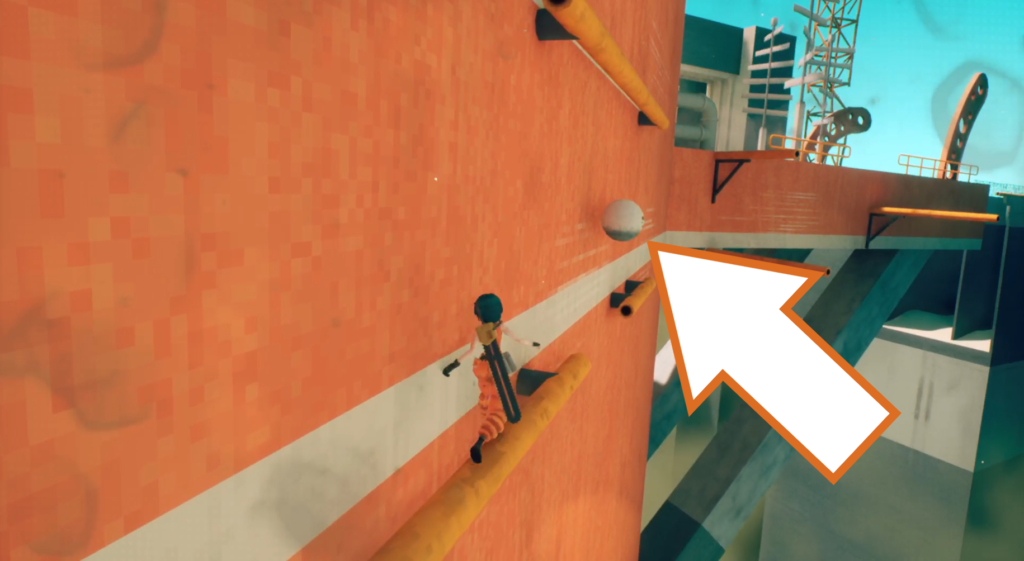
Motorslice up and out of this area, being sure to avoid the blades at the top, and go through the door into an outdoor section. The orb drone is on the right against the outside wall near some horizontal pipes.
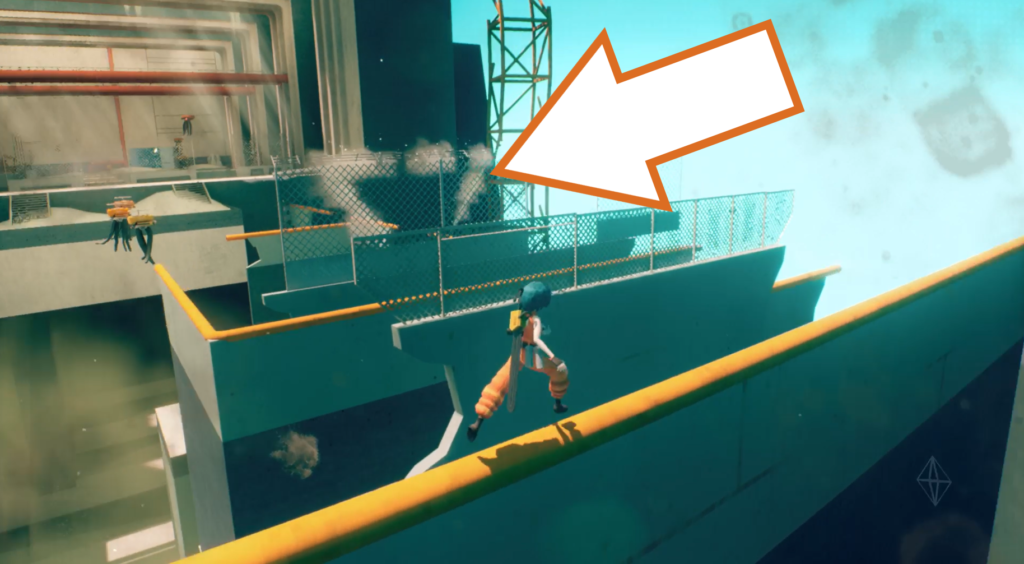
Once you’ve collected it, continue forward across some more pipes and a few flying enemies to reach the evac point.
Orb Drone 169
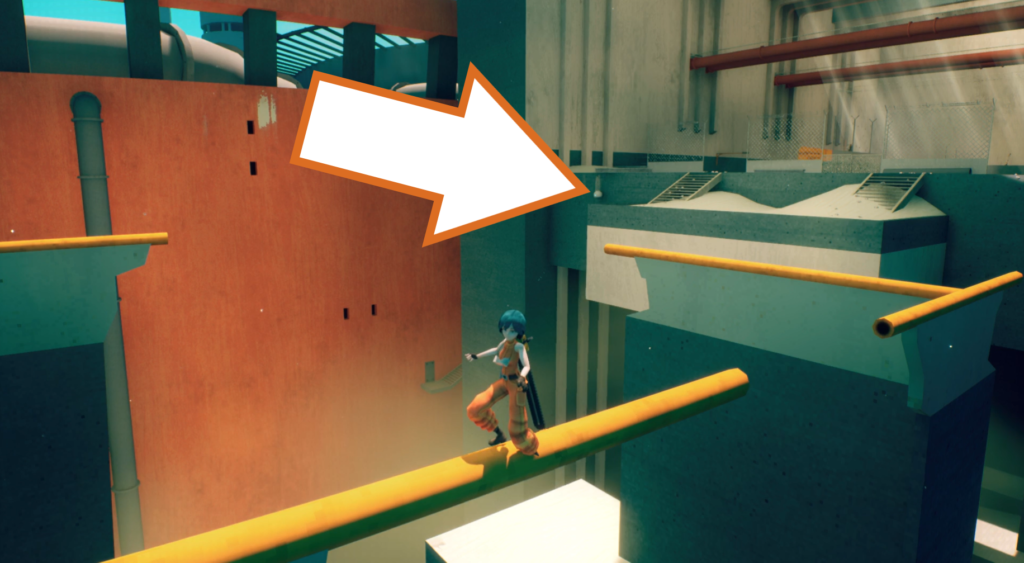
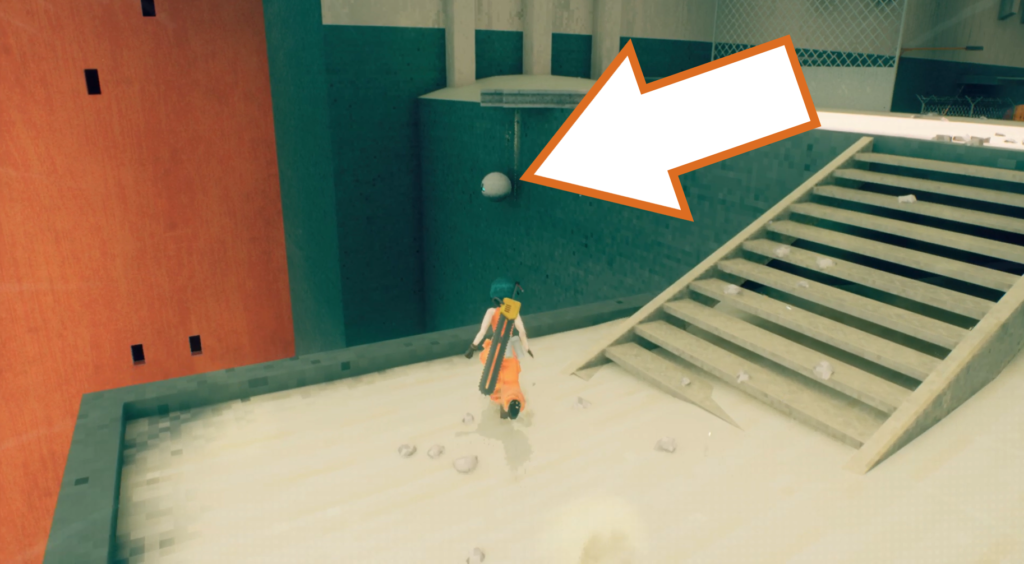
Near the evac point is the next orb drone, just under the ledge of the covered area, tucked beneath some metal. Wall run across and jump back up to solid ground to reach it.
Orb Drone 170
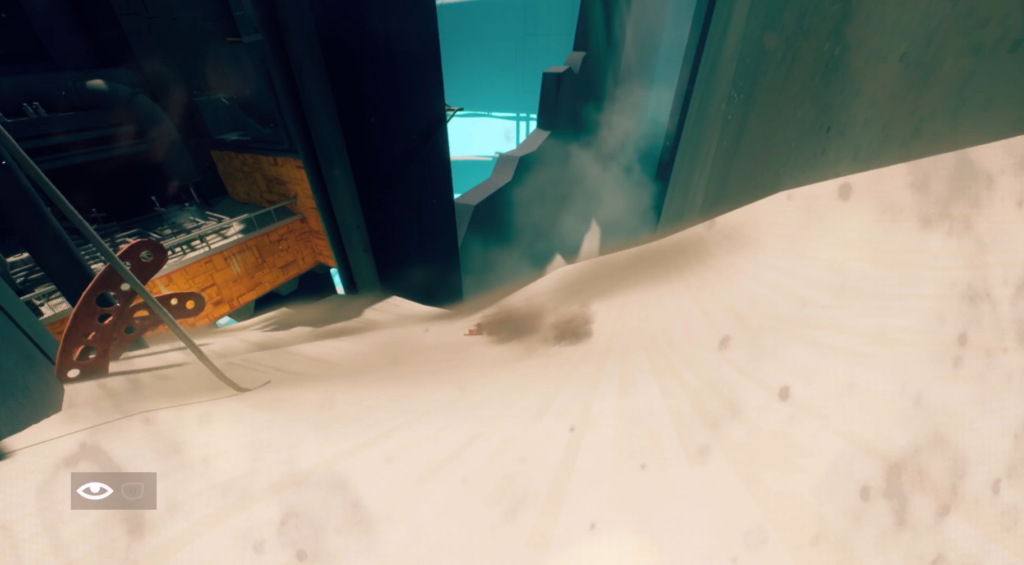
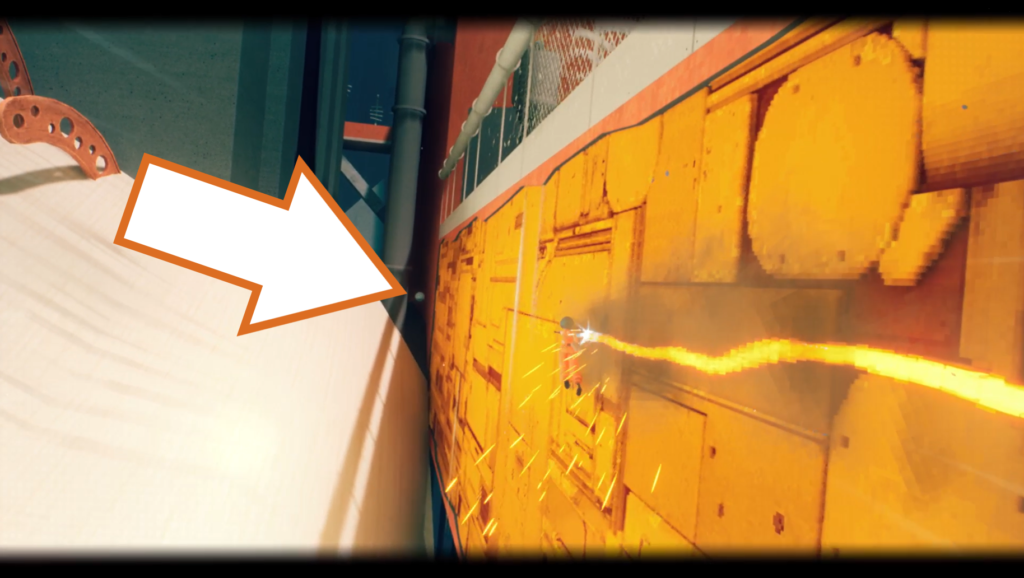
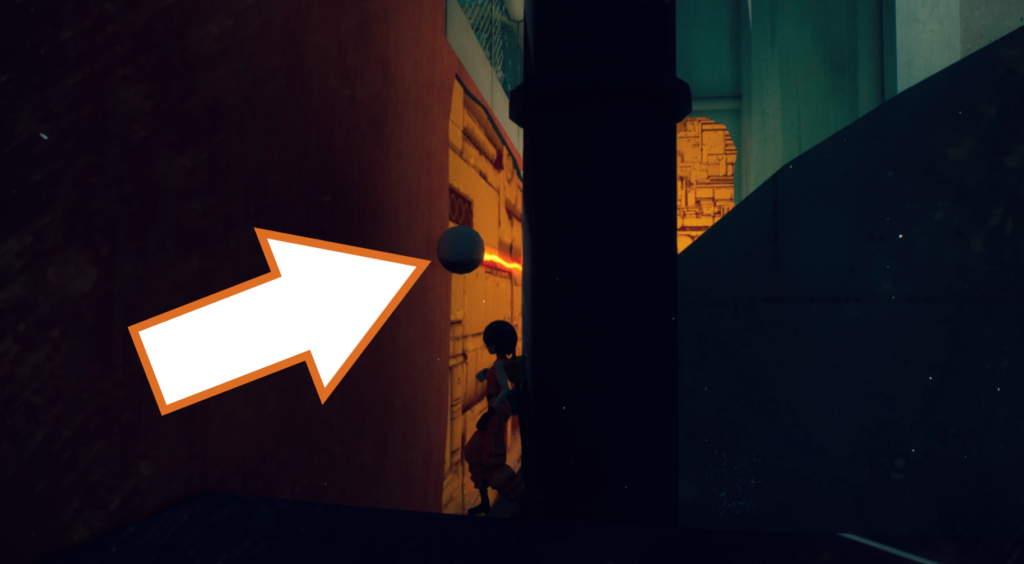
You will reach a point where you have to slide down a sandy slope and jump across a gap to an exposed metal wall. You want to motorslice along the wall to the left, where an orb drone waits for you.
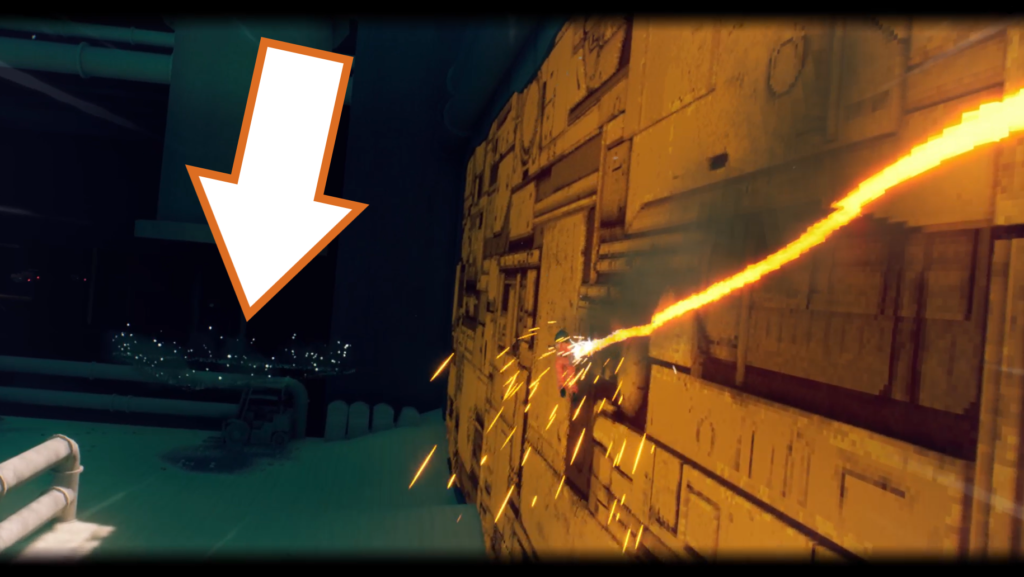
Motorslice back to the right side, then up and over to find the evac point at the back of this area.
Orb Drone 171 (Timed)
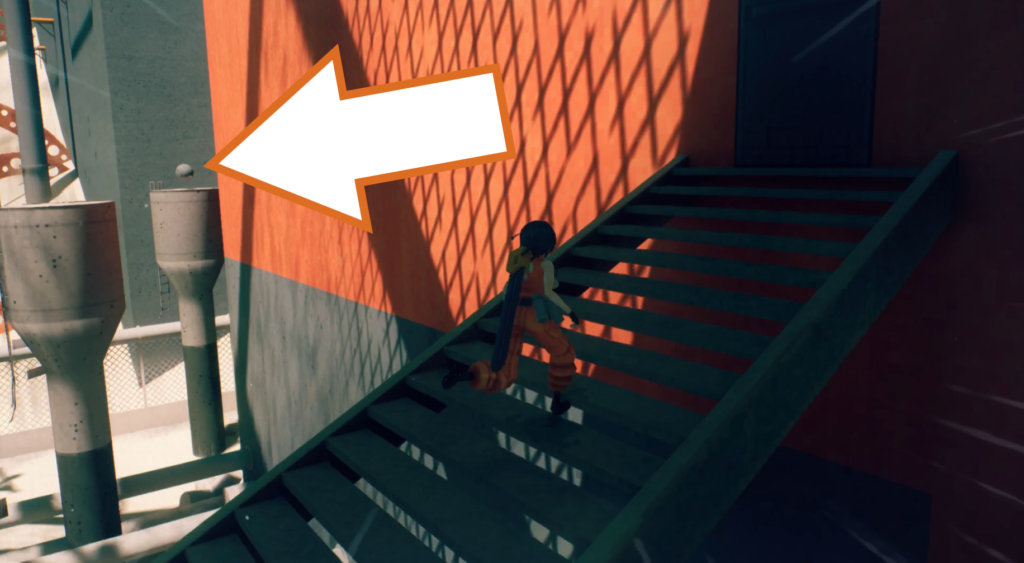
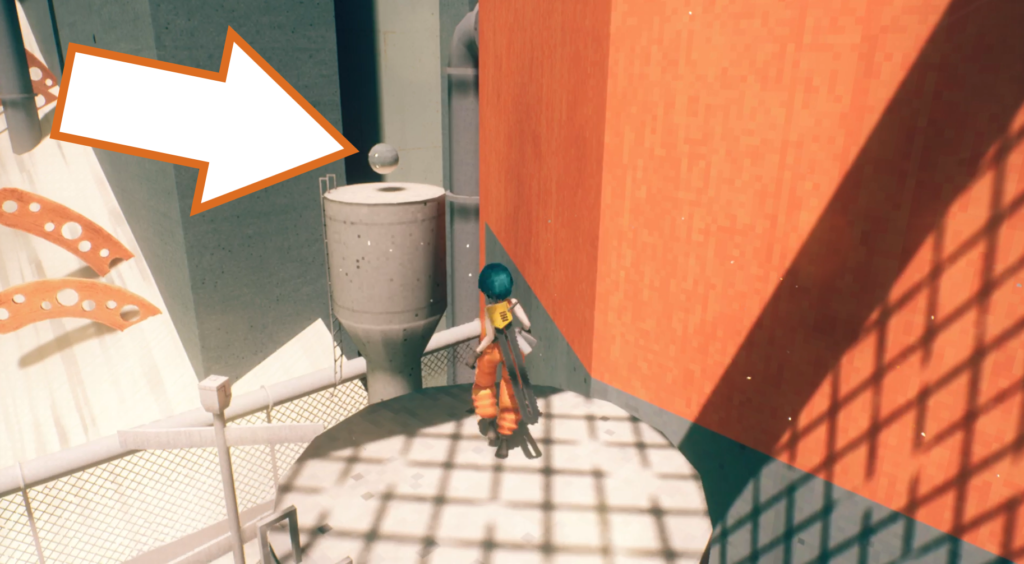
Run up the enarby flight of stairs, and then wall run across to one of the round pillars. Reach the second one to get the orb drone, and return it to the evac point before time runs out.
Checkpoint_05
Orb Drone 172
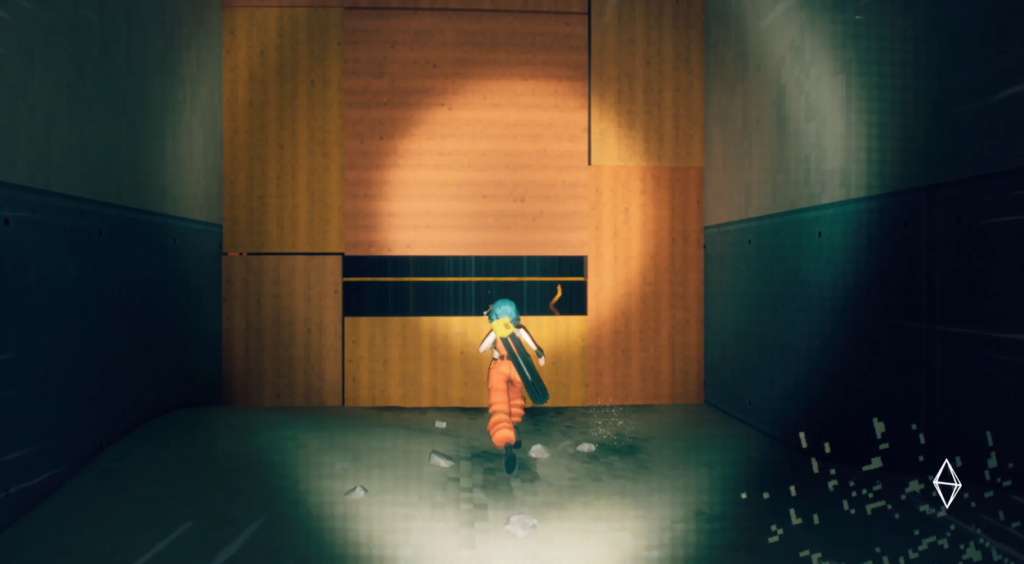
This is a tough one, as the path to picking up the orb drone and then delivering it is quite challenging. Once you jump through a hole in a wall, you’ll start a parkour course, starting with swinging poles and fans. At the second fan, you want to go to the right instead of forward to find the drone against the wall. Use the poles to pick it up and turn around to continue forward.
Land on the orange pipe and jump attack the flying enemies to reach the vertical girder. Use the fan to wall run up and over a fence, then hover through several vertical grinder traps.
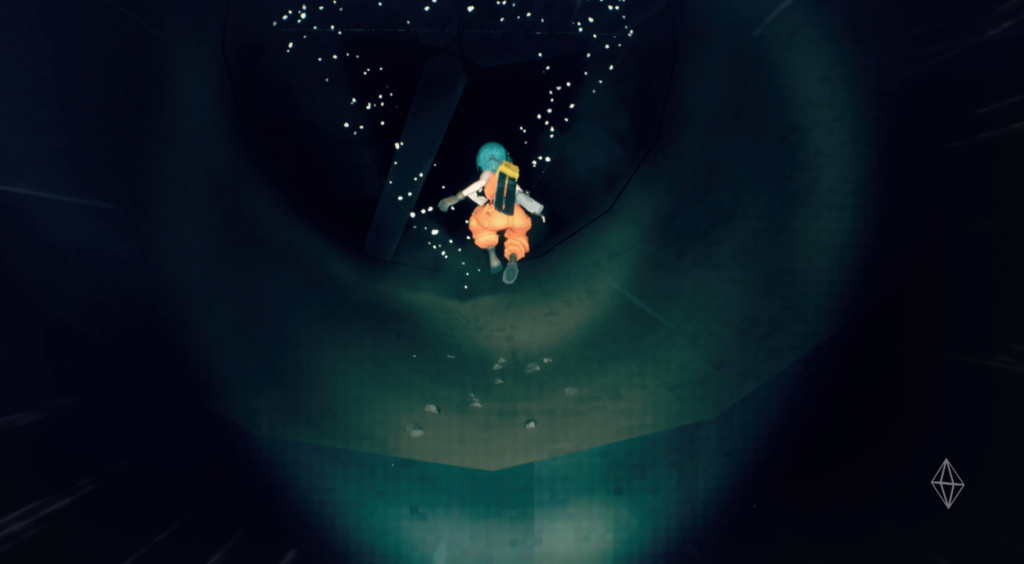
The last part is jumping across a small gap to reach the evac point, which has a fan blowing air at you behind it. Be sure to reach the ledge, or you will have to replay the checkpoint to try again.
Orb Drone 173
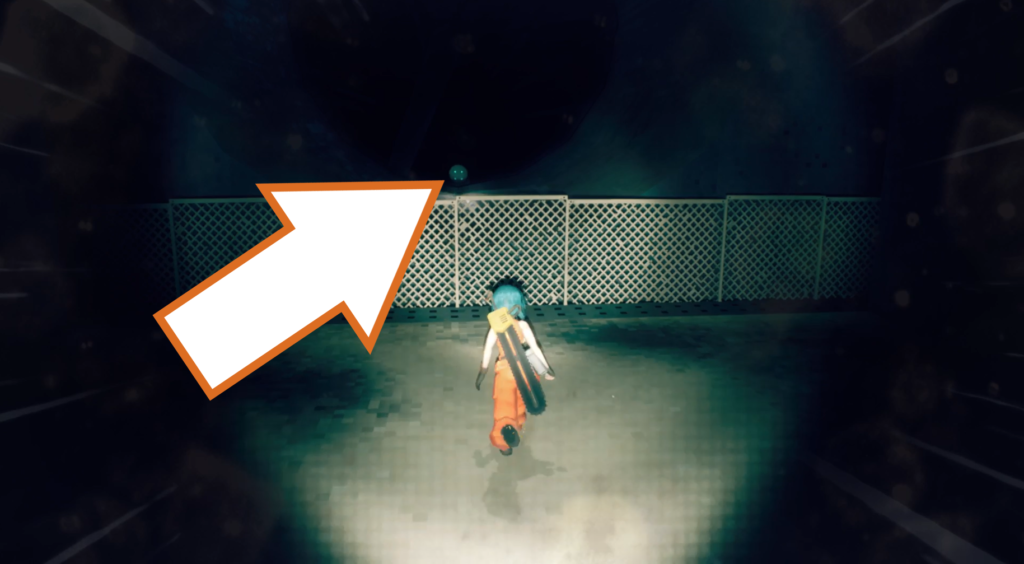
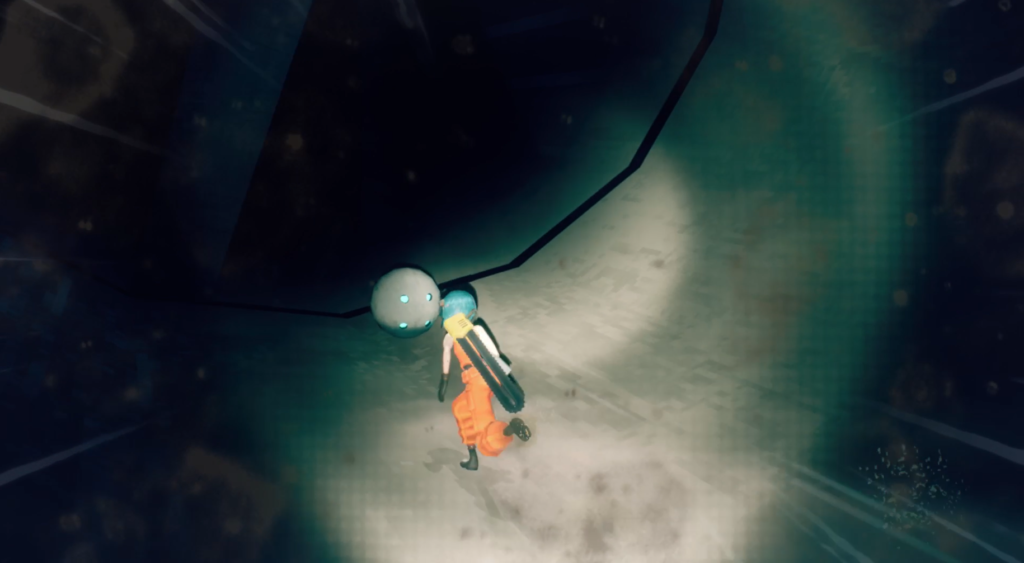
Facing the evac point, go to your left and jump the gap to grab the orb drone. Be careful, there’s another fan pushing you back.
Orb Drone 174, 175 & 176
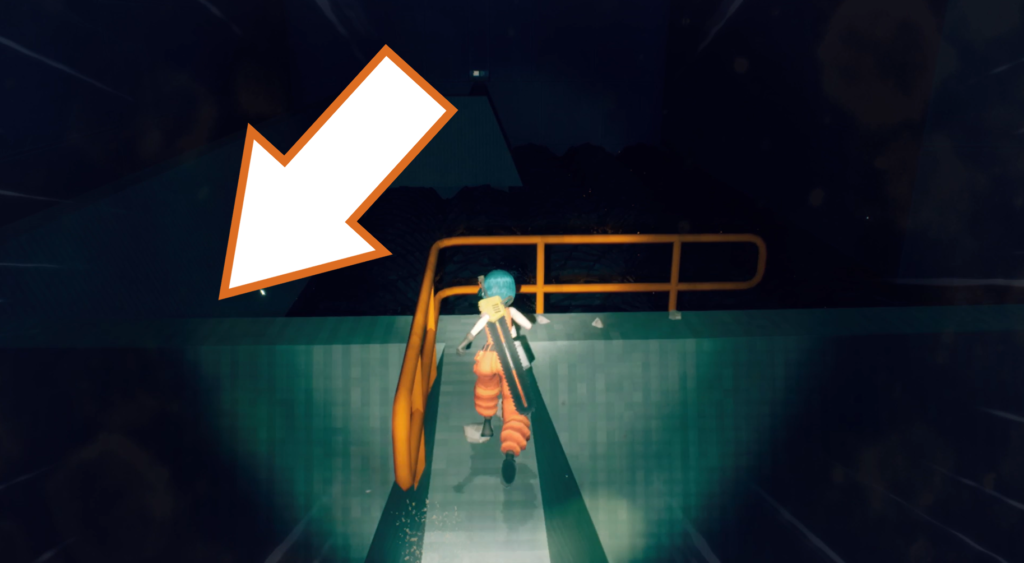
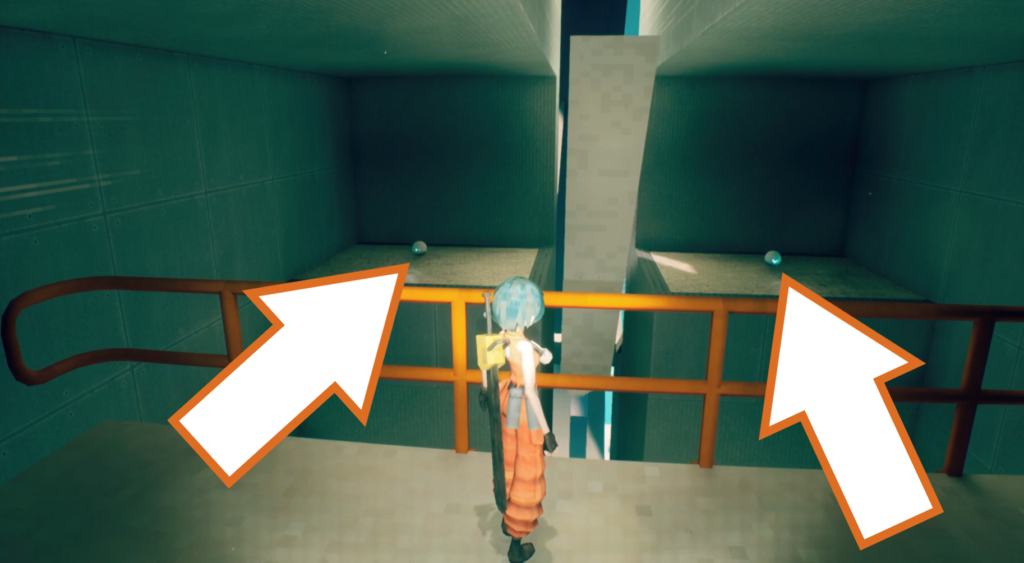
Continue forward, past the swinging traps on the narrow path, and when you reach the railing, hop over and follow the left branch of the path. Crawl through the hole at the end to reach a room with no floor and three orb drones in it.
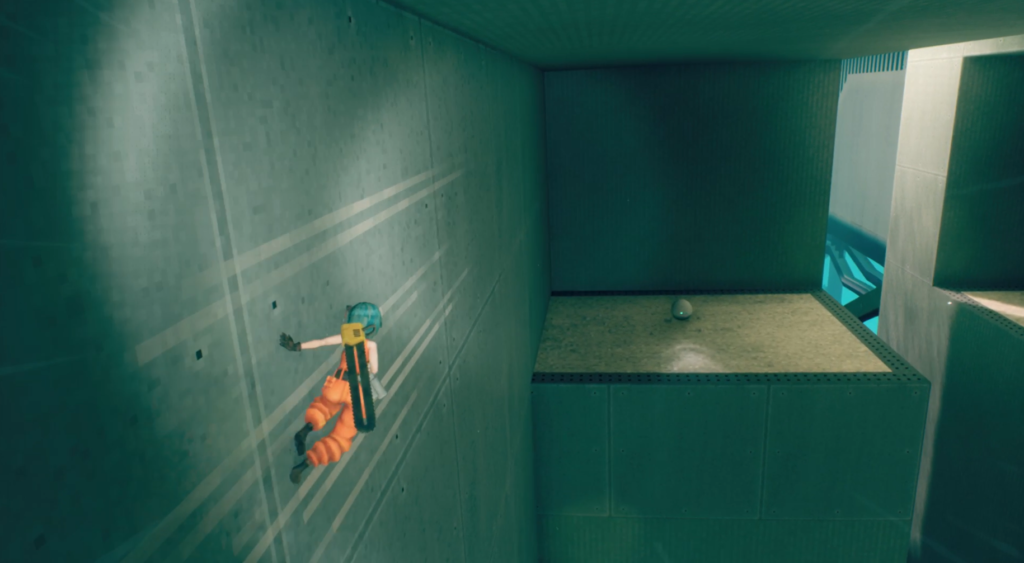
Wall run around the room to reach the first drone, then jump across the gap to grab the second one.
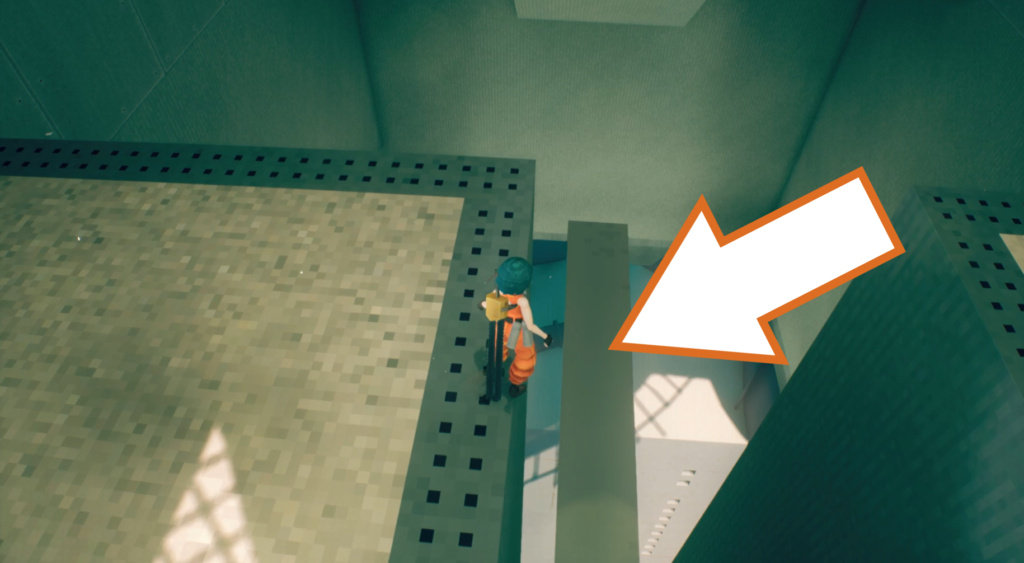
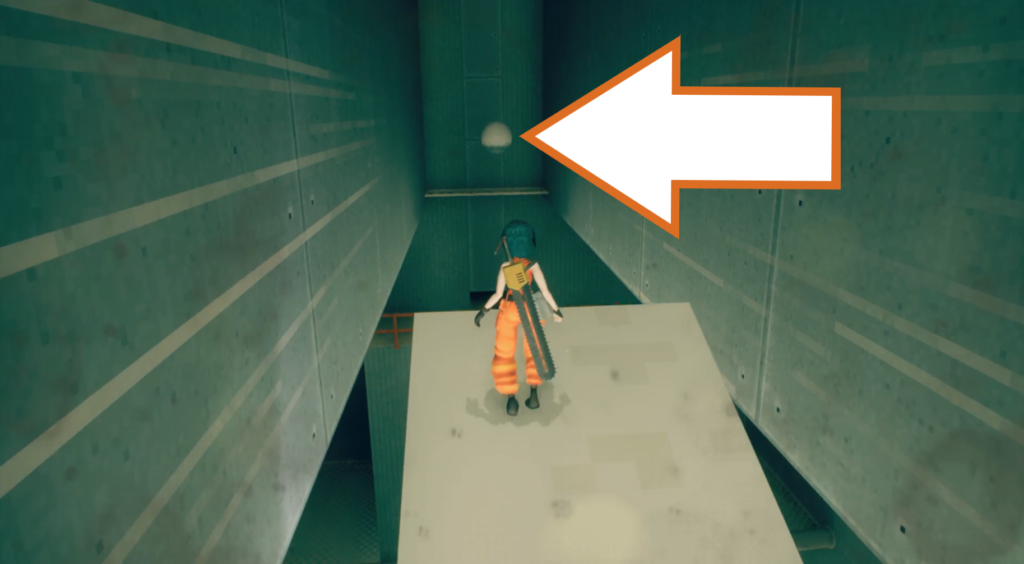
Next, you want to wait for the extremely large and slow fand blade to rise up so you can drop onto it, run up and thto the tip, and wall run to reach the third drone near the ceiling.
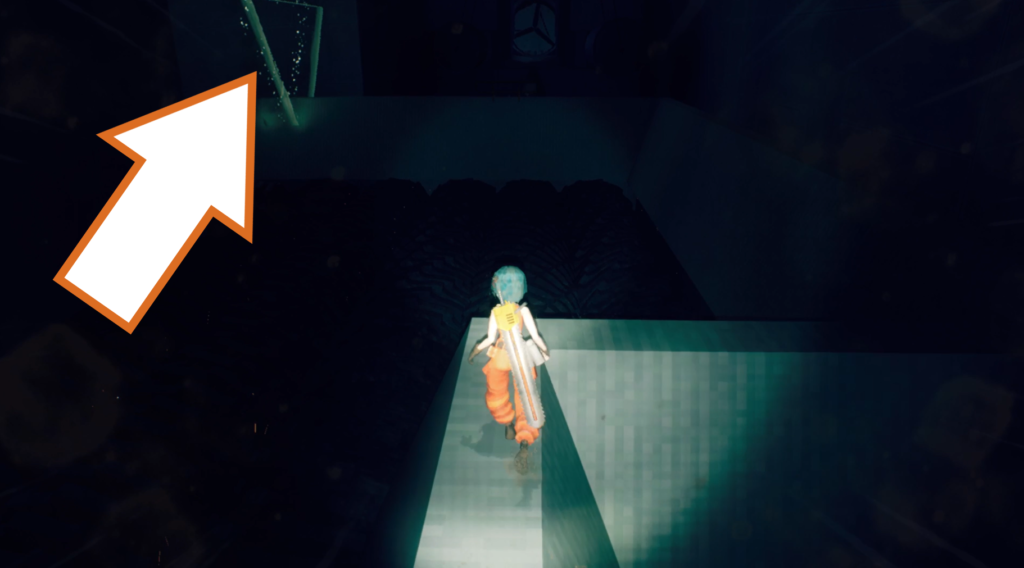
Make your way out of the room and back along the narrow path to deliver these three drones to the evac point.
Orb Drone 177, 178 & 179 (Timed)
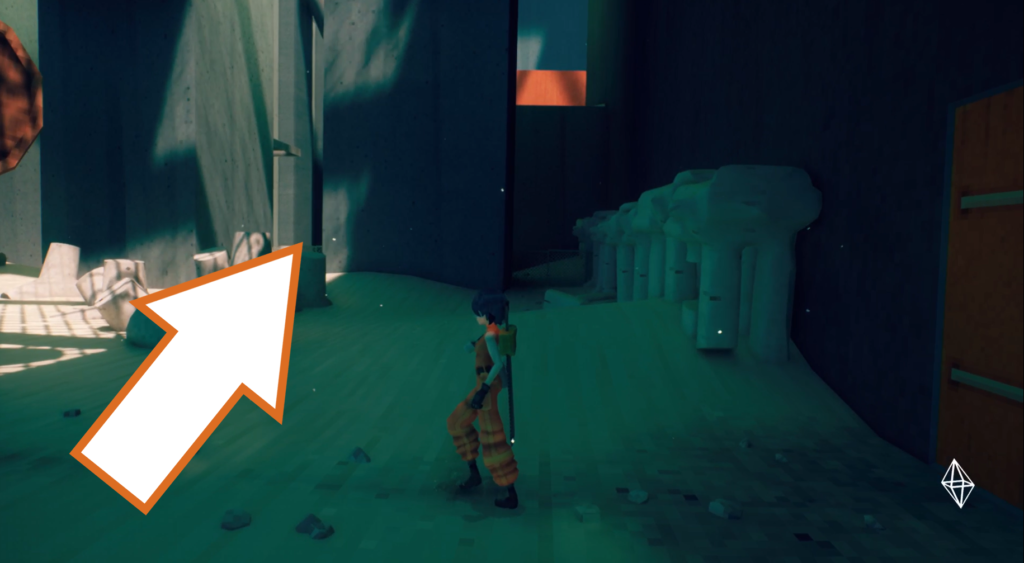
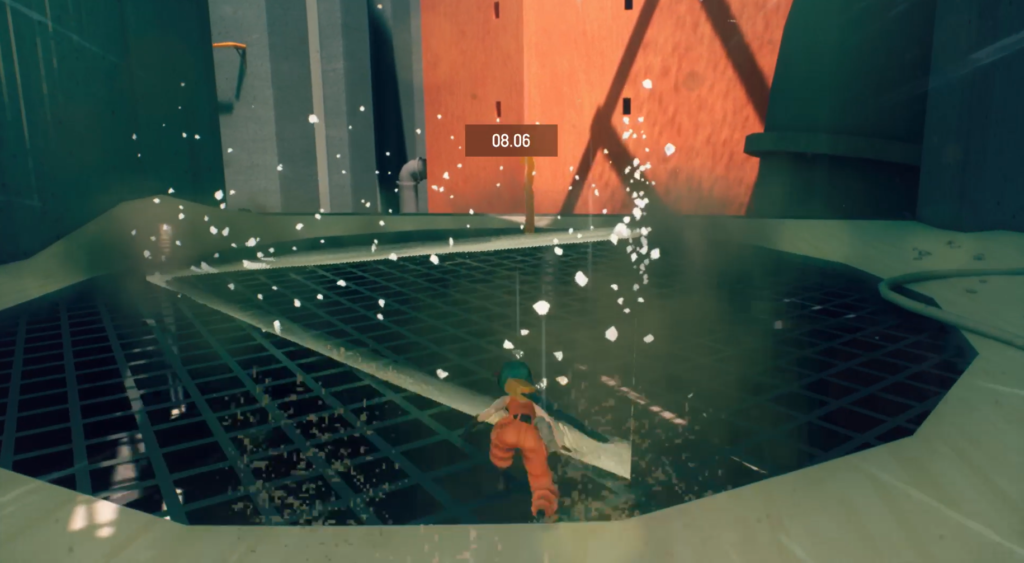
Continue over the pit of grinders and through the door to reach an outside area. Head between the pillars to find a fan set into the floor, and use it to reach the staircase above it.
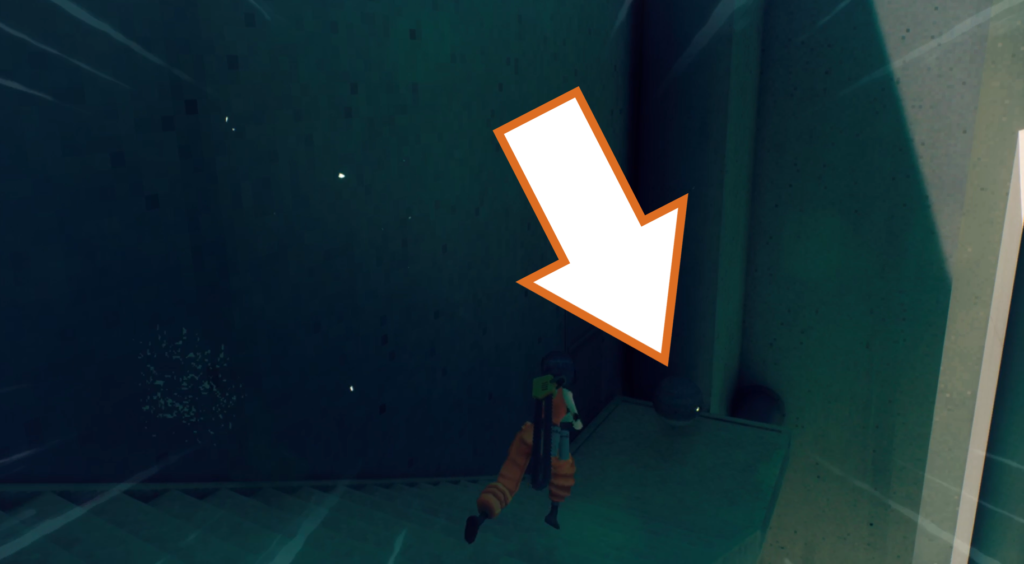
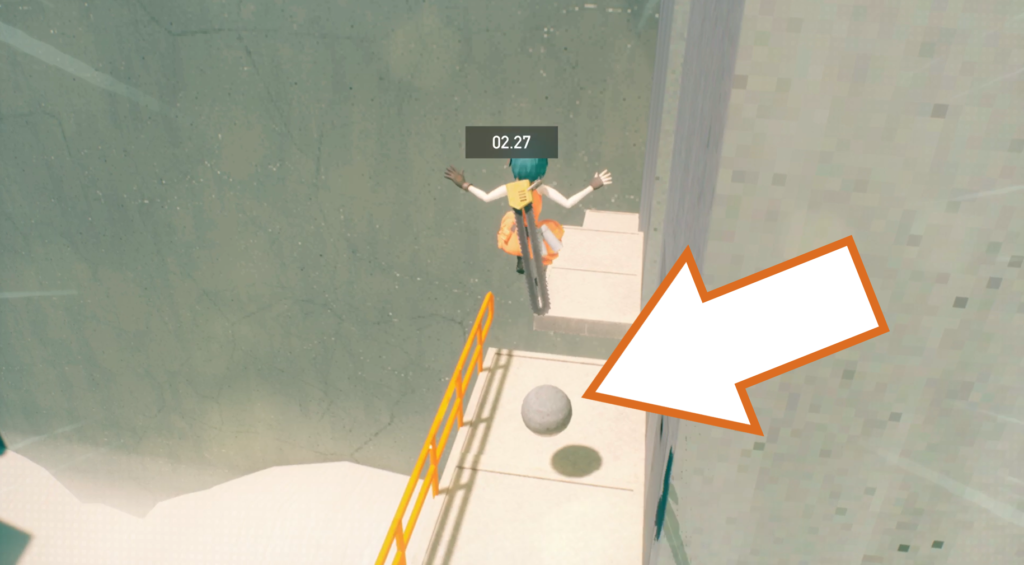
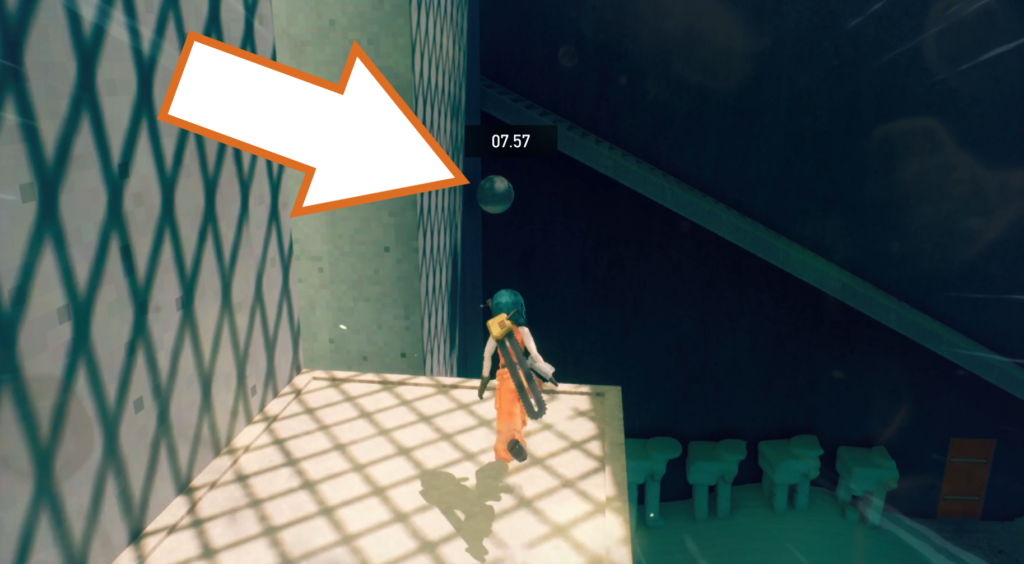
You want to follow the stairs down to find the first orb drone, and then quickly head back up to the top and go to the right, jumping to another platform to collect the second one. Turn around and wall run across to reach the last orb drone, and then use the stairs to get down safely and reach the evac point on the fan before time runs out.
Orb Drone 180
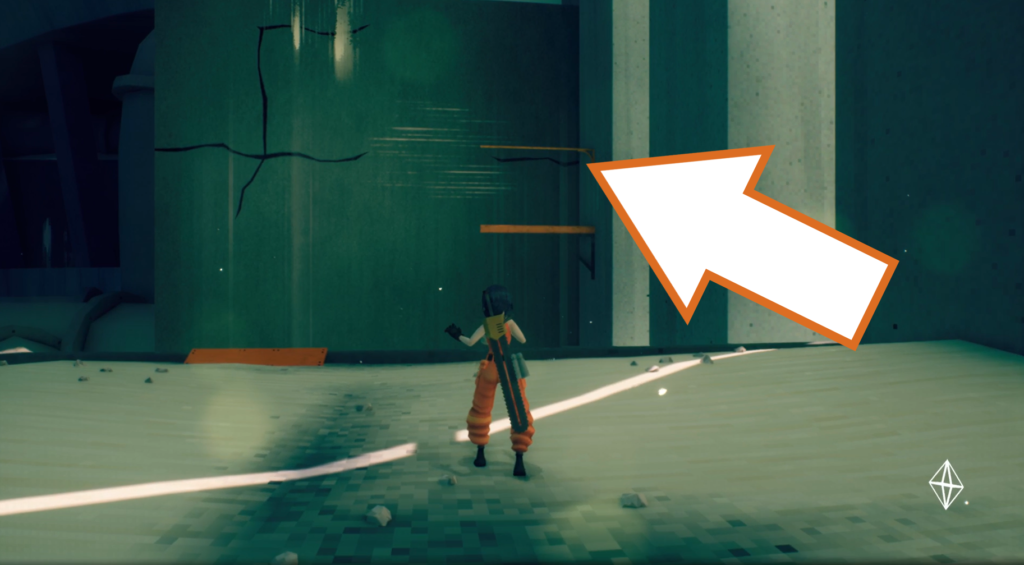
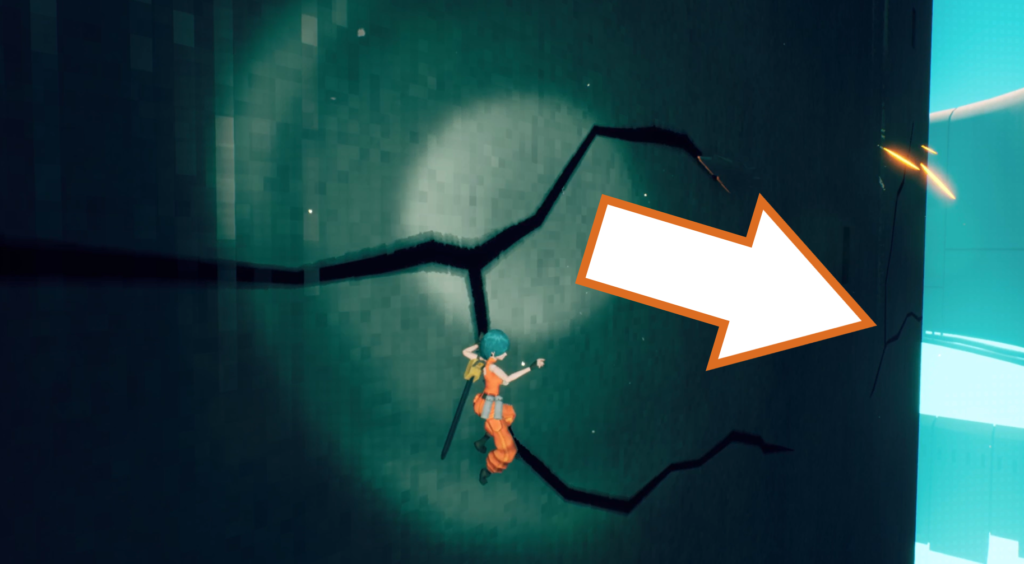
Use the fan to reach a horizontal bar and pipe you can use to reach a crack in the wall. Slide to the right to find more cracks with buzzsaw traps you can use to go around the corner of the building.
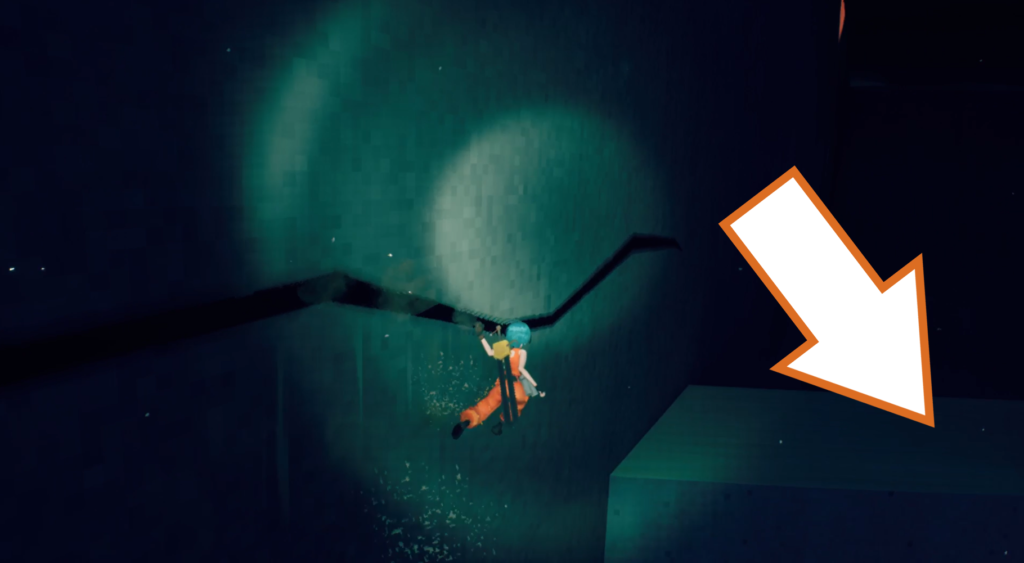
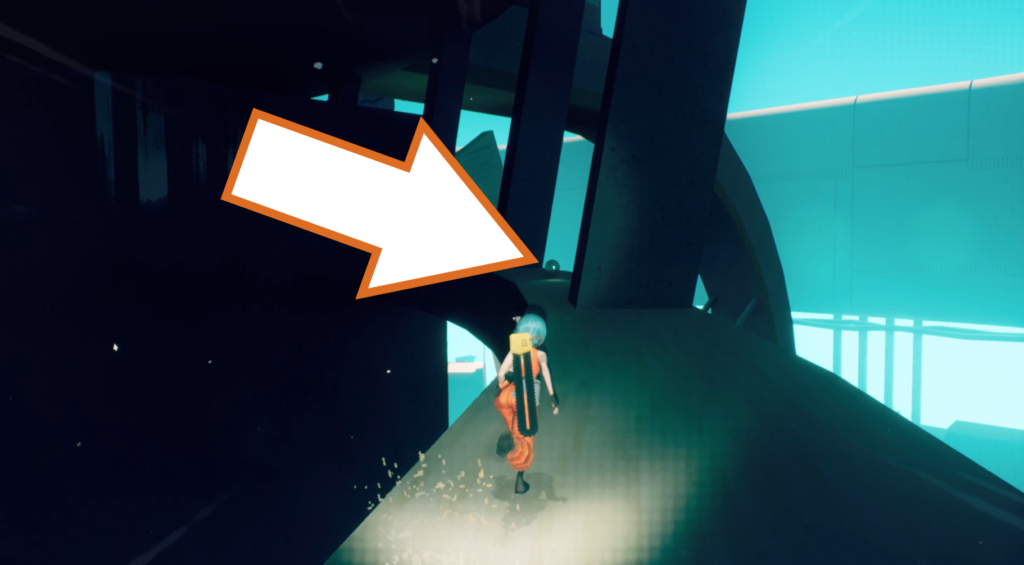
At the end of the cracks, drop down and follow the carved walkway around to reach this orb drone.
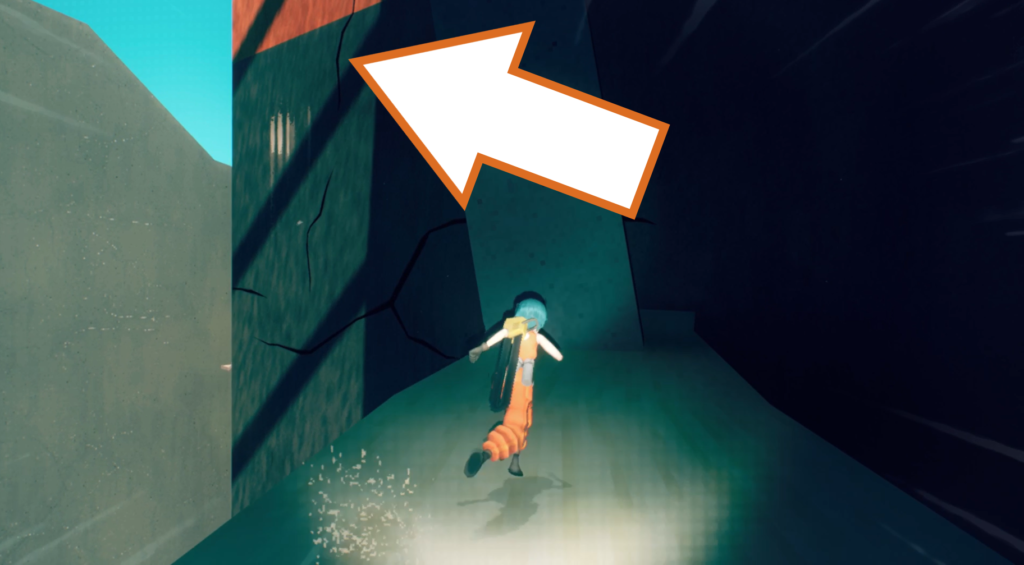
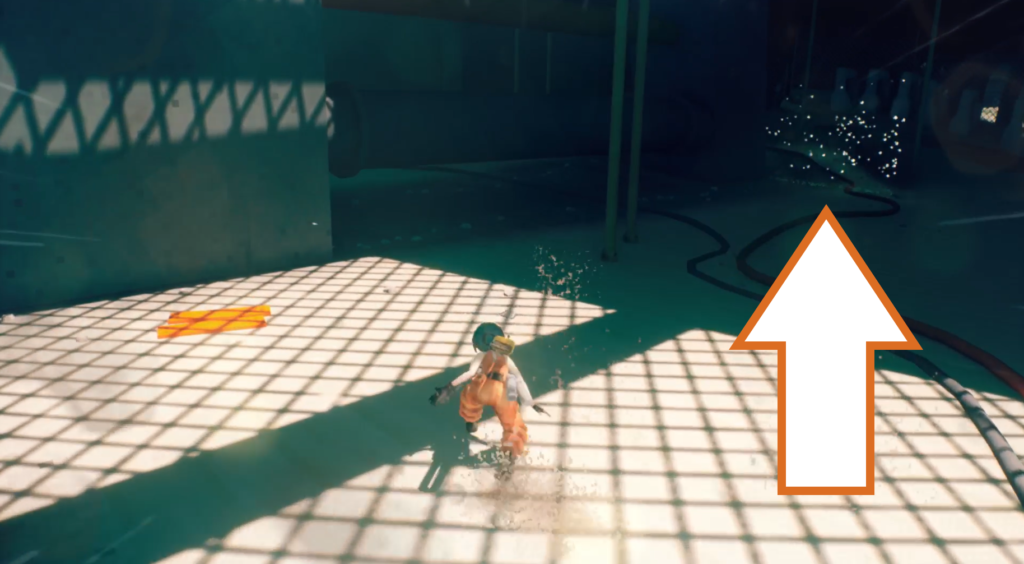
Head back along the cracks, looking for some going straight up, taking you to the top of the structure. Climb over the wall and go past the generators to find the evac point hiding in the shadows.
Orb Drone 181
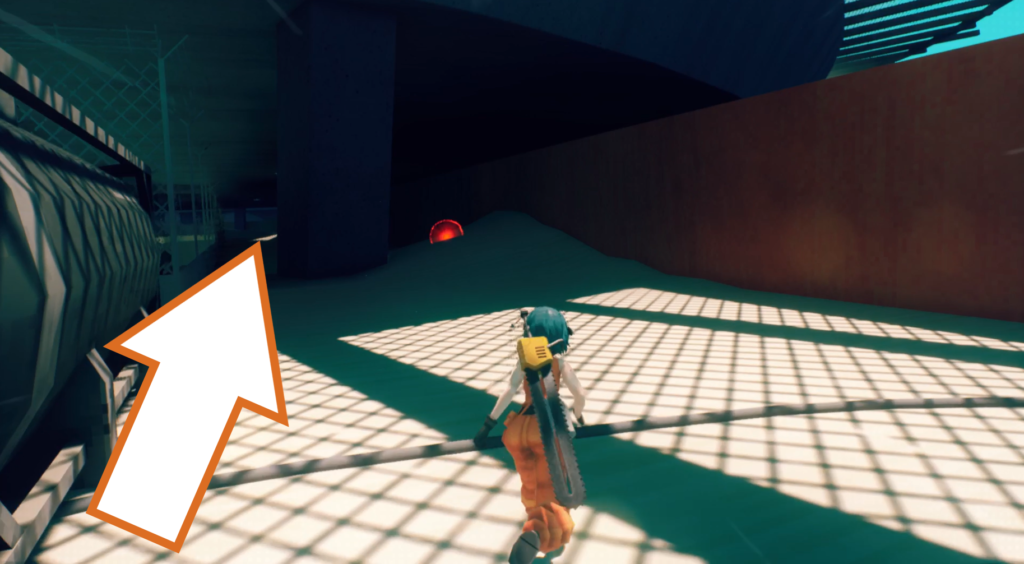
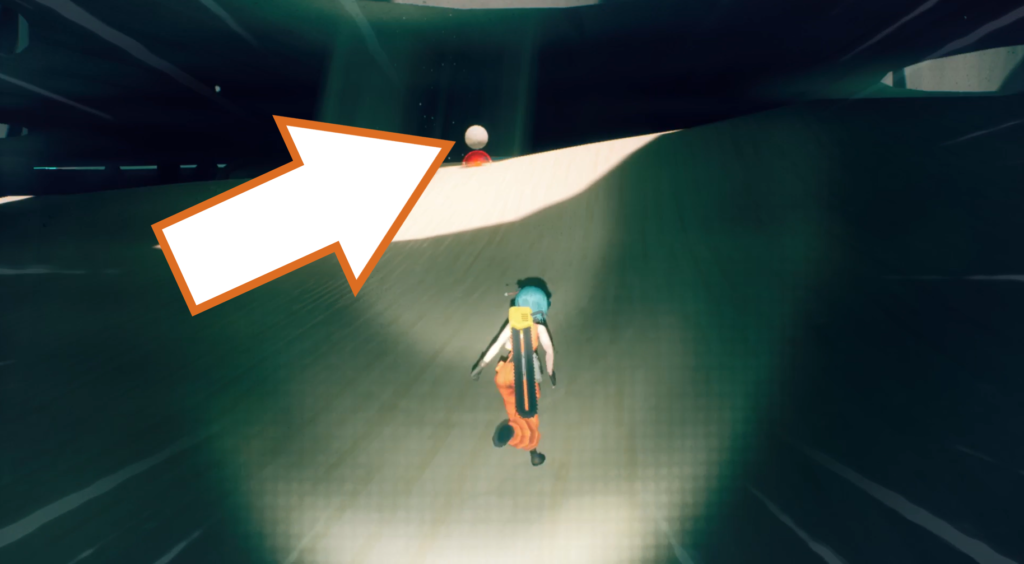
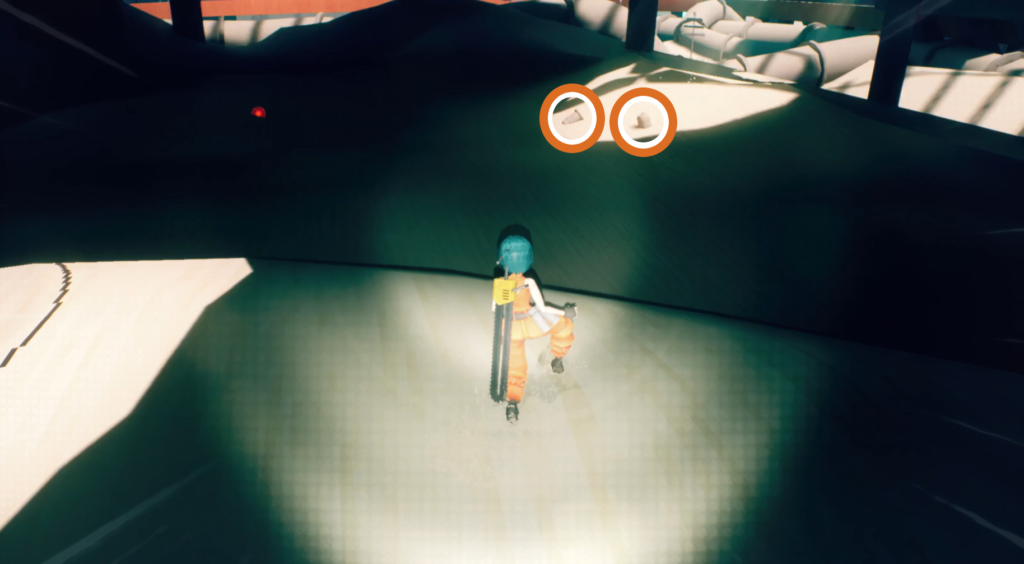
Go back around the generators and go left into the dark area, avoiding the mines in the sand. An orb drone is floating above a mine among the dunes, so use some nearby trash to trigger the mine so you can grab the drone in safety. Return it to the evac point.
Orb Drone 182
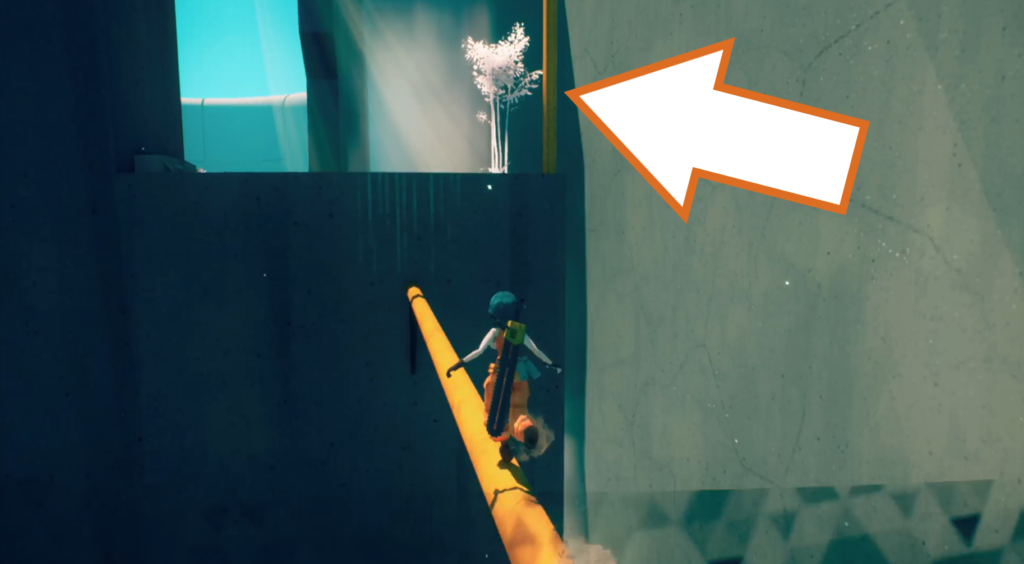
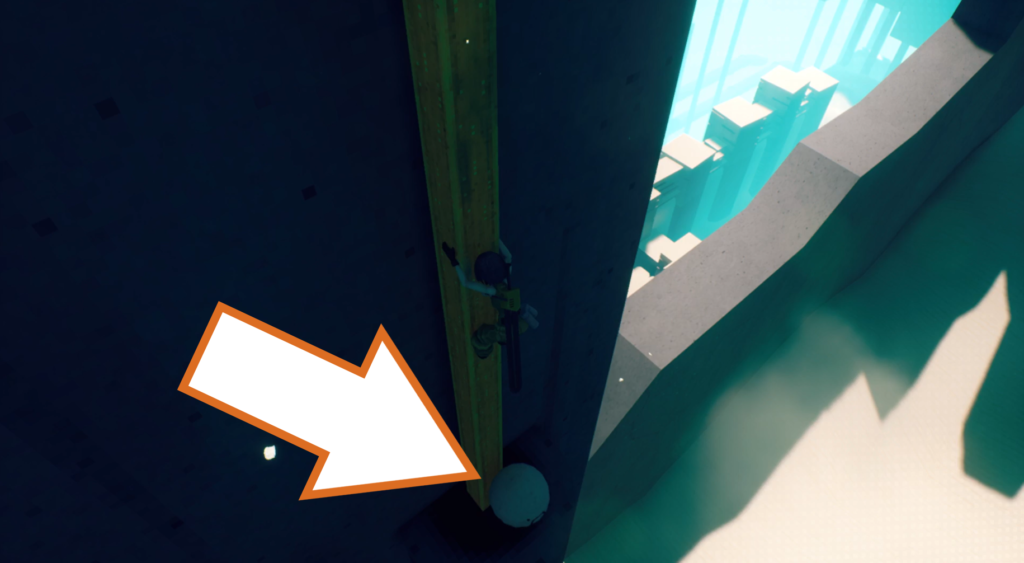
From the Slack Off point, cross the pipe and grab onto the vertical girder. Slide down to the bottom of it to find the last orb drone in Chapter 6.
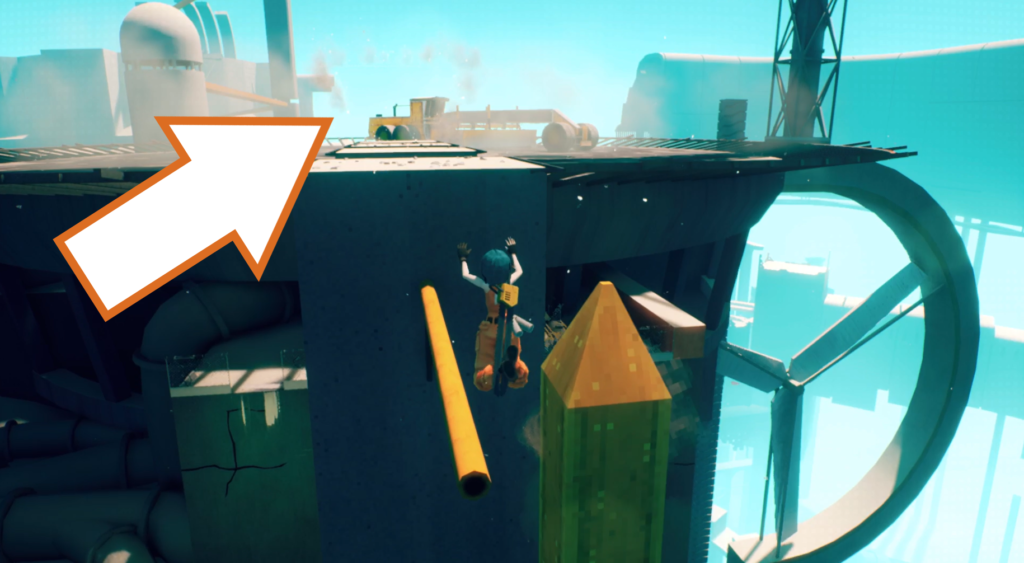
Climb up to the top of the girder and jump across the platforms to reach the evac point just before the boss.
Chapter 7 – Quarry
Checkpoint_01
Orb Drone 183
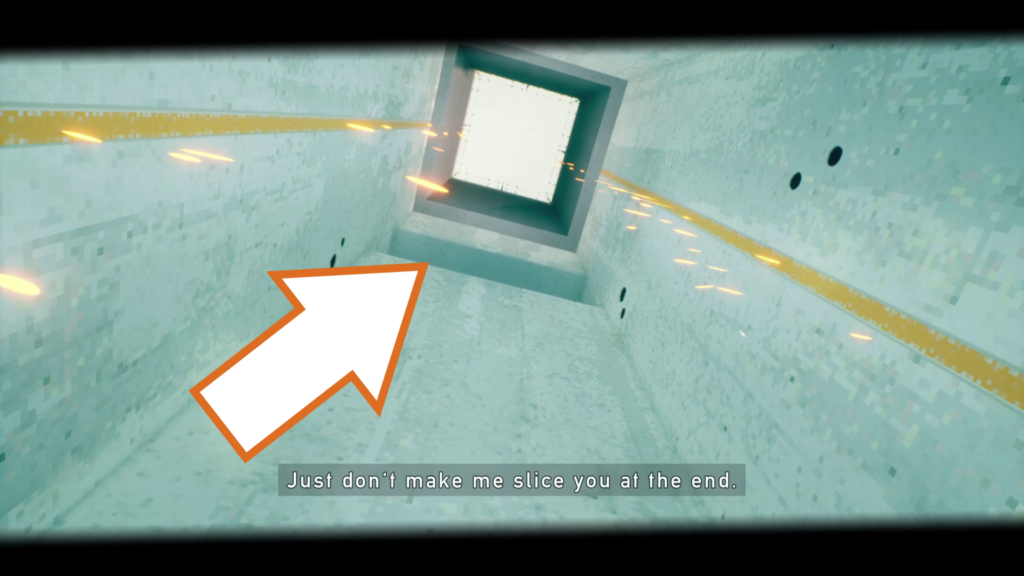
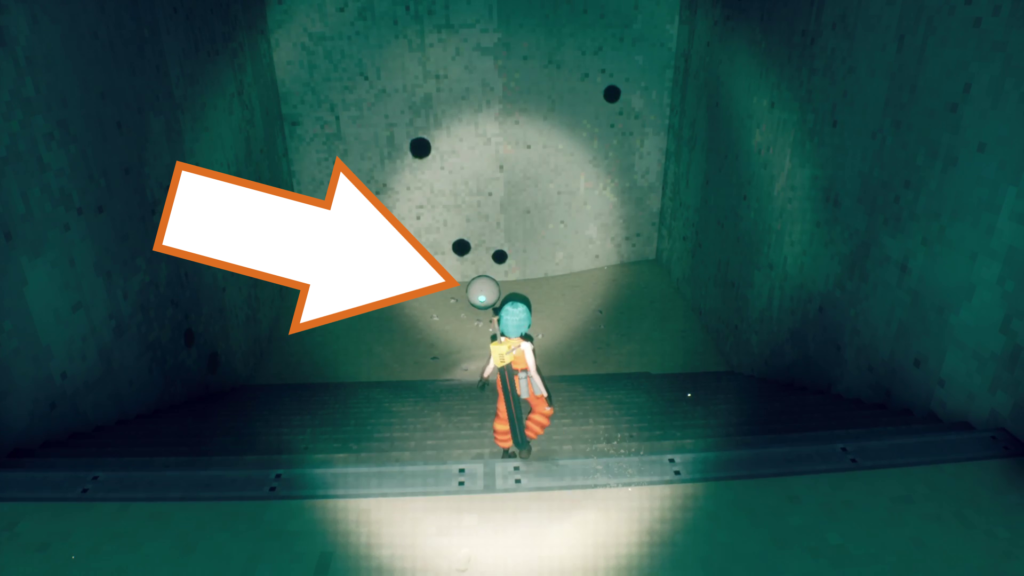
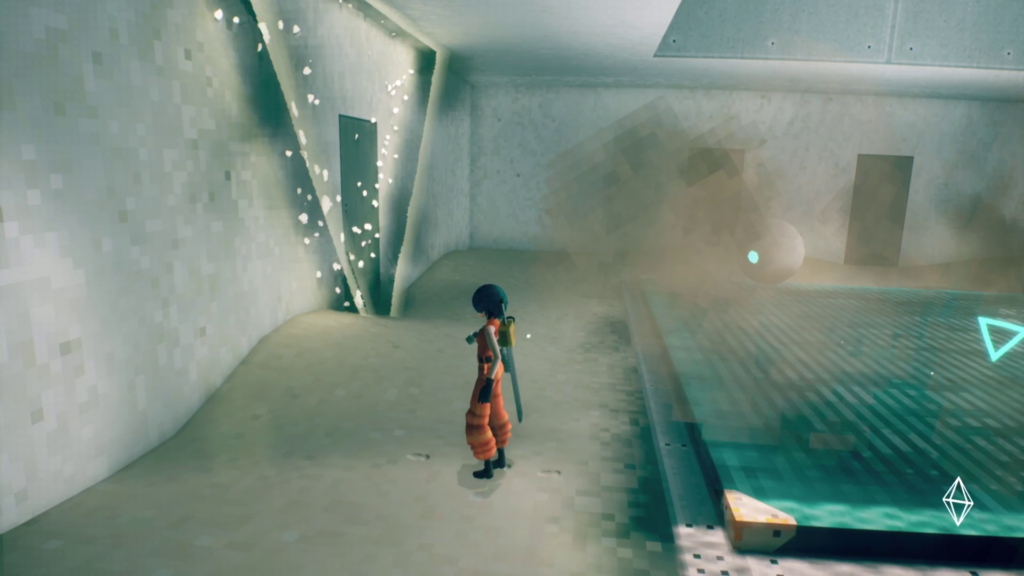
The first orb drone for Chapter 7 is found as you go up the elevator, which you activate with your new ability. Just before the top is an alcove, where this drone is hiding. Collect it, and take it to the evac point at the top.
Orb Drone 184 & 185 (Timed)
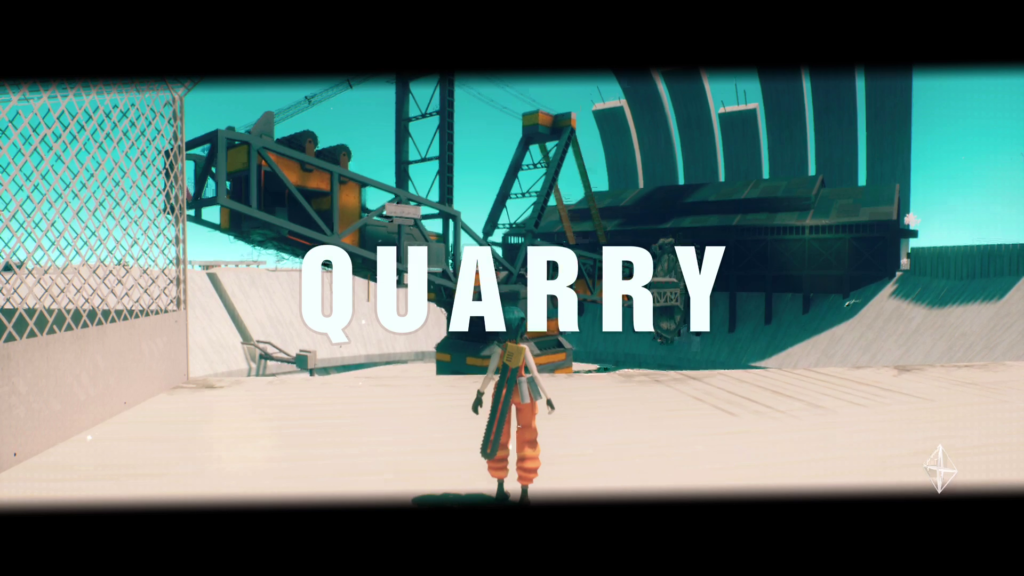
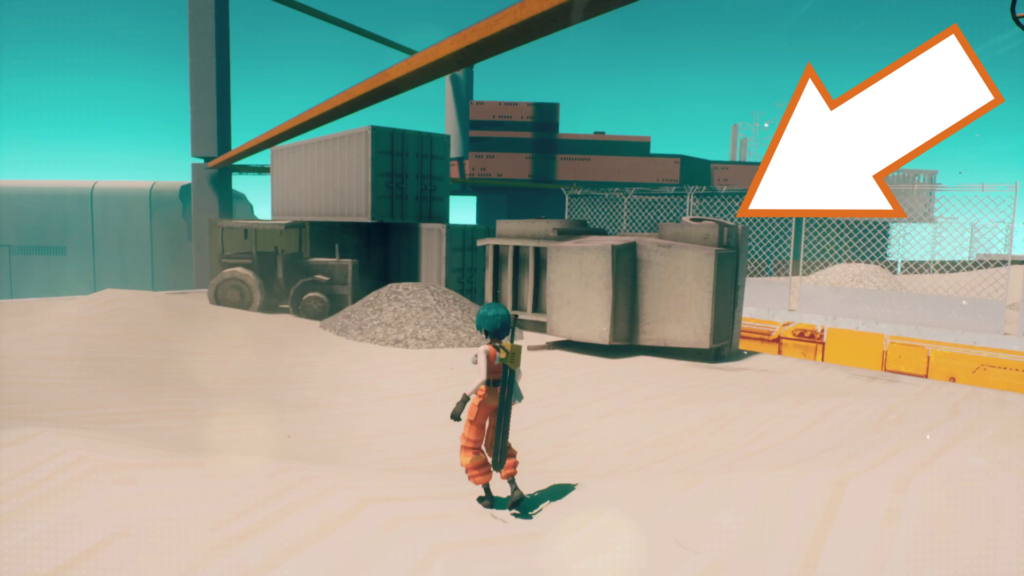
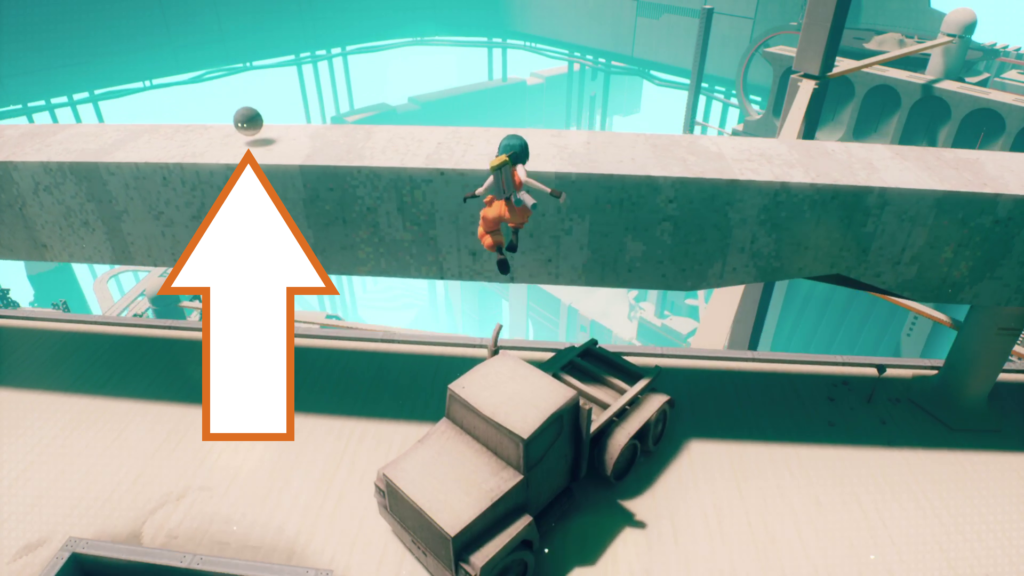
The next two orb drones are found just after getting the chapter name, and they need to be delivered within a time limit. First, locate the wreckage of a truck nearby, and knock it down to the floor below you so you can climb up it to reach the orb drone on the long platform supported by pillars.
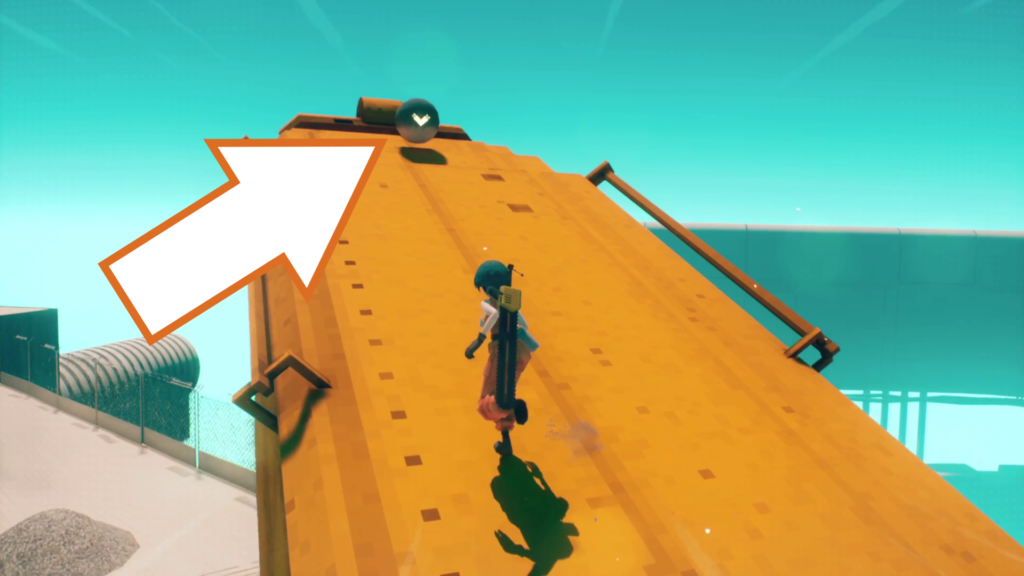
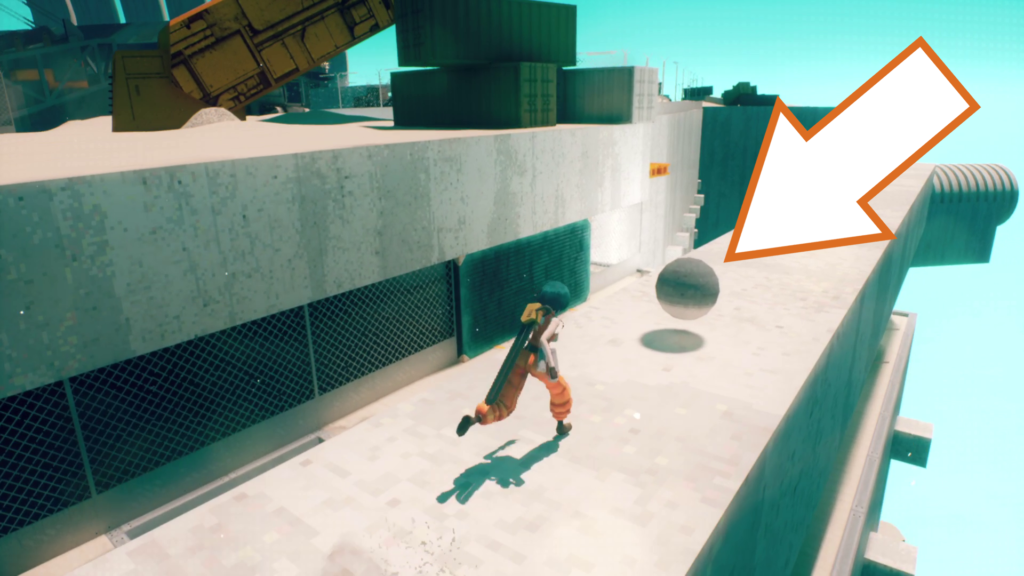
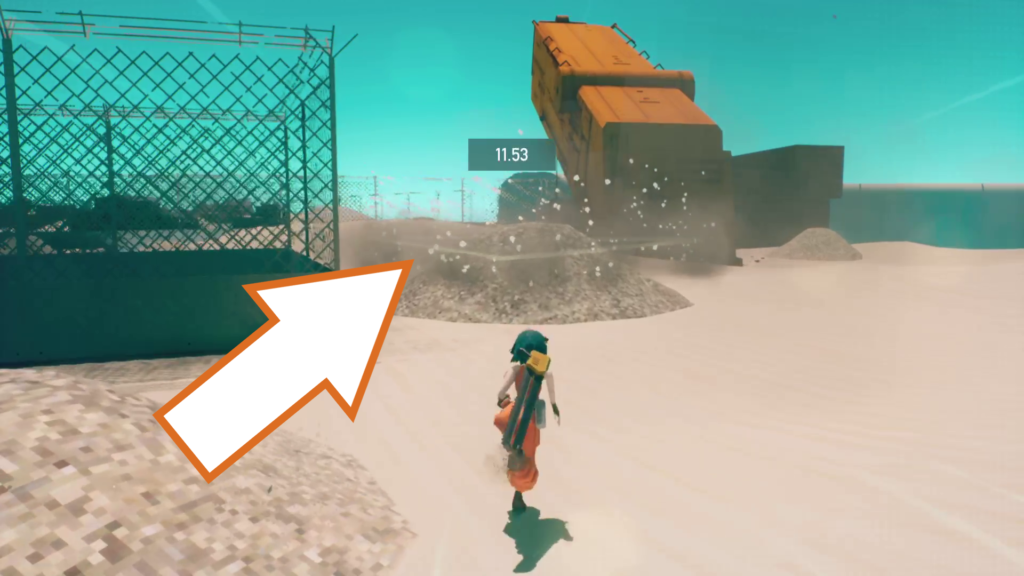
Start by getting the drone at the top of the yellow structure, then drop down and climb up to get the second one. Work your way back up to where the first orb drone was located and take your quarry to the evac point on the pile of dirt.
Checkpoint_02
Orb Drone 186 (Timed)
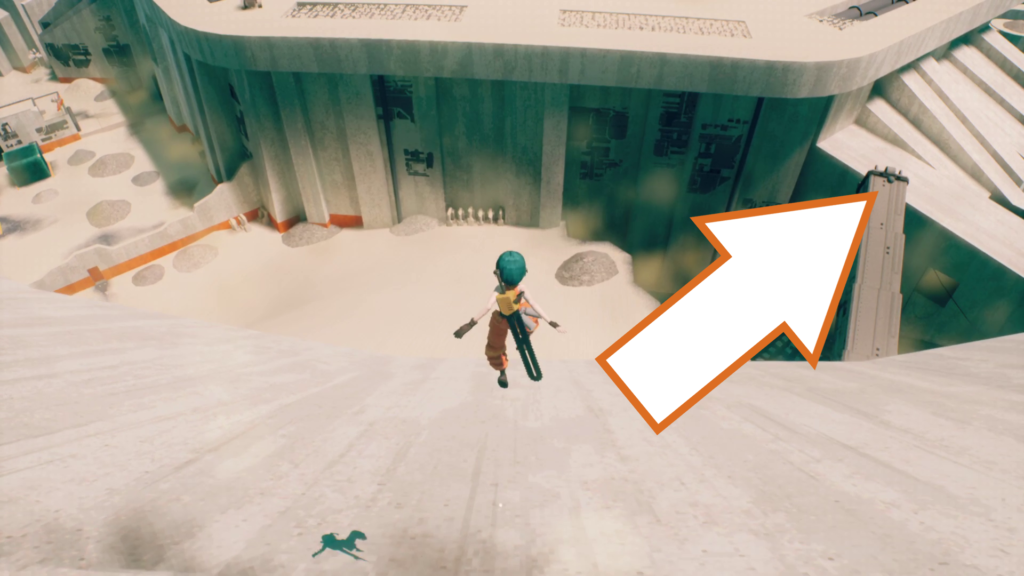
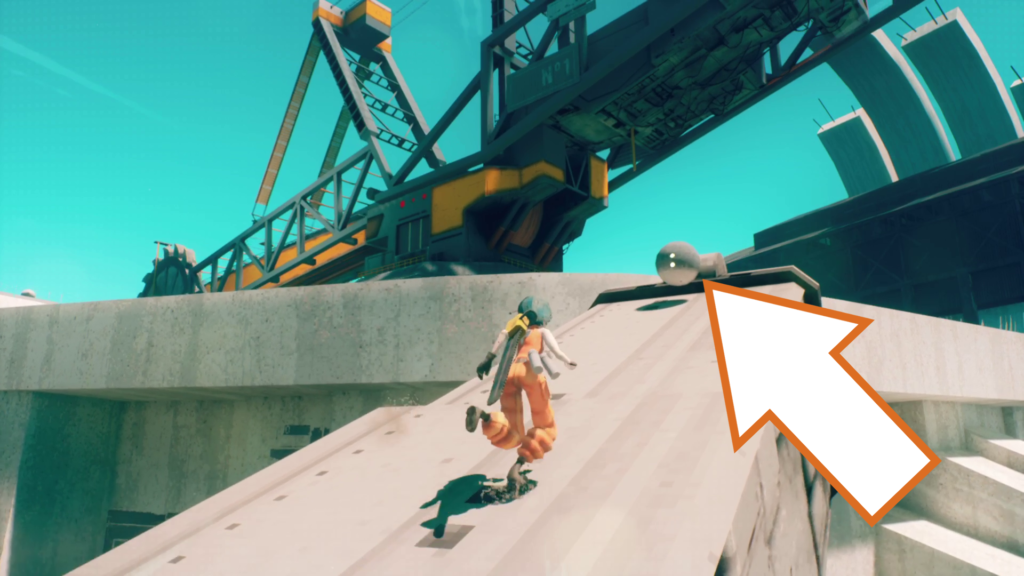
After sliding down the edge of the basin, go to your right and jump across to the long structure sticking out of the wall. At the end of it is the orb drone, which you need to deliver within a time limit.
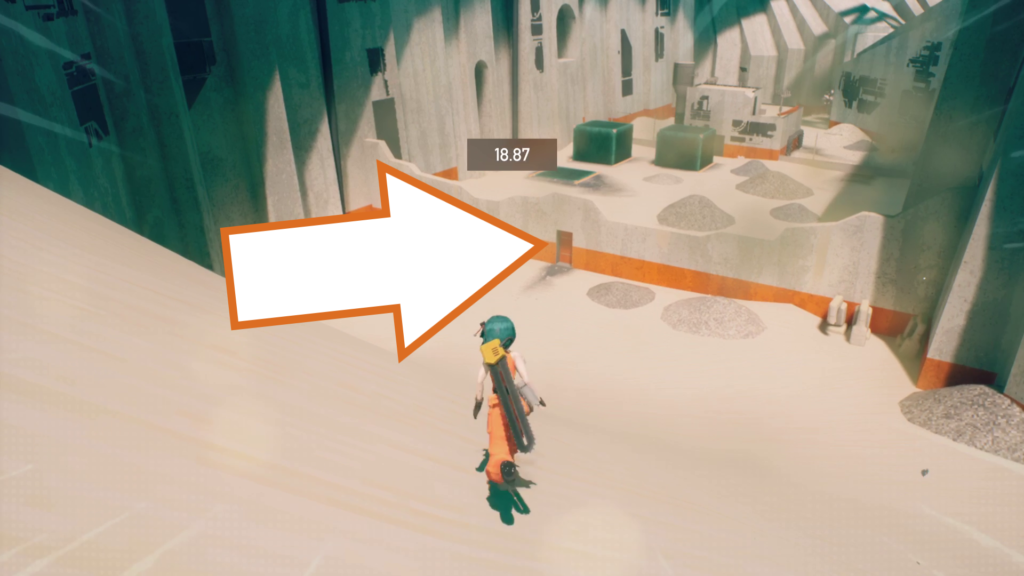
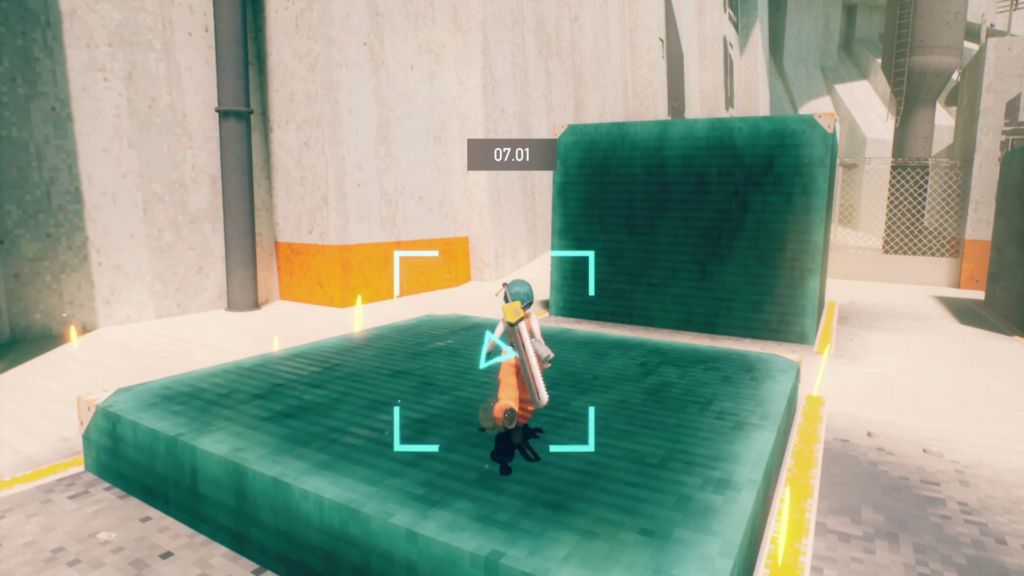
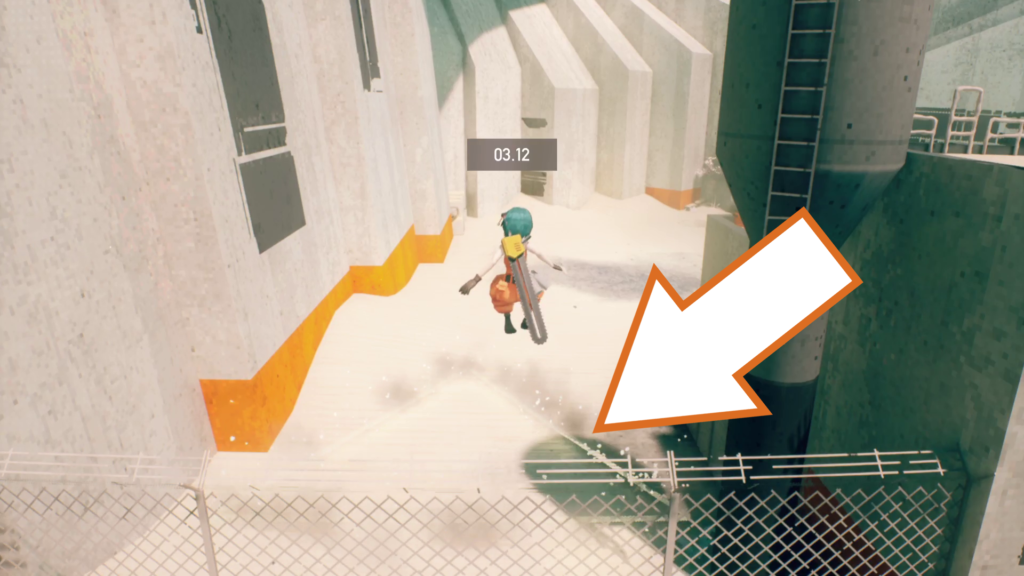
Get back across and run over the sand pile to go through a door. Run across the yard and use the green platforms to help you over the chain link fence and reach the evac point.
Orb Drone 187
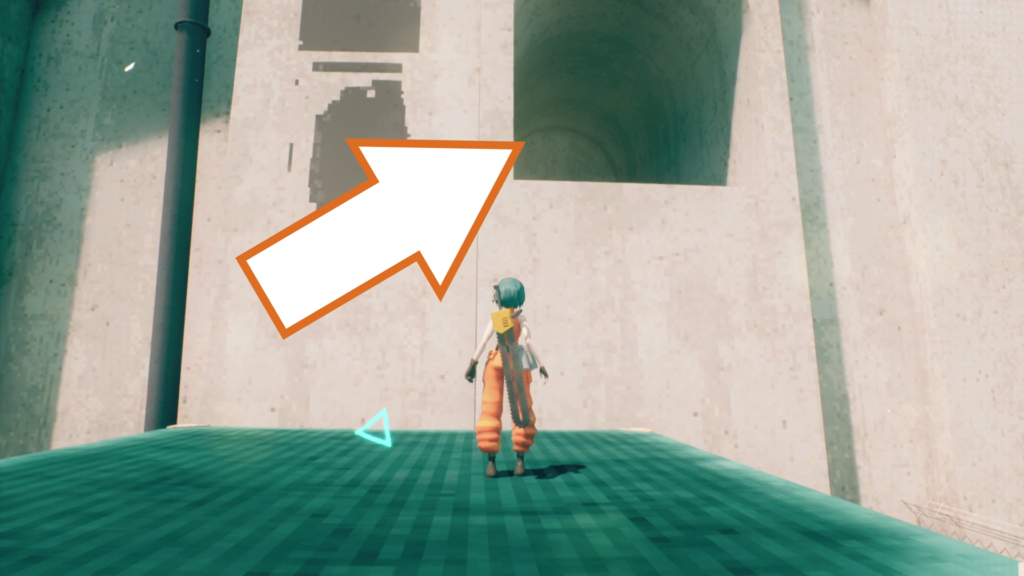
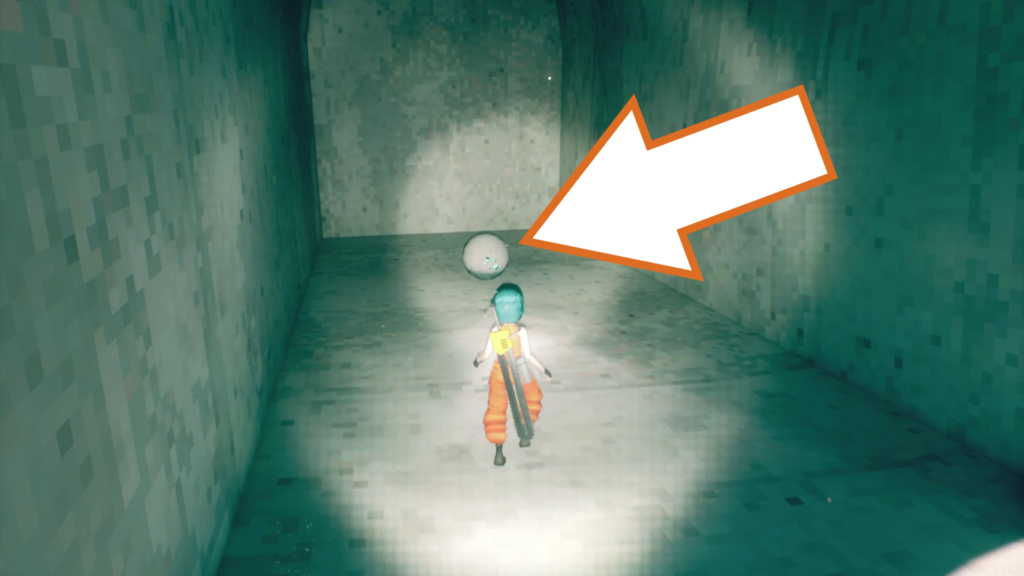
Use the building nearby to get back over into the yard, and use the green blocks to reach the alcove above them. An orb drone is tucked away here.
Orb Drone 188
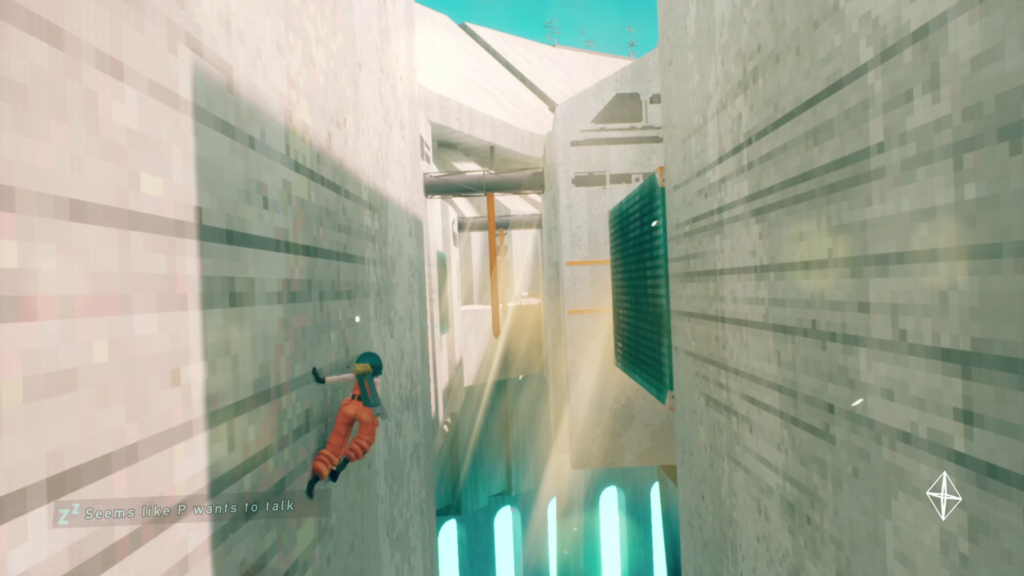
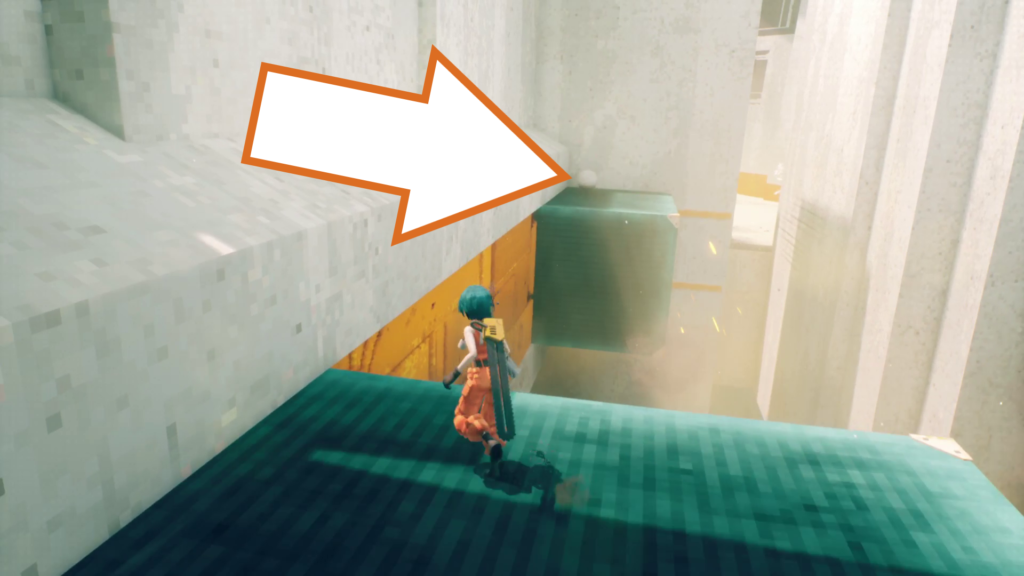
This one is tricky. First, it’s awkward to reach, and second, it’s a pain to get to an evac point. When you reach a wall-running section where you have to move the green blocks to progress, climb up onto the second block (the one you make come out of the wall) and turn around to spot the drone above the previous green block.
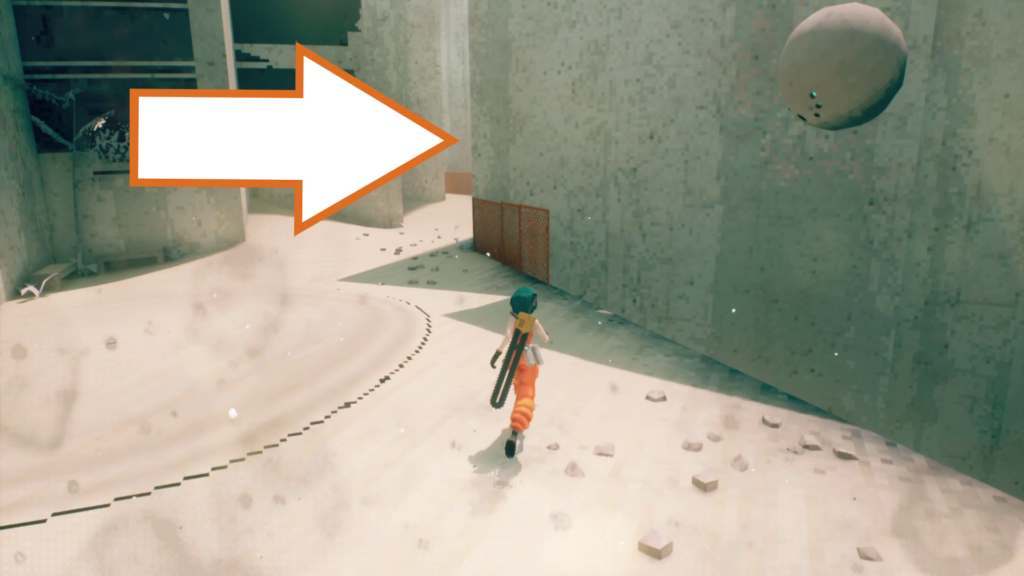
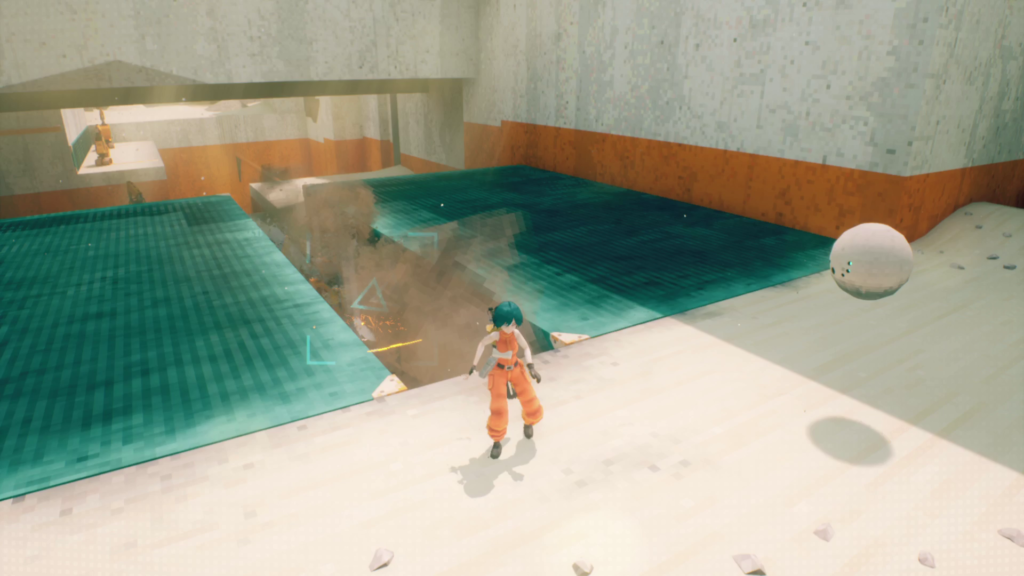
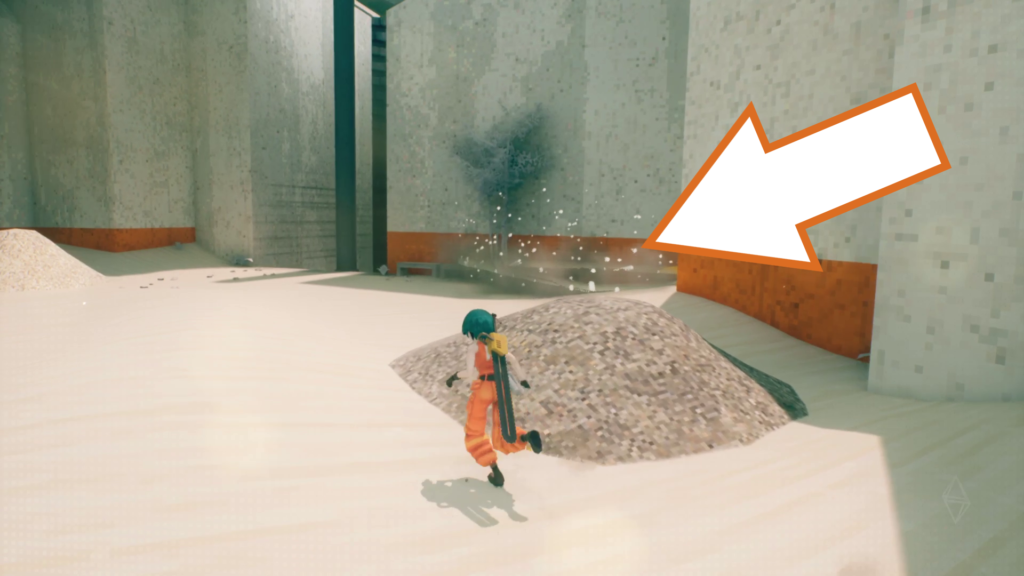
You can try to get back to the previous evac point from here, but I recommend pushing forward, avoiding the mines, and using the green blocks to destroy the machine, clearing your path.
Orb Drone 189
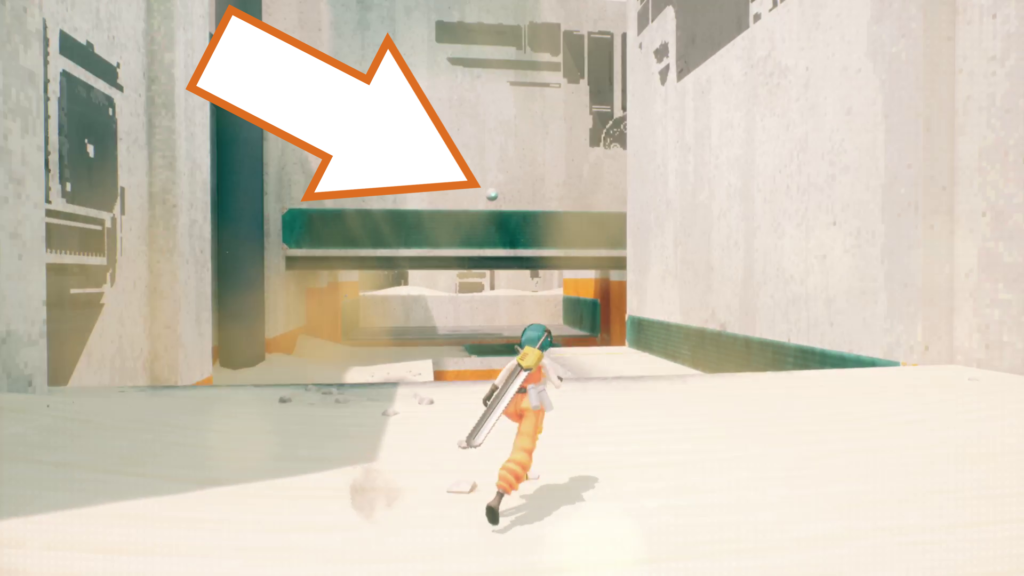
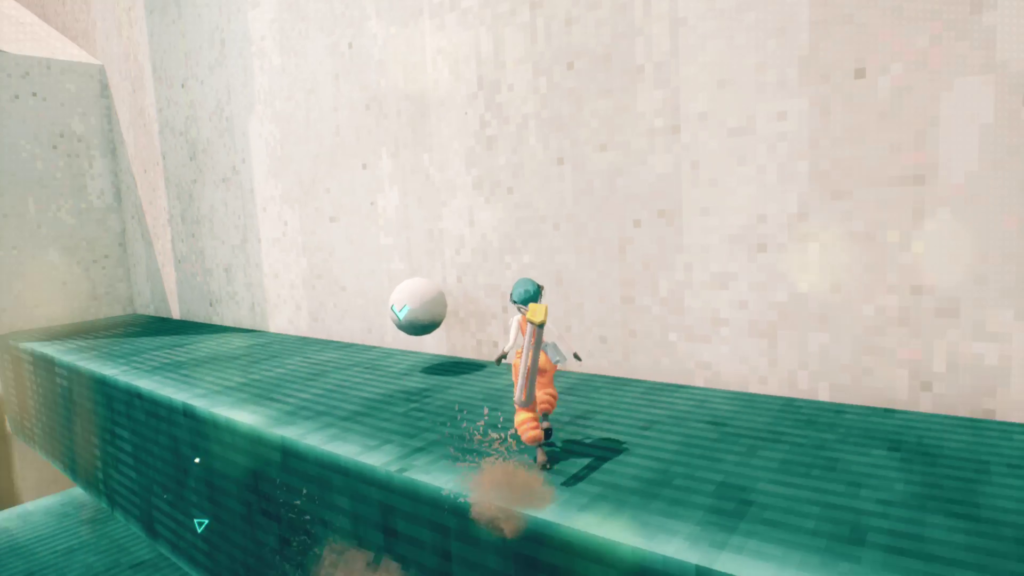
Look back the way you came, and locate this orb drone above the area with machines in it. Use the green blocks to reach it, and bring it back to the evac point.
Orb Drone 190
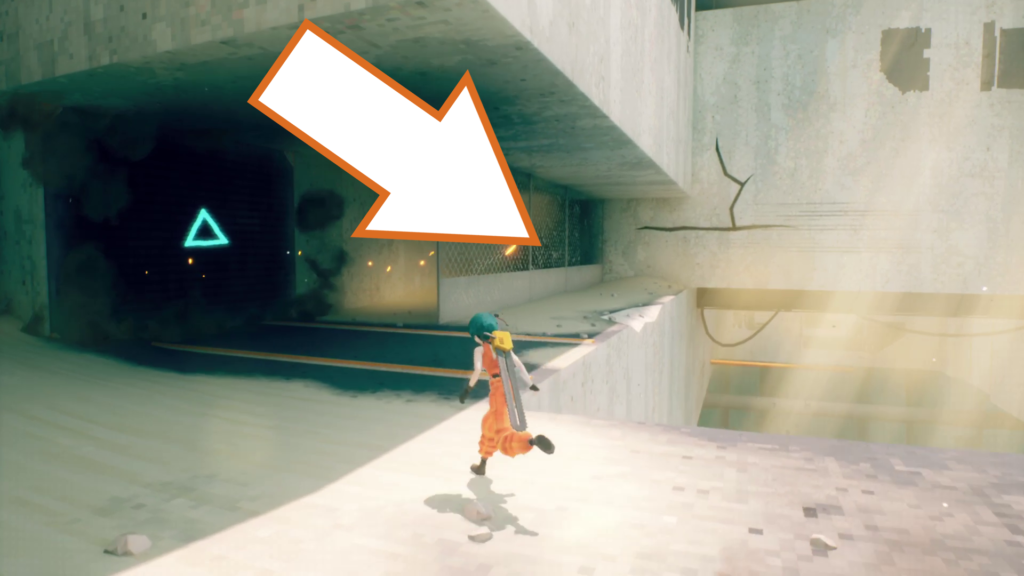
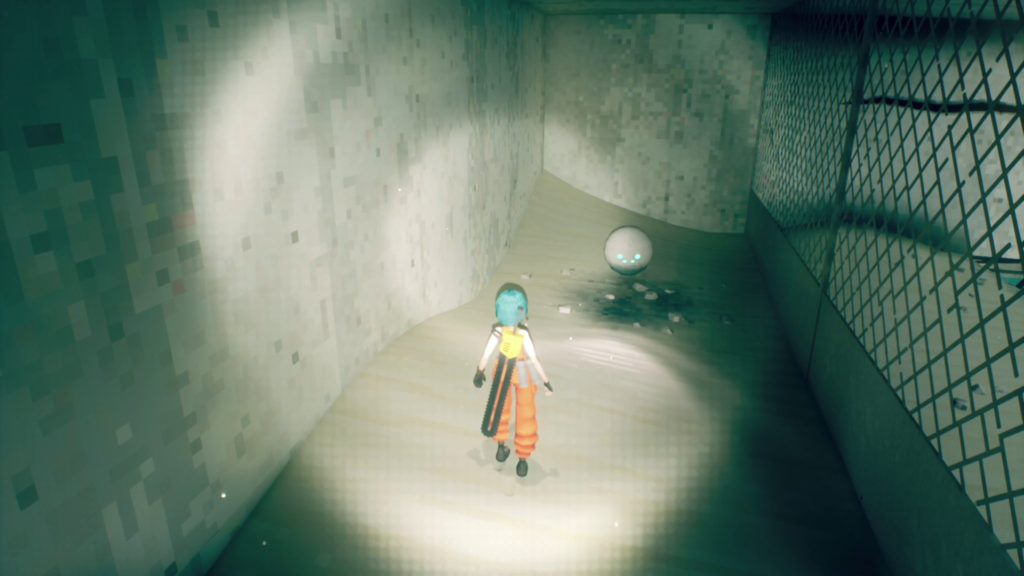
The next orb drone is hidden behind a green block in a fenced-in area. Escort it back to the evac point.
Orb Drone 191
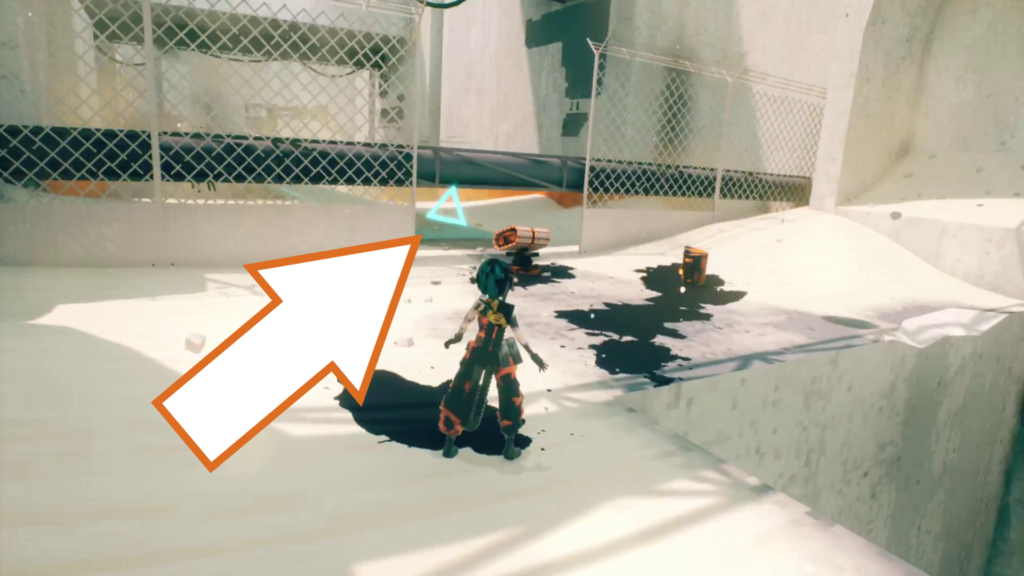
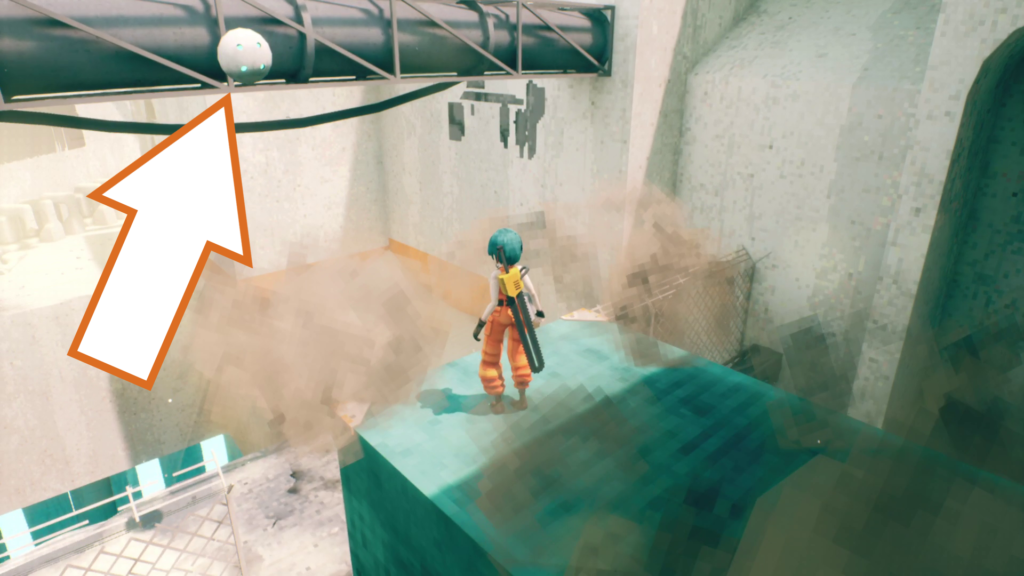
Continue forward and destroy all of the machines in the area with the long, thin green block set into the floor. Stand on it and activate it to find this orb drone at the top, floating next to some pipes.
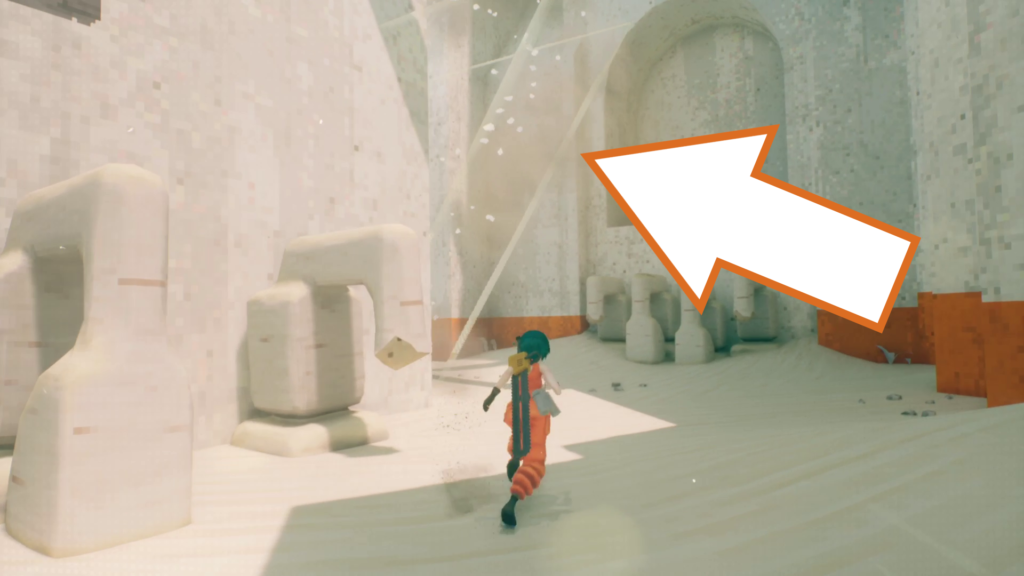
Take it back to the evac point before this area.
Orb Drone 192
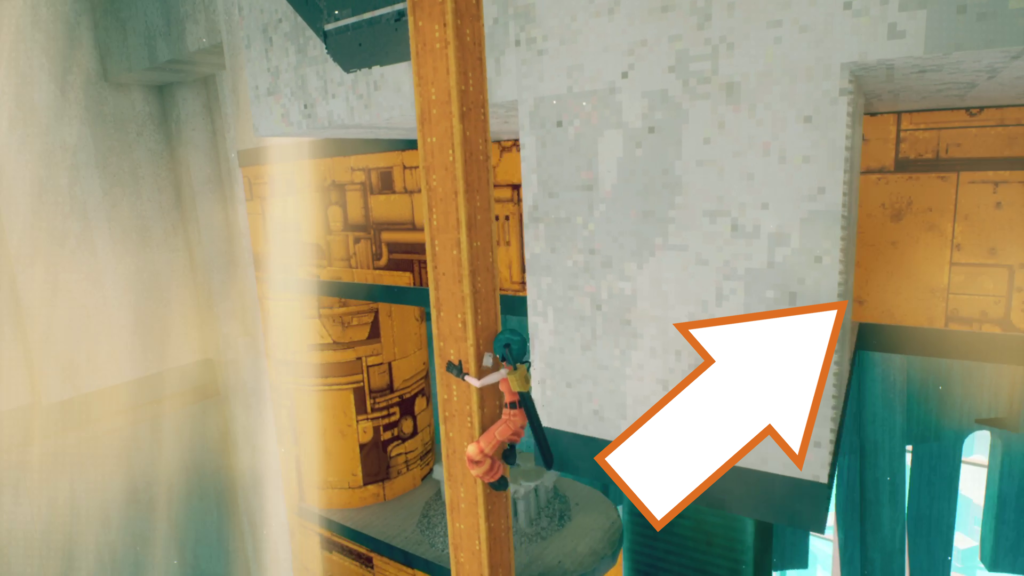
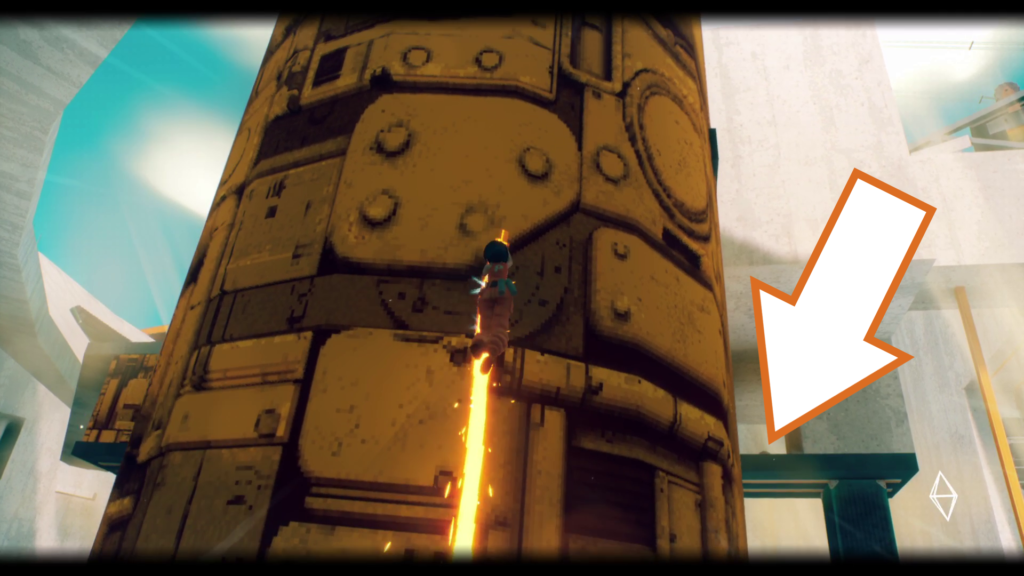
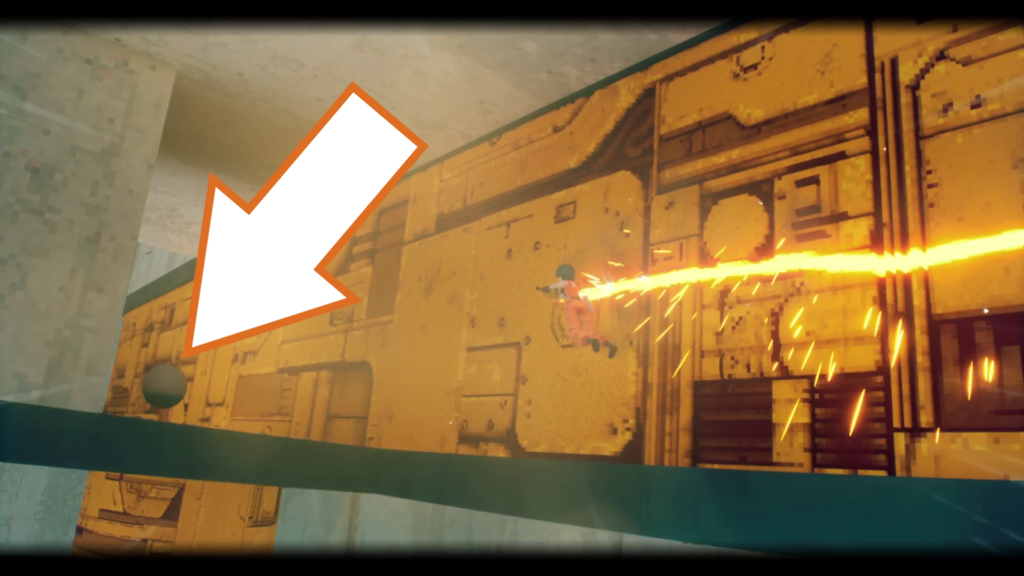
This orb drone is hidden in an alcove where you motorslice around a large structure after jumping to it from a moving vertical girder. Slice up one of the circular parts at the end, and head back around the side you approached it from to find the drone.
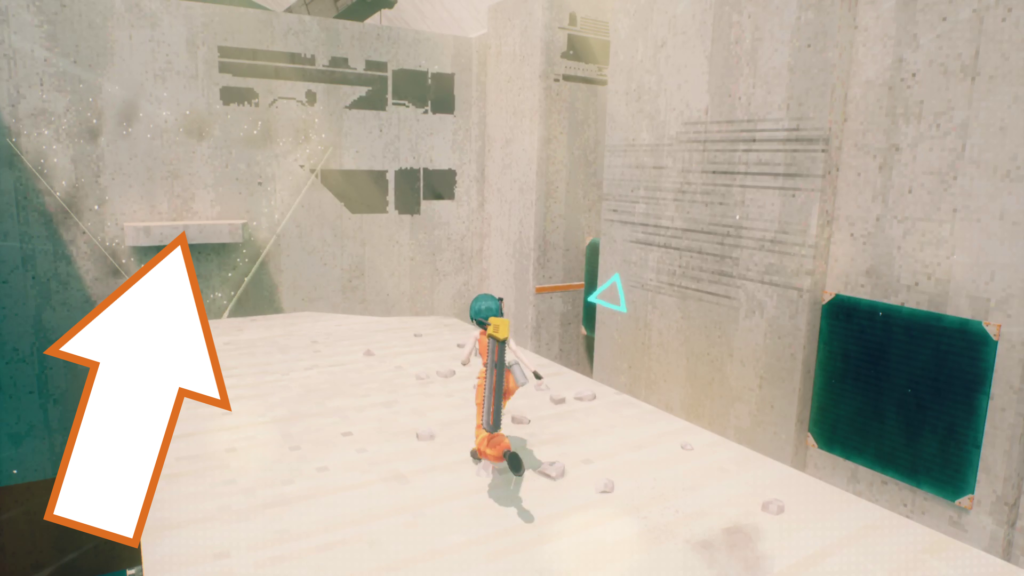
Get to the top of the structure and continue forward to reach the next evac point.
Orb Drone 193 & 194
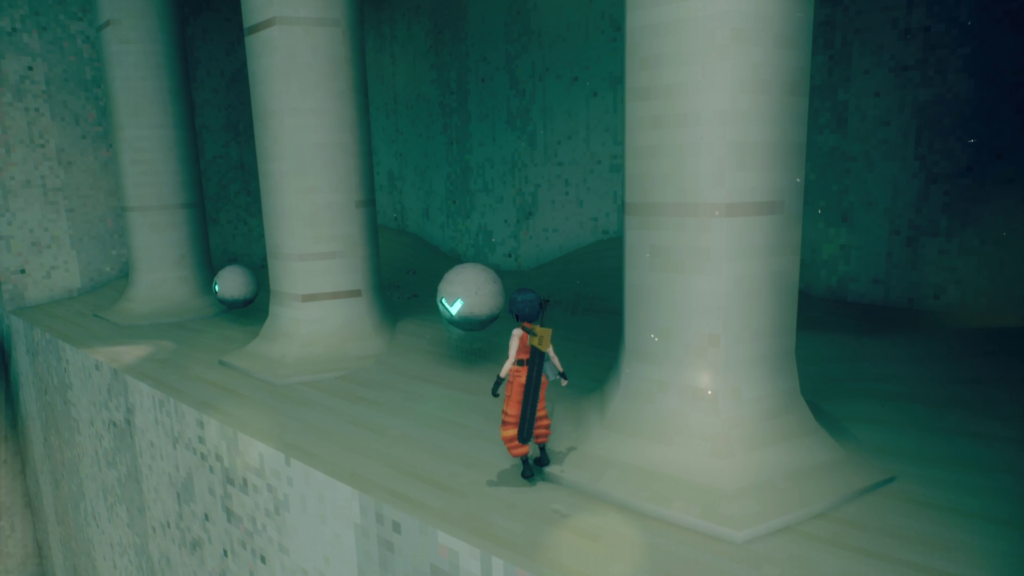
Just passed the evac point, between the pillars, are the next two orb drones. Carefully take them back the way you came.
Orb Drone 195
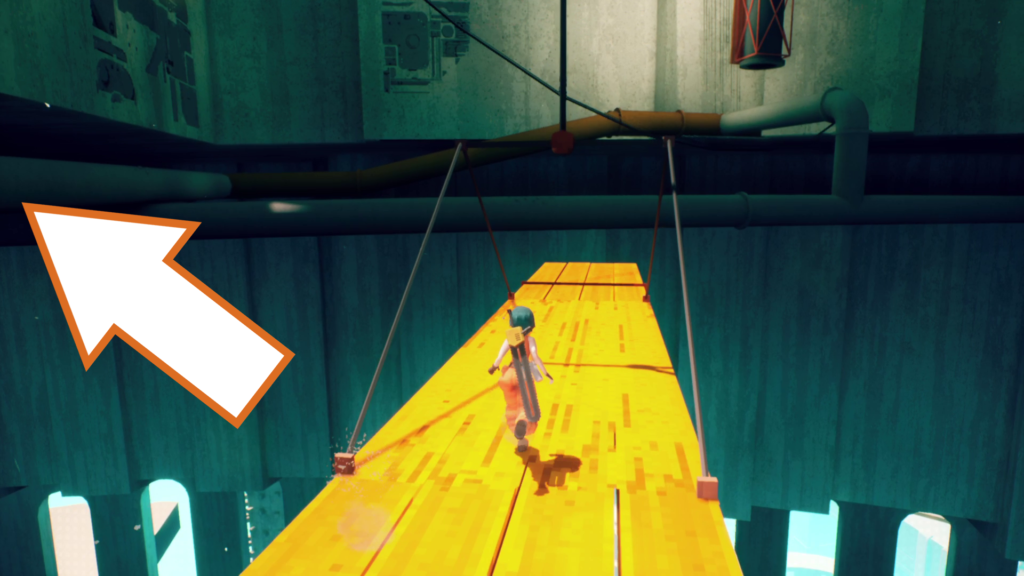
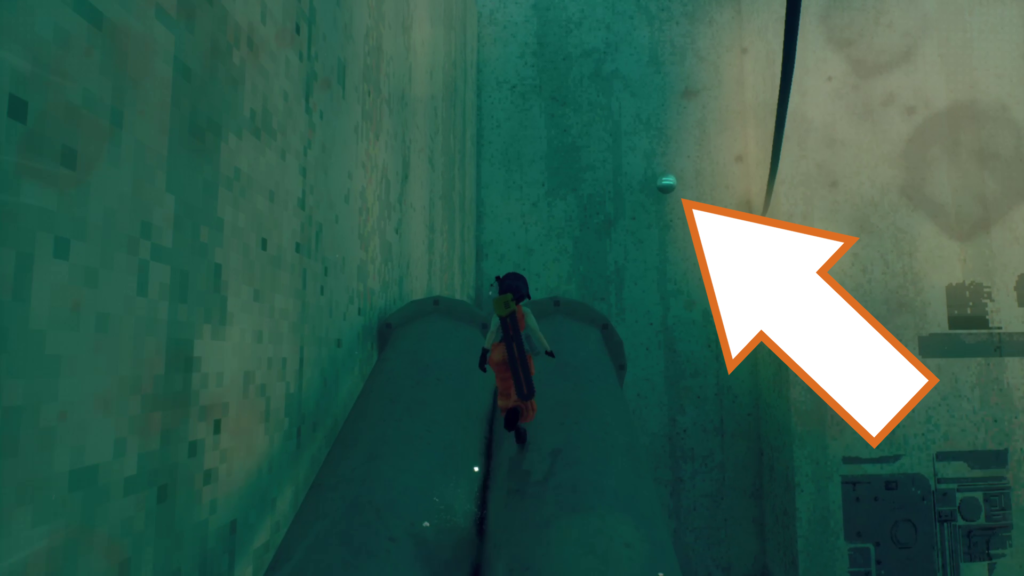
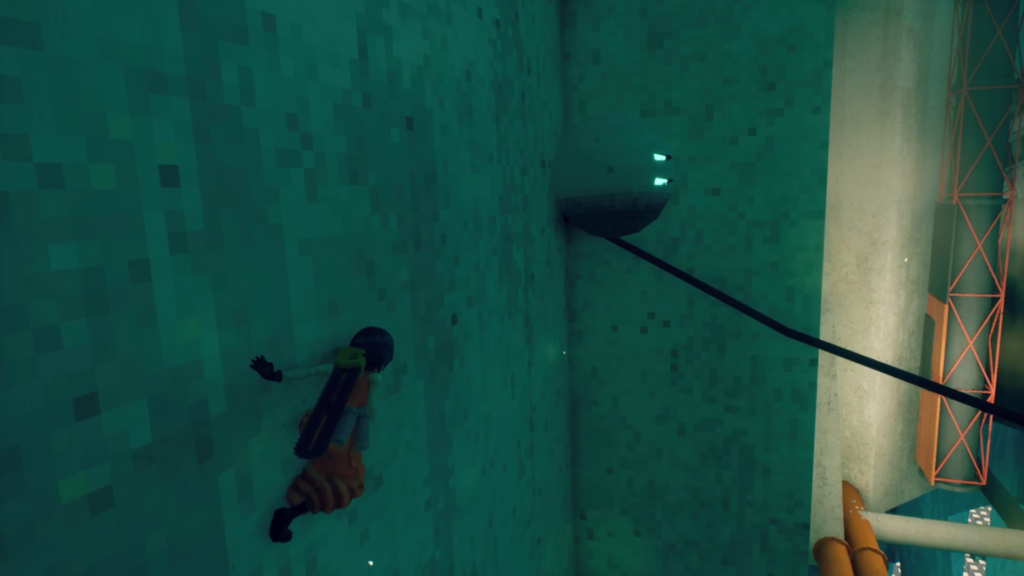
This orb drone is found by following the pipes to the left after the last sequence. It’s floating against a wall opposite the pipes in a small alcove. It may take a few attempts, but you need to wall run up and across to get it, then jump back to safety.
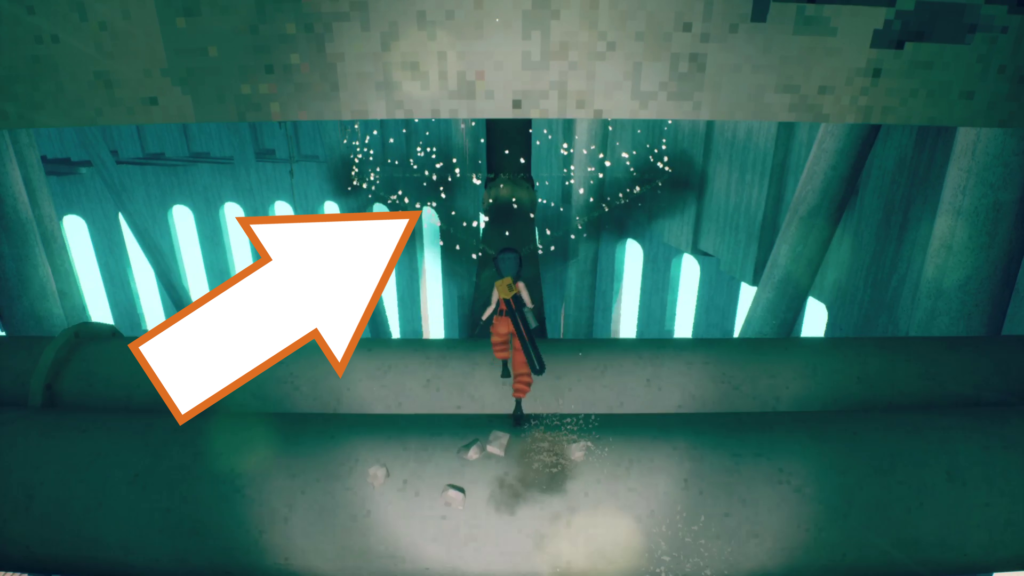
The evac point is below you, behind some pipes, across the hanging yellow platform.
Orb Drone 196
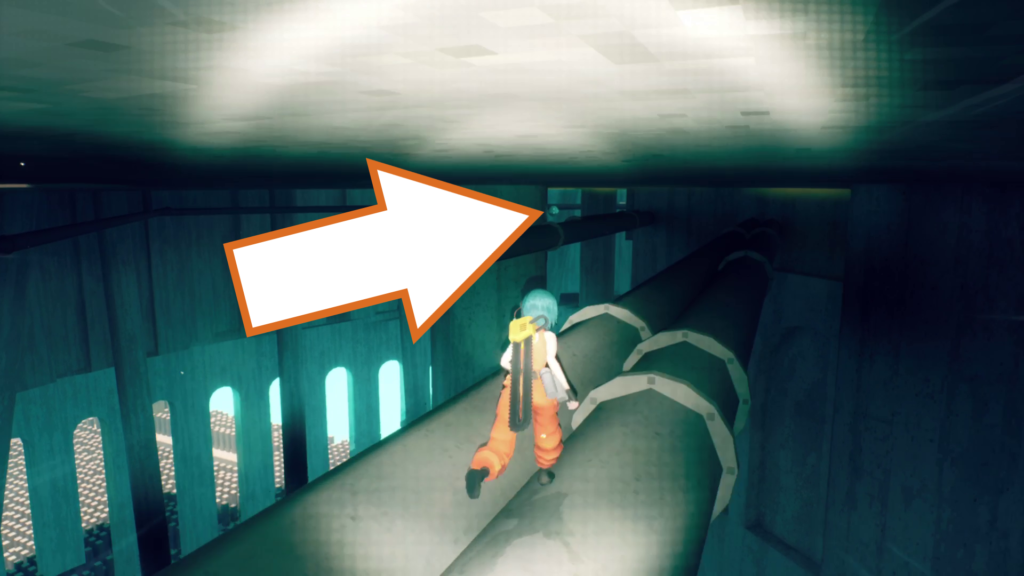
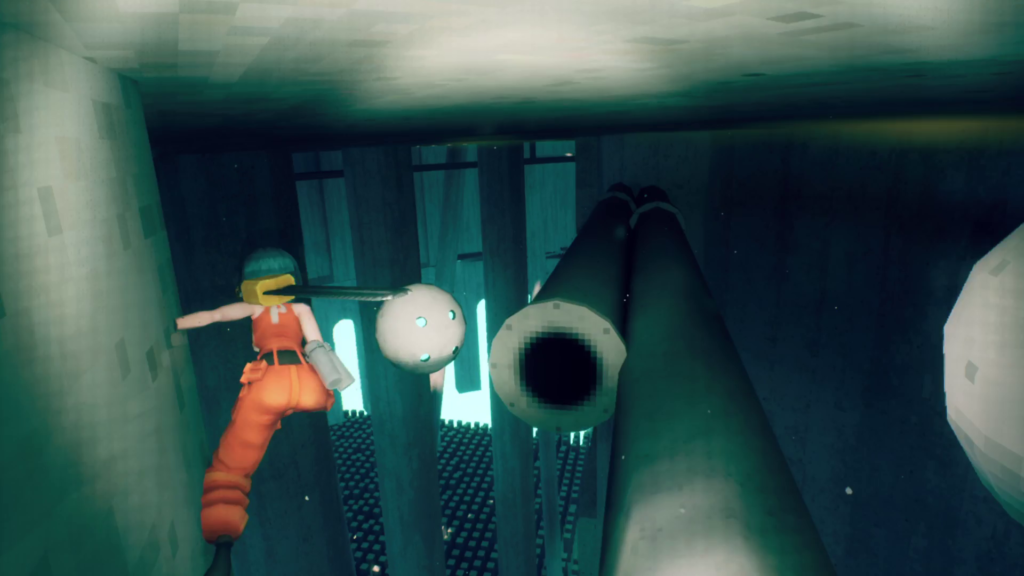
Follow the pipes the other way from the last orb drone to find another one under a structure, hidden in the dark. Run to the end and wall run across to the other set of pipes to reach it, using the round pillar next to the drone to reach it. Come back the way you came and drop it off at the evac point.
Checkpoint_03
Orb Drone 197
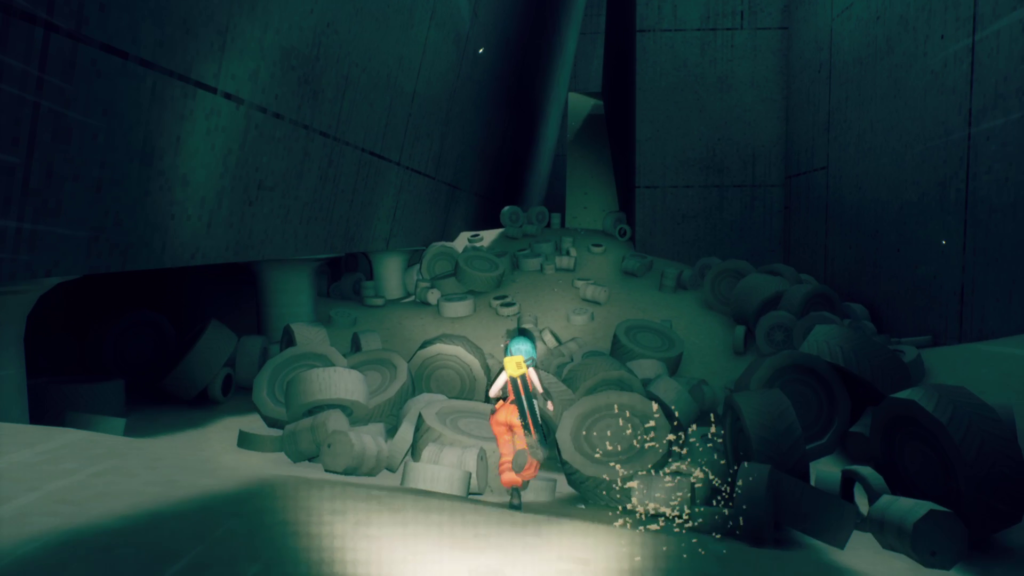
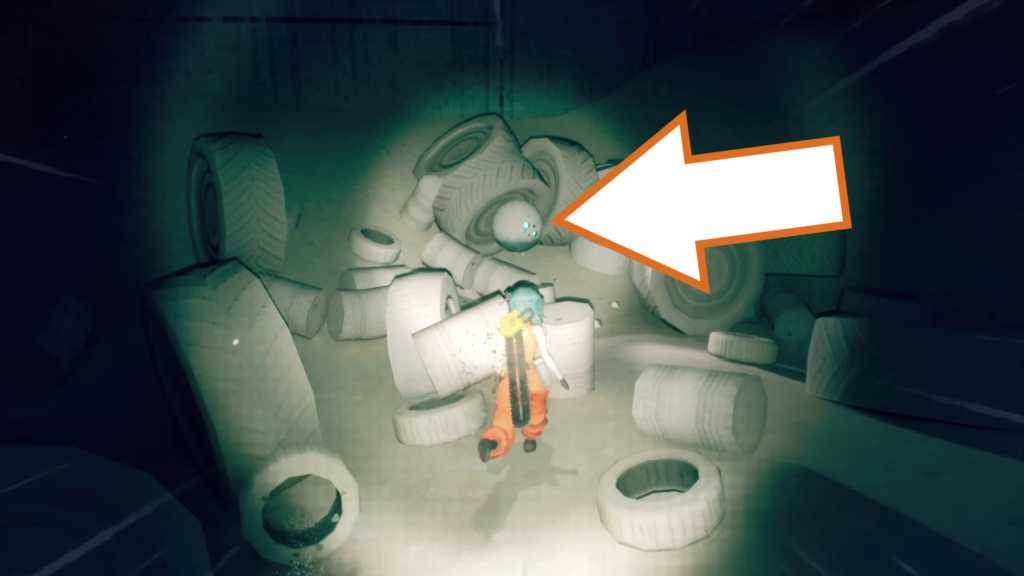
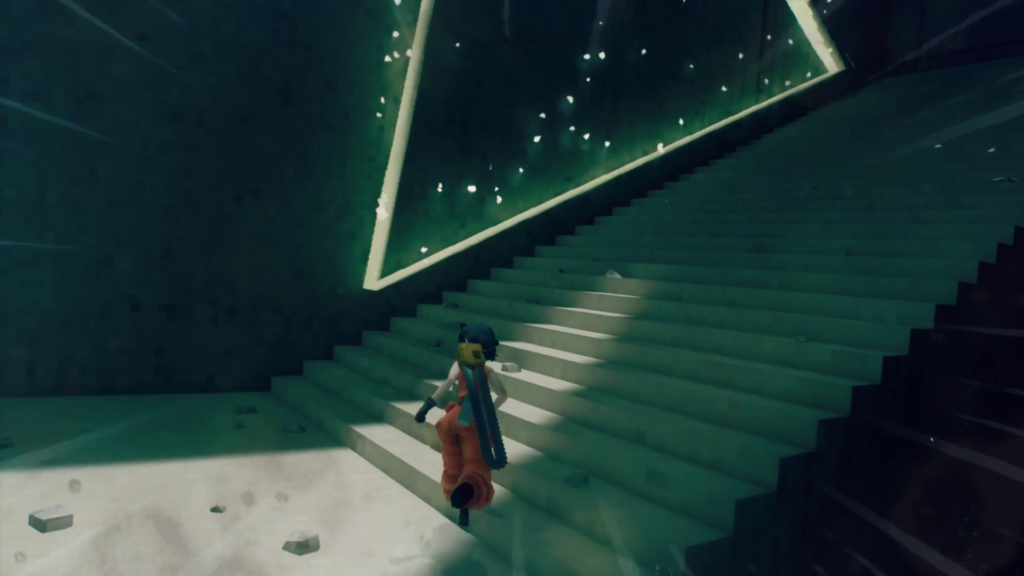
Continue forward, and you’ll reach a large room full of trash. Work your way to the other end of it to find this orb drone hiding in the rubbish. Take it to the evac point halfway up the staircase.
Orb Drone 198
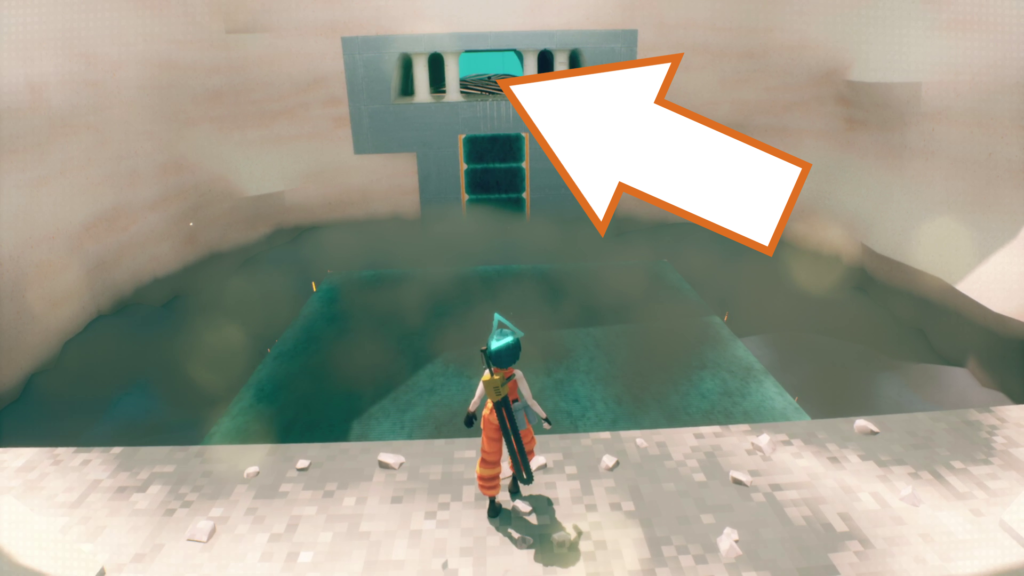
This is another of the toughest orb drones in the game. You’ll reach a large square chamber with high walls, no ceiling, and a pool of sand at the bottom. You use your hack ability to raise a large green block out of the sand that you climb up to reach the top of the pit. On the other side of where you start is another exit: here is where you want to get to.
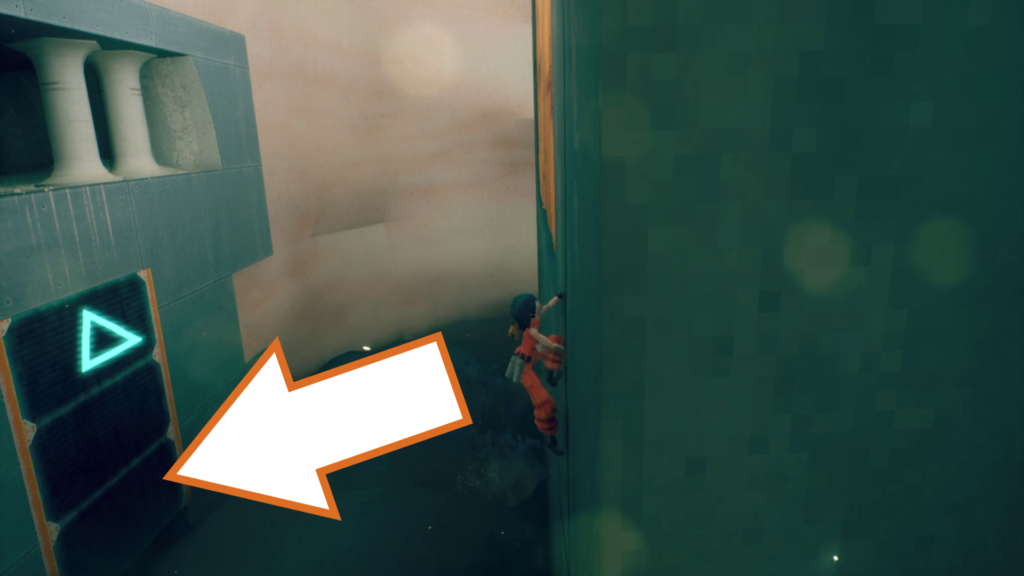
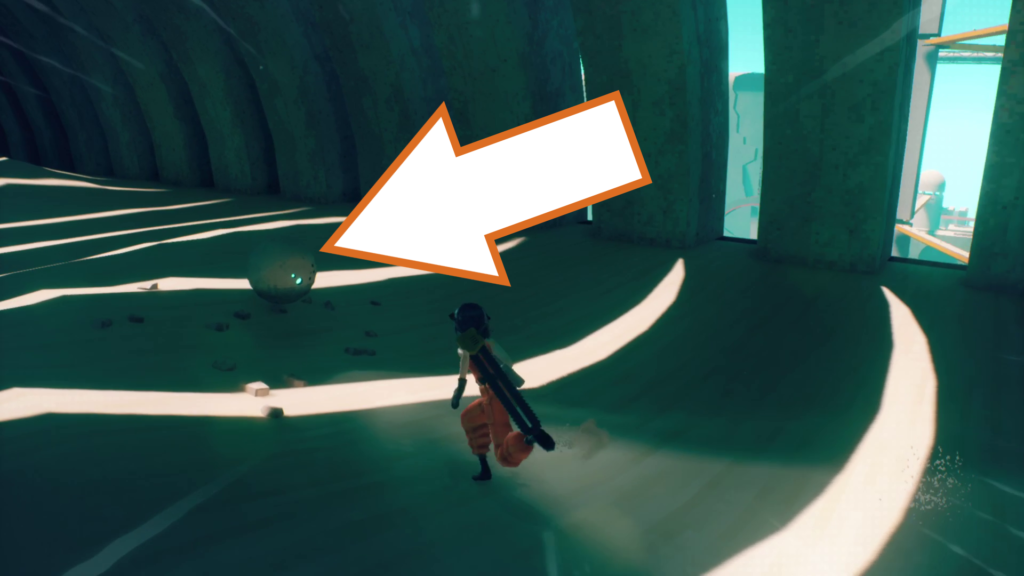
Call the block up, and make your way around to the opposite side. Turn your camera to look at the blocks, hack one of the lower blocks below the tunnel entrance, and jump down to it. Climb up and run down the tunnel to find the drone waiting.
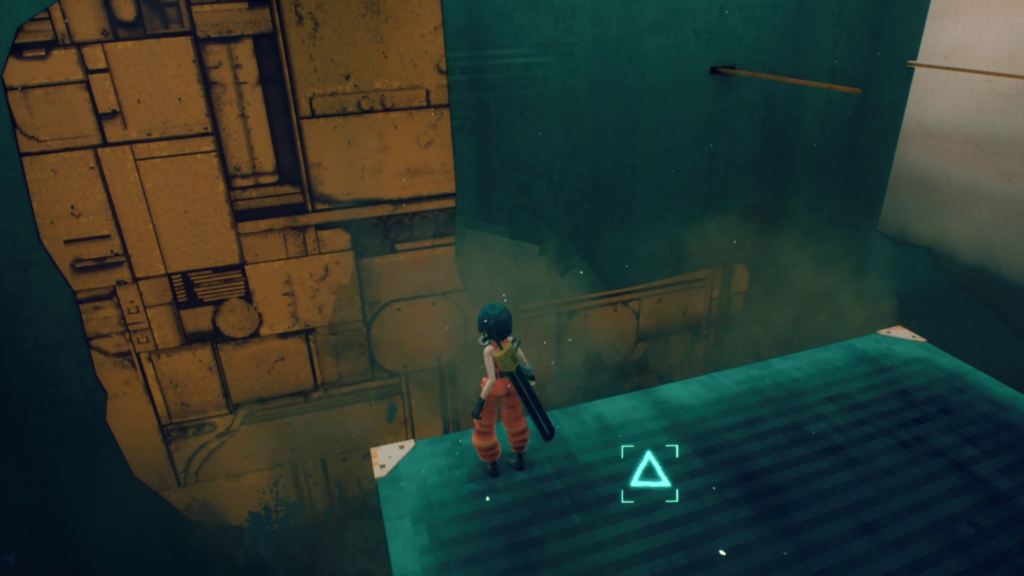
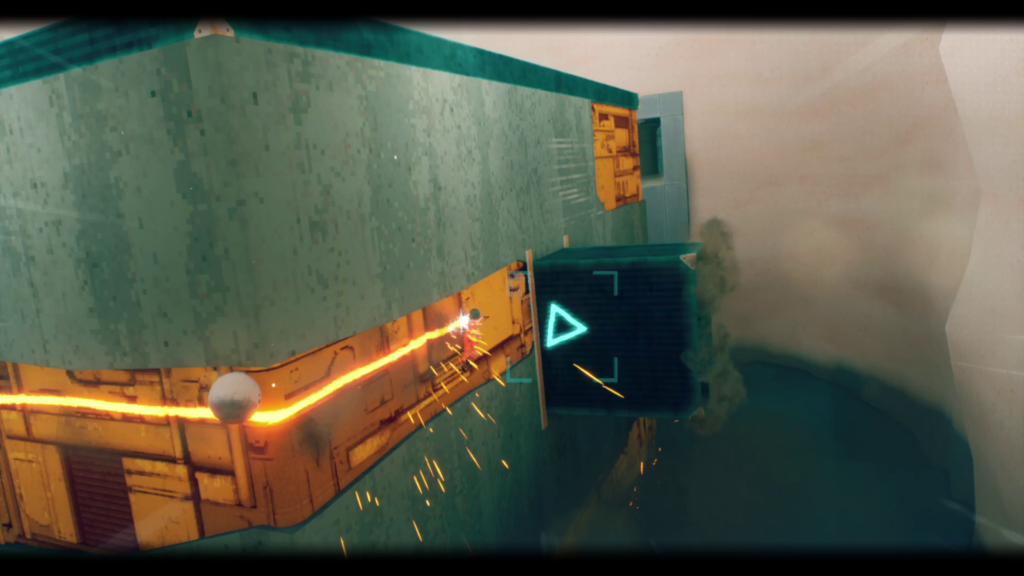
Return the way you came, and call the large block back up, finishing the route onto the top of the block, then ride it up to the top to find the evac point.
Orb Drone 199, 200, 201, 202, 203, 204, 205 & 206 T(imed)
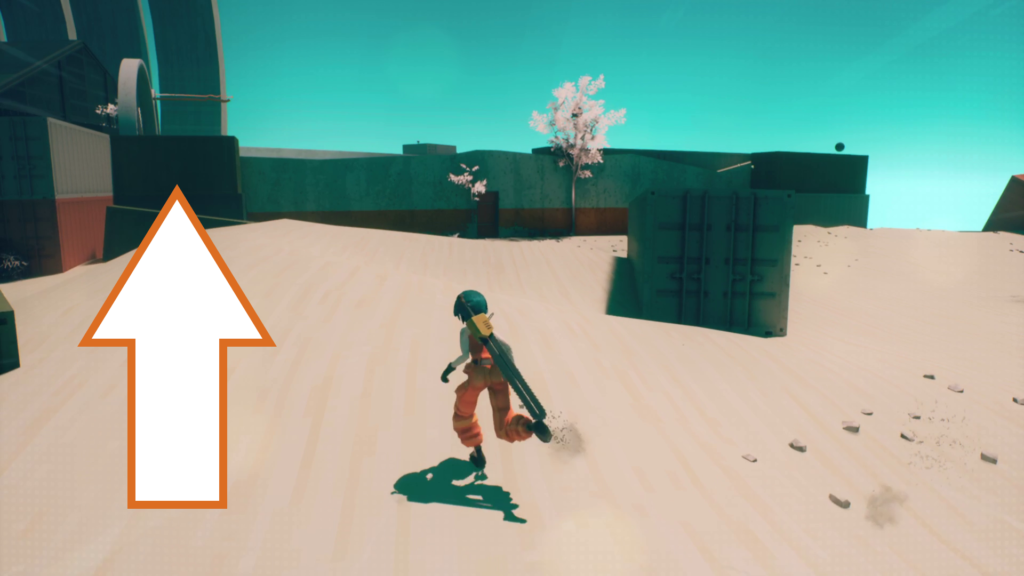
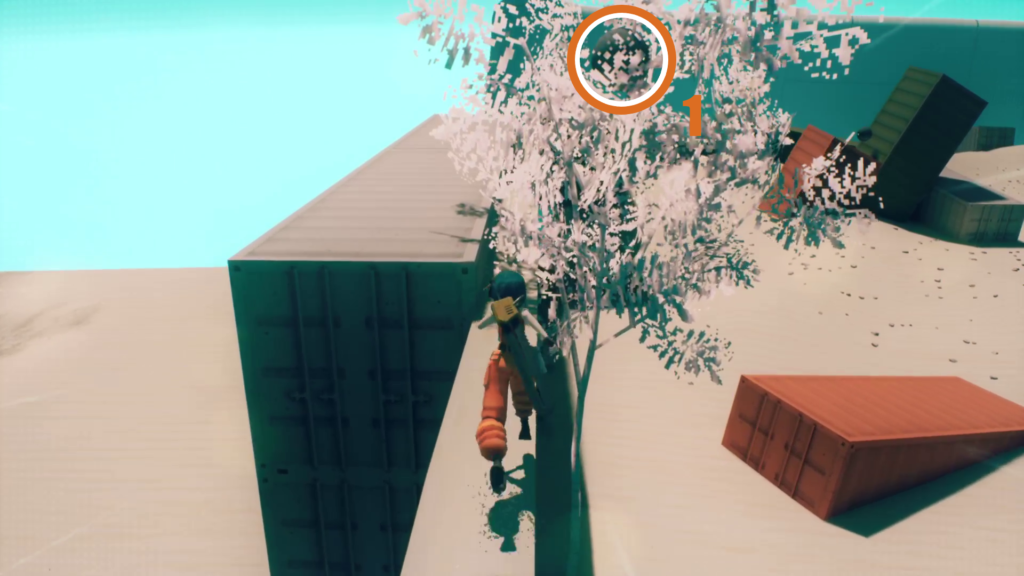
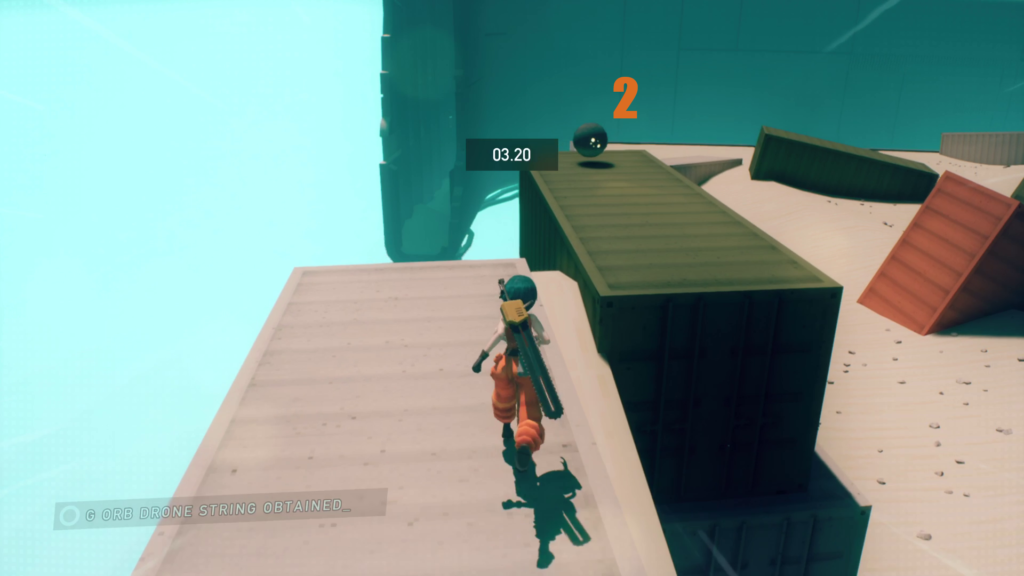
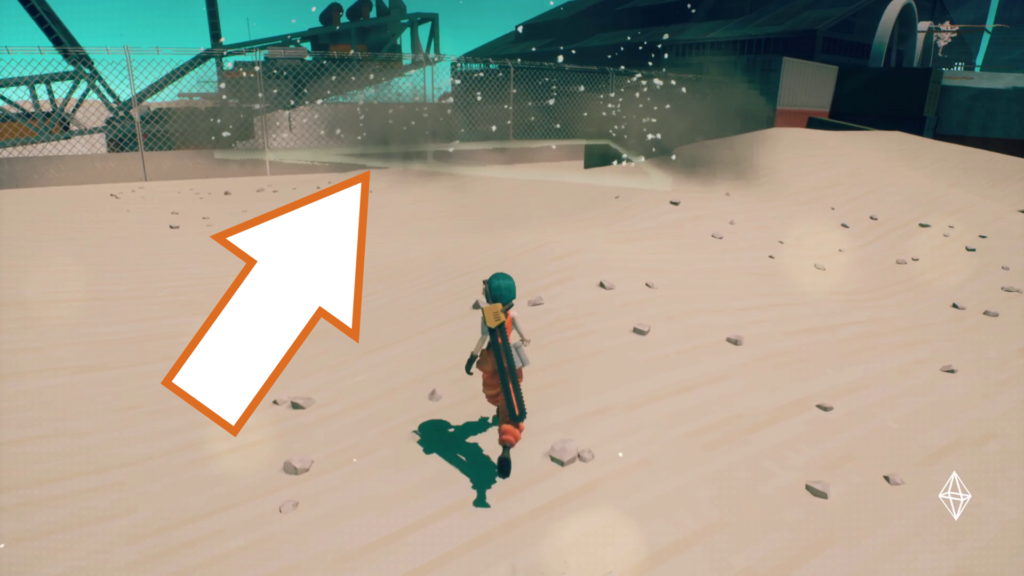
As a reward for collecting that last drone, you get to collect 8 at once, within a time limit, of course. Climb up the freight containers in the corner and run along the wall, jumping to grab the first drone in the tree branches. Continue forward to find the second drone on top of another freight container.
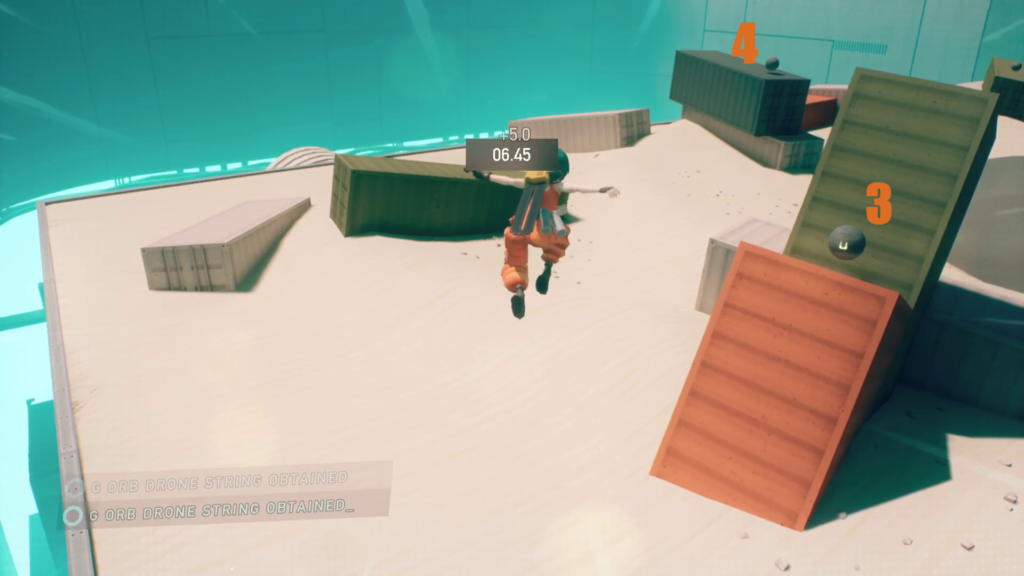

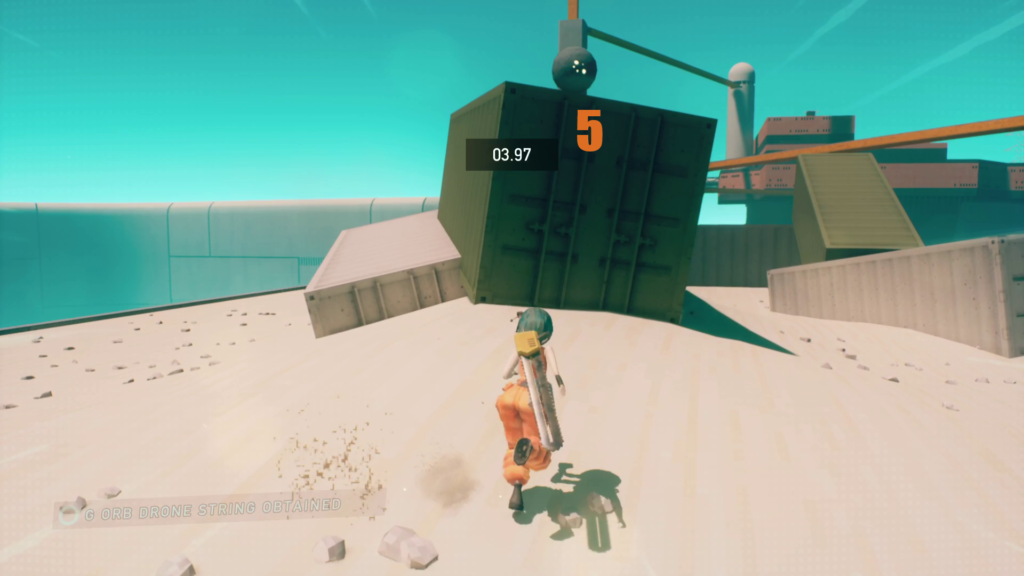
Jump down to your right and grab the third orb drone floating above the leaning crates, and then climb up the stacked containers to find the fourth one. Orb drone number five is above some other containers near the edge of this structure.
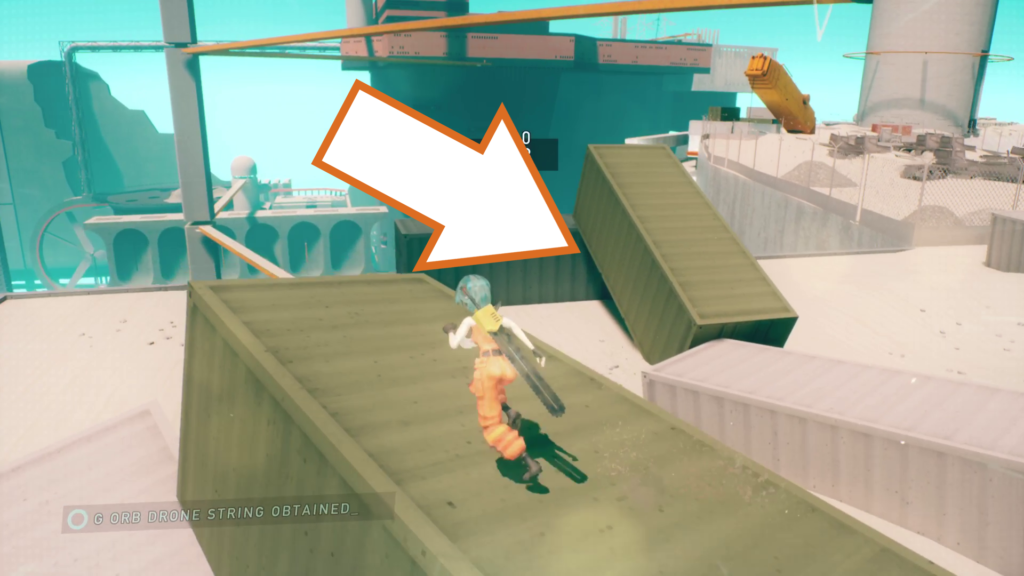
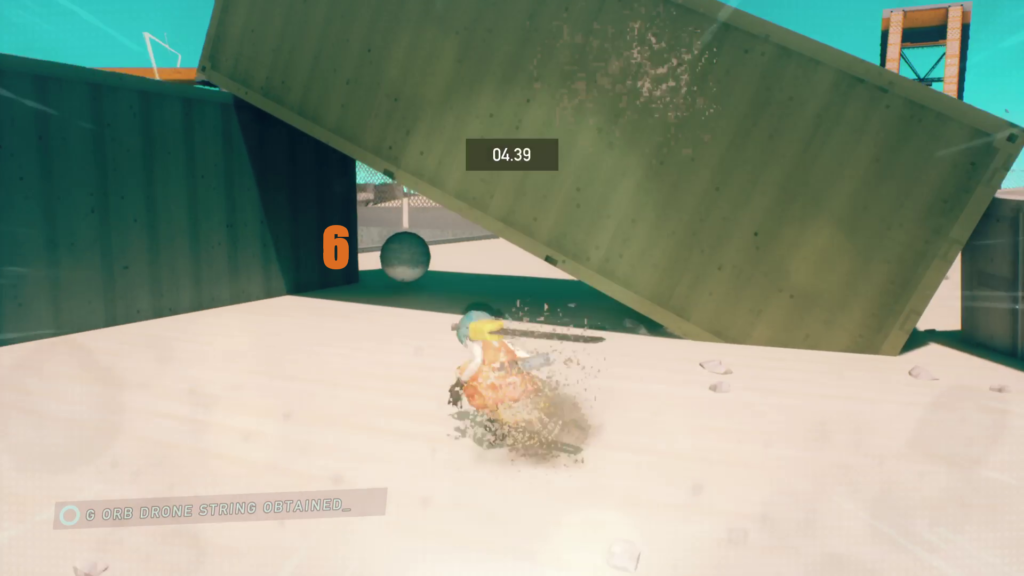
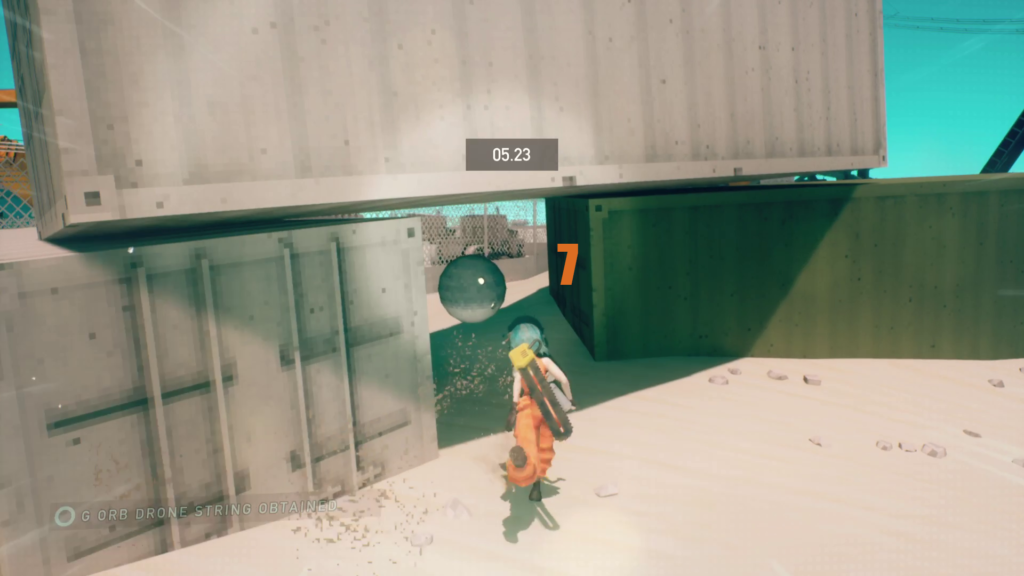
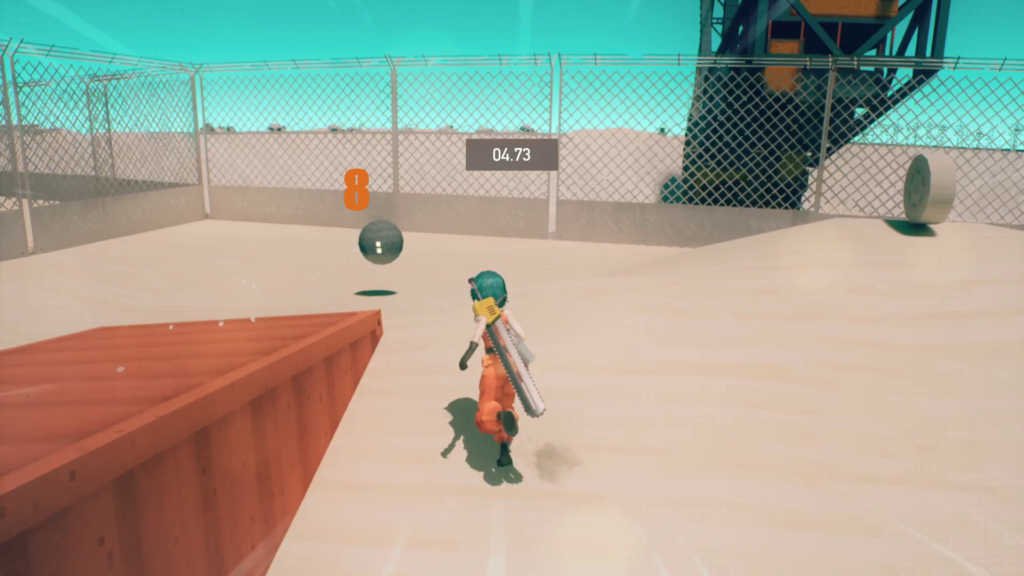
Run under the container leaning up on another to find the sixth drone, and then look for the three containers in a pyramid; the seventh drone is hidden in the gap. The last of these drones is in the near corner, with the evac point close by.
Checkpoint_04
Orb Drone 207
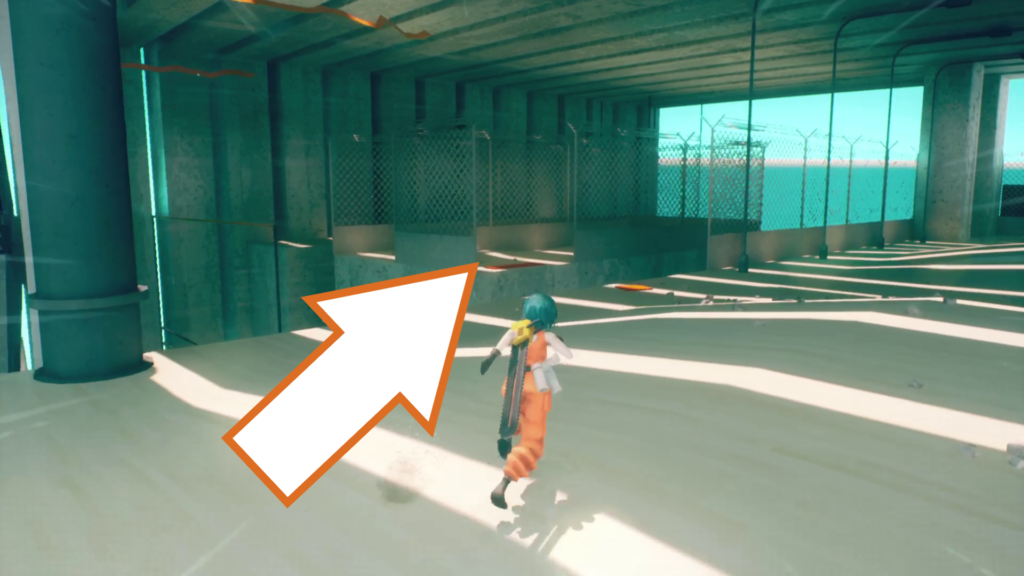
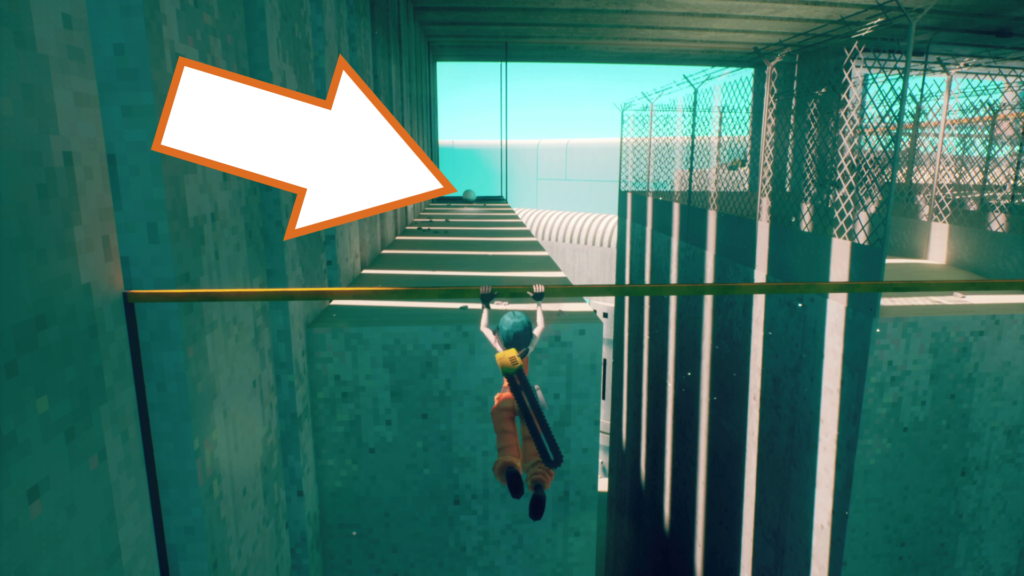
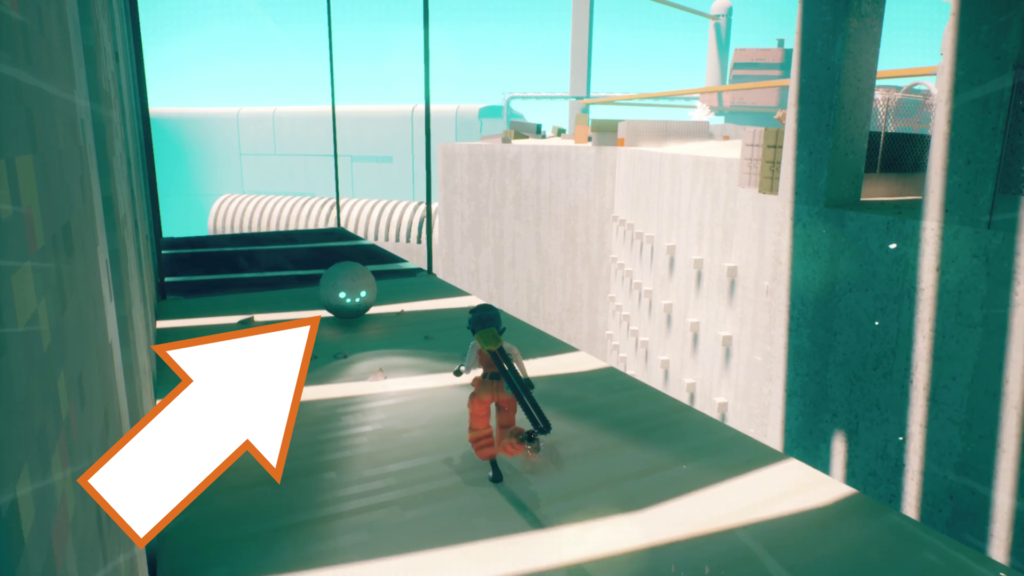
Continue forward, running behind the large fans to reach a covered area. On your right is a path to take where you have to run against a fan to reach a horizontal bar. Shimmy across and swing back onto the next part of the path to reach the orb drone at the end.
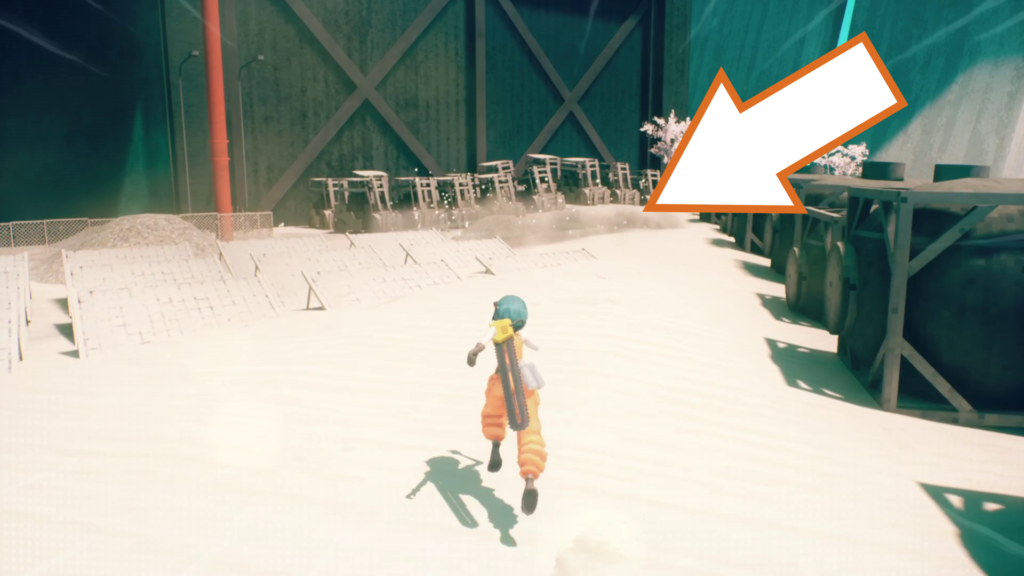
Ride the lift behind the drone back to the beginning and escort the drone to the evac point in the open area beyond.
Orb Drone 208 & 209
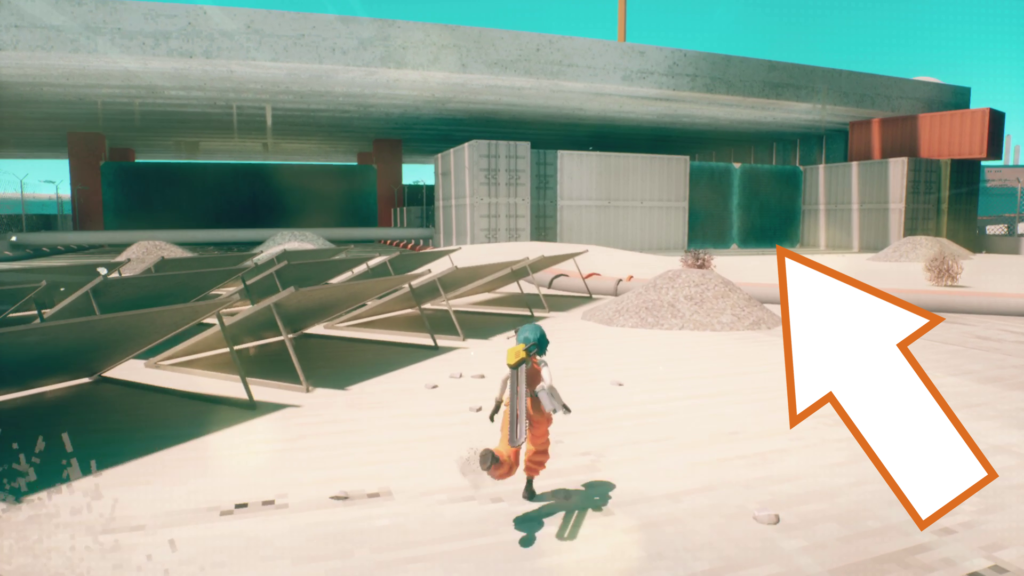
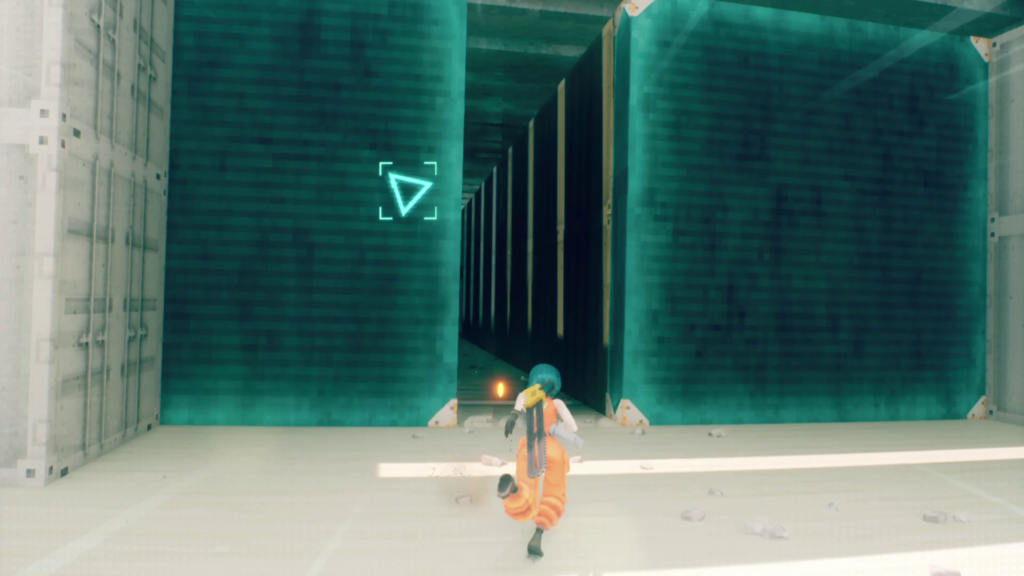
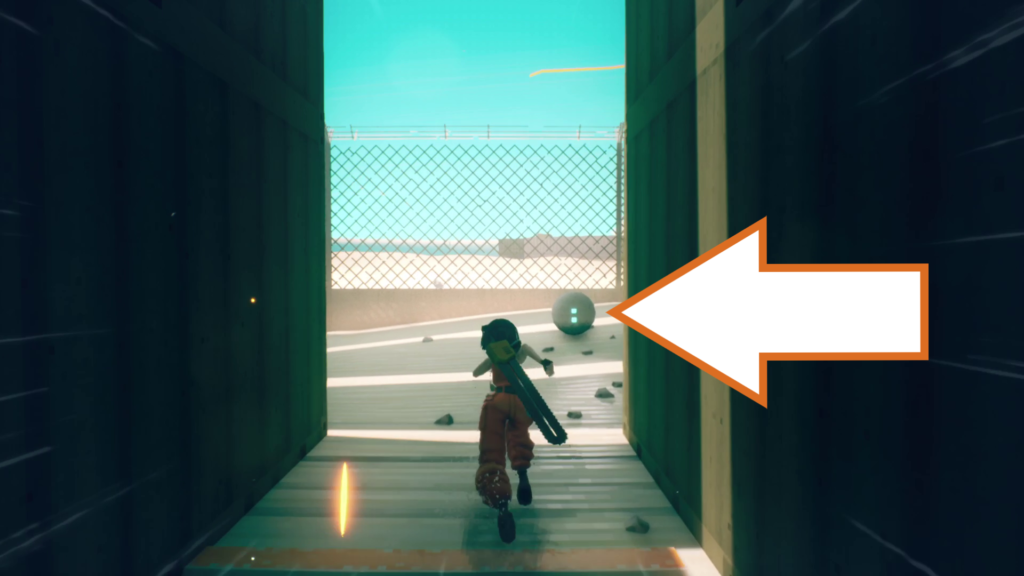
Turn around and go towards the two hackable blocks to the right of the last drone you collected. Hack it to open a path and find the first orb drone at the end.
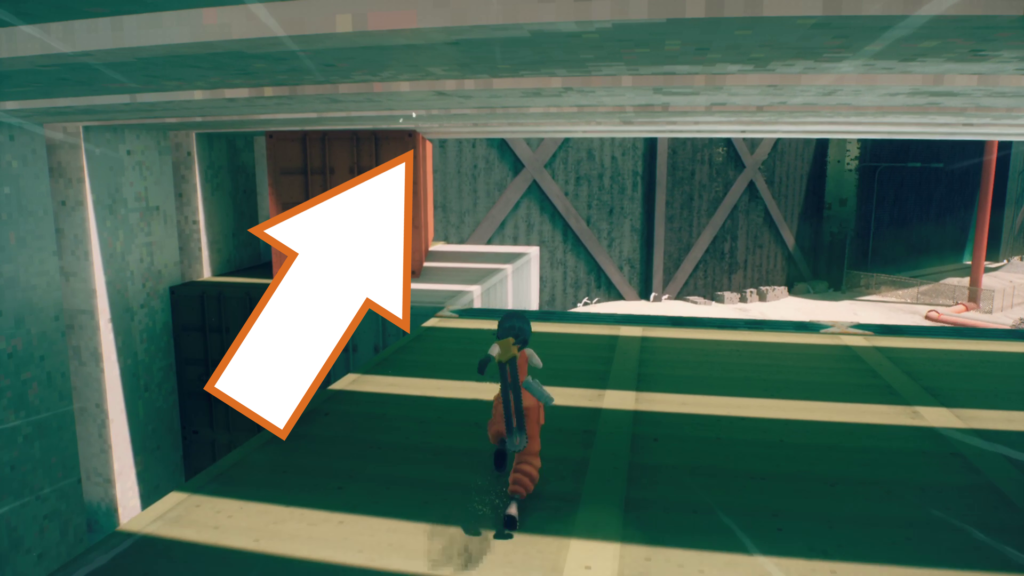
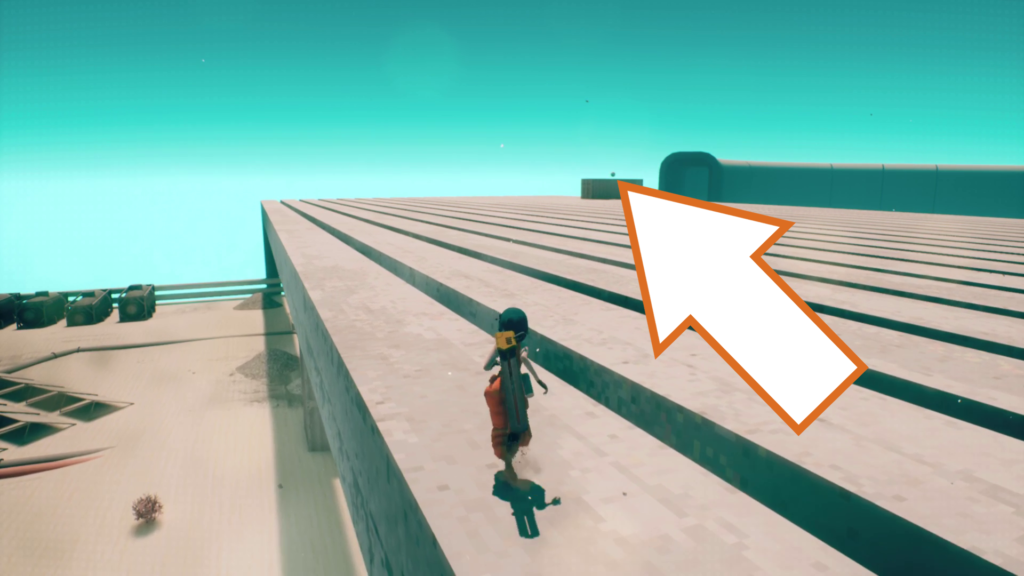
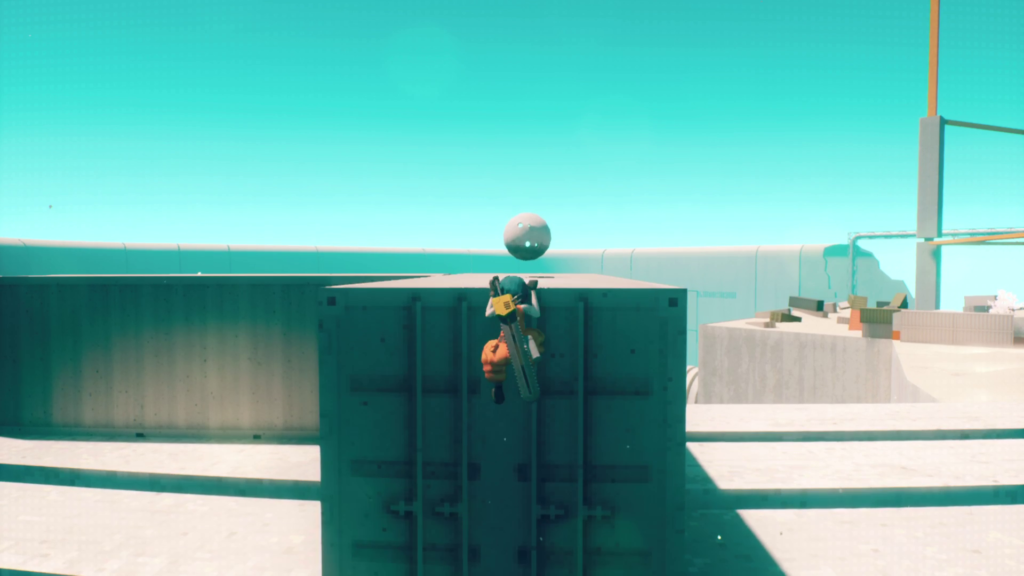
Instead of going back the way you came, climb on top of the blocks and containers and look for a storage container you can climb up onto the roof of this building. Carefully jump across the thin strips of concrete to reach the second orb drone on top of a container. Take both of these drones to the evac point back on the ground.
Orb Drone 210
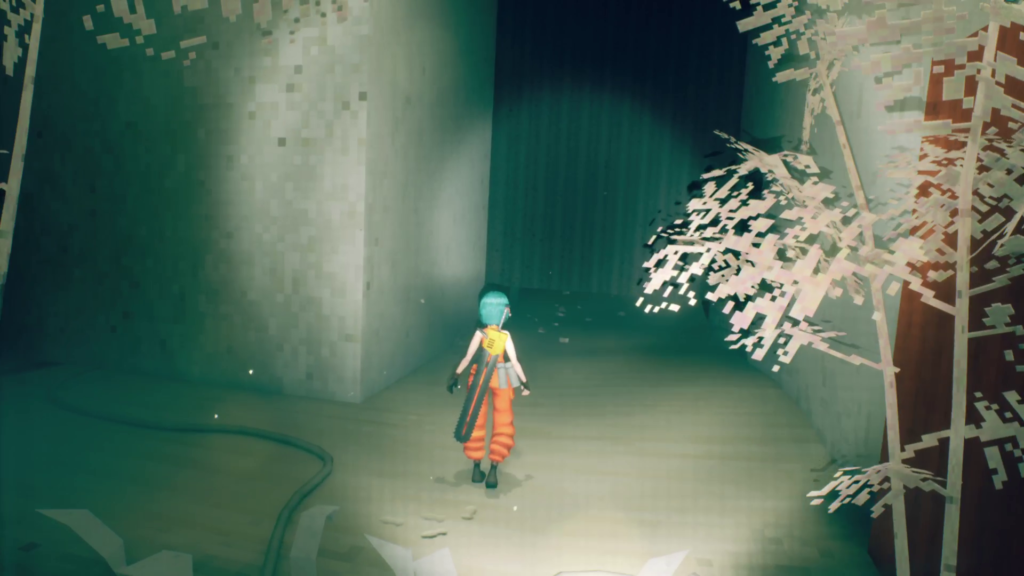
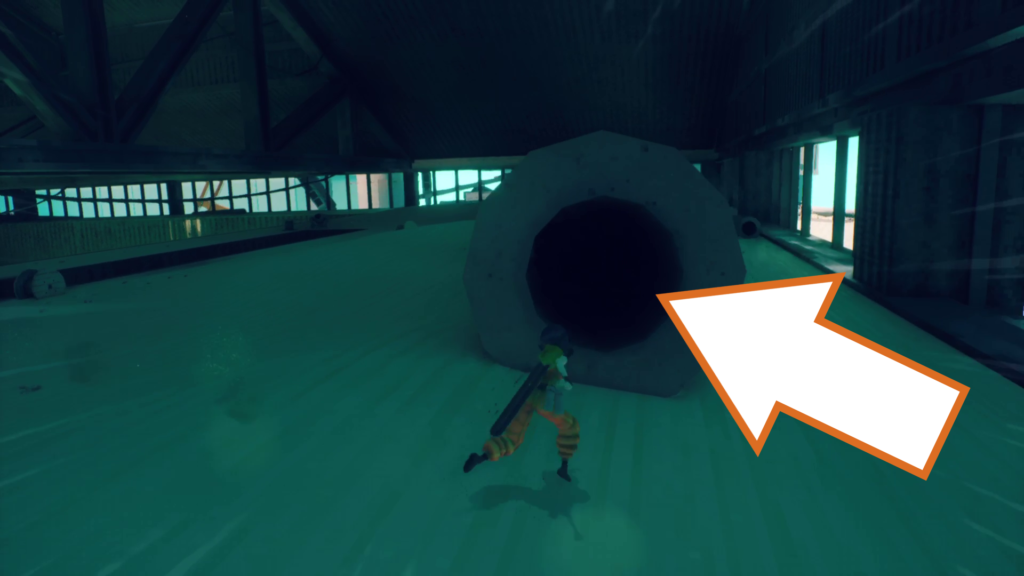
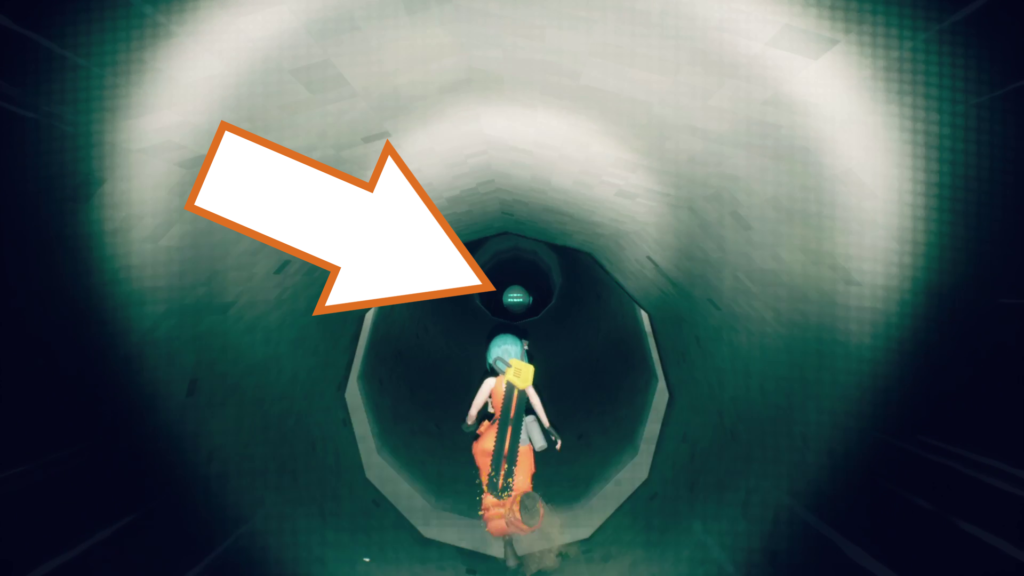
Head inside the next building, and instead of going through the door at the end of the corridor, take the path opposite the door and go up the stairs. Locate a long pipe and head inside it to find this orb drone hidden inside.
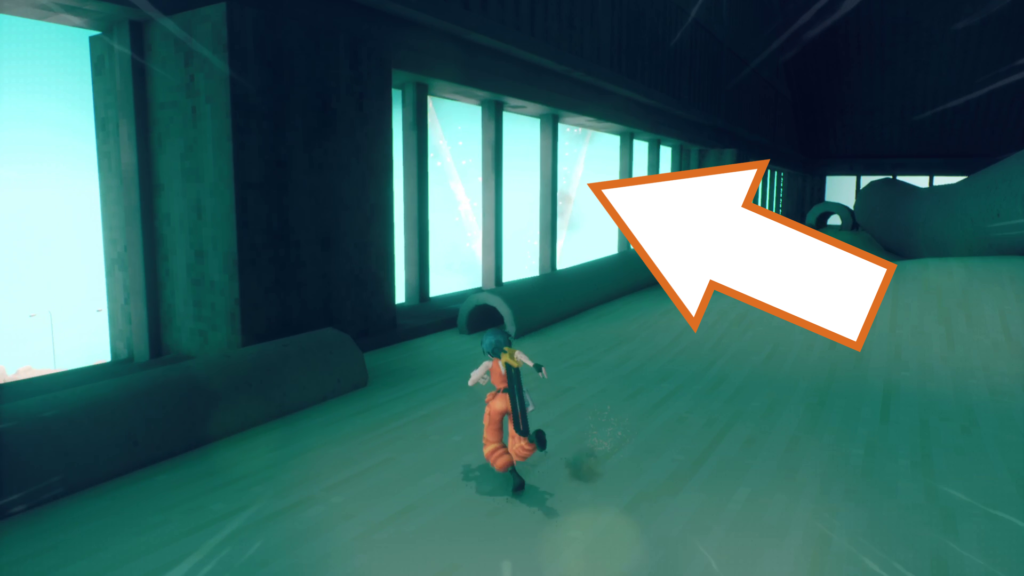
The evac point is actually just behind the pipe, off the edge of the building. You’ll have to jump to reach it, but you can return to this area after respawning for the next two drones.
Orb Drone 211 & 212 (Timed)
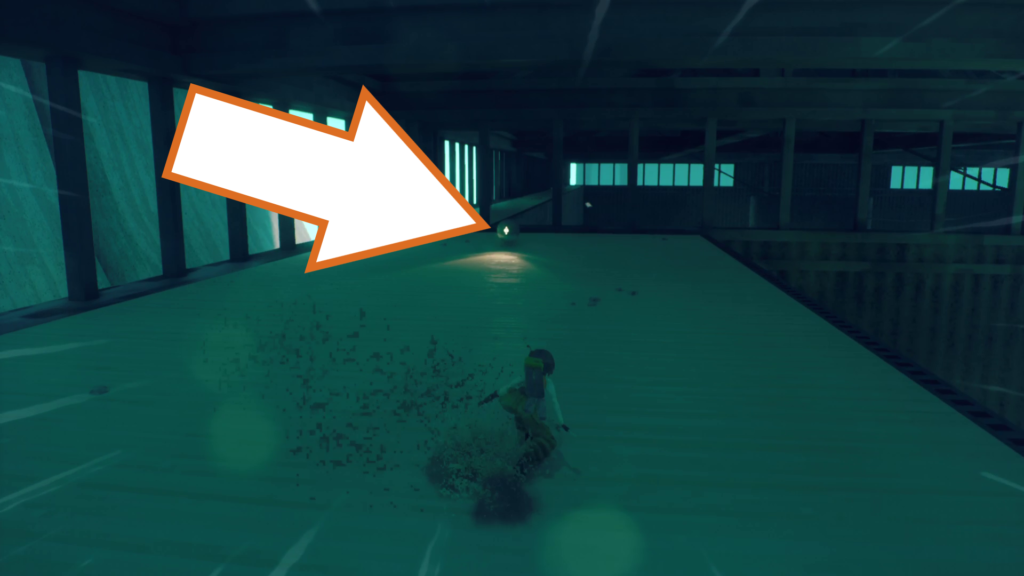
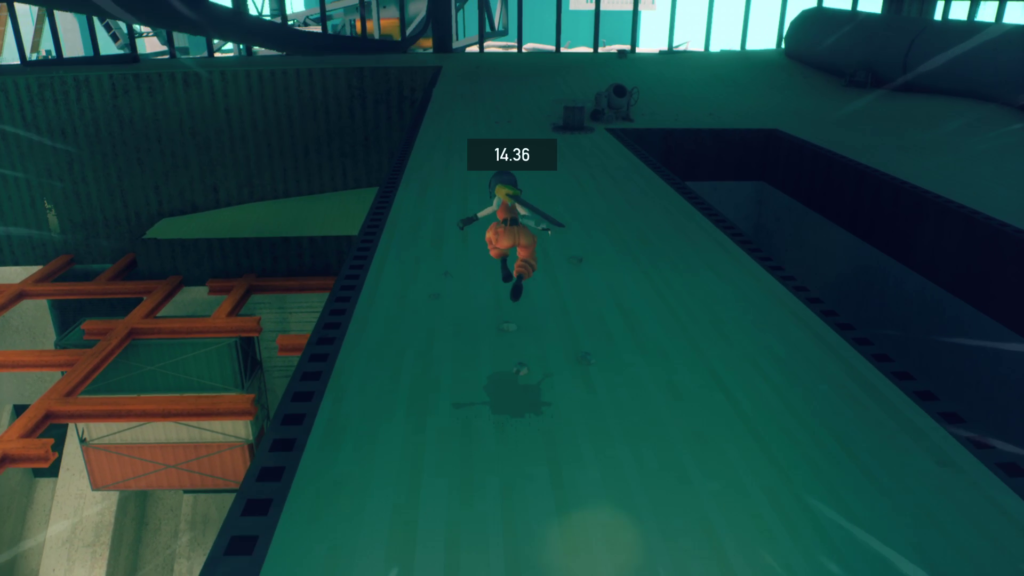
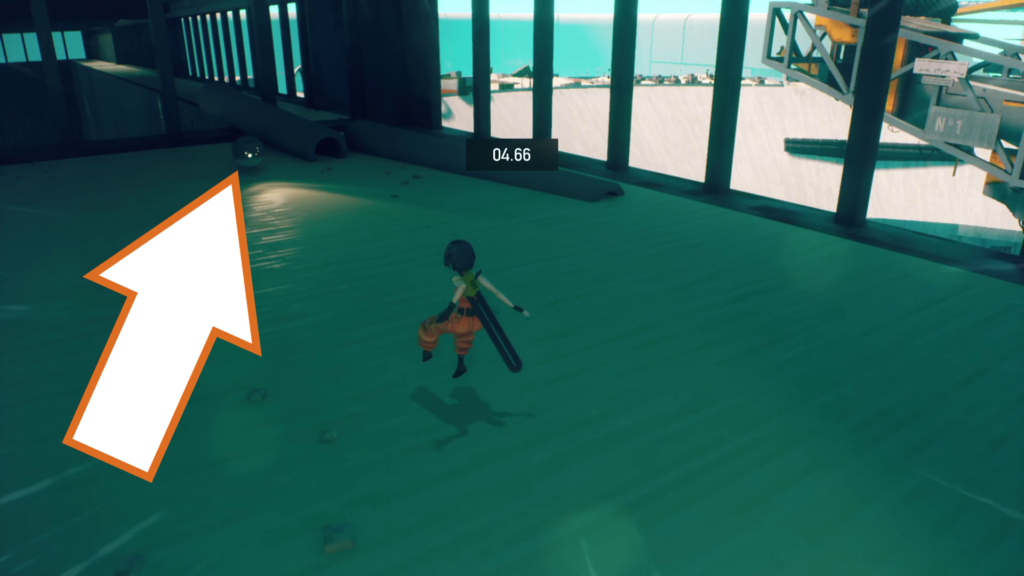
These two can be a little tricky to collect within the time limit. One orb drone is situated on either side of the large hole in the floor. I recommend constantly jumping, as you cover more distance. Deliver both of the drones to the evac site you used for the previous drone.
Checkpoint_05
Orb Drone 213
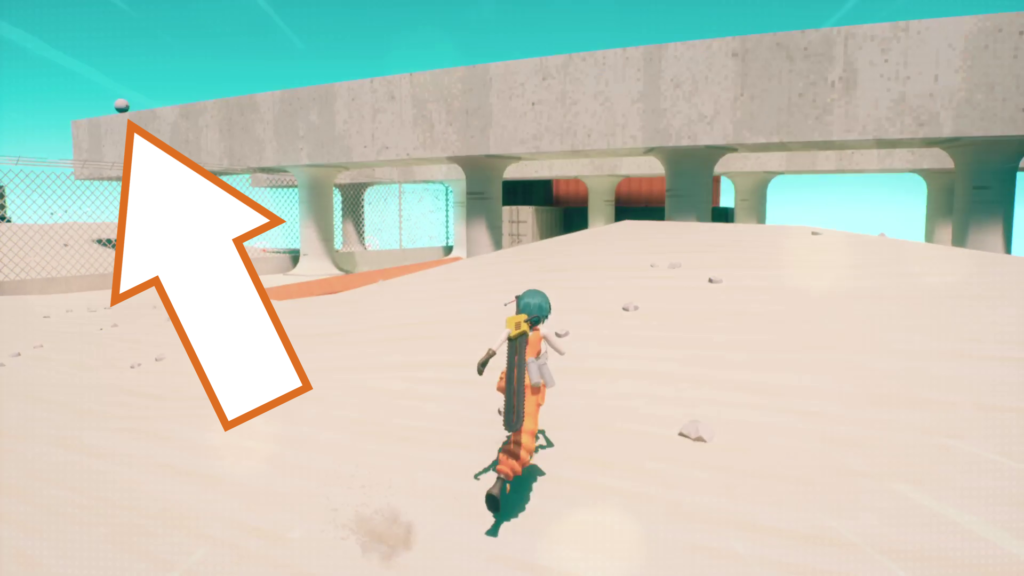
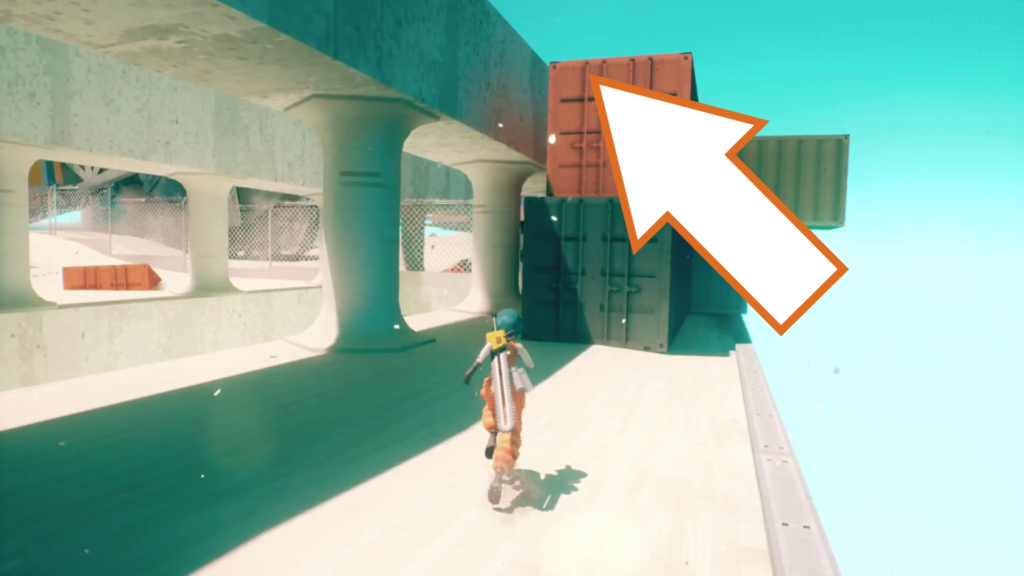
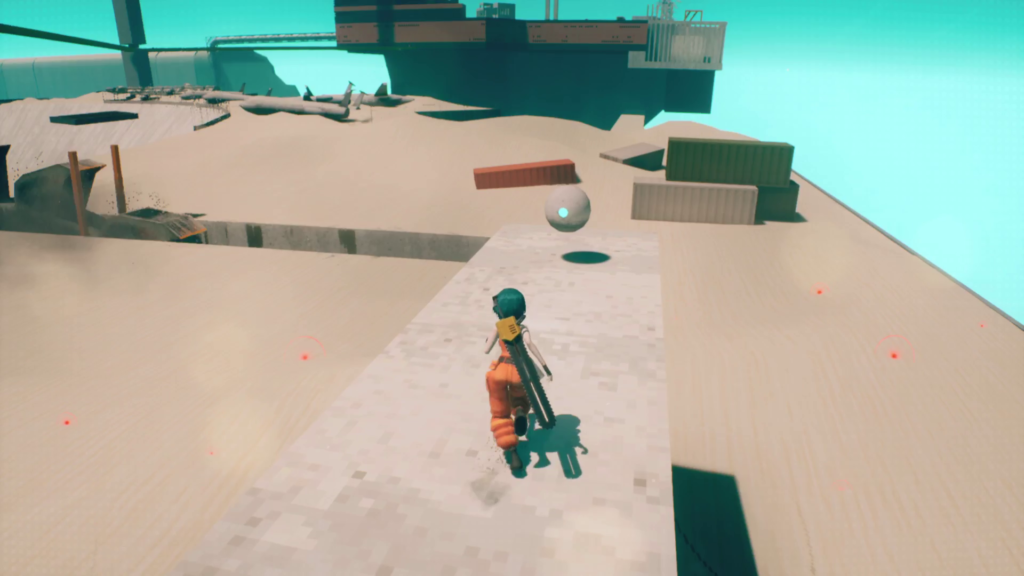
Continue forward until you reach the structure twith a ramp to slide down. Don’t go down the ramp, and instead climb up the containers on the far side and jump across to reach the orb drone on top.
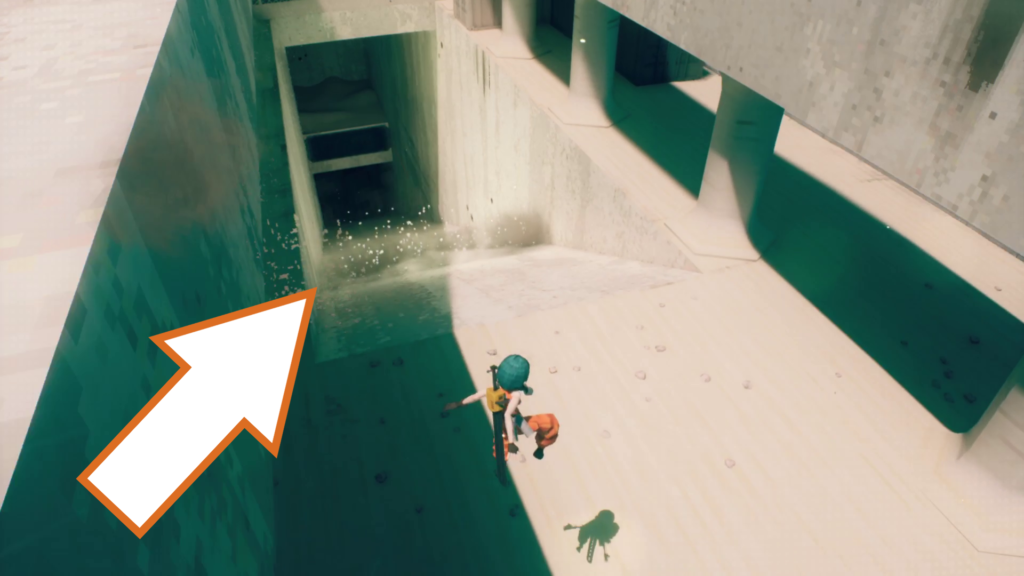
The evac point is down the ramp, so slide down to deliver the drone, and be sure to jump at the end to avoid falling in the hole.
Orb Drone 214
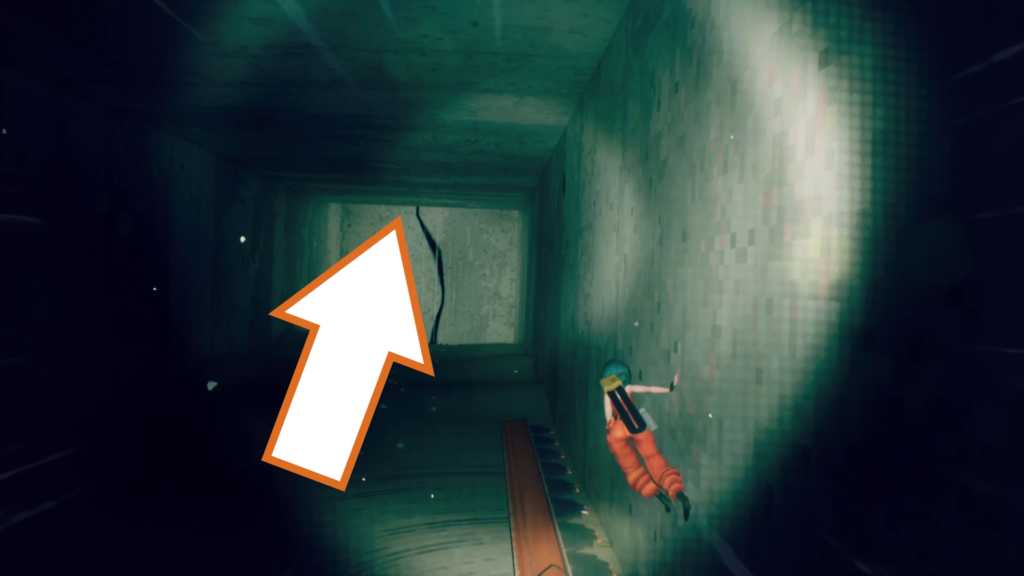
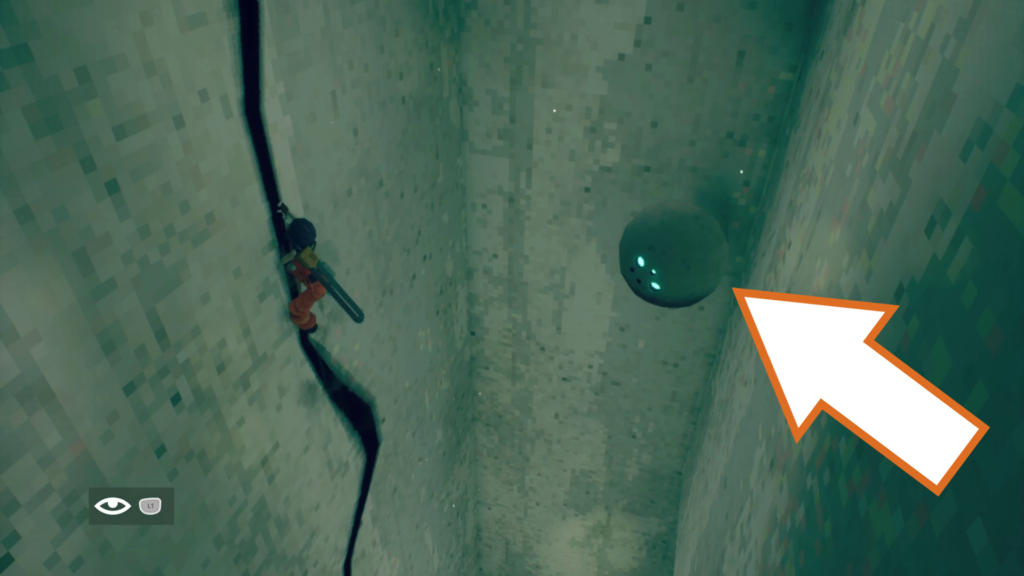
This orb drone is found during the sequence where you avoid the boss’s giant grinding saw. Once you have reached the corridor with the two saw arm traps, climb up the crack at the end to find the drone floating above.
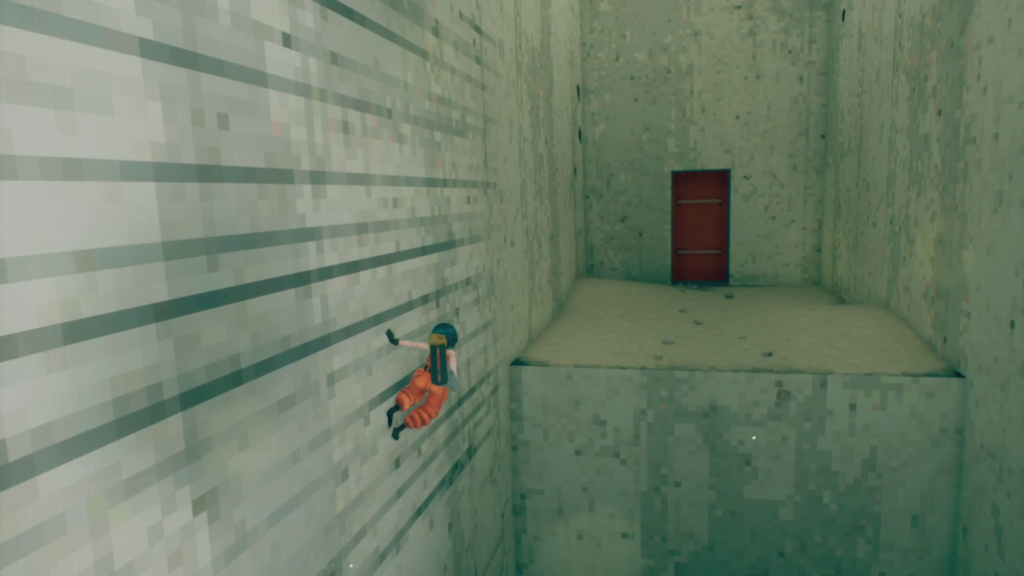
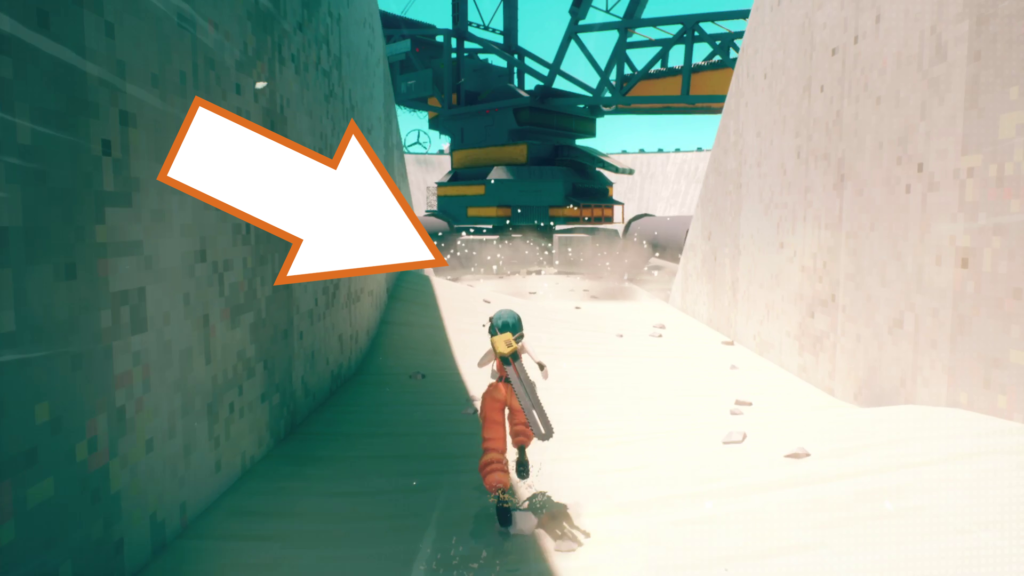
Go through the door at the end to reach the boss fight and the evac point.
Checkpoint_06
Orb Drone 215
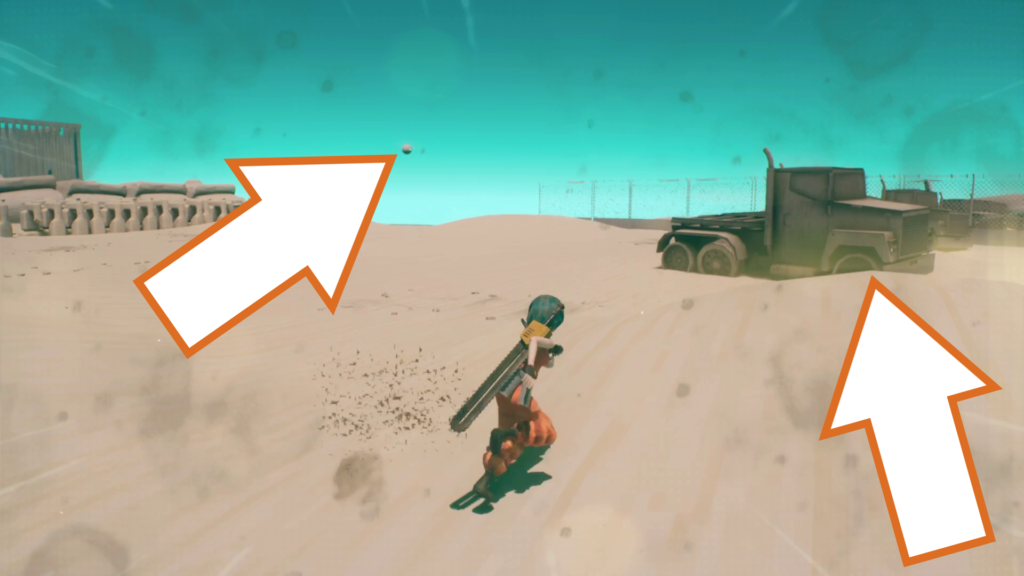
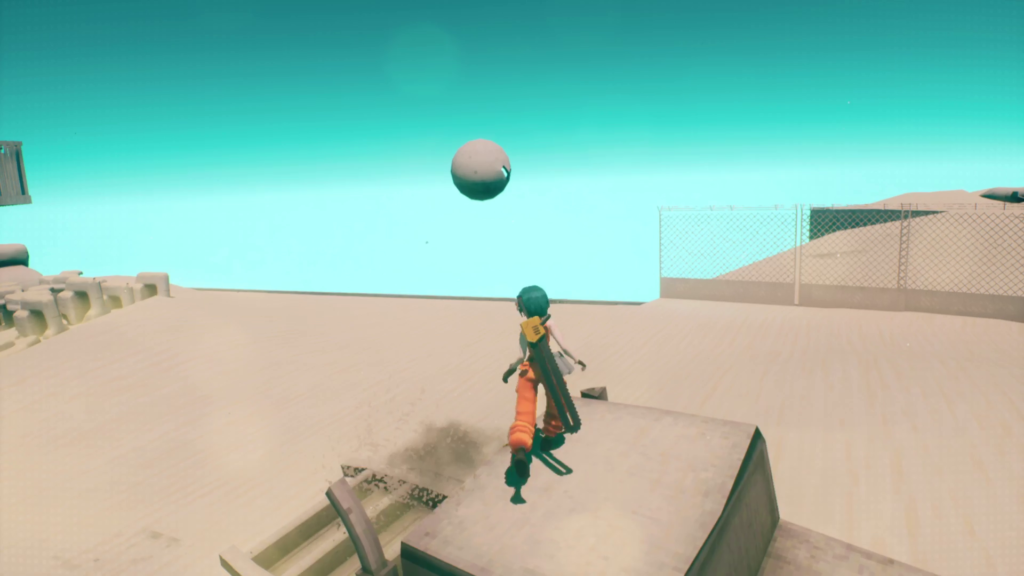
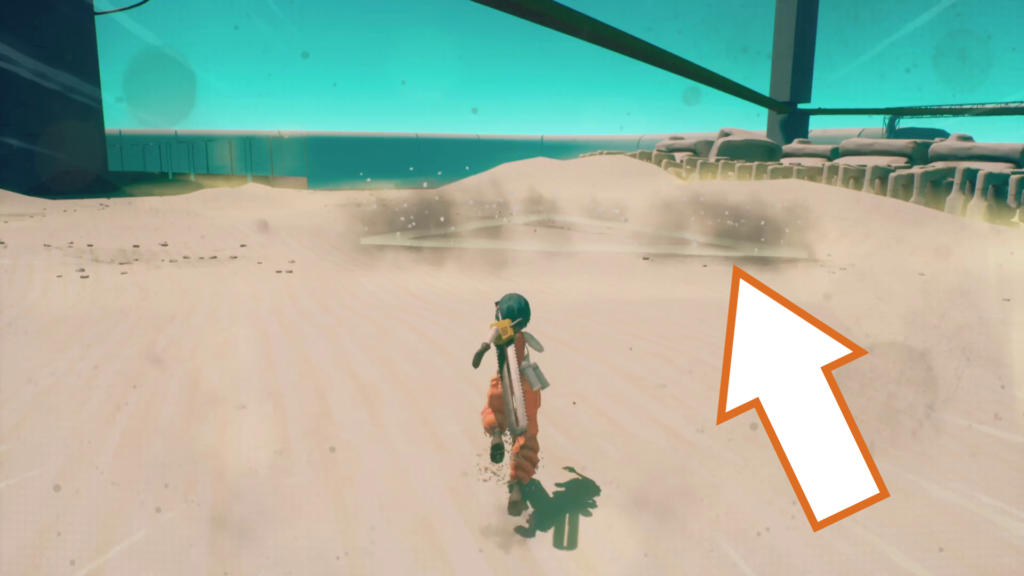
After the boss fight, climb up the remains to reach a flat sand area and locate this orb drone just floating above the ground, out of reach. Hit the truck over and climb up it to reach the drone, then take it to the nearby evac point.
Orb Drone 216
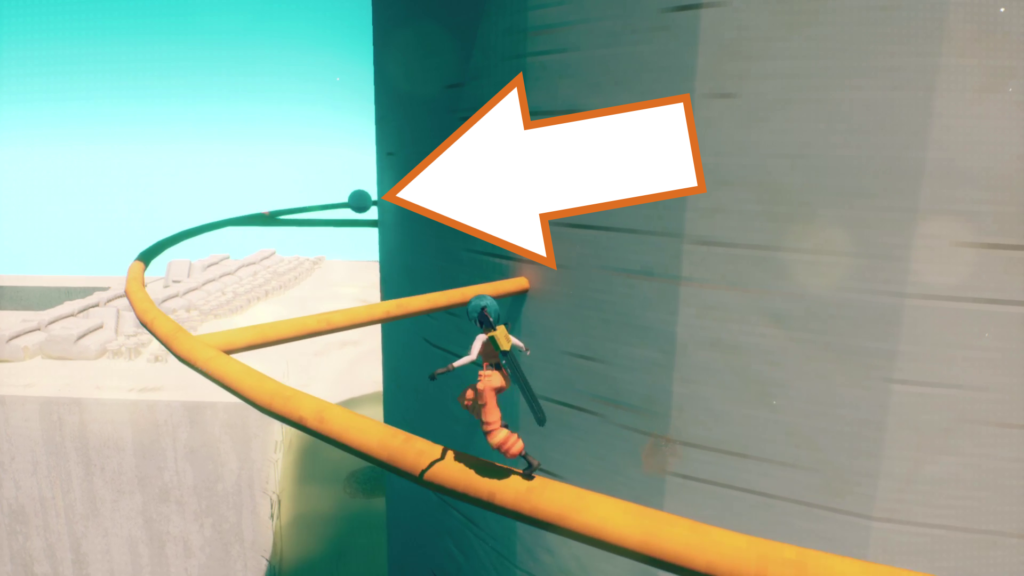
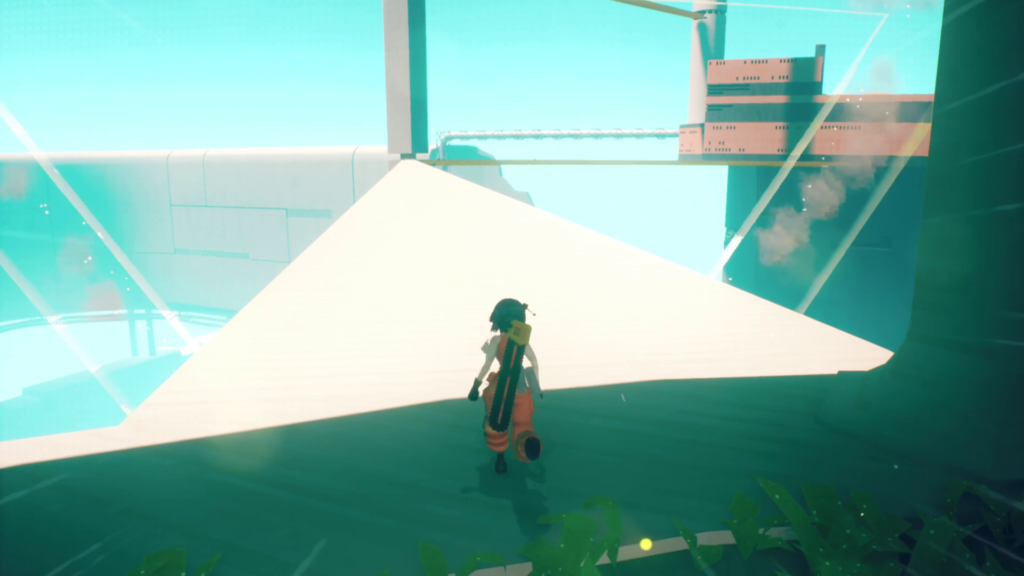
The last orb drone for this chapter is located at the back side of the large tower you have to climb to proceed. Use the orange pipe to walk around to the back and collect it, then head up to the evac point on the bridge to the central pillar
Chapter 8 – Desert
Checkpoint_01
Orb Drone 217

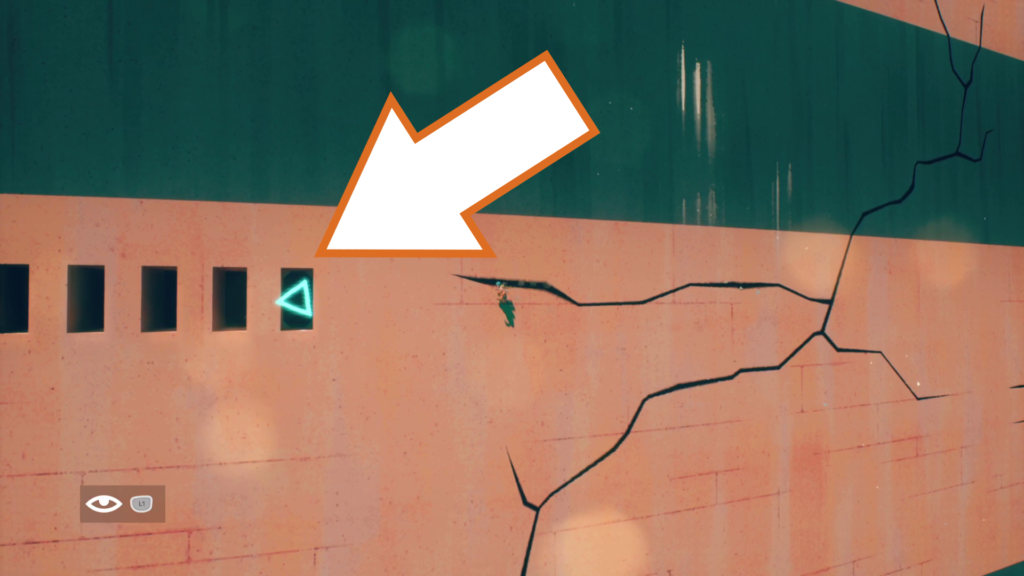
After crossing the long bridge from the central pillar, ignore the door and climb onto the crack in the wall to the right. Climb up it and head to the left, where there is a row of square holes in the wall.
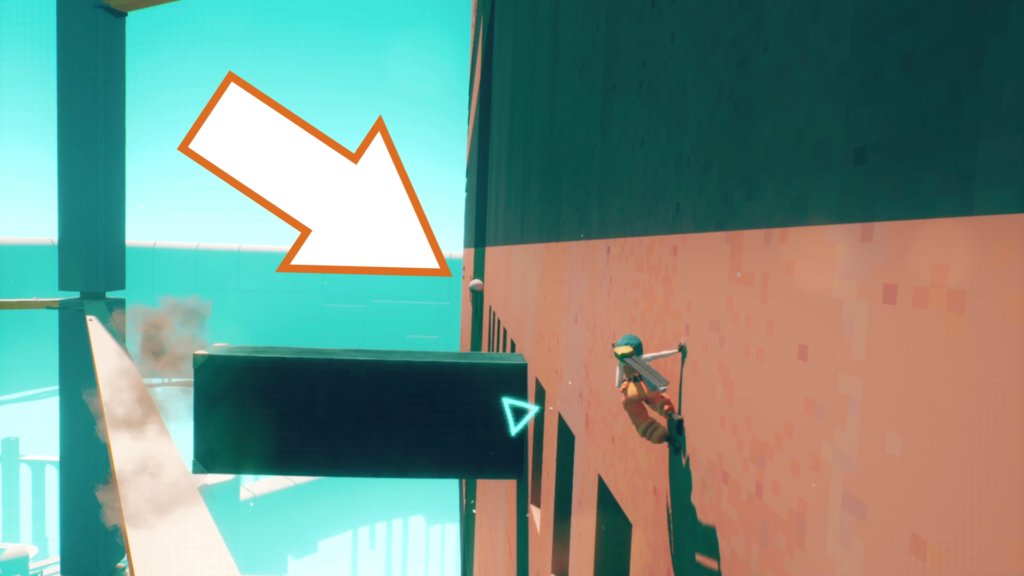
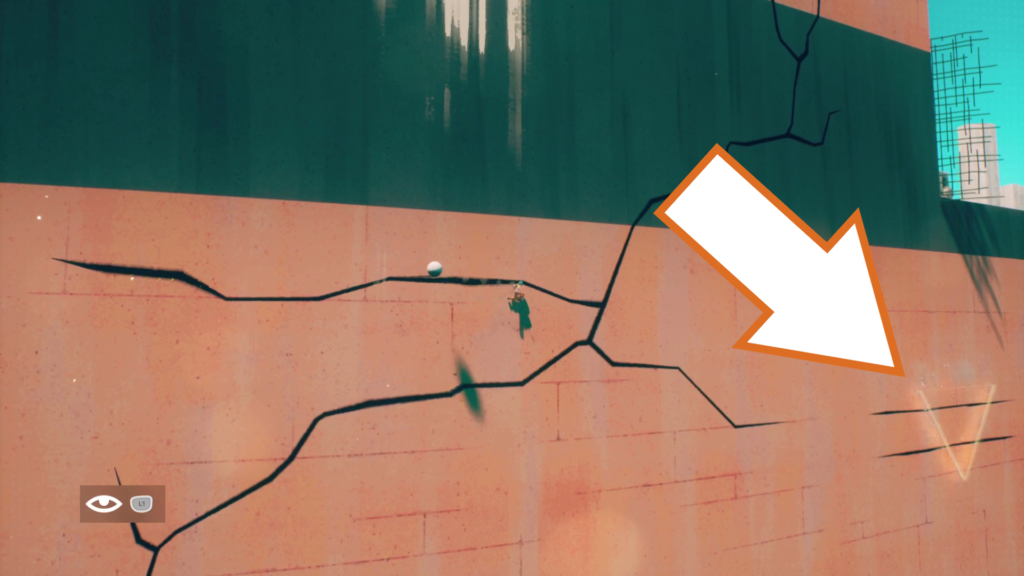
Use your hack ability to make a block extend out from each hole, making platforms for you to reach the first orb drone for this chapter. Quickly return the way you came, and then slide down the cracks to the right, where an evac point awaits. Be careful of the circular saw trap.
Checkpoint_02
Orb Drone 218
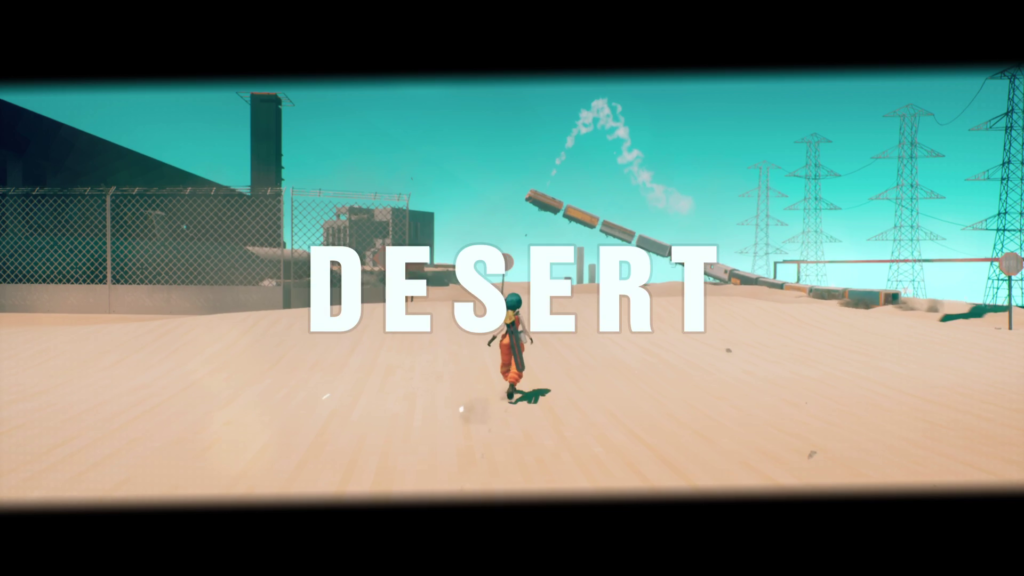
Climb up the cracks to reach the roof of this building, and you’ll get the chapter title.
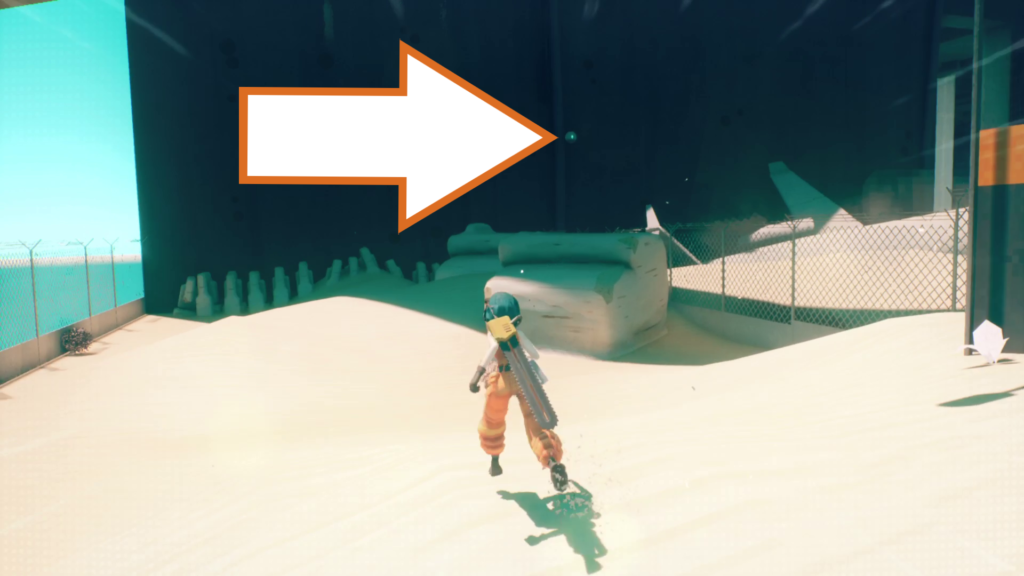
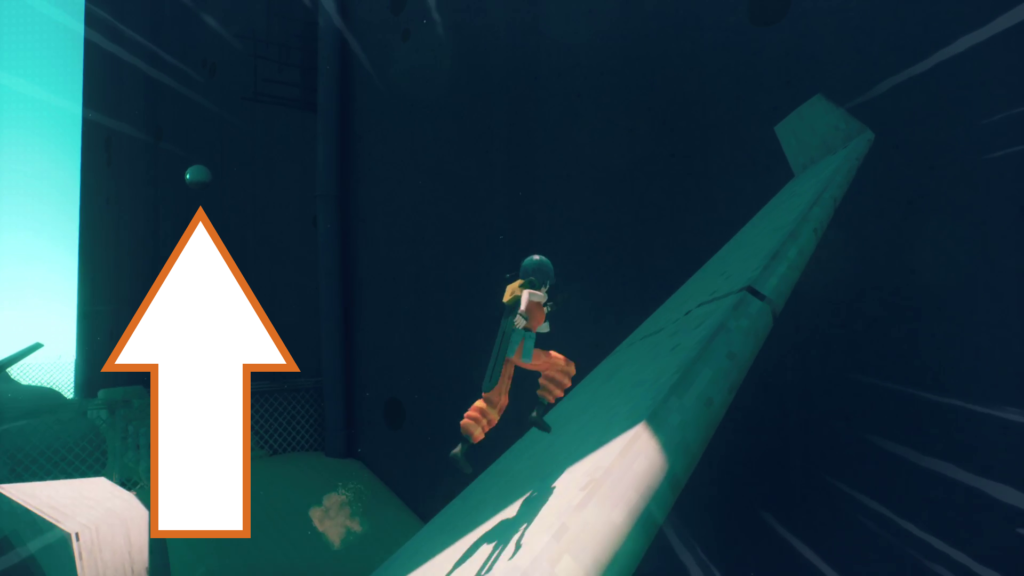
Head to your left and look for this orb drone hovering against the wall in the shade. Hope over the fence on your right, climb up the aeroplane wreckage closest to the wall, and use it to wall run and reach the drone.
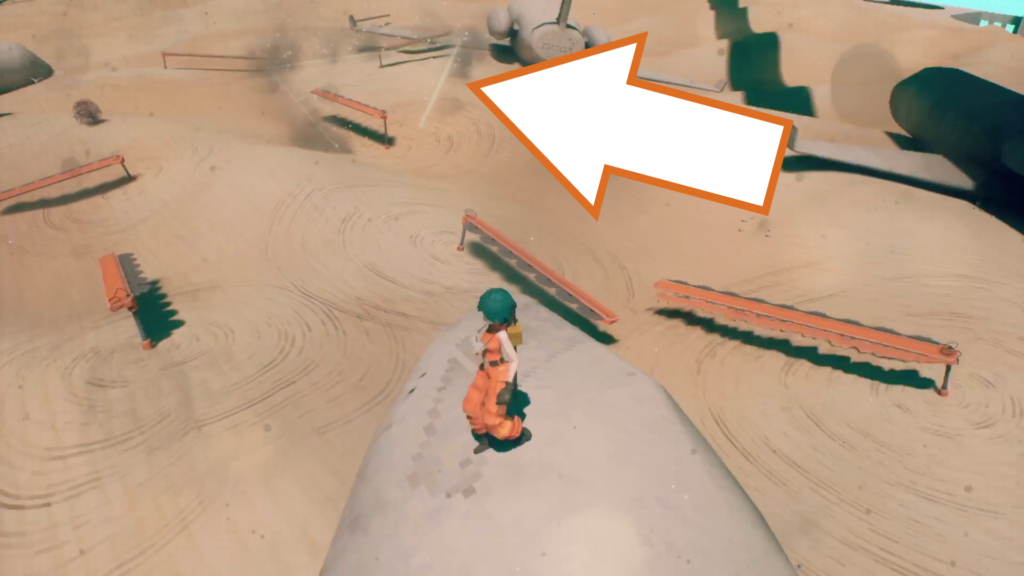
Back over the fence and amongst several spinning saw traps is the evac point.
Orb Drone 219
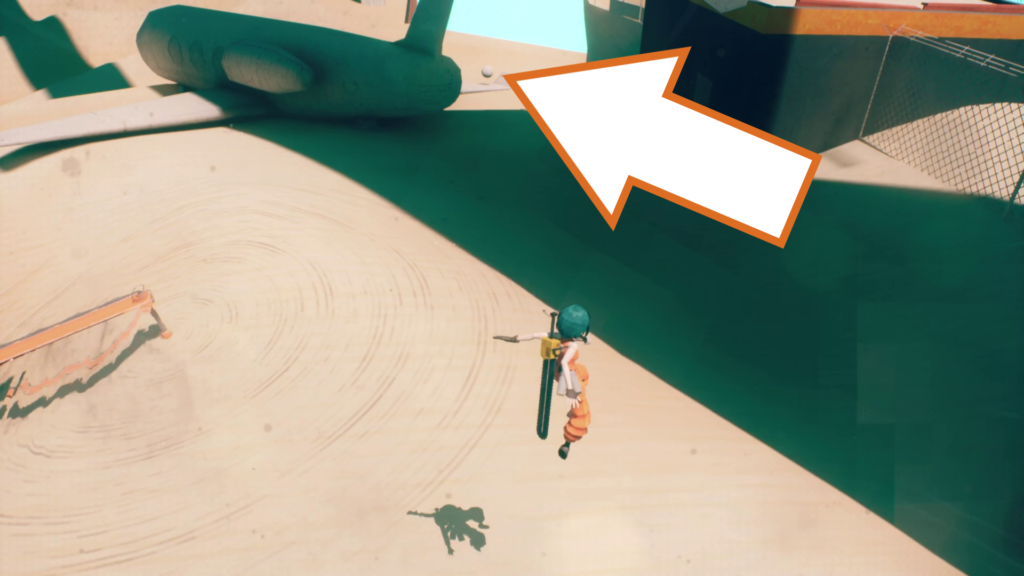
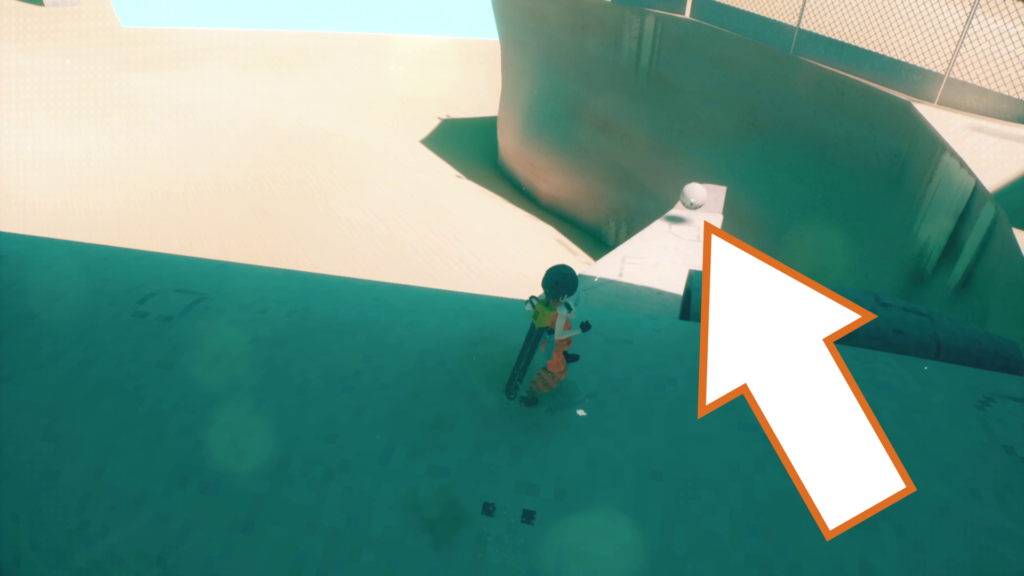
Hanging off the edge of the building you are on is another plane wreckage. The orb drone is at the end of its wing. Take it back to the nearby evac point.
Orb Drone 220, 221 & 222 (Chase!)
These three drones are unique across the whole game. Instead of being a timed event, you need to collect all three as you are being chased by a wall of sand and destruction. You need to collect all three and make it to the end, or you’ll have to restart the checkpoint to play through this sequence again.
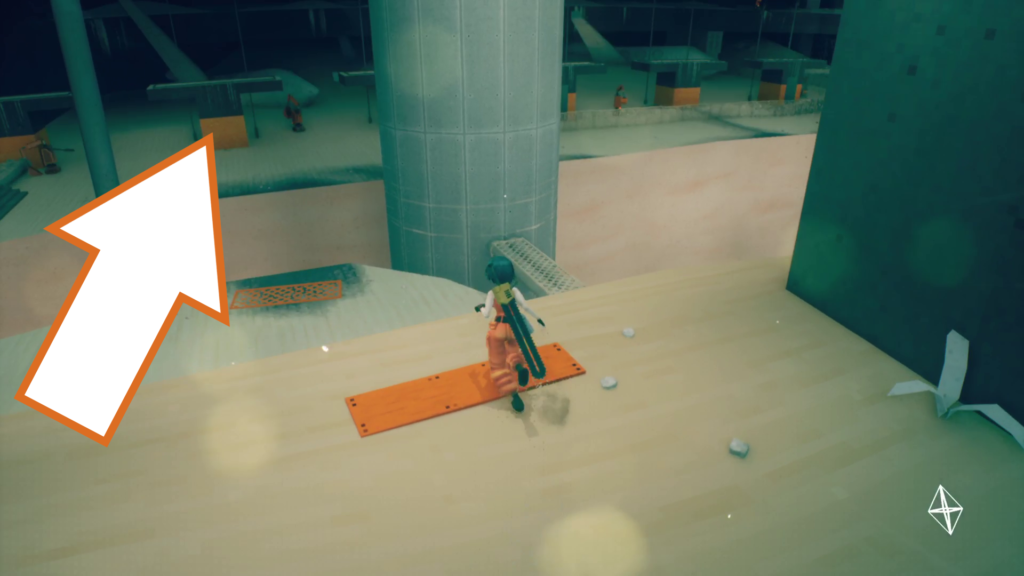
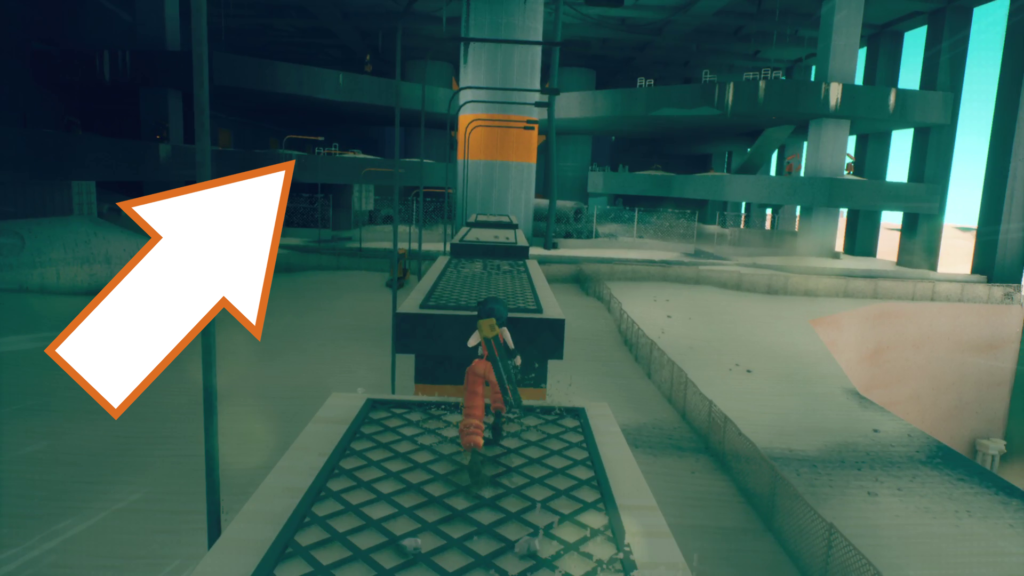
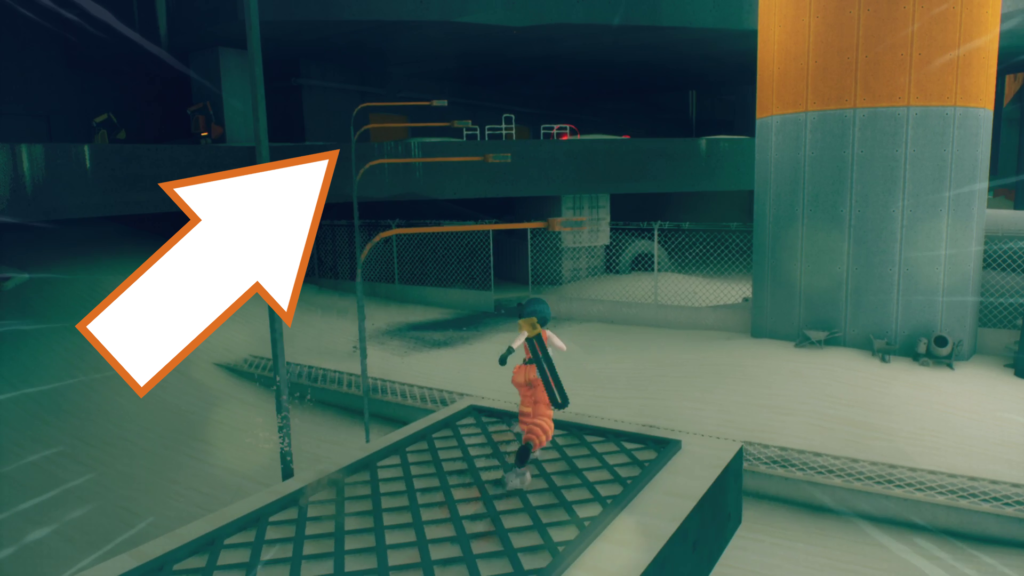
As soon as you drop down inside the building to your left, the event begins. Jump across and mantle up to one of the raised platforms. (I recommend ignoring enemies throughout this sequence.) Run/jump across these platforms and swing up the row of streetlights to reach the upper floor.
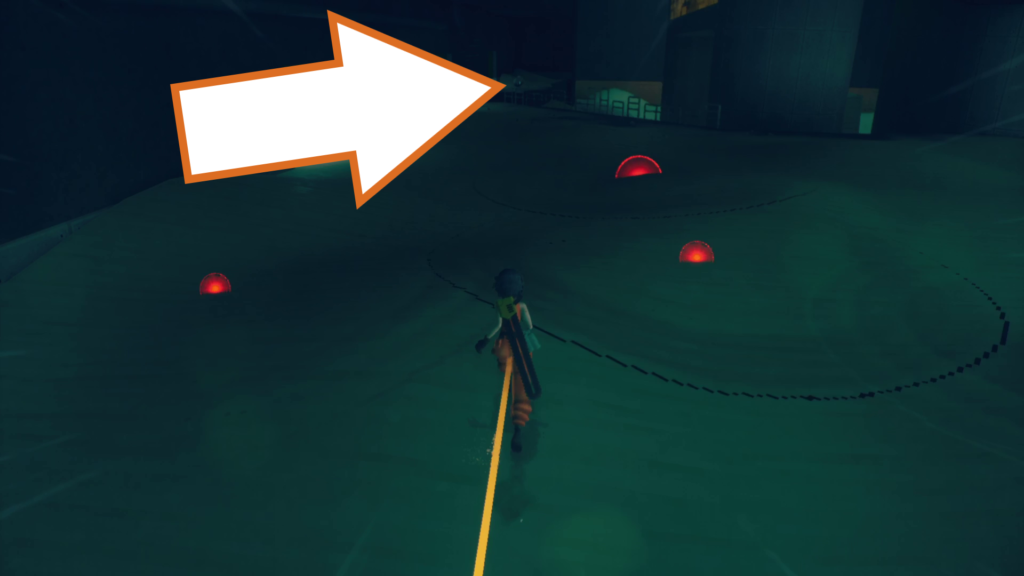
Head to the right through the dark, looking out for mines. Across a short gap are the first and second orb drones to collect.
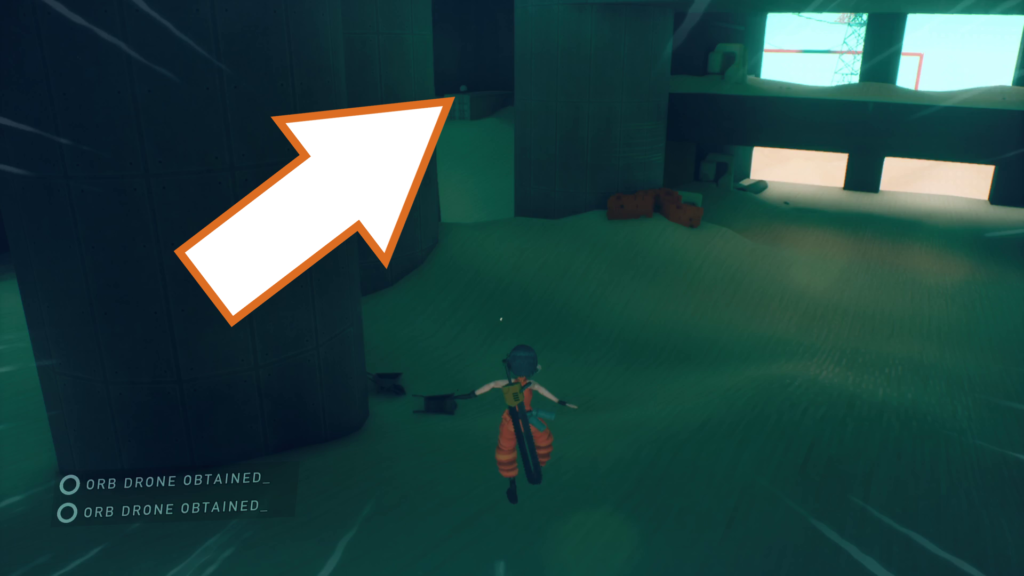
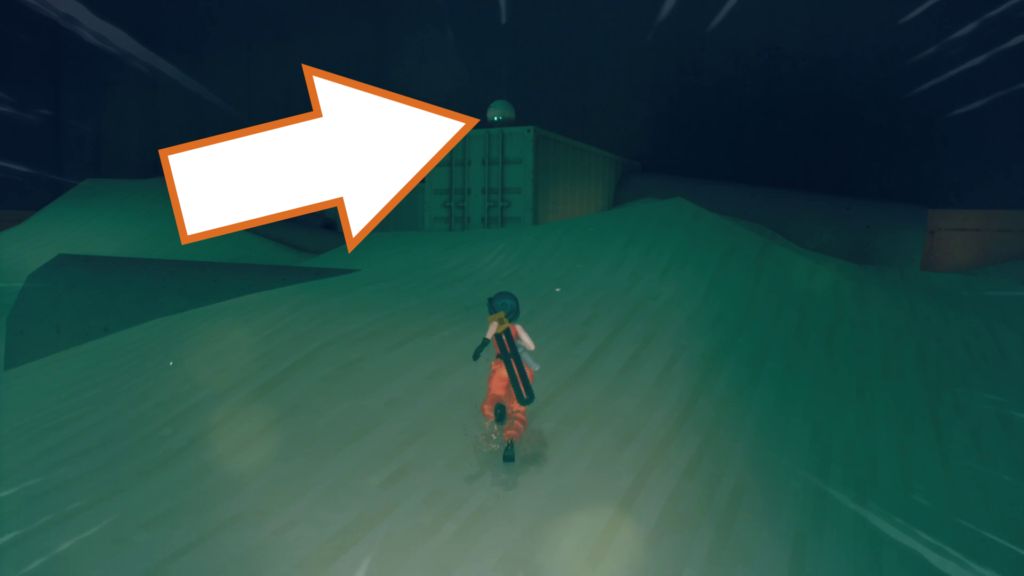
Look across the room between the large pillars to spot the third drone above a shipping container. Drop down and run across the sand to collect it.
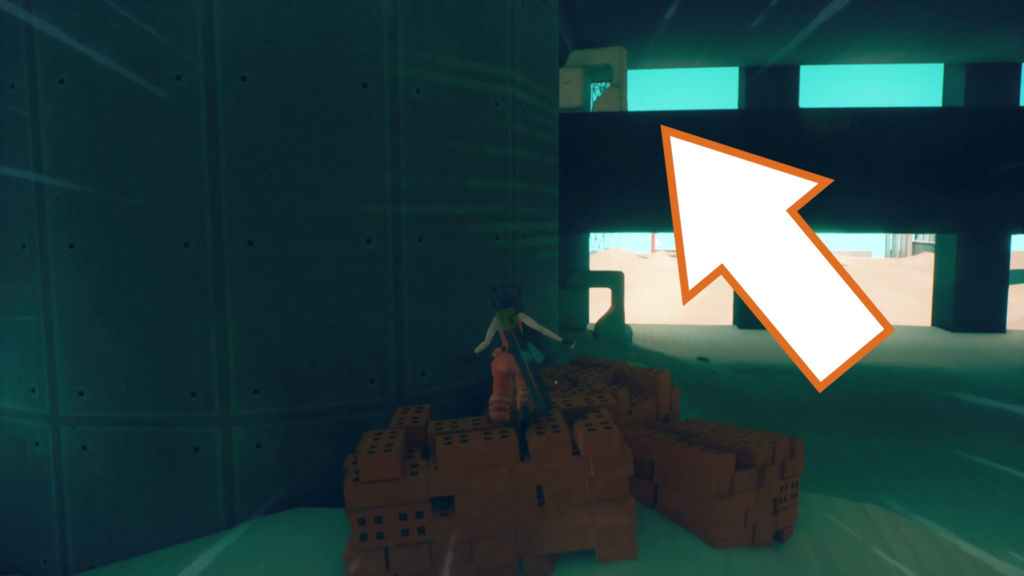
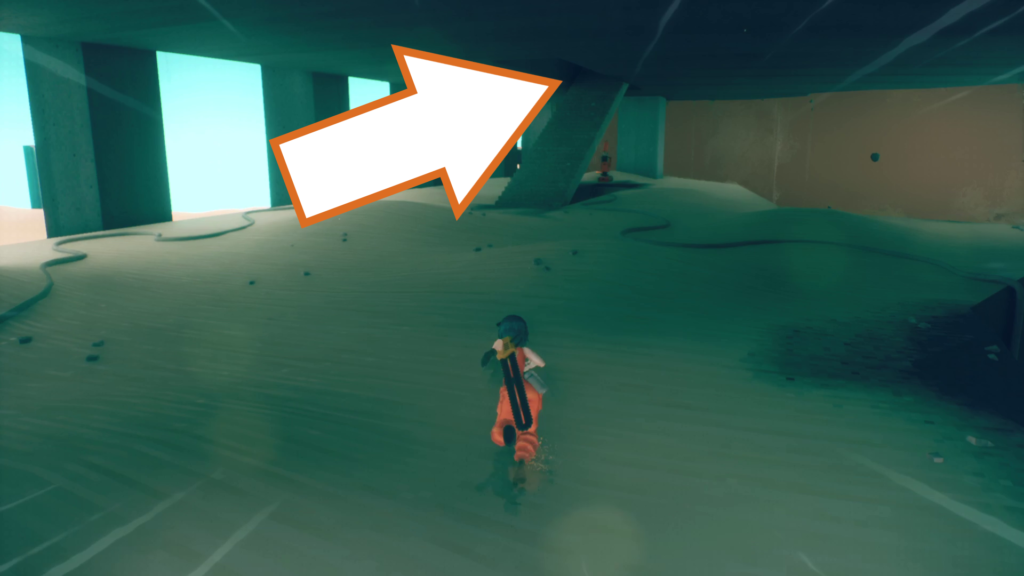
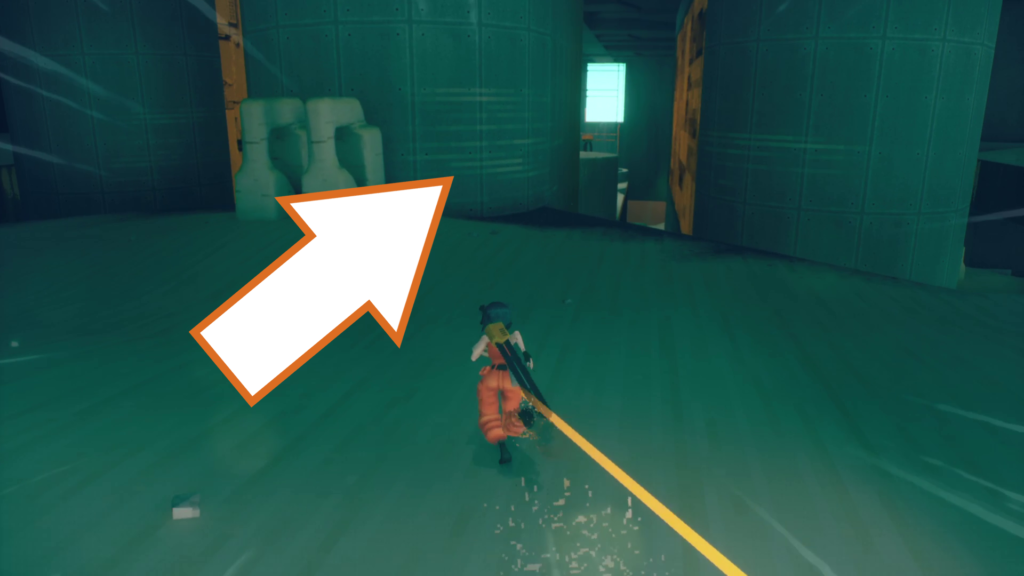
This is where it can get tense, as you need to run back towards the chaos chasing you. Head back to the large round pillars and wall run across the closest one to the floor above to reach it. Head up the stairs and turn right back to the pillars, wall-running and motorslicing to the last part to reach the exit.
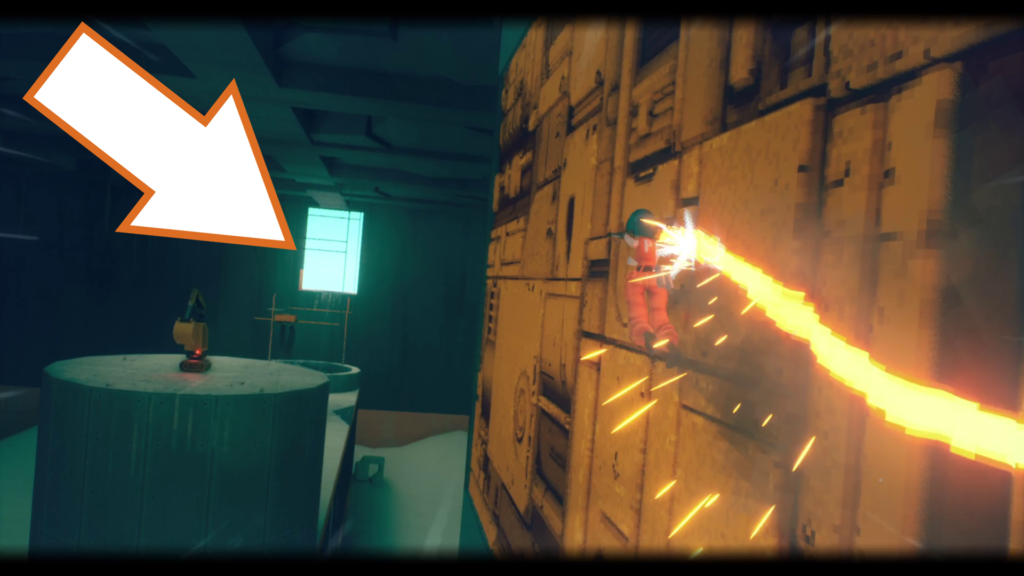
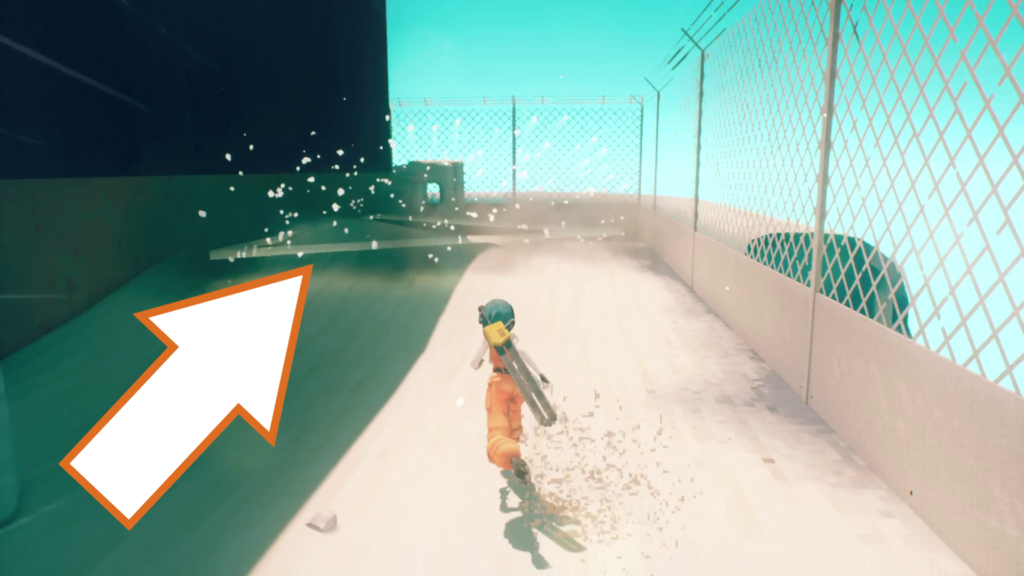
Once you have successfully reached the end with all three drones, take them to the evac point on your left.
Orb Drone 223
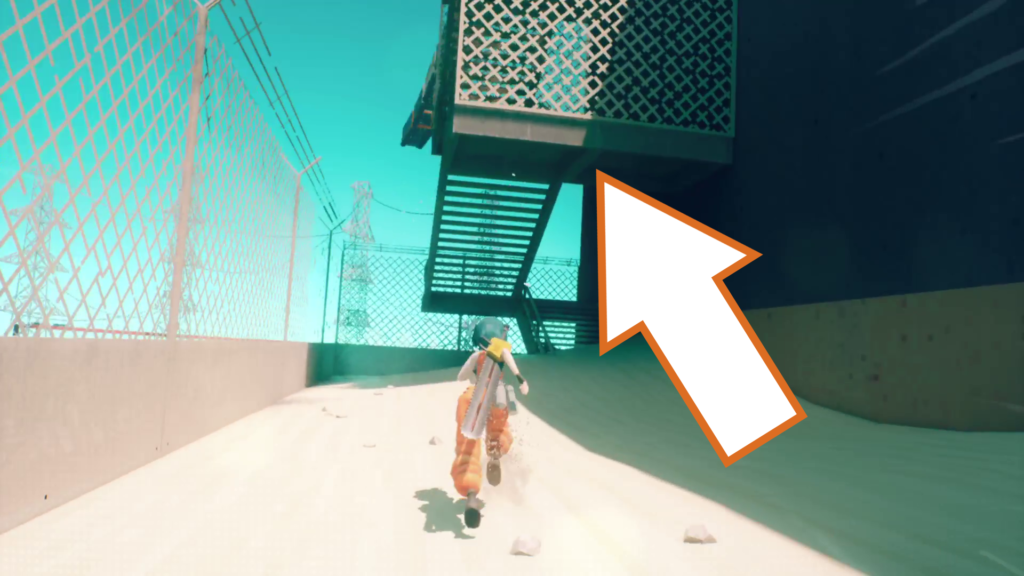
Opposite the evac point is a set of stairs to climb, leading to a crack in the wall. Get to the top where a Slack Off point is, and jump onto one of the yellow pipes.
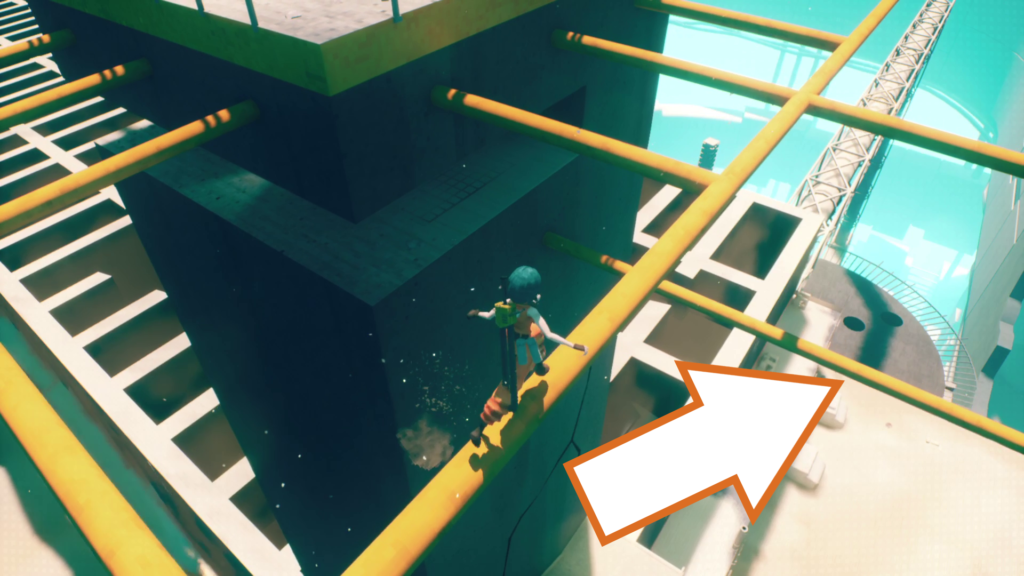
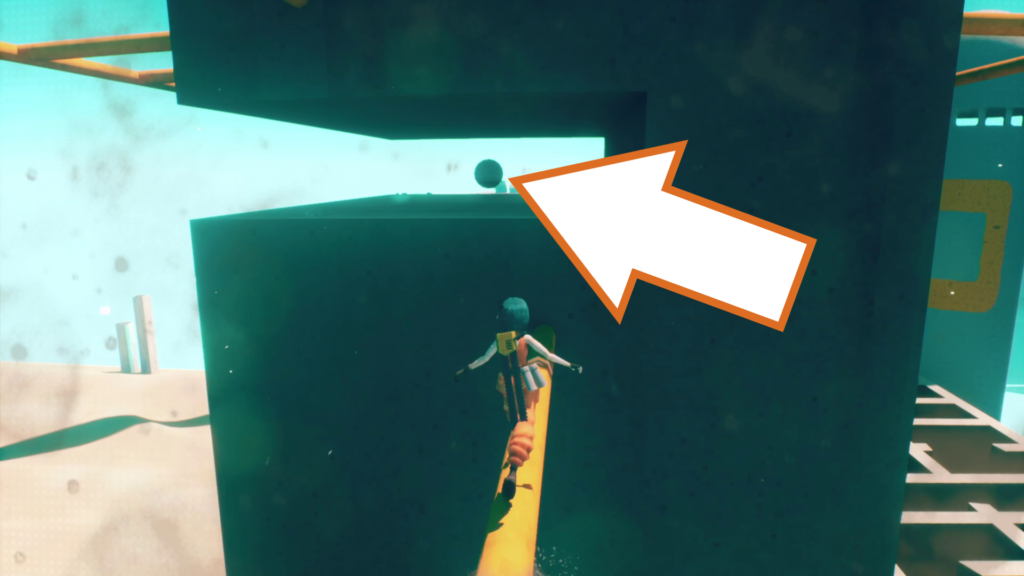
Jump down to the pipes below you and collect the orb drone tucked away in a hidden spot under the top.
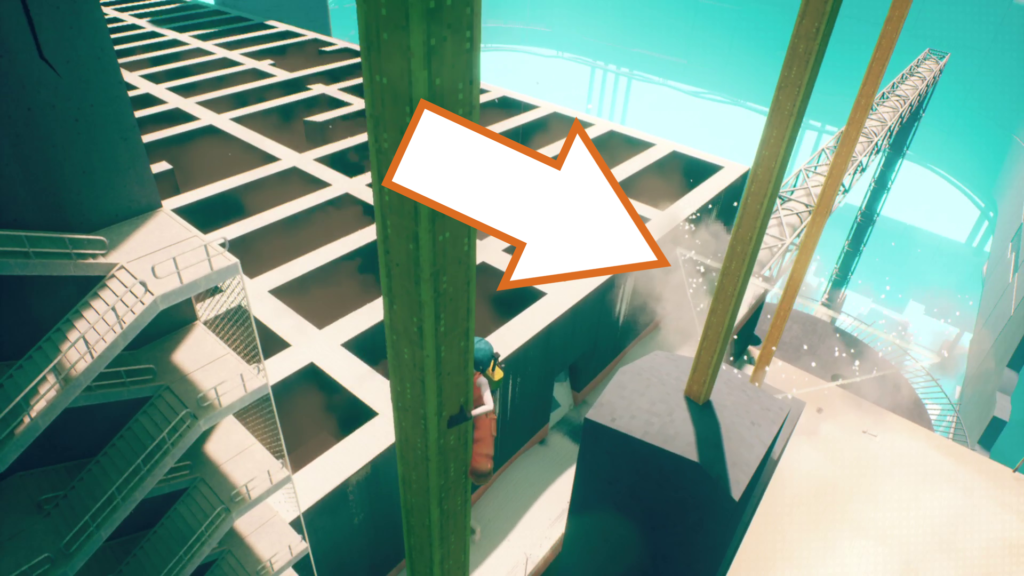
Head along the pipes to the vertical girders, and deliver the drone to the evac point partway down.
Checkpoint_03
Orb drone 224, 225 & 226 (Timed)
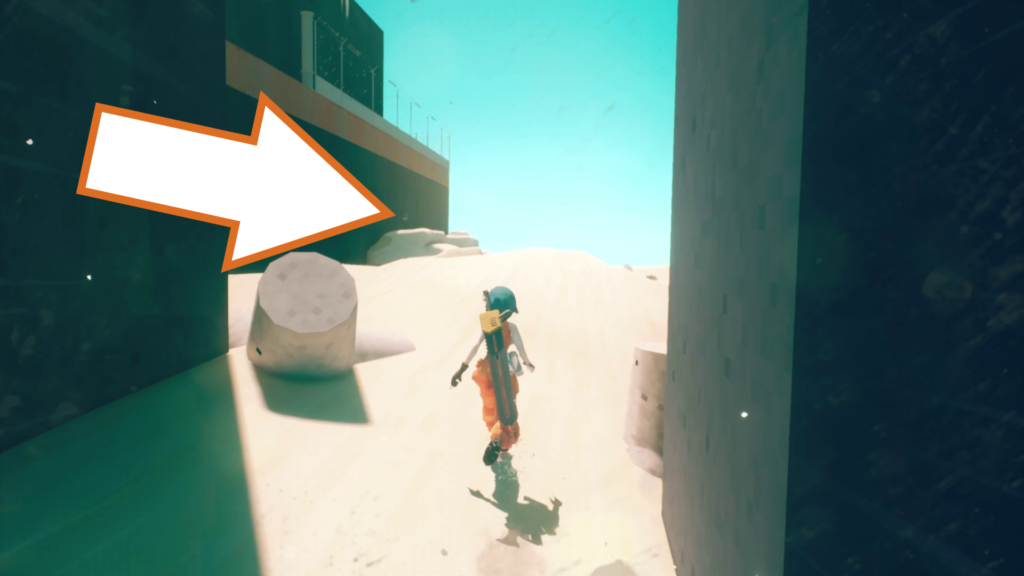
Once you’re back on solid ground, run towards the wall with some sandy remains to find the first of three orb drones you need to deliver within a time limit.
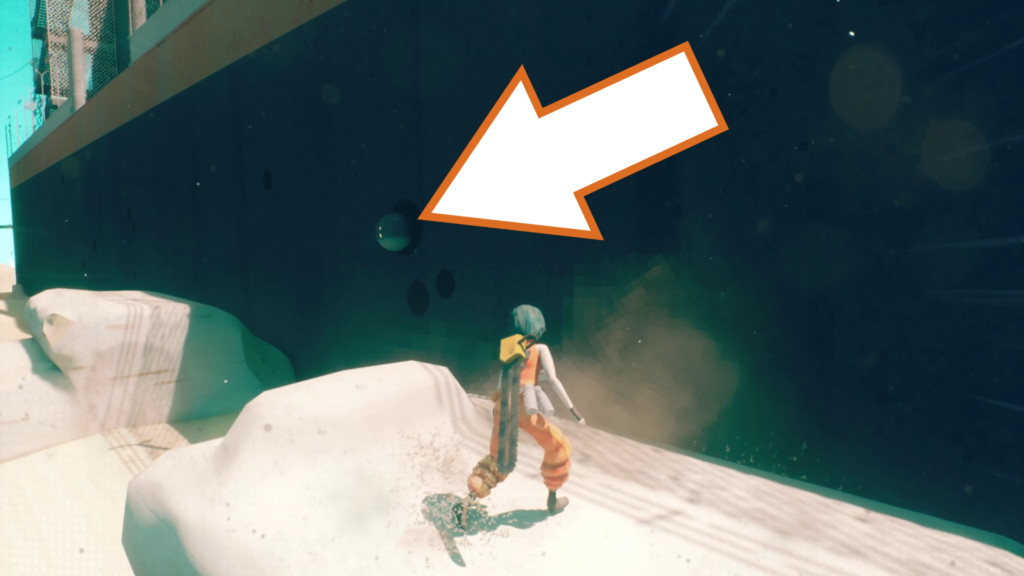
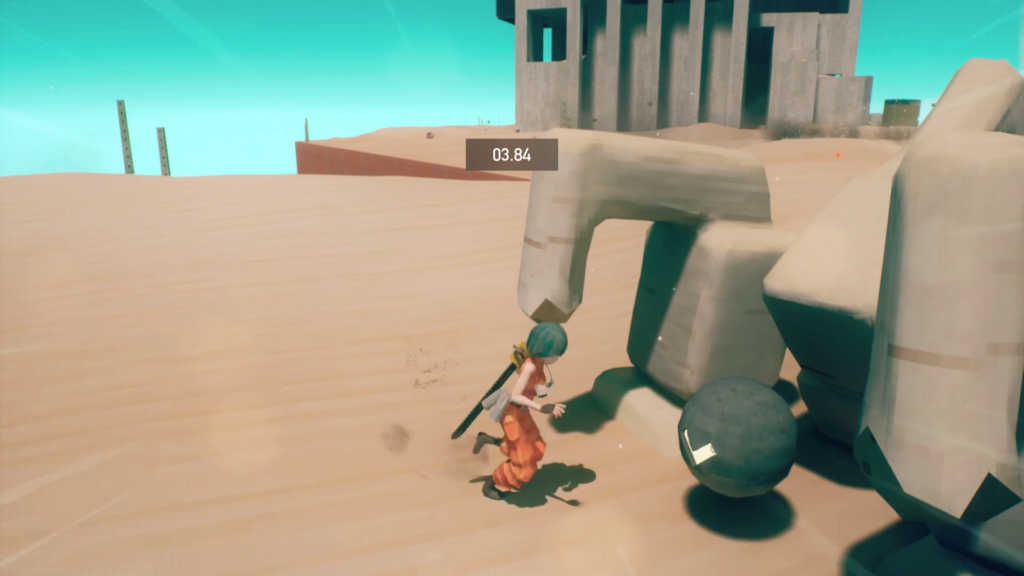
Wall run to grab the first one, then leap off the wall and run to the small vehicle wreckage directly opposite where you started to find the second drone tucked away.
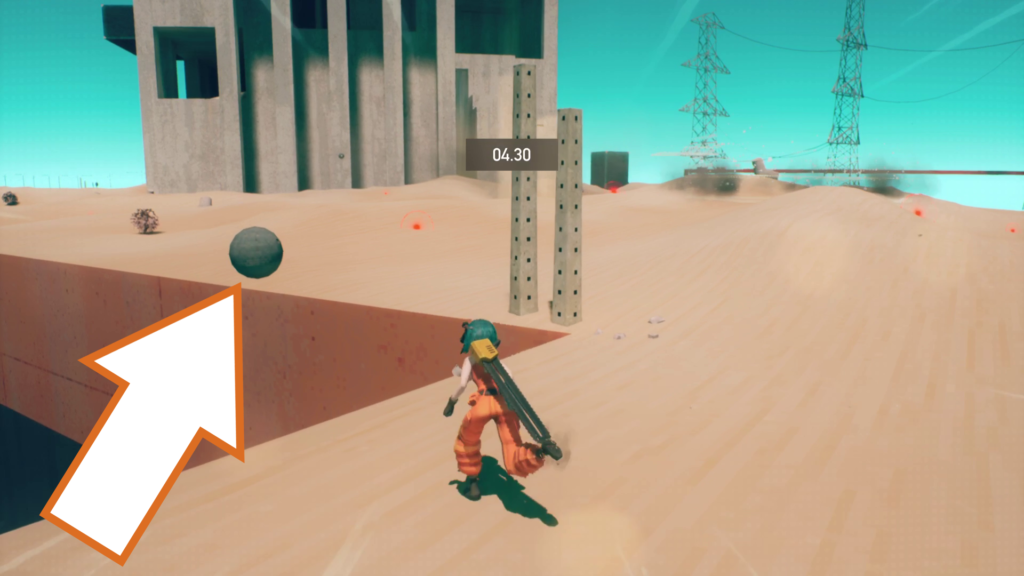
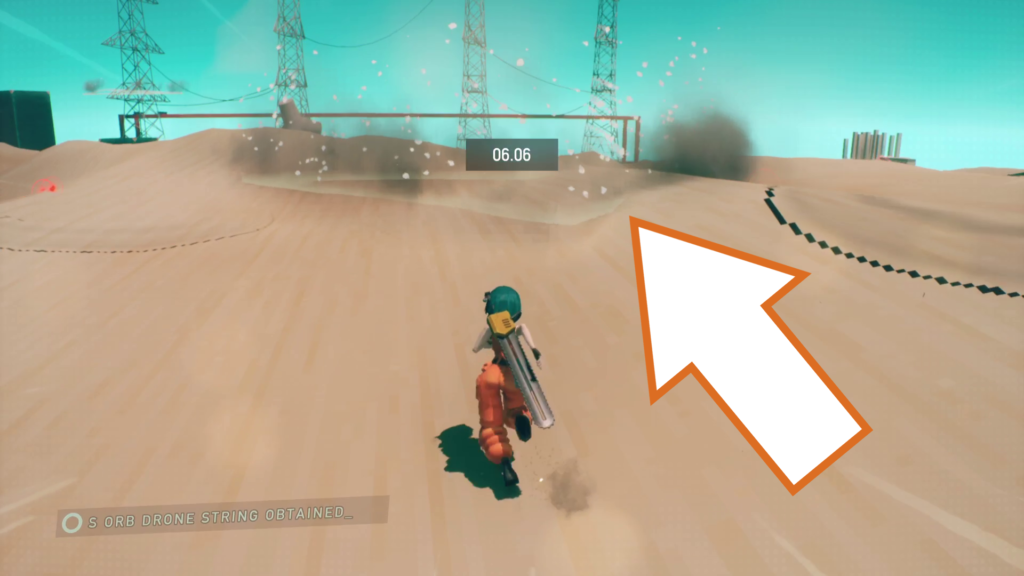
The last drone is floating just off the ledge past the second drone. Jump across the gap to grab it, and then take your quarry over to the evac point amongst the mines.
Orb Drone 227 (Timed)
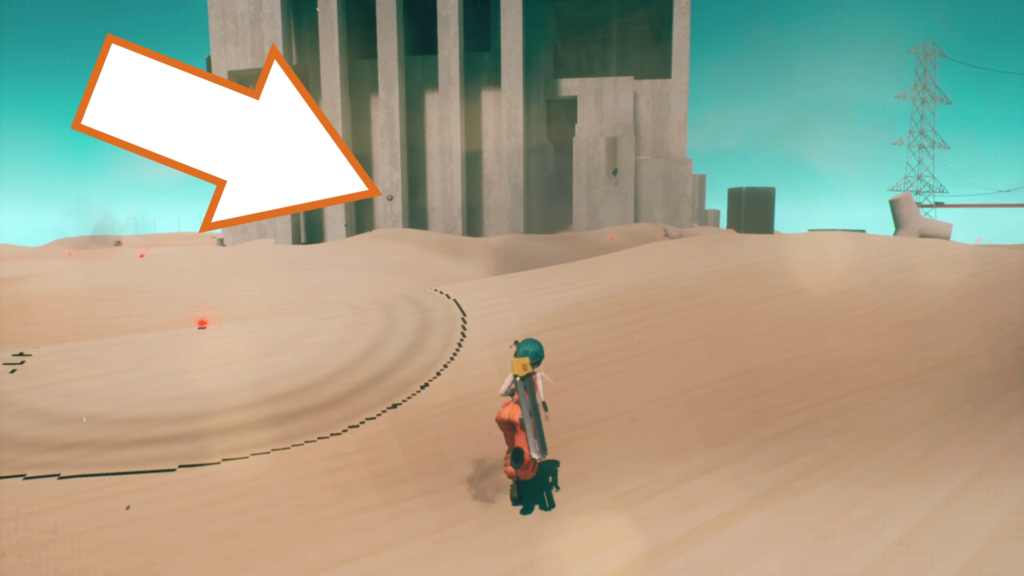
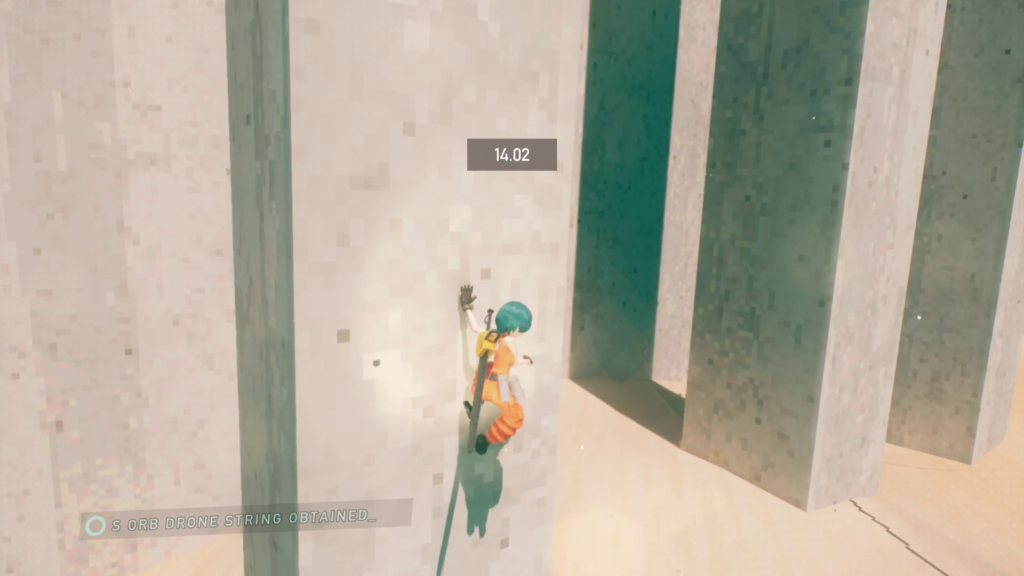
This orb drone is found against the wall of the large building on the other side of the minefield. Wall run up to grab it, then let yourself slide down so you don’t land on a mine, and take it back to the previous evac point before time runs out.
Orb Drone 228
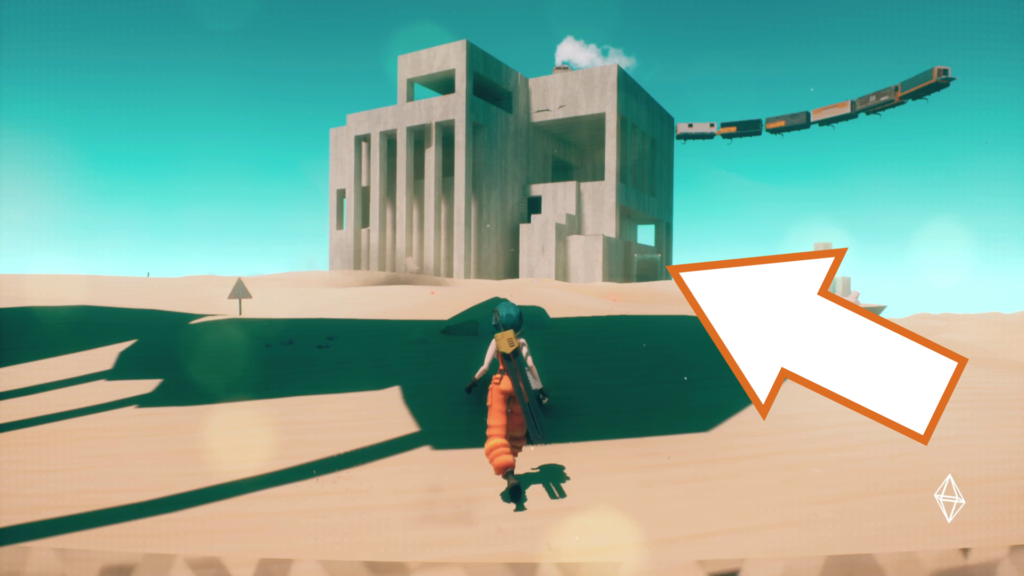

The next orb drone is found inside this building. Use the green hackable blocks to reach a ledge with a low gap to slide under and reach where the drone is.
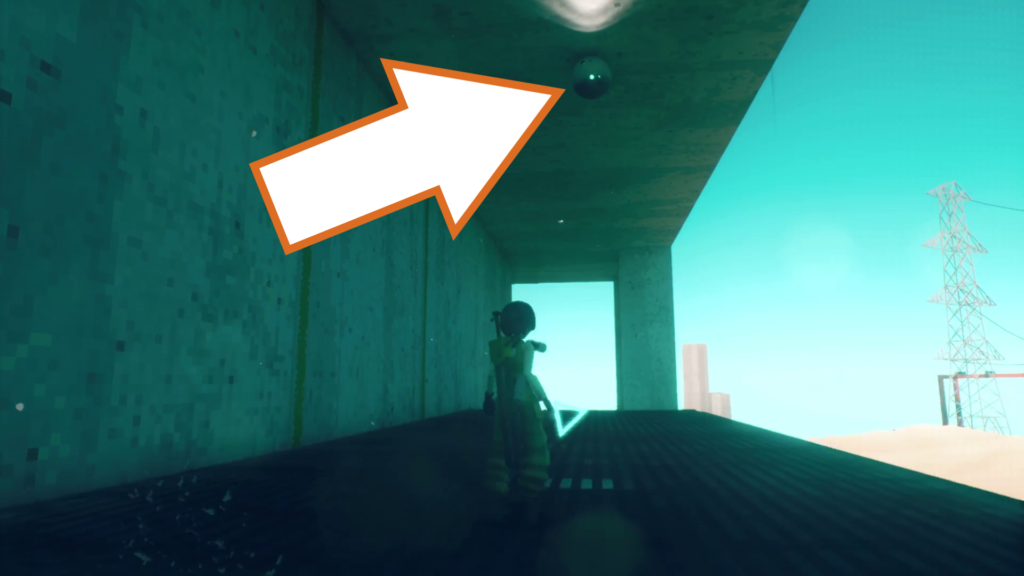
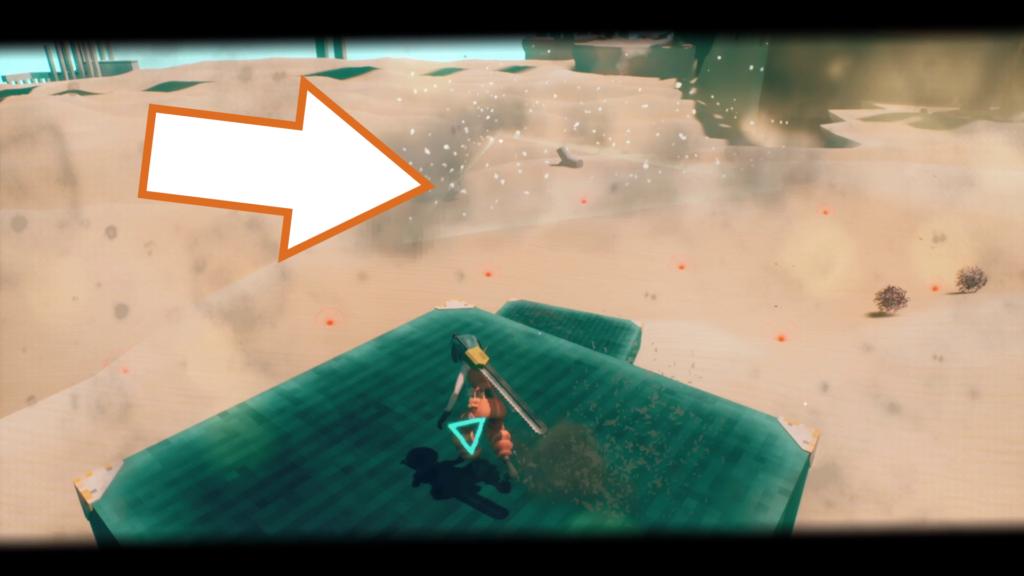
Hack the green block you are on top of, and when it gets close to the ceiling, start sliding to avoid getting crushed and grab the drone. The evac point is above one of the green blocks you used to reach here.
Orb Drone 229, 230 & 231
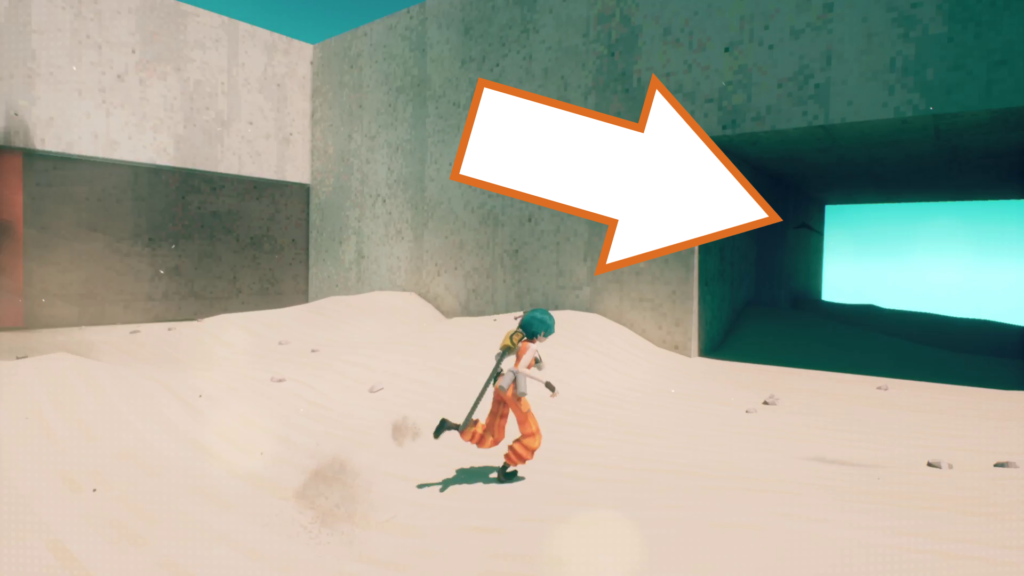
Get to the top of this building, and when you reach the floor with the moving blocks on your left, go through the covered area on the right and look for a crack in the wall.
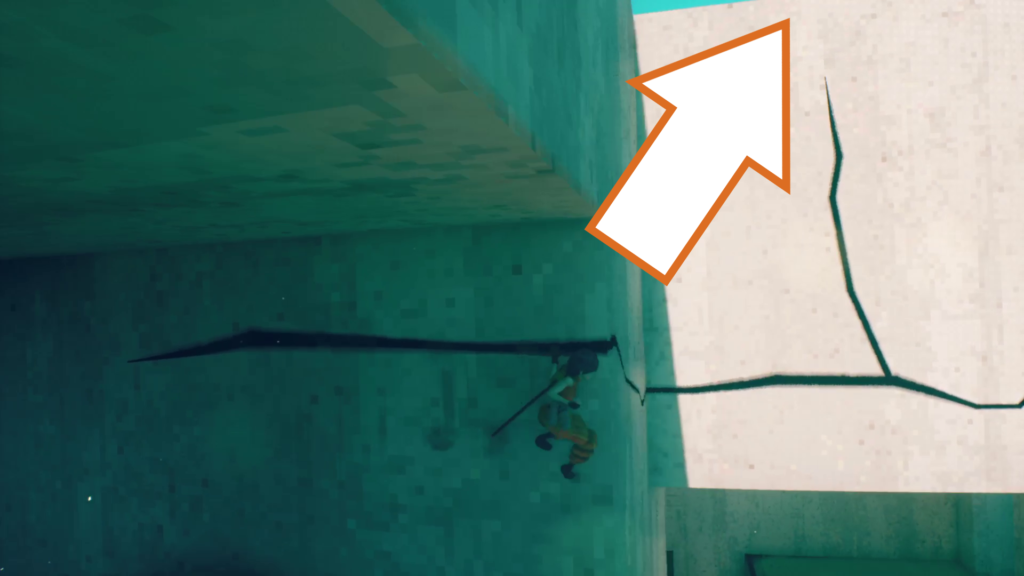

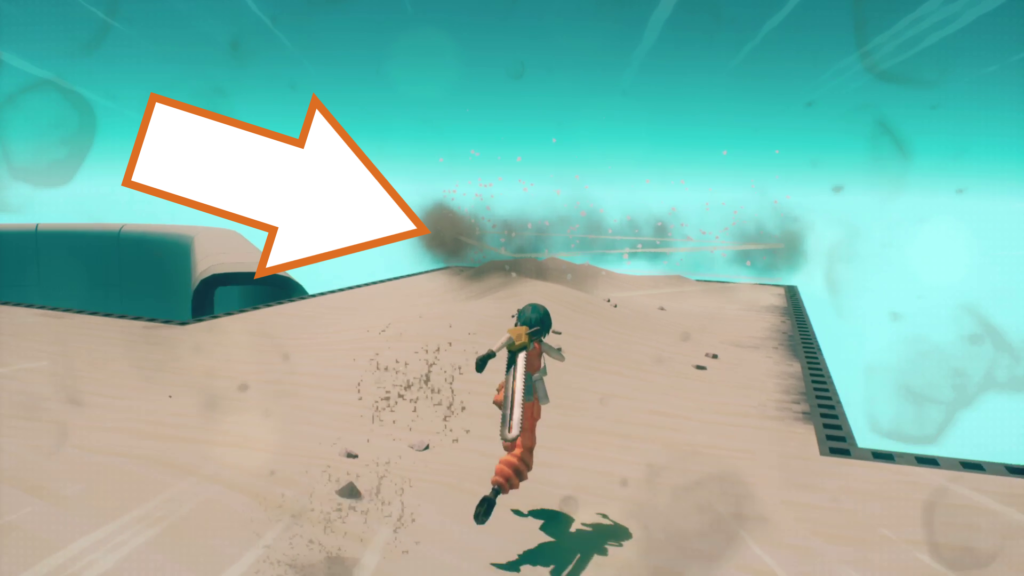
Climb the crack up to the roof of the building to find three orb drones clustered together. Jump down to where you climbed up originally to find the evac point.
Checkpoint_04
Orb Drone 232, 233 & 234 (Timed)

Continue through the level, motorslicing across the long building with a red door and carefully dropping down to the platform directly below it.
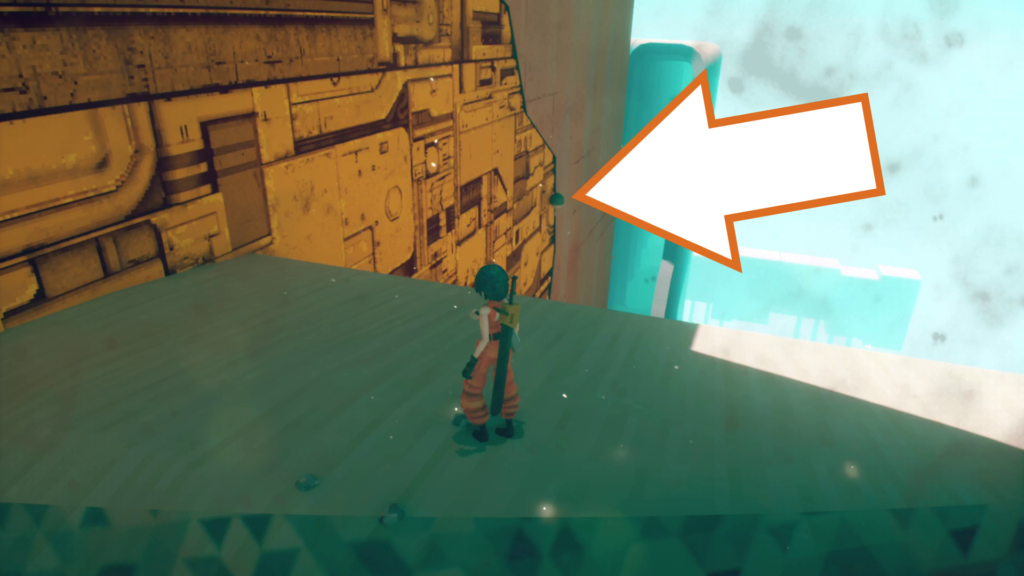
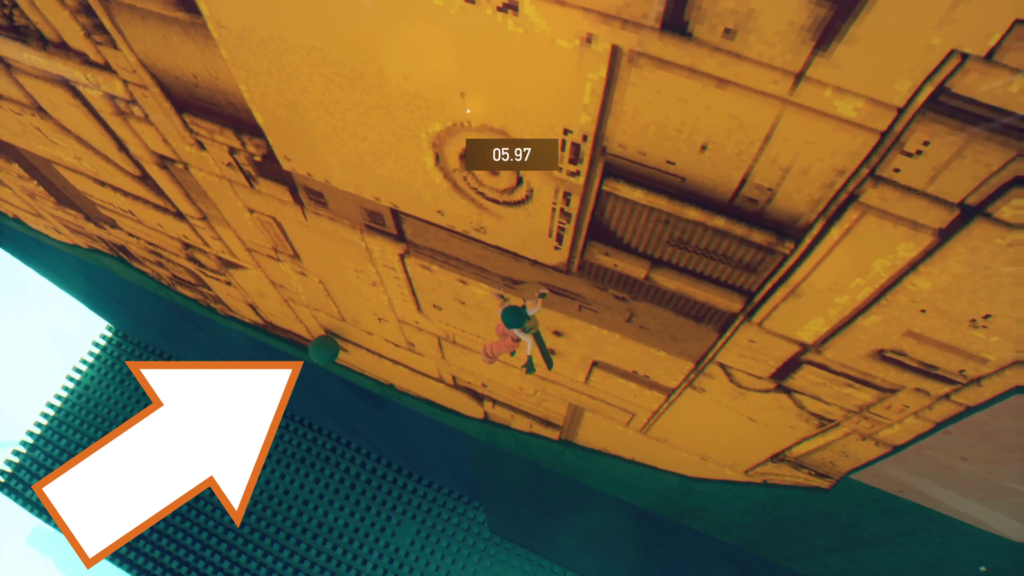
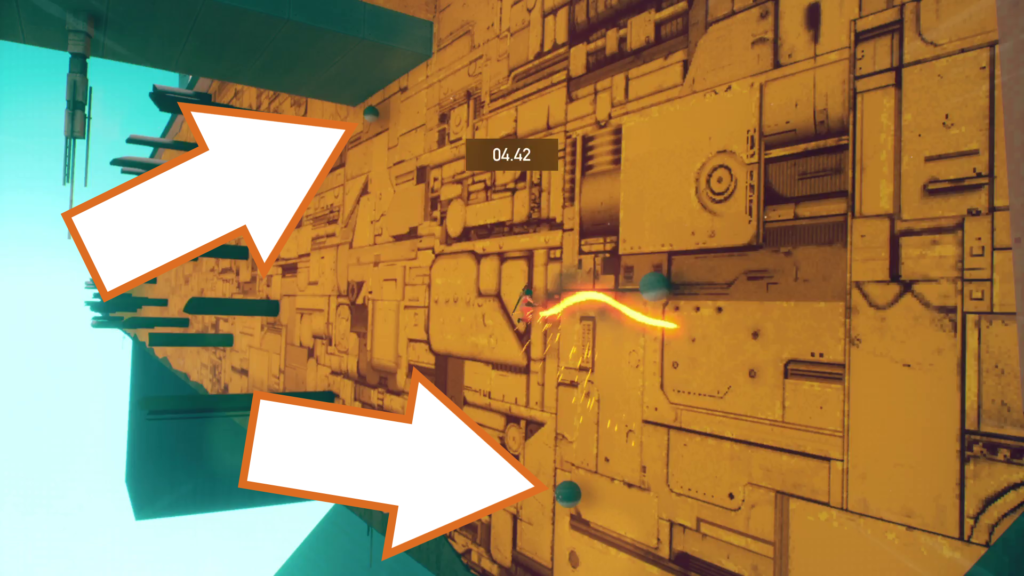
There are three orb drones to collect and deliver within a time limit here, with the first one floating against the exposed metal to your right when facing the wall. The second drone is below you, so carefully drop down and use your motorslice to stop yourself. The last drone is tucked underneath the platform you started on, so slice your way up to it.
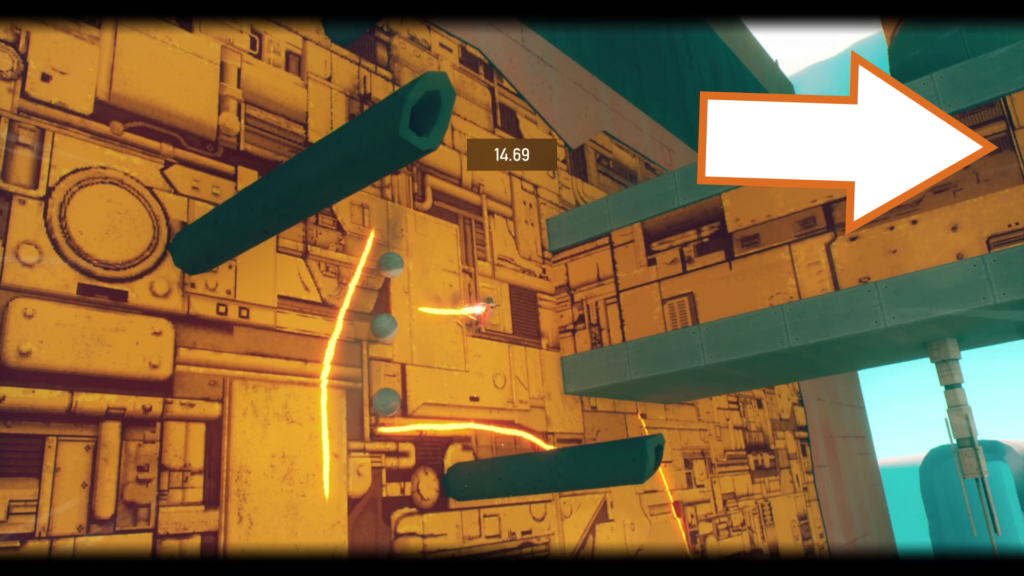
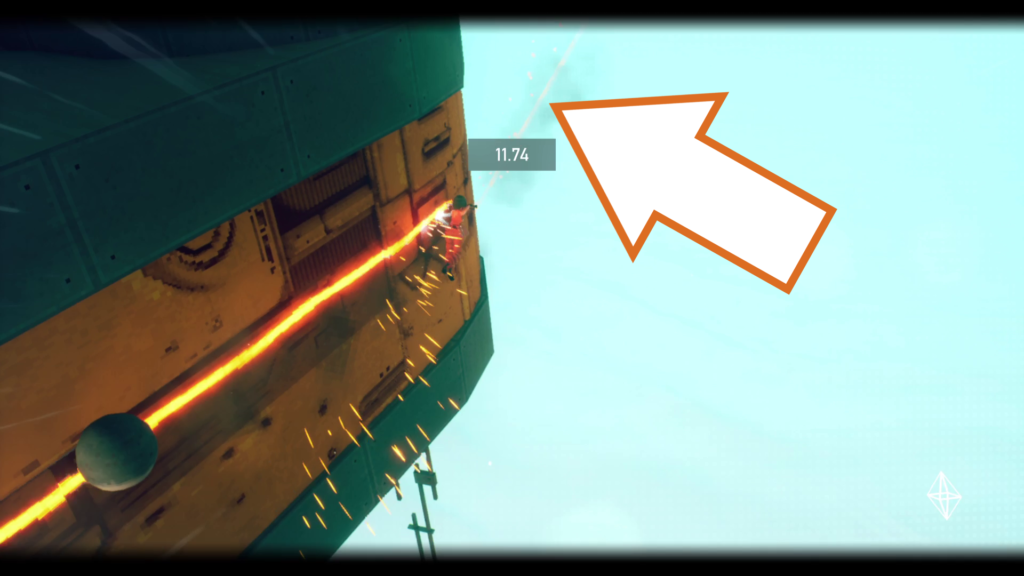
You need to motorslice along the side of the platform to reach the evac point on the rounded part of this structure.
Orb Drone 235
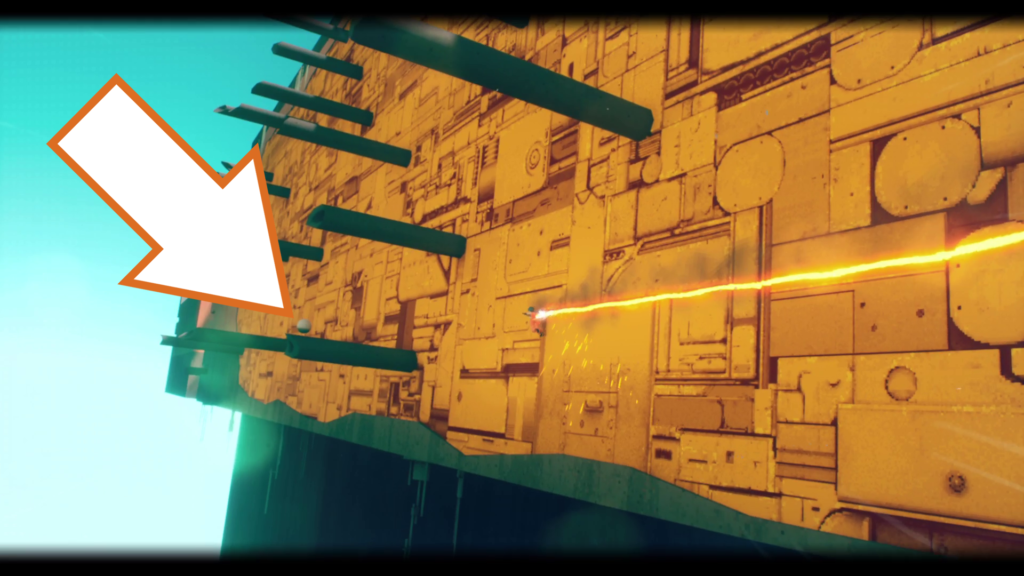
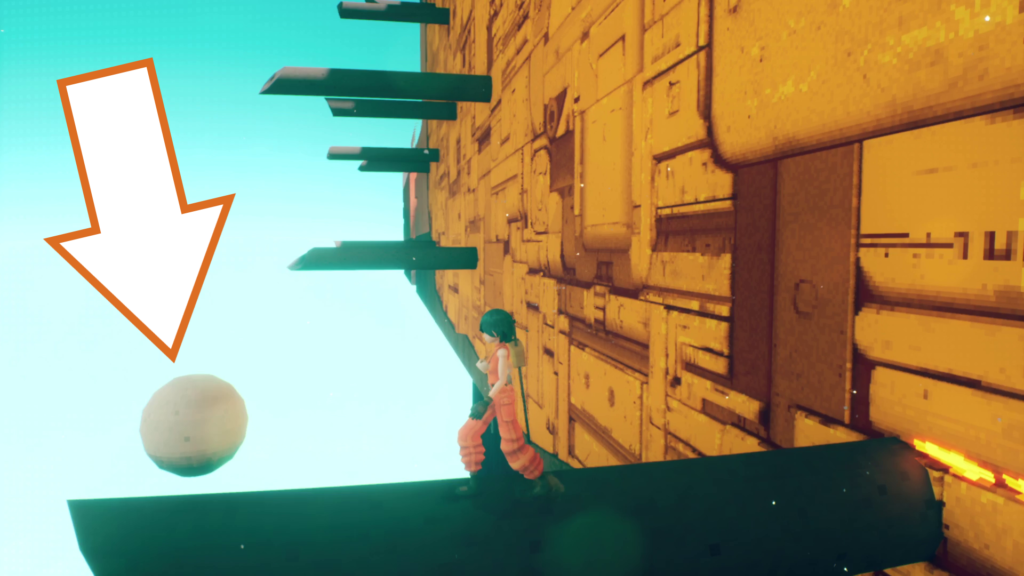
This orb drone is found on the end of one of the pipes sticking out of the large exposed metal wall that you motorslice across to continue. Approach the pipe at the same level as it, so P will mantle onto it safely.
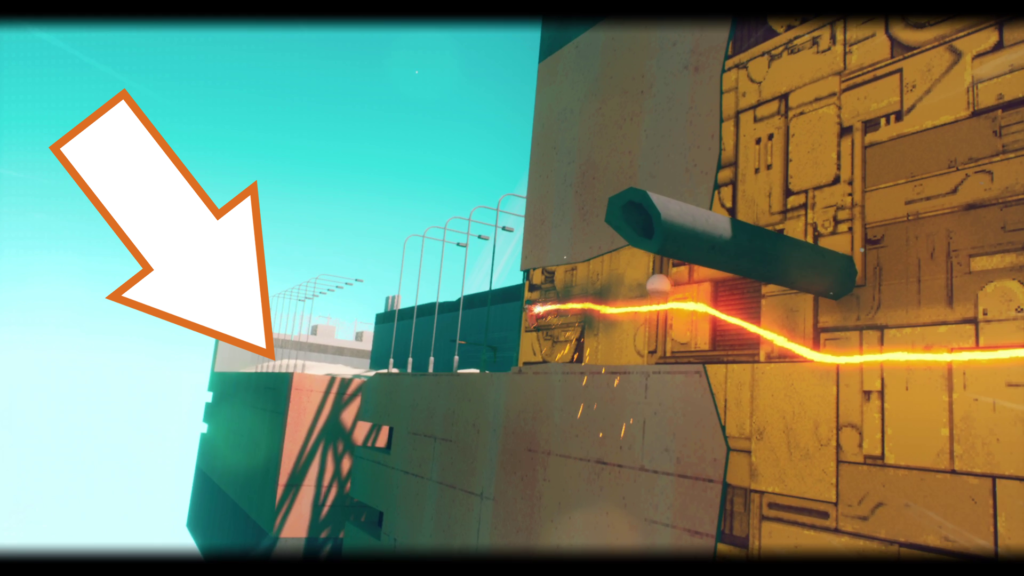
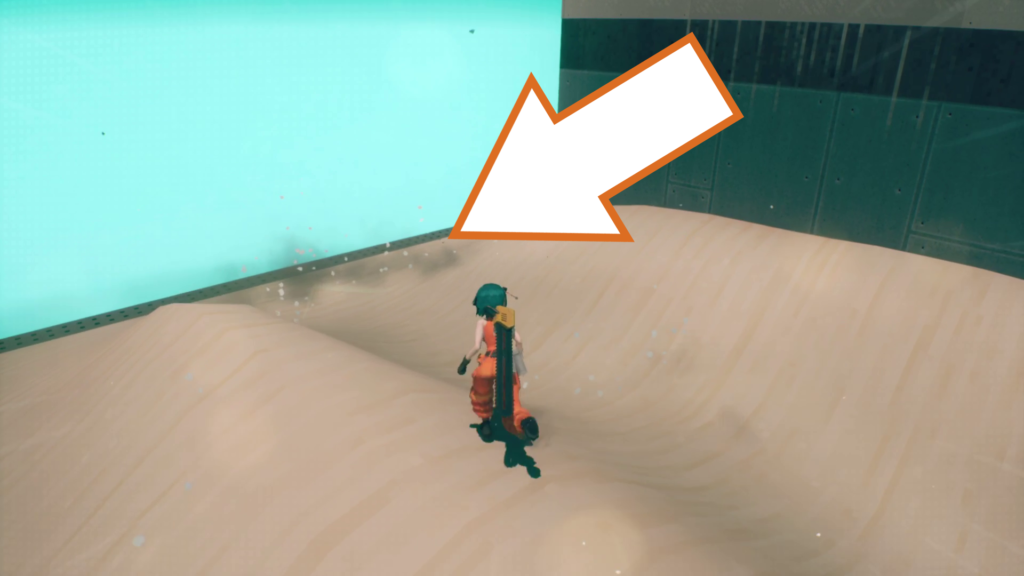
After carefully collecting the drone, continue motorslicing the same way, reaching the evac point after wall-running/swinging across a gap.
Orb Drone 236
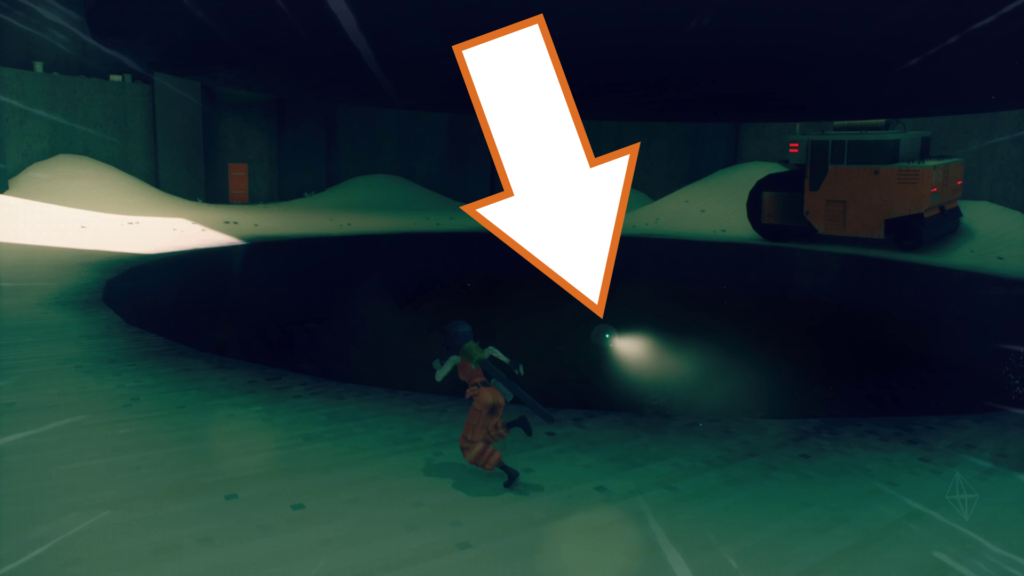
The next orb drone is found a bit later, after the sequence with the moving platform. It is floating in the centre of the round hole with grinders at the bottom.
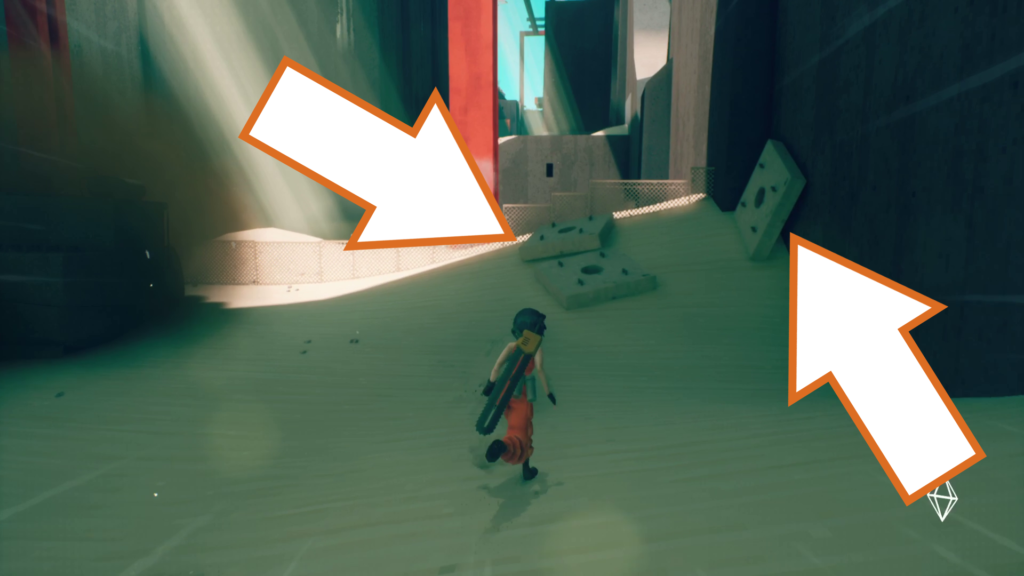
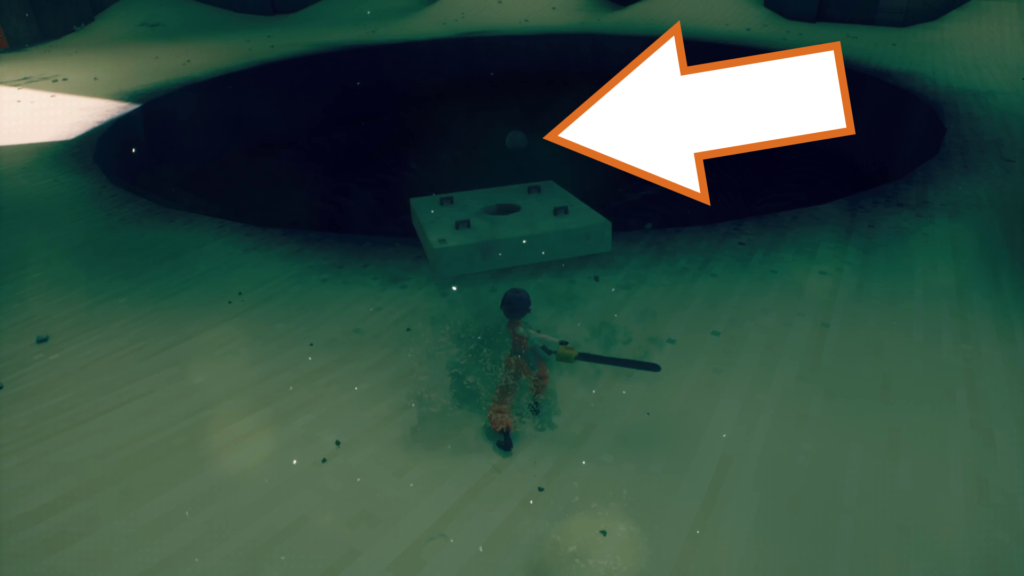
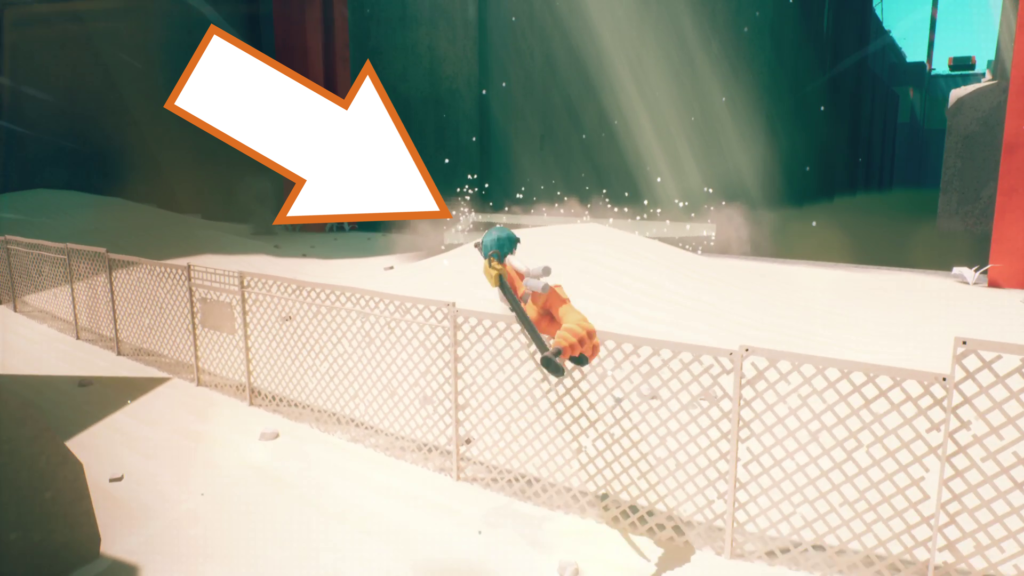
Use the flat concrete blocks in the corner of this area to create platforms for you to jump onto to reach the drone, and take it to the evac point back over the chainlink fence.
Orb Drone 237
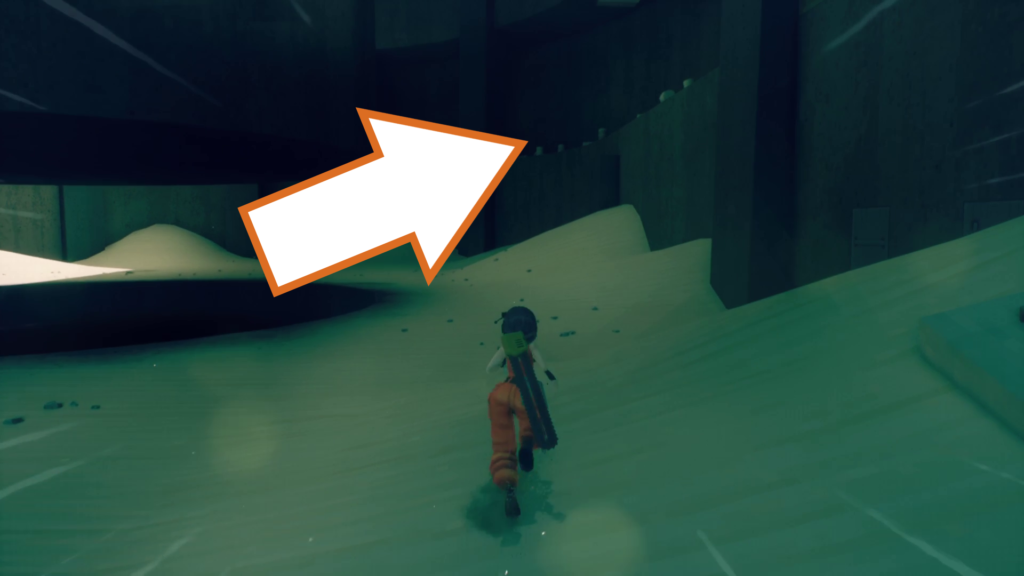
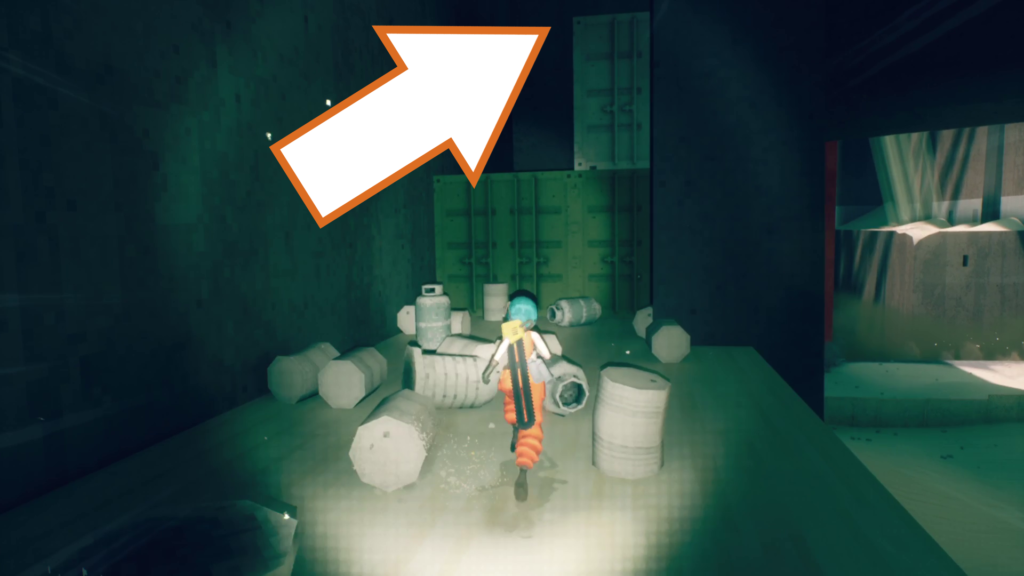

Climb up the wall to the right of the orange door, and climb up the containers onto the large concrete pipe. Jump down to the shorter pipe on your left to grab this drone, and take it to the previous evac point.
Orb Drone 238
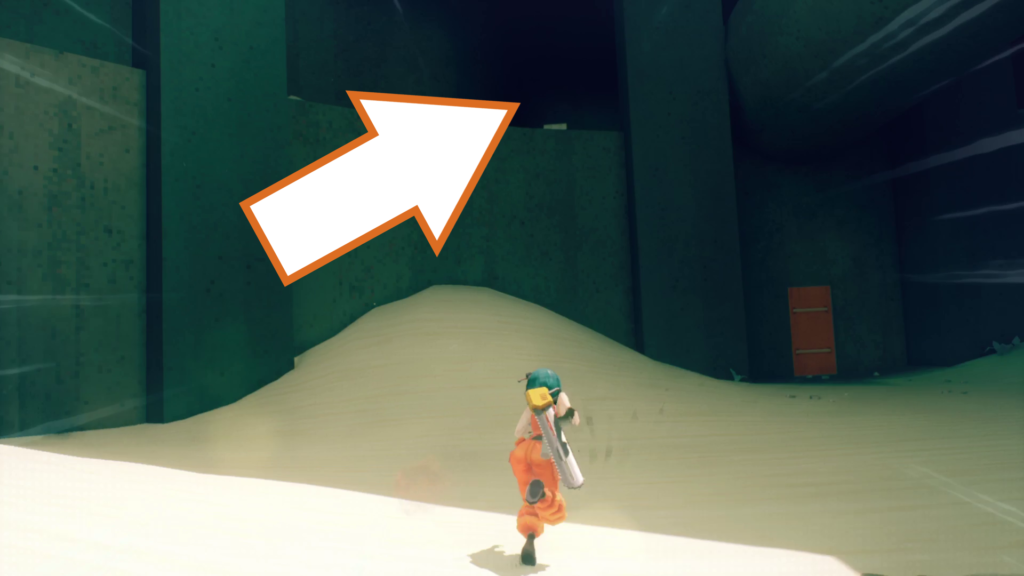
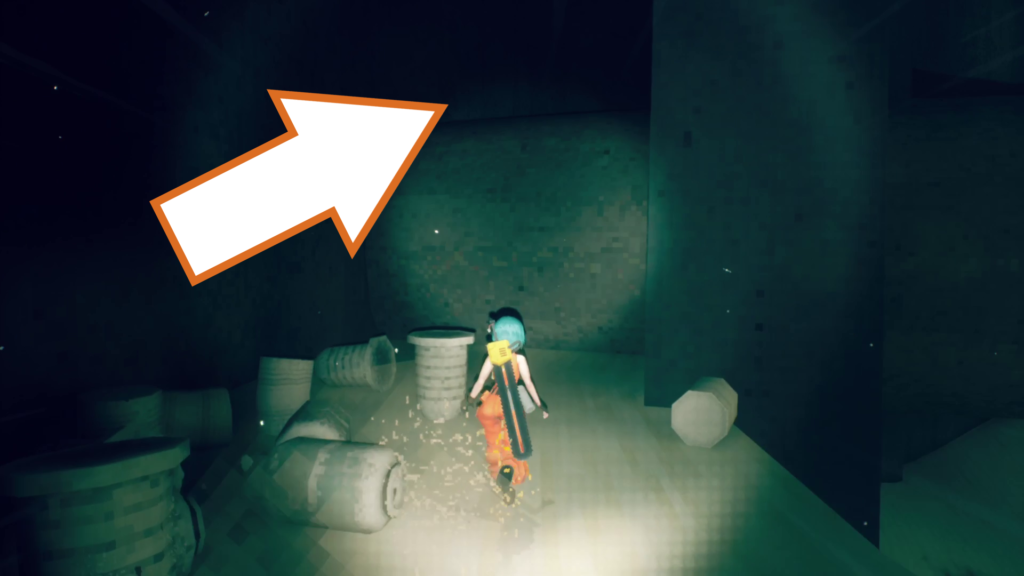
Climb up the wall to the left of the orange door, and climb up onto the large pipe above it.
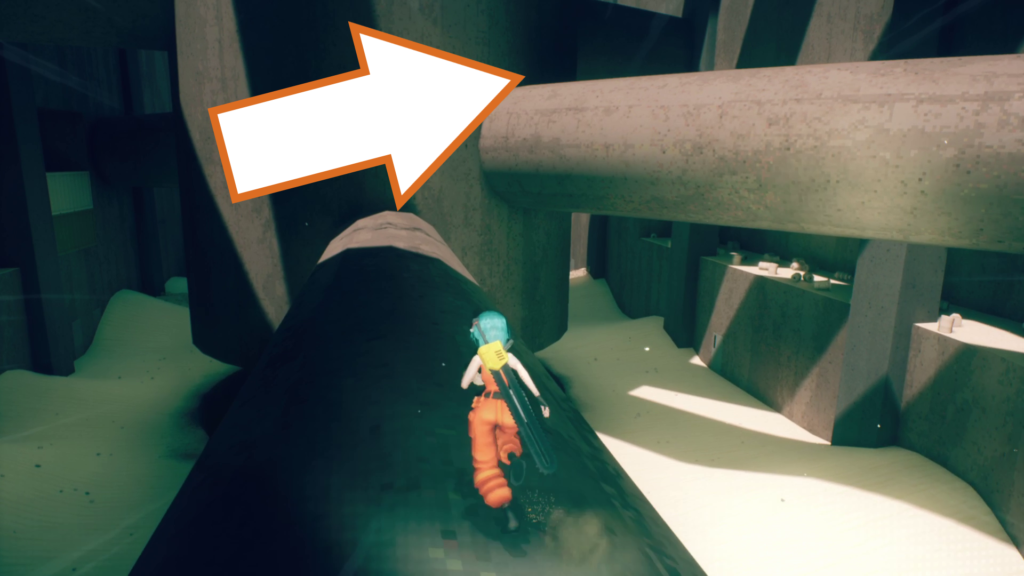
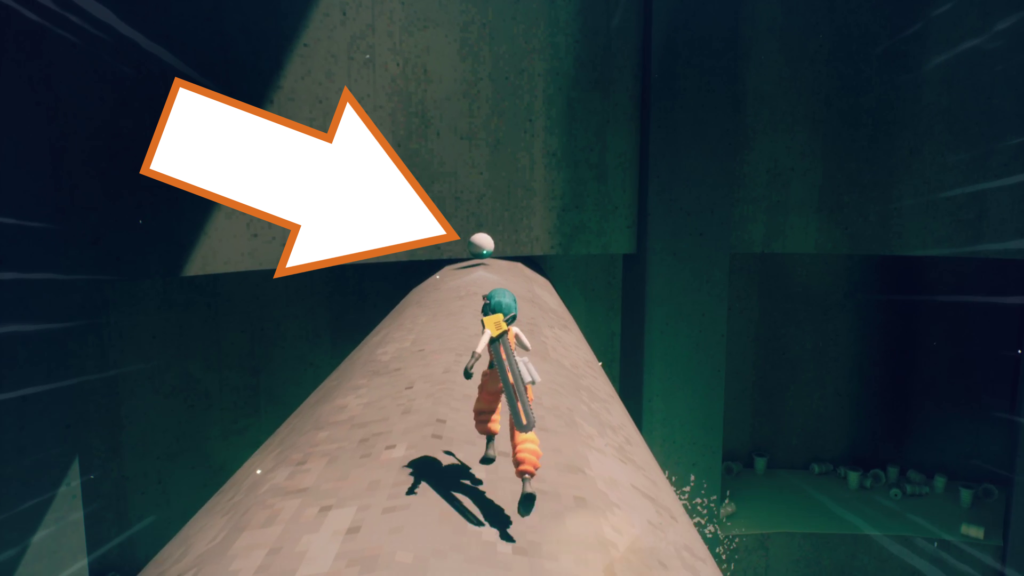
Run to the other end, run up the wall and jump to the right to mantle up onto the higher pipe. Grab the drone on the other end and take it back to the evac point.
Checkpoint_05
I had a tough time trying to get all of the orb drones in this area in one session, and found it easier to replay it to reach the ones I missed.
Orb drone 239
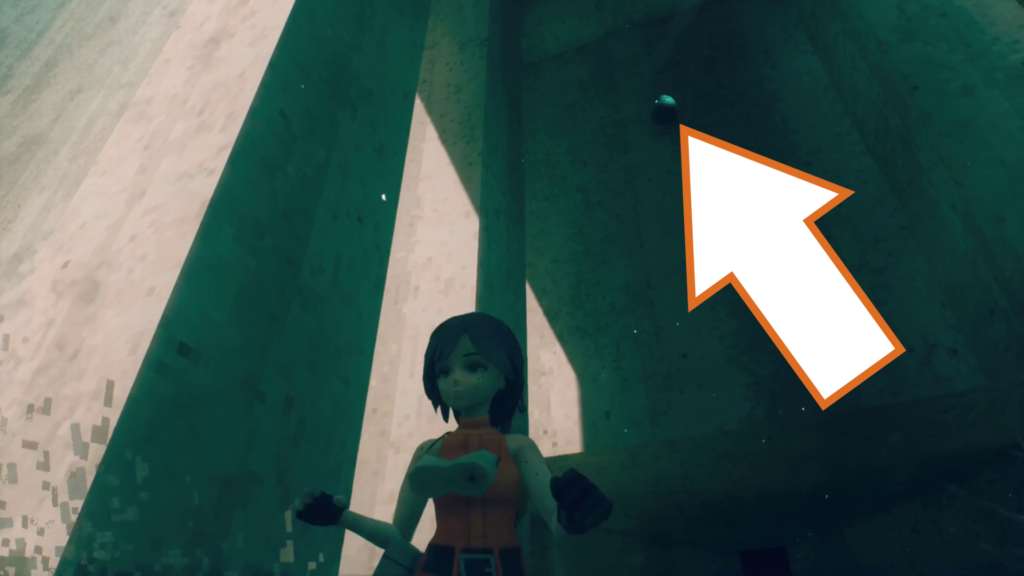
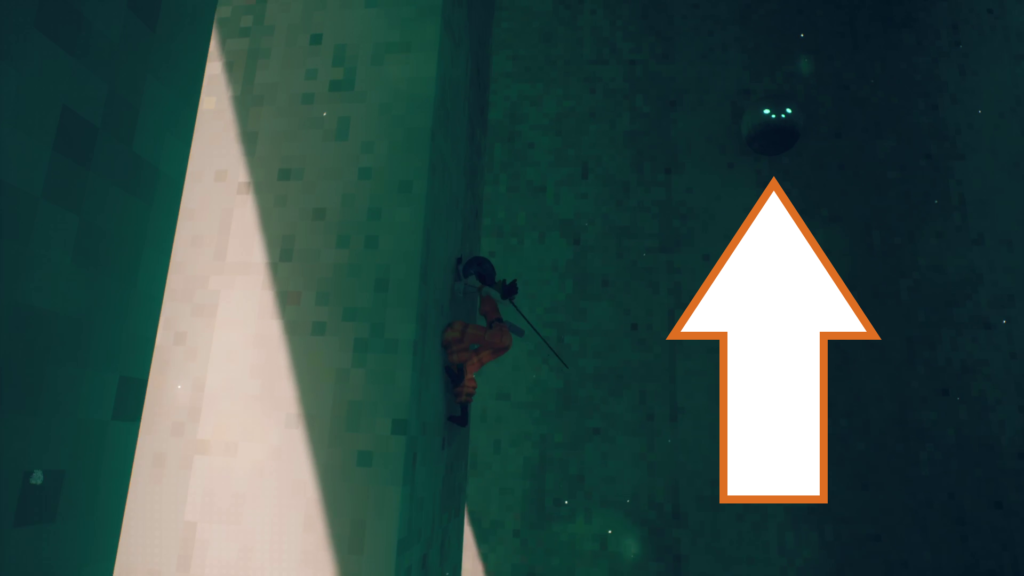
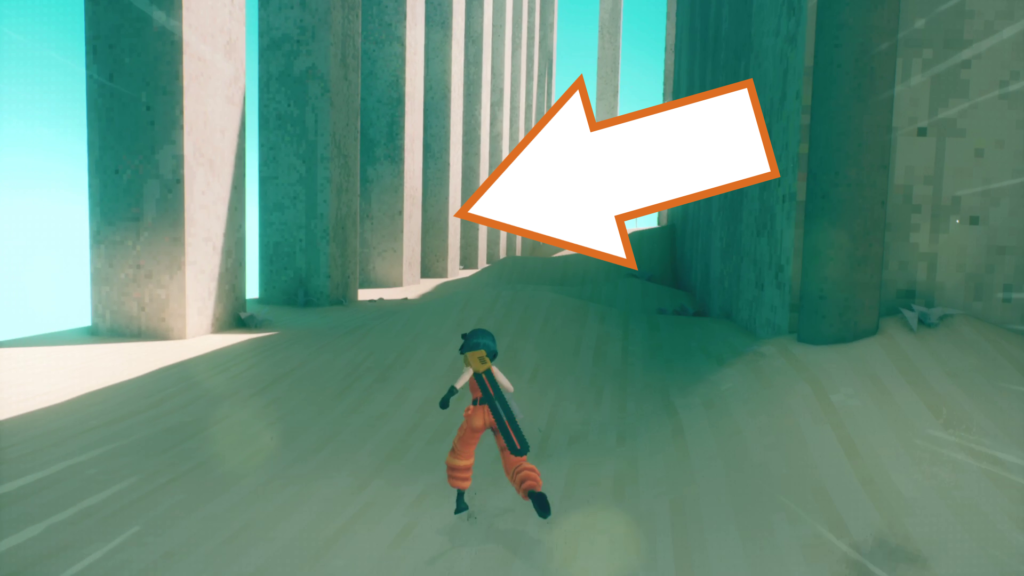
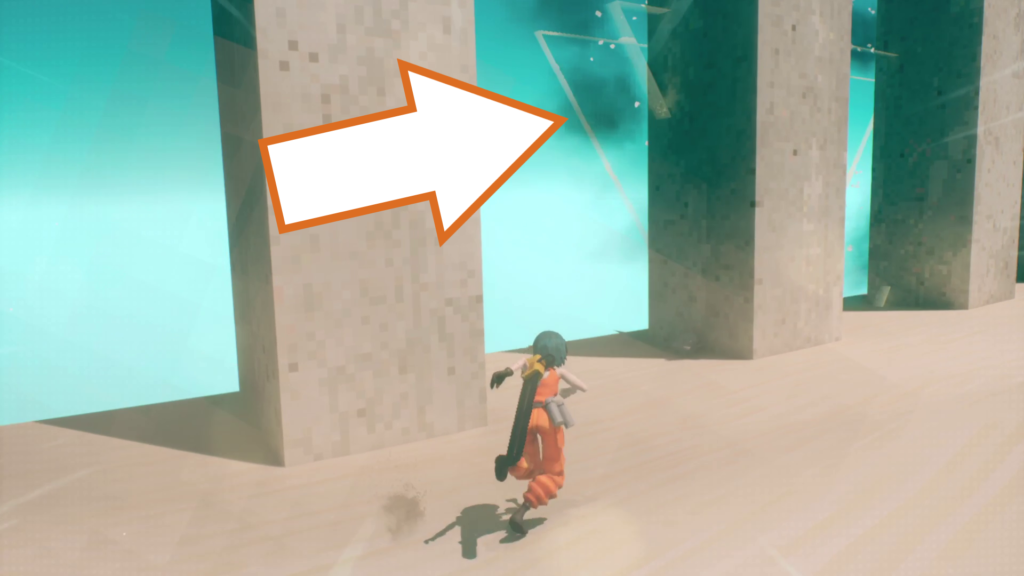
The first drone in this area is above the door you enter through. Jump between the wall and a pillar to reach it, then take it to the evac point found on the wall of pillars on the left side of this area.
Orb Drone 240
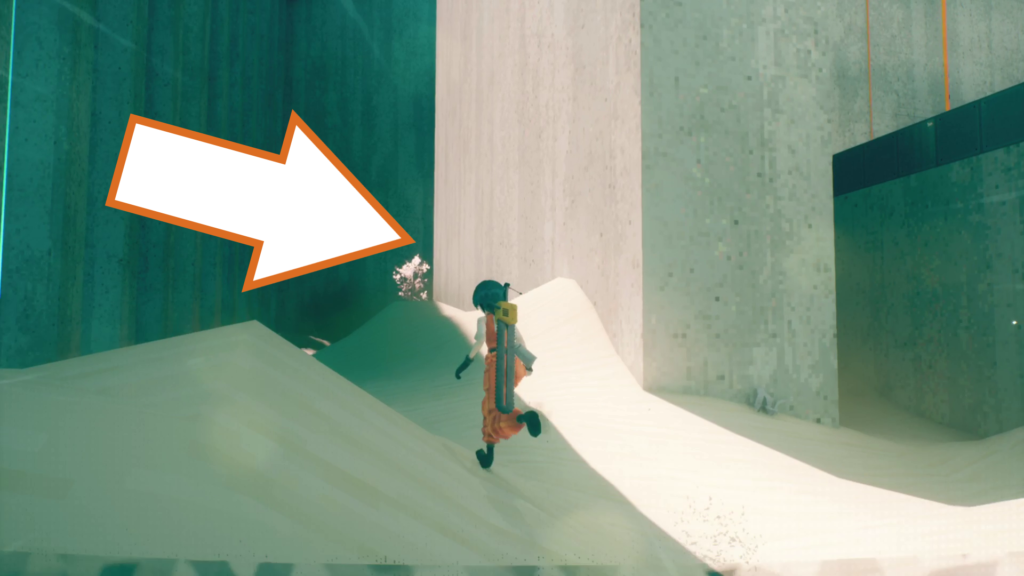
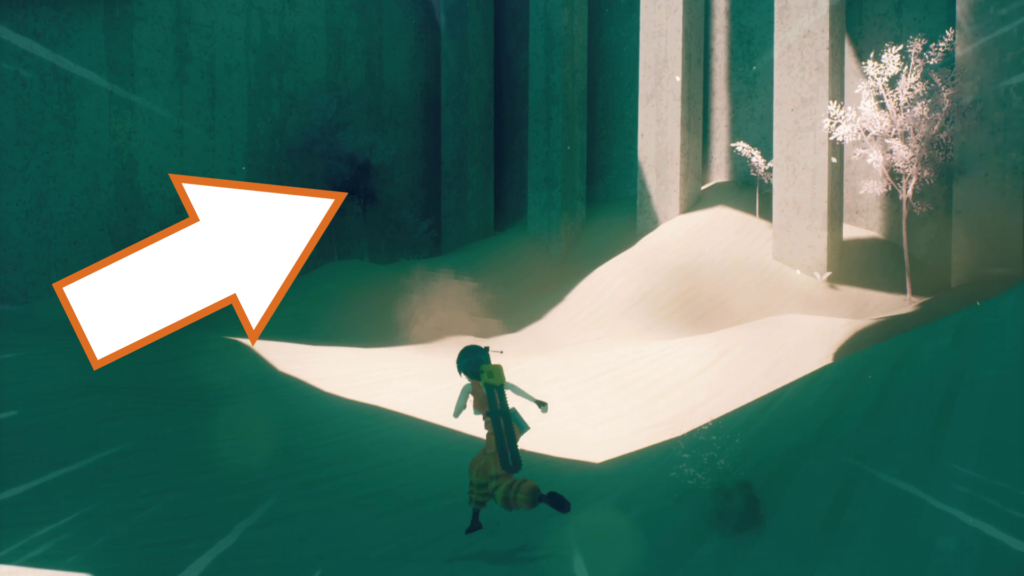
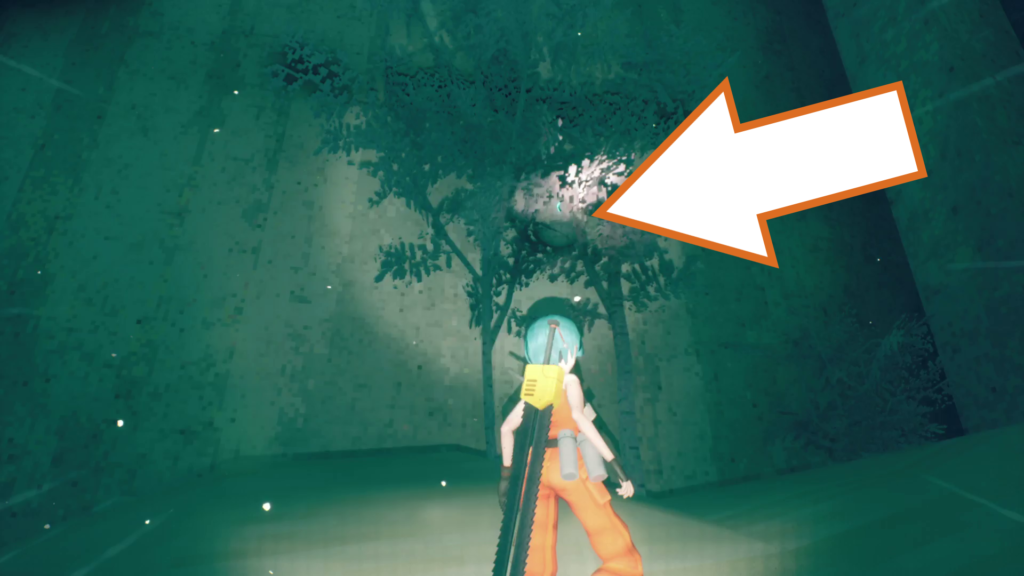
Run in the opposite direction from the evac point to the other side and look for some trees in the shade. The drone is hidden amongst the leaves. Take it back to the evac point.
Orb Drone 241
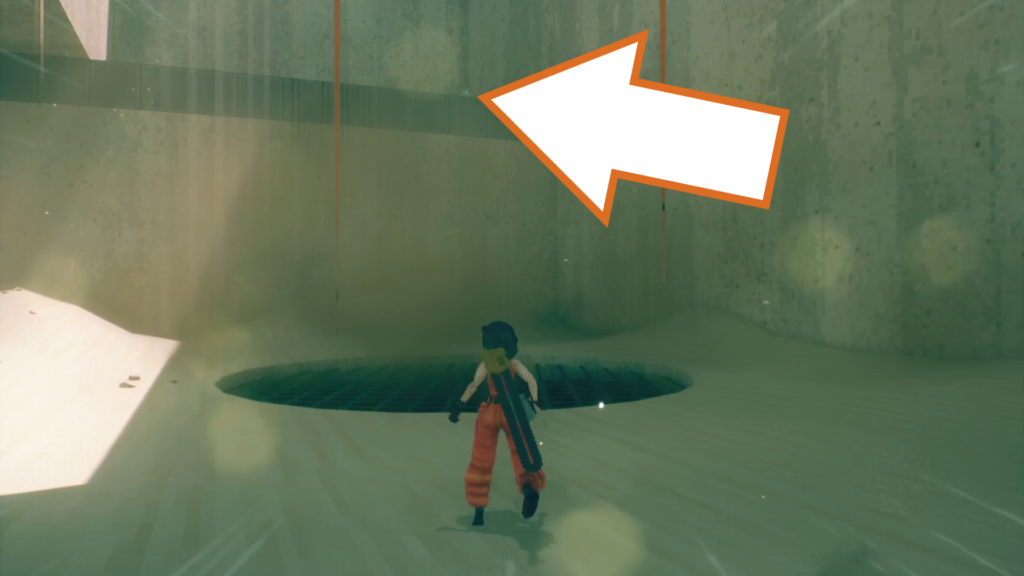
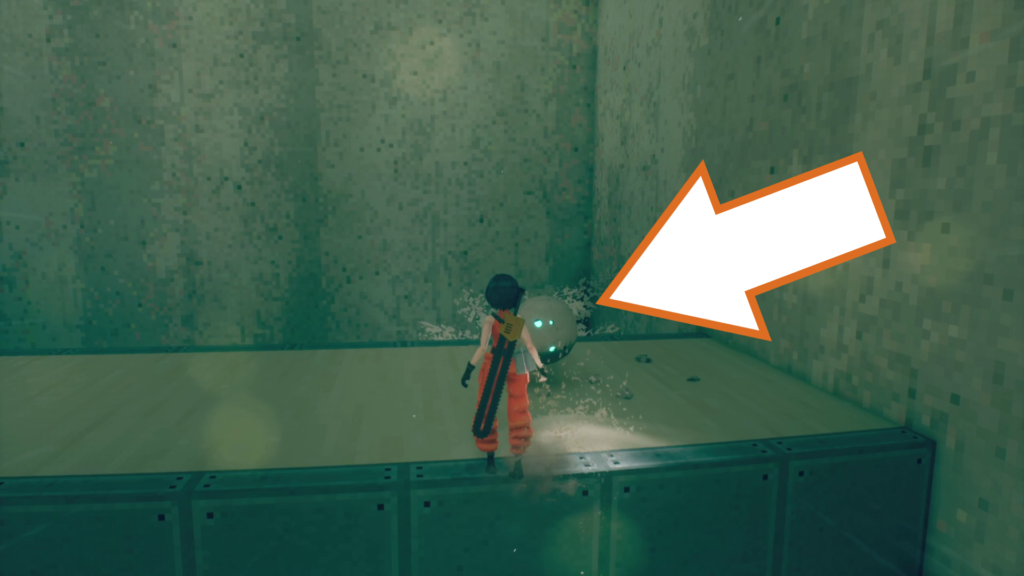
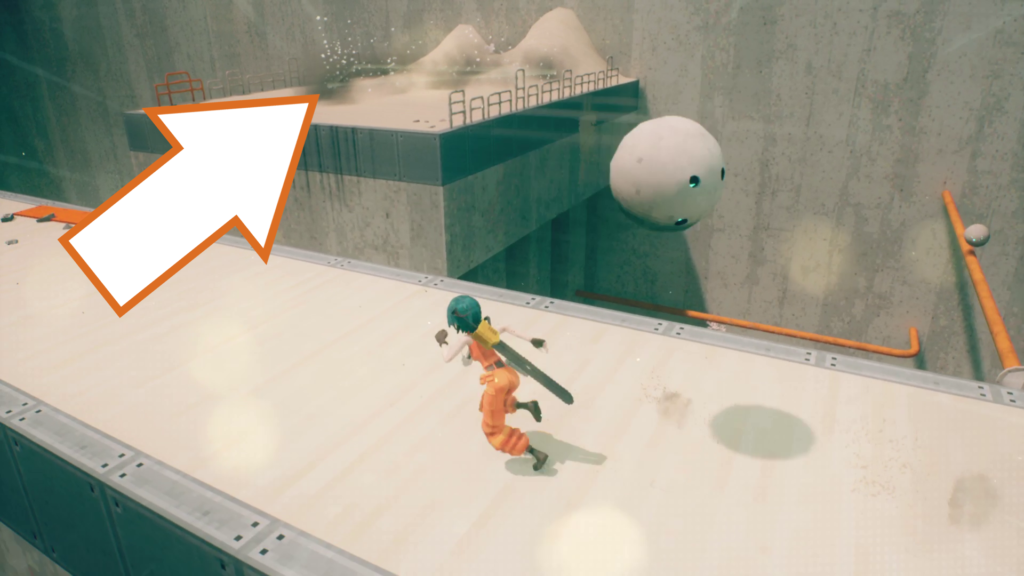
The next orb drone is on a narrow ledge above a floor fan. Use the fan to help you reach the drone, and take it back to the evac point, or use the fans to cross over to the evac point above where you entered (Be careful jumping across the gap, the large fan will blow you as you do).
Orb Drone 242

From the evac point, jump back to reach the narrow platform. Run along it and slide under the gap at the end to grab this drone, then take it to the evac point.
Orb Drone 243
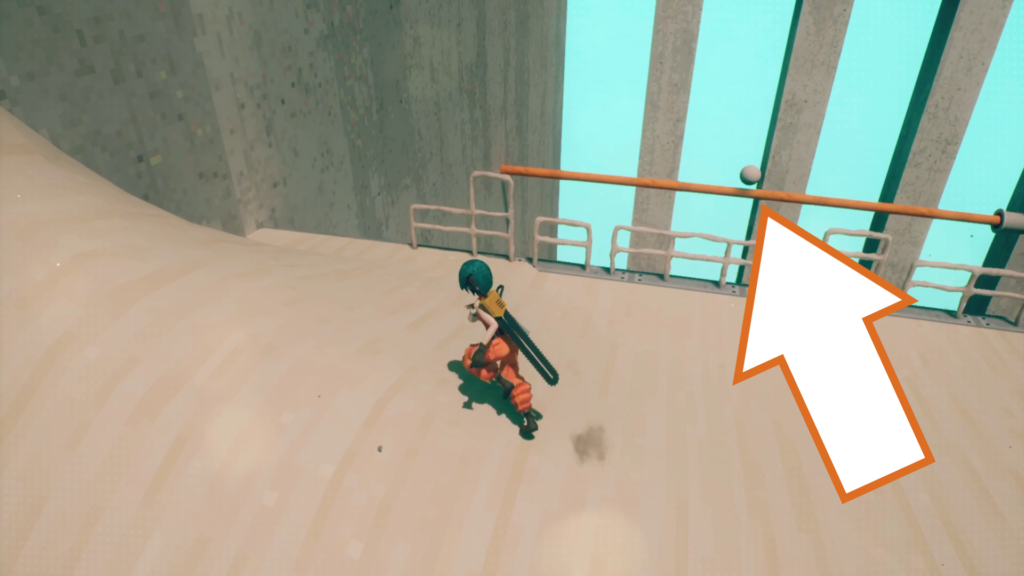
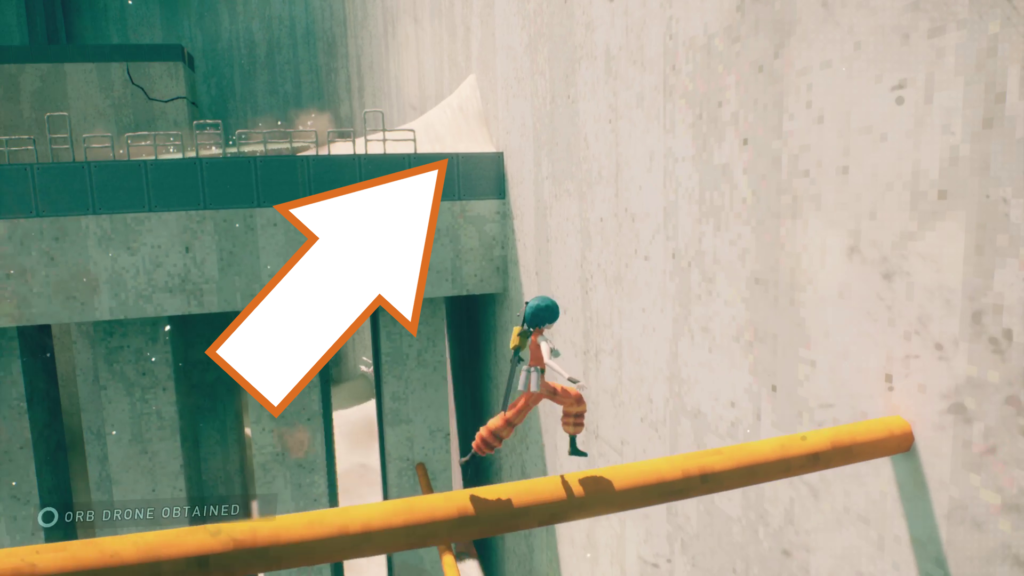
From the evac point, wall run to the horizontal orange pipe attached to the large fan and grab the drone floating on it. Take it back to the evac point the way you came.
Orb Drone 244

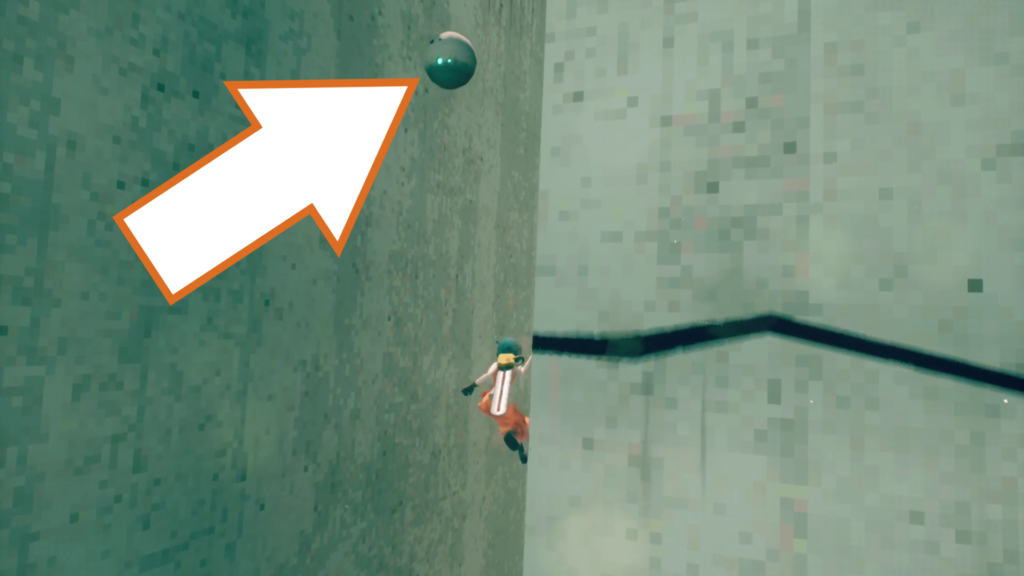
Use the floor fans to get across to the crack in the wall, and climb around it to reach the next orb drone.
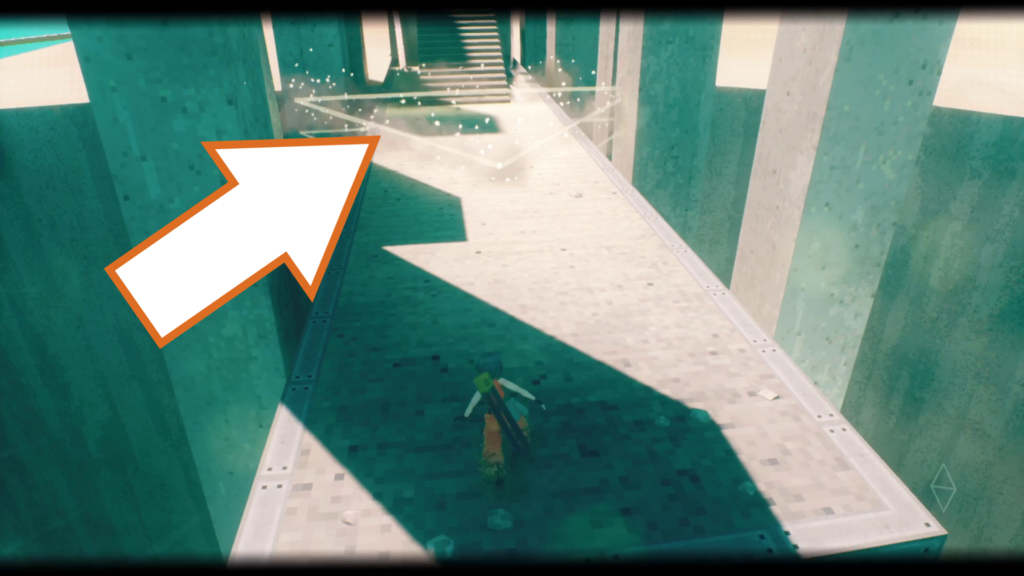
Use the floor fans to get yourself on top of the wall perpendicular to the wall with the crack, and run along it to reach the evac point before the boss fight.
Orb Drone 245
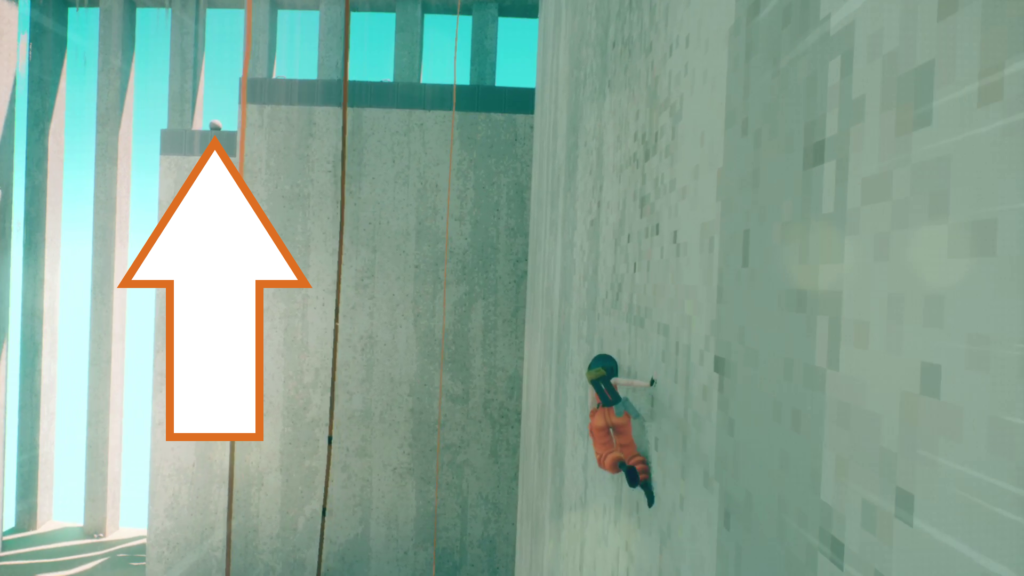
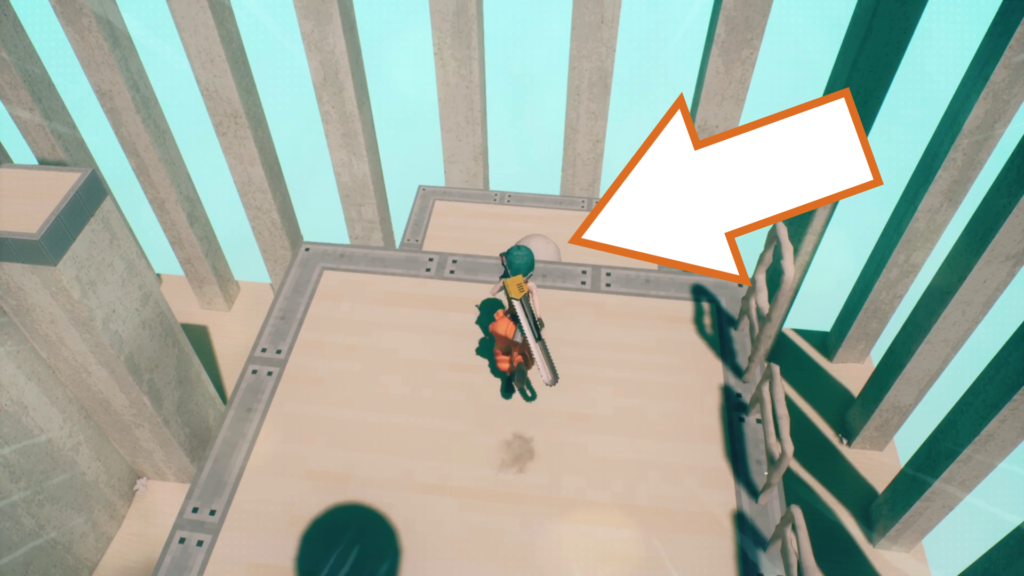
Run back along the narrow platform to the far end to find a small step down with an orb drone waiting there. Take it back to the evac point.
Orb Drone 246
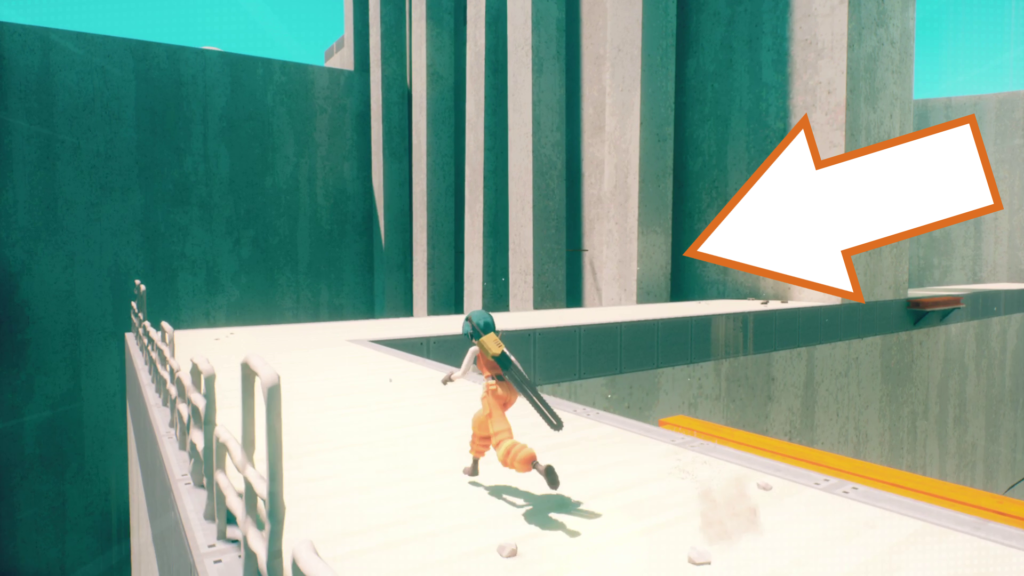
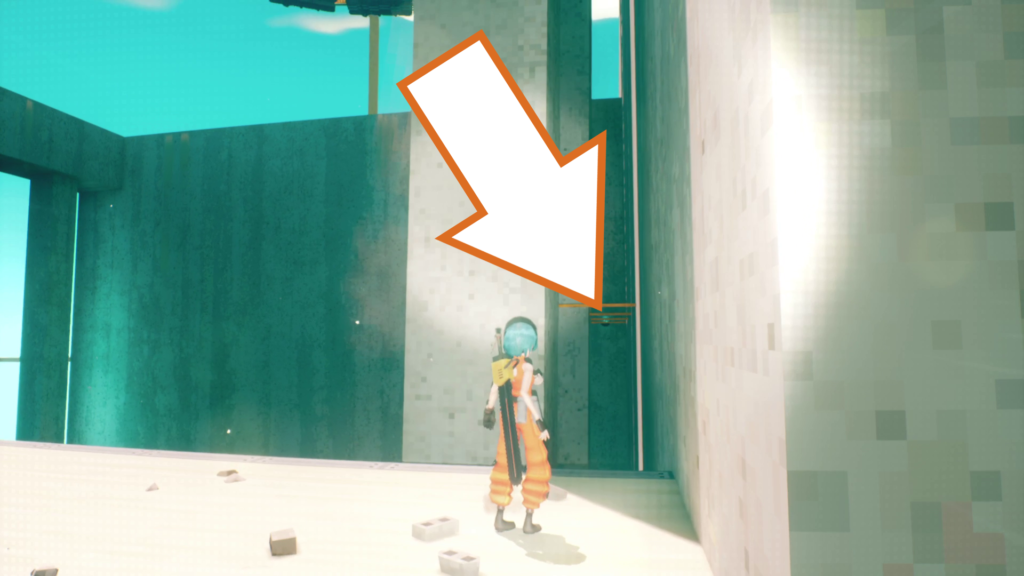
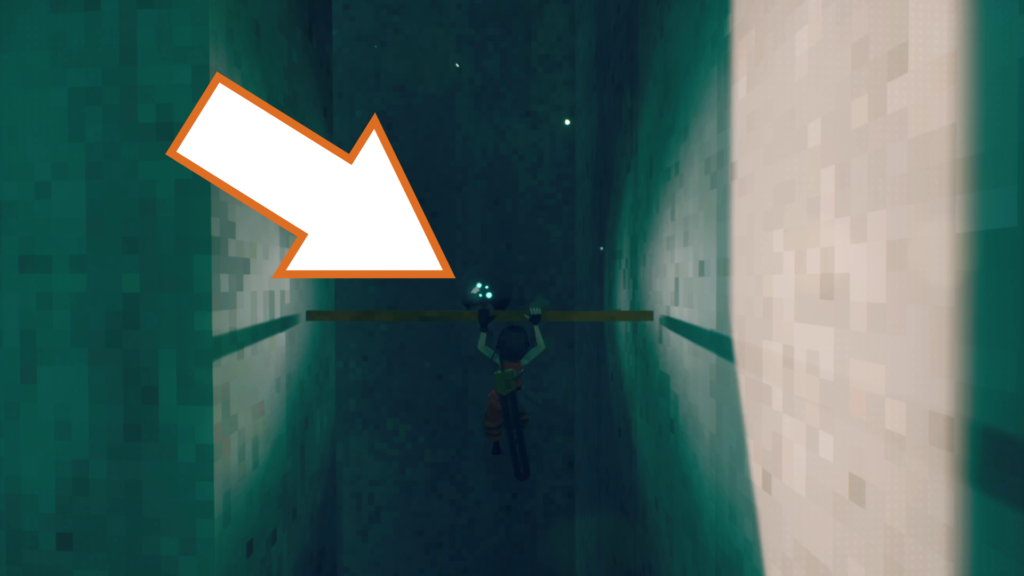
On the left side of the evac point is a row of horizontal bars you can swing between to reach this orb drone at the end. Come back the way you came, and drop the drone at the evac point.
Orb Drone 247

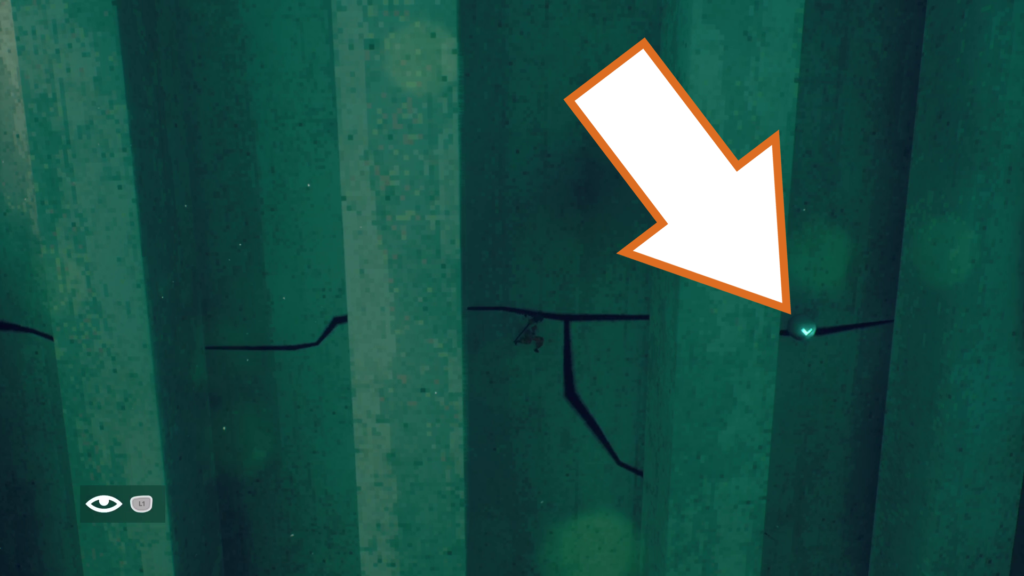

The last orb drone in this section is to the right of the evac point. Jump to the crack in the wall and slide along it to reach the drone, then come back, wall running using the pillar to get back up.
Checkpoint_06
Orb Drone 248 & 249
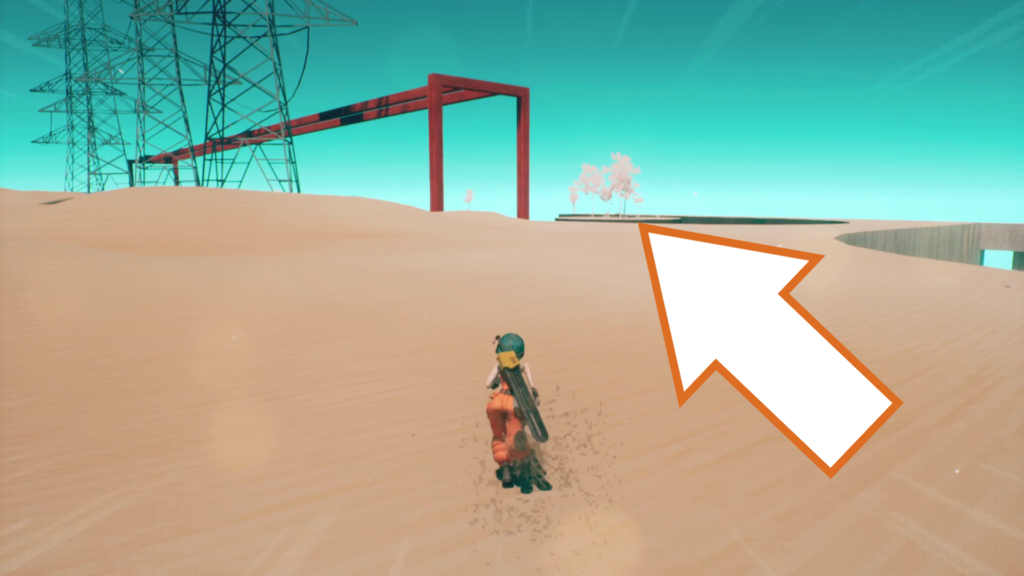
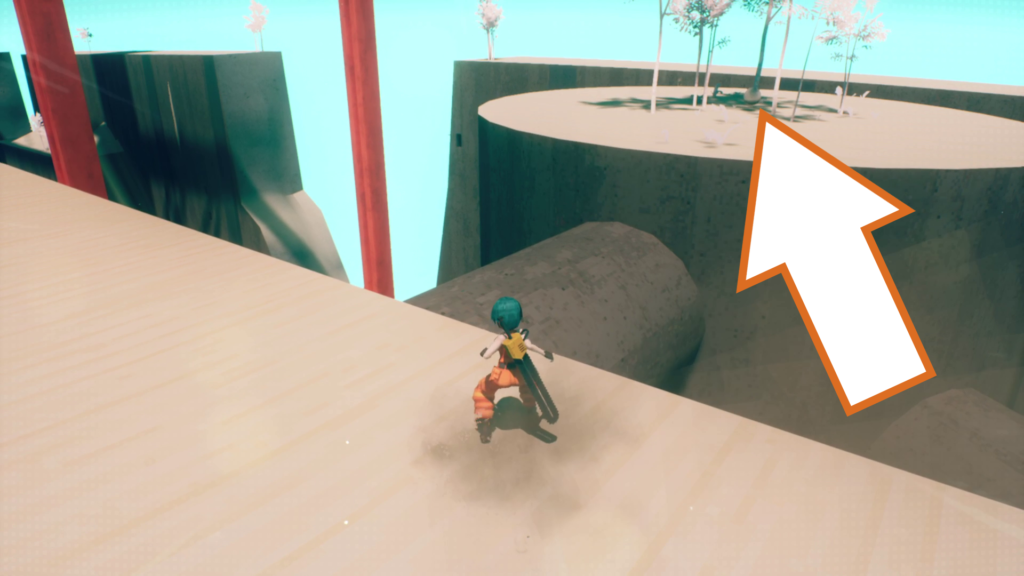
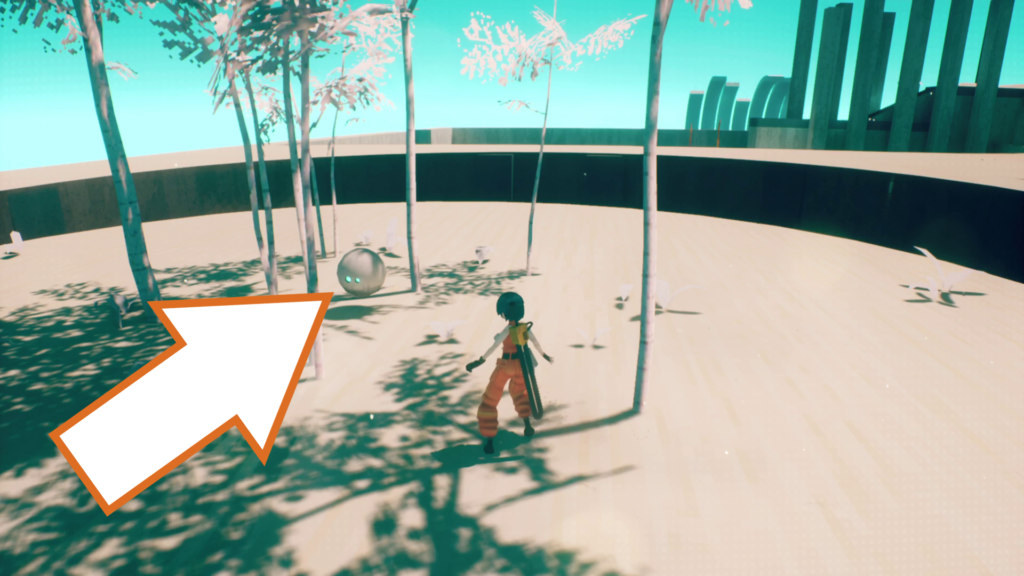
As long as you don’t interact with the boss, you won’t have any issues collecting the last orb drones. After you drop down to the sand and the cutscene plays, run back towards the edge and look for a round platform you can reach by running across a large pipe. The drone is amongst the trees in the middle.
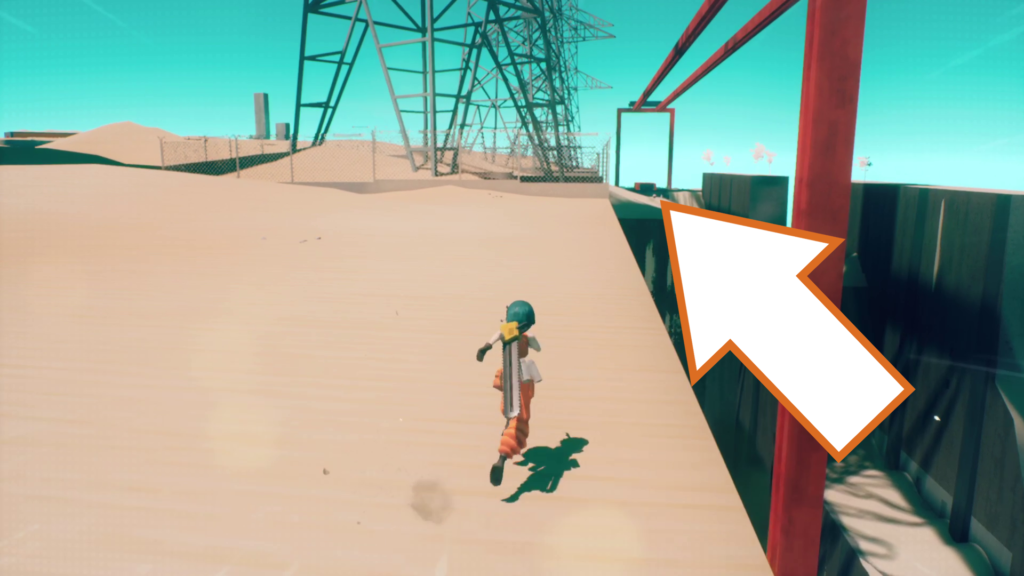
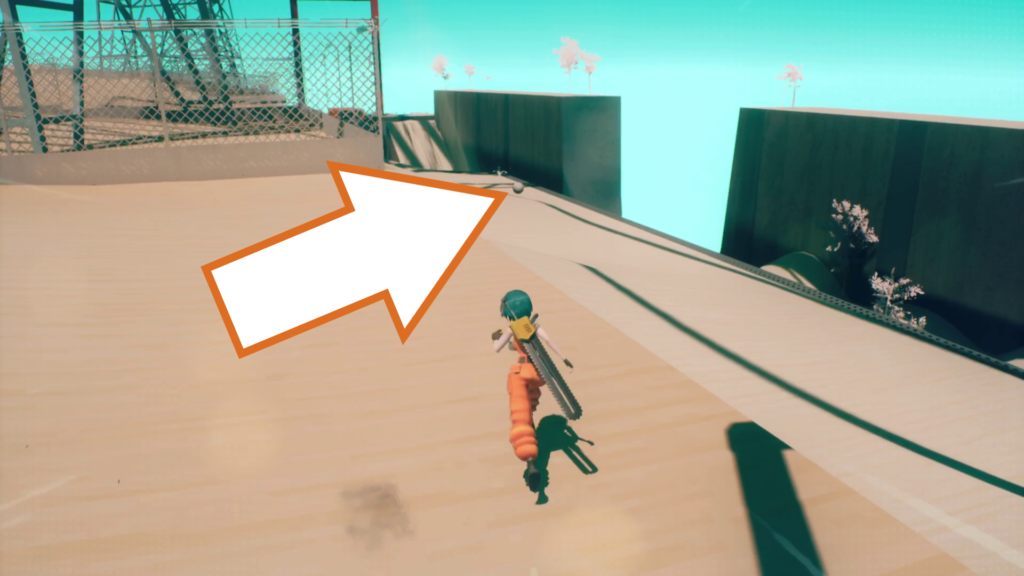
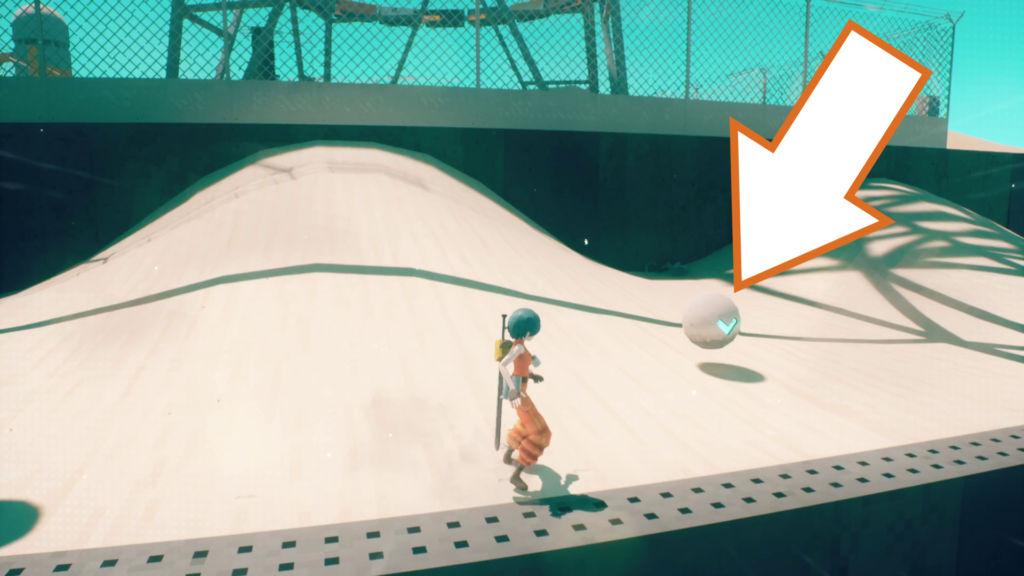
Head back across the pipe and run up past the first fenced-in area (you might spot the next drone as you run past). Go to the edge between the two fenced-in areas to find a lower ledge where the second orb drone waits.
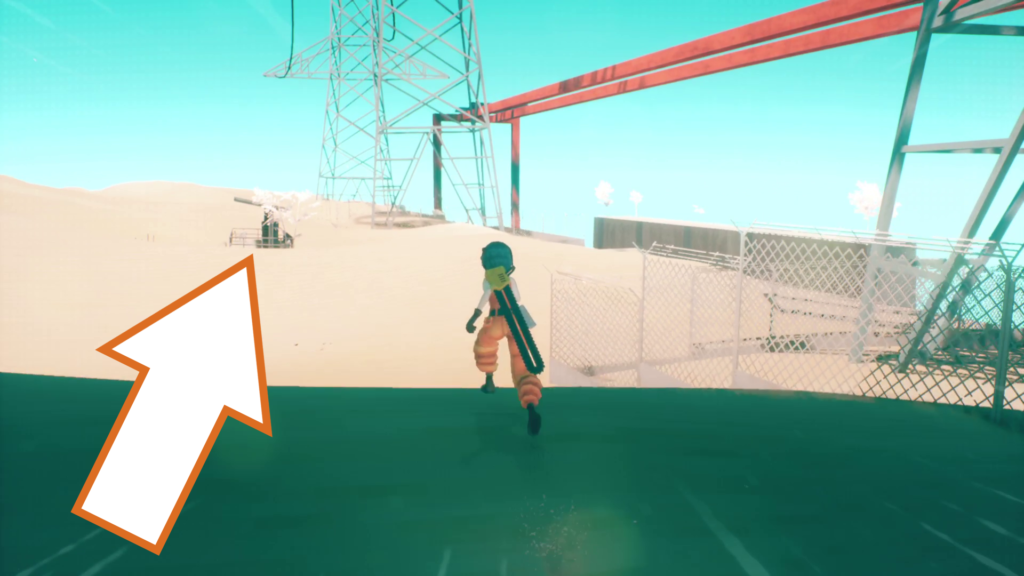
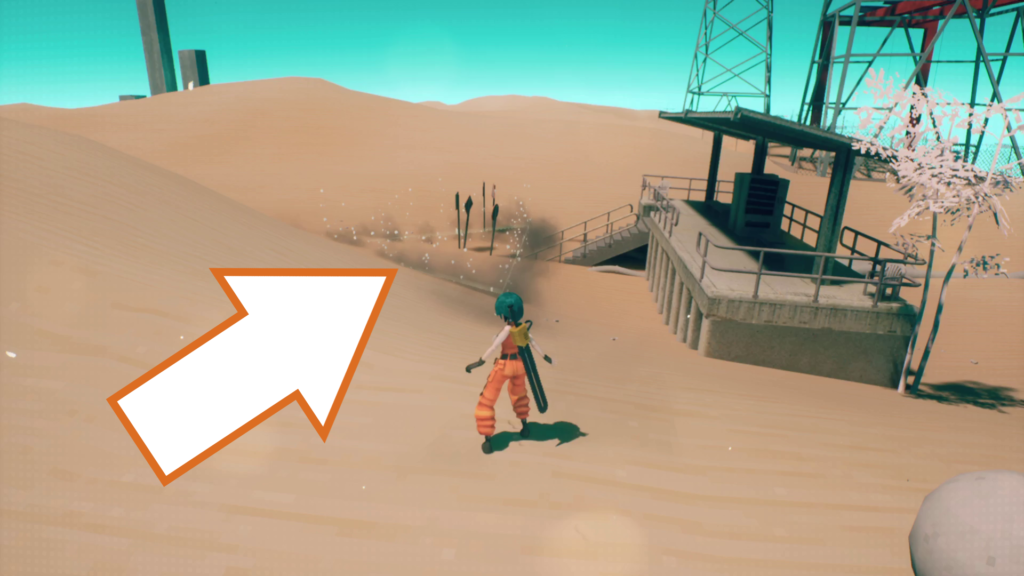
Run past the second fenced-in area and look for a train platform in the sand. The evac point is here.
Orb Drone 250
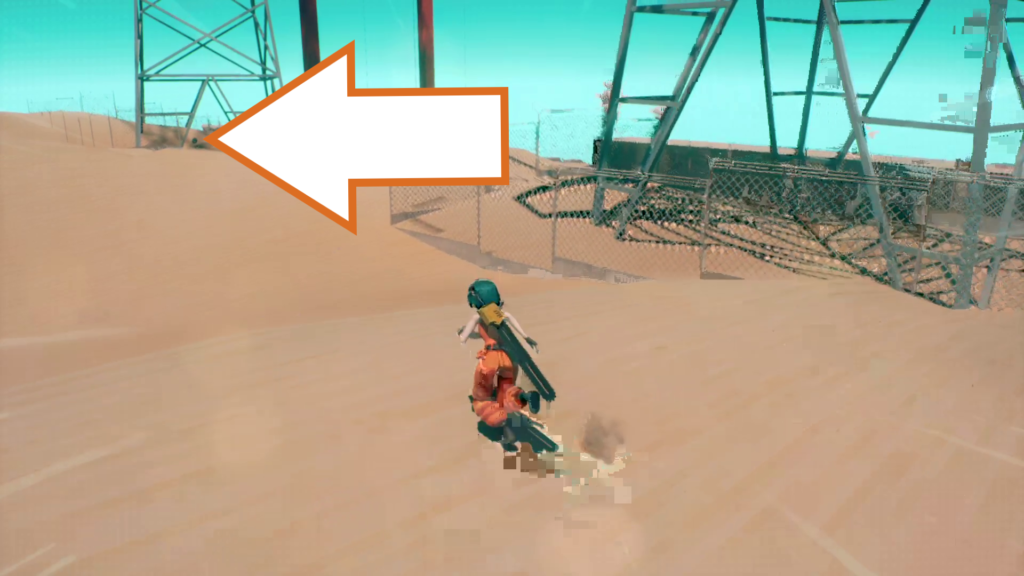
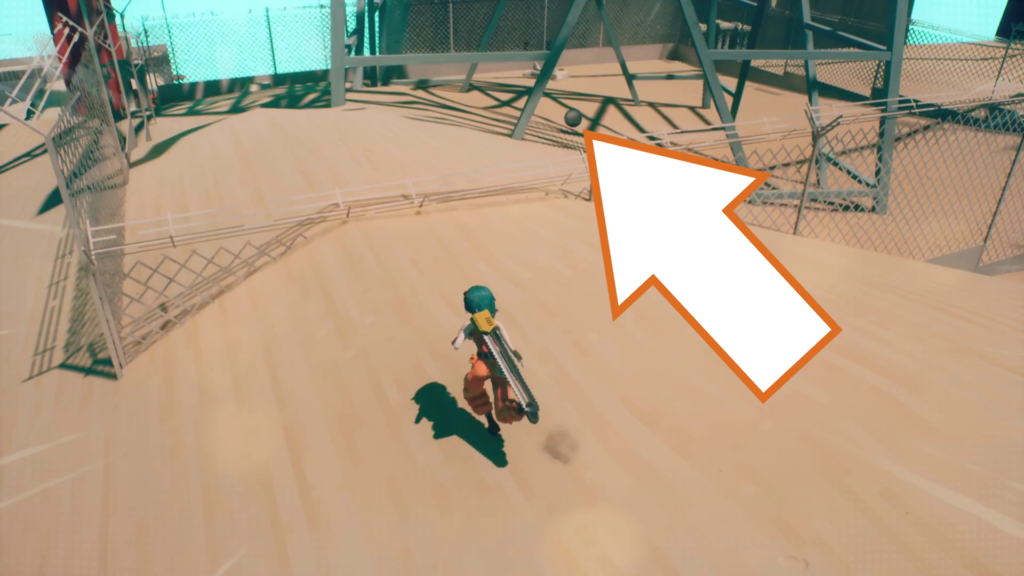
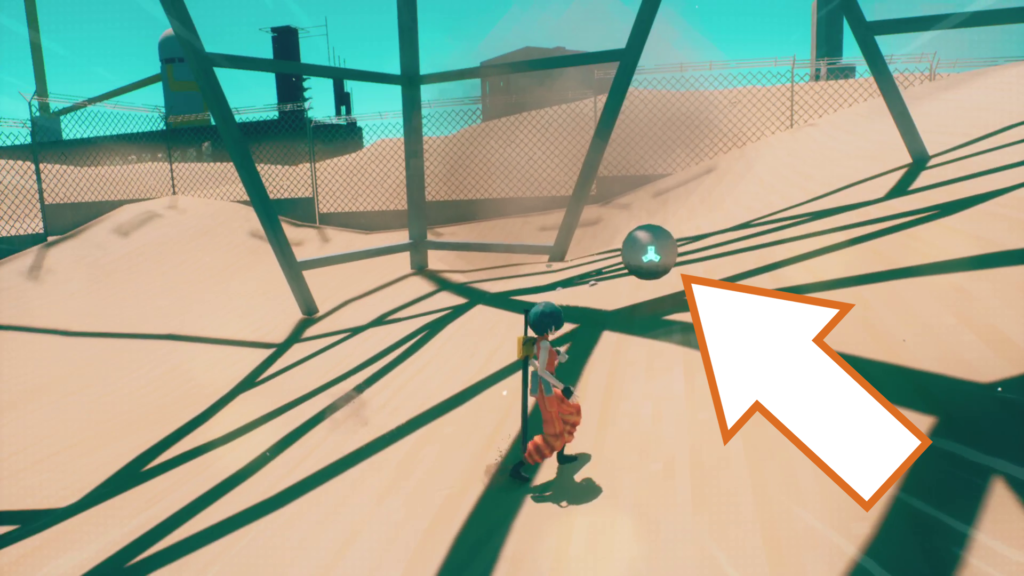
The last orb drone in this chapter, and in the game, is past the evac point, inside the last fenced-in area. Hop over the fence where the sand rises above it, and find the drone under the powerline tower. Return to the evac point with an orb drone one last time.
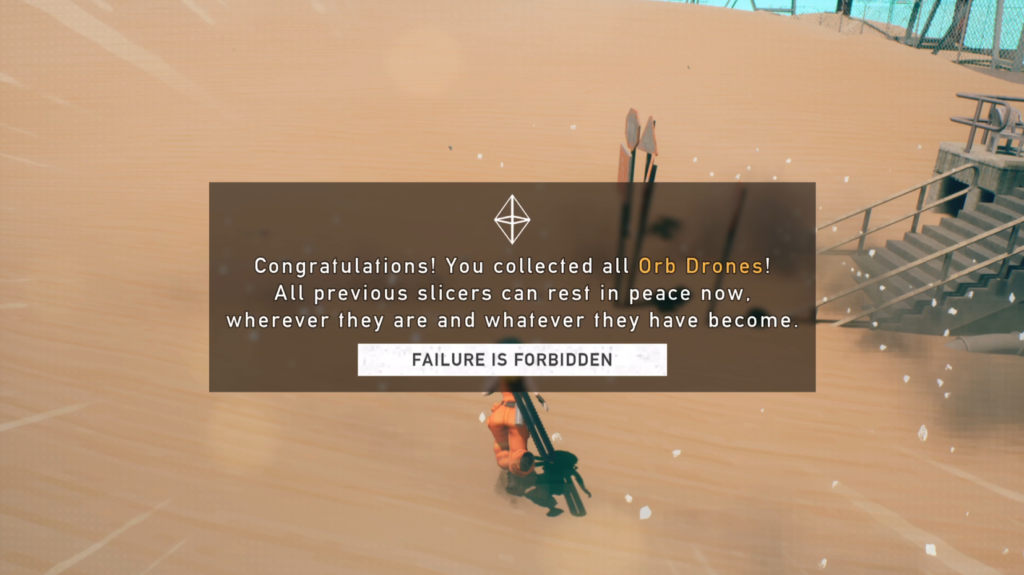
With all of the or drons delivered, you will receive the message above, along with the Drone Orb trophy!
That was our All Drone Orb Locations guide for MOTORSLICE! We hope it was helpful, and you can find more guides for the game below.
Having trouble with a particular trophy/achievement in MOTORSLICE? Let us know in the comments below, and join the Gamer Social Club Discord to chat about your favourite games, play in community game nights, take part in giveaways, and more!