Indie developer Stormcloud Games has released their new platformer, Junkster. Junkster is a pretty straightforward game for achievement hunters and is a day one Xbox Game Pass title. The one achievement that might take some effort is the Sticker Master achievement for finding all the stickers in the game. That’s where we come in as we have a guide to help you easily find them all.
Junkster has a total of 20 issues, which is the games version of levels. There are a total of 19 stickers to collect, one in every single issue except for issue #1. We have each issue labelled here easily so you can scroll to find whichever one you are missing. To see what you are missing you can head to the comic section in the main menu.
We also have a 100% achievement guide and roadmap if you want to take a look at that before starting. With all that said let’s jump into Junkster!
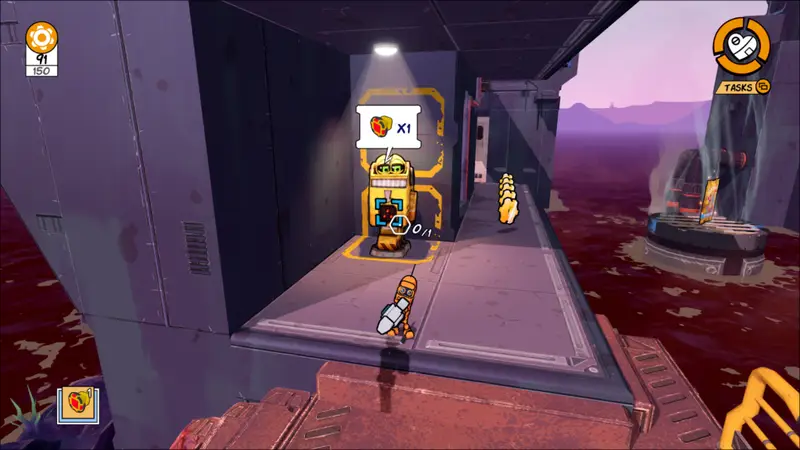
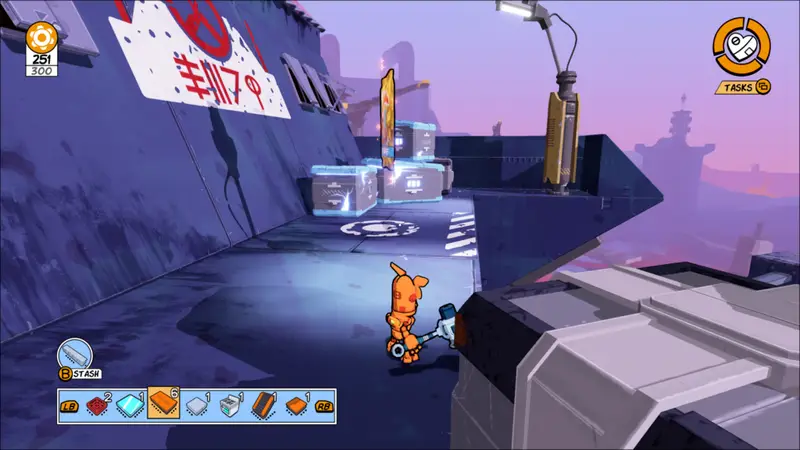
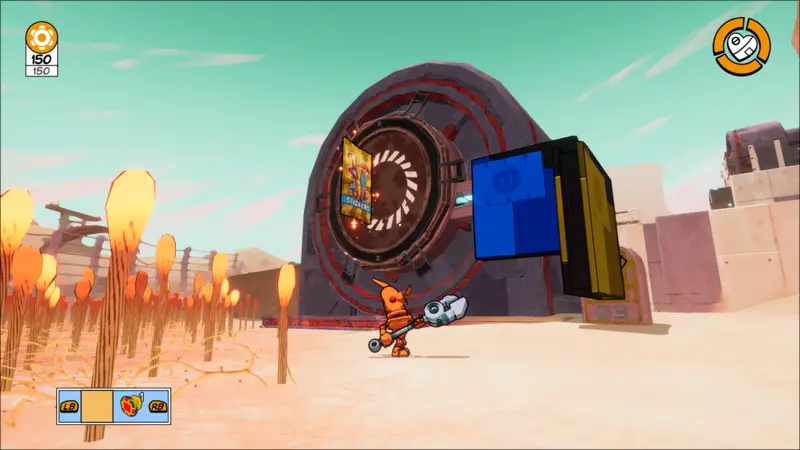
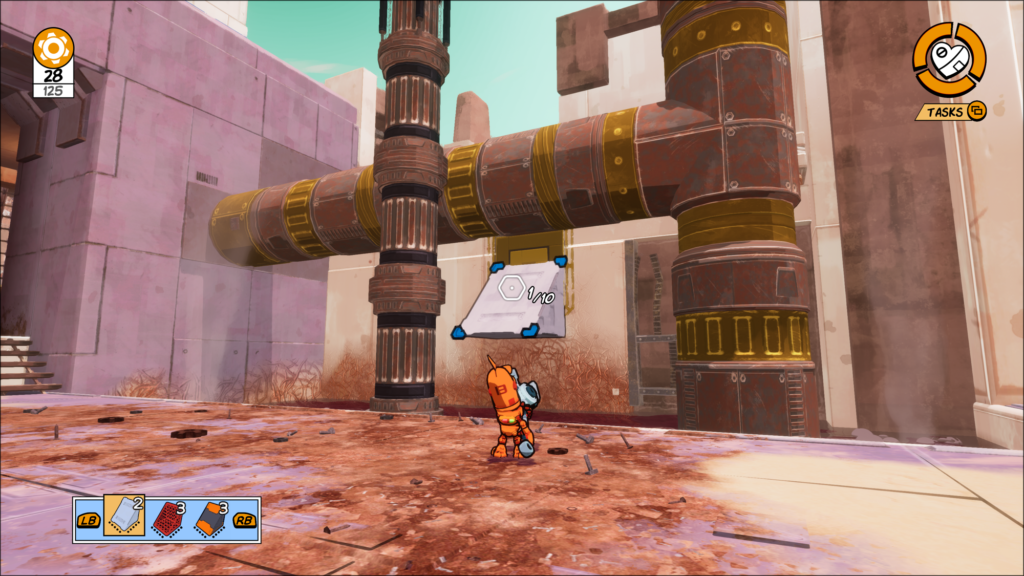
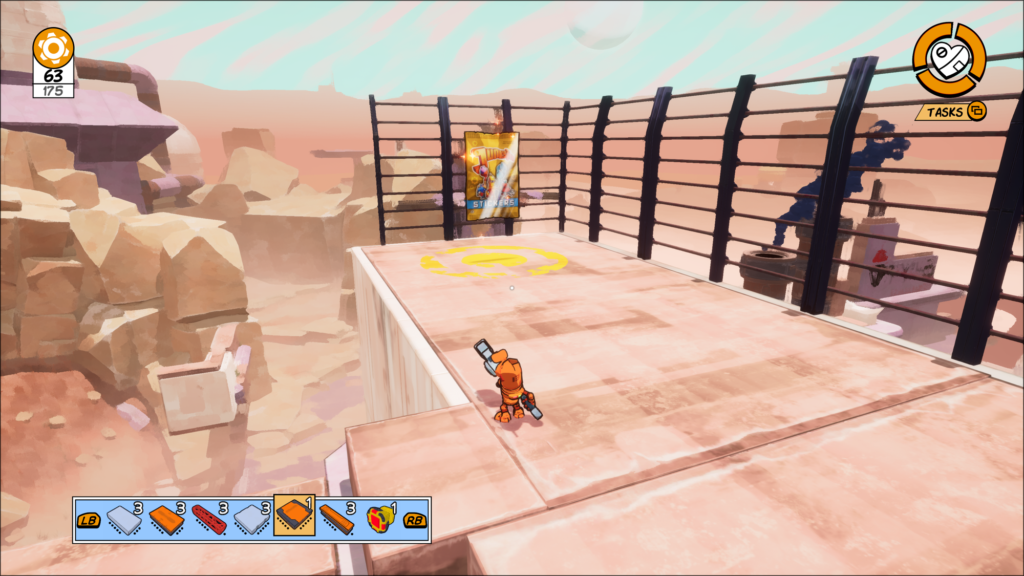
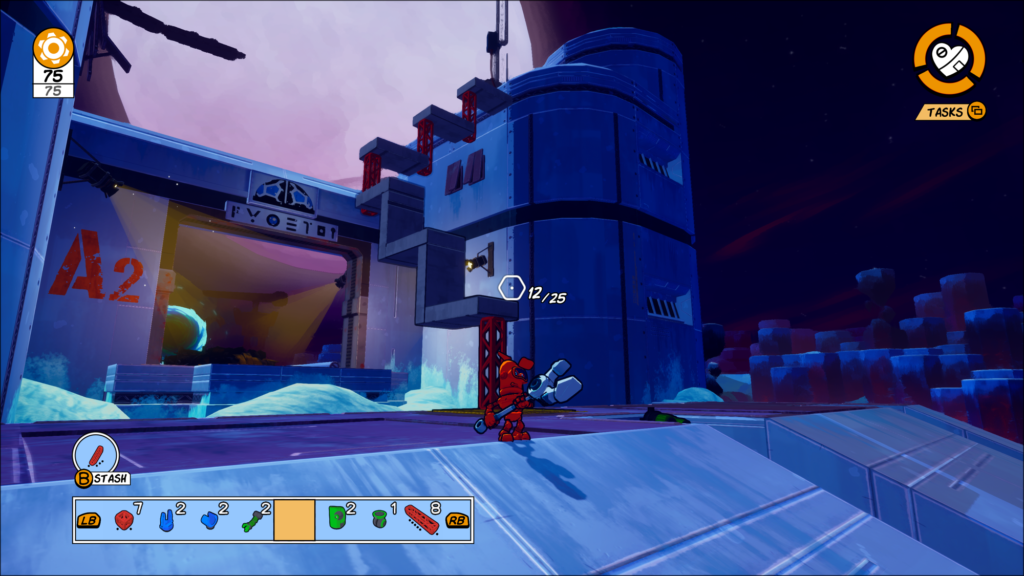
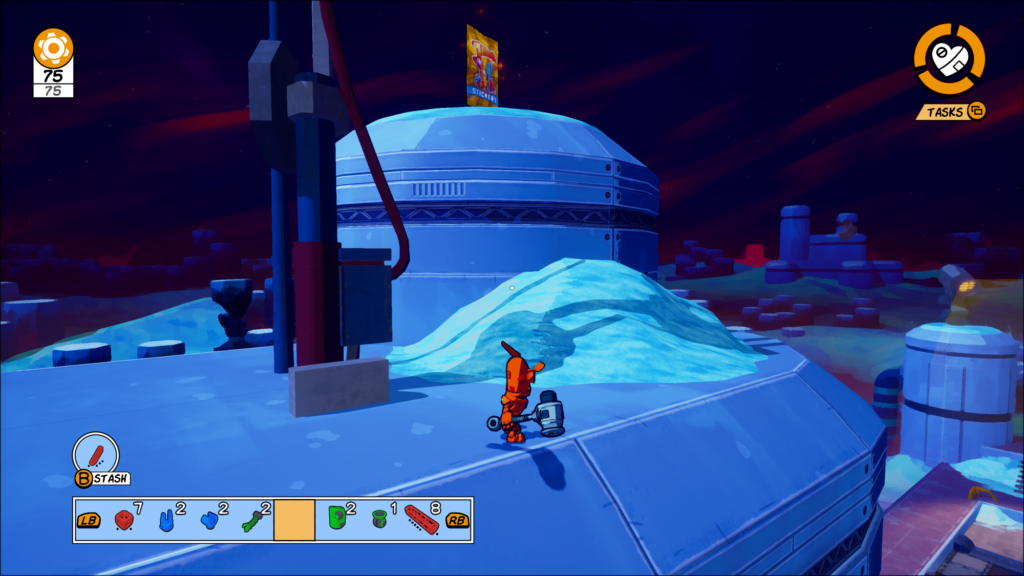
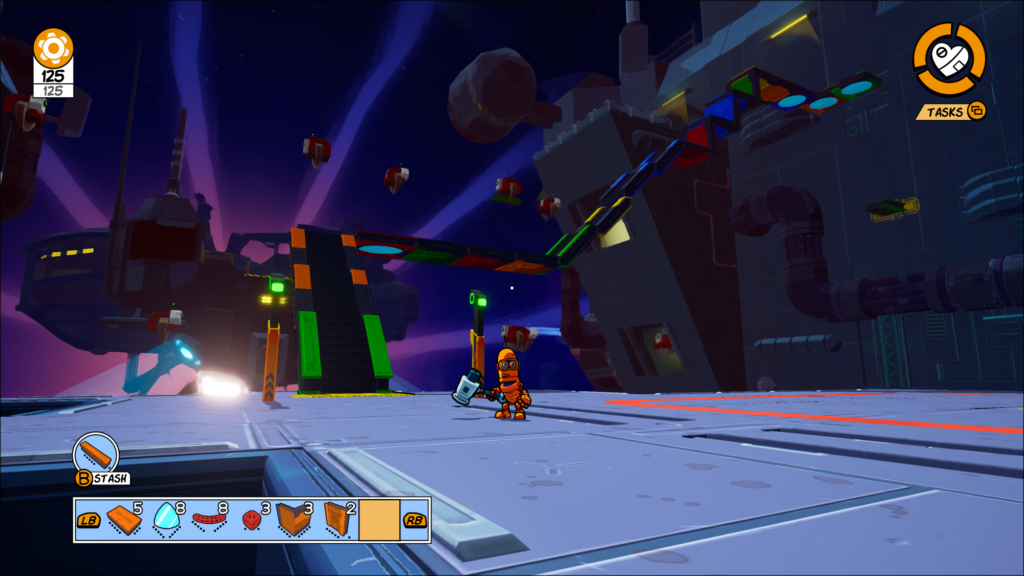
Issue # 2 – Station Basics
The first sticker will be found right after the spot where you build a robot for the first time. You will likely see it off in the distance to your left of the building platform. Ensure you build a robot high enough so that you can easily jump up onto the rock and collect the sticker pack.
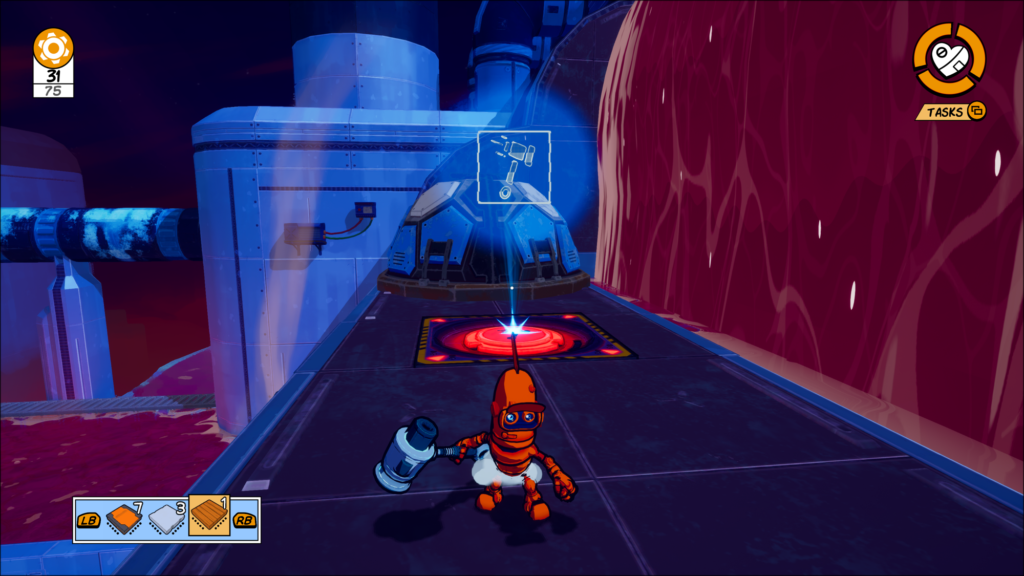
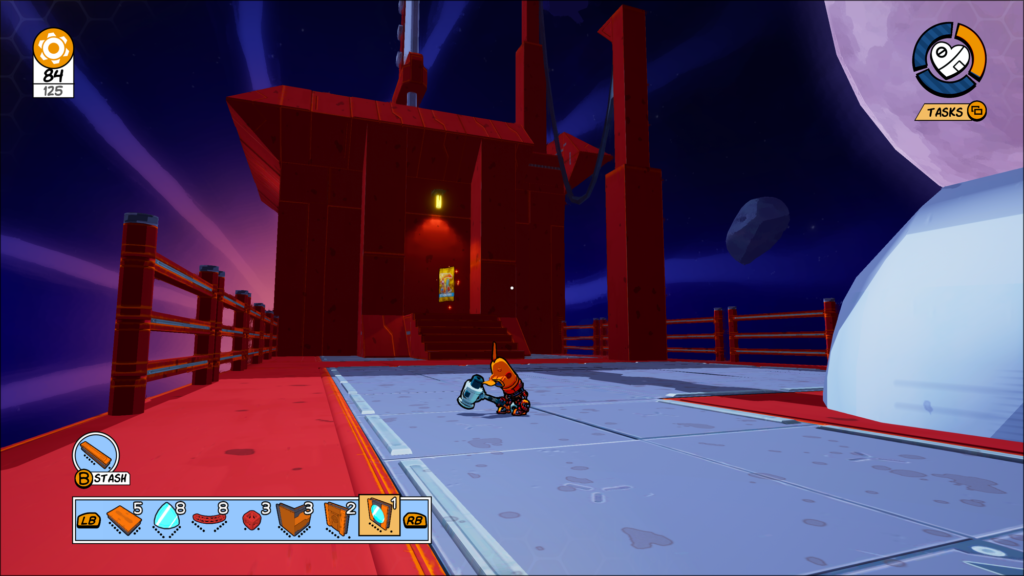
Issue #3 – Short Circuit
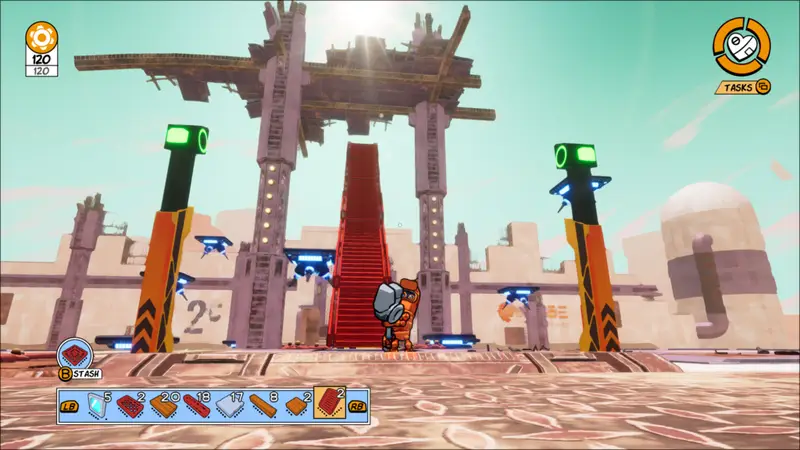
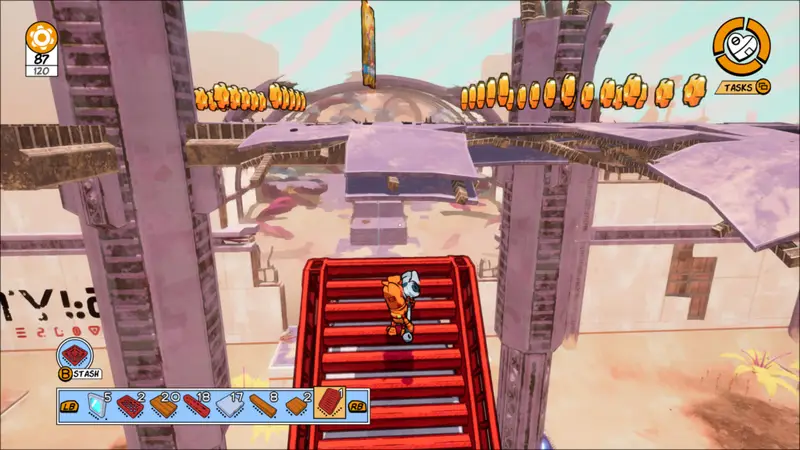
Progress through the issue like normal until you get all the way to the end and collect the artifact. Before taking the portal to finish the issue turn around and at the other end of the bridge you will see a path beneath it. Drop down and follow it around, picking up the COG’s and at the end of the path at the top of the stairs will be a door.
Collect the door using LB and then place it again in the same spot, but this time turn it so that you can jump on top of it and get to the roof.
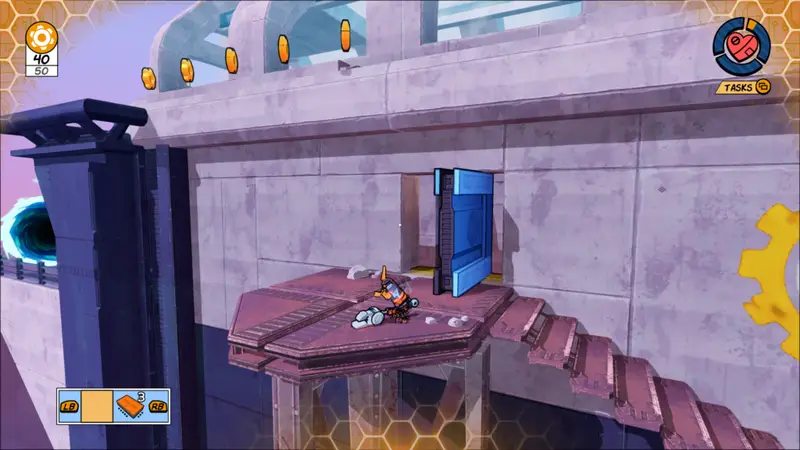
From here just follow the COG’s again and you will be led to a sticker. After this you can leave the level.
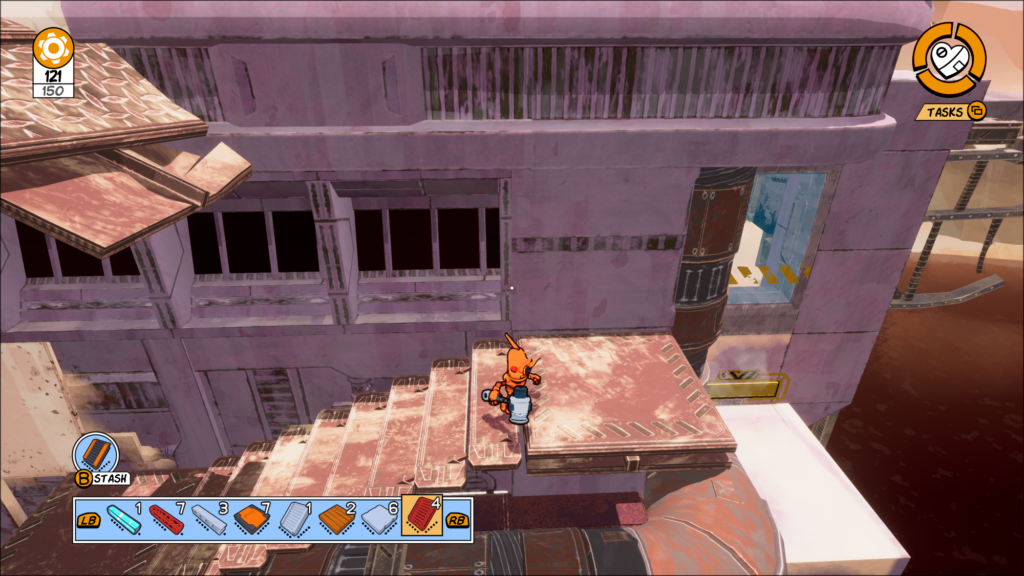
Issue #4 – Blaster Disaster
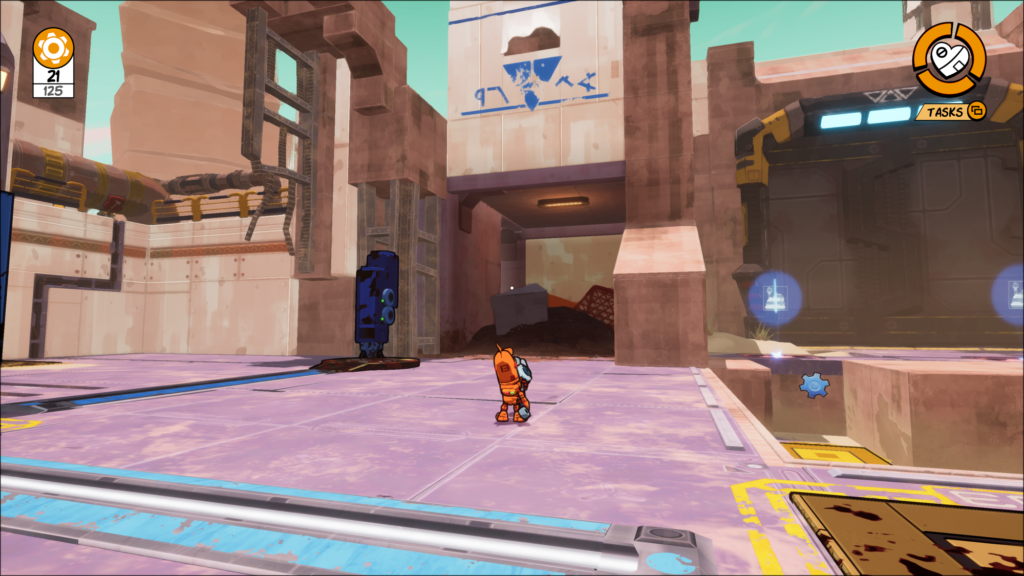
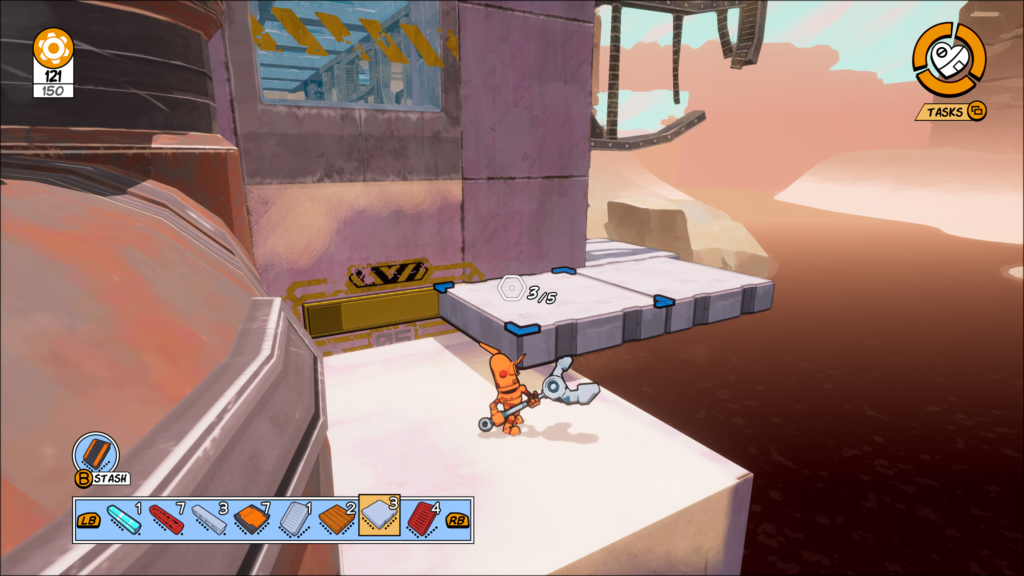
Progress through the issue until you get to the other side of the tunnel area with your robot. On the other side you will see a few enemies ahead as well as a spot to build your robot next to some new legs. Defeat the enemies and start blowing up the rubble around where you will find a launch pad.
Head back to the exit of the tunnel you just came out of and, depending on which way you are looking, will find a button to either your left or right. Stepping on this button will power a block near it and let you place an item on top. What you want to do is place the launch pad here and then park your robot on top of it. Then you can go to the button and step on it, launching your robot to the higher section.
Go and join your robot up top and hop back in then take the elevator you see here up to the next area. From here you can likely see the sticker pack off in the distance. Just follow the path around, taking out a few enemies as you do and get to the spot with the boxes. Exit your robot and do some basic platforming and get the sticker at the top of the building.

Issue #5 – Puzzle Pieces
This issue has you completing a series of puzzles. You will easily see the sticker from the beginning of the level, however you need to flip a switch to turn off the wind around it in order to collect it.
After completing the second puzzle look underneath the bridge it creates and drop down onto the land where it’s safe. Here there will be some cogs as well as a building block piece. Collect the piece and then jump across the rocks to start making your way back up.
After jumping onto the stairs you will see a mini robot device. Insert the piece you just picked up into it and interact with it. Doing so will turn the wind off allowing you to now jump across and collect the sticker.
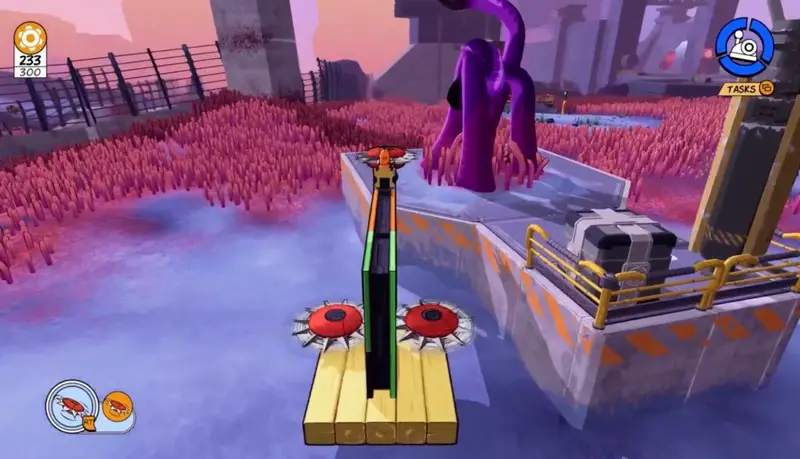
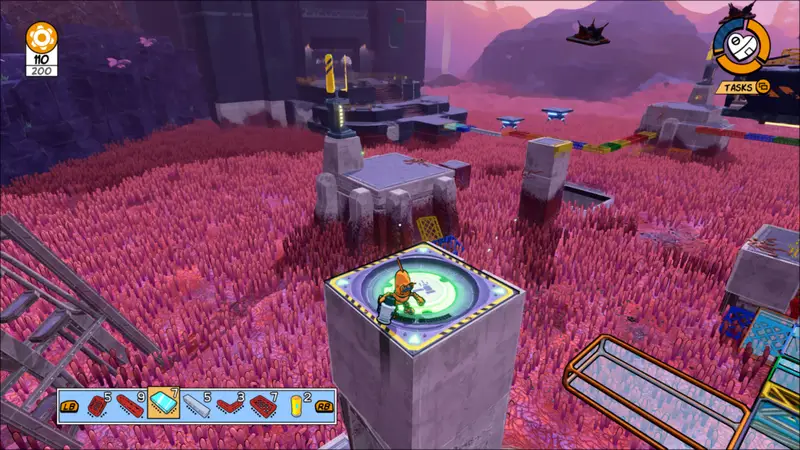
Issue #6 – A Fridge Too Far
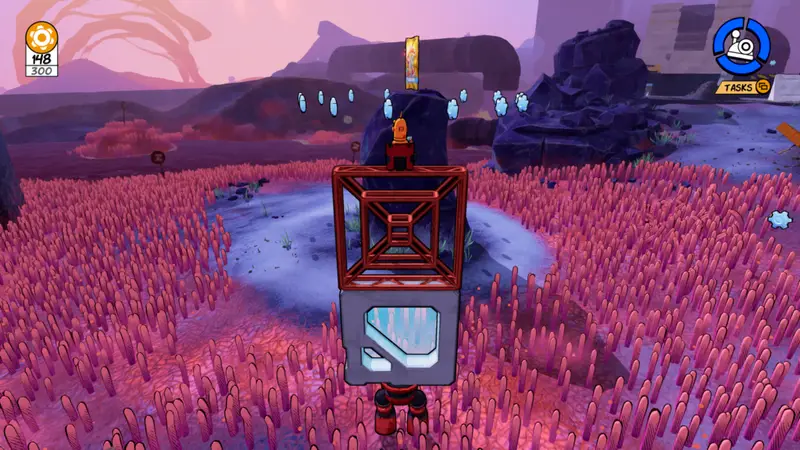
This is the first difficult sticker to figure out. Progress through the issue until you get to the bigger open area full of the pink vine thingies. Here you will create a grinding robot and have to collect some parts. I suggest creating a basic grinding robot here to start and go collect some parts first.
Once you have a decent amount of parts head back to the robot building platform and you are going to need to create a grinding robot that can extend quite a ways out with a saw. I built one that was up high enough and then extended out, but you still need saws down below to cut the pink things or risk getting blown up.
With the robot built you are going to want to head to the right side of the area. Here you will see large tentacles holding something, a battery. You need your robot to be able to extend out far enough to destroy the tentacles and drop the battery.
With the battery in your possession you can now turn and look to the higher section that is, either just infront of you or just behind you depending on how you are looking after grabbing the battery. Either way its easy to spot as its the only spot to build here.
Build a bit of a ramp to get up to the launcher and then launch across to the higher up roofs. Follow the path here and you should probably see the stickers on an even higher roof off in the distance.
Build another bridge here to the other side (and hopefully complete the time trial COGs here in the process). On the far left hand side of this large building you will find a slot to put the battery you collected which you want to do.
This will power up the building area that’s here allowing you to create a bridge up above. Hopefully by now you have some ramp pieces to build upwards. Once you can jump up onto the roof the sticker is right there and easy to grab.
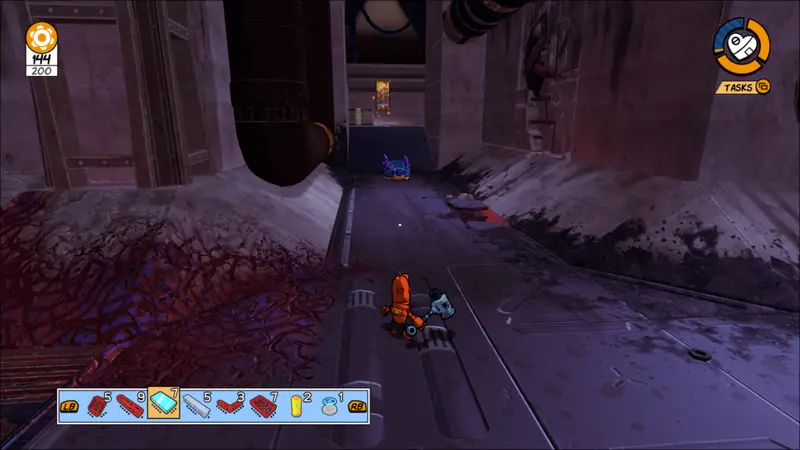
Issue #7 – Live Bait
On the right hand side of the map, beyond the platform with the battery is another, higher up platform. You will need to build a bridge over and up to this platform and once on top use your aerial smash. Doing so will open a hidden passageway in the middle of the map just infront of the area where you start.
Head down into this area now and you should easily find the sticker pack as its on the path out. Make sure to collect all the COG’s down here as well!
Issue #8 – Outta Reach
After completing the third button sequence and launching over to the final one if you look out to your far left you will see the sticker pack out on a pillar by itself. Use the makeshift bridge that’s already there to get to the second furthest out platform. From here you can remove a couple of the pieces and then make a new bridge out to the sticker pillar, jump up and collect it. A fairly simple one this issue.
Issue #9 – Buzz Wire
This is near the beginning of the issue. Progress through the issue and make it to the other end of the first beam with your robot. On the back of the end of the beam machine will be a locked pod.
There is a button here powering things up as well as a power connection for the pod. Attach the 2 using blocks to open the pod up which contains the sticker. It might be easier to progress a bit further into the level for more blocks and come back to this.
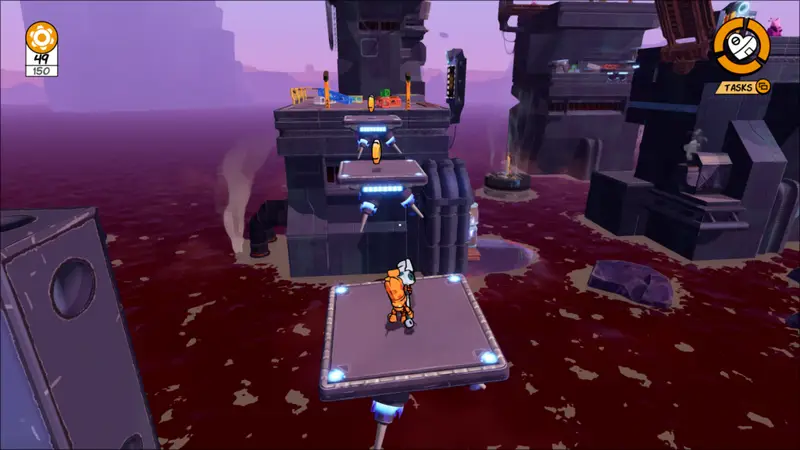
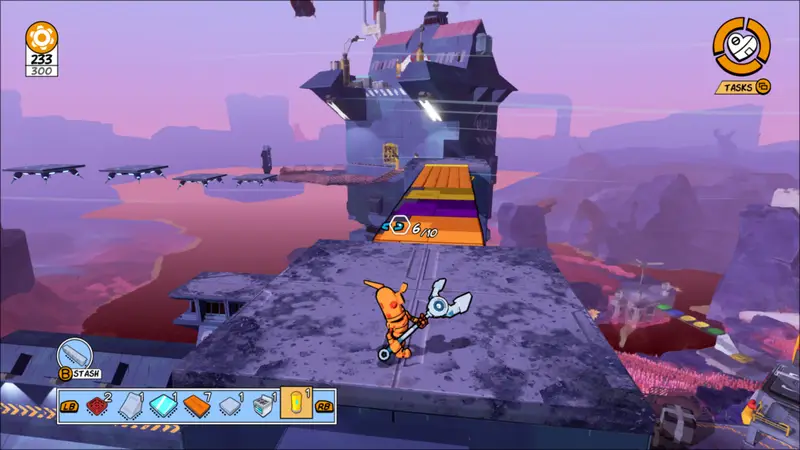
Issue #10 – Floor Toggle
At the second, larger time trial section where you need to jump on all 11 platforms to trigger the artifact, if you look high above you will notice a floating section. At the top of this will be the sticker and a bunch of COG’s. Build a bridge all the way up and collect everything.
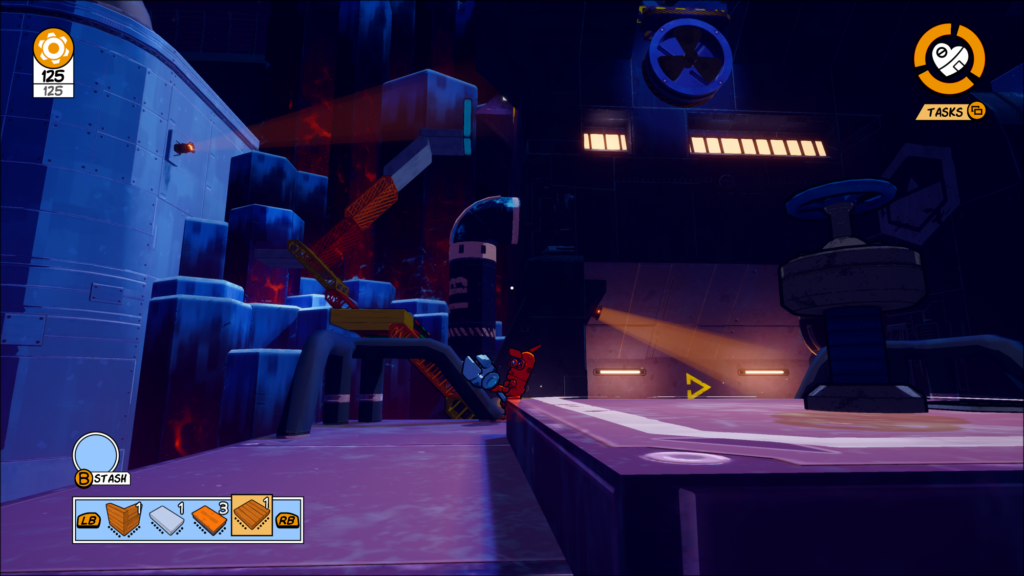
Issue #11 – Blocked Path
From the start of the level head straight and stick to the left a bit. There will be a rubble pile that you need to smash through under a little corridor.
Once on the other side there will be more blocks to collect and on your left hand side you will see a building section on the wall behind some pipes. Its very janky since we only have one type of blocks here but you will need to use the blocks and jump up to the next section.
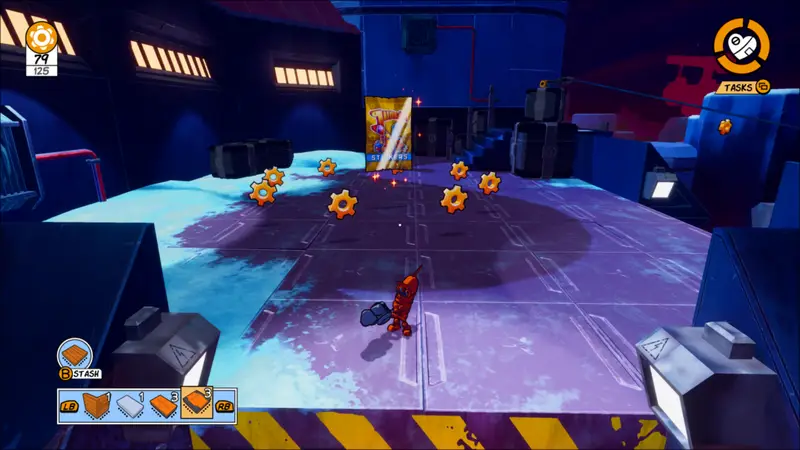
On this level you will see a switch to hit that is required to finish the level so do so. From here you want to use that same building area you just used to get to this section to create a big tower of blocks to reach the highest area here. Again it will be quite janky but it is doable as seen here.
Now make your way up and jump over the fence. You will find a ton of COG’s to collect up here as well as the sticker pack on the other side. Make sure to carefully cross the small beam to get to the sticker.
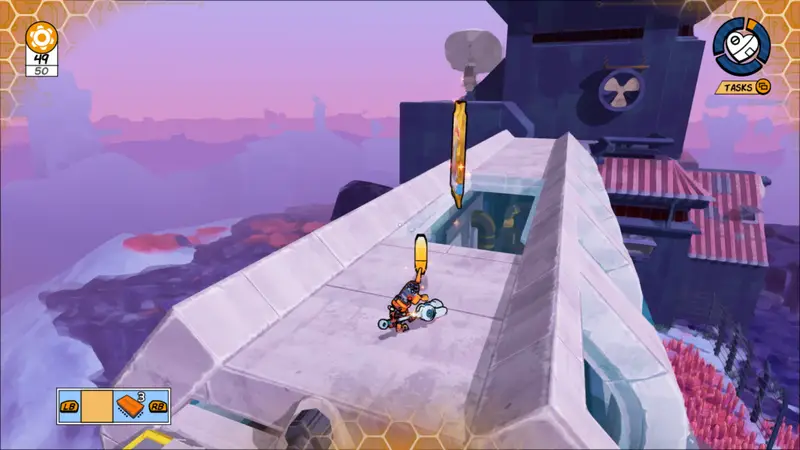
Issue #12 – Build And Move
Progress through the level working your way up the building you need to scale. You will likely notice the stickers right infront of you once you hit the first checkpoint, though you of course cant get to them from here.
Progress a little further until you have to jump a gap to where a fire enemy is. Kill that enemy and go to the end of this mini platform where you should see a little spot where you can build. This is before jumping up to the next set of stairs directly above.
You can use this little building section to build out to the right and around the building. On the other side will be a pipe that you can jump onto and at the end of the pipe will be the sticker pack.
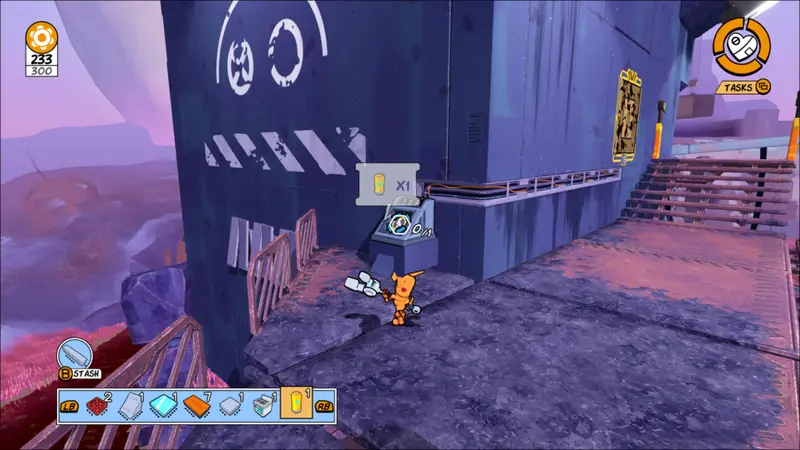
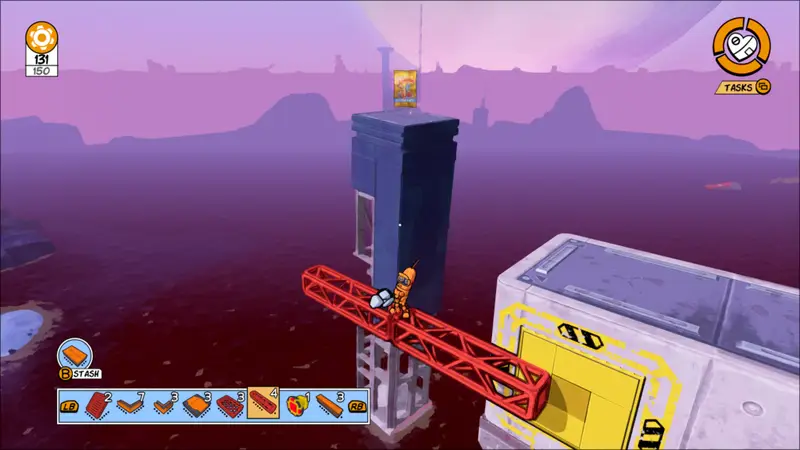
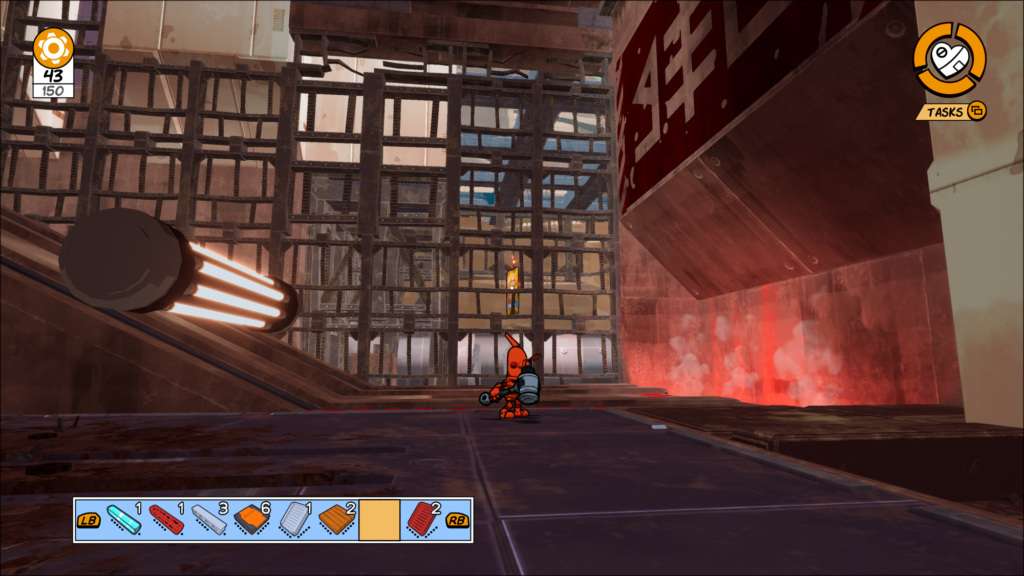
Issue #13 – Launch Pad
Once you start the level if you head to the far right and look down into the mud you will see an area where you can actually make a robot. Don’t worry about this too much just yet as you need to find the parts which are easy to grab as you progress through the level.
With the parts in hand you can then head down and create your robot. This robot will actually act as a boat over the mud. Hop into the robot and as soon as you get into the mud do a 180 and head around the platform that is here. In the back of it will be a spot to park the robot and open up a door that has the sticker pack behind it.
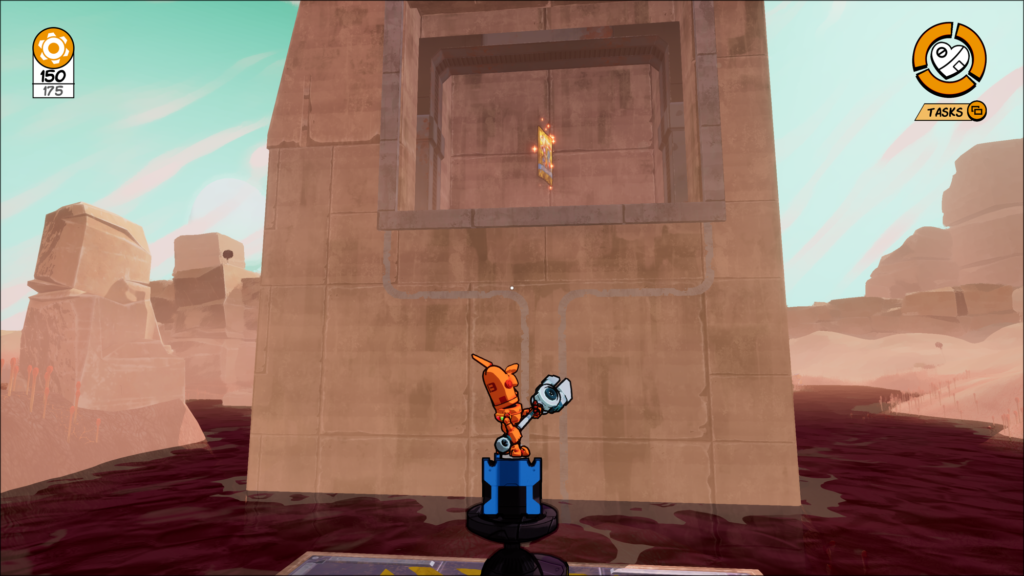
Now the only way I’ve found to get up to this area is to actually go ahead and complete the issue. At the very top of this level where you find the artifact you can jump off the back and as you are falling you will see the spot with the sticker. At the right moment double jump so you can land safely inside and collect the sticker.
Issue #14 – Moving Bridges
Progress through the level and move the platform to get up to the second area. Here you will have to block some fire above the fan that will let you safely get up to where the next button is. Once on top you will want to build up a bridge where the fire was so that you can get to the spot above the fire. At the top of this section is the sticker pack and some COGs.
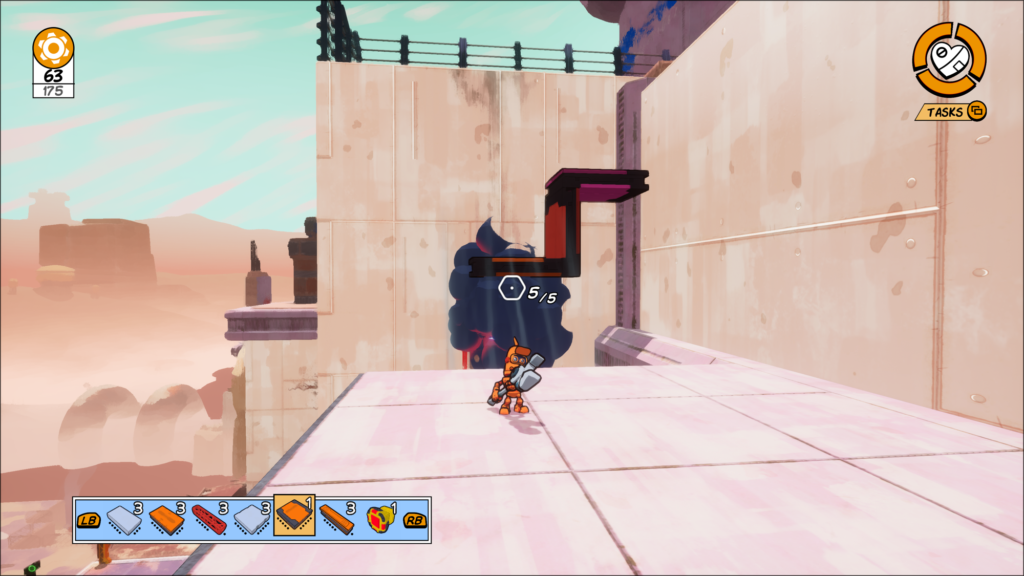
Issue #15 – The Acid Test
You will jump the acid twice to a bit of a higher spot where you will see a bit of a bridge already made with blocks. You need to use this to activate the switch to be able to build here. Activate that switch and then use this building area to create a much higher walkway up and to the far left section of the map.

You should see a spot where you can do an aerial smash up there to know where you are trying to go. Once up here simply go up to the aerial smash spot and do an aerial smash. This will open up a secret right infront of you which contains the sticker pack.
Issue #16 – Rising Tide
Before you do anything you are going to want to drain the acid away. Create a mini bridge to middle area where you will need to put the handle to turn off the acid and then on the other side you will see another spot where you can place blocks and jump over so that you can get to it. Grab the lever and go back and turn it off.
To get the sticker now you are going to want to use that same building block area to make your way all the way up above to the highest area here. You will need plenty of blocks to make your way up but there’s more than enough around. At the top will be the sticker and some COGs.
Issue #17 – Path Pandemonium
Get all three of the robots through the maze so that you can then interact with the building section that’s beyond where you go get the ship part. Take apart all of the blocks and then build up and to the right. The highest point here there will be the sticker and some COG’s. A nice short level.
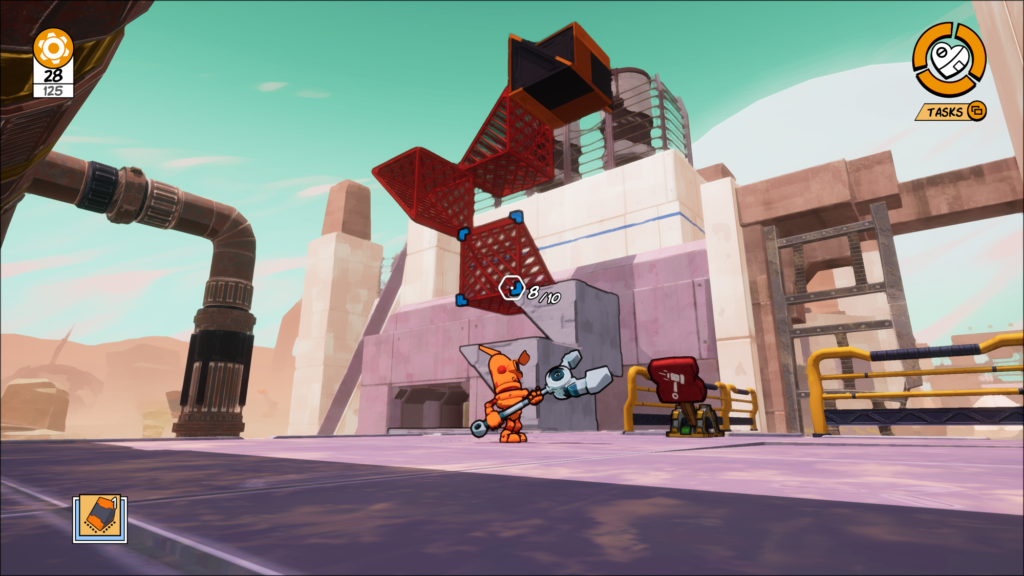
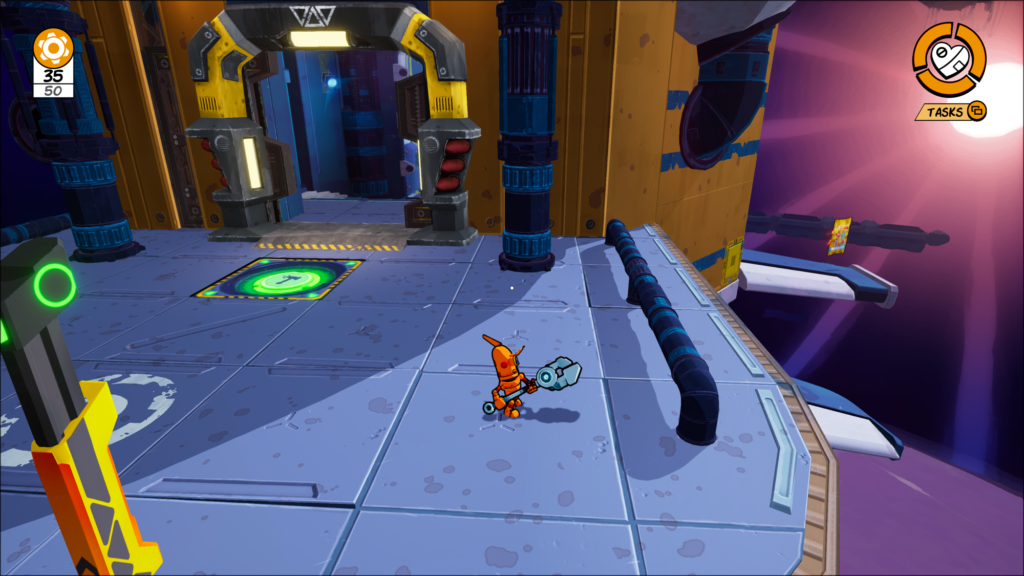
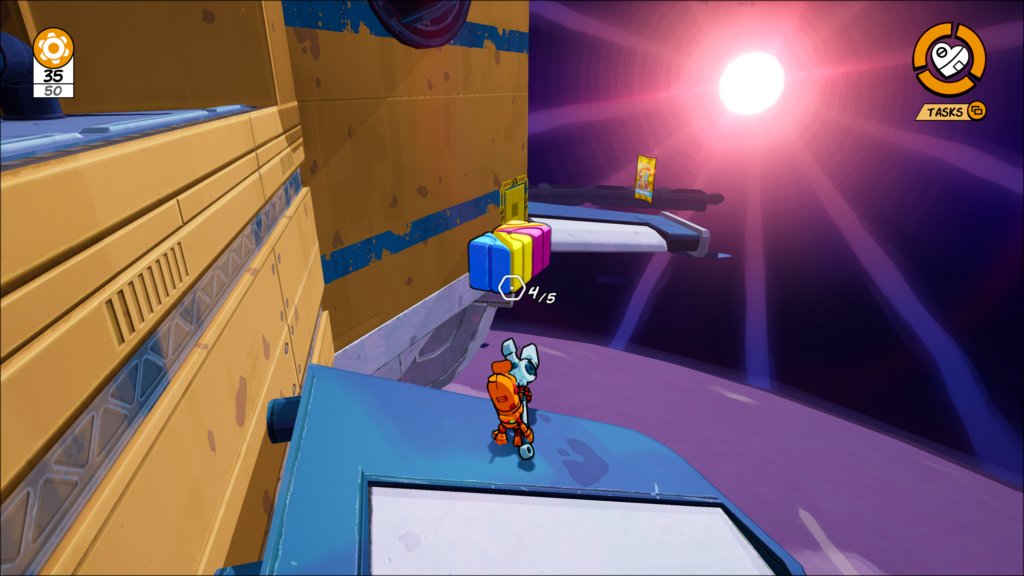
Issue #18 – Pachinko Party
Make your way through the issue until you get to the third and final puzzle. If you look to your right when you land you will notice the sticker out on the wing of this platform. You will want to complete a couple sections of the puzzle so you can get some building blocks and when you have a couple (or just complete the puzzle first) you will want to then take it out to the side where the sticker is, build a mini platform to jump on and go and collect the sticker.
Issue #19 – Rush Hour
Build a long bridge out so that you can get to the central area down below. From here where the next section is to build you actually want to build way up and to the right. There is a platform here on the far left hand side of this section that will then lead you to the sticker. There’s also a ton of COG’s up here.
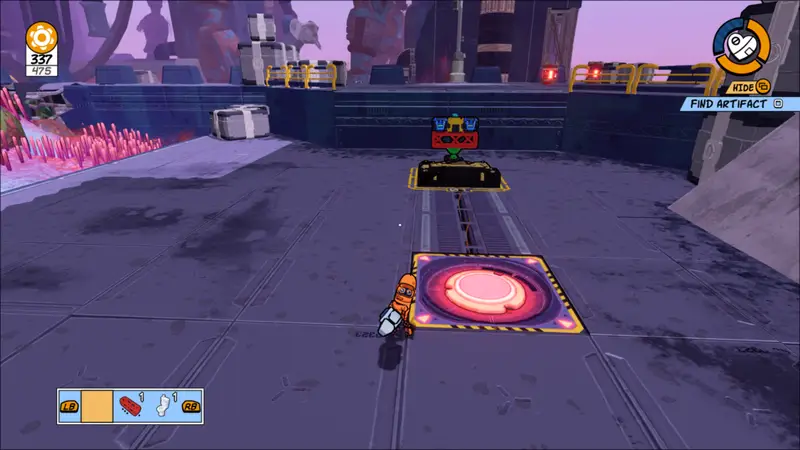
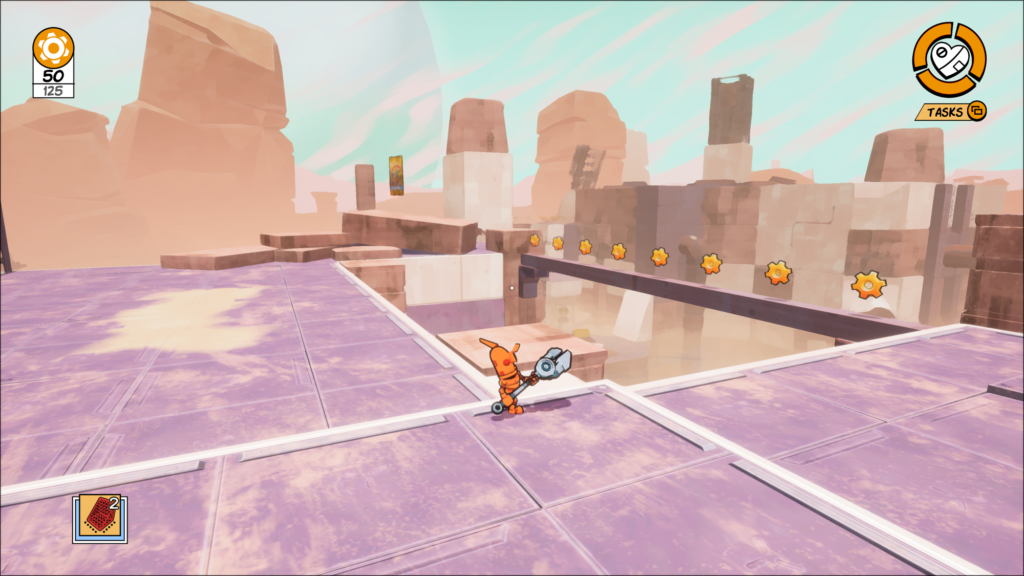
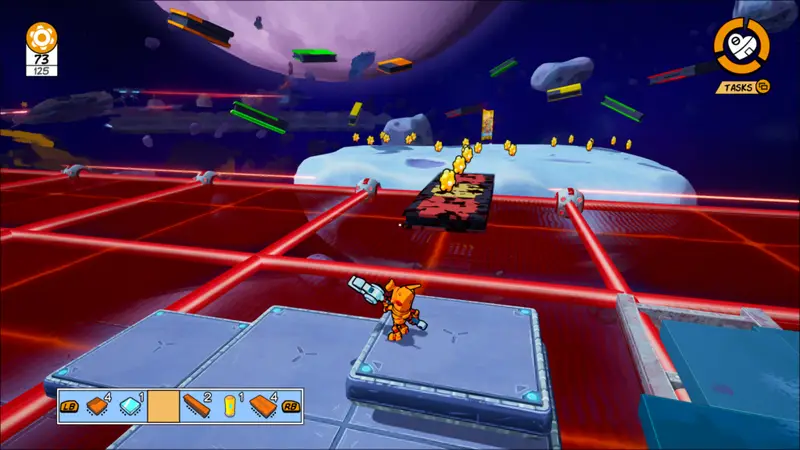
Issue #20 – Star Wreck
Launch over to the area where you need to put 4 batteries into the machine. You are going to want to go to the red grid section where the floor is moving up and down, which should be behind you when you land.
Grab the blocks out of the sky as you progress and jump along. You are going to want to go left the first chance you get and you will likely see the sticker off in the distance. Use the buttons here to lift platforms and build yourself some bridges to make your way across to collect the sticker.
This should be your last one if you have followed along and if so you will have earned the Sticker Master achievement! We hope this guide was useful to you and has helped you get closer to the full 100% for Junkster!