Doom: The Dark Ages is here. The latest shooter in the Doom franchise from iD has a bit of a different feel with its more open world style of levels. Within each level is many different secrets on the form of collectibles, upgrades and other items. This guide will help you with finding all the upgrades and collectibles in Chapter 6: Siege Part 1.
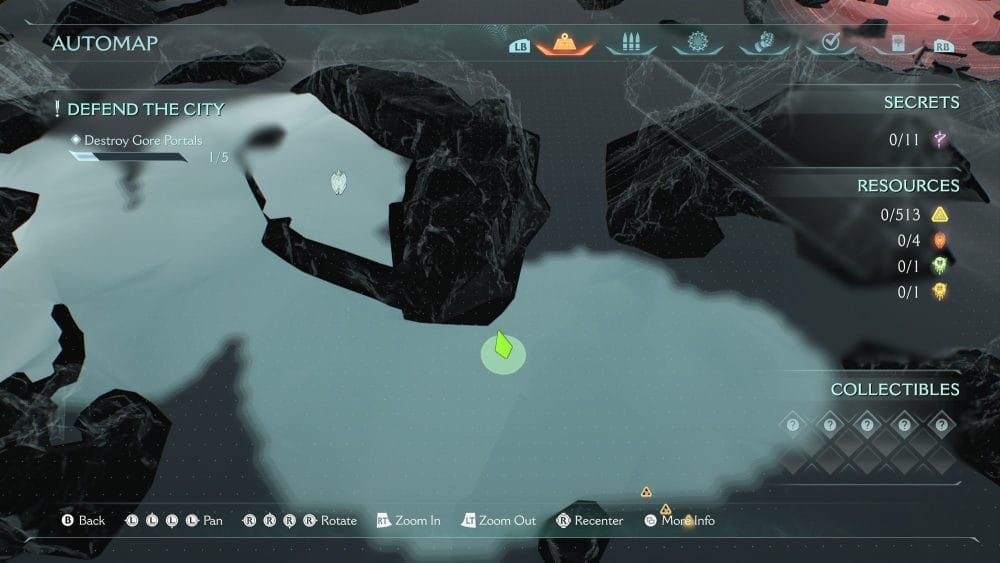
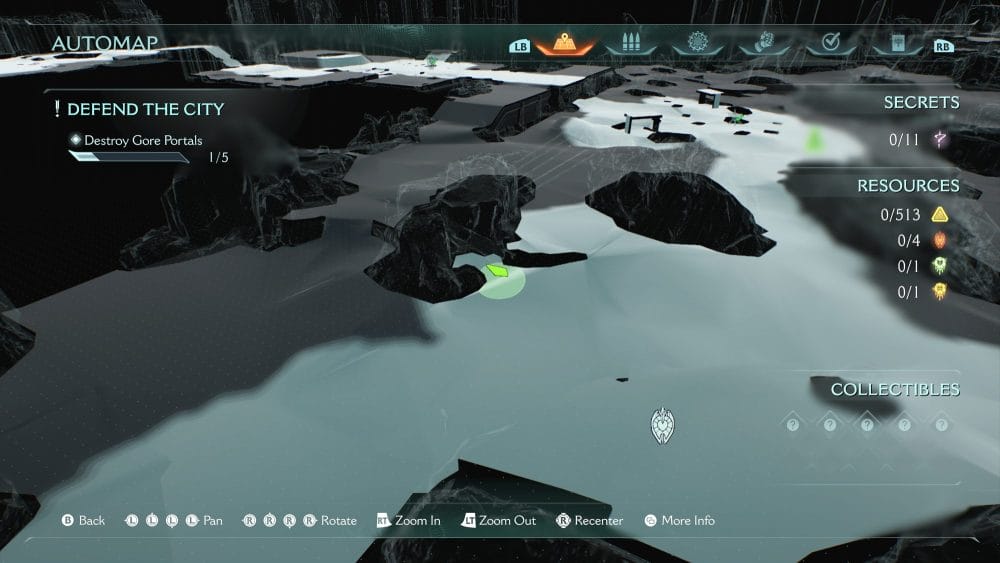
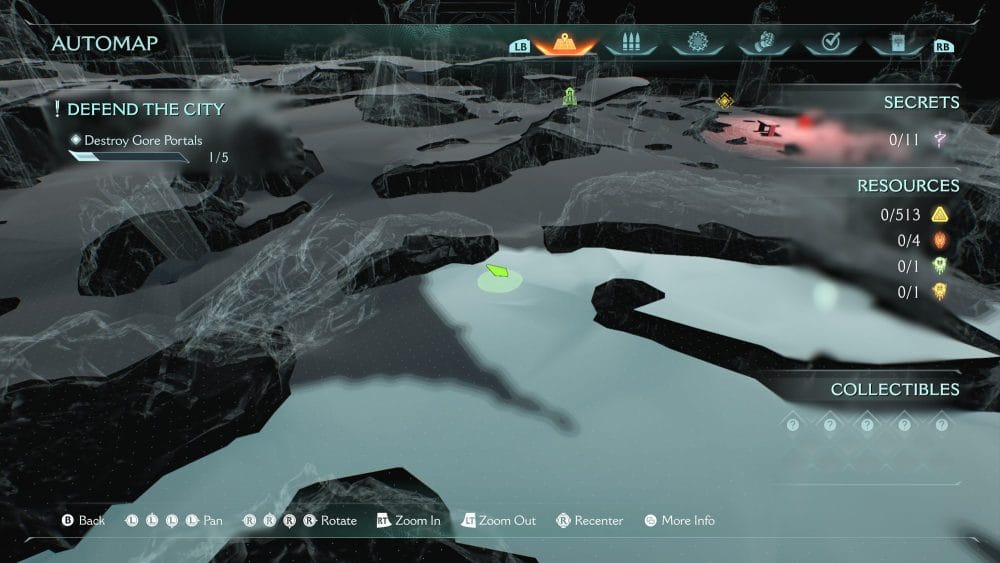
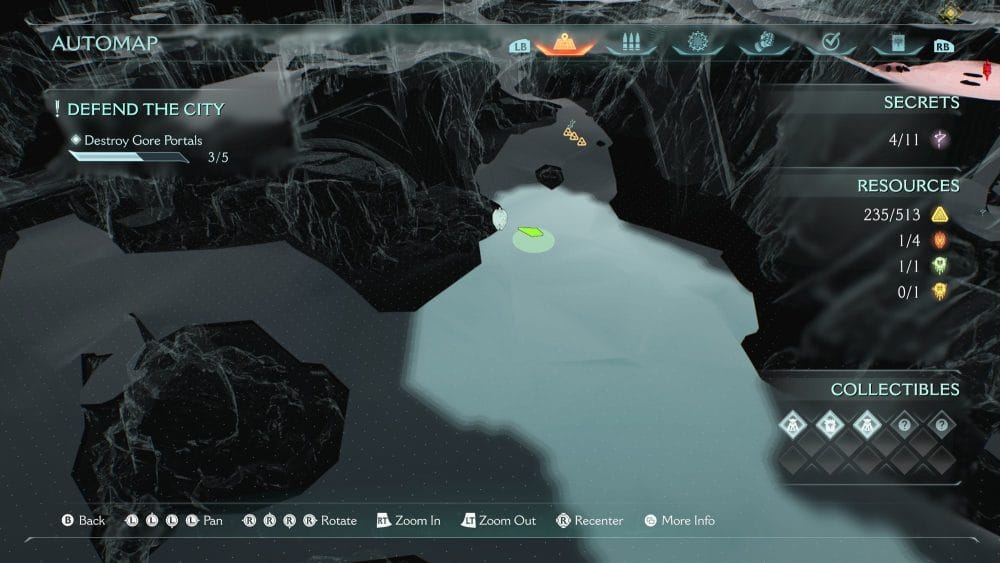
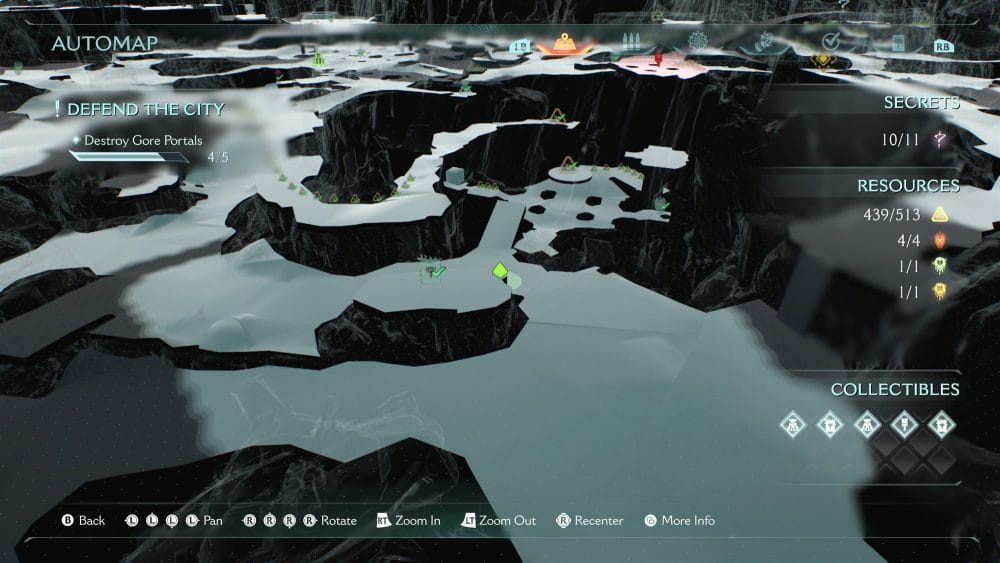
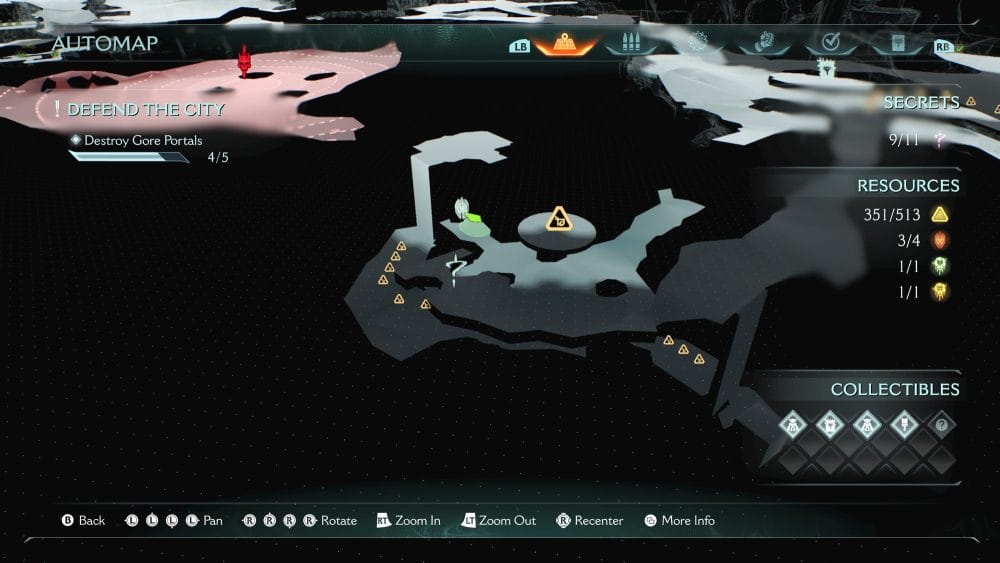
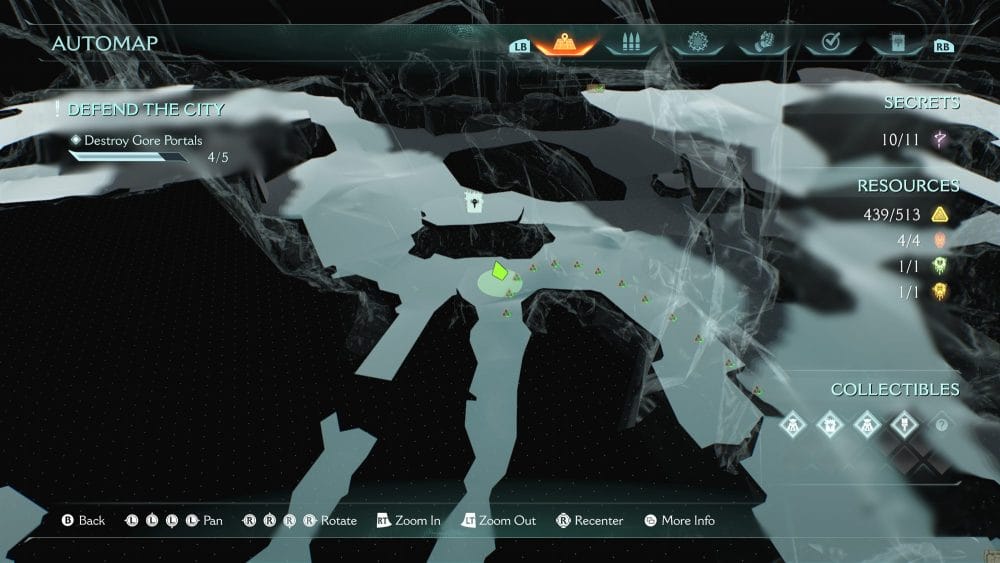
Chapter 6 is very much an open world map. We will do our best to guide you but use your map often to help find the way.
Ruby #1
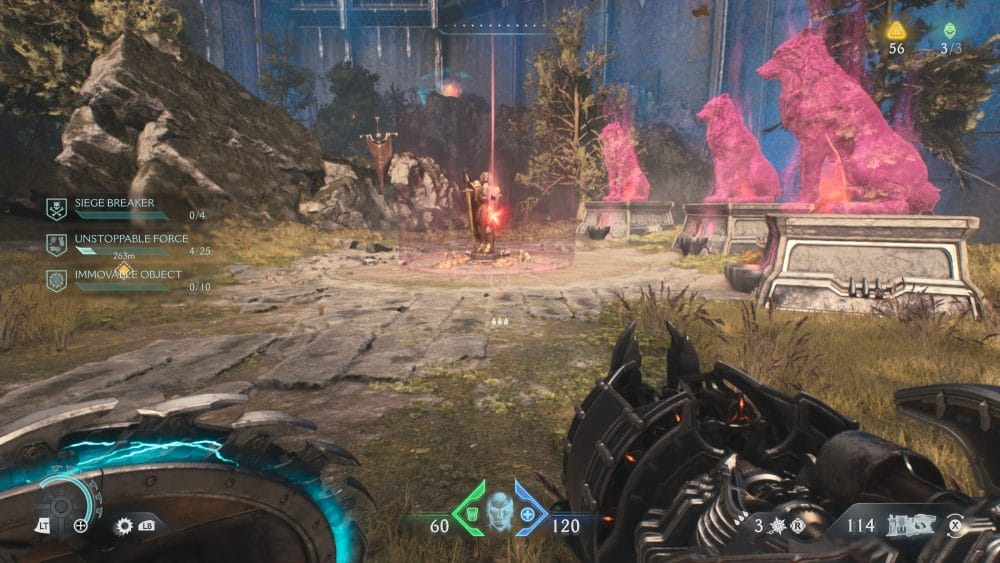
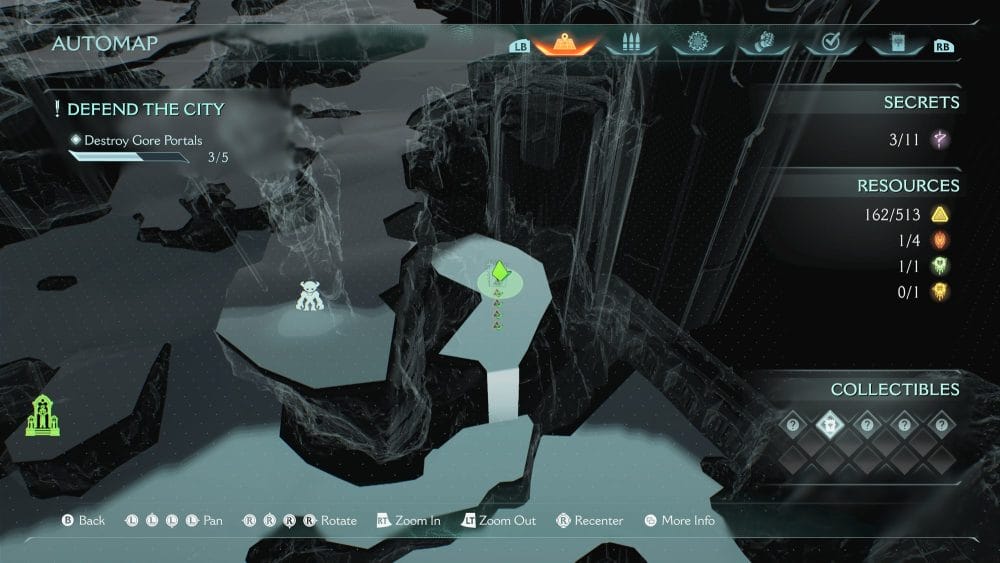
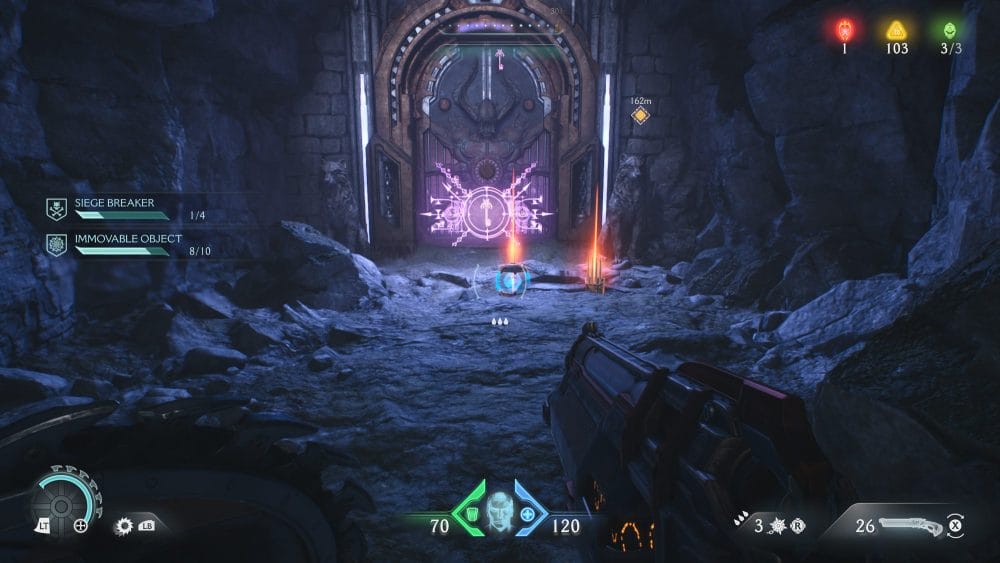
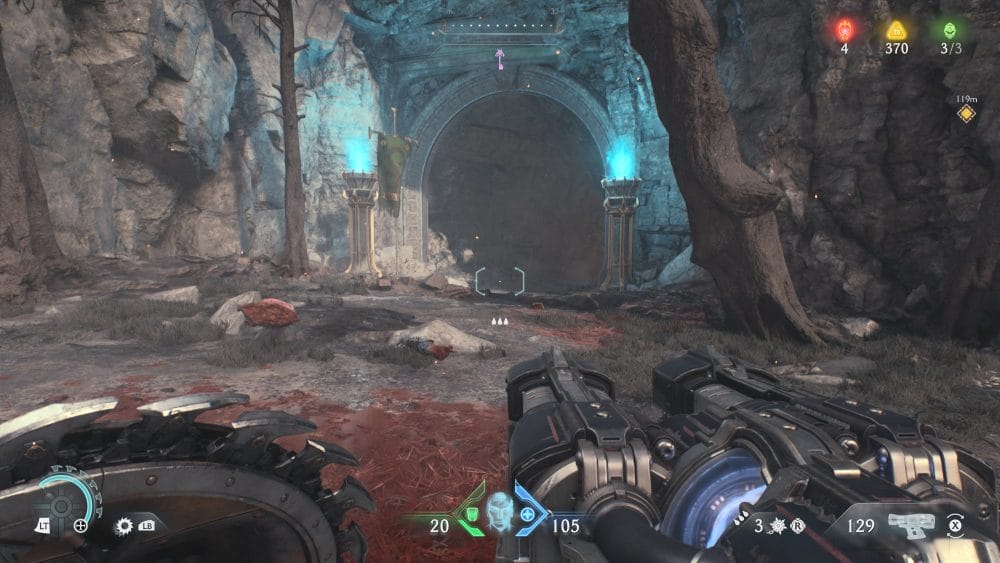
When you make it to the battlefield, take out the first Gore Portal right infront of you. Once that’s done head towards the right side of the map towards that Gore Portal. On your way you will find the first Ruby to collect however it is guarded by a force field thanks to the wolves. There are 3 wolf statues in the area that you must first destroy. Doing so will allow you to grab the Ruby.
Demonic Essence – Health
You will earn this from defeating one of the Gore Portal leaders near the right side of the map.
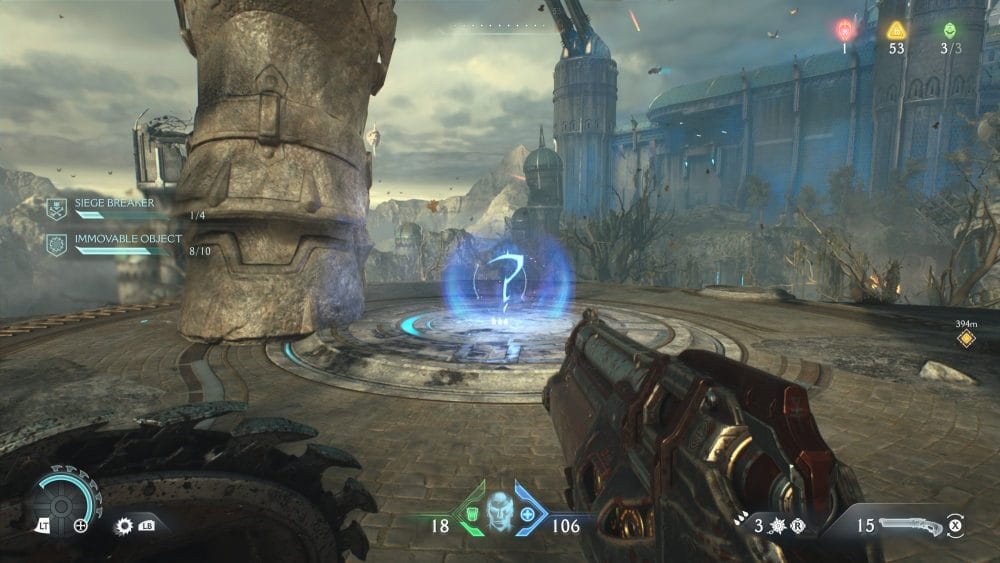
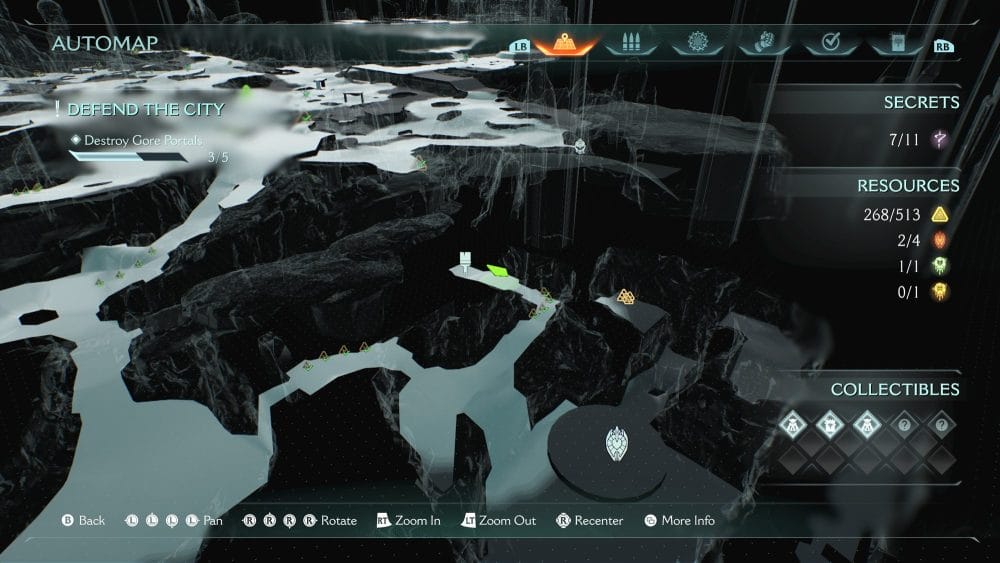
Codex #1 – Kreed Makyr
Circling around and heading back to the left a bit, on the most northern part of this area you will come to a shrine guarded by 2 tanks. Take care of the tanks and then make a right to a wall to climb. At the top will be some gold and the codex.
Collectible Toy #1 – Mancubus
Go back to the shrine and continue on. When you can make a right where there will be another tank. Destroy it and make yet another right going up a hill towards a large statue. At the top beneath the statue will be the toy.
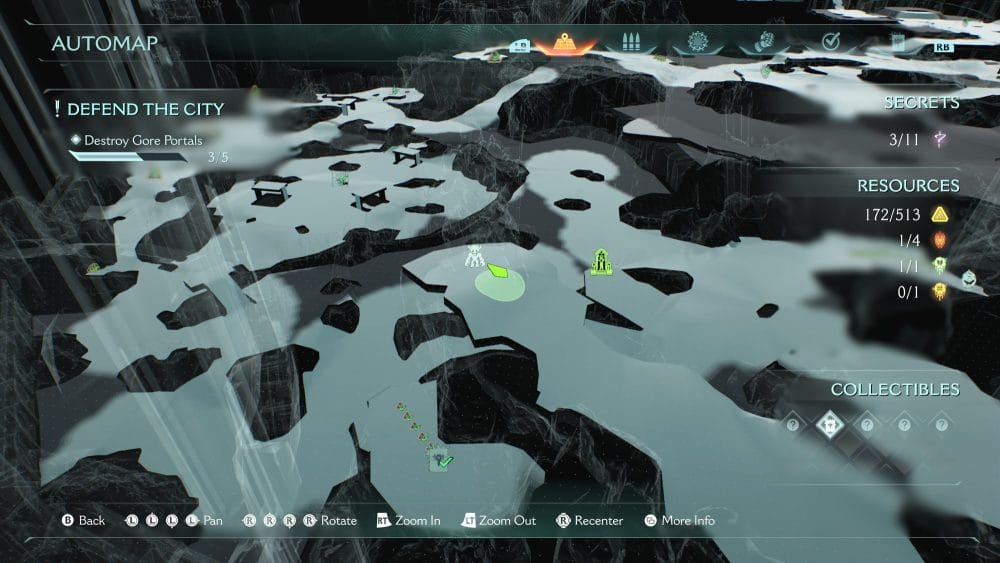
Collectible Toy #2 – Slayer
Head back down from the previous collectible and make a left, heading towards the middle of the map. Where you are headed is basically in behind the very first shrine back by the gate. There is a slight hill up to a section where you will find a collectible toy to your right.
However the you first need the purple key. This key is pretty much directly across from where the collectible is. Grab the key, go to the gate and grab your Slayer collectible.

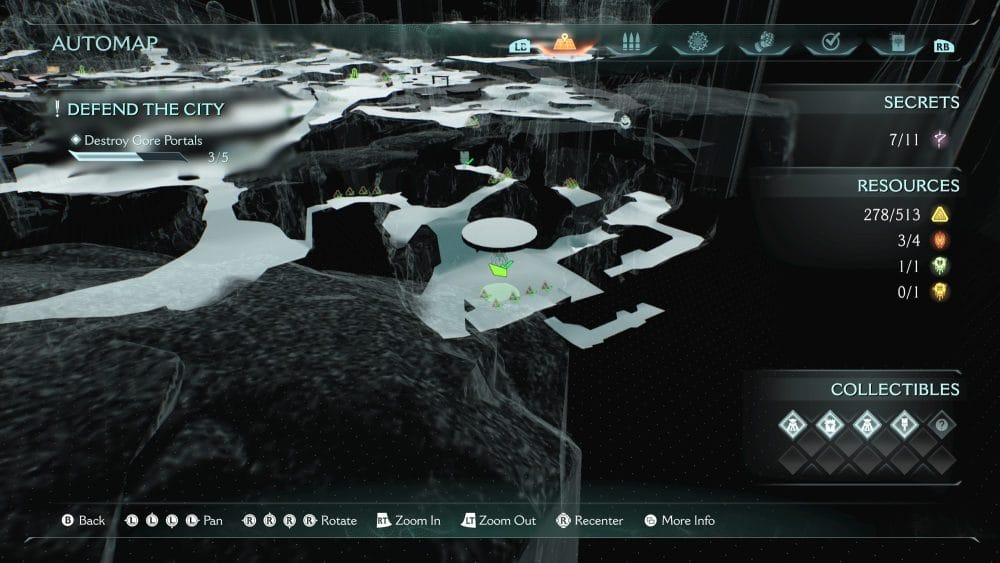
Ruby #2
From the collectible make a right and continue along the path heading towards the left side of the map. In behind that first shrine will be a battle. Clear it out and find the Ruby after you do.
Weapon Skin
We’re now into the far left corner of the map there is a wall to climb that will lead up to a secret area and some gold. Make a left and another left to find the weapon skin.
Ruby #3
Head back to the middle of this secret area and jumping into the water. To the left of the hanging cage will be an area you can swim to. Follow this path along, jump over the water and flip the switch, lowering the ruby. Jump back into the water and swim out to collect the Ruby.
Demonic Essence – Ammo
Defeating the leader of the far left Gore Portal will get you the ammo upgrade.
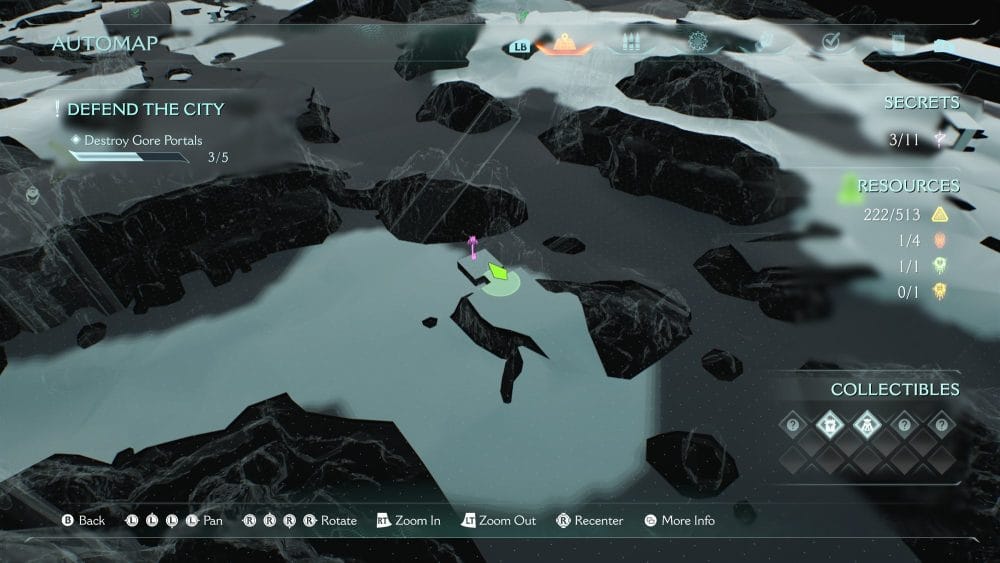
Ruby #4
Before tackling the last Gore Portal head around behind it. This will likely be the last bit of map you haven’t covered. You will need to defeat a bunch of enemies which will open up access to an underground area. Defeat them all and head into the cave with the blue gate.
Once inside look to your right and open the purple gate with the key you should already have and grab your final Ruby of the level.
Codex #2 – Siege Part 1
You may have noticed a codex before going in the cave. We skipped it because you can only get it via the cave exit. After grabbing the Ruby follow the path out of the cave. Once you exit you will see a bunch of gold. Collect it if you want and when you are done you need to make a pretty big jump across to where the codex is.
This should hopefully have been your final collectible. What a rough map, hopefully it was easier for you than it was for us trying to write this!
We will see you into chapter 7 where things hopefully get a bit easier! And of course for all your Doom: The Dark Ages guides check below as we’ve got you covered.
Doom The Dark Ages Guides
- Chapter 1 Collectibles & Upgrades
- Chapter 2 Collectibles & Upgrades
- Chapter 4 Collectibles & Upgrades
- Chapter 5 Collectibles & Upgrades
- Chapter 7 Collectibles & Upgrades
- Chapter 8 Collectibles & Upgrades
- Chapter 9 Collectibles & Upgrades
- Chapter 10 Collectibles & Upgrades
- Chapter 11 Collectibles & Upgrades
- Chapter 12 Collectibles & Upgrades
- Chapter 13 Collectibles & Upgrades
- Chapter 14 Collectibles & Upgrades
- Chapter 15 Collectibles & Upgrades
- Chapter 16 Collectibles & Upgrades
- Chapter 17 Collectibles & Upgrades
- Chapter 18 Collectibles & Upgrades
- Chapter 19 Collectibles & Upgrades
- Chapter 20 Collectibles & Upgrades
- Chapter 22 Collectibles & Upgrades