
This guide will show you where to capture all of the required images in Mardi Himal Trail in Lushfoil Photography Sim.
There are two variants of the zone to capture images in, the initial sunset variant then the blizzard variant when unlocked. You will need to capture all of the sunset time of day images before being able to access the blizzard variant of the zone. Here is where to find all of the photo locations in both seasons.
When you take a photo of one of these correctly, you will hear a chime-like sound confirming you’ve captured the right content in your shot. You should also check your photo list (press start > photos) to ensure that the required image has disappeared from the top of your photo list, where all required images will be pinned.
Remember to take a picture of the photo boards before setting out to capture the actual required images.
Section 1 – Sunset
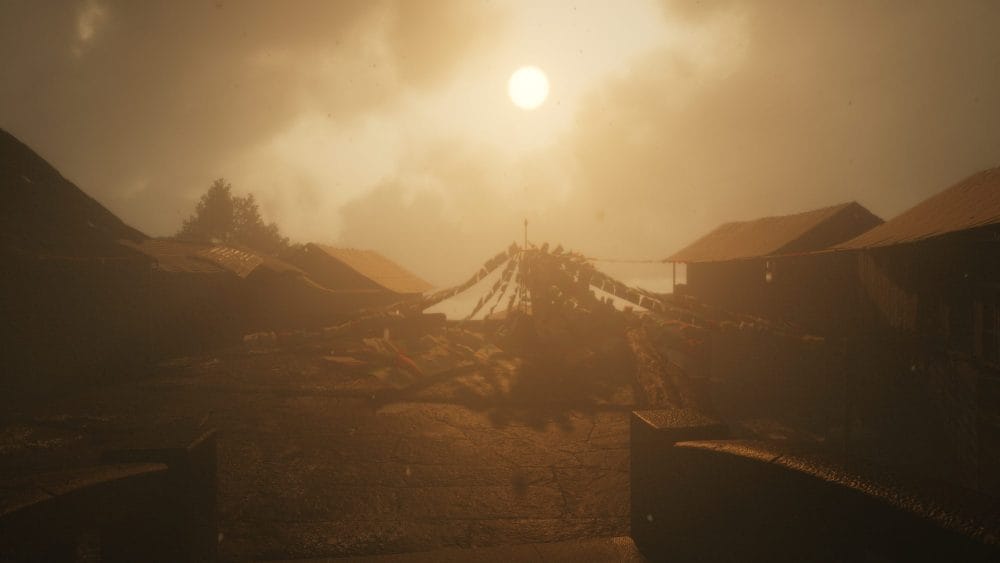
The first photo board Mardi Himal Trail is atop the mountain, like you can see in this image here:

All but one of the pictures that you’re required to capture can be found on the board in this image. Note _ there is one missing image but it couldn’t be easier to find, please refer to missing picture from board below*. This is missing as when capturing the footage for this guide, I took an in-game picture when starting the level which was coincidentally a required image.
For the rest of the images, we will move around the board from top-middle to bottom right:

- *Missing picture from image of picture board: Immediately when you start the zone, take a picture of the below:
- Top middle from picture board: From the picture board, turn around and then head left up the path over the snow capped hill:

After going over this hill, keep following the path until you start to descend the other side. Turn around 180° when you reach this point and frame your shot with the sun sat above the mountain on your screen:

- Top right of picture board: From the start of the level where you took the picture missing from the board, turn around and begin your ascent up the hill. About a minute later you will come to this fork in the road, take the left:

About 20 seconds later you will this rock on your right. When here, face off the path to the left and take your shot:

- Bottom left of picture board: Begin from where you took the top middle picture from the board of the sun above the mountain. Facing away from the sun, move up the cliffs until you see some bunting on your right. Stand by the second bunting and look back towards the snow capped hill to frame your shot

- Bottom middle of picture board: From the start of the level where you took the picture missing from the board, turn around and begin your ascent up the hill. About a minute later you will come to this fork in the road, take the right.

You then have another long walk of about a minute. Just keep following the only path until you reach this spot where you can see the sign you need to frame correctly on your left:

- Bottom right of picture board: For this you need to head to the very top of the tallest mountain you can ascend at this time. From where you took the bottom left picture, continue along the path all the way up the mountain until you see a locked gate and bench. Frame this bench correctly in the required shot:

Now you have taken all of your shots, fast travel back to the picture board to pickup your key. When you have the key, immediately fast travel back to where you took the final picture board picture moments ago. Now use the key on the gate and ascend the mountain for some truly stunning views
Section 2 – Blizzard section
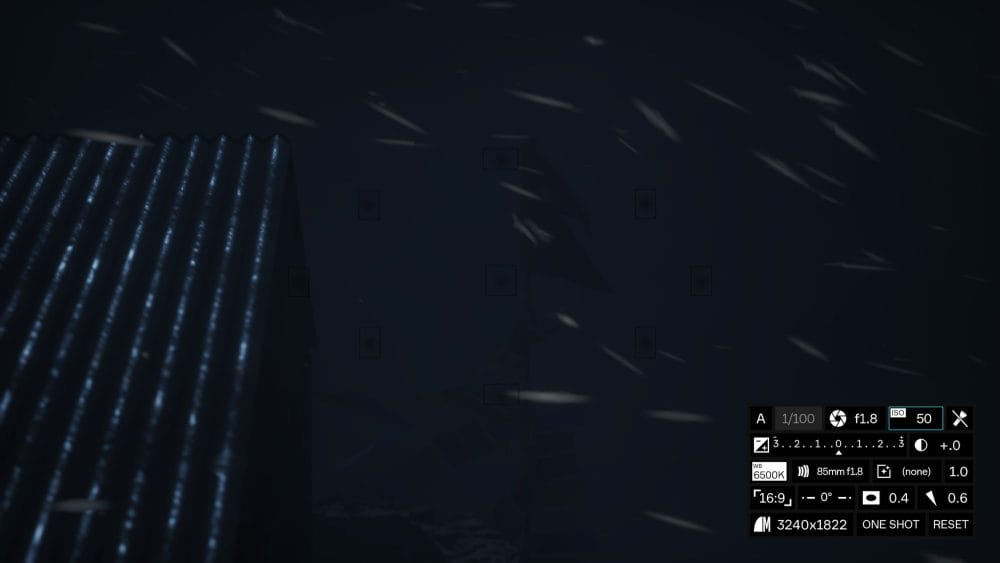
In this section we have three more photos to take. Visibility is very much a challenge during the blizzard so some of these images will be slightly difficult to make out without high brightness on your device.
We will begin our journey at the very top of the mountain. Take a picture of the bunting and well as we will be coming back here shortly. But first, let’s fast travel to the same picture board and see the three images we need to capture:

For this second set of images, we will move around the board from top to bottom right
- Top image of picture board: For this you need the drone that can be found in the first evening sunset version of Mardi Himal Trail. When you have the drone, this image is taken by the picture board. Move behind the shack and pull out your drone, now look back towards the Nepal flag and position your shot. Note, I’m not sure if this is required but the image would only register with this frame on:
- Bottom left of picture board: The easiest of the three. Simply use the picture we took at the very top of the mountain to fast travel back and take this picture of the bunting covered item:

- Bottom right of picture board: This was the most difficult image to find in the game to this point. Starting at the picture board, turn around and head left over the snowy hill peak:

Keep walking familiar ground until you can take a left or right turn, take the left:

You’ll know you’re on the correct path if you’re following this:

Keep following the path with the rail on your right for about 15 seconds, until you come to this sharp bend:
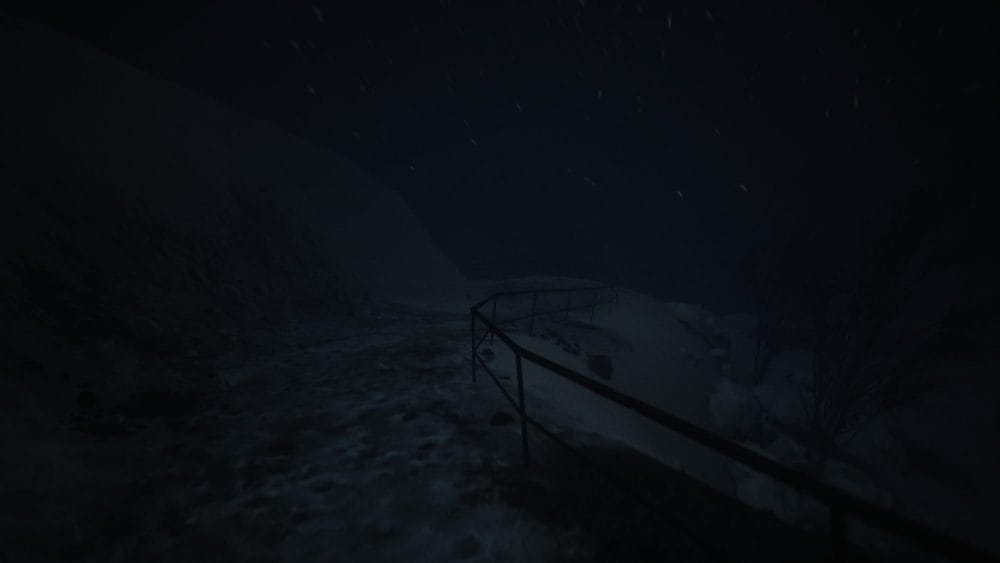
Another few seconds walking after the bend, turn around and look to frame your shot from this position:

This concludes all images required for Mardi Hamil Trail.
Further Lushfoil Photography Sim coverage
For further Lushfoil Photography Sim guides and coverage, please see the following from Gamer Social Club:
- Lushfoil Photography Sim _ ????? Trophy and Achievement guide
- Lushfoil Photography Sim _ See the Stars Achievement / Trophy Guide
- Lushfoil Photography Sim – All portal locations
- Lushfoil Photography Sim _ Lago di Braies _ all picture locations guide
- Lushfoil Photography Sim _ Le Prarion _ all picture locations guide
- Lushfoil Photography Sim – East Maddon Park – all picture locations
- Lushfoil Photography Sim – Shengshan Island – all picture locations
- Lushfoil Photography Sim _ Camera starter guide
- Lushfoil Photography Sim _ Unlock GPS tracker for totem collectibles
Are you having a good time with Lushfoil? What’s been your favourite location to take pictures so far? Please tag us in them on X / Twitter and Bluesky, and stick with Gamer Social Club for more Lushfoil Photography Sim guides and coverage.