

Welcome to the Lushfoil Photography Sim camera starter guide. This guide will help you understand the basics of the game’s camera and get you prepared to take some beautiful shots across Lushfoil’s beautiful global vistas. Whilst the game’s tutorials are competent, sometimes it is difficult to understand how different images will look without an A / B comparison. Therefore, this guide will be image-led to help you visualise how the various settings impact your photos. This guide will focus on the game’s primary camera, the DSLR only. Other cameras in Lushfoil are more fun / nostalgia-based and not designed to take the stunning pictures the game wants you to.
This guide is to help people who: 1) like me, know very little about professional photography; and/or 2) players who are slightly intimidated by Lushfoil’s extensive camera options. Before starting the game, I was comfortably in both camps, but with some playing around, I was able to learn how to take some beautiful photography and make the most of my time with Lushfoil.
So, let’s get started on making you a promising junior e-photographer!
Controlling the camera:
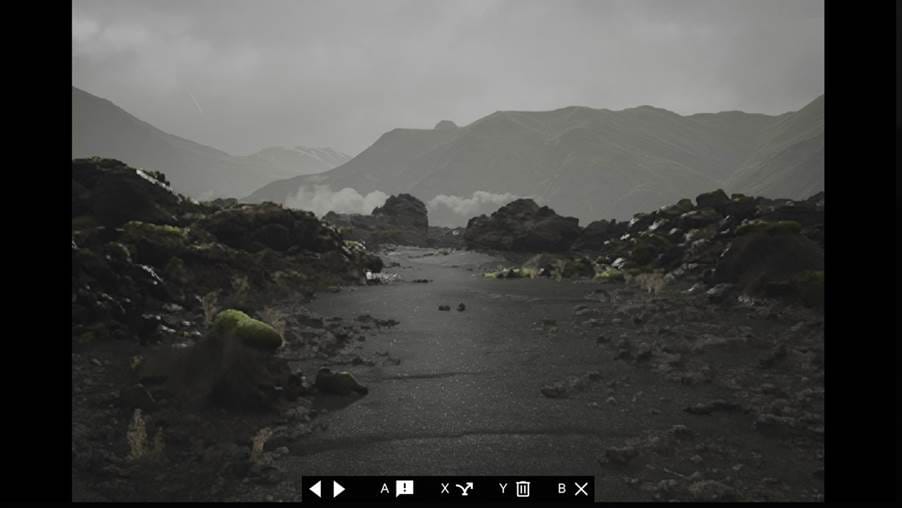
Whilst the game will introduce you to the button inputs, I will include them here for completeness. The buttons below are taken from the Xbox version of the game, provided to GSC for review:
- A: Raise the camera for use; lower the camera to put away
- X: Switch landscape/portrait
- B: Crouch; then use the left stick to lean up/down/left/right
- RB/LB: Zoom in/out
- Full press RT: Take shot
- Half press RT: Focus the camera on what is in the centre of the screen
- Hold LT, then use the right stick: manually adjust focus
- Right stick press: Toggle flash
- Left stick press: Open framing options
- D pad left/right: Select camera option
- D pad up/down: Adjust highlighted camera option
Camera settings:
Next, this guide will detail the extensive camera options available in Lushfoil Photography Sim. There will be screenshots of images taken in the game to illustrate what difference the settings will make. What this guide will not delve into is the stacking of multiple settings. I encourage you to make the most of your playthrough of Lushfoil Photography Sim by having a play with the settings, using this starter guide to get you going.
The guide will go from top left to bottom right of the camera’s setting options, which look like this:
Shooting “modes”: A/S/M
S: Shutter priority mode:
- Shorter shutter speeds (eg 1/800 of a second) are ideal for sharper images
- Longer shutter speeds (eg 3 seconds) will help you to create a motion blur from movement
- You are unable to adjust the aperture in ‘shutter priority’ (‘S’) shooting mode, the game will do it automatically for you.
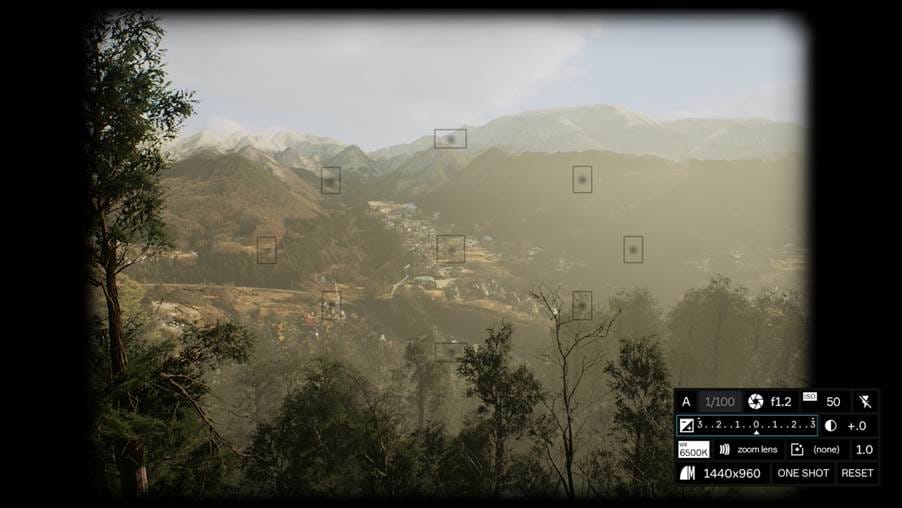
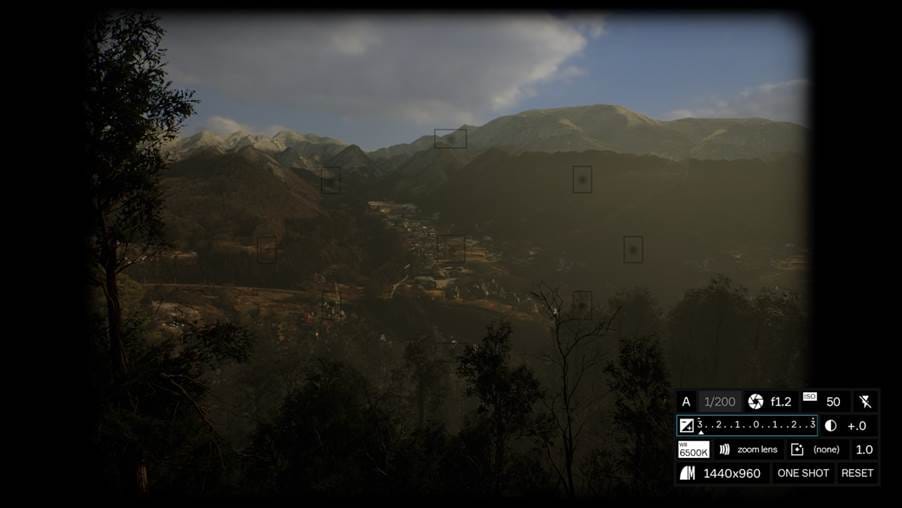
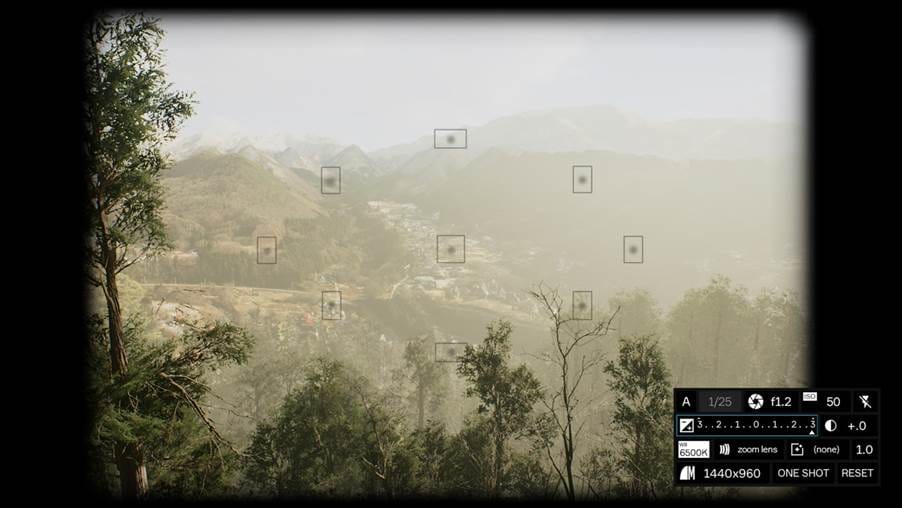
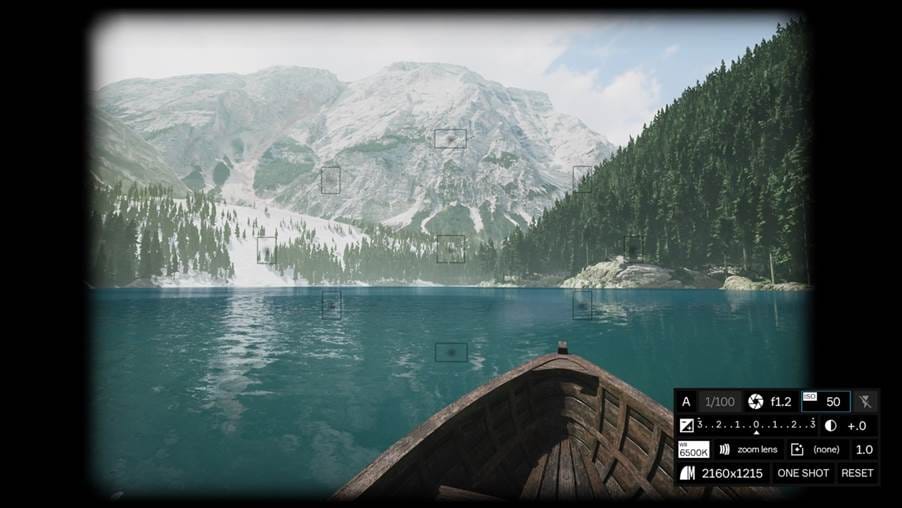
A: Aperture priority
- Adjusts depth of field blur (eg ‘f1.2’)
- Lower values give more blur
- Higher values will sharpen areas not in focus. The depth of blur is more prominent when zoomed in
- You are unable to adjust the shutter speed in ‘aperture’ (‘A’) shooting mode, the game will do it automatically for you.
M: Manual mode
- Full manual options for seasoned DSLR users
Shutter speed
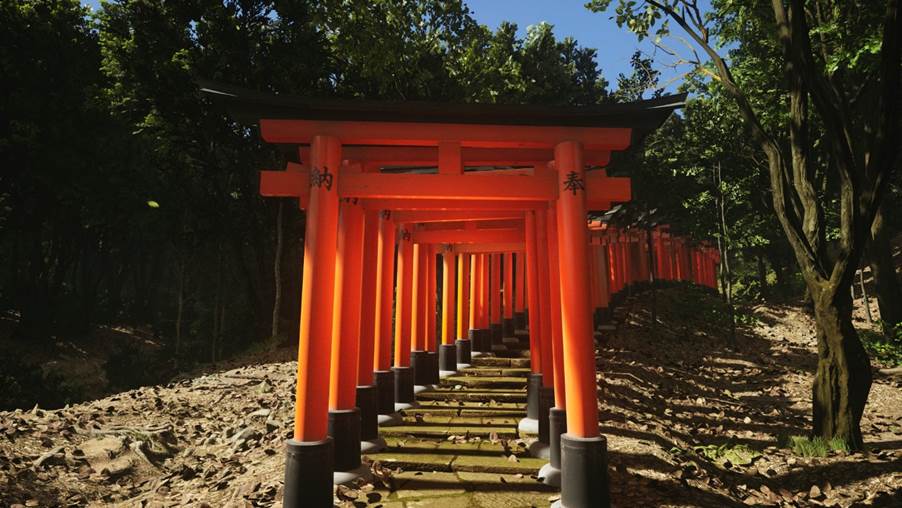
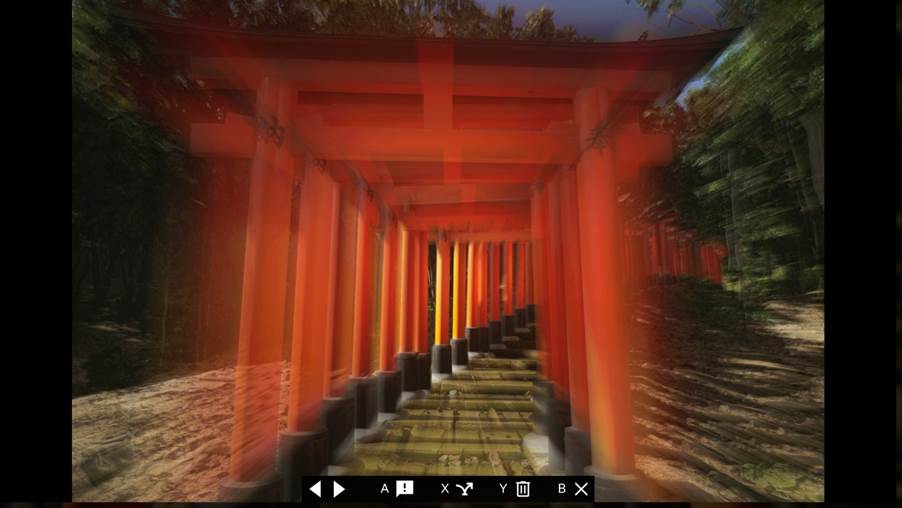
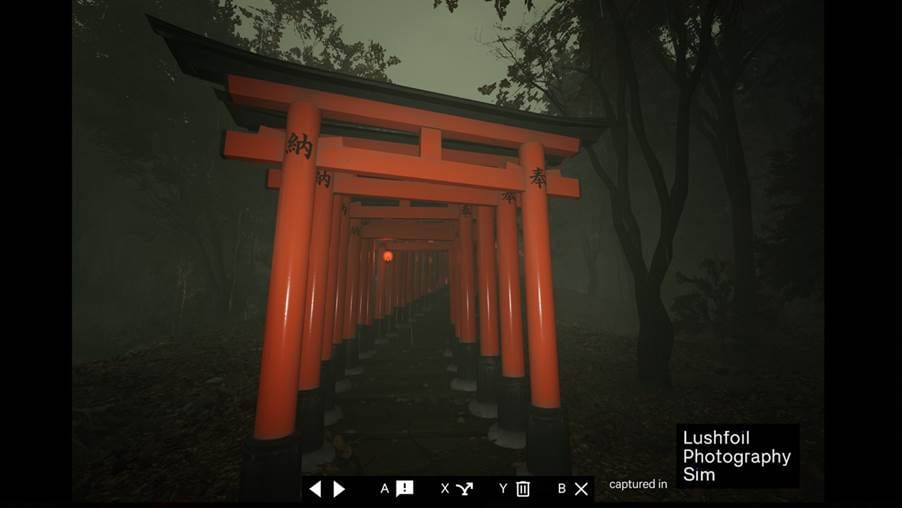
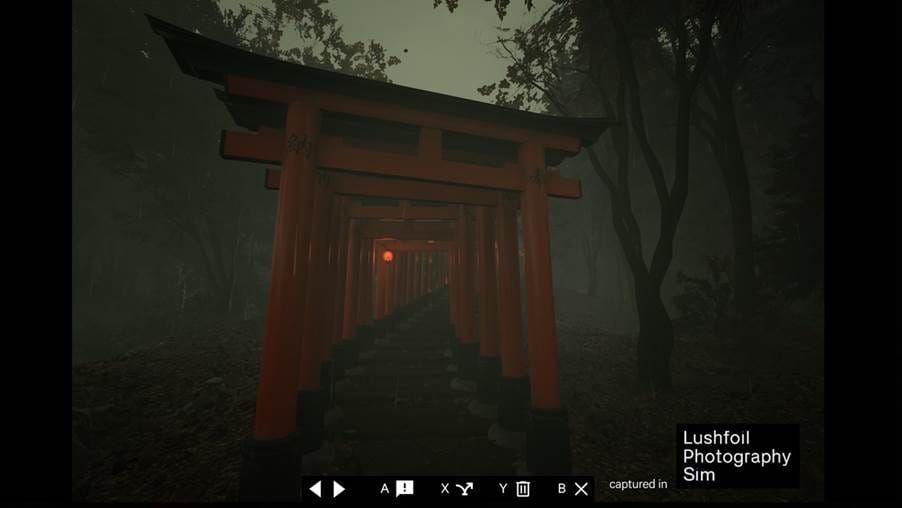
The speed of the shutter will determine the levels of motion captured in an image. For example, think of those images of cityscapes where you see streets of car lights blur into one. There are many speeds for the shutter you can play with, but the following shows a standard shutter speed and a slower one.
- Normal shutter speed _ taken with a one-quarter of a second shutter speed whilst moving backwards very slowly:
- Slow shutter speed _ taken with 3 3-second delay and whilst moving backwards very slowly:
Depth of field blur
Whilst this is automated when taking pictures in the ‘S’ camera mode, after various testing, it was difficult to perform images in ‘A’ mode when changing the depth of field blur. Further testing will be made, and should any results change, this article will be updated.
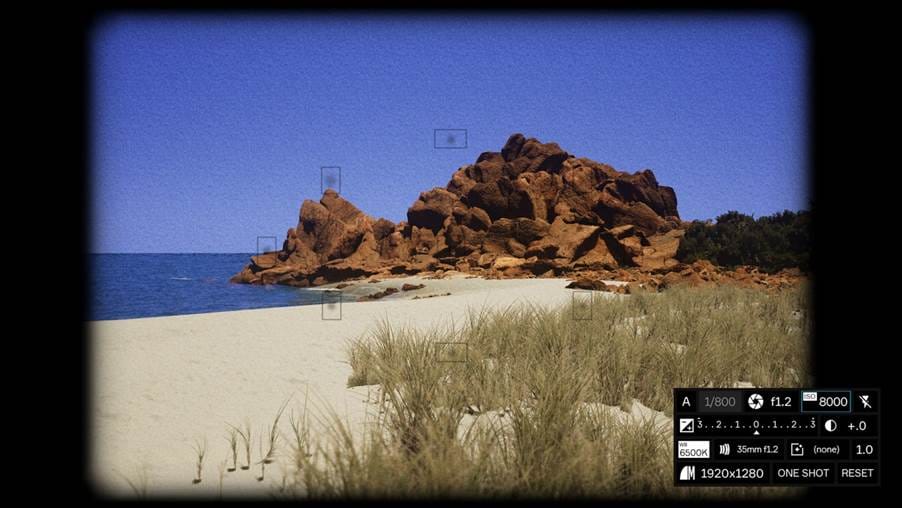
ISO
ISO adjusts the amount of noise in the image, which in other words, dictates the level of graininess of images:
- Low (standard): 50 – No grain

- High: 8,000 – grainy effect
Flash
The flash probably needs the least explanation of any of Lushfoil’s camera settings. You can toggle the flash by pressing the right analogue stick on the Xbox controller.
- Flash on:
- Flash off:
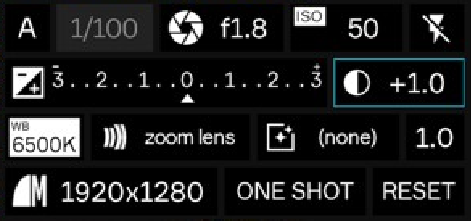
Exposure
Exposure is essentially image brightness gain/loss. The game will explain to you that it is determined by a combination of the shutter speed, aperture and ISO, with an exposure triangle available in the game. The game’s exposure compensation slider cannot be used in M mode:
- Standard: 0:
- Low: -3:
- High: +3:
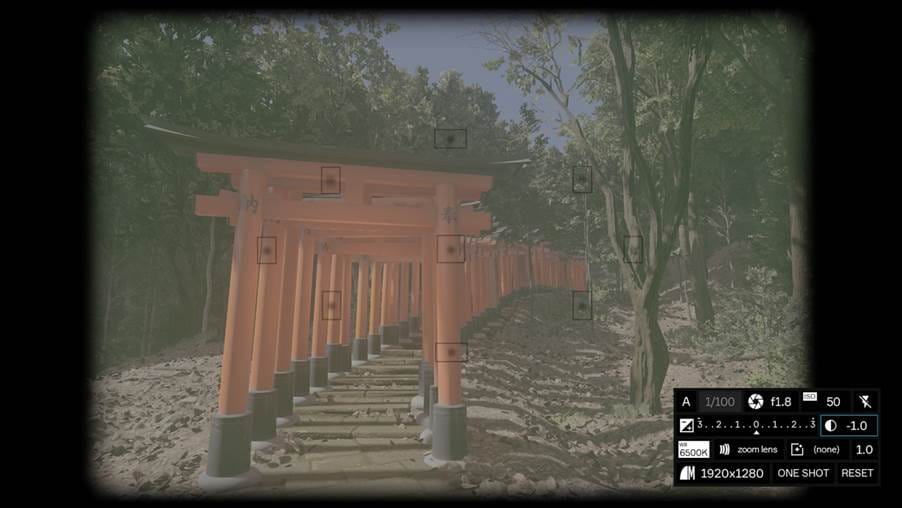
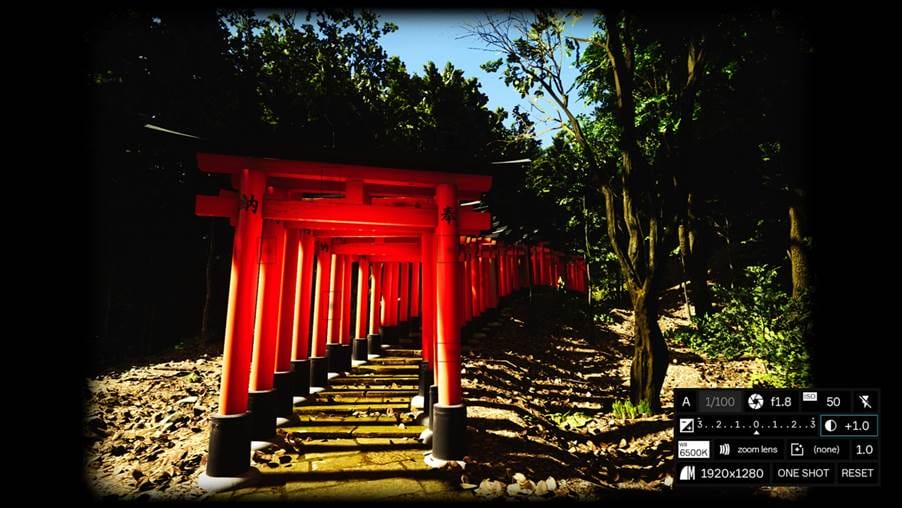
Contrast
Contrast adjusts the colour levels of light and dark in an image:
- Standard: +.0:

- Low: -1
- High: +1
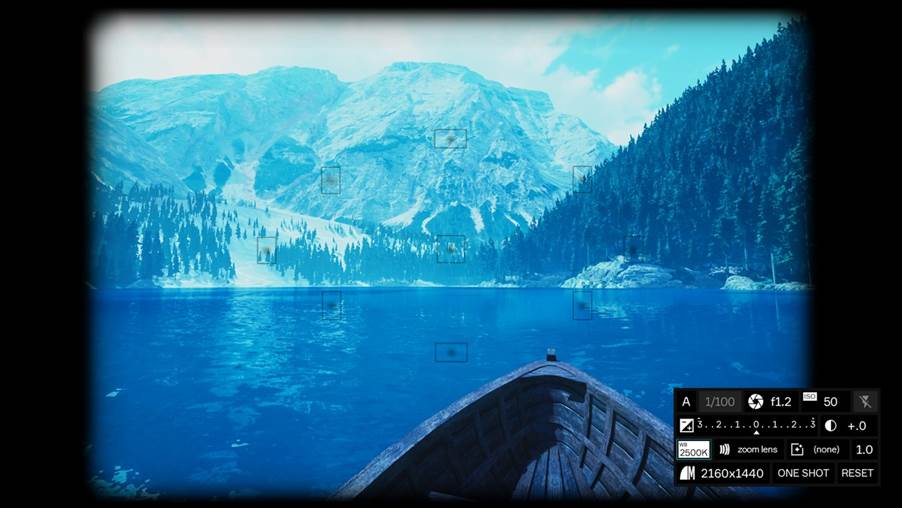
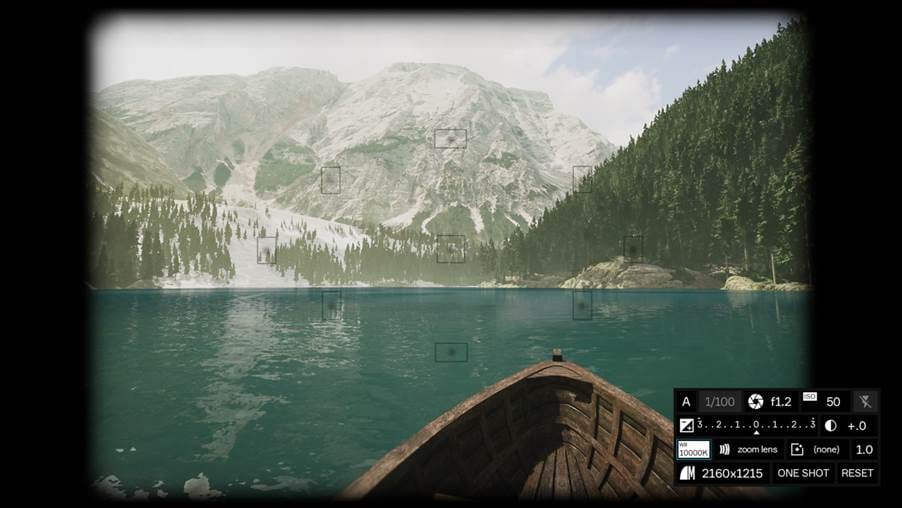
WB
WB adjusts the colour balance between warm and cool. Higher is more orange/lower is more blue
- Standard: 6500K:
- Lower: 2500K:
- Higher: 10000K:
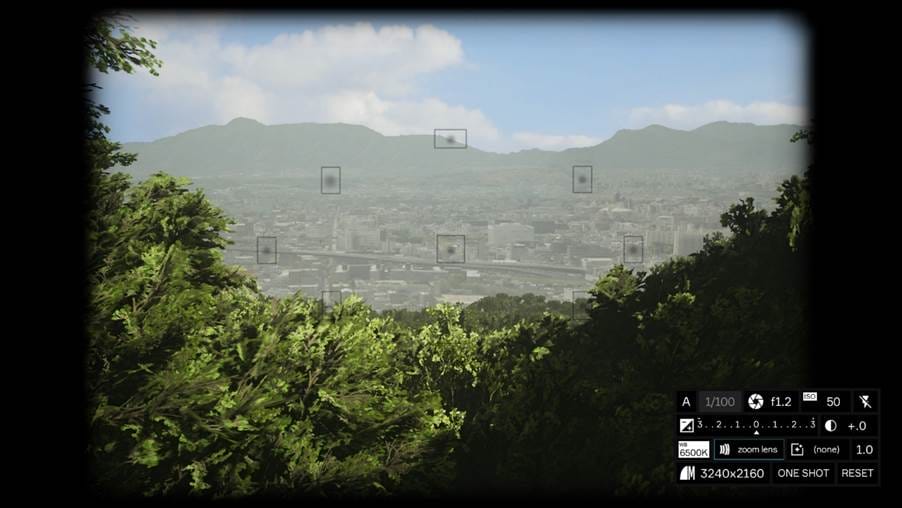
Lens
Changes the lens of the DSLR camera from various frame sizes including a fisheye (ultra-wide) lens. The default lens and one that most players will use is ‘zoom lens’, which is the only lens that offers manual changing of zoom levels. Lenses marked with mm have a fixed zoom and minimum aperture. Here are a few examples of the lens you can use:
- Zoom lens _ the standard and most recommended for general use:
- Fisheye _ a wide lens for capturing vast ranges:
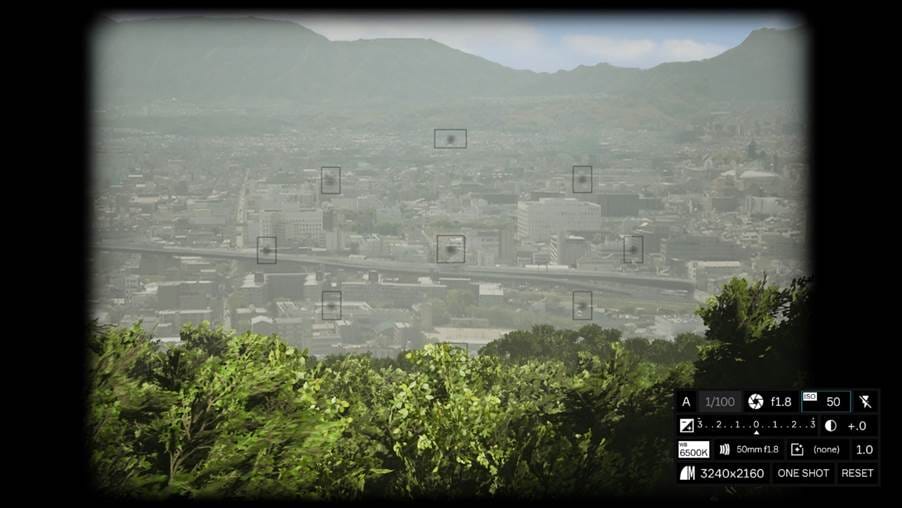
- 50mm f1.8 _ a zoomed-in frame:
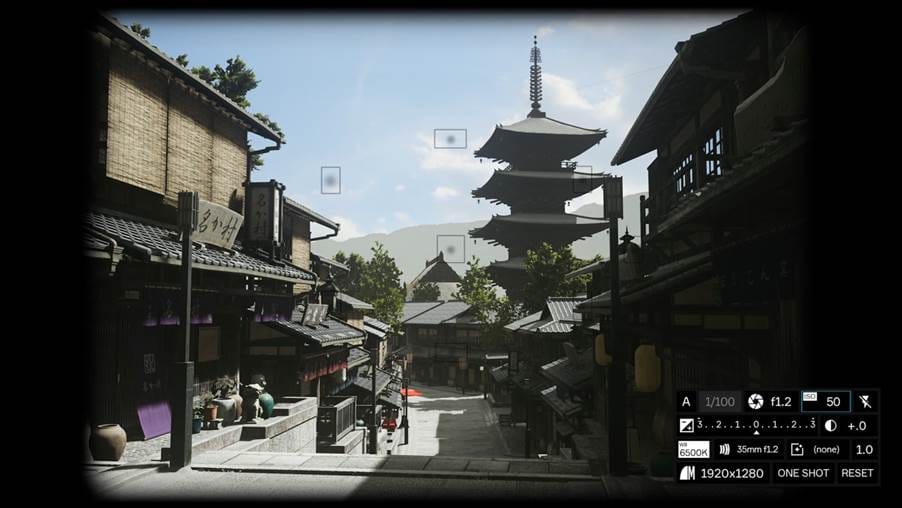
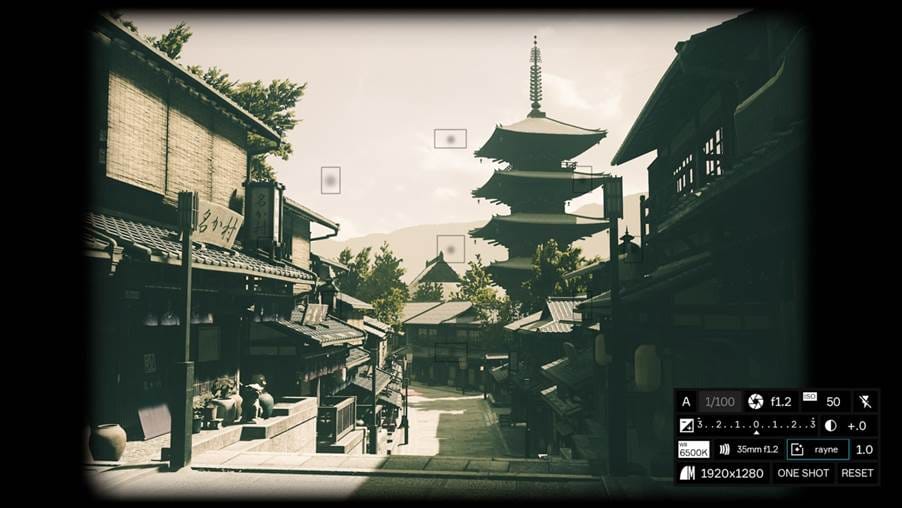
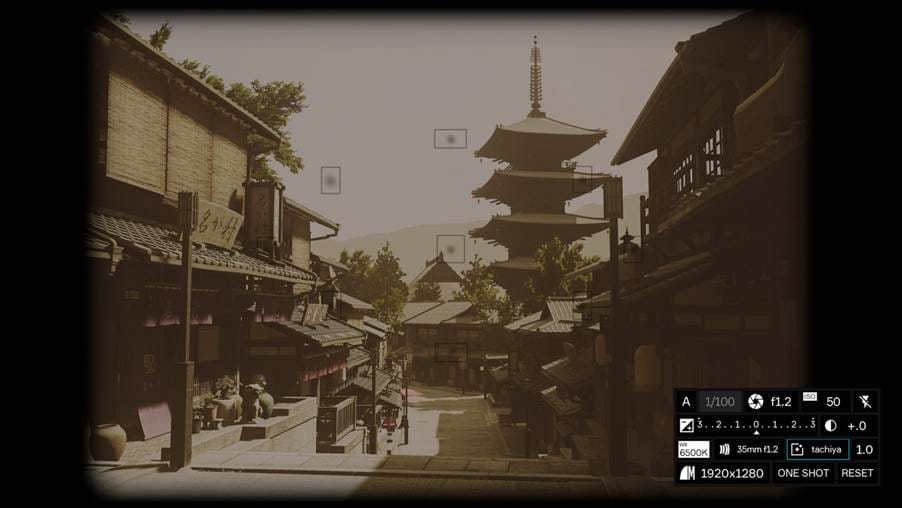
Filters and filter application level
Many people will be familiar with colour filters. Below are some examples; however, the level of the filter application to your image can be toggled. This is done by using the setting on the far right of the third row of settings (reads ‘1.0’ in screenshots provided)
- Normal: Normal
- Option 1: Rayne
- Option 2: Tachiya
Capture resolution
Using the bottom left setting allows you to adjust the resolution of the image. All images will look the same when you’re playing the game, but the quality will look better/worse when you look at your photo collection.
- High-level resolution:
- Mid-level resolution:
- Low-level resolution:

‘One shot’
This allows players to add a Lushfoil art icon to the captured shot in a variety of screen positions, for example:
- Centre of screen logo
- Bottom left of screen logo

Reset
When hovering over, hold down on the d-pad to reset camera settings. It is recommended that this is done regularly to ensure you’re starting your picture framing setup from the most vanilla options.
Further Lushfoil Photography Sim guides and coverage
For further Lushfoil Photography Sim guides and coverage, please see the following from Gamer Social Club:
- Lushfoil Photography Sim _ ????? Trophy and Achievement guide
- Lushfoil Photography Sim _ See the Stars Achievement / Trophy Guide
- Lushfoil Photography Sim – All portal locations
- Lushfoil Photography Sim _ Lago di Braies _ all picture locations guide
- Lushfoil Photography Sim _ Mardi Hamil Trail _ all picture locations guide
- Lushfoil Photography Sim – East Maddon Park – all picture locations
- Lushfoil Photography Sim – Shengshan Island – all picture locations
- Lushfoil Photography Sim _ Unlock GPS tracker for totem collectibles
Are you having a good time with Lushfoil? What’s been your favourite location to take pictures so far? Please tag us in them on X / Twitter and Bluesky, and stick with Gamer Social Club for more Lushfoil Photography Sim guides and coverage.