

After a lengthy hiatus (for them anyway) Supermassive is back with a new Dark Pictures game, Directive 8020. The Dark Picture games come with a lot of collectibles in the form of secrets and Directive 8020 is no different. Using our guide however, you can find them all.
Unlike previous Dark Pictures games, things are much easier to track in Directive 8020 when it comes to secrets. If you pause the game and go to the Turning Points section you can see how many secrets and recordings are in each episode. If you open each episode and look at the sub chapters of each episode you can also see how many are in those specific chapters.
You can also go to the secrets page itself. There you will find a bunch of sections. If you click one, ie the Sleep Crew, you can then see all the secrets tied to that section. In total there are 60 secrets to collect, 50 regular secrets and 10 Simms Recordings.
Additionally there are 5 “0 Death” secrets that are well, secret until you get to almost the end of the game. Once you collect a coin, you can then begin to collect these secrets from previous episodes.
We are going to break things down by Episode and then sub chapter so you can follow along in the order of the game. Keep in mind however that with the new branching storyline you might choose a different path first and therefore you might be slightly out of order. At the end we will do the 0 Death Secrets.
Episode 1: Little Star
Crew Quarters
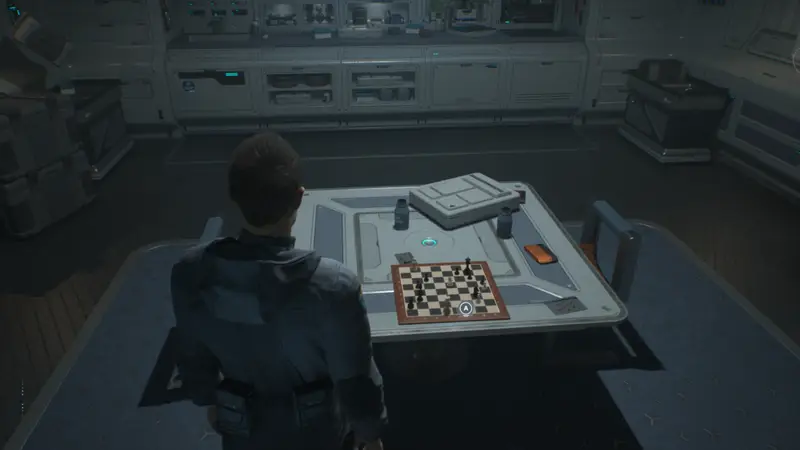
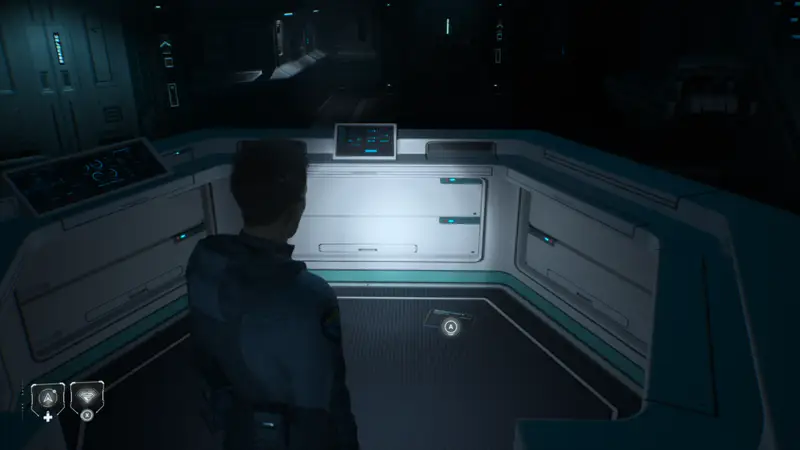
1/8 – Stalemate
As soon as you take control of Tomas for the first time look to his left. There is a chessboard on the table here, interact with it to obtain the secret.
2/8 – Countdown
From the previous secret move forward and to the right slightly where you will see a calendar on the wall to interact with.
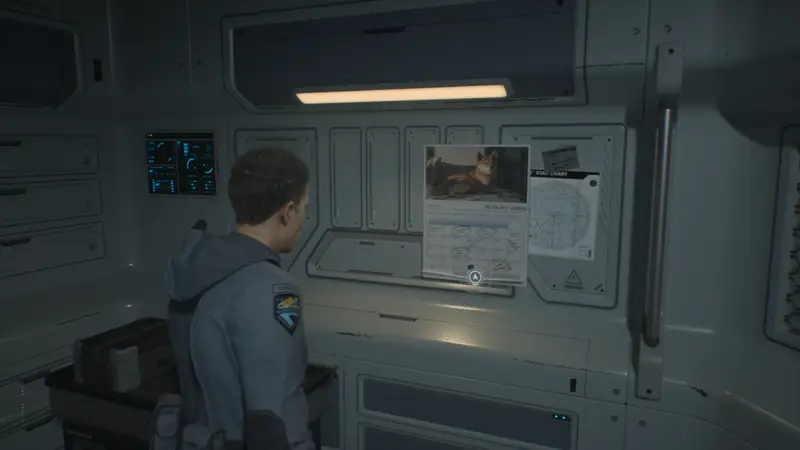
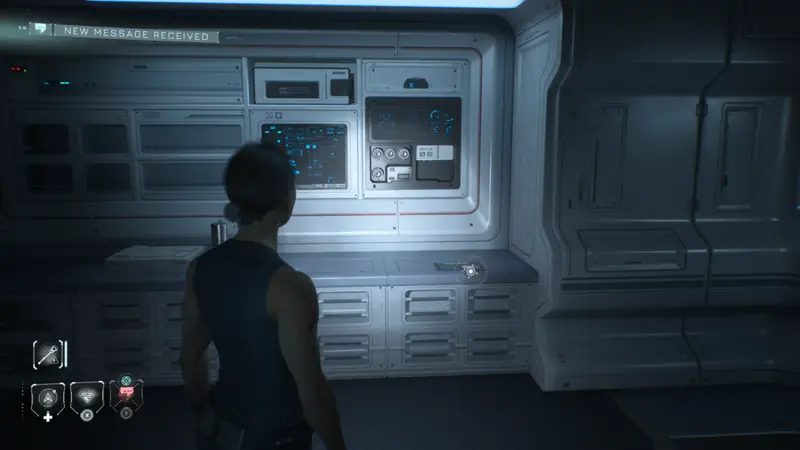
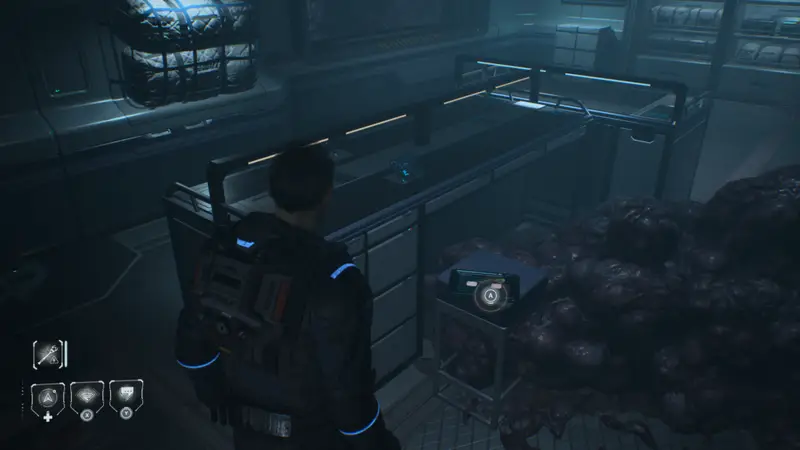
3/8 – Nightshift
Turn back around and you will see a open door to your right that takes you into some of the sleeping quarters. On a desk on the right will be the next secret.
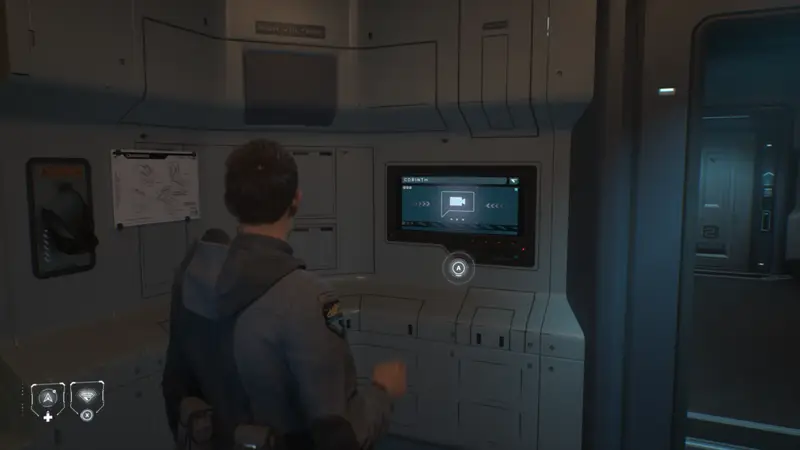
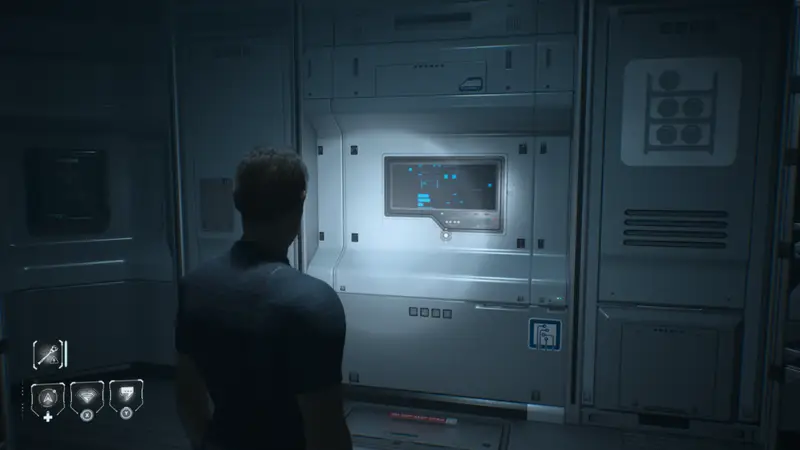
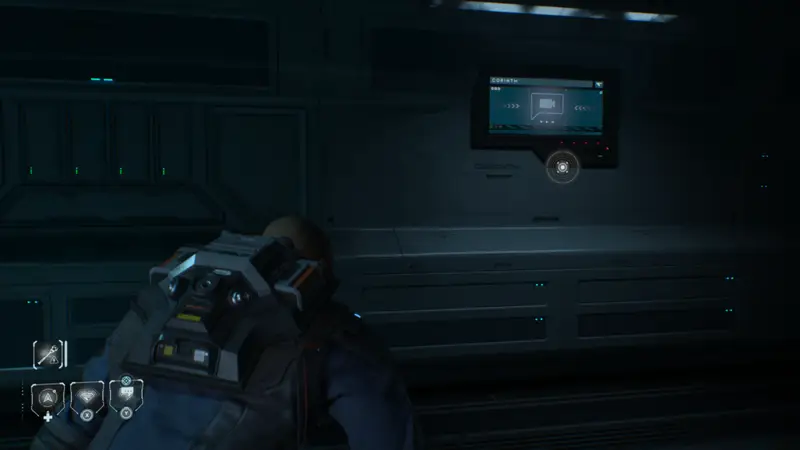
1/1 Simms Recording – Green Tea
Turn and look at the doorway you just came through. To the left of the door will be a monitor. Interact with it to play the video and unlock the recording.
4/8 – Balance
Head across the hall now to the opposite room. Once inside look to your left to find a bonsai tree that you can interact for this secret.

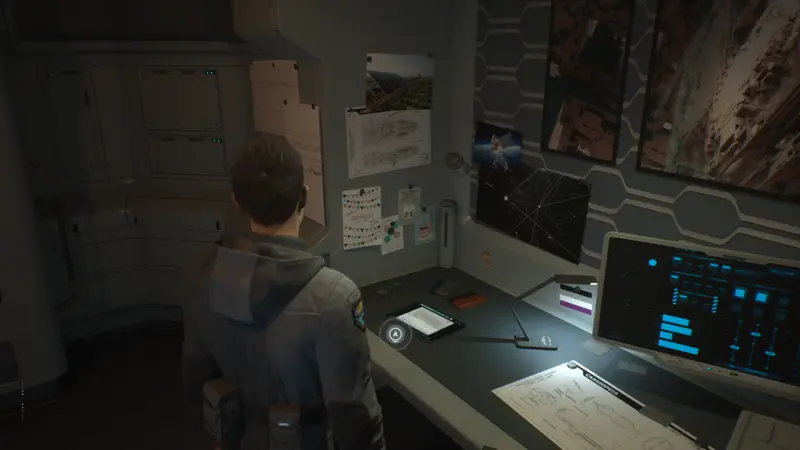
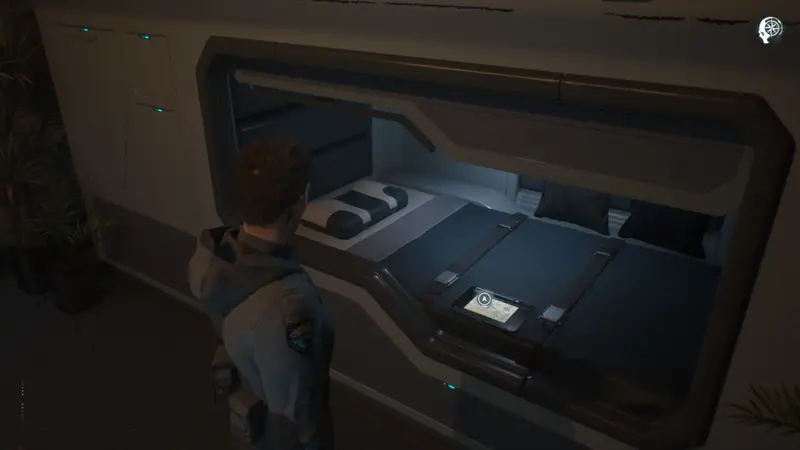
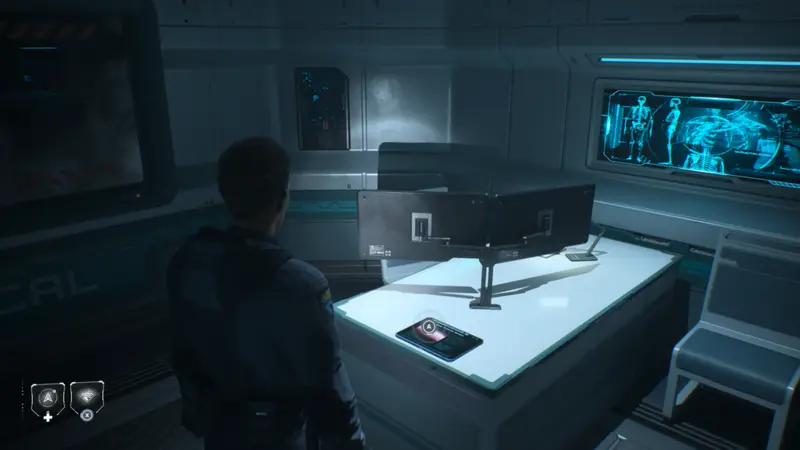
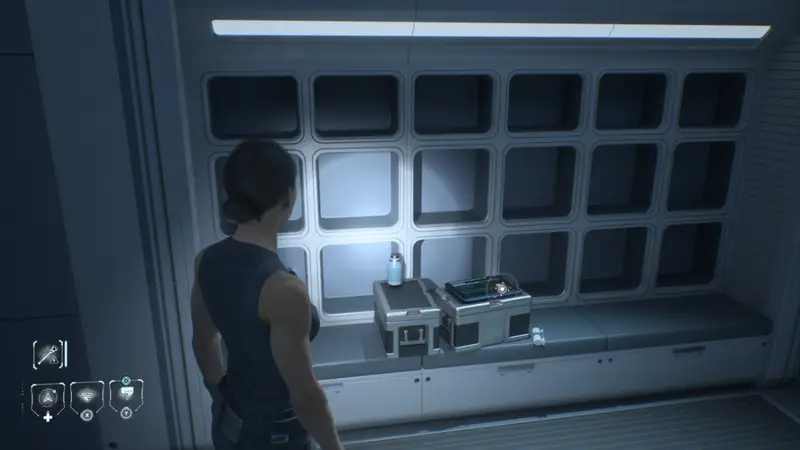
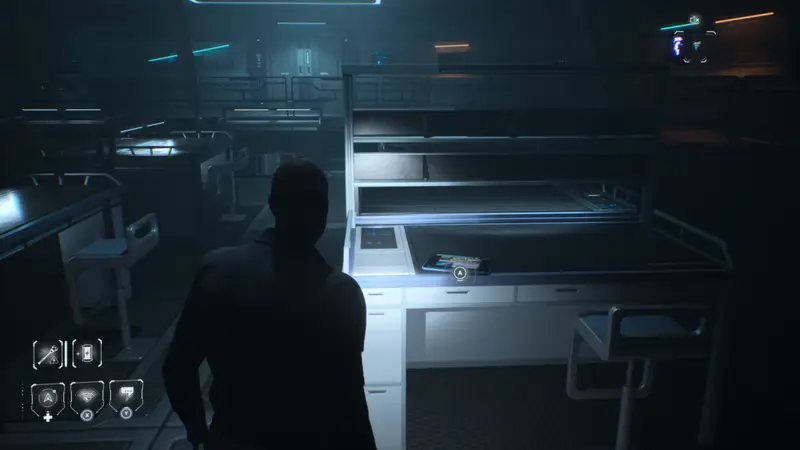
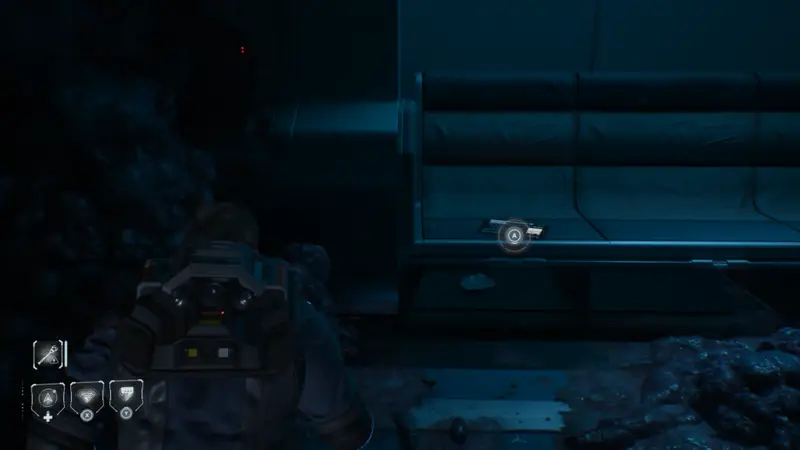
5/8 – Daddy In Space
In the same room on the bed in the back of the room will be another tablet to interact with for this secret.
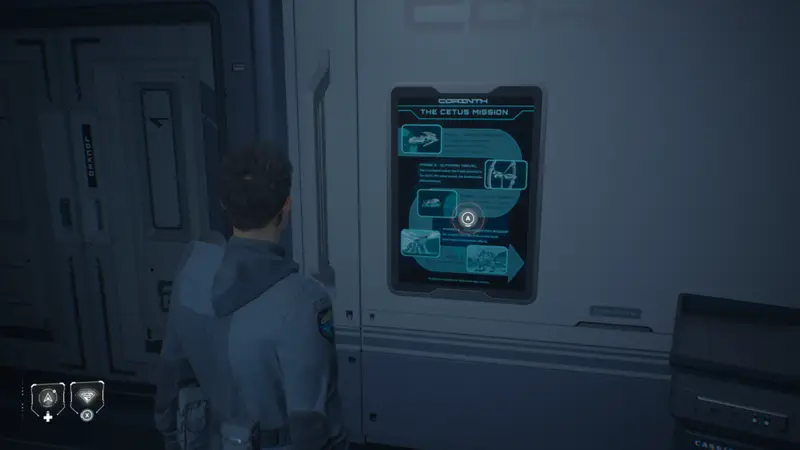
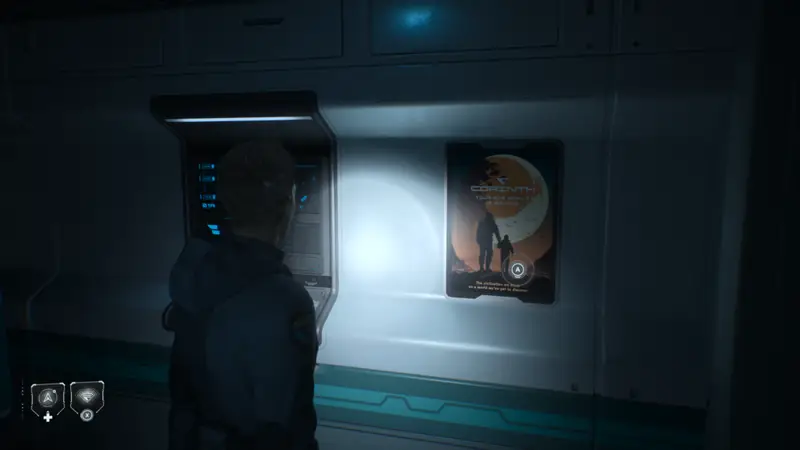
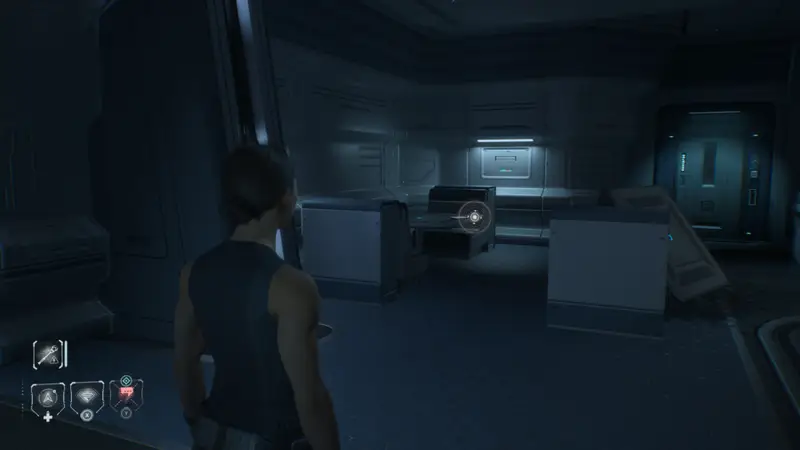
6/8 – Mission Summary
Move to the next room now and up the stairs. At the top hang a left and at the end of the hall you will see a poster on the wall. Interact with it to collect the secret.
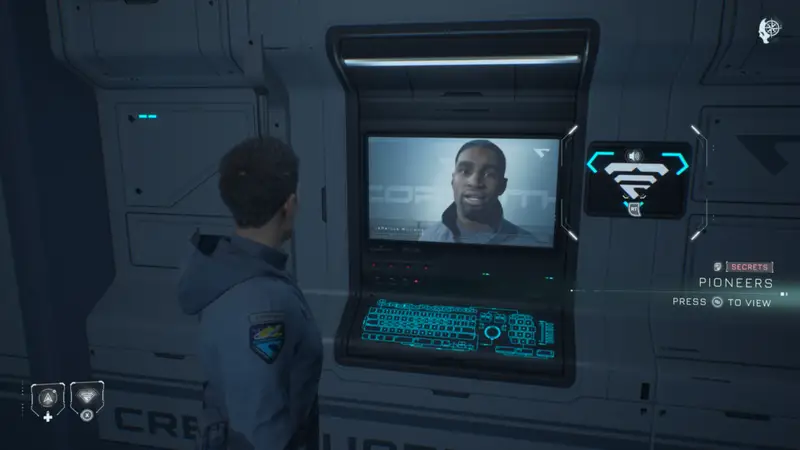
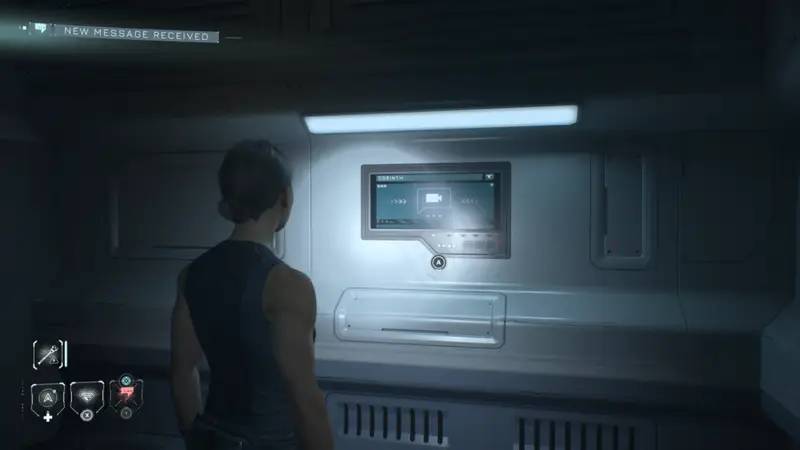
7/8 – Pioneers
Turn around from the previous collectible and keep to the left. You will come to a monitor on the wall with something you can interact with. Do so and a video will play and you will collect the secret.
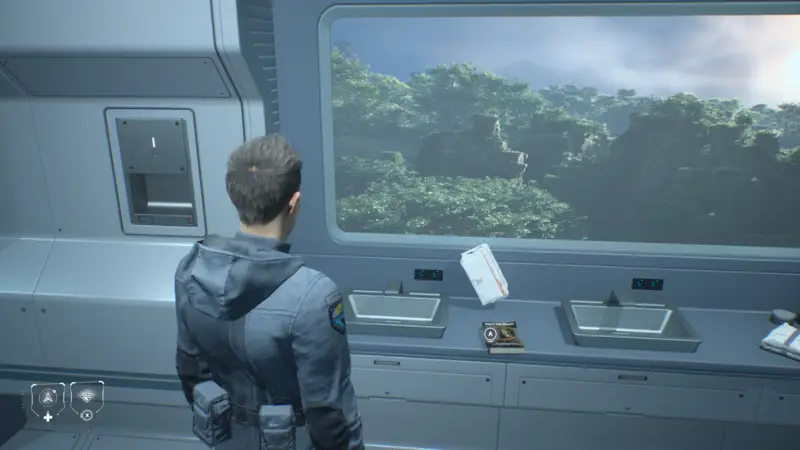
8/8 – Myths Retold
Now head forward and across to the room that is to the right of the main objective. You will be inside a bathroom. Look to your left upon entering and on the counter with the sinks will be a book to look at.
Medical
To get to medical you will have to have chosen to reject The Oracle’s system reboot.
1/2 – Brave New World
Once you take control of Tomas inside the Medical Bay keep to the left wall. Near the end of the area on the left will be a poster on the wall to interact with.
2/2 – The Goldilocks Planet
After lifting the lockdown head towards the Medical Reception area. Before heading inside the window to the right of the door will open as you approach. Look through the window and interact with the door lock to unlock the door. Now head inside Reception and head into that room. On the desk will be a tablet to collect.
Simms Recording 1/1 – Patches
Head out of this room and on the other side you should see some stairs. Head up and at the top will be a monitor to interact with. Watch the recording to unlock the secret.

Episode 2 – Best Laid Plans
Simple Pleasures
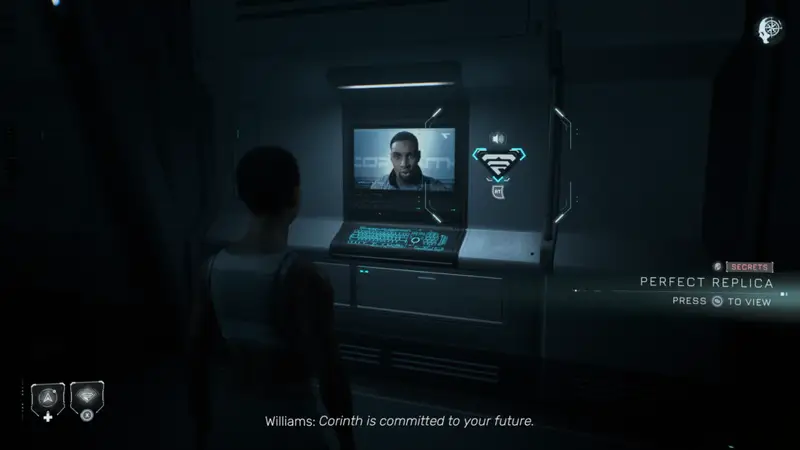
1/1 – Perfect Replica
Once you take control of Brianna look to Stafford which is your current objective then look to his left. Follow this wall to the other end of the room where you will find a monitor attached to the wall to interact with.
Ship Shape
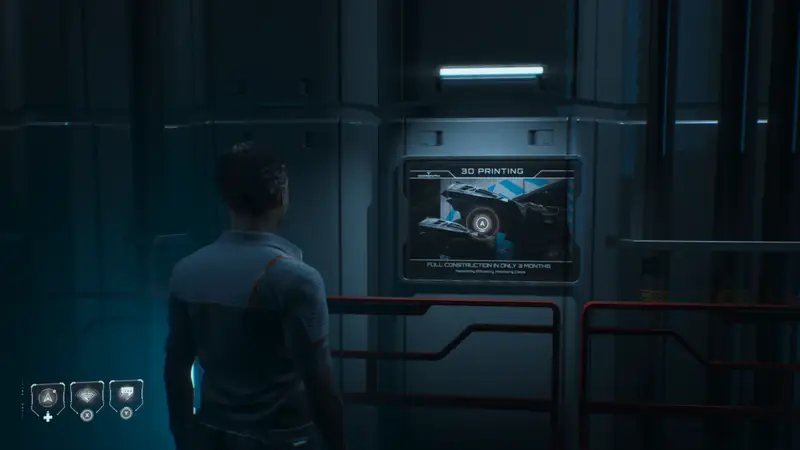
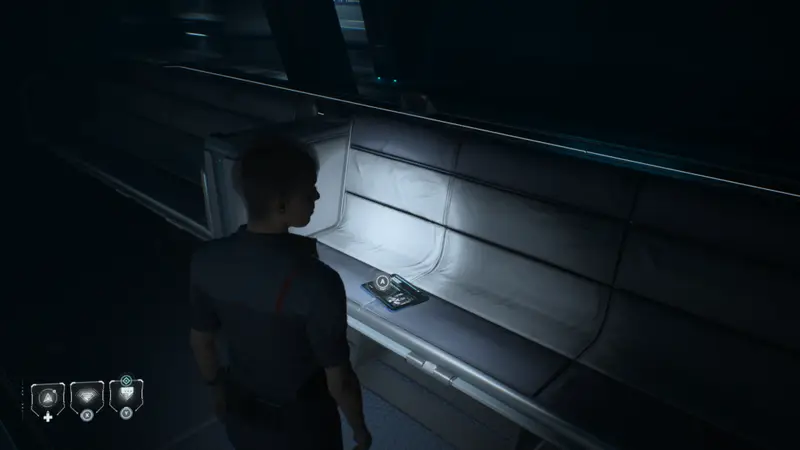
1/2 – Print As Needed
As soon as you take control of Brianna look to your left. Ever so slightly behind you on the wall will be a poster on the wall to collect.
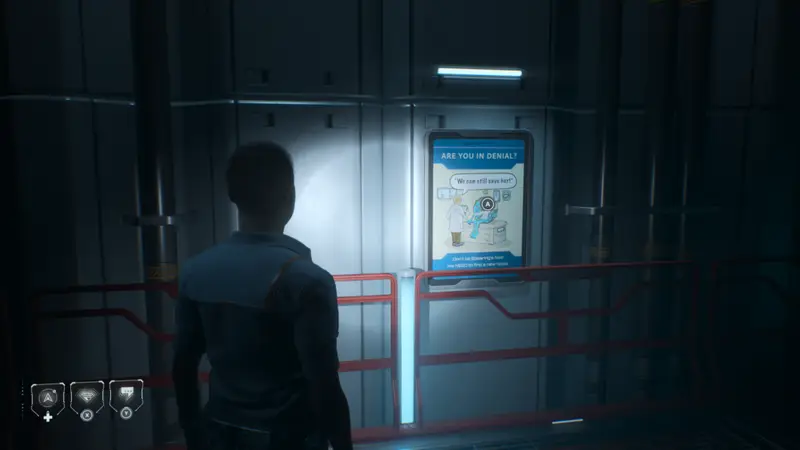
2/2 – In Denial
Turn back around now and head pretty much to the other end of the same catwalk area. Still on the left hand side on the wall you will find another poster.
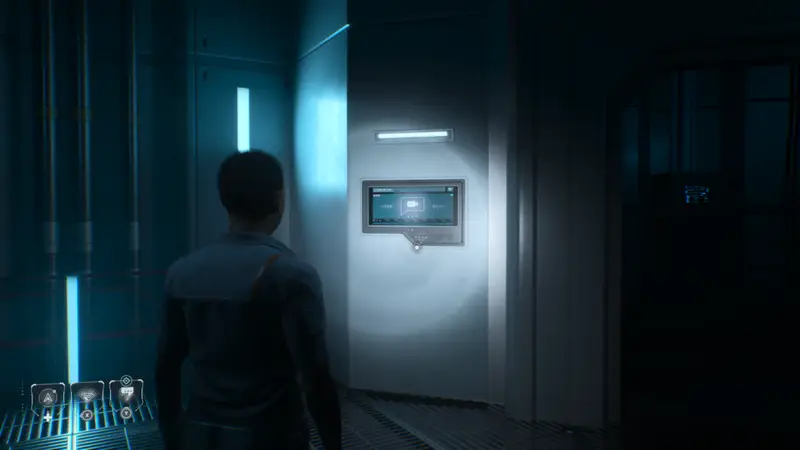
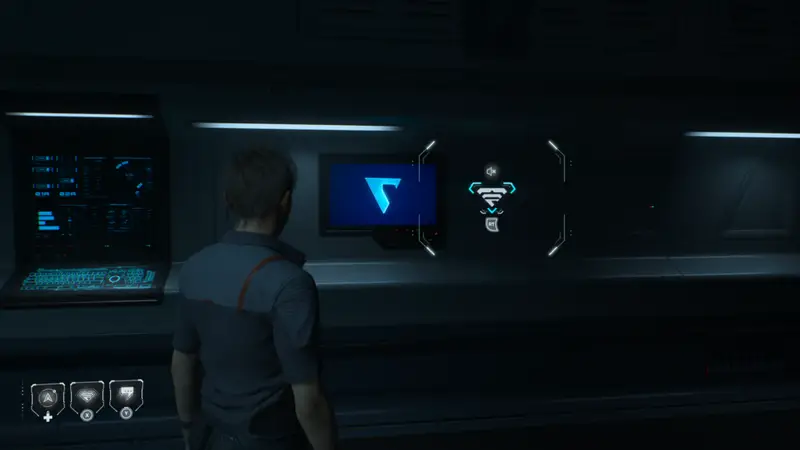
1/1 Simm Recording – Red Alert
Head to the reactor now which is the main objective. Before interacting with it go just past it and up the right hand stairs. On the wall will be the monitor to interact with and watch the video.
Sleuth
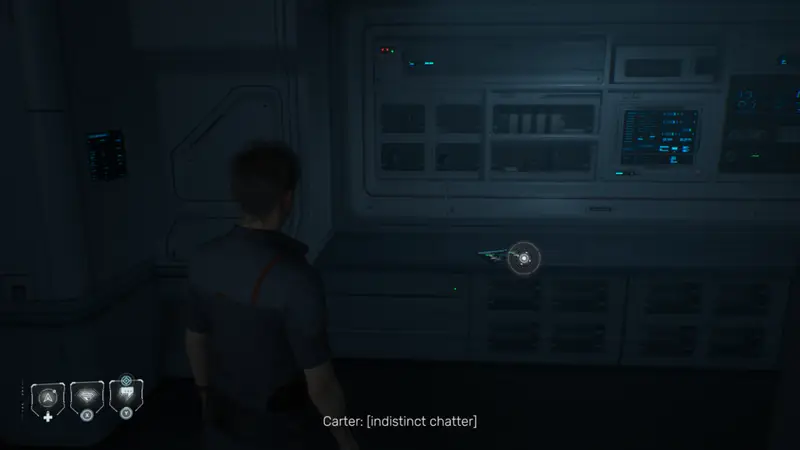
1/11 – Carter
You will be playing as Laura here. As soon as you take control turn left. On the wall you will see a monitor to interact with.
2/11 – Bad Press
Head to the giant head in the middle of the room. Infront of it will be some benches and on one of them will be a tablet to collect.
3/11 – Frosted
Head upstairs in the Atrium now. Interact with the window to open the security feature and then unlock the door through the window and head inside. The first secret you will see is a cake on a coffee table in the middle of the room.
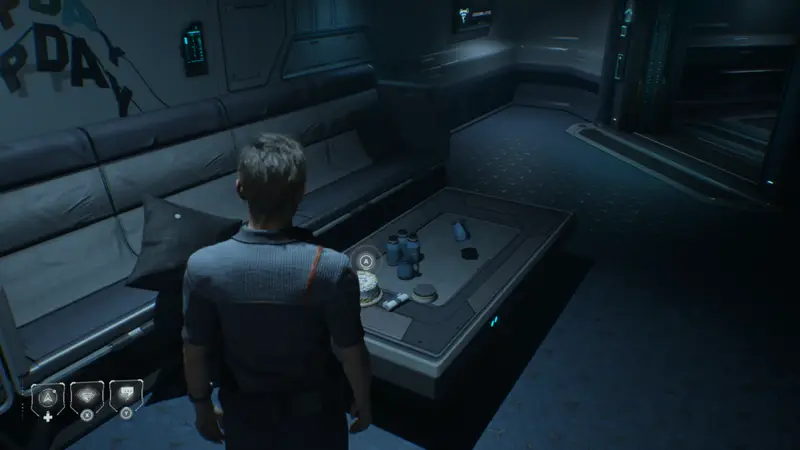
4/11 – No Object
Move to the next coffee table now and pick up the tablet here.
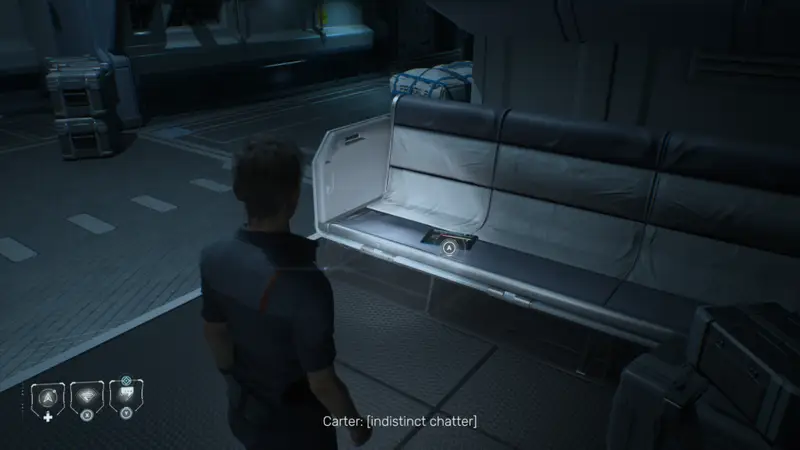
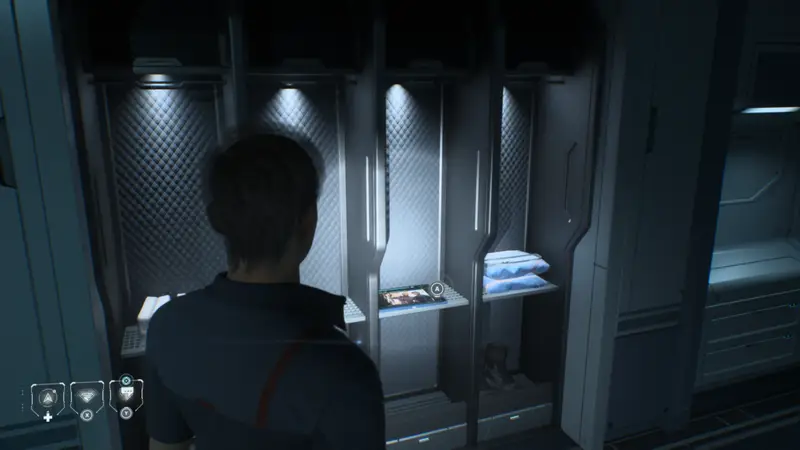
5/11 – Weak Spots
Complete the objective up in the Atrium then head back downstairs to the Locker Room objective. Head a little into the Crew Complex and you will see a large, blank screen ahead to your right. On one of the benches infront of the screen will be a tablet to collect.
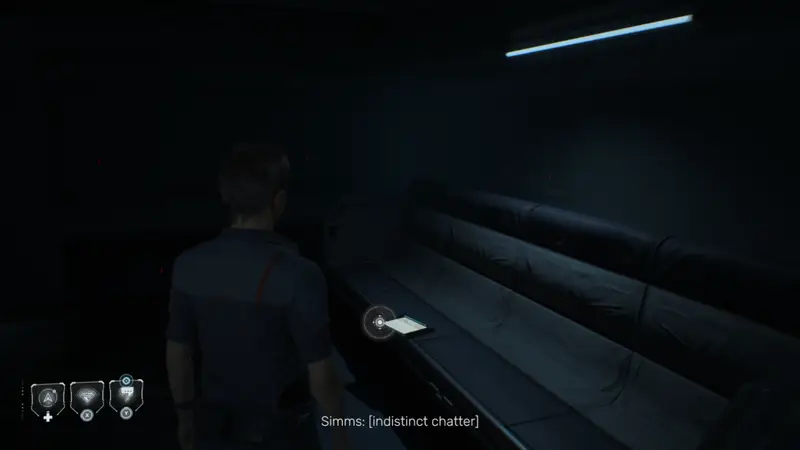
6/11 – Wish You Were Here
Turn back around and head up the stairs you passed. Up here just past the Crew Lounge doors will be a tablet on a bunch of chairs.
7/11 – Professional Chemistry
Now head into the lounge and on the exact opposite wall from where you enter will be yet another table to go ahead and collect.
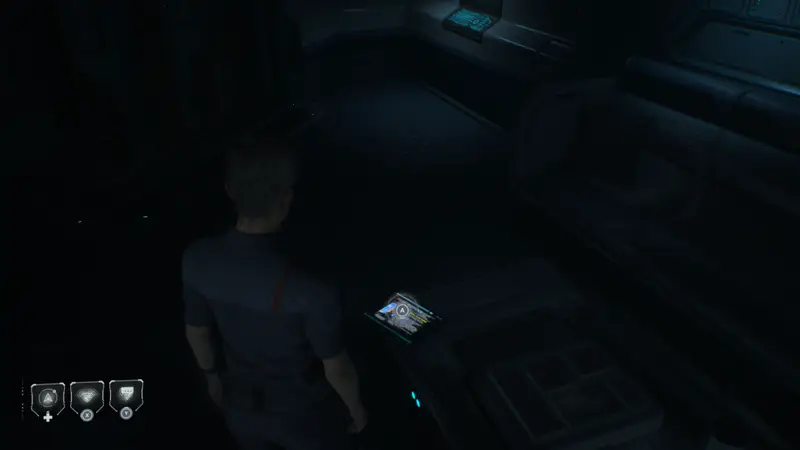
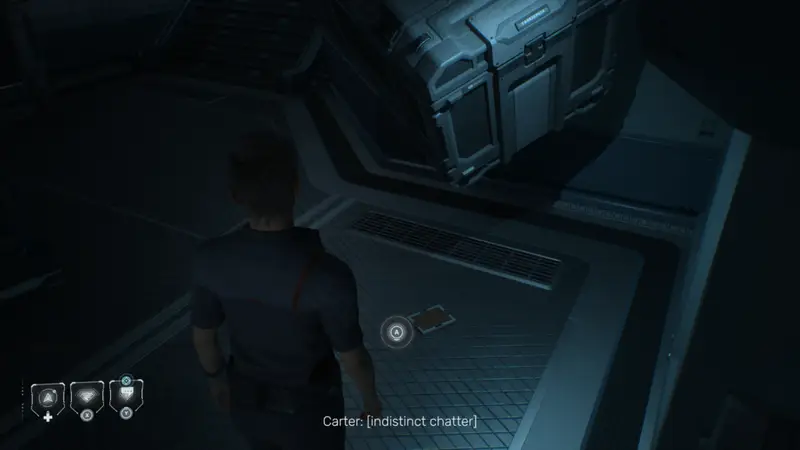
8/11 – Father’s Footsteps
Turn to your left from the previous secret and exit the Lounge via the far door. Turn left again and head downstairs and then at the bottom of the stairs and to your left you will find a picture frame laying on the ground. Interact with it and turn it in order to collect it.
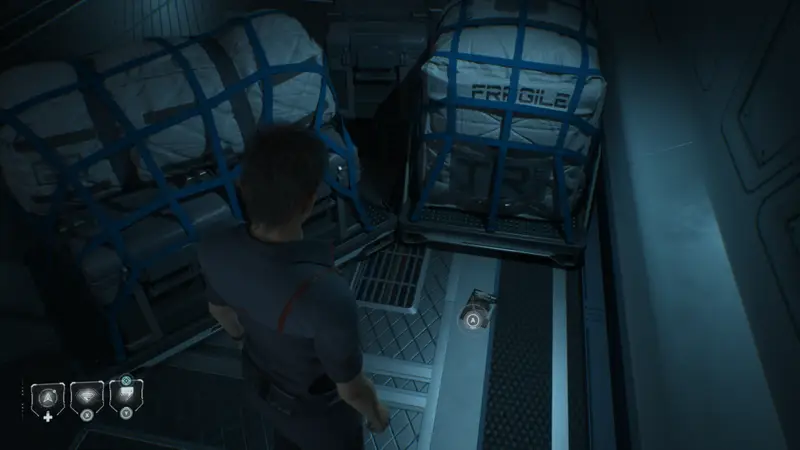
9/11 – Paving The Way
From the previous secret just walk a few more steps forward to find this book laying on the ground near some crates.
1/1 Simms Recording – Sweet Dreams
Head into the Locker Room now. As soon as you enter you should see the button prompt on the monitor on the wall. Inspect it to collect the Simms Recording.
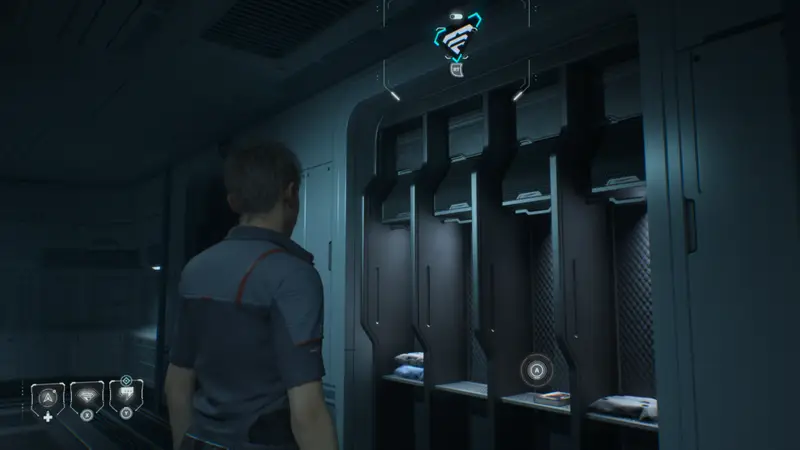
10/11 – At Any Cost
Interact with the monitor and input the key code when prompted (should be 13576). Once you do it will say objective completed but before moving on look up and to your right. You will be able to interact with something which you will want to do. This seemingly drops security from the lockers. Inside one of those lockers below the voice speaker should be another book.
11/11 – Promises
Head in behind the monitor you had to punch the code into now. Looking in the back left corner and up you will see another security switch you can press which will lower the security around the lockers. In one of them will be another tablet to collect.
Episode 3 – The Sample
Gear Up
1/1 Simms Recording
Proceed through most of the section until you get into the Tool Storage room. As soon as you do make a left and on the wall will be the monitor to interact with.
Search
1/6 – Words Of Affirmation
As soon as you take control of Cooper look to your right. On a table will be a book to collect.

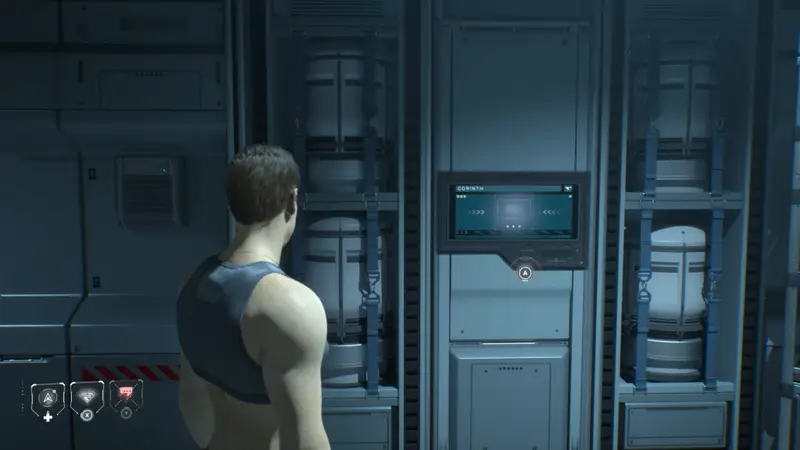
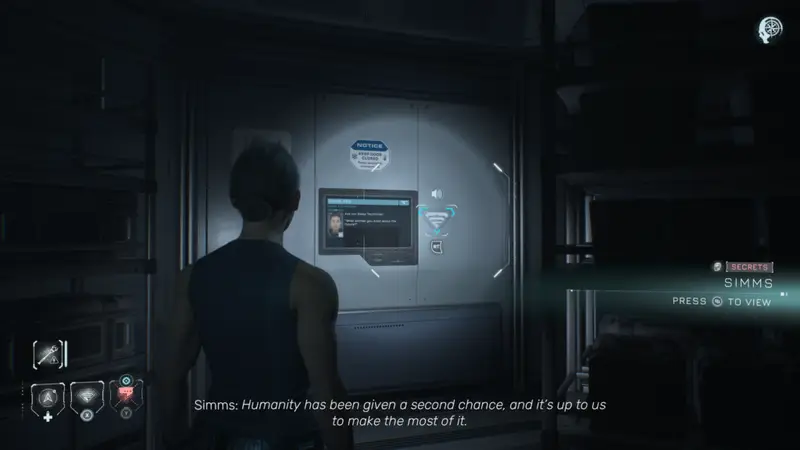
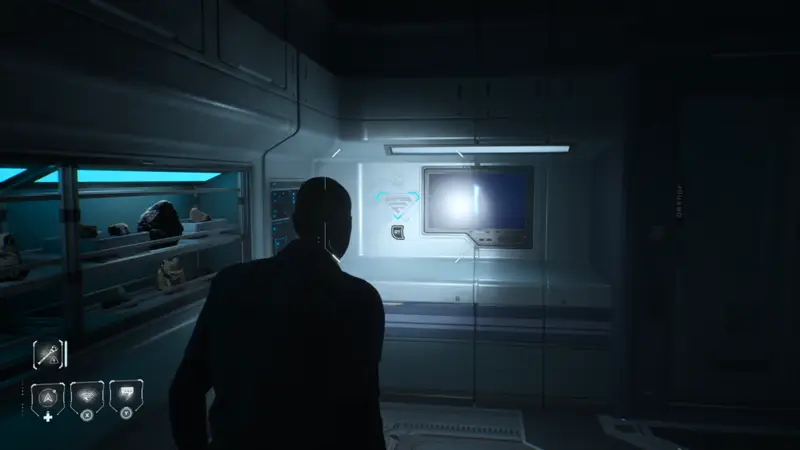
2/6 – Simms
Open the window to the next area and hop through. Turn left and in the back corner behind some racking will be a monitor to interact with.
3/6 – Nutrimito
Move forward and jump the knocked over shelf. On your left you will see a red button on the wall. Interact with it and enter 0402. This will open the compartment and inside is the secret.
4/6 – Game Changer
After placing the battery into the door and getting it to open head into the next room and turn to your immediate left. On a counter you will see a tablet to grab.
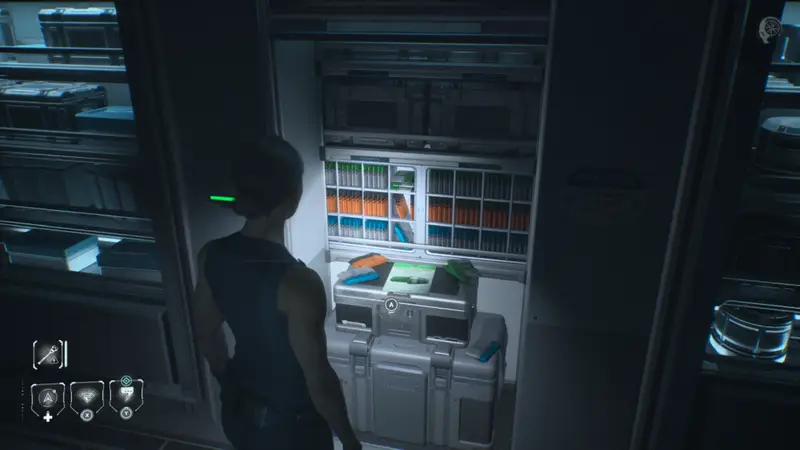
5/6 – Fit To Fly
From the previous secret turn to your right where you will see a door that you can open with your utility stick. Open it and in the back of the bathroom area you will find a tablet to collect.
6/6 – A Friend Indeed
Head to the far end of the room now where there is a window you can open with the controls. From this window look to your right where you will see a table and some chairs. On the table will be a tablet.
1/1 Simms Recording – Special Permissions
Head to the next room now and head down the stairs and go left. In behind the stairs will be a monitor. Interact and watch the video.
Episode 5 – Mr. Williams
Drugs
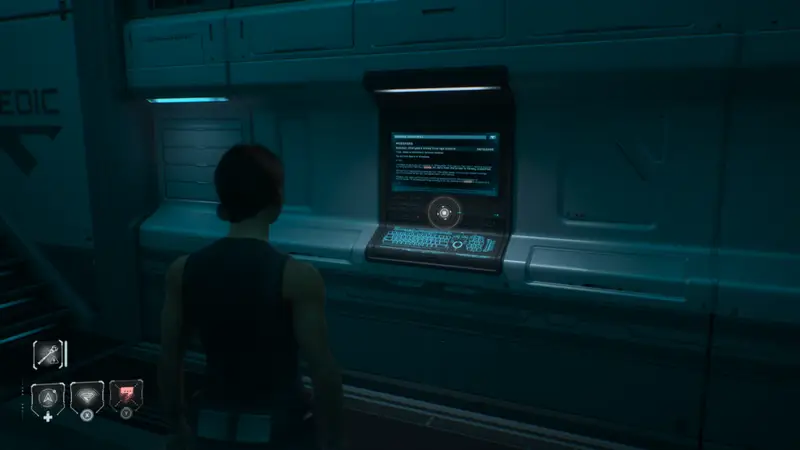
1/2 – Charybdis
Once you take control of Cooper turn left and head through the door here (not the main objective). Once through you will see a monitor on the right hand wall to interact with.
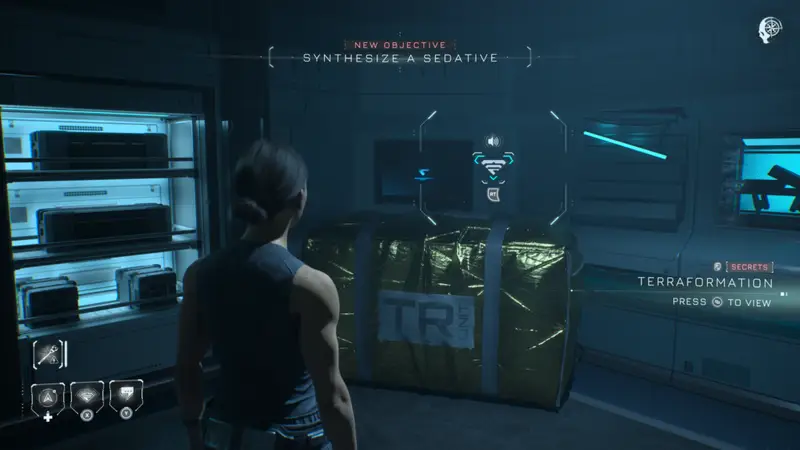
2/2 – Terraformation
Head into the next room then for a scene with Anders. Once you take control of Cooper again turn and head behind Anders. In this little area in the back part of the room is a monitor you can turn on which will be the secret.
Radio Silence
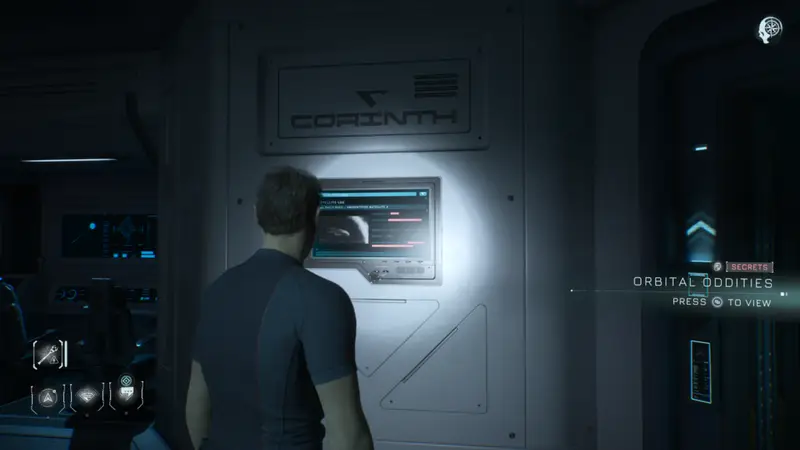
1/3 – Orbital Oddities
After taking control of Cernan turn around and head up the stairs and you will see a monitor at the top. Interact and punch the code 3196 in to unlock it. Interact again and scroll through multiple screens to trigger the secret.
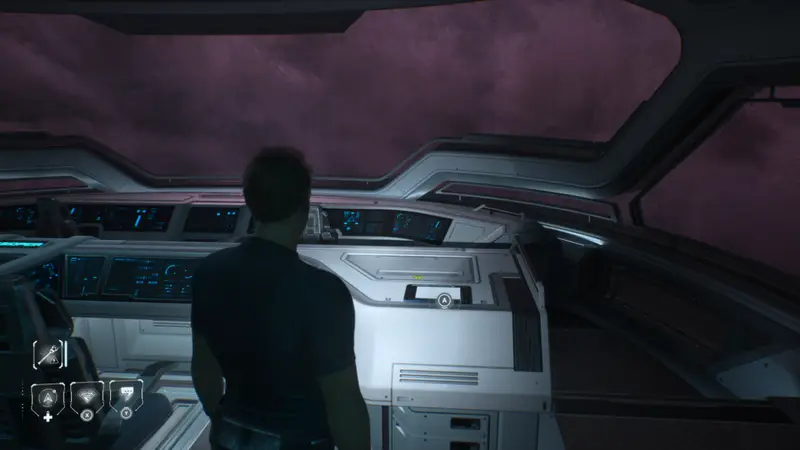
2/3 – To Do List
a long hall. Follow it all the way down to the cockpit room and enter. Inside to your right you will find a tablet to inspect.
1/1 Simms Recording – Hostile Fire
Head back now and into the next area. When the path splits head to the left and jump over the box here. There’s a control panel on the wall that will let you reroute the power. Do so turning the power supply to the storage room. With the storage room now open head inside and at the back of the room will be the recording to interact with.
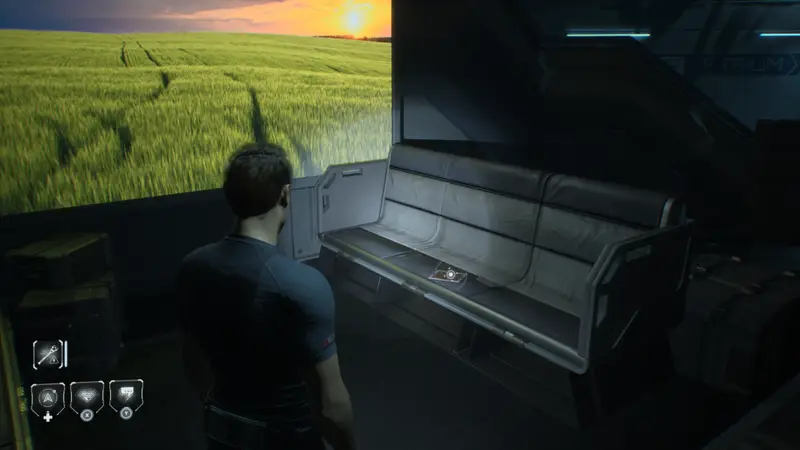
3/3 – Love Lost
Take the elevator and then progress through the area. You will eventually see Cooper as she heads into a room. Before going into that room go down the stairs that are here. At the bottom hang a left. Move forward and on your left you will see some seats and a big picture of a field. On the seats here will be a picture frame to grab. Turn it over and gain the secret.
Episode 6 – Hostile Takeover
Detour
1/1 Simms Recording – Field Agent
As soon as you take control of Stafford turn around and head to the Exec Office. Open the door and inside you sill see the monitor in the back of the room.
1/6 – Cernan
Head back into the previous room and take a left, going through the next door you see. Move forward and on your right you will see a vent you can slip into. Inside the vent take the first left that you can into another room. Inside this room turn to your left and in the back corner you will find a monitor to turn on.
2/6 – Mcnamara’s Secret
Head into the next room that looks like some kind of storage room. On the right hand wall just before another vent you will see a monitor on the wall to interact with.
3/6 – Making The Call
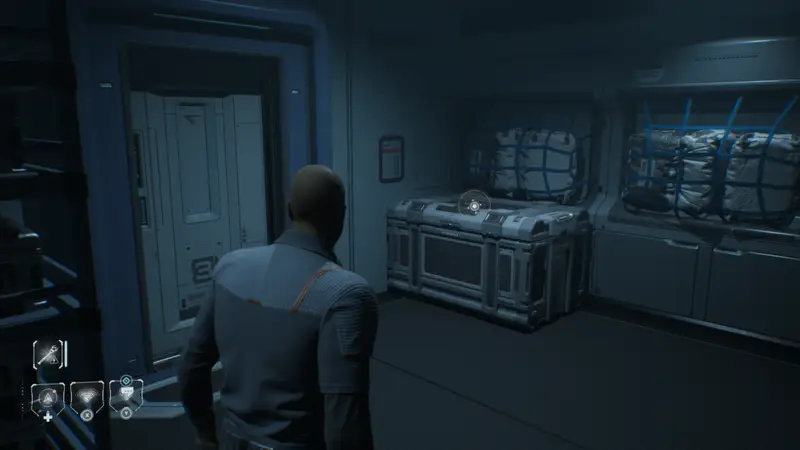
Progress through the chapter until you use the cameras to find the battery. Your objective marker will be to go through a door to the right of the camera controls. Naturally its locked but there are stairs to your left. Head down and through the small gap. You will see a door to the Science Storage that you want to enter but it too is locked. Use your pulse to follow the power source and use it to unlock the door.
With the door unlocked head back in and follow this area all the way into the back where there is an office. Jump through the broken window and inside on a crate you will find a tablet to interact with.
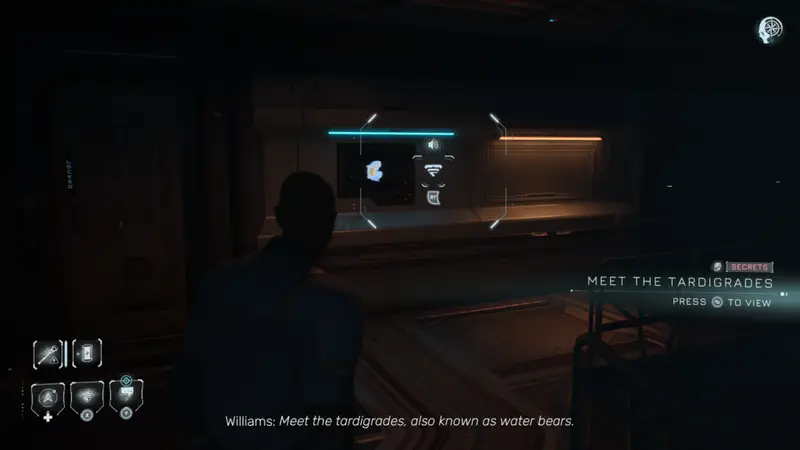
4/6 – Meet The Tardigrades
Progress further into the chapter, grabbing the power cell that you need. Continue on and once you get to the hall where you see Cernan again look to your right to see the Astroscience room. Open it with your utility strap and head inside. On the wall to your left will be a monitor you can turn on for the secret.
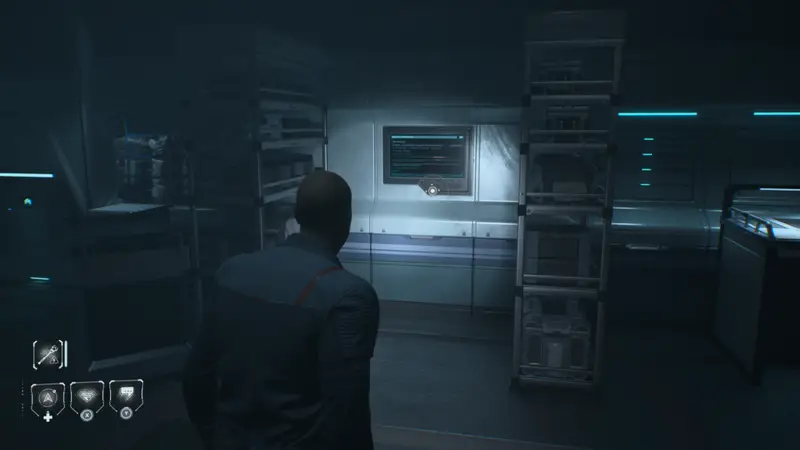
5/6 – Stafford
Now meet up with Cernan and put your battery cell into the door to head to the next room. After going through the small corridor in the next room make a left. You will see the monitor up ahead on the right hand side to interact with.
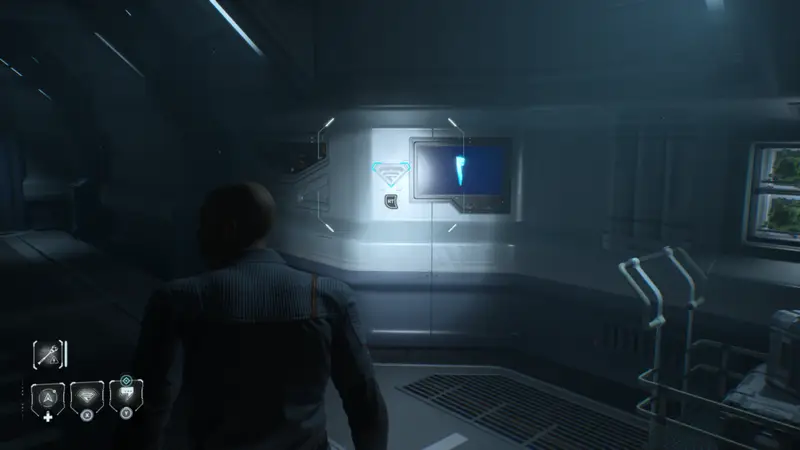
6/6 – Faster Than Fiction
In the same room head towards the middle of the room. On a desk infront of where the the planet hologram is you will find the tablet to collect.
Episode 7 – Revelation
Search Party
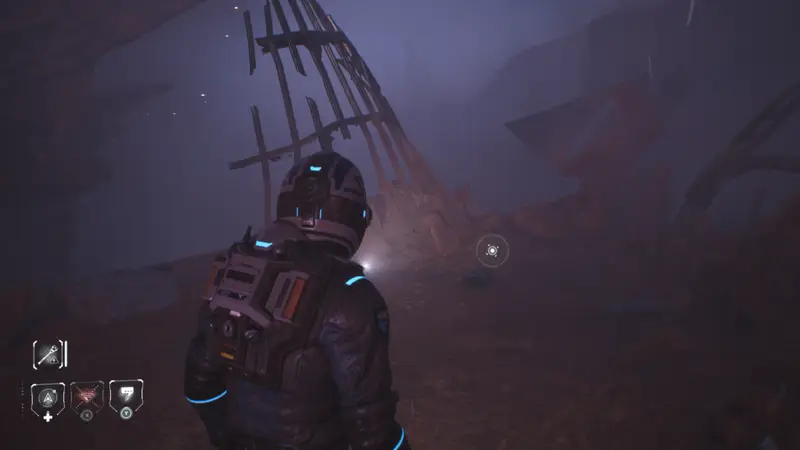
1/1 – Cracks Appear
Proceed through the chapter past the waterfall and little scene the follows afterwards. When you get a second incoming message from Anders the path ahead will split. Going down to the right is the main path. Before doing so go left into a little area where you will find a helmet on the ground. If you make it to the spot where rocks fall and almost crush you, you’ve gone too far.
Pod Room
1/2 – Mcnamara’s Confession
Progress well into the chapter until you enter a big room full of fans and pods. Turn to your left and follow this path, making another left when you can.up a little set of stairs. Turn left once more and you should see a ladder that you can interact with which will make it fall down. Up top here at the end of a catwalk is a monitor to interact with.
2/2 – Mitchell
Continue through this room now and head to the next. You will come up to the elevator which is the end of this chapter. Before interacting with the elevator walk just past it to find a monitor on the wall.
Geoscience
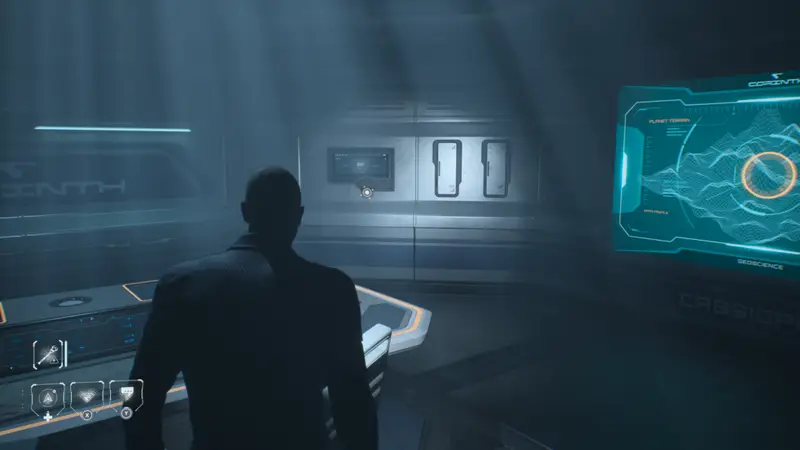
1/1 – Duplication Analysis
Once you take control of Cernan turn around and head to the back of the area where you will find a power supply. Switch it to the door and then move forward a little and enter the door on your right.
Once inside you will see a window. Look through and interact with the door lock at the other end. Head back out to the hall and press forward again and jump through the now open window on your right. Go to the right side of this room to find the tablet to collect.
Episode 8 – Come True
Redirect
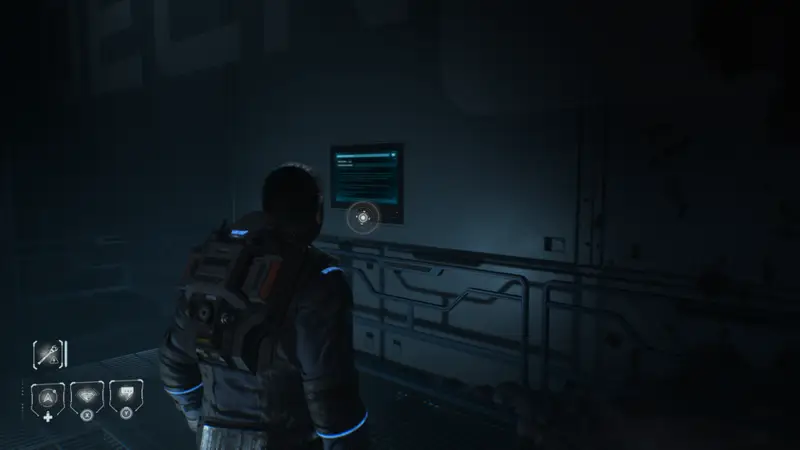
1/1 – See Attachment
As soon as you take control of Stafford look to your right. You should see a tablet on the ground tucked in the corner ahead of you just a little bit.
1/1 Simms Recording – Rabbit Hole
Now progress through to the stealth section and head downstairs. Re-route the power to the locker room down here and head inside. On the wall will be the recording in the same spot as it was for another Simms Recording in one of the earlier episodes.
Atrium
1/1 – Worth Fighting For
Sneak through the first section here and make your way upstairs. At the top make a left and in the corner on a bench you will find a tablet.
Mess Hall
1/3 – Keeping Tabs
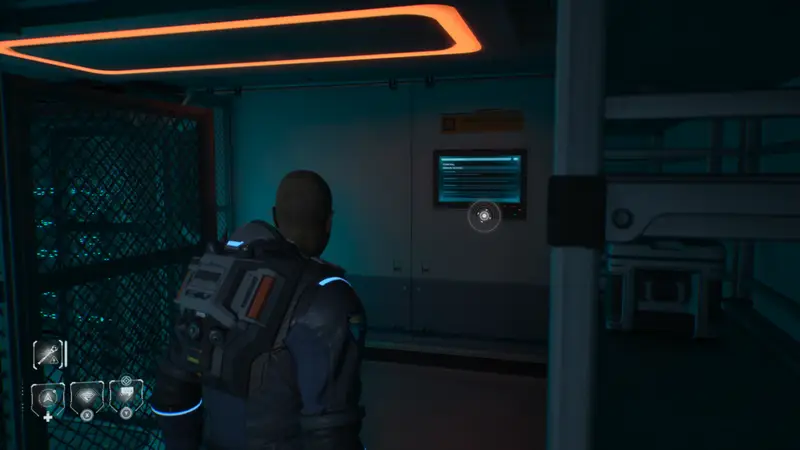
Once you control Stafford rather than turning right towards the mess hall go straight into Colony Control. Head through the halls and in the last room on your right you will find the monitor to interact with.
2/3 – Williams 2.0
After sneaking through to the other side head into maintenance. In the second row of servers there will be a tablet on a small box at the back.
3/3 – Classified Orders
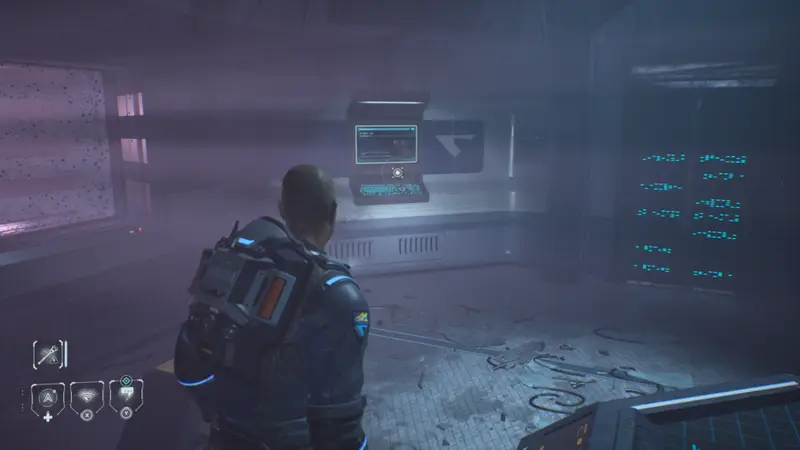
Head into the back of maintenance now to find a monitor on the back wall.
The Way Back
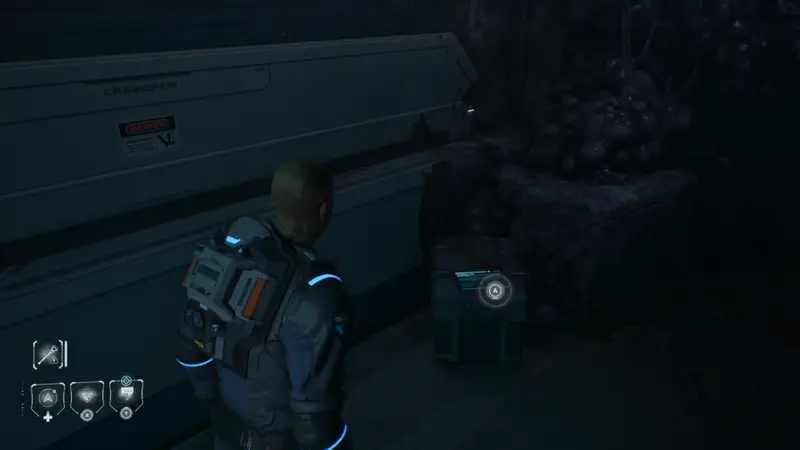
1/1 Simms Recording – At Peace
Walk through the hall and you will notice an empty spot for a battery cell. Make note of that as you walk forward and grab the battery cell for the door into the next room. Return back to the previous spot and place the batter which will let you slip into the vent thats there.
Proceed through and you will have to work your way through this room, lowering a bunch of large servers in a bit of a maze. Once through at the end you will find the recording.

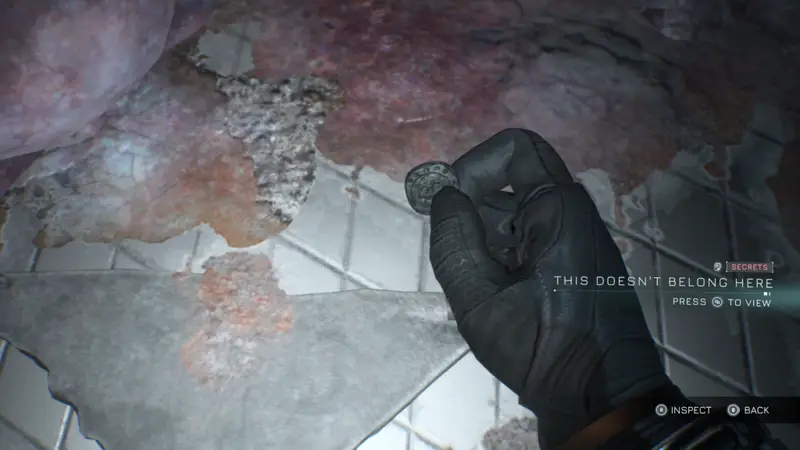
0 Death Secret – This Doesn’t Belong Here
Also on the ground next to the monitor above is a new secret…..secret. There is a coin on the ground which if you collect you will open up a new secret called 0 Death.
Medical
The Man In The Bowler Hat
Head back to episode 1 now and the medical chapter. Head to basically the end of the chapter and in the room where the breach is you will see a circular console area in the middle of the room. Inside it on the floor will be the secret to collect.
Search
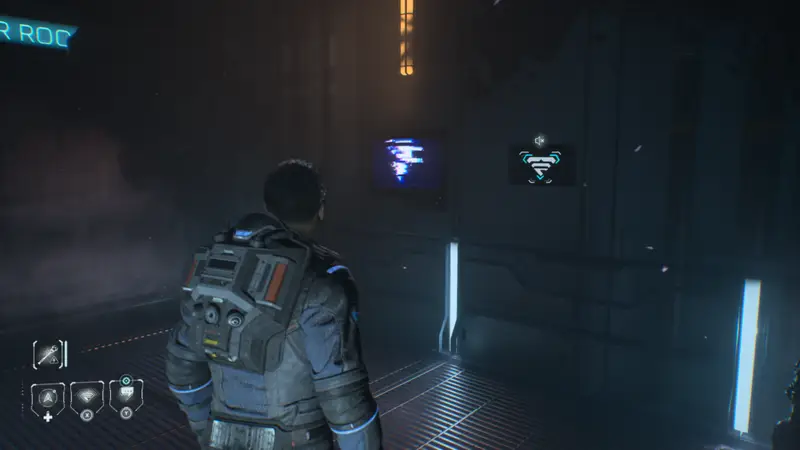
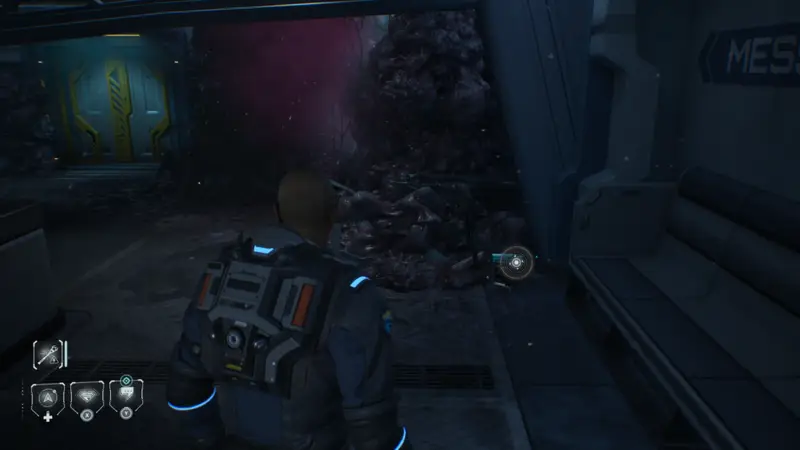
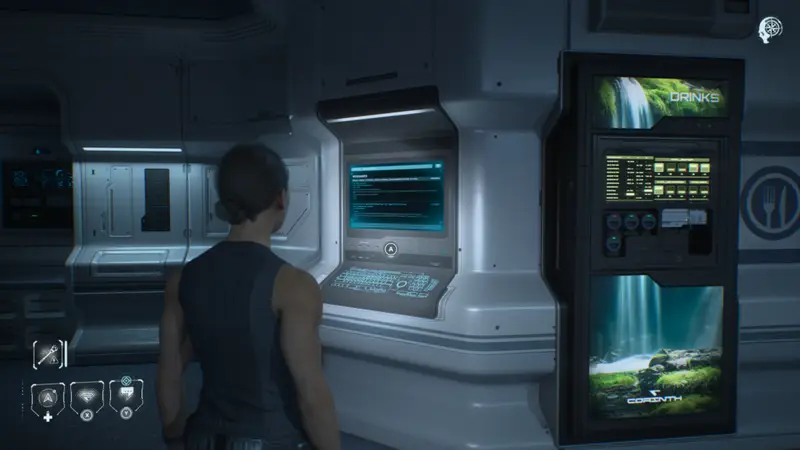
Paranoia
Progress through the chapter until you get into the bigger Mess Hall area. To the far right you should see a couple signs that look like a digital food and drink menu. Just past them on the wall will be a monitor. Interact with it to collect the secret and see the next little scene.
Radio Silence
0_DTH
Head up the stairs and head towards the cockpit. About 3/4 of the way down the hall on the left will be a monitor to interact with.

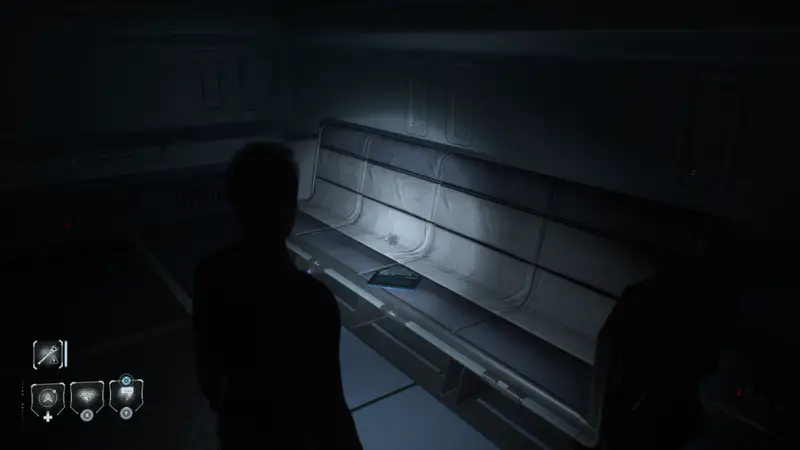
Bloodlines
Head through the chapter and up the elevators. Proceed towards the objective but instead of going through the door go down the nearby stairs. Hang a left at the bottom and then go to the end of the hall and up the stairs to the left.
At the top of the stairs on a bench will be the final secret. Collecting it and you will see the Curator scene.
This is the last secret you will need to find in the game now. We hope this guide has proven helpful for you as you work your way through Directive 8020. Thanks for joining us!