
Welcome to our achievement / trophy guide for Sleep Awake available on Xbox, PlayStation and PC. This guide will show you how to easily find all collectibles and unlock every missable achievement / trophy.
The guide will cover all microfiche, tapes and void shadows. Collectibles are located across multiple chapters in the game, starting in the Prologue and ending in Chapter 9. The game does not offer a chapter select and all of these are missable, so if you miss any of the collectibles – you will need to replay the full game to find them all.
All of the achievements / trophies not covered in this guide are unlocked through story progression and cannot be missed. This guide is as spoiler free as possible.
Sleep Awake Complete Achievement / Trophy Guide
Prologue:
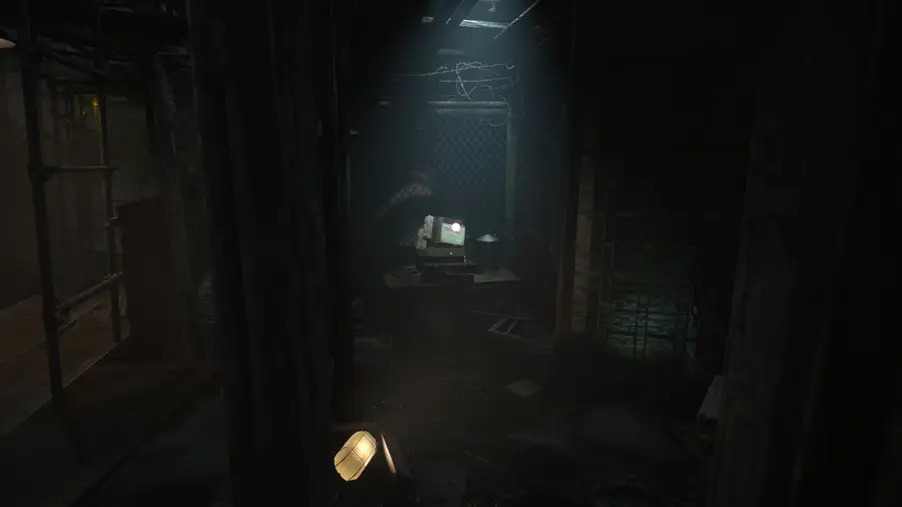
Tape player 1:
Right behind you at the very start of the game:

Microfiche 1:
Directly in front of you as you begin the game, it’s the yellow item:

Chapter 3
Microfiche 2:
Right at the start of chapter 3, you’ll go through this area with a mural on the wall:
Keep following the main path till you pass down a hanging yellow cloth. Just after, on your right is the next microfiche:

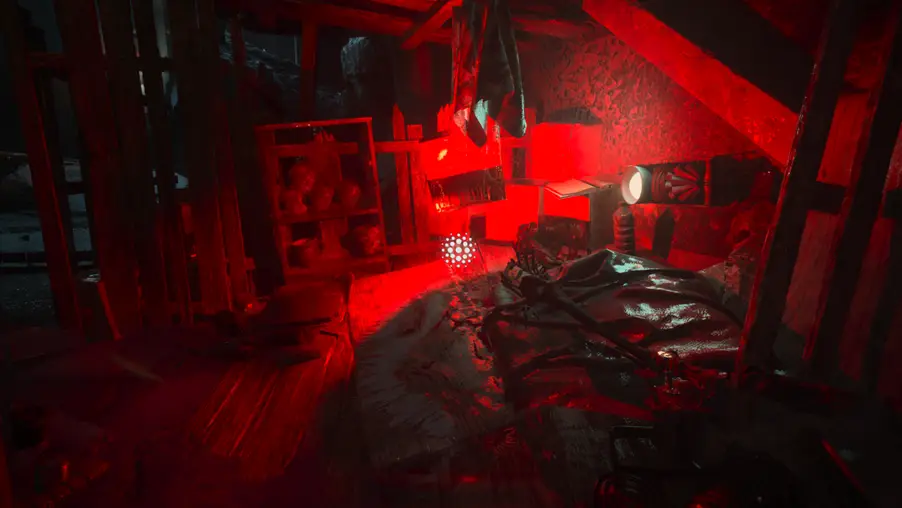
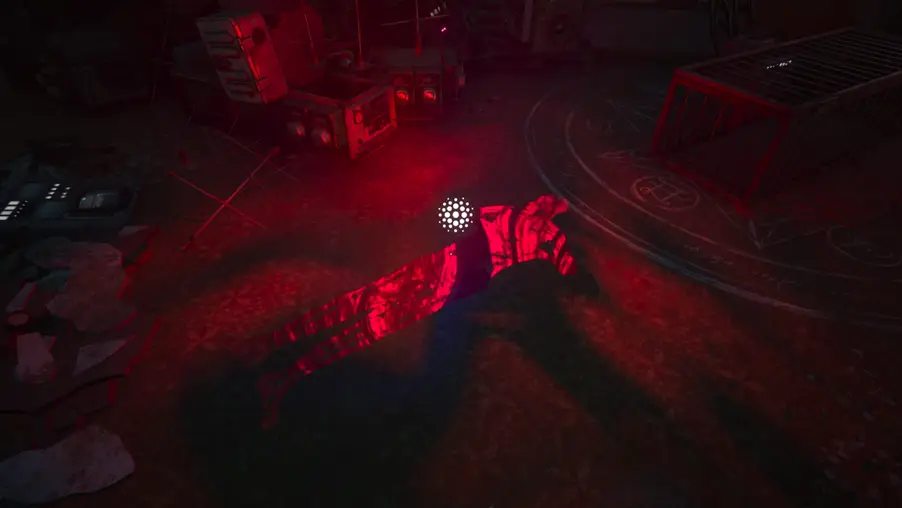
Void Shadow 1:
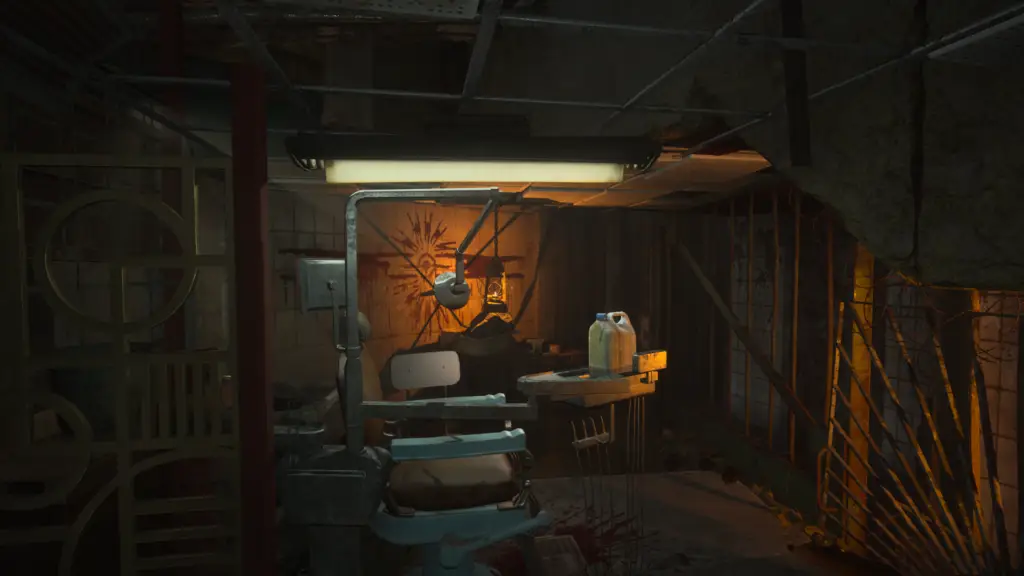
Shortly after seeing the DRM agents torture a man, you’ll come upstairs and there will be a shack and the door will open:

The first Void Shadow is on the other side of the room. Wait till you can interact with it before moving on:
Microfiche 3:
Shortly after seeing the DRM agents torture a man, you’ll come upstairs and there will be a shack and the door will open:
Turn back on yourself and you’ll see there’s another microfiche inside a separate smaller shack:
Void Shadow 2:
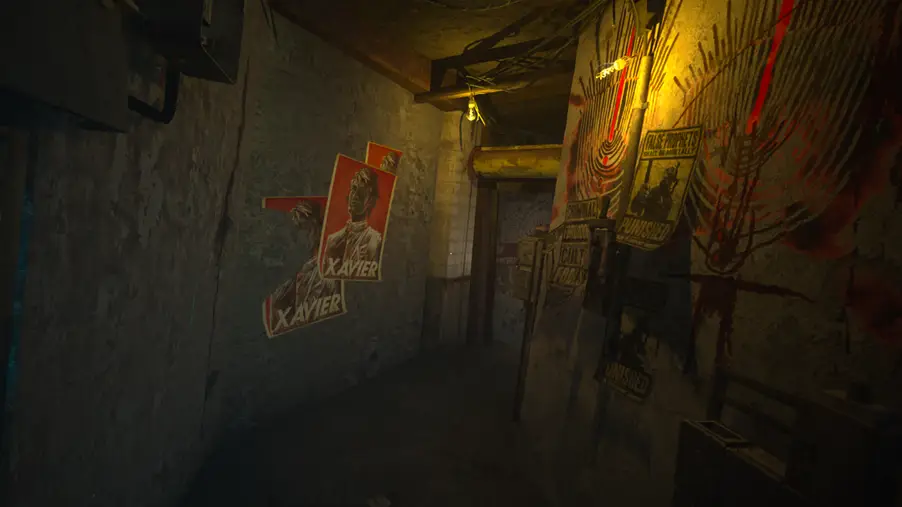
A little later in the chapter, you’ll come to this corridor with posters lining the walls:
Proceed a little further and you’ll come through this door to easily find another Void Shadow:
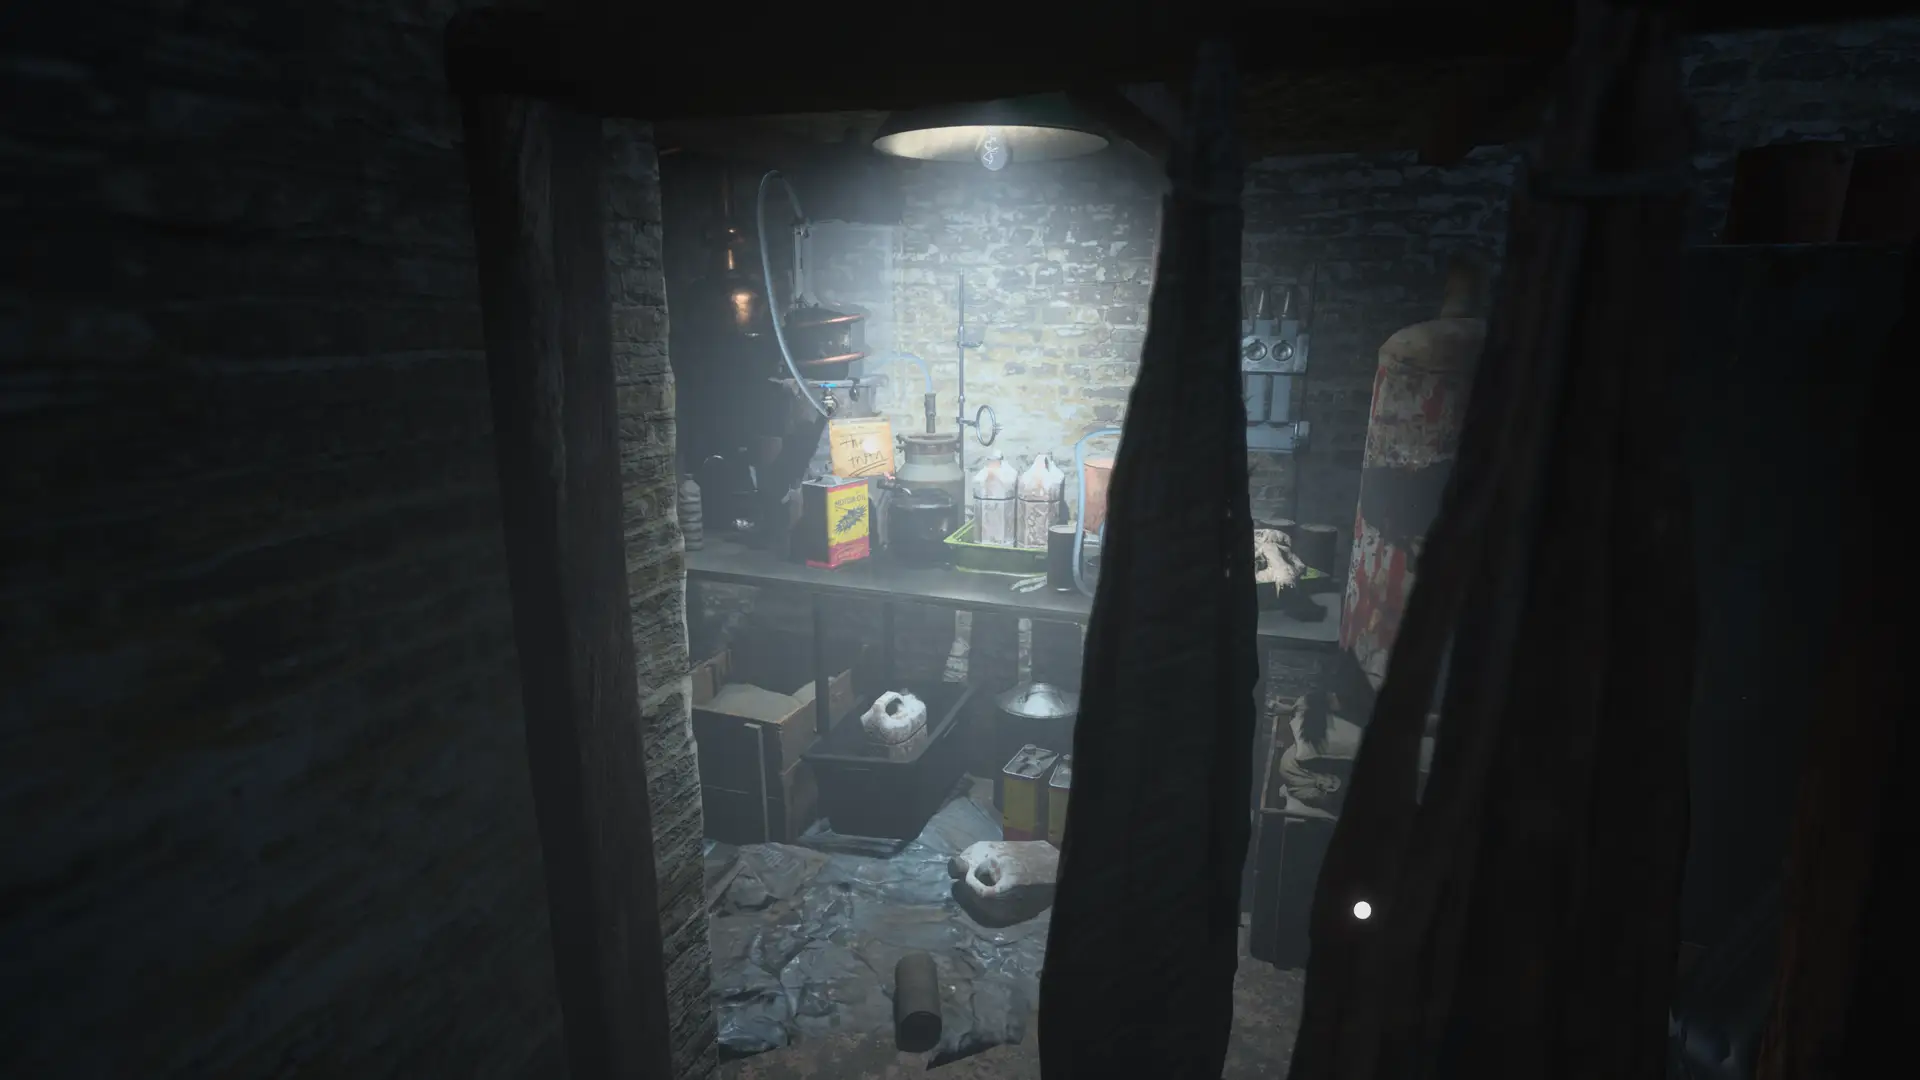
Microfiche 4:
Later in Chapter 3 you will push this large box to the door to climb up:
Once up, you’ll pass through some narrow gaps and come to this electric machine, with the microfiche sitting on it:
Ride the Lightning Achievement Guide
This achievement / trophy can be unlocked as early as Chapter 3. If you miss the opportunity during your playthrough you will need to replay all the way to Chapter 3 again.
You will come to this area with an electric panel in front of you.
In the next room, you’ll see a body being electrocuted up high. There is a lever to turn the electricity off in front you. Do not pull the lever yet. Instead, walk into the electricity. Don’t worry about dying, you will come back to the same location.
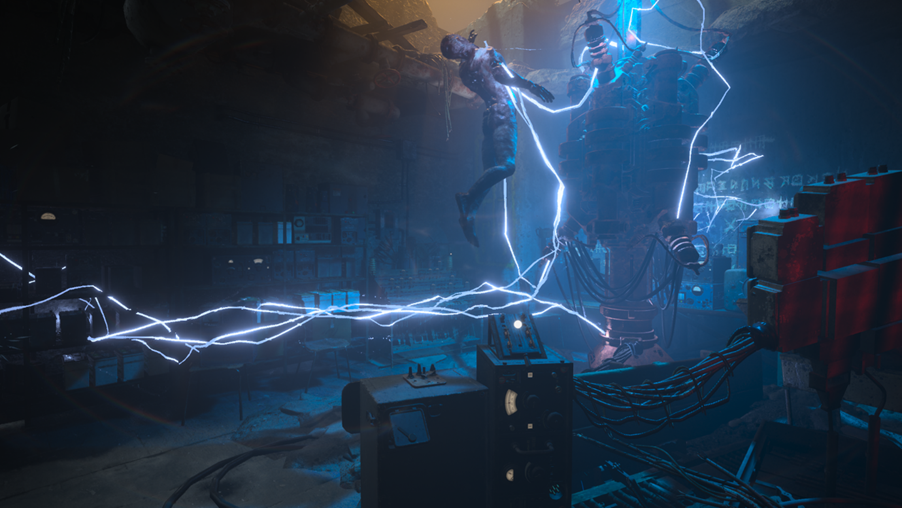
If you have missed the opportunity here, there is more lightning later in Chapter 3 that you can walk into.
And with that, you will unlock the Ride the Lightning achievement.
Microfiche 5:
After passing the area where a body is being electrocuted and you pass the electricity, you will pass through some turnstiles:
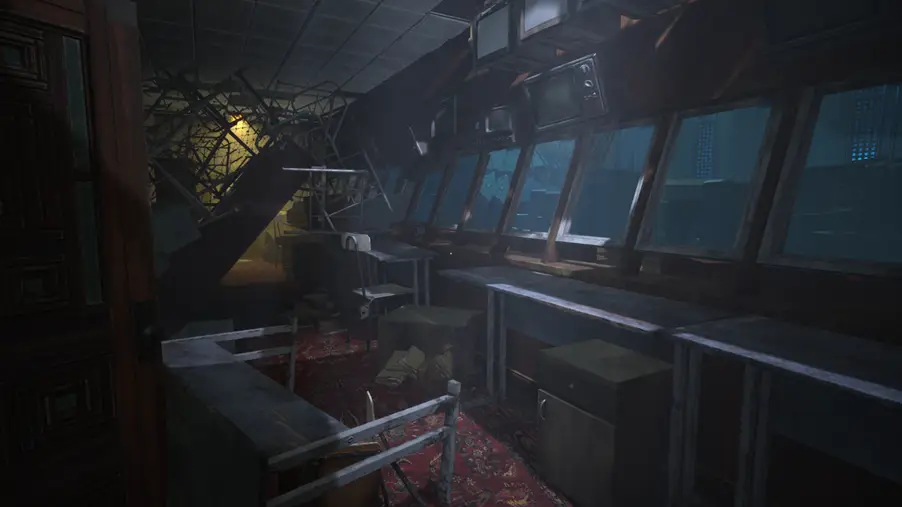
You will see a building fall down in front of you. When you regain control, go behind the stairs to find the next microfiche.

Microfiche 6
You’ll come to this tunnel with a figure in front of you. Walk down and the screen will start to spin and Katja will use some of her eye drops:

When you regain control, turn around and pass by the eels. On a table a little further along is a bench with microfiche 6 on:
Chapter 4
Void Shadow 3
The first part of Chapter 4 is you avoiding the DTM. This Void Shadow is after you’ve poppled the ‘Escaped the DTM HQ’ achievement / trophy. After avoiding the DTM, you’ll come to this sign by a fence. Pass under the sign and then under a gap just after it:
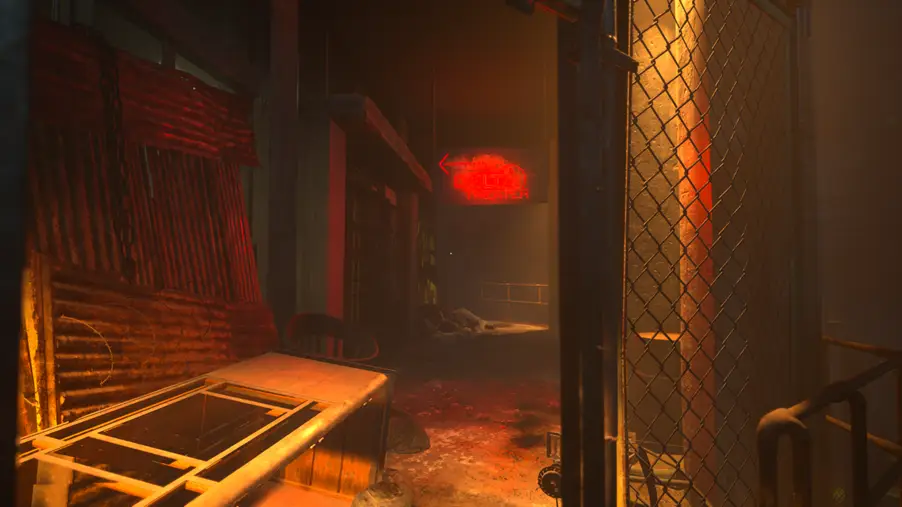
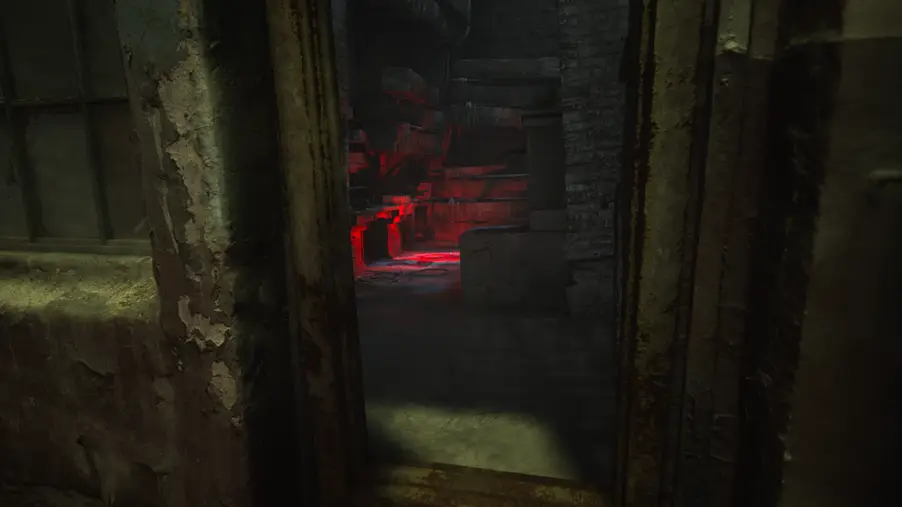
You’ll come to this tiled floor room. Head for the door with the red glow:

The Void Shadow is just inside on the left:

Void Shadow 4
Later in Chapter 4 you’ll climb up this ledge after knocking a ladder down:

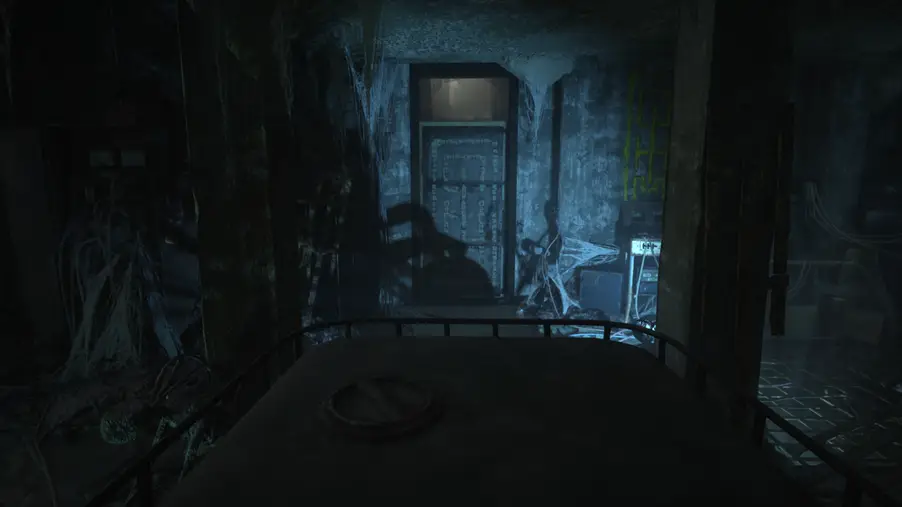
When you’re up, you’ll go left then through a door on the right. Carry on then walk through the next doorway on the left to find the next Void Shadow on a bed:

Tape player 2
Late in Chapter 4, we will find Amma and be tasked with caring for her. After putting her infusion on the table go and interact with the tape player in the background:

Chapter 6
Microfiche 7
Right at the start of Chapter 6, you’ll arise from some water and turn the water off with this lever:
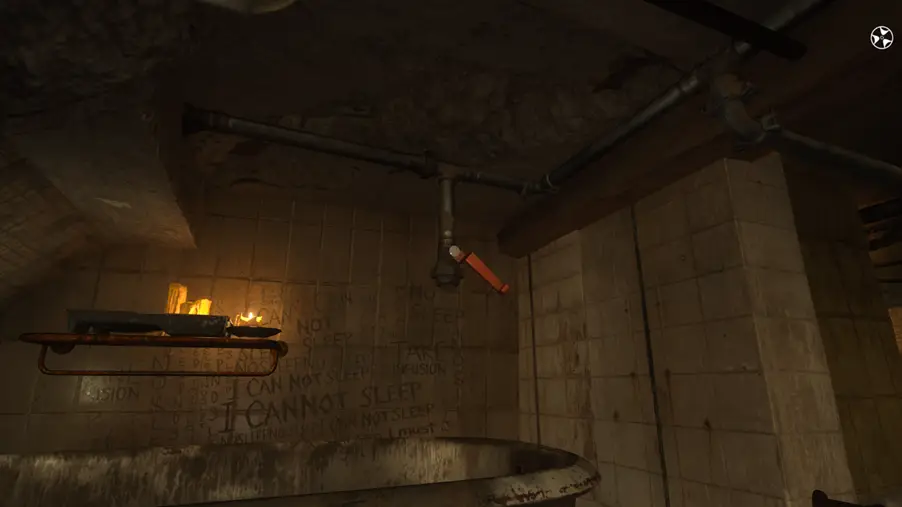
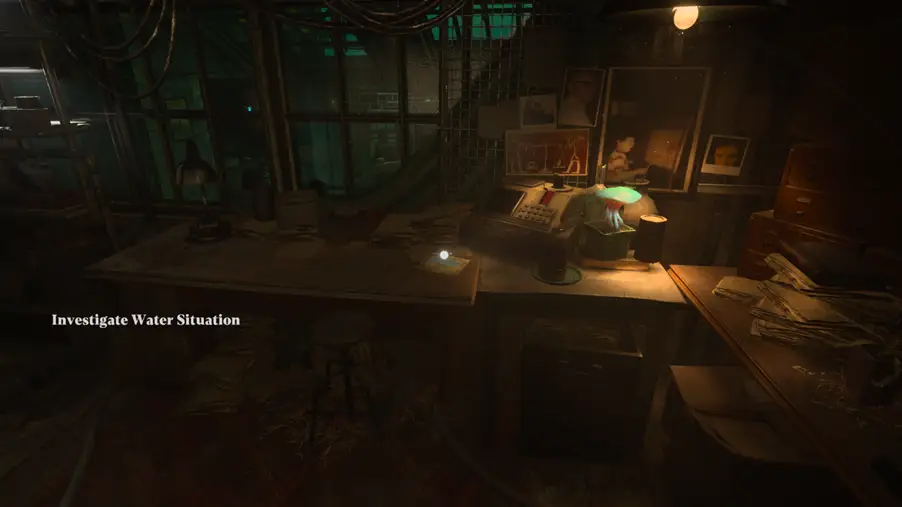
From here, turn around and head to Katja’s desk. The microfiche is easy to spot here:
Chapter 7
Void Shadow 5
Early in Chapter 7 you’ll be walking around some amusements before going on an elephant slide. Shortly after you’ll crawl through this gap:

The Void Shadow can be found on the floor here under the red light:
Microfiche 8
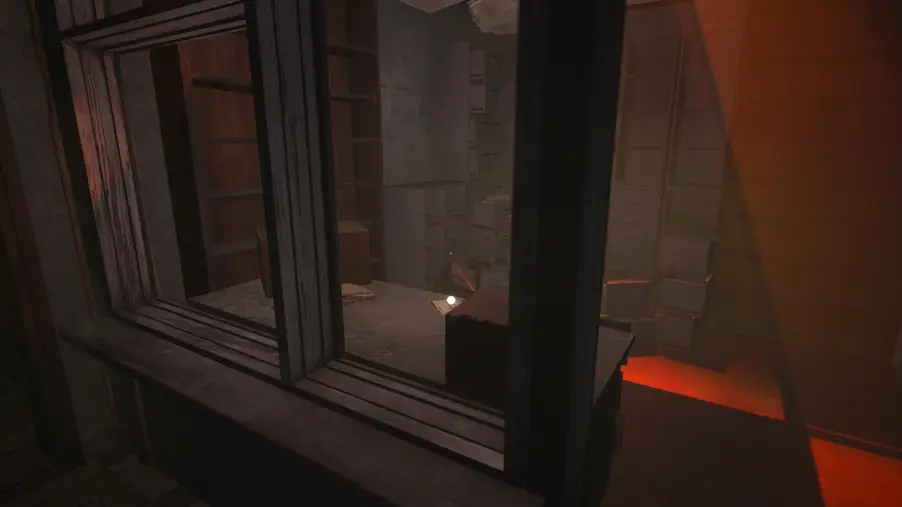
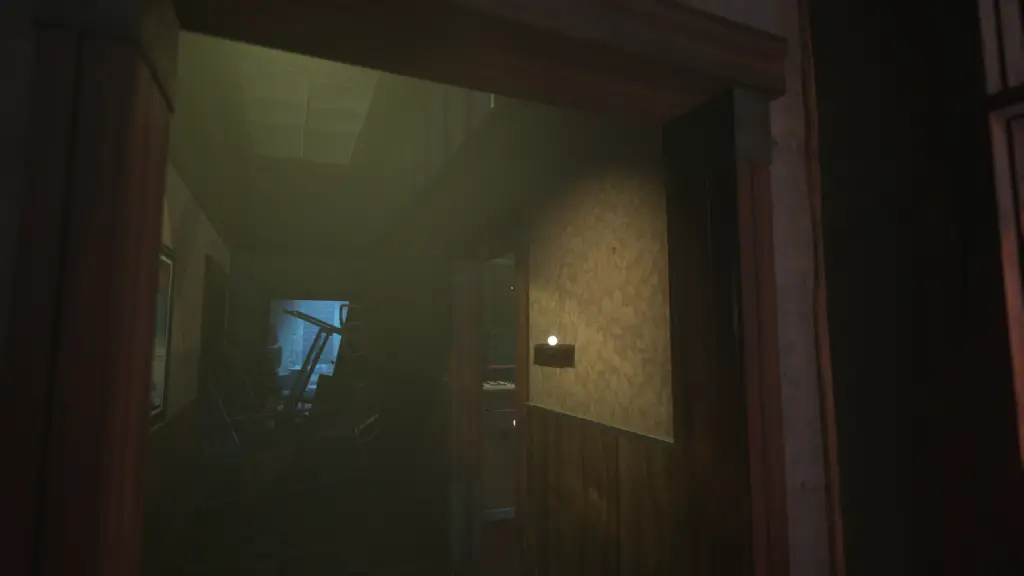
In Chapter 7 you’ll reach the Somnological Institute. After using the stone head to clear the turnstiles, you’ll enter a reception-like room with a lot of clutter:
Pass under the clutter, then go through the door. There’s some small stairs on the right to follow up, take them. Then in this room on the right is microfiche 8:
Knights Gambit Achievement Guide
This achievement / trophy can be unlocked at only one location, which is in Chapter 8. If you miss the opportunity during your playthrough you will need to replay all the way to Chapter 8 again.
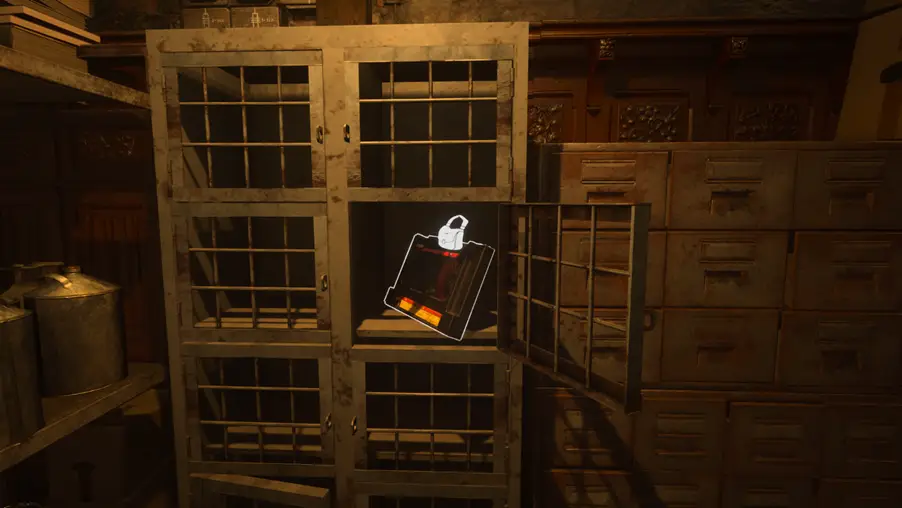
The achievement is inside the Somnological Institute. Shortly after you enter, you’ll use a big stone head to get past some turnstiles. Shortly after that you’ll answer a phone call then reach this room on your right. Start by grabbing your dad’s name plaque off the wall then enter the room:
Walk inside and grab the first letter on the desk. Underneath will be another large document underneath to interact with:
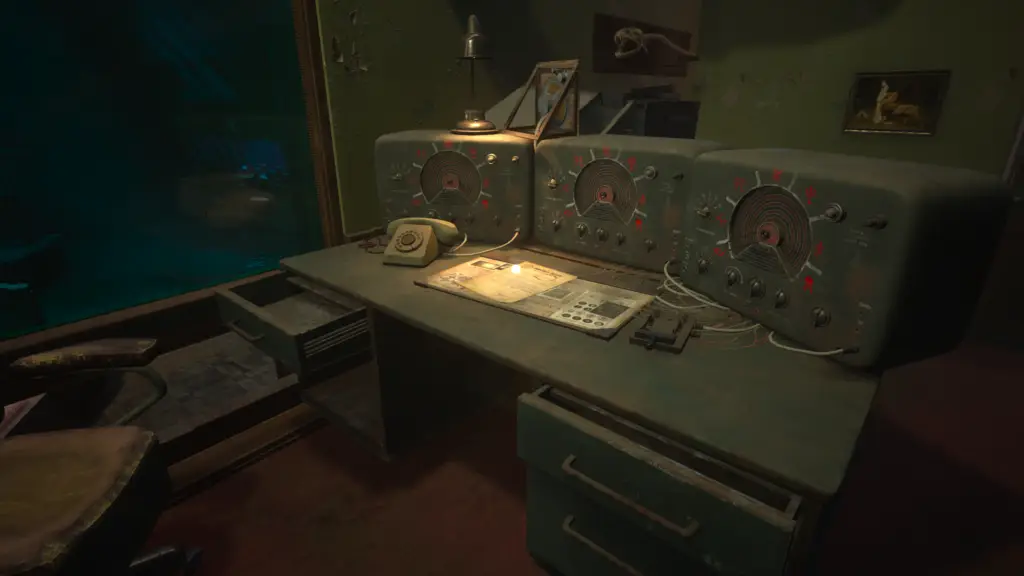

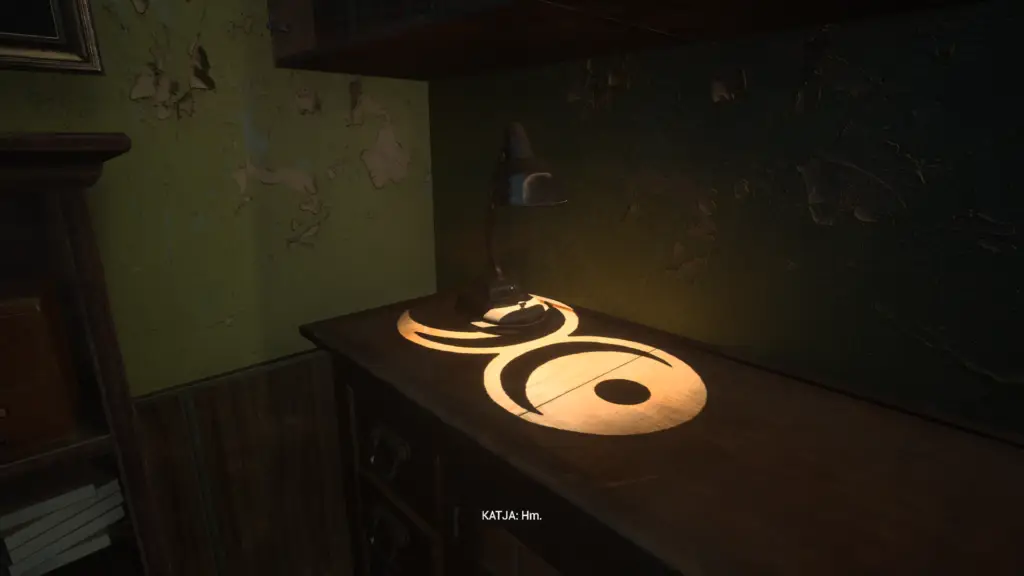
Directly behind the desk is a lamp, turn around and turn it on:
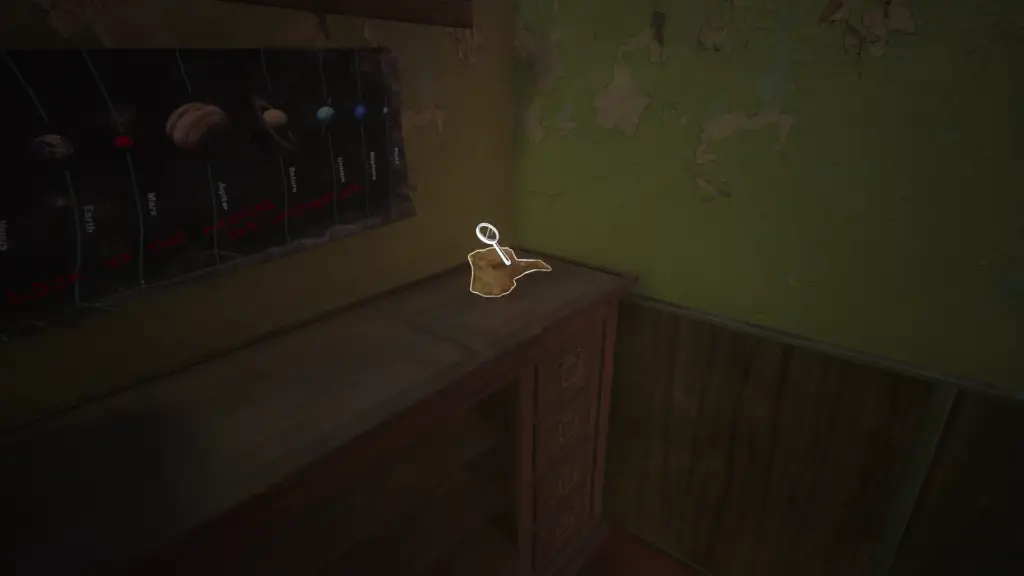
Then in the opposite corner of the room is this item. Go and interact with it:
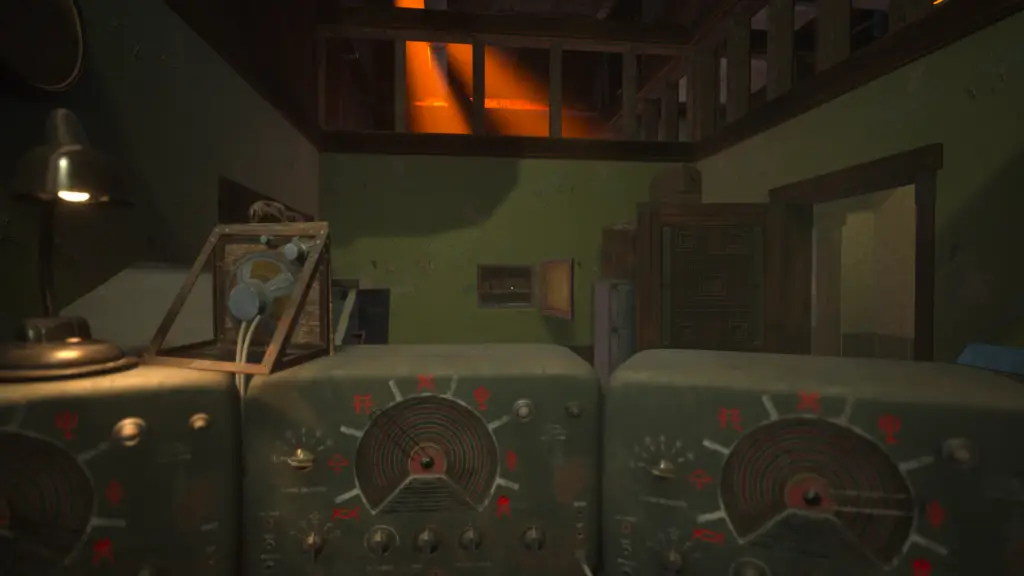
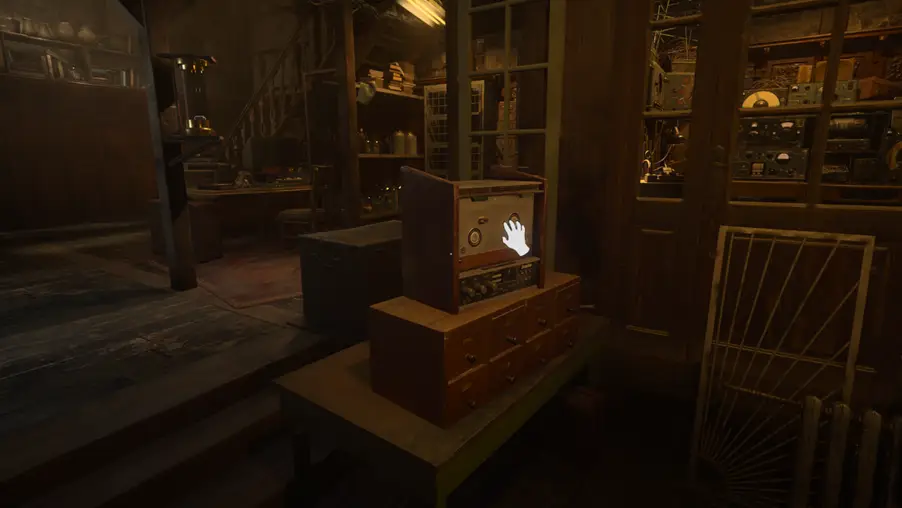
Now head back to the desk and interact with the radios as follows:
- Left radio: Turn the dial all the way to the right
- Middle radio: Turn the dial twice to the third symbol
- Right radio: Turn the dial to the last but one symbol on the right
Once you’ve done that, hit the lever on the right of the radios. A picture frame will open on the other side of the room. Go and get everything – including the chess piece – out of it:
Head back out the room and turn left. Head towards the door in front of you and use the key card from behind the picture:

Walk inside the door and down the stairs, in the room on the left is the chess board to put the piece on:
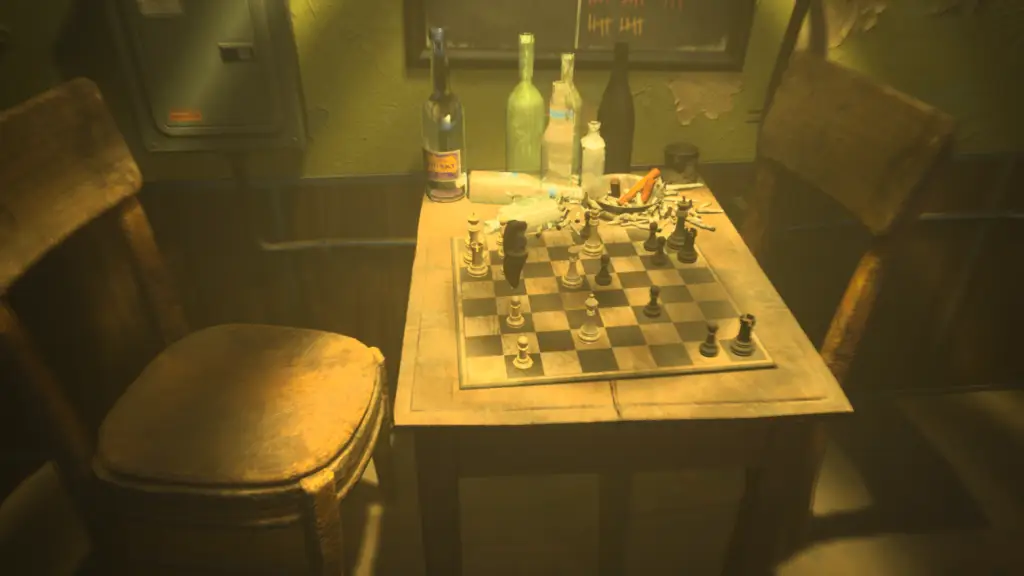
And with that, you will unlock the Knights Gambit achievement.
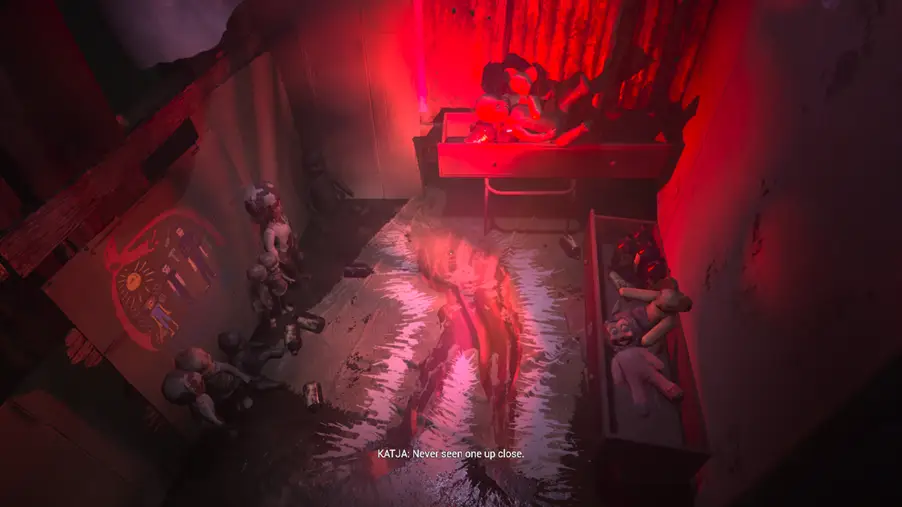
Void Shadow 6
Later in the chapter you’ll interact with a fire inside a burner before everything goes red in a corridor:
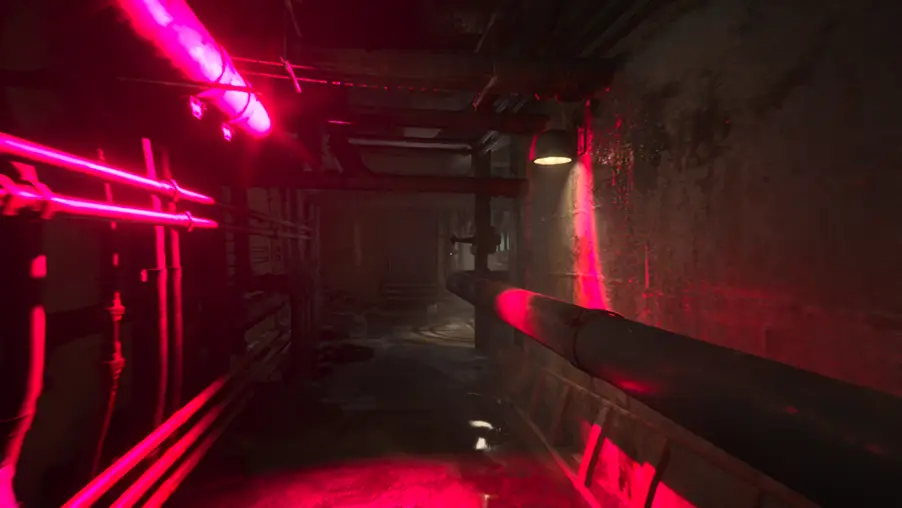
Proceed through the gas holding your breath, then pass through a grate you must crouch through on your left. At the end of the path, you can go left or right. Go left past these pipes:

Pass through another gas area and this caged room will be on your left. Crouch under the chain:
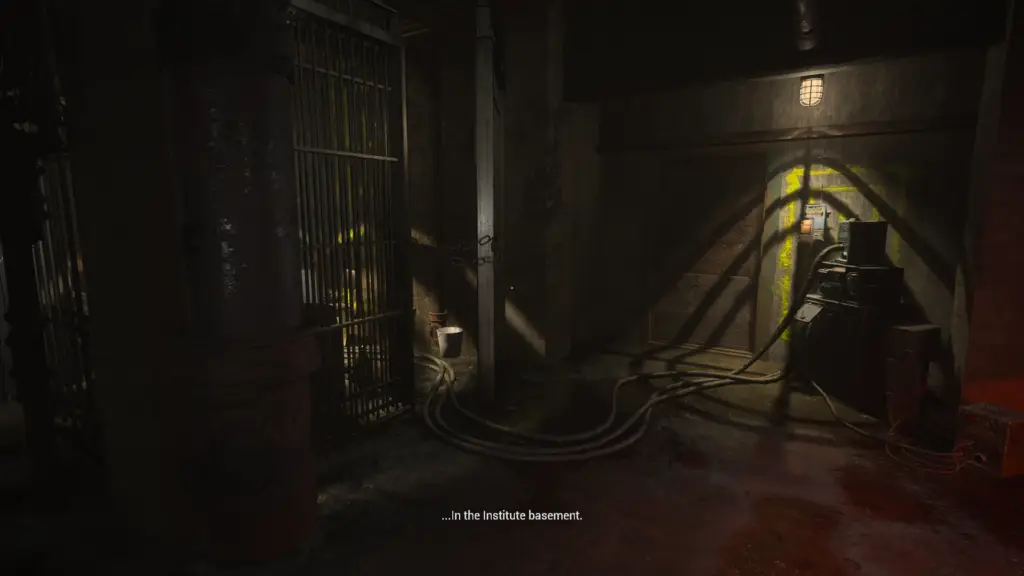
In the corner will be Void Shadow 6:
Void Shadow 7
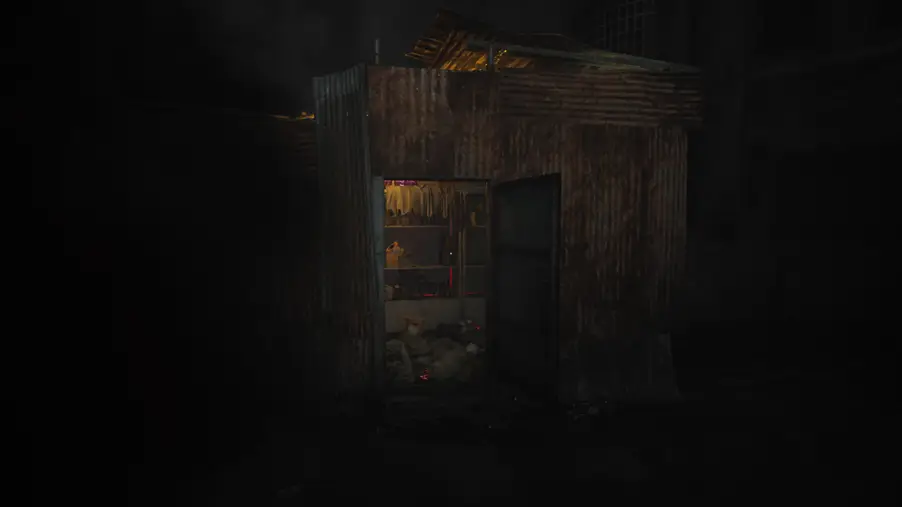
Shortly after Void Shadow 6, you’ll come to the Pharmacy. Head inside:
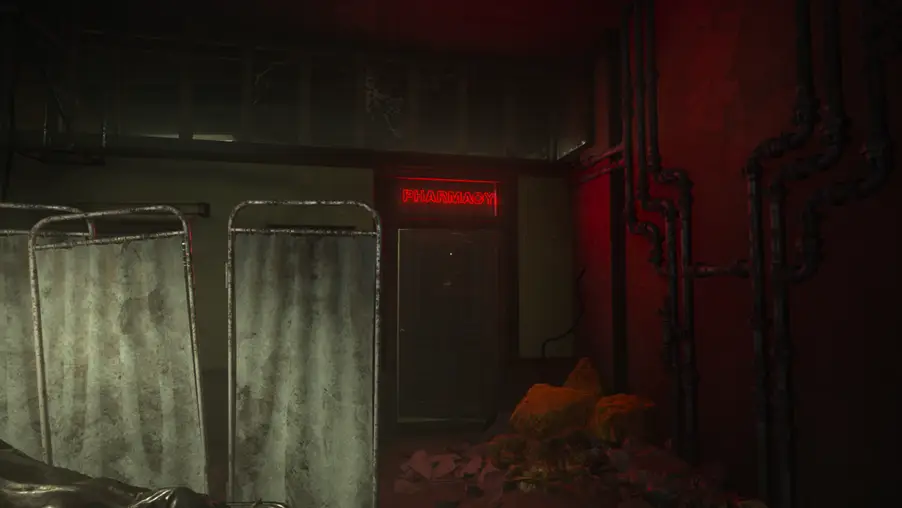
When you walk in, you’ll see the red glow in the back room. Head through the corridor on your left to get there:

And in the room on the bed is Void Shadow 7:
Tape player 3
Quite late in Chapter 7, you will complete a very strange sequence where you get a keycard off a tree that you grow in this room:

Go and use the keycard on the door it’s intended for to reach this room. When inside stare into the hole to see your dad:
When you regain control, head to this lever on the control table and pull it:
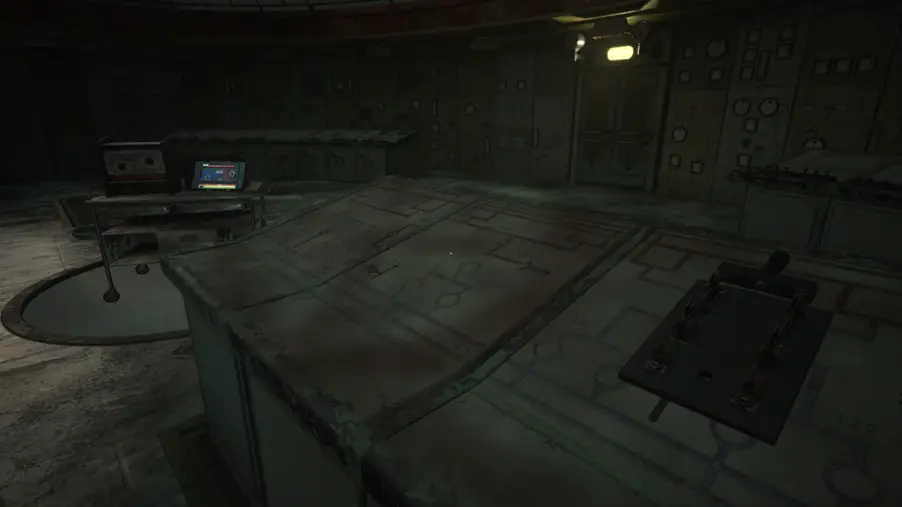
Now in the middle of the room you can pickup this cassette, then immediately play it in the tape player:
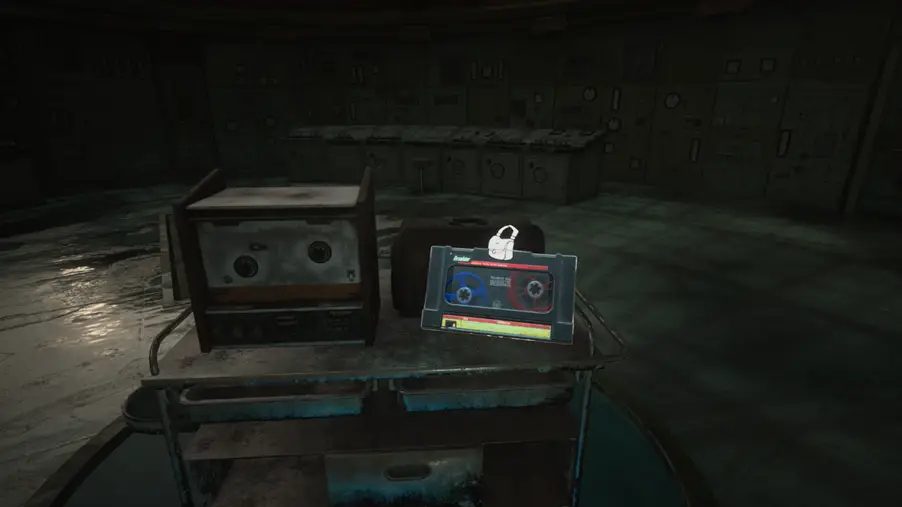
Microfiche 9:
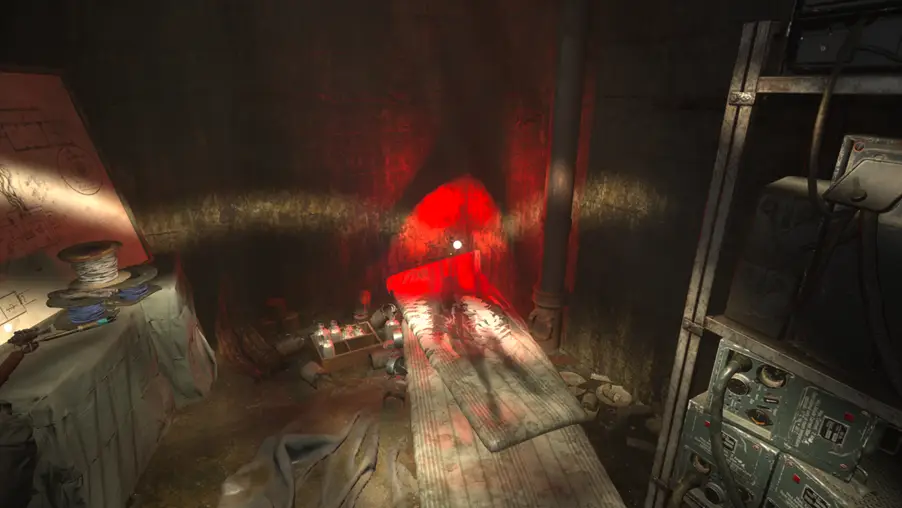
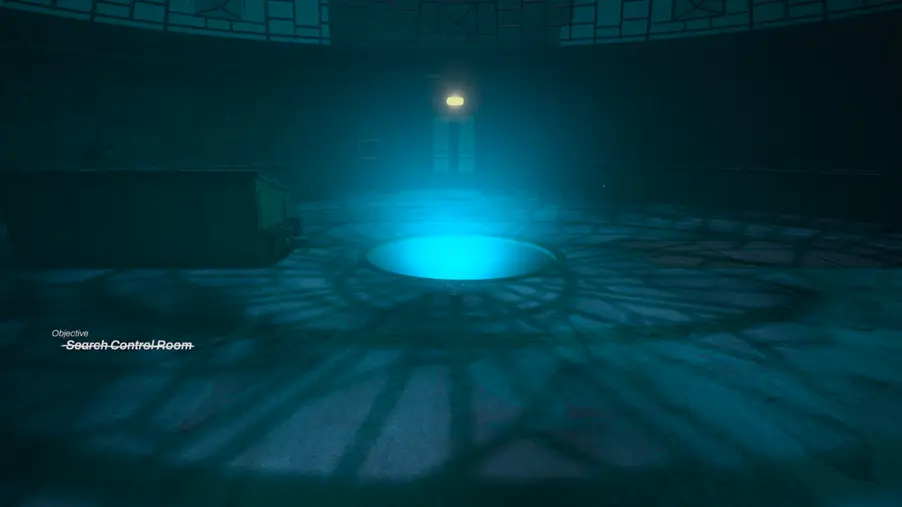
At the end of Chapter 7, you’ll be in a room where you’ll listen to your dad’s tapes before this red light appears in the middle of the room:
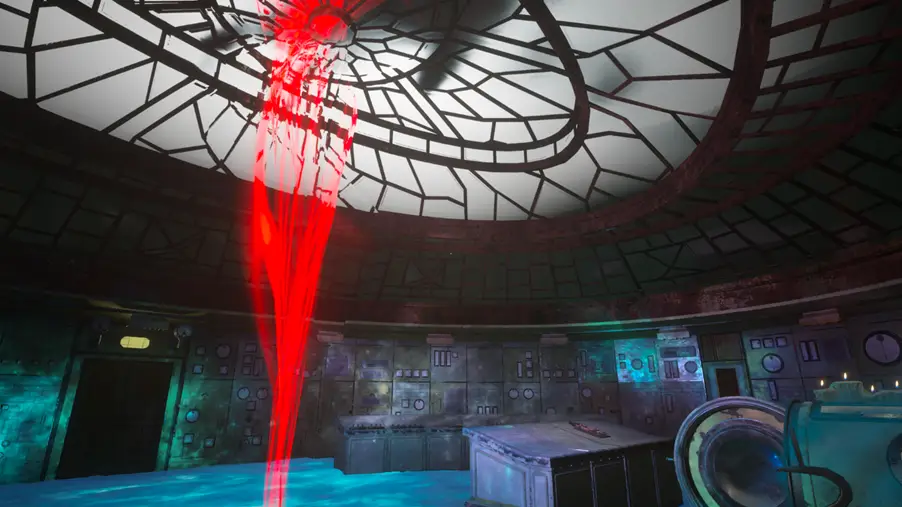
You’ll look into the light before coming back into the room and regain control. Around the blue mist on the floor is the gap you need to walk down, head down the stairs:
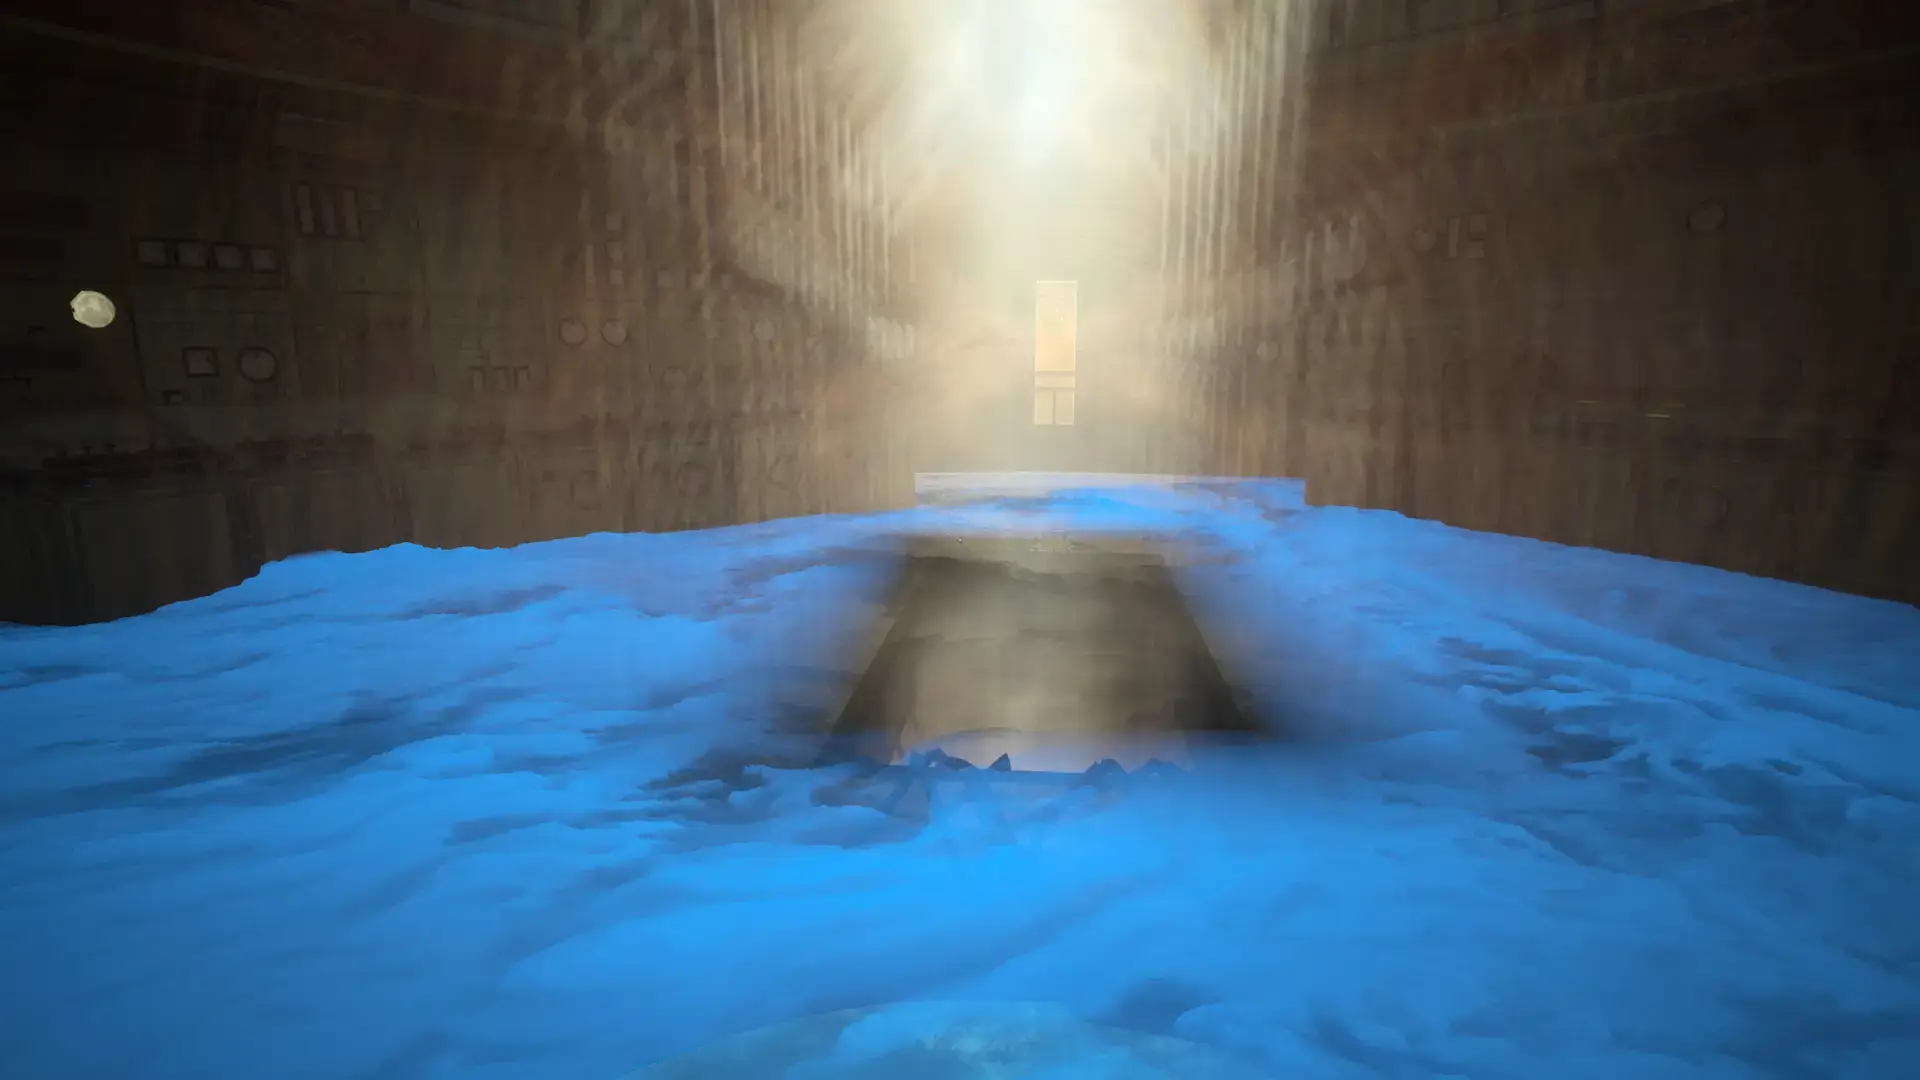
A little further down is the microfilm on these boxes to the left:
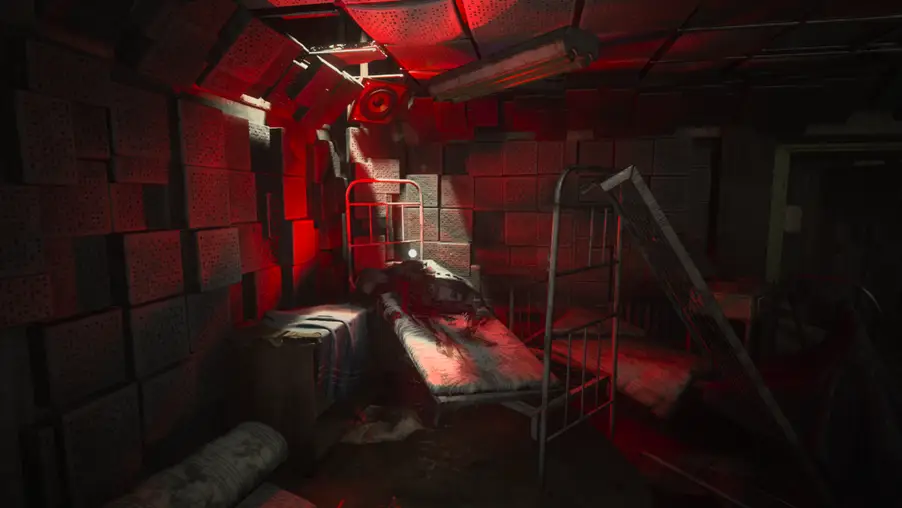
Void Shadow 8
Late in Chapter 7 you’ll reach this tanker and pass under a grate next to it:

You’ll see your dad in a cage then follow a few steps before a longer cutscene and you regain control in the room, now lit in red light:

Just where your dad was pulled away is your final Void Shadow:
And with that, you will unlock the Void Shadows Put to Rest achievement. Congratulations!
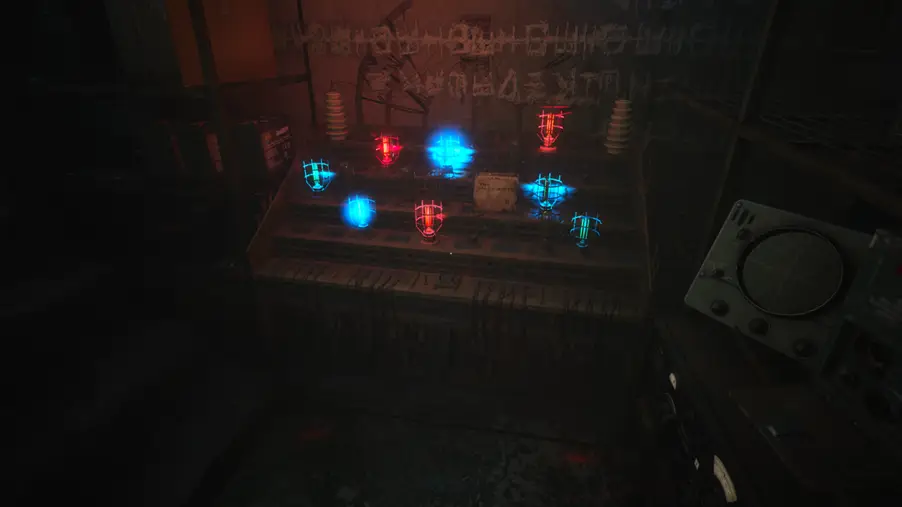
Strike a Chord Achievement Guide
This achievement / trophy is highly missable can only be unlocked in Chapter 9. If you miss the opportunity during your playthrough you will need to replay all the way to Chapter 9 again.
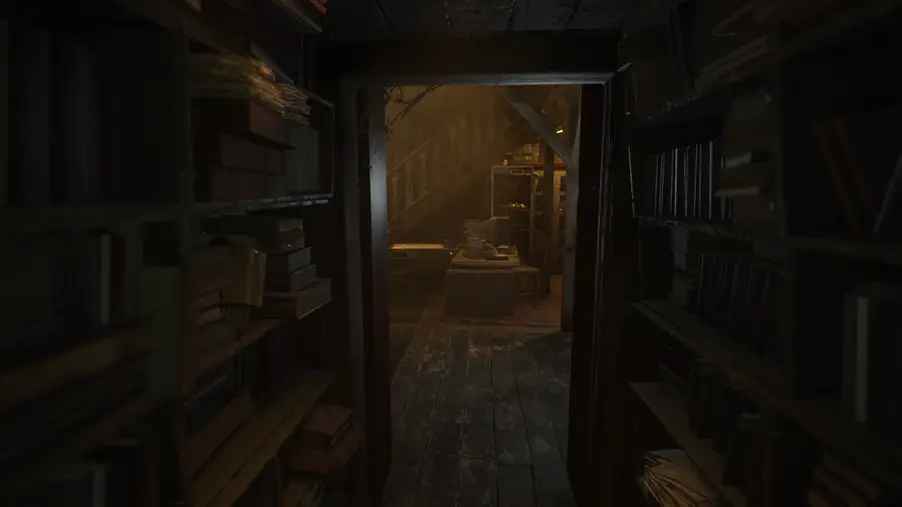
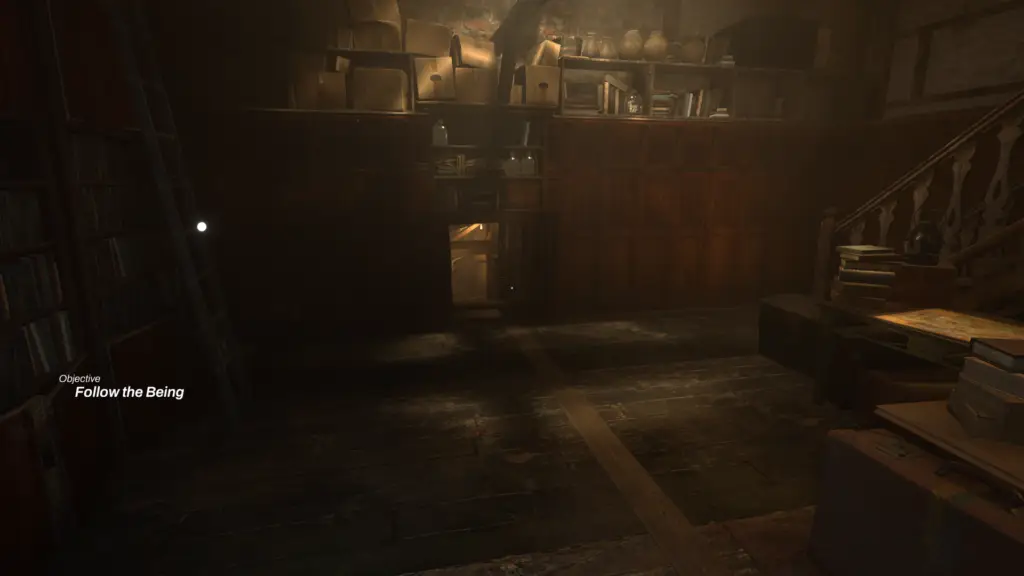
In Chapter 9 you will come to your dad’s room after taking a brief nap in his bed, then a bookcase will open. Head inside:
Once through, turn right and head towards the coils on your right.
Then interact with the coil on the left:
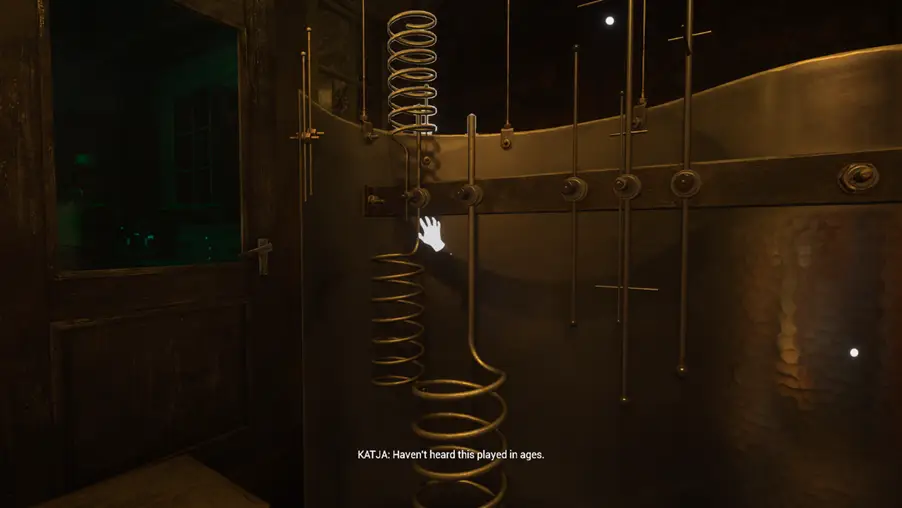
And with that, you will unlock the Strike a Chord achievement.
Chapter 9
Tape player 4
Early in Chapter 9 you’ll come to your dad’s quarters by walking through this opened bookcase:

Just as you walk in, on the right is this item on the shelf. Rotate then interact with it to get a key:
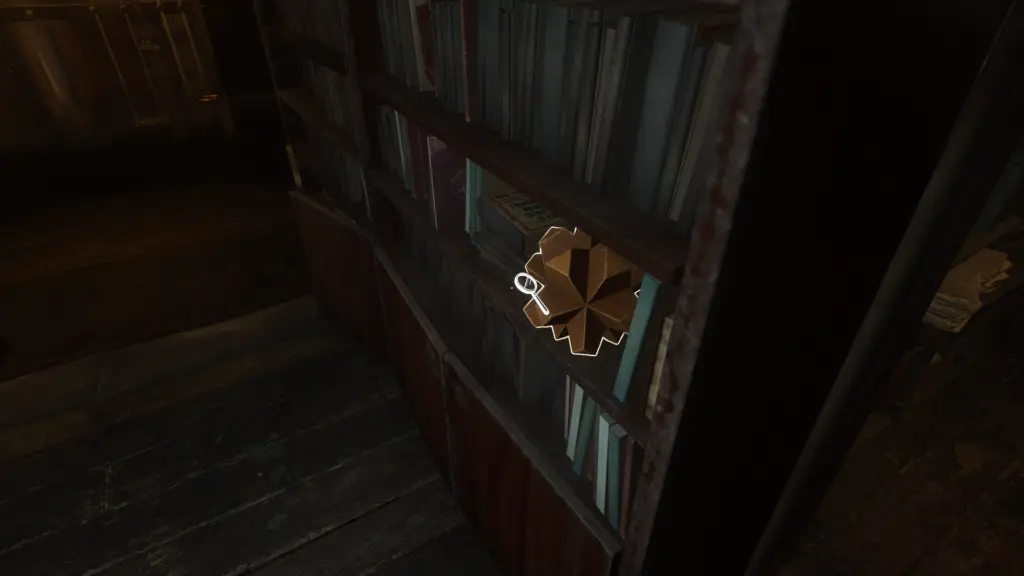
Now turn around 180 degrees, and use the key on this cabinet to obtain the tape:
You can then use the tape in the player just here:
Microfiche 10
Head back into the bookcase where you started looking forward:
Just on the table directly in front is your final microfiche:
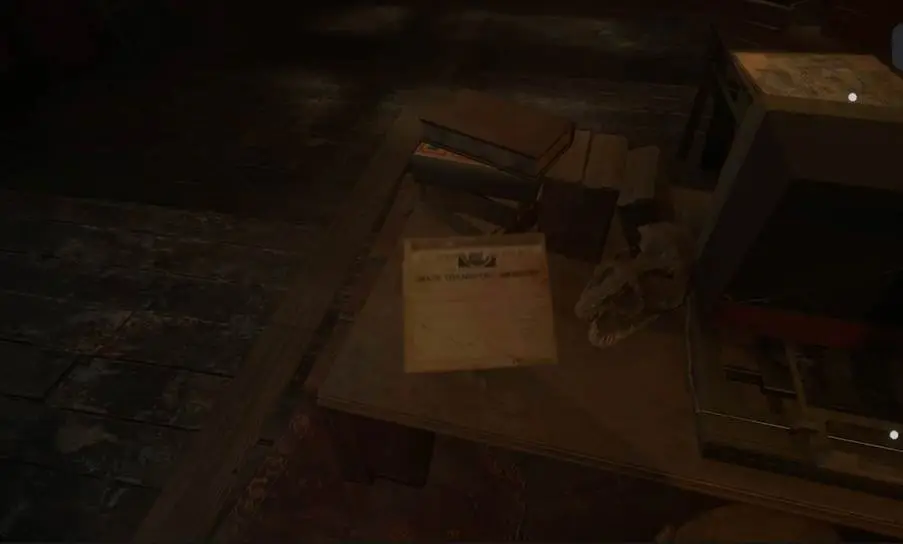
And with that, you will unlock the Microfiche Volumes achievement.
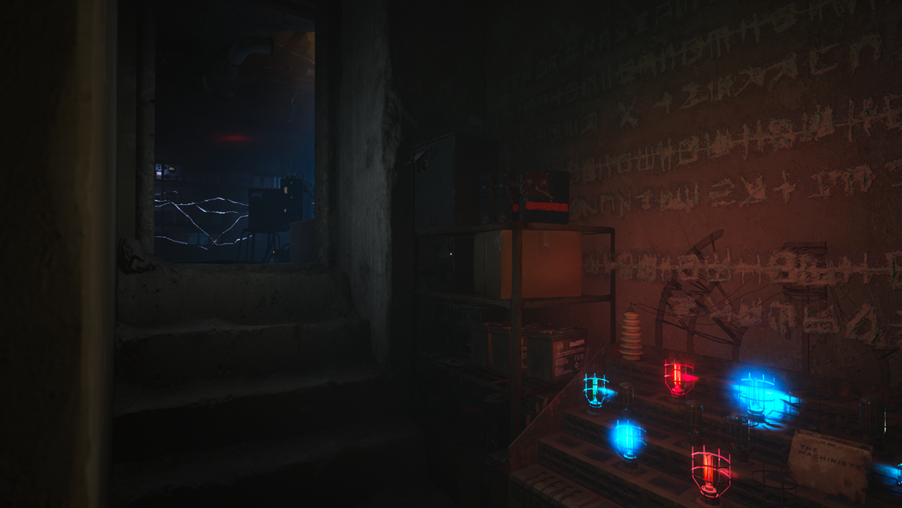
Tape player 5
Just after the previous tape we can get the final tape. In the corner of the same room are three radios which need to be dialed to as follows, before hitting the lever on the desk:

A silhouette of your dad will walk down the stairs, then a passageway to crouch through will appear. Head through:
Follow the linear path to this room and interact with your final tape player:

And with that, you will unlock the Reel to Reel Complete achievement.
That has been our Sleep Awake Full Collectibles and Missable Achievements Guide achievement guide. We hope you found it helpful.
And for more on Sleep Awake including our full review and guides for your other favourite titles, stick with Gamer Social Club.