
Lonesome Guild is an action-adventure RPG with linear progression in terms of storytelling. However, the game does have some collectibles scattered throughout the maps, as well as side quests that require some backtracking. Luckily, there is a very simple map provided to you for each map; HOWEVER, it provides us with very little information. Not only that, it’s not the kind of map that you take with you; you have to be at the location where the map is for you to look at it.
We will be providing the map that you’ll see in the game, but complete with:
- side quest locations, needed for Boy Scout, Wandering Hero, and Chosen One
- Ghosts for Paranormal Activity, The Haunting, Phantasmagoria
- Memories for Memorabilia, Album of Remembrances, and Honorary Ark (don’t forget that in order to see memories, you’ll need to be in control of Ghost
- Flowers for Forget-me-not, Loves Me, Loves Me Not, and Ranfiero’s Gardener
Please note that these maps are potentially a work in progress. Let us know if there’s anything we’ve missed!
Ilbe Map & Collectible Guide
The story forces you to Ilbe. Due to circumstances, you are separated from the rest of your party members. And you’re immediately thrown into a puzzle.
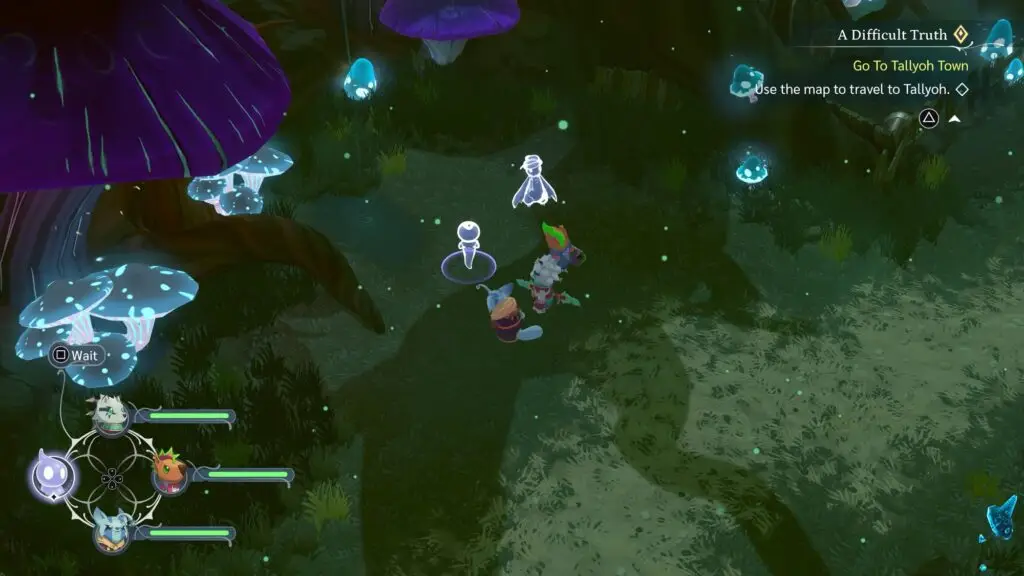
A new-ish puzzle mechanic is introduced in Ilbe that uses the Ghost Light. You’ll need the light in order to reveal paths and even treasure! So be vigilant! Or follow my guide!
Ilbe Entrance/South
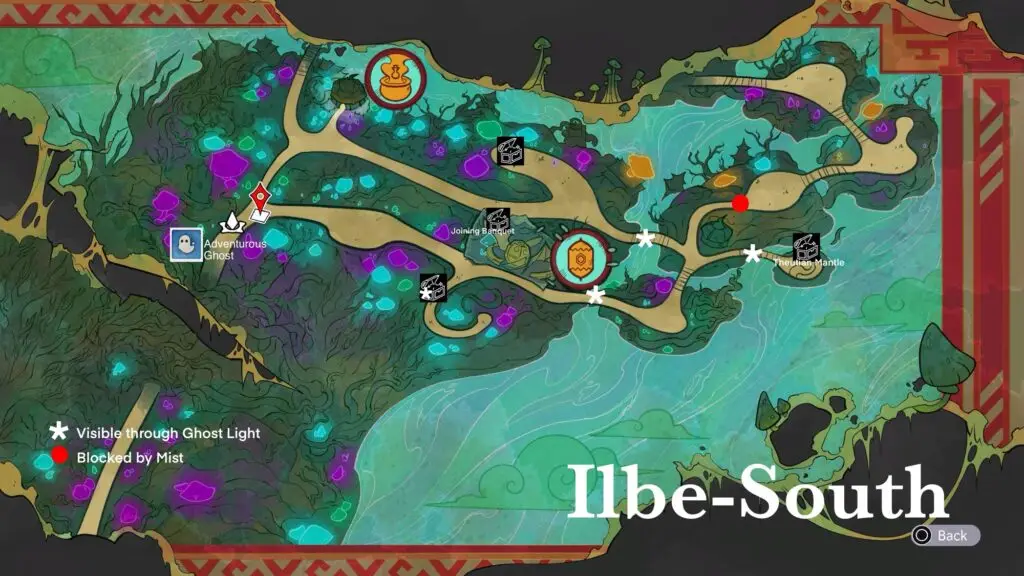
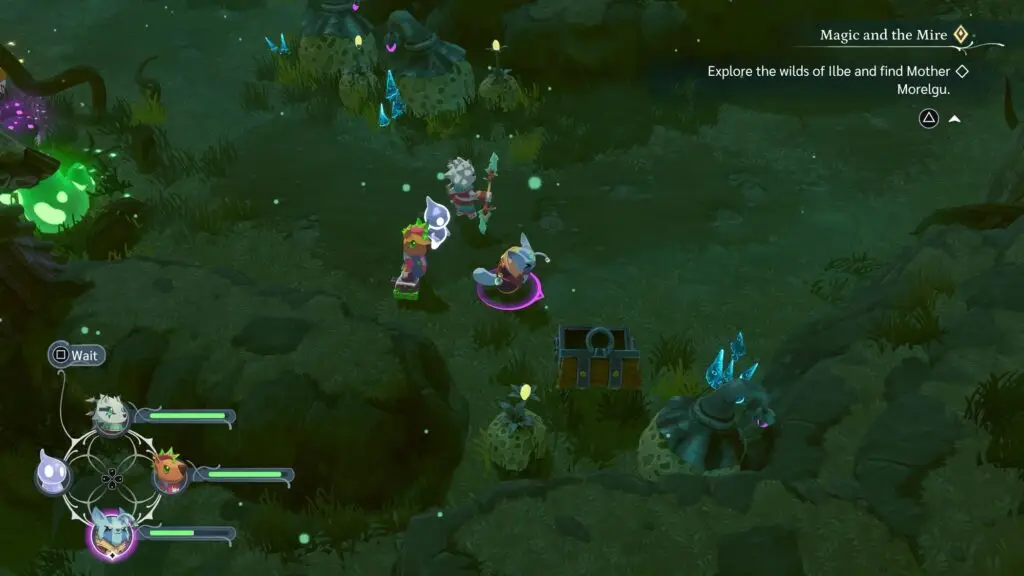
Before you can even begin this area, let’s go ahead and solve the first puzzle. There are three paths, an NPC, and a Ghost Light. The NPC will give you the clues that tell you which path to take: roots, mushrooms (twice), and mire.
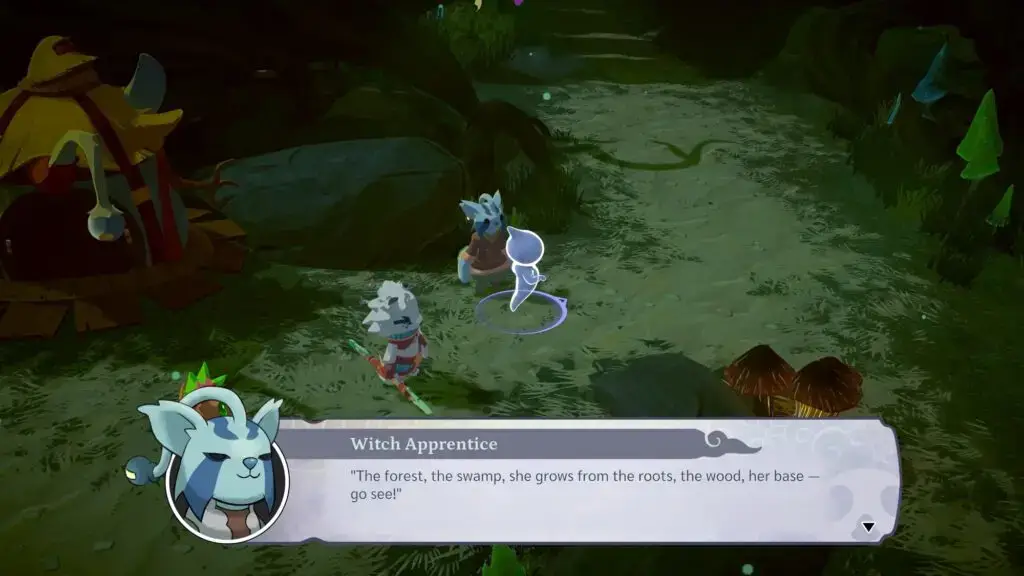
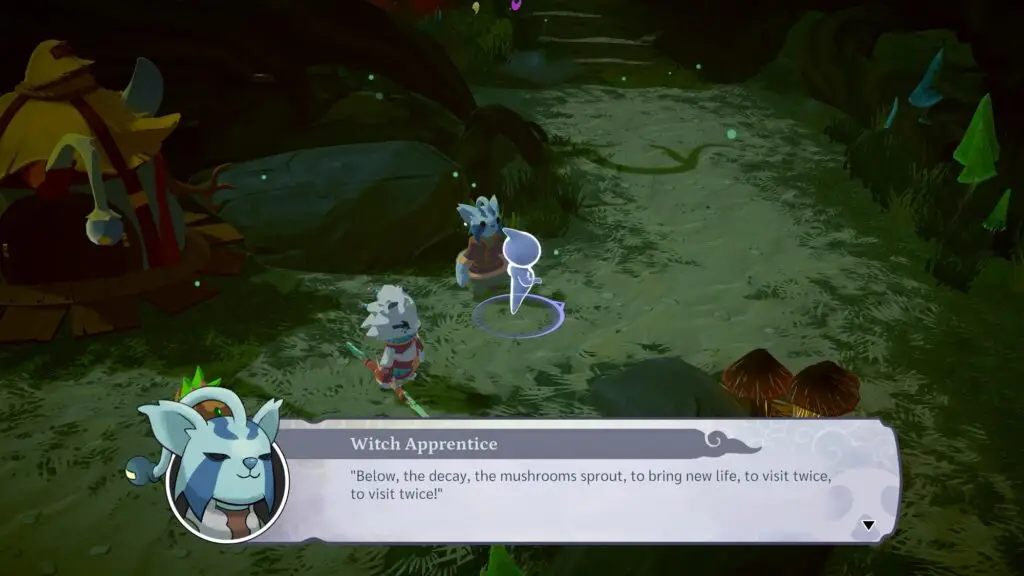
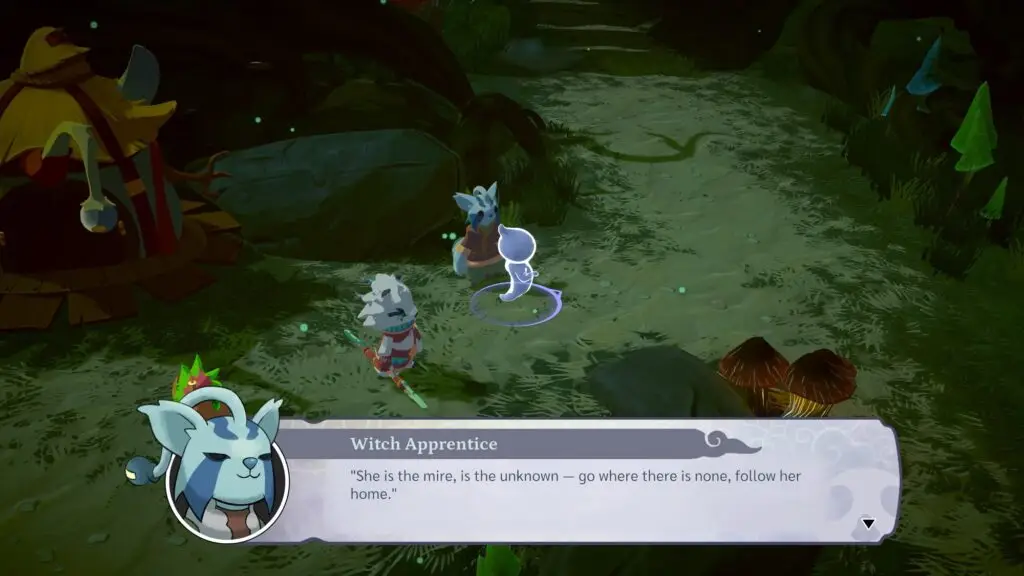
Grab the Ghost Light, and it’ll reveal which paths are which. The middle path is the root, the left path is the mushroom, and the right is the mire.
Once done, finally have access to the rest of the map! let’s grab some collectibles!
Collectibles
Ghost
Adventurous Ghost: This is probably one of the first ghosts you’ll get once you acquire the ability to grab them. Luckily, as long as you are in control of Ghost, it’s impossible to miss, as it’s right by the rest spot.
There is an area at the top right of the map that is inaccessible due to the red mist, so we’ll come back there later. For now, cross the wooden bridge to arrive at Ilbe-Mid.
Ilbe-Middle
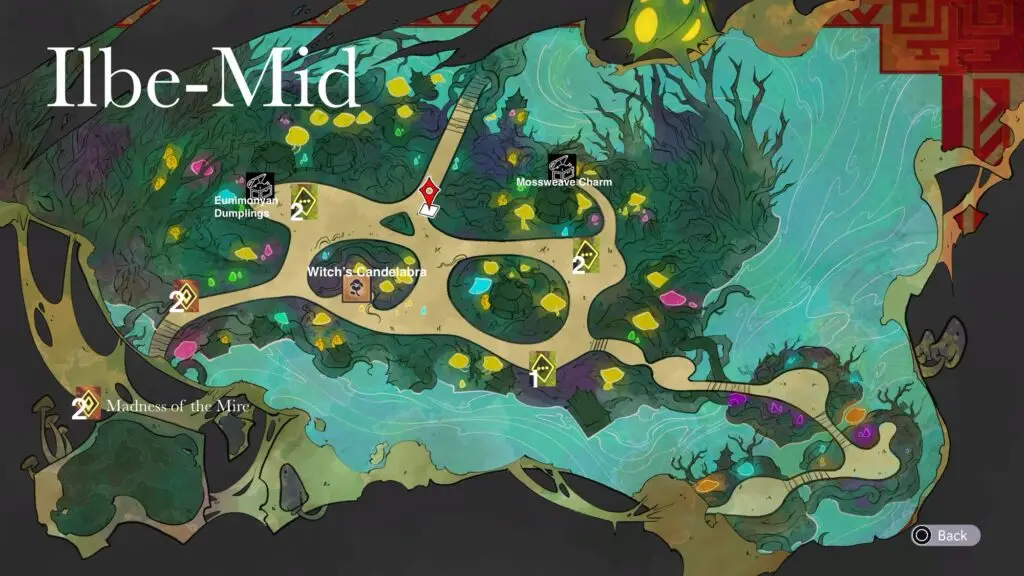
So, the whole Eunimonya chapter is kind of an odd one. It definitely feels like there are maps missing. For this section, we’ll be covering both the middle part of Ilbe (as shown on the map above), as well as the area above this. So, the whole Eunimonya chapter is kind of an odd one. It definitely feels like there are maps missing. For this section, we’ll be covering both the middle part of Ilbe (as shown on the map above), as well as the area above this.
Collectibles
Side Quest
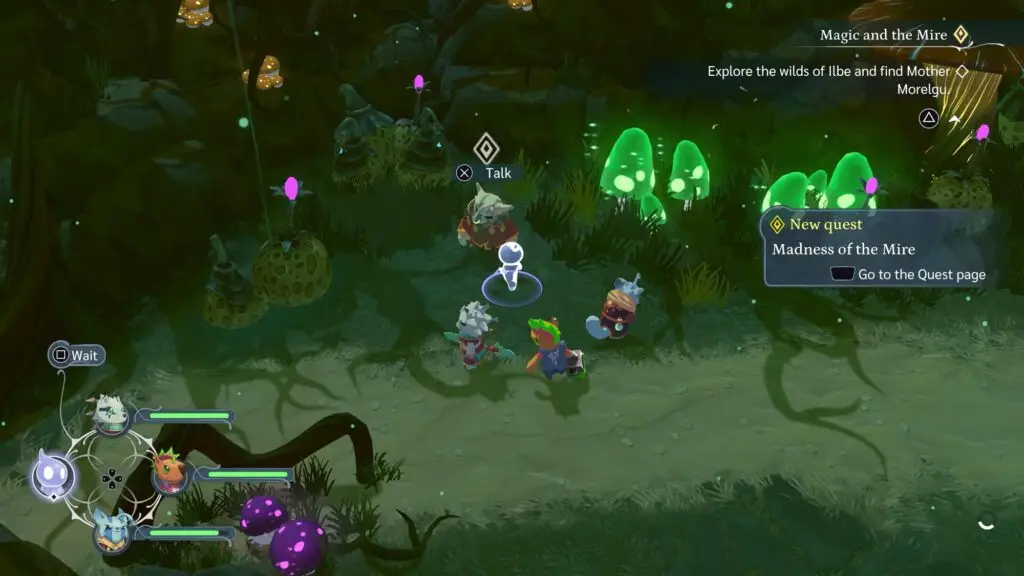
Madness of the Mire(2): A witch asks you to put some enemies to “rest”. There are two locations that is impossible to miss as you’re wandering around this map. One on the top left side and another at the top right side. Once “rested”, go hand it in!
A Love Divided(1): Remember that pendant we were tasked to retrieve? This is the place to get it!
Flower
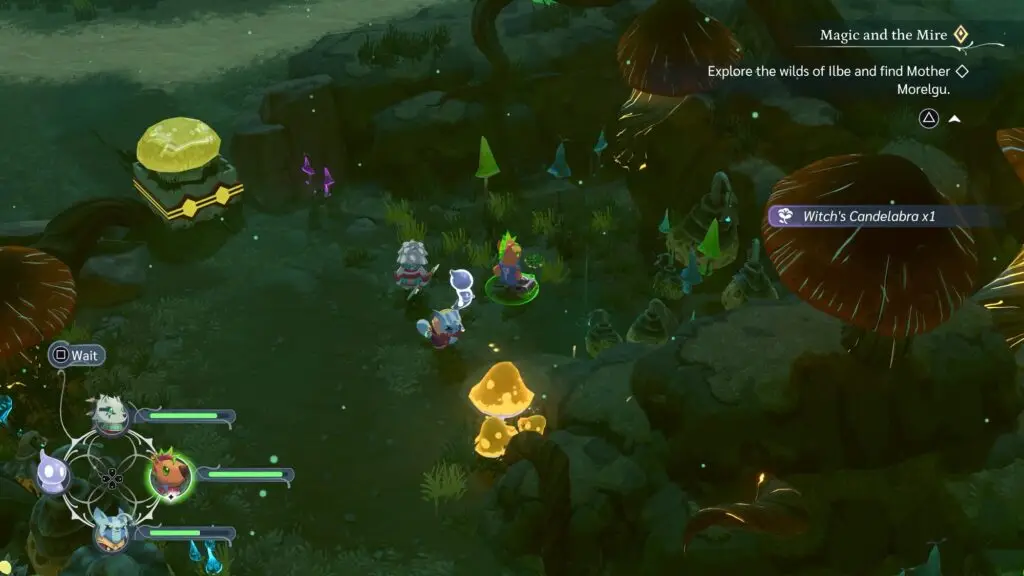
Witch’s Candelabra: This was visible to us as soon as we entered this map, but was inaccessible due to a block that could only be accessed from the other side. So, go the long way around, grab your flower, and don’t forget to push that block out of the way to open up the path for you next time.
Ilbe-North
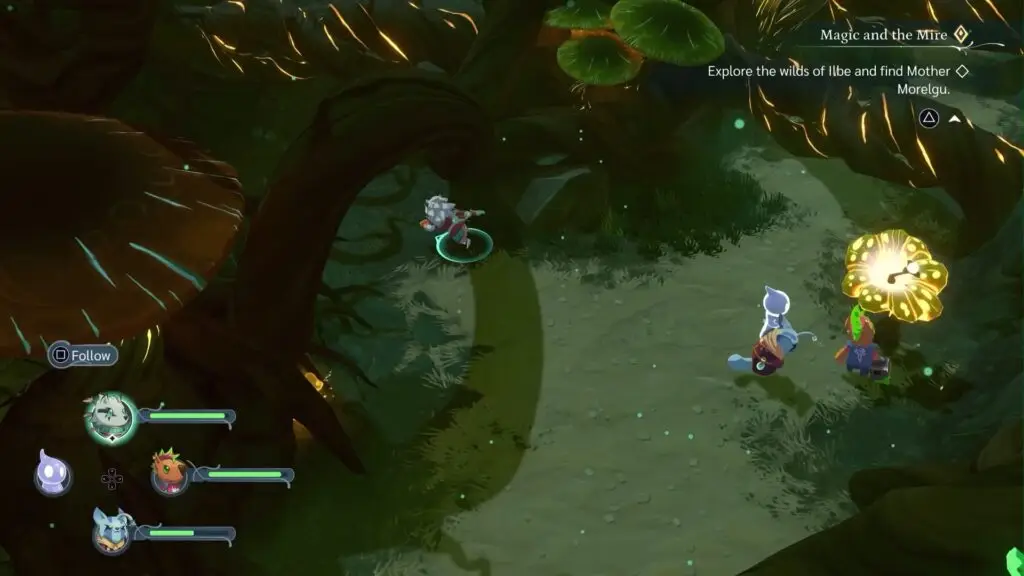
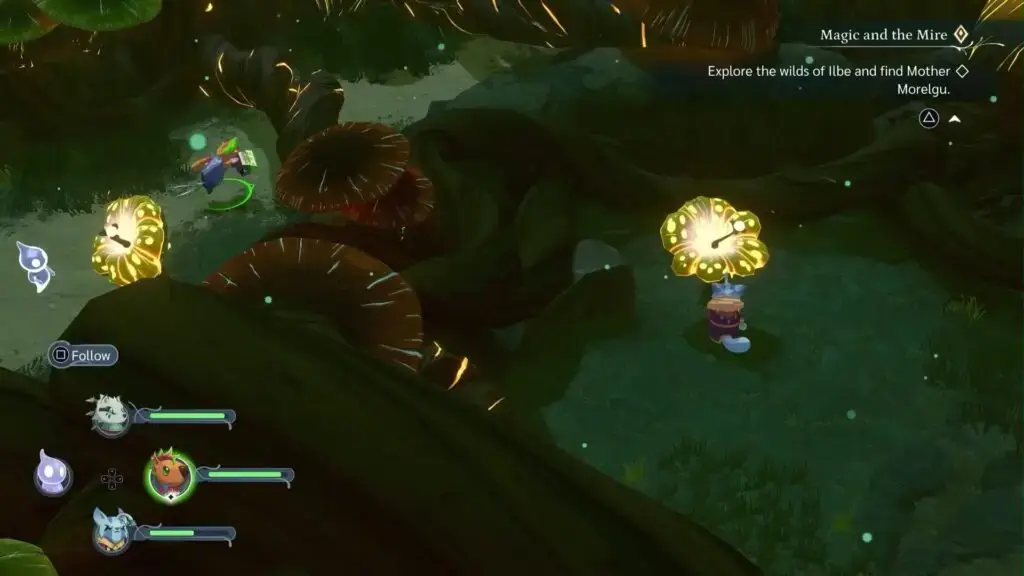
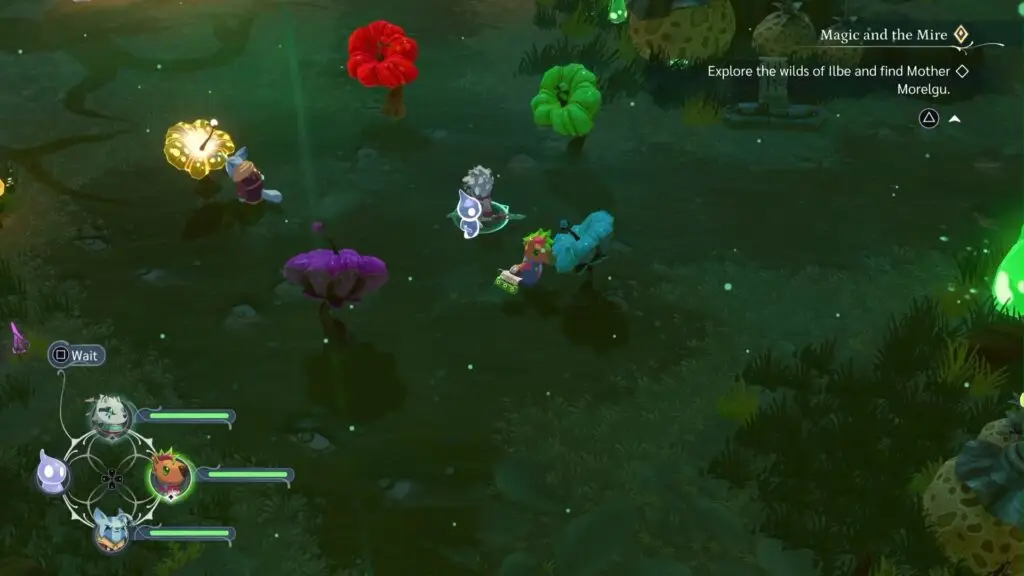
As soon as you cross the wooden bridge past the map, you’ll encounter a puzzle involving a yellow flower. This one is slightly different from the previous because once you interact with the flower to make the thorn shrink, it only lasts for a second.
Have your party in WAIT mode with one in the middle path with the yellow flower.
Next, place the one party member on both left and right paths right next to the thorn. Once ready, interact with the middle flower and quickly switch to the other waiting by the thorn to quickly move them past it. Do it again for the other side.
This time, it’s the middle party member who needs to stand next to the blocked path. Take control of the party member at the right side and interact with the flower. Quickly switch to the middle to move them past the thorn. Do the same for the left part member.
Once done, the middle guy can interact with the flower to make all the thorns go away, thus completing the puzzle. Now that’s done, let’s get some collectibles! Again, there is no map for this, so I apologize for all the descriptions.
Collectibles
We’re going to do this a bit differently than the previous list of collectibles we’ve provided, since there’s no map. Instead of by collectible type, it’ll be done in chronological order, so it’s easier to describe. Also, for the sake of trophy hunting & importance, we will be skipping regular treasures from the guide.
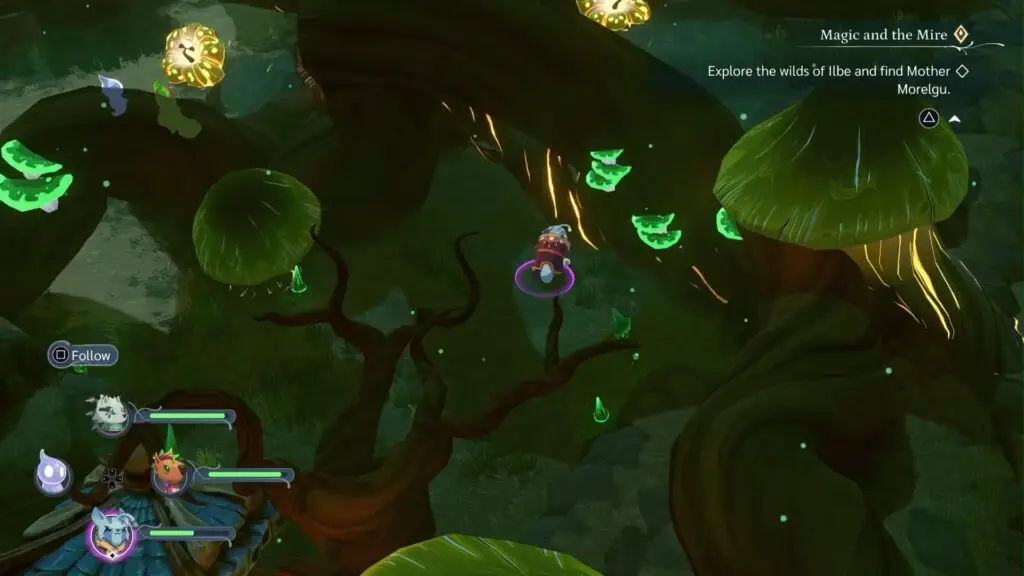
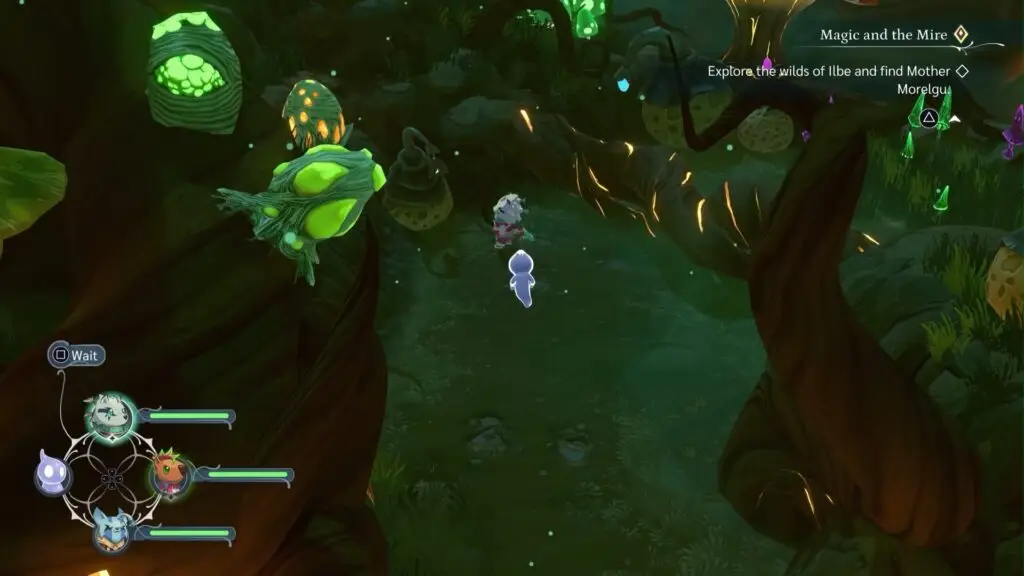
Flower-Magentalia: As soon as you complete the previous puzzle, you’ll come across a dead end. However, grab that Ghost Fire. Instead of passing through the first bridge that you see with the fire, keep heading back until you see some steps going up a hill. From there, you’ll get access to the flower!
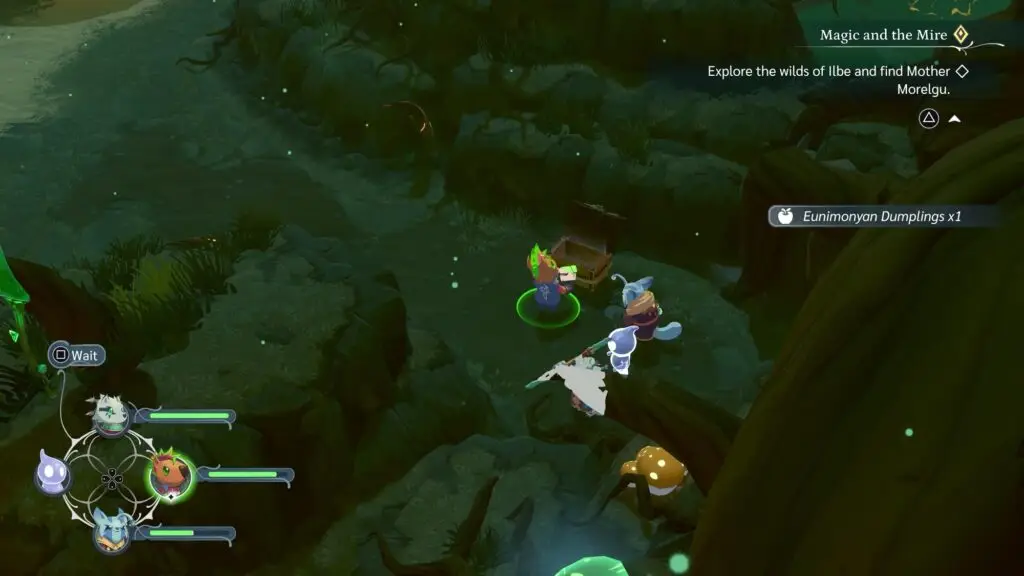
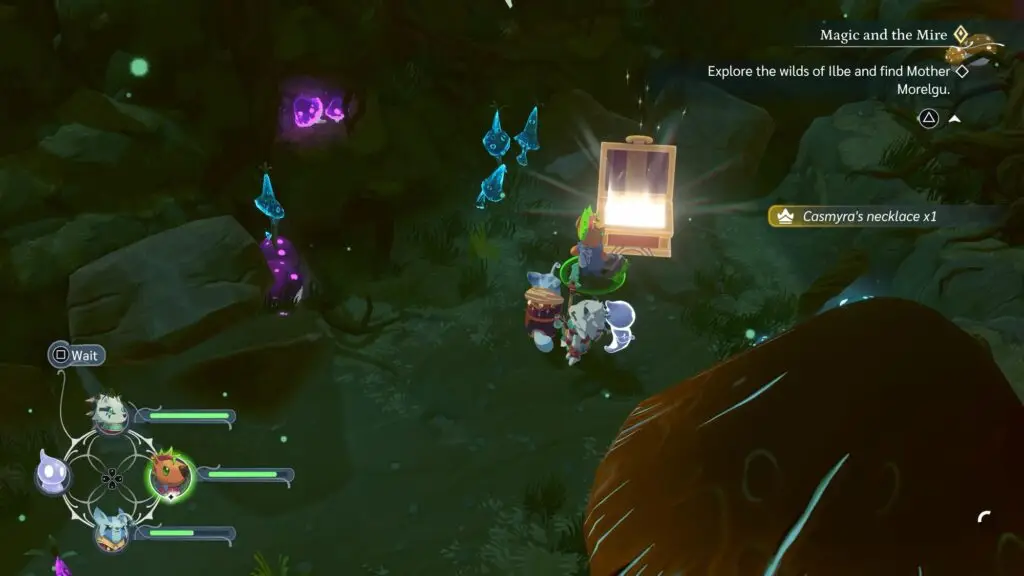
Golden Chest: Cross the bridge and head right. You’ll see a treasure and to its left what seems like a dead end. It isn’t! Go through and you’ll be rewarded with a golden chest containing Casmyra’s Necklace.
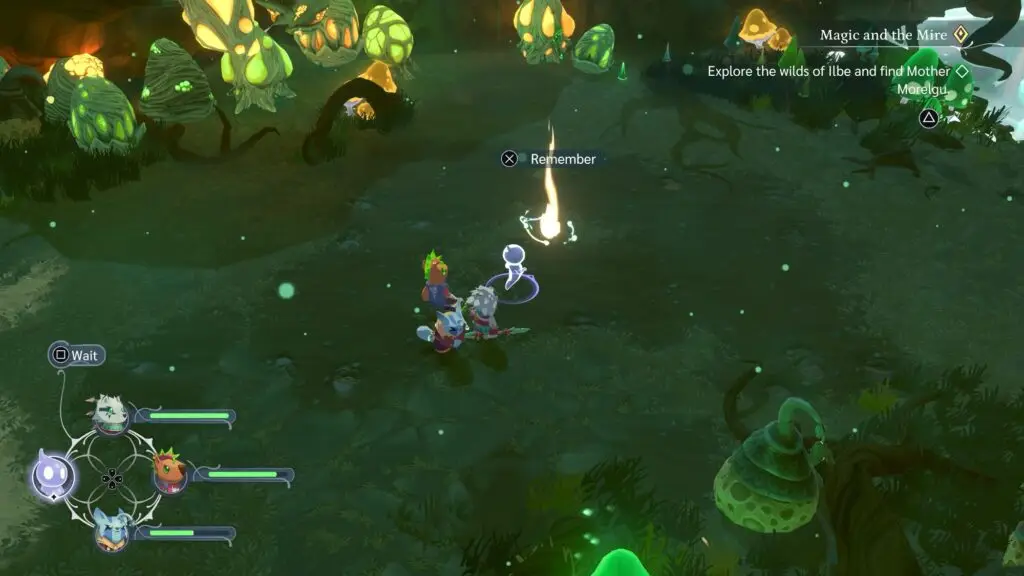
Memory: Going back to the main path, continue upwards until you reach a big clearing. As usual, take control of Ghost and you’ll see a memory.
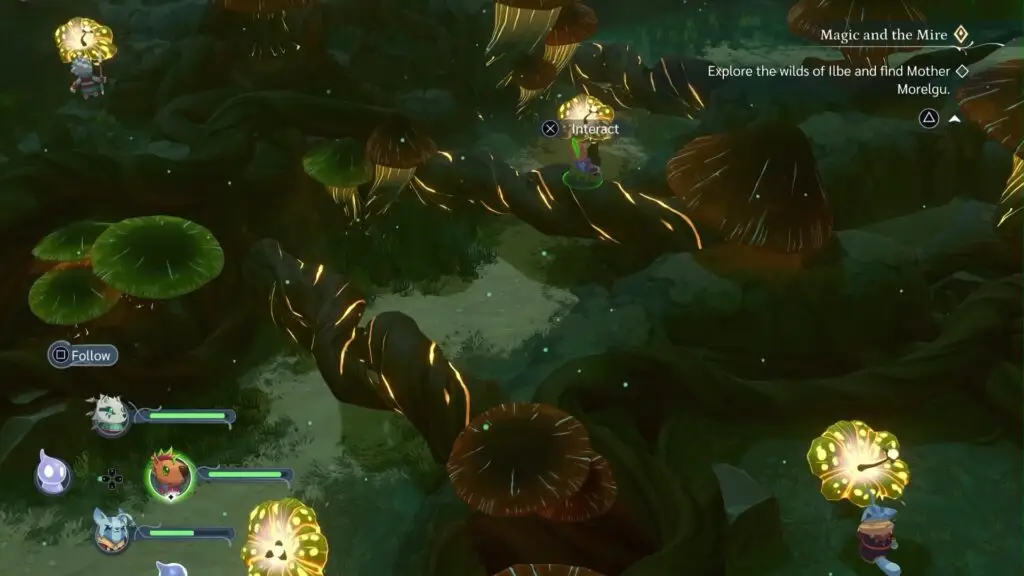
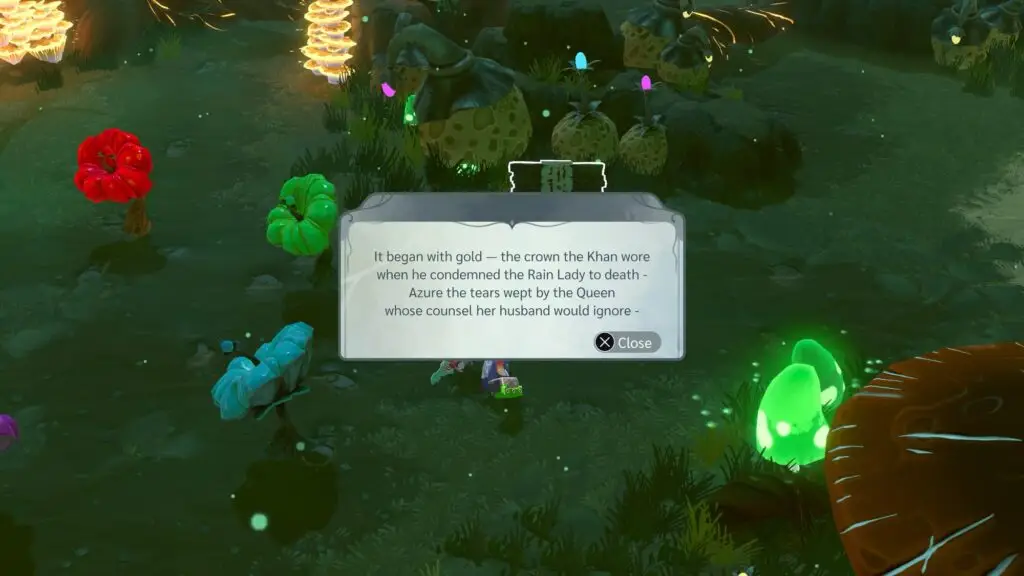
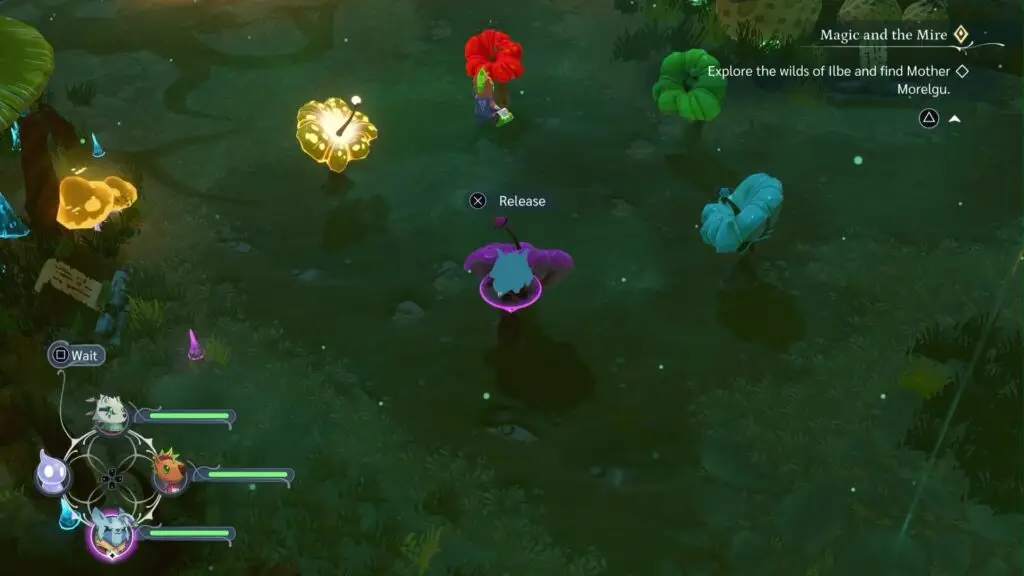
Golden Chest: Taking the other path from the fork, you’ll see several notes, along with five flowers. Yay, another puzzle!
The notes will indicate which two flowers to interact with in order to open up the thorny path. First, have your party in WAIT mode. One party member hangs around the thorns, ready to move when opened. Then the other two are in charge of activating two flowers.
The first clue is “gold” and “azure”. Have one interact with the yellow flower and the other with the blueish one. The one thorn will open up and have your third party member pass through.
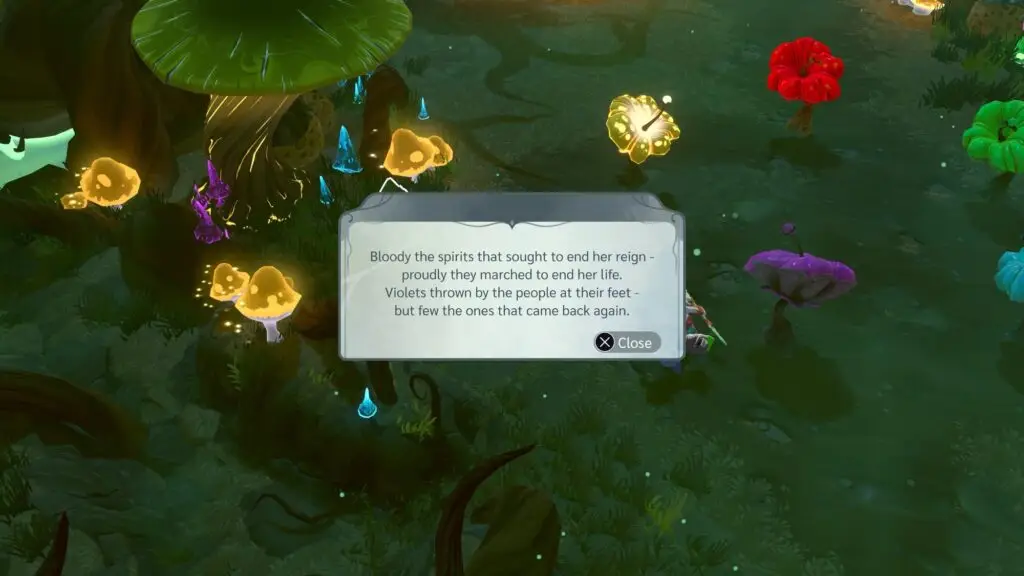
The second clue is “bloody” and “violets”. Have one interact with the red flower and the other with the violet flower. Have that 3rd guy run through again.
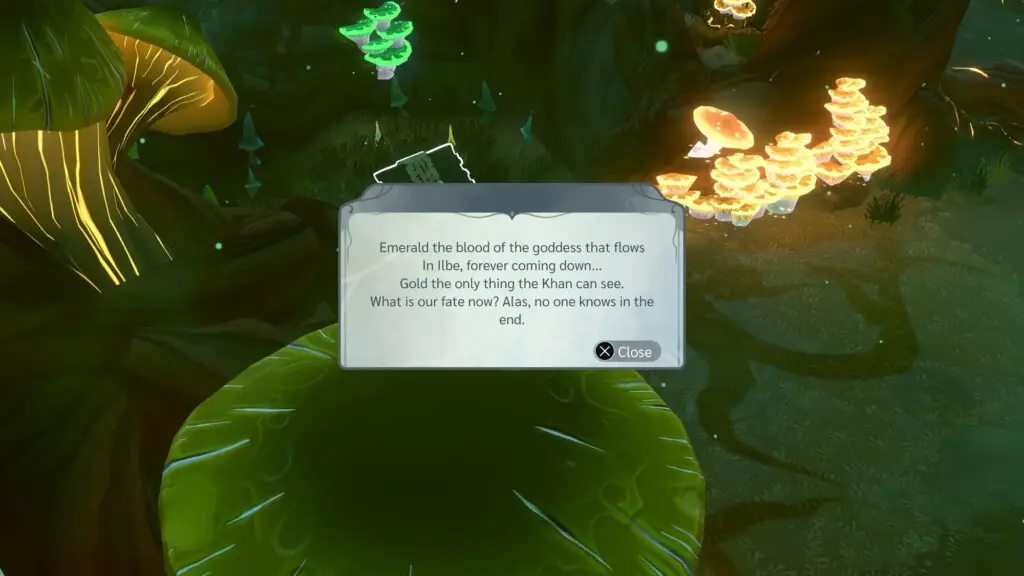
The third and last clue is “emerald” and “gold”. Have one interact with the green flower and the other with the yellow. With that last thorn gone, you’ll get your golden chest!

With all the collectibles and golden chests out of the way, continue along with the story, which will take you back to familiar places but with unfamiliar circumstances. That door in Arcolaryum Town will finally open to you, leading you to the Wellspring.
That was our map and collectibles guide for Eunimonya, Ilbe in The Lonesome Guild. Stay tuned, as The Gamer Social Club is hard at work in discovering the cause of the loneliness mist, covering all the collectibles and side quests necessary for a platinum! Also, stay tuned for our complete thoughts on the game when we finish it.
The Gamer Social Club runs a Monthly “Book Club” for gamers. Where we play games from our backlog or the latest Indie gem everyone is talking about. So, join The Gamer Social Club Discord to become involved in this month’s Game of the Month.
We also have several weekly shows on The Gamer Social Club Network YouTube channel to keep up to date with news, reviews, interviews, and all sorts of fun.
The Lonesome Guild Maps & Collectible Guides
- Arcolaryum-Lower Crinklewood
- Arcolaryum-Galliant Castle
- Arcolaryum-Upper Crinklewood
- Arcolaryum-Arcolaryum Town
- Arcolaryum-Trummelporta
- Nunuit-Bazaar’s Belt
- Nunuit-Bandit’s Lair
- Nunuit-Nunuit Town
- Nunuit-Spiral Tower
- Eunimonya-Eunimonya Town
- Arcolaruyum-Wellspring
- Tallyoh-Tallyoh Town
- Tallyoh-Sootpipes
- Tallyoh-Primaeval Parish
- Wishing Well Trophy Guide
- Do You Want Some Tea, Dearie? Trophy Guide
- It’s Punchy Time! Trophy Guide