So you’ve decided to take up arms against your mentor for his crimes against your cult? Well, let’s get right into it then. Your goal in Daimon Blades is simple – find the Arch-traitor and put a stop to his soul-devouring ritual. With the help of the Secreta, a shadowy cult of warrior monks sworn to contain the rising tides of daimonic incursions, face the relentless abominations in front of you while descending deeper and deeper into the Daimon realm in pursuit of The Hermit. Easy enough, right?
Check out our Daimon Blades – Early Access Review for our full thoughts on the game in its current state.
The Premise: The Crusades, But Roguelike

You’ve loaded in, got past the tutorial, and are now presented with this hub area that has tons of people to talk to with no real indication of what each of them does. Well, I’m here to help with that. Right off the rip, you might be tempted to jump into an expedition, and while it might be tempting to jump right in, there’s no harm in exploring the hub. As of this moment, the start of Early Access on September 3rd, 2025, there are only a few merchants that you can talk to that actually offer you something.
Here are a few of them who are worthy of paying attention to:

- Blade of the North Star – This is the first armored knight you’ll see when loading into the main hub after the tutorial. This is your anchor to the story going on in the background while you slay hundreds of abominations. In the beginning, he will not have much to say to you besides “We must stop The Hermit from completing his ritual,” but don’t worry. As you progress in your expeditions, he will have all sorts of tea to spill about your journey, and he should always be the first person you talk to when you finish an expedition.
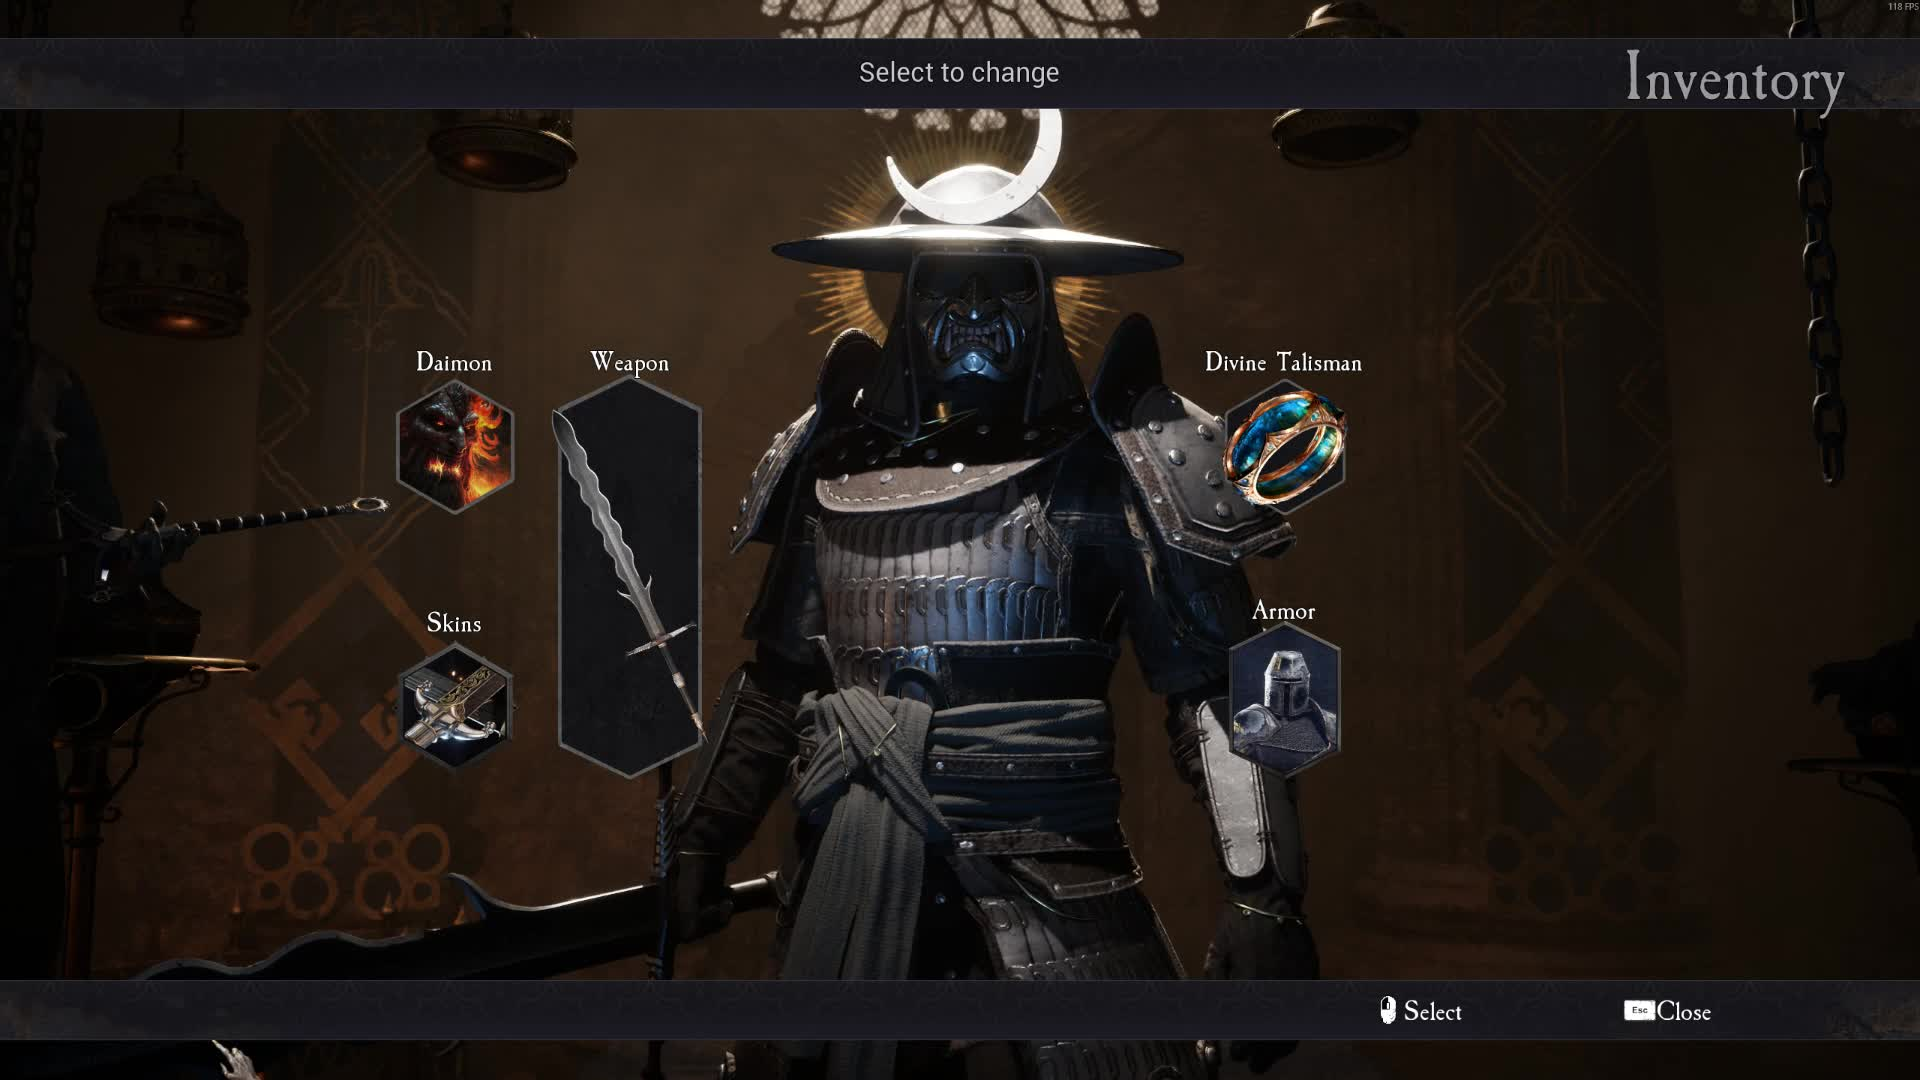
- The Gear Keeper – While the Blade of the North Star is there to provide you with gossip and push the story forward, The Gear Keeper is the person that allows you to change your weapon, armor set (Yes, you can change your armor to any of the original selections.), your divine talismans which serve as resistance buffs, as well as being able to view what your Daimon is for the weapon you have equipped at that current moment. We’ll talk more about the Daimon system in a bit, so for now, just know that’s where you change most of your equipment slots.

- Master of the Forge – This badass-looking nun is what I would consider a merchant that will be used more in the mid and late game. At this NPC, you can use your crafting supplies, from the various metals and other rewards you get from clearing rooms, to gamble to your heart’s content. She offers you a chance to create weapon and character skins, Daimonic orbs, stones (Which I can’t say I know if this is a placeholder or literally just an item I haven’t seen yet), and Talismans. Though I will admit most of these items are pricey. Even 10 hours in, I can’t afford anything past the cheapest goods she offers, but I can see how she would be useful in the late game.
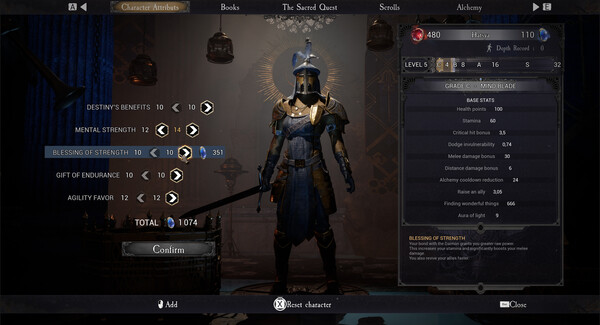
- The Awakening Guide – This NPC is where you get to spend your hard-earned blue coins you get from completing expeditions. I am not going to tell you what each attribute does, as it explains it in the tool tip on the right side, but each one does something very distinct, and it pays to make sure you’re leveling up the right attribute. This NPC, along with The Gear Keeper, is more than likely to be the one you visit the most throughout your journey into the abyss.
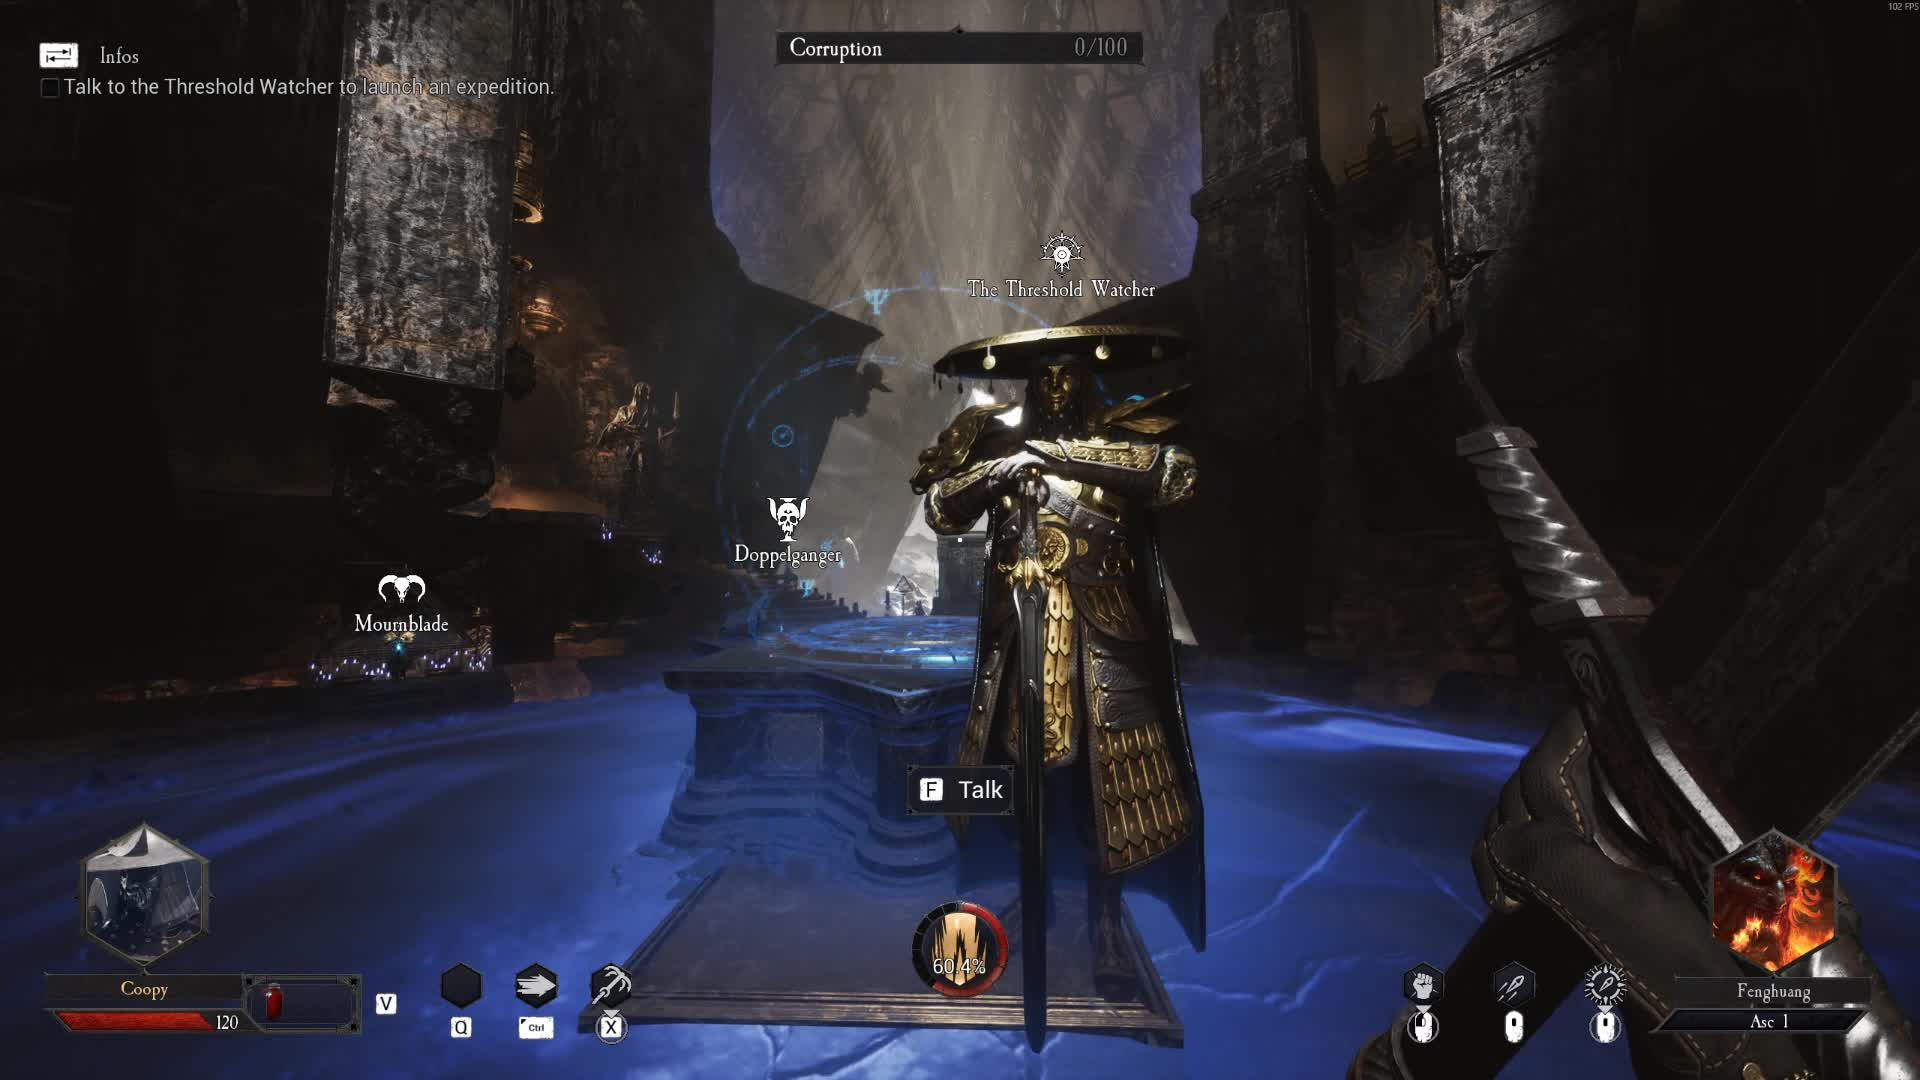
Some other merchants that seem to have a purpose, but are not yet coded to be talked to: The Training Master, Mournblade, and the Doppelganger. These might be tied to online play, but for now, their use is unknown.
Let’s Get Ready To Rumble: Hunt The Hermit
Now that we’ve made our way around the hub and talked to all those who need talking to, it’s time to get into an expedition. The first thing you need to do is talk to The Threshold Watcher. I hadn’t mentioned him above because his sole purpose is to get you into the depths below, whether that’s solo or with your squad. Once you click the play button, simply walk up towards the gates in front of you, and the real fun begins.
Right off the bat, you’re going to be presented with two options: Crusade or Exploration. Exploration is locked for now, so for now we’ll be picking Crusade, which is tied to our goal I talked about earlier, which is finding and killing The Hermit. Once you select The Hermit crusade, you will be presented with a screen that lets you pick your difficulty. I, as someone who has primarily played solo as of this moment, usually hover between Class C and Class B, as they give me the best chance of success solo. This also shows you what depth you are starting at in the same fashion as a roguelike. Deeper depth equals more loot. Easy enough?
Past this screen, you’ll finally be allowed to select the specific map you want to play. The developer’s map creation system is based on a proprietary tech that generates unique levels for every expedition, with a vast set of objectives randomly selected with 9 distinct biomes at launch. Explore each level to find treasure chests, power-ups (obelisks), and face various types of daimons between you and whatever your end goal is for each area.
Gates at the end of each section will be always be your transition point between areas.
Each expedition is usually split up into 3 sections. The first two sections give you a wide range of areas that you can tackle, from decrepit, rotting jails to frozen tundras filled with the skeletons of those who once called it home. The roguelike aspects of this game, tied with the fact that everything is procedurally generated, mean that you more than likely will see the same map names, but they will always be different in the goals that each one wants you to do, as well as their layout.
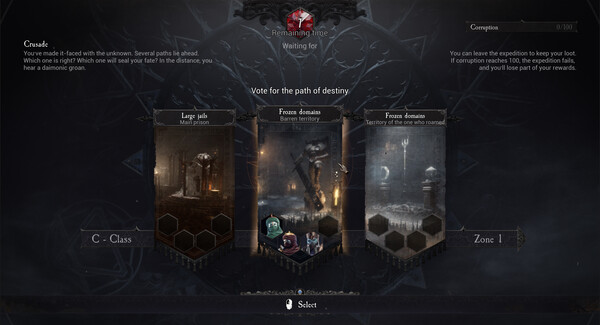
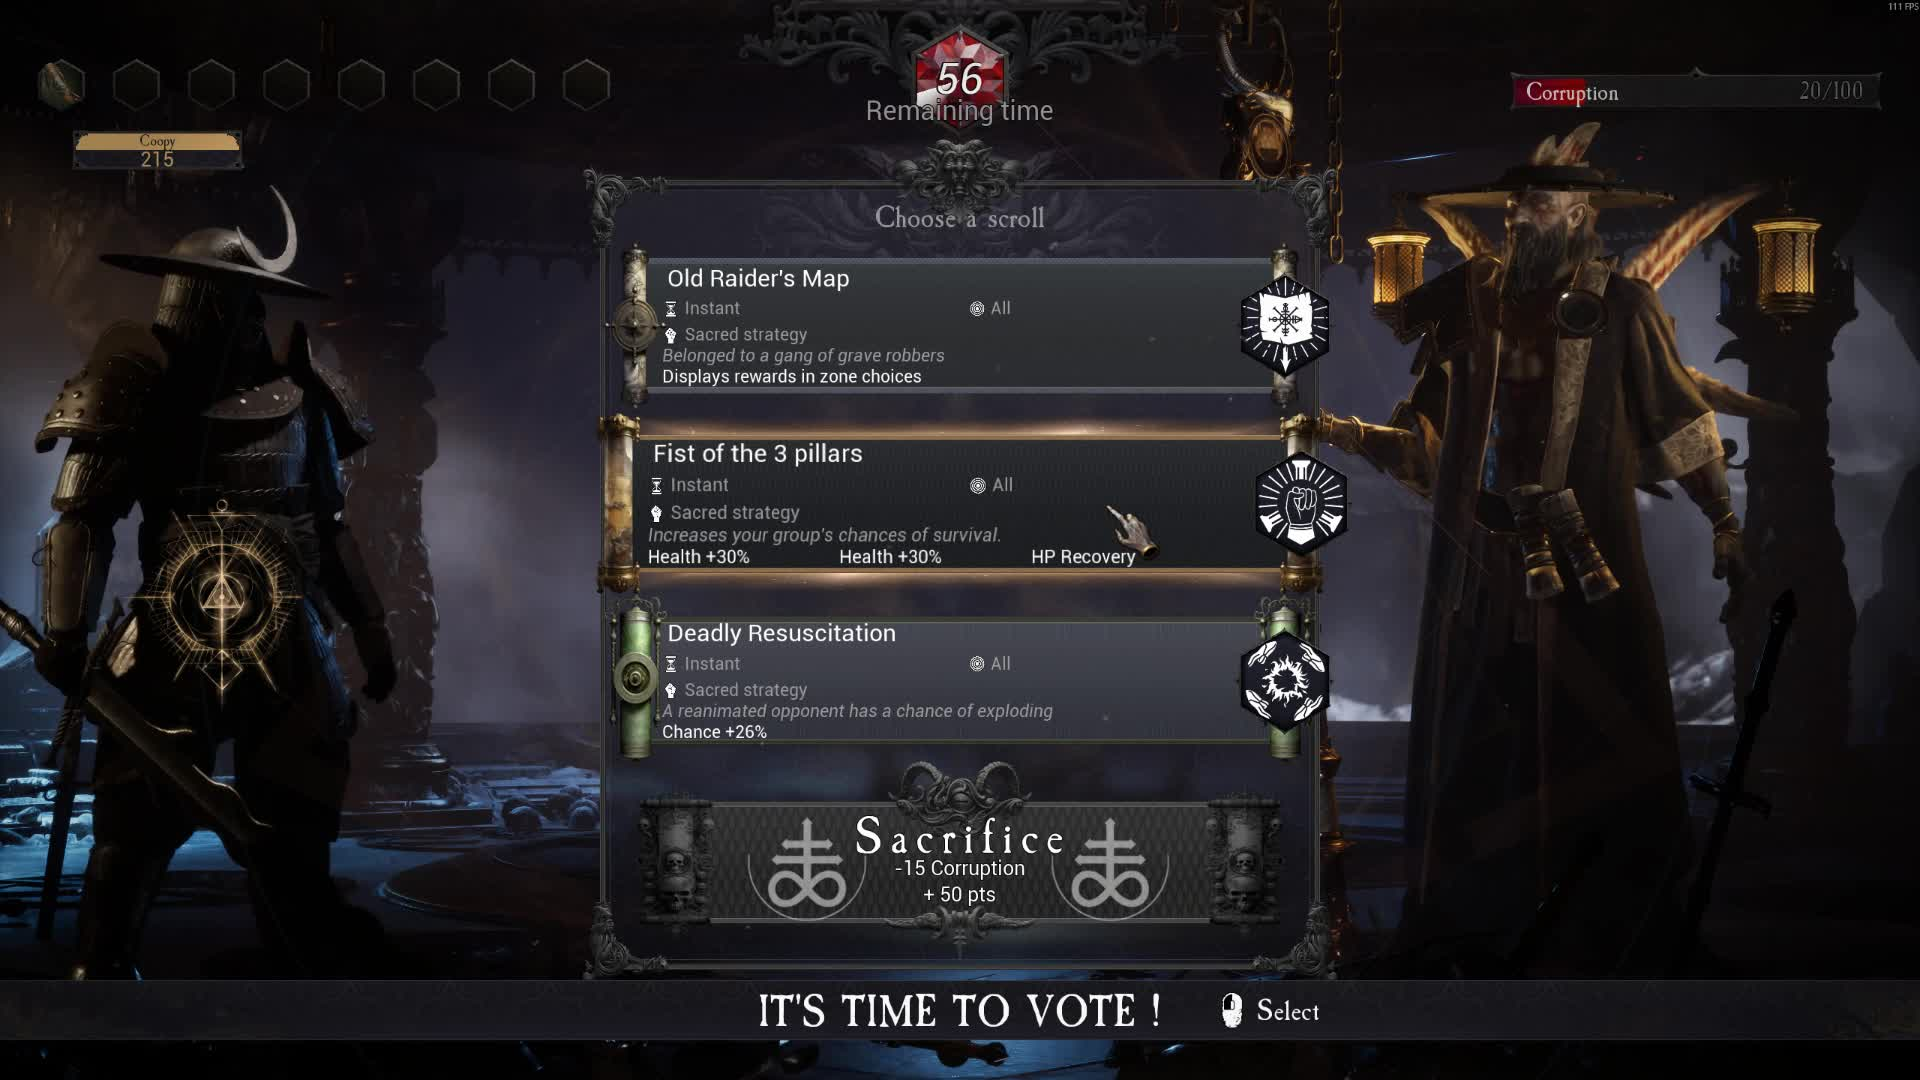
The crusade selection screen changes after every instance and allows you to vote where you want to go.
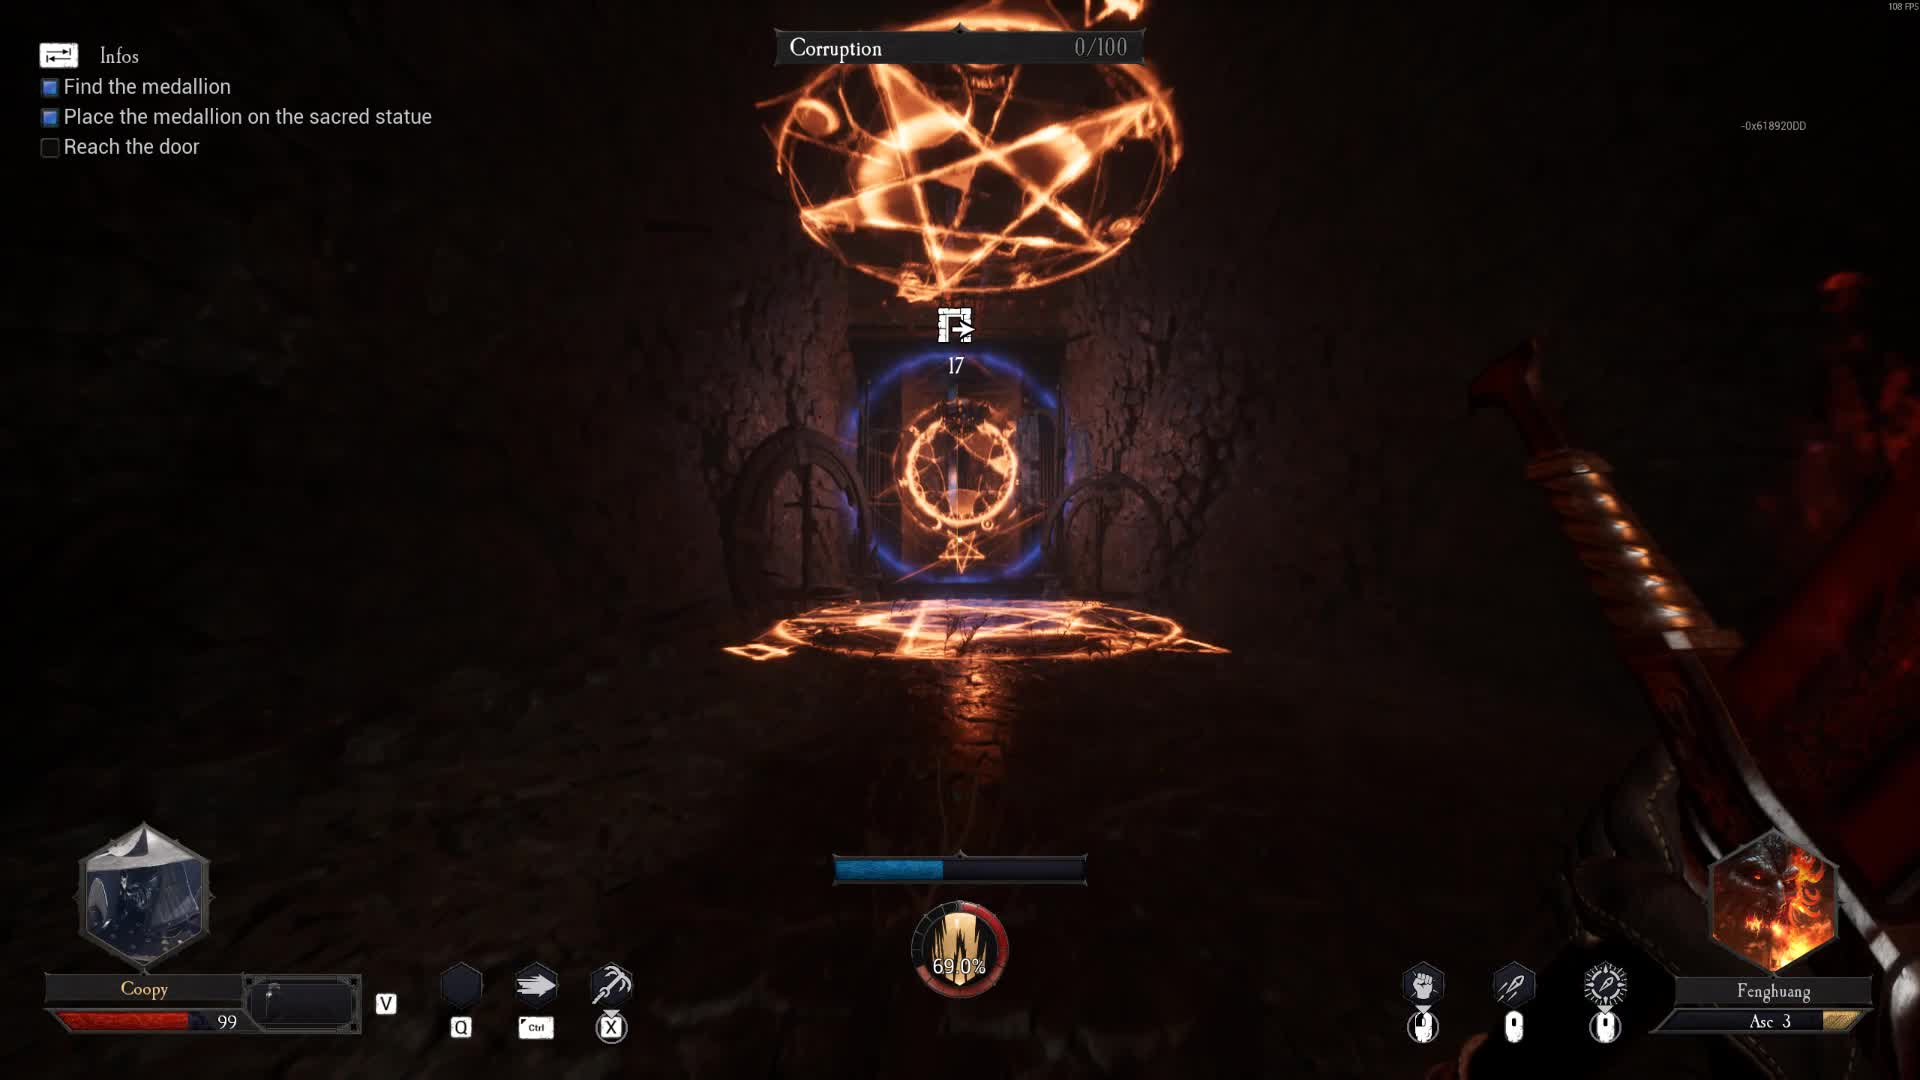
Map goals can be as simple as reaching the gate at the other end of the instance, to as complex as finding a certain artifact and placing it in a shrine before hordes of Daimons run you down. These prerequisites can also change the enemies that spawn in each expedition. I’ve had maps totally void of any enemies, only to find out that there is lava quickly rising up from the depths with its sole goal of swallowing me whole. This adds to the mission variety, and you will almost always be doing different tasks across your expeditions.
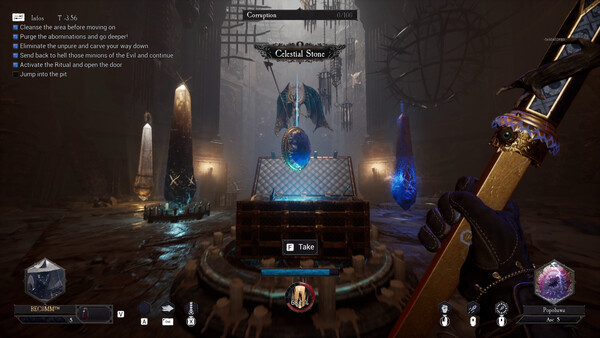
At the end of each area, you have the choice of 3 different buffs.
At the end of each stage, that is, when you reach the doors at the end of each sub-level, you will be presented with a room where you can choose from a variety of goodies that are, you guessed it, completely random and specific to just this instance. This can be things as simple as the currency items used to level up, to passive bonuses that buff the various aspects of your kit, from your melee damage, to the amount of flasks you can carry, and so on. You’ll eventually reach a point where you know what buffs you’re looking for, but the option is always there to branch out if you need to. Again, the openness of the experience is what keeps it fresh and allows you to build your instance-based stats as you see fit.
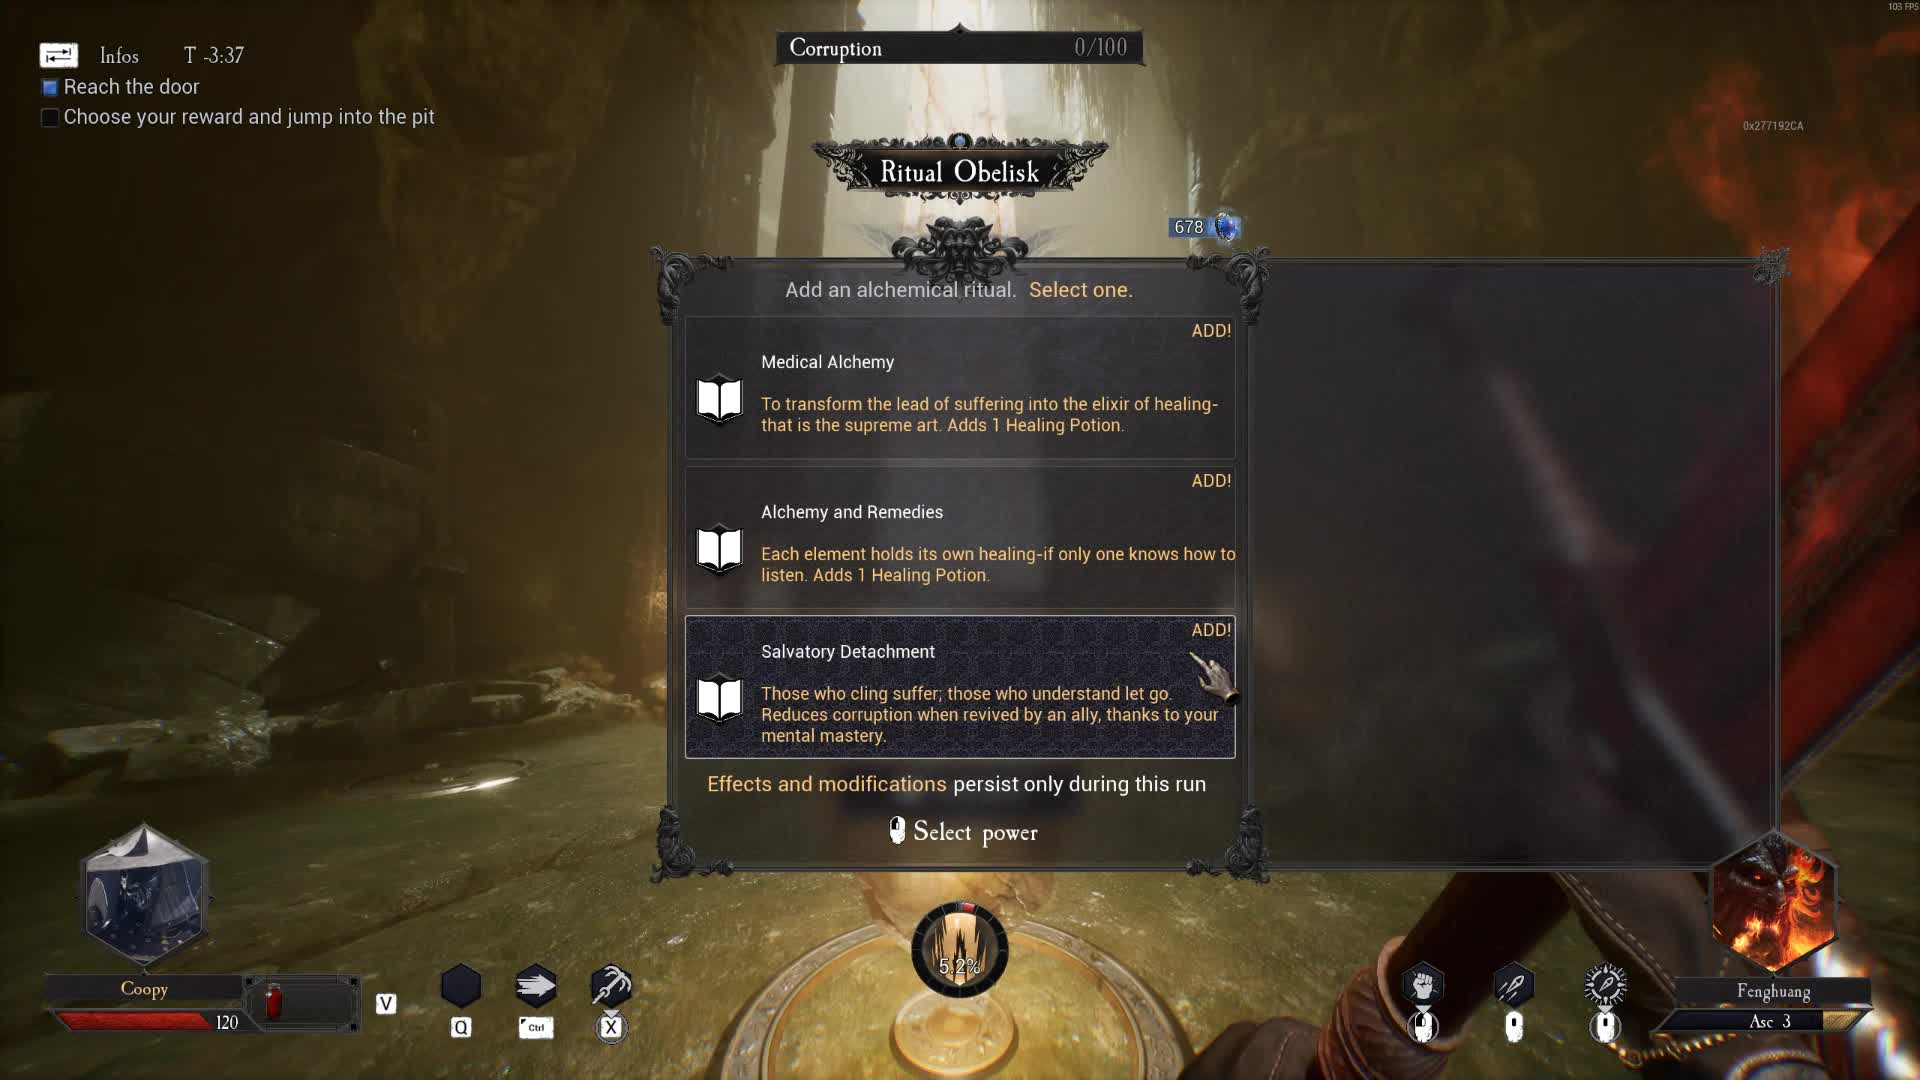
Obelisks offer more specific bonus to you character as opposed to raw stats.
And well, if you make it past the first 3 stages, you are now at the boss of said instance. Each boss is unique with their mechanics, and each one presents a different kind of challenge. The good thing about it is that you will always see the same boss at the end of each section. For example, the first boss will always be The Gatekeeper, a beefed-up version of the standard knights you’ll grow so accustomed to facing. This isn’t to say there isn’t some variety past that first boss. Each one that I have faced is unique, and the same strategy that worked on one won’t work on the others.
Once you defeat a boss, you will face off against The Hermit in a simple mini game where you get to choose a buff while he attempts to debuff you.
Bloody Combat: Slash Until Your Fingers Hurt
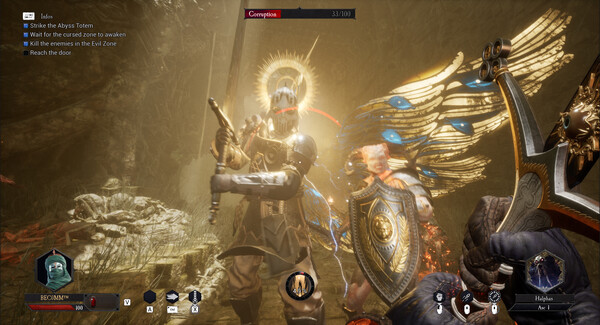
Angelic knights are among some of the hardest enemies you’ll face.
Now that we’ve covered the world hub and navigating the instances themselves, it’s time to take a sneak peek into what makes the combat tick. This game, at its core, is a juiced-up version of the Killing Floor formula with an emphasis on melee combat. The entire basis of the melee combat is your Daimon, a supernatural entity tied to your weapons. Each weapon is infused with a unique Daimon that has a personality and will talk to you, comment on your performance, and even play dirty tricks on you depending on your relationship with it.
This leads you to not only spam your basic attacks, but also weave in your special ability tied to whatever Daimon is currently on the weapon you’re wielding. The game thrives on the idea that your Daimon special ability is what is going to help you carve your way through hordes of enemies and make the process feel like they are nothing more than ants to be squashed. It would be almost impossible to list every Daemon at this point, but just know that there is a Daimon for every type of playstyle, and the game encourages you to try new things.

From decrepit prisons of flesh and bone, to overgrown shrines, your journey has no limits to where you’ll go.
The last thing I want to mention for this guide is the way the game encourages you to be mobile while you’re carving your way through groups of enemies. Not only do you have a dash at your disposal with a low cooldown, but you have a grappling hook as well that allows you to position as you see fit. Nearly every weapon that I’ve unlocked also has a unique animation and attack you can use when you dash, so the best strategy I’ve found is dash-attack, dash-attack, while you’re weaving in your Daimon special ability off cooldown. You also have a nifty ranged attack at your disposal that is good at taking out enemies such as the spiders, eyeball watchers, and others who are good at staying out of your melee range.
That was our Daimon Blades Beginner’s Guide! In the interest of not spoiling what awaits in the depths, my assistance ends here. The Hermit’s soul-harvesting ritual must be stopped at all costs, and only you can stop him. Your mission is simple – slaughter everything in your path and carve your fate for all to witness!