

There are a total of 48 trophies to unlock in Sword of the Sea, covering a bunch of activities and challenges. Here is our guide to help you unlock the Cleanse the Frozen Drifts, and Frozen Drifts Shell Collector.
Check out our Sword of the Sea Review to get our full thoughts on the game.
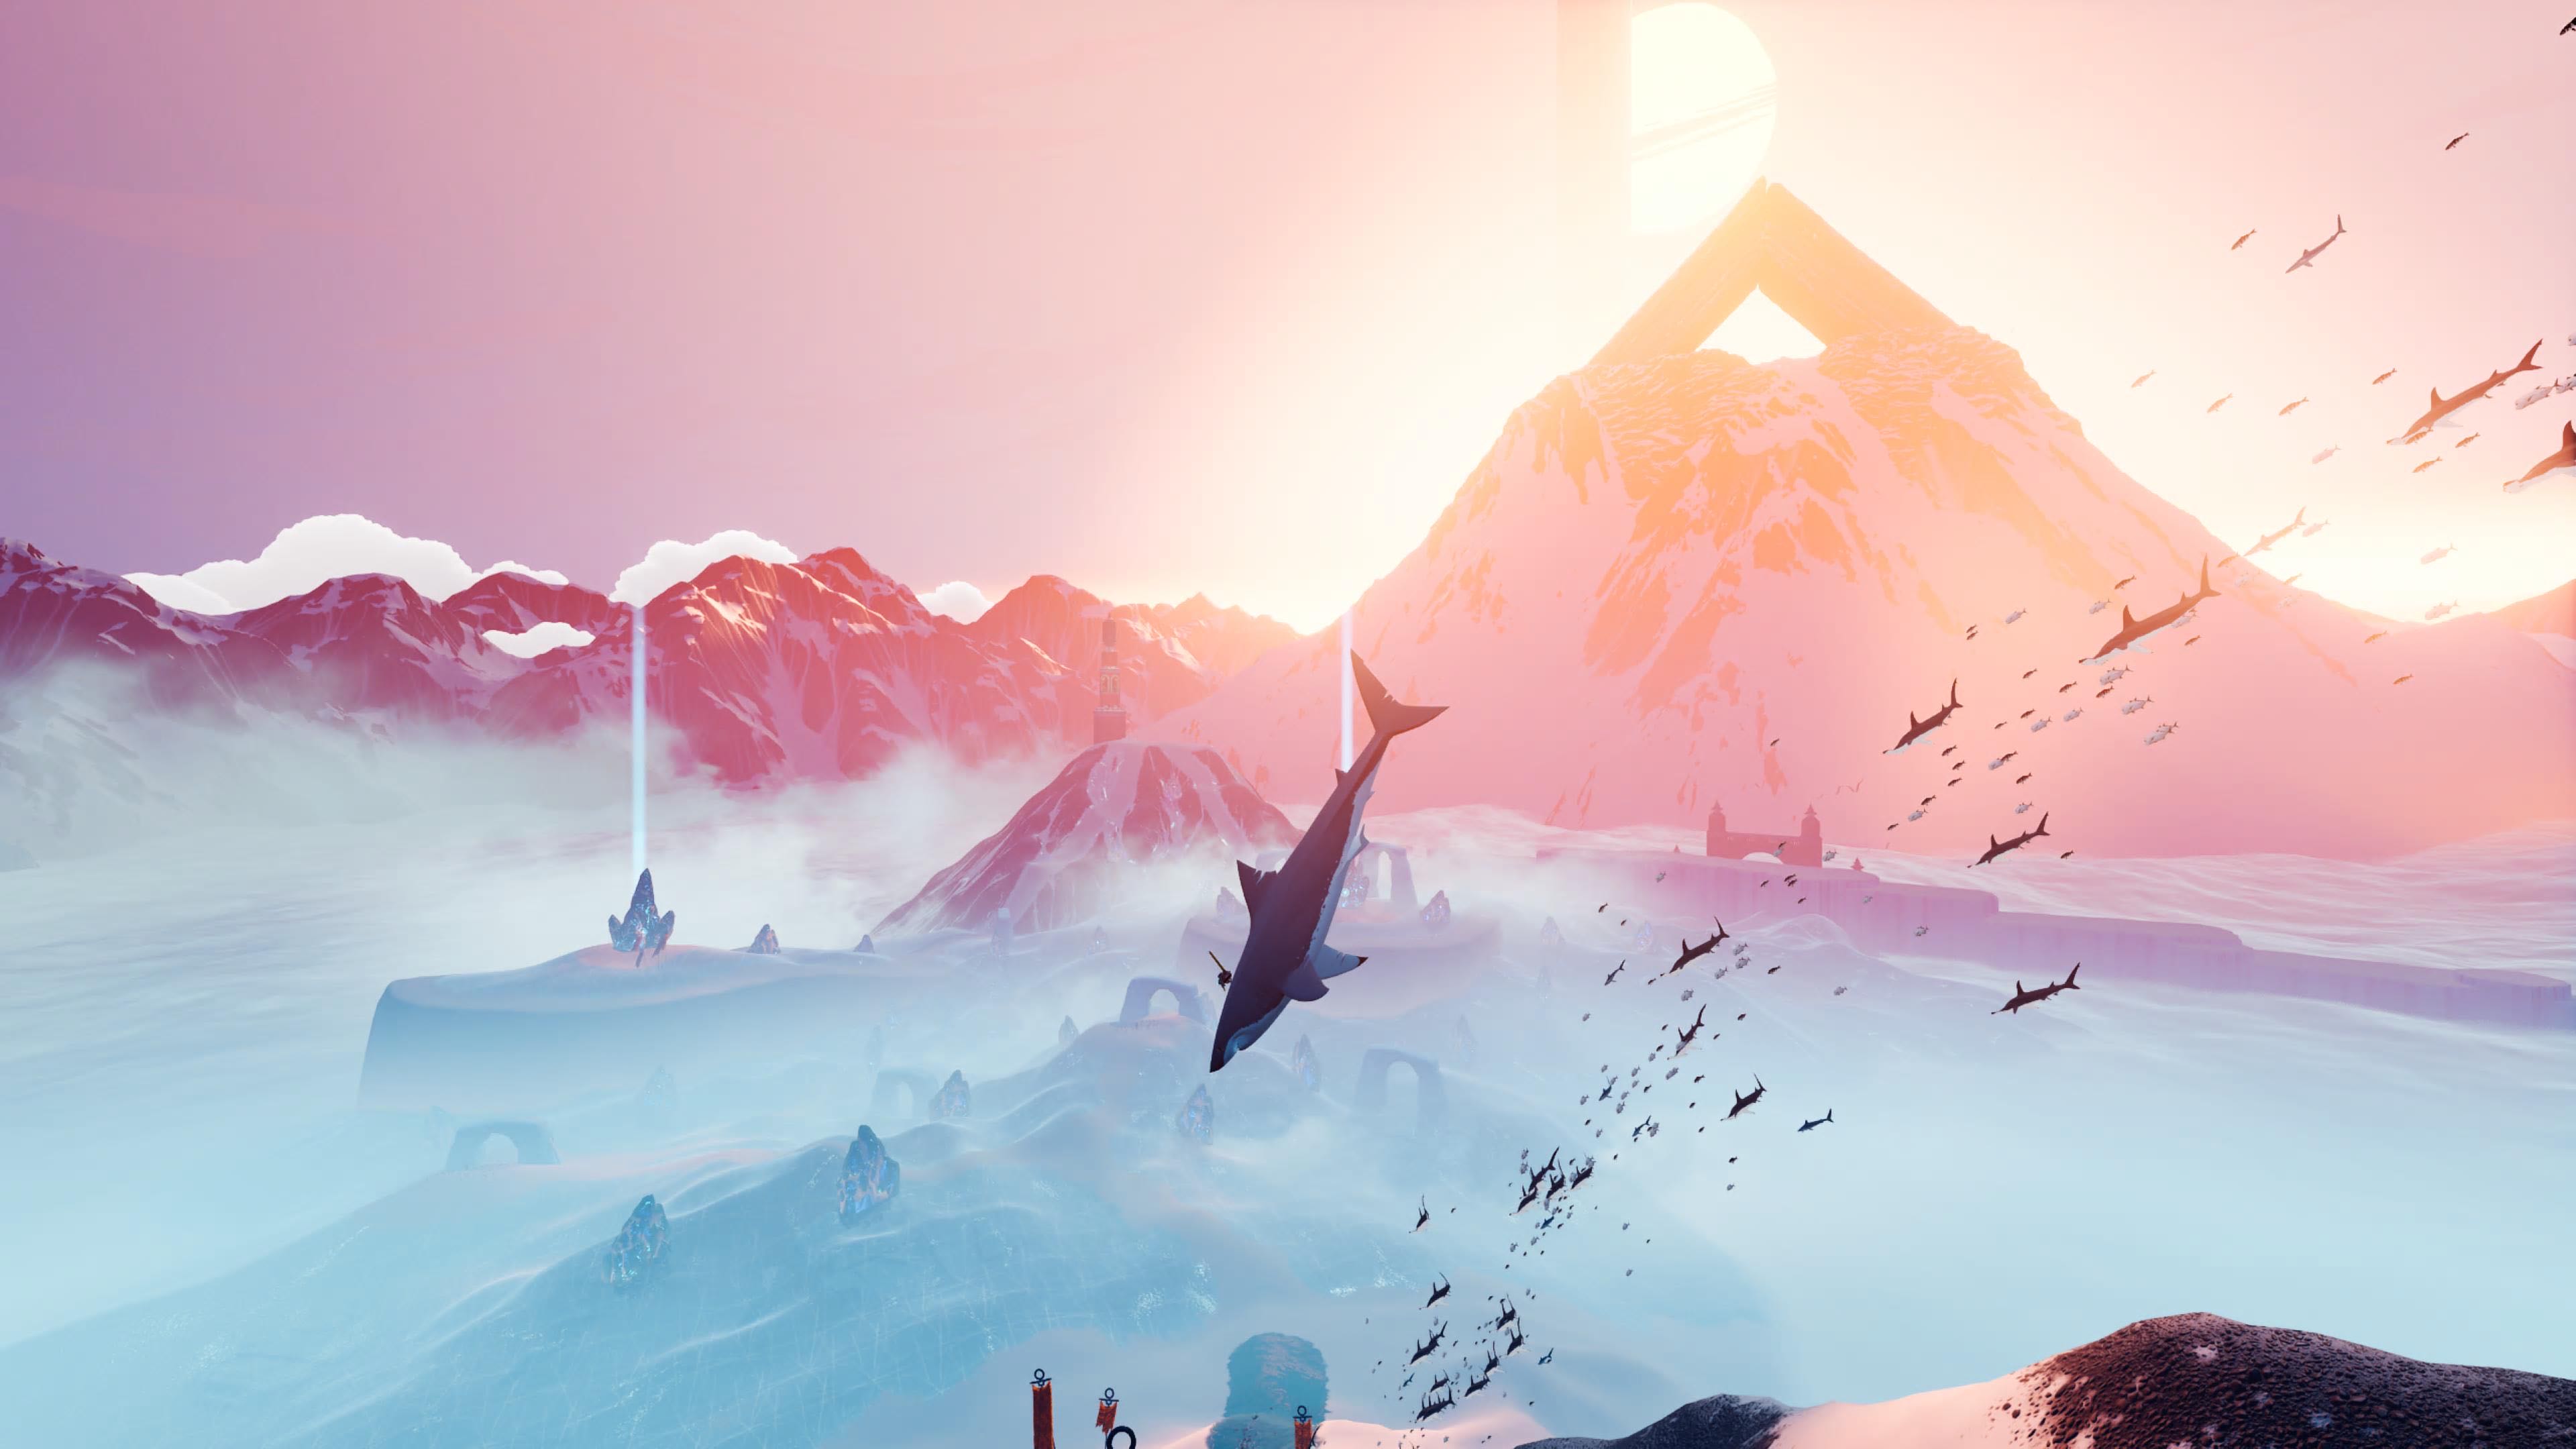
The pacing is changed once again in Sword of the Sea as we are now riding The Great Shark. The difference between the Forbidden Valley and the Frozen Drifts chapter is that the shark is unable to jump. Instead, the shark has a charge ability, allowing it to charge against the many giant icicles in this chapter. This chapter, Frozen Drifts, is mostly a linear level with only a total of 20 Water sources, 9 of which are mandatory and 1 Secret Shell, making it a very straightforward guide. Some of the water sources could still be missed if you aren’t curious to wander, but it would be quite difficult to miss, as the game has taught us to be adventurous at this point in the game.
All Frozen Drifts Collectibles
| COLLECTIBLE NAME | TIME STAMP | NOTES |
| 1 | 00:00 | Upon dropping down, head towards the left side of the area |
| 2 Mandatory | 00:28 | Continue on to the left side of the area, and you’ll see a collection of ref flags by a rock formation |
| 3 Mandatory | 00:44 | Pan the camera to look for the next beam of light |
| 4 | 01:05 | The goal of the area is to activate switches for the red tower. Head towards the beam of light; you’ll need two of them |
| 5 Mandatory | 01:37 | Head towards the red tower. Activating these lanterns opens up the next area |
| 6 | 01:52 | Upon arriving in the next area, head towards the left side again |
| 7 Mandatory | 02:09 | Before heading across to get to the next beam of light, stop by in front of the red tower along its left side |
| 8 | 02:26 | Before finally heading to the final lanterns, the last stop is another one right in front of it, near by an archway |
| 9 Mandatory | 02:41 | Get to the next beam of light to gain access to the lanterns by the tower |
| 10 | 03:02 | In the middle, in between the left and right beams of light |
| 11 Mandatory | 03:19 | Once again, time to activate the lanterns by the red tower |
| 12 | 03:36 | Head over to the next area and start from the left again, before the light beam |
| 13 | 04:09 | Head down the steep hill by the red tower. Keep your eyes peeled, before you reach the bottom are more lanterns to be activated that may be difficult to spot due to the darker surface, causing the lanterns to be camouflage |
| 14 Mandatory | 04:27 | Go towards the left beam, another mandatory one in order to gain access to the red tower’s lantern |
| 15 Mandatory | 04:47 | Head towards the other beam of light |
| 16 | 05:17 | Go past the previous one until you reach the perimeter, near an ice wall |
| 17 | 05:46 | Stay along this perimeter |
| 18 Mandatory | 06:06 | Now it’s time to head towards the objective and activate the lanterns by the red tower |
| 19 | 06:28 | Head down the steep hill by the red tower. Keep your eyes peeled, before you reach the bottom are more lanterns to be activated that may be difficult to spot due to the darker surface, causing the lanterns to be camouflaged |
| Secret Shell | 06:44 | After activating the lanterns, it will raise a narrow passage as well as a giant sword. In front of that sword is the only secret shell in this chapter |
| 20 | 07:01 | Before heading to the goal and ending the chapter, there’s one more right before it, by an archway |
That’s our guide for All the Frozen Drifts Collectibles. Look out for more guides for Sword of the Sea down below!