
Use our Possessor(s) Beginner’s Guide to get the lowdown on Heart Machine’s new side scrolling action adventure Metroidvania.
I had a great time with Possessor(s), which I speak of in my review, but I felt that there were things I wish I knew going in. So, with that in mind, here’s something things to bear in mind as you head into this great game.
If there’s anything you think is missing, leave a comment at the bottom and we’ll do our best to update where we can! Keep an eye out for other guides too.
Abilities
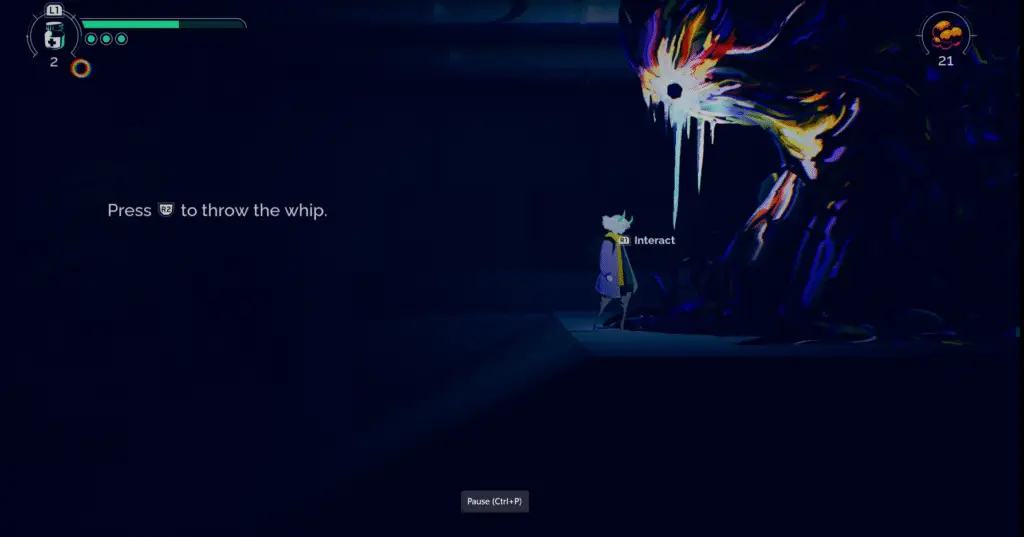
Like all good Metroidvanias, Possessor(s) grants you new abilities as you progress through the game. These will give you the ability to get into previously accessible areas. Thinking about that, here’s the full list of the abilities you can find. That way you know not to waste time trying to get into an area you can’t. You’re looking for strange looking multicoloured fleshy things (see the image below).
- Whip – the first ability you find, very early in the game. This lets you grab grapple points to swing across gaps and to ledges. It also lets you grab enemies, and move large objects. Most importantly, and something it doesn’t tell you, you can use it to grab sections of walls that have a crack in them, indicated by an orange glowing crack. The wall grabbing is only on vertical, full walls. I spent way too long not knowing this, hindering my progress.
- Parry – allows you to deflect projectiles and enemy attacks. Timing it right can do stun damage to larger enemies, opening them up for lots of attacks.
- Slide Breaker – this ability lets you slide through small gaps. It also lets you break through small gaps that have sections of wall in the way. You’ll spot these as they have an orange crack in them.
- Wall Run – this lets you jump to a wall and then run up it allowing you to reach higher up areas, providing there’s a wall space that allows it.
- Water Dash – gives you the ability to dash when underwater. You can use this to break through walls (orange glowing cracks in the wall) as well damage underwater enemies. You can also use this ability to travel up through pouring water / waterfall type areas of the game to get higher / pass through them (you’ll just be forced down without it).
- Air Sprint – allows you to dash across a much larger space in the air.
Chroma
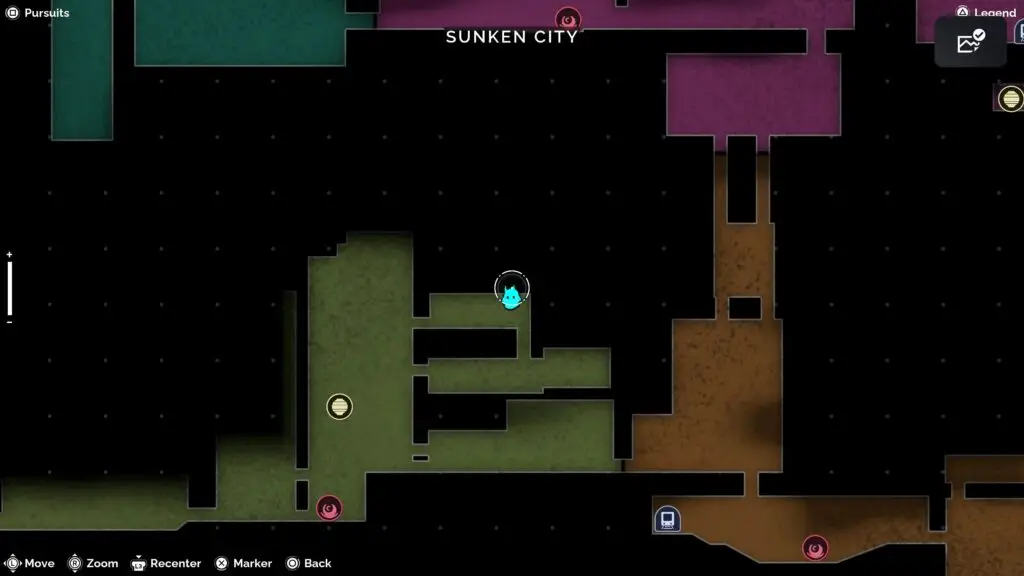
Chroma is your currency. Like Souls in Dark Souls, killing enemies drops Chroma for you to collect. You can spend Chroma at stores, indicated by a pale yellow circle on the map, once they’ve been found.
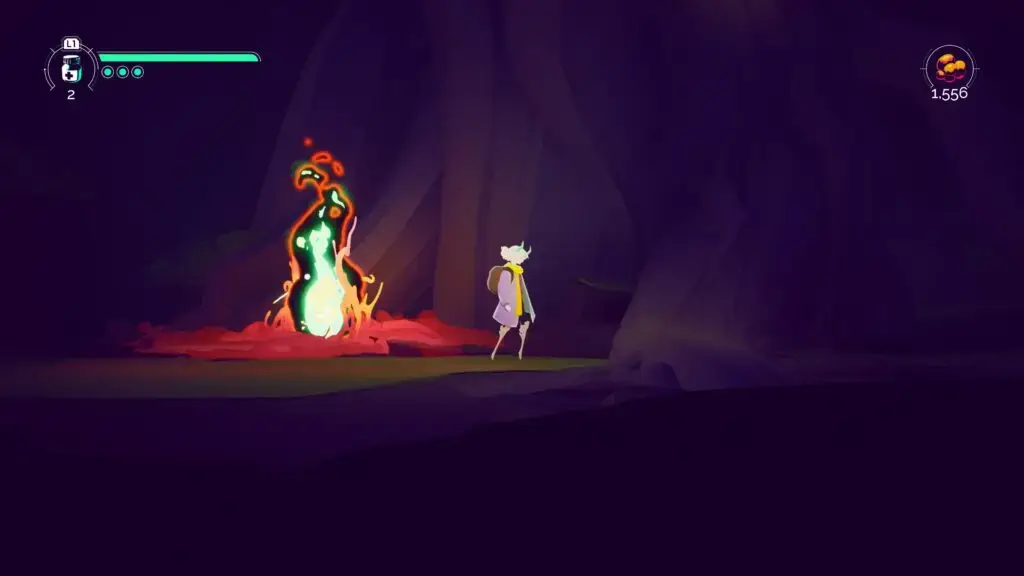
If you die, a statue of Luca, made of Chroma will be left at the location you died. Head back there and smash it up to retrieve your Chroma. Be careful though, if you die again before claiming it, you’ll lose it all. You can spot your death location on the map marked as a red ‘X’.
If you’re carrying a lot of Chroma, head to a checkpoint and interact with it. There’s a place you can deposit Chroma so if you die it isn’t lost, or at threat of being lost. You can then withdraw it from any checkpoint when you need it. When you die, you’ll head to the last checkpoint you went past, not the nearest one. The checkpoints are red in colour on the map, the ‘active’ one, i.e. the one you return to when you die, is in green.
Point of No Return
There isn’t one. When you get to the last boss, after the credits, you’ll appear at the final checkpoint just before the last boss. This is in the Research Lab, the final area you get access to. The last boss won’t be defeated, so it resets to just before it. There’s nothing to get past that checkpoint, so you can head back, explore and collect anything you’ve missed.
Map
There are maps for most of the areas to find, which will reveal any missing areas you haven’t explored.
Your progress is indicated by a section of the map becoming clearer, like removing a fog over the map. Any remaining fog are areas you haven’t explored, or areas you can’t reach (some open air areas are not accessible, and are not intended to be, but they look as though you haven’t explored them).
Unfortunately, there are not any completion markers or indicators to tell you an area / section is fully complete.
Explore
There’s lot of things to be found so be sure to keep an eye out for things that look like you could go into. There’s a few doors you can enter to take you to new areas, or hidden walls that can be broken down with your attacks.
Don’t forget that there are going to be areas you can’t get to straight away. You’ll need some of your late game abilities. So use your map, drop a marker on it to remind you where it is.
There is a fast travel system, finding tram stations will unlock the station to travel to. There are, on the whole, a station in every area, though some don’t. This is, of course, super helpful for returning to previous areas as needed.
Weapons, Specials and Affixes (Oh My!)
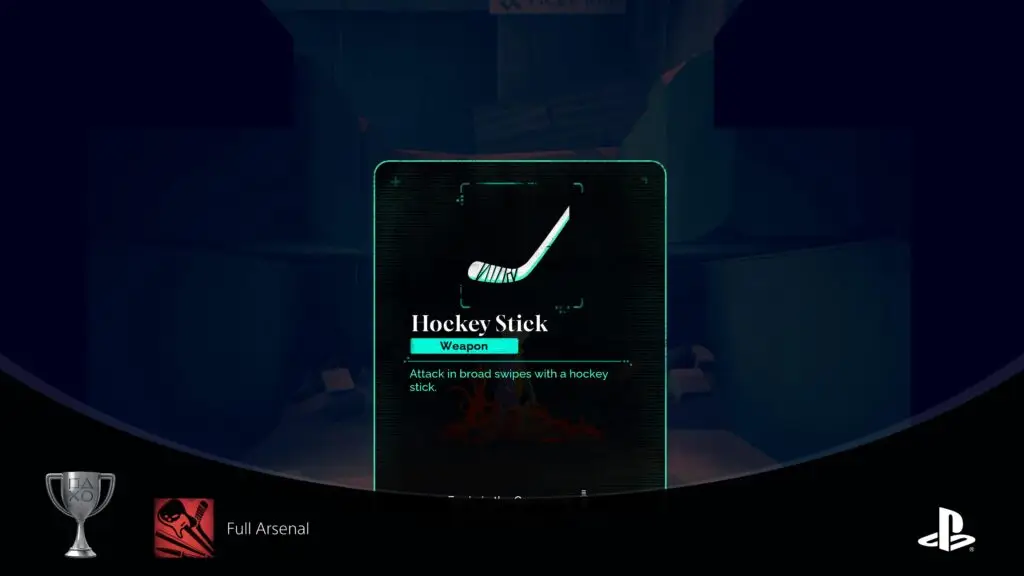
You’ll discover multiple weapons, special weapons and buffers (affixes) throughout the game. Weapons are your primary attack method, and there are several to be found. You’ll start with kitchen knives, but you’ll find baseball bat, a guitar, and a hockey stick. They have different movesets and timings so experiment to see which one matches your preferred playstyle. I stuck with the baseball bat for the most part, it had good damage, decent attack time and reach.
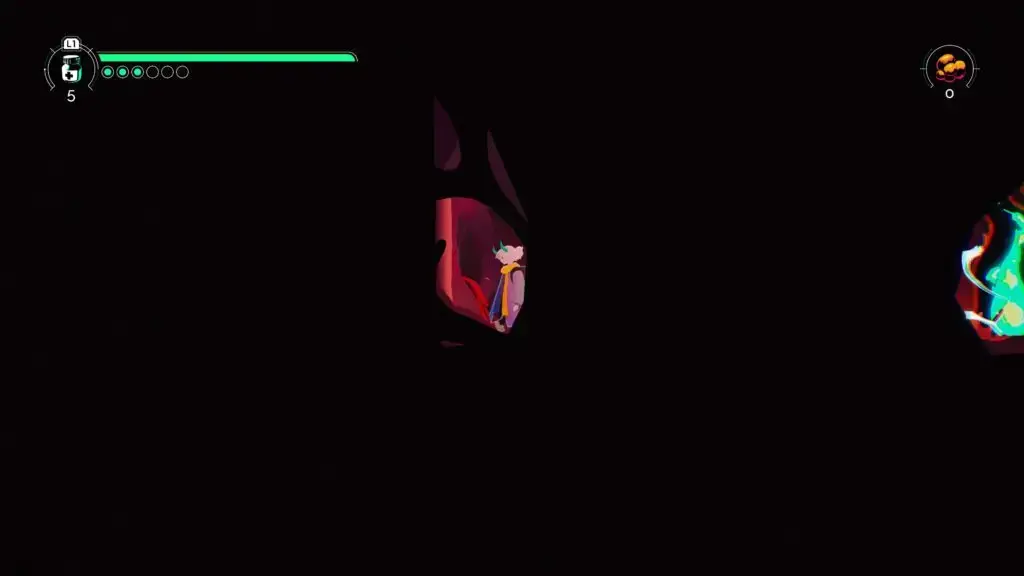
Specials are additional attacks you can use when you’ve built up special charge (little green dots under your health bar). Each use consumes one of the dots, and the dots replenish using normal attacks.
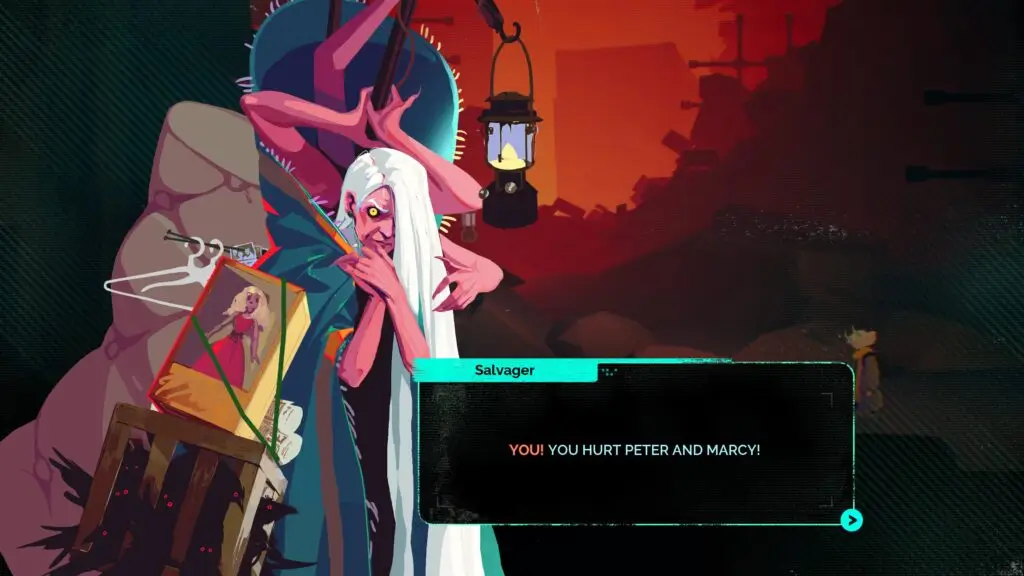
Affixes are boosts you can equip to weapons and specials. You’ll find them all over the the map, in shops as well as hidden about. These can boost your abilities, health regeneration, as well damage taken or dealt out. You can equip up to three to a weapon and special but you need to upgrade said items to unlock more slots for affixes. You can do this at the Salvager in the Abandoned Mall, or the shop in the Skyscraper area.
Upgrades
There are plenty of items in Possessor(s), including many things that will boost your health, weapons or abilities.
You largely won’t be able to upgrade your health or the number of charges on your health bottle until you find the Salvager. A character who can trade in the items you find across the map to give you said boosts. The Salvager can be found in the Abandoned Mall.
Collectibles
There are plenty of things to find in Possessor(s) as noted above. But there are also a few extra bits to keep an eye out for too. Computers scattered across Sanzu will give you insight into the lore of what people were up, and experiencing during the events of the story.
There are also some hidden lobsters to find. There’s a trophy to unlock for finding them all. There usually slightly hidden and red in colour with a bit of a pulsating energy around them.
I hope you’ve found this guide useful. Is there anything else you wish you knew going in? Keep an eye out for more Possessor(s) guides.