Within the first week of launching, Elden Ring Nightreign has seen over 3.5 million Nightfarers drop into Limveld, with FromSoft looking to add support for duos alongside solo players and full trios. But some players are still hesitant to face the Nightlords. The journey can seem impossible, and that’s why we are here to help you with a ton of tips and tricks to get you rolling. Here is our Elden Ring Nightreign Beginner’s Guide!
Before You Head Out: A Deep Dive
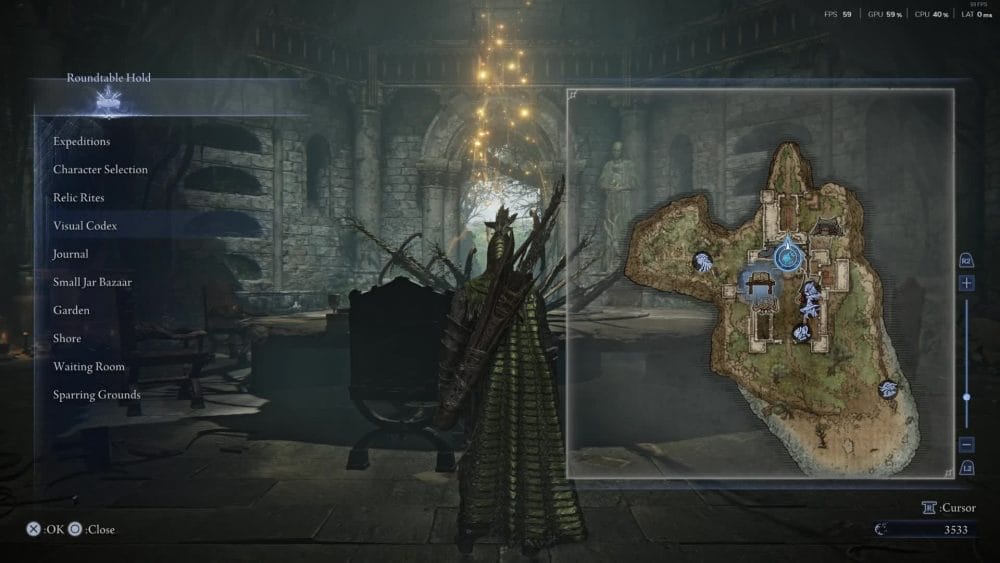
The world of Elden Ring Nightreign can seem a bit overwhelming after you make your way through the tutorial. In these first few minutes, it is vital to explore the Roundtable hold and get a grasp on the kinds of things you can expect going forward. In this section, we will talk about what each important area in the Roundtable Hold does as well as some ways to navigate it quickly.
Tip #1 Navigation: Quick navigating in the Roundtable Hold is easily achieved by pressing the same button you would to open your map (For example, the touch pad on the PS5 controller) and selecting where you want to go. This makes it so you can seamlessly travel between all the different areas without the hassle of running around in circles.
Tip #2: What Are Relics: The relic altar is where you assign any of the relics you obtain from expeditions. Relics aren’t the only way to buff your character, but they give you a host of free stats for what amounts to minimal effort. They are color-dependent and can be equipped in any slot for any character that has the same color as the relic itself.
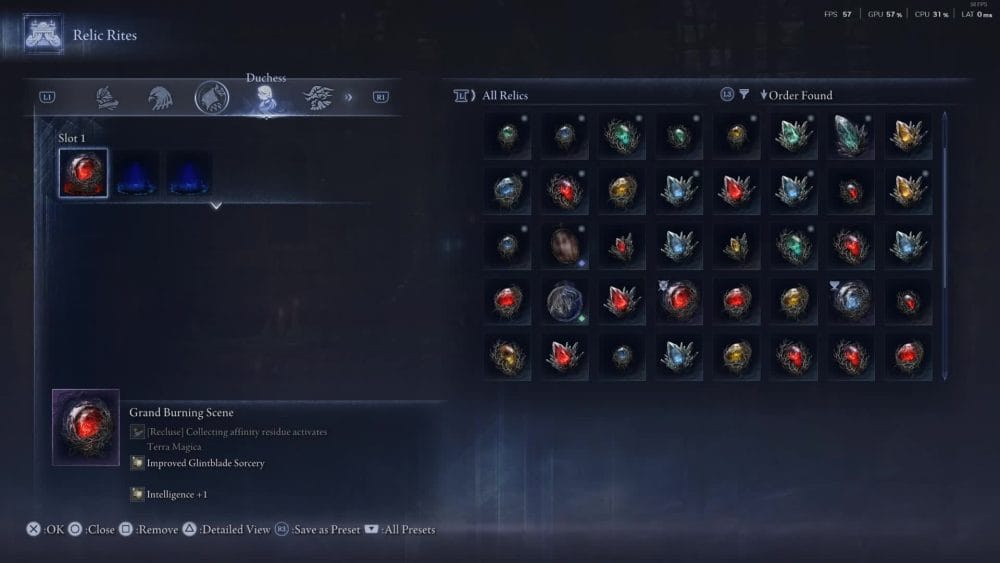
They can be obtained in one of two ways:
- Attempting an Expedition: A reward after completing an expedition. Note that it doesn’t matter if you win or lose. Though the rewards for beating a Day III boss are greater than if you fail, you will still get at least three relics for attempting the run.
- The Small Jar Bazaar: This merchant offers a variety of items from emotes to quest-related items, but he also sells relics. He sells preset relics that reset every day, and he also has the option to gamble for them if you are bold enough to do so. The gambling option allows you to earn all tiers of relics, from the lowest to the highest tier.
Tip #3 The Codex: The codex is one of the most important aspects of your journey that people often stray away from. Not only does it show you your progress for each of the expeditions, but it also has a flurry of information about the stats for each Nightfarer as well as what they scale best with. This allows you, as the player, to get a glance into what you should be looking for as well as what makes each character tick.
Tip #4 Selecting the Expedition: Once you explore a bit of the RoundTable Hold and get an idea of what you plan to play, it’s time to select the expedition you want to attempt. Pay attention to details in the description, such as what each boss is weak to, as well as any other information that they noted. In the beginning, you’ll only have access to the first one, but once you complete it, the next five will open up. Pick your class, choose if you want to run it with others or alone, and prepare to invade the night.
Day #1: The Beginning of the End
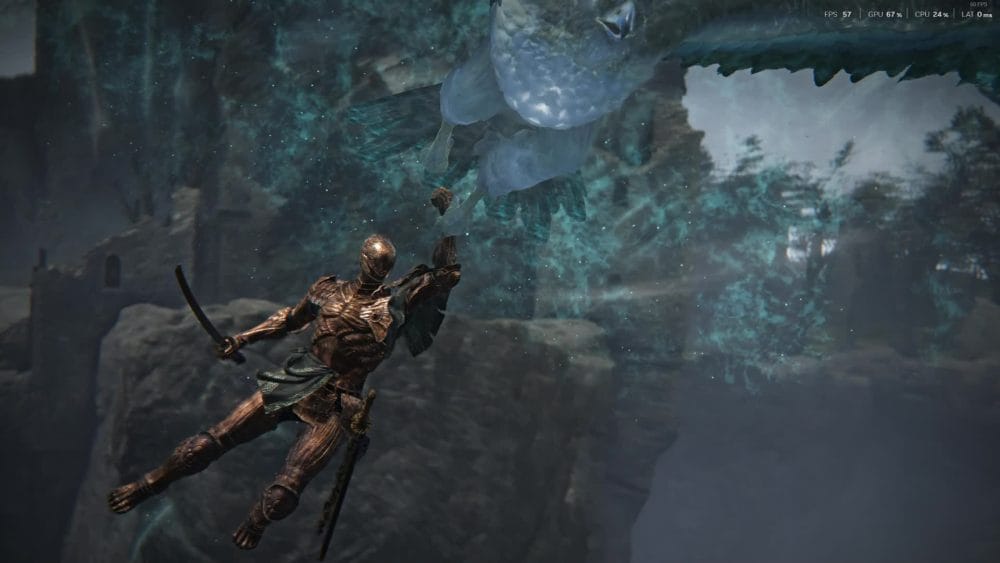
Once the cutscene ends, you will be thrown into a world filled to the brim with bosses and other challenges that are meant to test your will. Here are some tips to ensure that you start off on the right foot.
Tip #1: Get Level 2 ASAP: The most important aspect of the game on this first night is making sure you hit level 2 as quickly as possible. The jump from 1 to 2 is huge, and we can not reiterate enough how important it is to defeat a ruins or castle boss to get there. The bosses at ruins in particular are more or less base enemies with a little more health and can be easily defeated at level 1. Make this a priority as soon as you land.
Tip #2 Churches of Marika for Flask Upgrades: Almost as important as the level 2 power spike is the idea of visiting the various Churches scattered around the map to upgrade the amount of flask uses you have. While it might be tempting to travel across the vast miles of land to get every single flask upgrade, we must advise against it. Time is your most valuable resource, and you shouldn’t force getting flask upgrades if it undermines your entire expedition. If they are within your means of grabbing while you make your way around the map, by all means, go to the churches and pick up the flask upgrades. Otherwise, it’s not worth the trouble.
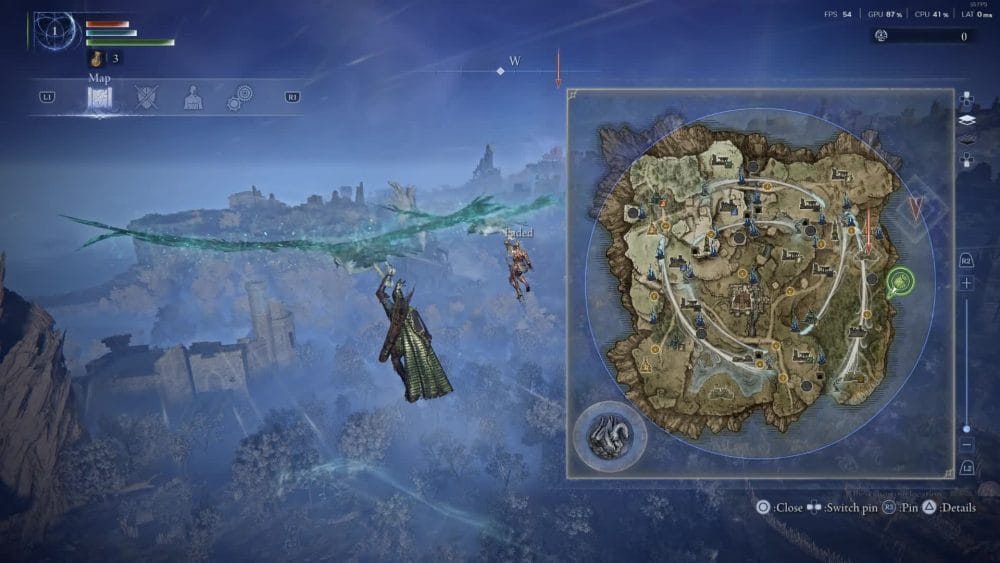
Tip #3 Elemental Weapons: At this point, you should have a couple of levels under your belt and should be cruising your way towards the first boss. One of the most important aspects of Day 1 is to make sure you to to any ruin, castle, or other landmark on the map that has an elemental icon next to it relevant towards fighting the boss you are pursuing. Though these places are not a 100% guarantee of getting an elemental weapon, your chances are way higher, and since we are clearing these areas anyway, it doesn’t hurt to get any advantage you can. The boss’s weaknesses are the following:
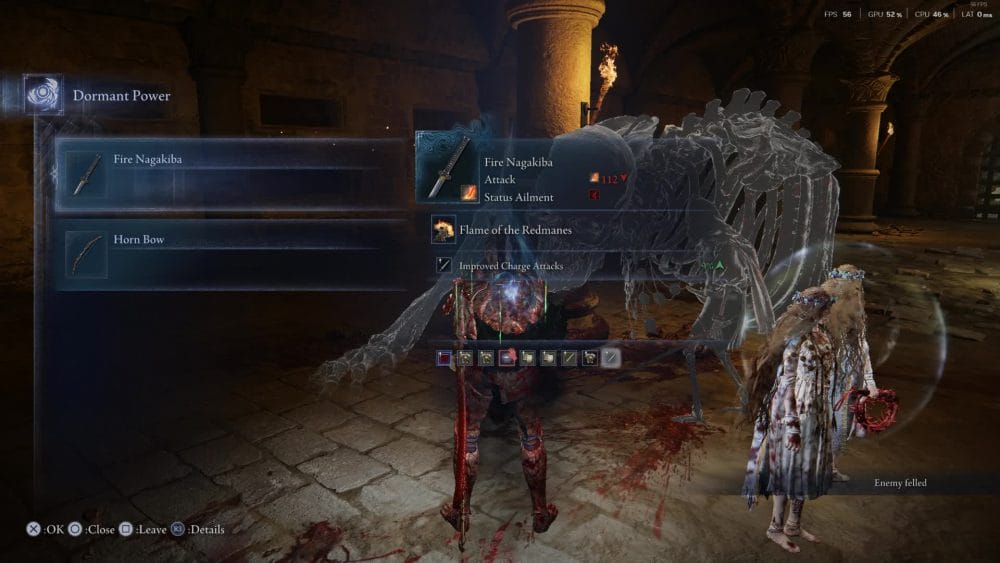
- Expedition #1: Gladius, Beast of Night – Holy
- Expedition #2: Adel, Baron of Night – Poison
- Expedition #3: Gnoster, Wisdom of Night – Fire
- Expedition #4: Maris, Fathom of Night – Lightning
- Expedition #5: Libra, Creature of Night – Madness
- Expedition #6: Fulghor, Champion of Nightglow – Lightning
- Expedition #7: Caligo, Miasma of Night – Fire
Tip #4 Complete Evergaols: We know the idea of clearing Evergaols Day 2 can seem a bit tempting as well, you’ll be stronger and better equipped to handle whatever they spawn, but we can assure you that they are best done during Day 1. It’s no secret that Stonesword Key can be found everywhere around the map. Big chests, small chests, and merchants are just some of the ways you can obtain one.
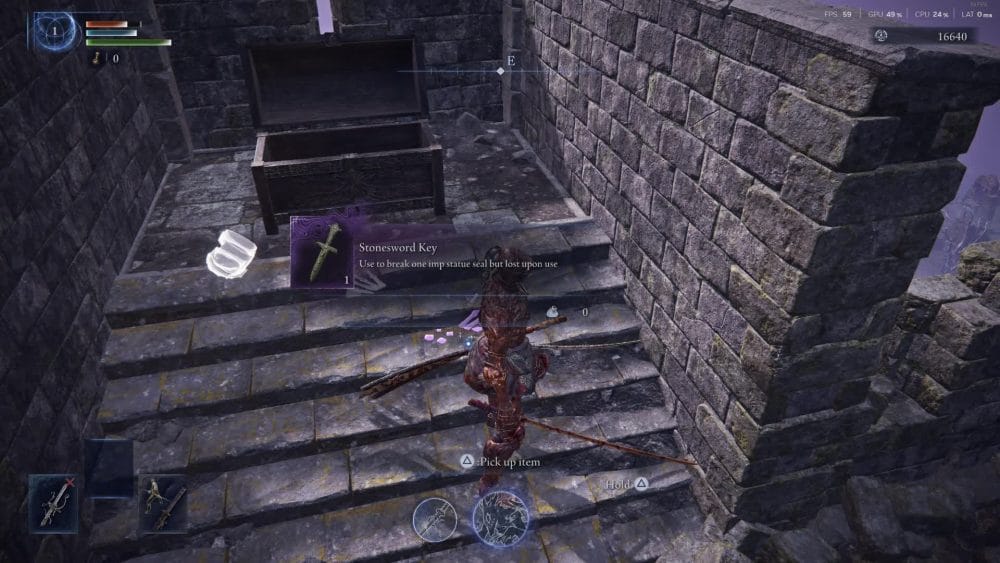
Why do we clear Evergaols on day one? Well, the simple fact of the matter is that the bosses that spawn will have 50% of their HP on Day 1. Yes, you read that right. Half of their health bar will be greyed out, and you should have a much easier time clearing them than if you waited until Day 2, where they spawn with 70% of their HP. Not a huge buff, but in a game based so much on time, every extra minute helps.
Tip #5 Keep Any Weapons That Have Good Passives: We know it can be tempting to drop weapons that you can’t run on your specific character, but Nightreign has this great feature where any weapon you have on your person applies its passive to you just by having it in your inventory.
The only aspect of this system you have to look out for is if you see a red hand icon next to the passive. This simply means it has to be in one of your two main slots. You don’t have to actually use it, but it has to be in either your left or right hand slot for the passive to kick in. Other than that, by all means, stack all the passives you can find.
Day #2: Refining What Breeds Success
Alright, now you made it to Day 2. That boss didn’t seem too difficult, and now you’re feeling rather spicy as to how you want to continue your journey. By this point, you should have a pretty solid arsenal of weapons at your disposal and at least 4 flask charges. We should be looking to expand our levels, weapons, and flask charges just like we did on Day 1, but there are also some other points worth mentioning.
Tip #1 Upgrading Your Weapons: At this point, we should have at least one Elemental Weapon that the boss is weak to, and if you don’t, you should be looking, and we are going to be looking to upgrade it at this point.
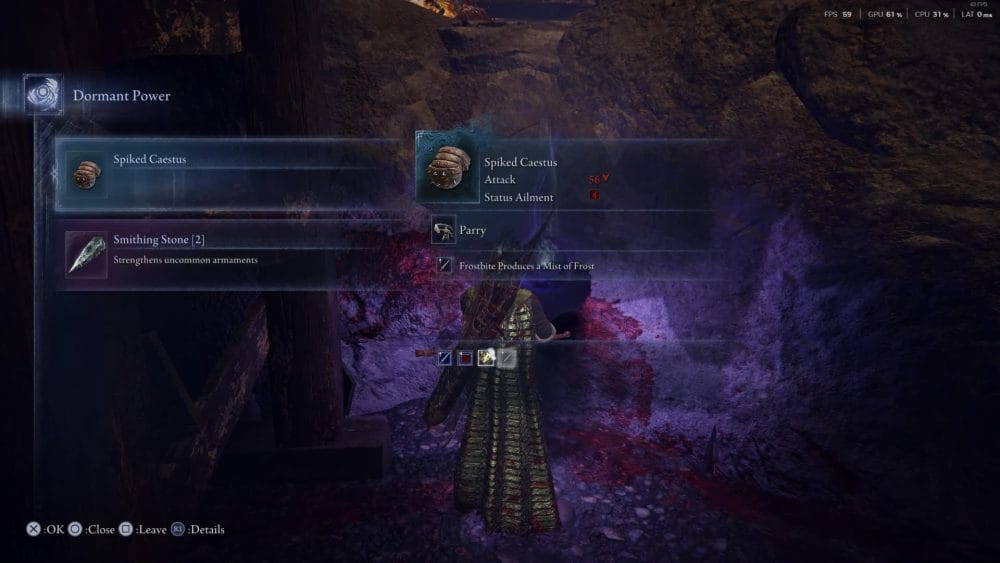
One of the ways you can upgrade is by clearing out the mines scattered around the map. These mines are a mostly linear experience, much like they were in the base Elden Ring game, and all you have to do is defeat the mini-boss at the end. This can either be a Royal Knight or a Giant, and once you defeat them, they will reward you with a Smithing Stone [2], which will allow you to turn any rare blue weapon into a purple legendary.
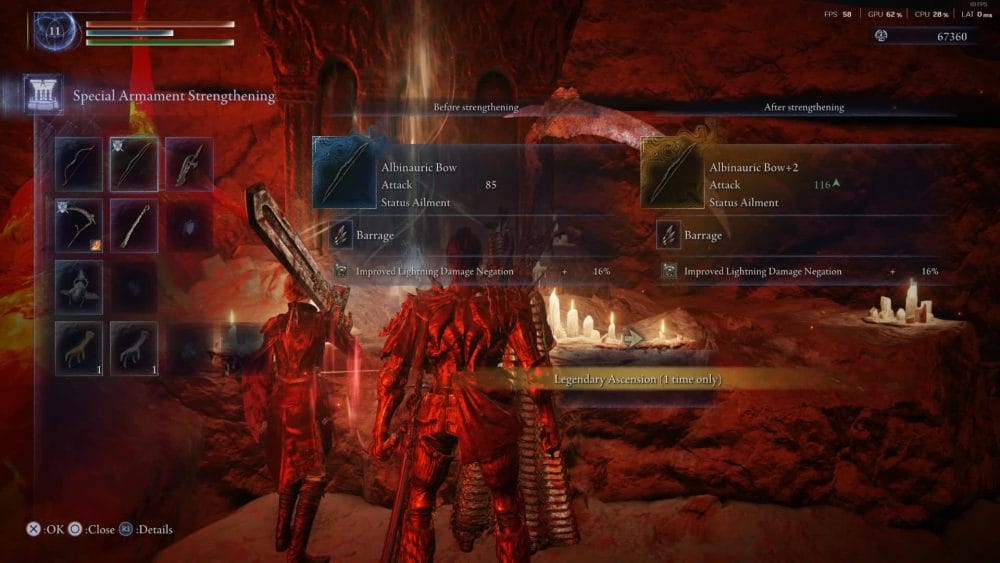
The other way you can upgrade your weapons is through the Shifting Earth events, specifically the Volcano that spawns in the middle of the map. Once you reach the bottom of the volcano, you and your team can all upgrade a weapon to legendary after defeating the Magma Wyrm. We admit that any time our group saw the Volcano event happening, we almost always made a beeline for it as the power shift it provides is huge going into Night 3.
Tip #2 Clearing Field Bosses: One of the most challenging aspects of Day 2 that you and your team will more than likely run into is the various field bosses scattered around the map. These bosses pop up on the map as blueish purple-tinted masks with a red outer edge. These bosses are different from your standard ones that roam the ruins around Limveld in the fact that, well, in simplest terms, they are meant to be a challenge.
The rewards for these enemies are always at least a purple weapon or stat buff, and while we will agree they are always worth pursuing if they’re in your path, we would highly recommend your team being at least level 9ish so you can handle these bosses without too much trouble. They are almost always worth fighting if you can and well. It’s mostly up to you whether or not you want to be prepared or not. Just know some of them are far from a walk in the park.
Tip #3 Make Sure You Pay Attention to the Zone: It might seem like a bit of an afterthought to even include this, but it is imperative that you watch the zone on Day 2. Not only will it wipe your team if you get caught in it, but nothing is worse than being ready for the Day 2 boss just to get caught with your pants down right before it all comes together. Always clear the map as you make your way towards the Erdtree icon on the map, and always pay attention to the circle.
Day #3: The Curtain Rises

Well, you made it this far, and honestly, we can’t really help you at this point. Everything you prepared for in the last twenty minutes will be tested to its full extent. You’ll laugh, you’ll cry, and at the end of it all, you are either going to succeed or fail. All we can give you at this point is a pat on the back and wish you luck. The night is dark and full of terrors, and only you can save Limveld from the Nightlords.
Bonus: Random Tips to Make Your Life Easier
Tip #1: Always use Golden Chicken Feet for more runes/Silver Chicken Feet for better items out of chests.
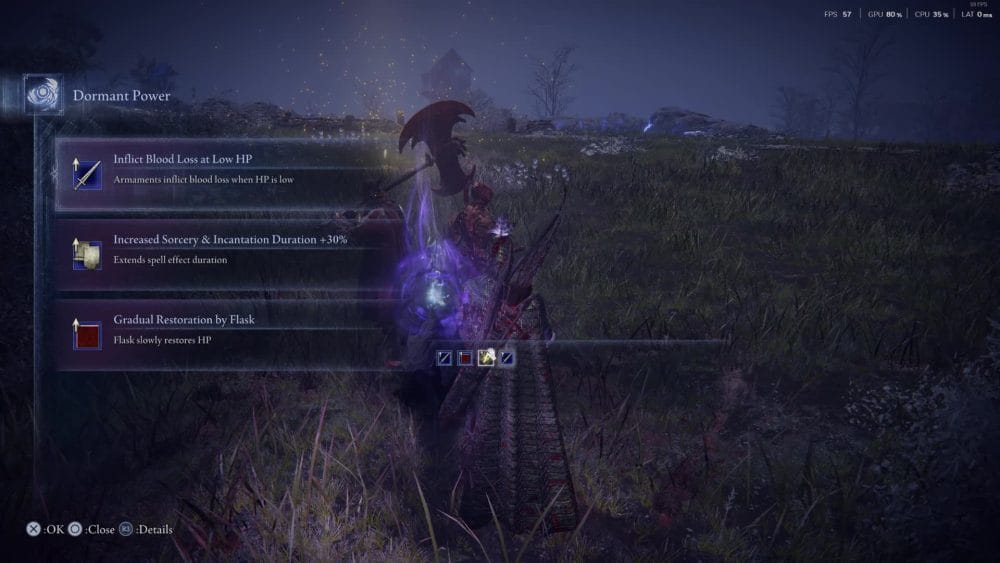
Tip #2: Never take flask upgrades that make your flask heal over time. This makes it so that if you need to save yourself in a pinch, you lose the immediate heal in place of a slow regen. Carrying warming stones does the same thing, but doesn’t nerf your recovery.
Tip #3: Abilities that trigger when you walk can be spammed by nudging your analog stick again. This means that they do not proc off you holding the analog in a direction, but rather the initial press.
Tip #4: Dead player phantoms can be randomly located around the map where other players died. This can be a free way to buff yourself, as these items will have a new passive on their starting gear.
Tip #5: Picking up fire/poison/holy greases that you see in the world is an easy way to ensure you always have a counter for the specific Nightlord you’re fighting.
Tip #6: Spectral Hawks are a blessing and a curse if you aren’t paying attention. Make sure the stream is going the way you want to go.
That was our Elden Ring Nightreign Beginner’s Guide! We hope you found it helpful, and if you have any of your own tips you would like to share with your fellow Nightfarers, leave them in the comments below.


