
Looking for a combat focused action adventure game with a veritable shed load of weapon variety? Good news, Blades of Fire has just released and has 30+ different weapon types with a huge amount of customisation and vast quantities of things to whack with them. We’ll be going in-depth into the forging mechanics for the weapons in our Weapon Forging Guide, but in the meantime, here’s our Blades of Fire Beginner’s Guide to get you set up on your adventure!
You can read our full review of Blades of Fire here!
Hack and Slash
Weapons and Damage Types
The main focus in Blades of Fire is the combat. There’s no levelling or character stats to worry about, but you’ll need to master enemy armour types, weaknesses and directional attacks in order to survive.
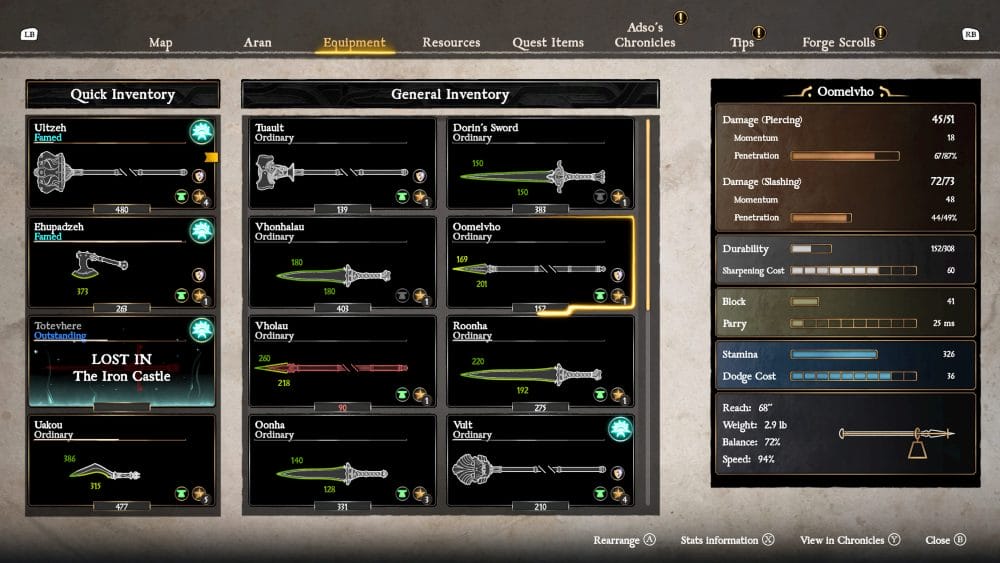
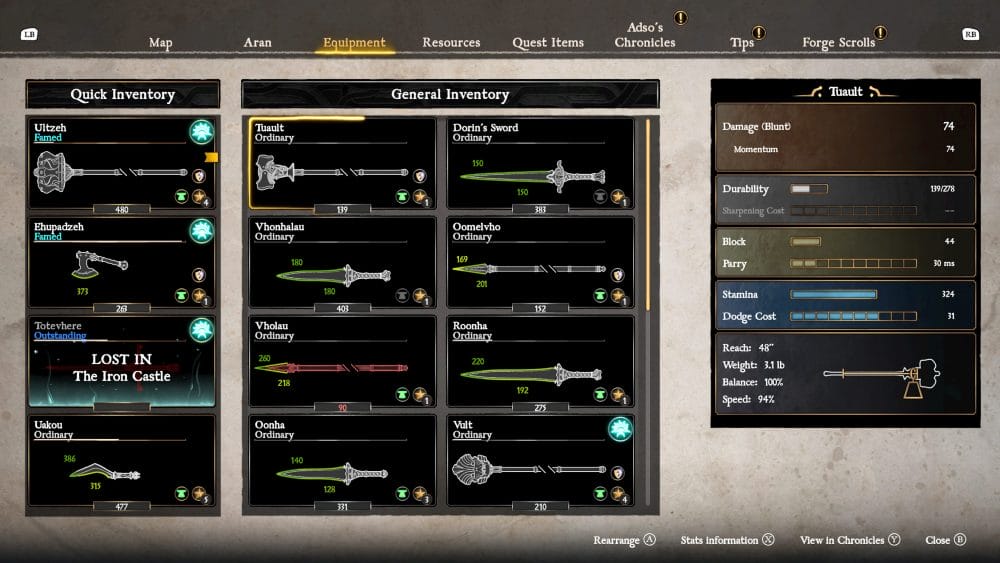
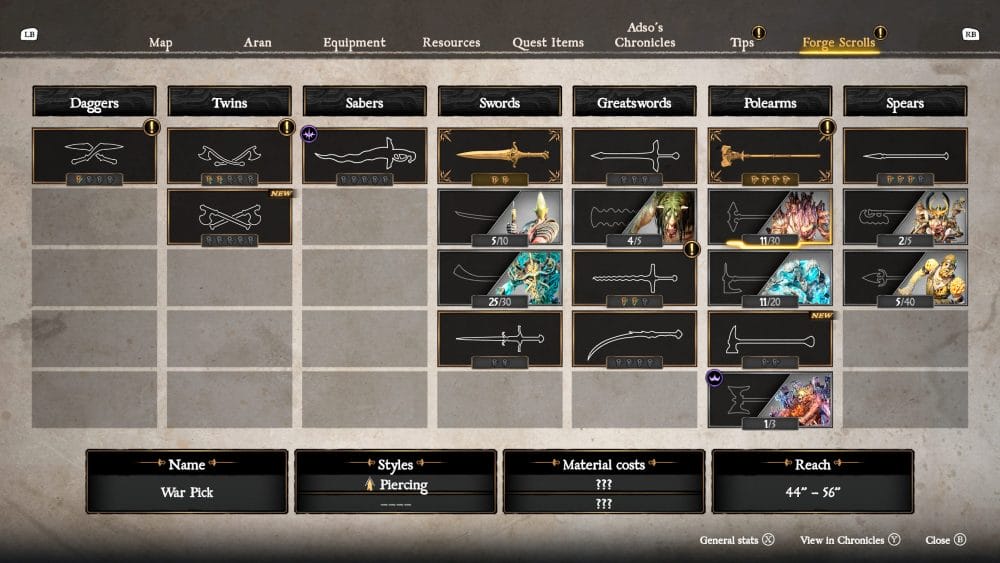
Each weapon has one or two damage types, which you can see on the forging menu when crafting, or your equipment menu.
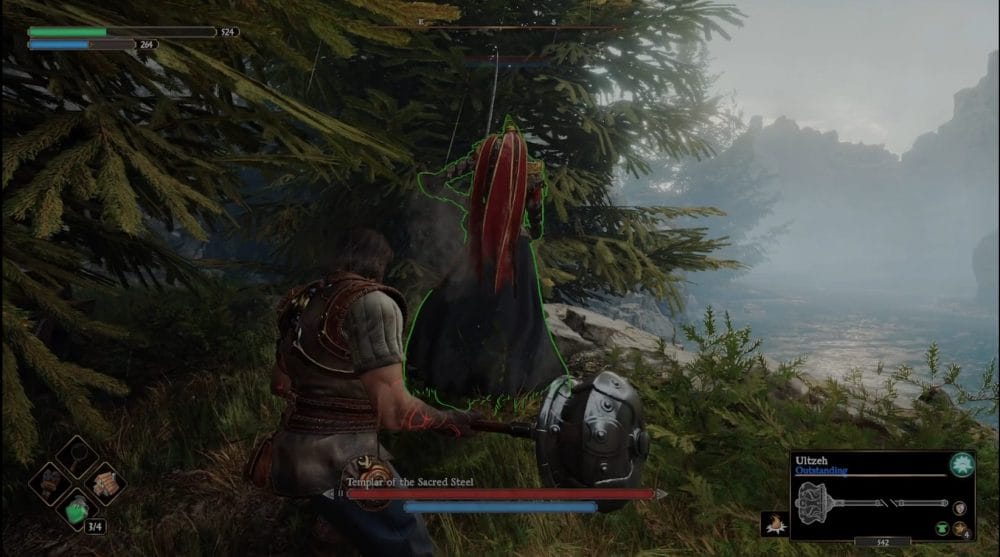
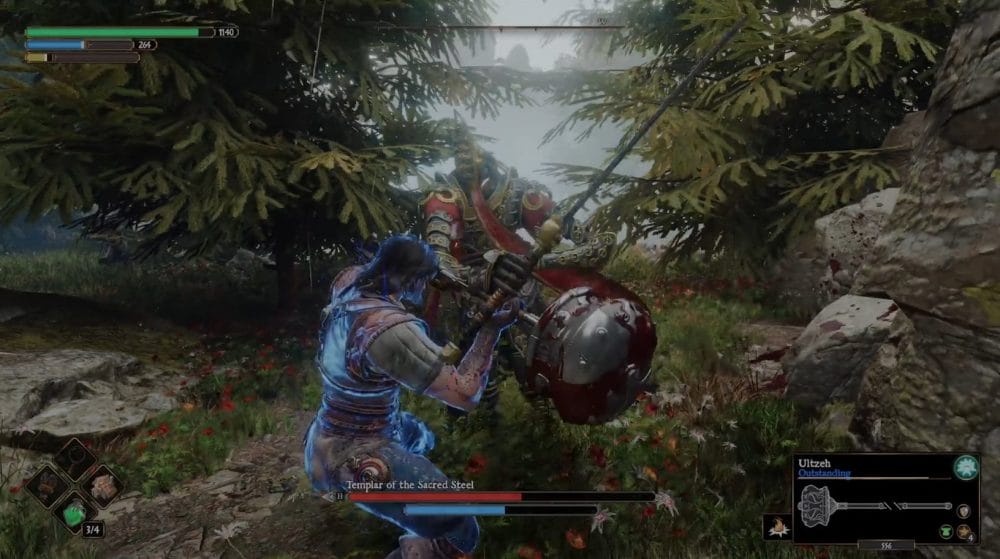
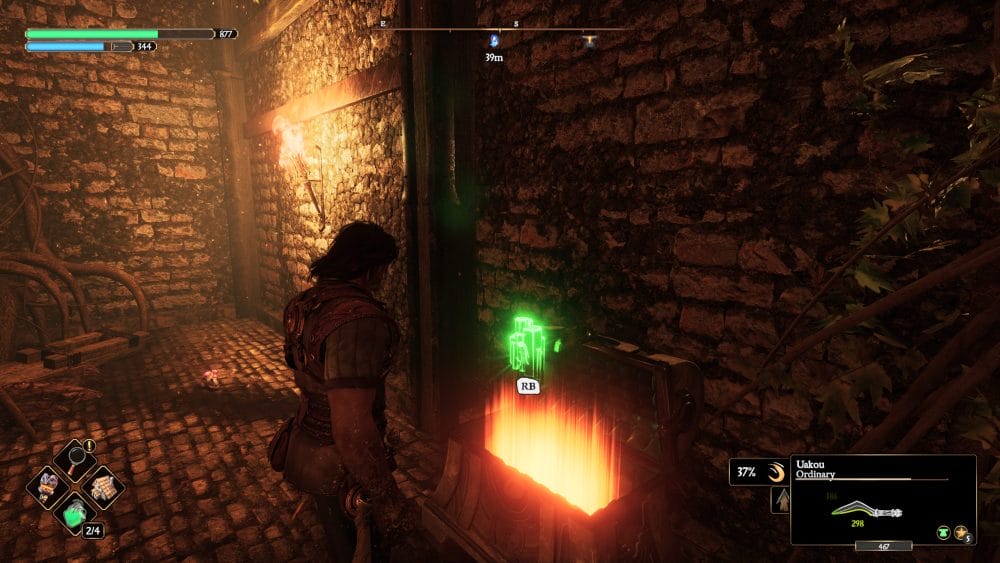
There are 3 main damage types; Blunt, Piercing and Slashing and each enemy will be weak to at least one of them. When you lock on to an enemy their silhouette will light up in either green, yellow or red.
Green means they are weak to the damage type of your weapon. Yellow means they can be damaged by it, but won’t take full damage, and Red means that they will take minimal damage, and your attacks will bounce off. This outline will reappear when you switch your weapon, so try cycling through different ones to assess the weakness of your foe.
In order to switch between damage types for weapons with more than one, you’ll need to hit the right trigger. You can see what type of damage you’re currently doing by looking at the icon next to your active weapon.

Directional Combat
You can attack in four directions using each of the face buttons (X/Square – Left, B/Circle – Right, A/Cross – Upwards, Y/Triangle – Downwards). Some enemies will have different weaknesses at different areas, which again will be highlighted by colour, so make sure you have the correct weapon and are attacking the correct areas in order to maximise damage.
Dodging is also directional. As an enemy attacks, you can hit the left bumper to dodge (double tap to roll). When combined with a directional input, you will dodge in that direction. If you successfully dodge an attack, the camera will slow down slightly, and you can move in for a counterattack. Careful though, as a lot of enemies have follow-up attacks in the opposite direction to catch you off guard!
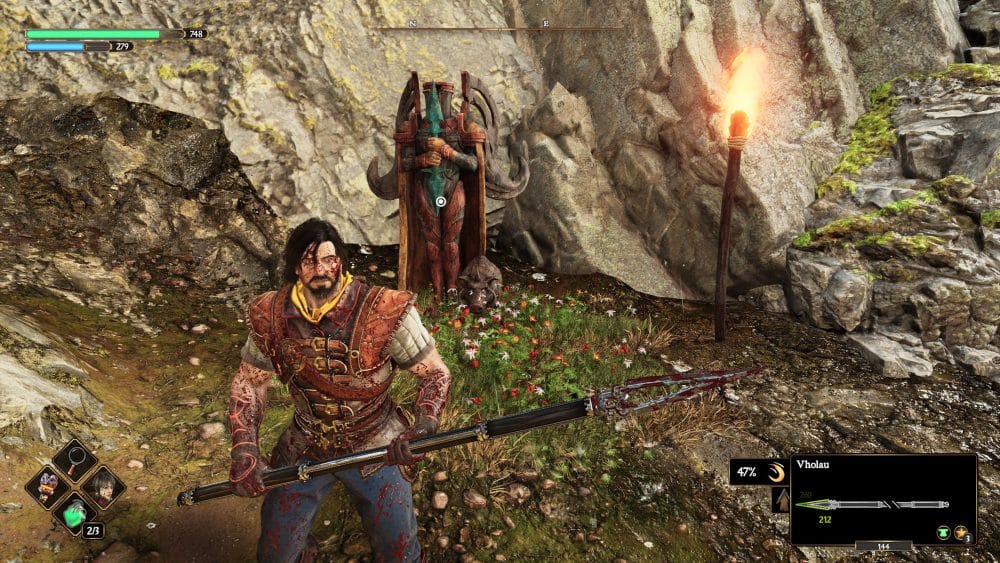
Dodging uses stamina, and as you can see in the screenshot above, each weapon has its own stamina value (meaning used stamina when wielding) and dodge cost (how much stamina you use to dodge whilst wielding). Larger, heavier weapons generally have lower stamina reserves and a higher dodge cost, so you may want to defend yourself in other ways.
Defending and Parrying
If dodging is less your speed, each weapon also has a parry window, and you can block by holding the left trigger.
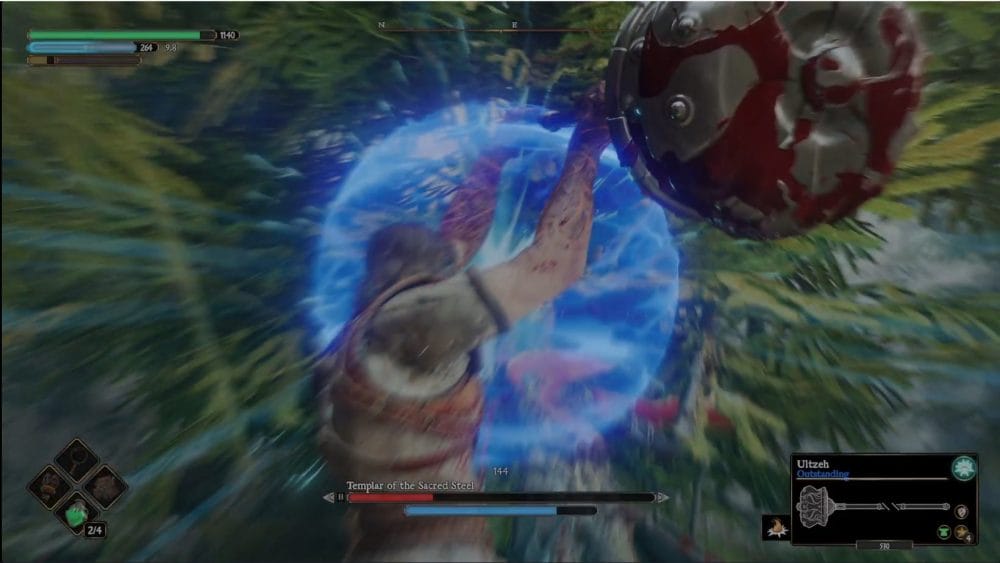
When blocking, you’ll recover stamina using your Breath of Fire technique. Aran will glow blue, and you’ll recover stamina rapidly. Use this after retreating slightly to regain your stamina to keep attacking.
You don’t lose stamina when blocking – you do lose stability. Stability is the small yellow bar under your stamina bar, and when it goes down to zero, you’ll be staggered. So don’t think you can just stand and block a barrage of hits.
If you can manage to get off a parry, by hitting block just before the enemy’s attack connects, you’ll also get a short time frame where you do not lose stamina when attacking.
Enemy Types, Weapons and Upgrades
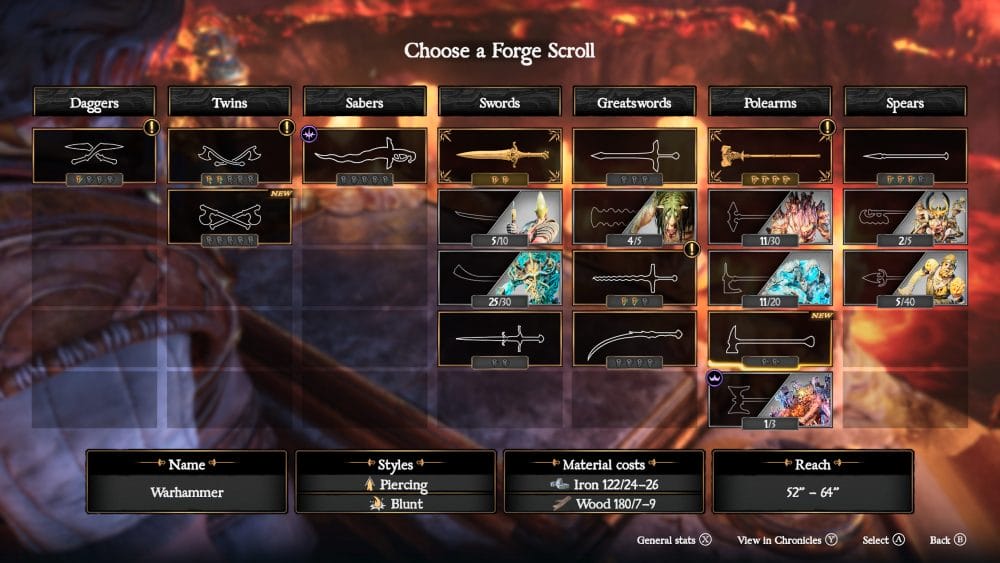
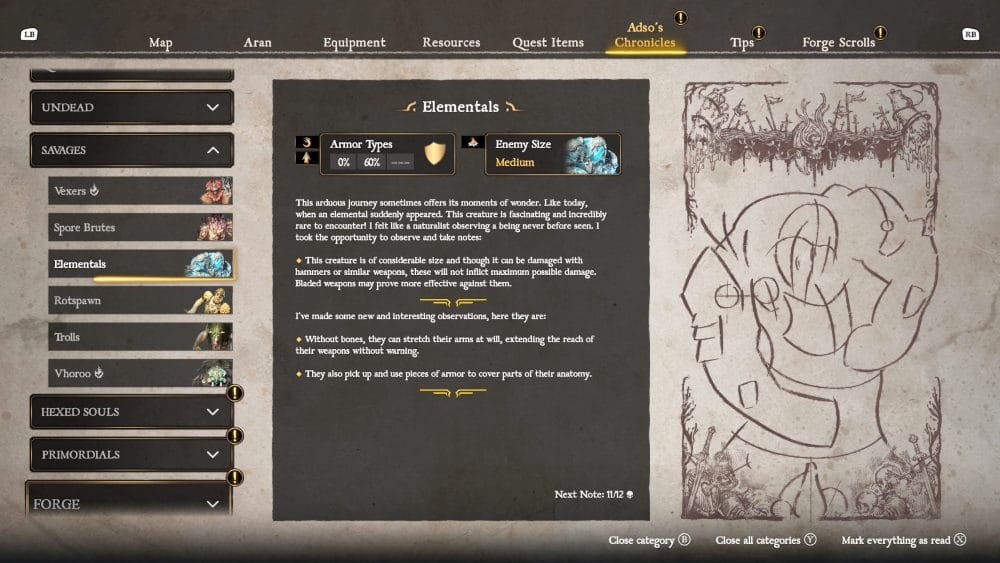
In order to unlock different weapons, you’ll need to hunt down and defeat a certain number of specific enemies. The number you have defeated is tracked in Adso’s journal, where he’ll also list enemy behaviours and the best way to tackle them. You can see how many you need to defeat in the Forge Scrolls section of the menu.
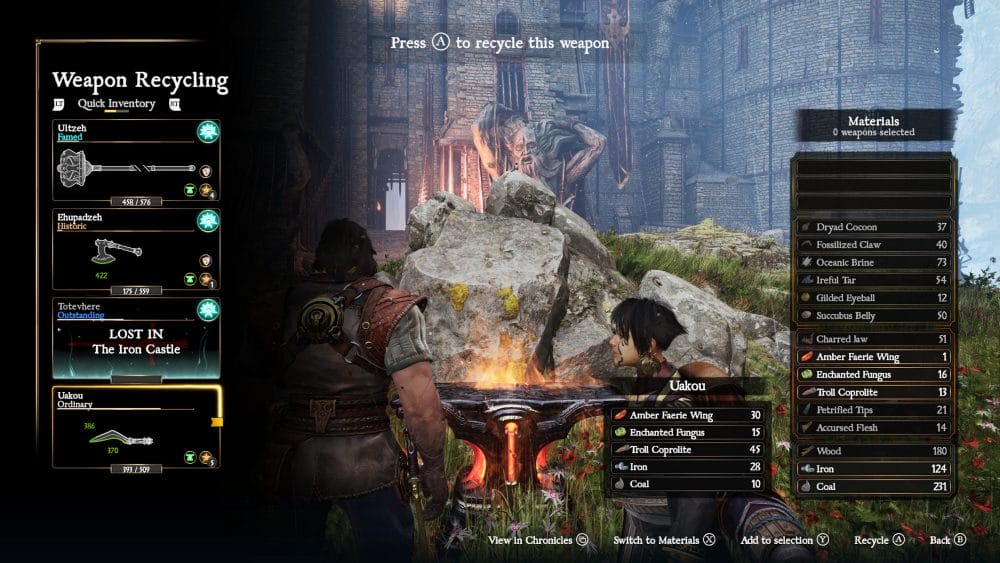
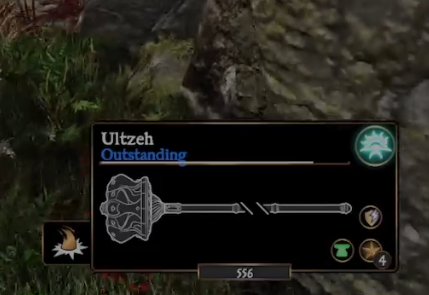
Defeating enemies will also give you resources, which you use to forge better types of Steel and Wood for your weapons, so don’t be afraid to go back to areas and explore. You can also reclaim resources by recycling weapons at an anvil – instead of keeping all of your old equipment that is made of lower quality steel, consider either recycling it or offering it up to a certain NPC if it has reached enough renown (indicated by the coloured text under the weapon name).
You can also find weapon shrines, that when interacted with while holding the specific type of weapon shown, will unlock a permanent modification to that particular type of weapon.
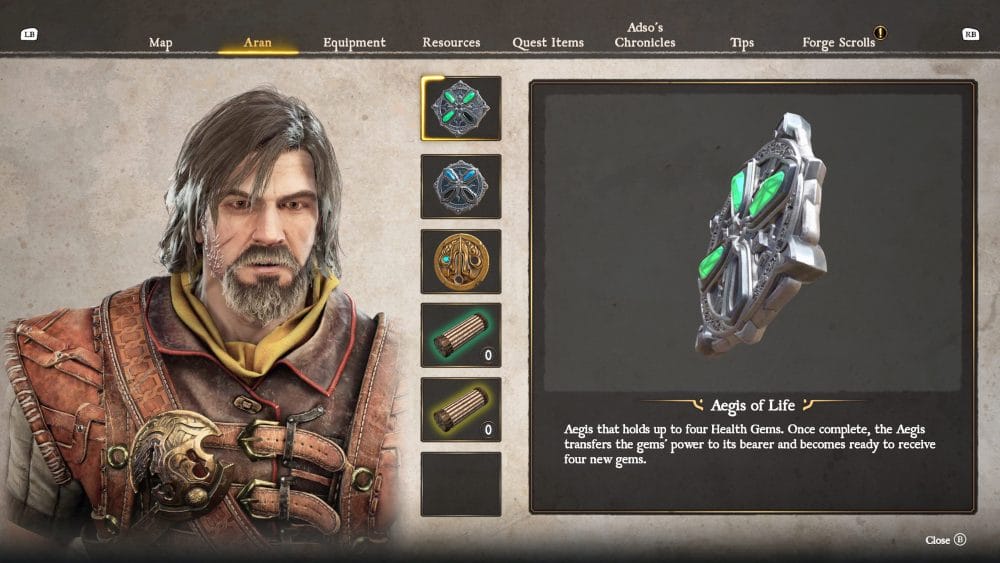
Speaking of exploration, given there’s no levelling in the game, you increase health and stamina by filling your medallions. These are in the menu, and for every four you find, Aran will gain a permanent boost to his health bar or stamina bar. All of these crystals are found in chests hidden around the map, so take your time to backtrack and you’ll be rewarded with better survivability (you can fast travel between anvils – so don’t run all the way!).
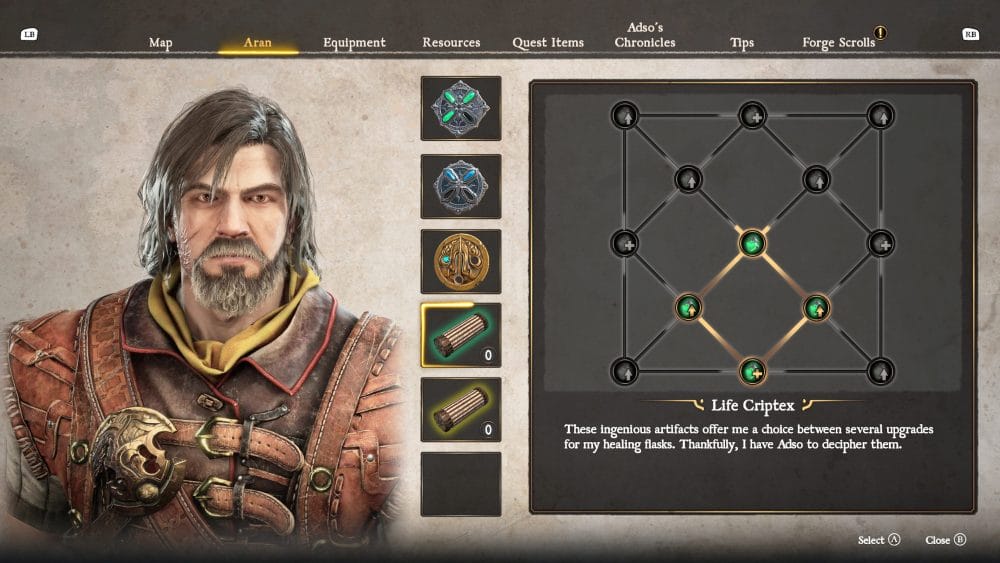
Also found in these chests are Forger’s Criptex. These can be read by Adso (he can be summoned by holding down right on the D-pad, just in case you sent him back to camp to update his journal) and will either upgrade your healing flasks, or give you a permanent repair star to specific weapon types.
Exploration
True to MercurySteam‘s roots in developing metroidvanias, there’s a lot of backtracking to find secrets and shortcuts throughout the world.
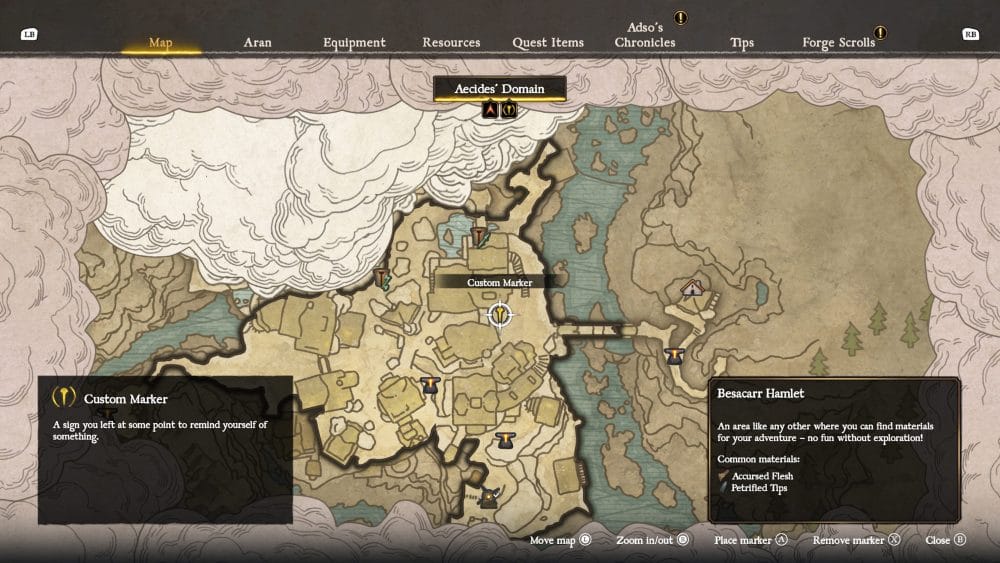
You can keep track of things you’ve found but are unable to unlock yet by using map markers – be warned, they will disappear when you get close to them – so if you find a gate that needs a key, pop one down so you can find it again later.
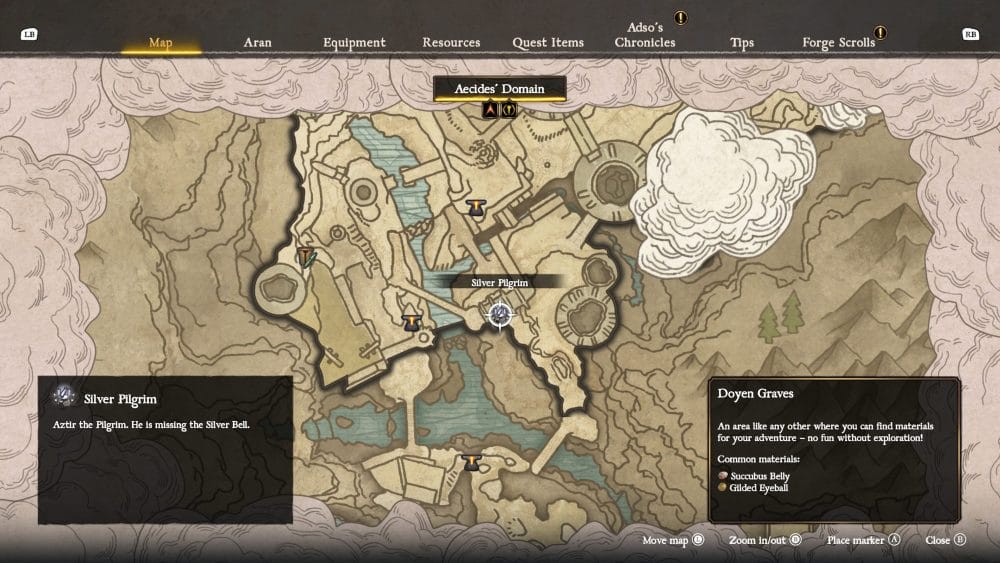
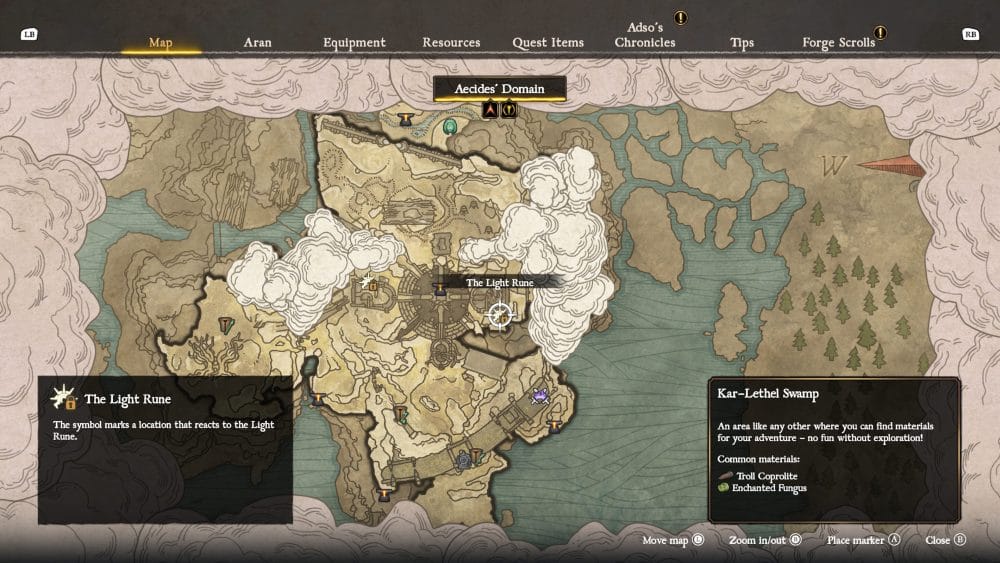
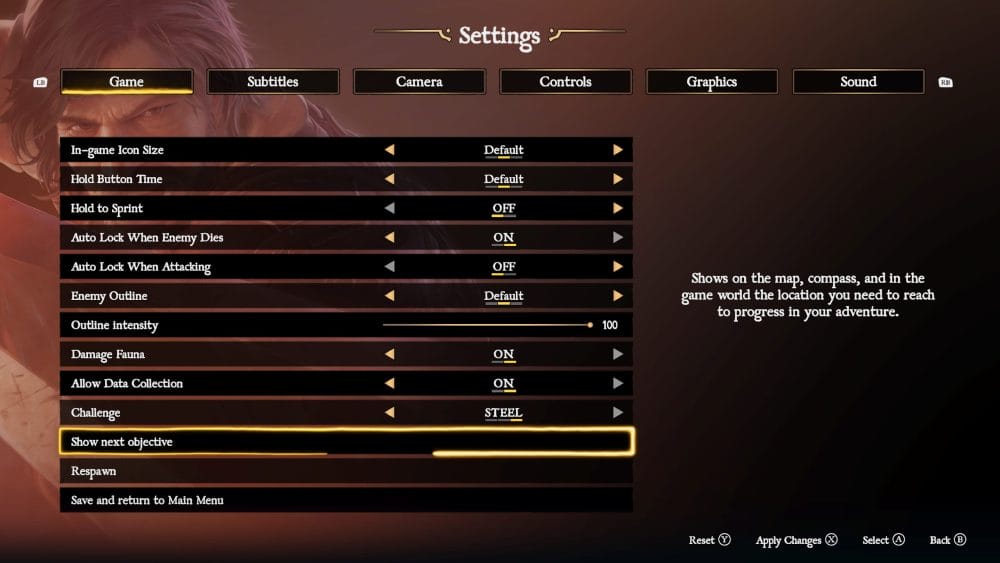
Also, if you’re stuck trying to find your way to the next objective,e there’s a feature in the pause menu that will highlight it on the map. It only highlights the next objective, it’s not permanent so give it a click if you’re struggling, but don’t worry about it turning the game into a follow the objective icon!
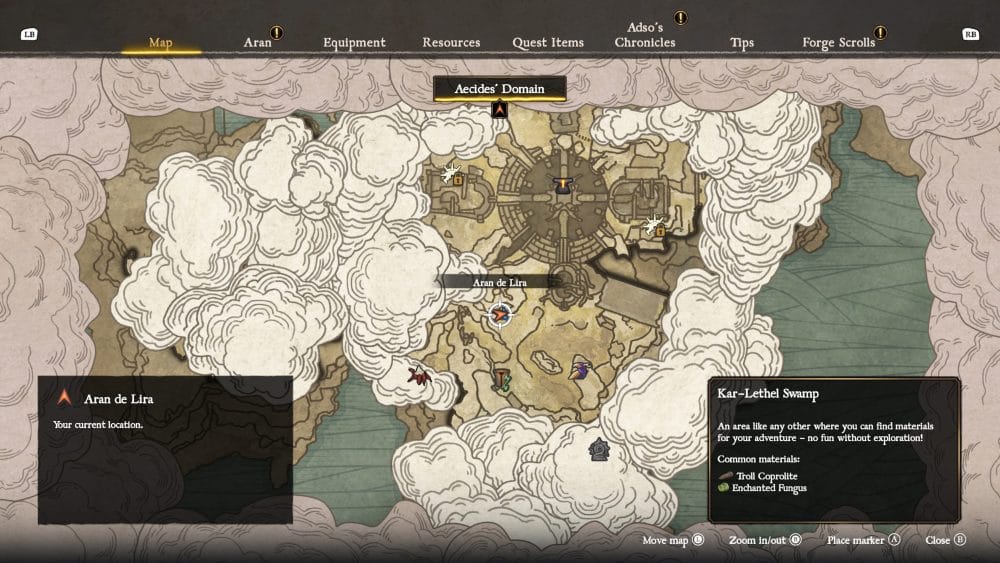
Certain points of interest that you will need to return to later are automatically marked, so checking the map often is a good way to see if you need to return to an area for upgrades, resources or maybe even a hidden boss!
And that’s everything in our Blades of Fire Beginner’s Guide! There are a lot more things you’ll encounter on your journey to kill the Queen, so keep an eye out for more coverage for Blades of Fire!