

Not sure if this monstrous metroidvania is for you? Check out our review of Kong: Survivor Instinct here!
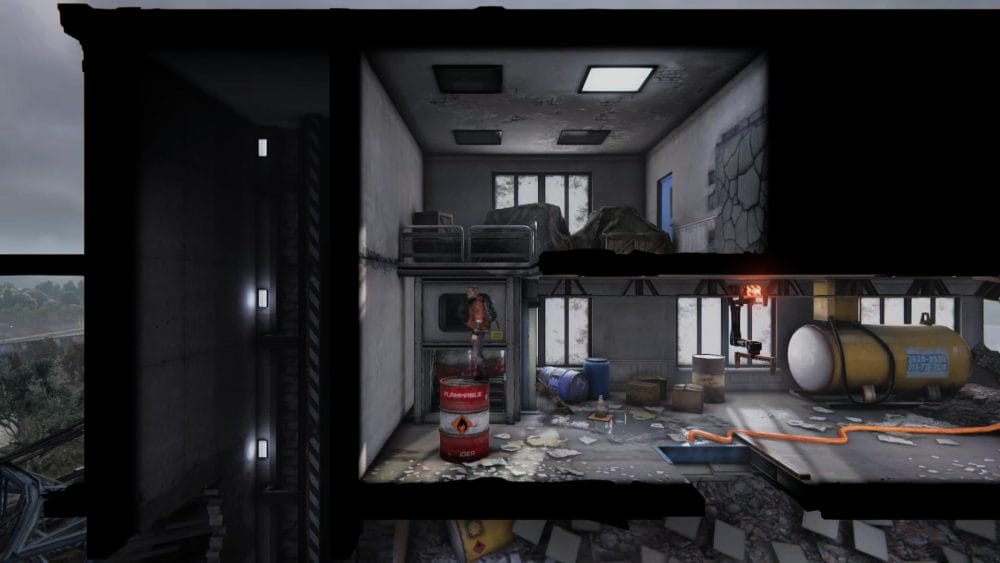
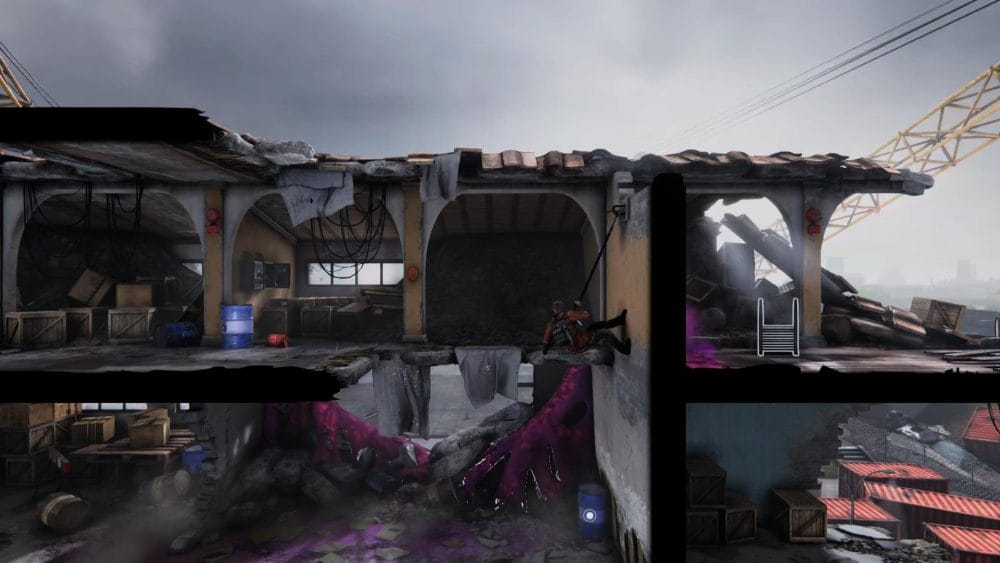
Metroidvania games have a couple of core elements that make up their identity and experience. While 7Level‘s Kong: Survivor Instinct has a more pared down design, a Metroidvania-lite if you will, it still has a couple of them; collectibles and upgrades.
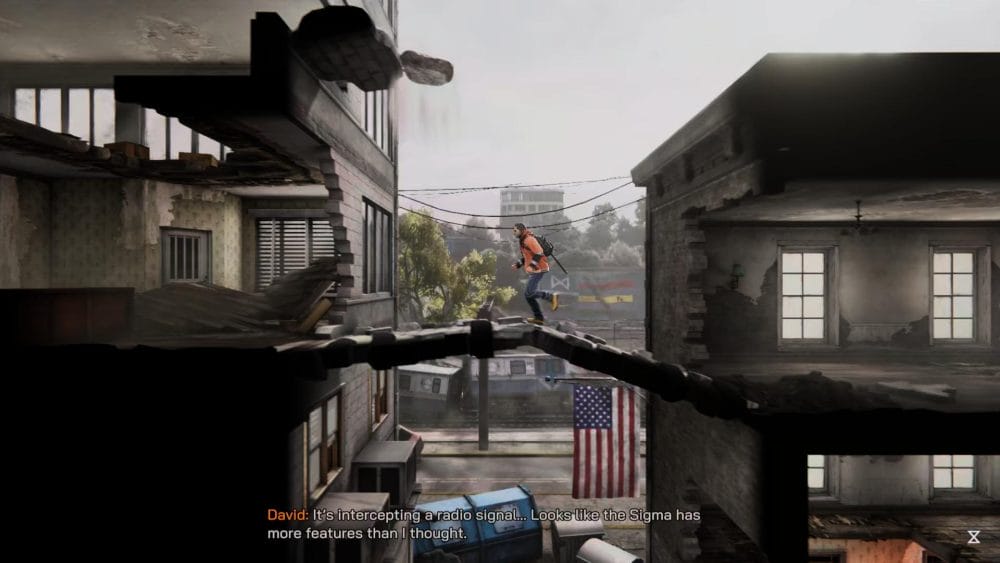
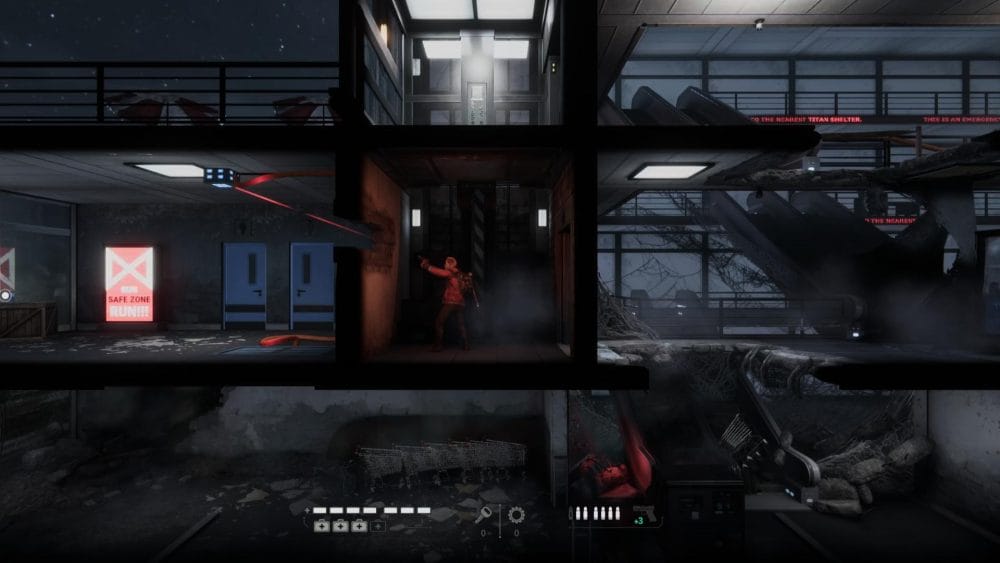
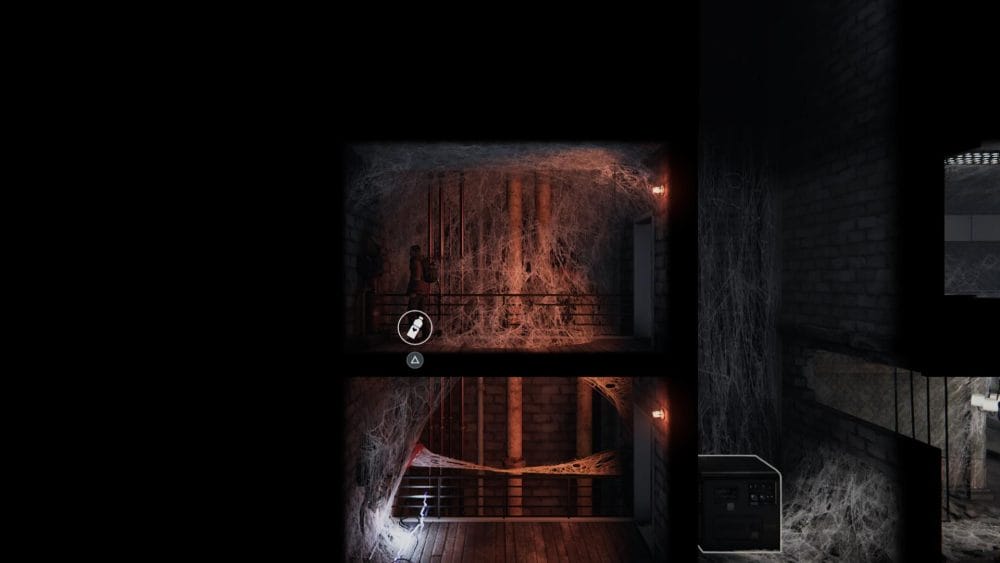
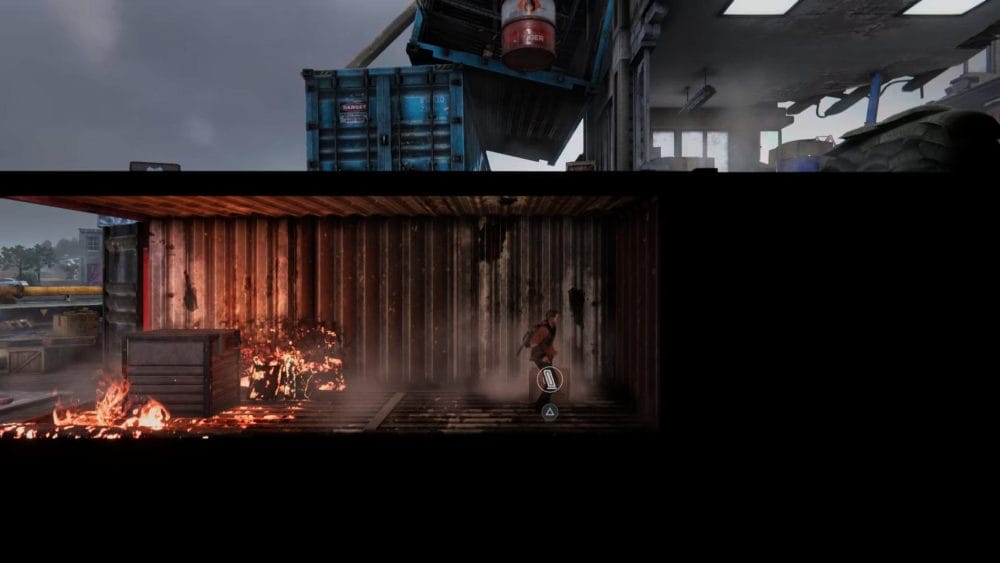
Throughout the crumbling concrete jungle there are three different collectibles and upgrades to look out for: intel logs, bottles of water, and pistol magazine extensions. Every two water bottles gives the player protagonist David another hit point, while each magazine extension let’s his pistol load one extra round. The intel logs come in two forms, text files revealing more of the game’s story, and datafiles for many of the Monsterverse’s colossal kaiju.
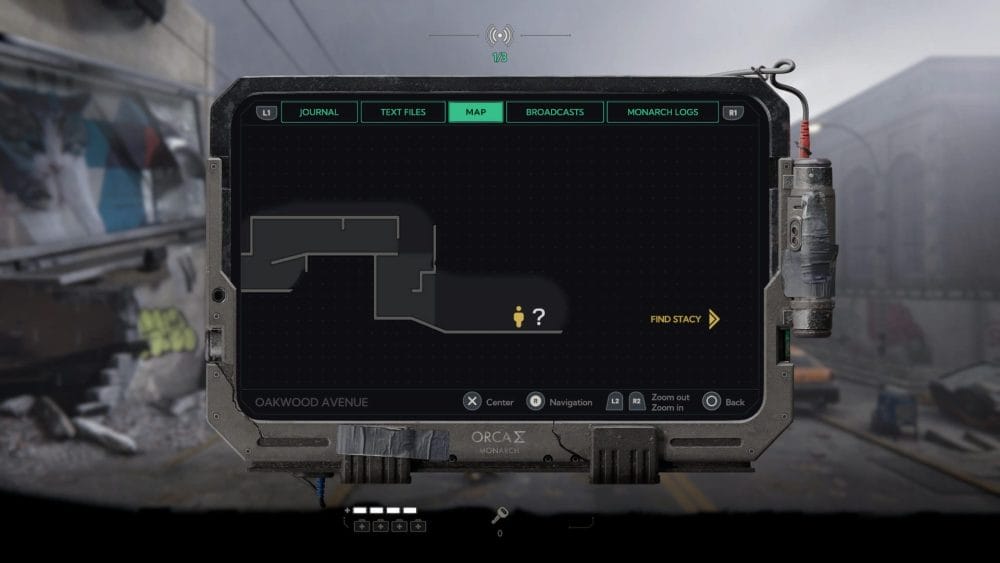
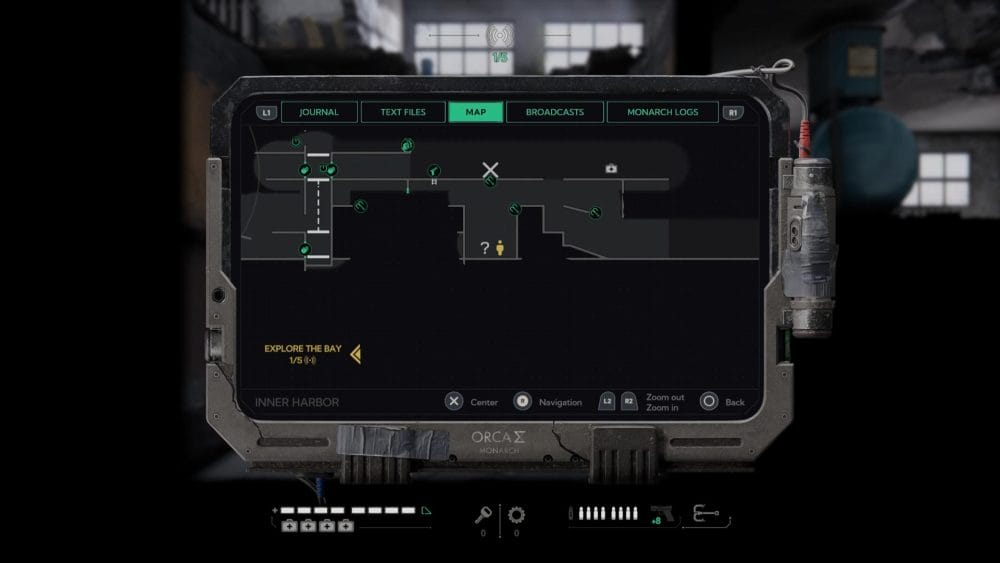
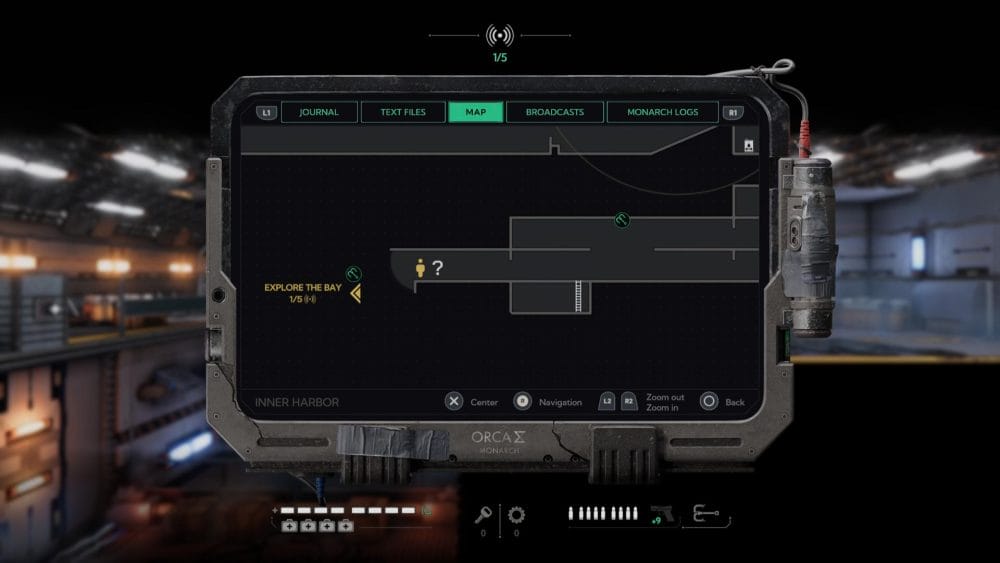
Author’s Note: This is not a full walkthrough of the game. I won’t be covering where to find each key and gear you need to reach the collectibles, in an effort to keep this guide to a sensible length. My tips to you are to keep an eye on your surroundings, pick up everything as you find it, and keep checking your map.
List of Collectibles & Intel Logs:
- Oakwood Avenue
- Town Hall Square
- Riverside Road
- Town Hall Square Part 2
- High Street
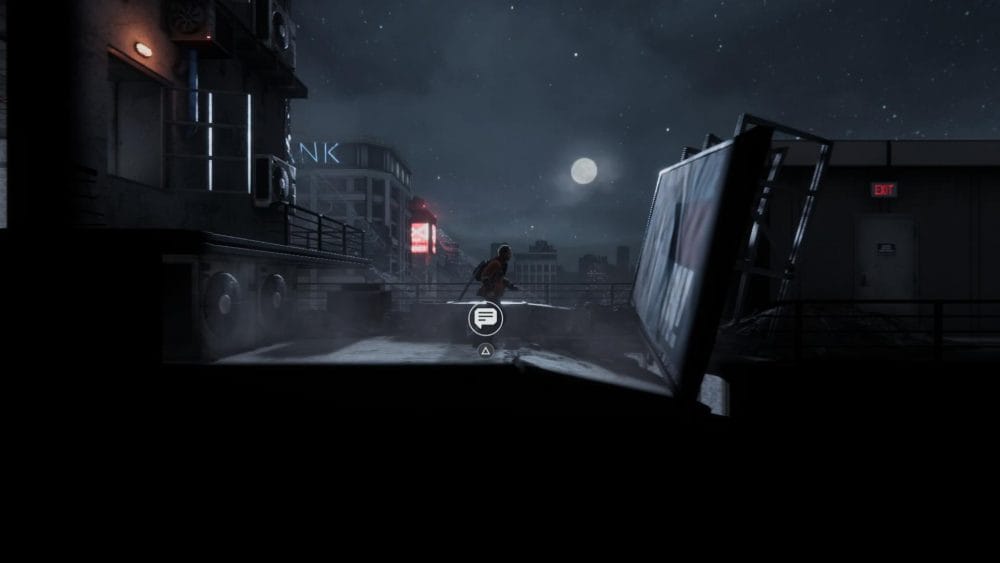
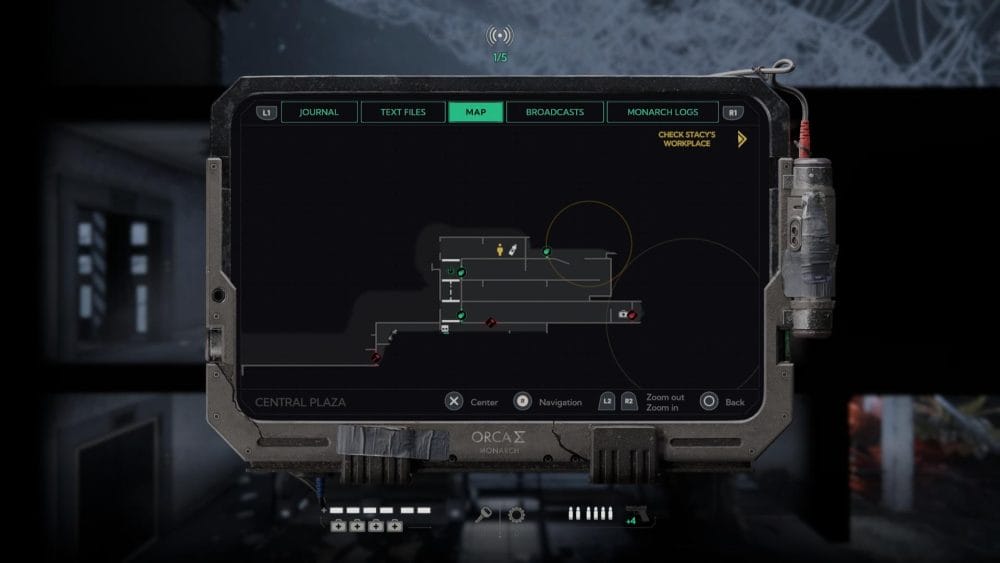
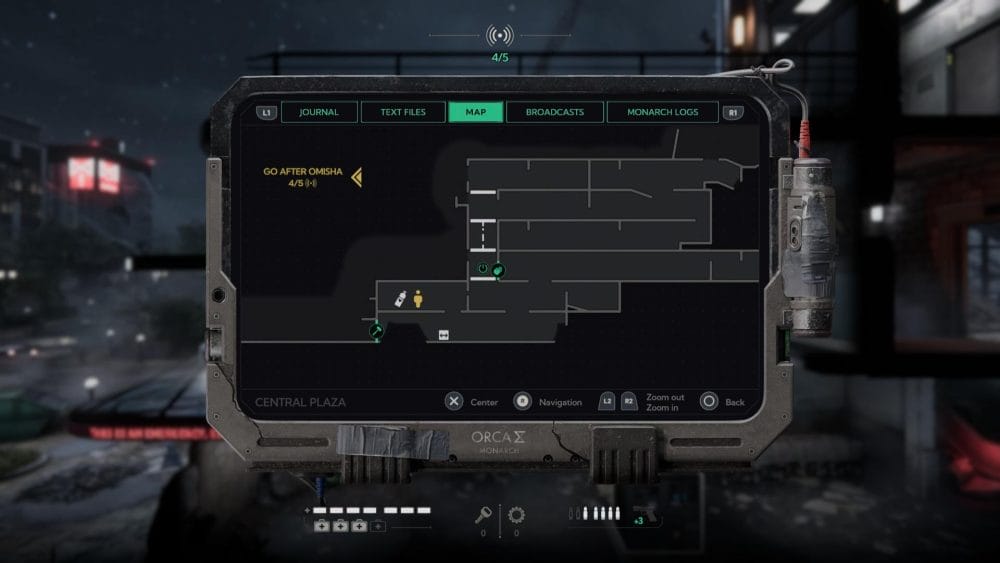
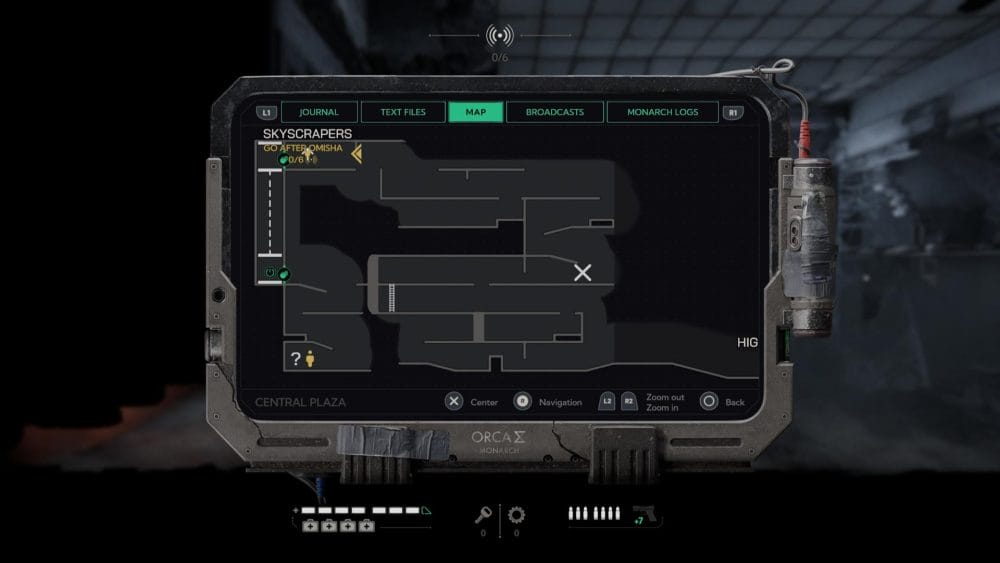
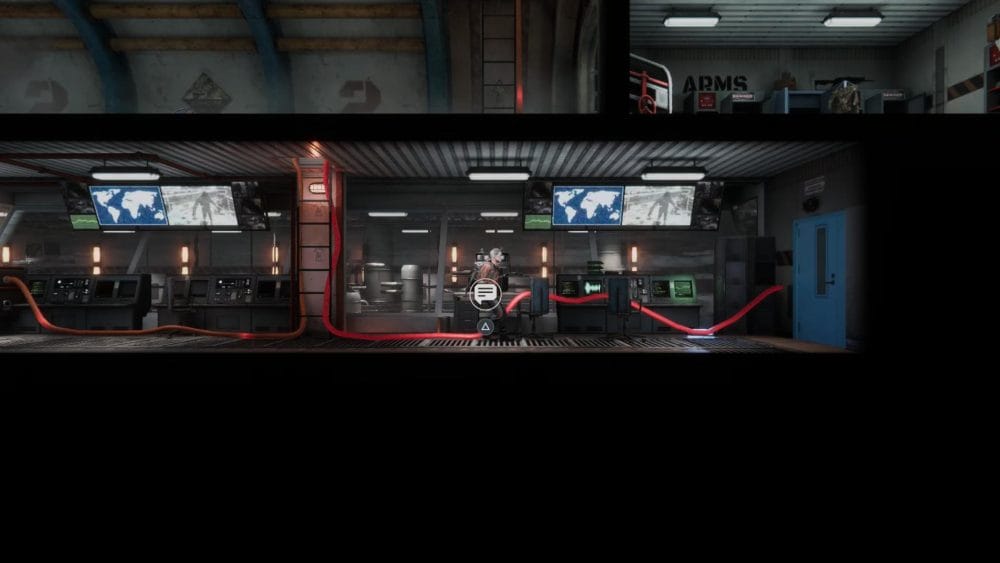
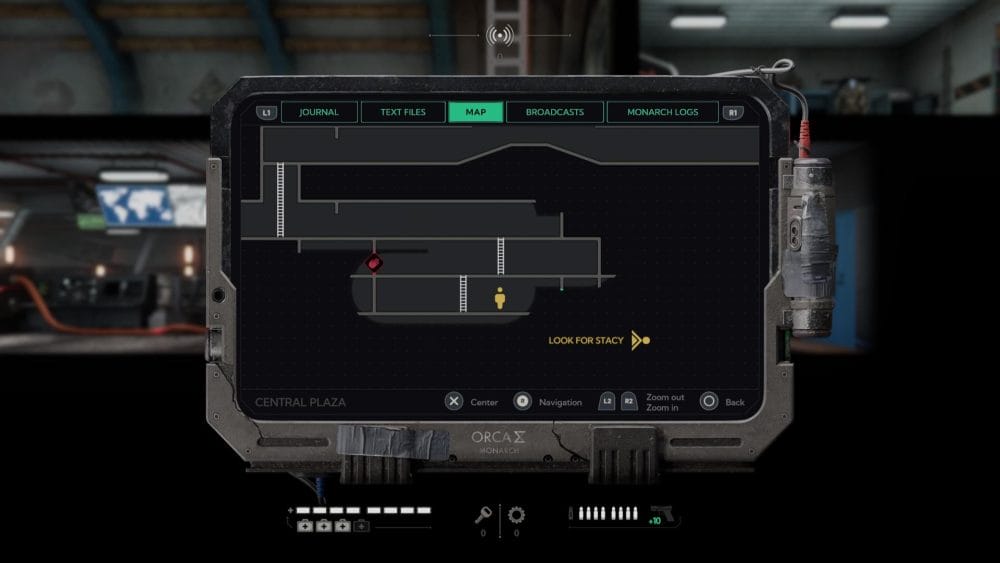
- Central Plaza
- Highrise Rooftops
- Central Plaza Part 2
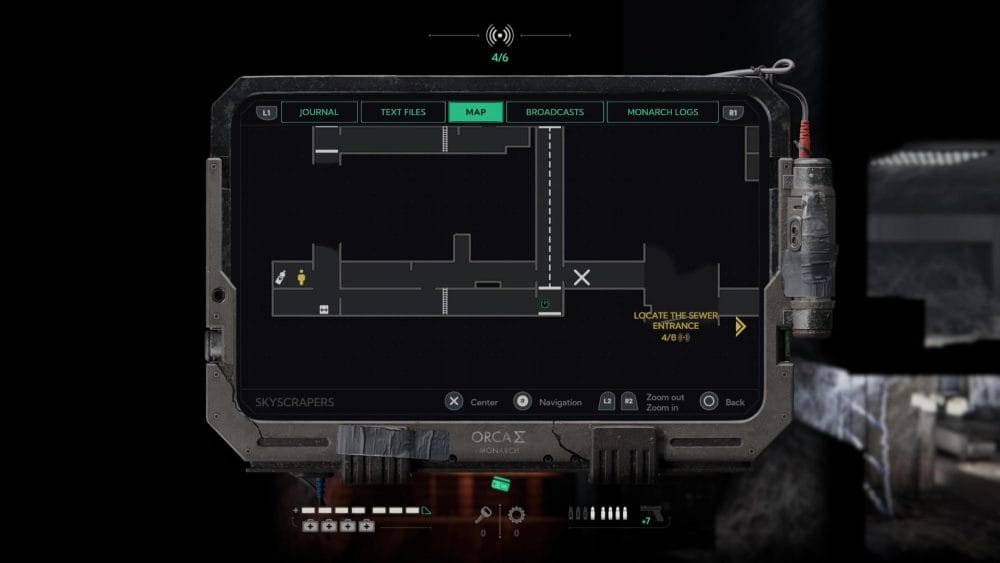
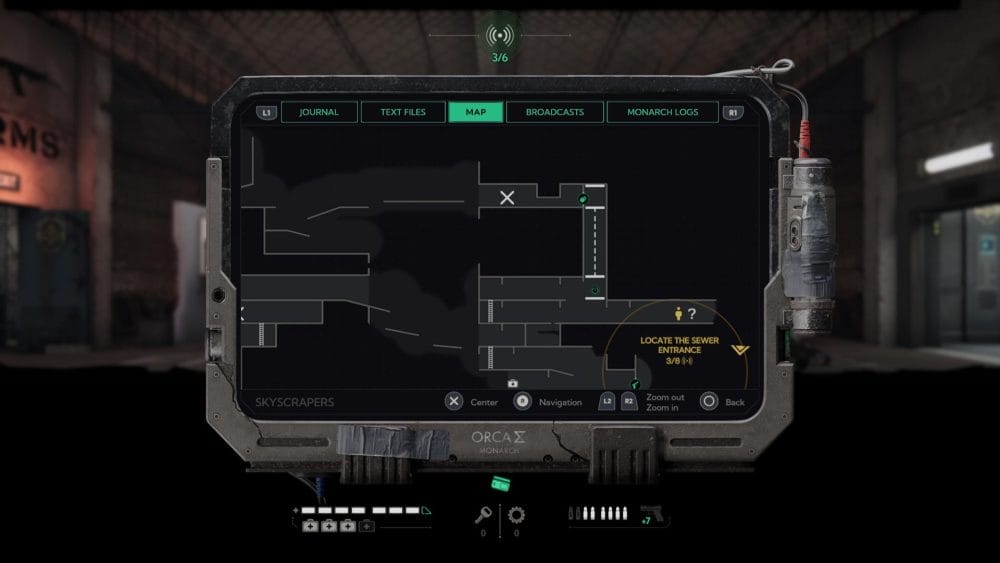
- Skyscrapers
- Central Plaza Part 3
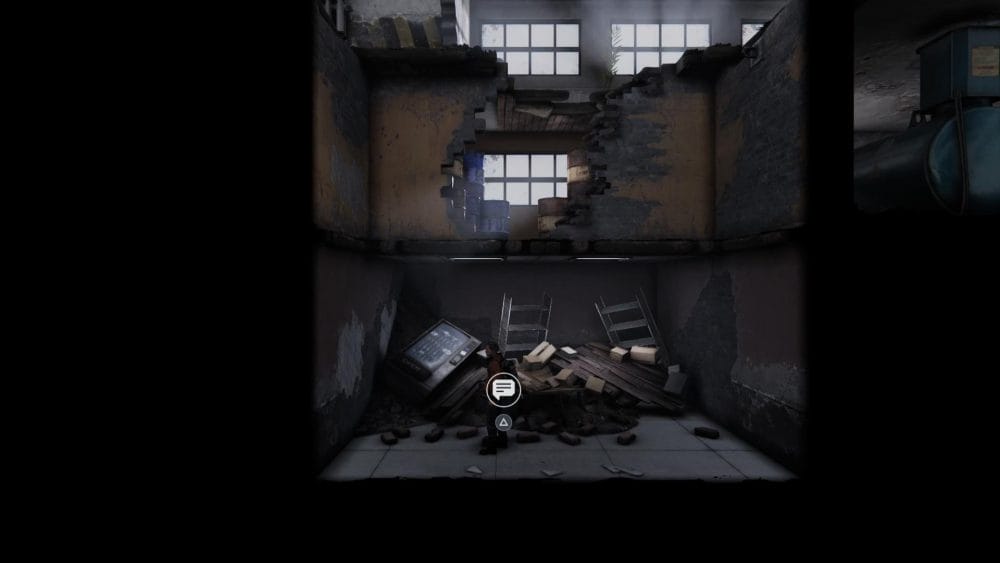
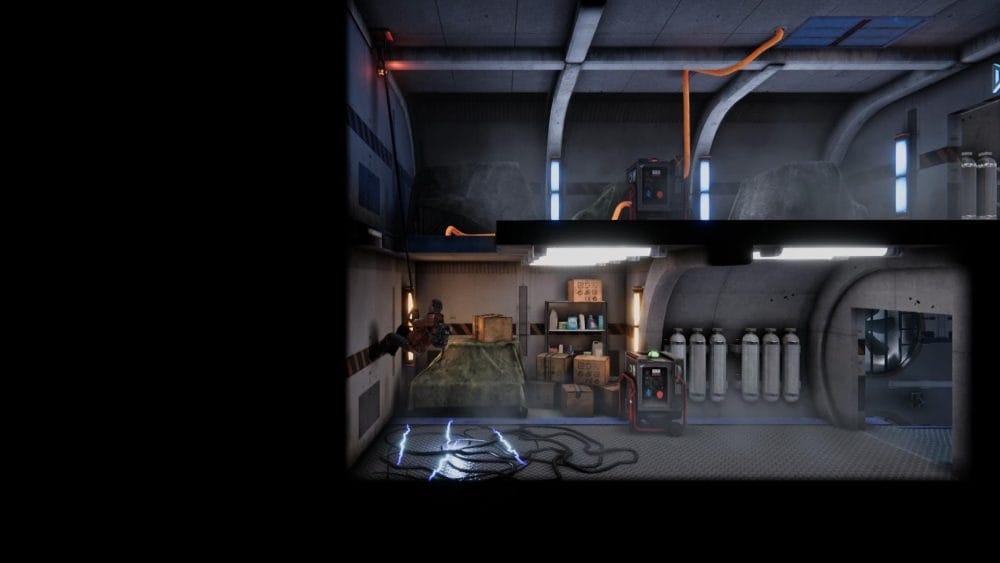
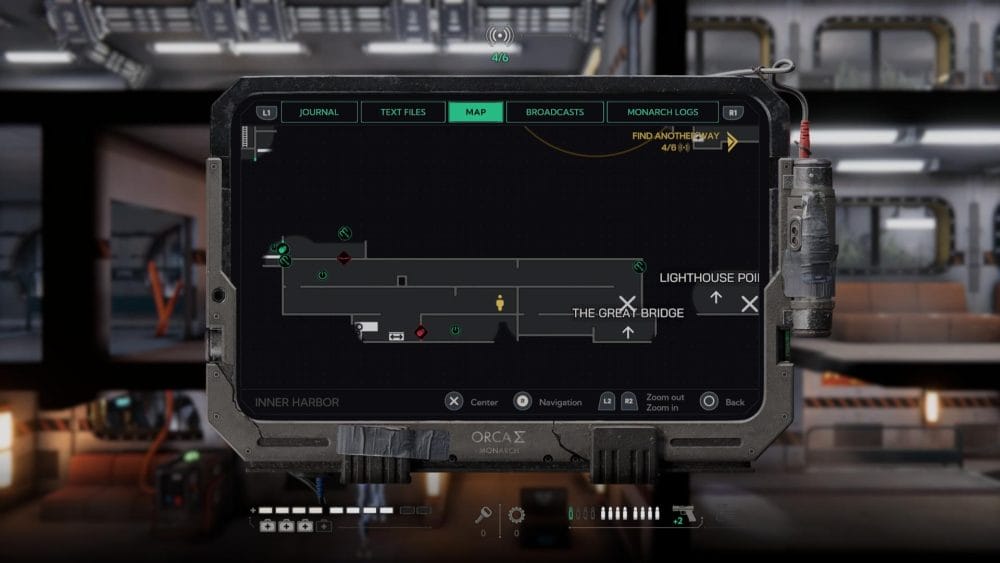
- Inner Harbour
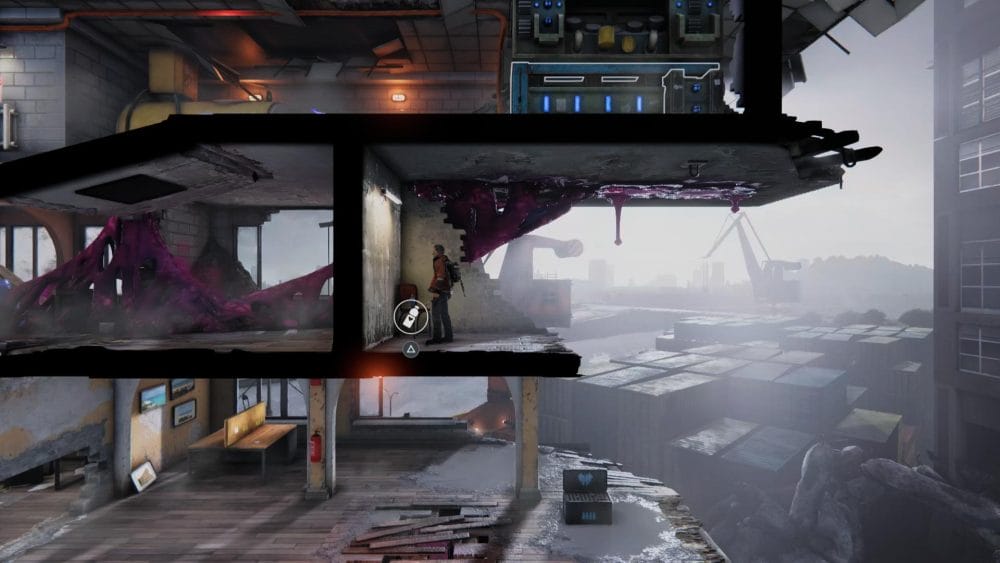
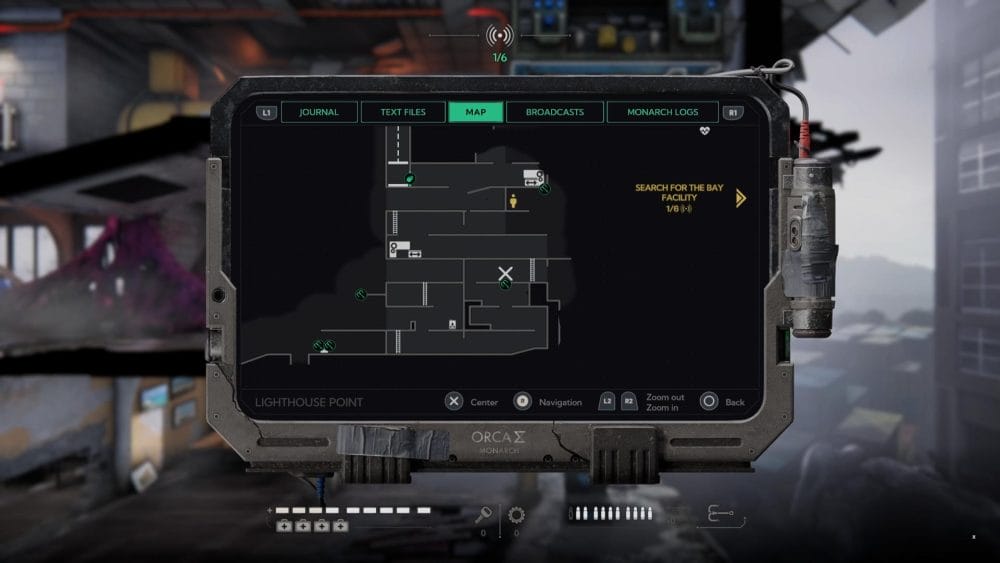
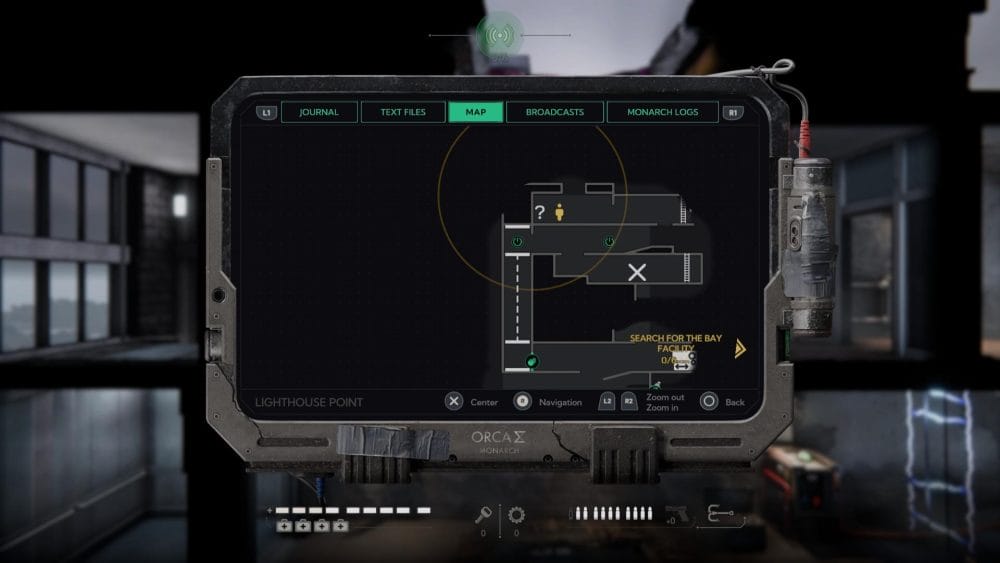
- Lighthouse Point
- The Great Bridge
- Inner Harbour Part 2
- The Great Bridge Part 2
- Hyenas’ Underwater Facility
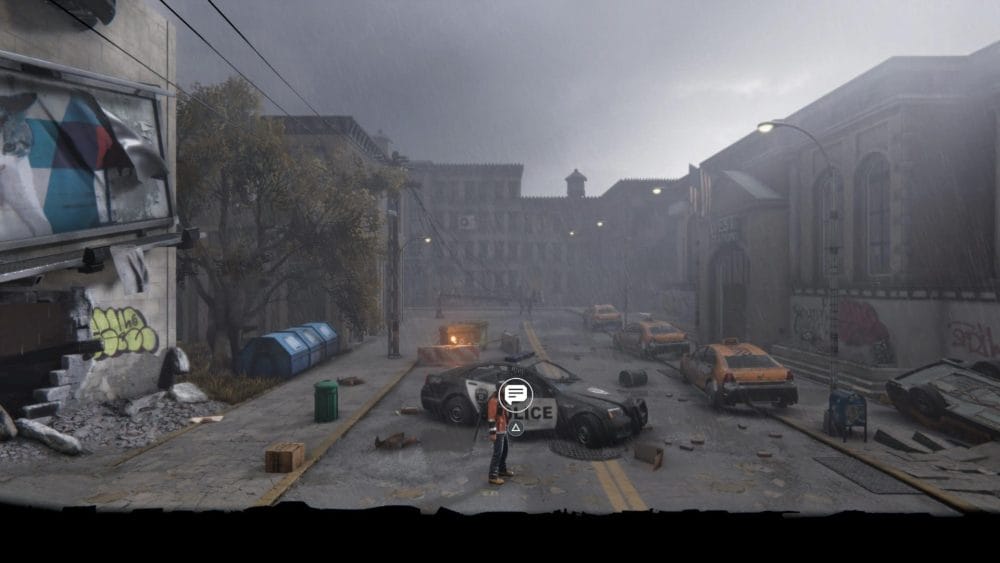
Oakwood Avenue
International Arrest Warrant – During this tutorial area of the game you will receive the Monarch Sigma Device. Carry on the linear path until you reach a police car after collapsing through a floor in a building; the first intel log is here.
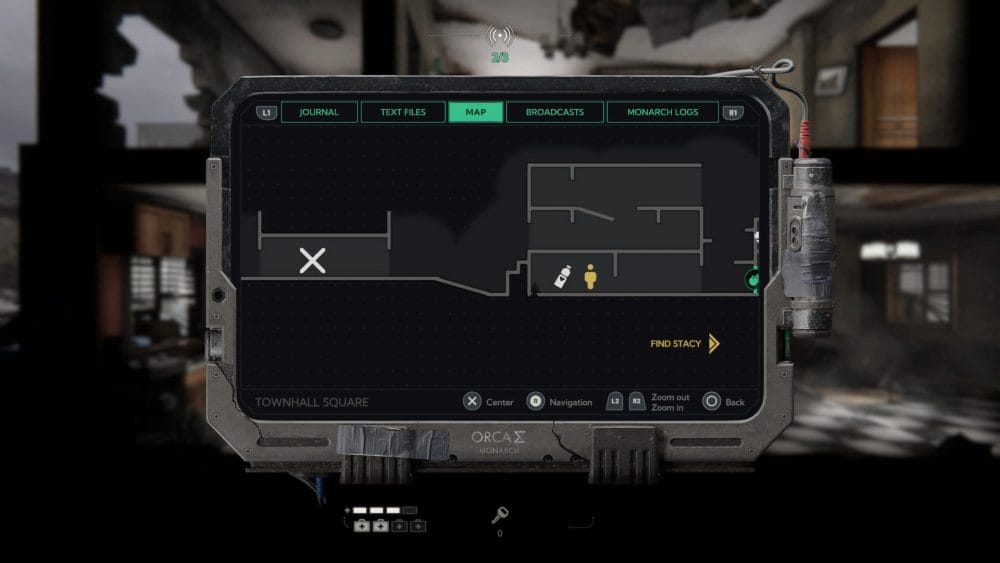
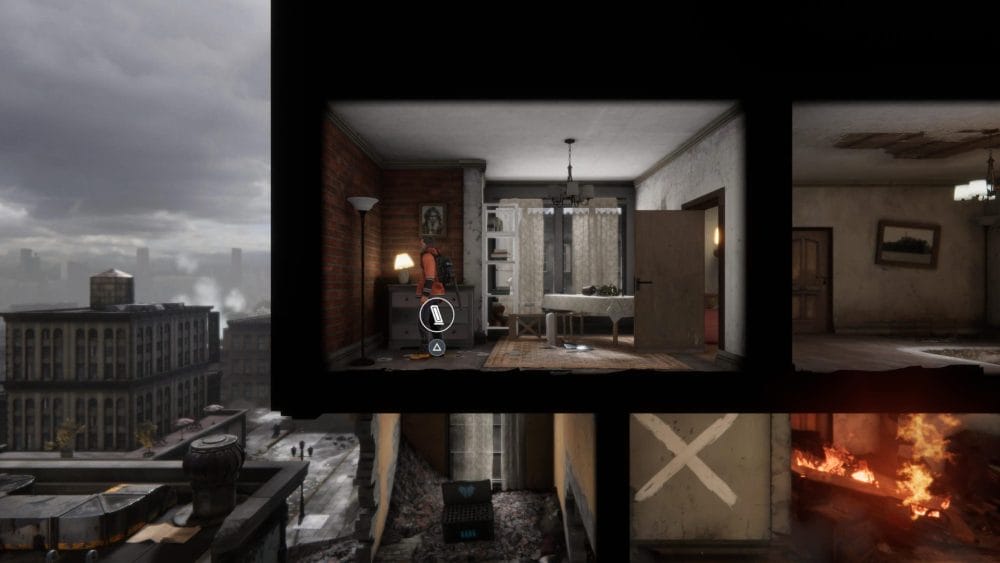
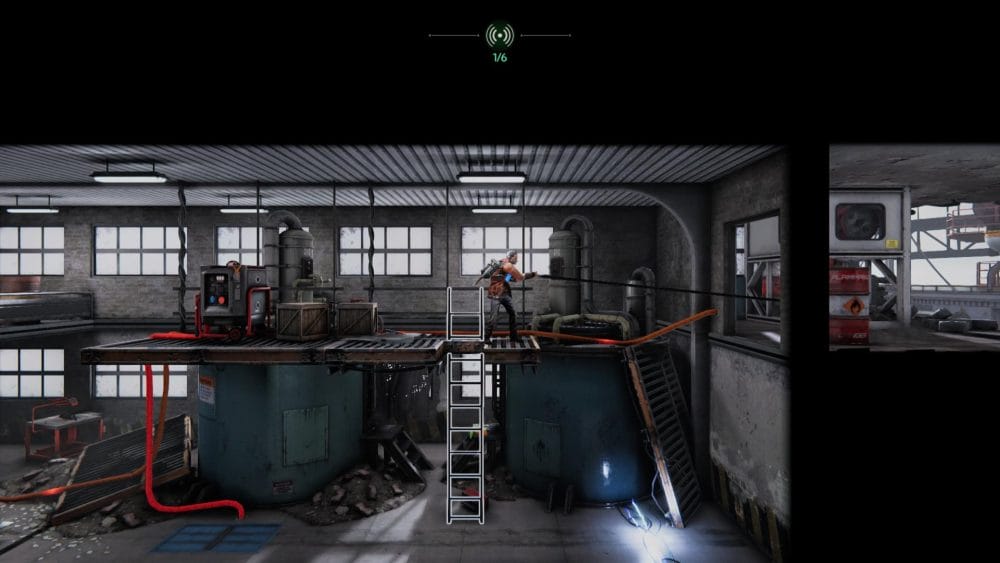
Town Hall Sqaure
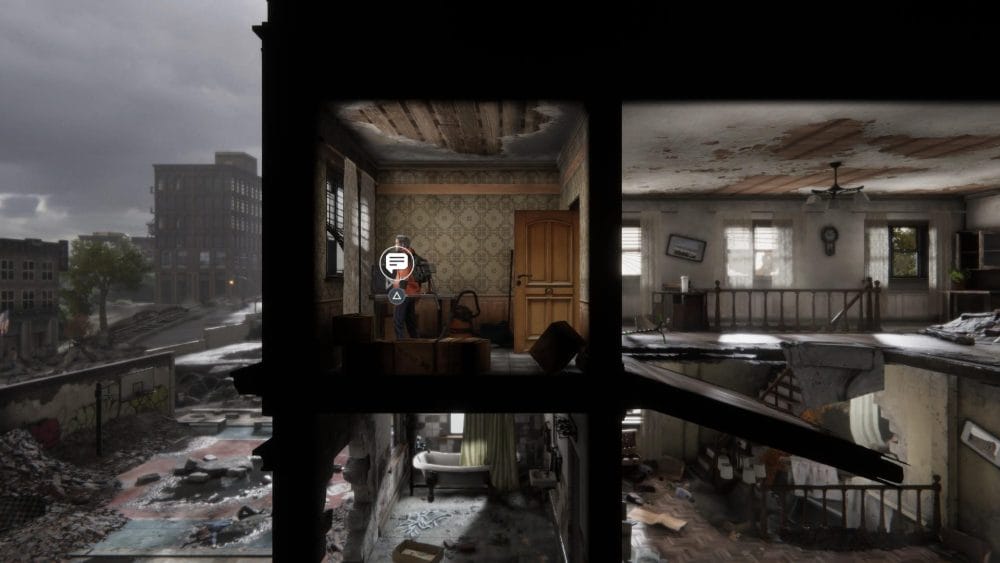
Kong Monarch File – Starting from the diner checkpoint, head right and up into the next house. Go into the little room and a goon will ambush you, take them down and pick up the key.
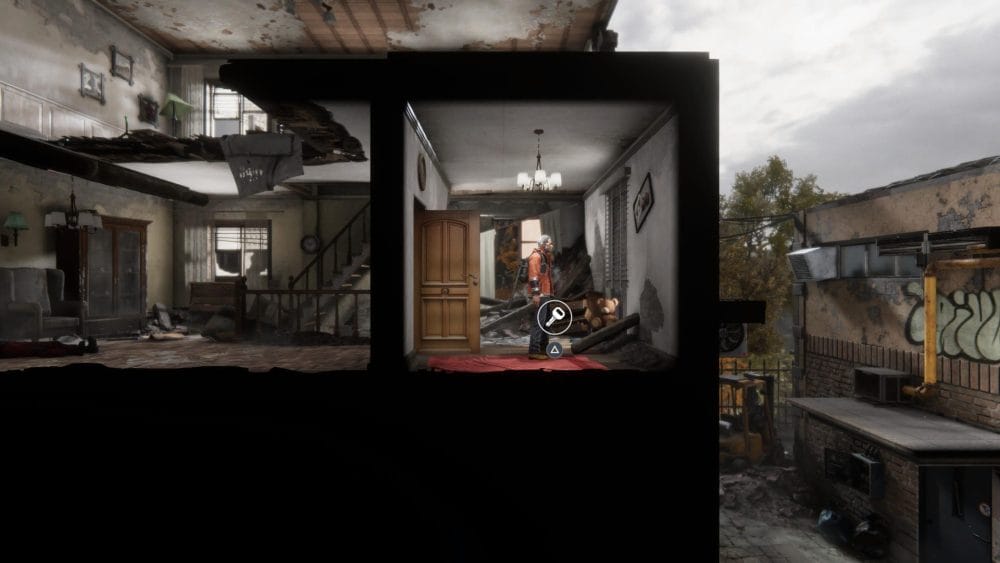
Climb up to the next floor and use the key on the door to the left; the intel log is in here.
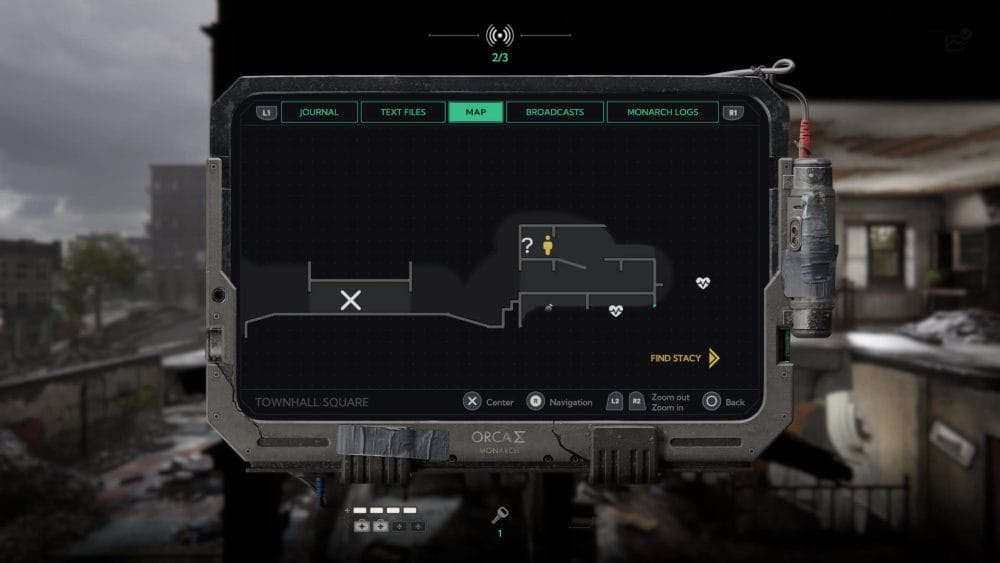
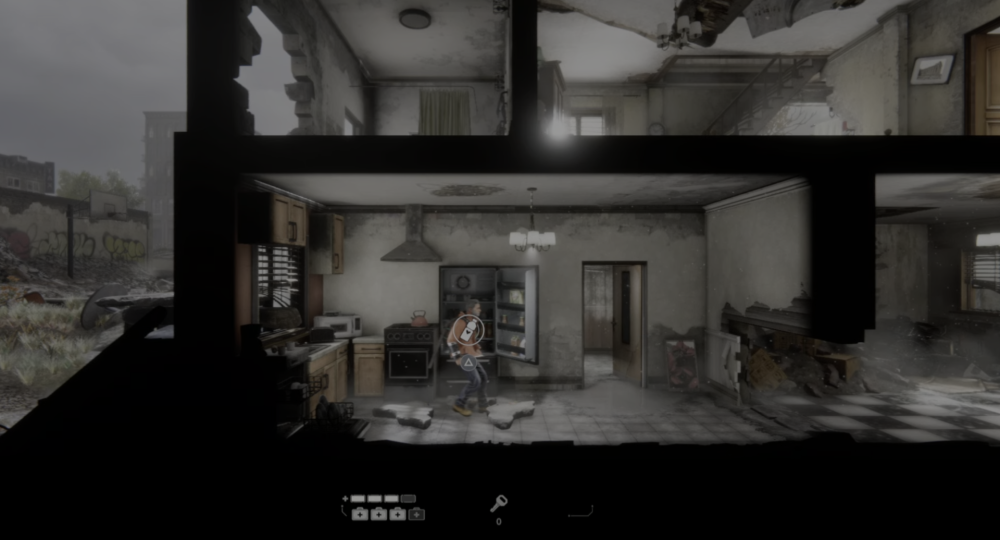
Water 1 – Directly after the last collectible, head right out of the building and drop down into the alley.
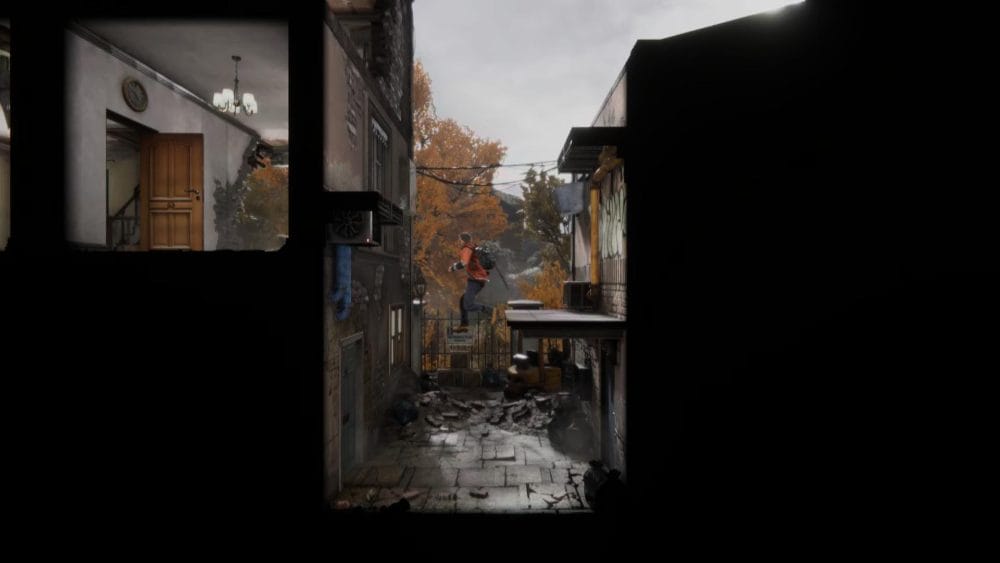
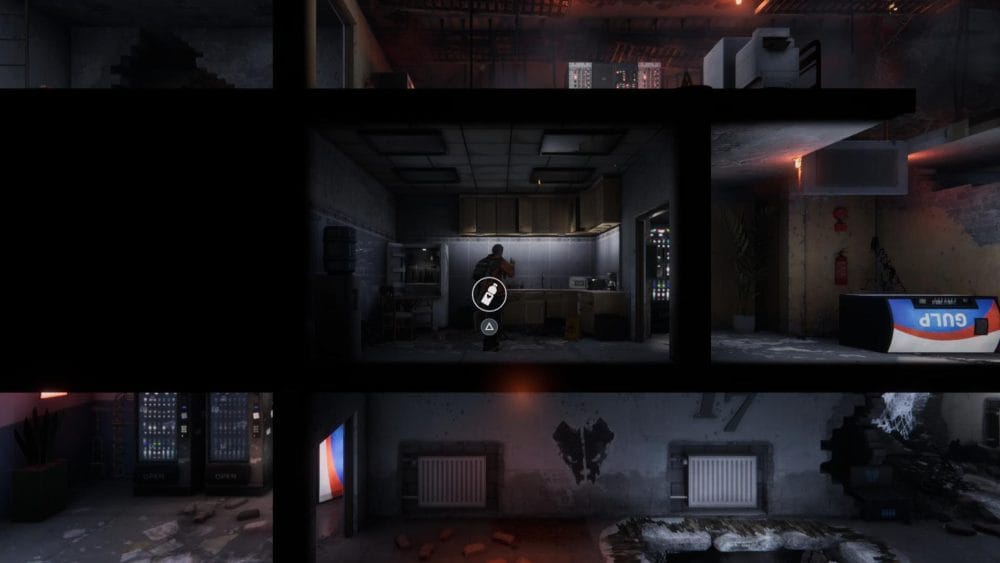
Head back into the building on the left and you’ll be attacked again. Deal with them, and crawl through the hole to the left; the first water bottle is in the fridge.
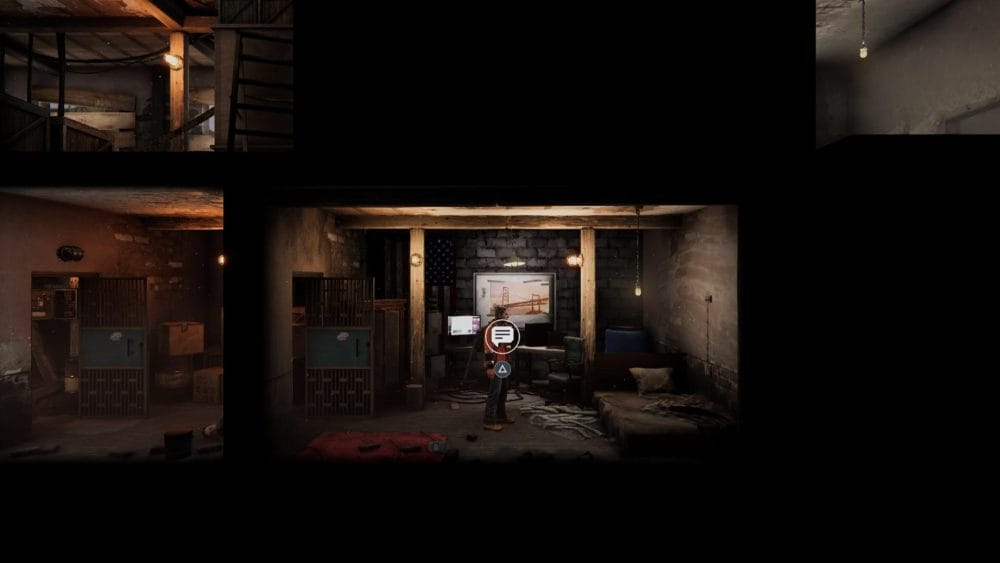
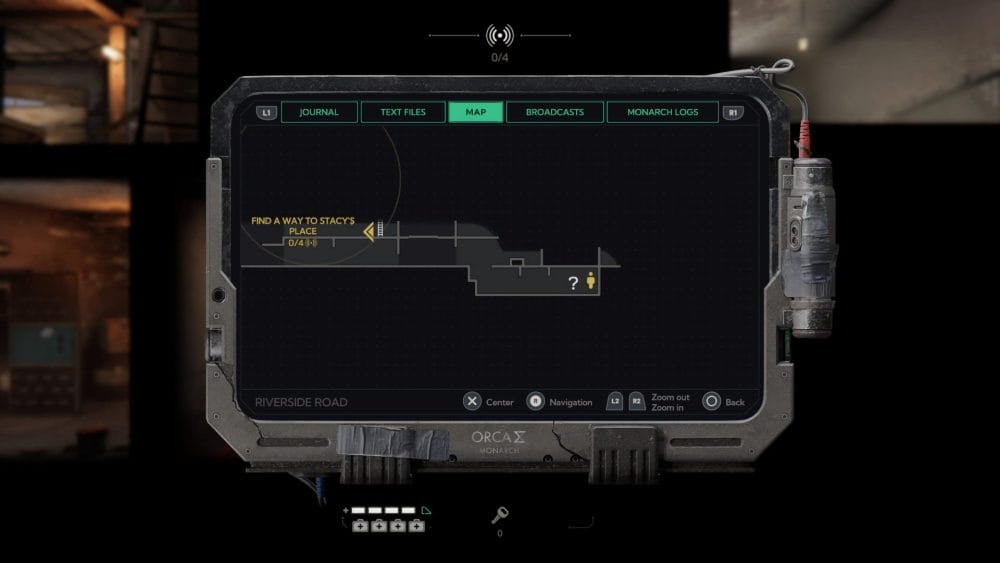
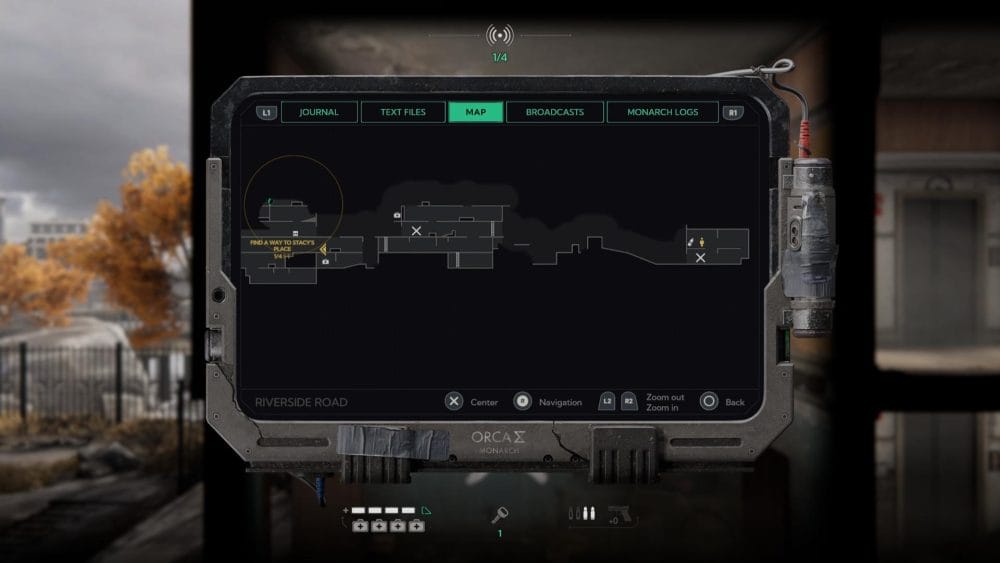
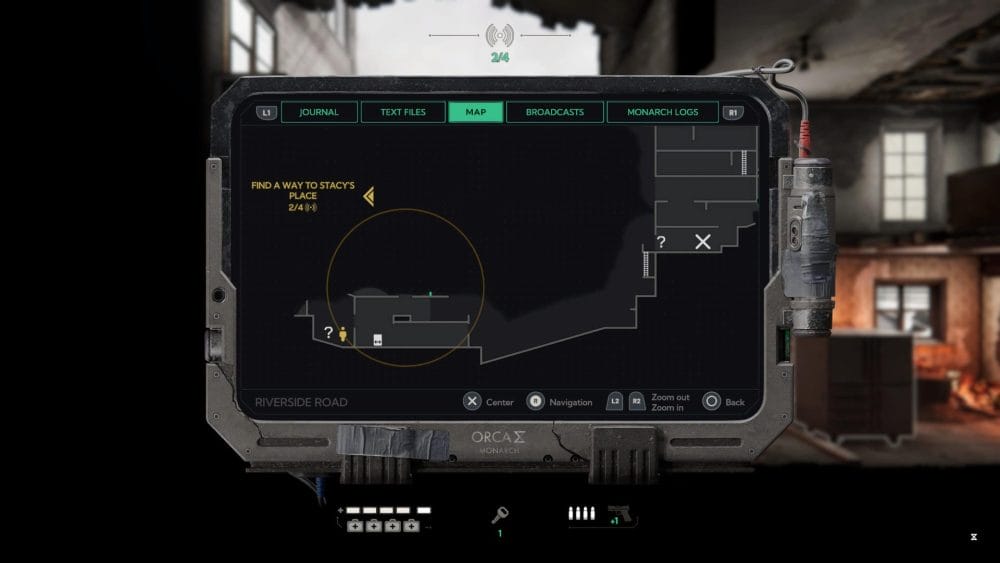
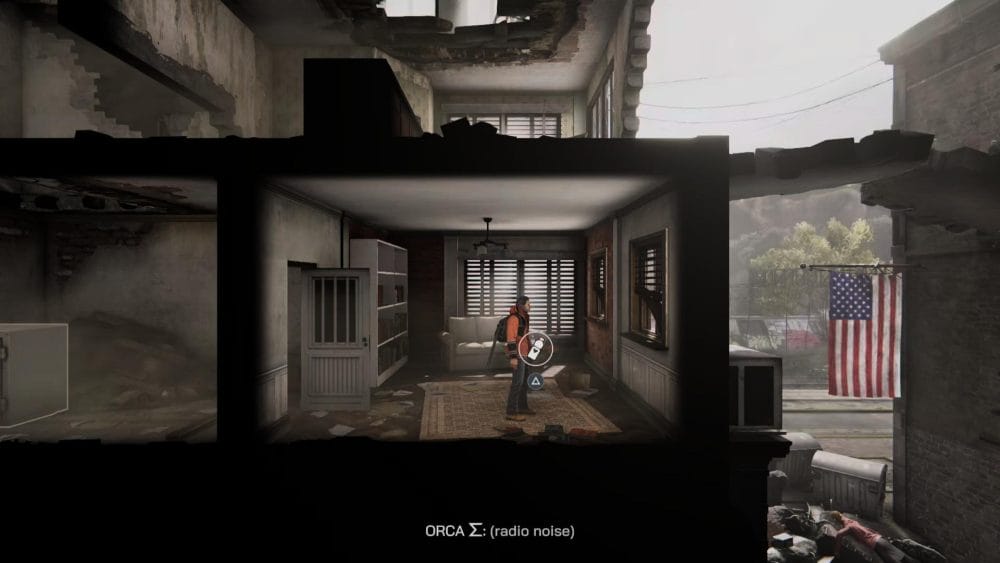
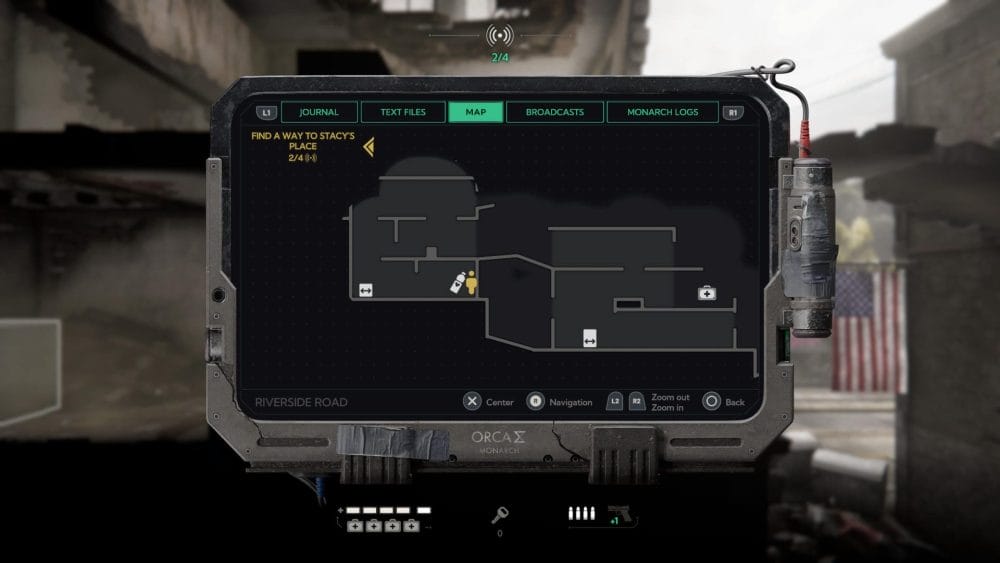
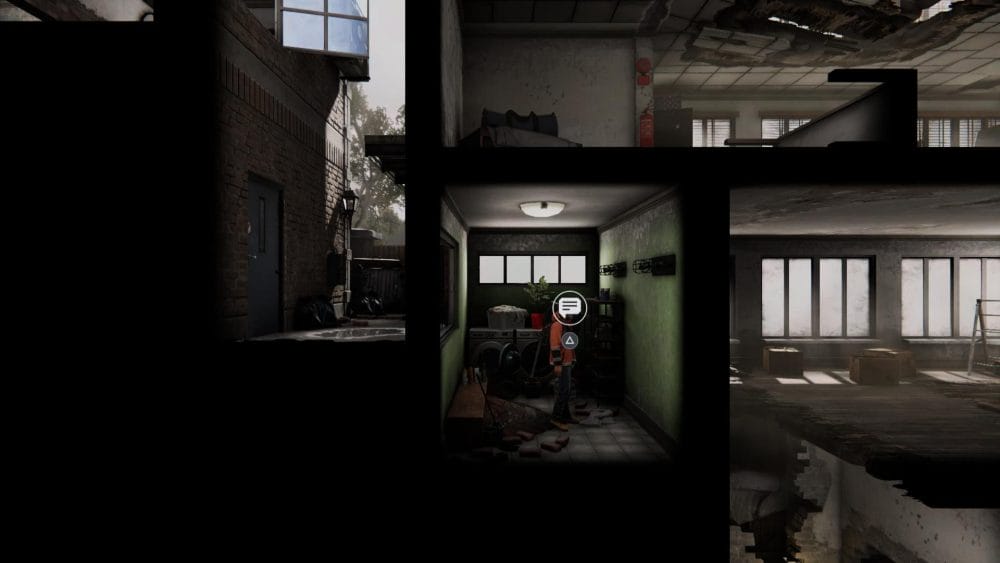
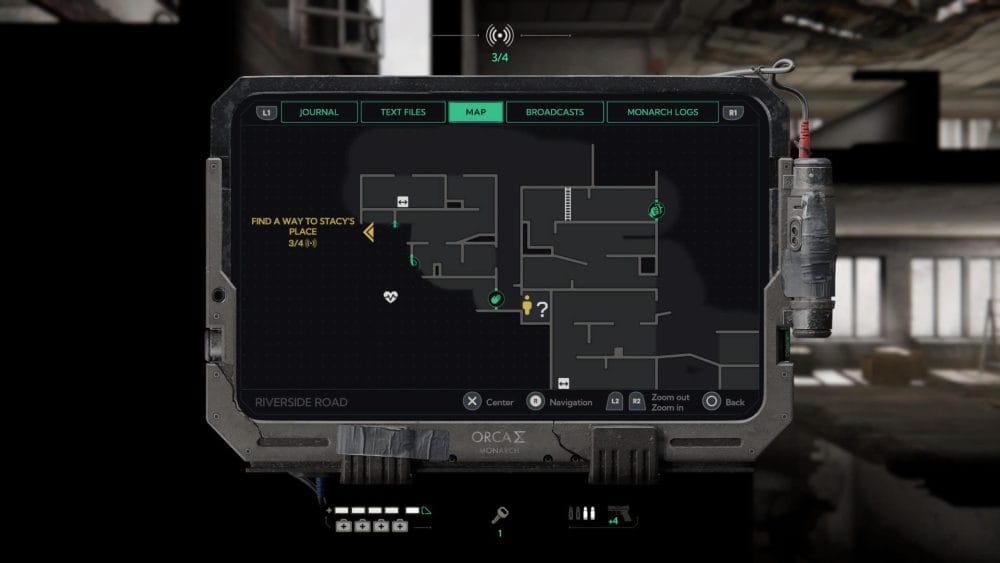
Riverside Road
Intercepted Hyenas Message – From the start of the area, head right and go under the scaffolding. Take out the two attackers that jump you, and continue to the right into the building.

Drop down to the lower floor and open the door to find another goon to beat up. Through another door is this intel log.
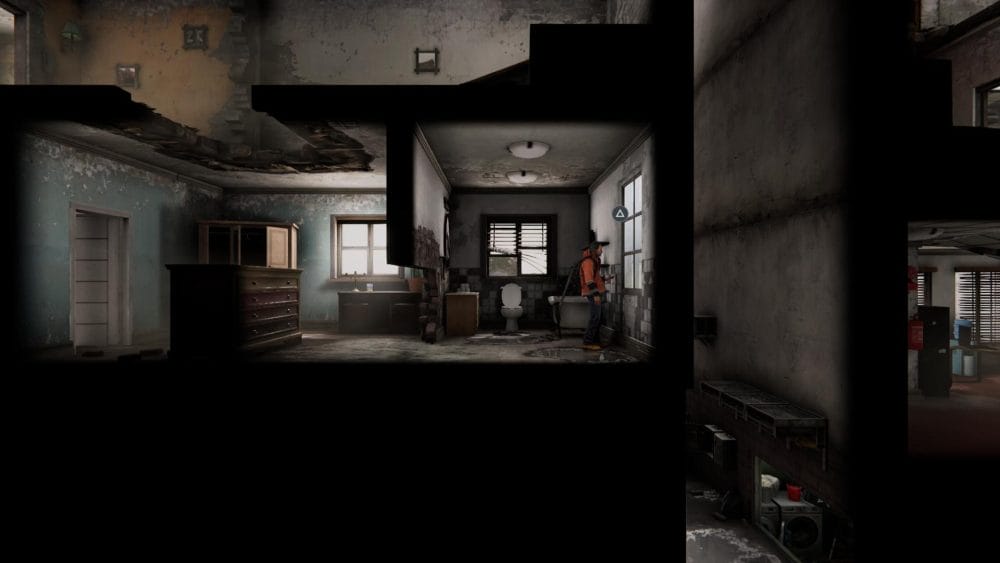
Water 2 – After getting the gun, head back up and go right, leaving the building and heading across a construction site to a smaller building at the edge of the area.
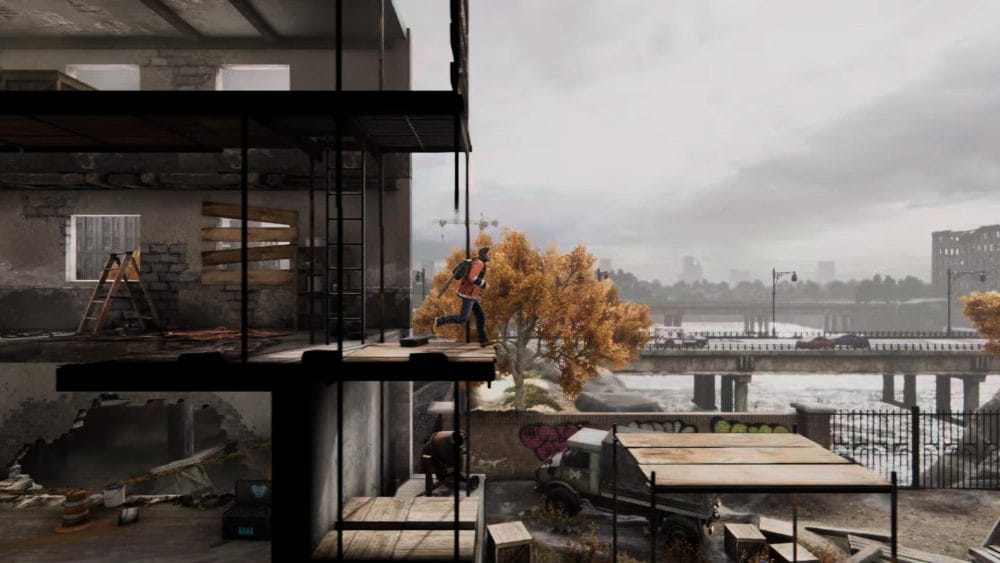
Go inside and head up to the second floor (you will need a key), by the window is the bottle of water.
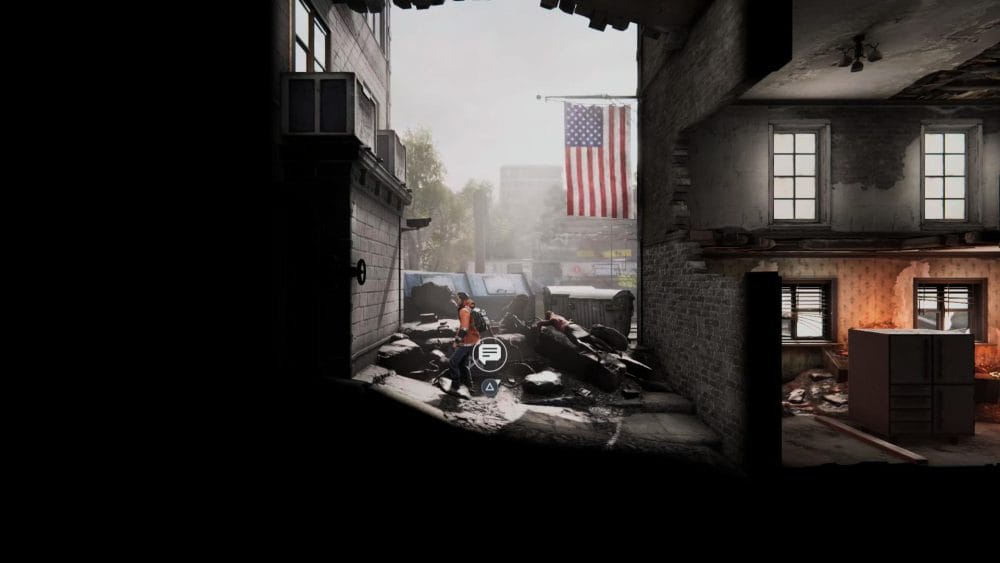
Skullcrawler Monarch File – After the chase sequence with Kong, head out of the building going to the left into the next building. Drag the kitchen unit over the fire to the left and use it to climb over the broken wall into the alley.
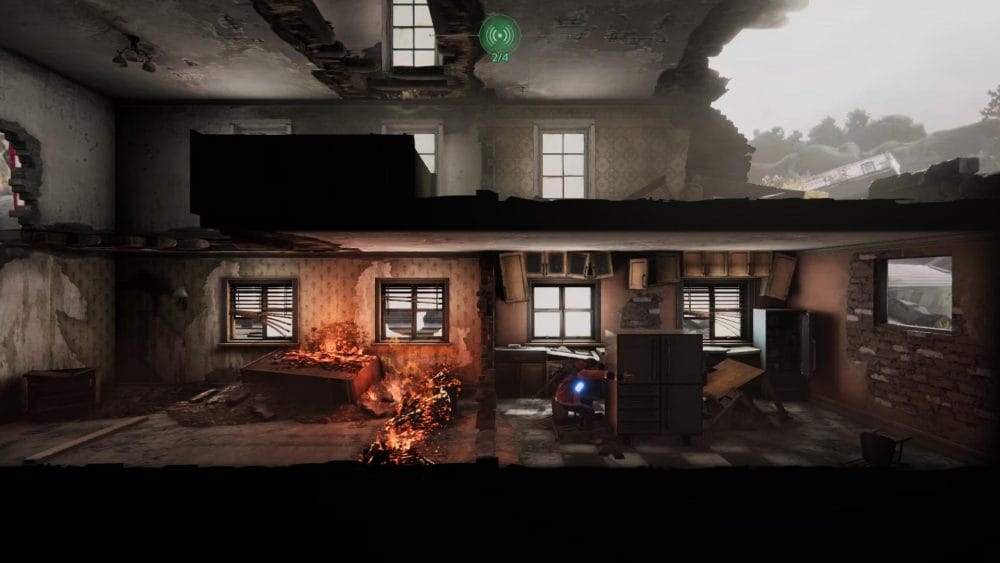
The intel log is amongst the rubble.
Water 3 – From the previous collectible, head back into the building and climb up to leave through a hole to the left.
In the next building there is a safe you can push off a ledge to smash through a floor. Follow it down and go through the door (key needed) and grab the bottle of water.
Warbats Monarch File – You’ll reach the top of a building and see Kong in the background. You want to go down through this building and get to the righthand side where there is a window you can open.
Jump down and crawl through the gap to the right to find the intel log in this backroom.
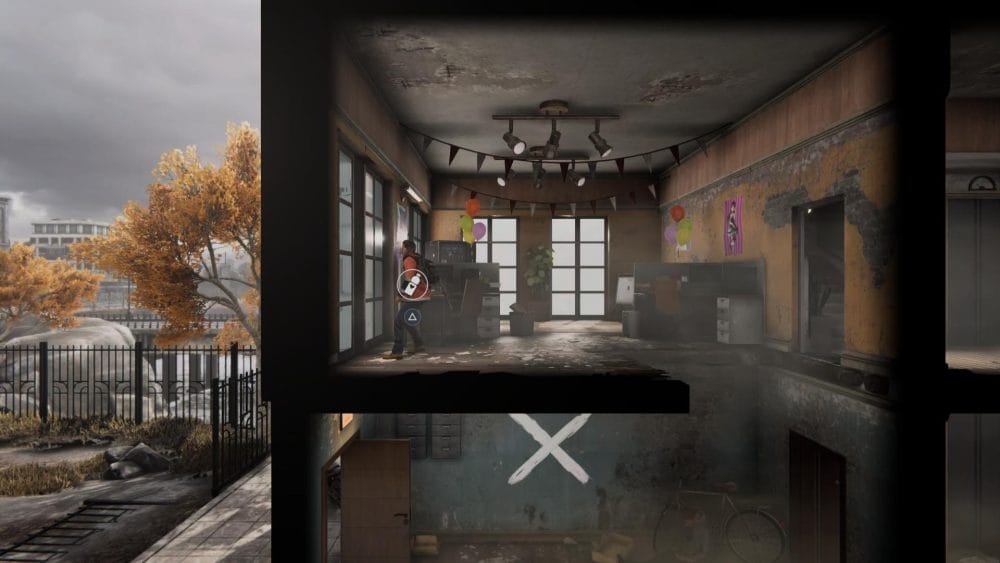
Town Hall Square Part 2
Kidnapping Report – From the second checkpoint that is inside a building, head to the right and fall through the floor. Turn left, smash the leaning planks and pick up the intel log here.
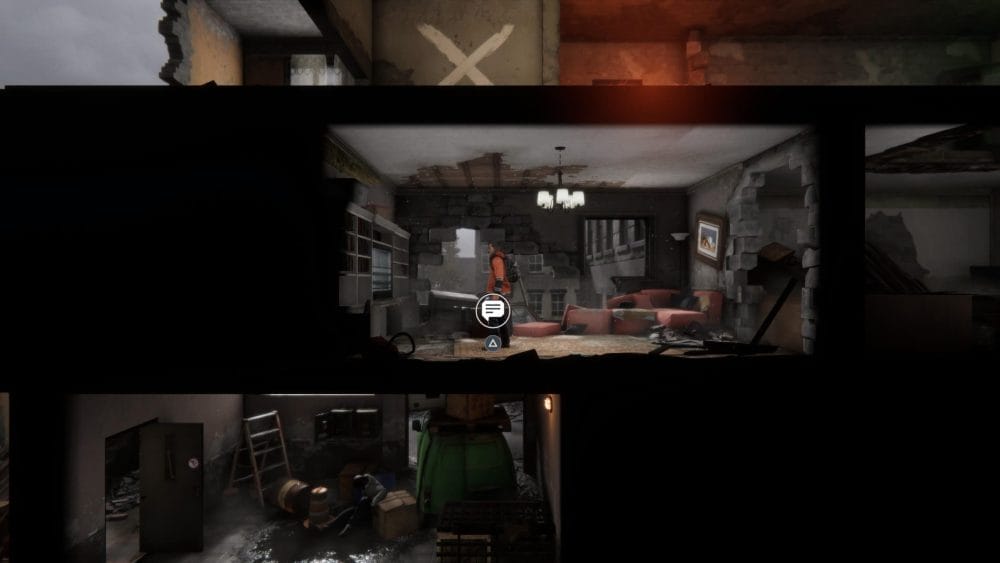
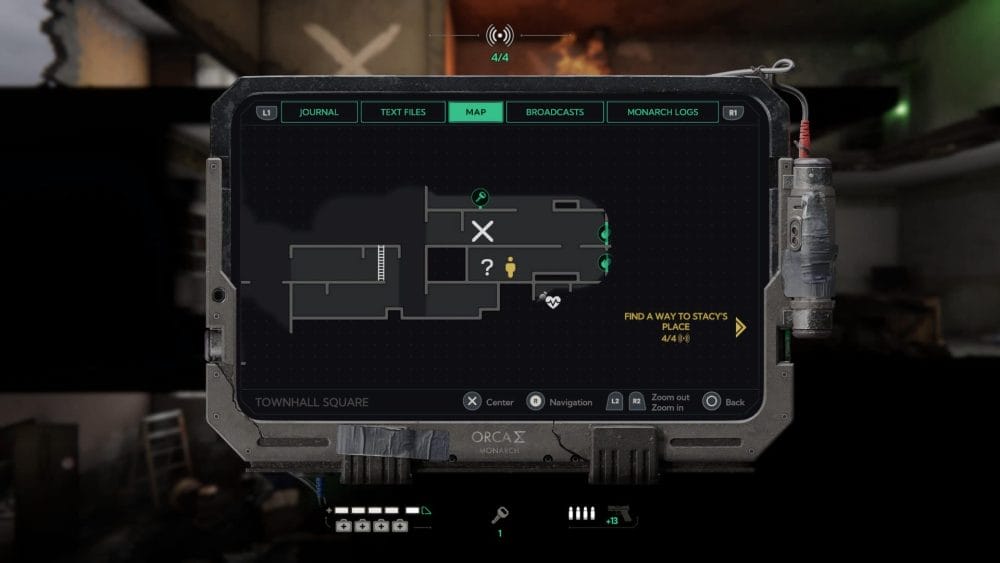
Clip 1 – From the same checkpoint, head right and open the door onto the fire escape. Shoot the lock above you, climb up and run to the left. Jump the gap and find the first clip in this room.
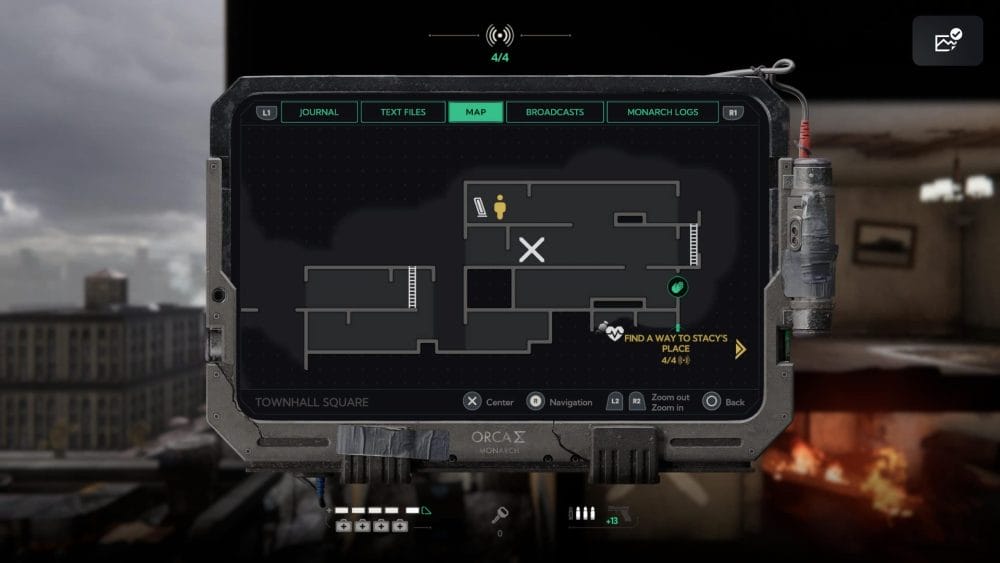
Water 4 – Head right from the same checkpoint one last time, dropping through the hole and opening the window to the right. Hop out and head back into the building on the ground floor to find this water bottle.
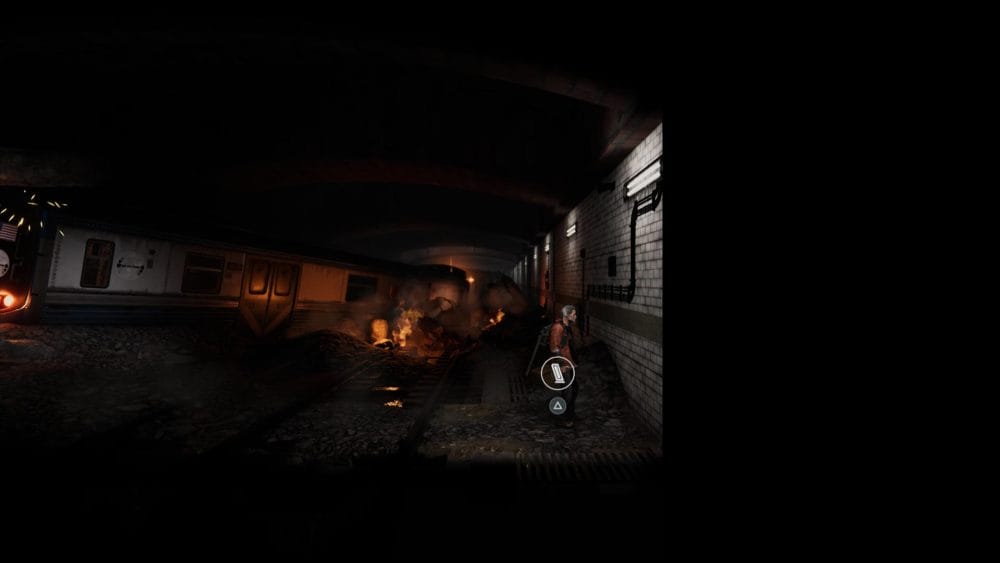
High Street
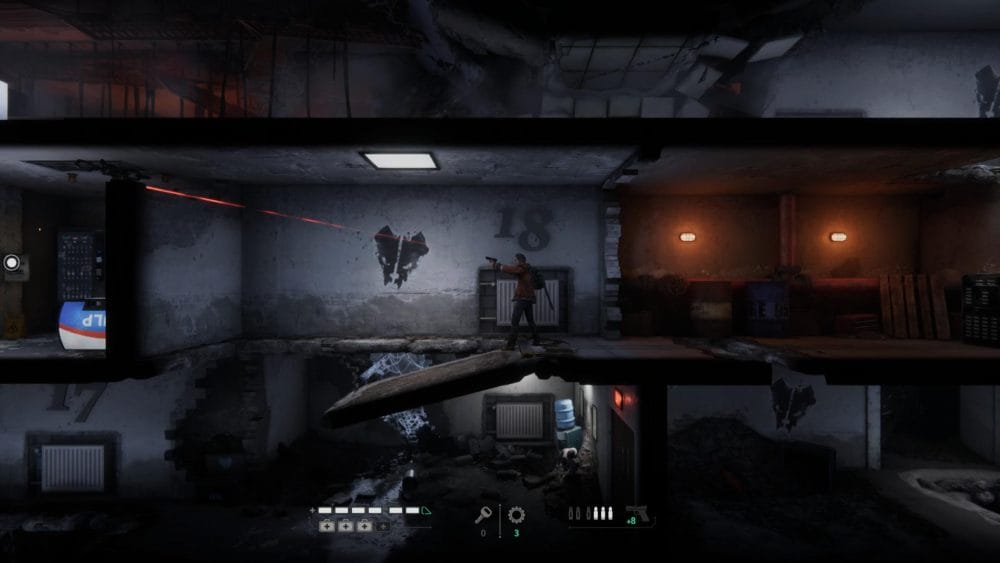
Clip 2 – At the end of this area you will go down into a subway station.
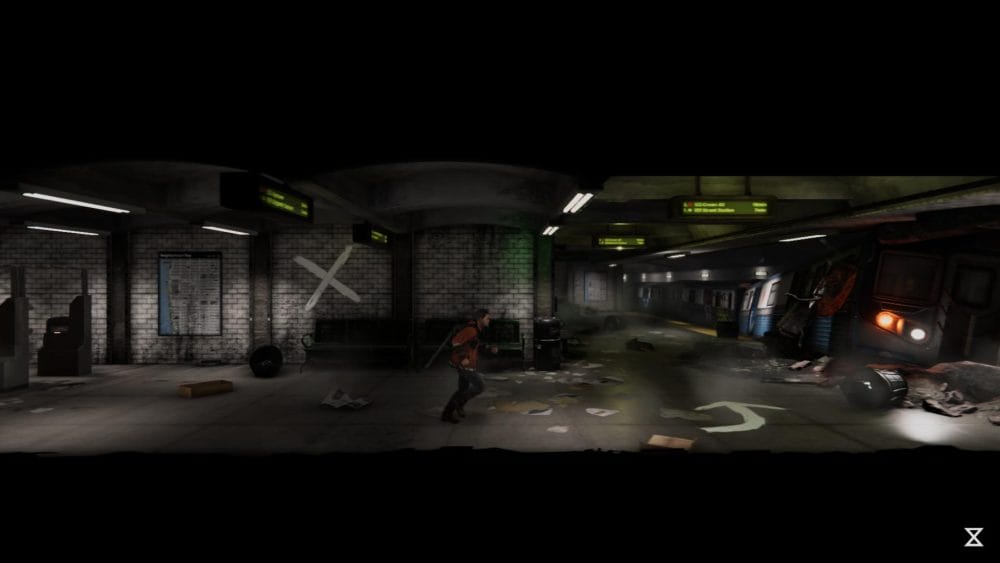
Don’t leave, and instead run to the right past the exit point and find this clip in the corner of the tunnel.
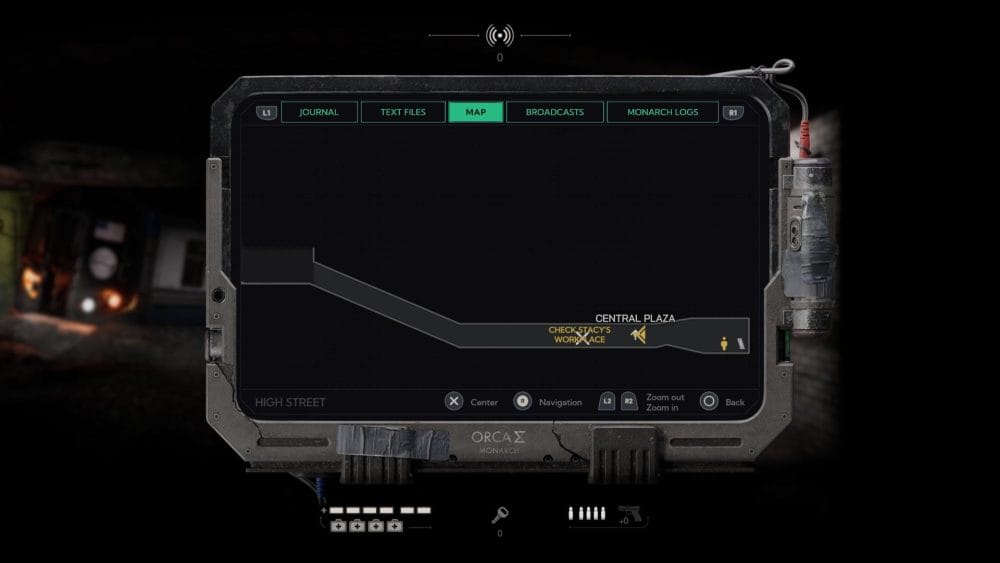
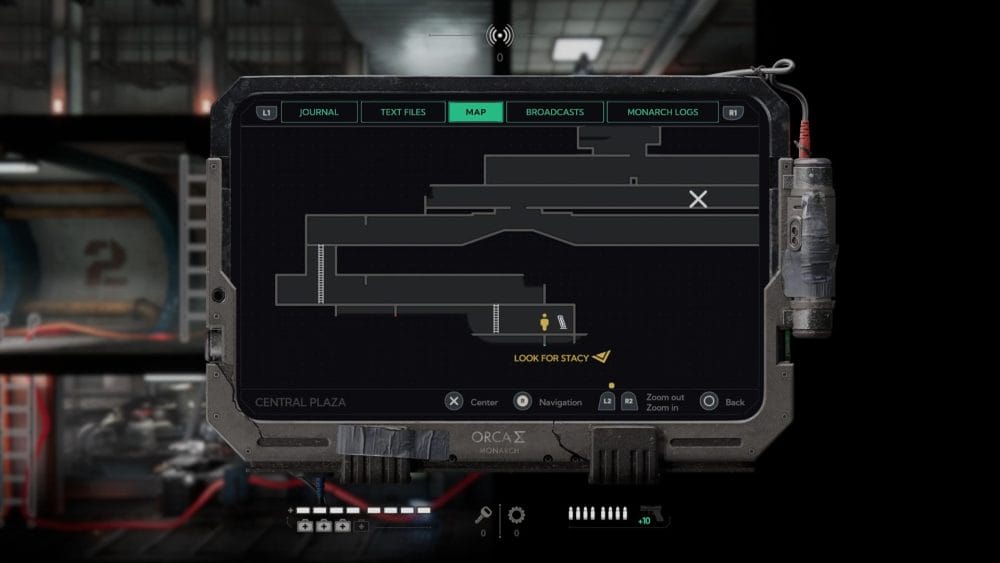
Central Plaza
Scylla Monarch File – From the checkpoint at the top of St. Joachim’s Hospice, head to the right and smash the wooden crates to reveal a ladder.
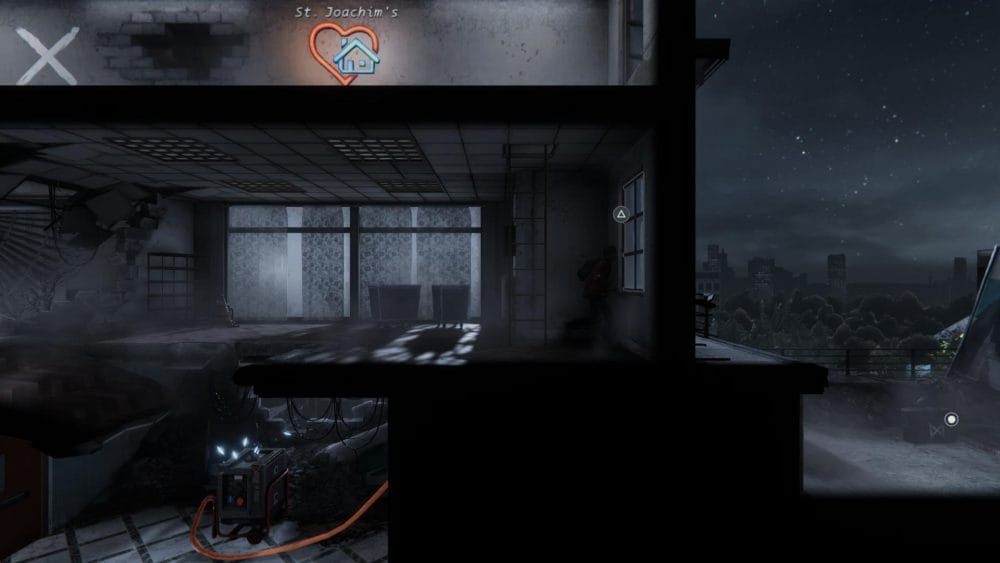
Climb down the ladder and go through the window onto the roof, where you will find this intel log.
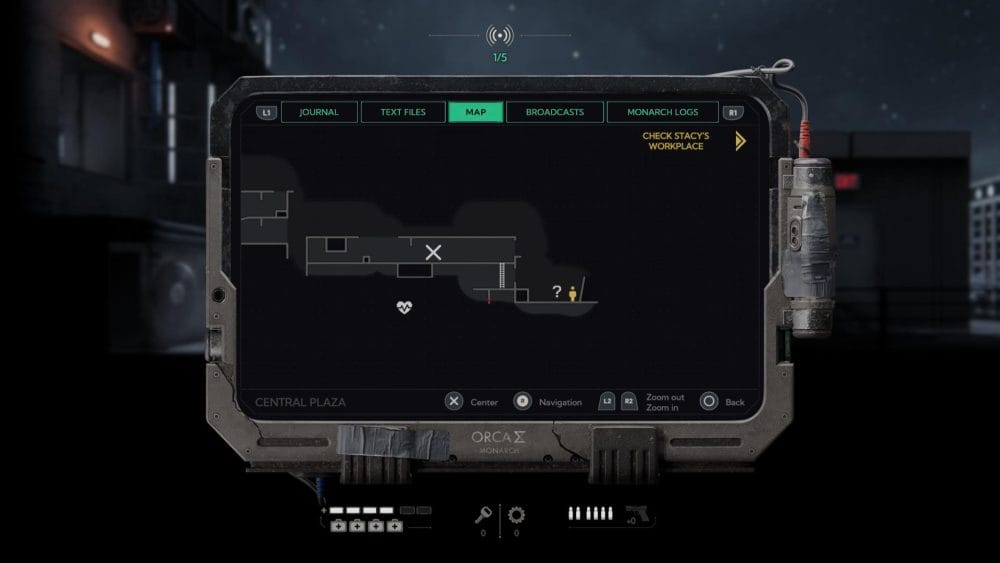
Water 5 – Later on in this area you will enter another medical building by climbing over the front door and through the lift. Head down the corridor and turn on the generator to power the lift, as well as the electrical cables in the hall.
Run back and take the elevator and ride it up, but don’t leave through the door. Instead, climb out onto the building exterior and then onto the elevator. Run to the right and find this water bottle on the far table.
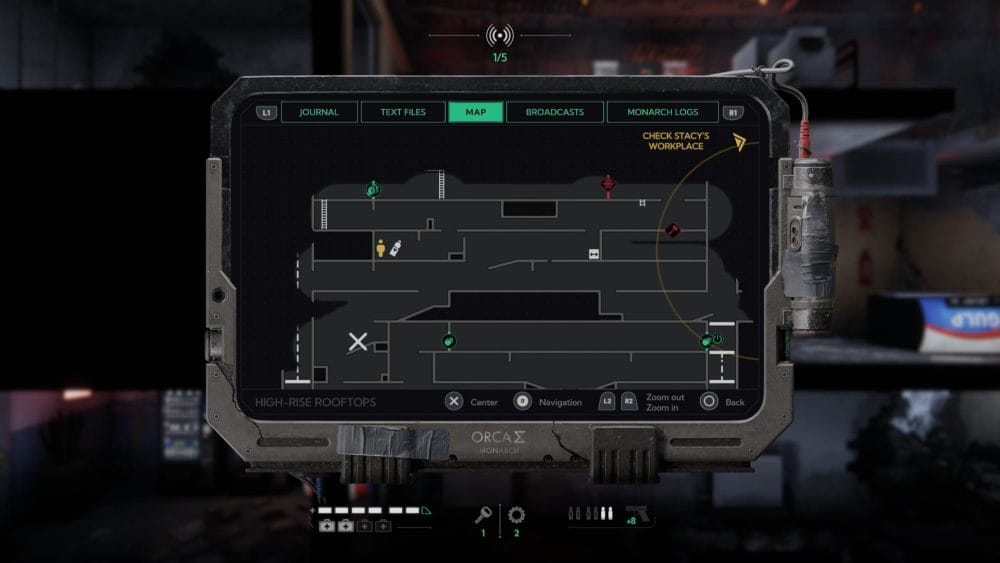
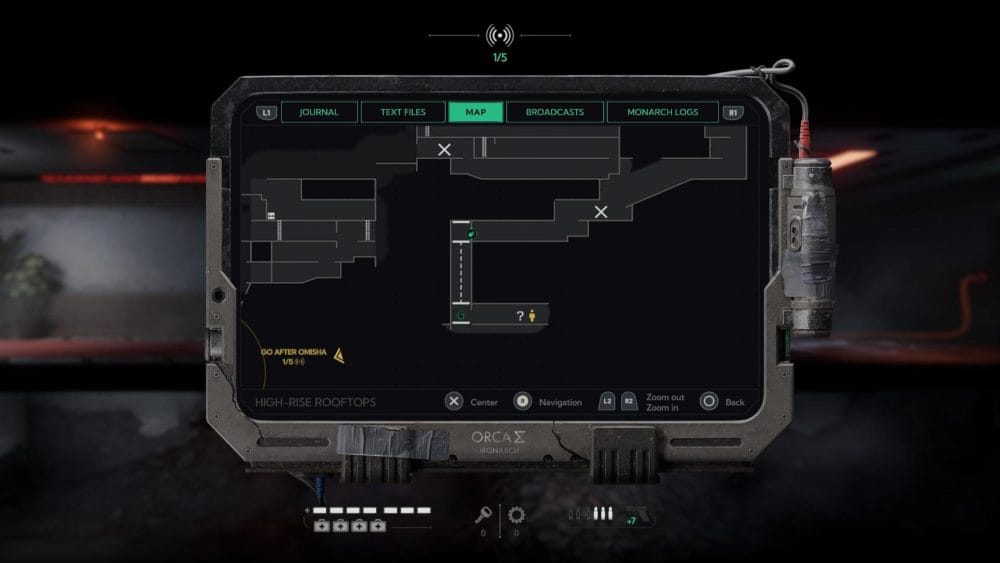
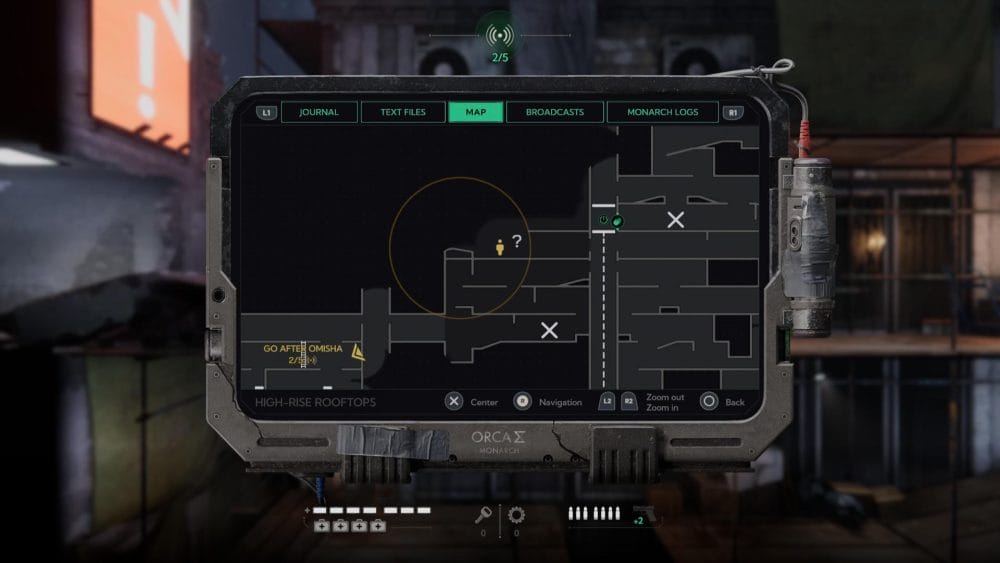
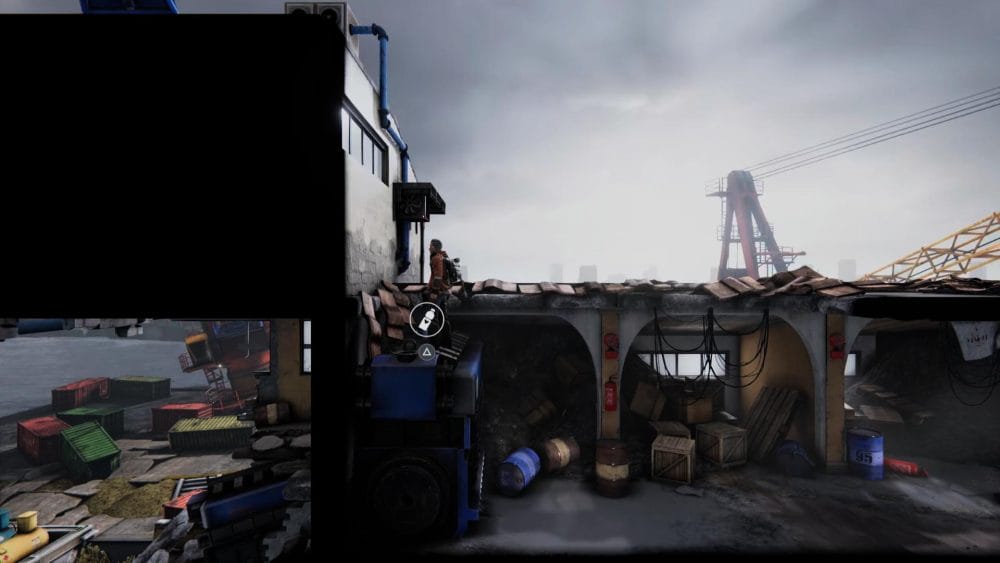
Highrise Rooftops
Water 6 – From the checkpoint in the collapsed bathrooms head up and to the right, making note of the locked door in front of you that needs gears. (I’ll help with this one, because there are a few steps.)

Climb up to the floor above the locked door, and shoot the lock through the gap in the wall to the left, and then shoot the lock on the back of the locked door through the hole in the floor.
Head right and pick up the first gear behind the box you climb to the next floor. Head left through the tunnel and find the second gear by the machinery.
Go through the locked door from before and grab both keys you can find in the rooms beyond it.
Finally, head back up to where you found the gear by the machinery and drop through the hatch. Unlock the door and grab that well earned water bottle!
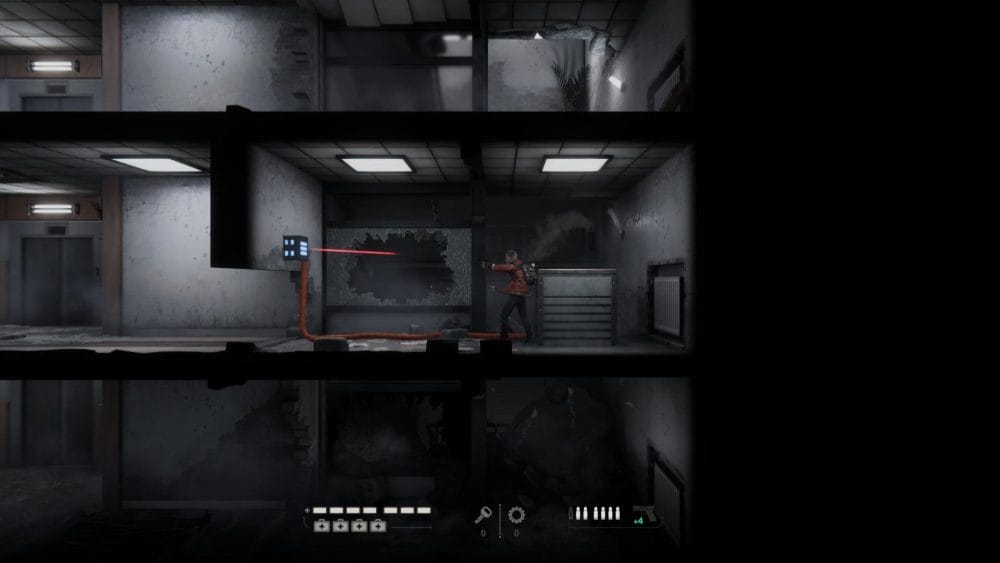
Research Log No. 061 – Further on in this area, after meeting Dr. Omisha, you will come to a checkpoint and drop down into a hallway with fuse boxes to shoot.
Carry on the linear path and take the lift down. When it stops, head right grab the intel log.
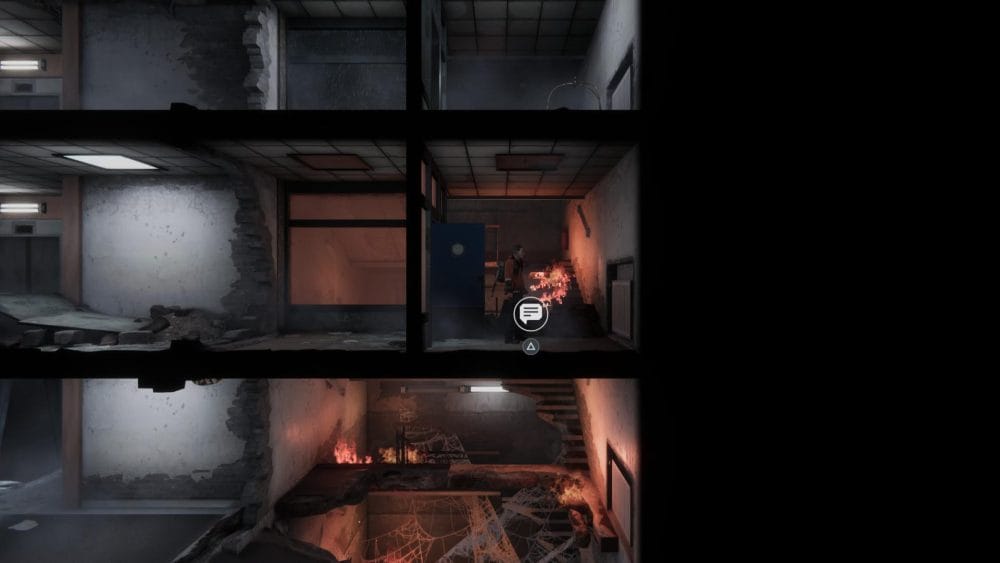
Clip 3 – Break through the floor next to the generator near to where you found the last collectible. Continue on the linear path and hop across the elevator shaft.
Continue left until you spot a ladder; go down the ladder and head right. break through a weak wall and find tis clip at the far end of the room.
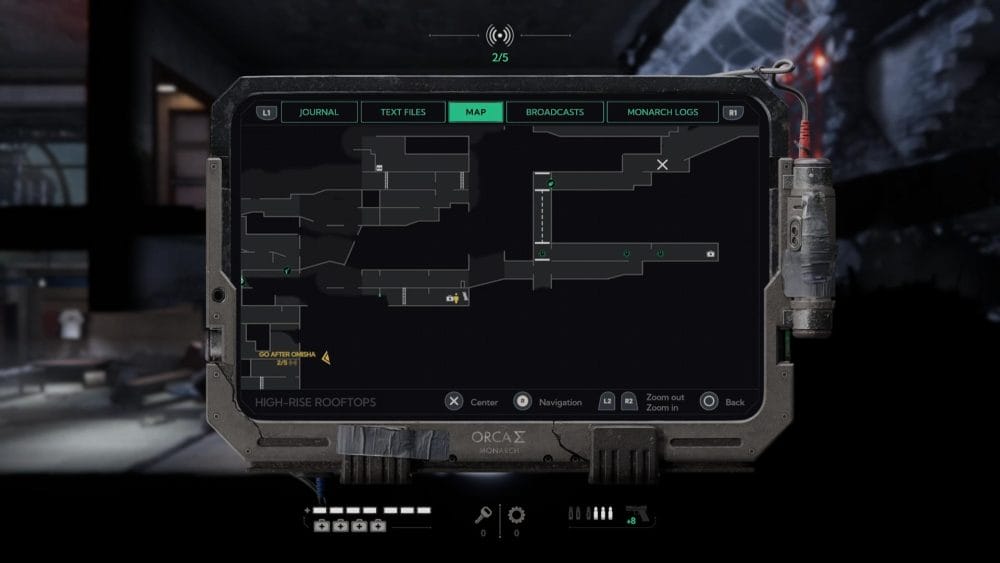
Updated Research Log No. 061 – This collectible is on the main path and hard to miss. Just continue heading left and keep an eye out for the intel log when you see scaffolding.

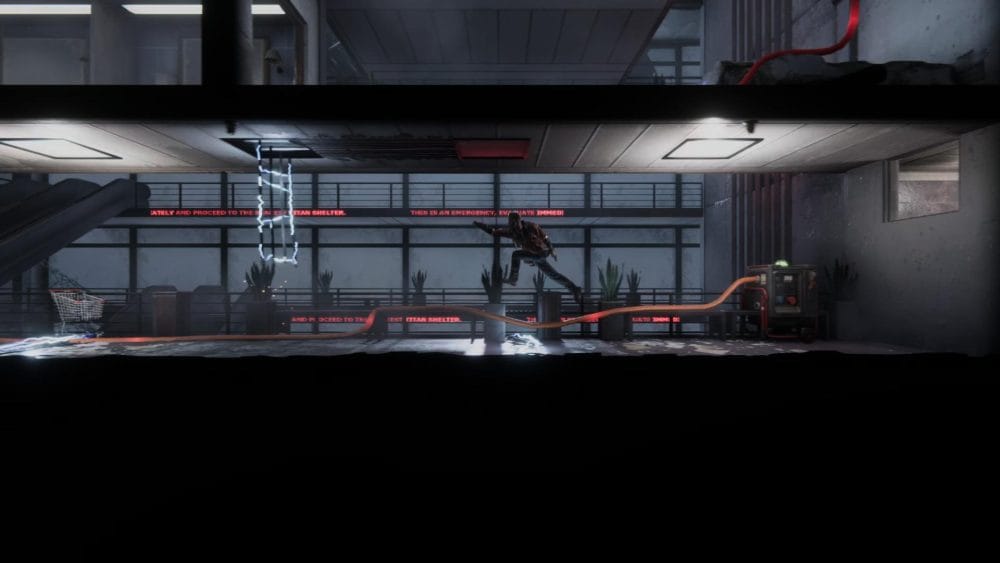
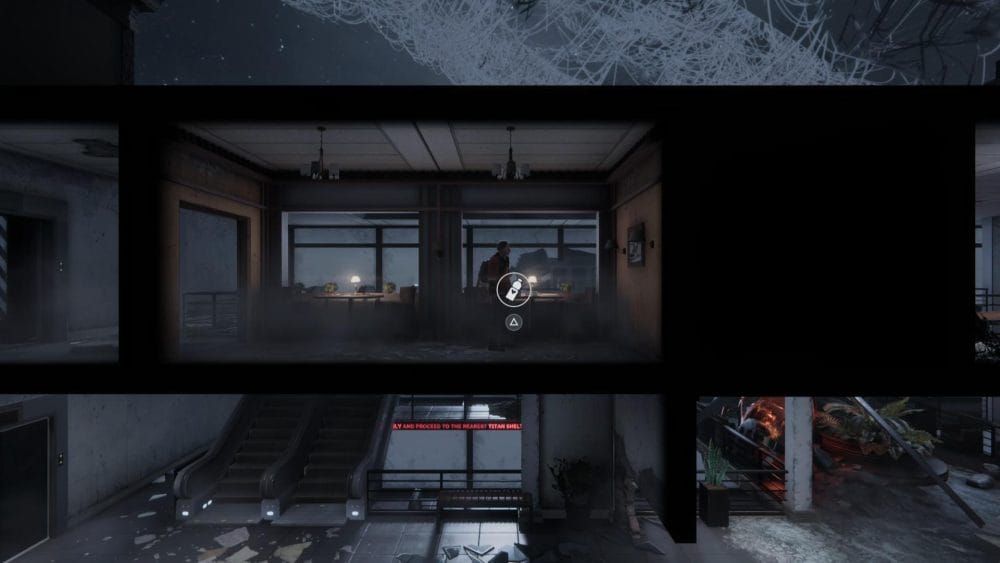
Central Plaza Part 2
Abaddon Monarch File – After a brief cutscene showing the elevator losing power, make your way down and shoot the fuse box to drop the crate.
Use the block to break through the webs until you reach a floor with a ladder going down. Ignore the ladder and head to the right and pick up the intel log behind the door.
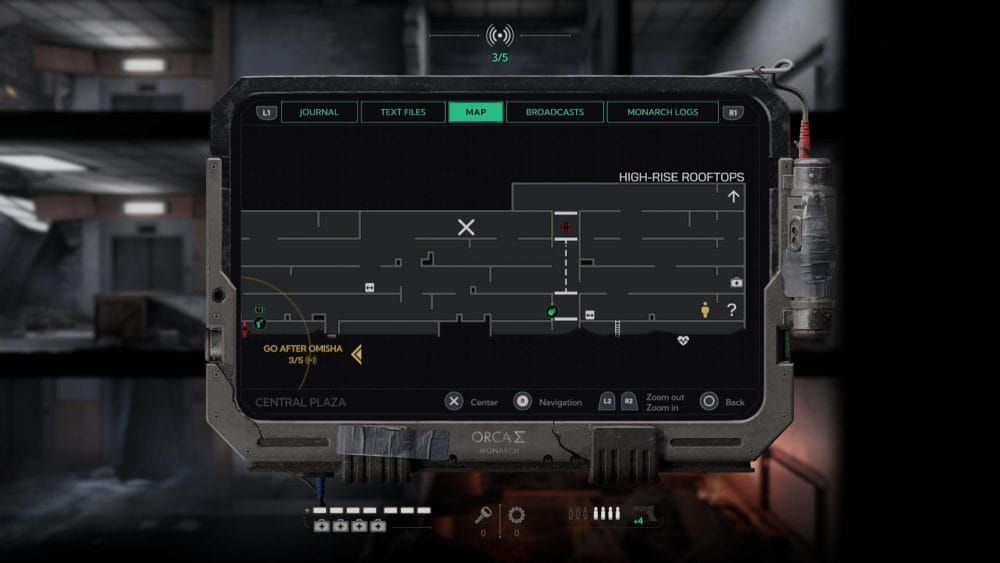
Research Log No. 0201 – Later on in the level you will reach a checkpoint and fall through another web using a crate.
Continue forward, and you will find yourself in a clothing store. Smash through several floors and follow the linear path.
You’ll be jumped by a few goons in a glass hallway. Show them whose boss and grab the intel log.
Water 7 – Continue through the demolished shopping mall and you’ll climb through a high window to find yourself back at the corridor full of electrified cables. Head to the left and smash the floor near the elevator. Use the metal crate to break the web, and shoot the fuse box through the hole in the wall behind the crate.
Drop down and push the crate to the right, so you can climb up into the room where this water bottle is waiting.
Plague Weaver Monarch File – After the chase sequence with Abaddon you will find yourself at the exit to the Skyscrapers area. Instead take the elevator next to it.
Keep working your way down and once you reach the bottom look under the collapsed ceiling to find this intel log.
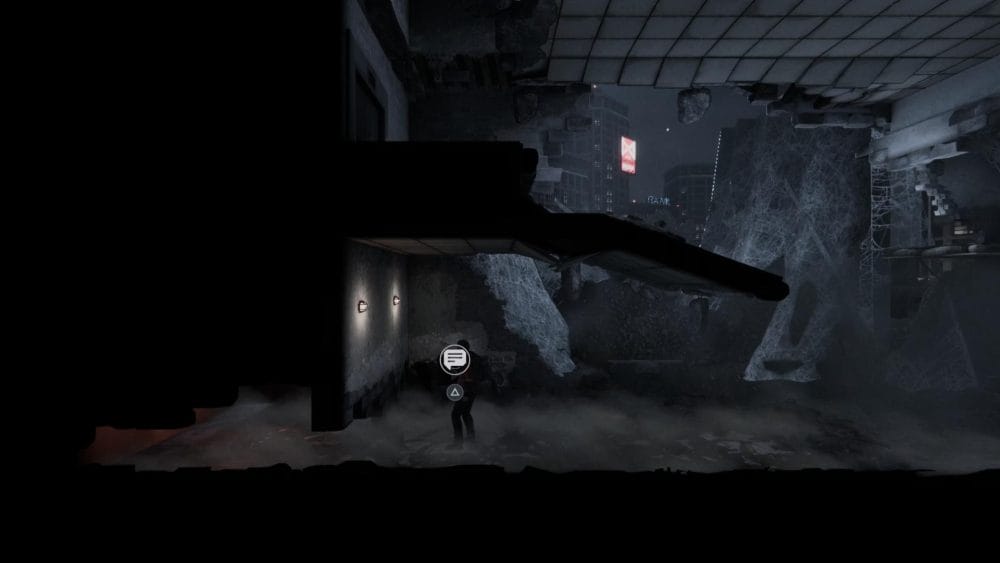
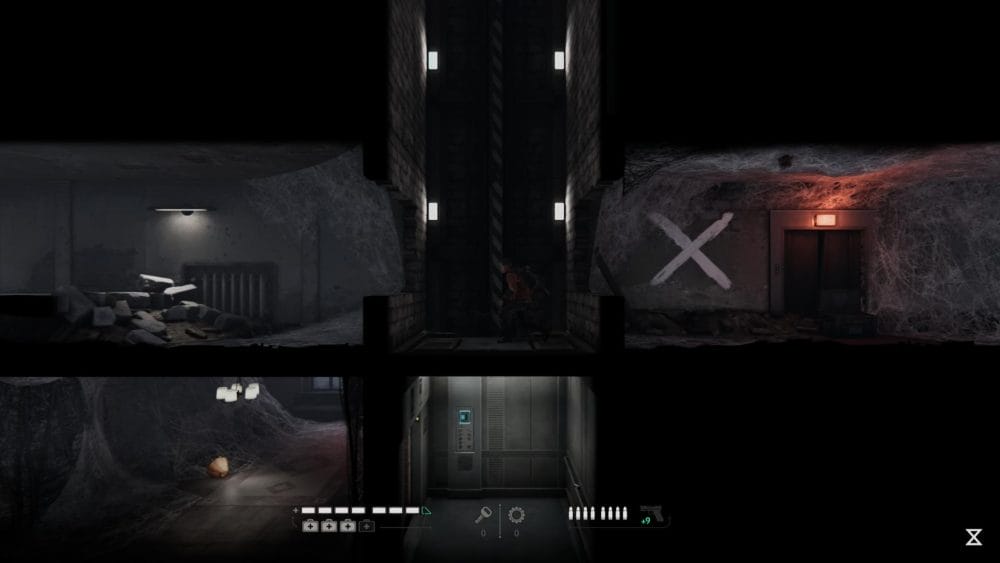
Skyscrapers
Clip 4 –

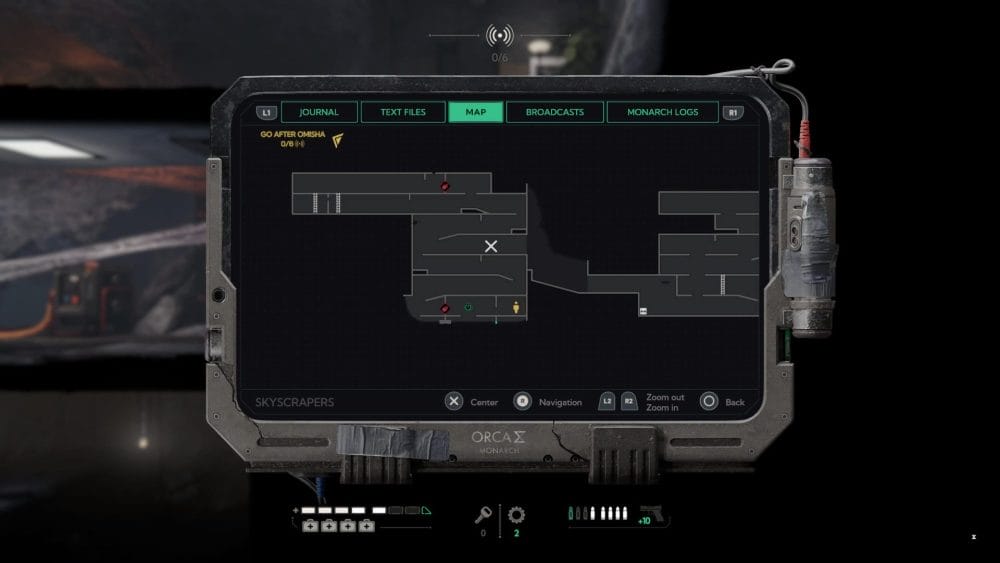
Undated Personal Note – After crossing a makeshift bridge of webbed up cars you’ll reach a checkpoint.
Hop across the elevator shaft and continue left to find the intel log on a table in the hall.

Water 8 – From where you got the last intel log, climb down the ladder and head left. Hope through the gap in he wall and climb onto the metal crate. You need to shoot a well hidden pane of glass so you can climb up.
In here is another bottle of water.
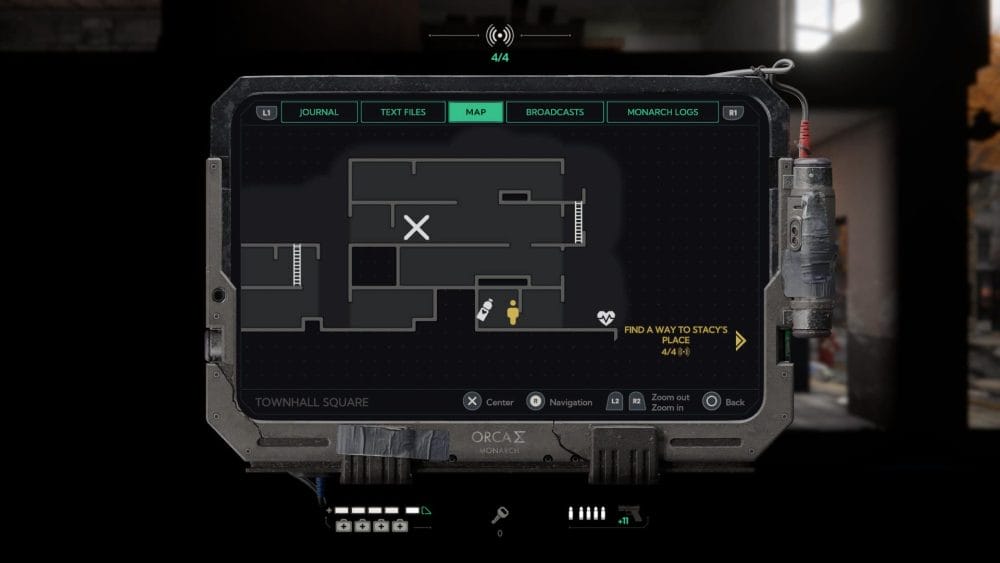
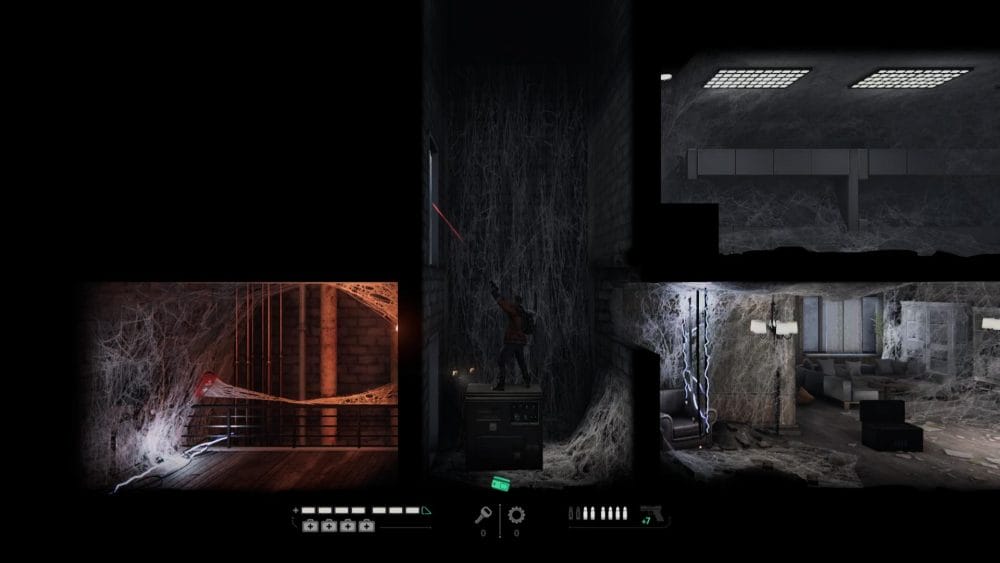
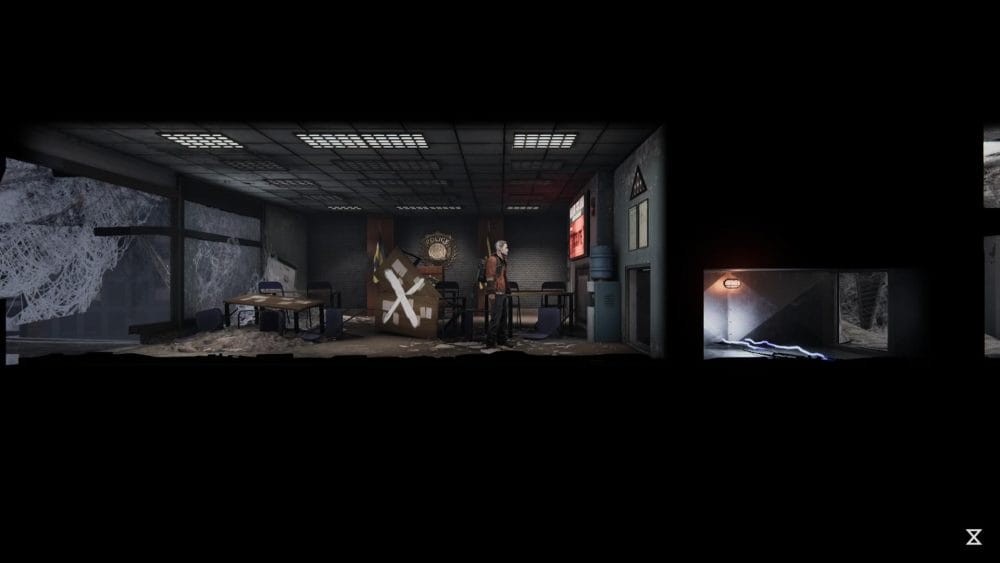
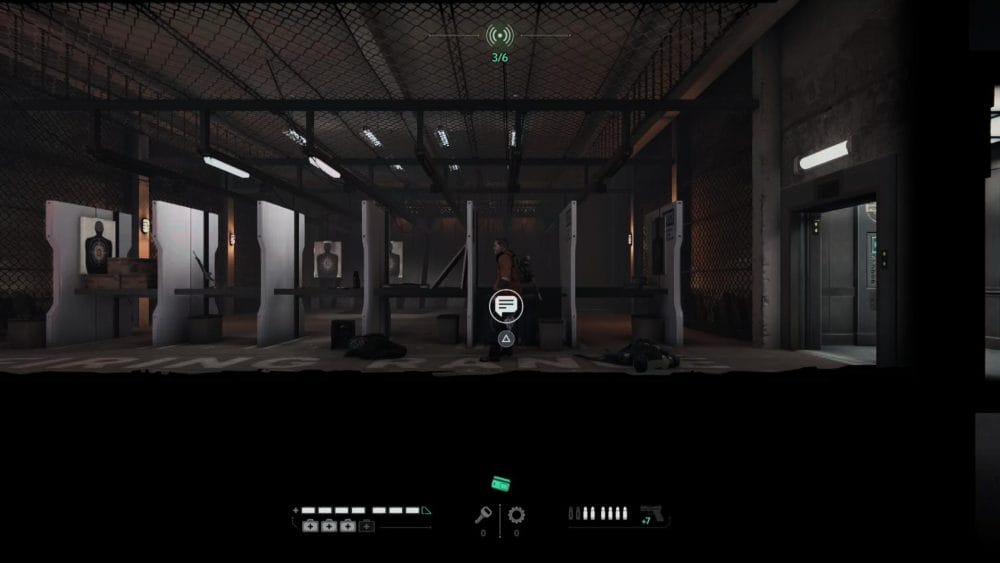
Research Log No. 0801 – After crossing over a suspended plane you will reach the police station checkpoint.
Take the lift down and gain access to the shotting range. Deal with the two shotgun-wielding attackers and collect the intel log.
Central Plaza Part 3
Clip 5 – After calling Abaddon, fall into the sewers and follow the linear path. At the T-junction turn left and head down the ladder into the underground facility.
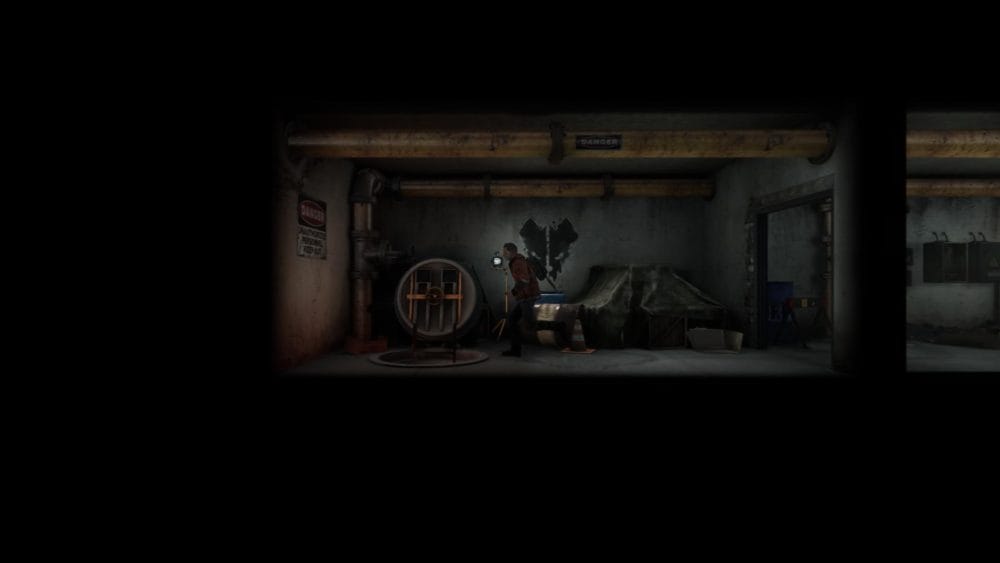
Continue through the facility until you take another ladder down. Turn right and find this clip in the armoury.
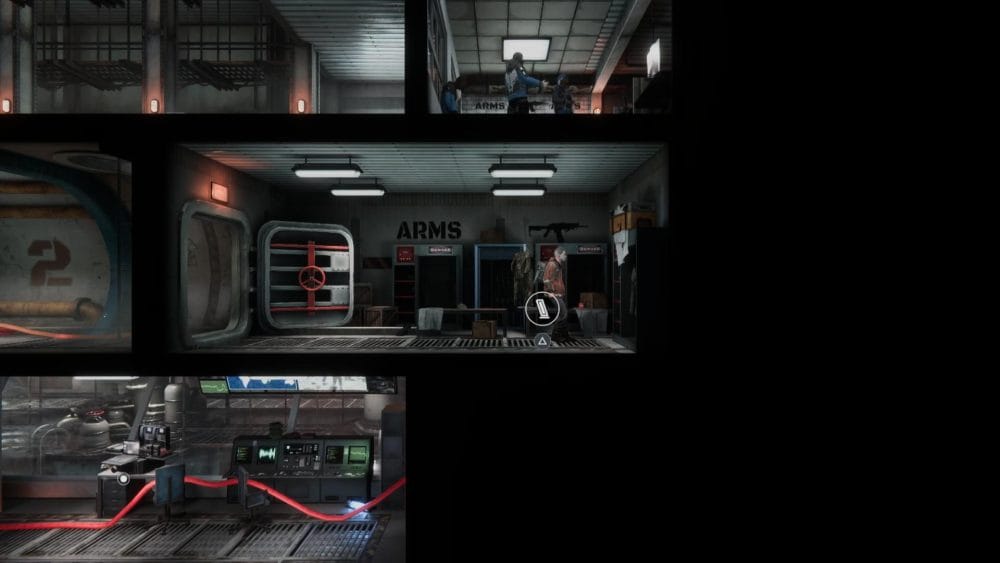
Research Log No. 0711 – One floor down from the previous collectible is this intel log. You can’t miss it!
Inner Harbour
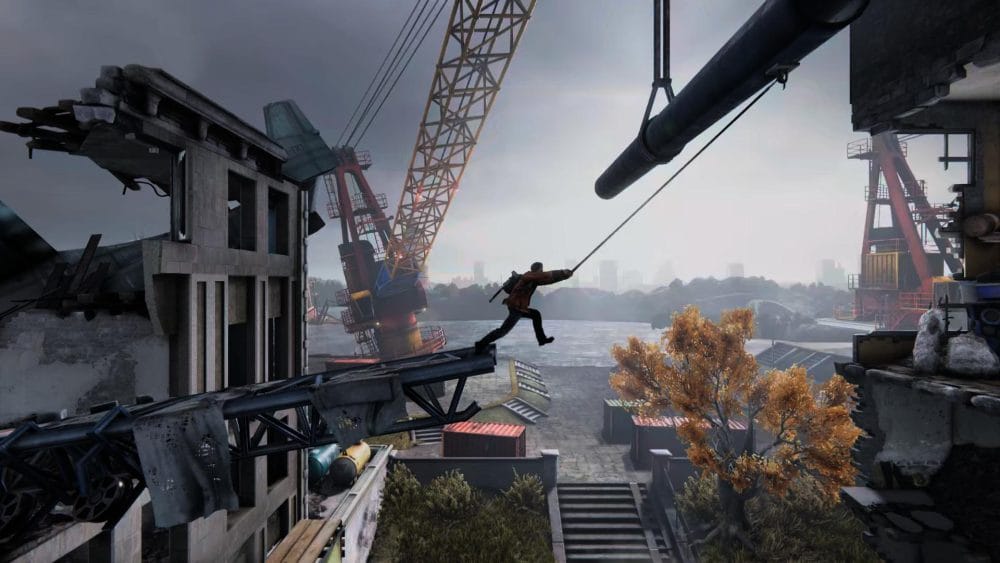
Jonah’s Orders – After making your way up a tall building you’ll encounter a group of Hyena thugs on a suspended pipeline. Take them down and pick up the intel log from the last goon to fall.
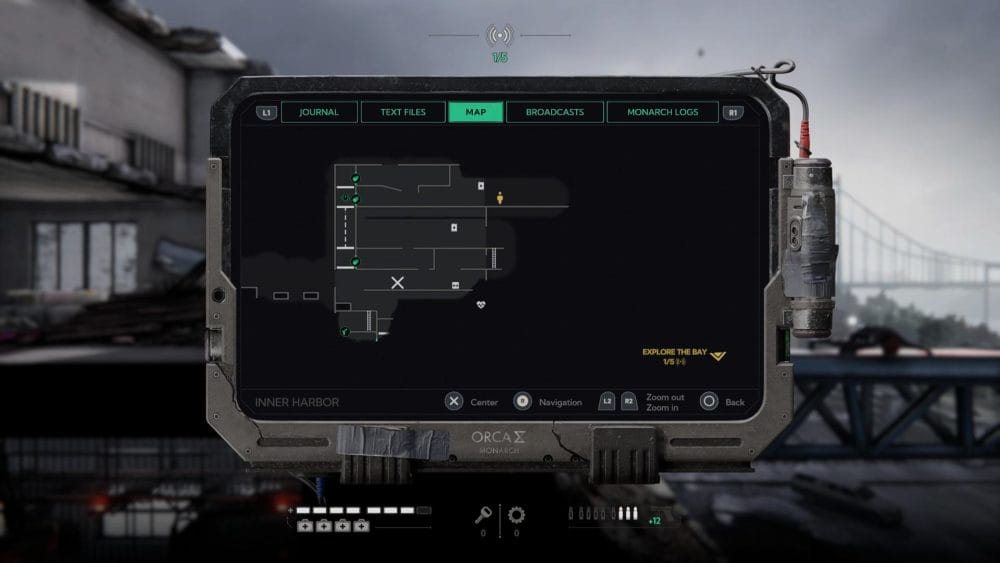
Water 9 – The next collectible is easily missed. After crossing the pipeline you need to get to the next floor where there is an explosive barrel dispenser (as you do).
Climb onto the barrel and break through the weak wall to find a bottle of water.
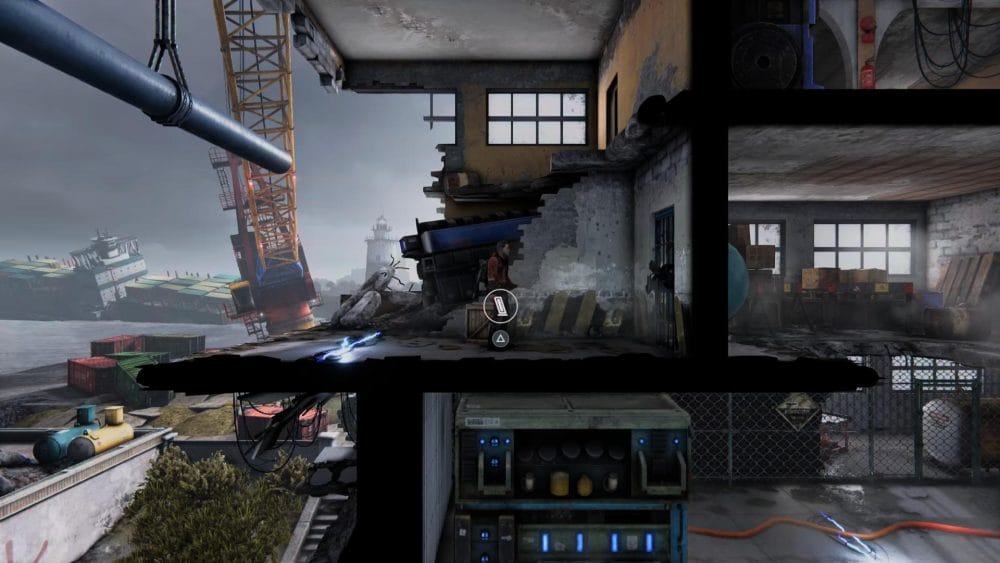
Skullspawn Monarch File – After acquiring the grappling hook you’ll go through a brief tutorial section where you will swing across a pit. Instead, descend into the pit.
At the bottom is the intel log.
Research Log No. 0125 – Later on you will enter another Monarch facility. Follow the linear path through the base.
Just before you use your grappling hook to pull a crate down, you will spot this intel log near the ledge.
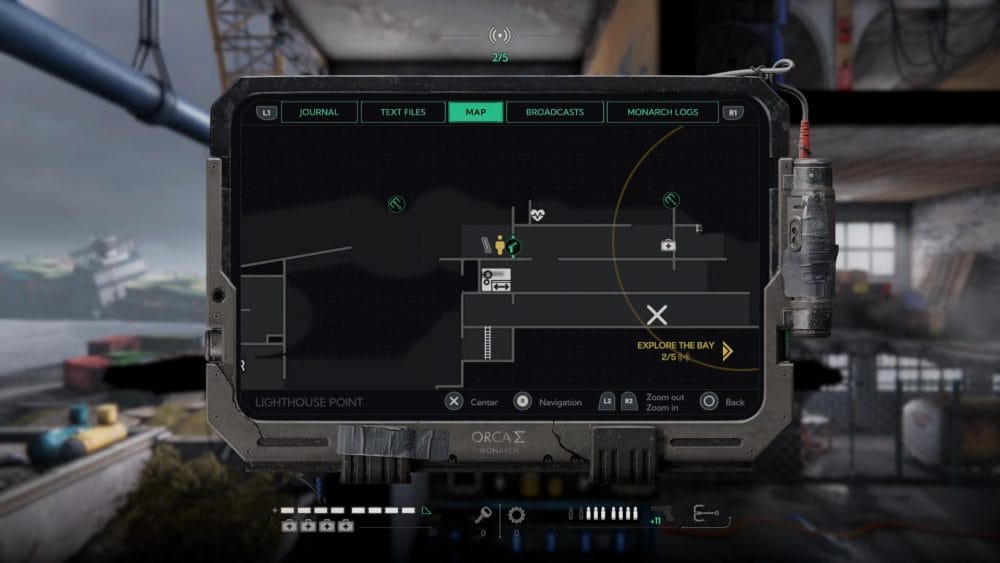
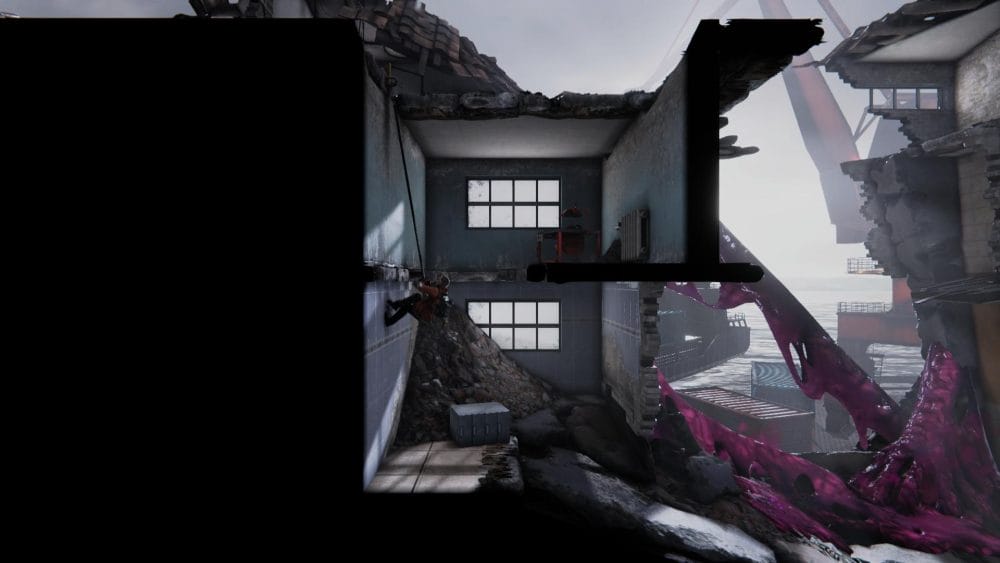
Lighthouse Point
Clip 6 – This clip is impossible to miss! Part way through this level you will use your grappling hook to swing from a large pipe heled up by a crane.
Landing on the other side you will see a gate to break through and the clip sitting next to it.
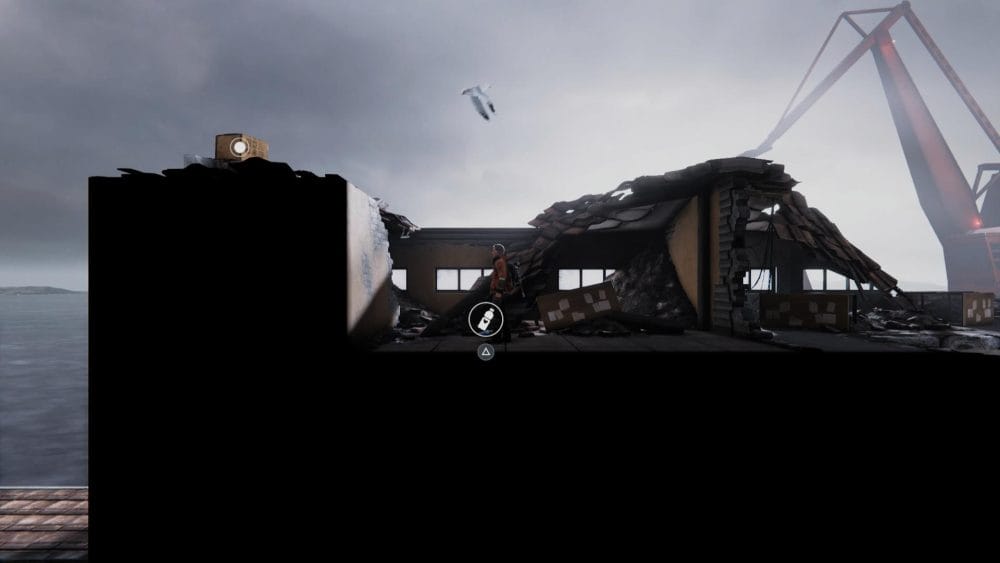
Water 10 – After picking up the last collectible, break through the gate and head to the right side of the building. Climb up the wall, but instead of hopping over the top, jump to the floor on the left.
On top of a rubbish pile to the left is a water bottle.
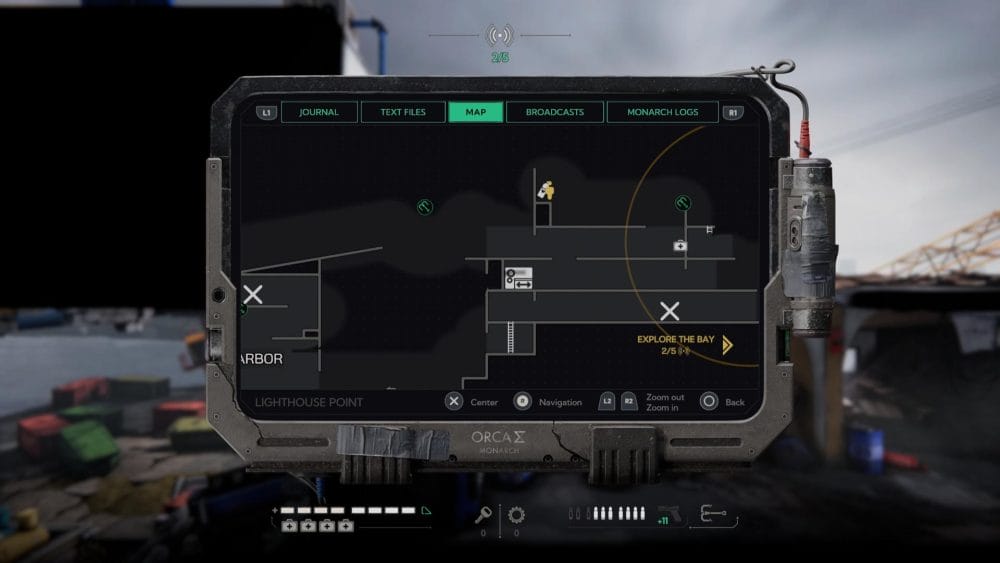
Clip 7 – Once you have crossed the river, head to the right until you reach shipping container. Use the grapple hook to pull the metal crate over the fire.
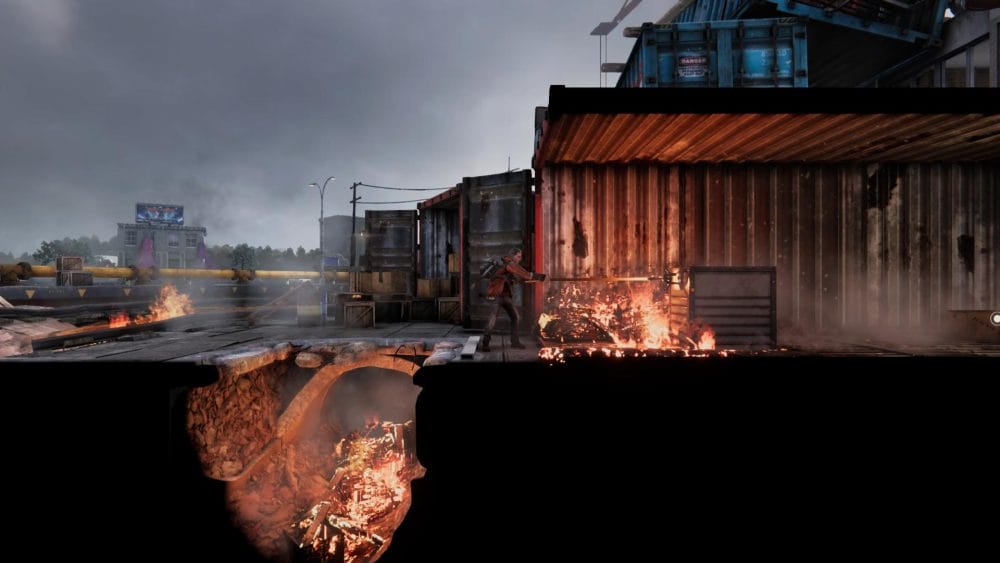
Use he crate to cross the fire and grab this clip at the back of the container.
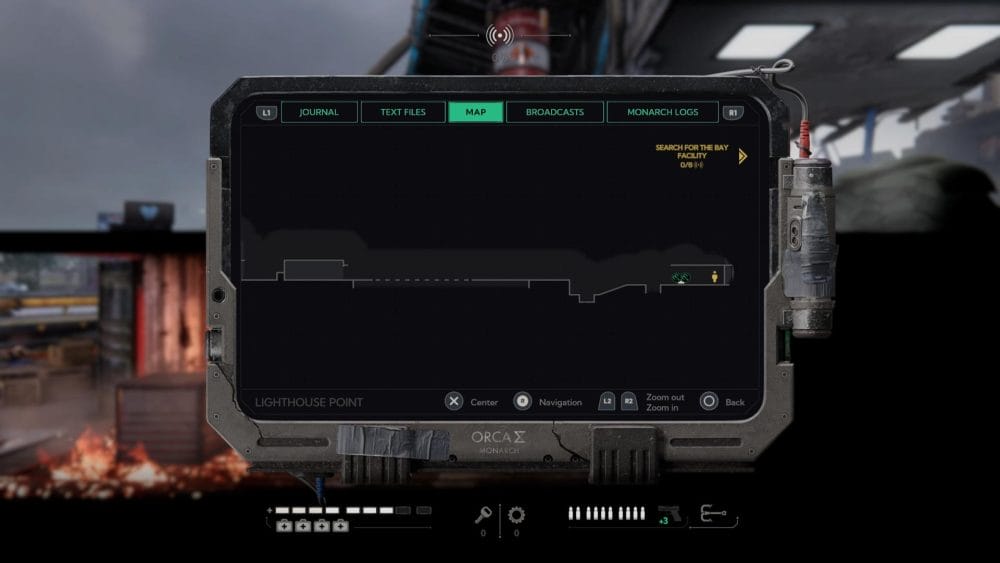
Water 11 – Carry on into the building and work your way up to the checkpoint. Take the ladder up, then head to the left and up another floor.
Run all the way to the edge on the right side of the building and use your grappling hook on the hook point above you.
Smash the boxes on the ledge which hide a bottle of water.
Tiamat Monarch File – Once you reach the checkpoint after the elevator trip, climb up the ladder and grapple up to he floor above.
Head to the left and you’ll find the intel log in the left corner.
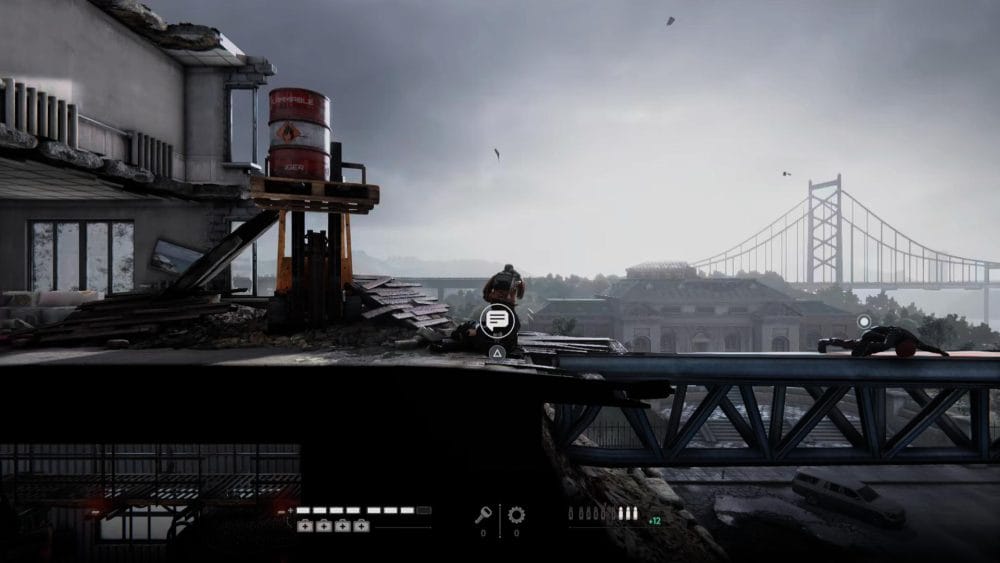
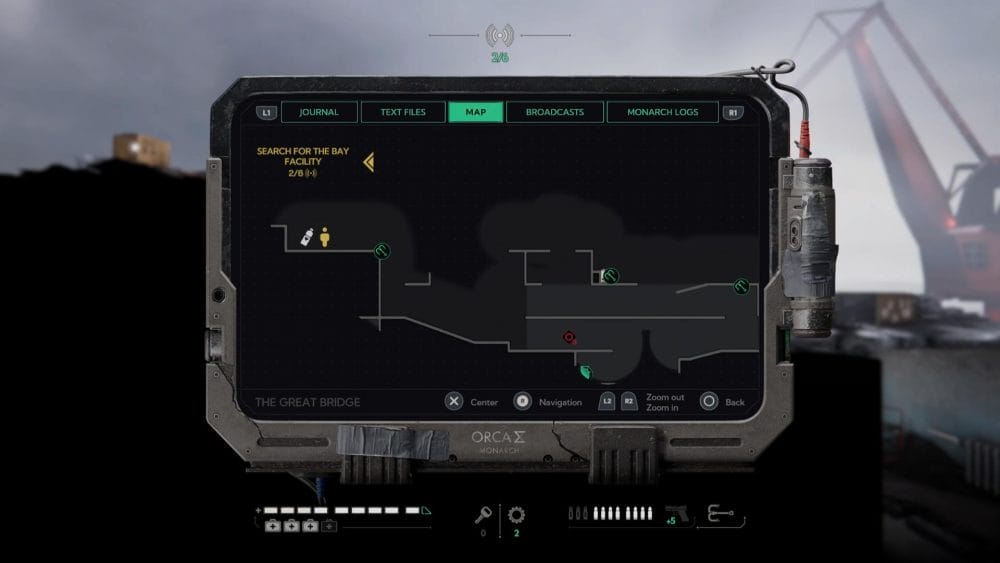
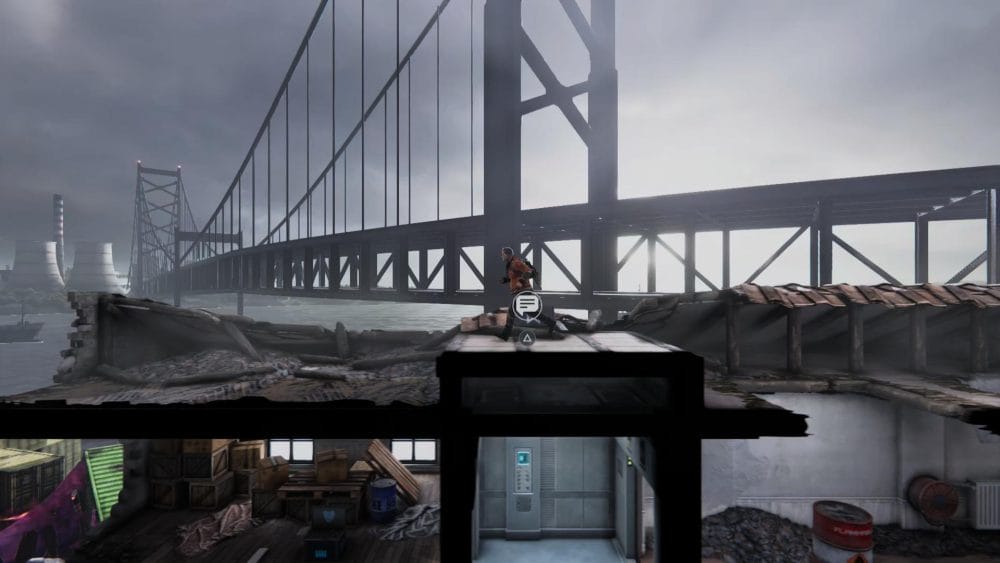
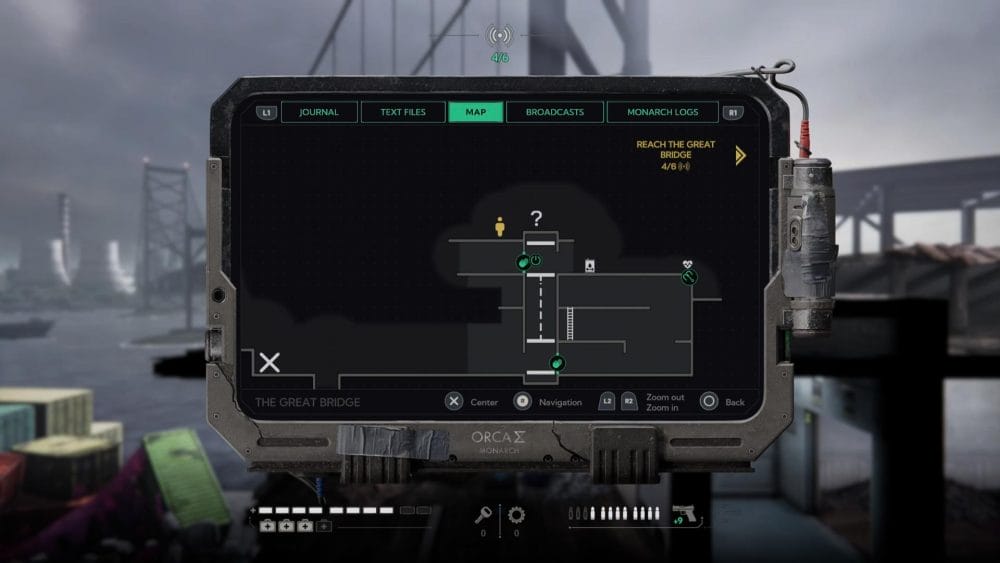
The Great Bridge
Water 12 – This collectible is easy to miss if you don’t search the entire level, so check your map. On the far left side of this area is a small building, climb up the side to the roof and run left.
You’ll spot the bottle of water on the floor. With all 12 water bottles collected you will earn the “Hungry” trophy/achievement.
Inner Harbour Part 2
Clip 8 – Work your way through the facility until you reach a generator with a hatch above it. Turn the generator on and carefully climb down the left wall into the room below.
Head to the right, drop down and push the battery into the device to open the door to the right. Go through the door and turn on the generator inside.
Climb back up to get to the door the generator unlocks, break the chain lock, and pick up the clip inside. Collecting all 8 clips earns you the “Armed to the Teeth” trophy/achievement.
The Great Bridge Part 2
Research Log No. 0733 – Another collectible that’s hard to miss. You’ll reach a puzzle room where you need to pull a barrel off a ledge and over onto a hatch. Open the hatch using the generator, and drop down after the barrel.
Push the barrel to the right, blow up the purple gunk, and grab the intel log before boarding the ship.

Behemoth Monarch File – Probably the easiest collectible to miss in the whole game! There is a point during this level where you need to take an explosive barrel up in an elevator to blow up some gunk on the roof. After doing this, you want to go back down and take another barrel up.
Push the barrel out of the elevator and climb onto it. Jump up onto the roof of the elevator and grab the intel log.
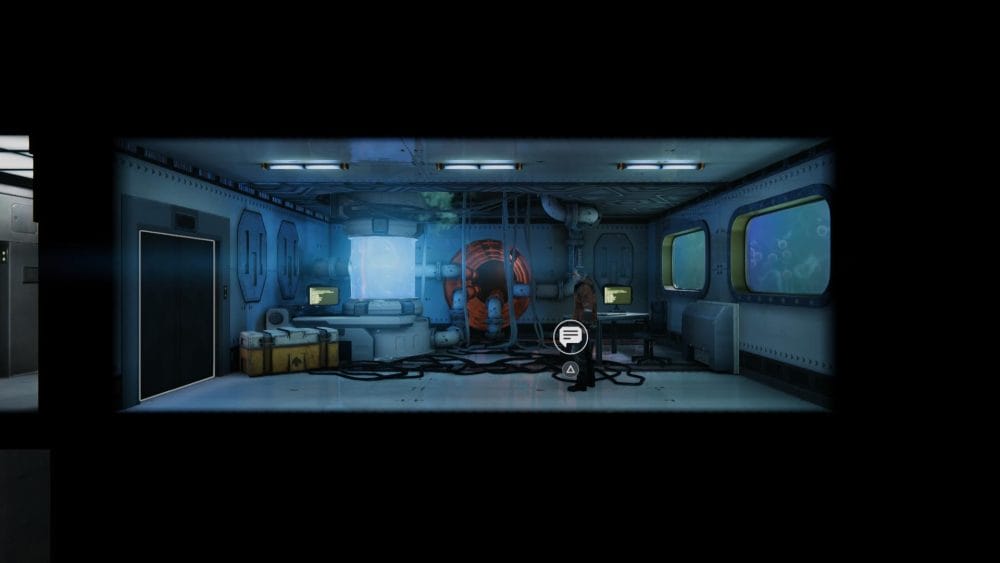
Hyenas’ Underwater Facility
Research Log No. 0198 – The last three collectibles are easy to find and in quick succession (and there is no map). After surviving the kaiju battle and falling into the underwater facility, follow the linear path to an elevator. Take it up and go through the left door to find this intel log.
Black Market Auction – Go back through the elevator to the right and pick up the next intel log. Easy!
Lahamu Monarch File – The final collectible is found in another small room to the right of another elevator. Collecting all the intel logs will get you the “Thirsty for Context” trophy/achievement, and if you’ve collected everything then you will unlock the “Syllogomania” trophy/achievement.
And that is all 44 Collectibles in Kong: Survivor Instinct! You should have now unlocked the related trophies and scoured every corner of the game, congratulations!


2 Responses
Hey for the Highrise rooftops gears for the locked door to unlock the water bottle where do I find the first gear?
The gear is hidden behind the box you vault onto to climb to the next floor. Sorry my description was not well worded, and I’ll correct it now!